
Call of Duty: Black Ops III Guide Walkthrough 02 New World
02 New World
Zurich, Switzerland
Oct 29th, 2065
Mission Briefing: Undergo surgery, rehabilitation, and training for potential induction into the Winslow Accord Cyber Soldier program. Success not guaranteed.
Mission Objectives
 Go to Suspected Terrorist Hideout.

 Terminate the Terrorist Operation.

 Locate the Terrorists’ Command Center.

 Pursue the Subject.

 Locate the Explosives.

 Hack the Maintenance Door.

 Hack the Water Plant Door.

 Locate the Explosives (Part 2).

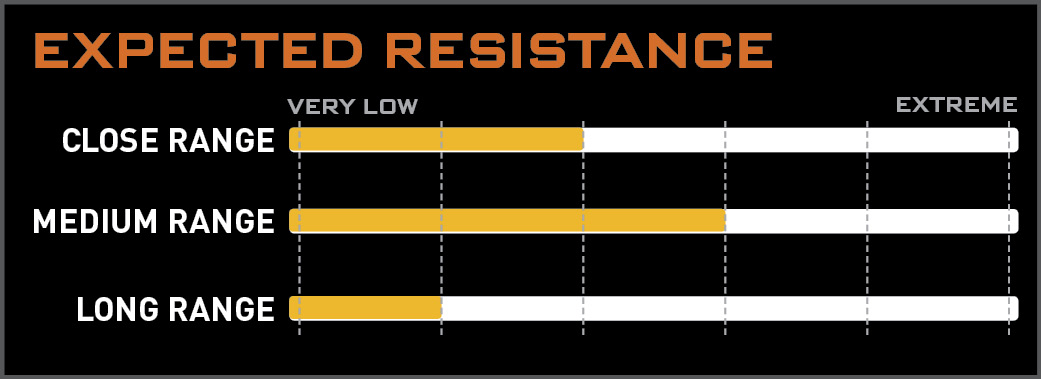
Simulated Human Combatants: You will be trained to fight against human combatants wielding a variety of armaments.
Simulated Robotic Combatants: Your training will include combat against a variety of robotic combat units.
Level Accolades
| Accolade Name | Reward |
|---|---|
| Untouched! | Fabrication Kit |
| Complete the mission without dying. | |
| High Score | Fabrication Kit |
| Complete the mission with a score of 26,500 or higher. | |
| Got ‘Em | Fabrication Kit |
| Find all of the collectibles in the mission. | |
| Inferno | 250 XP |
| Light 3 enemies on fire at once 3 times. | |
| Multi-Tasker | 1000 XP |
| Kill 3 enemies during wall runs. | |
| Punch Through | 500 XP |
| Kill 6 enemies through a wall or through cover. | |
| Fast Learner | 1000 XP |
| Kill 5 robots in under 2 seconds using Cyber Combat abilities. | |
| Make ‘Em Count | 250 XP |
| Kill 3 enemies in one explosion 3 times. | |
| Here, You Dropped This | 500 XP |
| Kill 3 enemies with a thrown back grenade. | |
| Spike-cicle | 250 XP |
| Kill an enemy with an icicle. | |
| Caught ‘em Sleeping | 250 XP |
| Kill 6 robots while they are disabled by EMP grenades. | |
| Conservationist | 500 XP |
| Complete The Chase without reloading. | |
| Discretion | 500 XP |
| Complete The Chase without de-rezing any civilians. | |
| Turn the Guns on ‘Em! | 250 XP |
| Kill 6 enemies using a hijacked turret. | |
| Stopping Power | Fabrication Kit |
| Kill 8 robots with a shotgun without reloading. | |
| Parkour | 250 XP |
| Run over a train while it is passing. | |
|
 A Second Chance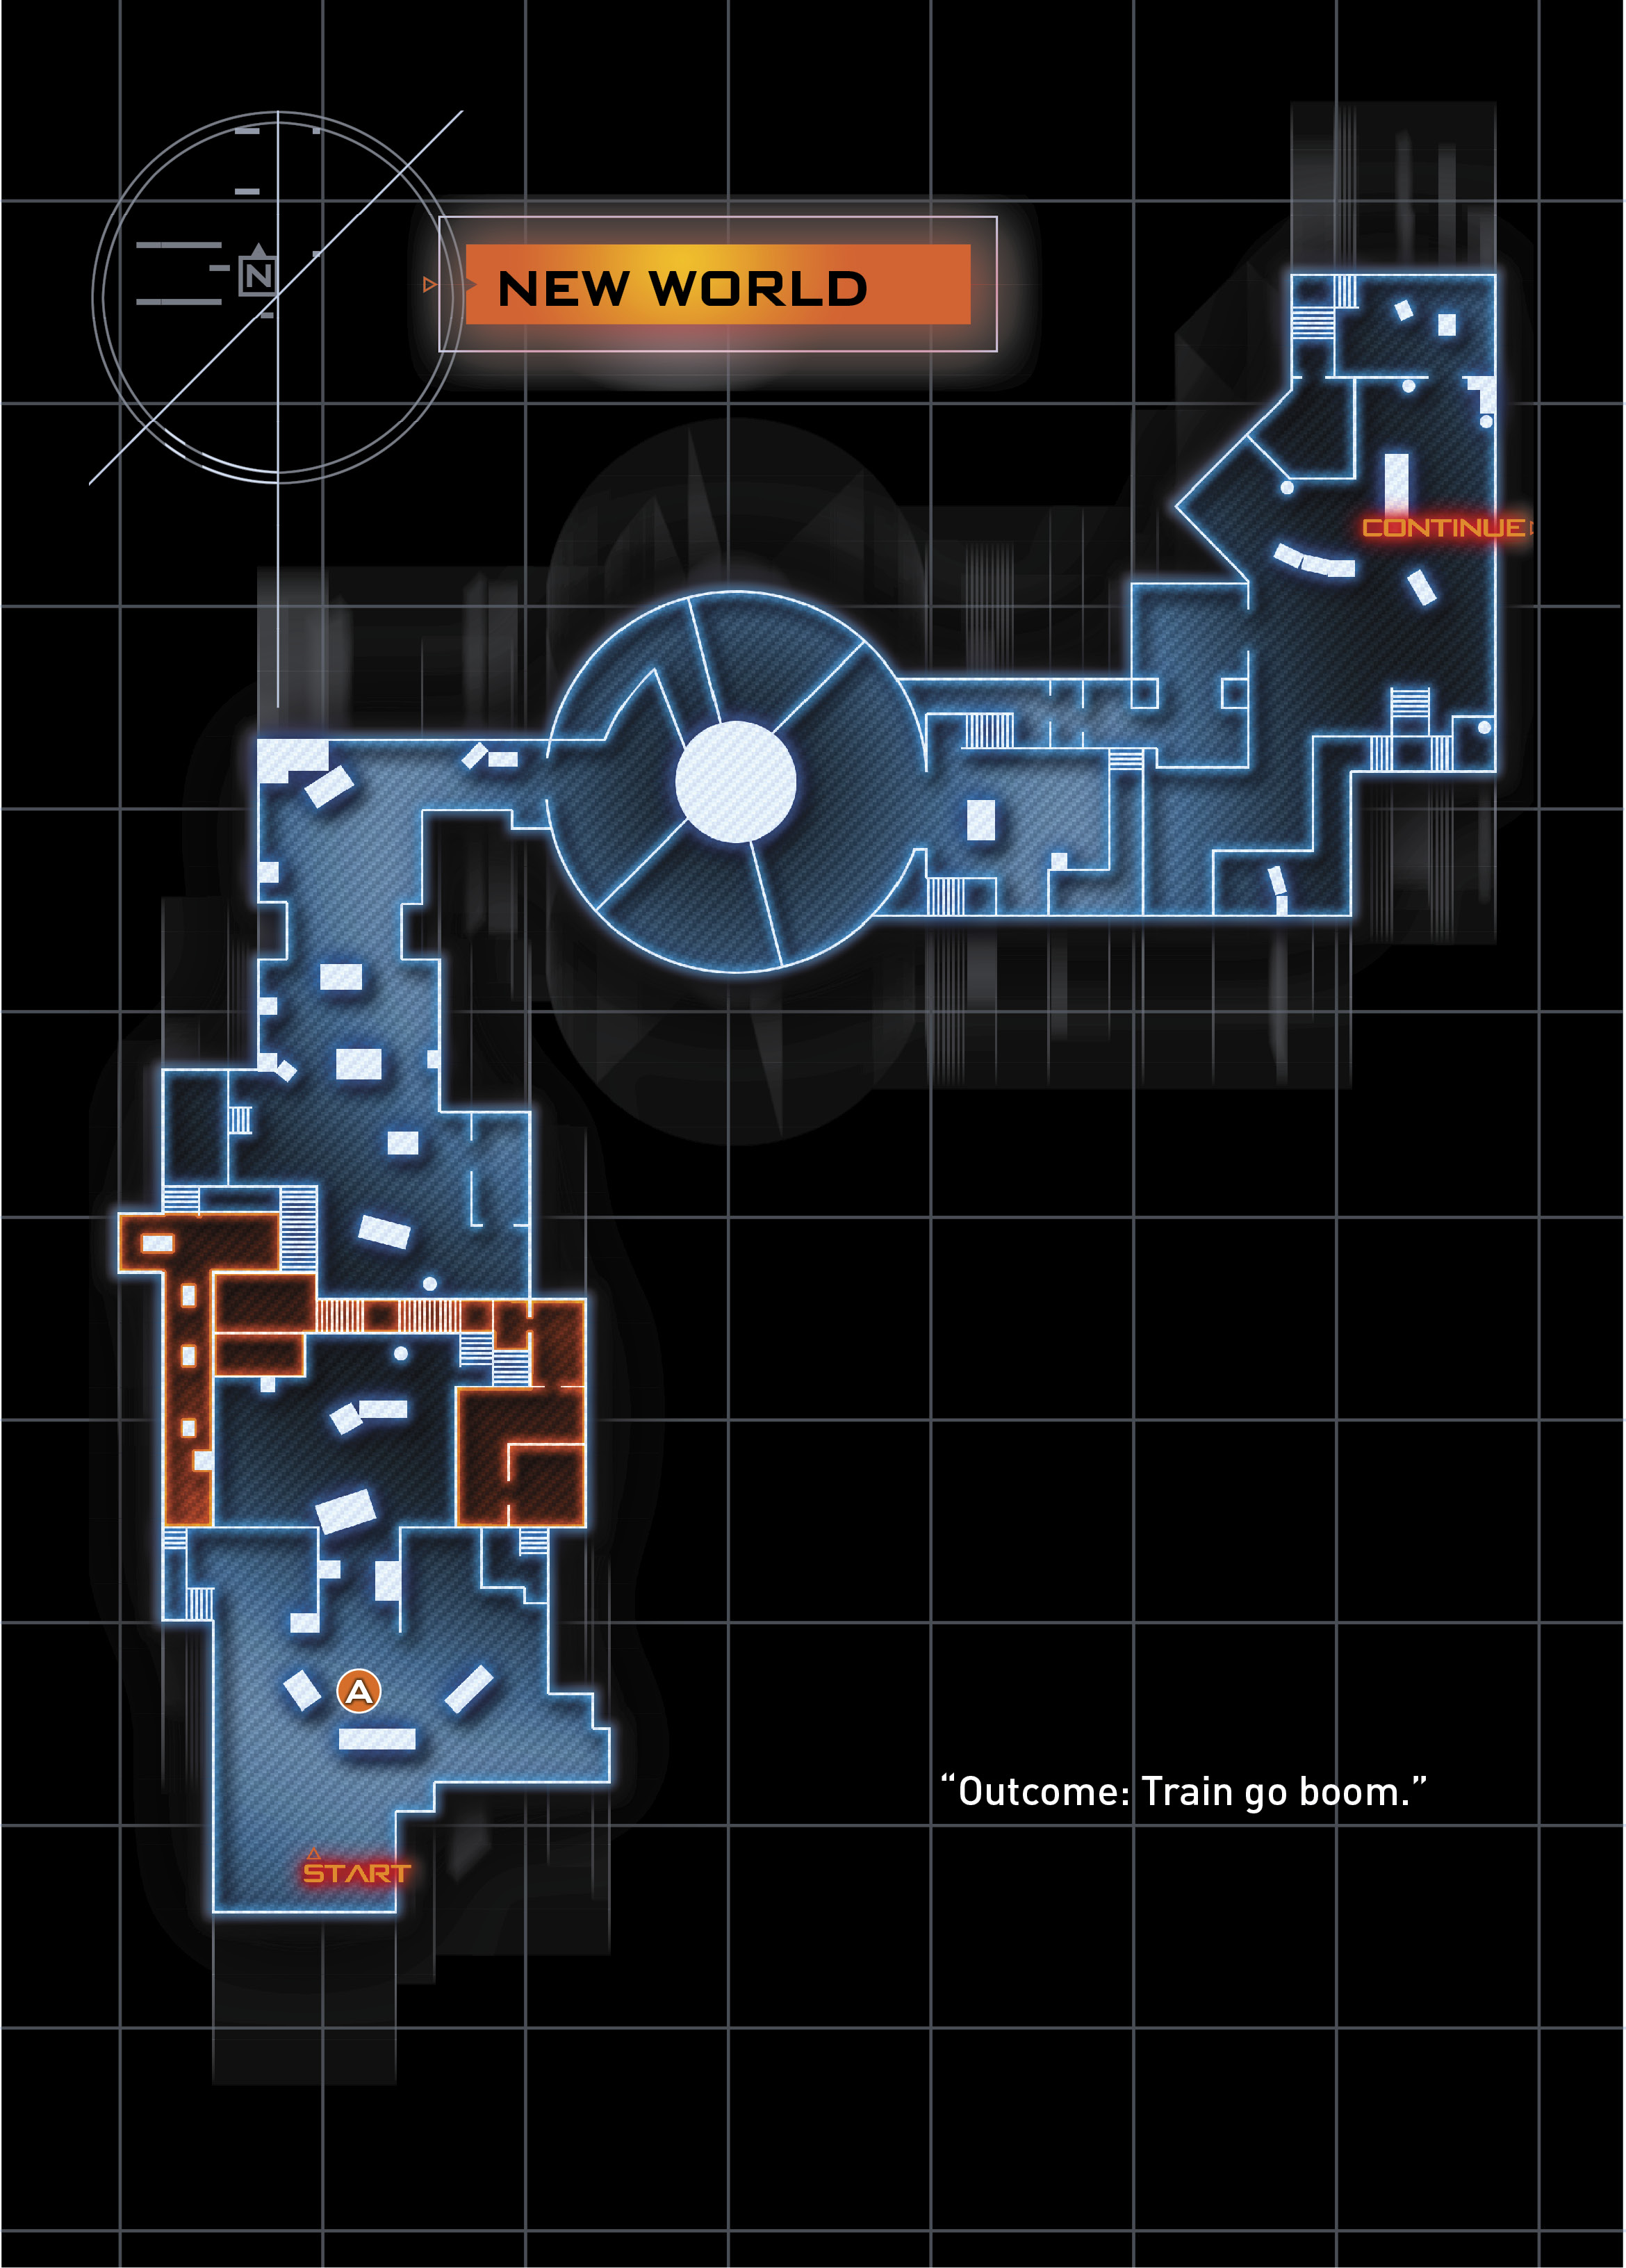
Somehow you’ve survived the events of Black Ops and find yourself on a train with Taylor. Replaying the events of several terrorist attacks requires you to get acquainted with your newly-installed Direct Neural Interface (DNI) hardware.
Go to Suspected Terrorist Hideout
Diaz arrives to lead you on your short journey through history. When he gives you the “weapons hot” order, it’s time to begin.
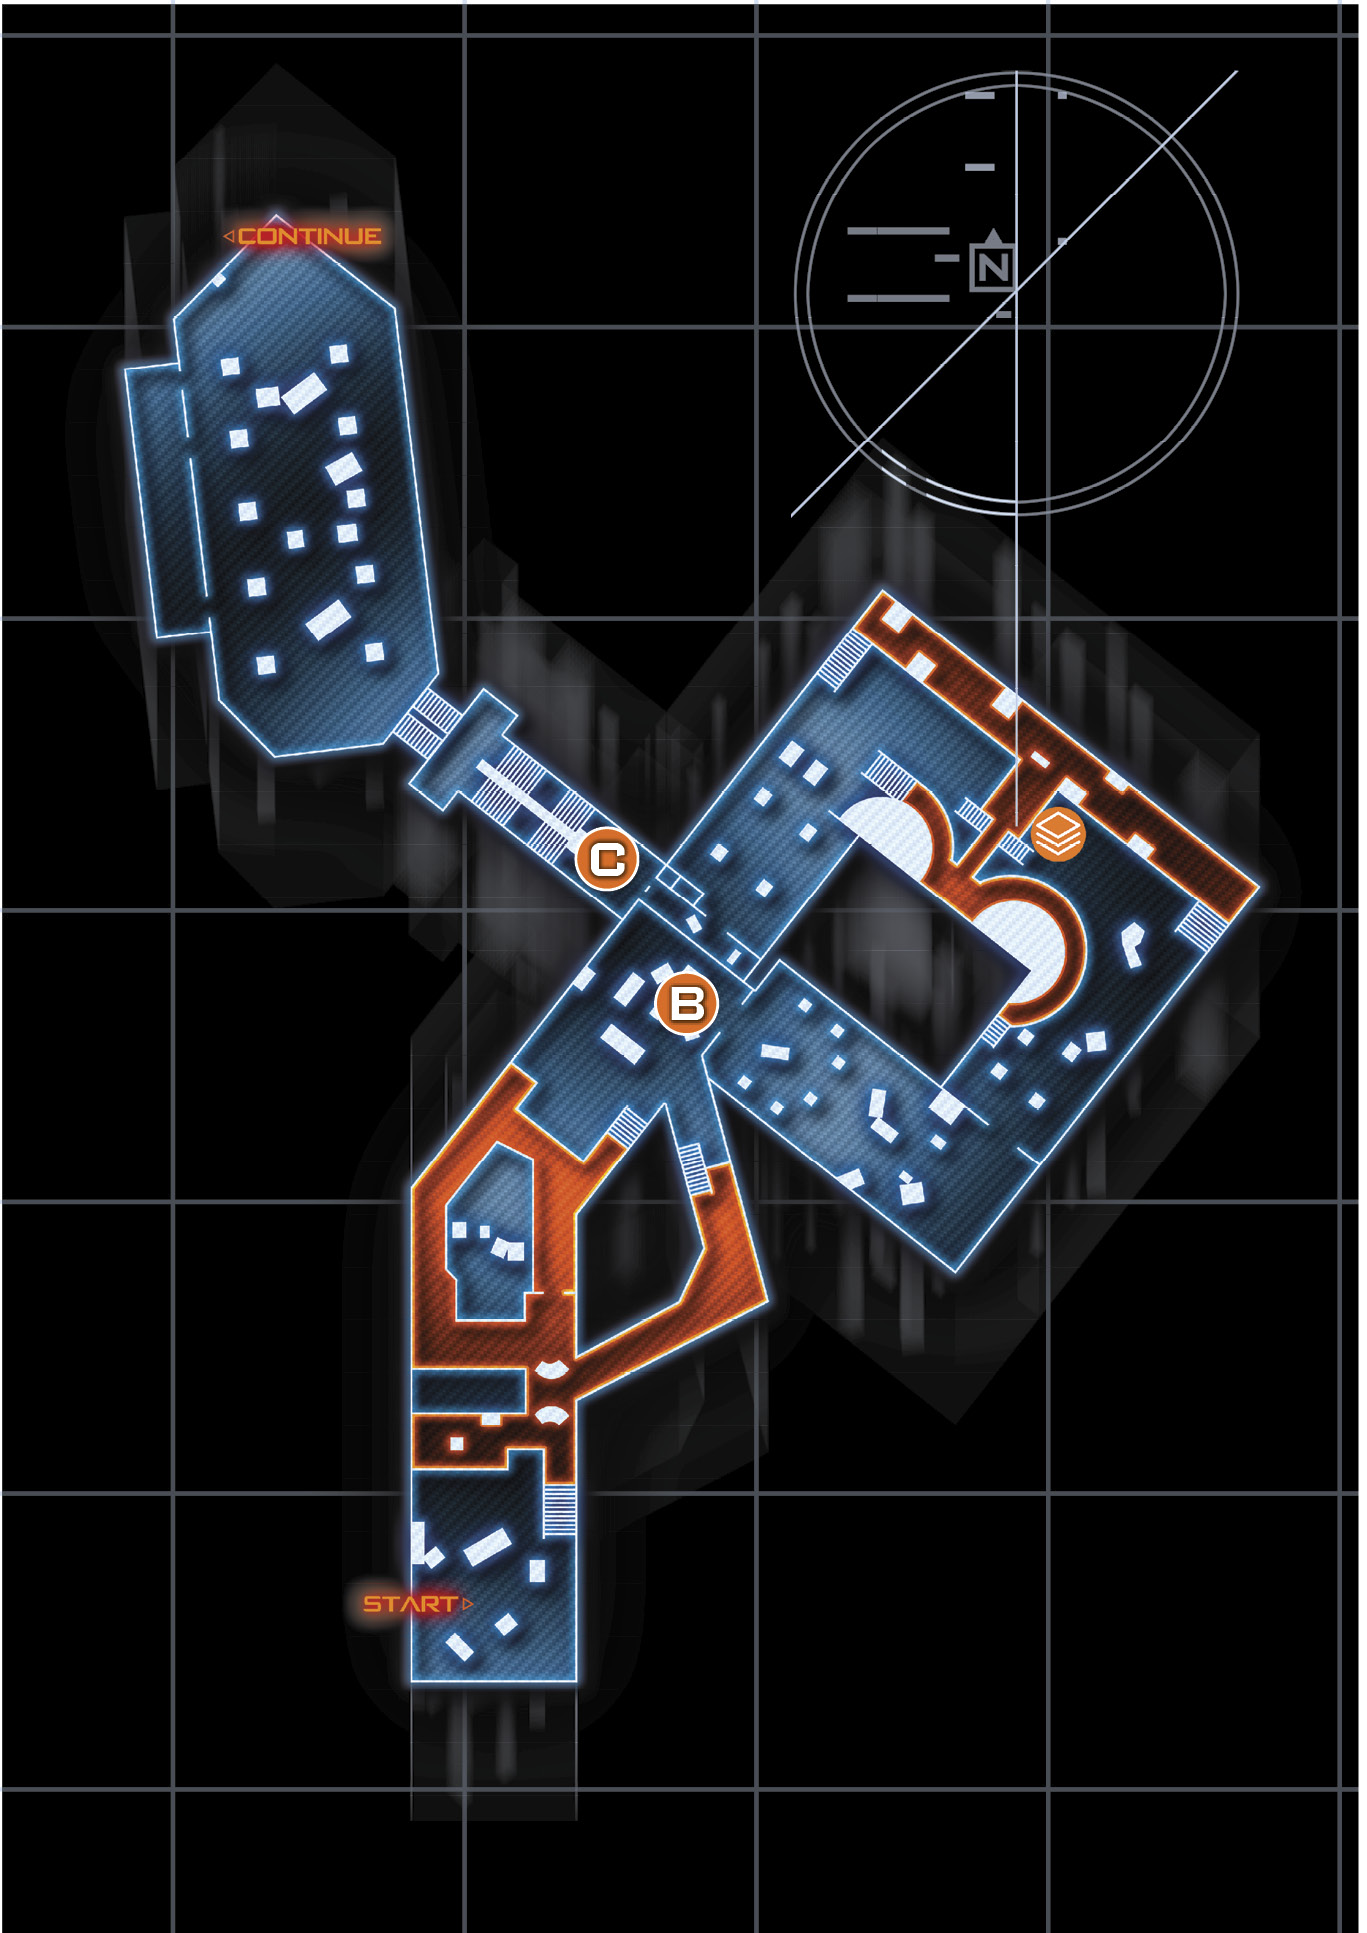
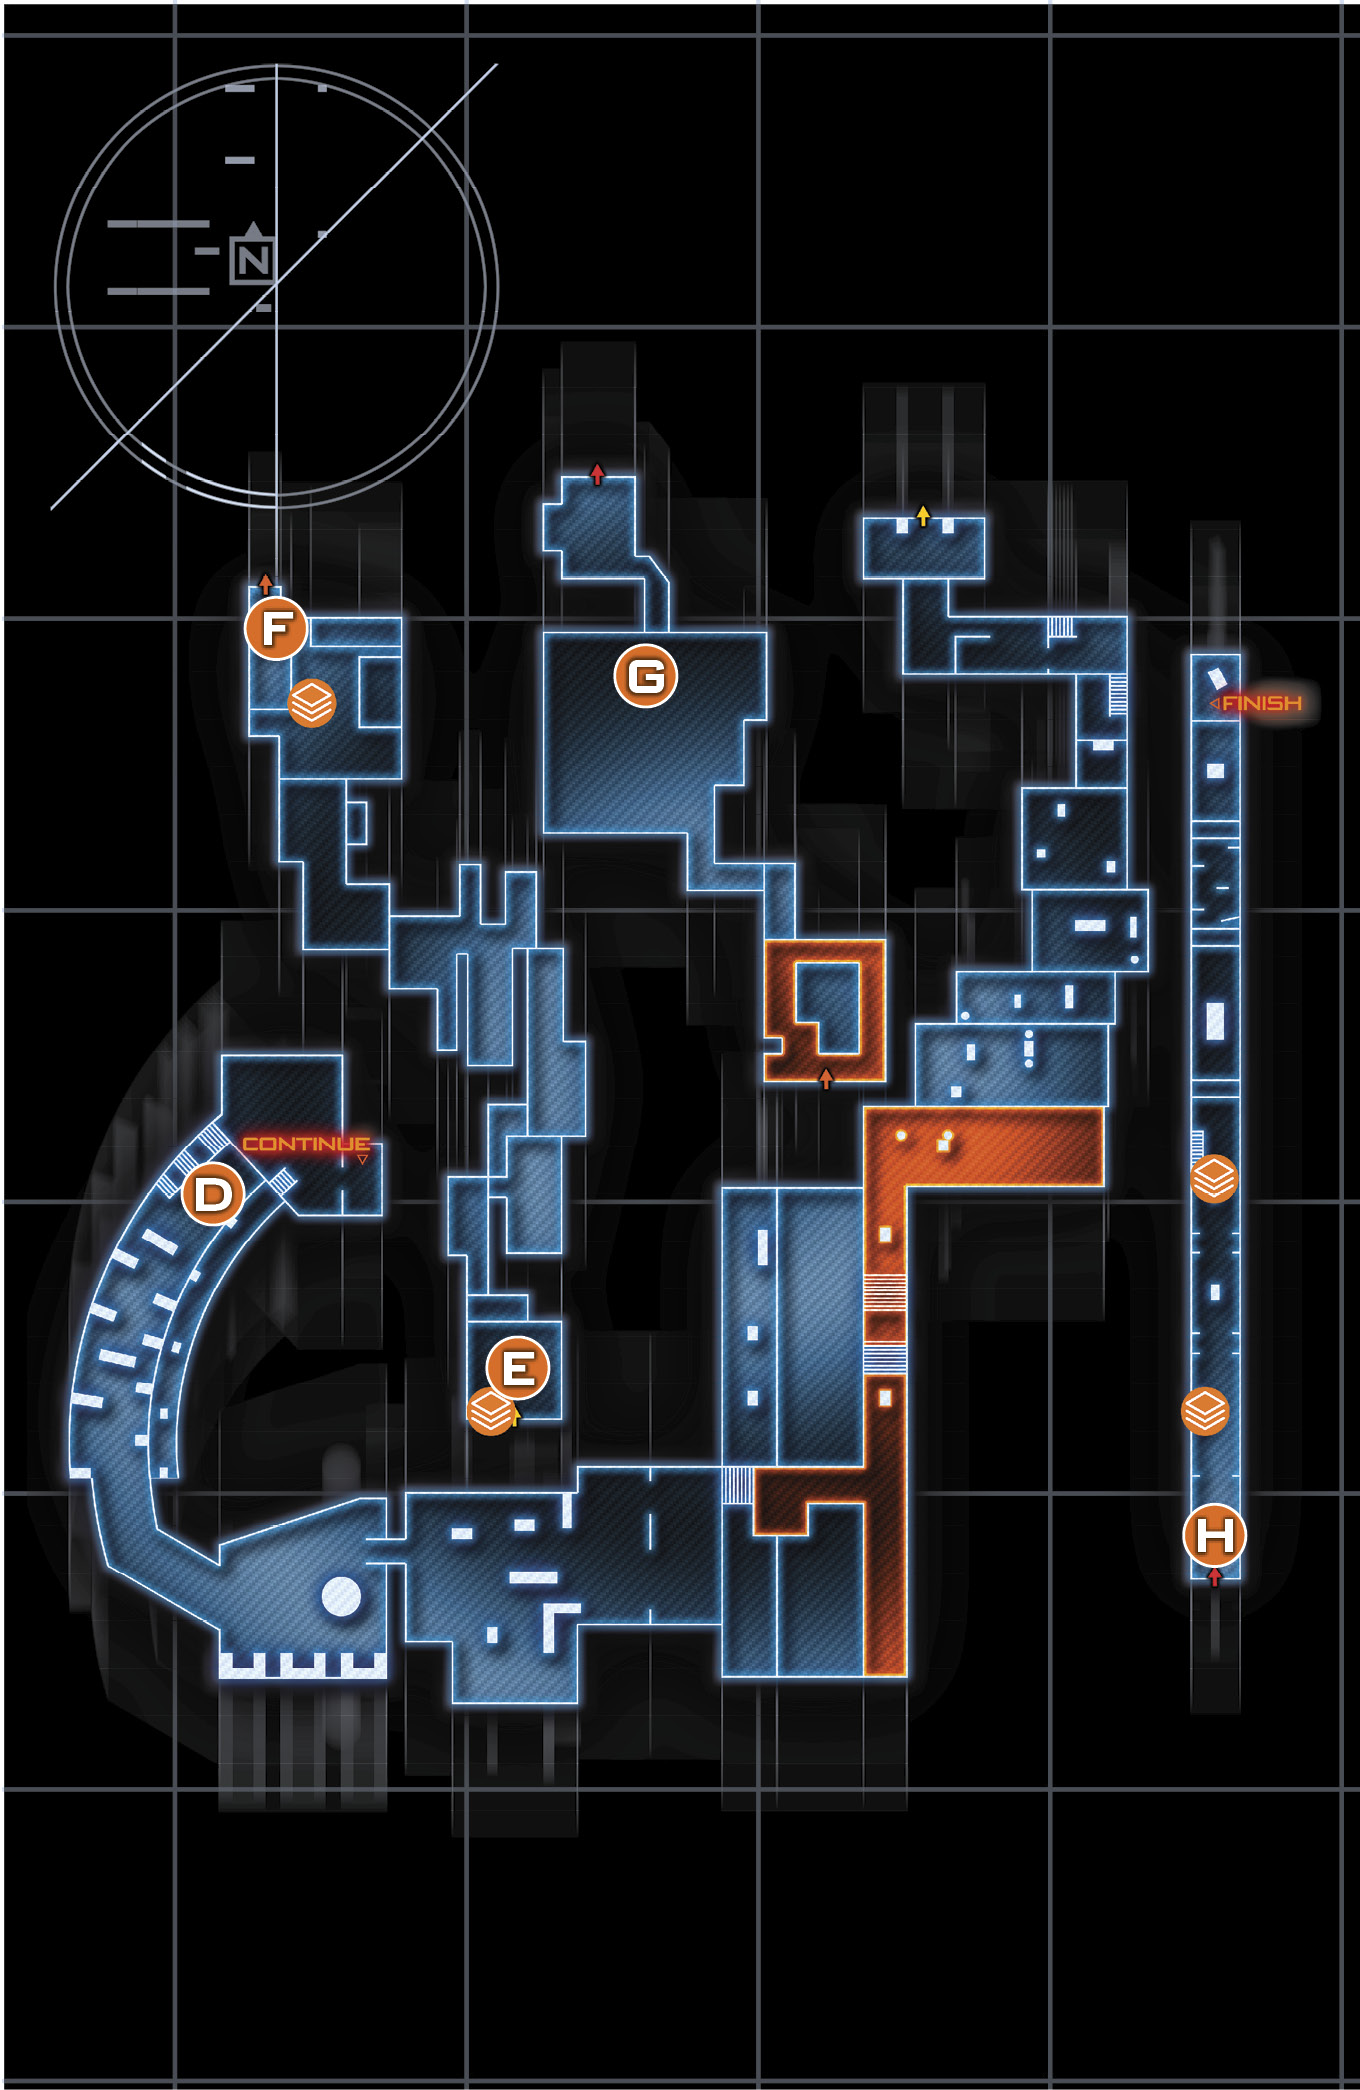
There are several paths through the first part of this abandoned mill. Enemies are hiding throughout the section’s rooms and catwalks. Once you’ve cleared out the initial resistance, carefully move up either the left or right side of the area. You should avoid the center path since it opens you up to fire from both sides.
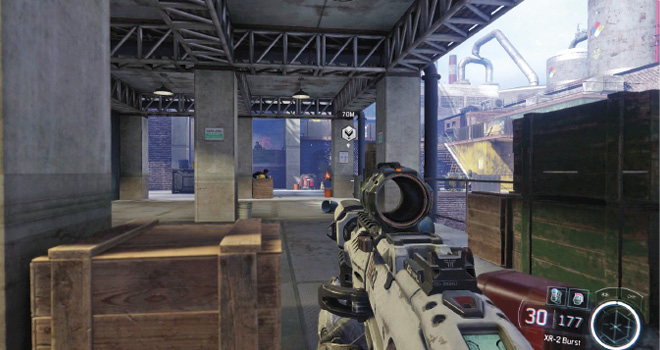
In the next area, Diaz introduces you to the Wall Run technique. To Wall Run, simply jump toward a wall—if it’s at the right angle, you’ll automatically cling to the wall. Wall runs are useful for accessing hard-to-reach places, but generally are not required to progress in the game. (In fact, at a later point you can unequip wall runs in your loadout.)
Past the silo, there’s another group of simulator terrorists waiting for your team. This is a good time to try out Tactical Mode for the first time. Toggle it on by hitting the appropriate button.
Tactical Mode identifies various hazards in your HUD. Snipers, Grenade Launching enemies, live grenades, and dangerous areas of the battlefield are all highlighted. For details on Tactical Mode and how to configure it, see our Gameplay Basics chapter.
The safest path through this section is up the stairs on the left. Clear the enemies in the open. Most importantly, take out the rocket launcher enemy on the back catwalk. Then, move slowly through the left interior building, killing enemies as they pop out.
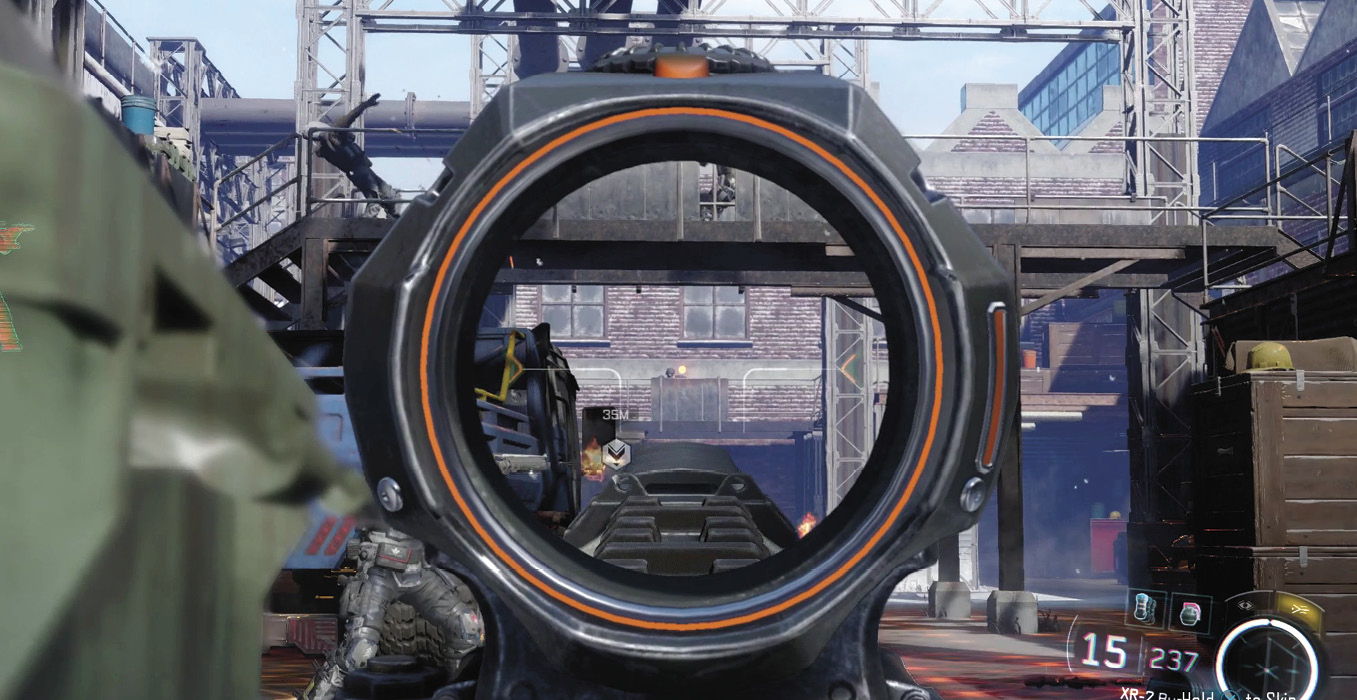
When you reach the end of the left interior building, a large group of enemies arrives from the opposite tunnel. Toss a grenade down at them (you can get a point toward the “Make ‘Em Count” Accolade), then crouch in the window and pick off the rest of the enemies from safety.
The biggest threat to your survival is the LMG enemy in the window opposite. Kill him before any other enemies.
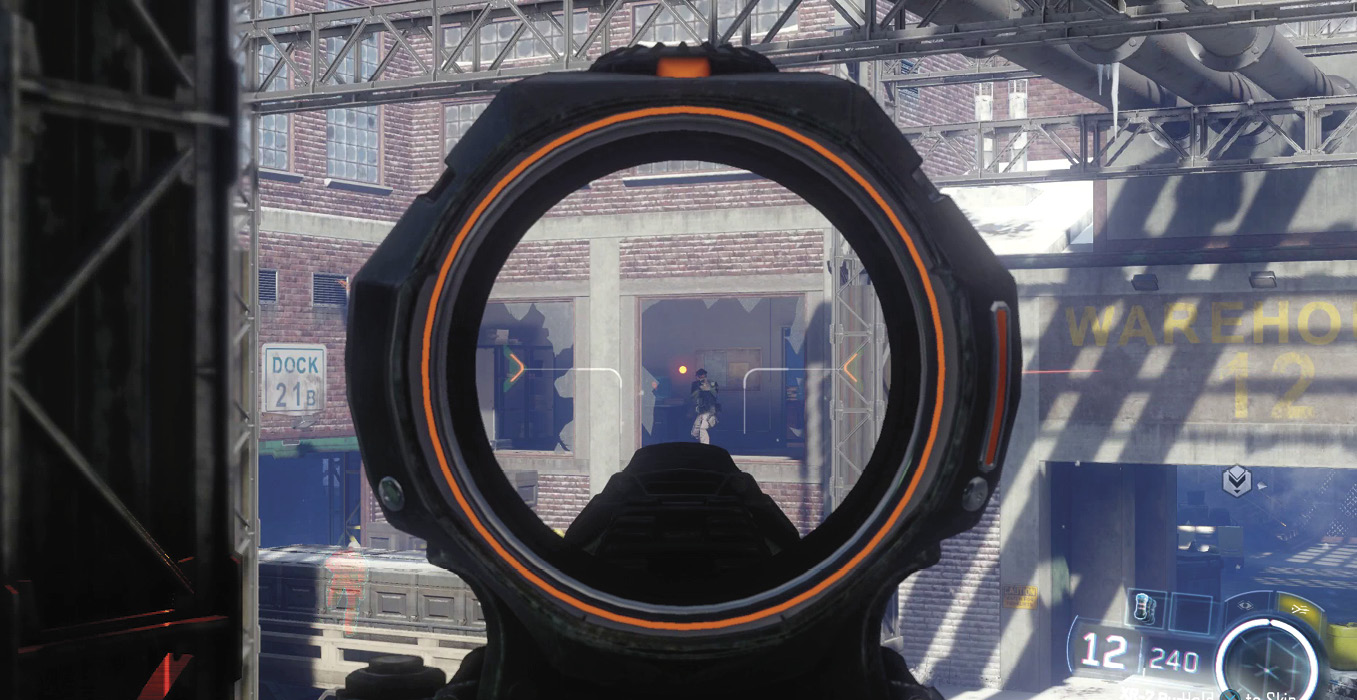
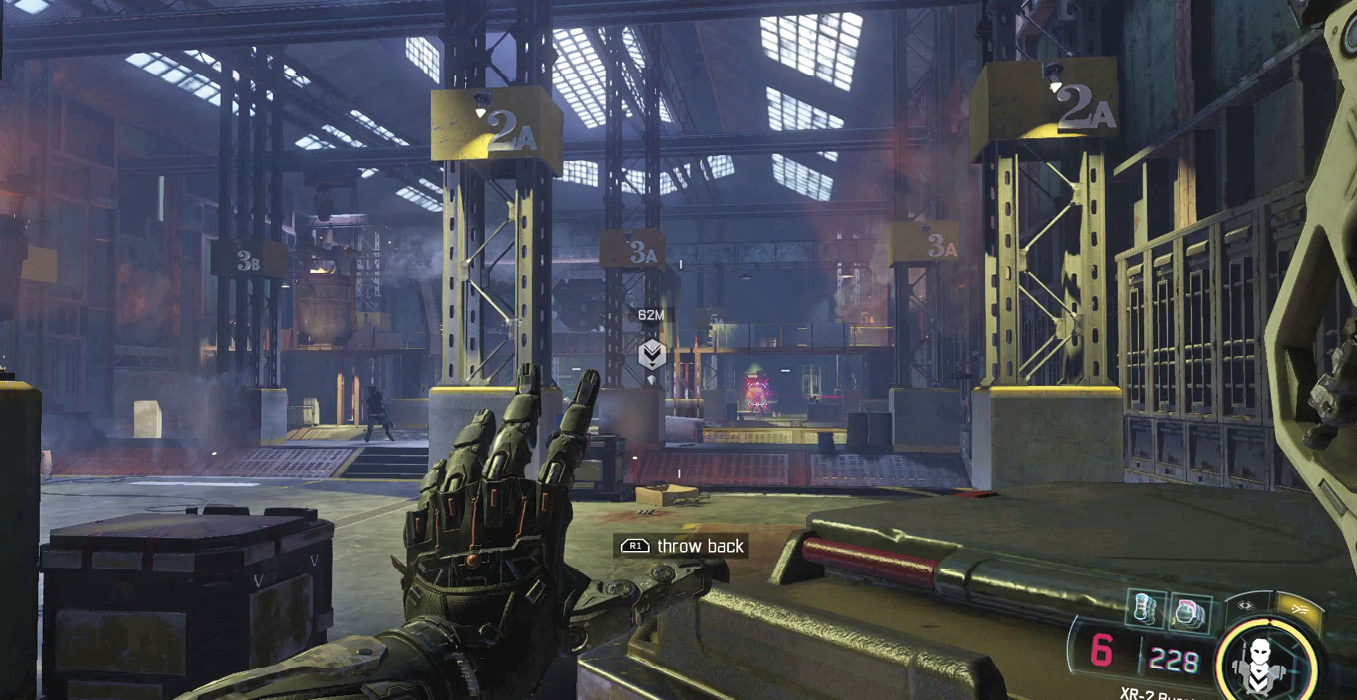
With the outside area clear, it’s time to move inside the warehouse. Your foes are plentiful, but luckily so is cover. Use the crates to work your way through the large room.
You may be running low on ammo at this point, so note the ammo icons on your Tactical Display. These indicate ammo boxes that not only restock your primary and secondary ammunition, but also your grenades. Ammo restocks are always available in the game, so pick one up whenever you’re low.
After the Warehouse is clear, it’s time to learn how to hack drones. Follow the directions onscreen to hack one of the flying drones (they are more useful on this mission.)
Terminate the Terrorist Operation
To fly the Drone, use the on-screen buttons to move it up and down. Generally, it’s a good idea to fly these drones high because it makes them much harder to hit, and it’s easier to shoot downward.
The soldiers in this area aren’t particularly good at defending against the Talon, but both incoming small arms fire and rockets can take the drone out. Keep moving and use the vats for melted steel to burn and kill large groups of enemies as you move through the area.
Don’t worry if your Drone is destroyed; you can use one of the other ones to continue. You can even try out one of the Cerberus mini-tanks.
|
When you reach the end, clear out as many enemies as you can for a higher score. When the room is quiet, target and destroy the generator to complete your objective.
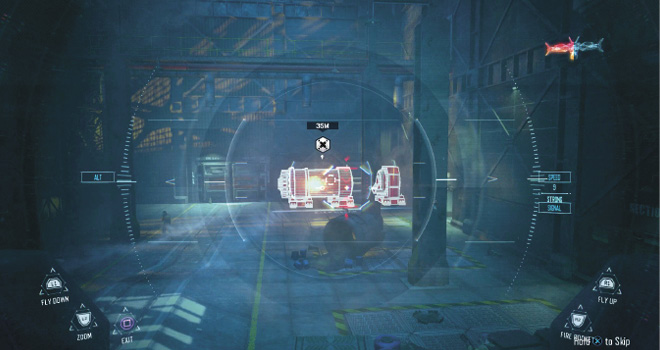
Locate the Terrorists’ Command Center
Destroying the generator sets off an EMP, which disables all of the remaining Drones in the area. Follow Diaz through the giant doors. Recharge your ammo in the supply crate and continue after Diaz downstairs.
|
 Defective Robot Hand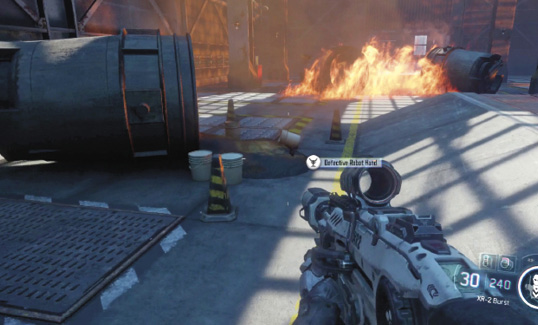
This room is overflowing with enemies. Fortunately, you have a tactical edge. Use your new-found hacking ability on one of the turrets. Control the turret to clear out any enemies you can locate. When you exit, the turret automatically self-destructs, making your way forward even easier.
After clearing the enemies in the area with the first set of turrets, wait for your DNI to recharge and hack the turret at the back of the room. The enemies there fire on your turret. Kill as many as you can before it dies.
Follow your objective HUD indicator to the back of the room, then hack the wall panel to get inside. This completes the first portion of the level.
Pursue the Subject
The chase is on for the suspect in the Zurich bombing. Note the on-screen indicator for your Sprint button. You’ll be using this button a lot throughout this section of the level.
Sprint outside after Sarah Hall and get ready to engage with the robot enemies among the civilians in the next area. The robots are easy to take down with controlled fire or melee (watch the civvies!)
Note the suspect’s trail; use this to sprint after him across the mall.
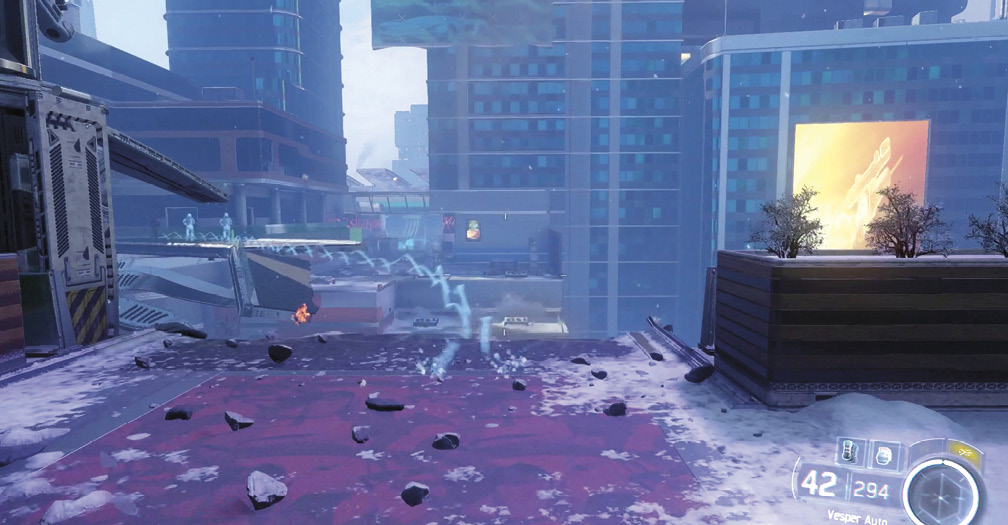
When you reach the subway entrance, Hall gives you a tip to use the billboard to jump the train. Use wall run to traverse the train tracks.
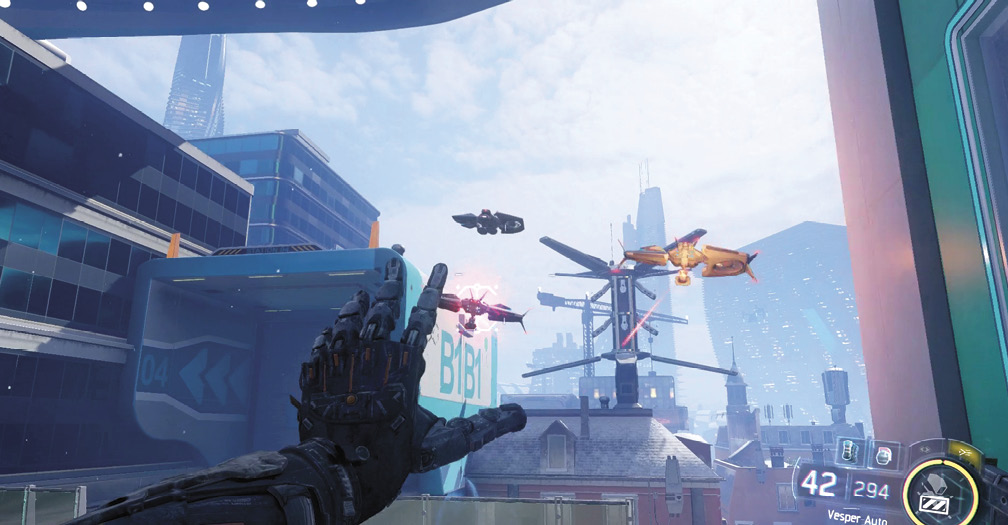
Hall rejoins you in the chase as you exit the subway and activates a new DNI ability: System Paralysis. Continue out to the rooftops and paralyze the groups of drones flying above.
Keep your eye on the far rooftops and continue the chase. You can catch a glance at your target as you round the next corner, but watch out for incoming drones. Use System Paralysis again to take them down.
Continue the chase up the construction building. Paralyze the robots defending robots and dispatch them with melee attacks. At the end of the chase, jump on the suspect to complete this portion of the level.
Locate the Explosives
Fast-forwarding in time, you are now in another Zurich warehouse, a location tracked down by interfacing with the DNI of the suspect in the previous section.
Here, you are working with Maretti against an army of robots. Luckily, you have access to a new DNI offensive ability: Immolation. Use it on a robot to cause a chain explosion of robotic destruction.
Stay behind cover, unleashing Immolation when recharged. While waiting for a recharge, fire at the robots’ heads with your BRM Auto to disable them.
Robots can be just as fierce as regular enemies, so use the concrete barriers for cover and advance only when the area is clear (Maretti moves up when you’ve cleared a room).
|
 Bomb Detonator Cap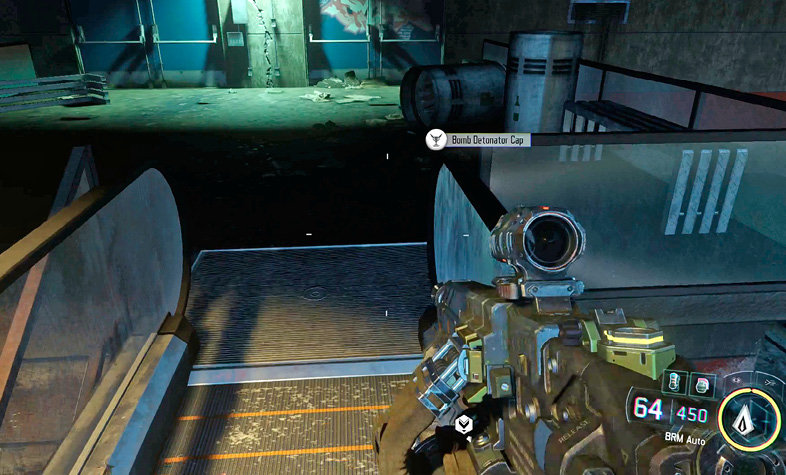
Down the next tunnel Maretti unlocks the Firefly DNI ability. Firefly Swarm is a superb anti-personnel attack. When you unleash the Fireflies, a swarm of nanobots flies out and chases down enemies, cutting them to pieces and lighting them on fire. You can aid Fireflies’ effectiveness by killing enemies they are targeting. Once an enemy is dead, the Fireflies automatically seek and destroy another human soldier.
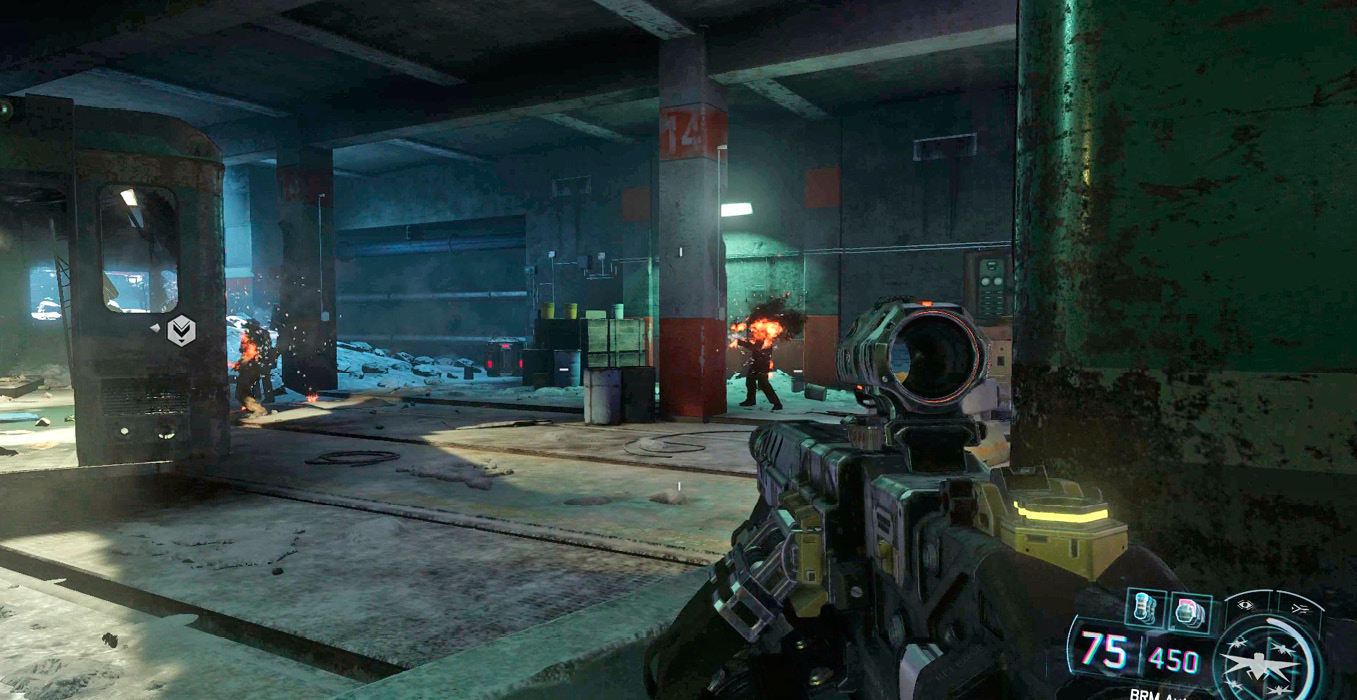
Clear out the first train car’s enemies, then turn the corner in the subway. At the top of the ridge, you will see some concrete and rebar improvised cover. Use the cover to unleash another Firefly Swarm. Stay low and fire at enemies from the safety of the cover.
|
 Hold Still!
Once you’ve cleared the enemies from the cars, sneak around the back side of the area, firing at any enemies that are still alive on your left. The soldiers now get some robotic rear reinforcements. Switch back to the Immolation DNI attack to blow up the robots.
 Hack the Maintenance Door.

Once the subway depot is clear of enemies, move up to hack the door at the end. When you step through the door, you are instructed on how to activate EV (Enhanced Vision). This should look similar to the night vision you had in the previous level. The vision works in pulses, highlighting enemies as it moves.
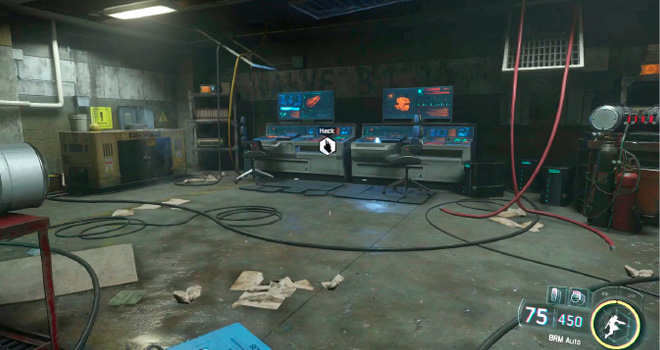
Use your tactical advantage to kill the soldiers guarding each side of the hallway. Move to the end of the hallway and turn the night vision off.
The next area contains a mix of soldiers and bots. Use the same tactics, sticking to cover and using your DNI abilities when they are ready. Stick to either the left or right side as you move forward. It won’t take long to clear the area.
|
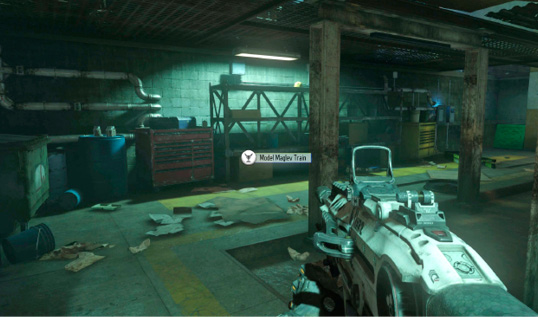
The unfinished room leads to a short staircase down to another part of the depot. Use the stairs and your BRM Auto to mow down the robots as they approach. Don’t worry about advancing on the enemy until after they’ve stopped advancing themselves.
Human reinforcements arrive at the back of the large room. Move to the doorway carefully, using the right side for cover. Spray the windows of the upper office across the room; there are several enemies hiding in that area. Once you’ve cleared all the enemies in the room, continue across to the staircase up to the office.
Follow the corridor down until you reach another very large room. Shoot the icicles dangling from the ceiling to cut down some of the defending enemies. Hopefully, you still have Immolate, which you can use on the mini-tanks patrolling the bottom floor.
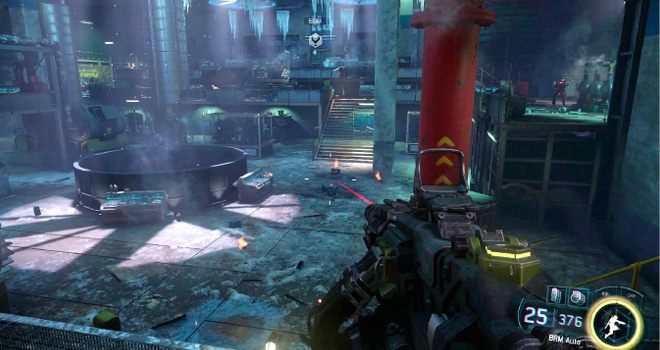
Watch out for human snipers and move up to the cover of the entrance walkway. Just because the room seems clear, that doesn’t mean it is safe. There are still plenty of enemies hiding in the back area. Have your DNI abilities ready before moving forward, unleashing them as the enemies exit cover to engage you.
 Hack the Water Plant Door

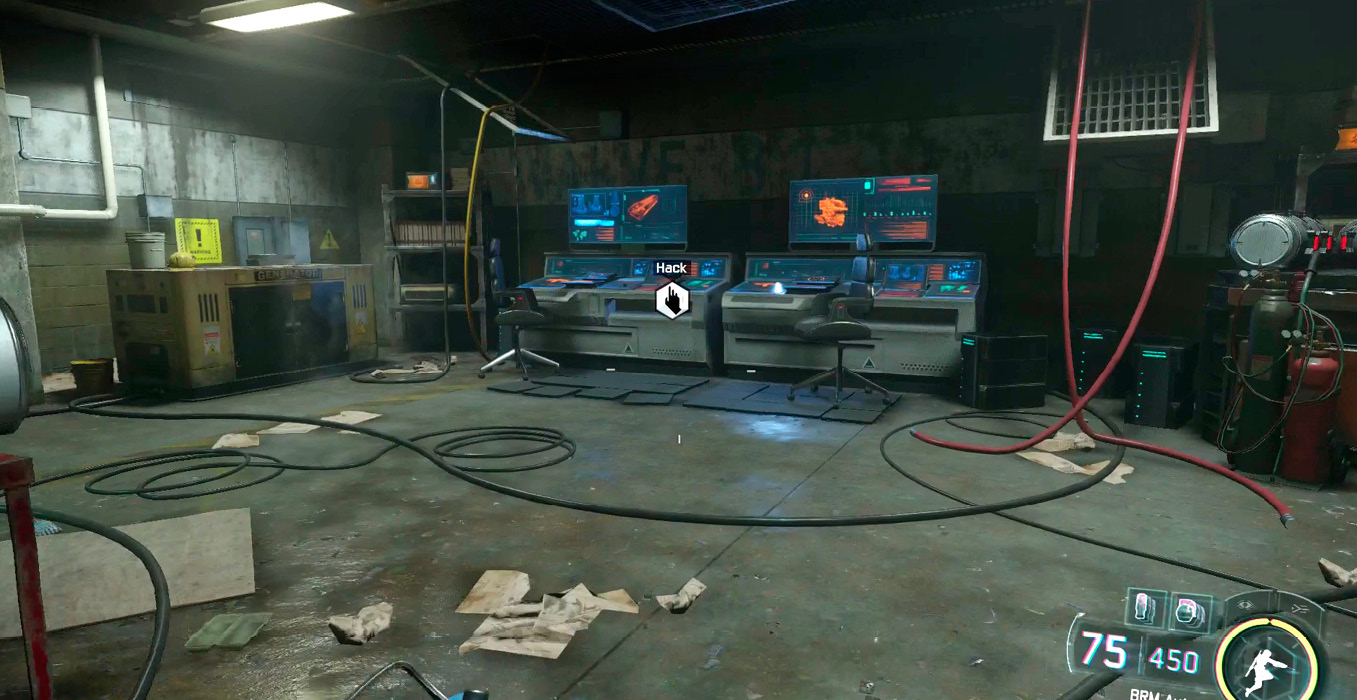
When the room is clear, Maretti gives you the go ahead to hack the back door. Do so by interacting, then proceed through after Maretti. Hack the computer in the next room to trigger the end of this sequence.
 Locate the Explosives (Part 2)

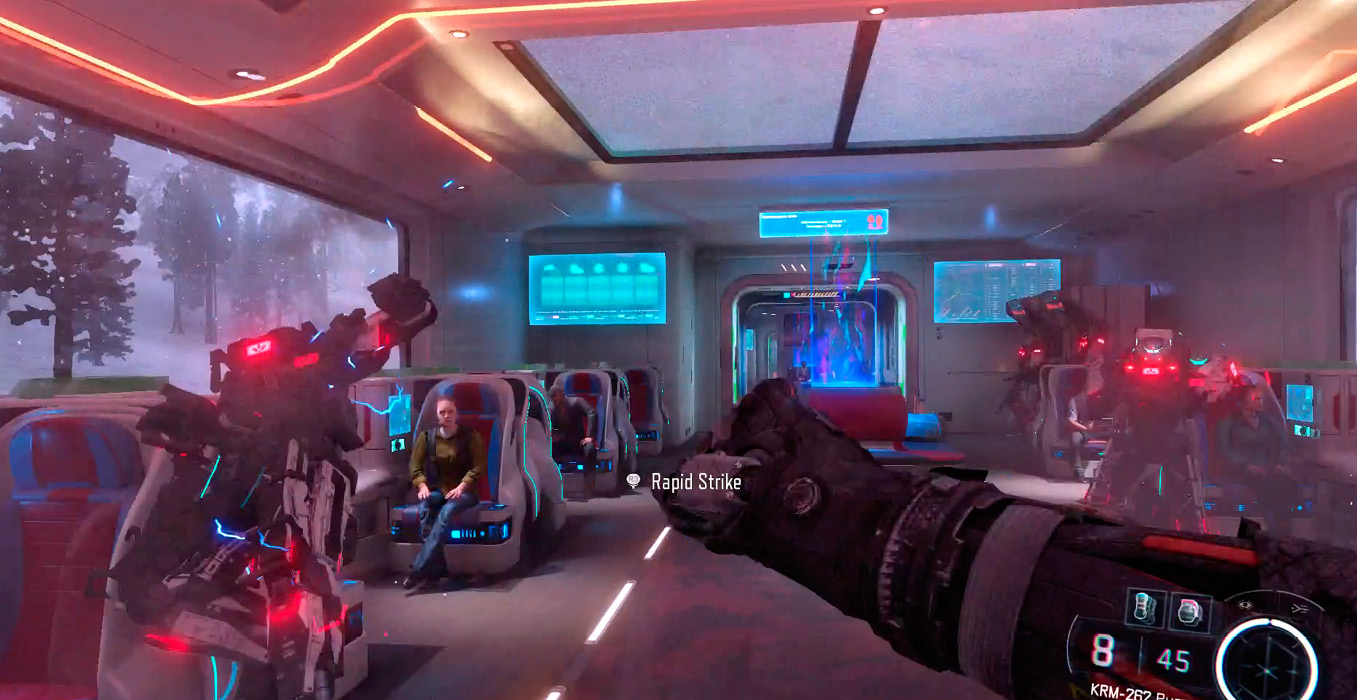
After the cinema, you are once again aboard the Zurich train. This time, it is overrun by robots. This is your chance to use the Takedown ability, which allows you to instantly destroy a robot from short to medium range.
|
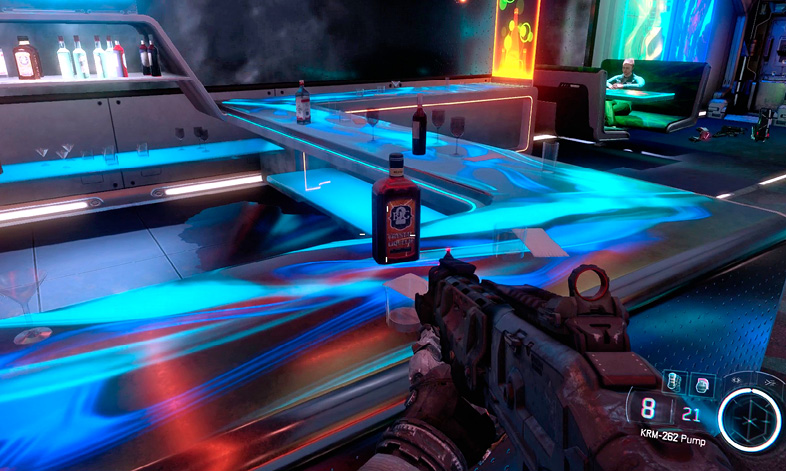
The first robot emerges from a docking station on the left. Hit the melee button to execute the special Takedown attack. If you are hit before connecting, wait behind cover until you heal.
|
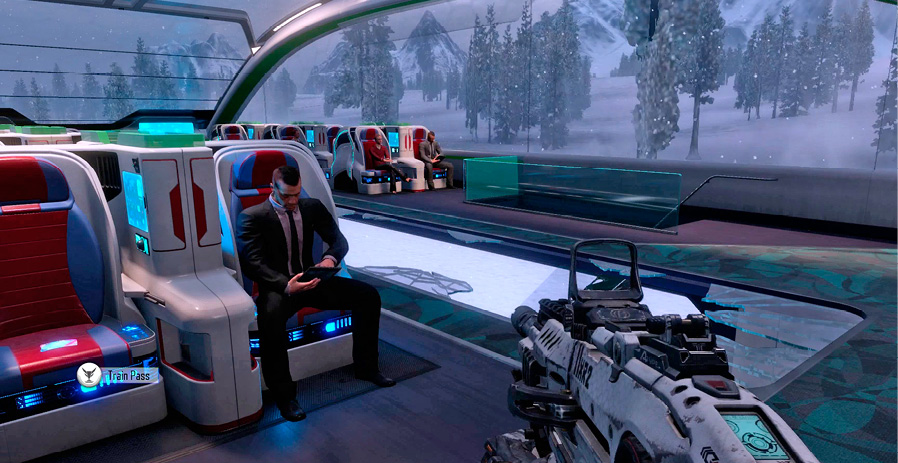
The next car has four robots attacking from the left and right windows. Chain Takedowns by quickly looking at and melee attacking enemies. If you do this quickly enough, you get a chain effect; rapidly cutting down the robot defenses. If you’re fast enough, you can even avoid taking any damage.
Use sprint to quickly get in-range for a Takedown attack. After another car full of robots, you come to a locked area with two robots attacking from the train’s glass roof. Wait at the back of the area for the robots to drop through, then quickly execute another Takedown.
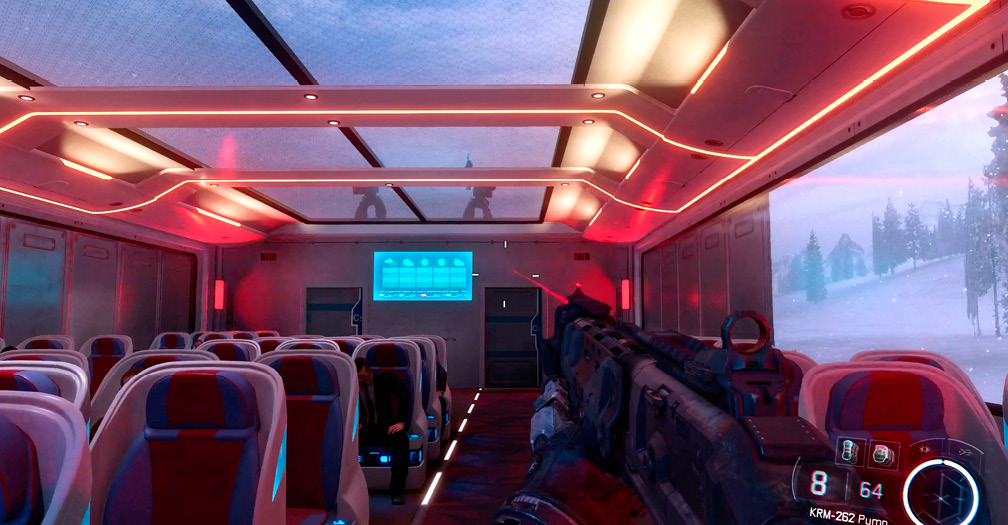
After eliminating the four robots on top of the train, move to the edge of the car, where you are instructed to equip Concussive Wave. Do so before approaching the edge. Now use Concussive Wave to leap down and destroy the five robots below. If there are any survivors, use Takedowns to quickly dispatch them.
Climb up the next car, and have your shotgun ready to take on more robots. Find cover and wait for the robots to approach your position, making them easy takedowns with the KRM-262.
With the top car clear, jump to the lower level, using Concussive Wave and Takedowns to further decimate the robots.
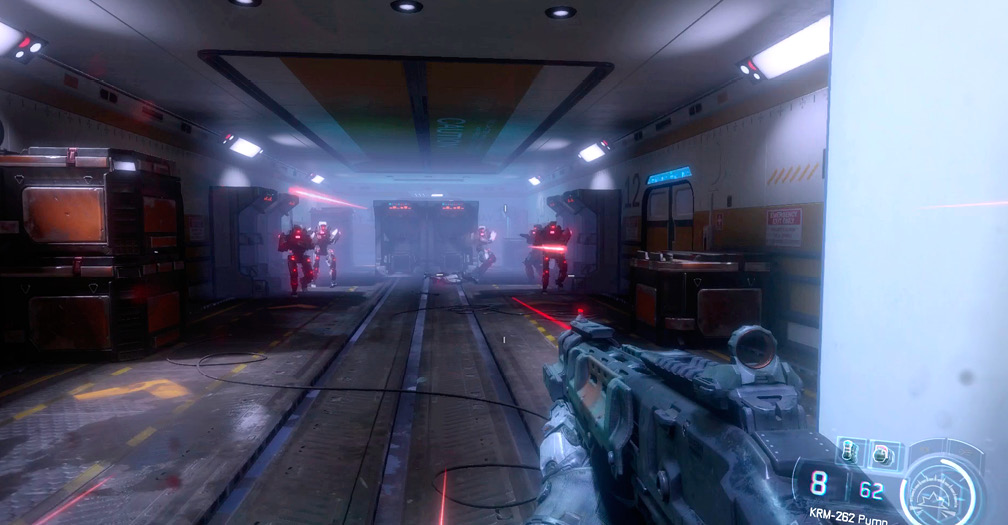
Inside the next car is a large group of robots, which makes for an excellent target for the Concussive Wave. Wait for the recharge, then sprint and unleash. Mop up any survivors, watching out for reinforcements at the back of the room. Hack the back door to trigger the end cinematic.