
Call of Duty: Black Ops III Guide Walkthrough 10 Lotus Towers
10 Lotus Towers
Egypt, Cairo
Day 7
Mission Briefing: Together with the Egyptian army and the civilian militia, overthrow the NRC domination of Lotus Towers and secure the final target.
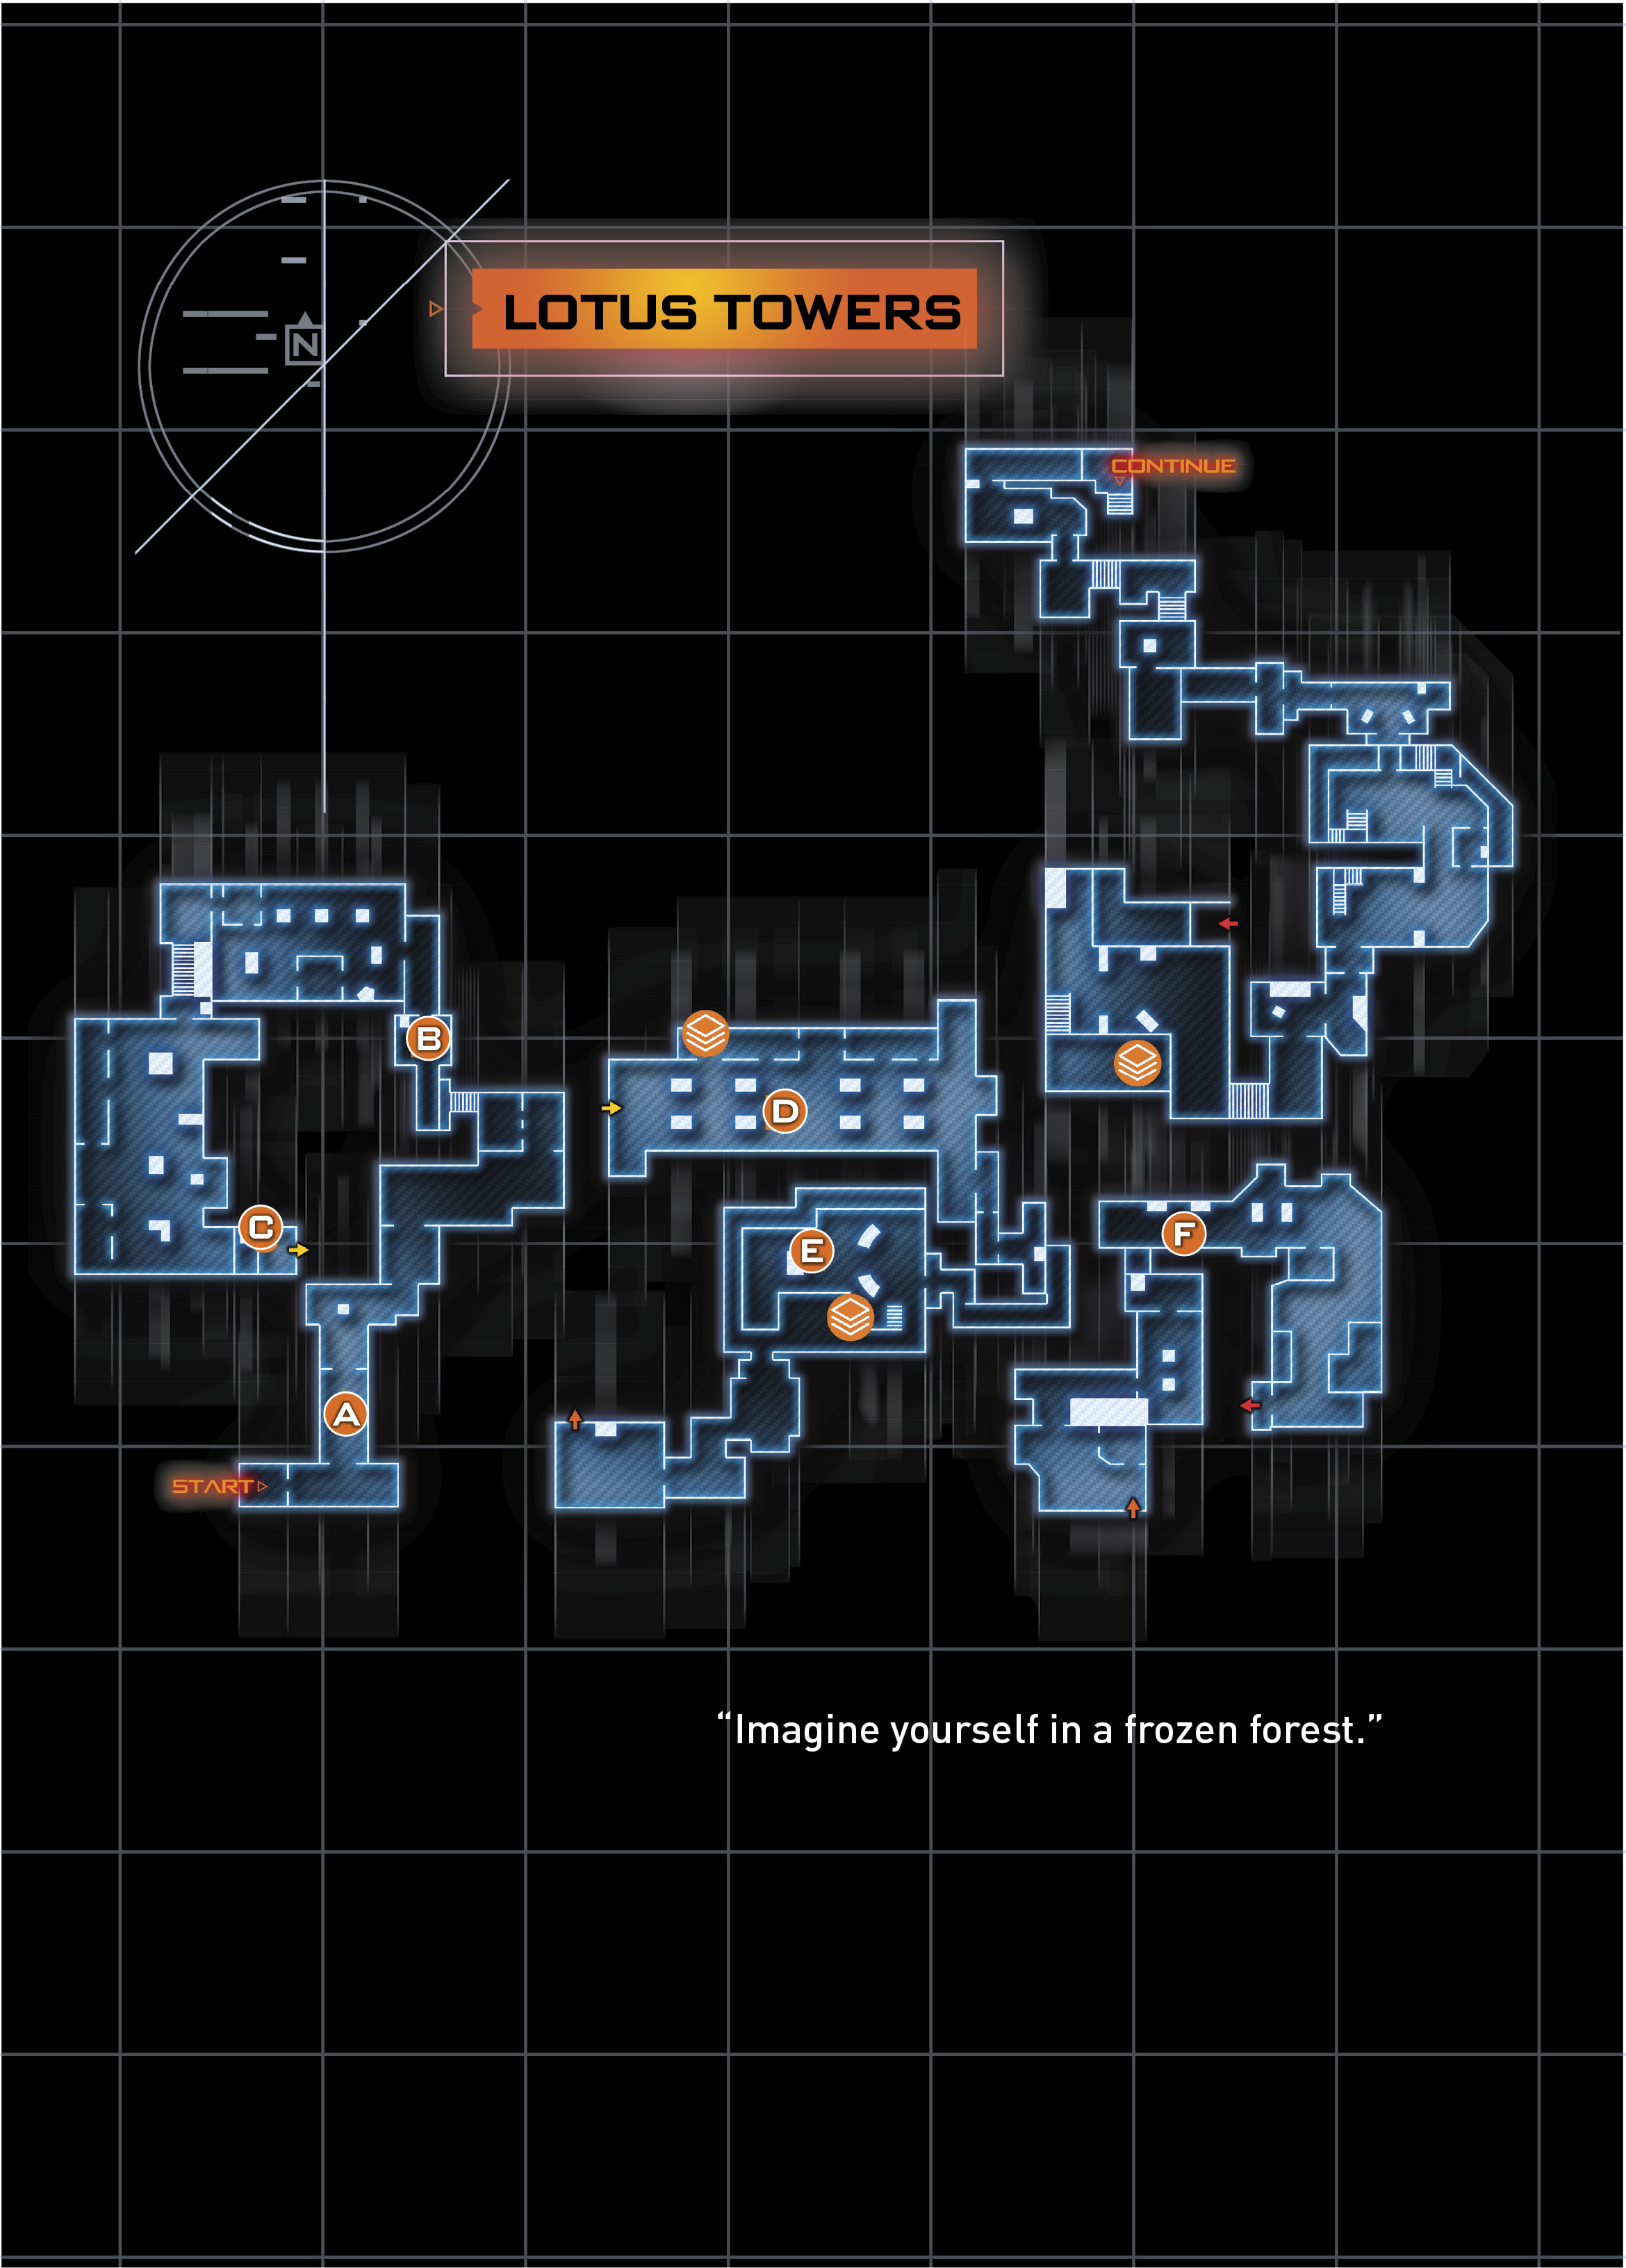
Mission Objectives
 Assassinate General Hakim.

 Go to the Security Station.

 Stay on the Mobile Shop.

 Go to the Security Station (Part 2).

 Eliminate all Hostiles.

 Go To Taylor’s Holding Room.

 Capture Taylor.

 Go to the Skybridge.

 Go to Tower Two.

 Go to Tower Two (Part 2).

 Destroy Leviathan’s Turbofans.

|
 200 Stories of Sheer Adventure!
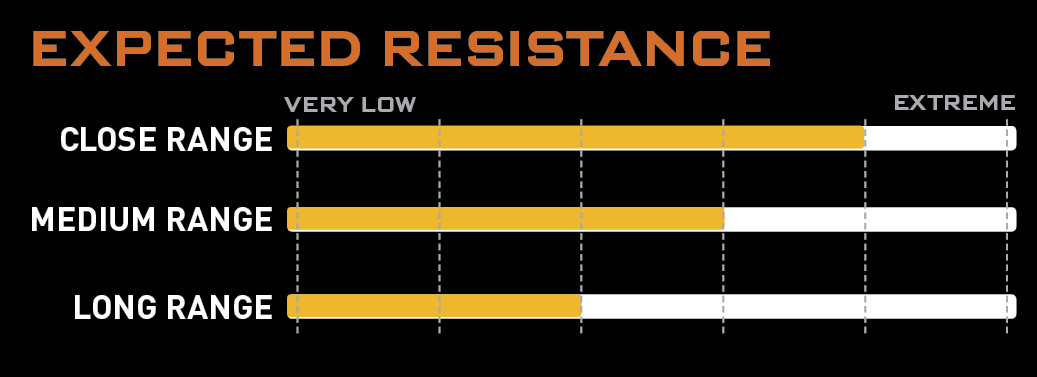
Mixed Infantry: The NRC has multiple infantry units deployed to this region. Expect heavy infantry presence with mixed armaments.
Robotics: While the NRC has access to combat robotics, they do not make up the backbone of their force in this region. However, a combat robotics plant in the area may or may not be under NRC control.
Heavy Armor: Recon shows a mix of heavy armor operated by the NRC in this region; however, it would be impossible to deploy to this location.
Level Accolades
| Accolade Name | Reward |
|---|---|
| Untouched! | Fabrication Kit |
| Complete the mission without dying. | |
| High Score | Fabrication Kit |
| Complete the mission with a score of 22,500 or higher. | |
| Got ‘Em | Fabrication Kit |
| Find all of the collectibles in the mission. | |
| Hold It | 250 XP |
| Destroy 10 charging robots before they detonate. | |
| Rolling Death | 250 XP |
| Kill 10 enemies using the R.A.P.S. | |
| Grounded | 500 XP |
| Kill a robot while it is in midair. | |
| Other Ways | 250 XP |
| Kill 12 NRC Riot Shield soldiers without using bullets. | |
| Crowded AO | 1000 XP |
| Complete the Mission without killing any civilians. | |
| Killswitch | 500 XP |
| Kill 7 robots as they are powering on. | |
| Stun and Gun | 250 XP |
| Kill 5 disabled robots in under 5 seconds. | |
| Mob Justice | 250 XP |
| Put 7 NRC who are being beat up out of their misery. | |
| Minute Waltz | 500 XP |
| Take out the Mothership in less than two minutes. | |
| Skeet Shoot | 500 XP |
| Eliminate 3 R.A.P.S. launched from the Mothership before they land. | |
| Mini-Tank! | 1000 XP |
| Kill 5 robots with a Cerberus. | |
| Triple Threat | 250 XP |
| Bring down a Mothership using three different weapons. | |
| The Flash | Fabrication Kit |
| Don’t get hit by the missiles of the Mothership. | |
RECOMMENDED LOADOUTCybercore: Chaos Recommended Skills: Sonic Anti-Personnel Primary Weapon: Assault Rifle |
 Assassinate General Hakim

With your plan in place, it’s time to start an uprising!
From the starting area, the rebellion has already begun. Local civilians are rising up against the NRC forces. You can choose to help the civilians or avoid direct conflict.
Use Sonic Anti-Personal to easily wipe out the Riot Shield soldiers that stand between you and the back door to where General Hakim is delivering his address. When you open the door at the top, the rebellion has officially begun.
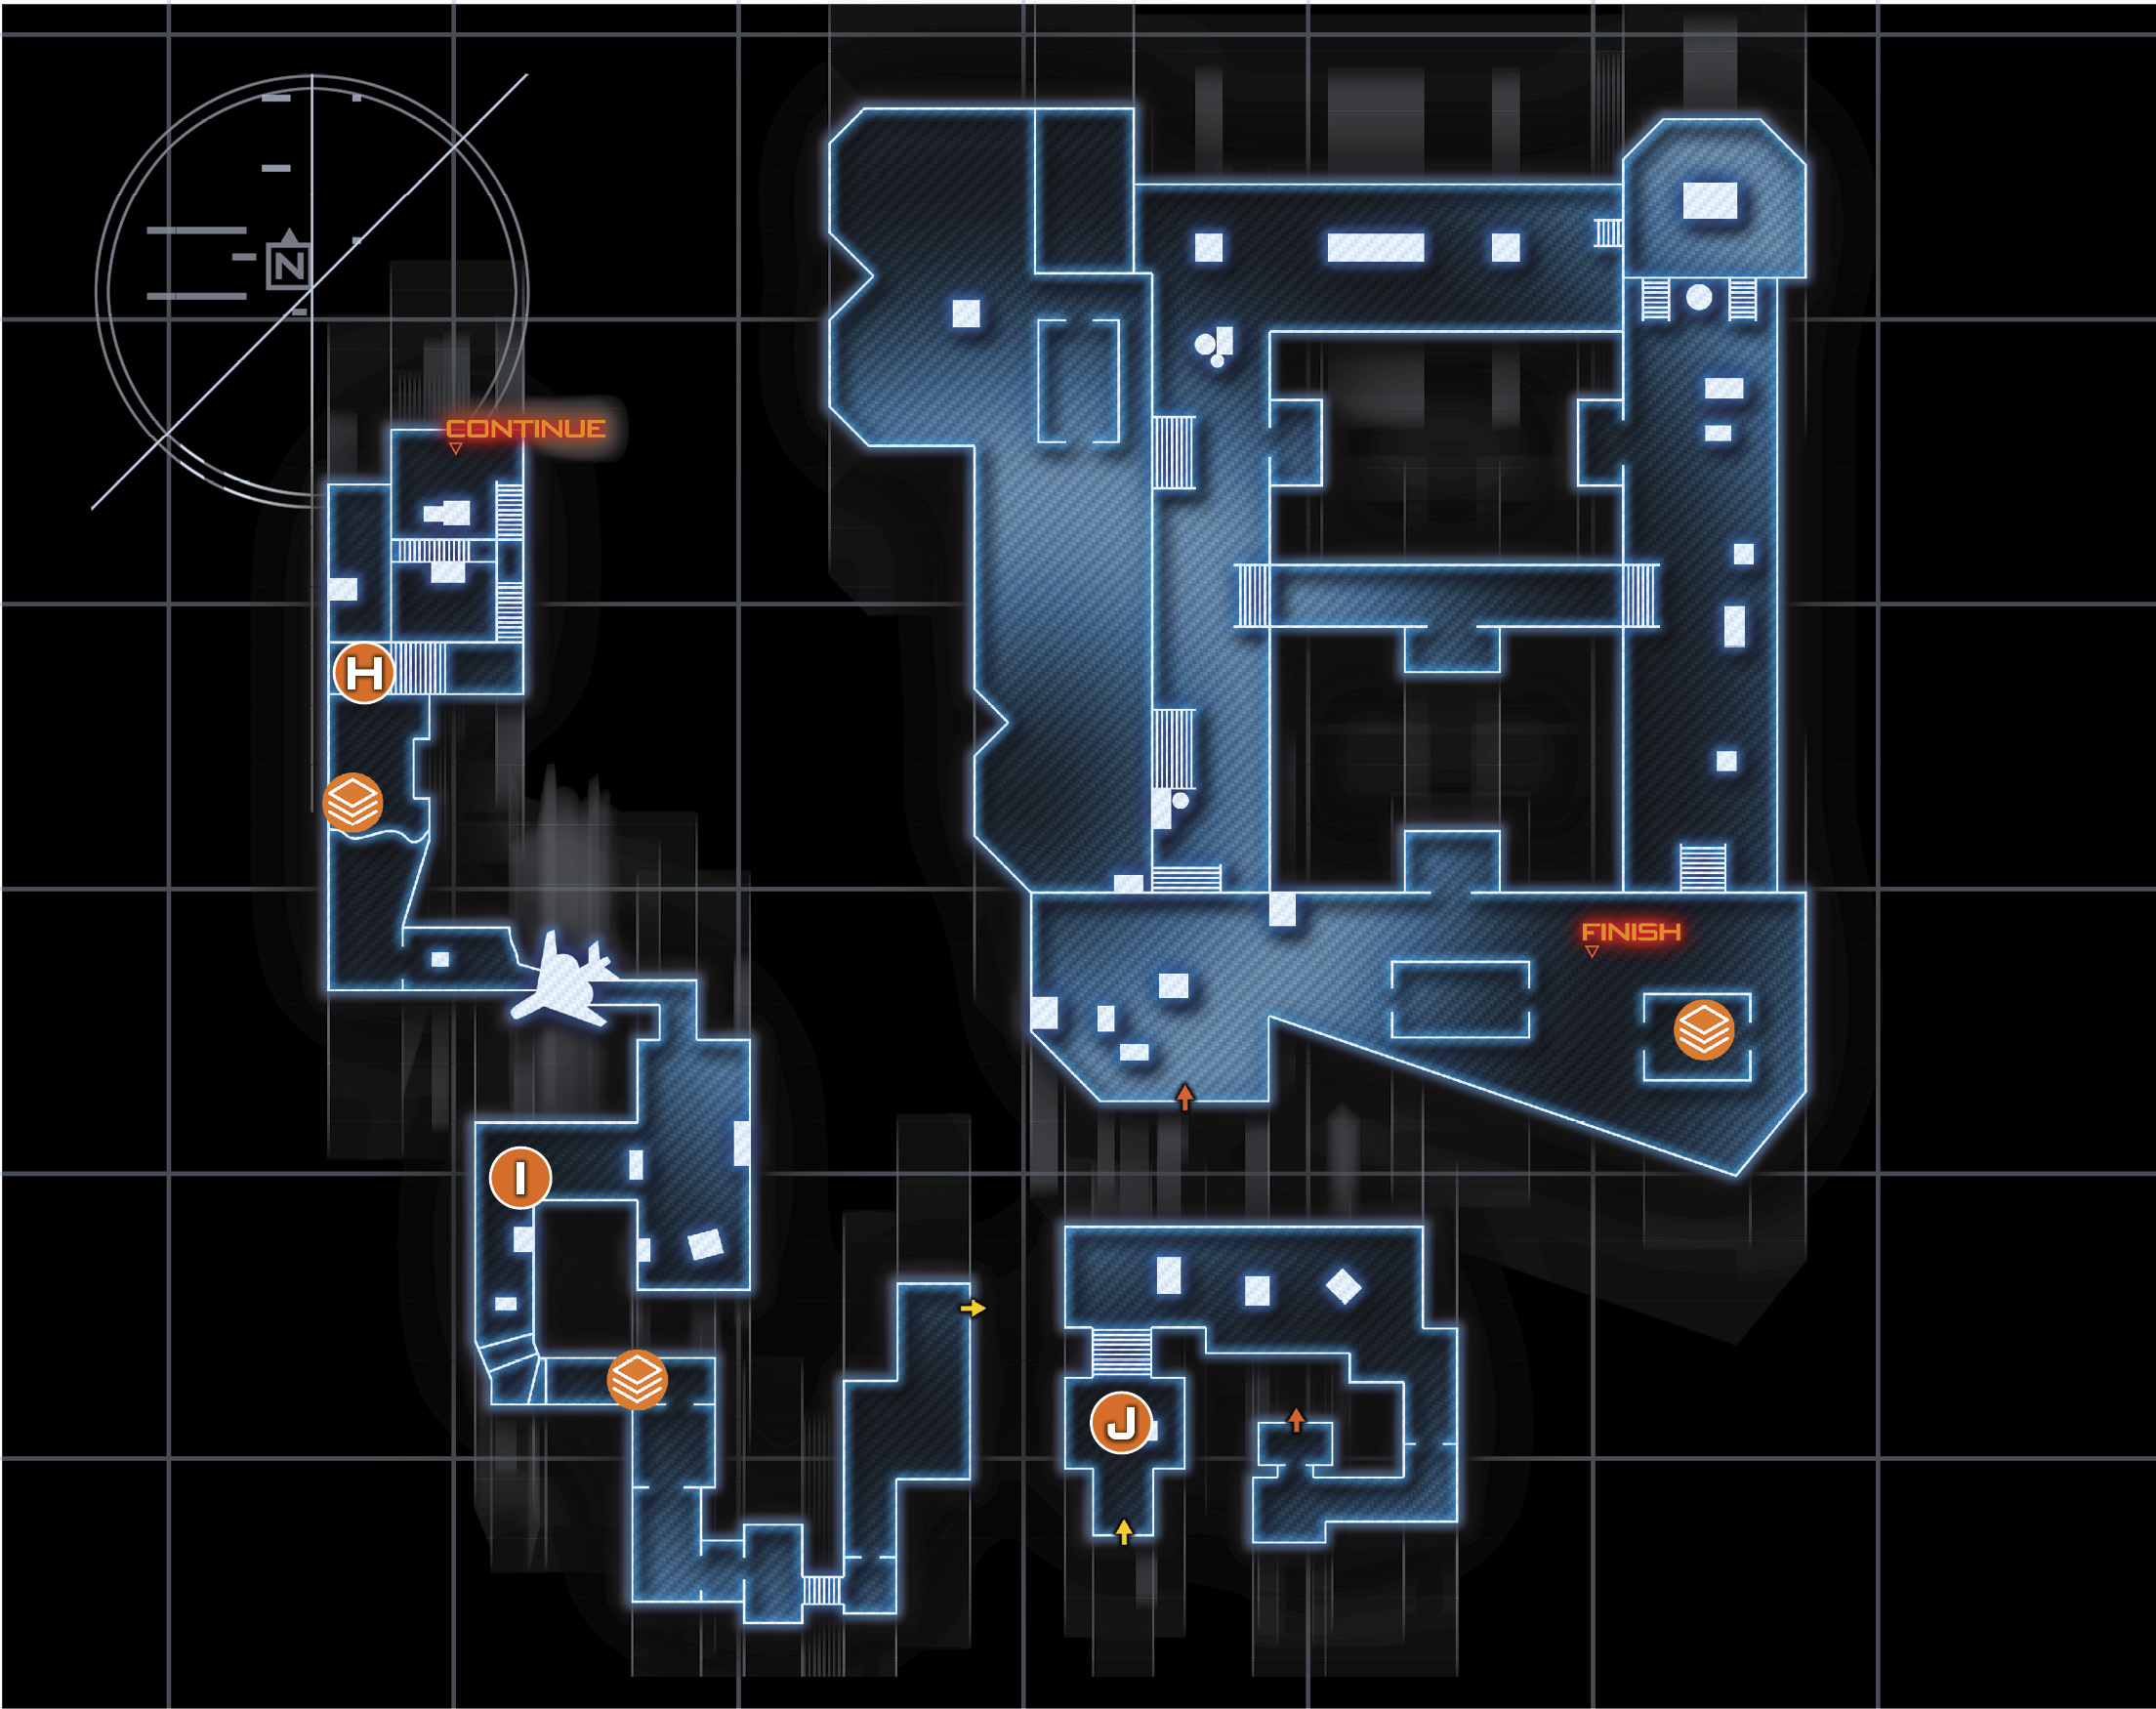
 Go to the Security Station

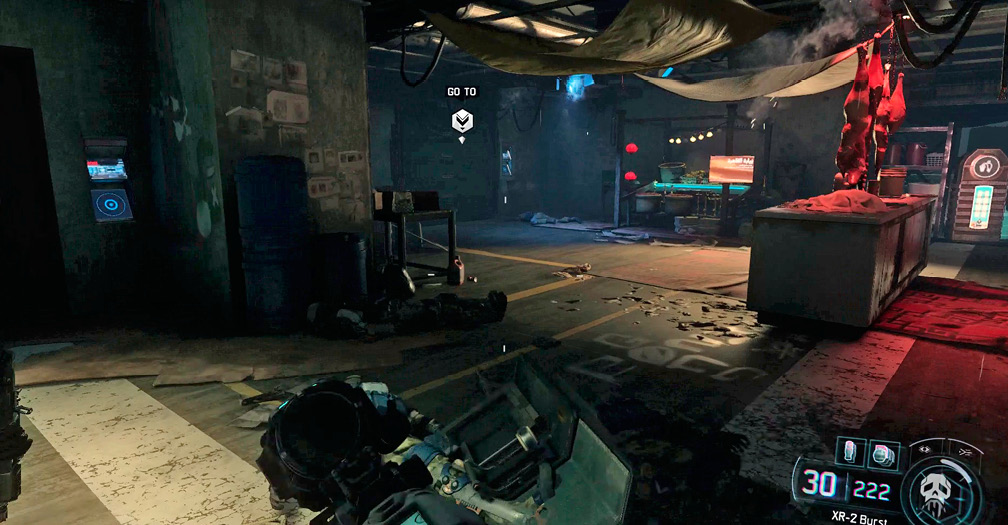
With Hakim dead, the NRC is in disarray, but it won’t take them long to regroup and form a counterattack. Continue after your team to the corridor to find some NRC resistance already in place.
Turn on your Tactic Mode and shoot over the crates to kill the loose resistance. Some Riot Shielders approach from the back of the area; use Sonic Anti-Personnel on them.
As you push forward, watch your right flank for additional enemies. Toss a grenade in the right room to clear the LMG soldier. Around the next corner, check the stairs on your left for civilians. You can’t save them from slaughter, but you can get revenge on the two guards upstairs.
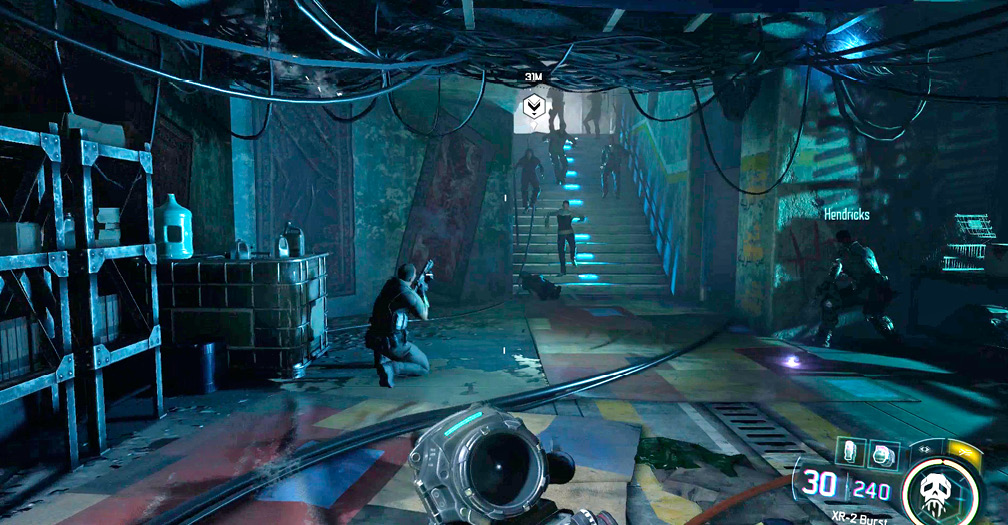
From the top of the stairs, take out the RPG soldier firing from the roof opposite. Switch your attention to the enemies on the right, clearing a path to the Mobile Shop.
 Stay on the Mobile Shop

Stay on the top of the Mobile Shop as it moves you up to the next area. Stay behind cover with Hendricks. There are two vicious enemies on another Mobile Shop across the area.
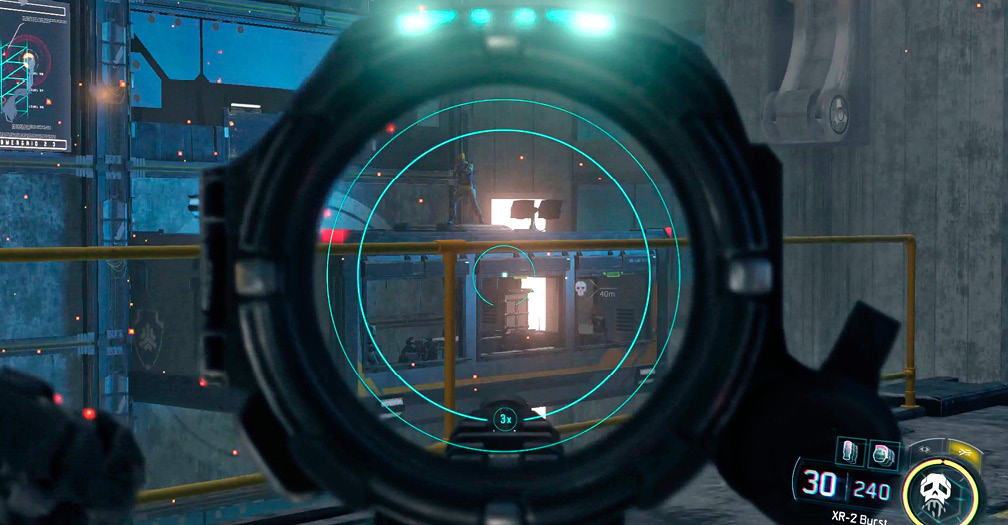
 Go to the Security Station (Part 2)

More civilians need your help on this floor. Use Chaos DNI or selective fire to pick the NRC off before they kill the population here.
|
 Hamsa
Hamsa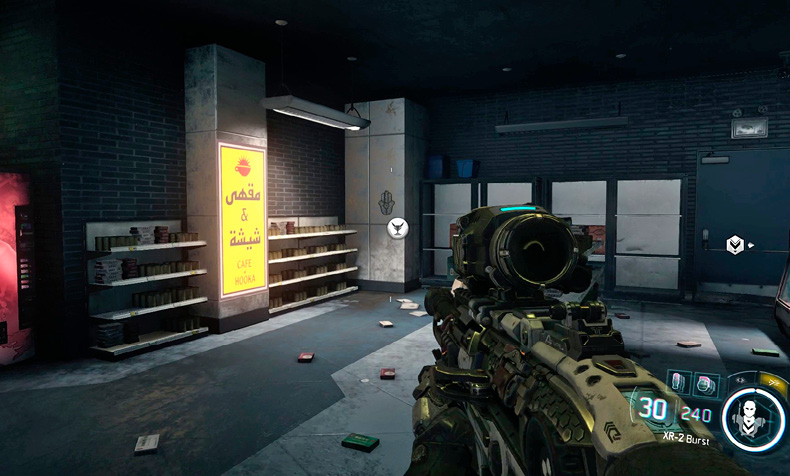
Before proceeding, use the Mobile Armory to switch to the Control DNI.
RECOMMENDED LOADOUTCybercore: Control Recommended Skills:Remote Hijack, Protocol Override Primary Weapon: Light Machine Gun |
When you see the civilians running, get your Remote Hijack skill ready and hack the R.A.P.S. as they burn around the corner.
Kill the first three R.A.P.S., then Remote Hijack the last one. Use it to roll over the enemies in the back area. Move up to the corner and be ready for a second wave of R.A.P.S. Again, kill all but one of the first set, then use the survivor to wipe out the robots.
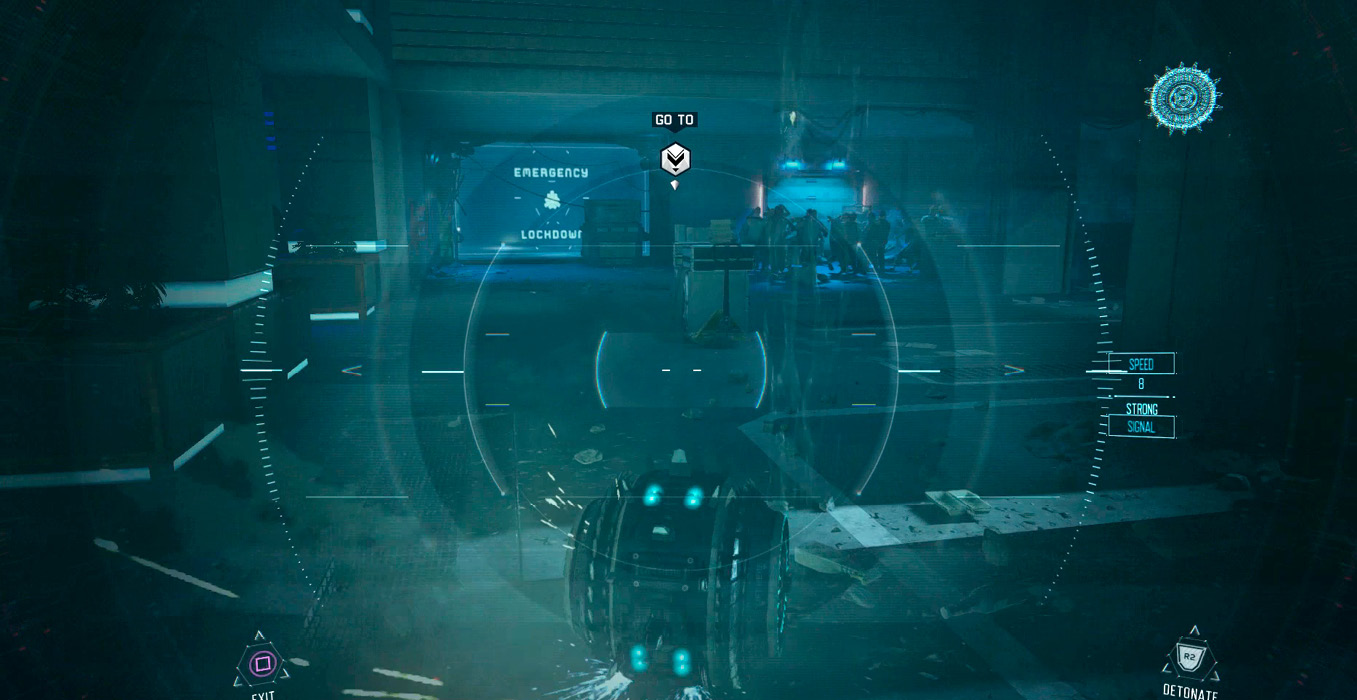
Climb up the air duct and follow it around to the grate. Hit Interact to kick the grate out.
 Eliminate all Hostiles

Not surprisingly, the security station is well-defended. After landing, find cover and clear the room of hostiles. When the enemies are dead, Kane orders you to hack the console in the center of the room. Move up to the console and hit the Interact button.
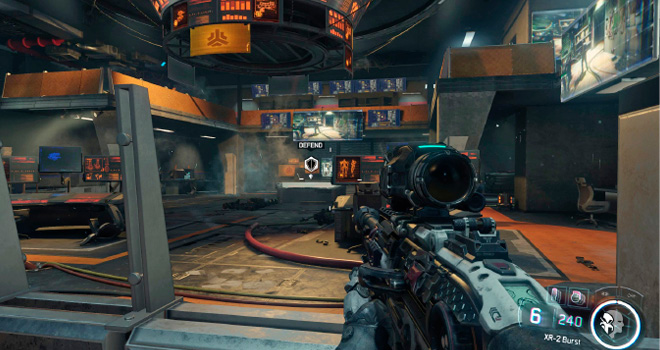
|
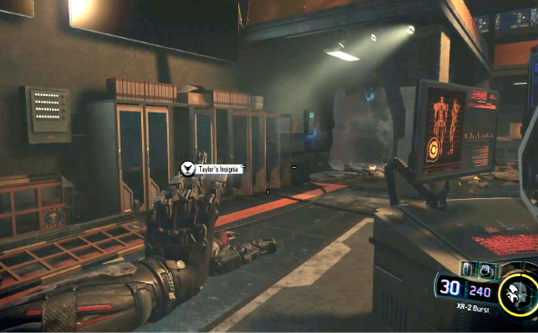
Following the cinematic, the room is breached by a large force of robots. Retreat to the back of the area—there isn’t much cover in the center of the room. Remote Hijack the R.A.P.S. as they leave the room and use them to roll over the robots.w
 Go to Taylor’s Holding Room

Next, head through the breach. When you reach the office with lots of windows, hang back and wait for the Egyptian VTOL to arrive and kill all of the NRC in the area. When the VTOL leaves, rush in and use Enhanced Protocol Override on the robots at the back of the room. They will wipe out any survivors.
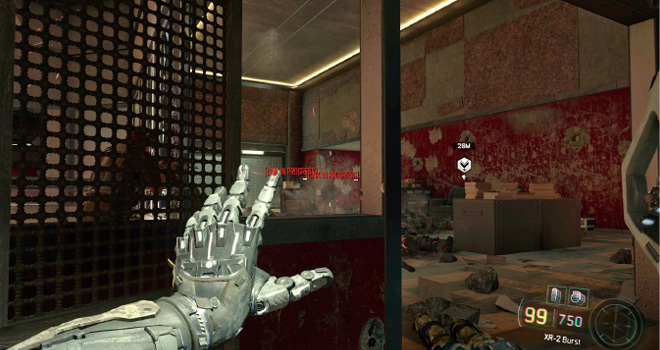
Go through the back hallway and join your assault team to kill the last of the NRC forces in this section. When the path is clear, head to the Mobile Shop’s door at the back of the area.
After the mobile shop stops ascending, exit through the ceiling. Pick off the RPG soldier on the opposite ledge. Now use Remote Hijack to take over one of the Talons as they arrive near the RPGer.
Use the Talon to support Hendricks on the bridge. When you’ve cleared most of the enemies, exit the Talon and move up to cover on the bridge. Watch the sniper on the ledge up and to the right.
This next shop area is loaded with enemies. Use Protocol Override to capture some robots in the back, and break their ranks. Stay in cover, picking off the survivor. Ready Remote Hijack for more R.A.P.S. that arrive at the tail end of the fight.
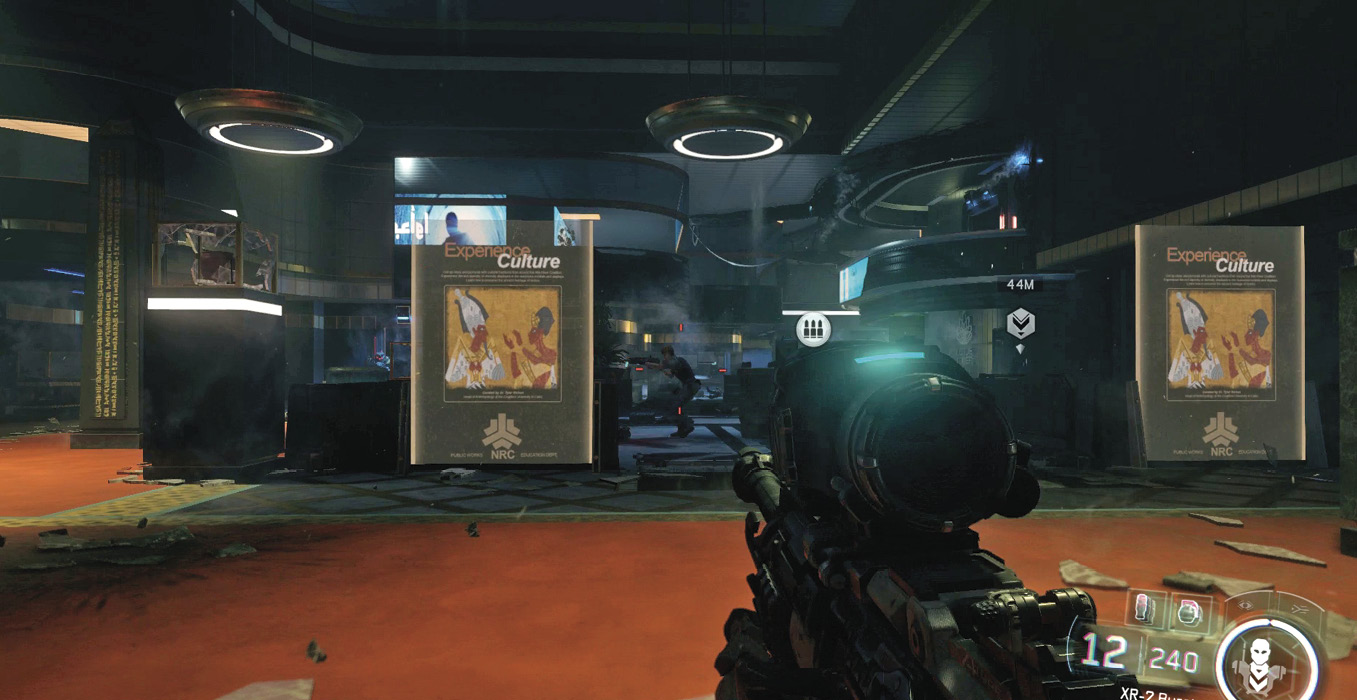
With this floor clear, it’s time to move through and secure the next floor. Follow Hendricks around the bend. Watch the sniper/RPG two-man team on the ledge above and to the left.
The next area has more R.A.P.S. and soldiers. Fight your way in and an enemy Mech is deployed from behind a garage door. This is a perfect time to use your Hijack skill. Capture the Mech and use it to wipe out all enemies in the area.
|
 Hookah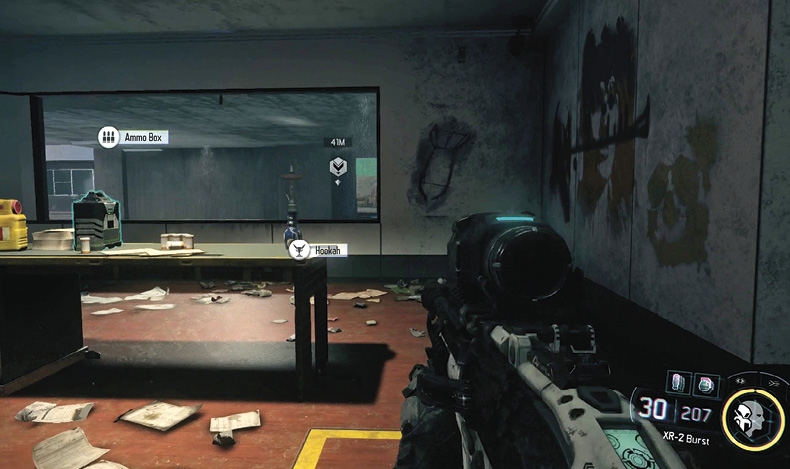
Unfortunately, you can’t bring the mech with you, so exit control when the area is clear. Head up the stairs and use Protocol Override on the robots there.
The next area has two automatic sentries and a mini-tank drone. Ignore the sentries, and instead hijack the drone and use it to wipe out the standard soldiers in the area, along with the two sentries.
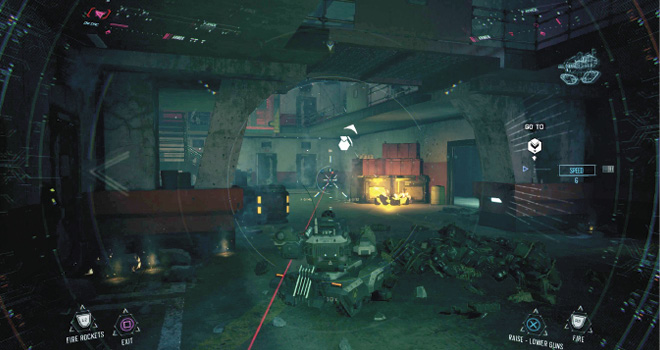
When the drones are done, move into the room and decimate the robot squad that spawns in at the back. Time to finally get your hands on Taylor!
Capture Taylor
Unfortunately, Taylor has not only escaped, but also activated a new type of super Robot. You can identify these robots by their yellow lights. They are controlled directly by Taylor and cannot be hacked. Since you can’t use Protocol Override anymore, it’s time to switch your loadout back to Chaos. Use the nearby Mobile Armory.
RECOMMENDED LOADOUTCybercore: Chaos Recommended Skills: Firefly Swarm, Immolation, Sonic Anti-Personnel Primary Weapon: Assault Rifle |
The robots are immune to control, but can still be exploded with Immolation.
Step back outside into the Cairo air and follow Hendricks as he scales the buildings. More of Taylor’s robots wreaking havoc on the locals in the next room. Watch out for the charging robots, which explode and kill you if they get too close.
Proceed up the stairs, dispatching any yellow robots that get in your way.
 Go to the Skybridge

Back outside, watch the Taylor bot that drops down from above. Use the hole it busted open to proceed.
Head upstairs and approach the next area cautiously. There are robots attacking from both above and below. Use Immolation on the one above and gunfire to destroy the lower ones.
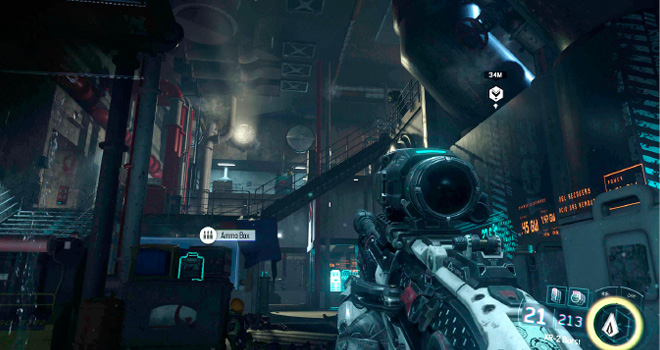
Let Hendricks take the lead as this room is crawling with Taylor’s bots. You can really see the difference in the robots’ intelligence here as they work together charging you, jumping from above and taking pot shots at you from ledges.
 Go to Tower Two

Outside, the robots are engaged with the remaining NRC forces. Keep back and pick off the survivors, then charge down the sky bridge. Follow Hendricks as he cuts a path through the debris. There’s some minimal resistance, but both sides have been damaged heavily in the fighting.
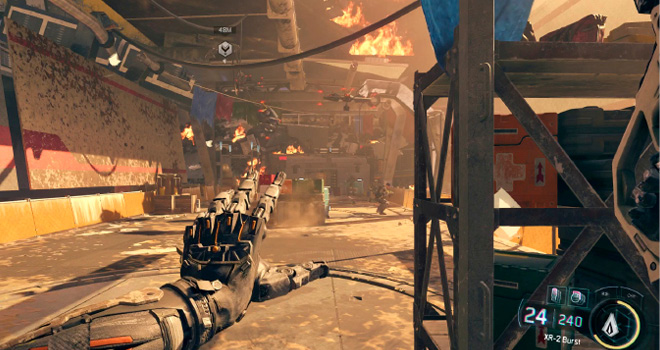
At the end of the path, the robots make a final stand. Stay in cover and pick off the robotic enemies attacking you at range. Wait for Hendricks to move up, and follow.
|
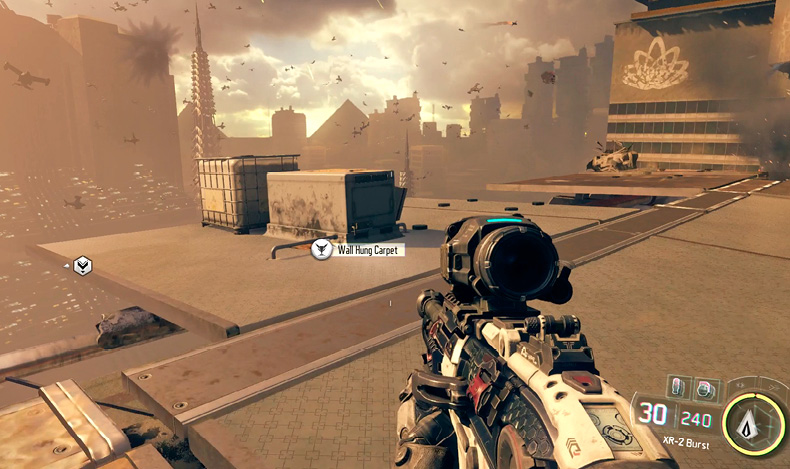
Continue following Hendricks until the cinematic starts.
 Go to Tower Two (Part 2)

Cairo is falling down all around you. After the cinema, you are in a flaming building, but Taylor hasn’t escaped yet!
A small group of robotics including an R.A.P.S. emerges around the first corner. Prioritize destroying the R.A.P.S. drone, then finish off its robot friends.
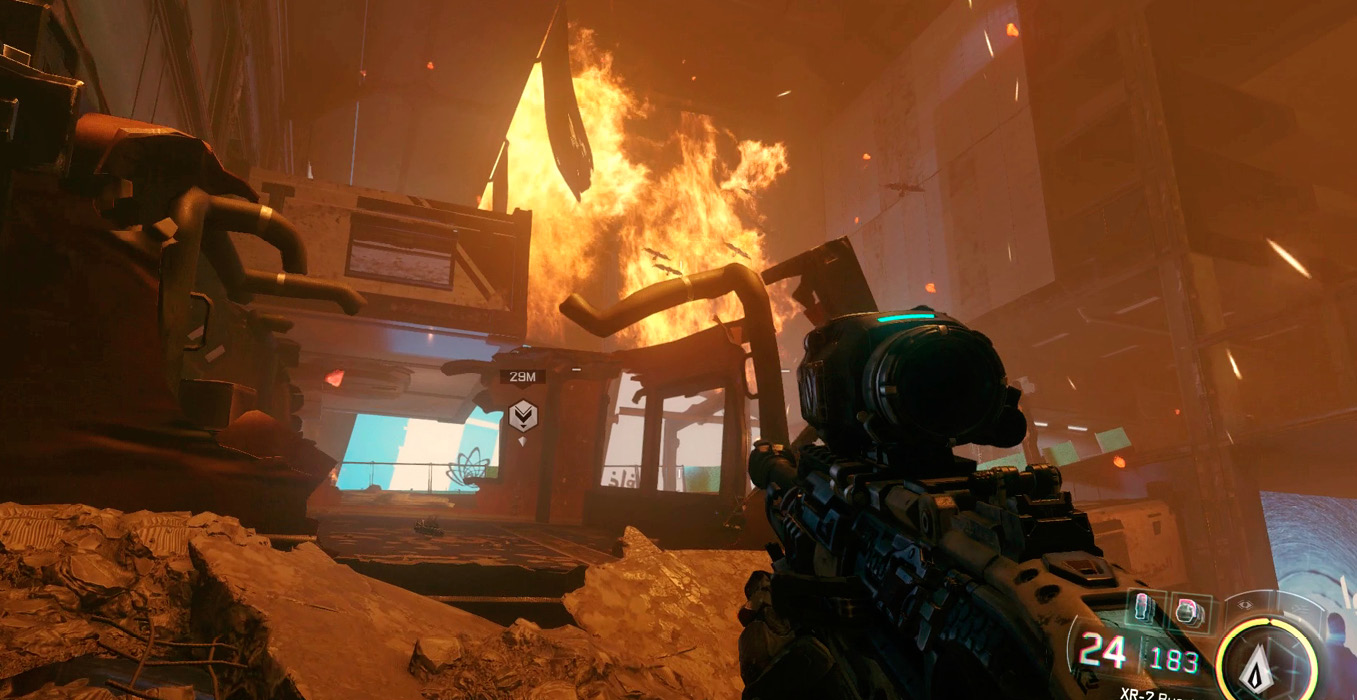
Continue through to the next area. Hendricks is losing his mind, so he just charges through the robots as they come to life in the docking bays around him. Stay behind him and pick off the robots from safety. On harder difficulties, these robots deliver one-hit melee kills.
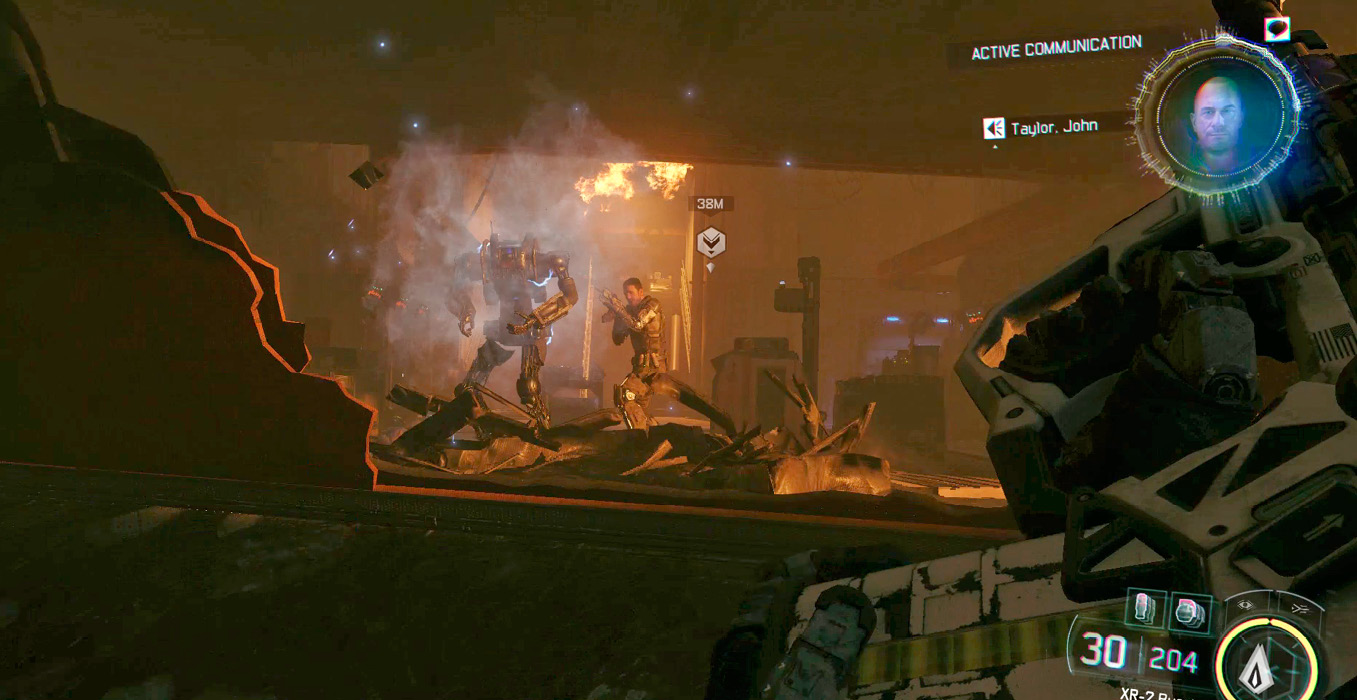
When you exit back into the middle of the structure, watch out for Talons arriving from the sky. Take these things down while staying in cover to avoid fire from the armed robots standing on the ledges.
|
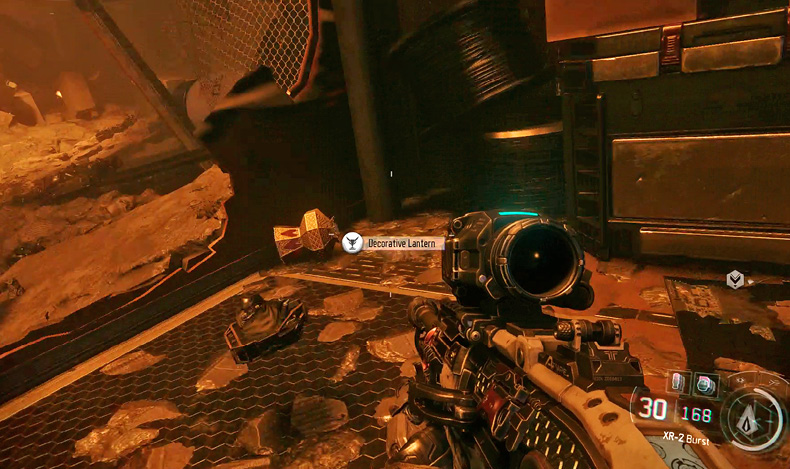
Keep running up the devastated building until you come to a hackable elevator. There’s a Mobile Armory you can use to change your loadout.
RECOMMENDED LOADOUTCybercore: Martial Recommended Skills: Camo, Overdrive Primary Weapon: SMG secondary Weapon: Any Missile Launcher |
This is the last checkpoint before the big boss fight. While you have access to the armory in the upper area, it’s safer to change your outfit here. Skills in the Chaos and Control trees aren’t particularly useful in this fight. It’s better to use Martial to help give you an edge in combat.
No standard fire weapons helps in the fight against the mothership. SMG weapons are better because you can move more quickly with them equipped. They are also excellent defense against R.A.P.S.
The Missile Launcher for secondary weapon is optional. There are heavy weapons on the roof, but having one more doesn’t hurt (and it helps with the Triple Threat Accolade).
When you’re ready, take a deep breath and hack the elevator door.
 Destroy Leviathan’s Turbofans

Taylor is flying the gigantic Leviathan mothership. To take it down, you must destroy the six Turbofans on either side. Standard arms fire won’t do much against it, so you need heavy weapons.
Luckily, Kane deploys two mobile armories to help equip you. One armory has the standard lock target rocket launcher (XM-53); the other contains a new weapon: the Minigun.
The Minigun is a very powerful weapon that you can spin up with the Aim Down Sight button and is excellent at taking out the fans. However, to fire with the gun, you need to stay out in the open more where the Missile Launcher allows you to quickly pop out of cover and fire a rocket, so use it for this fight.
|
The Mothership has major offensive capability. You’re usually hit by the ship’s MG that it regularly fires from the side. Avoid the gun by staying in cover—it hits you as soon as you emerge.
That winding-up sound means there’s an incoming missile volley that’s capable of destroying your cover, so sprint out of wherever you are to avoid getting hit. There are up to three volleys of attacks, so don’t stop running until the winding up sound stops.
Finally, the Mothership has the ability to deploy R.A.P.S. enemies on the battlefield. This is why we recommend you keep a SMG handy to dispatch them quickly.
From the start of the area, wait until Kane deploys the two Mobile Shops filled with weapons. Run to the nearest one to acquire the XM-53 rocket launcher. You must then acquire locks on the ship’s fans. When the ship starts firing missiles, switch out of the Rocket Launcher because it makes you run too slow. Switch weapons and sprint around the area to avoid the missiles.
On Veteran difficulty, the hardest part of this fight are the R.A.P.S. deployments. Any drone that gets close to you explodes and spells instant death. To avoid this fate, you should continue sprinting in a circle targeting any R.A.P.S. in front of you. If you hear their distinctive sound, and don’t see any, that means one is dangerously close behind you. Turn quickly and spray to destroy it. Whatever you do, don’t use Aim Down Sight—it slows you down too much.
When targeting the ship with the Rocket Launcher, don’t fire directly from cover. Instead, use the exterior of the buildings to keep out of line of sight of the Machine Gun. Get locks on the turbines and move slightly toward the building if a missile volley heads your way. This technique allows you to avoid taking the damage you normally would when you’re cover is hit by the missile volley.
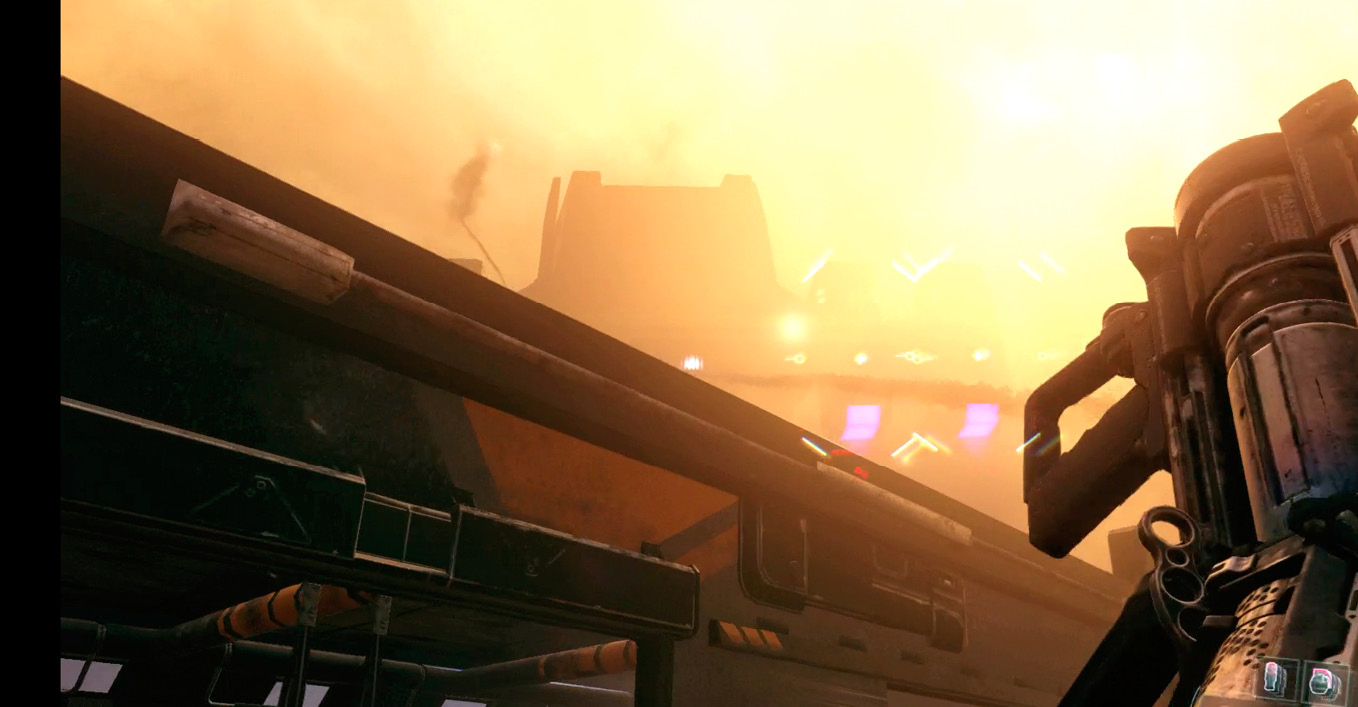
Get two missile hits on each of the fans to finish the mothership and win the fight!