
Call of Duty: Black Ops III Guide Walkthrough 05 Hypocenter
05 Hypocenter
Singapore, Coalescence Corporation
Day 2
Mission Briefing: Investigate Coalescence Corporation facility—Ground Zero of the Singapore disaster—in search of an explanation for your former allies’ betrayal.
Mission Objectives
 Go to the Facility Entrance.

 Defeat the A.S.P.

 Search the Coalescence Facility for the Signal Beacon.

 Descend into the Core.

 Eliminate All Hostiles.

 Go to the Signal Source.

 Disconnect Diaz from the Server System.

 Defend Hendricks.

 Get to the Surface.


|
 Into the Abyss
Armed Salvage Team: Recon has identified a 54i salvage team at the objective site. They are well armed and expected to defend their position.
Light Vehicles: Light enemy vehicles have been sighted in the area of operations.
Level Accolades
| Accolade Name | Reward |
|---|---|
| Untouched! | Fabrication Kit |
| Complete the mission without dying. | |
| High Score | Fabrication Kit |
| Complete the mission with a score of 27,500 or higher. | |
| Got ‘Em | Fabrication Kit |
| Find all of the collectibles in the mission. | |
| Two Birds With One Stone | 500 XP |
| Kill two enemies with one bullet. | |
| Devastator | 250 XP |
| Melee kill 5 robots. | |
| Scorcher | 500 XP |
| Burn 5 robots in less than 1 second. | |
| Decapitator | 1000 XP |
| Shoot the heads off of five robots in a row without missing a shot. | |
| Patient Hunter | 250 XP |
| Stealth kill 7 enemies. | |
| Caught You Napping | 250 XP |
| Kill the snipers without alerting any enemies. | |
| Where’d That Come From? | 250 XP |
| Kill 4 enemies from 65 meters away. | |
| Shocking Results | 1000 XP |
| Electrocute 3 robots in one electrical explosion. | |
| No Survivors | Fabrication Kit |
| Leave no 54i survivors. | |
| Good Listener | 250 XP |
| Listen to all of the Audio Recordings | |
| Mercurial | 500 XP |
| Take no damage from depth charges. | |
| Mine-Sweeping | 250 XP |
| Destroy 10 depth charges. | |
| Bombardier | 500 XP |
| Kill 2 enemies with a rocket while in the air. | |
RECOMMENDED LOADOUTCybercore: Chaos Recommended Skills: Adaptive Immolation, Electrostatic Arc, Firefly Swarm Primary Weapon: Sniper Rifle with Suppressor (needs to be customized) |
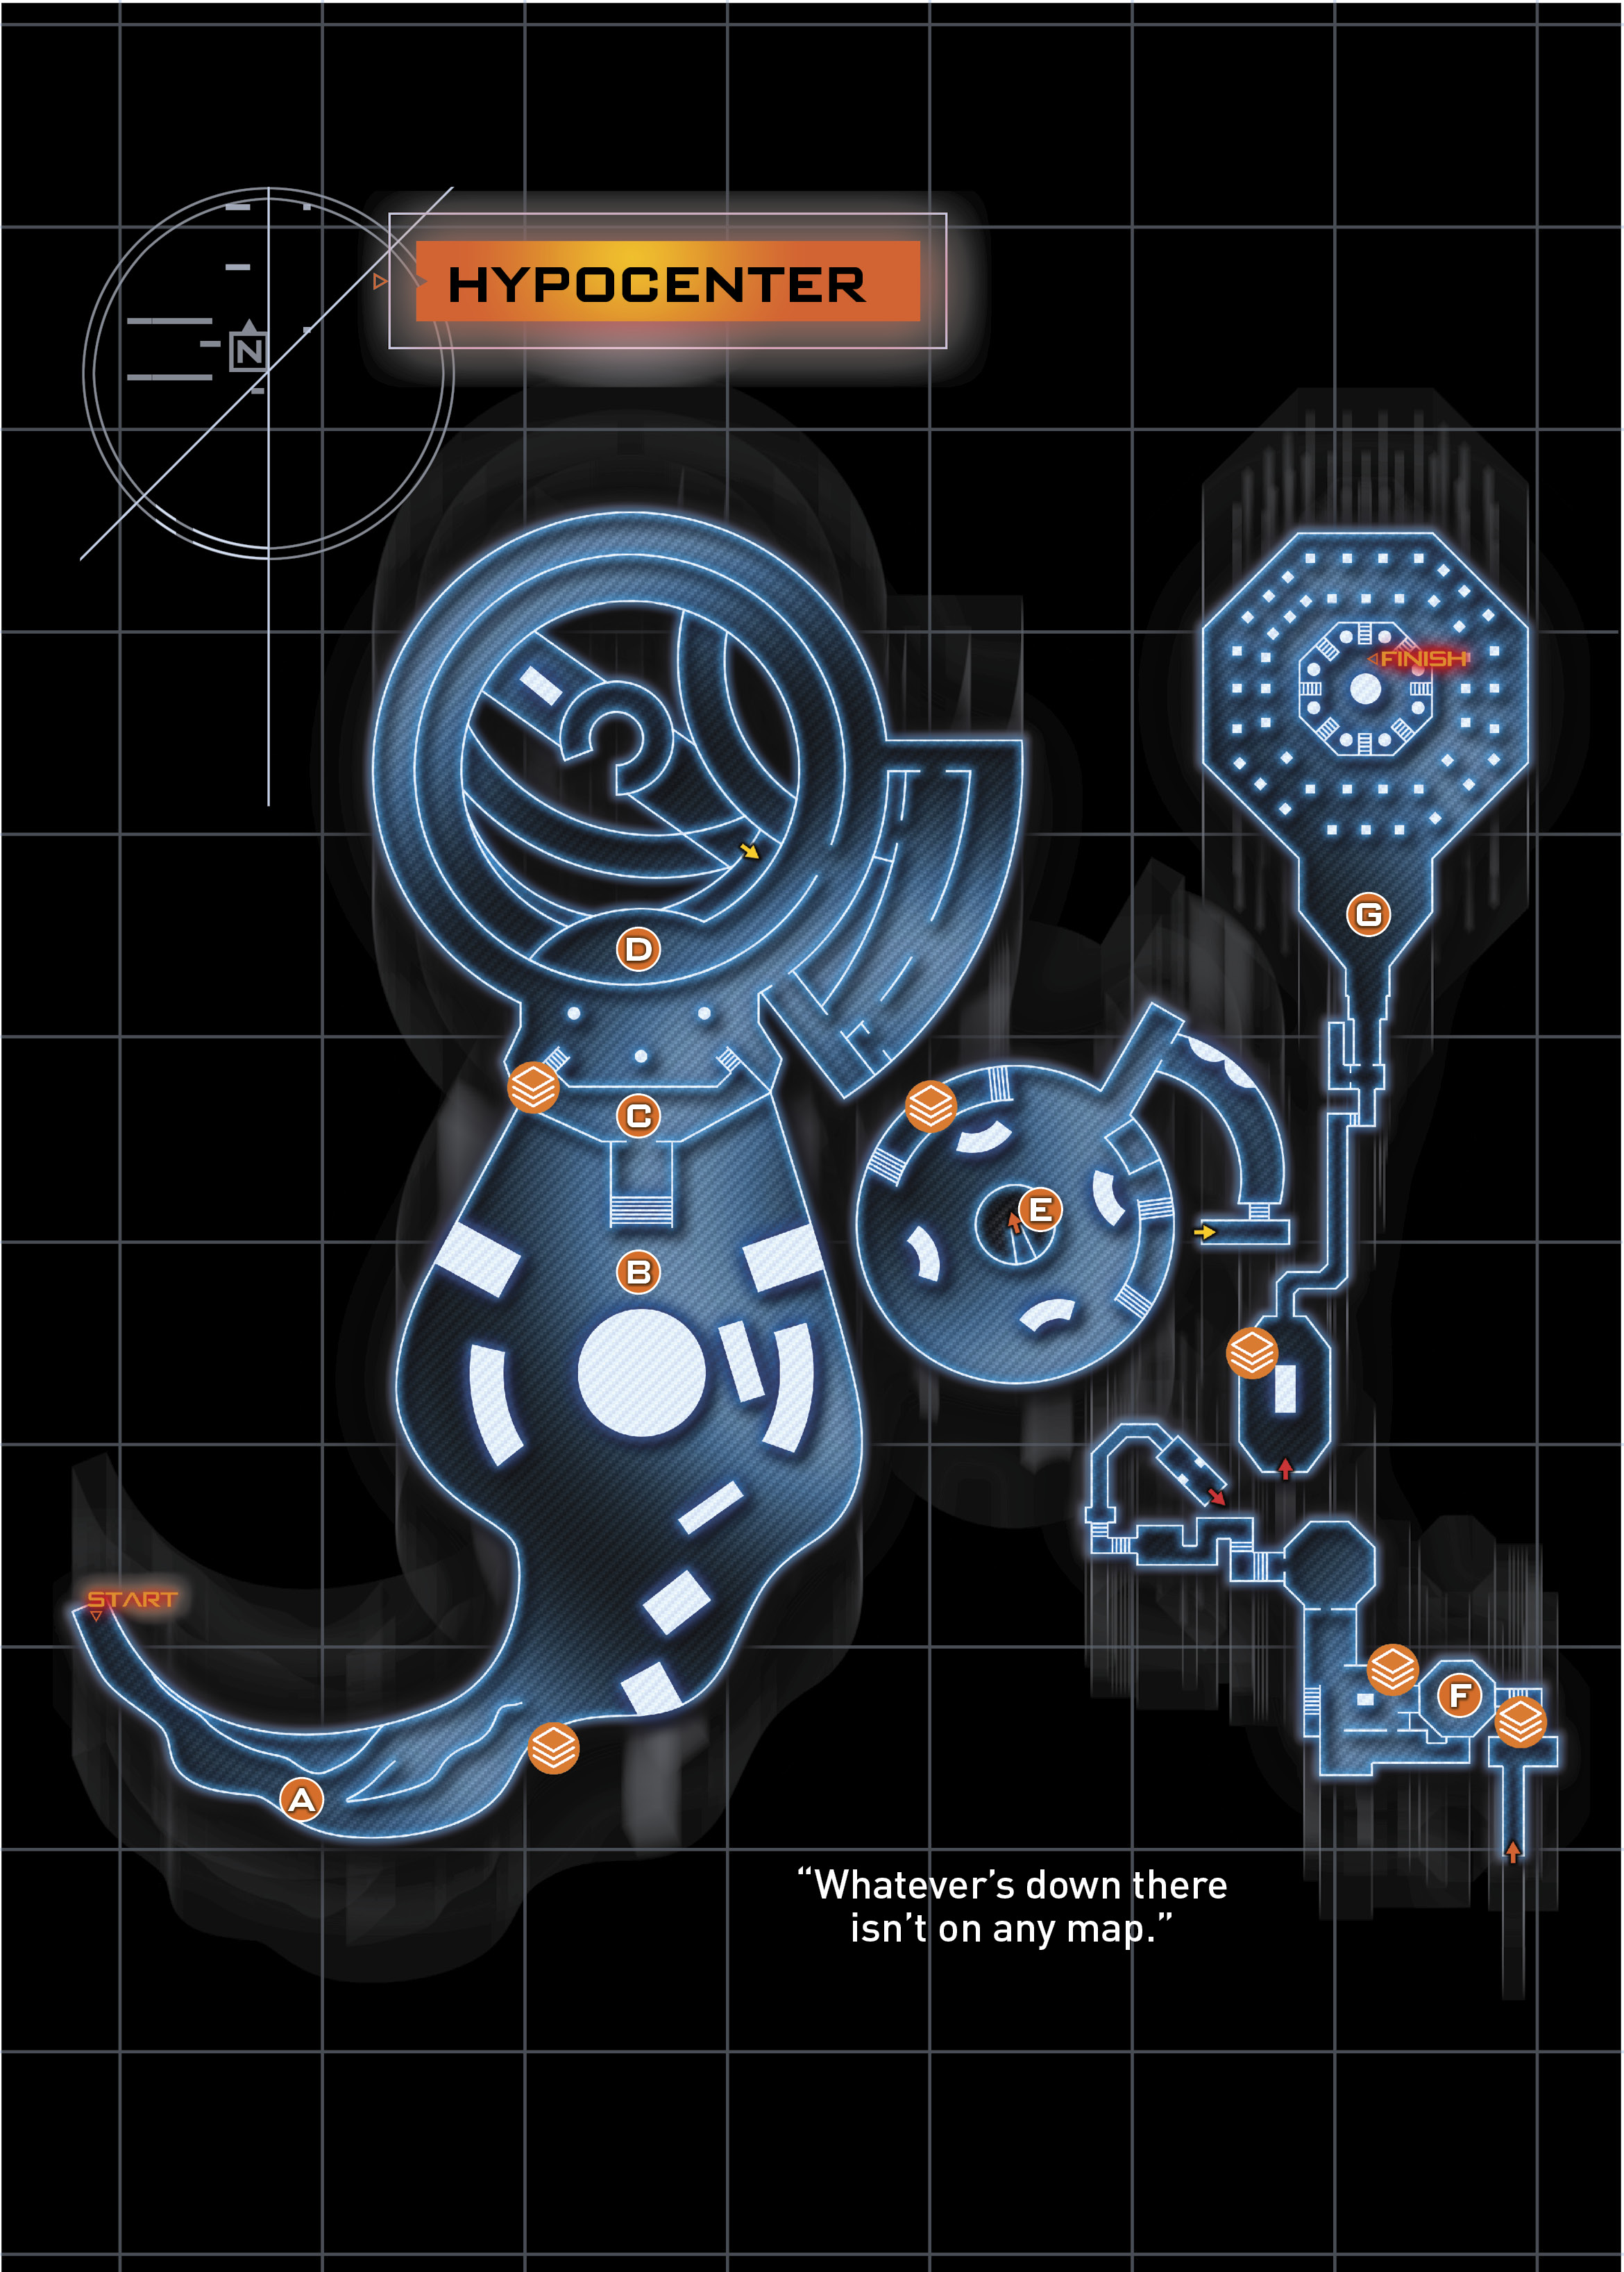
 Go to the Facility Entrance

Your team is looking for answers in the Coalescence Corporation headquarters. Long abandoned, the 54 Immortals are already there, seeking their own answers.
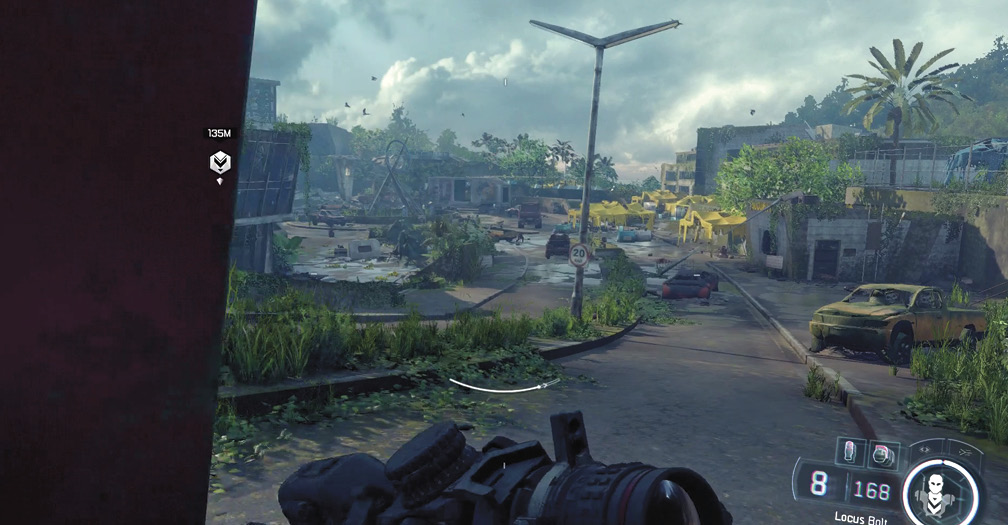
If you use the suppressed Sniper Rifle, you can kill several enemies before getting detected by the small army posted outside. However, you do need to have leveled the rifle a bit in previous levels to unlock the Suppressor. If you don’t have a Suppressor, that’s fine, but your first shot sets off an alarm.
Start with the snipers on the roof to your left, and the additional one across the encampment. Next, focus on killing enemies standing alone.

Stay up on the hill, providing cover for Hendricks as he advances through the enemy’s ranks.
After you’ve brought the mortality of the 54 Immortals into question. Drop to the street below and move up toward the parked Technicals. Make sure you clear additional enemies as they pop on your Tactical HUD. The area needs to be secured before you make it up to the fountain—there’s a nasty surprise ahead!
|
 54i Data-Pad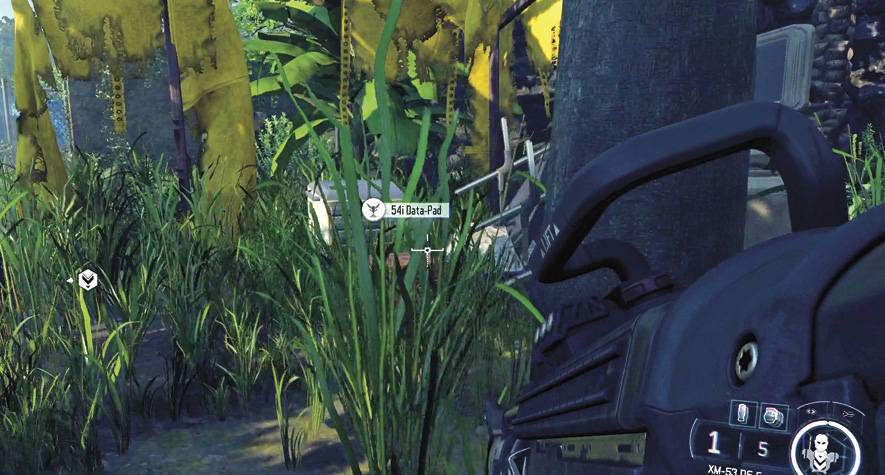
Defeat the A.S.P.
When you make it up to the fountain, the A.S.P. automated tank activates at the front of the facility. This is not a tank the 54 Immortals are controlling; it opens fire on any remaining Immortals in the area. Search the rooms in the area for a XM-53 Missile Launcher. This is your primary method of attack.
Unfortunately, the A.S.P. has a special anti-missile field, which makes hitting it impossible while the shield is up. To deactivate the shield, hit the tank at its base until your team informs you that the defenses are down. You can then unload with your rocket launcher. The A.S.P. takes 1-3 rockets to bring it down.
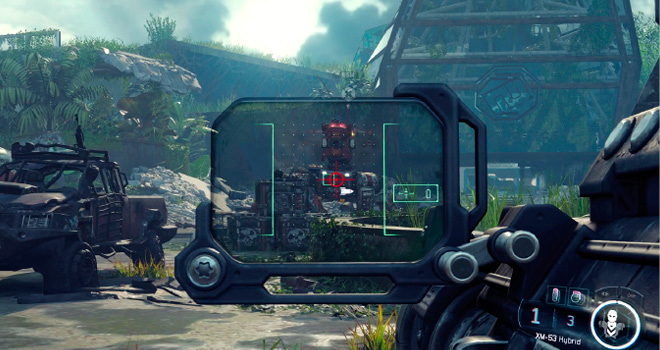
When the A.S.P. falls, it is safe to move up to the front door of the facility.
Search the Coalescence Facility for the Signal Beacon
The Coalescence headquarters are an awesome sight. Stick with Hendricks as he moves across the lobby to the door in the back. When you get inside, you will see a pit. That’s your target.
|
 Contamination Test Kit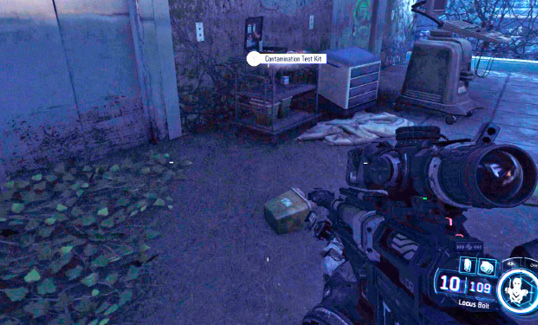
Kane reports a nearby signal beacon. Look for it on a nearby corpse and Interact to get more information about it.
Descend into the Core
Hendricks deploys a mapping drone, then jumps down into the pit. Follow him around. As you’re moving down the pit, avoid jumping too far—one misstep and you’ll be sent back to your last checkpoint.
Follow Hendricks down as he moves from floor to floor. When you reach level eight, you find some 54i troops investigating the rooms. Hendricks makes it your call when to engage. There are several normal 54i soldiers led by a Warlord. The Warlord is the biggest problem here, and unfortunately stealth isn’t an option since the enemies are grouped too closely together.
If you have the recommended load skill of Adaptive Immolation, you can target one of the soldiers standing near the Warlord and cause a chain grenade explosion.
Once you’ve engaged, back off the way you came and wait for the enemies to come at you from the hallway. Pick them off with your rifle before they can get close.
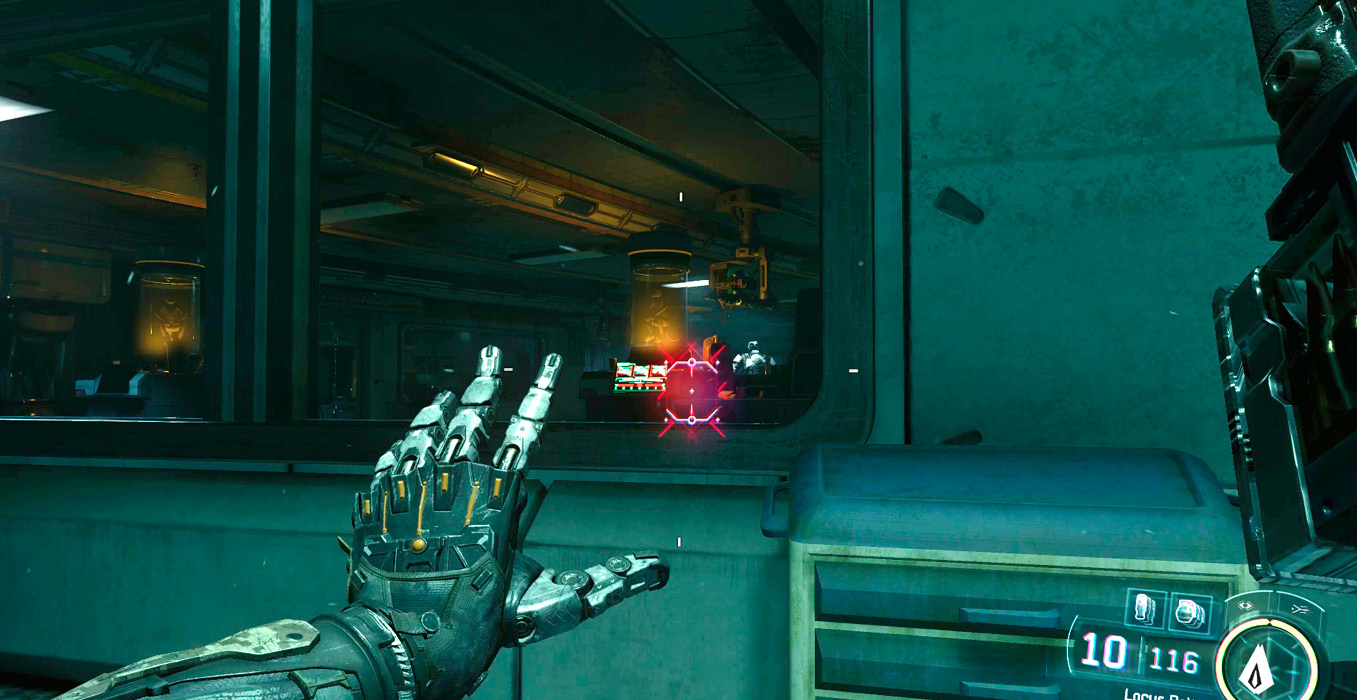
Use Firefly Swarm to soften up the Warlord and any remaining enemies. After you’ve neutralized the small 54i force, continue following Hendricks below.
Soon, you come across a dark room with trapped robots inside. Don’t worry, they’re safely secured. Robots are always controlled by human operators so Hendricks and Kane are confused as to why they appear to be active.
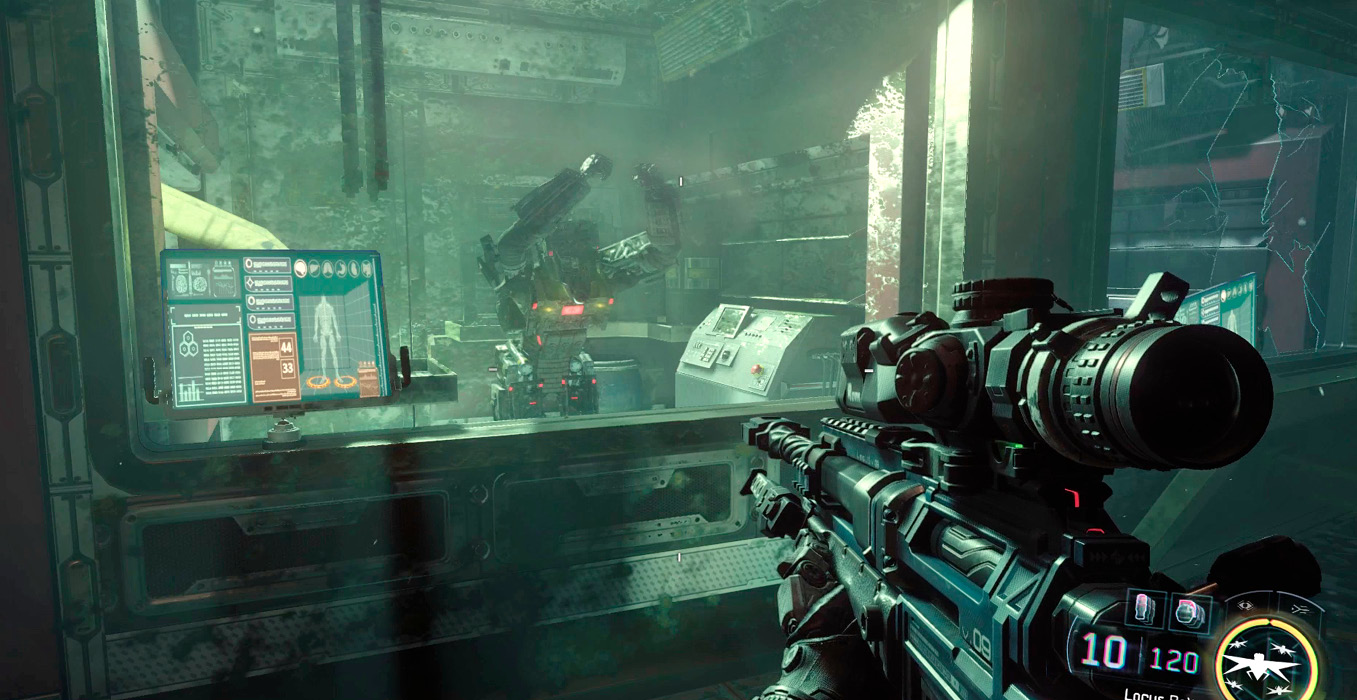
The bottom of the Core is just past this room. Find some good cover and get ready for a fight.
Eliminate All Hostiles
While examining the Core, Hendricks is attacked by a robot! Stay in cover and pick off the robots as they attack from the windows above. Use Immolation to chain-kill groups.
|
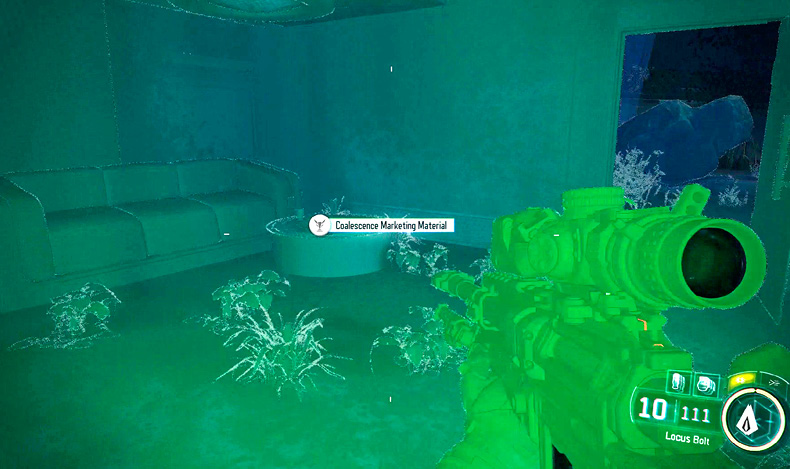
After the firefight, Hendricks opens the entrance to the Core. Time to climb in! Jump down onto the stationary fan blades and slip through to the walkway at the base.
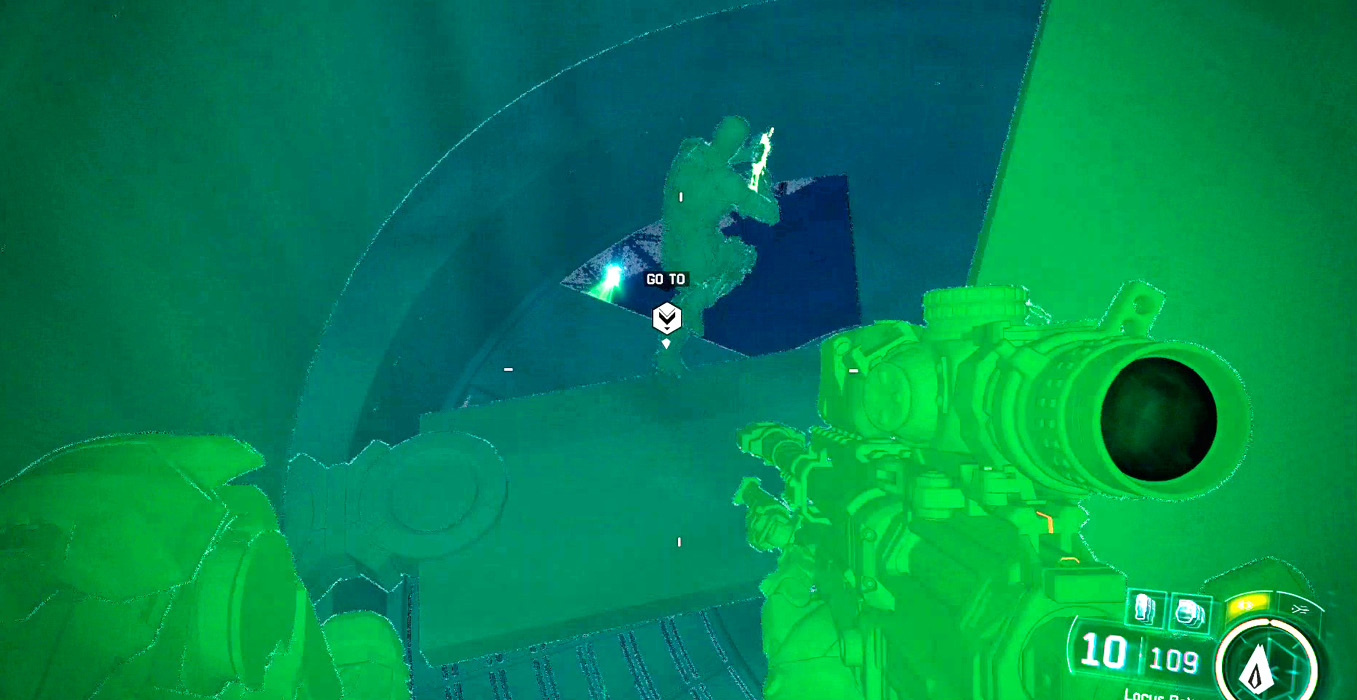
It’s dark down here, so turn on your EV. Follow Hendricks closely, and be very careful not to fall in the pit in the center—it’s certain death.
At the base of the Core, you find a trashed office and a CIA spec ops logo. Time to investigate further. Change up your loadout first; you need an SMG for the next section.
RECOMMENDED LOADOUTCybercore: Chaos Recommended Skills: Adaptive Immolation, Electrostatic Arc, Firefly Swarm Primary Weapon: Assault Rifle |
|
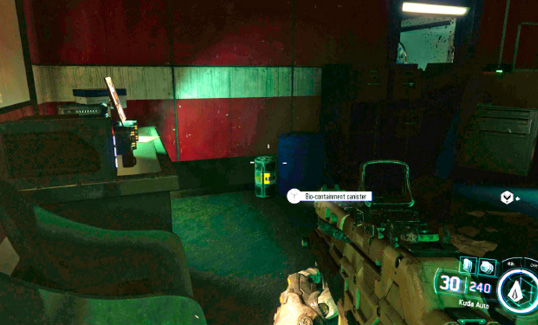
Go to the Signal Source
Jump down to the circular room where Hendricks is standing. Get ready for a serious robot fight. Several robots jump down and attack when the steam in the center of the room releases.
If you’re using the Chaos DNI set and have Electrostatic Arc unlocked, this fight can be significantly easier. Each melee attack blasts nearby enemies.
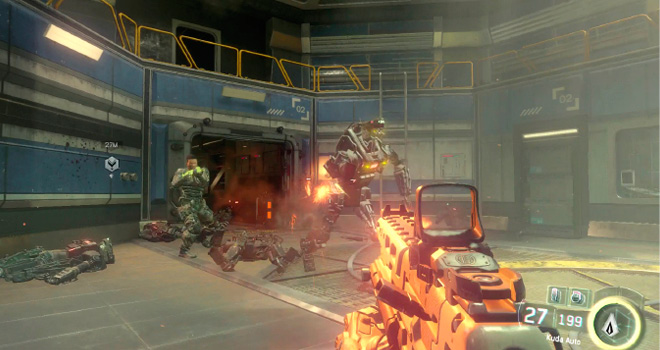
After the first fight, watch out for the legless robots shooting from the floor grates. Don’t follow Hendricks through the middle door. Instead, move through the left door into the next chamber.
If you’re playing on a hard difficulty, avoid engaging in melee after the first room. The robots can one- or two-hit you at melee range, but have no ranged weapons. It’s better to weed them out before they are close enough to hit you.
Once you’ve killed the initial wave of robots, proceed through the back door and into corporate rec room.
Continue downstairs into the med ward and hack the panel.
|
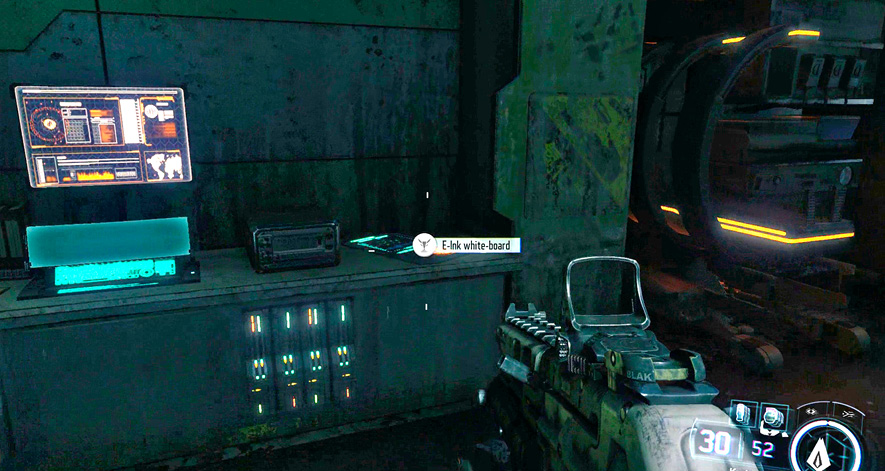
Now it’s time to find out who’s operating these robots! Exit the room downstairs and turn on your EV. Unfortunately, intense radiation kills your night vision. Wait for Hendricks to climb up above and open access to the next room.
This area is a challenge. It’s very dark and you’ve lost your Enhanced Vision and DNI abilities. Go down the left path and be ready for some more melee robots. Spray them with your SMG before they can get in range.
The left room empties back into the main chamber. There, several more robots reincarnate and attack you. Continue spraying them with your SMG; if they get too close, a quick electric melee attack does the job.
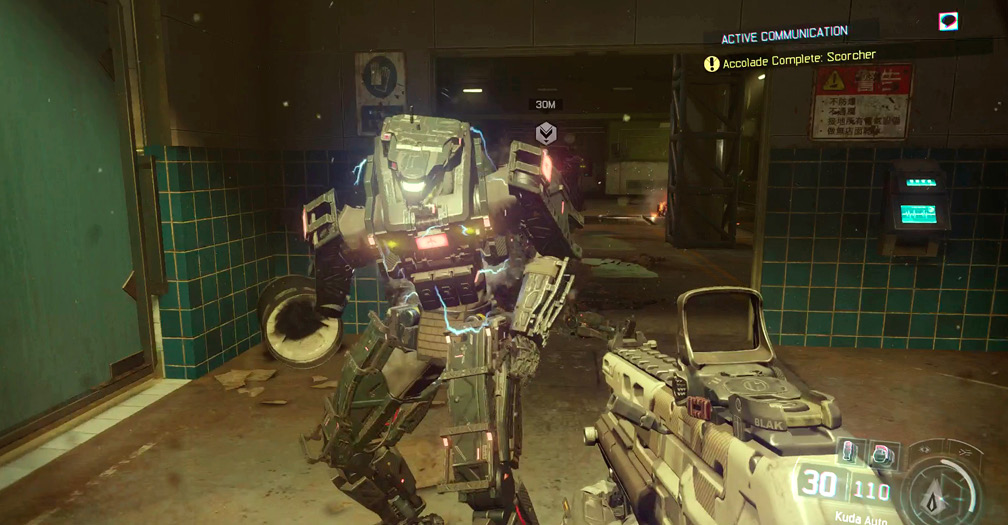
|

Run out of the exit at the back of the room before more robots can spawn in. As you continue down the hall, your DNI abilities come back online. Ahead are dozens of docked robots. When they start to come to life, either sprint through or retreat back to pick them off with your weapon of choice.
At the end of the hallway, there’s a Mobile Armory. Use it to switch back to the Sniper Rifle and step on to the elevator.
RECOMMENDED LOADOUTCybercore: Martial Recommended Skills: Camouflage Primary Weapon: Sniper Rifle |
Disconnect Diaz From the Server System
Diaz isn’t only connected to the Server, but he’s in control of a seemingly endless supply of robots. His robots won’t attack when you first step into the room, but they will attack if you do.
To take down Diaz, Hendricks and Kane must expose the Cooling towers for you. When one of the Cooling towers is exposed, shoot it with your Sniper Rifle to destroy it. Then you can use your Camouflage skill to sneak up to Diaz in the center of the room and explode the component.
You must do this three times. Diaz has an endless supply of robots, so there’s not much point in trying to kill them beyond extra points. The safest bet between each Cooling Rod is to hang on the outer ring of the area using the large pieces of cover from the ranged robots. Keep moving in a circle around the outside to avoid getting jumped by the melee robots.
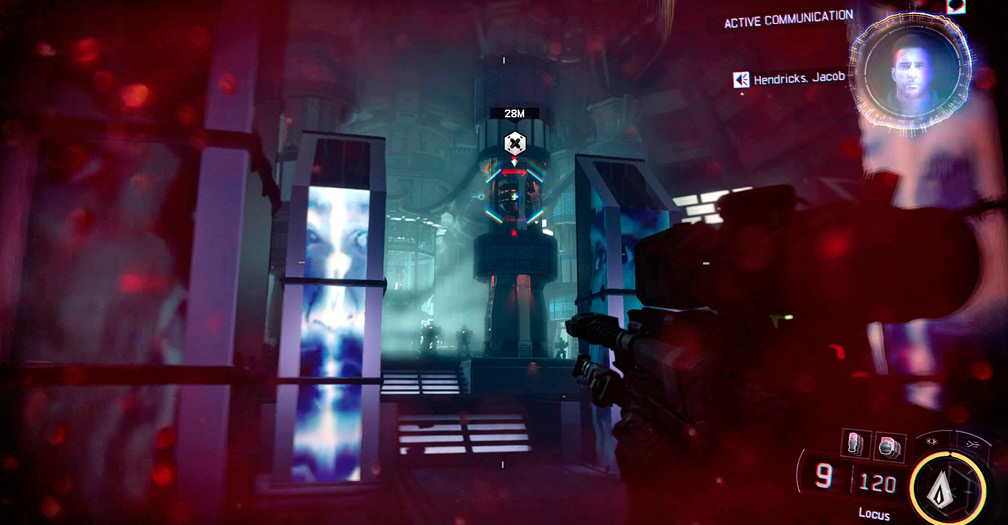
Defend Hendricks
After destroying the first two towers, the glass booth Hendricks is occupying is attacked by electric robots. Use your Sniper rifle to pick them off before they can explode. Look for Hendricks above you. When you find him, use the pillars for cover and keep your gun trained on the booth, shooting the robots as soon as they jump on the glass.
After you’ve killed just about a half dozen, Kane opens up Cooling Tower three. Shoot it with your Sniper Rifle, then run up to the center console for one last grenade chuck.
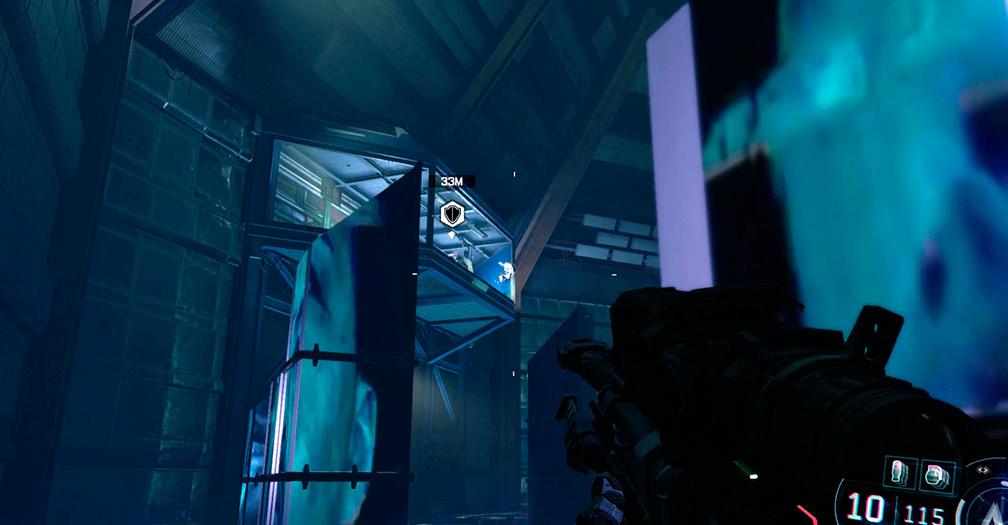
For his final defense, Diaz unleashes electric-charged enemies. They stumble toward you and explode if you get too close. Avoid them and move up on the center generator to finish the fight.
Get to the Surface
After the cinema, get ready to move. You need to evac before the whole place comes down around you! Follow Hendricks up the stairs, then charge down the main corridor. Don’t stop to fight the 54i. You can just charge through, only shooting at enemies directly in your way.
When you get to the upper catwalk area, use your Sniper Rifle to pick off the robots on the other side, then jump down to the flooded computer room below. Run to the busted door at the back of the area and wait to open it with Hendricks.
While Hendricks is working on the door, some of 54 Immortal Robot and soldiers attack. Use the crates for cover and mow the enemies down as they approach. Be careful of grenades—the corridor is very narrow and it can be difficult to toss one back in time.
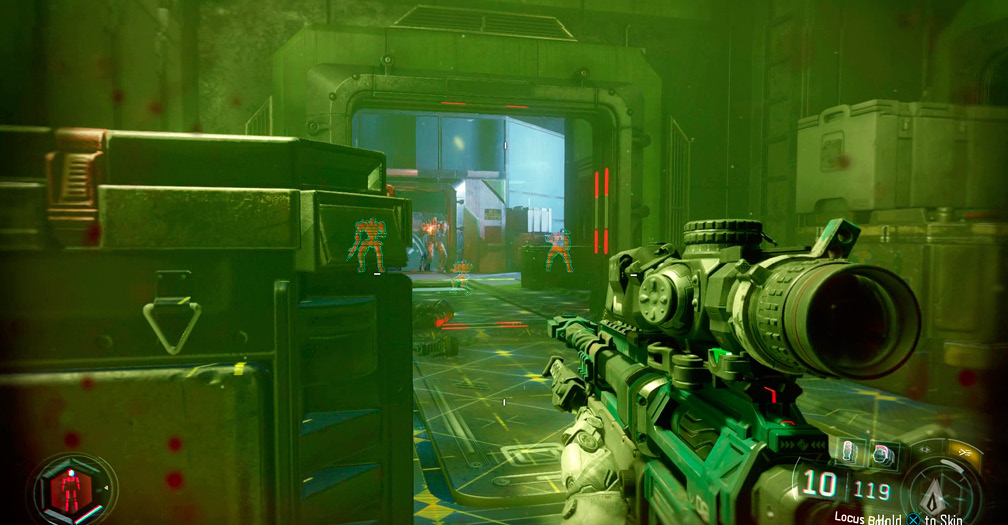
When Hendricks lets you know, move to the door and hit the Interact button to flood the area. The next room has a few robots inside. Shoot them down, and then swim up to Hendricks and wait for him to open the second door.
After getting sucked back into the main tunnel, neutralize the robot defending the area, then look up. Above you are Depth Charges. Shoot them with your weapon to safely destroy them from afar. If you get too close a Depth Charge, it sticks to you and explode, inflicting massive damage.
When you’ve cleared out the first set of charges, swim up to the next area, which is filled with charges. The easiest way through this part is to hold down the Sprint button and quickly swim up to the red flare. If you hear a Mine activate, try to sprint away from it, or quickly turn and shoot it.