Call of Duty: Black Ops III Guide Walkthrough 03 In Darkness
03 In Darkness
Quarantine Zone, Singapore
Day 0
Mission Briefing: Five years later. In cooperation with the CIA, investigate the sudden silence of a CIA Black Station in the Singapore Quarantine Zone—established in the wake of the disaster that killed 300,000 people.
Mission Objectives
 Intercept the 54i Shipment.

 Neutralize the 54i Combatants.

 Go to the Docks.

 Intercept the 54i Shipment.

 Establish Contact with the Black Station.

 Breach the Wheelhouse Door.

 Go to the 54i Communications Hub.

 Go to the 54i Secondary Comms Relay.

 Regroup with Agent Kane.

 Go to the Black Station.

 Secure the Black Station.

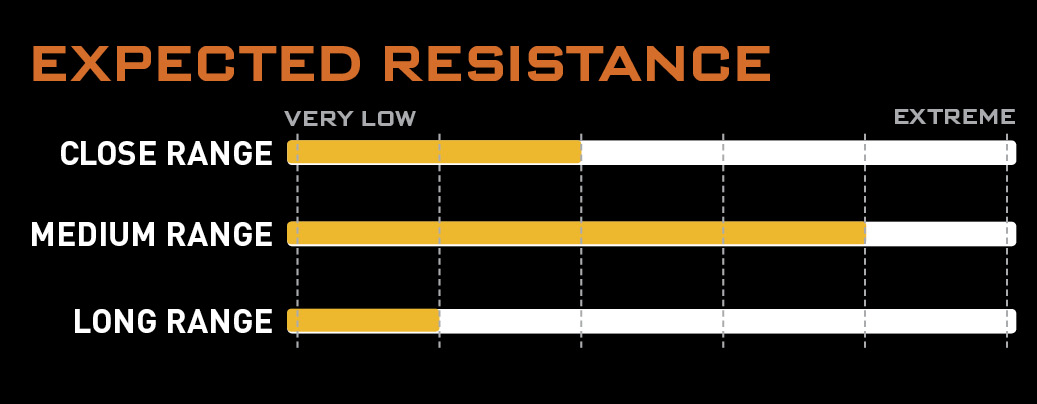
Skirmish Forces: Numerous 54i patrols and scavenging parties frequent this area of operations. While the 54i is not a regular military, they are heavily armed and extremely dangerous.
Combat Robotics: Intel shows the 54i have both purchased and salvaged an extensive combat robotics force. Their observed operating procedure is to deploy combat robots mainly with large attack forces. It is unlikely many are deployed this far out.
Light Vehicles: Recon shows light vehicles patrolling this area of operations. Expect them to be armed.
Level Accolades
| Accolade Name | Reward |
|---|---|
| Untouched! | Fabrication Kit |
| Complete the mission without dying. | |
| High Score | Fabrication Kit |
| Complete the mission with a score of 12,500 or higher. | |
| Got ‘Em | Fabrication Kit |
| Find all of the collectibles in the mission. | |
| Fire for Effect | 250 XP |
| Kill 5 targets with single micro-missile volley. | |
| Commandeered | 500 XP |
| Kill 20 enemies using a technical truck turret. | |
| Duelist | 1000 XP |
| Kill a Warlord using only a pistol. | |
| From Nowhere | 500 XP |
| Kill 5 enemies over 150 feet away in under 3 seconds. | |
| Blast Zone | 250 XP |
| Kill 2 RPG enemies in under 1 second. | |
| Target Variety | 500 XP |
| Kill an enemy robot and a human enemy without reloading. | |
| No Prisoners | 500 XP |
| Let no 54i escape from the power generator building. | |
| Breach and Clear | 250 XP |
| Headshot 3 enemies during a breach. | |
| Power Denied | 250 XP |
| Kill 4 powered-off robots in the Comm Relay before they activate. | |
| Matched Firepower | 250 XP |
| Kill a Warlord using a technical truck turret. | |
| Blown Away | Fabrication Kit |
| Kill a Warlord with an explosive barrel. | |
| Push the Line | 500 XP |
| Take out a Riot Shield phalanx with only melee attacks. | |
| Expert Flanker | 1000 XP |
| Headshot 3 riot shield enemies. | |
|
 High Tide
“Oh man, I can’t even tell you how good this tastes.”
This is the first level where you’ll be working out of a safe house. Your safe house contains everything you need to get ready for an upcoming mission. Right now, the most important thing for you to take a look at is the Cyber Core Station.
Activate it to enter the Control Core Upgrades screen. Here, you can use mission points you’ve earned from leveling, completing missions, and earning certain Accolades to grant DNI abilities.
For this mission, we recommend taking a Martial Cybercore loadout. Spend points you have earned to unlock Martial abilities. The Cunning tree is most useful on this mission, providing cover from robot and human alike.
In addition to upgrading your Cybercore, you can also upgrade your weapons. Activate the Armory opposite the Control Core table to open the custom loadouts screen. Here, you can set up your five default Campaign loadouts, as well as unlock new weapons. For your first playthrough, we recommend spending your unlock points on Cybercore abilities, so we’ll assume throughout the campaign walkthrough that you are using the default loadouts here. However, once you feel you’ve unlocked all the Cybercore abilities that you want, feel free to come here and unlock some weapons to enhance your loadouts.
When you’re ready, head to the “Begin Mission” door at the back of the room and choose your loadout.
RECOMMENDED LOADOUTCybercore: Martial Recommended Skills: Smoke Screen, Active Camo, Weapon Lock Out Primary Weapon: Assault Rifle |
 Intercept the 54i Shipment

Five years have passed. You and Hendricks are now experienced Winslow Operatives. Your mission is to intercept a shipment from a Singaporean military group known as the 54 Immortals.
Hendricks sets you up with a special anchor staff to use as a defense against the anticipated 150MPH winds. Follow Hendricks through the streets until the cinematic triggers.
 Neutralize the 54i Combatants

After the cinematic, Hendricks has gone rogue and is firing wildly at the local 54 Immortal gang. It’s time for you to show off what you’ve learned in the past five years.
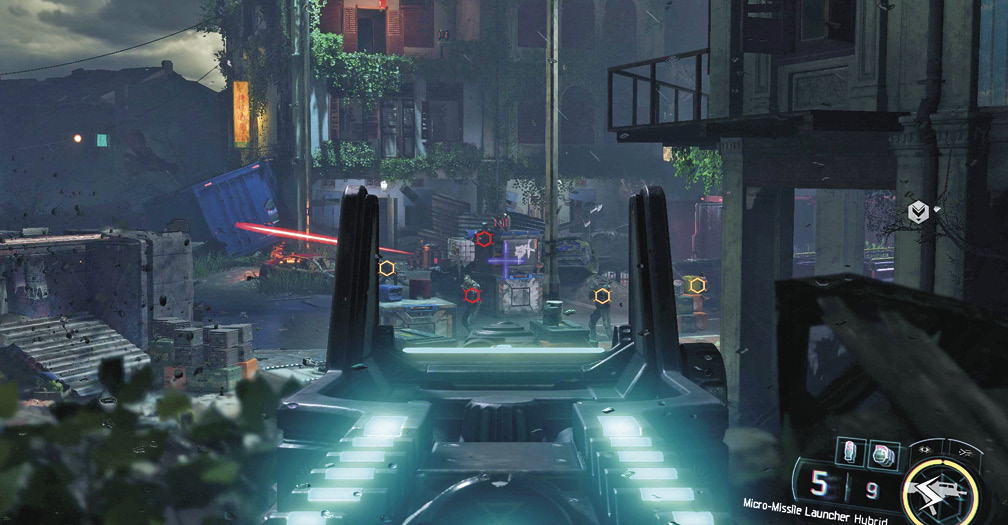
You are armed with a Micro-Missile launcher, an awesome weapon that rapidly fires heat seeking missiles at enemies. Use Aim Down Sight to target a group of enemies. When you’re satisfied with the target locks, pull the trigger and the missiles automatically fly out. You can lock on up to five enemies at once.
You get this weapon in addition to whatever you chose for your loadout. You can switch between your primary weapon and the Micro Missile launcher by pressing the Special Weapon button.
Use the Micro-Missile launcher to unleash on the enemies in the square ahead. Immediately after releasing your volley, switch back to your primary weapon and take cover behind the crate on the left side of the starting roof.
A Warlord now patrols the battlefield. These heavily armored cyber-soldiers are armed with LMGs. This Warlord is your primary target; it can cut you down in seconds on harder difficulties.
Use the cover to fire at the Warlord in bursts with your Assault Rifle (AR). The Warlord is almost completely resistant to your micro-missiles, so don’t waste your ammo on his armor.
When the Warlord crumbles, it’s time to wipe out the remaining 54i soldiers. Switch back to your Micro-Missile Launcher. Use the launcher to target enemies behind cover.
|
 Broken Respirator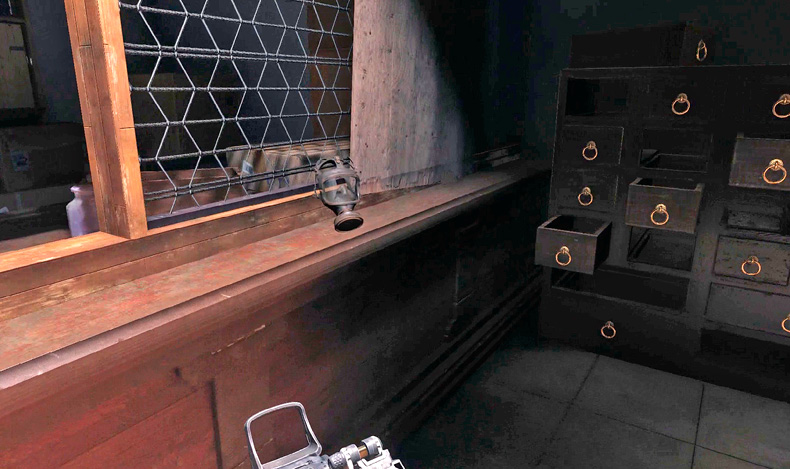
After unleashing missile hell on your enemies, activate your Camouflage skill and move down onto the battlefield to reach cover alongside Hendricks. From this new angle, search for any enemies and finish them with the Micro-Missile launcher. There are several ammo crates in this area, which fully replenish the launcher, so don’t get stingy with the ammo.
As you move down the square, watch out for more enemies firing from the building on your right. Use your Martial Cybercore abilities for extra cover or to disable their weapons. When Hendricks gives the all clear, rush up to the back of the area.
Go to the Docks
As you follow Hendricks up and over the cargo crate, the wind picks up. You must now use the anchor to keep from flying back with each strong gust.
When the wind starts, press and hold the Interaction button to lay down the anchor. When the winds pass, press the Jump button to continue moving forward. If you fail to get down in time, you are blown back to the beginning of the area.
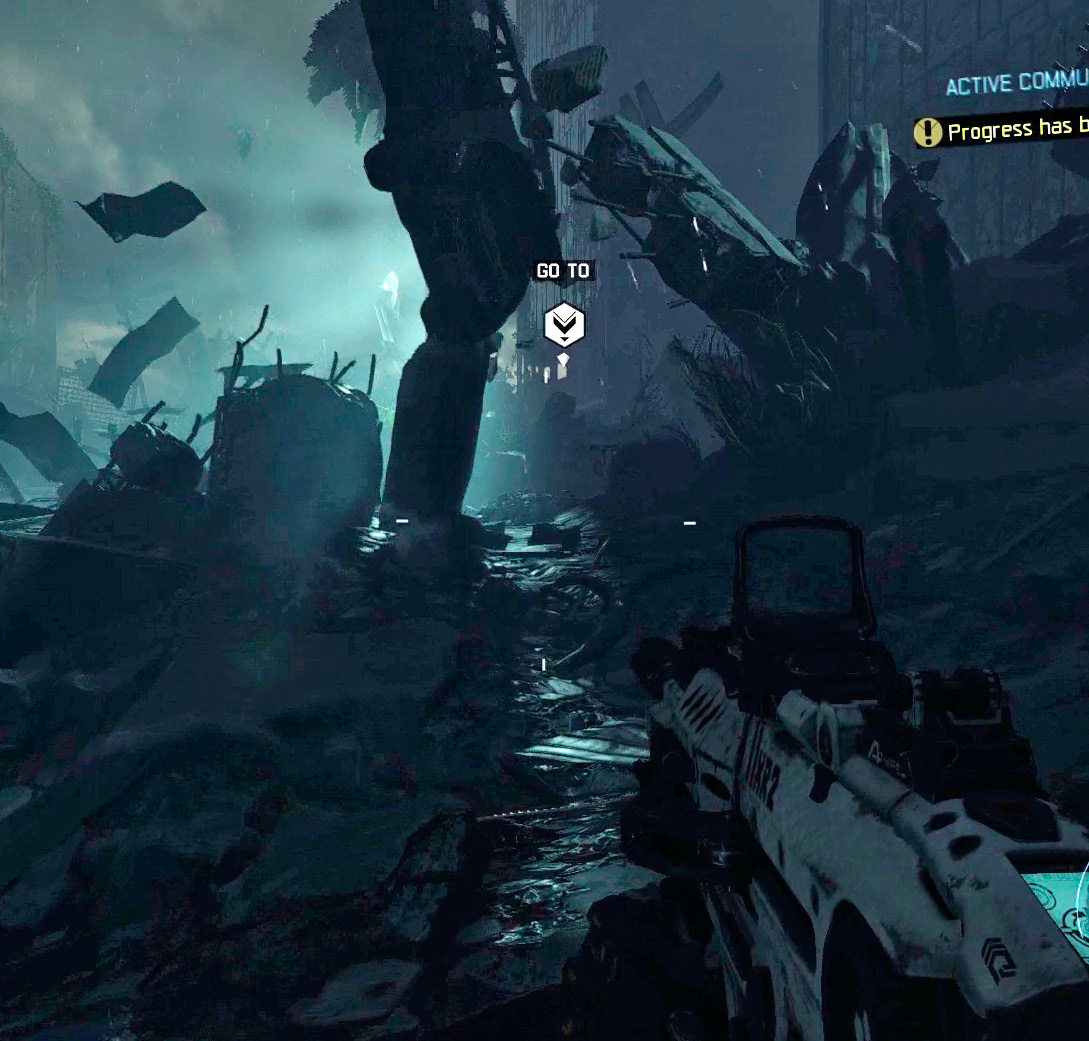
At the next building, follow Hendricks through to the other side. Drop down through the rubble to the flooded street below. Waves begin to hit you as you move through the building, so use the pole driver to anchor yourself on the big swell hits. Back outside, there’s a group of enemies defending a building above the water.
Rather than moving out to the street where Hendricks is, stay behind cover and switch back to your Micro-Missile Launcher to pick off the enemies hanging around out front.
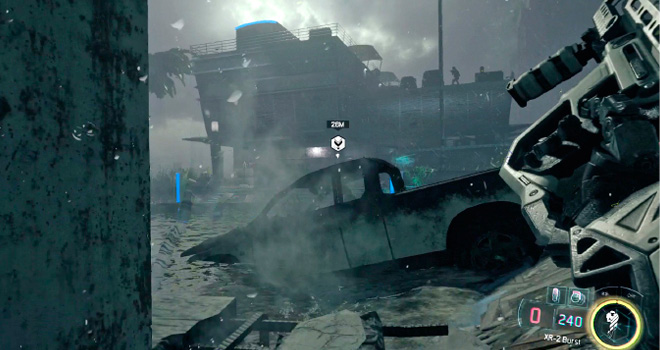
Stay back until a Technical arrives on the left side of the area. Kill the three enemies inside, then carefully make your way across the street-river to the base of the building.
|
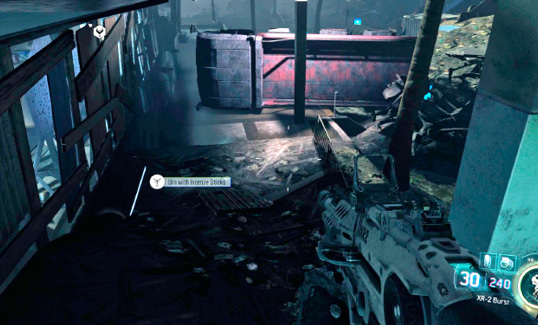
There are some enemies scattered inside the building, use cover and follow Hendricks closely as he moves toward the docks.
Intercept the 54i Shipment
Meet Hendricks at the docs and use the nearby dock crates for cover. The cover allows you to pick off the advancing enemies defending the ship. When the Technical arrives, nail the gunner to send it into the drink.
Your target is the ship at the end of the dock. Getting there is a straightforward firefight against several enemies armed with Assault Rifles and Submachine Guns (SMGs).
Don’t forget to turn on your Tactical HUD to get an edge on your opponents.
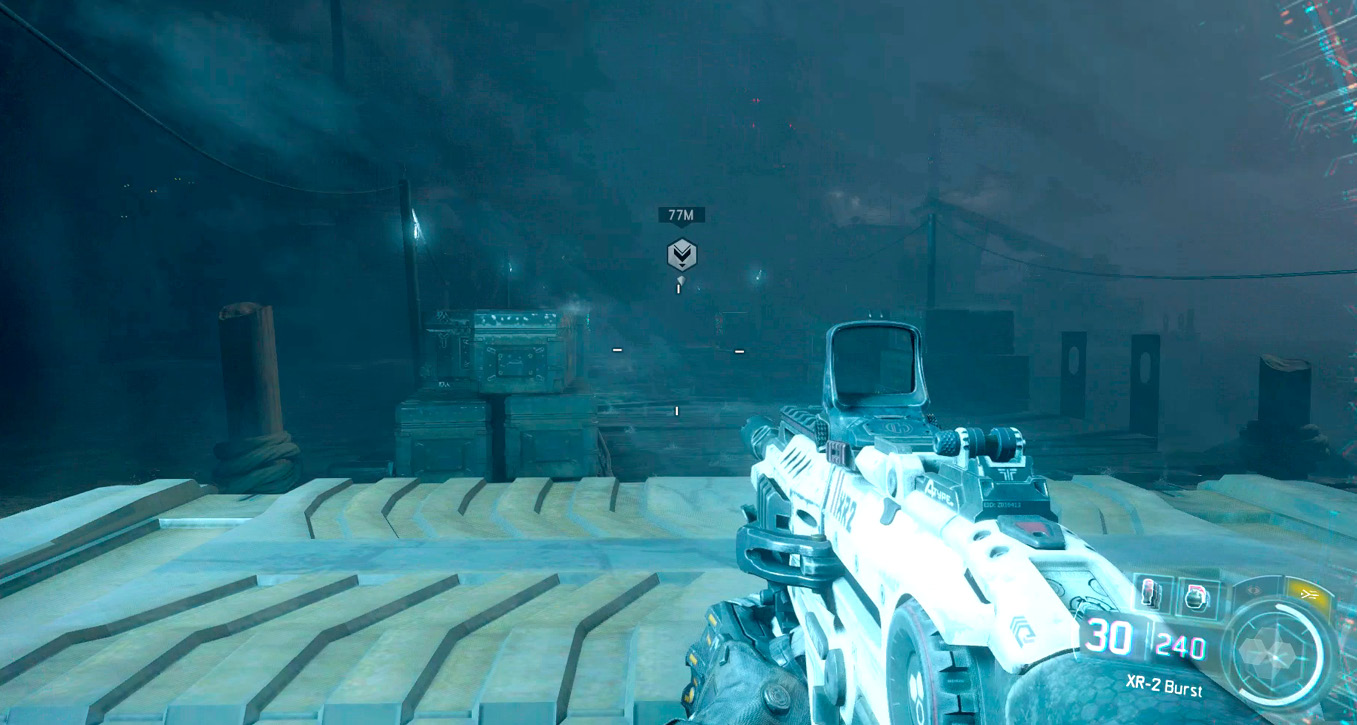
Establish Contact with the Black Station
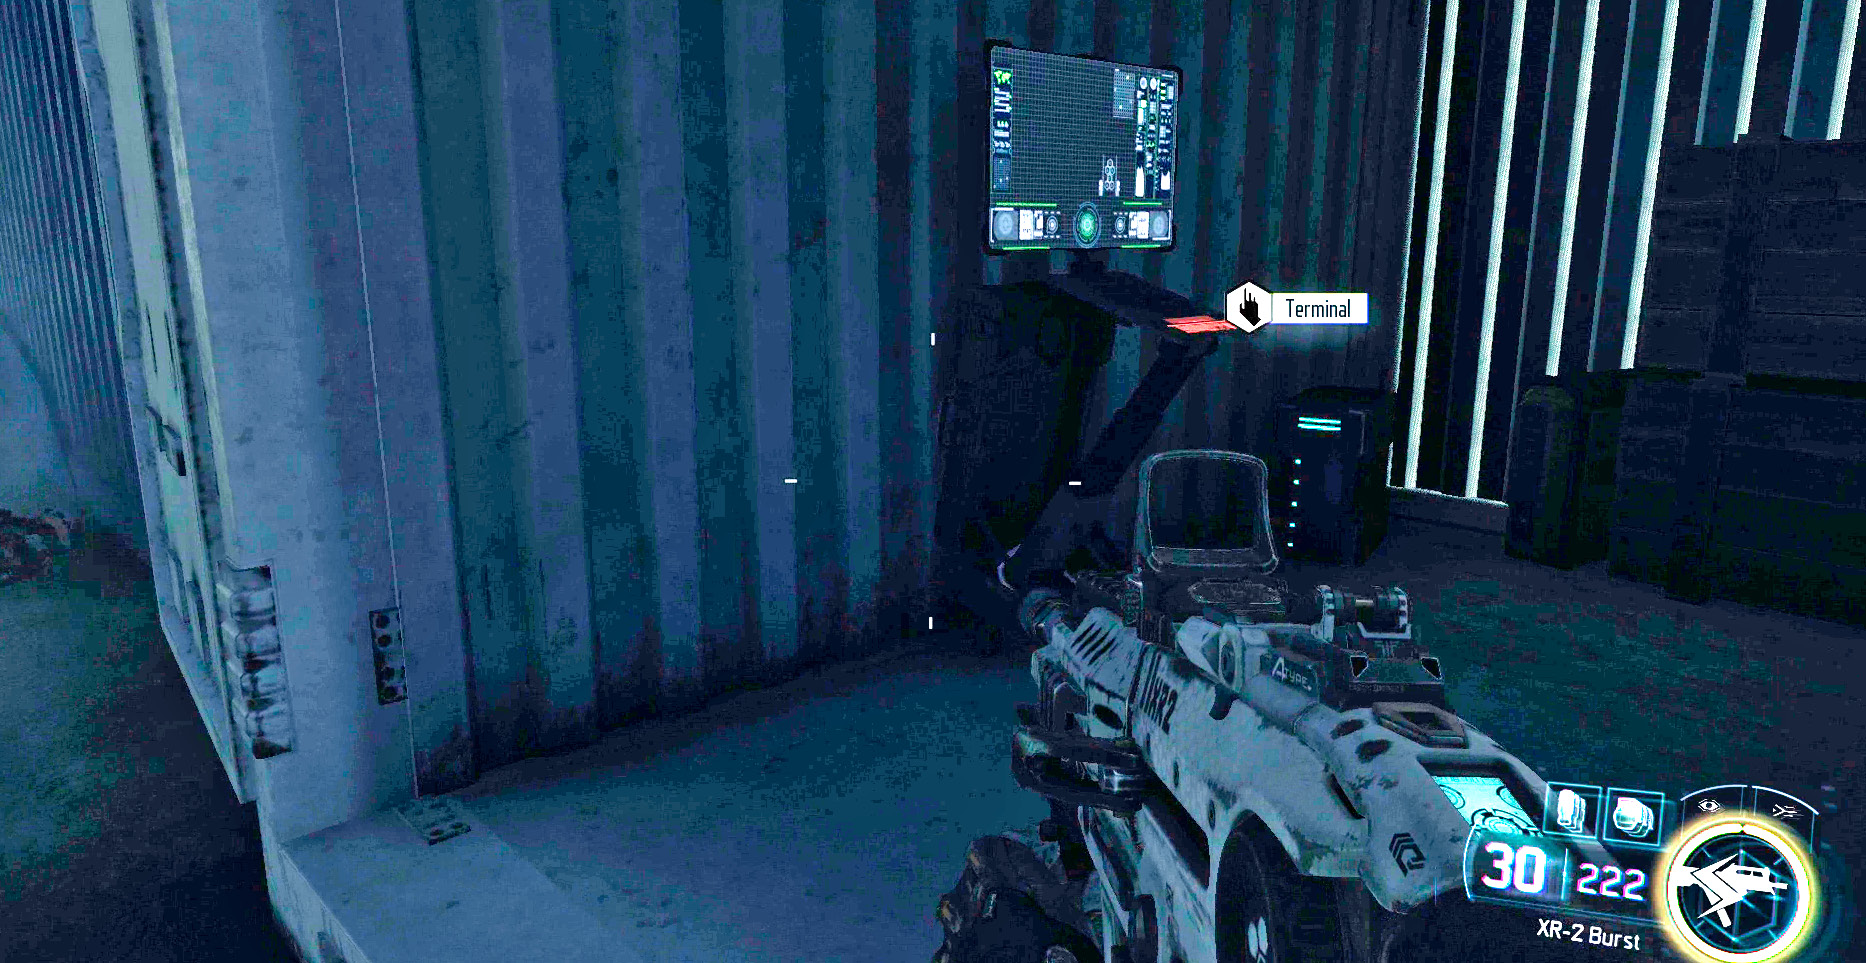
Command orders you to establish contact with Black Station; look for an open crate and a terminal. Interact with the terminal to automatically hack it.
Breach the wheelhouse door
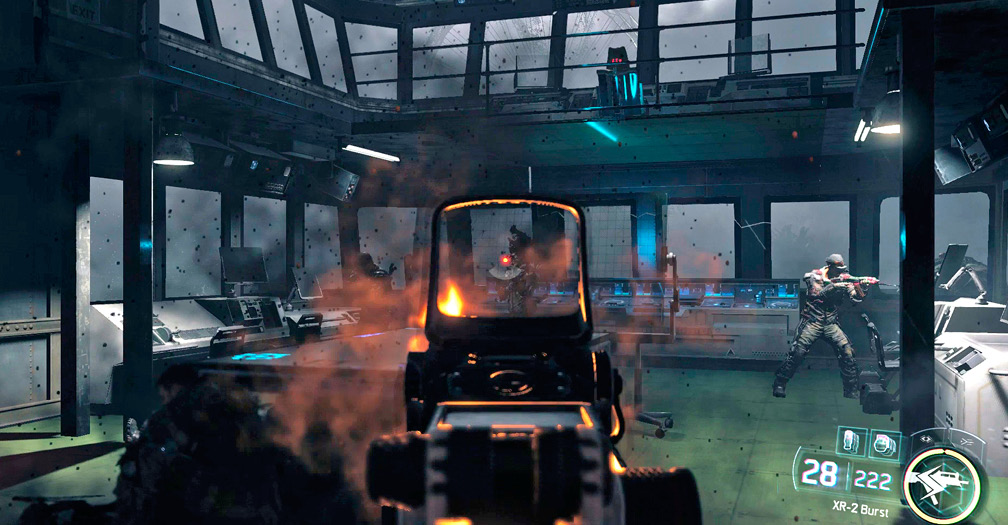
Wait for the hack to finish. Move up on the side of the lower door to the ship’s bridge. Setup on the door by hitting the Interact button. This initiates a Breach sequence.
Go to the 54i Communications Hub
What a rush! Follow Hendricks through the flooded subway. While underwater, you have an oxygen meter in the bottom-left corner of the screen. Your DNI enables you to swim underwater for extended periods of time; you’re tough, but not invincible.
|
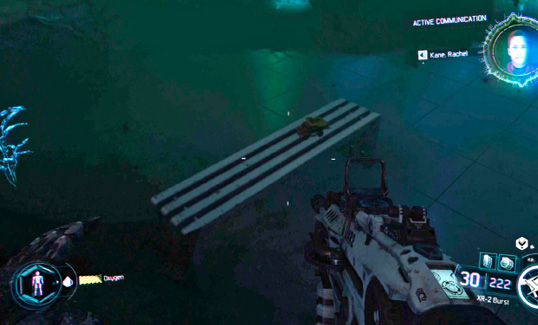
Hendricks has no problem leading you through the subway wreckage, follow him closely. It’s easy to get turned around underwater. If you lose sight of him, just swim toward the objective marker.
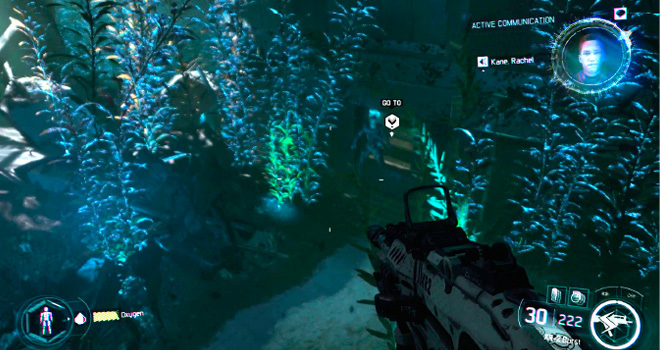
Follow Hendricks up the subway escalator. There’s a large 54i defense force of robots and humans in front of the next building.
Wait for Hendricks to start the fight, then hang back and pick off enemies with whatever Micro-Missile launcher ammo you have left. If you’ve run out, switch to your Assault Rifle and use Aim Down Sight (ADS) to target the defenders from cover. Your top priority tangos are the soldiers on the back of the Technicals parked on either side of the area.
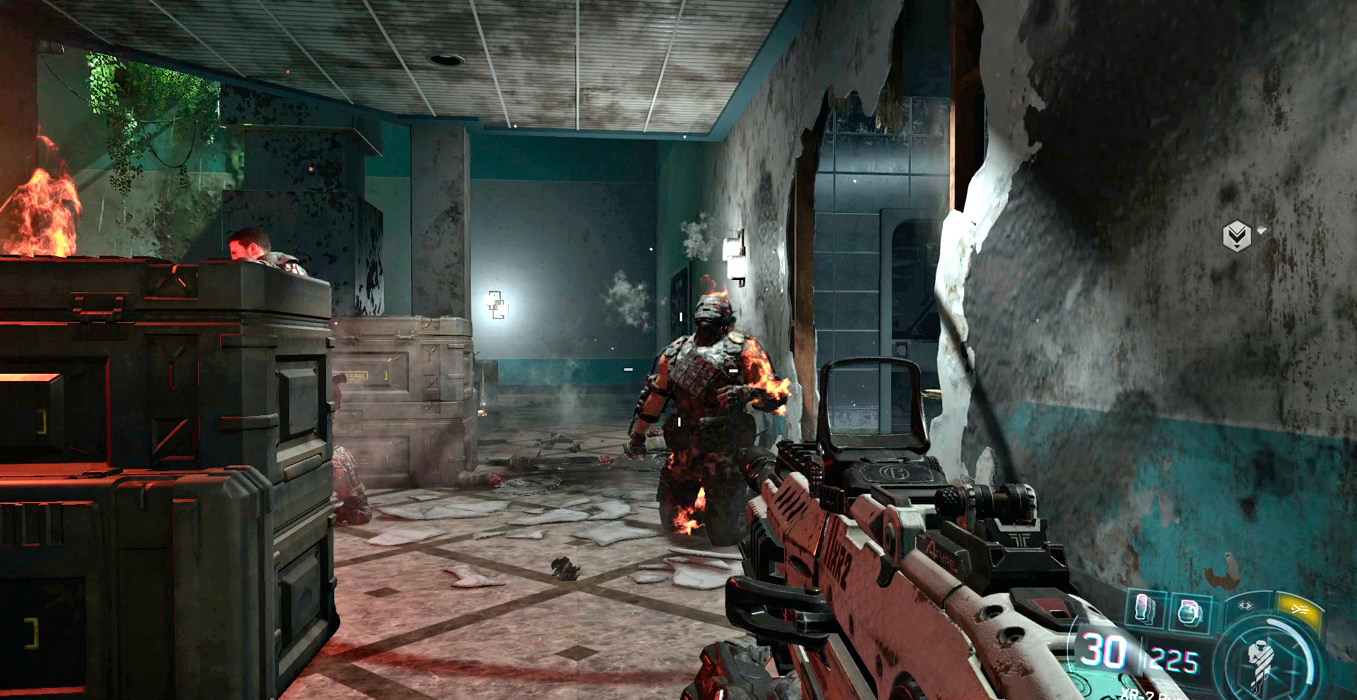
The first section of the interior here is full of normal enemies. Don’t advance too far into the building; hang back with Hendricks, wiping out any soldiers as they jump out of. Use your Tactical mode to shoot the enemies through walls and other obstacles.
When the bottom and top areas are clear, inch in. Watch for reinforcements at the back of the room. When the reinforcements arrive, hang back and pick them off from safety. Finally, a group of riot shield enemies arrives on the top floor. Use a grenade to quickly dispose of them, or let Hendricks take them out on his own.
|
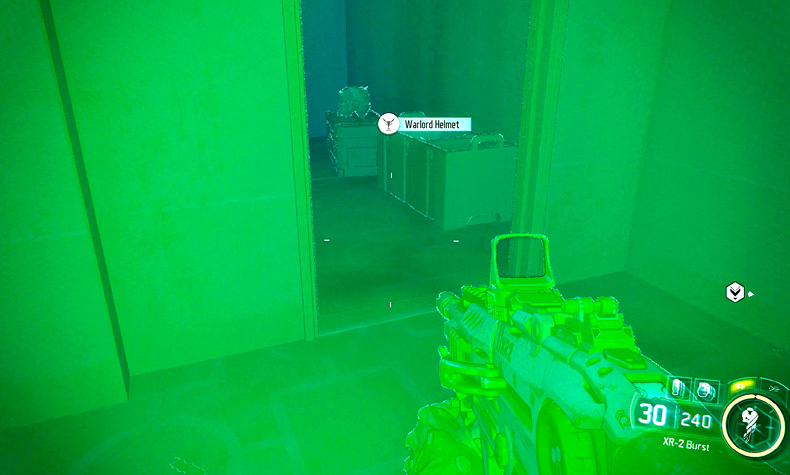
A team of riot shield enemies charges your position in the next corridor. Use Grenades or DNI skills to break their phalanx and cut them down.
The Riot Shielders aren’t alone; watch out for their SMG-armed backup. The backup really likes to throw grenades down the hallway, so be ready to make a quick retreat if a grenade lands near your feet.
When your enemies are dead at your feet and the smoke clears, follow Hendricks to trigger the mid-level cinema.
Go to the 54i Secondary Comms Relay
Grab some ammo, then jump through the big hole in the side of the building and down into the street.
Follow Hendricks through the streets until you come to a guarded office building. Open up with a missile volley, then pick off the survivors with your Assault Rifle.
Instead of following Hendricks through the lower floor, take the broken staircase on the right up to the second floor. Be ready for the likely event that there are still several enemies defending from inside. Use caution when advancing.
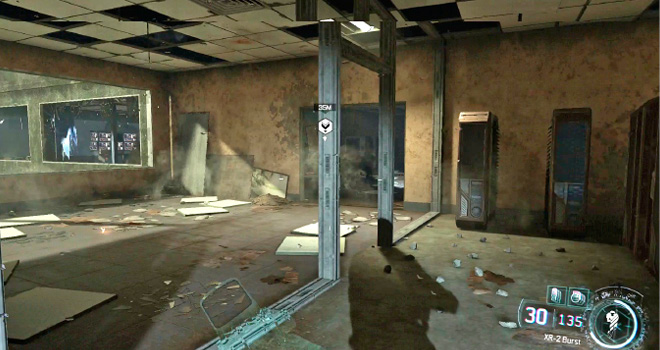
Once the building is clear, drop down to the first floor to rejoin Hendricks.
|
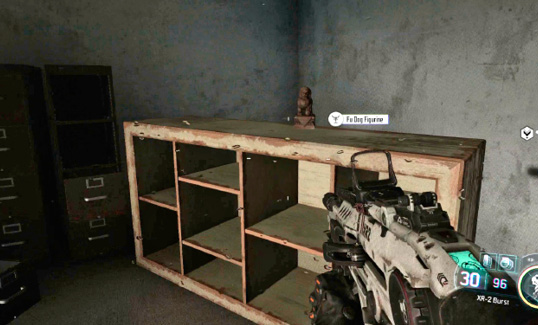
Follow the objective indicator to hack the relay.
Regroup with Agent Kane
With the relay hacked, it’s time to regroup. Move with Hendricks through the ruins. Buildings are falling all around you, but just try to copy what Hendricks does, and you’ll make it through safely.
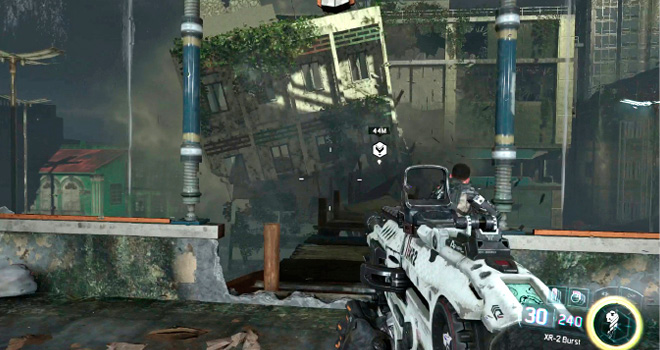
Go to the Black Station
Kane is waiting for you. She sets repel lines for you to crash down on the 54i patrol below. You can take either the left or right line. For this walkthrough, we’ll assume you take the right line with Hendricks. Before jumping down, switch your loadout.
RECOMMENDED LOADOUTCybercore: Martial Recommended Skills: Smoke Screen, Active Camo, Weapon Lock Out Primary Weapon: Sniper Rifle |
The zip line down is quick and gives you the element of surprise. Pull out your Sniper Rifle and begin picking off the enemies you can see in the area. With your Tactical Mode you’ll spot several enemies behind cover, you can’t hit some of them, but try to take down as many as possible before moving forward. It’s very important you pick off the rocket launcher-armed soldier opposite. If you wait too long, he can score an instant kill with an insanely accurate RPG.
Once the street is clear, you can begin to move forward. Watch out; when you are near the ammo crates located halfway up the street, several enemies arrive to reinforce, including a Warlord.
You need to wipe out both the Warlord and the reinforcements to proceed. Retreat back the way you came, and use your DNI skills and the Sniper Rifle to pick off the Warlord from safety (he won’t follow you too far).
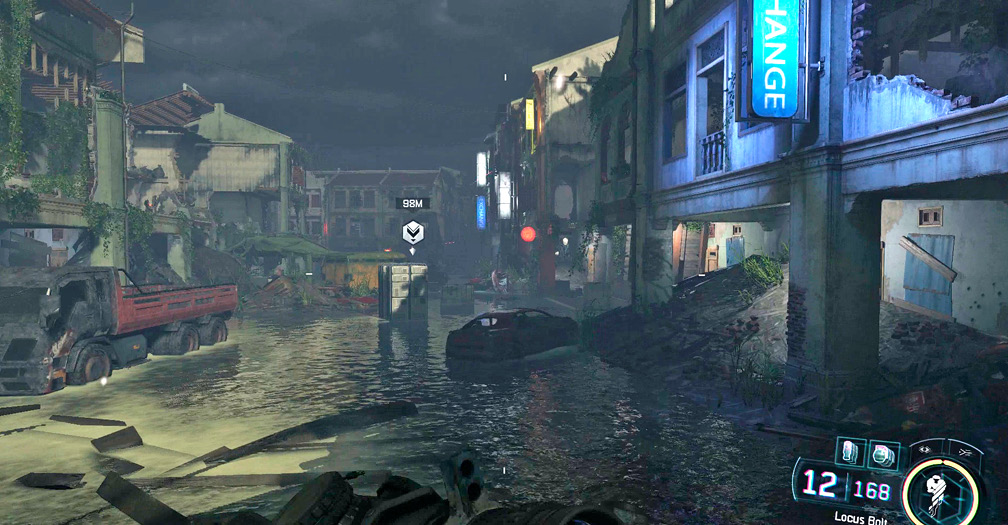
When the area is completely safe, you can move to the end. Kane and Hendricks follow you. Restock your Micro-Missile launcher before proceeding.
Secure the Black Station
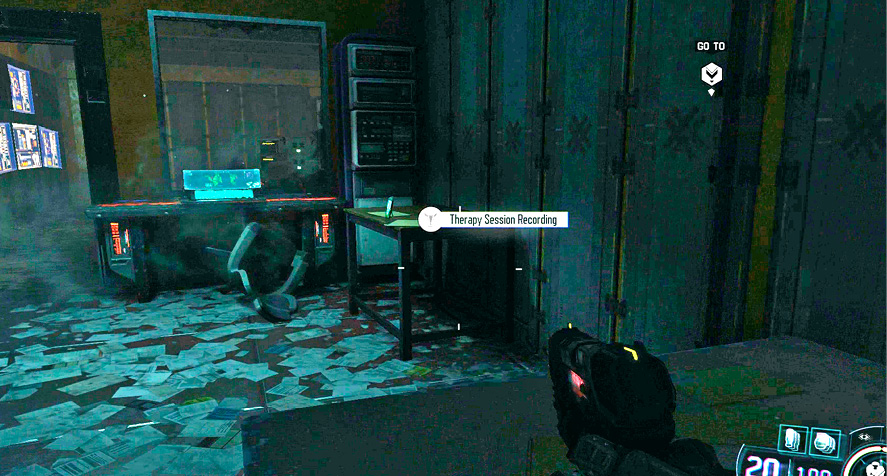
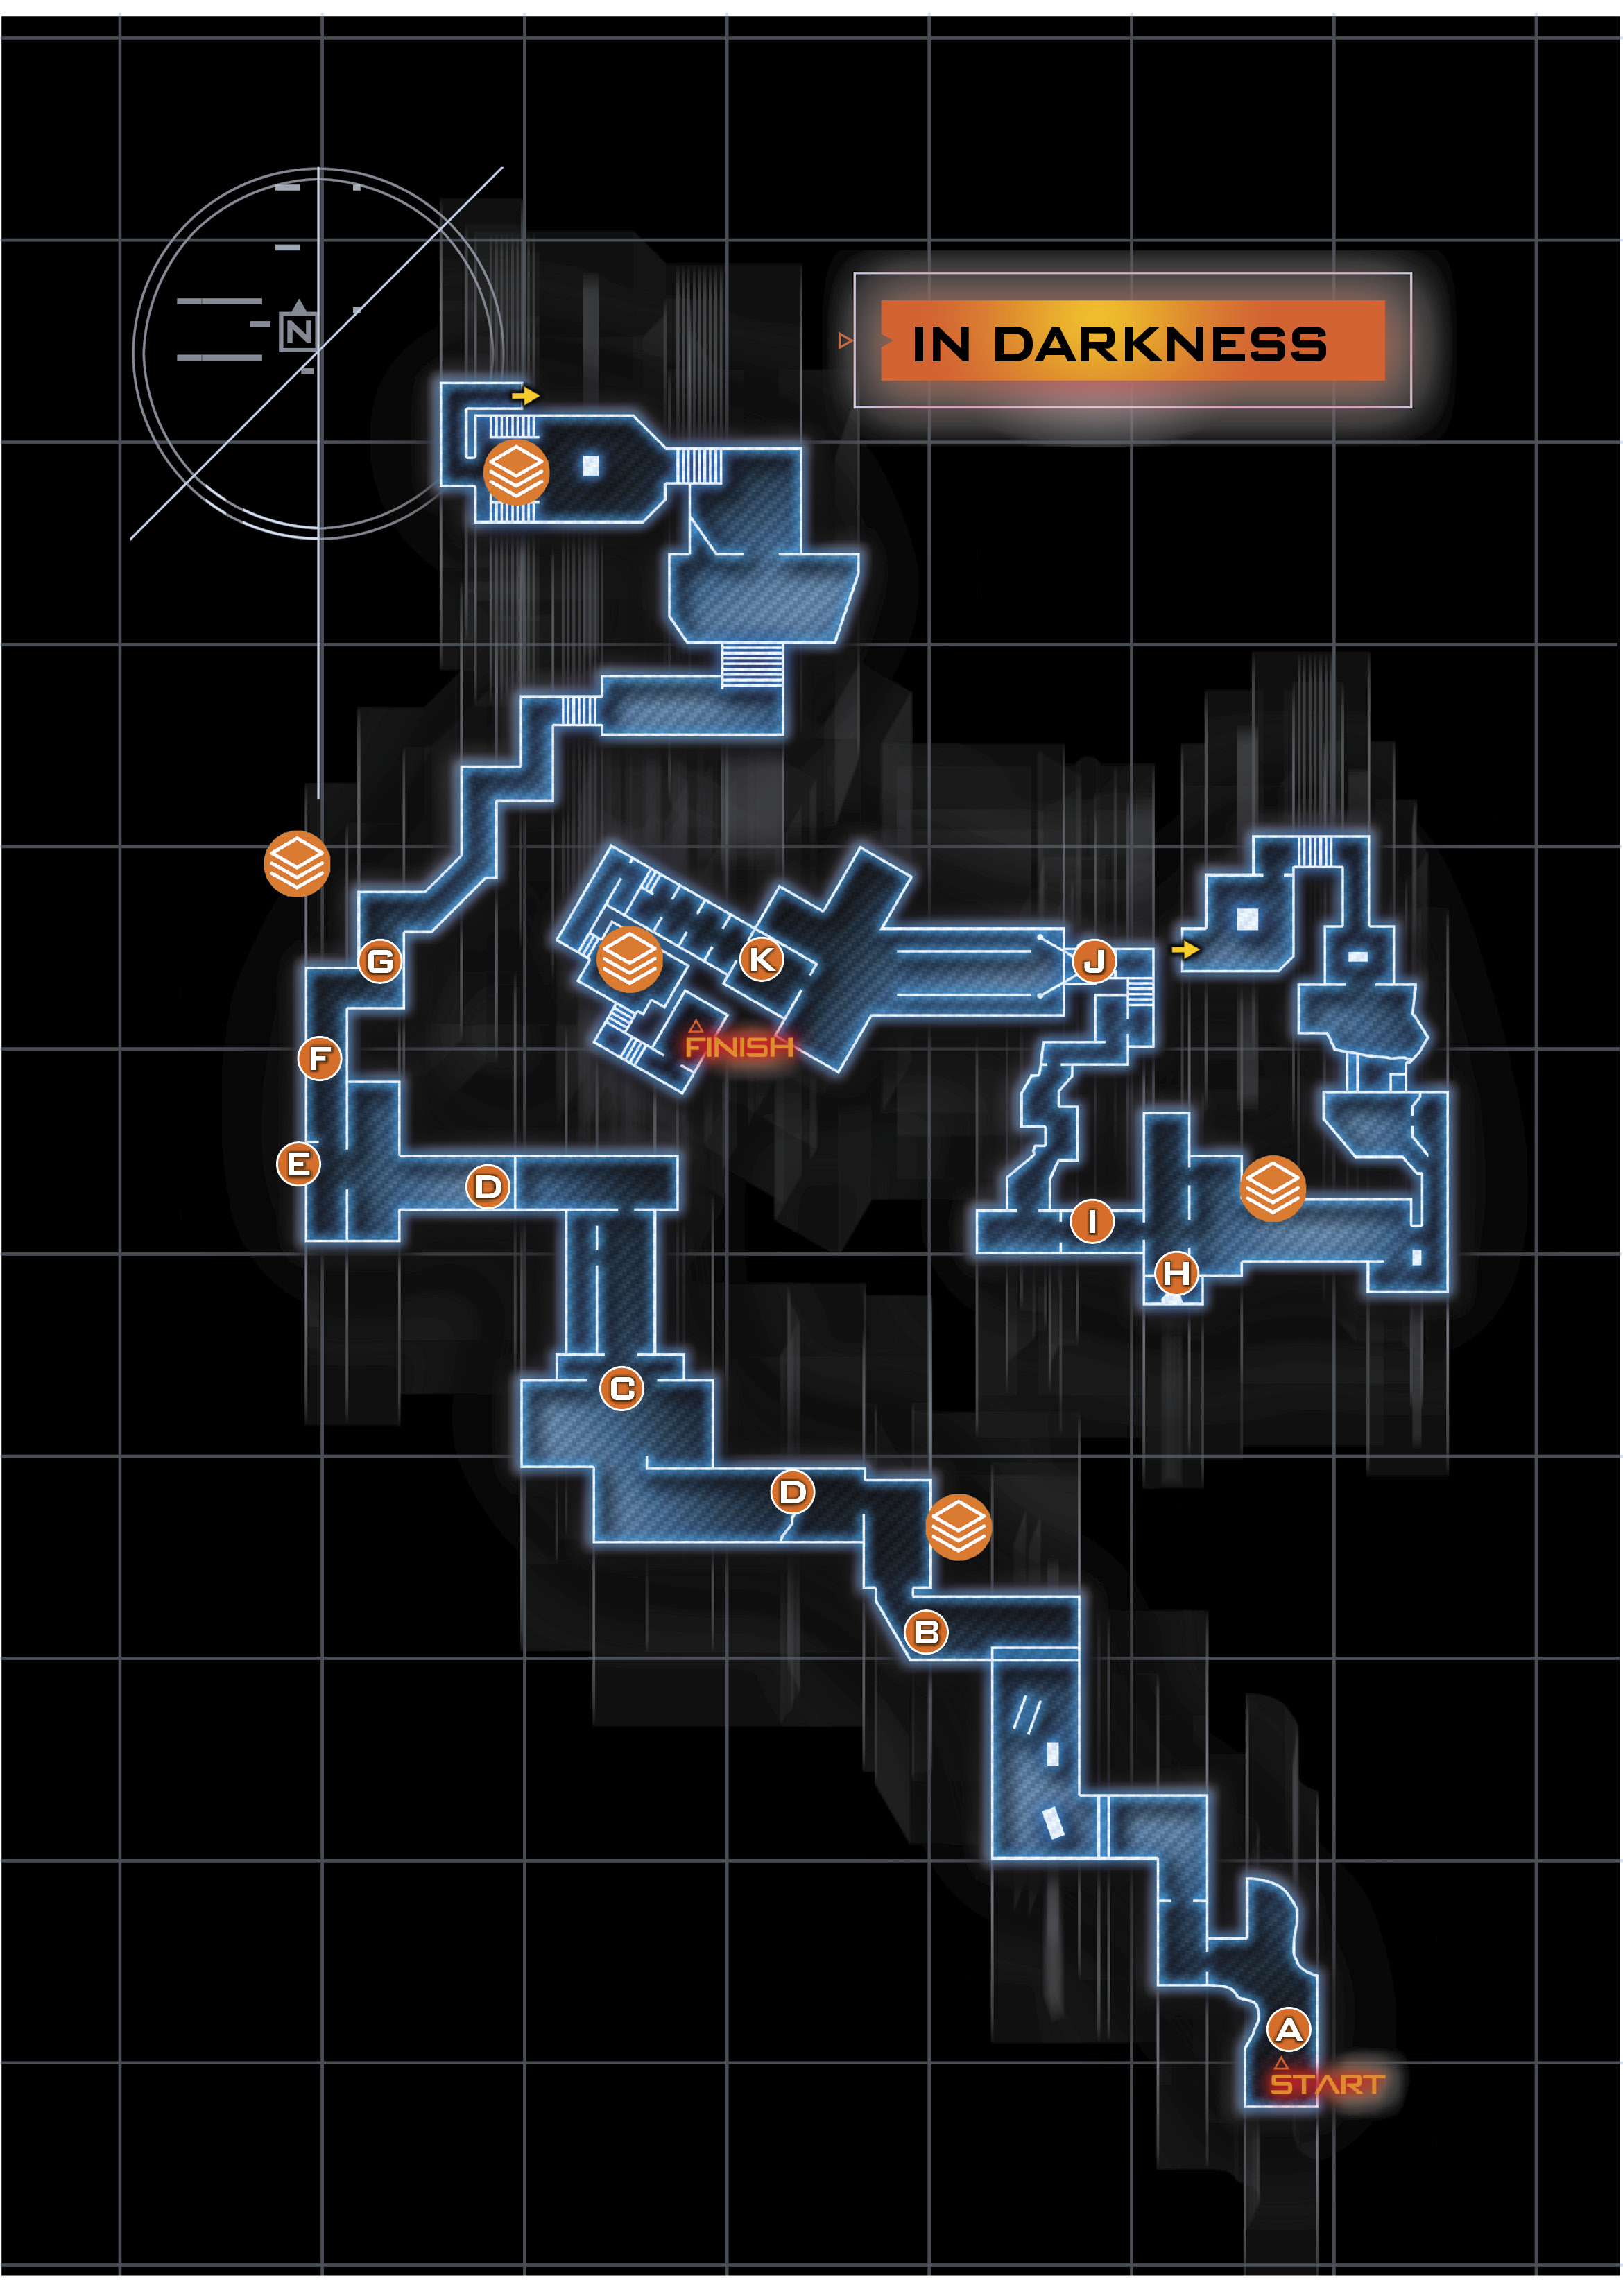
Follow your team through the Black Station. The place is a mess, but luckily, unguarded.
|