
Star Wars The Force Unleashed 2 Guide Walkthrough Walking in Starkiller's Shadow
The Rebel Ship Salvation (Battle for the Salvation)
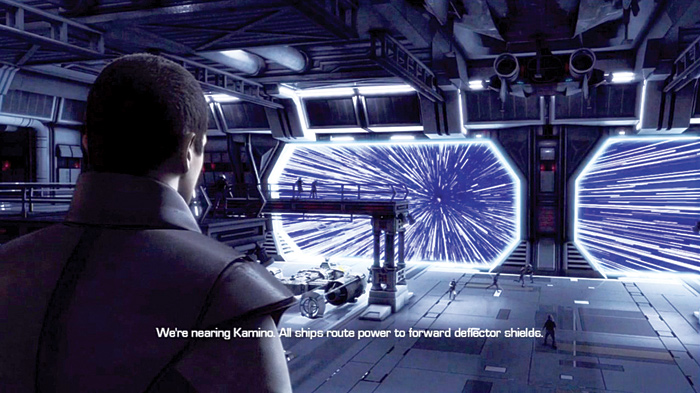
The Salvation jumps to light speed as the Rebels initiate their attack on the Kaminoan cloning facility. When they reach Kamino, the rest of the Rebel fleet is engaged in heavy battle with Imperial forces!
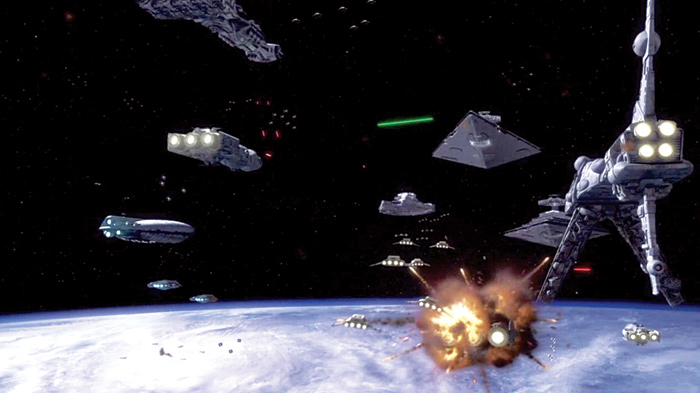
Massive Star Destroyers float high above the battle while TIE fighters and Y-wings trade blaster shots. Inside the Salvation, the clone prepares to make his way back onto the planet’s surface to find Juno.
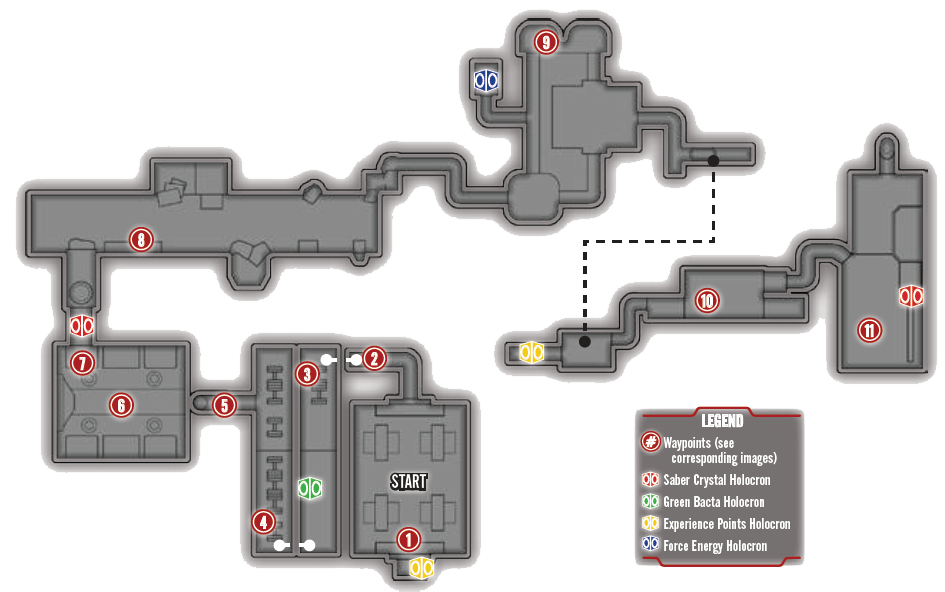
Attack on Kamino
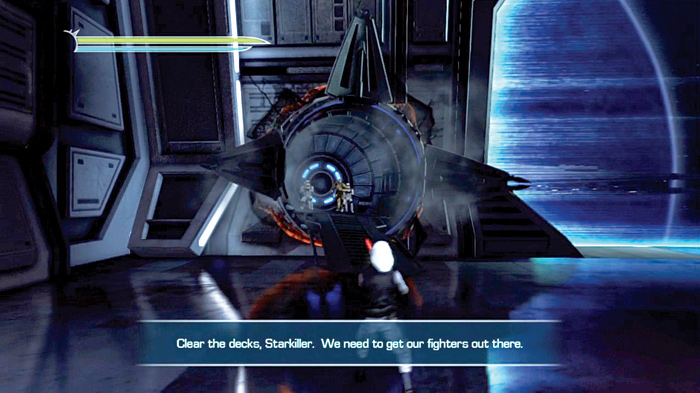
As more of the Rebels’ Y-wings attempt to launch from the Salvation, they’re met with blaster fire and are immediately destroyed. Suddenly, an Imperial transport pod crashes into the Salvation’s deck, delivering Imperials onto the ship!
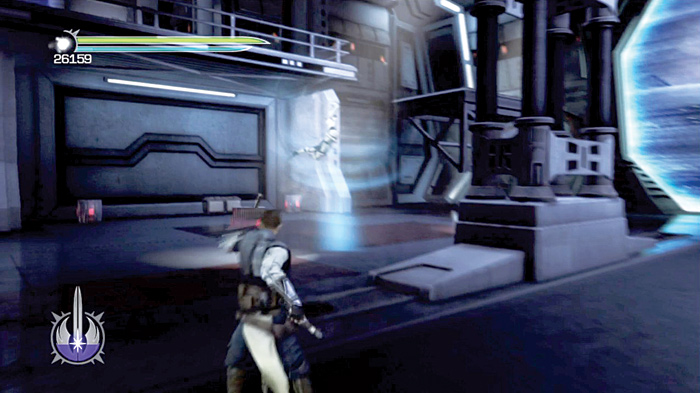
Drop down from your position and speed across the bay toward the pod that just landed. Hit the stormtroopers with a Force Push blast and take them out.
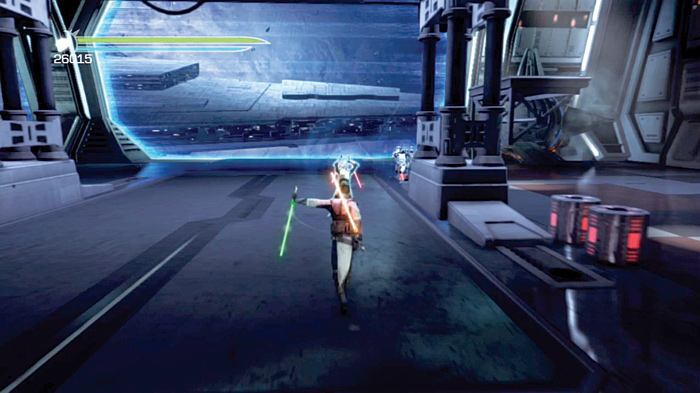
With the Imperials out of the way, turn your attention to the saber guard. Either engage him in saber combat or use Mind Trick to turn him into an ally.
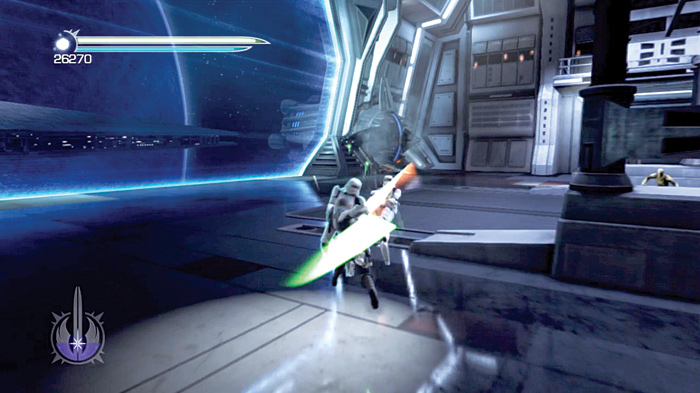
Just then, a second pod delivers even more Imperials onto the deck. If you used Mind Trick on the saber guard, follow him to the second pod and use Mind Trick on the new saber guard. Allow them to destroy the rest of the Imperial forces, then take out any remaining enemies.
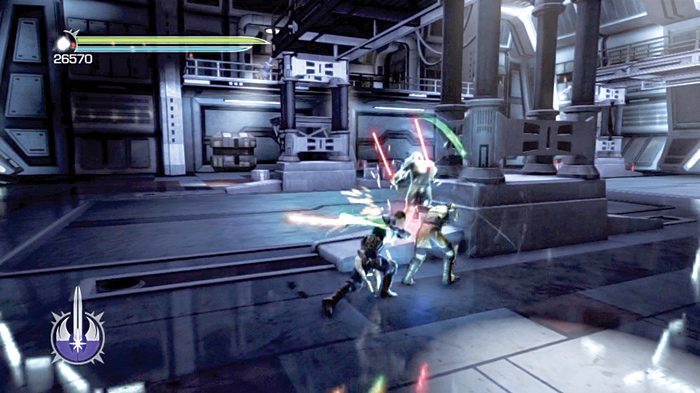
Use saber combos, Force Repulse and Force Lightning to sweep the deck clean of all Imperials before more arrive.
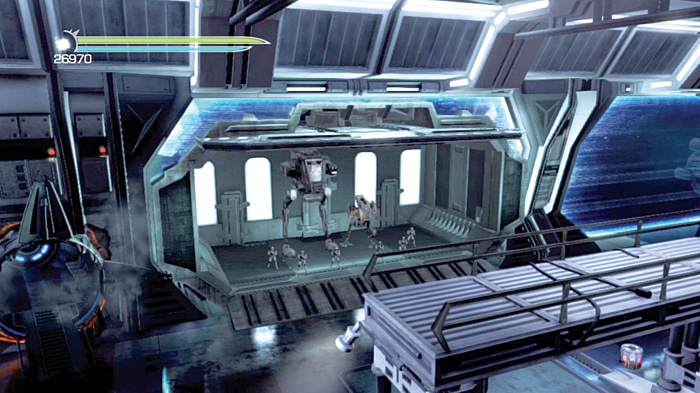
With the first few batches of bad guys out of the way, a new, larger transport crashes into the side of the ship and clamps down on the top of the hangar bay. The pod’s door swings open and delivers a squad of Imperials, an AT-ST, and an AT-MP!
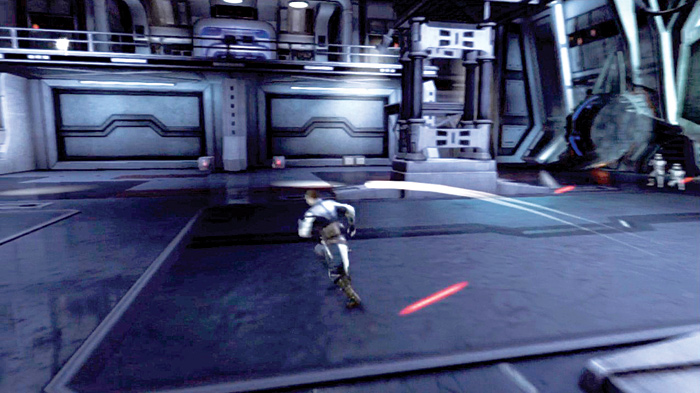
Use Mind Trick on the Imperials and turn them into distractions for the walkers. You’ll need to take out the AT-MP first; it’s quicker and can easily pepper you with missiles.
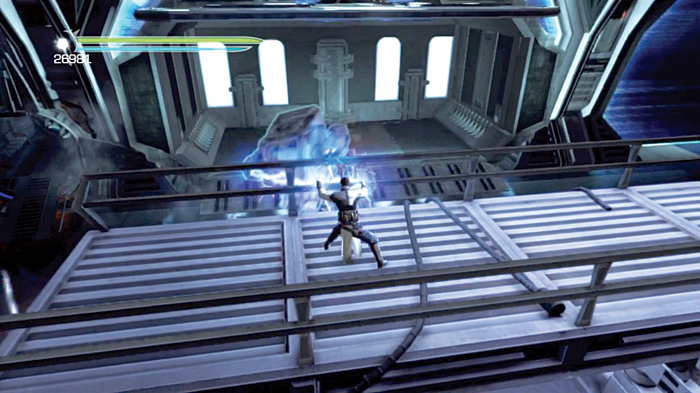
Turn on the AT-ST and use the Force Lightning to fry it. Rather than stand in the open and take incoming fire, position yourself between the walker and an object for protection or stand high atop one of the platforms in the hangar bay.
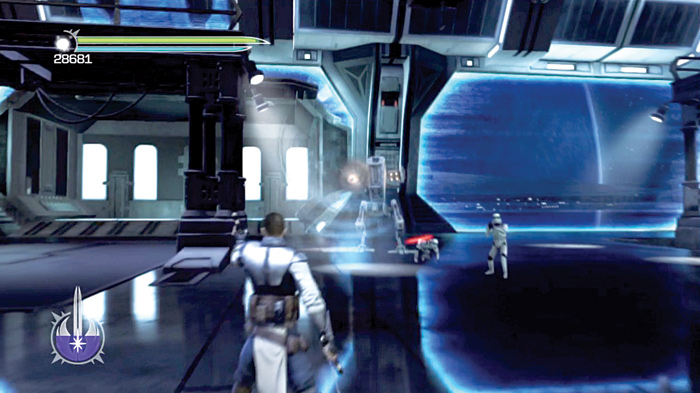
Work quickly and take out the AT-ST, then turn on the AT-MP. Bounce its incoming missiles back at it and blow it up!
When the second large pod crashes into the ship, it delivers even more enemies. This one carries two AT-MPs, an AT-ST walker, and several Imperials. Approach this battle just as you did the other one.
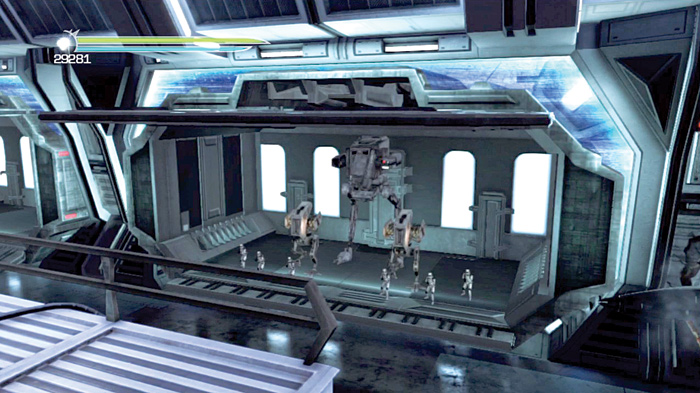
Mind Trick the Imperial soldiers, then turn on the AT-MPs. Before you do, though, take out the scout troopers on the upper level.
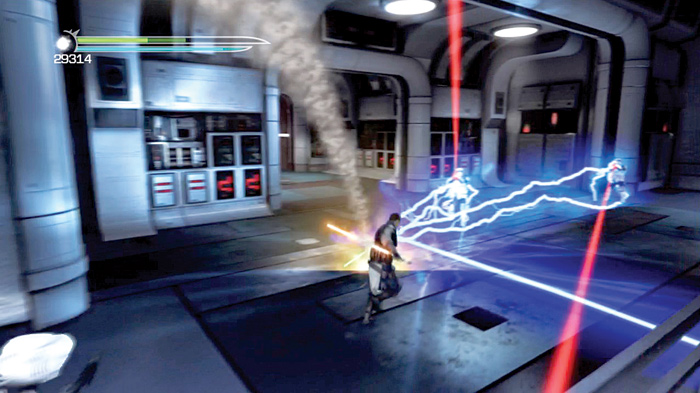
Jump atop the large platforms in the bay—the AT-MPs won’t be able to reach you as easily there—then double-jump dash from the platform onto the upper level where the scout troopers are perched. Take them out any way you like.
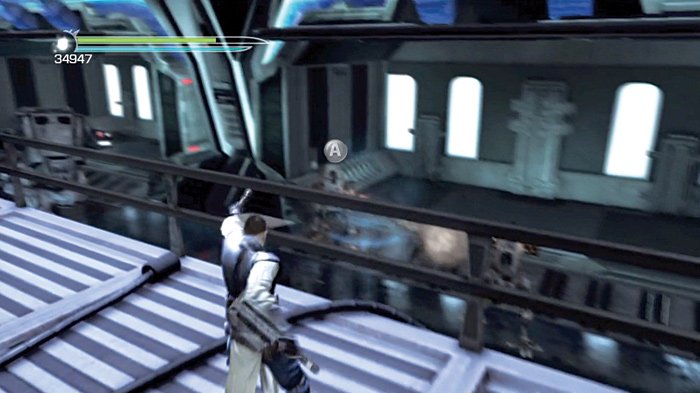
From the safety of the top platform, use the Force to destroy the remaining walkers below, finally clearing the deck. Before leaving the deck, use Saber Throw to slice off the docking clamps from the pods.
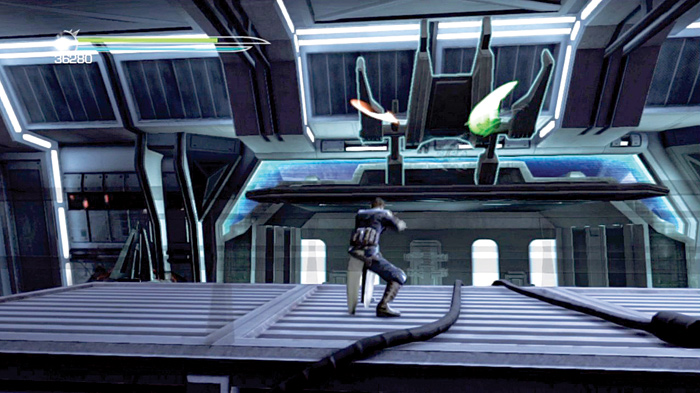
Hop onto the platform on the left and follow the hallway to a large tunnel leading back toward the gearworks. Jump in and follow the tube all the way back.
Gearworks Revisited
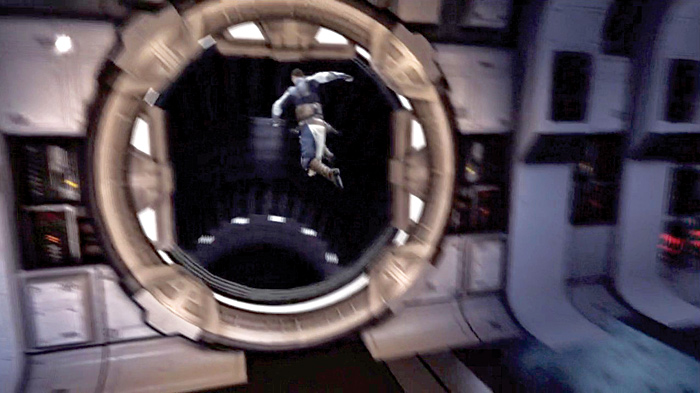
Upon landing, you find two saber guards. Mind Trick them both and watch them fight it out. When only one is left, scorch him with Force Lightning!
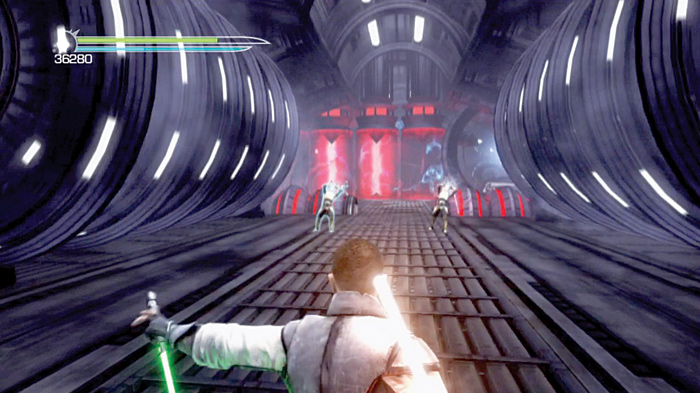
Approach the red firing tubes at the room’s far end, and either Mind Trick the enemies on the other side, or grab them with the Force and yank them into the tubes. With the enemies gone, grab the large cog sitting on the ground and place it in the center of the spinning rotor nearby.
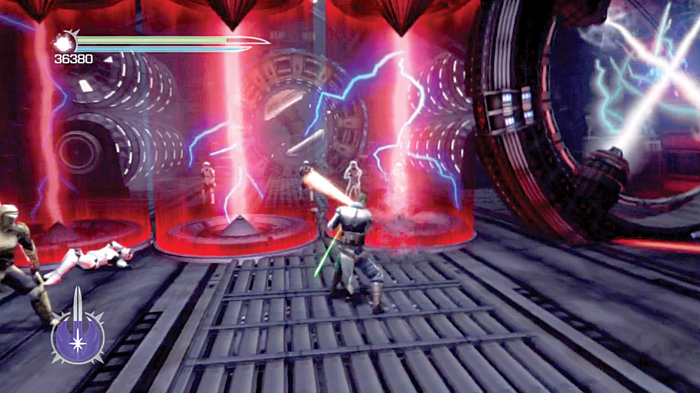
The rotor’s electrical conduits overload with the cog in place and allow you to pass through the rotor to the other side of the red tubes.
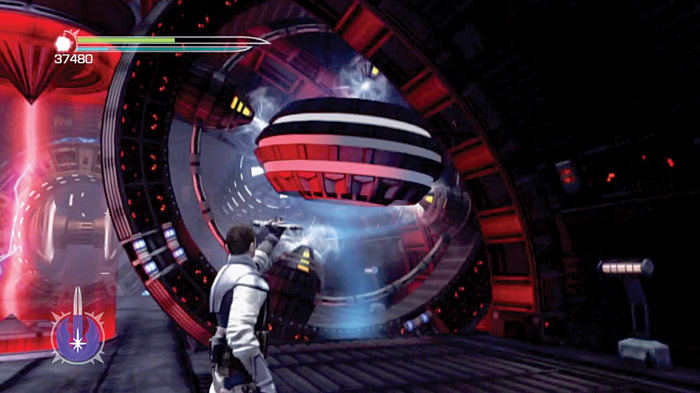
Force Grip the large spinning rotor in the next room and force it to stop. Jump into the room’s other side and use Force Repulse to quickly disable the enemies nearby.
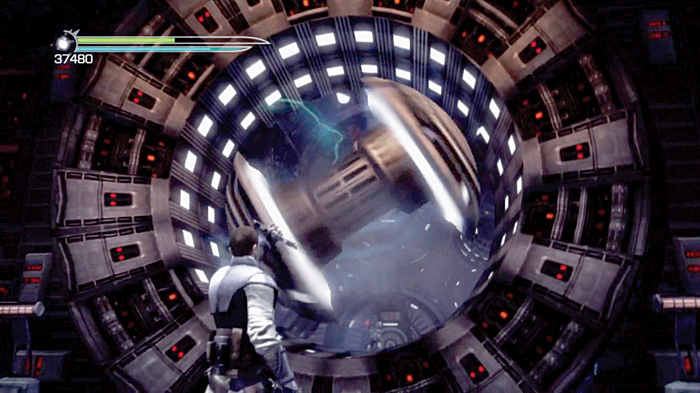
Walk to the room’s left side and peer through the large spinning rotor again. Locate the cog on the other side, then move it into the center of the rotor, just as before. Overload the conduits, then jump onto the other side.
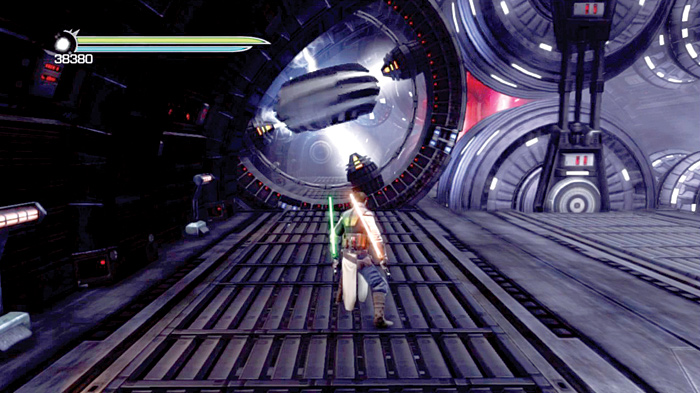
Head over to the unstable engine parts ahead (they’re glowing red) and zap them with Force Lightning. The charge blows them up and clears a path farther into the gearworks.
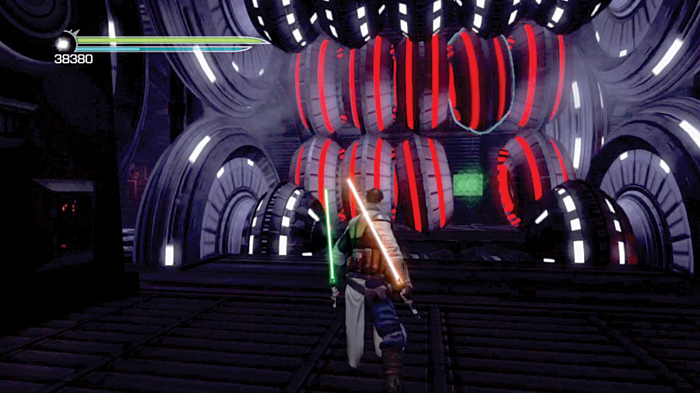
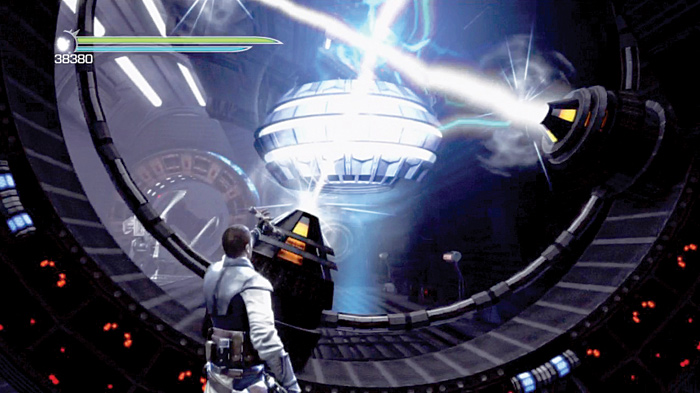
Drop into the shaft at the room’s end and make your way across the next section of gearworks by placing the cog into the rotor on the right.
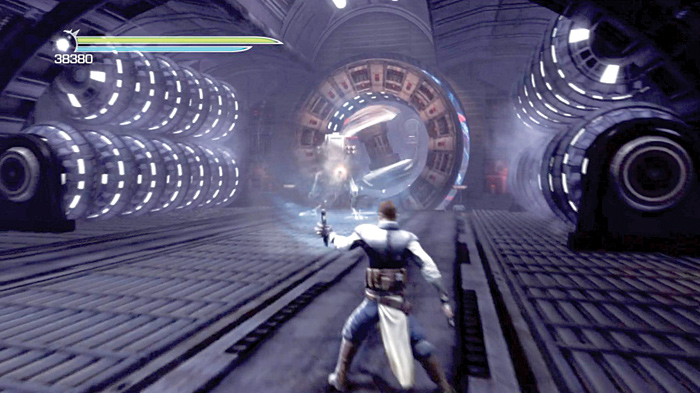
Face the AT-MP in the next area, and fire its missiles back at it. Force Grip the next rotor and stop it, then rush into the next section of the gearworks.
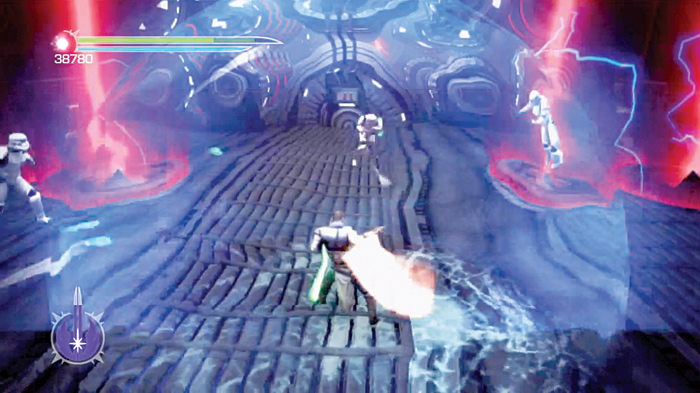
Use Force Repulse to destroy the Imperials in the next room, and use Force Lightning to destabilize the engine parts on the right. Blow a path through the engine parts and enter the long, empty section of the gearworks.
Climb atop the stacked engine parts and drop down the next shaft at the end of this hall to reenter the engine room.
Engine Room
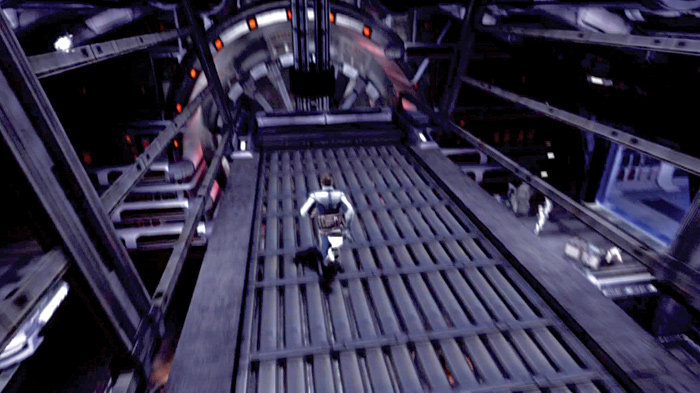
When you arrive in the engine room, Master Kota locks it down until you clear it out. Use Mind Trick on the enemies below and wait for them to do most of the work for you.
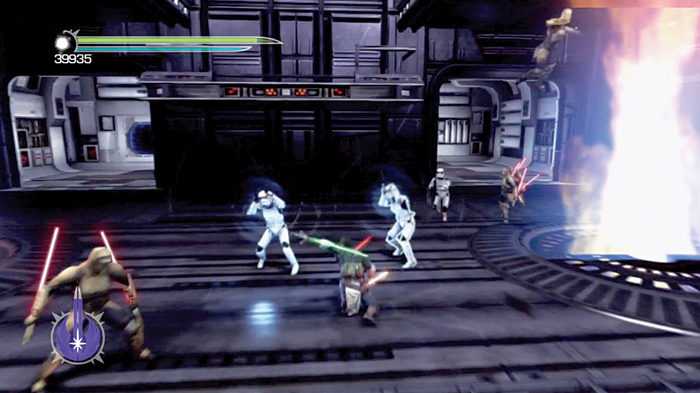
Drop onto one of the platforms below and bounce the AT-MP’s missiles back at it. Stay above the ground level and use Force powers like Lightning and Mind Trick to eliminate the enemies from a perched position. When the area is clear, you can drop down to the area the enemies were.
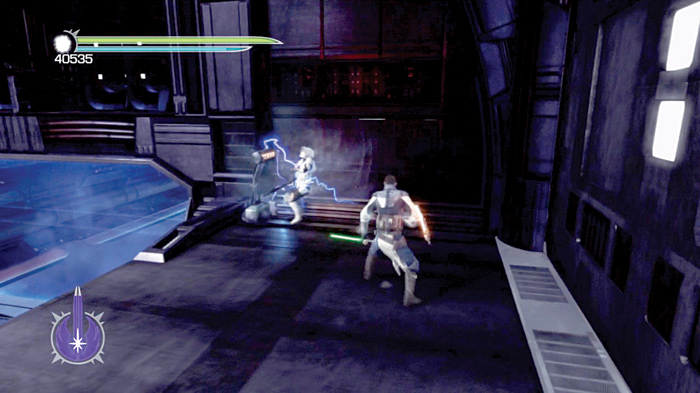
If you can’t manipulate or fry everyone from your elevated position—some enemies may be hard to see—then drop down only after you destroy the AT-MP. The saber guards won’t hesitate to gang up on you. Take your sabers to the remaining enemies and put them away.
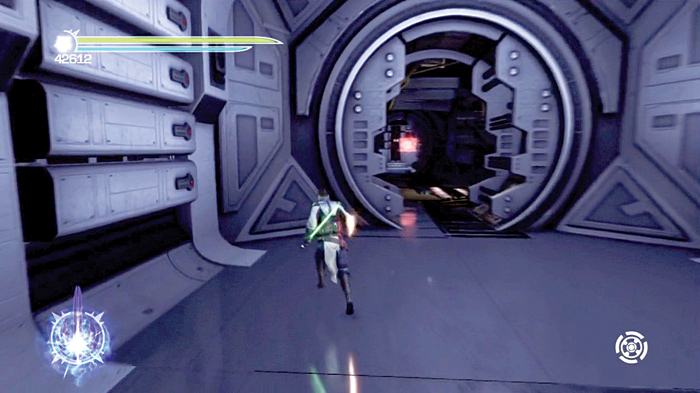
After you’ve cleared the engine room of enemies, Kota unlocks the room and removes the blue force field from the upper platform. Double-jump onto the top platform and follow the hall out to an elevator platform.
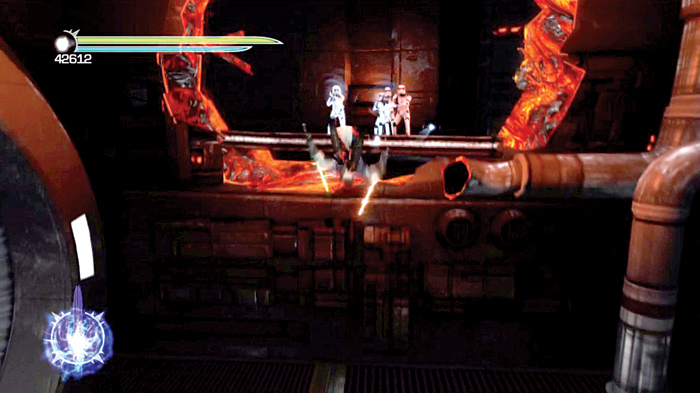
Ride the platform up to a small room with a huge gaping hole in it. Double-jump toward the hole and use Force Repulse to knock the nearby Imperials away. Step on the ledge where the Imperials were perched.
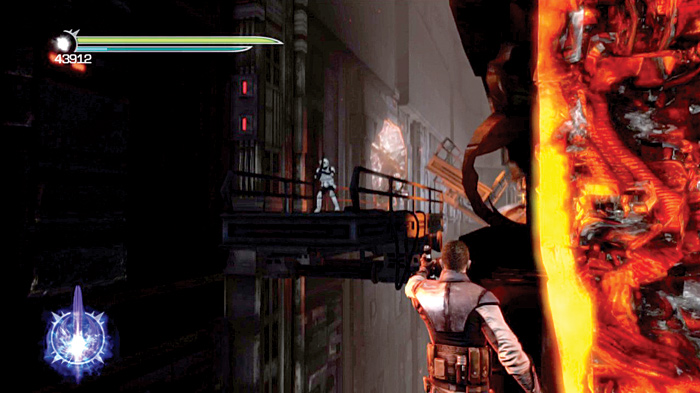
You’re back in the long, canyonlike chasm inside the ship. Turn right and locate the large catwalk overhead. Use Force Grip to lower it, then double-jump dash onto it and take out the two scout troopers. Electrocute the jumptroopers in the air as you go; otherwise, they’ll blast you to pieces.
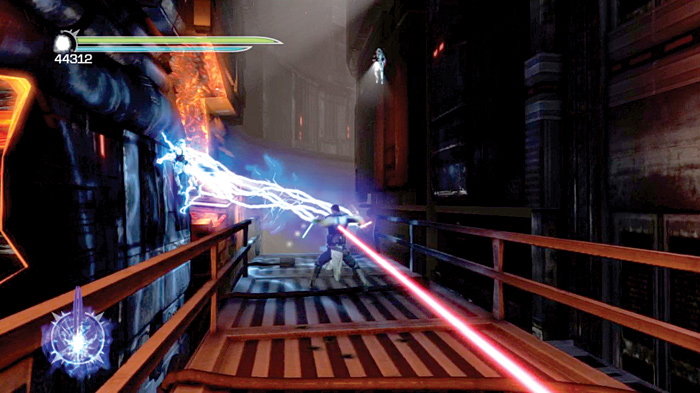
Lower the next catwalk and dash across it. Make a left into the next section of the ship and hop down. Take out the lone scout trooper near the next large hole in the wall, and creep to the wall’s edge.
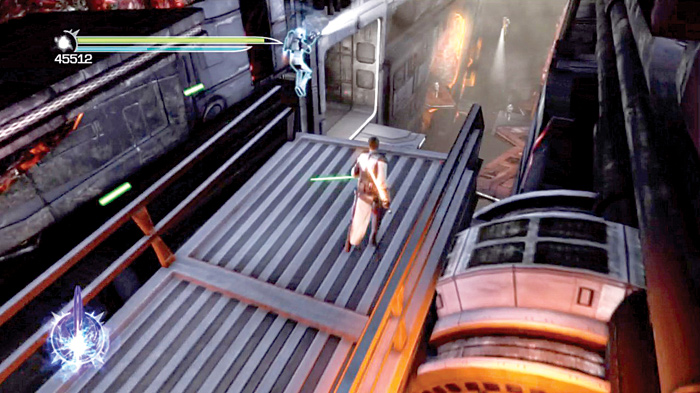
Double-jump across the chasm into a small room crowded with Imperials. Take them out any way you’d like, then exit the room and zigzag across the chasm, zapping jumptroopers as you go.
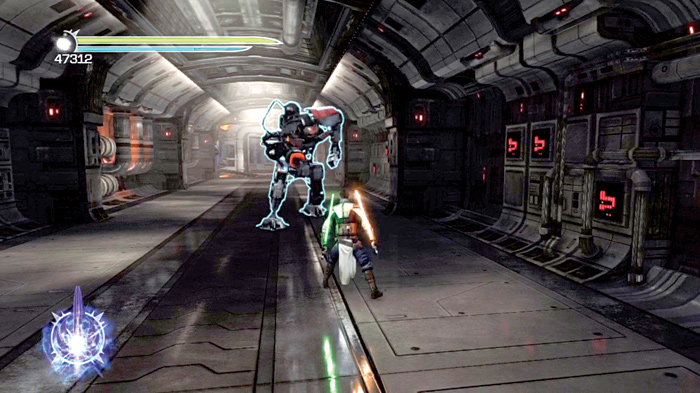
Fight your way back into the main section of the ship and storm down the long hall. A pod crashes into the side of the ship again, this time delivering a large incinerator wardroid.
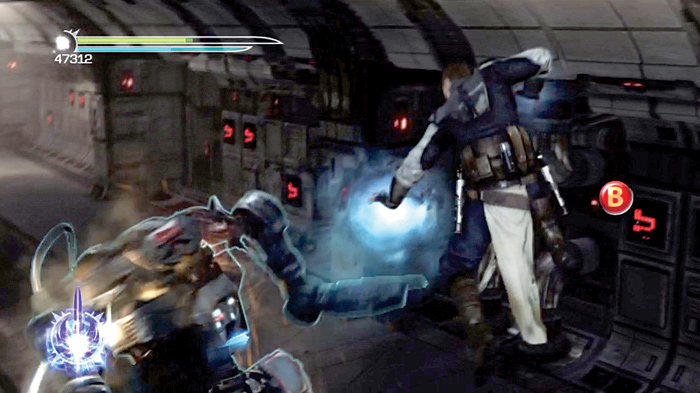
Battle tactics against the incinerator wardroid are the same as against its carbonite cousin: rip away its shield, fire its projectiles back at it, and take it down with Force Lightning or lightning-infused saber combos. Once its ready to drop, follow the onscreen prompts.
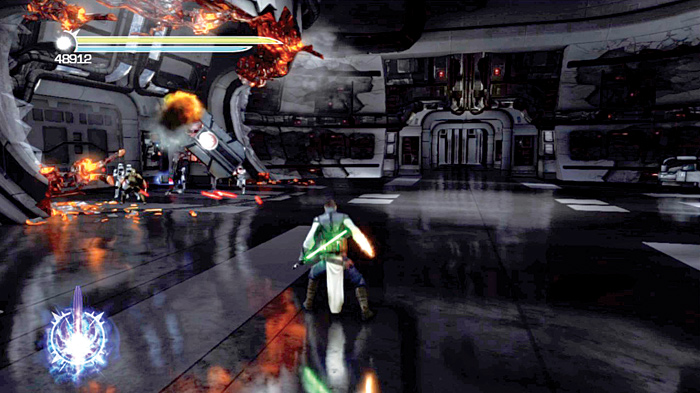
Follow the hall out to a large room with another incinerator wardroid and several saber guards. Target the wardroid first. Use its fireball projectiles against the nearby enemies, then against the wardroid itself.
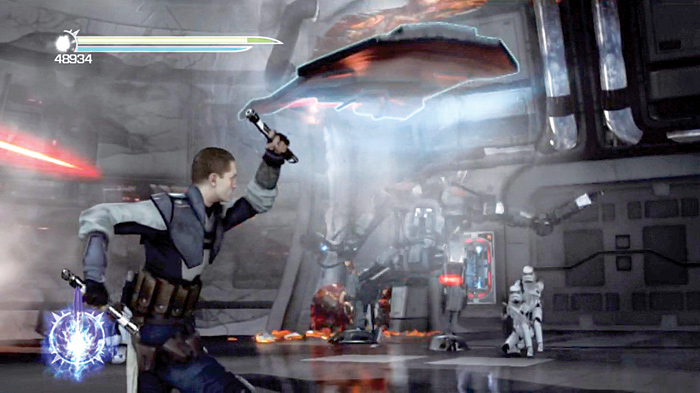
Mind Trick the saber guards and allow them to distract the wardroid. While it is firing on the saber guards, zap it with Force Lightning and weaken it.
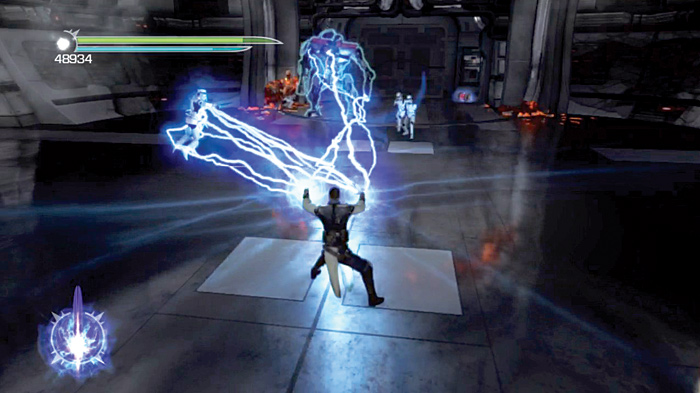
Rush in as soon as the onscreen command pops up, and finish off the wardroid. Pick up the nearby fuse and slip it into the slot to the left of the door.
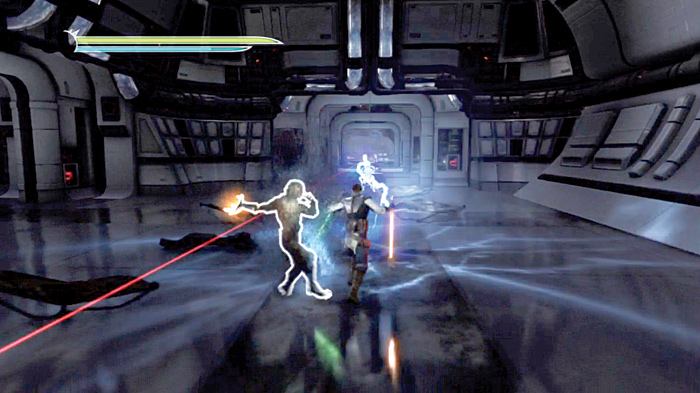
Battle your way down the hall, through several more Imperials and a few terror troopers. Turn the terror troopers into allies and watch them tear apart the lesser Imperials.
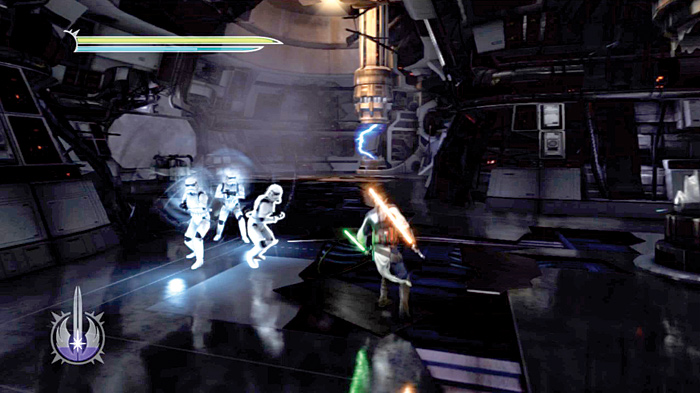
Keep battling down the hall until you reach a room full of Imperials, mostly scout troopers. Take out the scout troopers first, then turn on the stormtroopers and crush them.
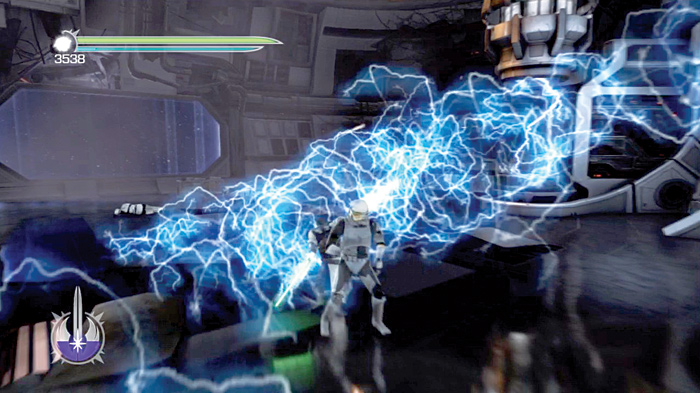
Eventually you reach a room with an incinerator wardroid and several Imperial squads. Mind Trick the lesser Imperials, including the saber guards, and let them fight it out amongst themselves.
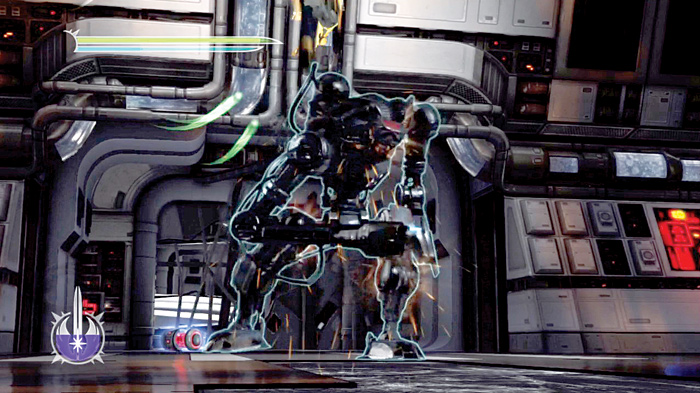
Watch as your enemies tear each other apart, then take on the wardroid. Rip off its shield and fry its circuits with Force Lightning. Bring it down, then continue your trek across the Salvation.
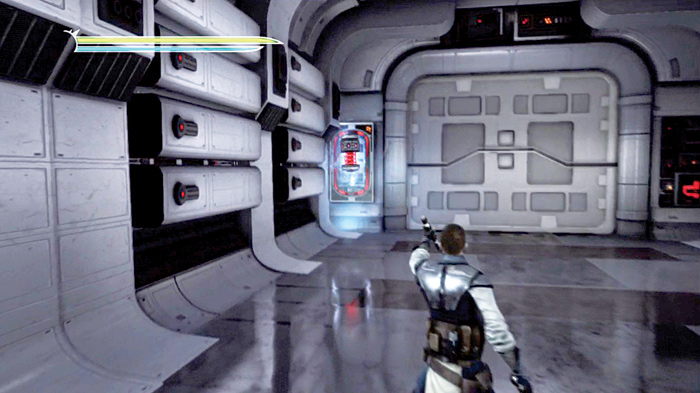
Grab the fuse in the room and float it over to the next sealed door. Pop the fuse in place, charge it with lightning, and get moving!
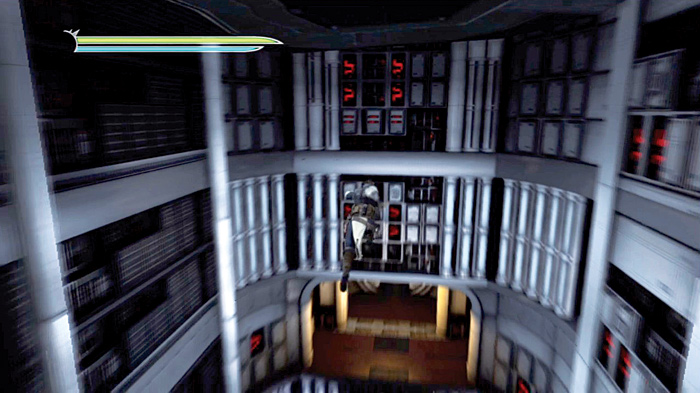
Follow the hall as it winds around to a broken elevator platform. Lift it out of the way and drop into the elevator shaft.
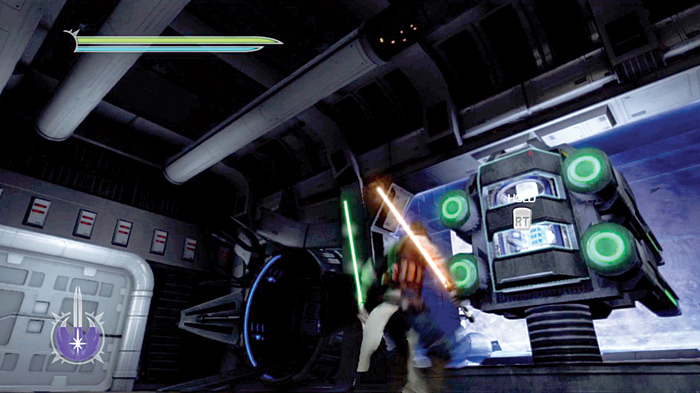
Double-jump dash onto the next hallway entrance and dash down the long ruined hall. Sprint to its end until you find a room with a turbo laser. Demolish the enemies in the room, then turn to the turbo laser, remove the protective cover of the power fuse, and hit it with Force Lightning. The lightning activates the laser, and it fires on the neighboring Star Destroyer!
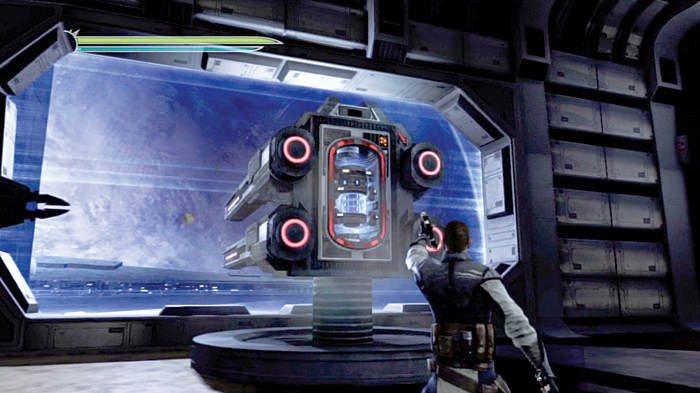
After firing at the Star Destroyer, use Force Grip to yank out the fuse from the turbo laser mechanism. Move the fuse into place on the door nearby and power it up. Enter the next room to find even more Imperials!
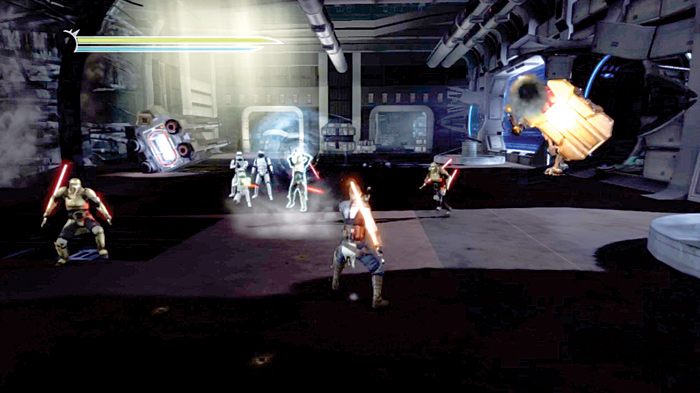
The room is occupied by an incinerator wardroid, saber guards, and several Imperial troopers. Take out the smaller enemies first, leaving the droid for last so you can face it one-on-one.
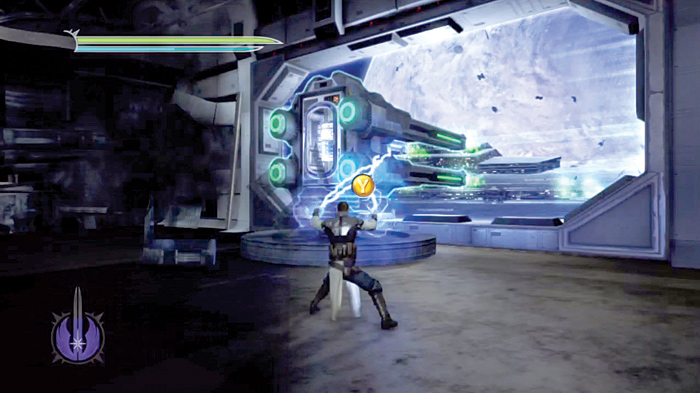
There are several more turbo lasers in this room. The first two blow up before you can use them. Approach the third one and use Force Lightning to activate it and fire on the Star Destroyer some more.
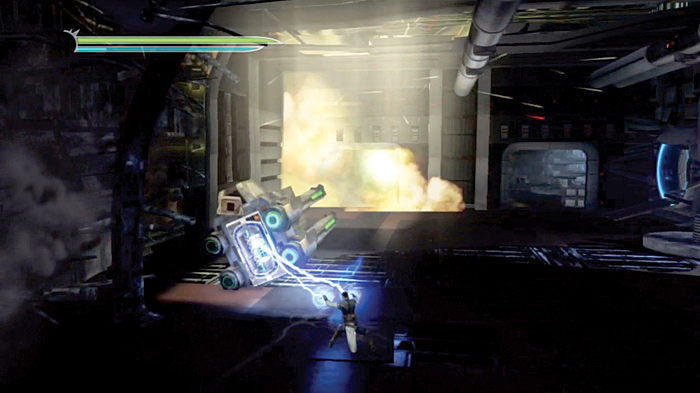
When you’re done, remove the power fuse and place it in the fallen turbo blaster. Activate it with lightning, and it will blast a hole open in the far door. Walk into the demolished hallway and follow it toward another hangar bay.
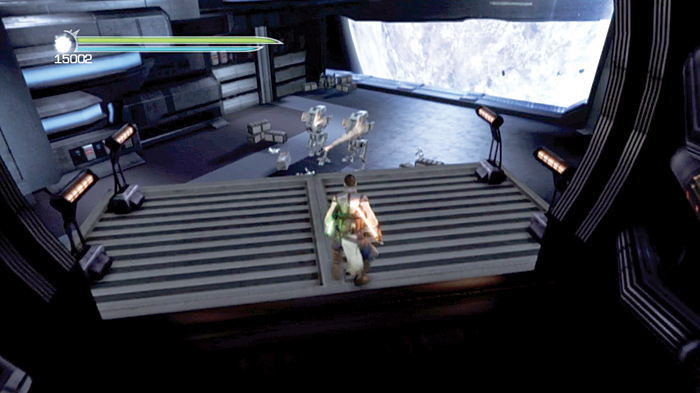
Before dropping into the bay, locate the two AT-MPs below. Destroy them with their own missiles, then drop down and wipe the area clean of all Imperials.
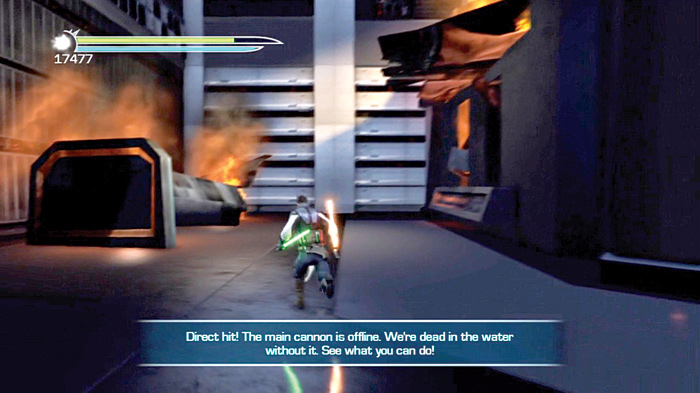
Make a left and approach the rear of the bay. When you do, the Star Destroyer blasts the Salvation’s firing solution and deactivates it. Make a right at the rear and double-jump onto the top of the firing solution.
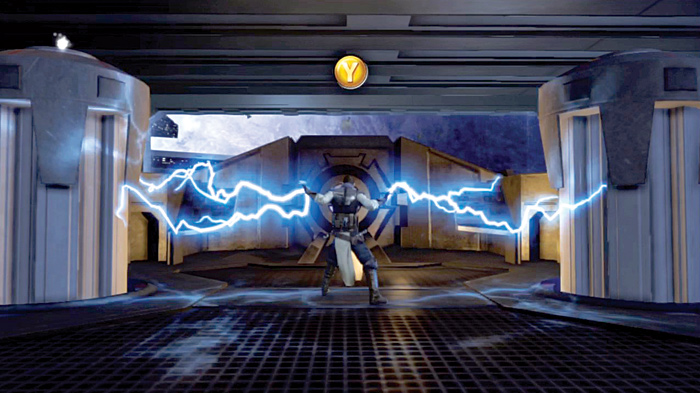
Stand between the two large coils and follow the onscreen commands to power them up and fire on the Star Destroyer.
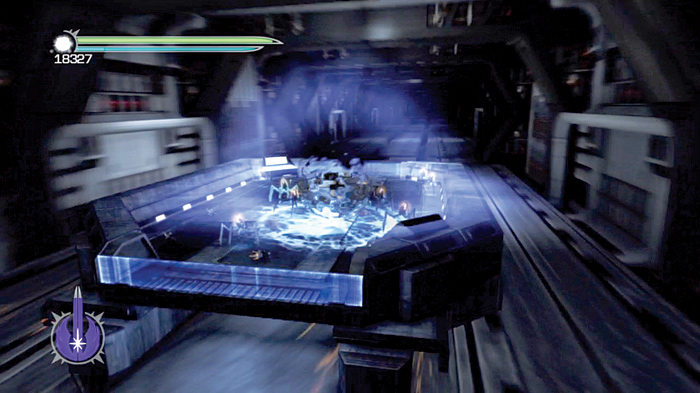
When you’re done, go into the elevator at the room’s rear and ride it all the way up. Follow the hall to the next platform transport and ride it as it speeds across the Salvation.
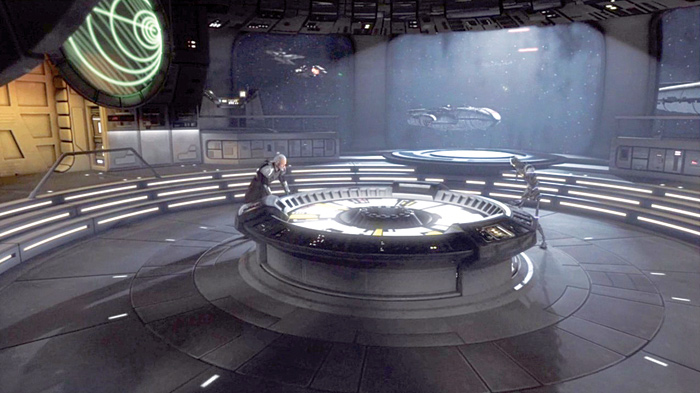
Use Force Repulse to destroy the terror spider droids that attack and shift from side to side as you dodge the explosions in the transport tube. If the view shifts right, then you move left. Reach the end of the transport and join Master Kota and the combat training droid in the control room.