
Star Wars The Force Unleashed 2 Guide Walkthrough Walking in Starkiller's Shadow
Kamino (The Return)
As the Salvation nears the planet of Kamino, it begins to take too much damage. The Rebel Alliance, on the verge of retreat, would give in now if not for the determination of General Kota. He orders that they press the attack.
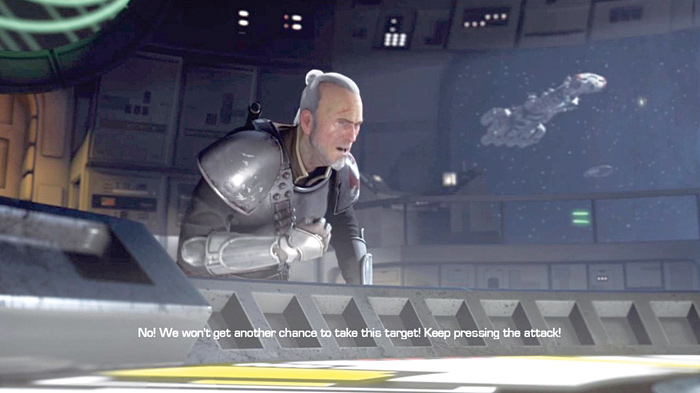
Not only is the Salvation losing its shields, but also the planetary shield is preventing them from making an assault.
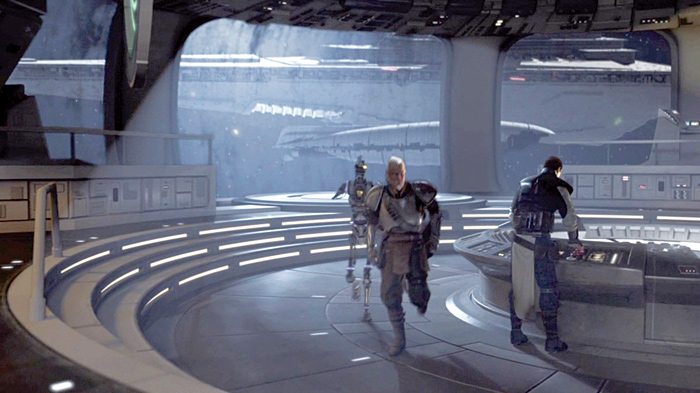
The Starkiller clone insists that Kota get to the Rogue Shadow. While Kota and the rest of the crew abandon ship, Starkiller's clone will stay behind and manually drive the Salvation into the Kaminoan cloning facility!
The Return
Rough Landing
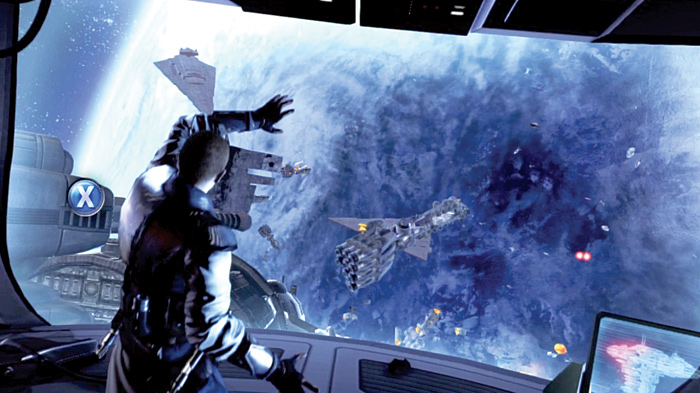
The Salvation is going down hard, so you take position near the view screen. Follow the onscreen commands to move the debris out of the ship's way and clear a path to the Kaminoan surface.
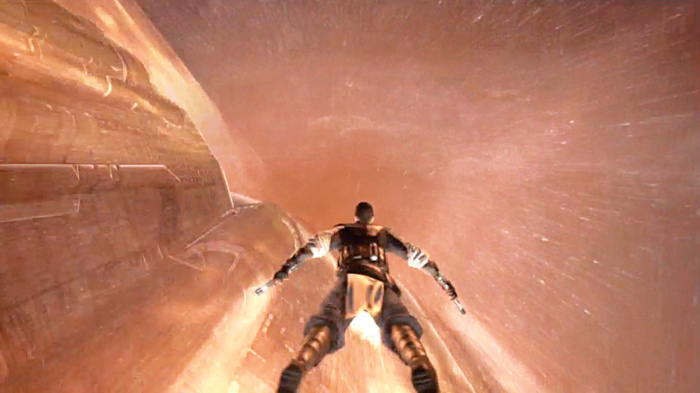
Continue following the onscreen commands when the ship breaks the planet's surface, and exit the ship! Glide alongside the Salvation and dodge the falling debris.
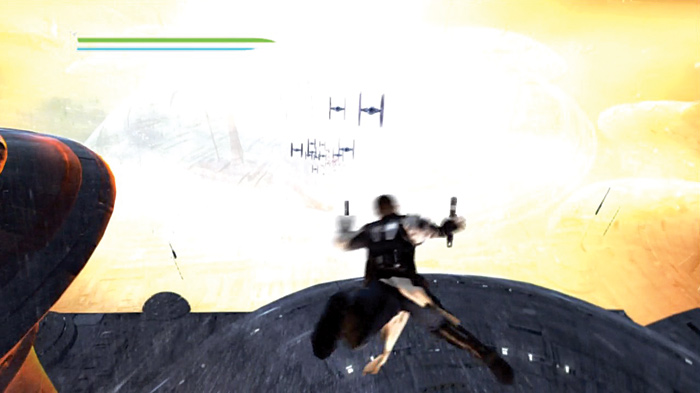
Eventually the Salvation crashes into the facility, causing a massive explosion. The crash alerts the Imperial forces on the ground, and several swarms of TIE fighters attack. Use the Force to destroy them as they approach and clear a path down.
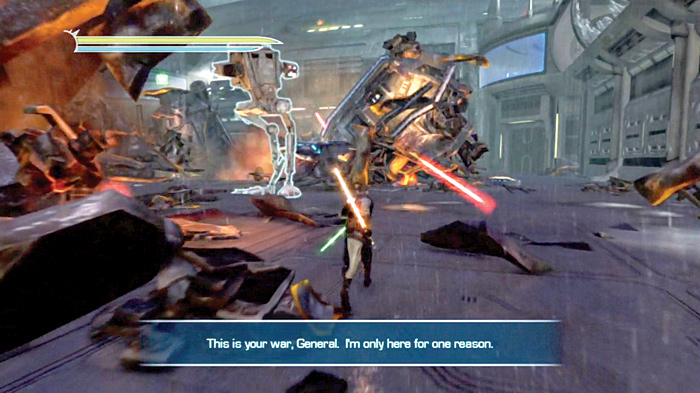
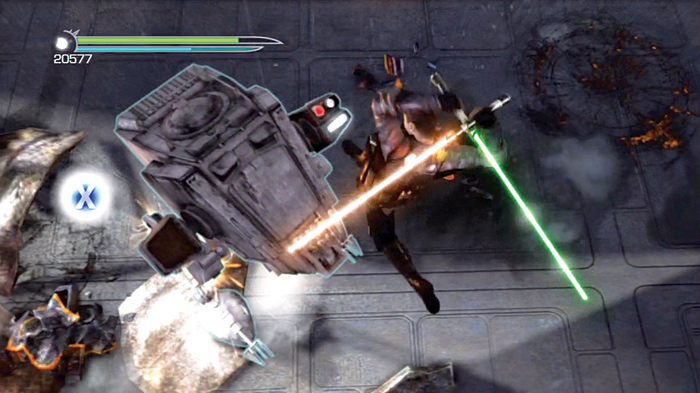
You land in the same square where you first encountered the carbonite droid. Only now it is covered in debris and more is still crashing around you. Ignore the debris shower and head toward the AT-ST.
Bounce its Thermo Detonators back at it and knock it with scraps of metal lying around. Whittle down its defenses, then follow the onscreen commands to take it down.
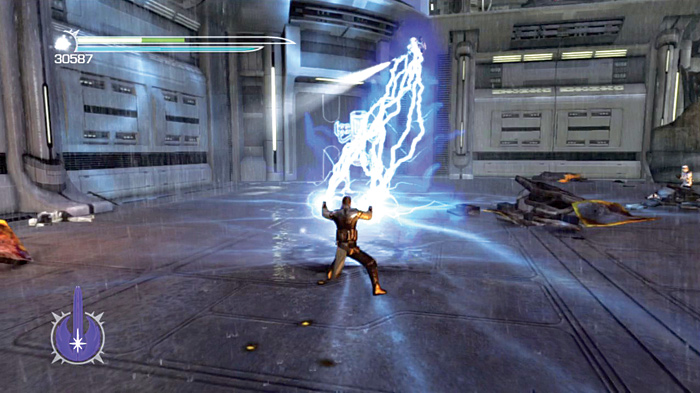
Take out the other AT-ST in the room while deftly avoiding the blaster fire from the nearby gun turrets. Stay out of the red targeting reticules while you zap the walker. Take it down quickly. When you do, you're attacked by AT-MPs. Take them out by zapping them with Force Lightning. If you try to Grip their missiles and hurl them back, you may take fire from the gun turrets.
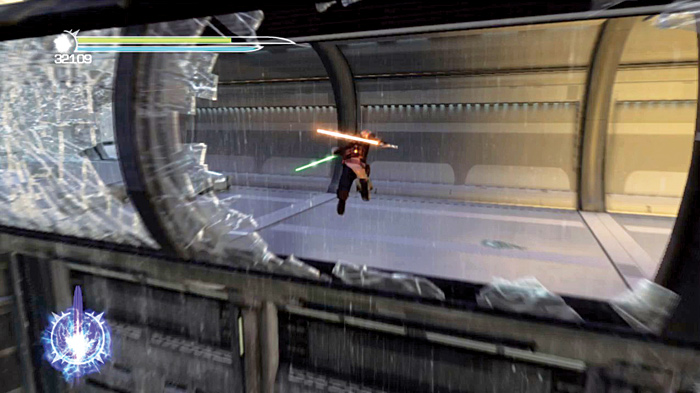
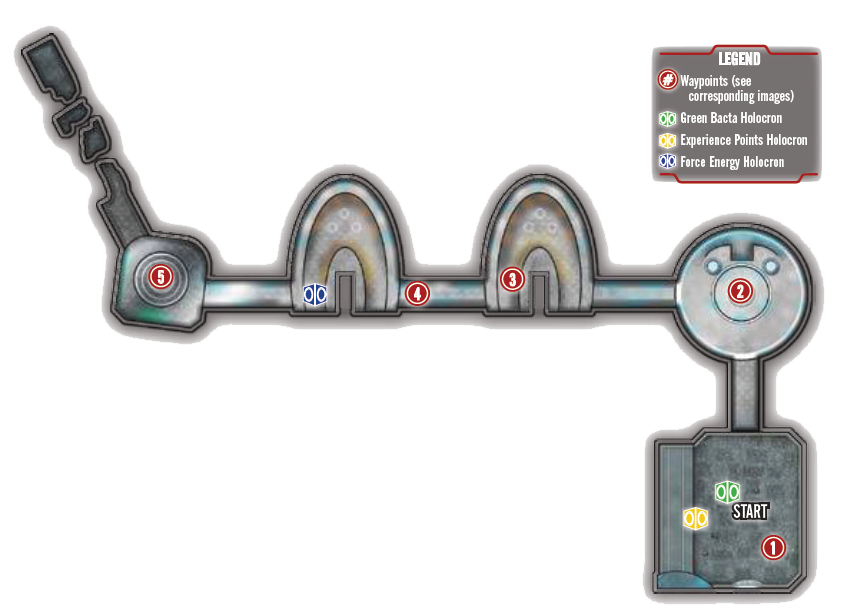
After eliminating all of you enemies, use the debris to reach the walkway to the left of the area. Fight past the scout troopers and other enemies as you approach the blue force field.
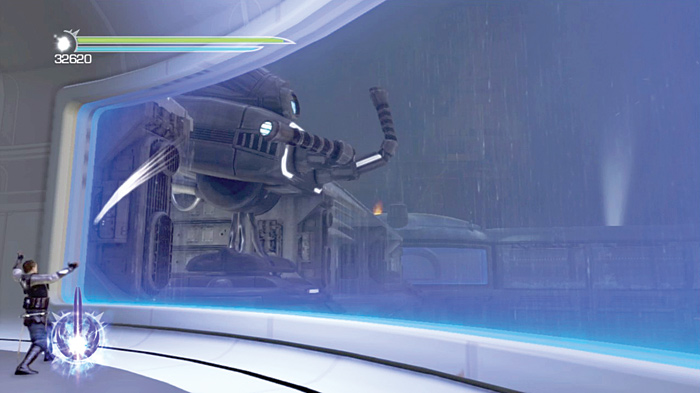
Turn to the force field and use Force Grip to destroy the gun turret. Drop back down to the ruined area below, and sprint across to the other side and take out the second turret the same way.
With the coast clear, use Force Grip to remove the large chunk of debris from the exit and leave this room. Dash down the hall and hop onto the elevator at the end.
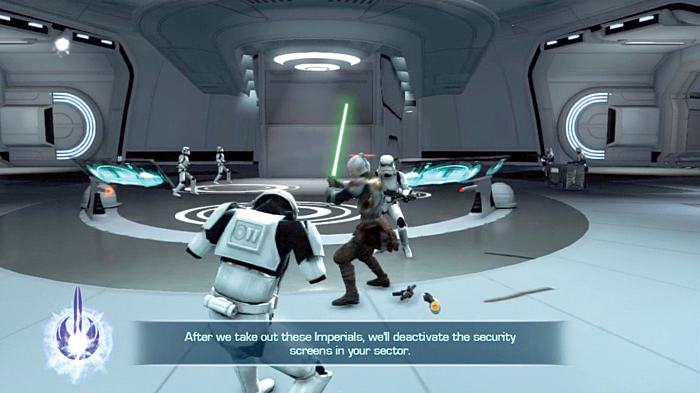
The elevator takes you up to the security towers. Master Kota battles the Imperials in the opposite tower.
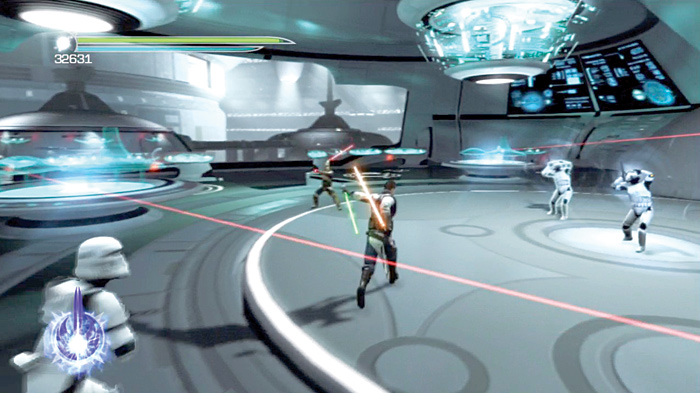
Run around the room and Mind Trick as many enemies as you can. Let your new small army do most of the work while you sweep up the rest of the fiends. Concentrate on the saber guards first, then the scout troopers, leaving the lesser stormtroopers for last.
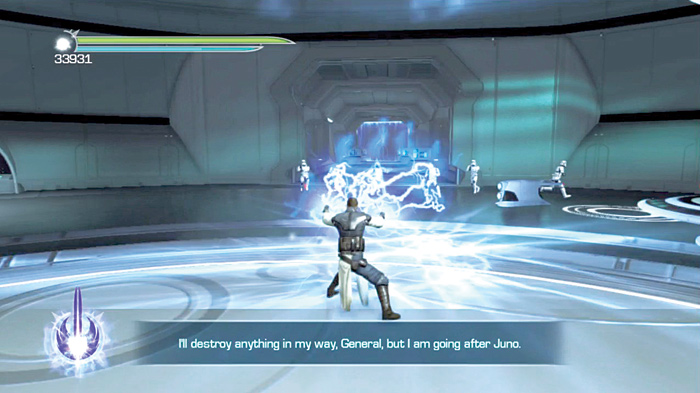
With the room clear, the nearby door slides open. Several stormtroopers dash in. Rush the soldiers and cut them down on your way to the room's exit.
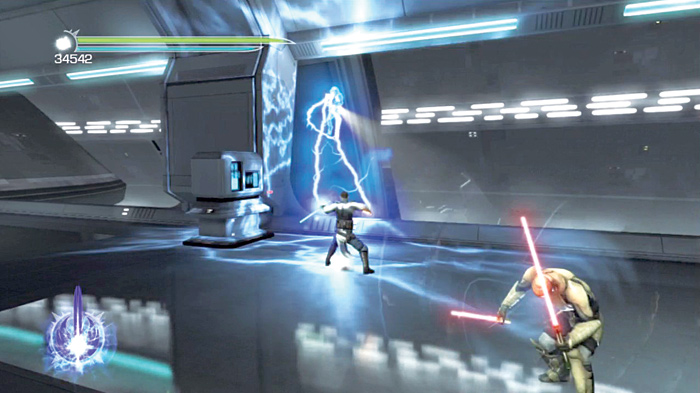
Dash across the hallway, frying jumptroopers and saber guards as you go, then enter the next tower.
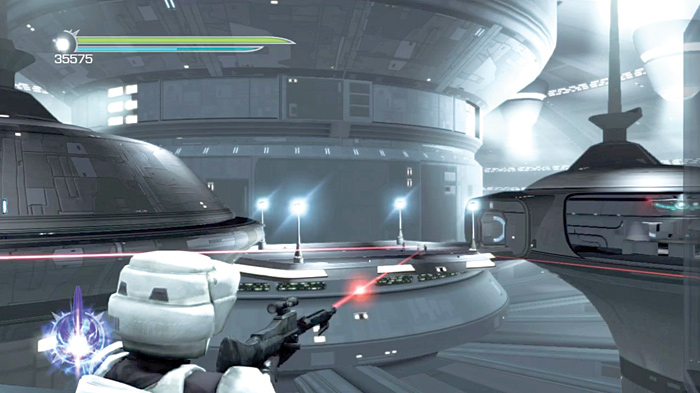
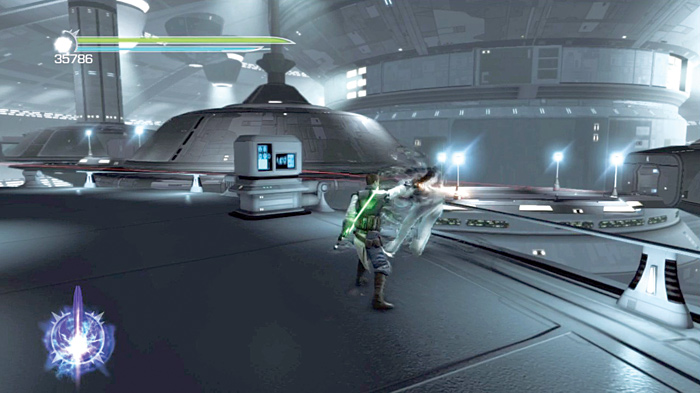
While you're battling through the hall, Master Kota and his troopers are pinned down by nearby scout troopers. Speed into the next tower and pass up the incinerator wardroid. Make a beeline toward the scouts in the tower, and destroy them to clear Kota's path.
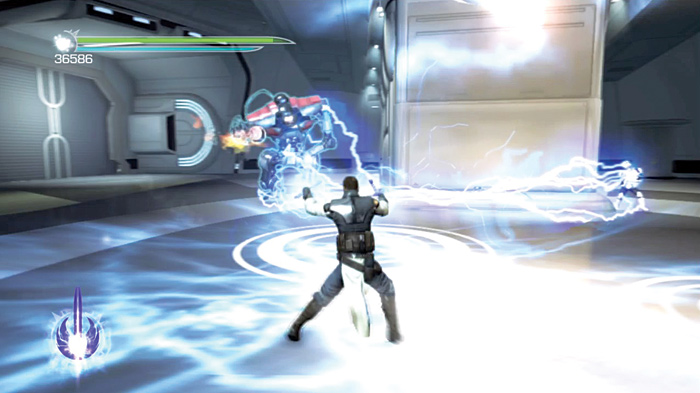
Finally, turn on the wardroid and take it down. Use strong saber combos, Force Lightning, and Saber Throws to thoroughly crush it.
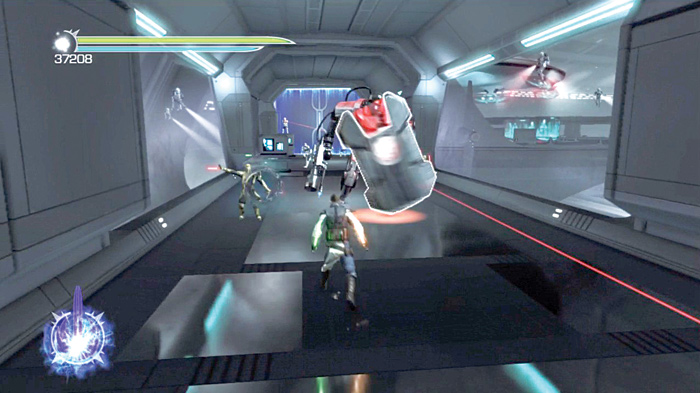
Enter the next hall and meet the incinerator wardroid head-on. Rip off its shield and get to work just as you have done before. The hall is also inhabited by saber guards, stormtroopers, and nearby jumptroopers. If you have a full Force Fury meter, feel free to use it now and shred everyone all at once.
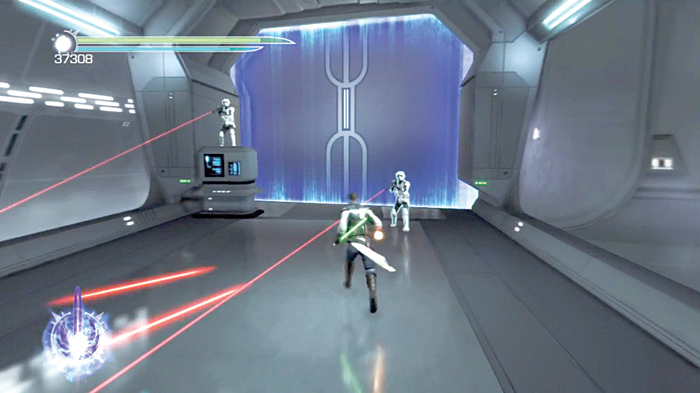
If you don't have Force Fury available, dash past the first batch of enemies and take out the scout troopers first. With them gone, zap the jumptroopers next, then Mind Trick the saber guards. Finally, take out the wardroid.
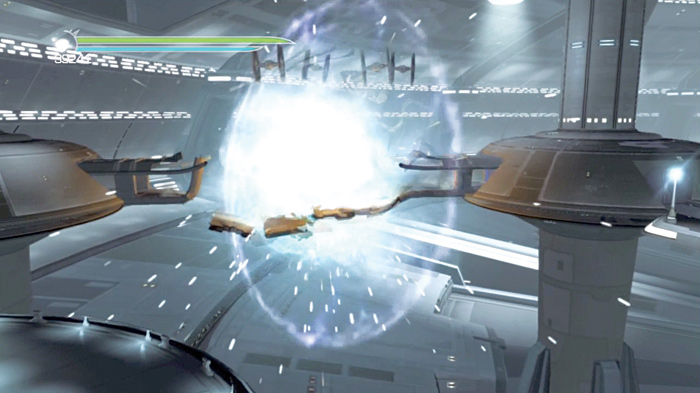
As the wardroid comes tumbling down, a bombing run swoops by and demolishes the next bridge. You have to find another way around!
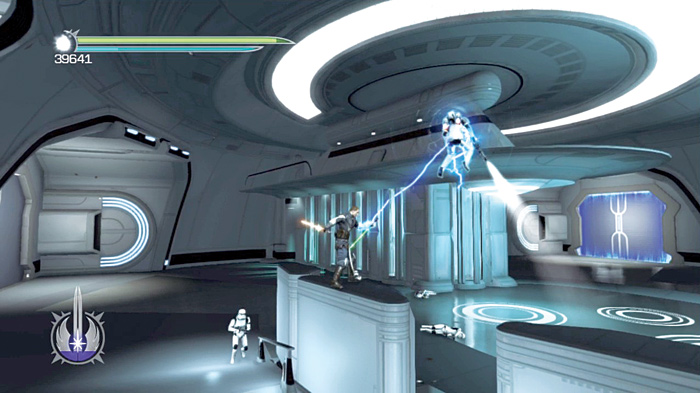
Enter the next tower while Master Kota finds another route for you. Keep yourself busy with the squad of Imperials. Cook the creeps with Force Lightning and clear the tower.
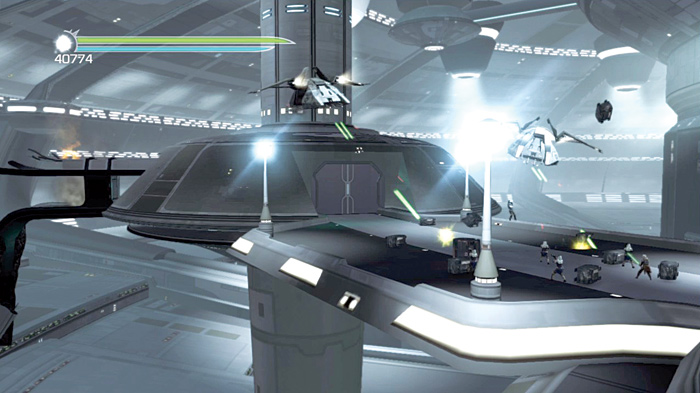
While you're busy cleaning out the towers, Kota and his men storm across a distant platform. Before they can reach their destination, however, they're ambushed by two transports carrying several Imperials!
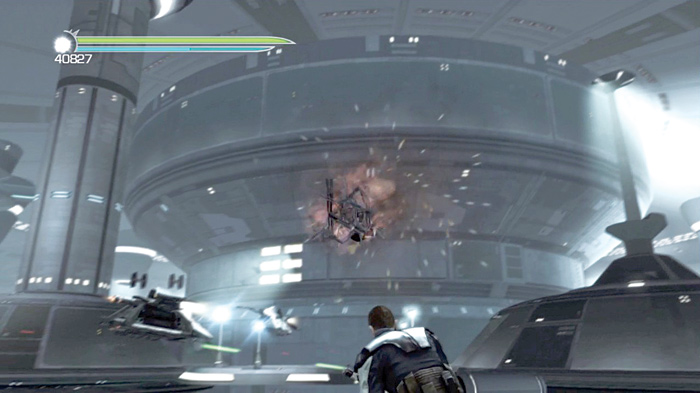
Edge out to the broken window and wait for a TIE fighter to zoom by. Grab it in midair with Force Grip, then hurl it at one of the attacking dropships. Take out both dropships with TIE fighters to free Kota and his men.
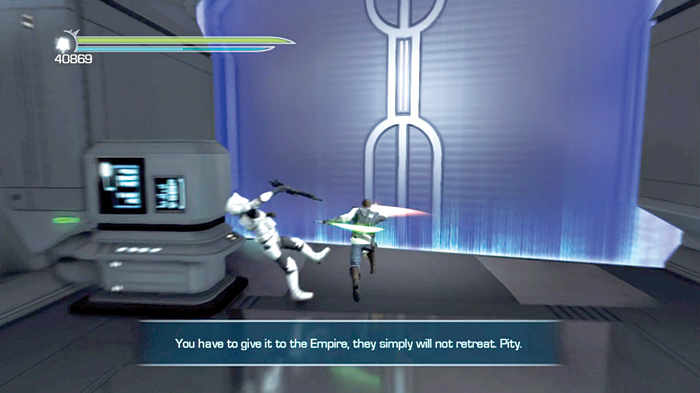
Enter the next hallway and cut through the saber guards. Run them down with your sabers, then take out the scout troopers and jumptroopers nearby.
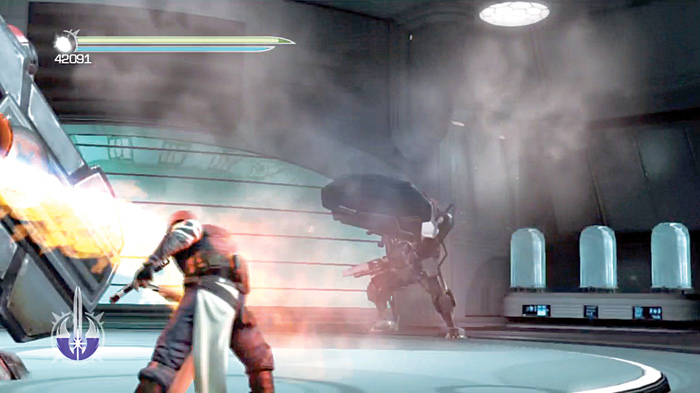
In the next room, which is a large circular chamber, two incinerator wardroids await. Rip off both of their shields right away, then use Force Lightning to fry both of their circuits simultaneously.
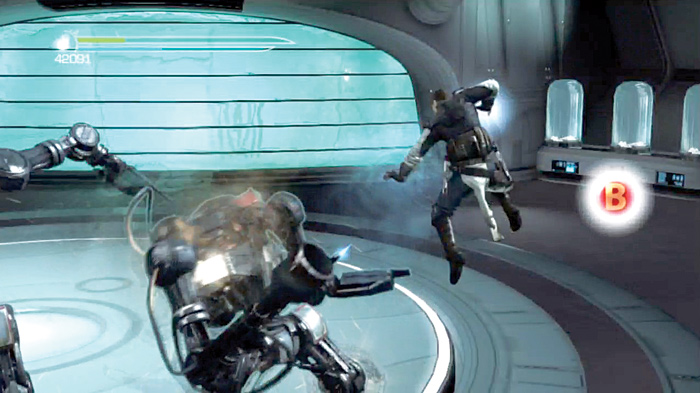
Strafe around the monsters with your lightning crackling, and stop only to bounce their flaming projectiles back at them. When the jumptroopers join the fight, switch back to Force Lightning and burn them down.
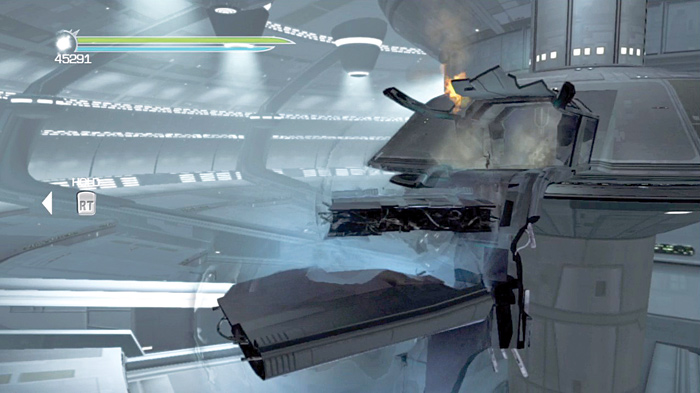
When the room is clear, the door opens, allowing you to see the demolished bridge. Master Kota runs out and uses the Force to create a makeshift bridge from the debris.
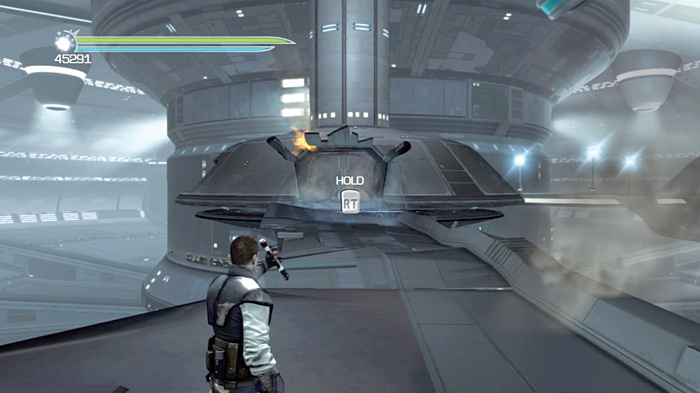
Use the Force to lower the large bent platform, then dash across the floating debris to the other side.