
Star Wars The Force Unleashed 2 Guide Walkthrough Walking in Starkiller's Shadow (Wii)
The Rebel Ship Salvation (Springing the Trap)
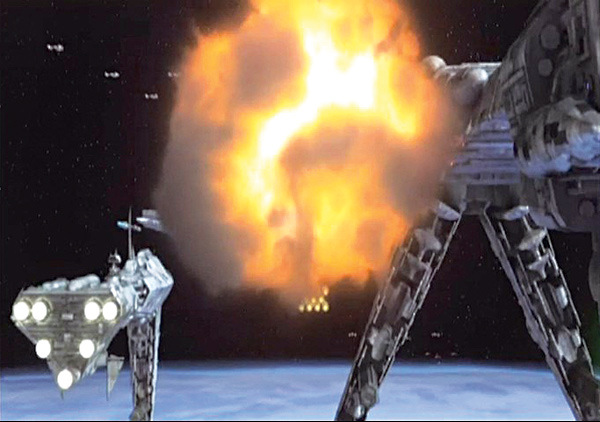
The Salvation jumps to light speed as the Rebels initiate their attack on the Kaminoan cloning facility. When they reach Kamino, the rest of the Rebel fleet is engaged in heavy battle with Imperial forces!
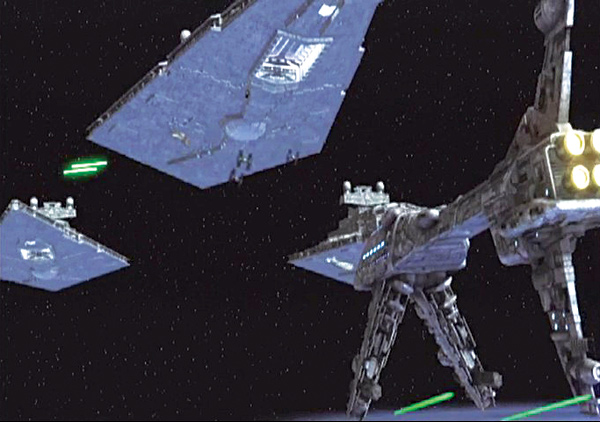
Massive Star Destroyers float high above the battle while TIE fighters and Y-wings trade blaster shots. Inside the Salvation, the clone prepares to make his way back onto the planet's surface to find Juno.
Springing the Trap
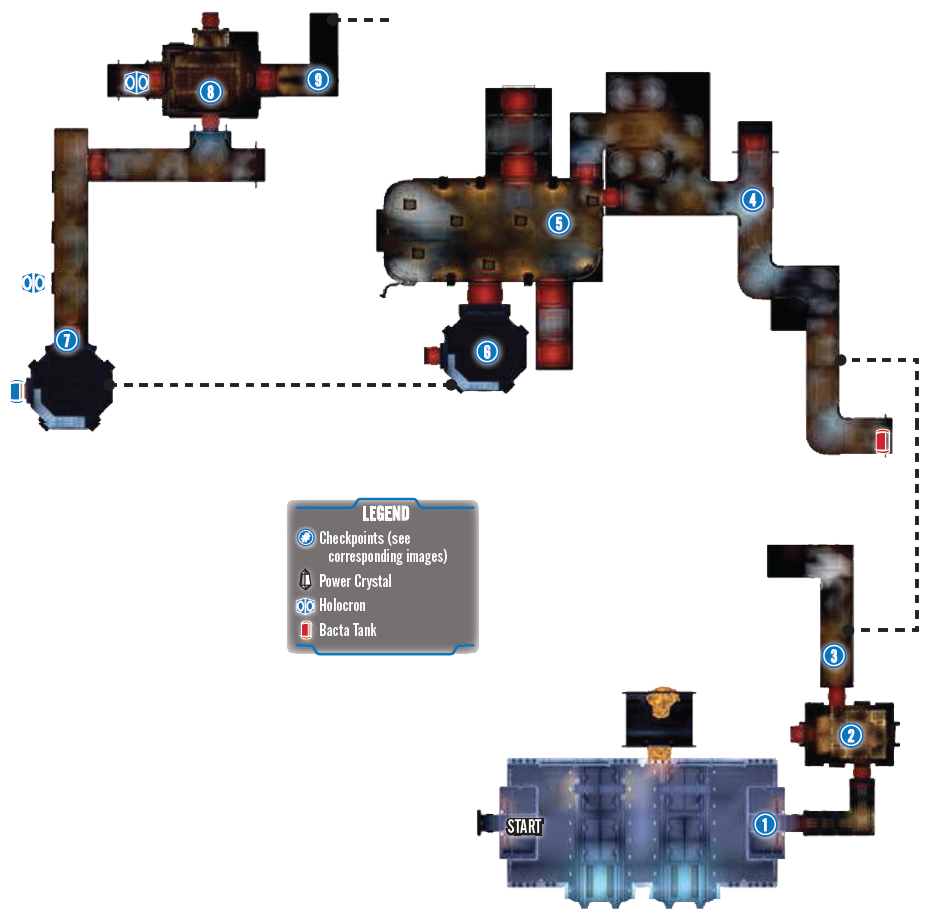
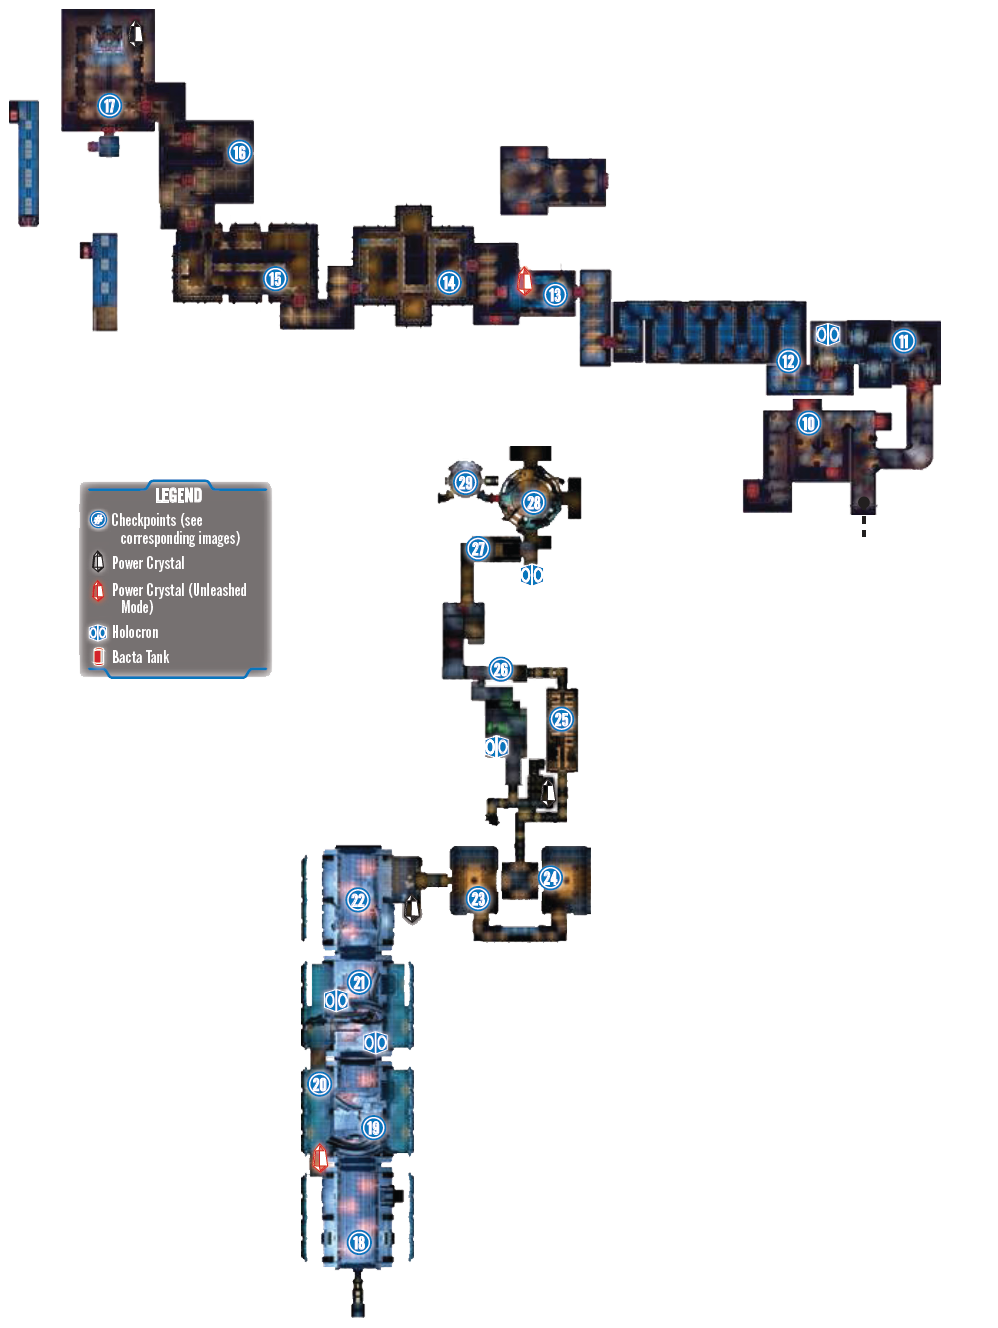
ATTACK ON KAMINO
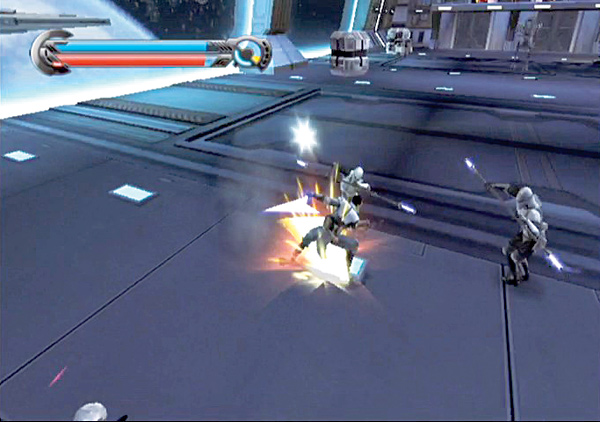
Before you can leave the hangar bay, more Imperials come rushing in and attack. Mind Trick the riot troopers first and let them loose on the weaker storm-troopers. Strike down the other riot troopers, then rush the AT-MP.
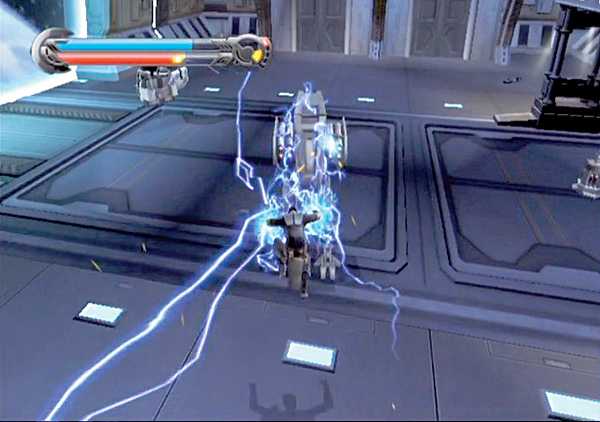
Blast the walker with a surge of Force Lightning and follow it up with saber combos. Bring down the walker, then sweep the hangar for any remaining Imperial soldiers.
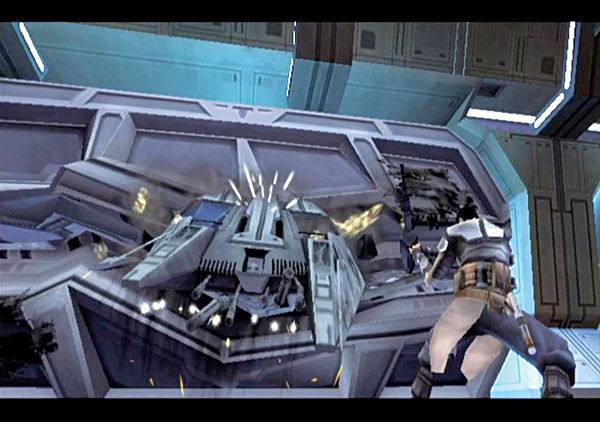
The hangar bay is clear, but the battle still rages on outside the Salvation. Follow the onscreen commands when a transport ship attempts to land in the bay. You close the hangar bay doors just in time to slice the transport ship in two.
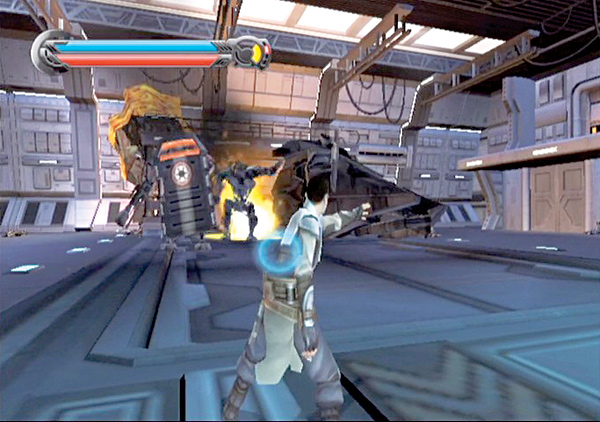
Wait for two large incinerator wardroids to come out, and rip away their shields. Turn right and Mind Trick the stormtroopers near the wall, then return to the wardroids and fry them with Force Lightning. Build up your Force Rage meter and unleash your rage on the wardroids.
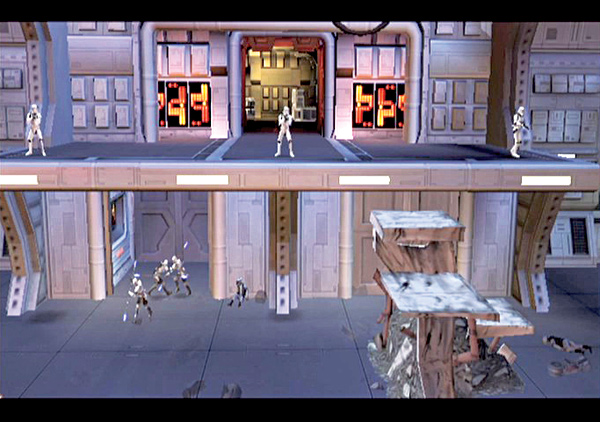
After you destroy the wardroids, a group of Imperials rushes out of the hangar bay's right side. Take out the stormtroopers first, then rush the riot troopers on ground level.
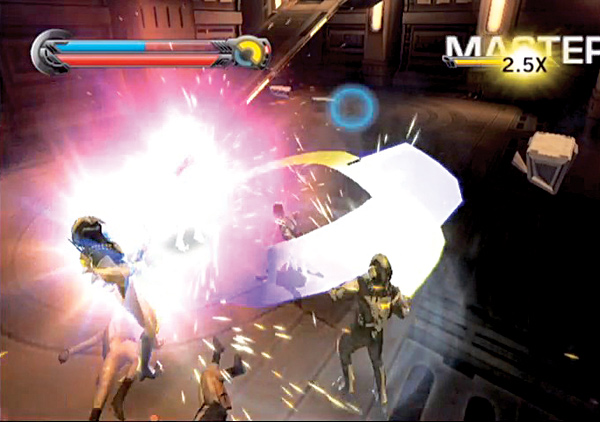
Exit the hangar bay via the newly opened door, high on the wall's right side, and follow the hall to a small room where you encounter some terror troopers. Build up your Combo meter to Unleashed rank and let loose the Lightsaber Special.
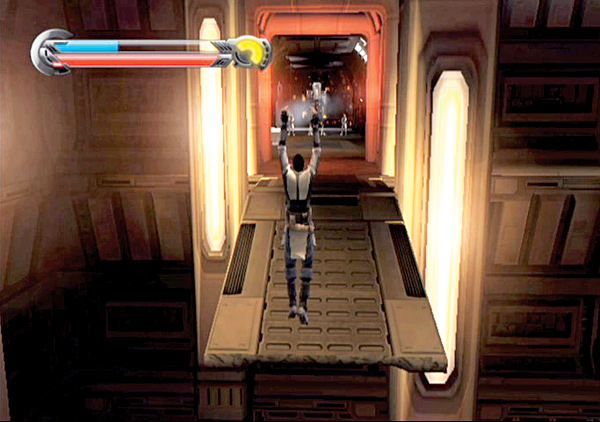
Climb up the walkway that winds to the top of the room. Leap over the breaks in the walkway as they explode, then double-jump into the hallway ahead of you.
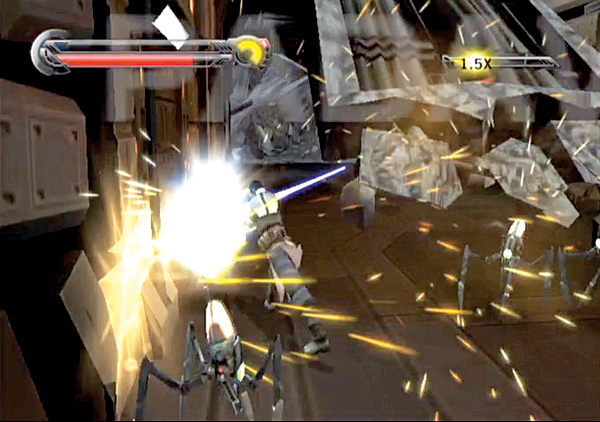
When you reach the hallway, the AT-MP firing on you from across the hall is crushed by a piece of falling ceiling. However, the coast isn't clear. A swarm of terror spider droids comes rushing out. Greet them with your Force powers and crush them before going up the fallen section of ceiling.
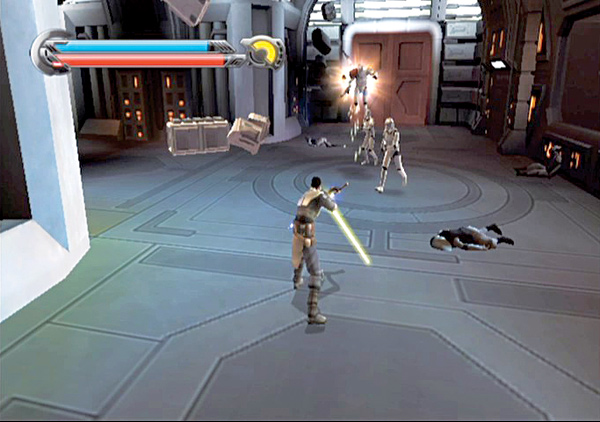
After climbing up the fallen ceiling, take the corridor up and around. The hall turns left just as more stormtroopers rush out of a nearby room. Bully them with Force powers and follow the hall to another cave-in.
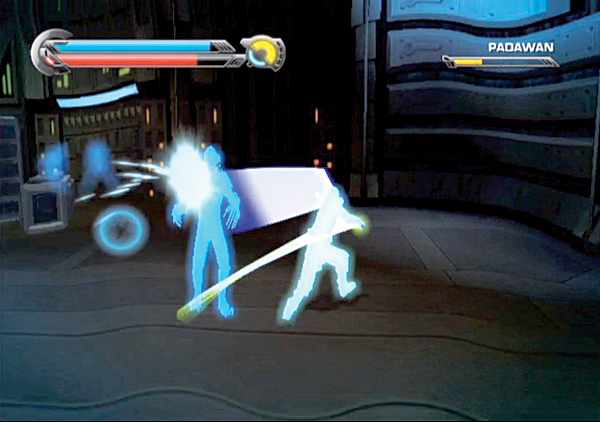
Activate your Force Vision and locate the terror troopers that hide in the hall. Counter their attacks to build up your Combo and Force Rage meters, then wipe the floor clean with them.
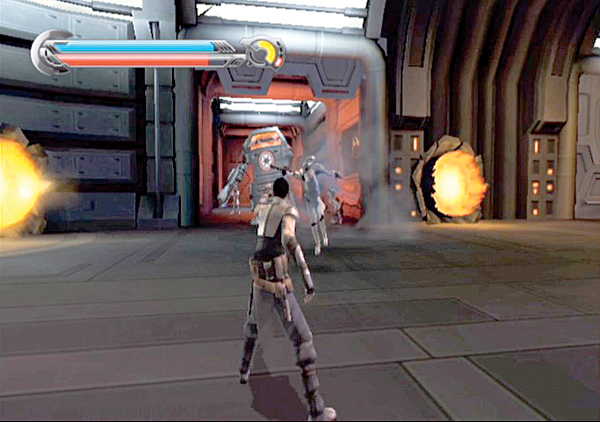
Use the Force to open the sealed door at the hall's end, then run into the large room with several flame jets in it. A door slides open on the room's opposite side, revealing an incinerator wardroid and its stormtrooper comrades. Dispatch them easily with Lightsaber Specials and Force Rage.
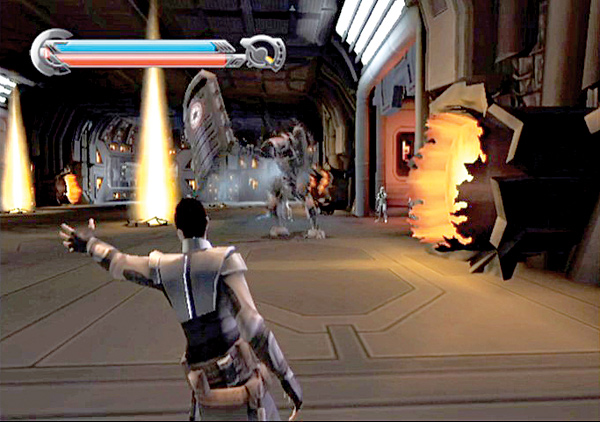
A second wardroid and a group of Imperials rush out of the door on the right. Do away with this batch of enemies just as you did the first.
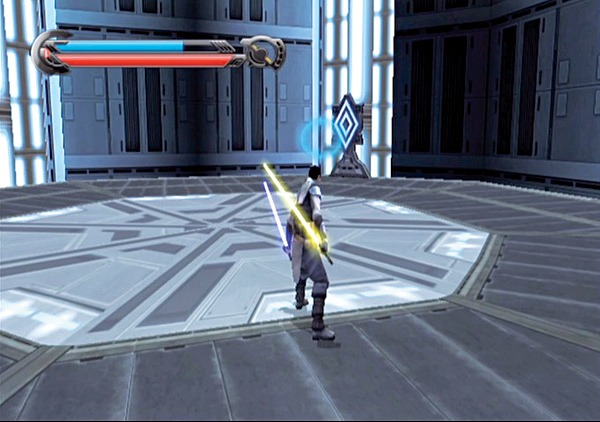
The room's far left end leads to an elevator. Hop on after destroying your foes, and use Force Lightning to charge the diamond switch and turn the elevator on.
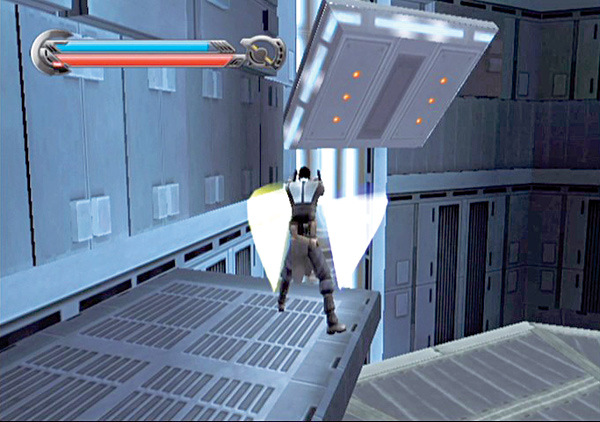
The elevator stops before you reach your destination. Climb up the walkway on the left and follow it to a wall panel high above the elevator floor. Use Saber Throw to dislodge the panel and turn it into a platform; then jump onto it.
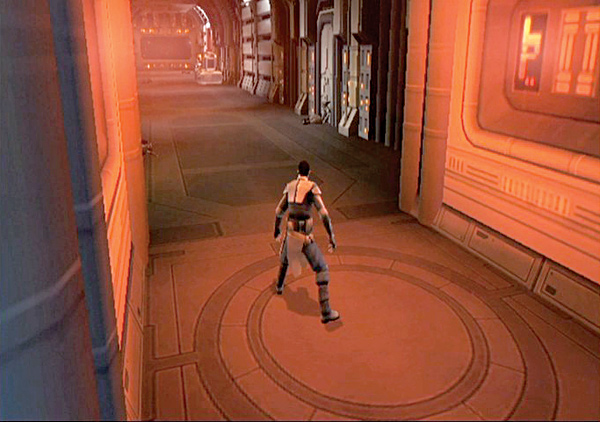
Climb up the platforms lining the elevator shaft until you reach the entrance to another hallway. When you enter the hall, the left side is bombarded with landing pods! Riot troopers and Imperial stormtroopers fill the hall, ready to attack.
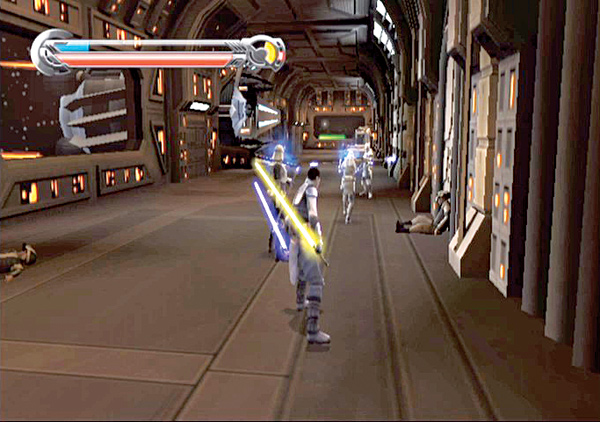
Rush out and greet them with saber combos and Lightsaber Specials. You can also use Mind Trick on the riot troopers and let them do the dirty work for you.
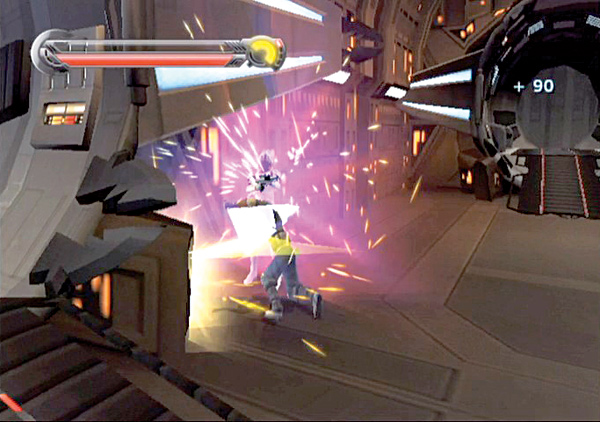
Hold position in this hall as you defeat all of the landing parties. After dealing with the last landing party, make a right at the hall's far end.
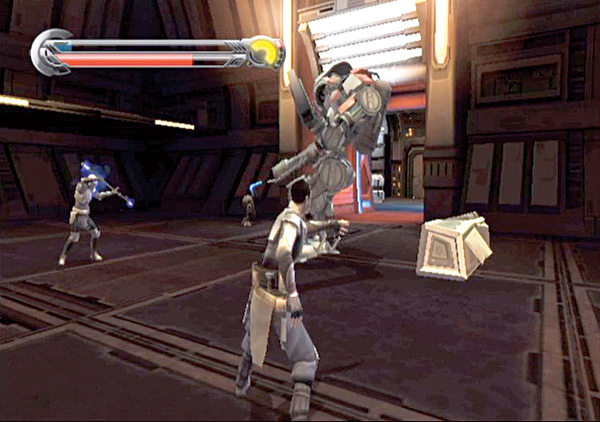
Follow the hall to a sealed door on the left. Use Force Push to blow it open, then pass through. An incinerator wardroid rushes in from the opposite side. Dash toward it and quickly tear away its shield before getting to work on it with Force powers and saber combos. While you get to work on the mechanical foe, use Mind Trick on the riot troopers so they can lend a hand.
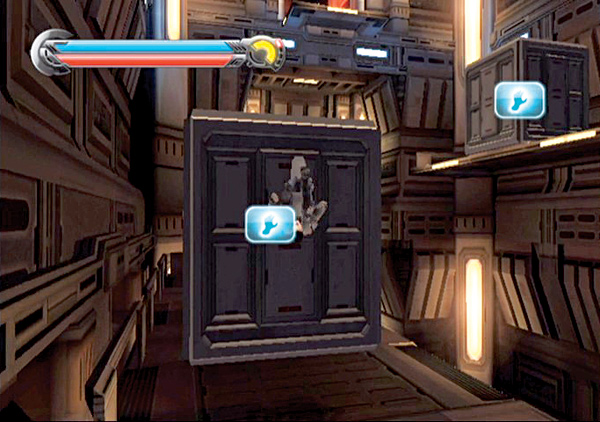
Double-jump onto the walkways overhead. Use the Force to shift the crates into place and climb up the tall room toward the entrance to another hall high above you.
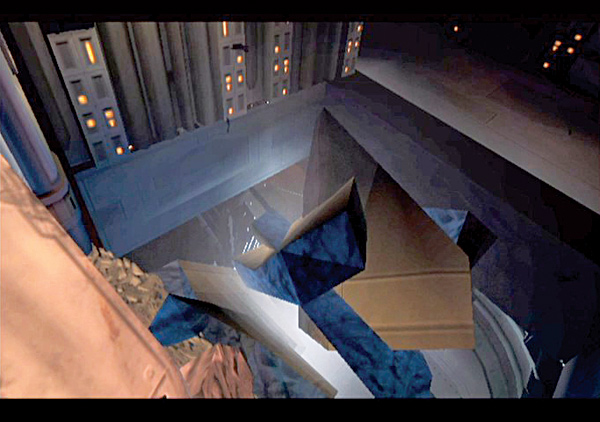
The floor gives way as soon as you reach the hall, and you free-fall deep into the next section of the ship!
Breaking Apart
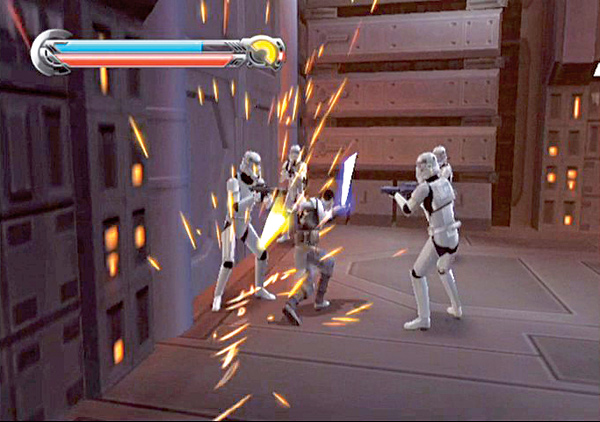
Dash past the flame jets firing down the hall, and cut through the Imperials in your way. You're ambushed by stormtroopers and riot troopers, so proceed through the hall only when you have full health.
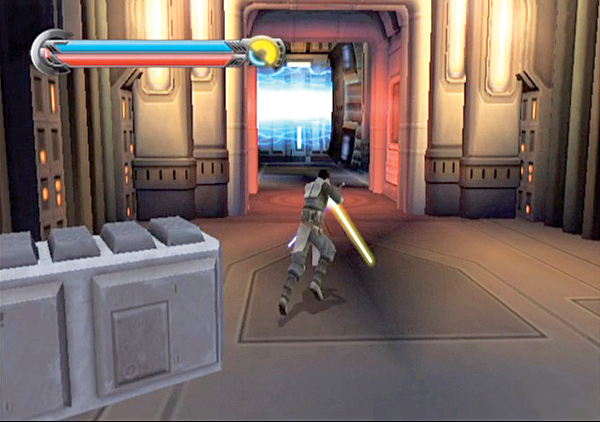
Fight past all your enemies, down the long, winding hall. The hall leads to another long, winding corridor—this one with lasers firing down each bend in the hall.
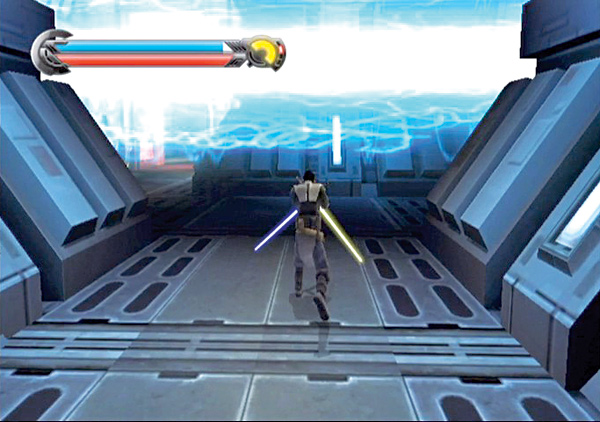
Wait for the laser to stop firing, then dash across the hall into a small niche on the other side. Stop there and wait for the laser to fire again, then exit once it stops. Carefully navigate the corridor this way, stopping between laser blasts until you reach the end of the first laser section.
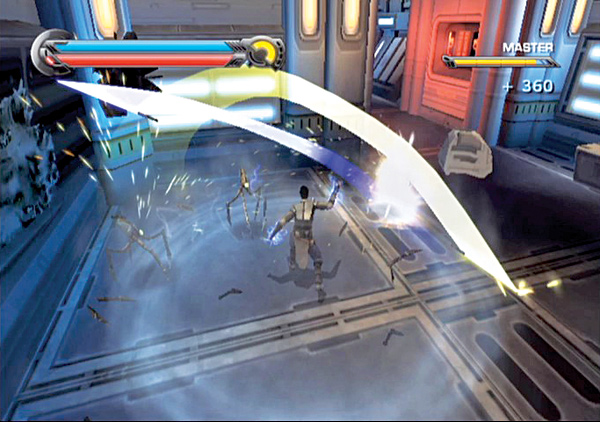
Resume your trek across the firing tubes and destroy the spider droids in the way. Once again, wait for the lasers to stop firing and dash across the long halls to the area in between the laser halls. Carefully make your way out of the snaking laser hall.
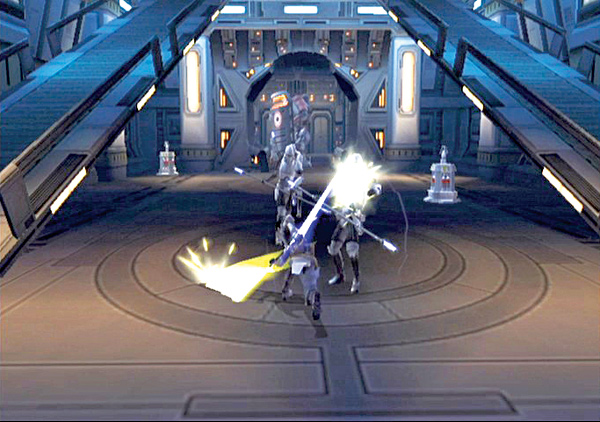
Turn right at the end and pass through the door on the left wall. A group of riot troopers escorts an incinerator wardroid out of the far end. Hurl the nearby explosive tanks at the attacking troopers, then bring down the wardroid.
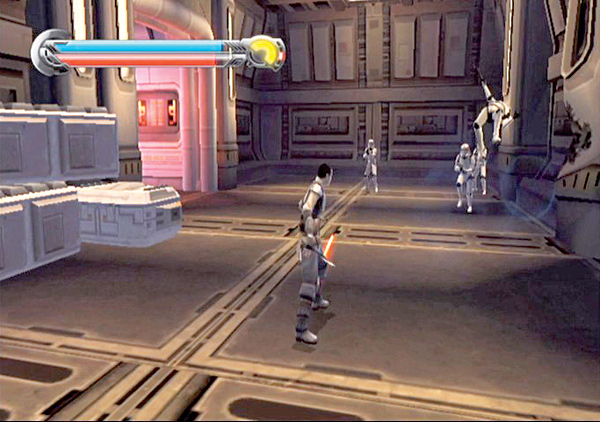
Go up the walkway on either side of this room, and cut down the Imperials above you. Turn left into the next room, and fight past another stormtrooper squad.
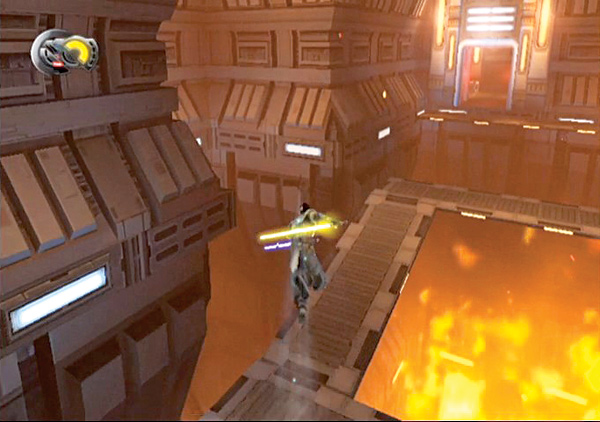
The next room is in flames! The only way to get across is to carefully navigate a rickety walkway that gives way as soon as you step on it. Edge out of the doorway and double-jump dash from the door to the walkway's left corner. As soon as you land on the walkway, dash around the bend and double-jump dash over the gaps to its end.
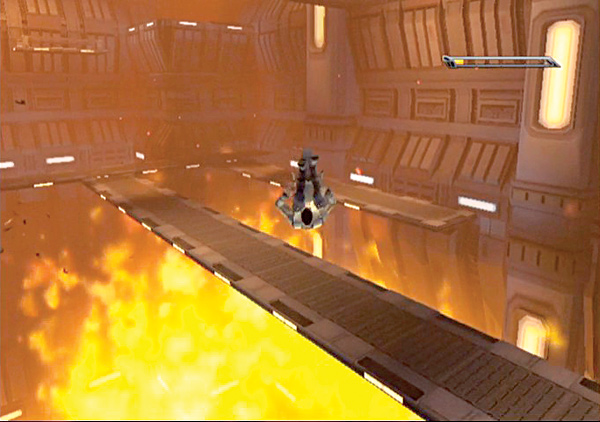
Fight through another swarm of spider droids and approach the next burning room. Step onto the walkway's edge and double-jump across the room, temporarily landing on the center span of the walkway. Just before it gives way, double-jump dash right again to the far span of the walkway.
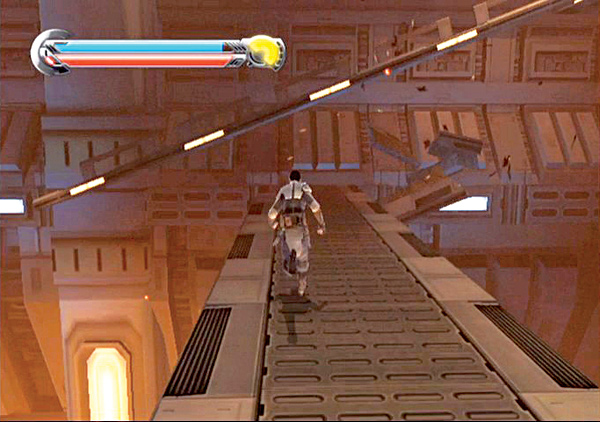
Follow the walkway left to the connecting walkway, and run across it back to the room's other side. Double-jump onto the incline ramp, and run up to a rising platform full of stormtroopers.
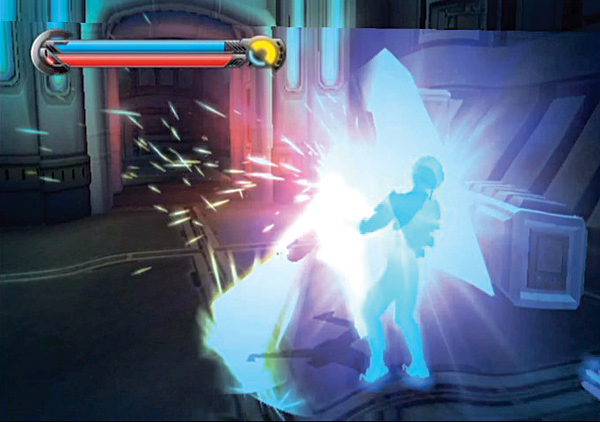
After taking out the stormtroopers, ride the platform all the way up. Step out into the next corridor and venture deeper into the ship. Activate your Force Vision when you encounter terror troopers and take them down with Force Rage.
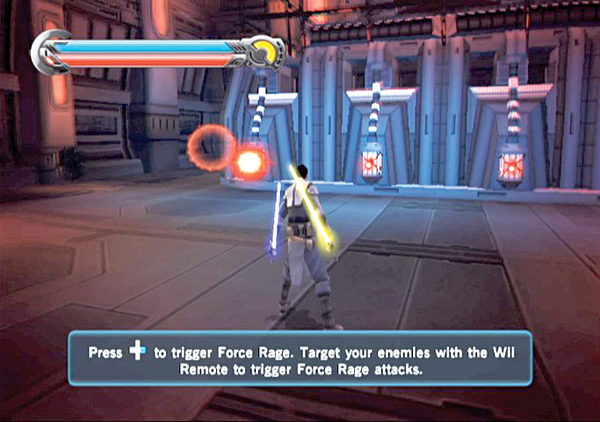
Drop into the next room and begin building up your Force Rage meter with the spider droids that attack you. As soon as your Force Rage is full, use it on the four spider droids sucking the energy out of the generator on the room's far end.
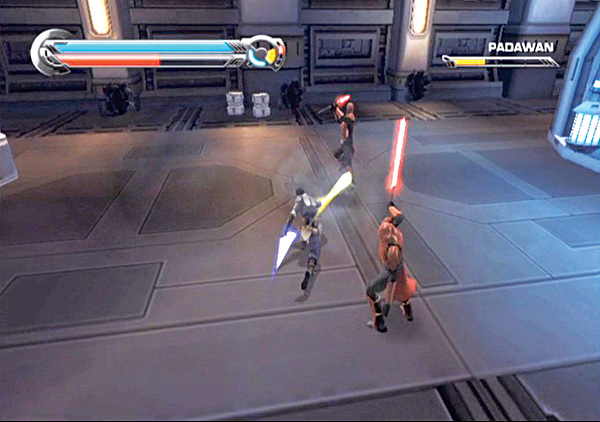
Three Royal Guards come rushing out of the far hallway after you remove the spider droids. They're resistant to Force power attacks, so rely heavily on your saber skills, Lightsaber Specials, and Force Rage. Fend off the following waves of Royal Guards until they're all wiped out.
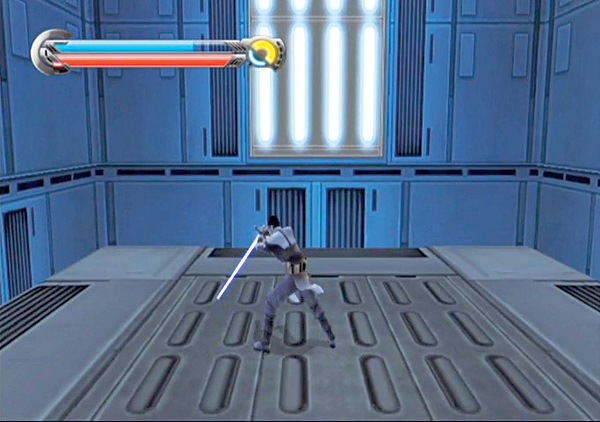
Exit the room via the elevator on the right.
Holding It Together
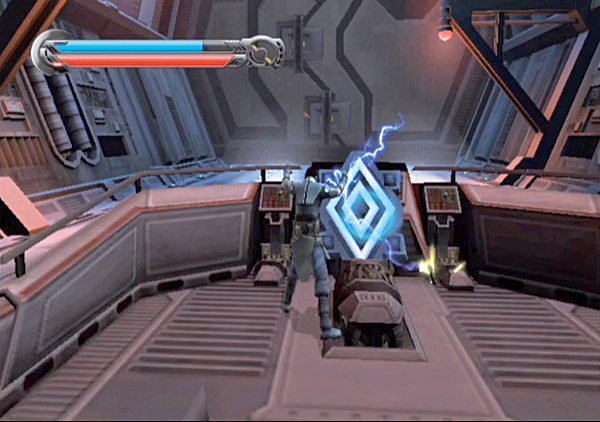
Leave the elevator and enter the transport conduit. Approach the transport platform nearby and hop on. Use Force Lightning to charge the diamond switch and activate the platform.
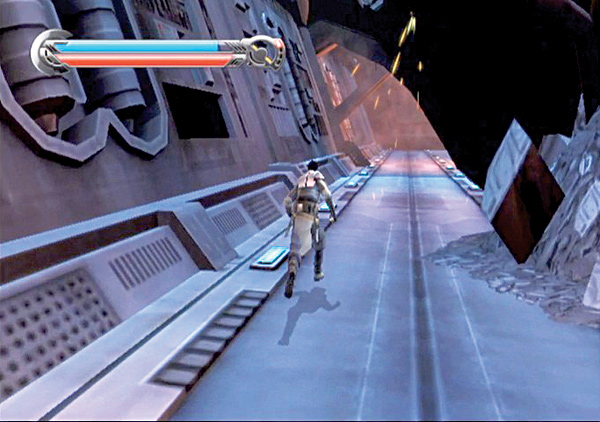
The platform doesn't get very far. In fact, the next section of the conduit is utterly destroyed. Hop off the platform and pass through the small passageway on the far left.
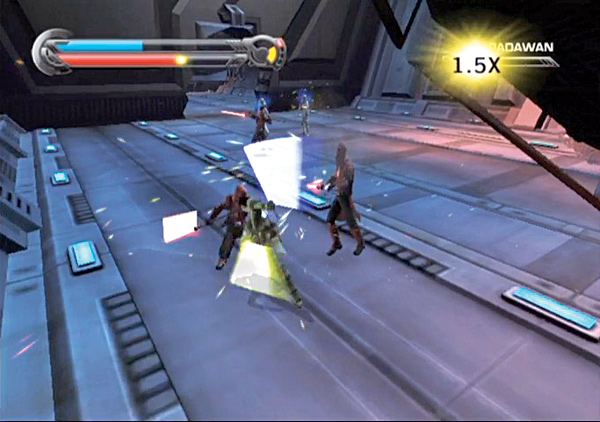
The wall explodes ahead of you as Royal Guards and stormtroopers rush out. Mind Trick the stormtroopers and take your lightsaber to the guards.
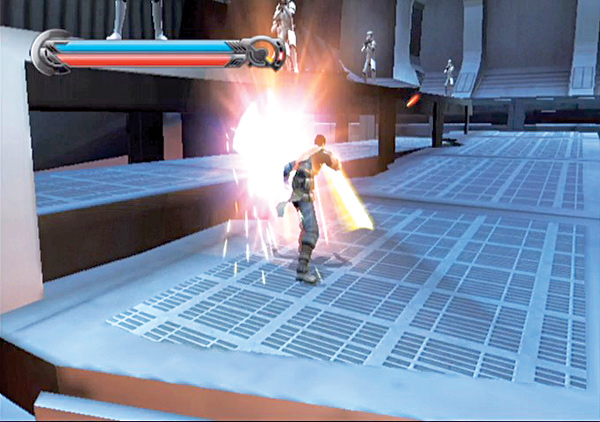
Double-jump up the rubble and crush the stormtroopers waiting on the rafters above you. Make a right at the top of the rafters, and climb up the next fallen walkway.
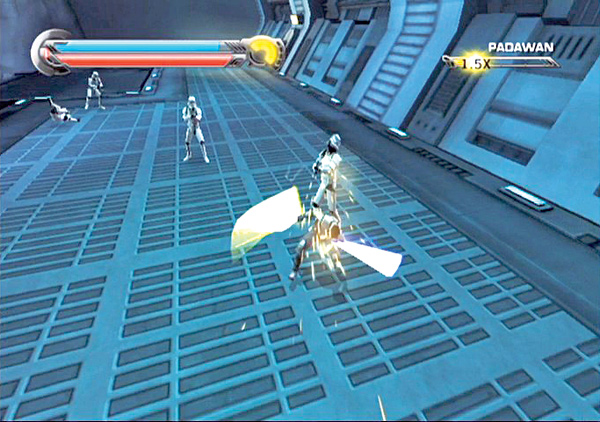
An explosion rocks the area's far end, and Imperials come pouring out. They're led by an AT-MP walker. Don't waste any time running your blade through the stormtroopers nearby.
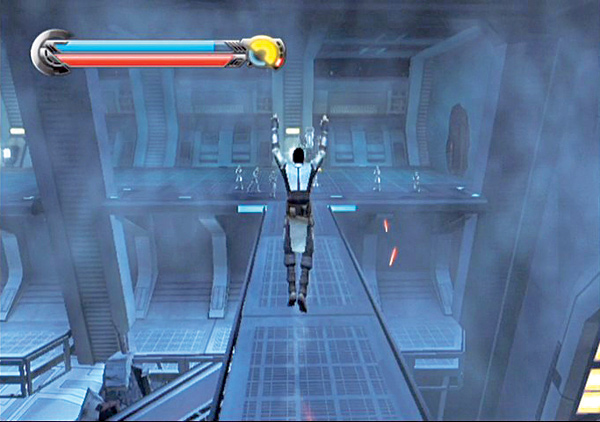
Make a left and dash across the walkway toward the walker. Double-jump over its missiles to avoid taking damage, then Force Push through the next few stormtroopers.
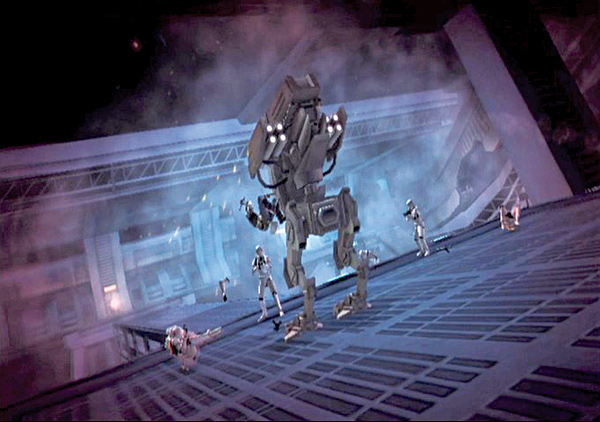
When you reach the AT-MP, build up your Force Rage meter and unleash your fury on the walker and its puny stormtrooper friends.
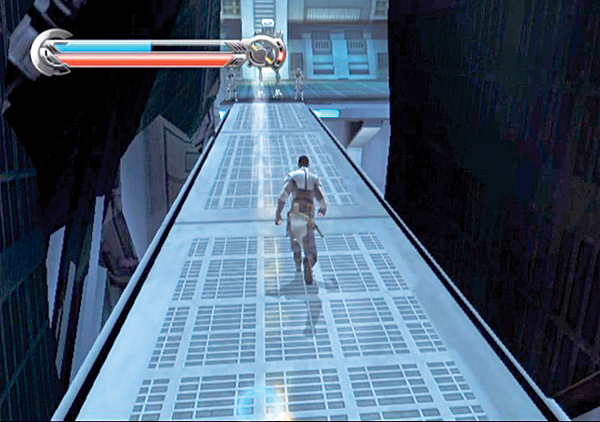
Go through the hole the AT-MP burst out of, and turn right down the passageway. Leap over the incoming missiles from the next AT-MP. Before you can reach it, the walkway gives way again and you fall to the lower level.
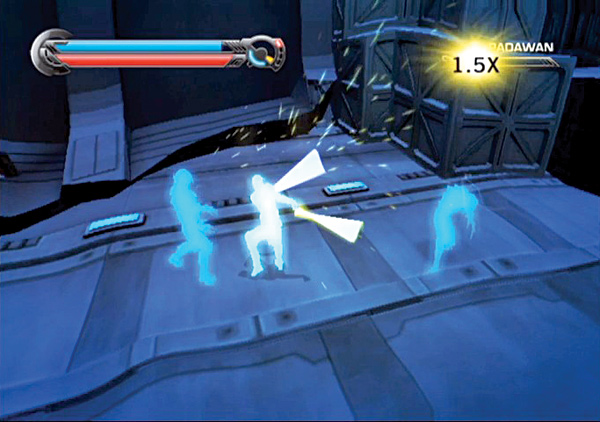
Pass through the hole in the rubble and enter the next section of the massive passageway. Activate Force Vision and locate the terror troopers in the room. Attack them with saber combos to build up your Force Rage meter and wipe them out!
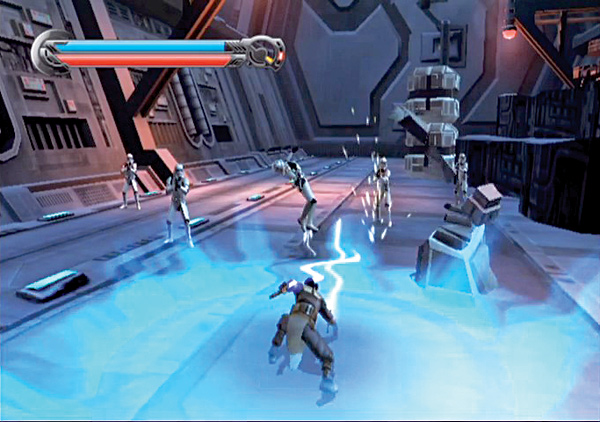
Use Force Grip to slide the large door open and venture into the next section. Double-jump over the rubble and climb up. Double-jump dash out into the room's center and come down on the enemies below with a downward slash attack. Eliminate the enemies nearby, then turn left and climb up the rubble to the top walkway.
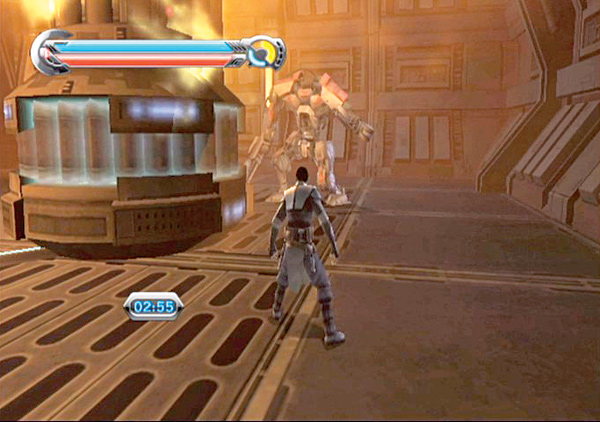
Step on the elevator and ride it to the next area. Get off and enter the room where four incinerator wardroids are torching the pillars. Dash around the room, tearing off the wardroids' shields; then build up your Force Rage meter with saber strikes. Either take them down with Force Rage or fry their circuits with Force Lightning.
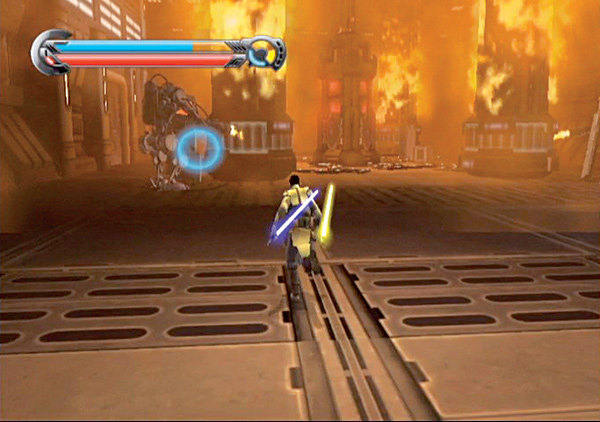
Destroy the wardroids, then turn toward the center tower with the diamond switches. Hit the switches with Force Lightning, and the other pillars in the room will cool down. Follow the hallway out of the room to another room with four more pillars...and four more wardroids. Take them out just as you did the previous four, then cool down pillars by activating the central tower.
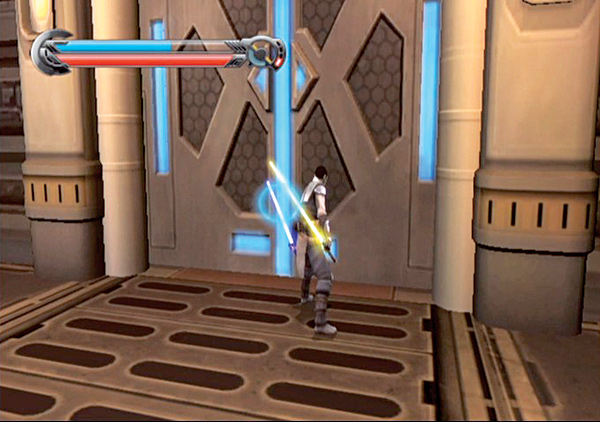
Force Push the door in this room and go through.
Speed down the hall to the next large room. It stretches out below you, and a fire rages on at the far end. Go down the ramp onto the room's floor and approach the far door. The door quickly closes before you can go through, so turn around and head back toward the room's entrance.
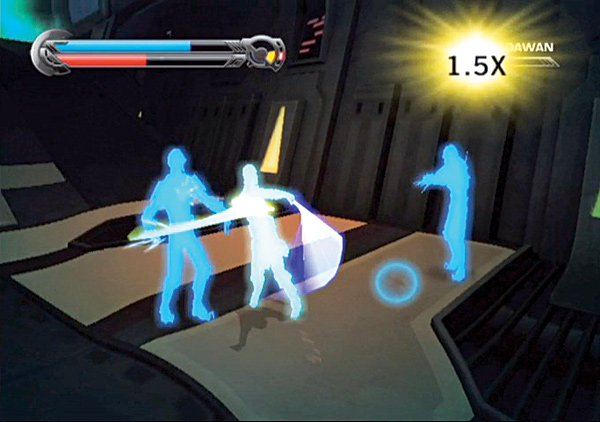
Before you can reach the next door, it explodes in flames! Turn back around and activate Force Vision to spy the terror troopers in the room with you. Slice them up, but stay near the center of the room to keep from falling through the glass as it shatters. When you defeat the terror troopers, the far door slides open and more enemies attack.
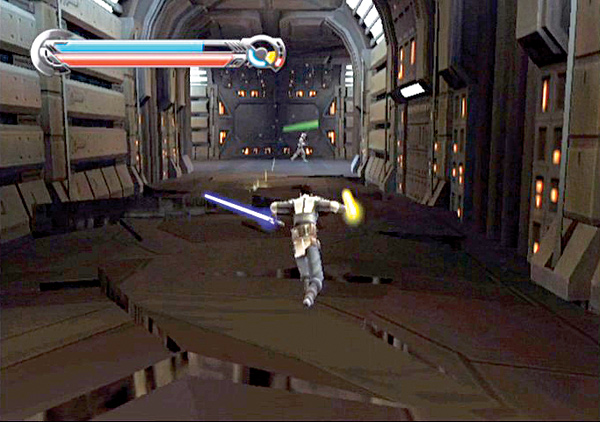
Leave the room via the next hall. As you speed down the hall, the ground gives away again and you fall into the corridor below you. Force Push through the next hall and follow them deeper into the ship.
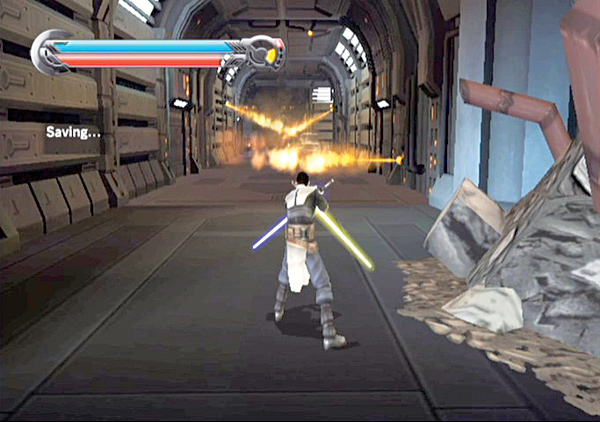
Just before you enter the next series of corridors, a small group of stormtroopers runs straight into a flame jet! Watch out for the flame jets in the hall as you traverse the dangerous halls.
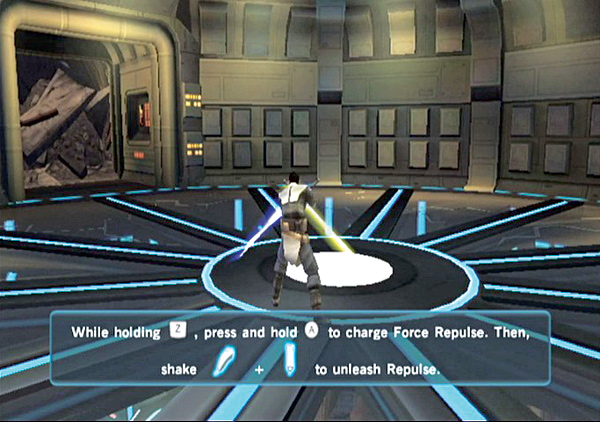
Enter the large circular room behind you, and use Force Repulse to shatter the glass beneath you. You fall down into the next level of the ship, where you find Master Kota engaged in combat with a Royal Guard.
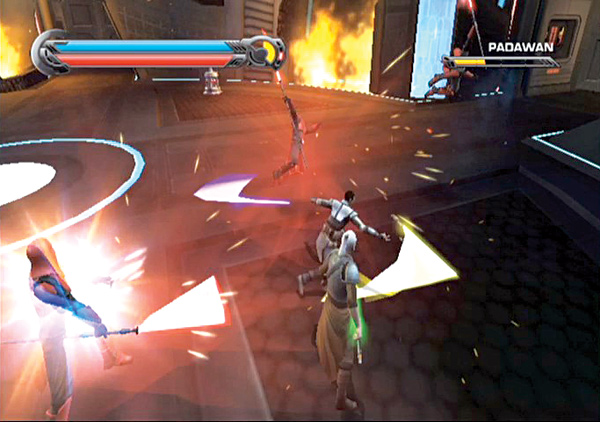
The room quickly fills up with more and more Royal Guards. Stand in the center of the room and fend off the attackers. Build up your Combo and Force Rage meters, then use high-rank Lightsaber Specials and Force Rage to destroy all enemies.
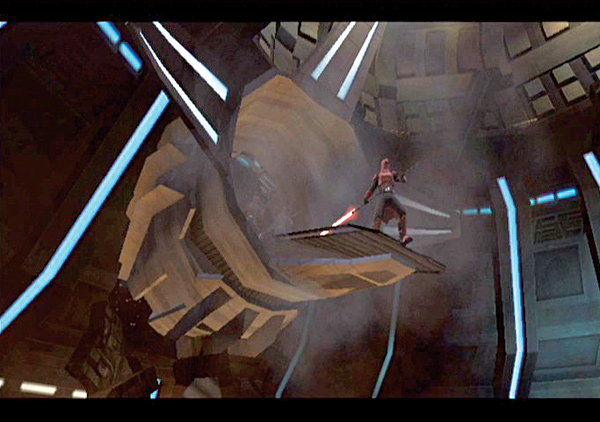
After defeating the first few waves of Royal Guards, a pod crashes into the top of the room. It delivers even more Royal Guards. Strike them down until the door leading out opens.
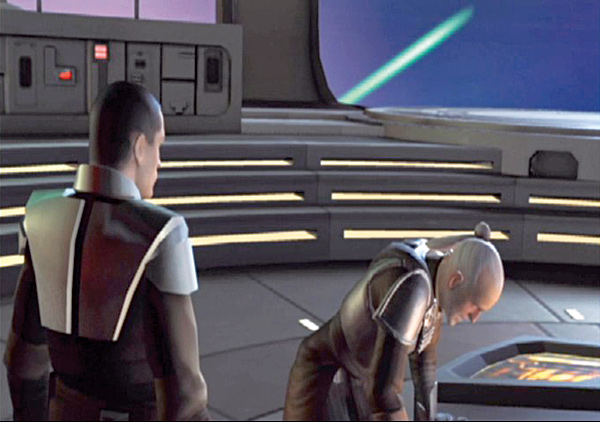
Exit the room and return with Kota to the command room. You send off Kota and the combat training droid to evacuate the ship while you find a way to lead the ship down to the Kaminoan surface.
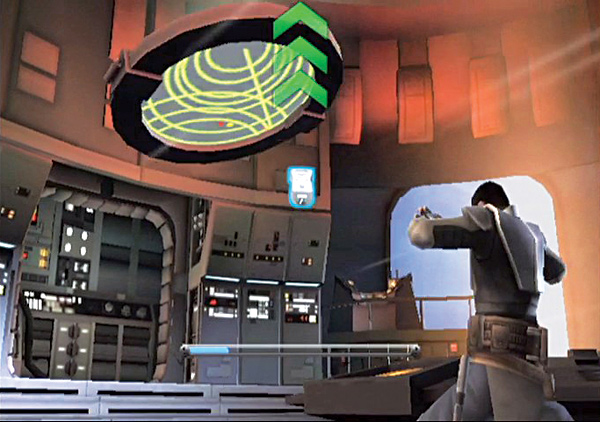
The Salvation begins to penetrate the Kaminoan atmosphere. Follow the onscreen commands to swat the flying debris out of the way before it knocks you over, then plug the hole in the command room with the center console. Finally, do as the gestures on the screen suggest to guide the ship down to the oceanic planet.