
Star Wars The Force Unleashed 2 Guide Walkthrough Walking in Starkiller's Shadow (Wii)
Cato Neimoidia (Baron Tarko's Palace)
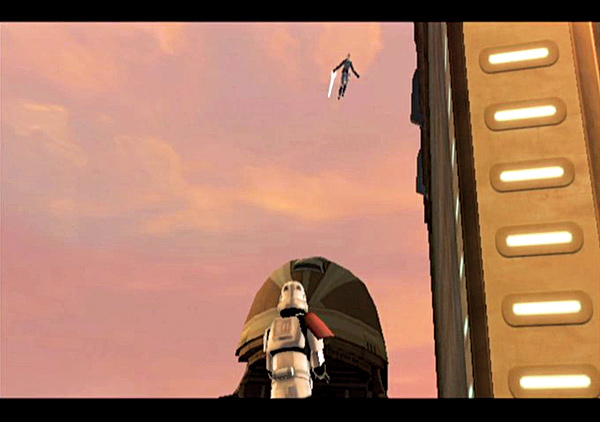
Having fought past the Baron’s guards, the Starkiller clone narrowly escapes a horrible death, high above the Neimoidian planet. The speeding tram goes down in flames and almost takes the clone with it.
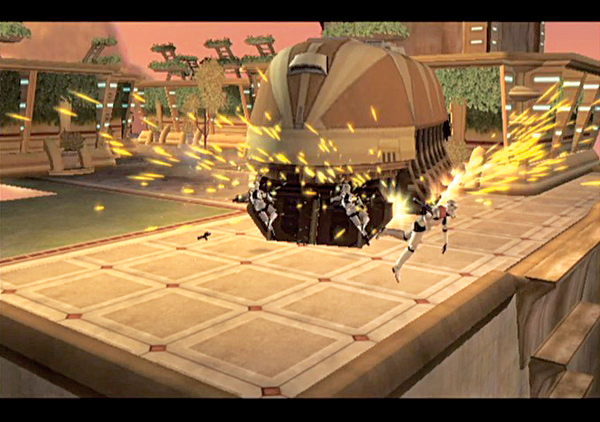
Were it not for his heightened abilities and Jedilike reflexes, the troubled clone would have fallen thousands of feet to his death. But he is Starkiller’s clone, and Starkiller knew the ways of the Force. That’s how the clone was able to make the heroic leap off the tram and onto the western side of Tarko-se City.
Mission Details
Baron Tarko’s Palace
On the Hunt for the Baron
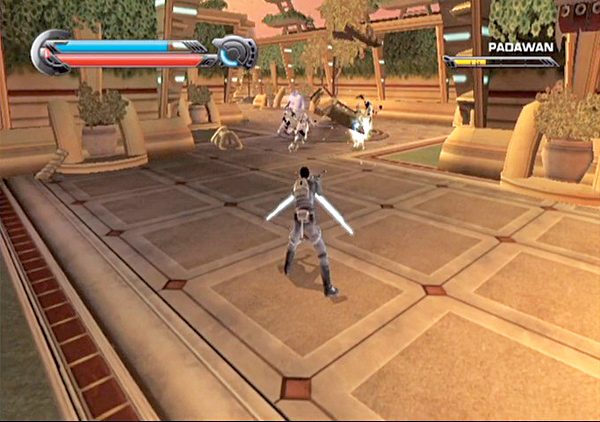
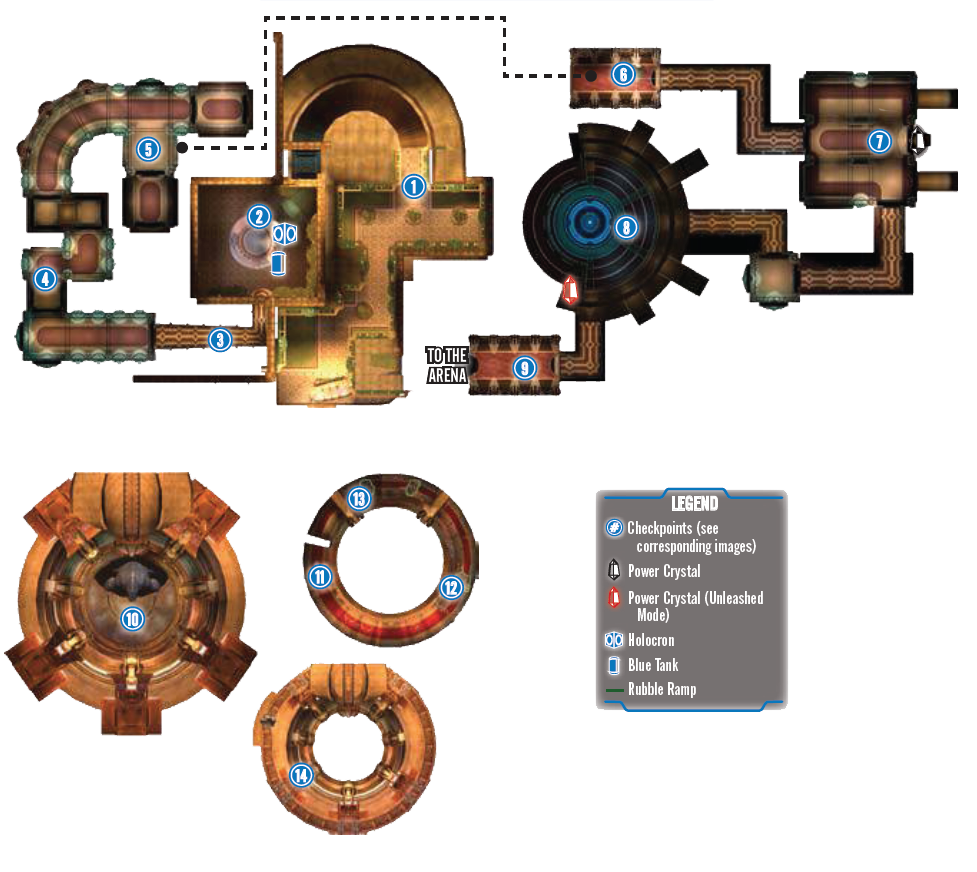
Immediately upon landing, turn left and storm down the courtyard. Use Force Push blasts to clear the way and demolish the Imperials.
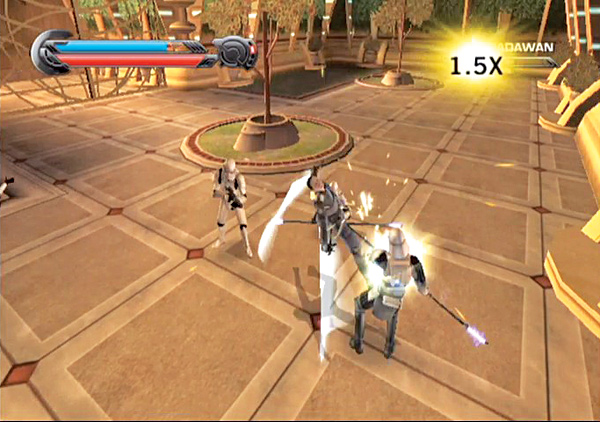
Near the end of the courtyard, you encounter a few riot troopers. Build up your Combo meter and unleash a Lightsaber Special on them. When you take down the riot troopers, the gate at the far end opens, allowing more enemies to rush out.
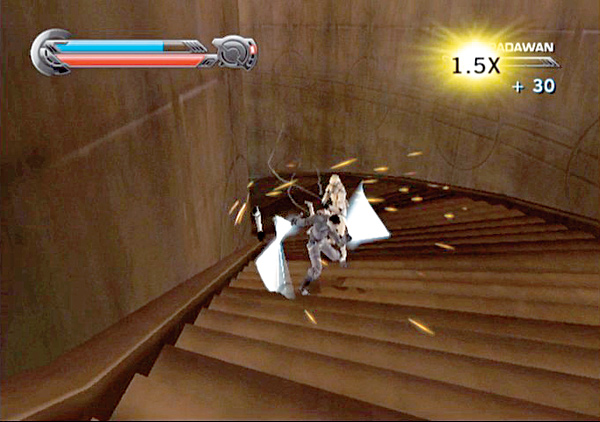
Fight your way down the curved steps and enter a large courtyard with a tall tower at the center.
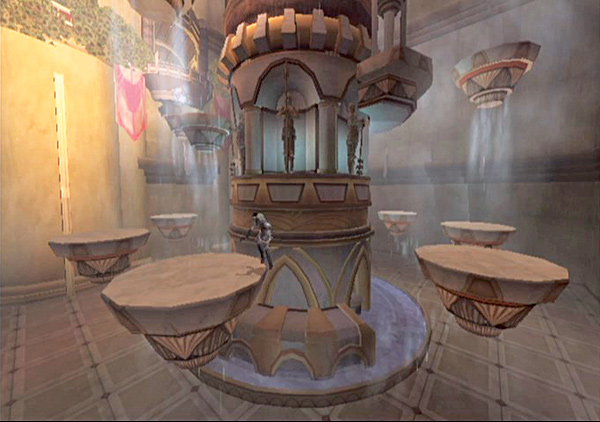
The tower has two sets of small platforms rotating around it—one at the top and another near the center. Double-jump onto the lower set of platforms as they spin around.
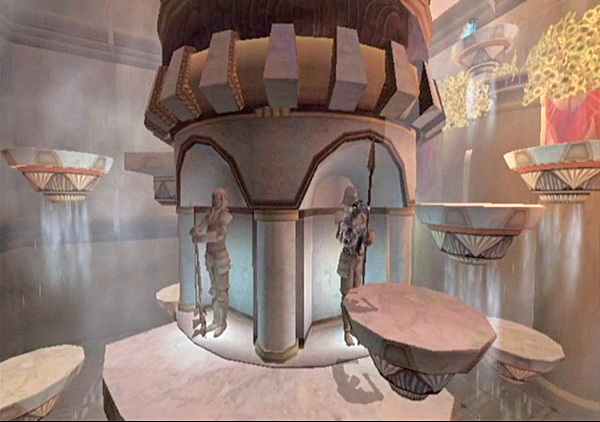
Ride it around the tower until you pass by a small ledge jutting out from the tower’s middle. Double-jump dash onto it, then follow the small stationary ledges up and to the right, until you’re within leaping distance of the next set of rotating platforms.
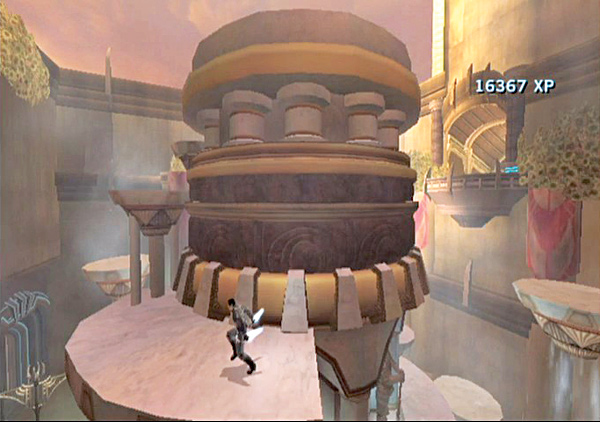
Double-jump onto one of the top platforms and immediately turn around. Locate the next small ridge jutting out from the tower, then carefully double-jump onto it. Follow the stepped ledges up to the tower’s top.
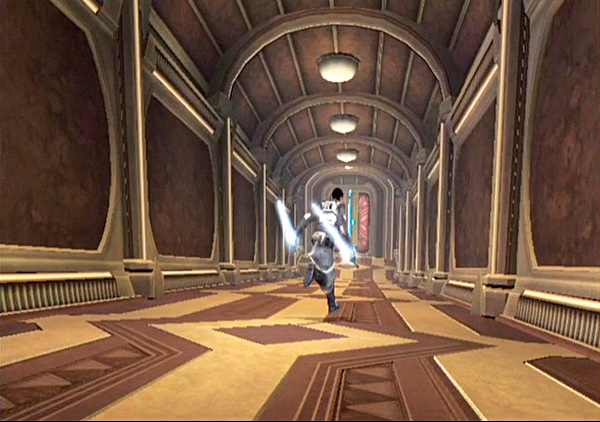
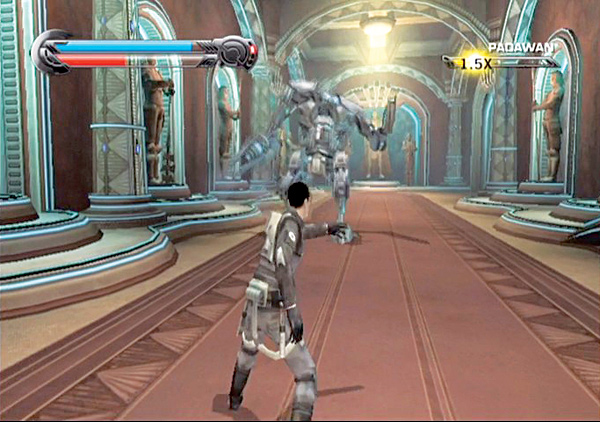
Double-jump dash off the center tower and into the nearby hall entrance. Dash down the hall toward the far door and use Force Push to pry it open. A carbonite wardroid and a small complement of Imperial stormtroopers waits on the other side!
Take out the stormtroopers quickly, then rip away the wardroid’s shield. Once its shield is gone, zap it with Force Lightning to weaken it. Finish it off with saber combos.
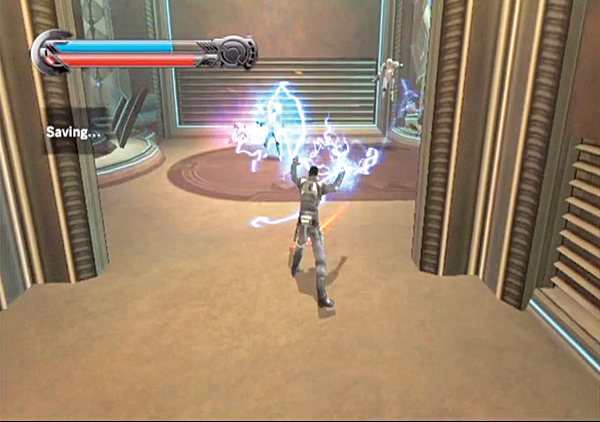
Use the Force to lift the door on the right, then rush out and electrocute the enemies in the next hall. Force Push through the next door and rush out to a long curved corridor with more Imperials in it.
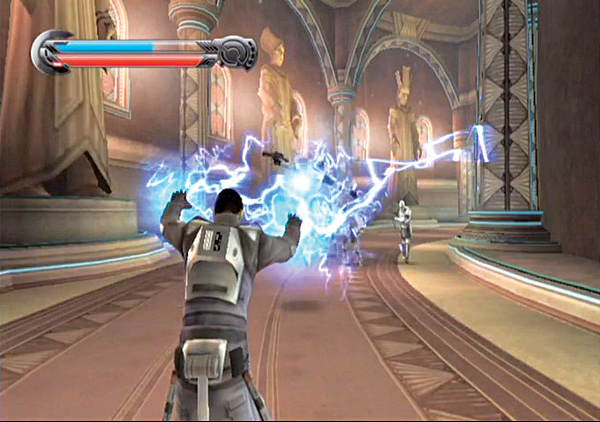
Take down the stormtrooper first, then engage the riot troopers that follow. Swat them down with saber strikes. After making short work of them, continue to the corridor’s end. When you reach it, both exits get caved in by the Imperials!
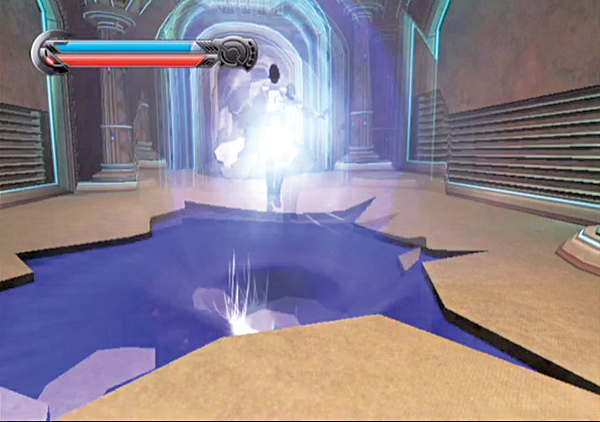
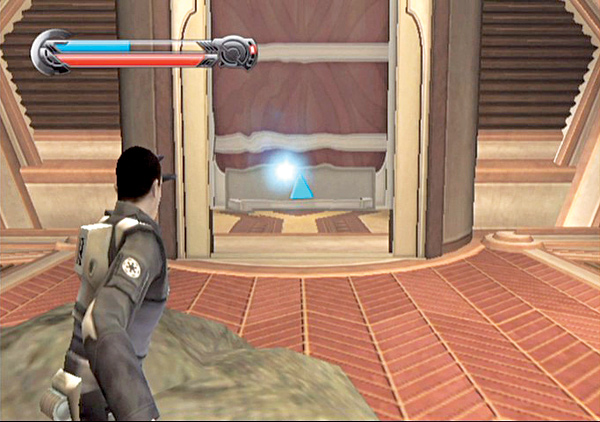
Even though the two exits in this hall are blocked, the explosion that created the blockages also cracked the floor. Go stand on the crack in the ground and use Force Repulse to break through and fall down to the lower level.
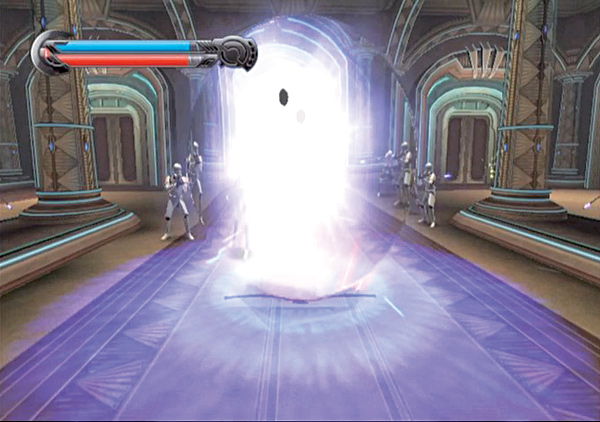
Destroy the bothersome Ughnaughts upon landing, then use the Force to open the door at the far end. Speed down the winding hall until you reach a large, square room with a fireplace along the far wall.
The large room is full of Imperials. Use Force Repulse to blow away the squad as it approaches, then pick them off one at a time with saber combos and Force powers. There are several riot troopers in the room. Leave them for last, since the stormtroopers can pick you apart with their blasters.
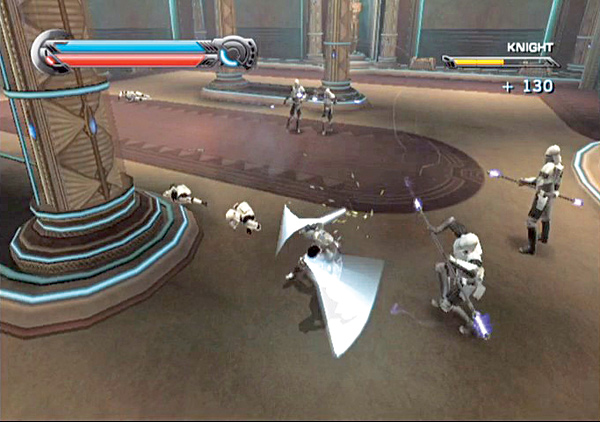
If the troopers surround you, string together several saber combos to build up your Combo meter and dish out a ton of damage with Lightsaber Specials.
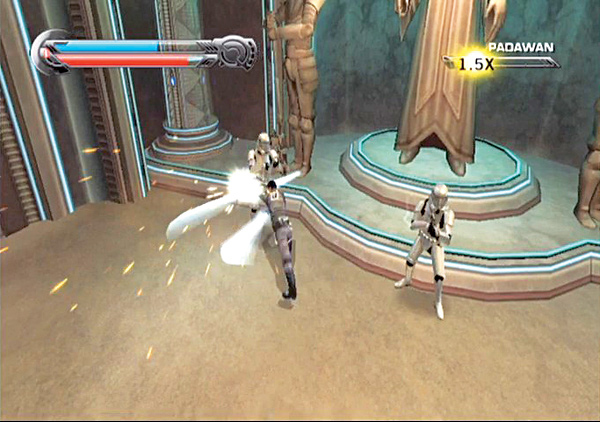
When the door on the right opens, a few more riot troopers rush out. Slice them up, then enter the hall they emerged from. Speed down the hall until you reach a small room with more Imperials. Cut through the stormtrooper commander first, then destroy the weaker soldiers.
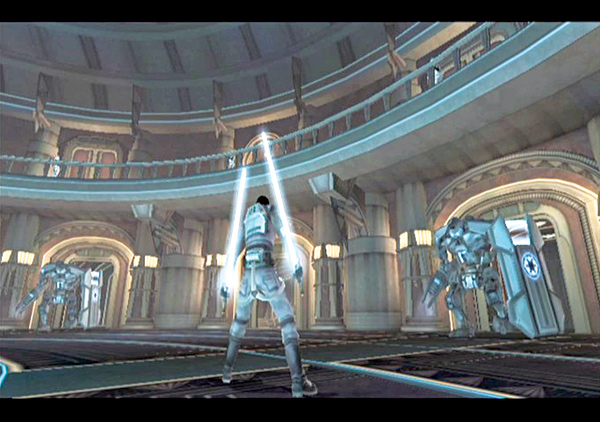
Follow the halls to a large circular room where a pair of carbonite wardroids ambushes you. The room has a ledge high along the wall where Imperial stormtroopers take position and rain down blaster fire on you.
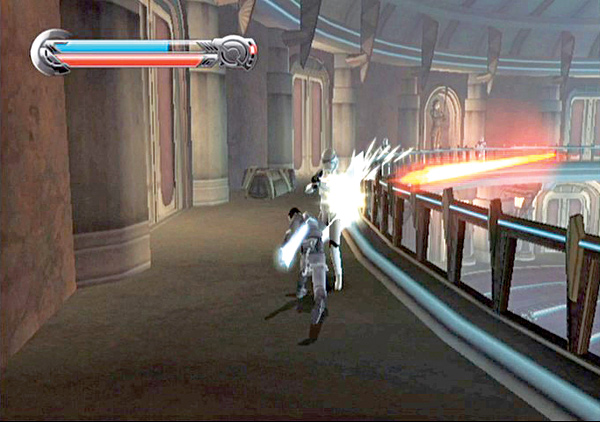
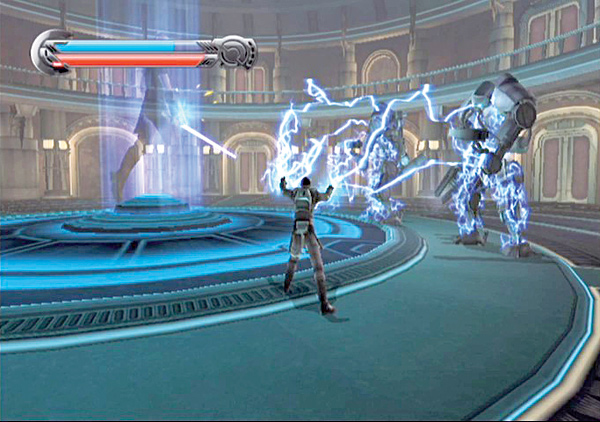
Rip away the wardroids’ shields, then dash away toward the far right wall. Climb up the ledges until you reach the top ledge, and eliminate the stormtroopers. With the stormtroopers out of the way, jump down and take on the droids.
Hit them with Force Lightning and begin to drain them of their health. If they gang up on you, double-jump into the air and dash away. Take on one wardroid at a time and destroy them both.
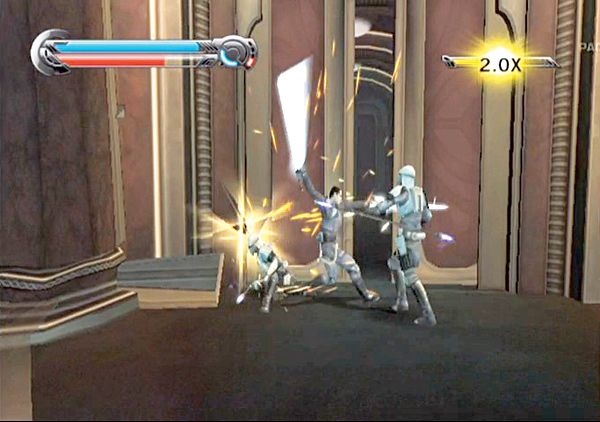
With the wardroids out of your hair, a group of riot troopers rushes out of the surrounding rooms. Greet them with several saber strikes and Force power attacks. The room fills with many waves of riot troopers. Fend them off with Force Repulse if they get too close, then pick them apart.
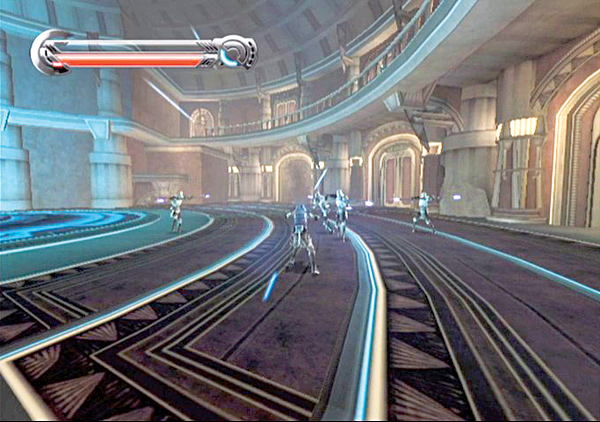
After clearing the room, approach the locked door on the far end. Activate your Force Vision and use it to peer through the door. Slide over the locks, then pass through the door into the next area.
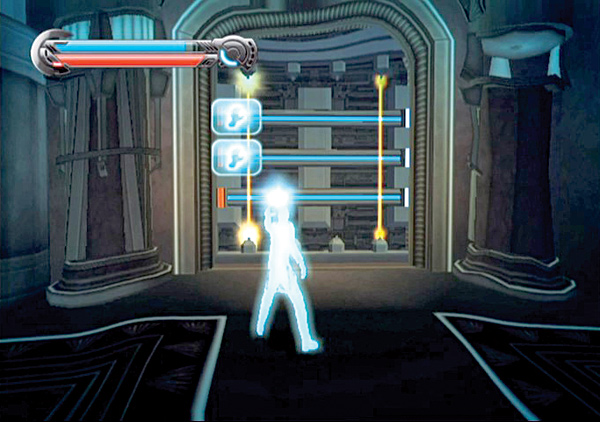
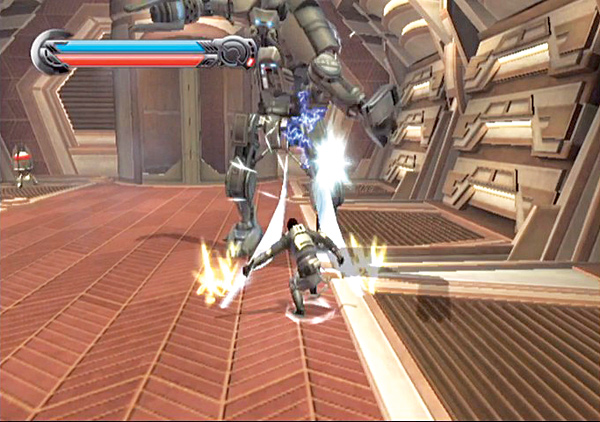
Pass through the hall into a smaller chamber to find another carbonite wardroid with a group of Imperial stormtroopers. The room is much smaller, so take out the stormtroopers first before concentrating on the wardroid and dismantling it.
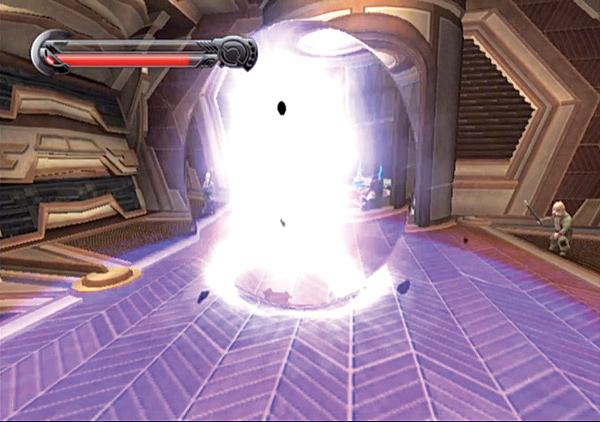
When you destroy the droid, the elevator at the room’s end delivers Ughnaughts to the fight. Use Force Repulse to decimate them, then hop on the elevator and ride it down.
The Pet
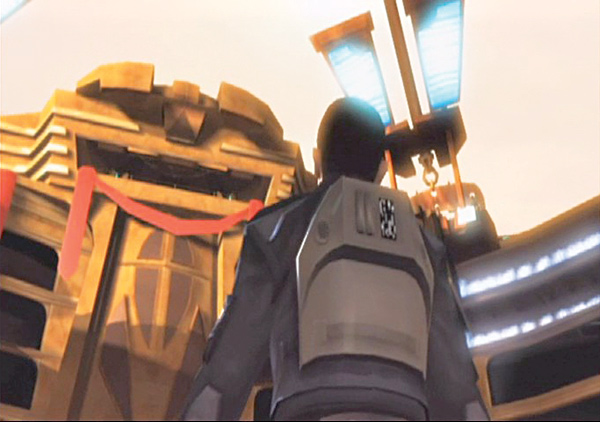
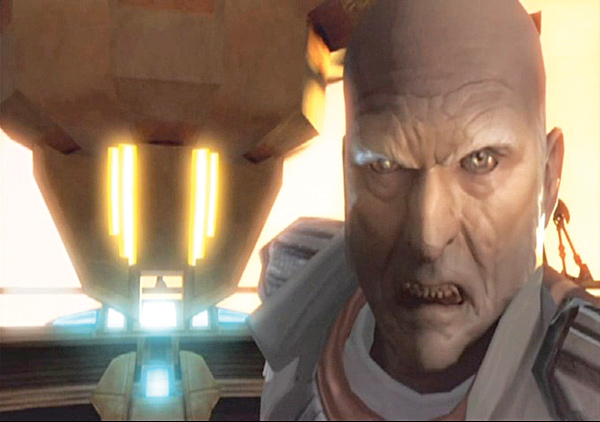
With no one left to oppose you, the baron orders his Neimoidian attendee to send out the Gorog. The Neimoidian is shocked at the request. He insists that the arena’s restraints are not ready for the Gorog to be unleashed.
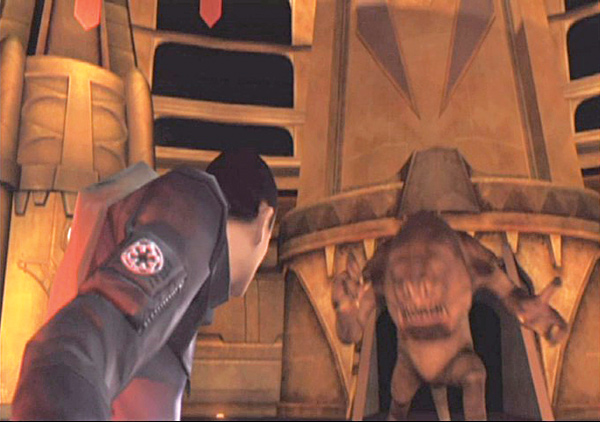
Still, the baron insists. His fury may be the only thing that matches the Gorog’s. Meanwhile, down on the arena floor, you join General Rahm Kota, who is very pleased to “see” you....
Just then, the sliding door across the arena opens up, releasing a large, hungry...rancor? You slacken your defensive stance, relieved that the beast that ambles out is a measly rancor. But before you can leap to the attack, a large three-fingered hand rises over the rancor and smashes it completely.
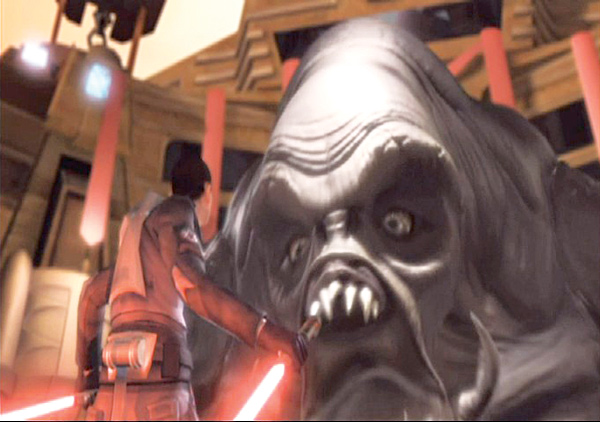
The hand then grabs the rancor and pulls it down into a pit. That is when the rest of the beast hoists itself out of the pit. The Gorog is a massive monster, as big as the arena itself. When it sees you, it lowers its rancor-sized head and roars. You’re in for a fight!
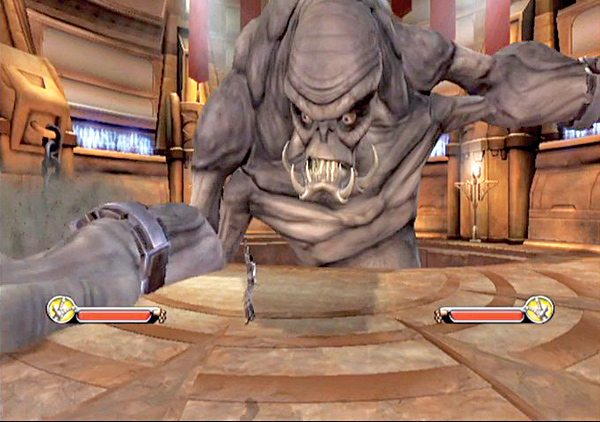
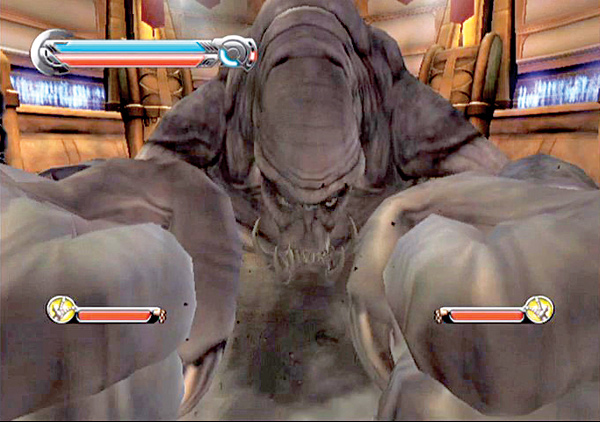
The Gorog is a massive monster. With no way of reaching its face from the ground floor, the only way you can deal damage on the Gorog is to lash out at its hands. As soon as it slams a hand down, double-jump in the air and dash over it as the hand swipes at you.
Dodge the beast’s swiping attacks until it slams both hands down. Stand between both hands as they slam down to keep from taking damage, then strike a hand with saber attacks or blast it with Force Lightning.
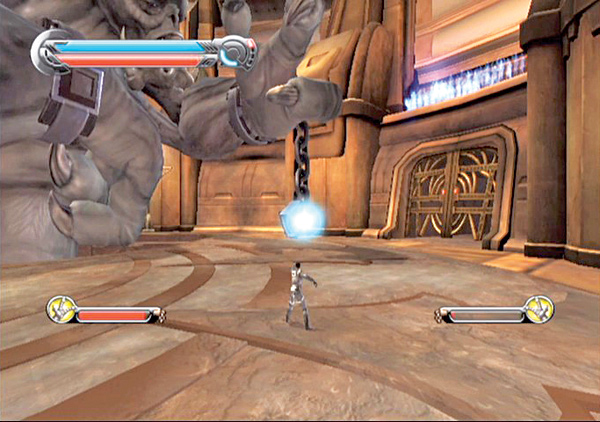
Repeat this process until you’ve damaged one of the hands enough for the Gorog to lift it in the air. While it’s in the air, use Force Grip to shackle the Gorog’s hand against the arena wall.
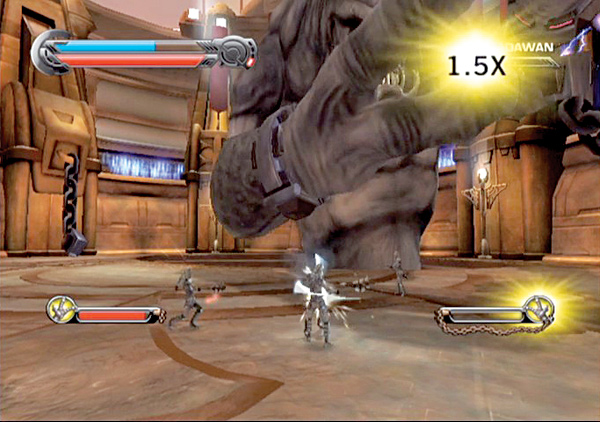
As the Gorog struggles to free its hand, several arena fighters rush out and attack. They’re not tough at all, so run them through with your lightsaber and dispatch them quickly.
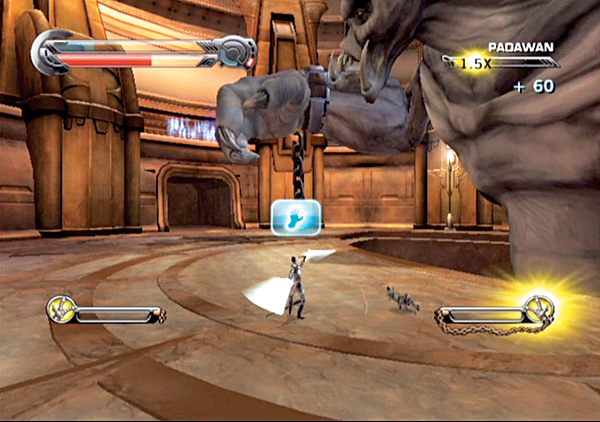
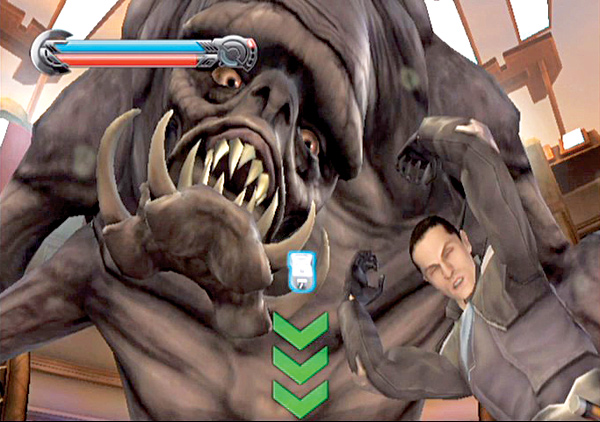
Eventually, the Gorog attacks again with its free hand. Retaliate and damage the monster’s free hand. Repeat the process again until you shackle its second hand against the wall.
With both hands locked against the wall, the monster’s head is free to attack. Follow the gestures onscreen to slam the monster’s head into the ground, then drive your saber into its eye!
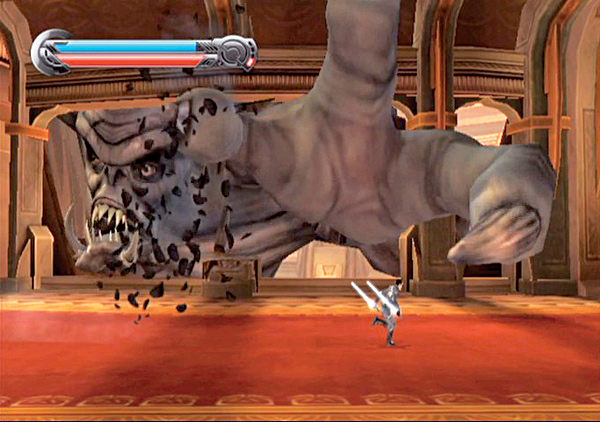
The pain drives the beast to shake loose from its shackles. While you proceed to the next level in the arena, the monster begins to tear through the structure. Dash down the hall. No sooner do you get a few feet than the Gorog manages to break through the wall and grab you. Execute the gestures onscreen to shake loose, then drop back down into the arena building.
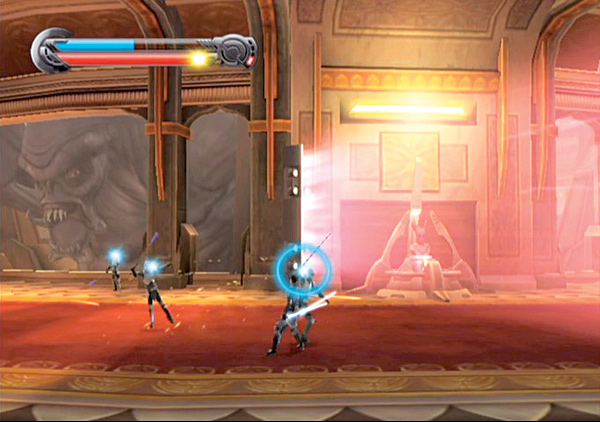
Continue dashing down the hall until you reach a red force field. Destroy the enemies in your way to deactivate the force field. If the Gorog grabs you again, follow the onscreen prompts to shake loose again, then resume your trek down the hall.
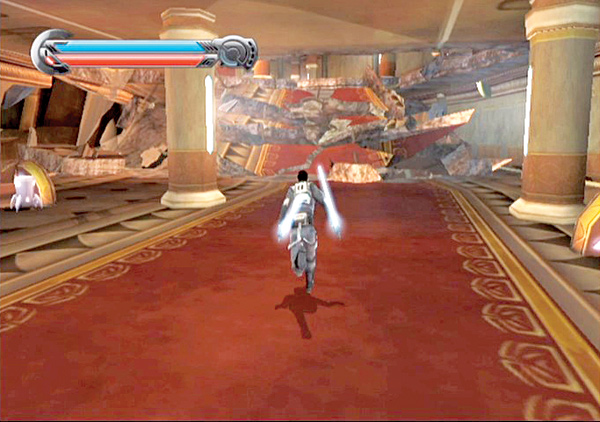
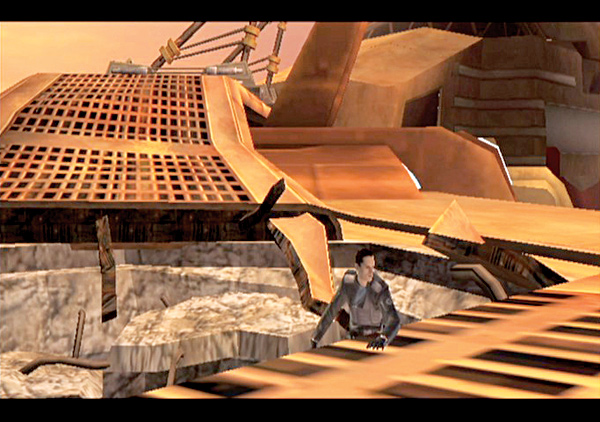
Continue past two more force fields until you reach an area in the structure where the roof crumbles. Dash up the fallen roof segment and take the fight to the Imperials in your way. Speed down the hall, through several more enemies, and up two more fallen roof segments until you reach the next section of the arena.
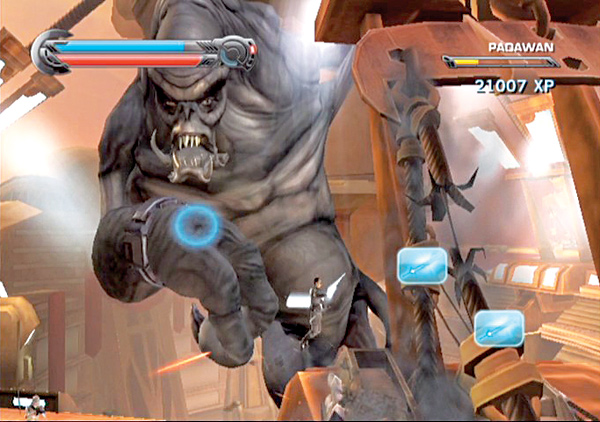
On the next section of the arena, the Gorog confronts you again. Rush down the walkway until you come upon a large support. Dodge the Gorog’s attacks and dash through the Imperials in your way. When you reach the support, strike it with your saber, then sever the cables with a Saber Throw.
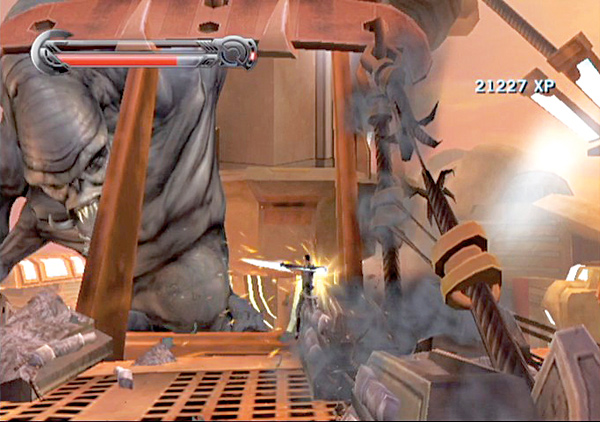
Since the Gorog is too big to destroy, the only way to defeat it is to destroy the arena. Speed farther down the long corridor and destroy the next two supports in the same fashion.
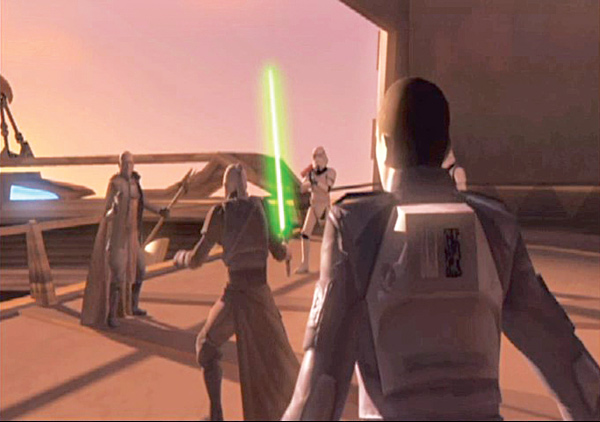
When you sever the final support, the arena begins to crumble. You reach the baron just in time to join Master Kota in confronting him. Before you can crush the baron, however, the Gorog crashes through, grabs him, and eats him!
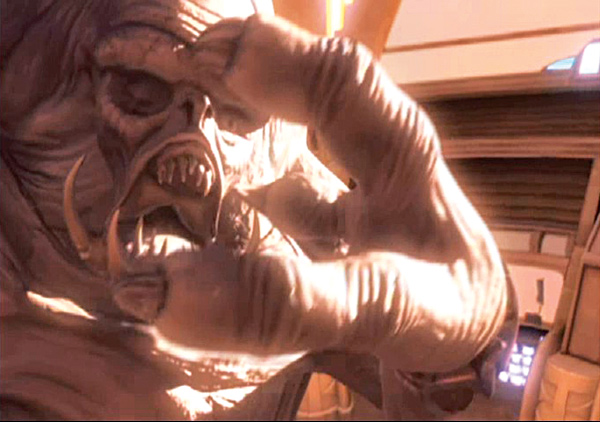
The monster’s weight forces the entire city to finally give. As it falls, the Gorog grabs Kota in its massive hand. You leap after it and find yourself in a free fall after the monster.
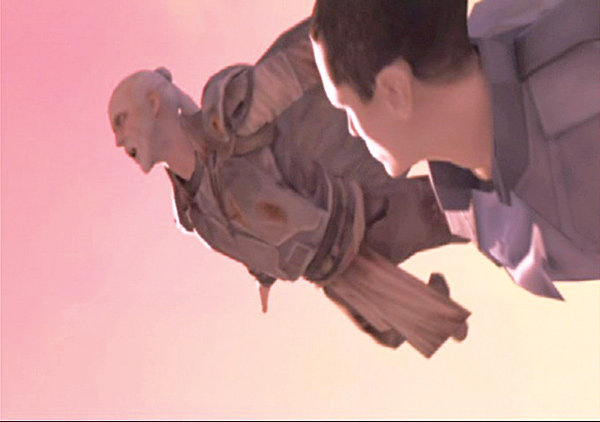
You reach the hand and pry it open, freeing Master Kota. As you and Master Kota free-fall to the planet’s surface, you realize that there’s no way you can survive this. Luckily, the Rogue Shadow is nearby and zooms in just in the nick of time to pluck you from your free fall. You speed away to safety with Master Kota.