
Star Wars The Force Unleashed 2 Guide Walkthrough Walking in Starkiller's Shadow (Wii)
The Rebel Ship Salvation (Blackout)
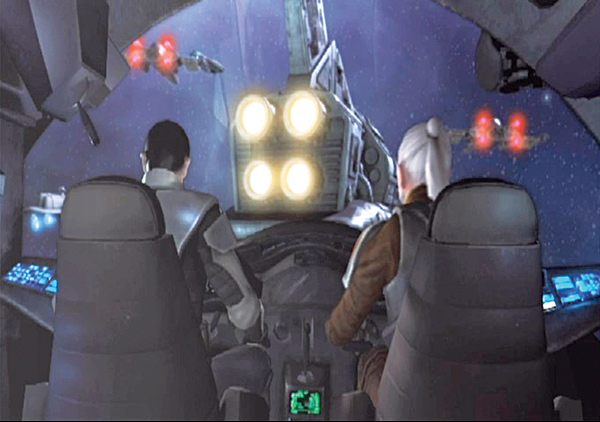
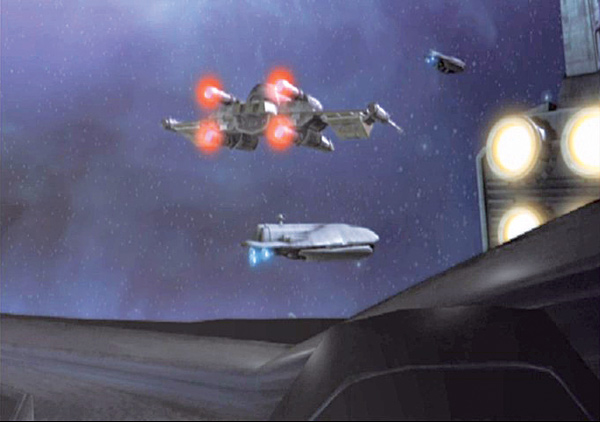
Having found his purpose, the clone reunites with General Kota and heads to the Rebel ship Salvation. There, Captain Juno Eclipse commands a portion of the ragtag Rebels.
If the clone’s vision was true, then the ship would be under attack. Since there was no sign of attack, then the vision must not have come to pass yet.
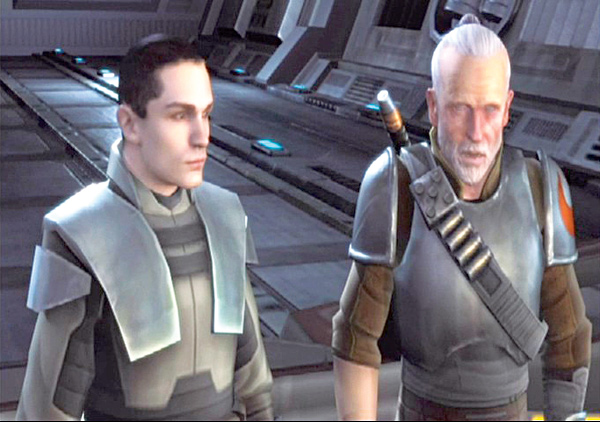
The duo docks inside the Salvation and quickly begins their trek to the control room aboard a moving platform. As they make their way, General Kota explains that the Rebels are slowly losing heart. Fewer and fewer fighters are willing to do what needs to be done.
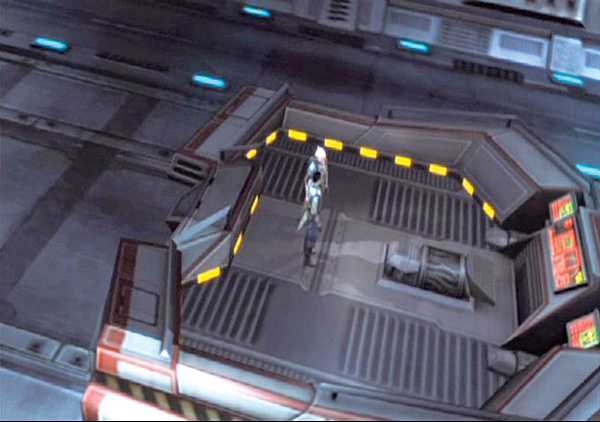
But with a Jedi on their side, surely the rest of the Rebel fighters will jump at the chance to bring down the Galactic Empire. When the clone reminds Kota that he’s just a clone, Kota still refuses to put stock in that fact. With little else to convince Kota, the clone hands over a data cylinder with coordinates and schematics for the secret cloning facility on Kamino.
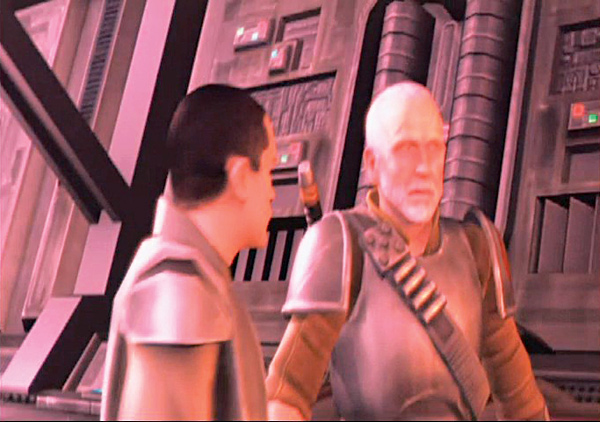
An explosion rocks the ship before the daring duo’s platform reaches its destination. The assault from the clone’s vision has begun!
Blackout
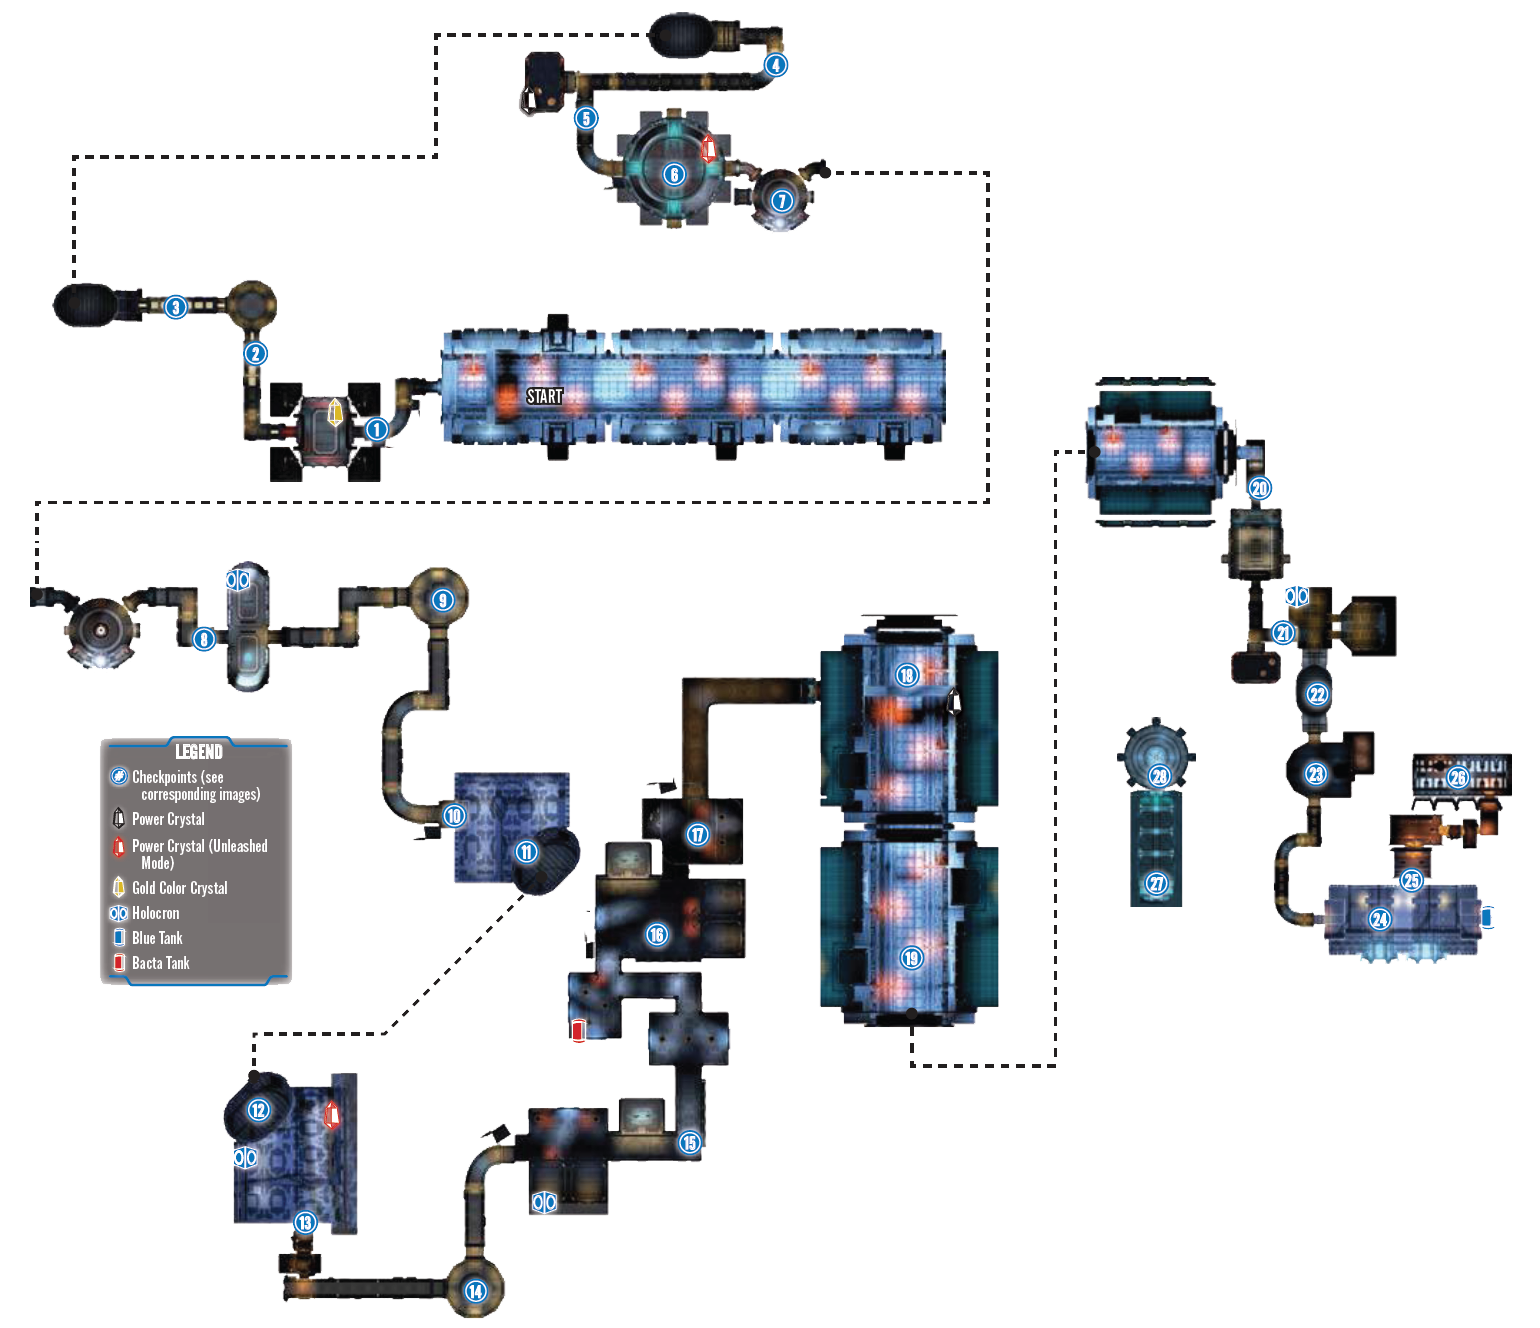
Visions Fulfilled
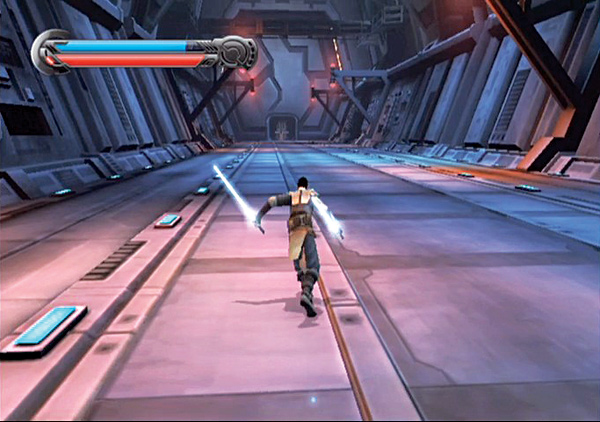
Hop off the platform and sprint to the hall at the far end. Use Force Grip to lift the sealed door, then rush in. There are no enemies nearby, so follow the corridor left as it curves around toward another section of the ship.
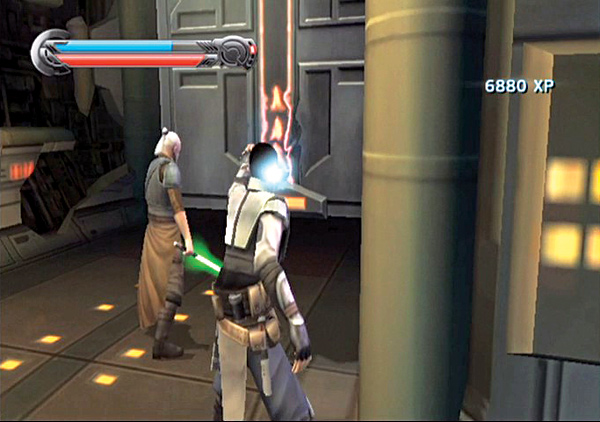
Grab the sealed door with the Force and lift it; head into the small, sealed room beyond.
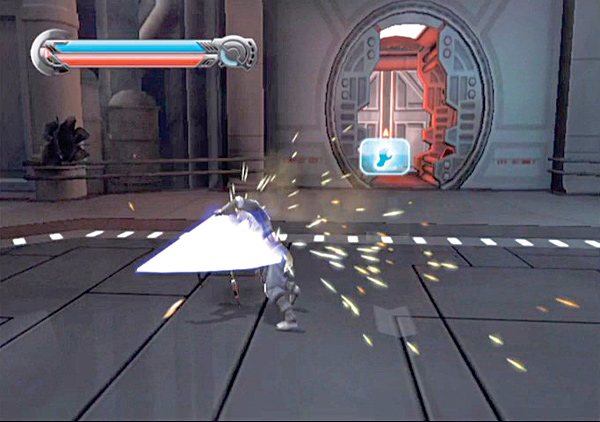
Upon entering the room, you’re ambushed by several small terror spider droids. Use a combination of saber combos to build your Combo meter and use Force Repulse to destroy them.
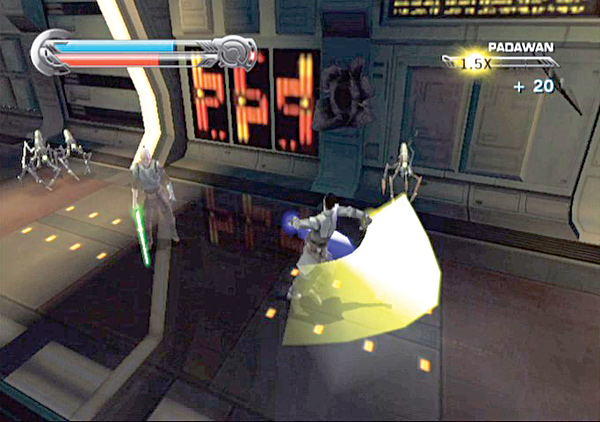
Force Grip the next door and slide it open. Follow the corridor as it turns right, and you come to another sealed door. Before you can force open the door, clear the short hall of all terror spider droids.
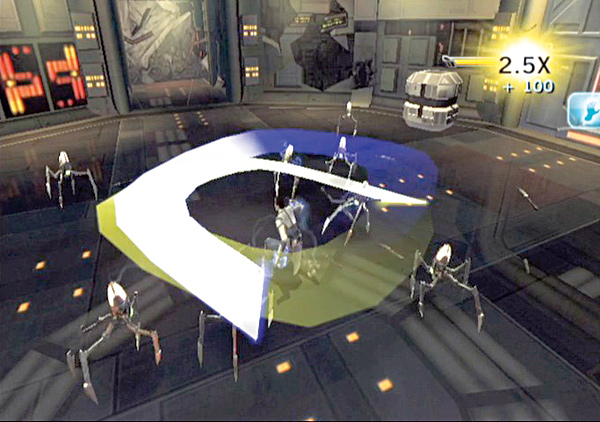
Enter the next room, which is a small circular area, and immediately get to work on destroying the spider droids. String together several saber combos to build your Combo meter, then unleash Lightsaber Specials to clear the room.
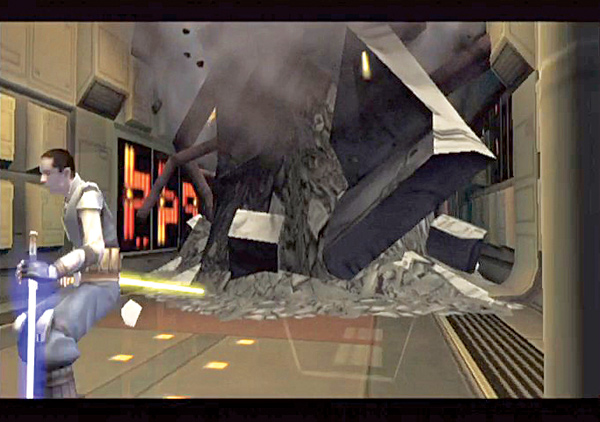
Exit through the next door and rush down the hall. Just when you’re about to reach the hall’s end, the hall behind you caves in, separating you from Kota!
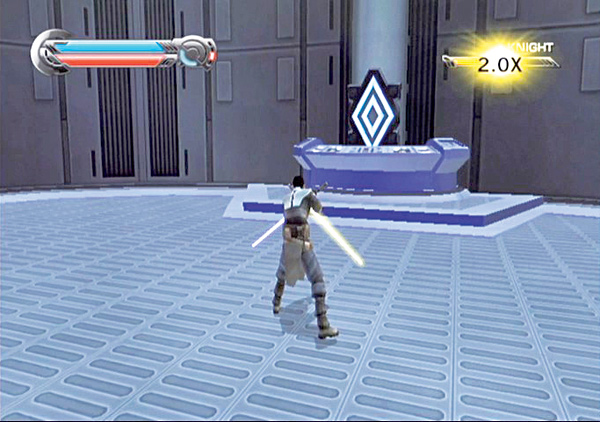
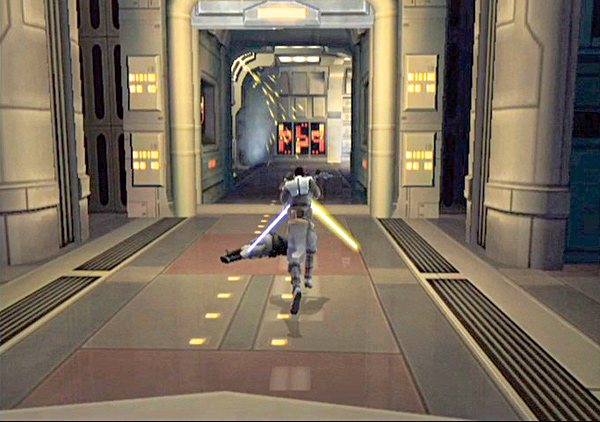
Lift the next door and step onto the elevator. Use Force Repulse to destroy the attacking spider droids, then use a Force Lightning blast to charge the diamond-shaped switch on the right. Ride the elevator to the lower level, then use the Force to open the next door.
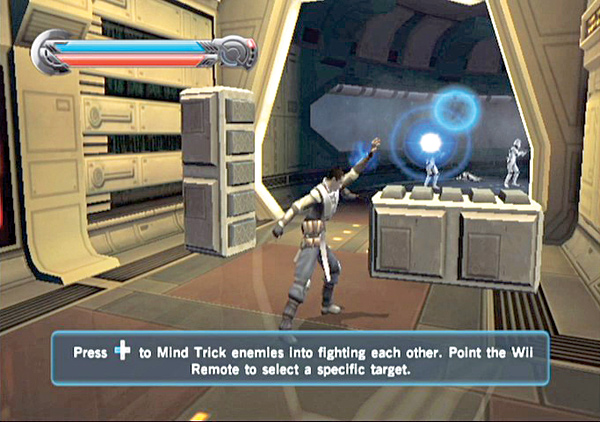
Slowly creep out into the hall and sneak up on the Imperial stormtroopers ahead of you. Use Mind Trick to turn them into unwilling allies, then watch them turn on each other rather than fight the Rebels.
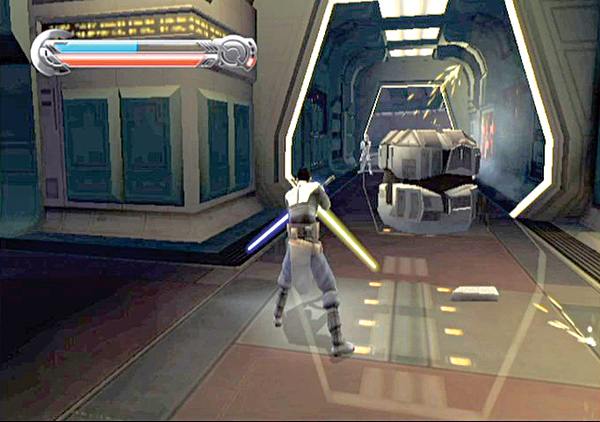
Rush out behind your stormtrooper friends and speed down the curving corridor. When the corridor straightens out into a long hall, dash to its end where it splits into two paths.
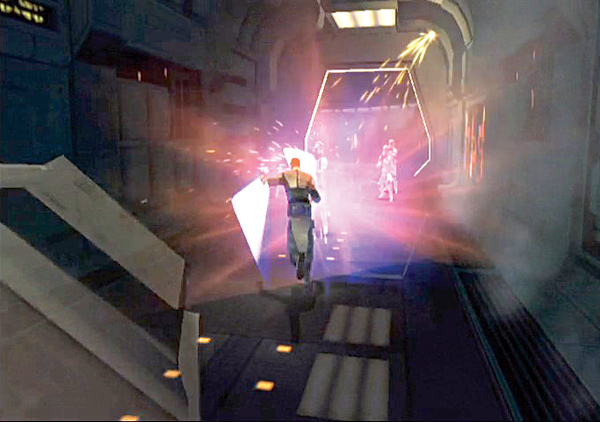
Turn left at the split in the hall and fight past the stormtroopers in your way. Use the Force to open the doors blocking your path, and enter the large, circular room.
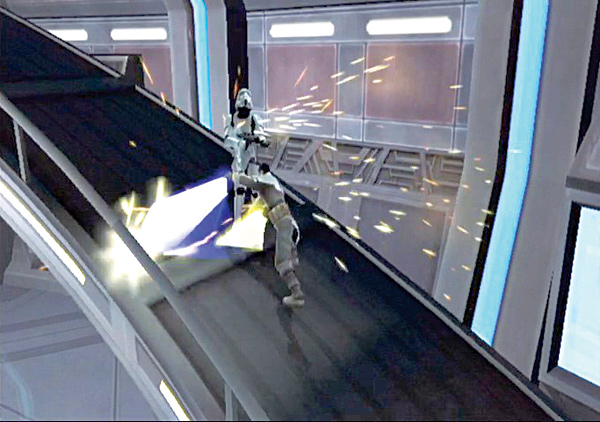
The room has two walkways leading to the top level. Rush up the one on the right and take the fight to the stormtroopers perched above you. When you reach the top level, you find the Rebels fiercely engaged in battle with the Imperials.
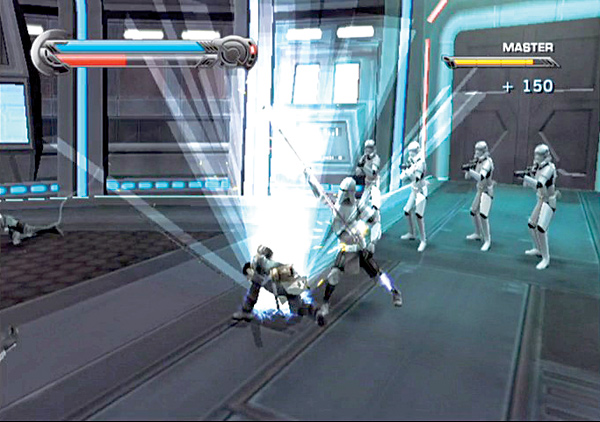
Lend the Rebels a hand and cut through the Imperials with your saber. When the riot troopers rush out, Mind Trick them, then join them as they turn on each other. Use Lightsaber Specials to destroy the rest of the troopers and clear the room.
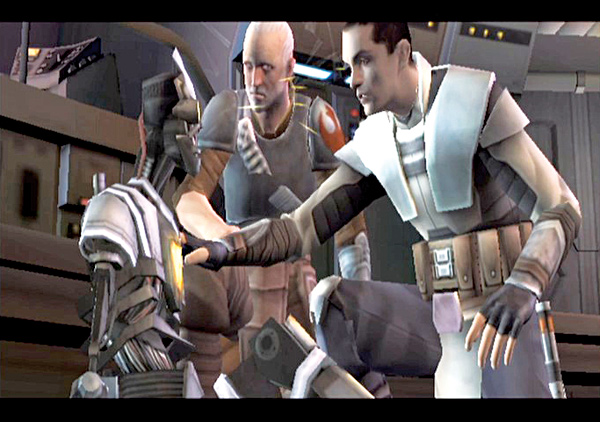
Remove all of the enemies, then enter the command room via the door on the far wall. Upon entering the room, you find your—or rather Starkiller’s—holodroid! When you ask it about Juno, it informs you that a bounty hunter has taken her to the hangar bay on Deck 7.
You tell Kota to order the attack on the Kamino cloning facility while you set off after Juno!
The Chase
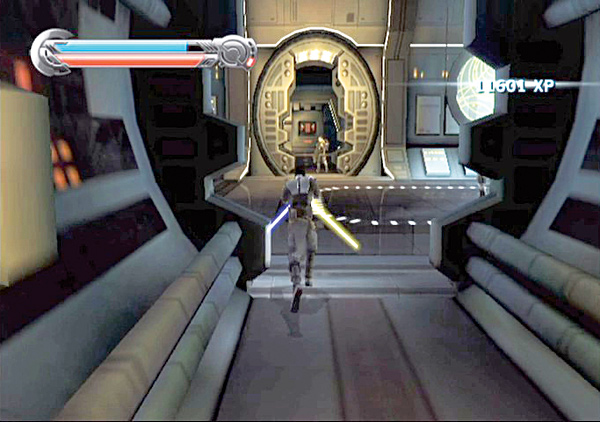
Rush out of the command room via the only open door. Dash down the halls until you see Boba Fett carrying Juno ahead of you.
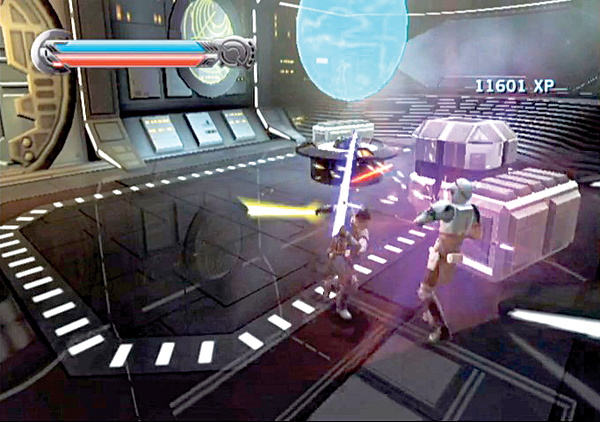
Before you can catch up, though, the door ahead of you closes and you’re ambushed by riot troopers. Use saber combos and Force powers to destroy them.
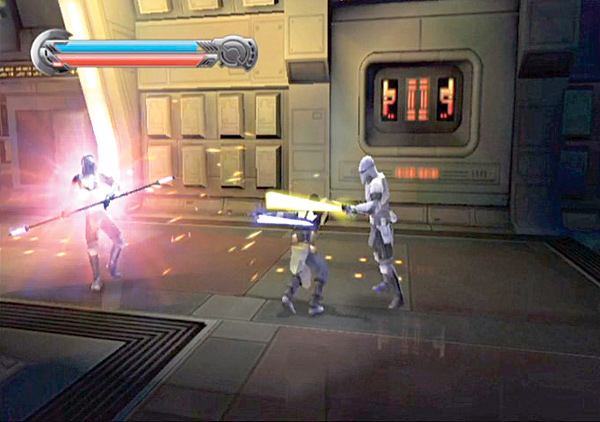
In the next hall are a pair of riot troopers. Dispatch them quickly and continue down the hall. Follow the winding corridors to a room where a squad of Imperials waits to tear you to shreds.
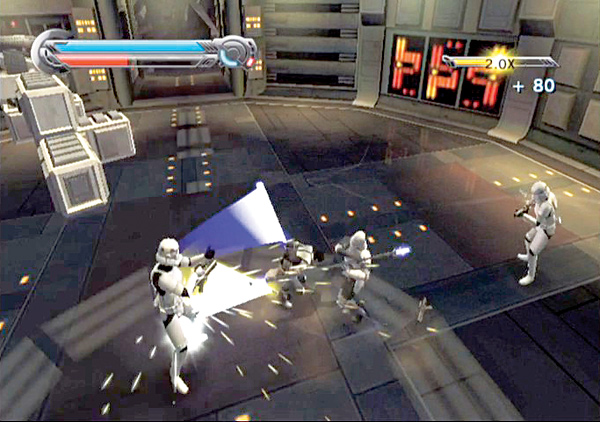
Build your Combo meter and clear the room with Lightsaber Specials and Force power attacks. Leave the room through the spider-droid-infested hallways, and reach another sealed door at the end. Lift it with the Force and proceed.
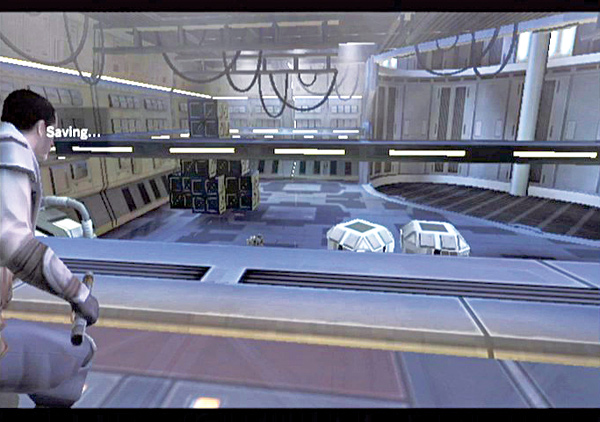
When you reach the first storage bay, you find that it’s storing an Imperial AT-MP walker. The walker wastes no time in attacking, so get to cover as soon as you enter!
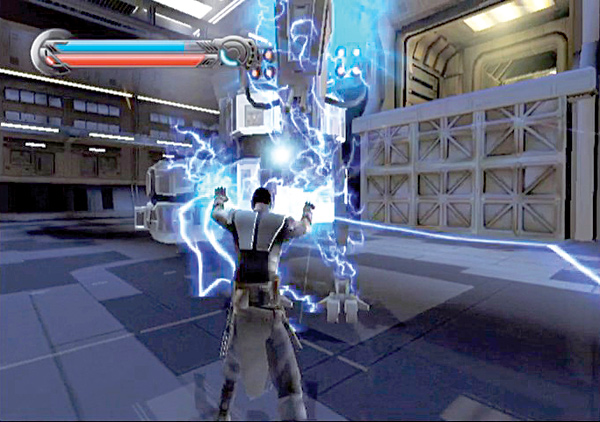
Get up close and personal and fry the walker’s circuits with Force Lightning. Stay on the move to keep from being blasted to death, and duck for cover behind the crates in the bay to recover health when you take too much damage.
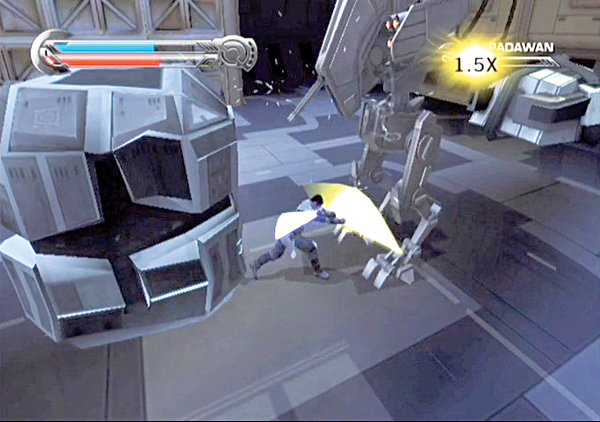
Mix in a few saber combos to cut off major chunks of health from the metal monster, and finish it off. When the room is all clear of enemies, approach the elevator platform.
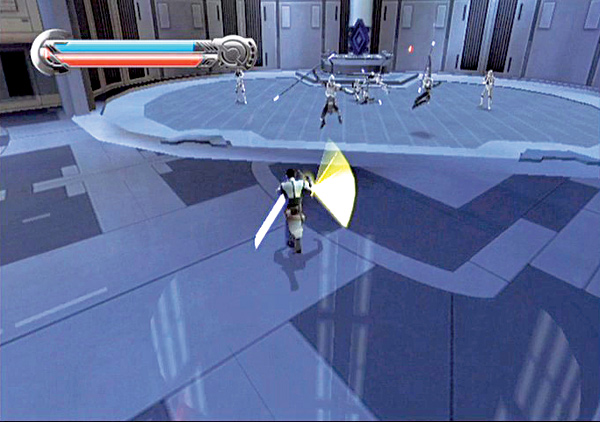
The elevator delivers a group of Imperial enemies into the bay. Rush your foes and use Mind Trick on the riot troopers. Allow them to defeat the lesser stormtroopers, then finish off any remaining enemies. With no one left to pester you, charge the diamond switch on the elevator and ride it up.
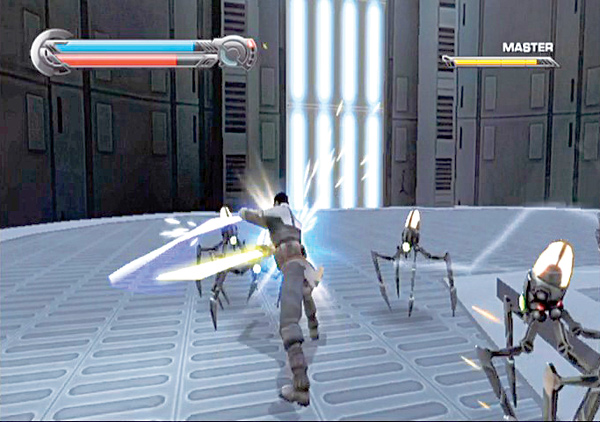
About halfway up, the elevator stops and a swarm of spider droids attacks. Squish the spiders with Force Repulse and saber combos, then zap the diamond switch again to resume your ascent.
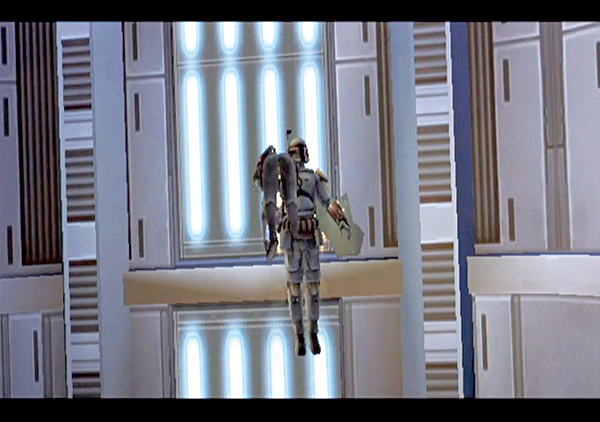
As you near the top of the elevator shaft, Boba Fett speeds away with Juno. He blows a hole in a far wall and flies through, carrying Juno on his shoulder!
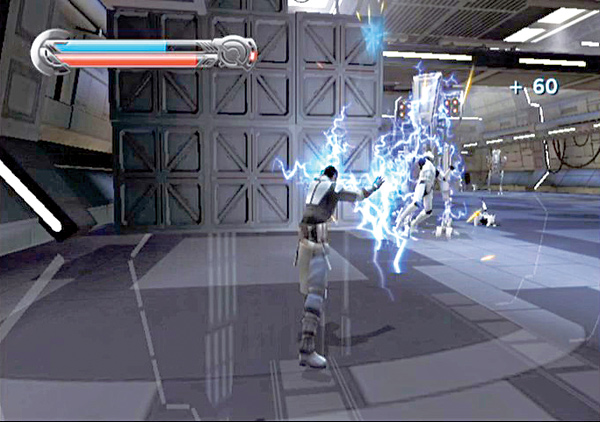
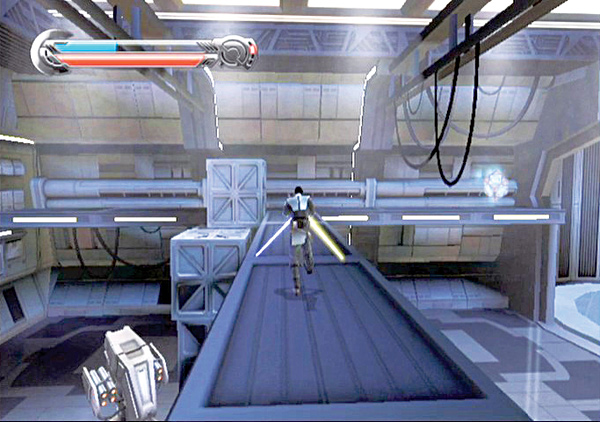
You’ve reached the top storage bay only to find that this one is inhabited by two AT-MP walkers! As the walkers stomp around the room, several stormtrooper squads scurry into position. Use Mind Trick to turn the stormtroopers on the walkers, then rush the nearest AT-MP and lash out with saber combos.
Wait for your Force energy to refresh, then hit the walker with Force Lightning to dish out even more damage. Use the upper walkways above the room to get a height advantage and attack your enemies from above. Carefully pick them apart with lightning blasts when you’re above and use saber combos while on the ground to clear the room of all enemies.
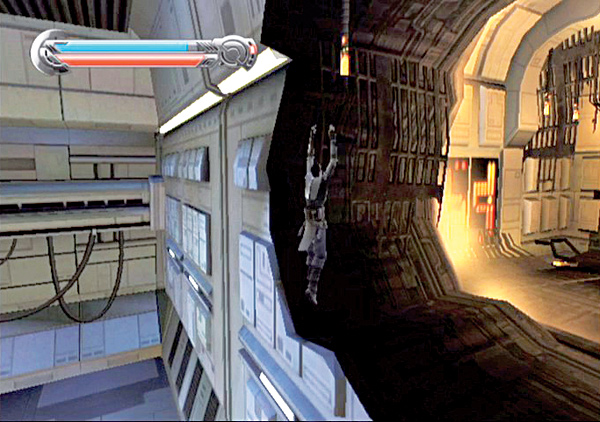
In his escape, Boba Fett blasted a series of holes through the ship. Move the large grippable crate to the right. Place it directly underneath the hole that the bounty hunter created, and use it to jump through.
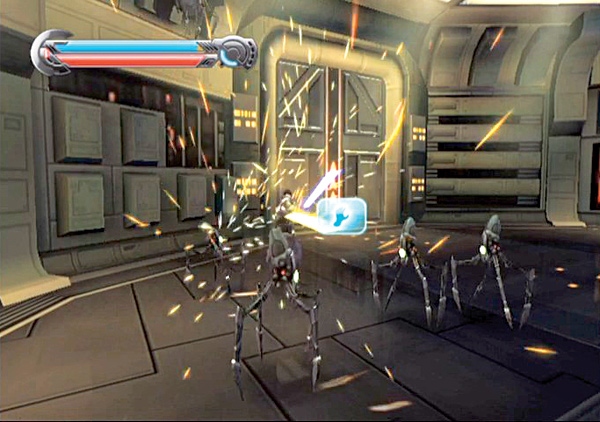
Follow Boba Fett’s path of destruction. Use the Force to open the door at the end, then scrap the spider droids that attack.
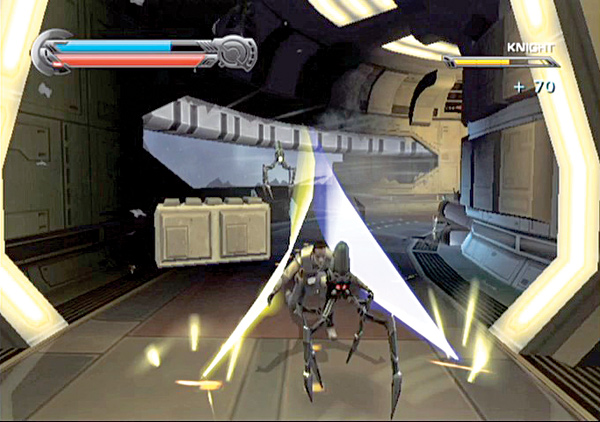
Open the next door and dash down the hall. Blow open the window with a Force Push blast to blow the attacking spider droids into space, and cut the remaining spiders with your sabers.
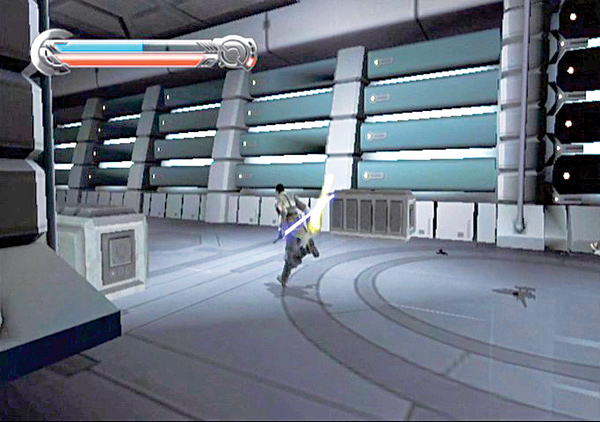
Sprint across the room toward the Rebels at the far end. As you get near, the Rebels are savagely destroyed by blaster fire coming from the hall on the left. Turn left and enter the next large room.
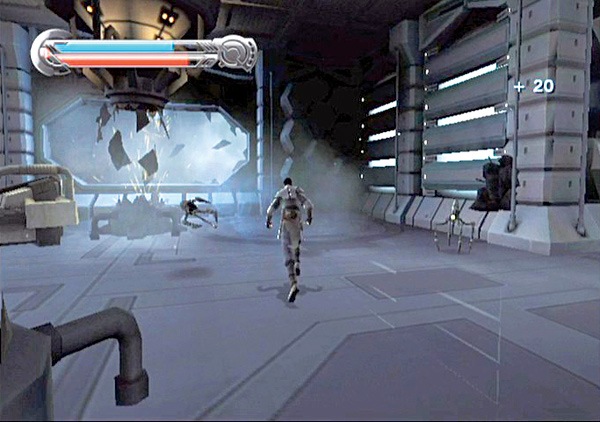
Take out the spider droids in the next chamber, then engage the riot troopers in the attached hallway. Mind Trick the first, and help him defeat the other two. In the next section, veer left and immediately decimate the stormtroopers that attack.
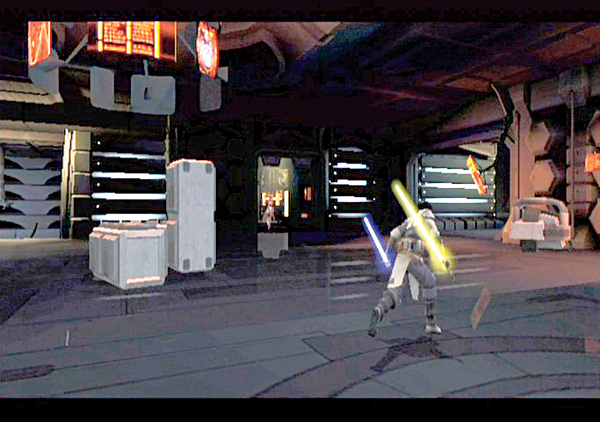
Once again, you manage to catch up to Boba Fett just as he narrowly escapes into a chamber ahead of you. However, before you can bust through, you’re ambushed by several terror troopers. Immediately activate your Force Vision to locate the sneaky scoundrels.
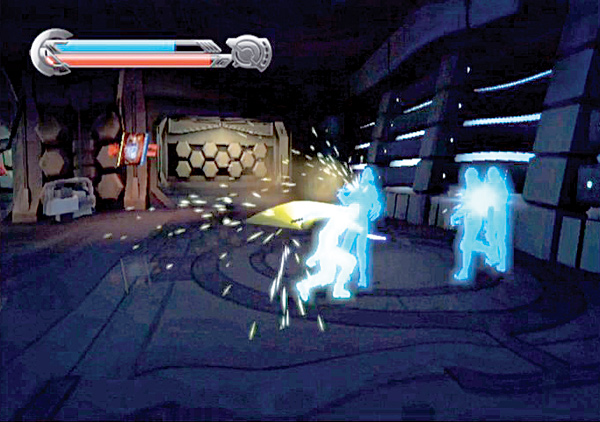
With your Force Vision active, you can see the terror troopers even while they’re invisible. Use this to your advantage and lay into them with saber combos and Lightsaber Specials. They’ll never see it coming!
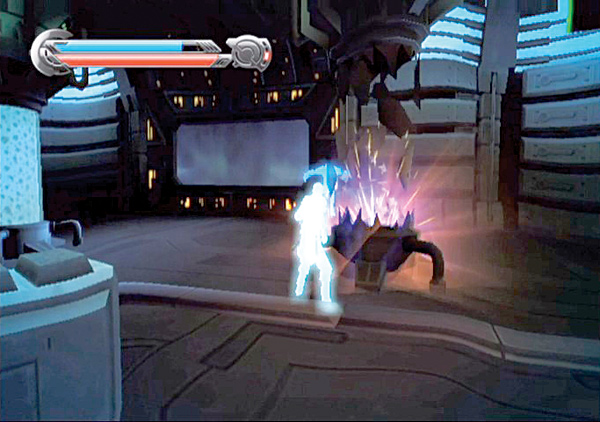
Follow Boba Fett through the door. You’ll encounter more terror troopers there. Once again, rely on the Force to reveal the enemies’ location and tear through the terror troopers.
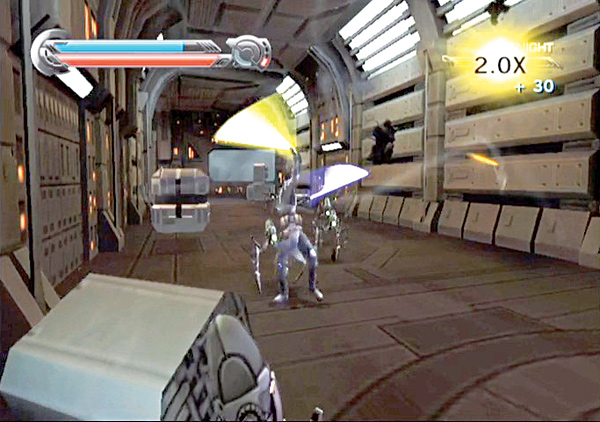
Force open the next door and go through. Crush the terror spider droids in the hall and make your way into the hangar bay. Boba Fett is one step ahead of you and manages to escape with Juno through the hangar bay doors.
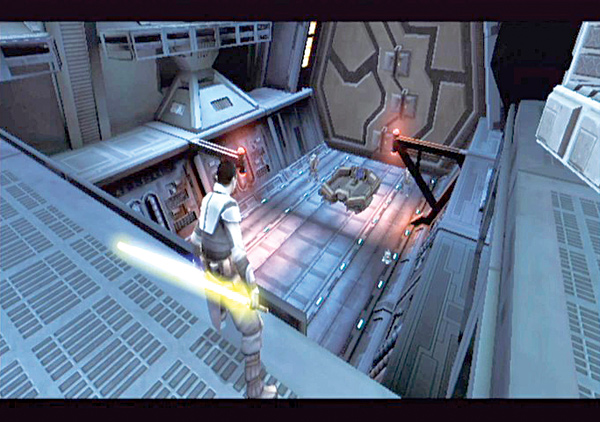
Below you are several more Imperial enemies to contend with, including two AT-MPs and a group of terror troopers.
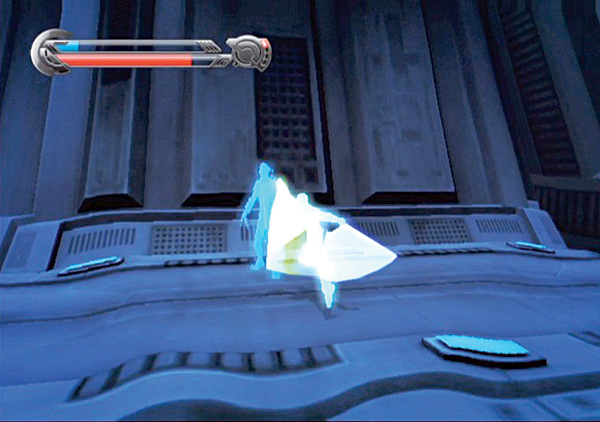
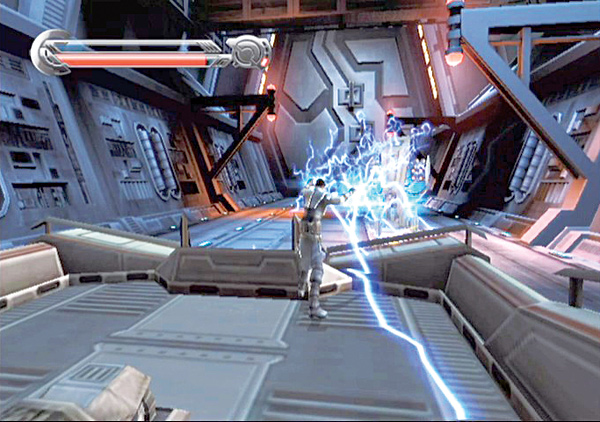
Jump to the area below and activate your Force Vision. Locate the terror troopers first and take them out quickly. If you allow them to live, they’ll interrupt your fight with the walkers and knock you to your feet, allowing the walkers to shred you with blaster fire.
Lure the terror troopers behind the transport platform near the center of the bay and fight them one-on-one, outside the walker’s firing radius. With the troopers gone, allow your Force Energy to replenish, then zap them with Force Lightning to deplete their health. Duck behind the transport platform to recover energy and resume the fight once you’ve got enough Force Energy.
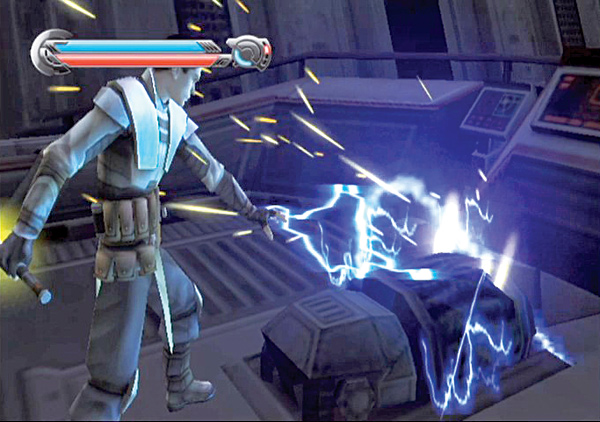
After you destroy both walkers, hop on the transport platform and power it up with Force Lightning to send it speeding after the bounty hunter!
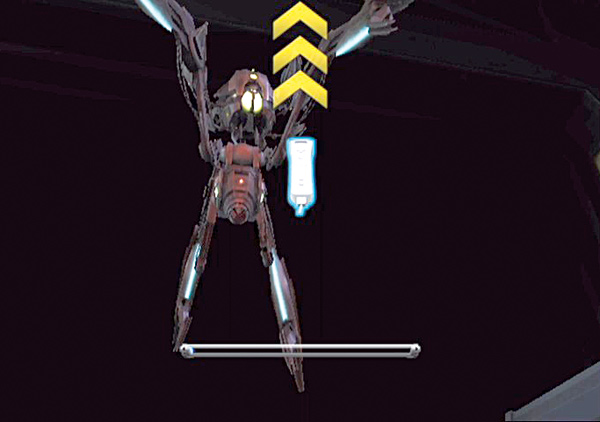
As you rush along, a giant terror walker joins the chase! Follow the onscreen commands to shoo away the massive metal monster and its mini metal minions!
Hunting the Hunter
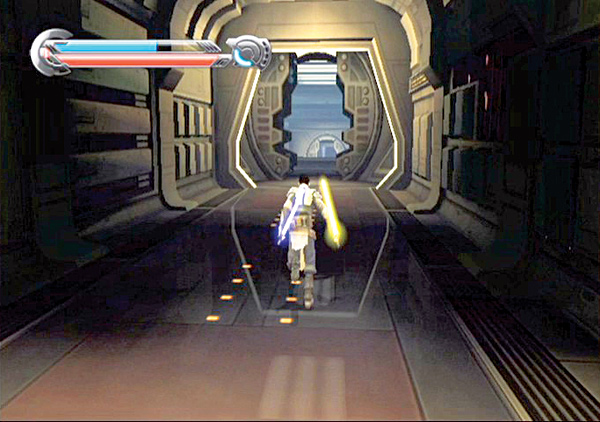
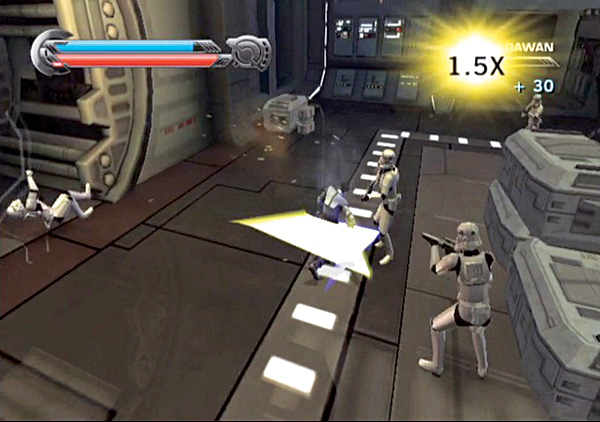
Upon arriving at the far end of the Salvation’s transport conduit, sprint through the door there. Follow the corridor until you reach a large room with a stormtrooper squad waiting below you.
Jump down into the room and rush the stormtroopers at the far end. Dispatch the Imperials, then leave the room via the hall at the far end.
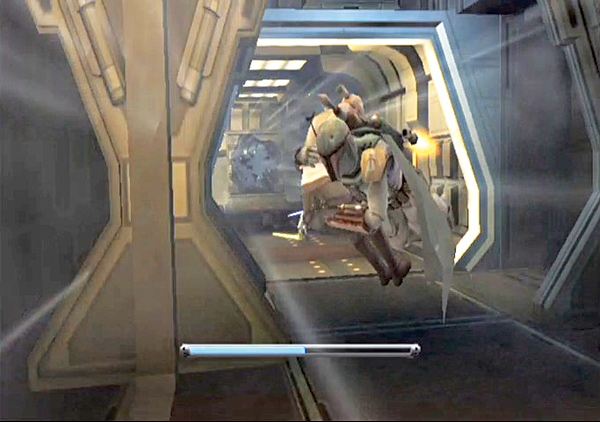
Dash down the hall. When you catch up to Boba Fett, follow the onscreen commands to dodge his missile attacks. After missing with the first two missiles, Boba Fett launches a third missile behind you. The explosion blows a hole in the wall and creates a powerful vacuum that almost sucks you out to space while he gets away.
Follow the onscreen prompts and pull yourself up the hall and away from the hole in the wall.
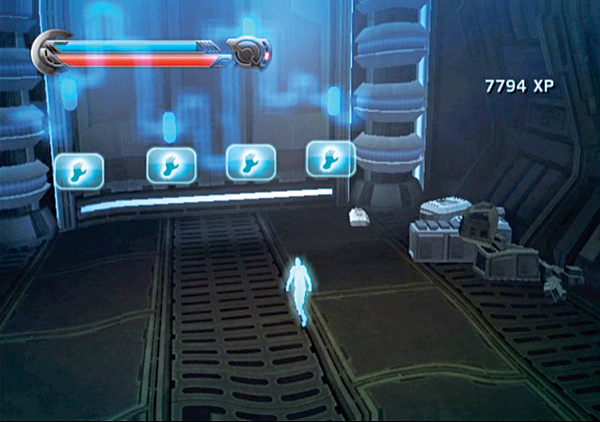
Approach the large, locked puzzle on the room’s opposite side and activate Force Vision. Use Force Grip to move the lock mechanisms into the bright white spots that are in the puzzle’s locking circuit.
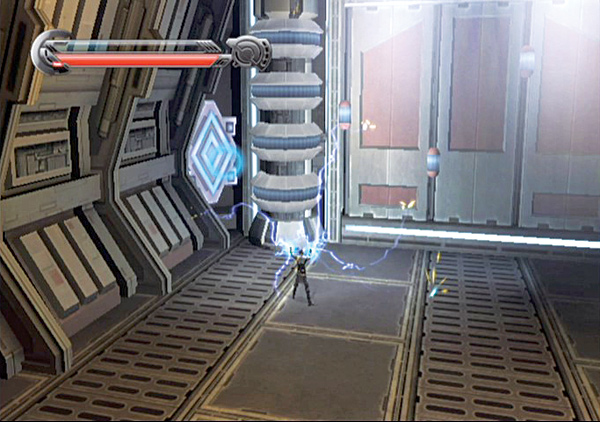
With all four mechanisms in place, the circuit is closed. With all four lock mechanisms in place, charge the diamond switch on the left with Force Lightning and activate the circuit. This opens the door behind you on the left.
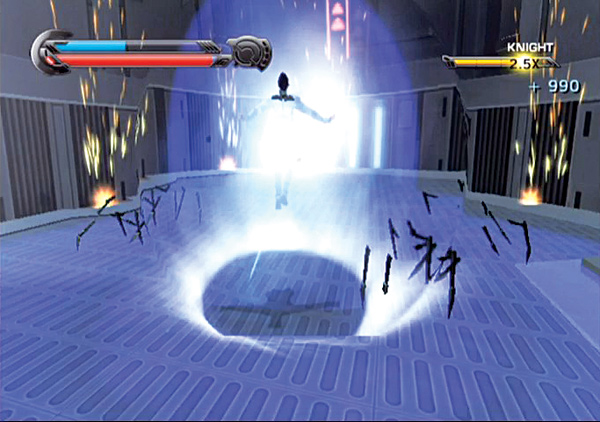
Exit via the newly opened door and set out on the elevator platform. When you step on it, the platform gives way and begins to fall! Destroy the spider droids that attack on the way down.
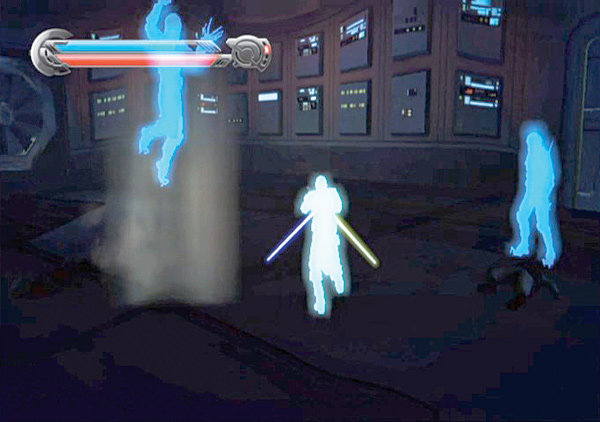
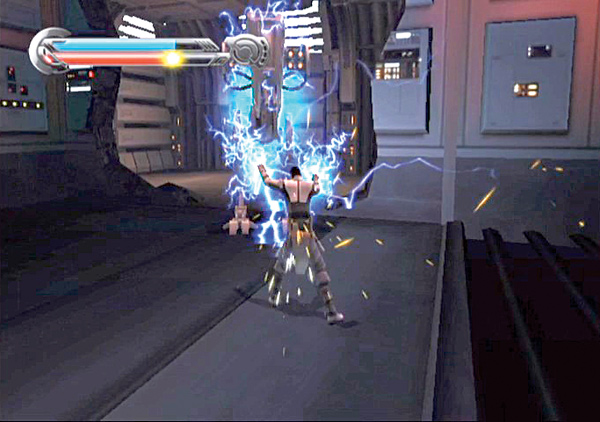
Enter the next room and use Force Vision to locate the terror troopers there. Put down the sneaky Imperial soldiers with Lightsaber Specials. After destroying the terror troopers, the far left wall explodes, and an AT-MP comes stomping out. Fry the walker’s circuits and destroy it quickly.
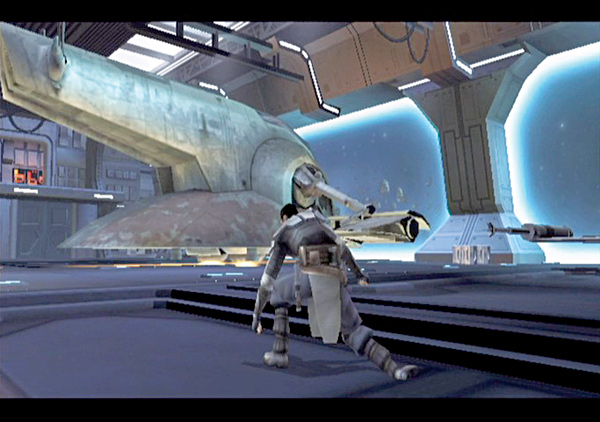
Leave the room through the next hall and fight past more stormtroopers. Rush out to the hangar bay where you catch up to Boba Fett as he attempts to flee in the Slave I! Follow the onscreen commands to hurl a nearby Y-wing at his ship and knock it off-kilter.
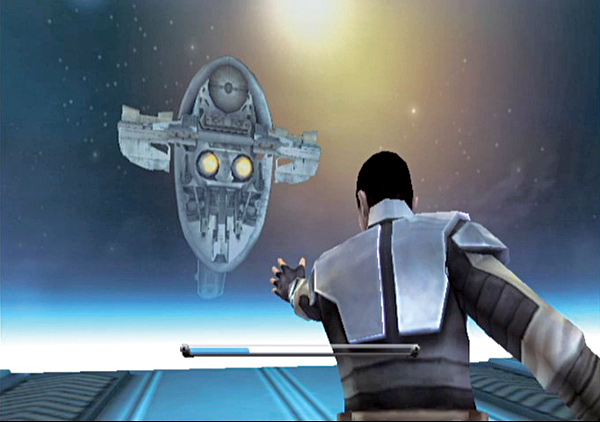
When that doesn’t work, try following the commands onscreen to Force Grip it and pull it back into the hangar bay. Even though you’re able to swat away attacking stormtroopers, the terror walker finally catches up with you and knocks you down, allowing the Slave I to get away.
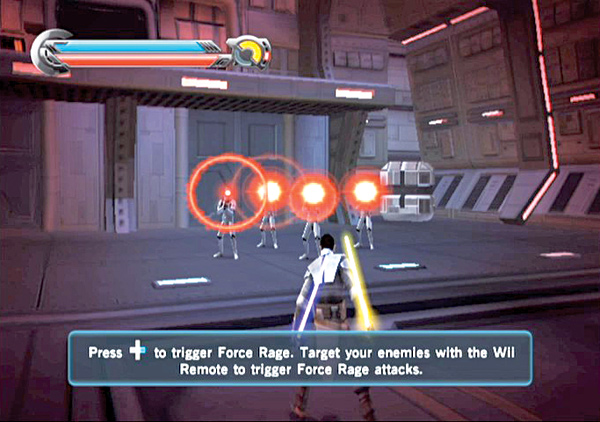
When you come back to, you find that the bounty hunter has gotten away with Juno. You’re overcome with rage when you realize you failed; this allows you to tap into your Force Rage ability!
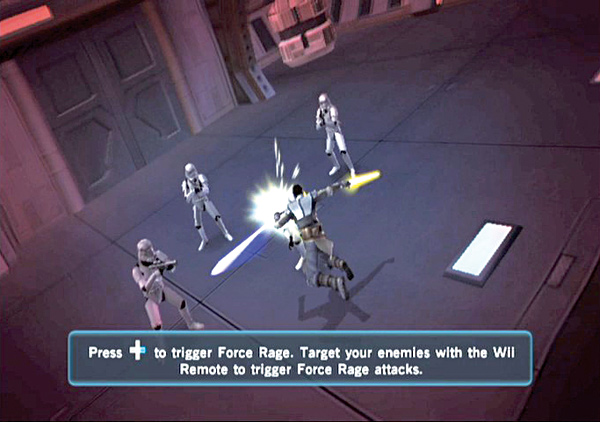
Do as the onscreen prompt suggests and activate Force Rage. Target the four stormtroopers nearby and instantly obliterate them. Continue building your Force Rage and using it to dispatch the enemies in the room, clearing the hangar bay.
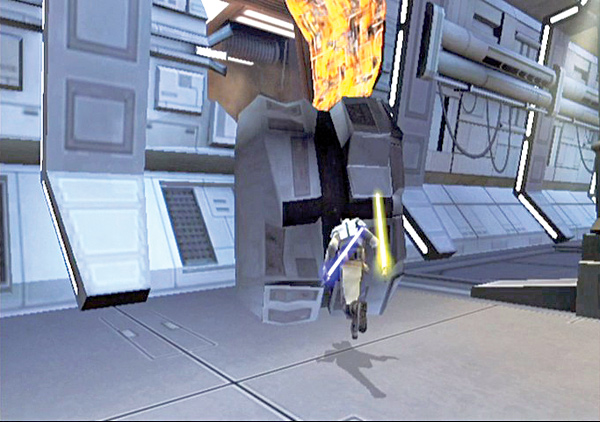
With the room clear, approach the large burned hole left behind by the terror walker and go after it! Pass through the next few smoldering holes left by the giant spider and use saber combos and Force Rage attacks to destroy all enemies in your path.
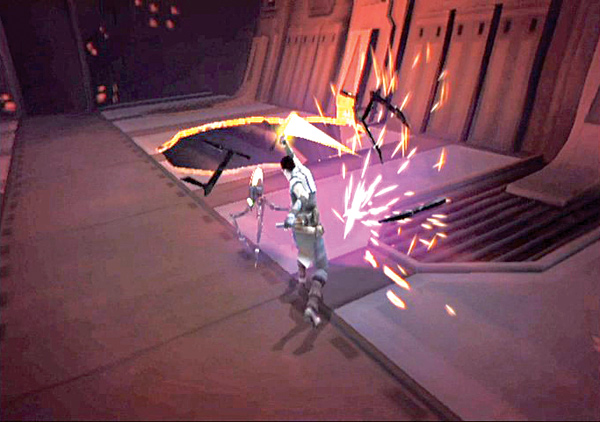
When you find the hangar bay section with a hole in the ground, jump into it to continue your pursuit.
Battle Within
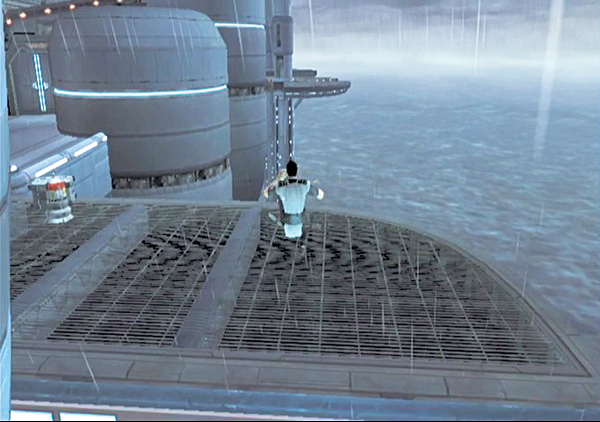
You catch up to the terror walker just as it finishes dislodging several rotating rings around a long firing chamber in the Salvation. At the chamber’s far end, the walker desperately tries to burn a hole into the next area.
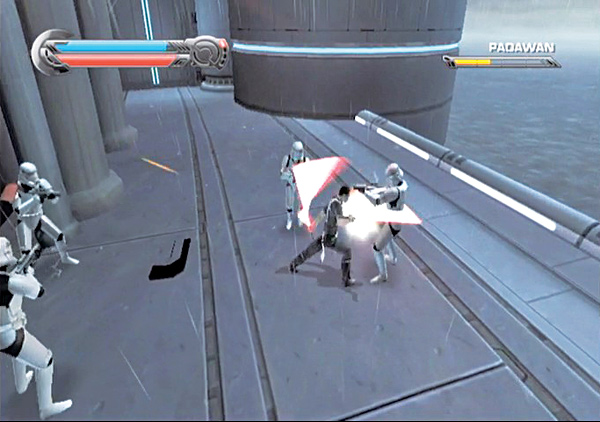
Run up to the first ring and use Force Grip to rotate it back into place. This obviously gets the terror walker’s attention, and it begins to fire at you. Dodge the incoming missiles and get back to work rotating the ring.
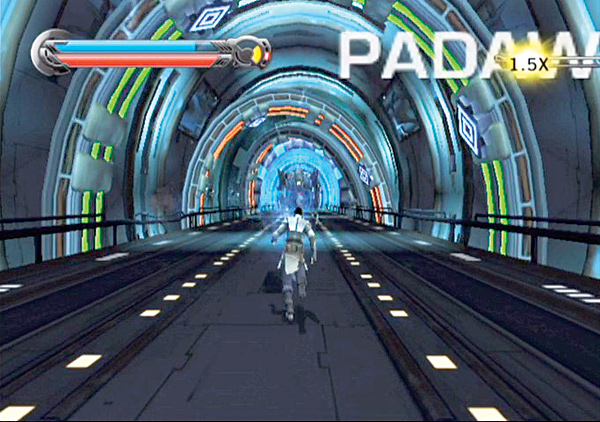
After getting the ring rotating again, rush to the next one. Once again, dodge the missiles and shift the ring until it begins rotating on its own. Speed down the long hall and destroy the spider droids in your way.
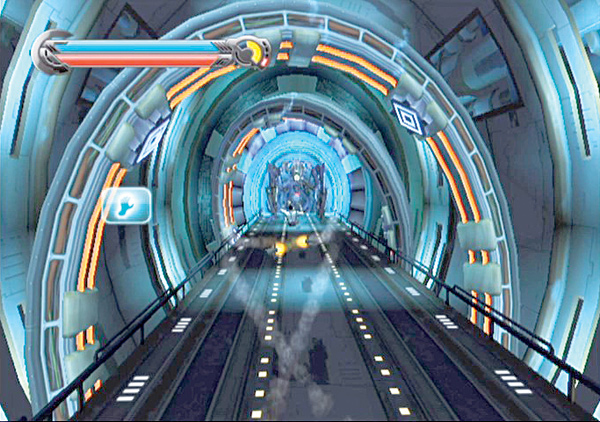
Continue down the hall, rotating rings, dodging missiles, and destroying spider droids as you go until you reach the terror walker.
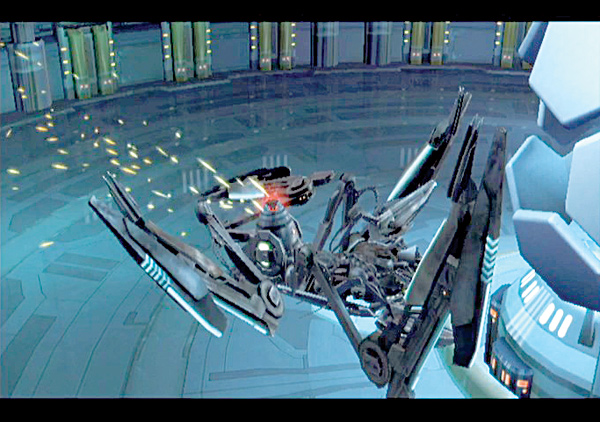
With all the rings back in rotation, the firing beam comes back online and blasts the walker into the next room.
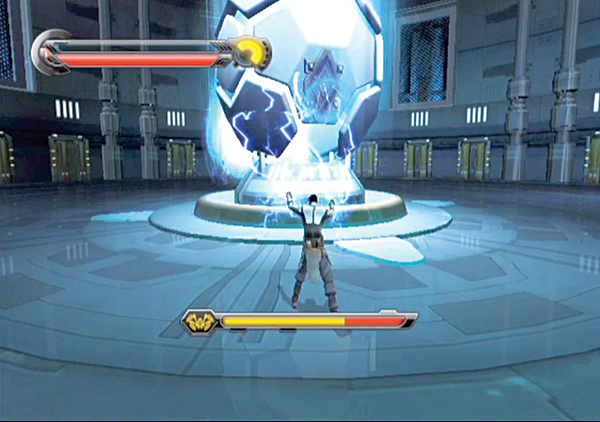
Once you’re in the next room with the terror walker, the supersized spider droid activates its protective shields. At the center of the room is a rotating sphere with part of its shell missing. On the opposite side of the sphere is a diamond switch.
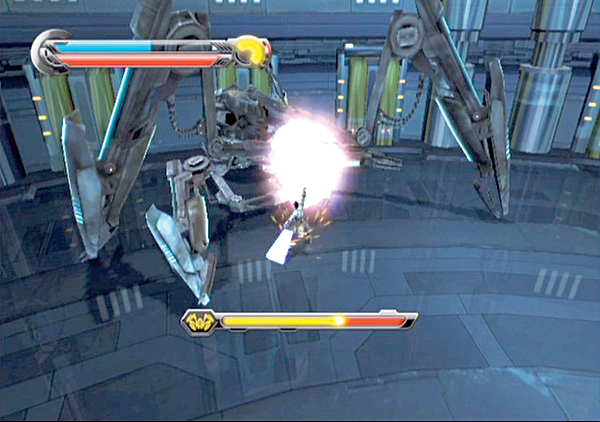
Wait for the rotating sphere to spin around so that the missing section faces the terror walker and the diamond switch faces you. When it does, hit the switch with Force Lightning to blast the walker with a focused electric beam and deactivate its shield. Rush the fallen walker while it’s vulnerable, and tear it apart with saber combos.
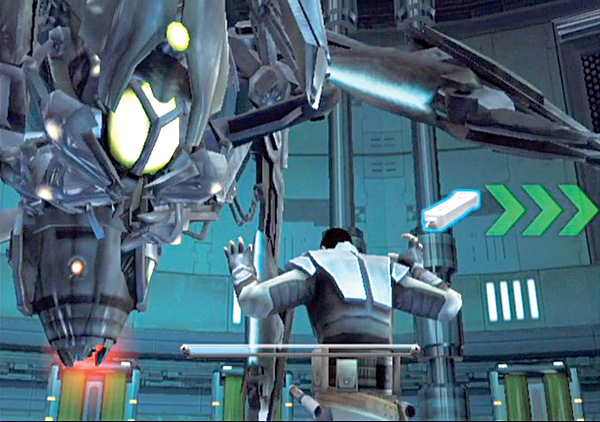
Repeat this process enough times to bring the walker down. Follow the onscreen commands to dodge the clunker’s attacks and rip out its shield generator. When you do, the beam at the center of the room begins to destabilize.
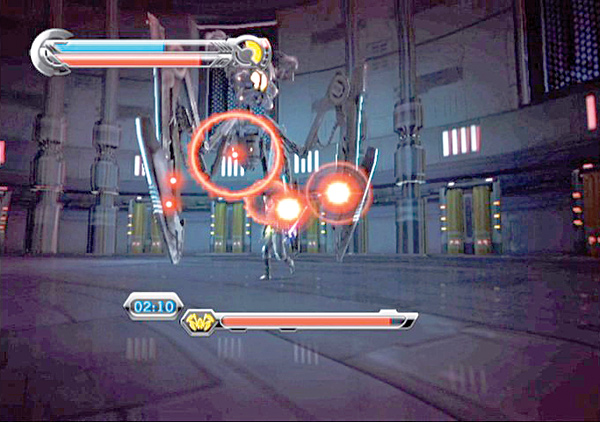
You have three minutes to finish off the terror walker, so rush the enemy’s legs and lash out at them with your lightsaber. Dodge the walker’s laser attacks and stabbing attempts with its legs, and keep the pressure on the monster by striking at its legs. Jump over the monster’s green shock-wave attack and activate Force Rage as soon as you can. Target its legs and chop it down!
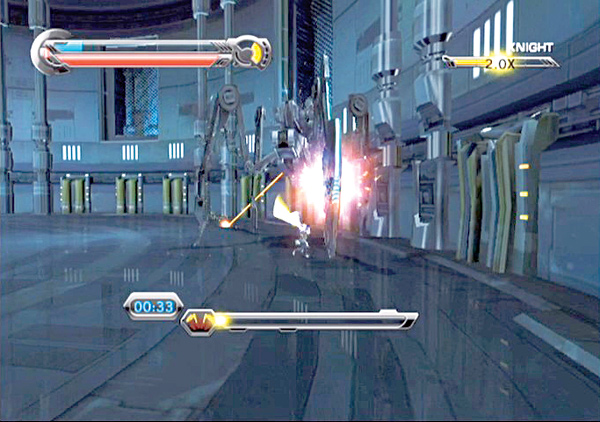
Repeat this process and destroy the walker before time runs out.