
Star Wars The Force Unleashed 2 Guide Essentials Extras
Collector's Edition Trials
The following three trials are available only if you purchased the Collector’s Edition of Star Wars: The Force Unleashed II.
Core Destruction Trial
| Rank | Requirement | reward |
|---|---|---|
|
Platinum |
01:05 or more |
- |
|
Gold |
00:45-01:04 |
- |
|
Silver |
00:30-00:44 |
- |
|
Bronze |
00:00-00:29 |
- |
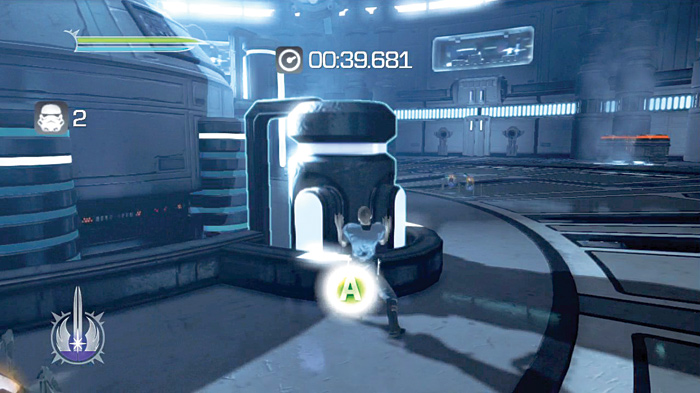
This challenging trial takes place in the same arena where you battled the terror walker. You must lift four pylons out of the ground near the center generator to complete the trial. Unfortunately, the swarms of terror spider droids and other enemies will do everything they can to keep you from doing this.
As you lift pylons out of the ground, more and more enemies will spawn. You’ll face spider droids, Sith acolytes, riot troopers, terror troopers, and even a terror walker! The key to this trial is speed. The quicker you move from pylon to pylon, the more time you’ll rack up for a better score.
Use spider droids to replenish your health, and keep a close eye on your Force Energy. Mind Trick riot troopers so that they can defend you—or at least leave you alone—while you lift the pylons out of the ground. When the terror walker spawns, try to lure it away from the final pylon, then dash back to the pylon and lift it out of the ground.
Tower Of Death Trial
| Rank | Requirement | reward |
|---|---|---|
|
Platinum |
01:30 or more |
- |
|
Gold |
01:15-01:29 |
- |
|
Silver |
00:30-01:14 |
- |
|
Bronze |
00:00-00:29 |
- |
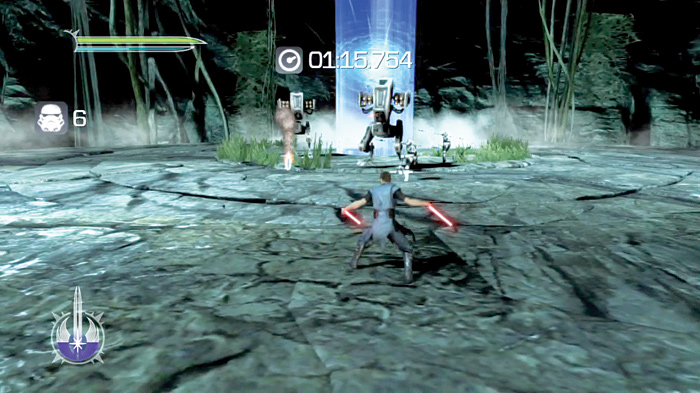
Like the Gauntlet Trial, you must destroy several waves of enemies in this challenge. However, this time you must defeat the waves of enemies on a series of rising concentric rings. After defeating the enemies on the first ring, the next ring will lower, delivering more enemies. This continues until you reach the final batch of enemies. On the first few rings, use Force Grip to hurl foes across the gap to the opposite side of the ring and destroy their comrades. Use Force Throw, Repulse, and Push to quickly knock enemies off the rings.
If you have Repulse maxed out to Level 3, you can instantly disintegrate foes with a single Repulse blast! When you reach the final level, use Mind Trick to distract the riot troopers, and bounce the AT-MPs’ grenades back at them.
The Trial Of Agility
| Rank | Requirement | reward |
|---|---|---|
|
Platinum |
00:10 or less |
- |
|
Gold |
00:11-00:12 |
- |
|
Silver |
00:13-00:15 |
- |
|
Bronze |
00:16-00:30 |
- |
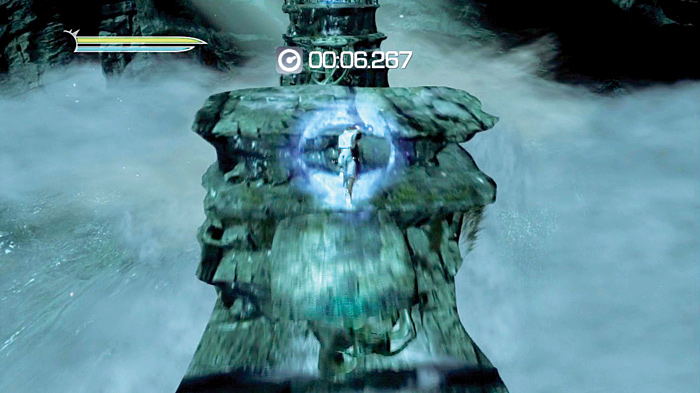
This trial is very similar to the Retrieval Trial and the Deadly Path Trial. In this trial, however, you must navigate a long, straight row of platforms in as short a time as possible. Refrain from using double-jump, and stick solely to Dashing Blast to speed past the platforms as quickly as possible. If you miss a platform, restart the entire trial for a better time.
The Masters At LucasArts Say...
Use Dashing Blast constantly (Dash + Push).
At the start of the challenge, you can jump over the second floating platform and Dash Blast to the third one, allowing you to skip the second one. This can save you about two seconds.
Refer to the Speed tips above to achieve your desired time.
Multiplayer Mode (Wii only)
The following section covers the multiplayer mode in the Wii version of the game. Since every fight is different, this section will provide tips and tricks for each battle arena and general strategy for each duelist.
Basics
Attribute Ratings
Each of the following fighters is rated on a scale of one to three in Power, Speed, and Hit Points. Power is a combatant’s ability to deal damage—the higher the rating, the more damage they inflict with each strike. Speed measures how quickly a fighter moves around the battle arena, while Hit Points indicates how much damage a fighter takes with each attack.
Special Attacks and Force Powers
Each fighter also has two special types of attacks—special attacks and Force powers. Force powers require blue Force Energy tanks to execute, while special attacks are simply assaults that are more powerful than standard attacks; they don’t require anything to execute.
Duelists
Starkiller
|
Power |
Speed |
Hit Points |
Special Attack |
Force Power |
|---|---|---|---|---|
|
Level 2 |
Level 2 |
Level 2 |
Saber Throw |
Force Lightning |
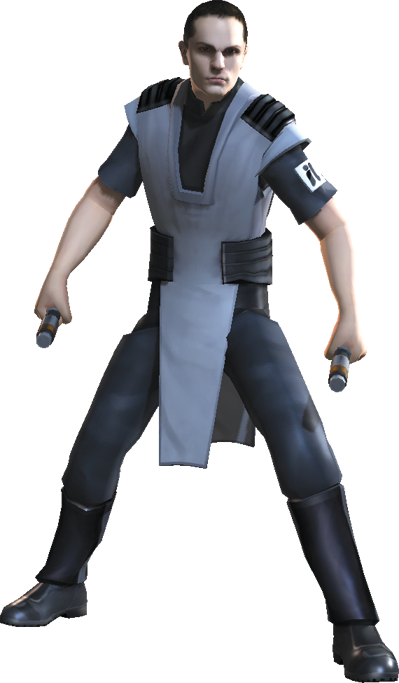
Starkiller is a good, all-around fighter. With midlevel ratings across all three attributes, he’ll always be able to hold his own in nearly any fight. His Saber Throw makes him a great long-range combatant, while Force Lightning is the perfect tool for stunning speedy foes.
Darth Vader
|
Power |
Speed |
Hit Points |
Special Attack |
Force Power |
|---|---|---|---|---|
|
Level 3 |
Level 1 |
Level 3 |
Heavy Attack |
Force Choke |
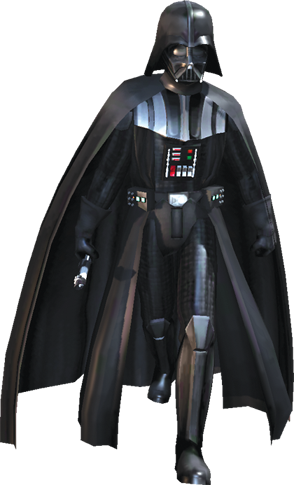
With a lethal Power rating of three and a Hit Point rating to match, Vader is a tough fighter to take on. Not only can he dish out major damage, but he can take it as well. When charged to its maximum, Force Choke can become a one-hit kill on many rivals. The only downside to Vader is his slow speed and short-range special attack. Speedier enemies can employ hit-and-run tactics and whittle down the powerful Dark Lord.
Maris Brood
|
Power |
Speed |
Hit Points |
Special Attack |
Force Power |
|---|---|---|---|---|
|
Level 2 |
Level 3 |
Level 2 |
Saber Throw |
Force Repulse |
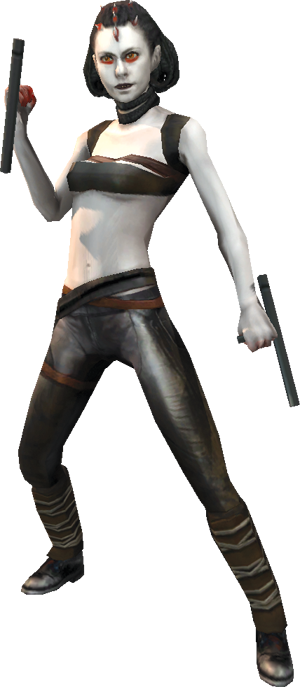
Maris Brood, once an apprentice to the much-respected Shaak Ti, has always been torn between the light and the dark side. Despite her inner turmoil, she’s managed to become a formidable warrior skilled in the ways of the Force. She uses her excellent speed to complement her better-than-average Power and Hit Points. Use her Saber Throw to keep enemies at a distance, and use her speed to rush in and attack. Her Force Repulse is also helpful in keeping more powerful enemies at bay or knocking foes off platforms.
Asajj Ventress
|
Power |
Speed |
Hit Points |
Special Attack |
Force Power |
|---|---|---|---|---|
|
Level 3 |
Level 1 |
Level 2 |
Saber Throw |
Sith Confusion |
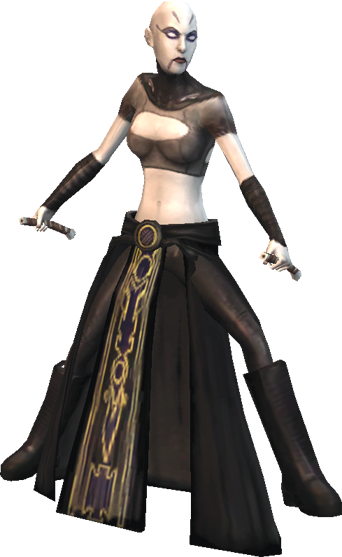
Asajj Ventress is a deadly warrior. Her impressive Power makes her very deadly with her lightsabers. Coupled with her midlevel Hit Points, Ventress can stand toe-to-toe with many powerful adversaries. Like Vader, however, she’s slow and susceptible to hit-and-run tactics. Luckily, her ability to mete out damage will make foes think twice about getting in close. If enemies choose to keep a distance, Ventress can still lash out with Saber Throw.
Ventress is also the only combatant with the Sith Confusion power. When used, it causes the targeted fighter’s Wii Remote to act unpredictably. Use this ability against highly skilled fighters to give yourself an edge; attack while the affected enemy is scrambling around!
Rahm Kota
|
Power |
Speed |
Hit Points |
Special Attack |
Force Power |
|---|---|---|---|---|
|
Level 2 |
Level 1 |
Level 3 |
Spin Attack |
Force Push |
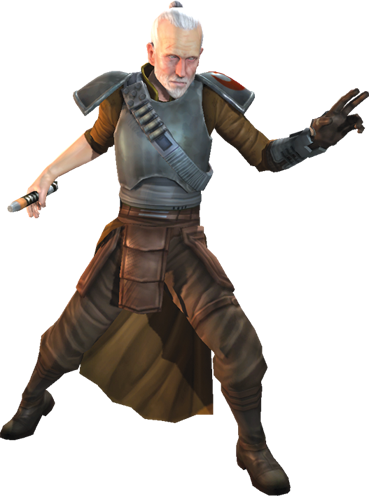
Having defeated everything that Baron Tako had to throw at him, Kota takes his Jedi skills into the multiplayer arenas. Master Kota may be blind, but he’s tough as nails. As evidenced by his superb Hit Point rating, Kota can take a beating better than most. With powerful skills like Spin Attack and Force Push, Kota can keep foes at bay or shove them off the arena floor.
Boba Fett
|
Power |
Speed |
Hit Points |
Special Attack |
Force Power |
|---|---|---|---|---|
|
Level 1 |
Level 2 |
Level 1 |
Thermal Detonator |
Missle Barrage |
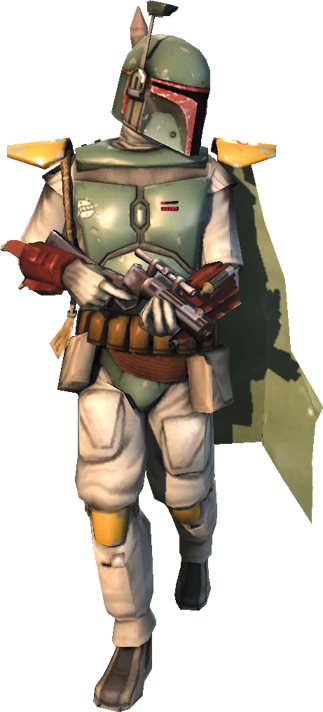
Boba Fett’s weapon of choice is the EE-3 Carbine Rifle. That makes Boba Fett the perfect long-range fighter. Use his blaster pistol to fire on enemies from across the arena, and hurl Thermal Detonators when they attempt to get close. Perhaps no other attack is as dangerous as Boba Fett’s Missile Barrage. When it is charged to full, Boba can rain missiles on enemies anywhere in the arena, causing near-instant death.
Unlike other fighters, Boba Fett is the only one who can hover in midair rather than double-jump. Hold the Jump button while in the air to hover temporarily.
Terror Trooper
|
Power |
Speed |
Hit Points |
Special Attack |
Force Power |
|---|---|---|---|---|
|
Level 2 |
Level 3 |
Level 1 |
Heavy Attack |
Cloaked Fury |
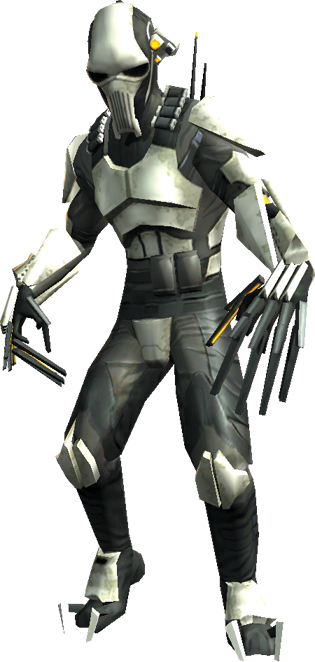
When it comes to hit-and-run tactics, no other enemy is better suited for it than the terror trooper. Its phenomenal Speed and great Power ratings make it perfect for attacking enemies when they least expect it and retreating to safety before they can retaliate. The only downside is the trooper’s weak Hit Point rating. Luckily, the trooper is well equipped to minimize damage. Its Cloaked Fury power allows it to retreat when necessary and avoid enemy aggression, while its Heavy Attack can damage foes that get too close.
Proxy
|
Power |
Speed |
Hit Points |
Special Attack |
Force Power |
|---|---|---|---|---|
|
Level 1 |
Level 1 |
Level 1 |
Shape Change |
Self Destruct |
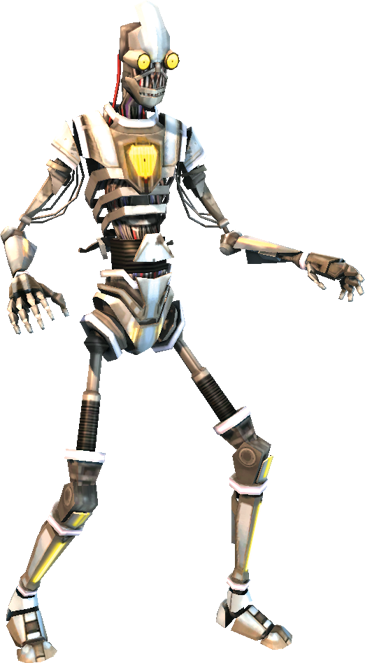
PROXY is, by far, the weakest warrior in the game, but he is also the most versatile. Initially, the Level 1 ratings across the board reveal little reason for PROXY to be atop the list of fighters. However, upon closer inspection, you see that PROXY is a skilled fighter’s best friend. PROXYs’ Shape Change ability allows him to transform into any of the above-mentioned fighters. Not only will he take their appearance, but he’ll also gain their special attacks and Force powers for a limited time. PROXY is the perfect fighter for players who can excel using multiple characters.
Battle Arenas
Mustafar Industrial Complex
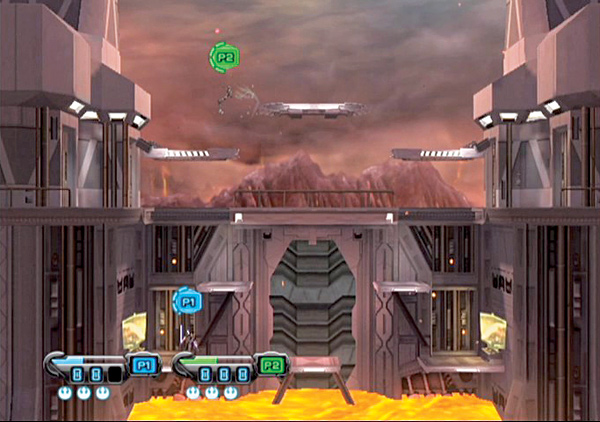
In this arena, you battle within one of the smelting plants of a former Separatist industrial complex, where various minerals are harvested from the deadly lava.
This is the largest battle arena. It extends high up the complex as the lava below slowly fills up. Though there are plenty of platforms to fight on and climb up, all it takes is a nudge to send enemies falling into the lava below.
Jabba’s Sail Barge
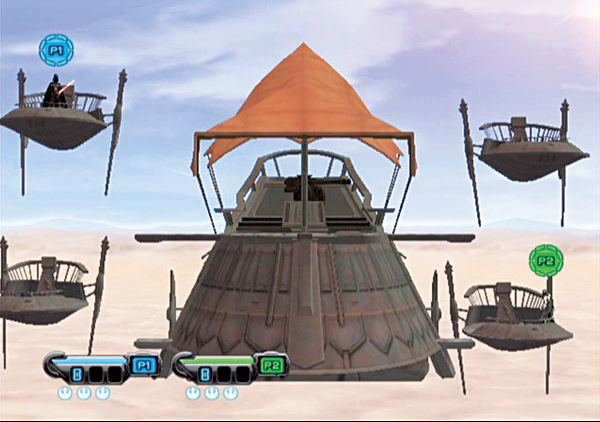
The infamous gangster Jabba the Hutt has arranged a battle royale for his amusement above the arid sands of Tatooine.
Jabba’s Sail Barge is a dangerous place for a fight. Not only does it consist of a barge and four rickety platforms, but Jabba’s place of business is constantly under attack! Rivals zoom by and fire on the barge, blasting the rickety platforms to pieces. If you’re anywhere near the targeted platform, you’ll take damage too.
Death Star Beam Tunnel
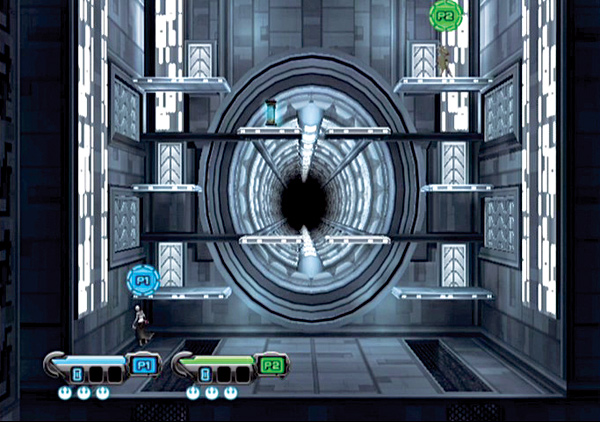
Utilize a variety of service catwalks and moving repulsorlifts at your peril within the Empire’s planet-sized secret weapon: This battle station is operational!
This is one of the most dangerous spots for a fight. Not only is the arena small, but it also has a large firing tube right in the middle of it. The tube, in fact, is the size of nearly the entire room. If you’re foolish enough to be standing in front of the tube when it fires, it’ll obliterate you along with the platforms in the center of the room.
Kamino Outpost
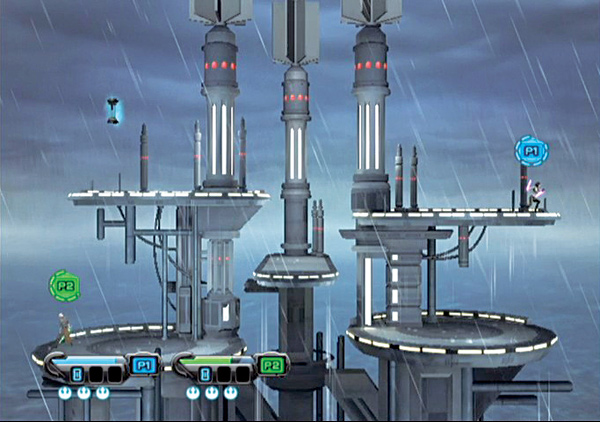
Make death-defying leaps from platform to platform on an isolated ocean outpost high above the raging seas of the storm-swept world of Kamino.
The towers of the Kamino Outpost are a great place to battle. The tiered platforms make for a great fighting arena, but the electrical currents that run across the top three platforms raise the stakes. Players can use these electrical currents to stun their prey before shoving them off the platforms.
Tarko-se Arena
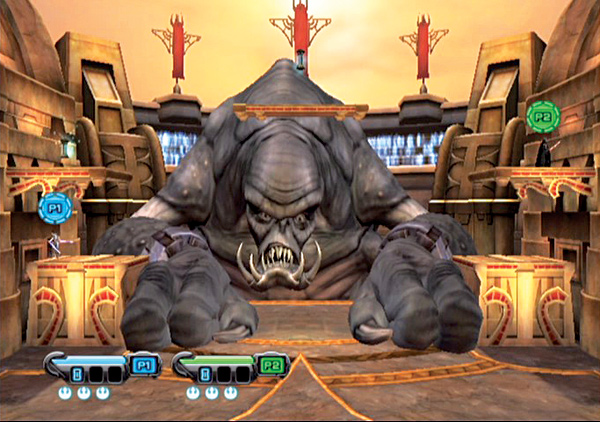
This arena is the famed attraction of the pleasure planet Cato Neimoidia. Hundreds come to witness gladiatorial combat at its finest and most bloody.
You and your opponents are not the only combatants in the Tarko-se Arena; you must also contend with the massive Gorog shackled to the center of the arena. As you fight, the Gorog will lift its shackled hands and slam them down with no concern as to who might be under them when they come down. Fighters foolish enough to stand at the center of the arena also risk being eaten by the monster!
Salvation Hangar
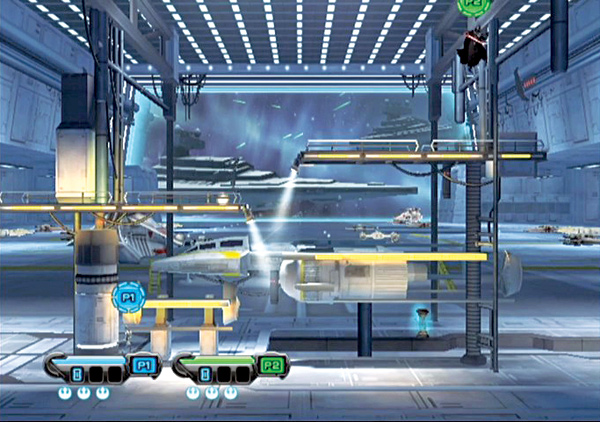
Here you fight inside the hangar of the assault frigate Mk. 1 Salvation as it fights against the Imperial Navy.
This is the smallest battle arena. It also lacks environmental hazards, making it the best arena for combat purists. Fighters who want to prove their mettle with nothing more than a lightsaber, their hands, and Force powers need look no further.