
Star Wars The Force Unleashed 2 Guide Walkthrough Walking in Starkiller's Shadow
The Rebel Ship Salvation (Aboard the Salvation)
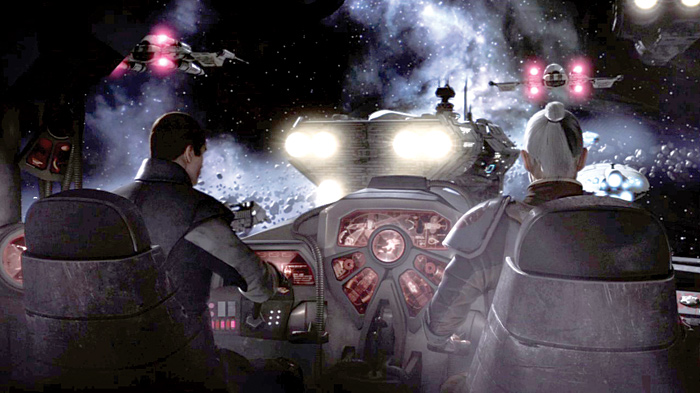
Having found his purpose, the clone reunites with General Kota and heads to the Rebel ship Salvation. There, Captain Juno Eclipse commands a portion of the ragtag Rebels.
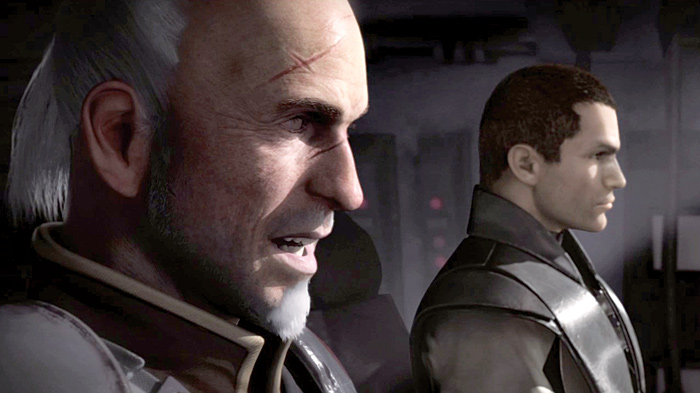
If the clone’s vision was true, then the ship would be under attack. Since there was no sign of attack, then the vision must not have come to pass yet.
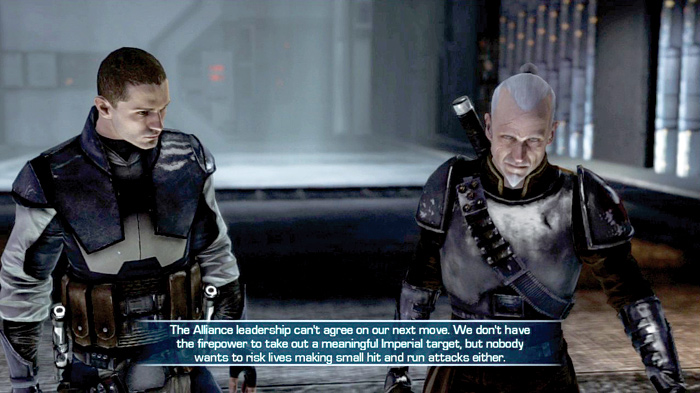
The duo docks inside the Salvation and quickly begins their trek to the control room aboard a moving platform. As they make their way, General Kota explains that the Rebels are slowly losing heart. Less and less fighters are willing to do what needs to be done.
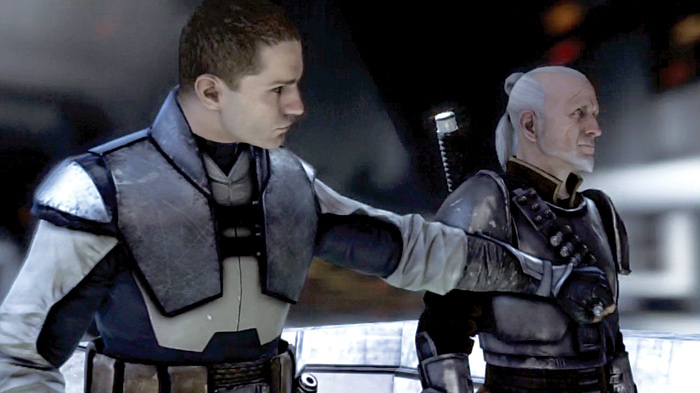
But with a Jedi on their side, surely the rest of the Rebel fighters will jump at the chance to bring down the Galactic Empire. When the clone reminds Kota that he’s just a clone, Kota refuses to put stock in that fact. With little else to convince Kota, the clone hands over a data cylinder with coordinates and schematics for the secret cloning facility on Kamino.
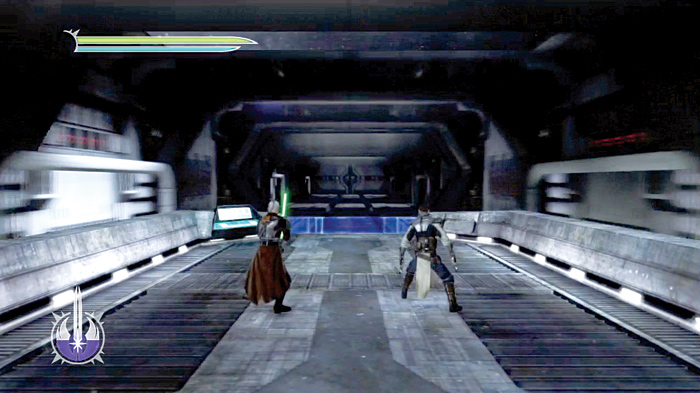
An explosion rocks the ship before the daring duo’s platform reaches its destination. The assault from the clone’s vision has begun!
Aboard the Salvation
Visions Fulfilled
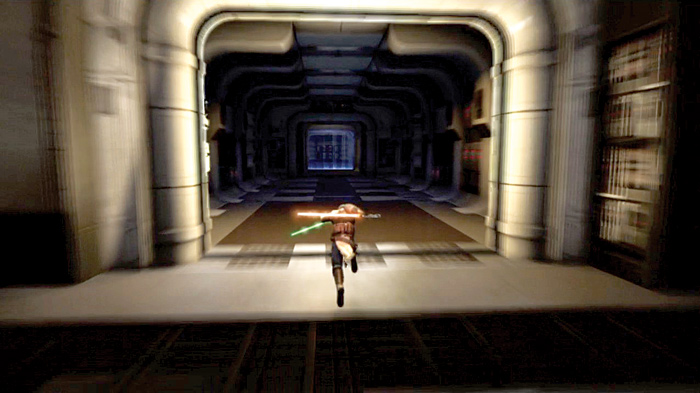
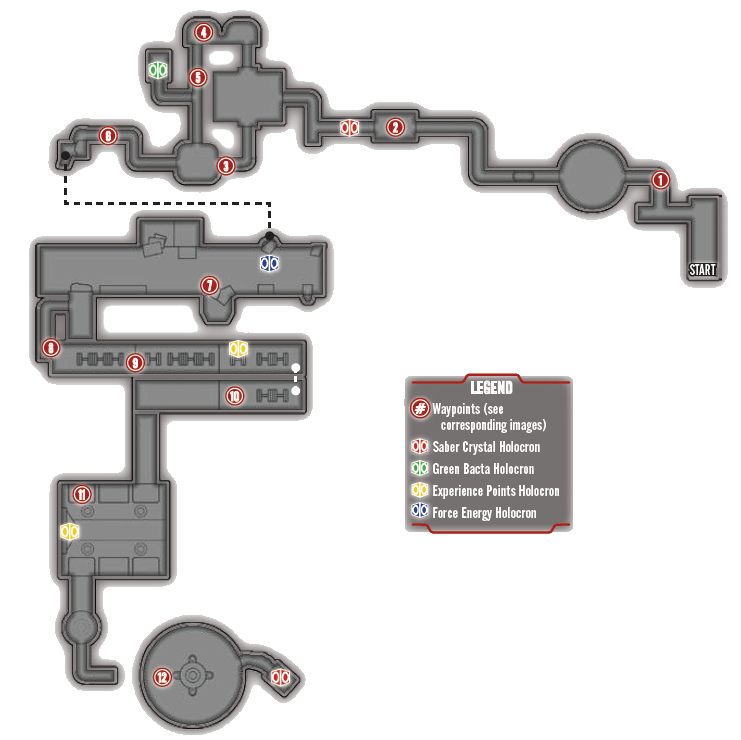
Hop off the platform and sprint up the entry to the hall on the left. There are no enemies nearby, so follow Master Kota down the corridors as they wend to a dead end.
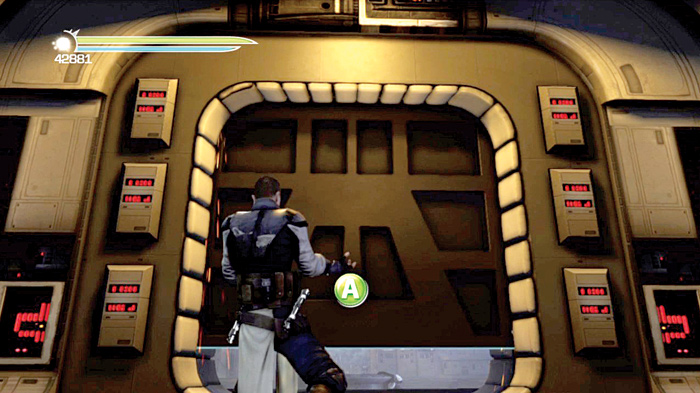
Grab the sealed door with the Force and lift it. Beyond the sealed door is a large room. Go inside.
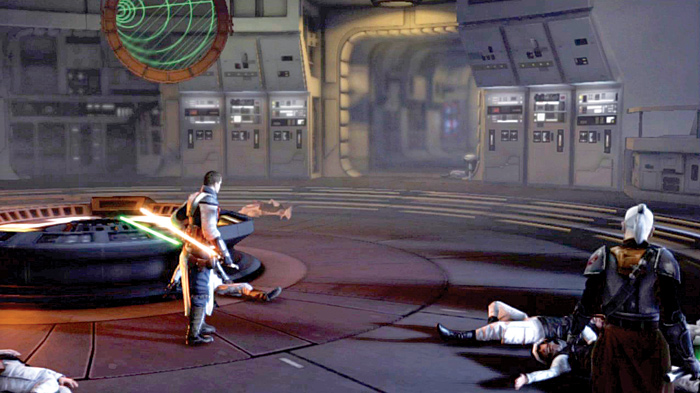
Upon entering the room, you find a squad of Rebel fighters tossed about. You slowly patrol the room, careful not to get ambushed by any rogue Imperials. Suddenly, out of the smoke, a hand claws at your feet.
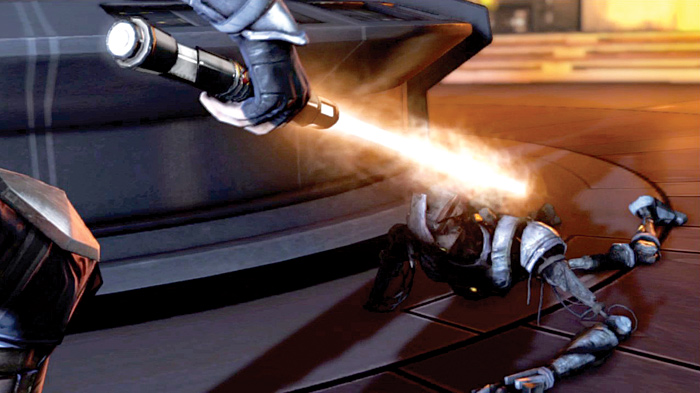
You drop the saber to strike, only to find that it’s your combat training droid! When you ask it about Juno, it informs you that a bounty hunter has taken her to the hangar bay on Deck 7!
To the Rescue
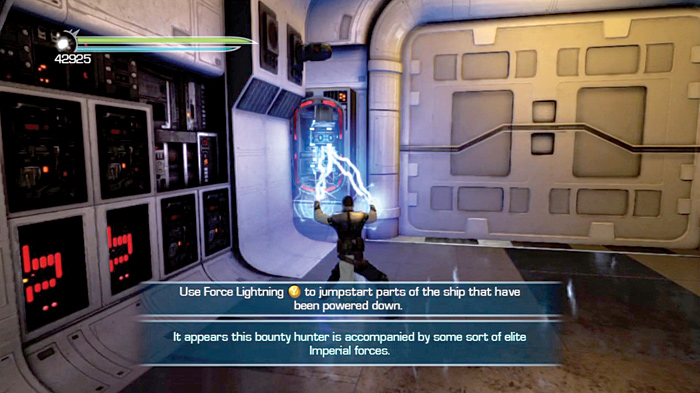
Begin your trip to the hangar bay by using a Force Lightning shock to power the fuse just left of the door. Once the fuse is charged, pass through the sliding door, deeper into the ship.
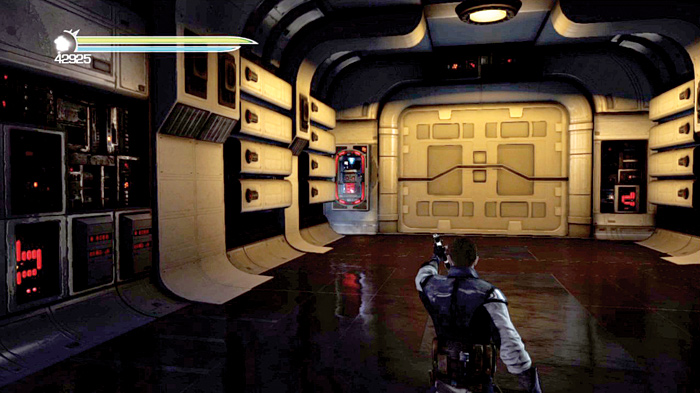
Round the corner and use Force Grip to pick up the fuse sitting on the ground. Move it over to the fuse slot left of the next door and slip it into place. Once in place, shock it with Force Lightning to power up the door.
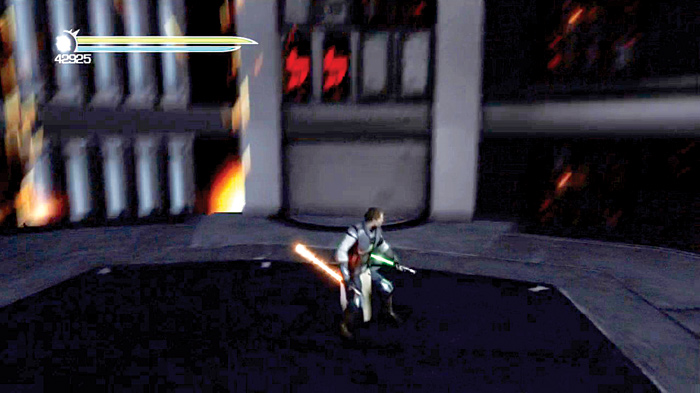
Run down the hall and step onto the elevator platform at the end. It lowers you a few levels and quickly loses power, sending you plummeting down several levels.
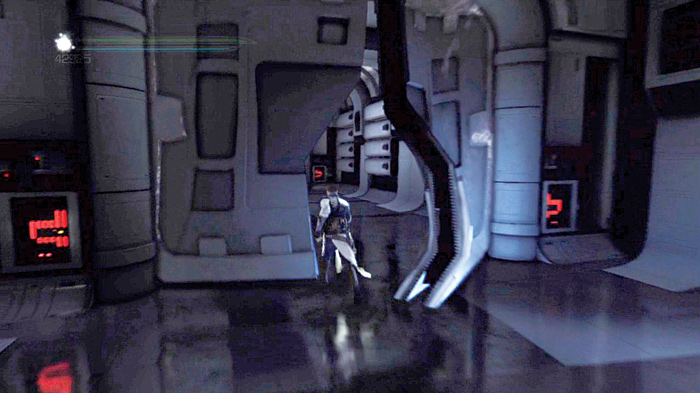
When the platform reaches the bottom, double-jump up to the next corridor. Follow the corridor to a long, curved hallway with windows lining the right side. Use Force Grip to peel open the door at the end and enter the hall.
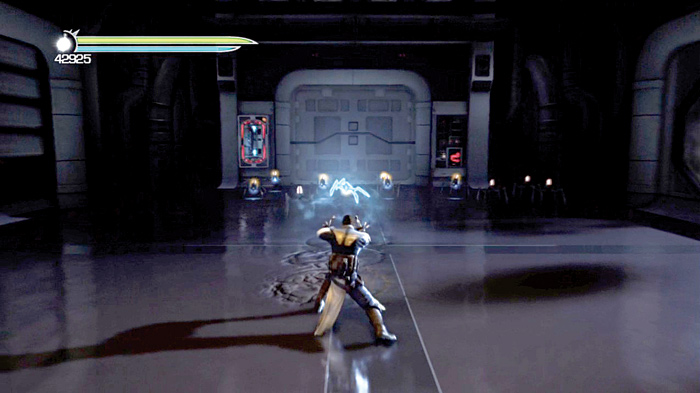
Rush to the hall’s end and peel another door open with the Force.
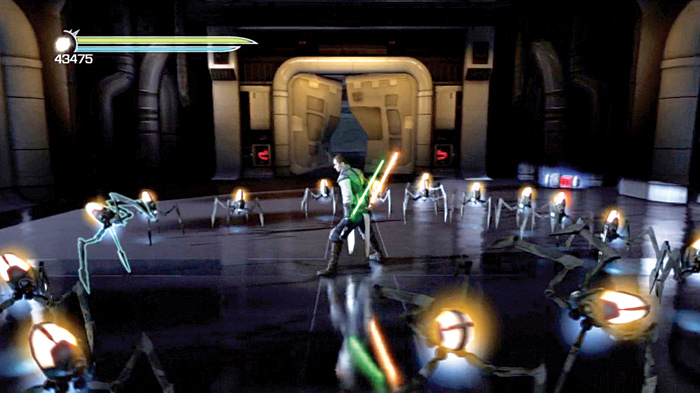
Rush inside and immediately use your Force Lightning, saber combos, and Force Push to destroy the small army of terror spider droids waiting for you. Once you’ve taken out the first batch of foes, a whole new batch drops in from above.
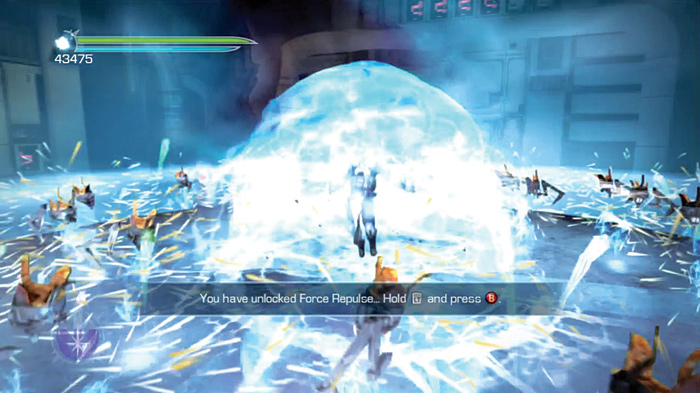
The spiders slowly begin to circle around you, when suddenly you have a flashback. You remember your Force Repulse ability just in the nick of time! Use it to obliterate the entire group of terror spider droids. Continue using Force Repulse until you’ve destroyed all of the terror spider droids in this room.
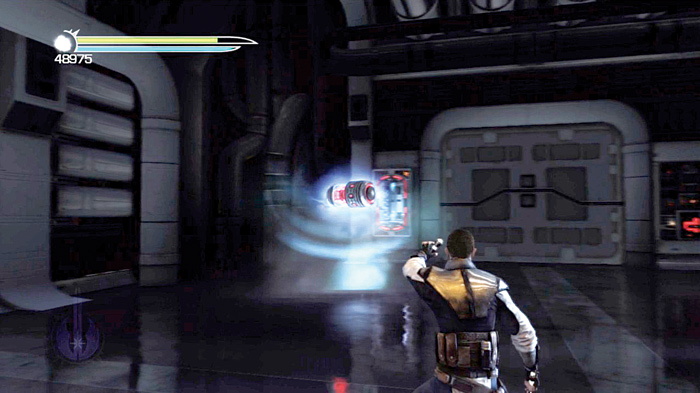
Once again, grab the nearby fuse and slip it into the slot just left of the next door. Power the fuse with a lightning shock and open the next door.
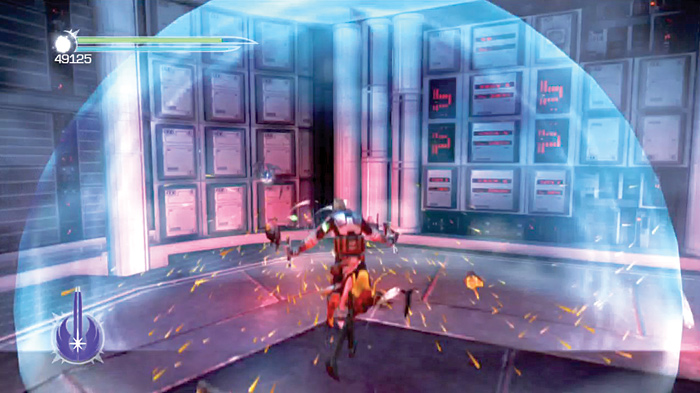
Drop onto the elevator platform at the end of the next hall, and ride it down, deeper into the heart of the ship. As you descend, several more terror spider droids drop in on you from above. Use the large elevator platform to your advantage, and wait for the spiders near the center of the lift. As they circle around you, destroy them with Force Repulse.
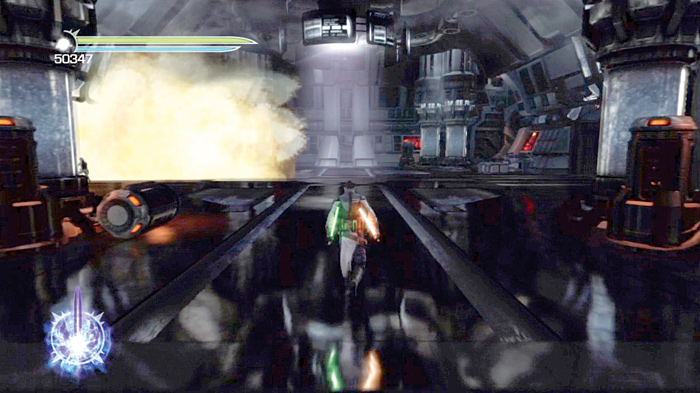
Dash down the corridor ahead of you, frying the little pests as you go. If you’re surrounded by them, you know what to do. Speed right around the next corner and follow the corridors to a large, wide-open room with several tanks in it.
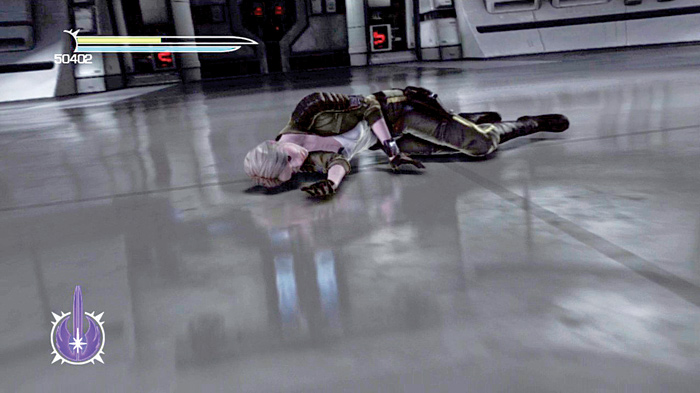
Make a left in this large room and pass through the flaming door. When you reach the end, you find a blue force field blocking your path. On the other side is Juno, unconscious! There’s no way to reach her from this area, so turn around and backtrack to the previous room.
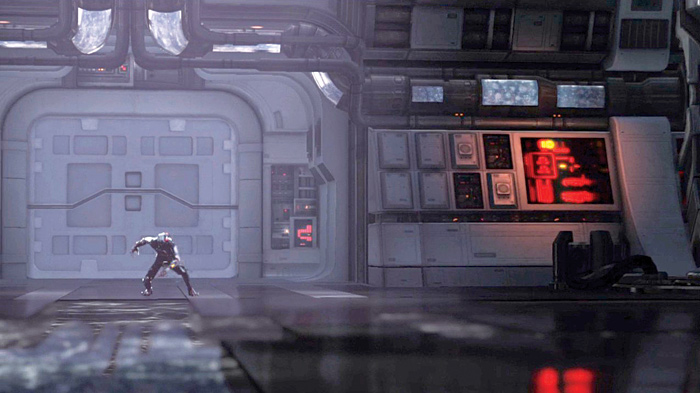
A shadowy figure appears at the far end of the large room. However, before you can see it clearly, the mystery fighter disappears! He quickly begins to stalk you in the smoky room. Raise your sabers to block before it attacks. When the terror trooper reappears, either shock it with Force Lightning or use Mind Trick to distract it. Follow up your Force attack with saber combos and take it down.
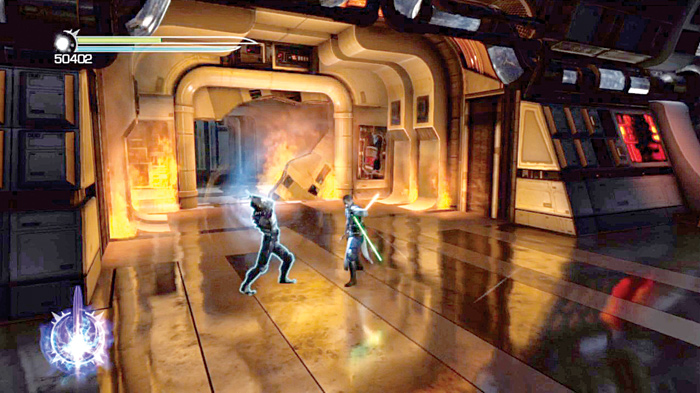
After destroying the terror trooper, several more terror spider droids appear. Dispatch them quickly, then speed over to the fuse wedged into the right of the broken, flaming door. Grab it with the Force, slip it in the slot to the left of the door across the room, then charge it with Force Lightning.
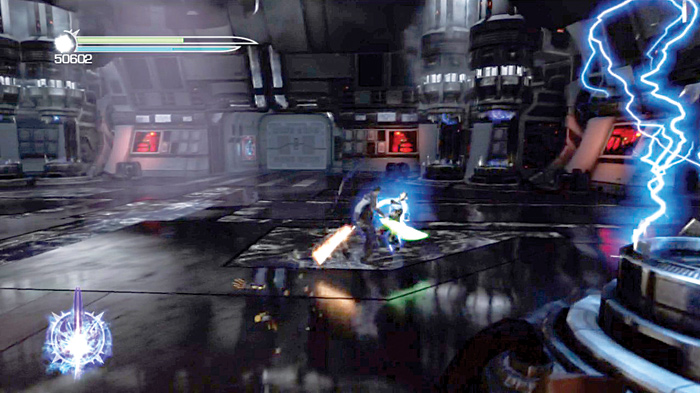
Several more terror troopers appear behind you while you attempt to power the next door. Turn around and use Mind Trick on them when they appear. The terror troopers won’t immediately turn into allies or attempt to destroy themselves, but they will experience pain before your suggestion sets in. Rush them and cut them up as they struggle with Mind Trick.
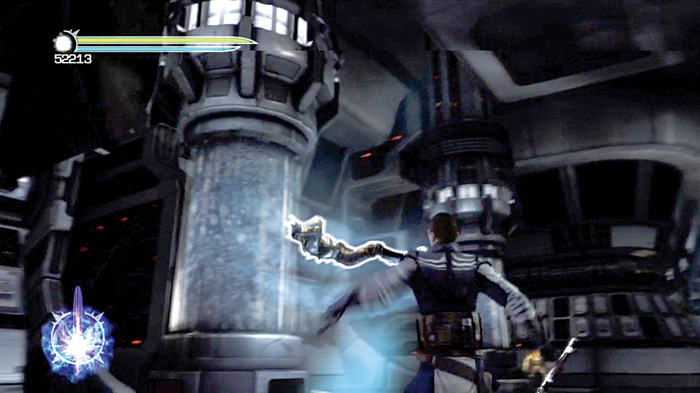
Pass through the newly unlocked door into the next section of the ship. Several more terror troopers appear. Some of these throw fireballs and electricity. Wait for them to appear out of thin air and use Force Lightning and Mind Trick to stun them. Finish them off with saber combos, then make a left down the long hall.
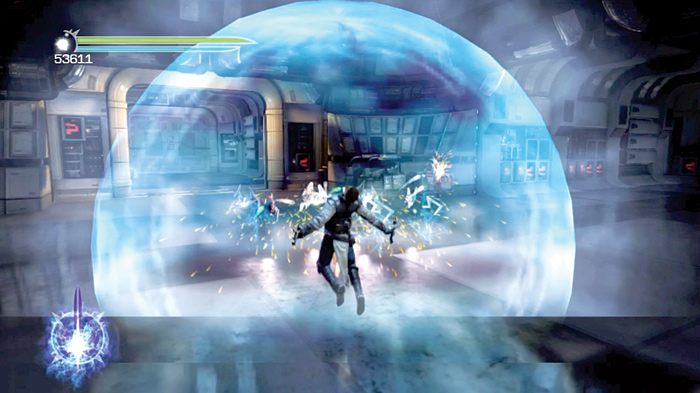
Turn left at the end of this hall, and follow it to a room where several more terror spider droids attack. Clear the room quickly and find another discarded fuse and a sealed door.
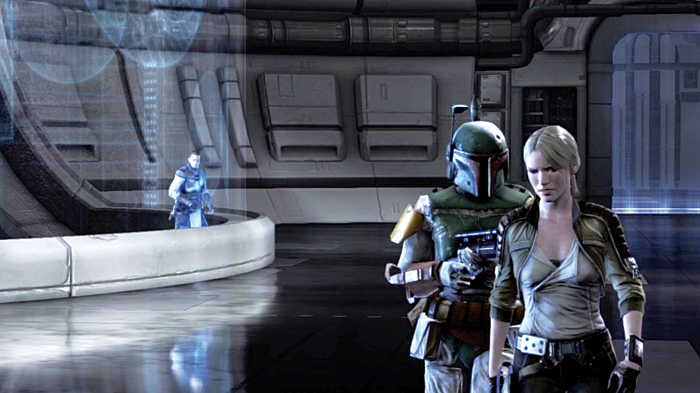
Place the fuse into the slot and power it up. Enter the now-unlocked door to find a small area blocked off by transparent view screens. On the other side, you see Boba Fett escorting Juno.
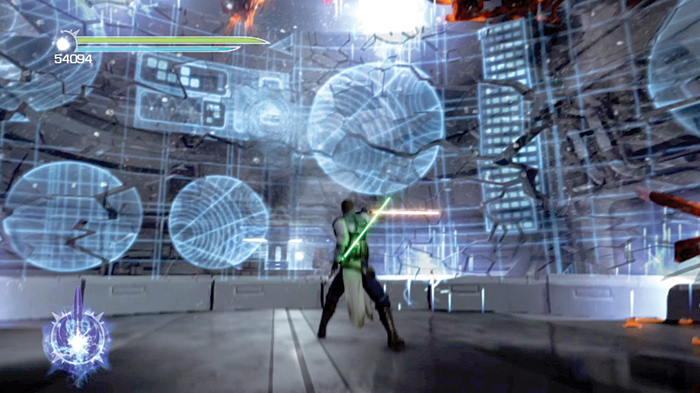
Use a powerful Force Push blast or saber strike to break through the screens and give chase. Take out the terror troopers in the room, then turn and use the Force to lift the door on the right.
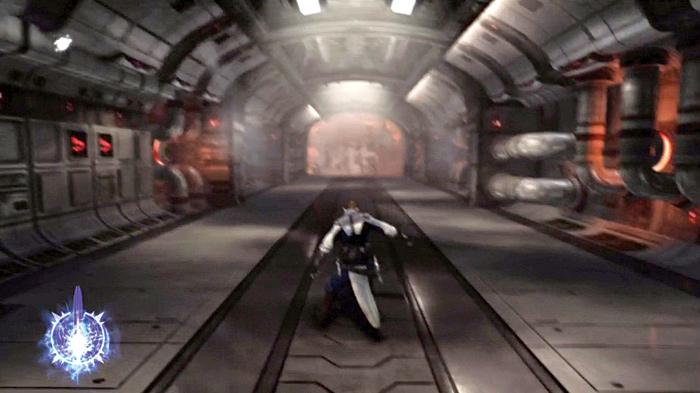
Follow the halls to a long room. After you enter, an explosion at the room’s far end hints at a massive menace waiting for you in the distance. The room’s far end is demolished instantly, and a large sweeping beam fills the hall.
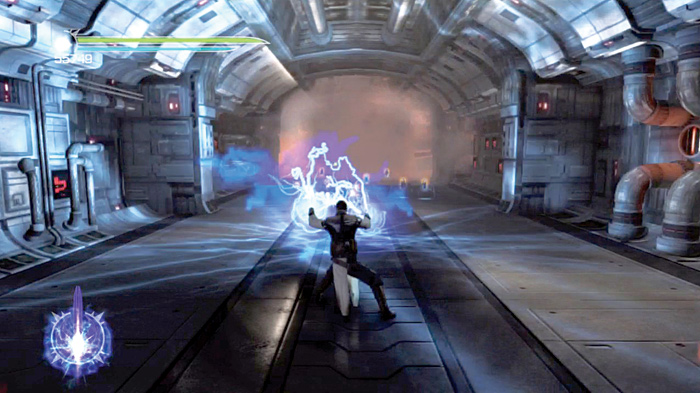
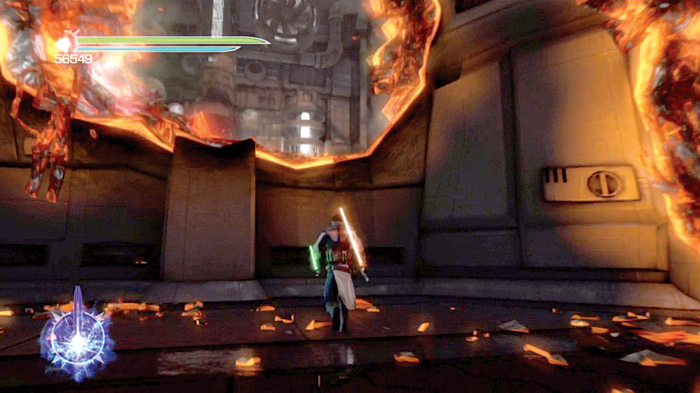
Rush to the hall’s end and destroy the terror spider droids in your way. Make a left into the passage created by the melted hall. Make an immediate right, through another large, melting hole in the wall. Follow the path of destruction out to a long canyonlike section of the ship that is marked by several similar burned holes in the wall.
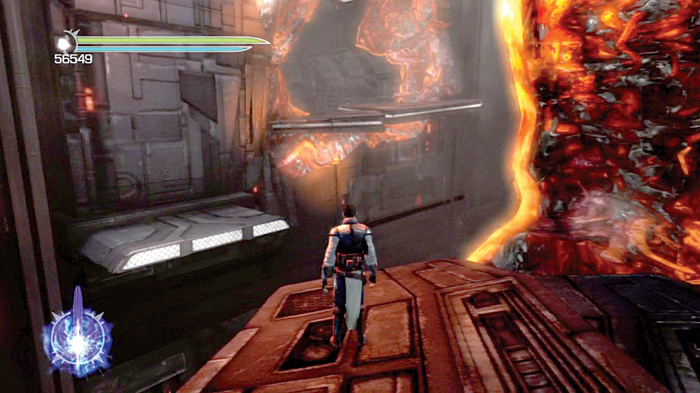
Edge out onto the first platform and double-jump dash across the chasm onto the next ledge. Turn around and locate the next ledge farther along the chasm. Once again, double-jump dash across to reach another small ledge.
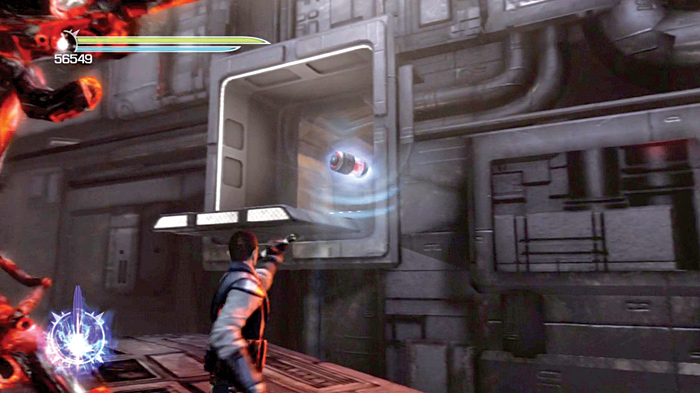
Continue zigzagging across the chasm, hopping from platform to platform, until you reach a room with a small pile of fuses in it. Grip one and float it across the chasm into the next room. Drop it, then double-jump dash into the next room and pop it into place.
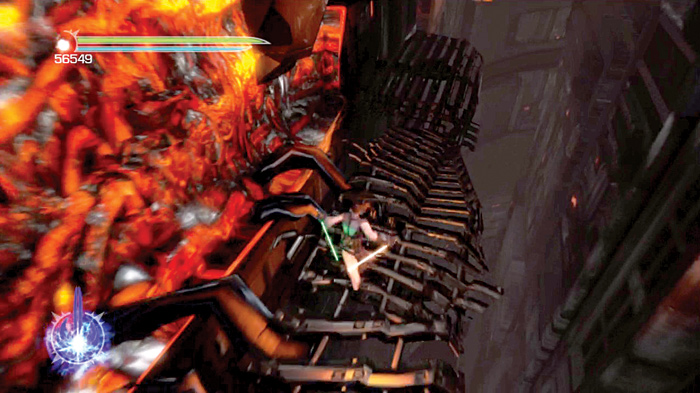
Charge the fuse, open the door, and go through. Jump up the stepped ledges on the left and carefully creep out to the edge. Locate the rickety platforms across the gap and double-jump dash onto them. Quickly traverse the platforms before they give way, and reach the end of the canyon. Make a left back and reenter the main section of the ship.
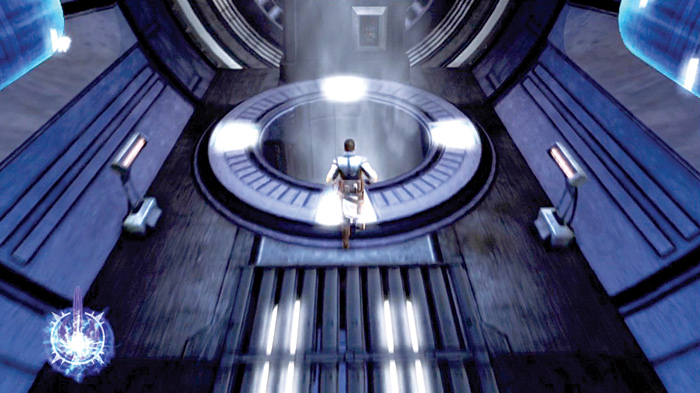
Turn right in the ship and follow the long curved hall to its end. Drop down the shaft there and reach the gearworks area of the ship.
Gearworks
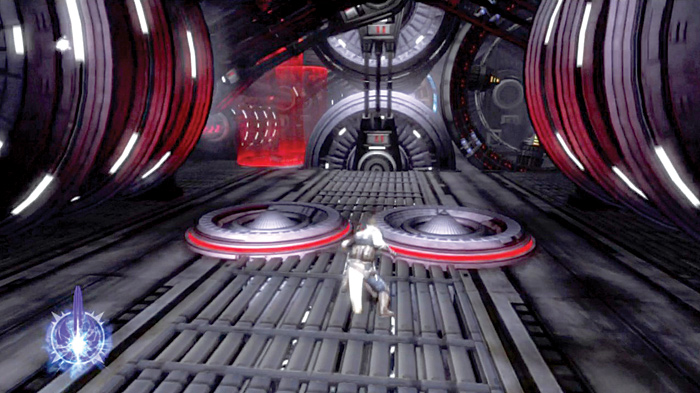
The gearworks is a very dangerous area of the ship. Several red force fields surround electrical blasts, and huge spinning cogs churn nearby. Wait for the electrical blasts to stop, then dash past the blast tubes.
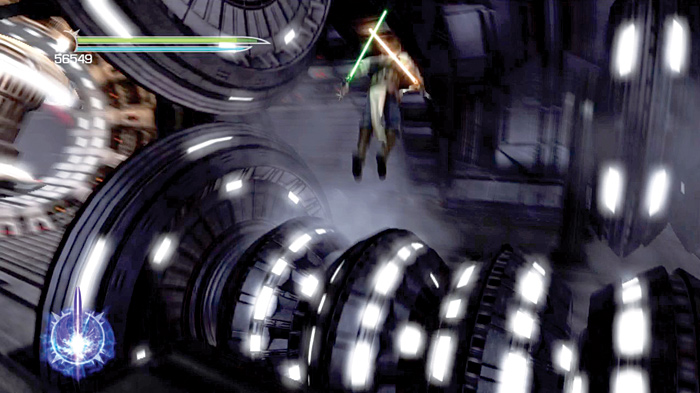
On the other side, the path splits in two. On the right is a spinning cog firing electric bursts inside of it. On the left is another red electrical tube. Wait for the red electric field on the left to stop, then dash past to the room’s center. Turn right and hop over the small spinning rotor.
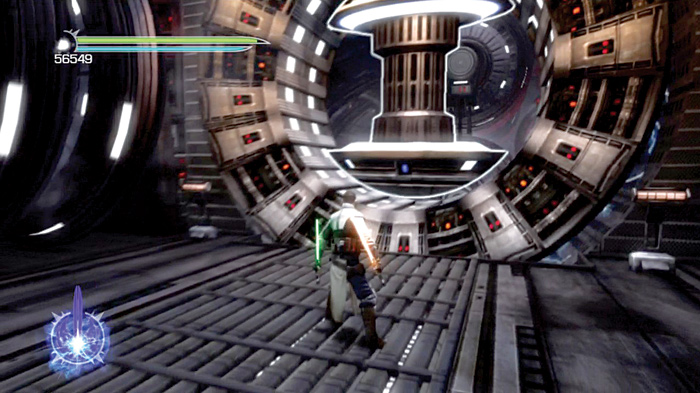
At the room’s far end is a rotor spinning at great speed. Use Force Grip to bring the rotor to a screeching halt, then jump through the small gap it creates to the other side of the gearworks. This time, the red tubes are firing too quickly to dash past them. Instead, go to the left and wait for the spinning cog to stop and the lasers to deactivate.
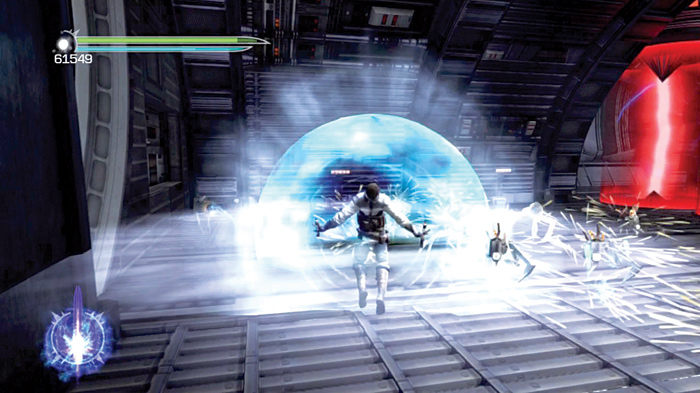
Carefully dash through the cogs once they’ve stopped spinning, and reach the room’s far end. Drop into the shaft to reach a small terror spider droid–infested room. Demolish the little pests with Force Repulse, then continue traversing the gearworks.
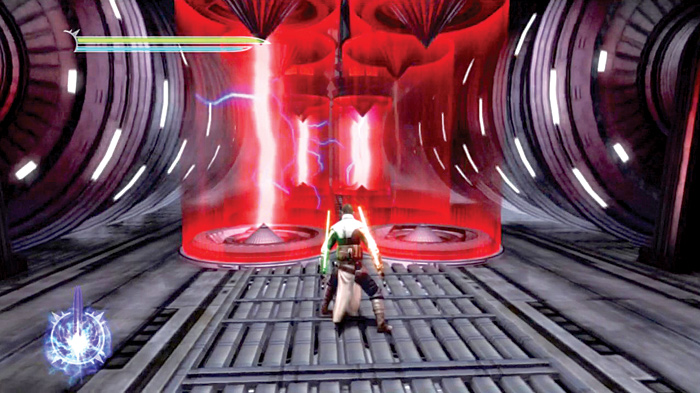
Fight through the spiders to the rear of this room, past several more spinning cogs. Use the Force to stop the rapidly spinning rotor along the back wall and hop through into the next room. Wait for the rows of red tubes to stop firing, then dash past them.
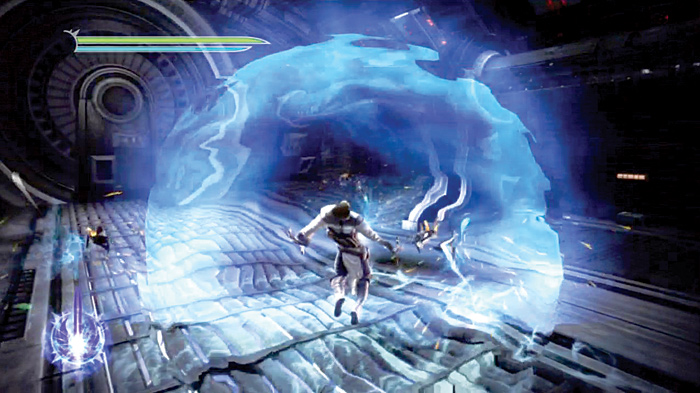
The room’s far end is crawling with more terror spider droids. Use Force Repulse to dispatch the terror spider droids and drop down the next hole.
Engine Room
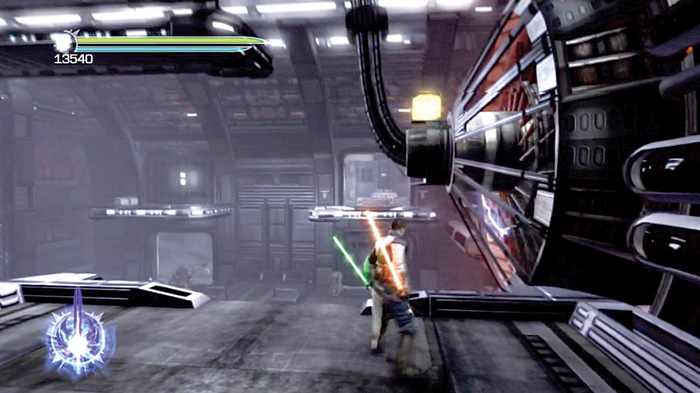
After the drop, you find yourself in a short, white hall. Run to the end and pass through the sliding door to reach the engine room. The engine blasts on the room’s right side, while several enemies wait for you below.
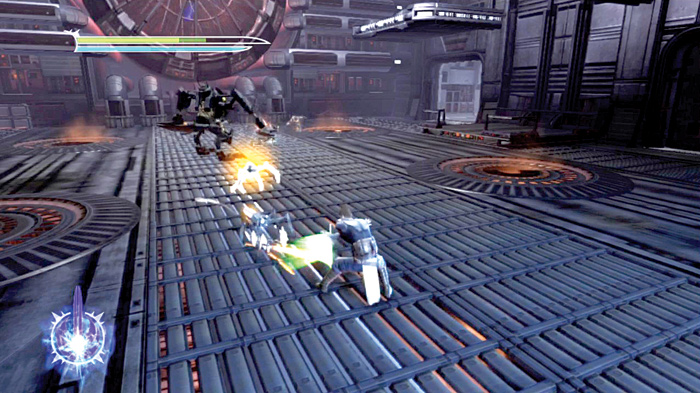
There are three different types of enemies in the engine room: terror spider droids, terror troopers, and a terror giant. First take out the spider droids; if they grab ahold of you, they’ll distract you long enough for the other foes to really cause some damage. Repulse them, then dash away from the terror giant to avoid getting hit.
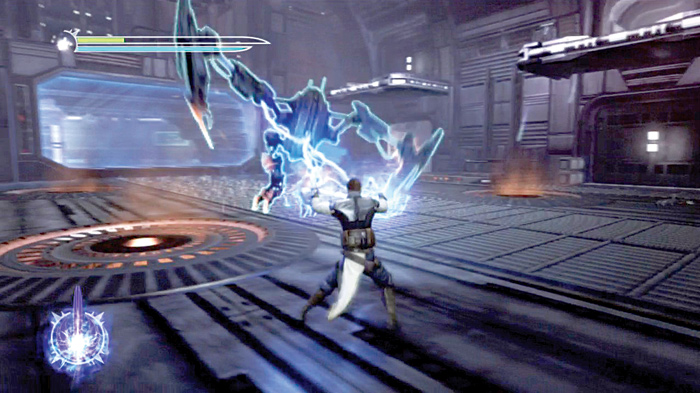
With the spiders squished, lock on to the terror giant and fry it with Force Lightning while you strafe around it. Don’t stand in place, lest you make yourself a target for the other foes in the room. Whittle the monster down and stop to use Mind Trick on the terror troopers only after you’ve gained some distance from the terror giant.
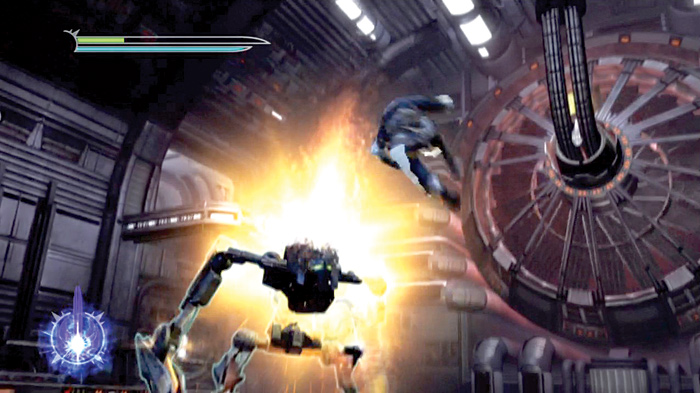
The terror giant is very fast, so stay fleet-footed and use leaping Lightning blasts to stay above the dangerous droid and avoid its stabbing attacks. Eventually, the terror giant takes enough damage for you to finish it off.
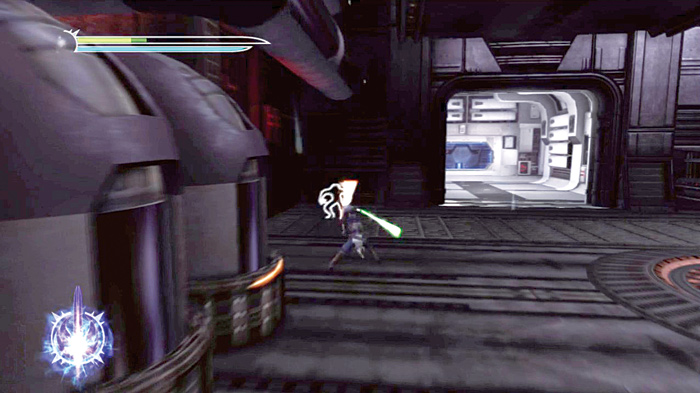
With the terror giant out of the way, turn on the terror troopers and cut through them. You can also use the flame jets in the room as booby traps for your enemies by luring them over the flames as you fight.
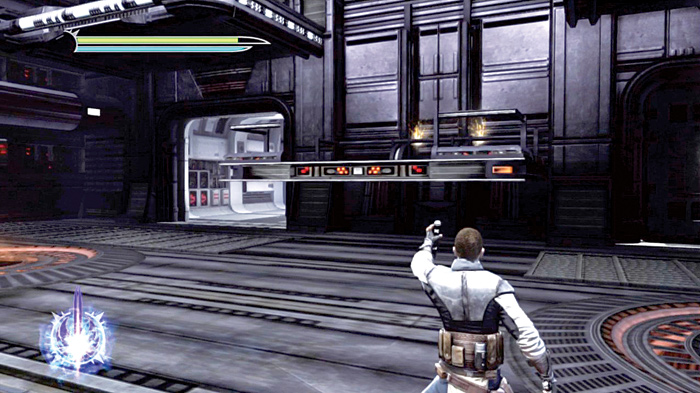
With the room clear, use Force Grip to lift the platform on the left. Jump onto it, then jump right, onto the platform above you. Make a left into the next room to find a large circular elevator room.
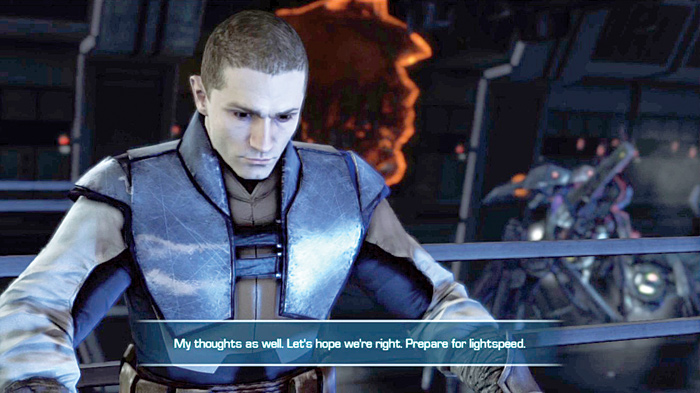
Ride the elevator to its end, then reach the docking bay. Just as you arrive, Boba Fett makes off with Juno in the Slave I. Though your rescue attempt was a failure, you still have a chance to save Juno. You order Kota to begin the assault on Kamino; you will join it soon.
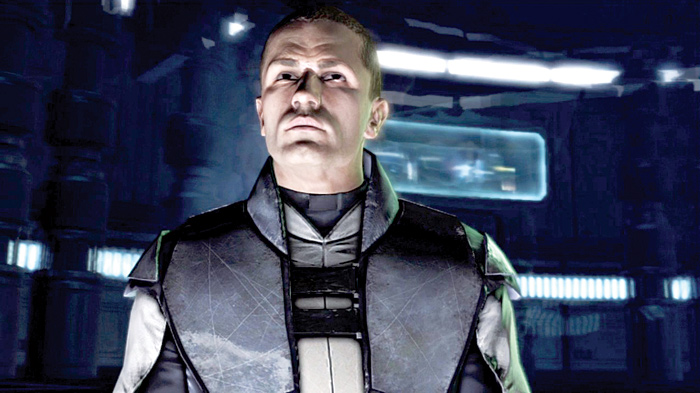
While you discuss the details with Master Kota, a huge spiderlike droid, the terror walker, sneaks away behind you. You give chase and follow it to a nearby section of the hangar bay.
Boss Battle: Terror Walker
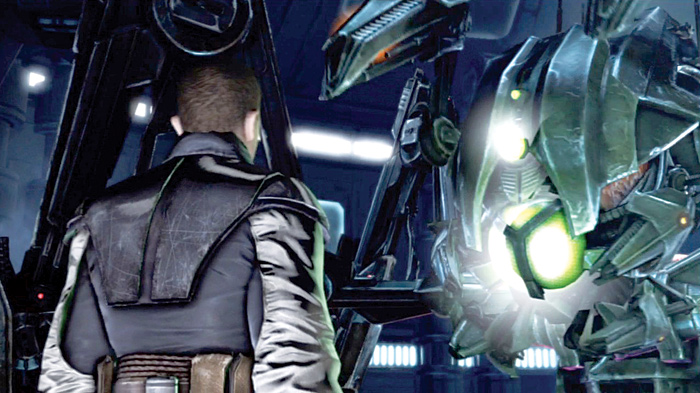
When you reach the sneaky spider clunker, you find that it’s not like the other terror spider droids. It’s much, much bigger. The ship-sized walker doesn’t waste any time in attacking. You dodge the mechanical monster’s laser beams and retaliate with Force Push blasts, but they do no damage.
Suddenly, the machine rises several feet in the air, activates its shields, and begins stomping toward you, while several of its little terror spider droid minions scurry in for the attack.
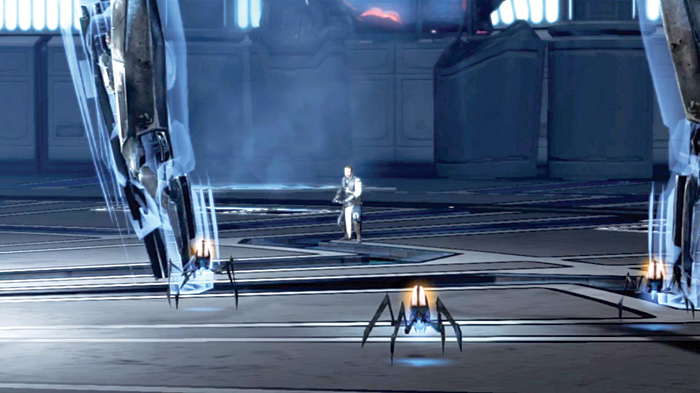
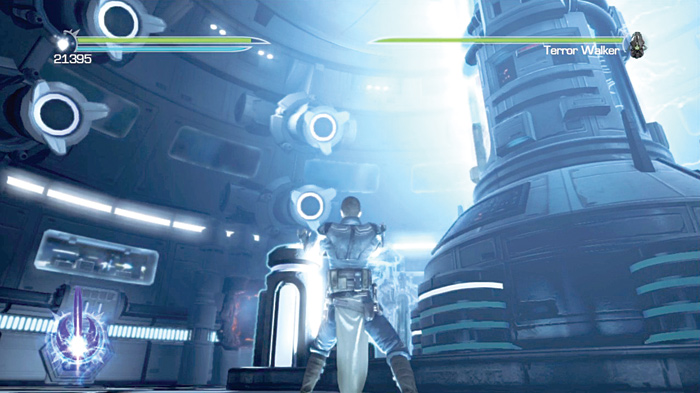
The terror walker’s shields are too strong for you to penetrate with your attacks. To disable the menace’s shields, dash around the center of the room—destroying terror spider droids as you go—and use Force Grip to lift the large power nodes out of the ground around the center generator. Once all four nodes are lifted, the generator overloads and disables the terror walker’s protective shield!
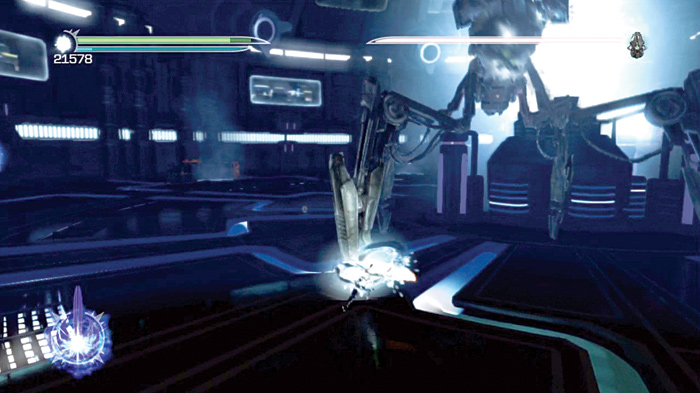
When all four nodes are yanked out, the center generator emits a powerful electromagnetic pulse that disables the walker’s shields. Dash toward the terror walker and attack one of the monster’s legs. If it lifts its leg, rush to one on the opposite side and resume your attack.
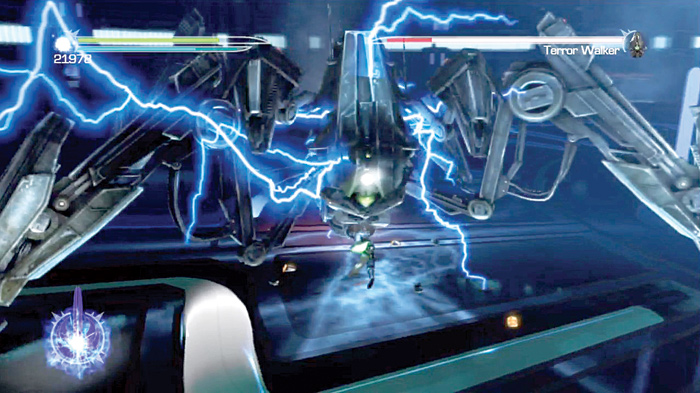
Drop the terror walker so its head section is on the ground, then rush in with Lightning-infused saber combos, Force Lightning blasts, and Saber Throw attacks. Throw everything you’ve got at the mechanical menace.
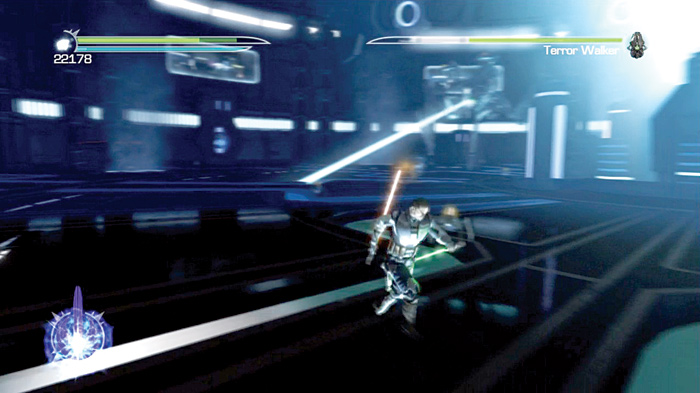
Eventually, the terror walker gets back on its legs and begins stomping around. To make matters worse, several more enemies join the fight. Dash away from the mob and reach the outer wall.
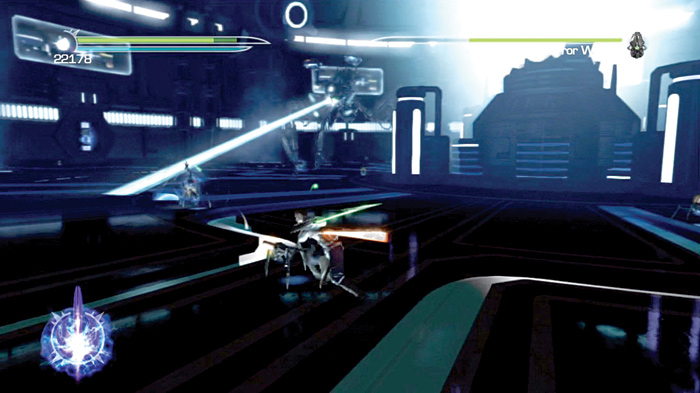
Use Force Lightning attacks to stun the terror troopers and slash through them, and use saber combos on the spider droids. Since the terror walker is up and about, don’t waste time using attacks that hurt only one kind of enemy. Force Repulse is not as effective against terror troopers, and Mind Trick has no effect on spider droids, so stick with Force Lightning and get both at the same time.
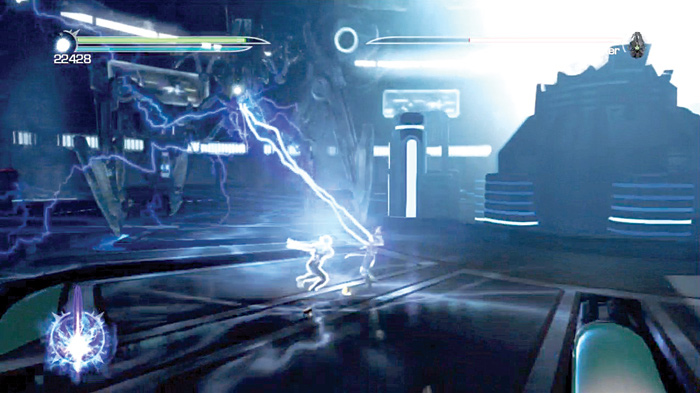
Distance yourself from the walker and hit it with Force Lightning every chance you get. Dash away from the walker’s laser attacks. If it lifts its legs, move away and leap over the shock-wave attack it fires when it slams its legs down.
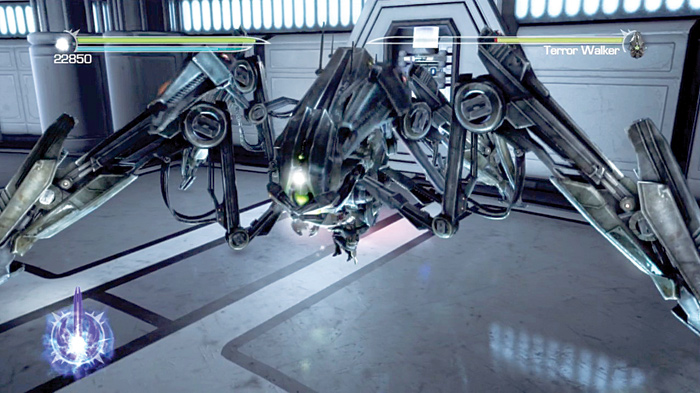
Dash around to the rear of the monster and resume your attack on its hind legs. Switch from leg to leg until you bring it down a second time. Take the attack to the walker’s head and resume chipping away at the machine’s health.
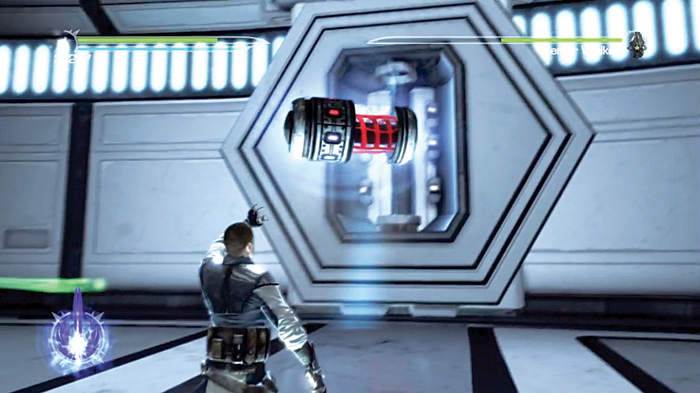
This time, the walker gets up as several fuses pop out of their slots along the outer wall. The walker’s shields power up, and it begins its rampage again. Rush back out to the outer wall and replace the fuses in their slots, then use Force Lightning to charge them.
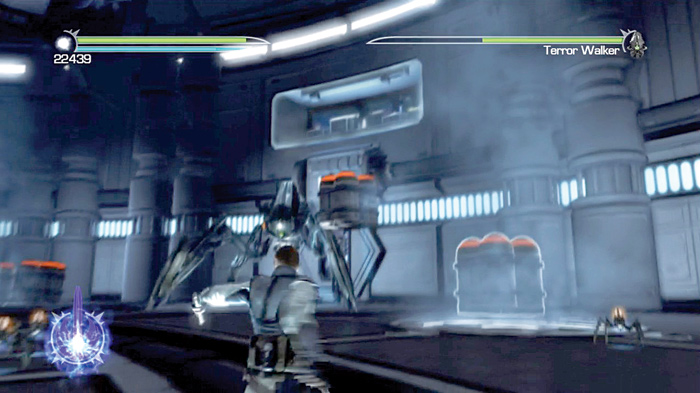
After you replace all the fuses in their respective slots in the wall, the terror walker’s shield deactivates again. Lure the vulnerable monster over to the explosive crates along the outer wall and use them to damage the droid monster’s legs some more.
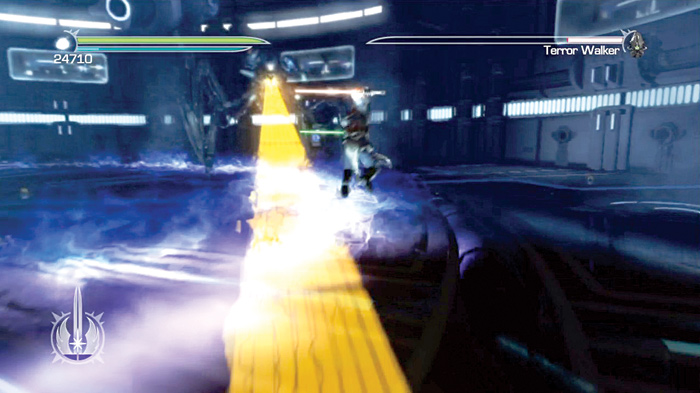
If the center generator, which is still malfunctioning, sends out a radial pulse, leap over it and attack the terror walker again.
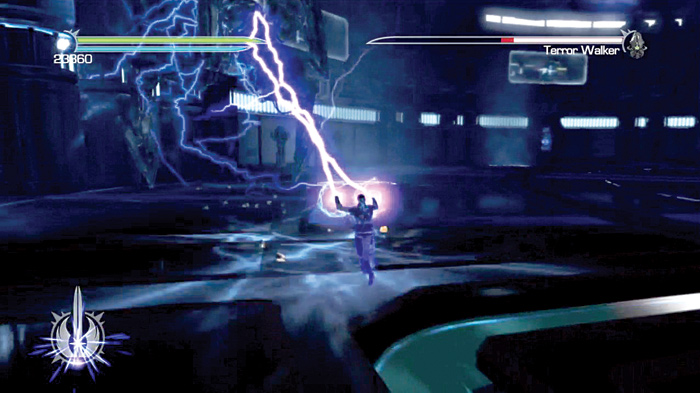
Resume your attack on the walker, targeting its body with Force Lightning and its head with Saber Throw. Pummel it until it drops, then target the head section again.
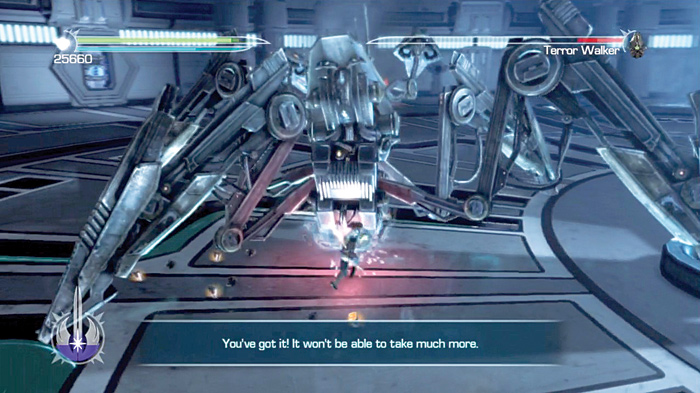
After a flurry of Force-infused attacks, the walker is yours for the taking.
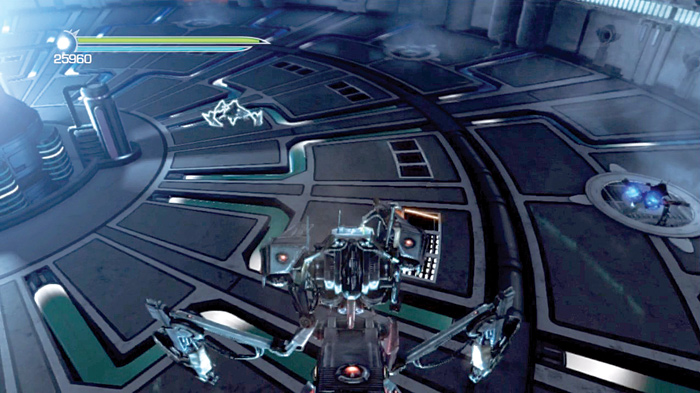
With the walker out of energy, follow the onscreen prompt to take control of the massive mechanical monster and guide it around the room. Use the walker’s lasers to destroy the terror giants that suddenly appear in your way.
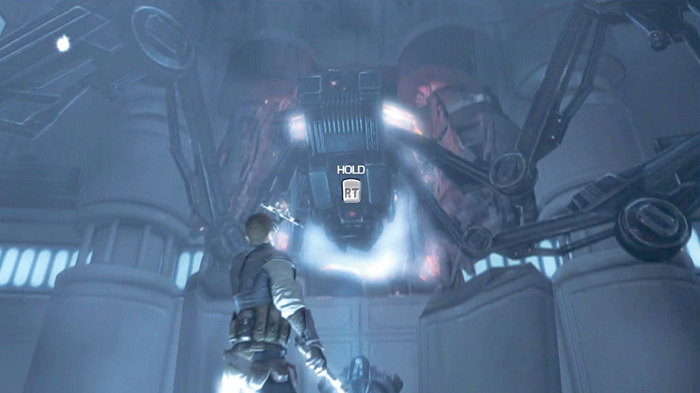
With no more terror giants, turn around and target the center generator. Move the walker over the generator and attack. The attack finally destroys the terror walker, sending it, and you, flying across the room.
Approach the fallen walker and use Force Grip to lower its body section. Double-jump onto the body, then into the hole in the wall. Follow the path out of the walker’s room and into the next section of the Salvation.