
Star Wars The Force Unleashed 2 Guide Walkthrough Walking in Starkiller's Shadow (Wii)
Dagobah

Safe in the Rogue Shadow, the clone quickly begins to look for Juno. Of all of Starkiller’s memories, it is the memories of Juno that drive him. Unfortunately, Master Kota has long since lost communication with her.

With the Rebel fleet scattered across the Outer Rim, he was unable to keep track of her, especially after his capture. Regardless of Juno’s location, Master Kota wants the clone to lead the Rebellion.
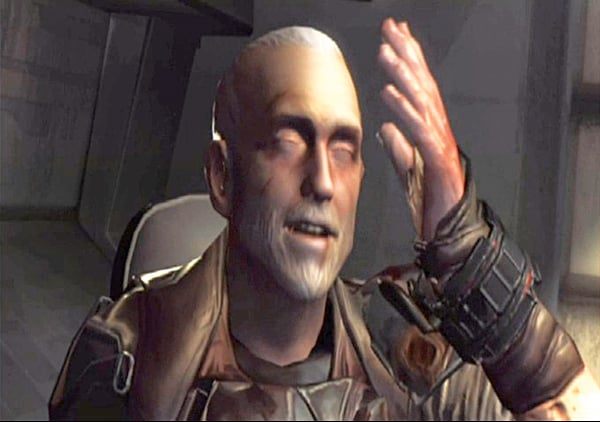
Starkiller’s clone refuses. He may have Starkiller’s memories and feelings, but he is not the same person. When he tells Kota that he’s nothing more than a clone, the Jedi Master refuses to believe it.
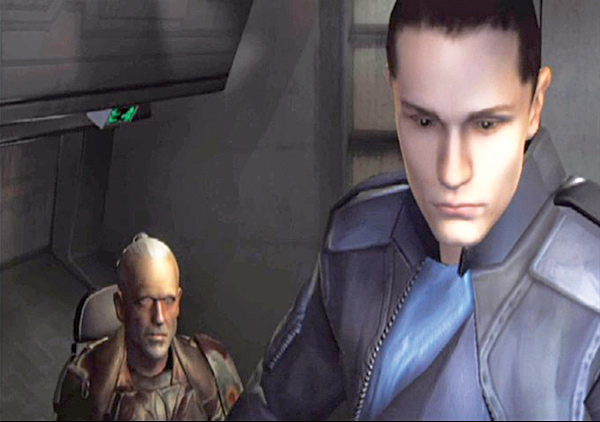
Kota insists that the clone join them and lead the fight, but the Starkiller clone insists that that was Starkiller’s destiny, not his; he must find his own way.
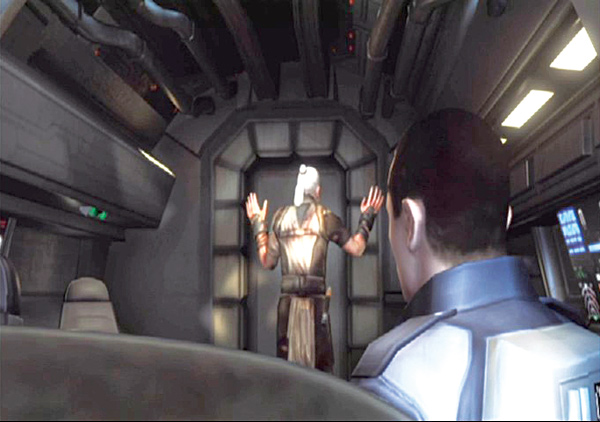
He begins his search in Dagobah.
Meanwhile...
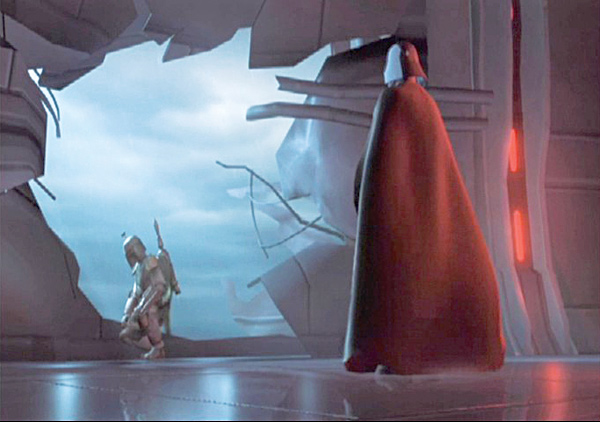
Back on Kamino, the Dark Lord, Vader, meets with the bounty hunter Boba Fett. The two plot to hunt down the rogue clone, but he’s had a few days’ lead in his escape. The Dark Lord quickly formulates a plan to draw the escapee to him rather than chase him.
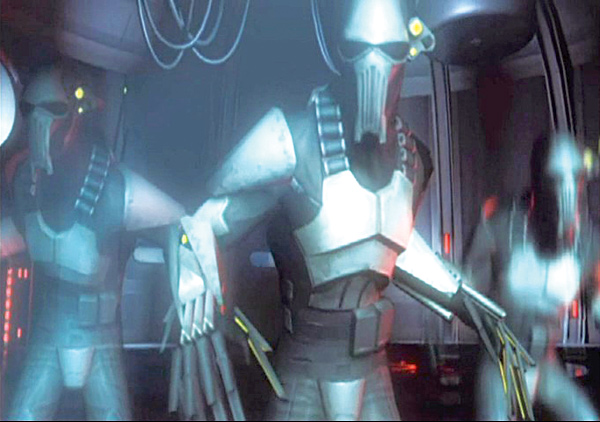
Darth Vader grants Boba Fett a squad of super soldiers and instructs him to find and capture Juno Eclipse. Once captured, she will be the perfect bait for the Starkiller clone.
A Watcher

The Vision

When you arrive in Dagobah, you find a dark and dank planet. The marshy landscape is perfect for hiding, and yet, for some reason, it seems like the perfect place to find oneself.


The path through the Dagobah jungle begins at the rear of the Rogue Shadow. Turn around and follow it out of the landing area. Run down the winding path until you come across several piles of rubble. Climb up and continue running down the path.

Follow the winding path until you approach the entrance to the cave.

Approach the cave entrance and meet Master Yoda. As you are about to enter, he greets you with a sly smile. He knows something that you don’t; you’re about to find a part of yourself that has been lost.

Enter the cave and begin exploring. Drop to the area below. When you do, you see Juno in the distance! Follow her deeper into the cave.

However, before you get far, you come across a long, mirrored surface along the left side of the cave. You can see your reflection, but it’s not entirely you. Suddenly, your mirror self leaps into a sprint and runs away. Turn left and head in the direction he ran.


Resume your trek deep into the cave until you come across a small pit. Drop into it. Follow the narrow path deeper until you find a long canyon with several stone platforms reaching across.
The right of this chasm has a mirrored surface reflecting the stone platforms. However, the reflection reveals fewer platforms than are actually in your path. Hop across the canyon using only the platforms reflected in the mirrored surface.

After crossing the canyon, continue deeper into the cave until you come upon another small chasm. On the other side is your dark self; he’s under attack by Starkiller clones. He uses the Force to rip away your lightsabers, leaving you defenseless, and fends off the zombielike clones.

When a pair of zombielike clones attacks you, you have no way of defeating them. That is, of course, until you learn Mind Trick. Use Mind Trick on the next two lightsaber-toting clones and turn them on each other!

Go back into the cave the way you came. This time, though, the cave is different. the path leads past several ruptured cloning tanks.

Follow the path. as you do, the dark clone that took your sabers is captured by a vine. The vine squeezes the life out of the dark one, and he releases your sabers. You pick them up and continue. Rather than slash through the vines, however, you sense that they are not malicious and put your sabers away.

With a short wave of your hand, the vines clear a path for you. When you emerge on the other side of the vine-covered path, you are wearing Jedi robes.

Run down the winding path and follow the light at the end. It leads to a cloning tank. As you pound on the tank’s glass, you can see Juno and Vader on the other side. They’re surrounded by dark clones.

Wait until a pair of clones get close to your tank, then use mind trick on them to turn them against Vader. The clones allow Juno to go free, but Vader isn’t done. He appears behind you for a brief moment, just before the tank’s glass shatters.

Continue exploring the cave until, in the distance, you see the silhouette of a feminine figure. As the scene comes into focus, you realize that it is Juno. Suddenly, as if a holographic display was suddenly switched on, the area around Juno materializes.

She’s in a ship, giving out commands to the rest of the crew. they’re under attack! A nearby explosion rocks the control room where she’s stationed and she’s shot. As she stumbles away from her assailant, the ship begins to fade.

Eventually, she fades too. The vision is over and your purpose is now clear. You must save Juno Eclipse. When you emerge from the darkness, master Yoda is waiting outside. he insists that you follow this vision. And you agree.
