
PlayStation All-Stars Battle Royale Guide Walkthrough Characters
Spike
All-star overview
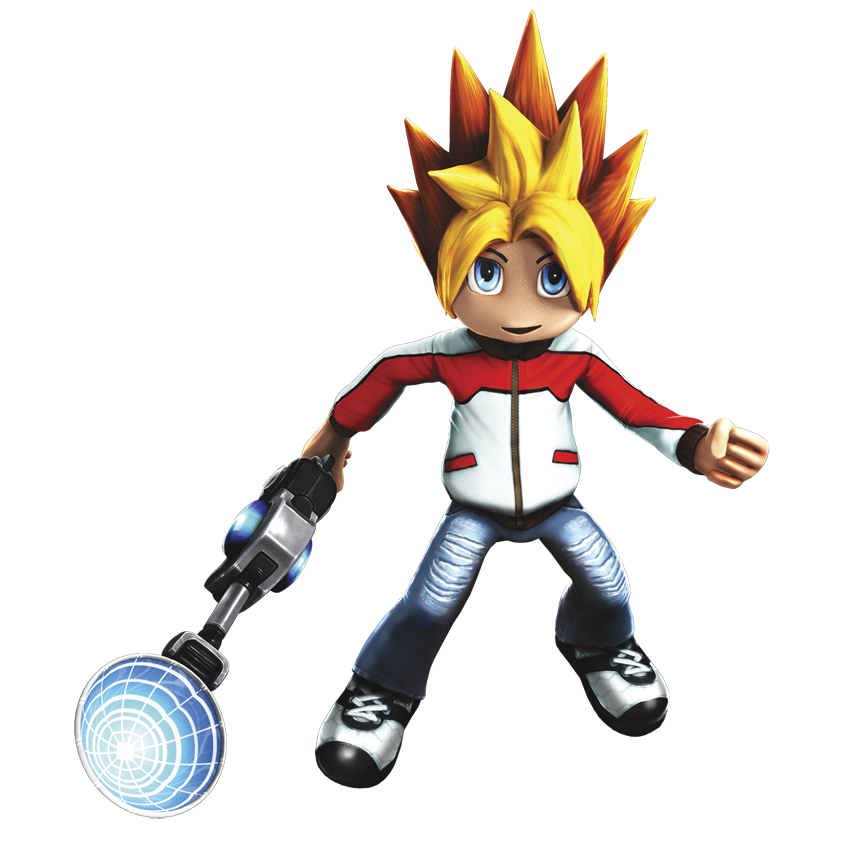
Spike should be the go-to character for both newbies who are looking to learn the game’s combo system and combo-happy fighting game experts. He has a large number of attacks that link extremely well, and he earns a high amount of AP per attack when compared to his peers. As a result, players have the option of focusing on building to a Level 1 or Level 2 Super attack, depending on how comfortable they are with combo-centric gameplay. Both SUPER Attacks are very effective, and they can be built up to in the same way.
WHY SHOULD YOU FOCUS ON PERFORMING SHORT BUT REWARDING COMBOS TO BUILD SPIKE’S SUPER METER?
- Short Combos let you have Spike get in and out of danger quickly and safely.
- Spike’s AP gain is high, even for simple Combos.
- Earning a Level 1 Super attack only takes three or four Combos, and earning a Level 2 Super attack generally takes between six and seven Combos.
WHAT’S THE BEST WAY TO MAXIMIZE YOUR AP GAIN?
- Use Spike’s Teleport Boots to transport Spike out of danger when he’s cornered and toward enemies when there is an opening.
- The RC Satellite Laser lets you control exactly who is allowed to come near Spike.
- Spike has several moves that allow him to travel, giving him an advantage when moving around the stage.
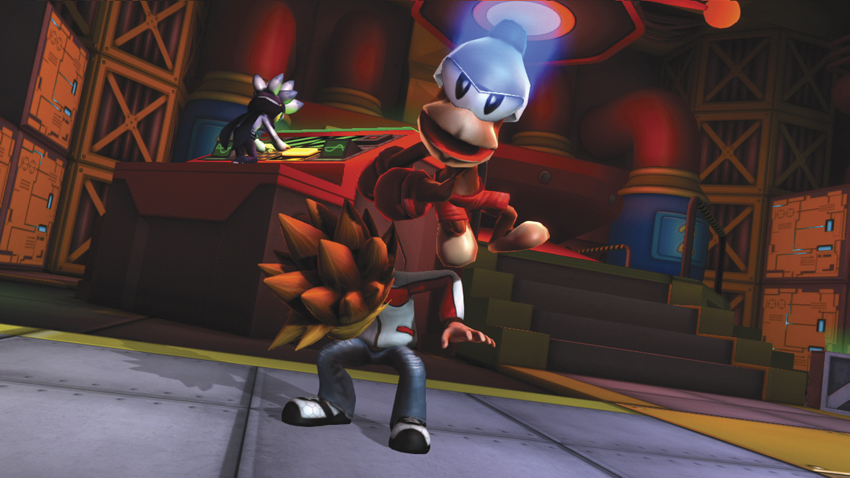
Spike is best played as a character that likes to get up close and personal with the enemy. He has moves that sweep, stun, and shock his opponent from medium-close range, and he can transition from those moves into a powerful combo at a moment’s notice. His
 Attacks are especially effective, while the
 Attacks let him control a stage. Finally, his
 Attacks lean toward the unorthodox, which can disorient an adversary.
AT A GLANCE
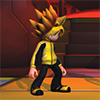
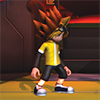
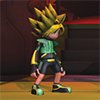
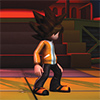
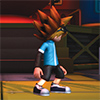
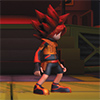
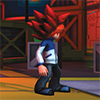
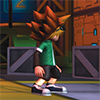
Costumes
|
|
|
|
|
|
|
|
|
|
|
|
Rundown
SUPER ATTACKS
OVERVIEW
| AP Level | AP REQ | Name | Duration | Unique Commands | Notes |
|---|---|---|---|---|---|
| 1 | 125 | Monkey Net | 1 second | — | — |
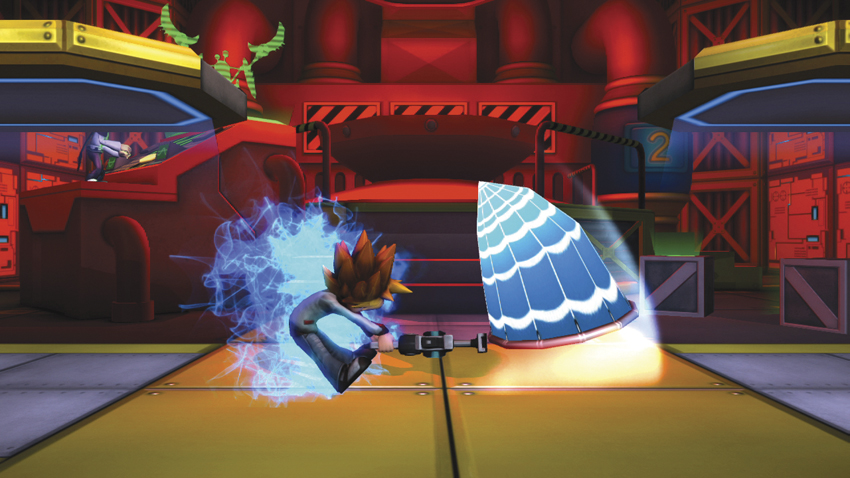
Monkey Net: Spike’s Monkey Net comes out surprisingly fast for a Level 1 Super attack, though not without a minor delay. This move is a great one to break out when other players are distracted or their characters are busy with another heated battle. Players who tend to have their characters block when Spike jumps in are particularly vulnerable to this speedy Super attack. Spike is a smaller character and has a limited range compared to fighters like Kratos, but this Super attack is great, considering the AP required to achieve it.
| AP Level | AP REQ | Name | Duration | Unique Commands | Notes |
|---|---|---|---|---|---|
| 2 | 330 | Sword Frenzy | — | — | Projectile passes through foes until wall is hit |
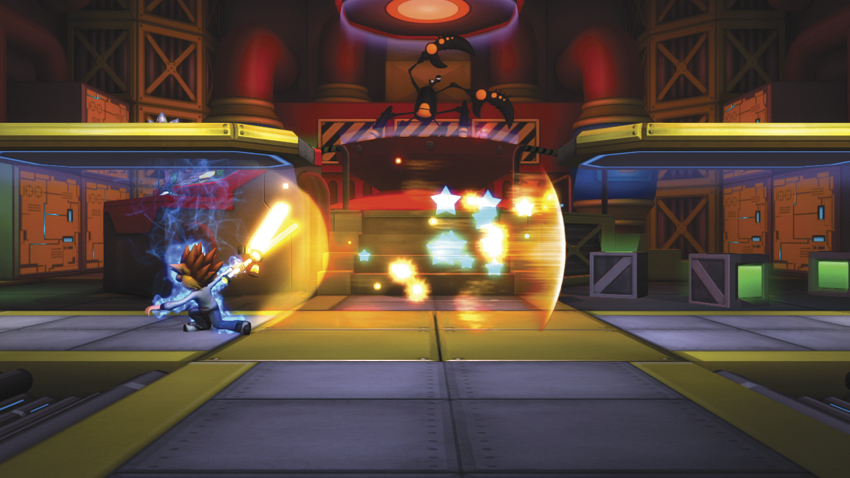
Sword Frenzy: Spike leaps into the air and swings his sword, sending a normal character-height shockwave screaming across the level. This Super attack has an extreme range, the entire length of a level, in fact. Spike holds his heroic pose as the shockwave travels, finally returning to a battle-ready stance. Sword Frenzy isn’t as fast as other long-range SUPER Attacks, so try to use it only when you’re guaranteed a multiple kill. Have Spike stick close to his adversaries before you activate it for maximum effectiveness.
| AP Level | AP REQ | Name | Duration | Unique Commands | Notes |
|---|---|---|---|---|---|
| 3 | 605 | Super Laser Cannon | Instant | — | Guaranteed to kill all enemies on-screen |
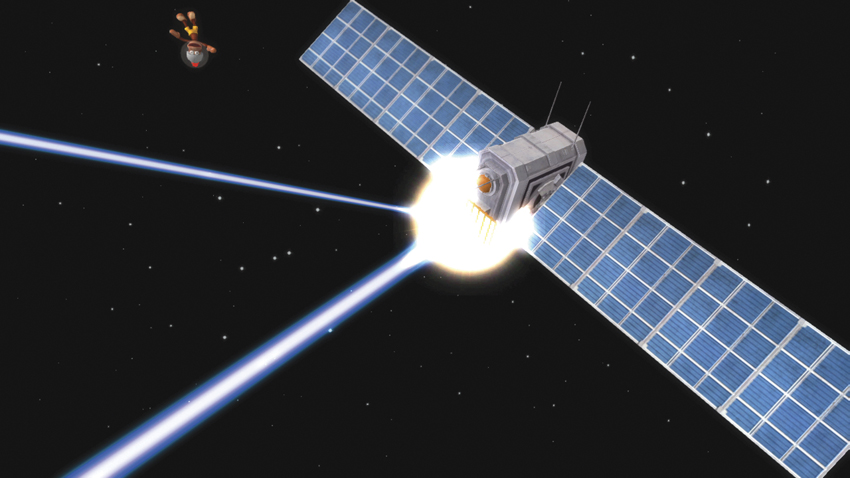
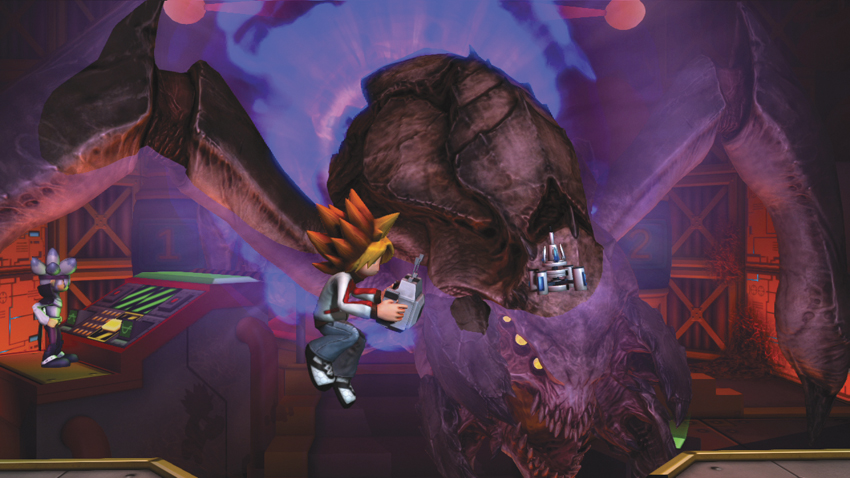
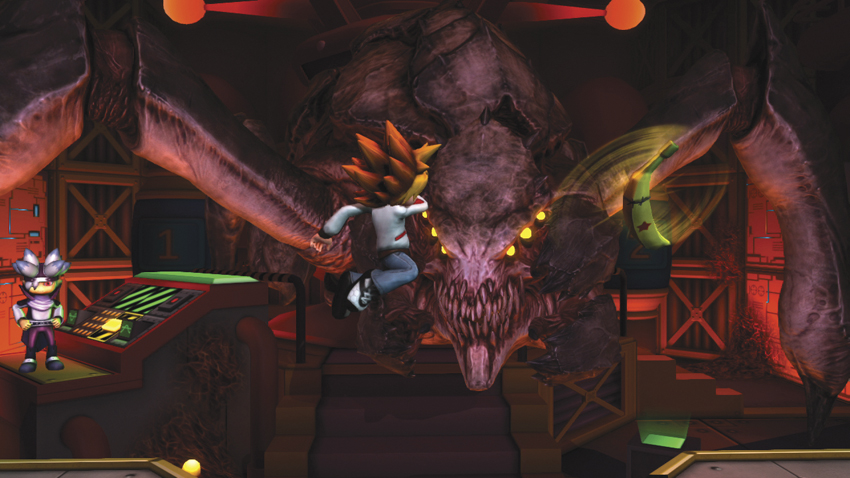
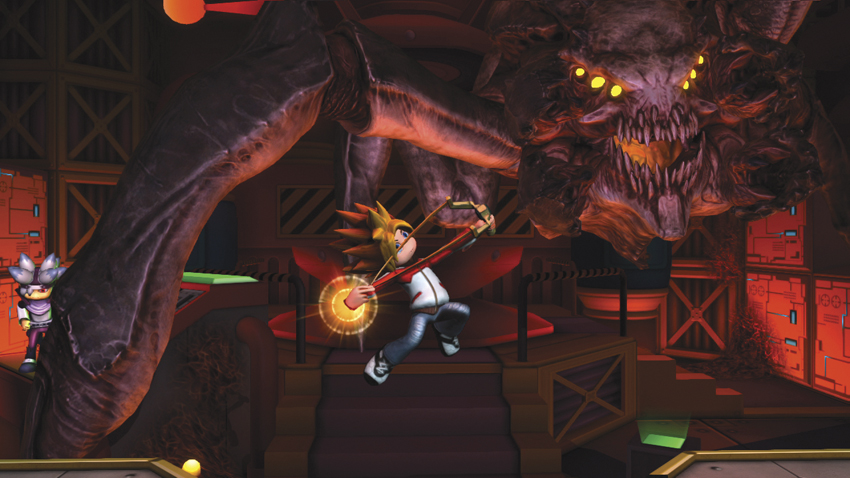
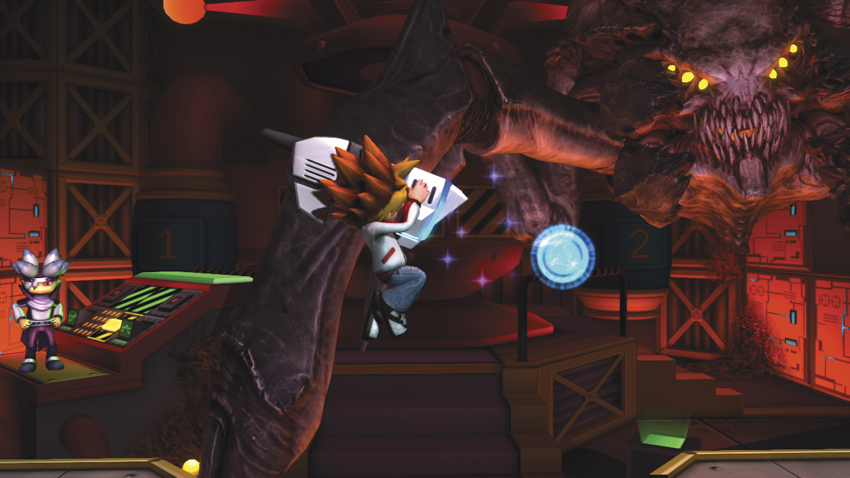
Super Laser Cannon: Spike activates his Super Laser Cannon, which fires a beam into space. The beam bounces off a satellite (missing the monkey orbiting the satellite) and returns to Earth, where it immediately kills every foe onscreen. This Super attack is entertaining but of limited use when a match comes down to the wire. It takes a while to build up the 605AP to activate the Super attack, and you can easily earn a triple kill with Sword Frenzy. This is Spike’s least efficient Super attack, considering the AP cost.
THROWS
OVERVIEW
| Name | Command | AP Penalty | Properties | Hit Effect | Notes |
|---|---|---|---|---|---|
| Crash Hurricane |
Right Stick

|
15% | Unblockable; 30AP of super armor | KD | Leaves Spike airborne |
Crash Hurricane: Spike uses two swords to force his enemy into the air, leaps over their head, and comes down with a twin strike that smashes them to the ground in a knockdown state. Spike is left airborne, and he can activate aerial Attacks to follow up with his original opponent or a new target.
| Name | Command | AP Penalty | Properties | Hit Effect | Notes |
|---|---|---|---|---|---|
| Sonic Revolution |
Right Stick
 or
or

|
15% | Unblockable; 30AP of super armor | Eject tornado | — |
Body Toss: Spike tosses his foe into the air and takes a good old-fashioned home run swing with his sword. The enemy is sent flying away in an eject tornado and suffers an AP Penalty. This throw is great for getting Spike out of trouble and for a quick infusion of AP.
| Name | Command | AP Penalty | Properties | Hit Effect | Notes |
|---|---|---|---|---|---|
| Monkey Trip |
Right Stick

|
15% | Unblockable; 30AP of super armor | Butt-drop | — |
Monkey Trip: A monkey appears behind the adversary, giving Spike a chance to push the opponent over. This leaves the enemy in a butt-drop state while the monkey points and laughs. While enemies can block upon standing up, preventing most follow-ups, inattentive foes are left open once the throw finishes.
: SQUARE ATTACKS
GROUND ATTACKS
| # | Name | Command | AP Gain | Properties | Hit Effects | CI | Notes |
|---|---|---|---|---|---|---|---|
| 1 | Stun Club 1 |
|
5 | — | — |
|
— |
| - | Stun Club 2 |
,
|
2, 3 | — | — |
|
— |
| - | Stun Club 3 |
,
,
|
30 | — | Eject roll | — | — |
| 2 | Stun Club Dash |
|
30 | Charge to increase distance | Eject tornado; guard break (full charge) | — | — |
| 3 | Stun Club Whirlwind |
|
5~20 | Cannot act until grounded | Lift |
|
Press
to end with Aerial Stun Club 3
|
| 4 | Giant Sweep |
|
20 | — | Sweep |
,
,
,
|
Repeatable |
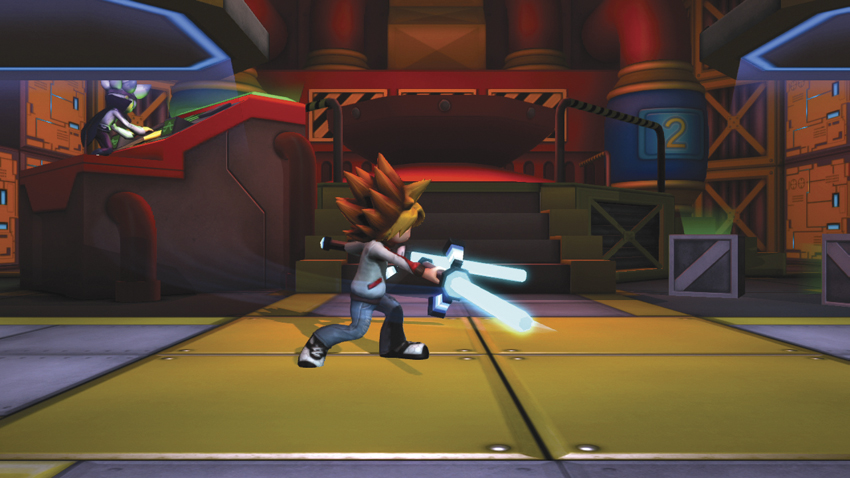
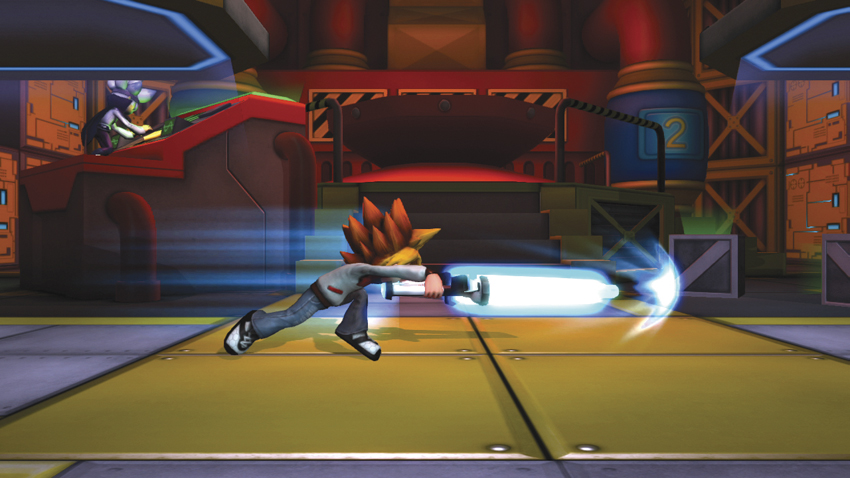
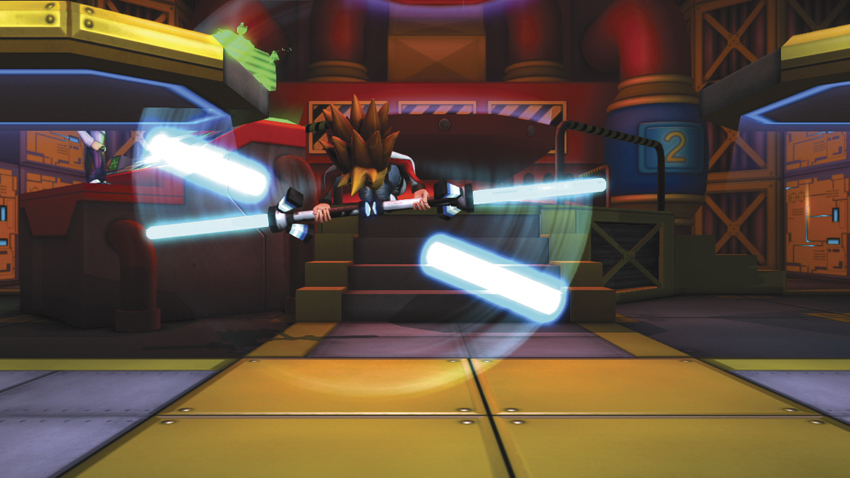
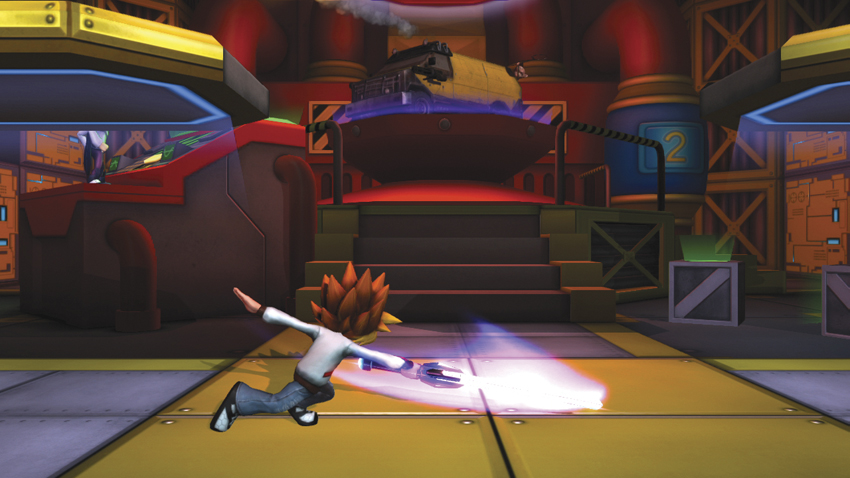
Spike is a combo fiend and a major AP earner. He has a few different combos that can be performed simply via pressing permutations of
, and his abilities increase drastically as you learn how to link his
,
, and
Attacks into a single combo.
His most basic maneuver is the Stun Club (
), which can be extended all the way to Stun Club 3 (
,
,
). Stun Club 3 is worth a total of 40AP and leaves the enemy in an eject roll. This move is reliable and can be whipped out in a pinch for reliable AP gain.
Stun Club Dash (
) is a great combo extender, as well as a solid AP earner. It’s worth 30AP, a hefty amount, and can catch falling characters with ease. When fully charged, Stun Club Dash forces enemies into an eject tornado.
Giant Sweep (
) is an essential combo starter. It sweeps your adversaries off their feet, leaving them wide open. You cannot successfully transition from Giant Swing to Stun Club, but you can transition into Stun Club Whirlwind (
) with ease. Pressing
at the end of the Stun Club Whirlwind results in an Aerial Stun Club 3. Pressing
three times earns you 50AP—that’s impressive.
Spike’s
Attacks are versatile and diverse. They provide a valuable foundation for Spike’s gameplan and are a great set of maneuvers to use in combos or as part of a desperate attempt to fend off an extremely aggressive attacker. Spike is short and fast, so take advantage of those traits to stay on top.
AIR ATTACKS
| # | Name | Command | AP Gain | Properties | Hit Effects | CI | Notes |
|---|---|---|---|---|---|---|---|
| 1 | Aerial Stun Club |
Air
|
3, 2 | — | — |
|
— |
| - | Aerial Stun Club 2 |
Air
,
|
3, 2 | — | — |
|
— |
| - | Aerial Stun Club 3 |
Air
,
,
|
30 | — | Eject spiral | — | — |
| 2 | Aerial Stun Club Dash |
Air
|
10, 20 (charged) | Chargeable; active until grounded | KD or guard break (full charge) | — | Spike dives down at 45-degree angle |
| 3 | Aerial Stun Club Whirlwind |
Air
|
5~20 | — | — |
|
Press
to end with Aerial Stun Club 3
|
| 4 | Aerial Giant Smash |
Air
|
10, 20 | Active until grounded | Lift (second hit) | — | — |
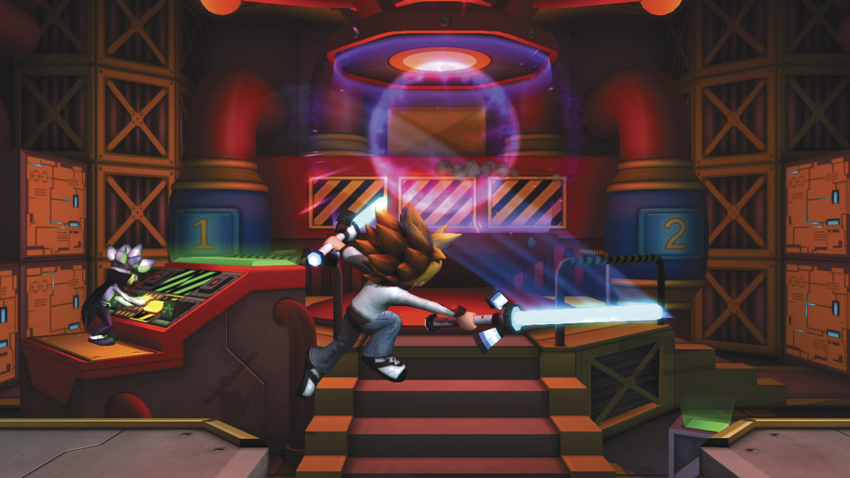
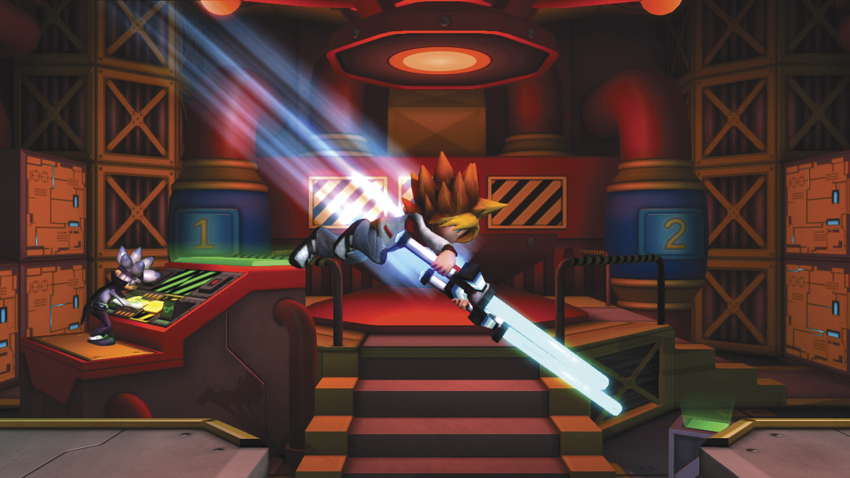
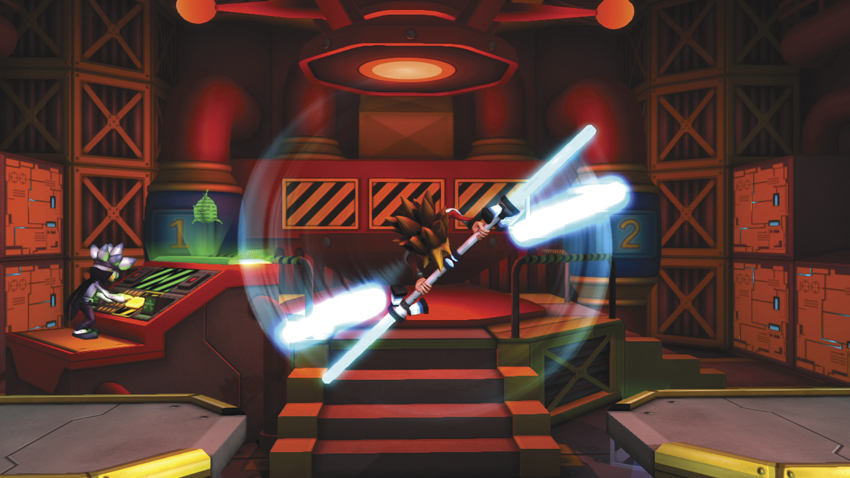
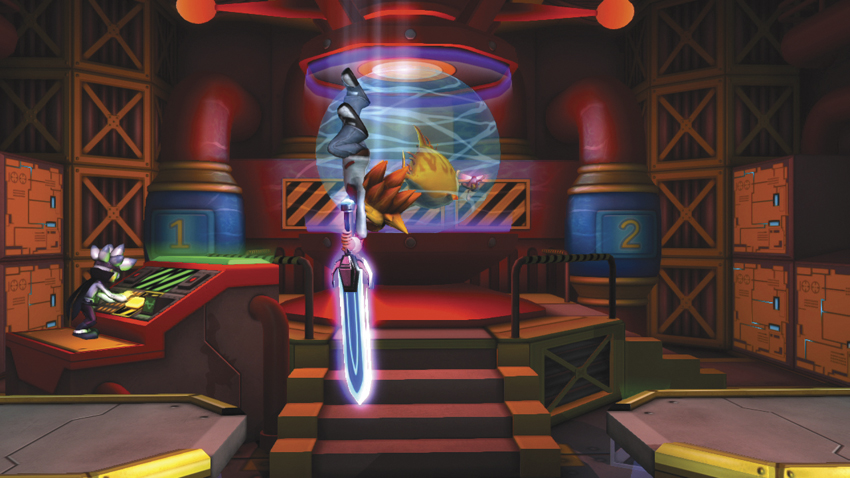
Spike has two types of aerial
Attacks: normal Attacks and fast-moving traveling Attacks. Aerial Stun Club (
), Aerial Stun Club 2 (
,
), and Aerial Stun Club 3 (
,
,
) function just as they do on the ground, and they remain enormously useful for air combos. Spike’s short stature means that you need a certain amount of height to nail the Aerial Stun Club 3, as Spike may drop too low to complete the attack, so begin attacking at the height of Spike’s jump, rather than on the way down.
Aerial Stun Club Whirlwind (
) functions as expected, as well. The spin has a fairly large range and can tag opponents from afar, and finishing Aerial Stun Club Whirlwind with Aerial Stun Club 3 by pressing
during the attack works very well in match play. Once again, depending on his height, Spike may whiff the Aerial Stun Club 3, so attack carefully to prevent counterattacks.
Aerial Stun Dash (
) travels on a downward angle and can be charged. Spike hovers as the attack charges, and the longer you hold the charge, the faster and farther Spike travels. This move is great for following up on an opponent that has been smashed to the ground or getting closer to an ejected enemy after a combo.
Finally, Aerial Giant Smash (
) is a fast-moving downward strike that can hit airborne enemies on the way down, in addition to generating a small area of effect once it hits the ground. That area of effect can lift grounded opponents. Hitting a foe during the downward stroke and then again with the shockwave nets Spike a cool 30AP
: TRIANGLE ATTACKS
GROUND ATTACKS
| # | Name | Command | AP Gain | Properties | Hit Effects | CI | Notes |
|---|---|---|---|---|---|---|---|
| 1 | RC Satellite Laser |
|
20 | Left Stick: Move; any button to attack | Crumple; eject tornado (aerial foe) | — | Immobile while using; drone active for three seconds |
| 2 | Bananarang |
|
20 | Flies back to Spike | Lift | — | Actions OK while projectile in play |
| 3 | Slingback Shooter |
|
10 (tap); 20 (charge) | Chargeable | Lift (full charge) |
,
,

|
— |
| 4 | B Launcher |
|
5 | — | Stun | — | — |
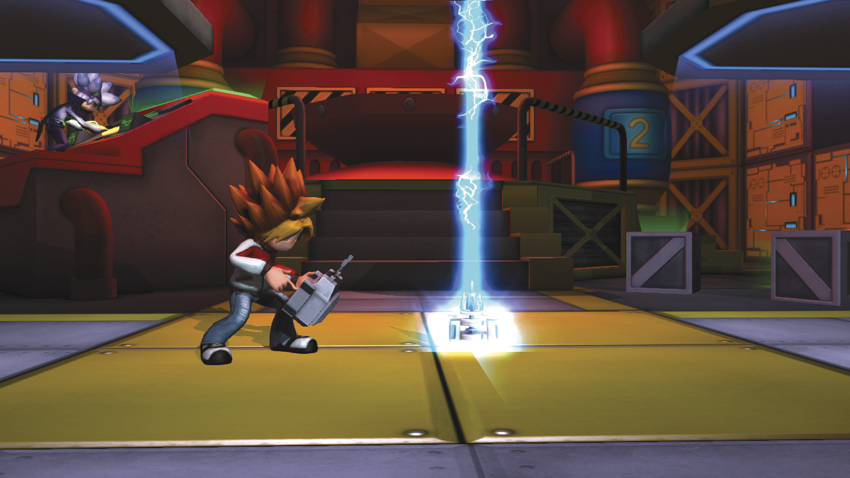
Spike’s RC Satellite Laser (
) seems odd at first. Spike is immobile as long as the device is active, leaving him vulnerable to attack on all sides. However, the RC Satellite Laser is very effective at playing keep-away. Whip out this attack and zap the enemies that are getting too close for comfort. They crumple after being hit, so if they’re close, you have an opening for a combo with high AP gain.
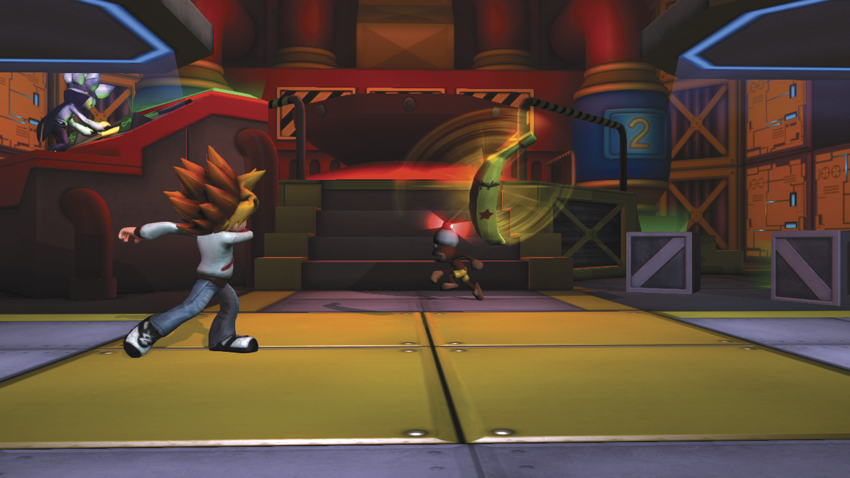
Use the Bananarang (
) to harass your enemies. Like all good boomerangs, the Bananarang returns to Spike after it’s thrown, whether or not it hits the target. A great tactic is to throw the Bananarang under a jumping adversary and immediately go into a combo or Stun Club 3 (
,
,
) when the foe lands. The Bananarang hits the enemy’s back while Spike pummels the front.
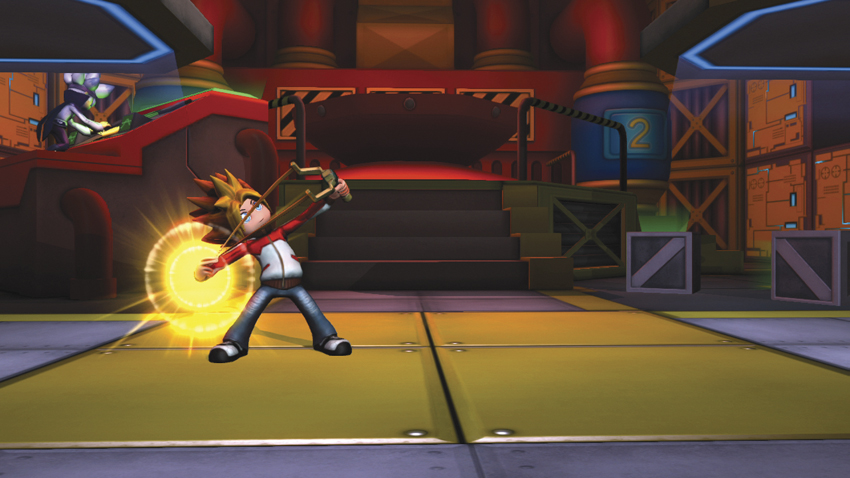
Slingback Shooter Shot (
) is another chargeable attack. Uncharged, it’s an effective anti-air attack. Fully charged, it lifts grounded enemies, providing Spike with a chance for a combo. You can cancel out of the charging process by pressing
or
/
to roll or jump, respectively.
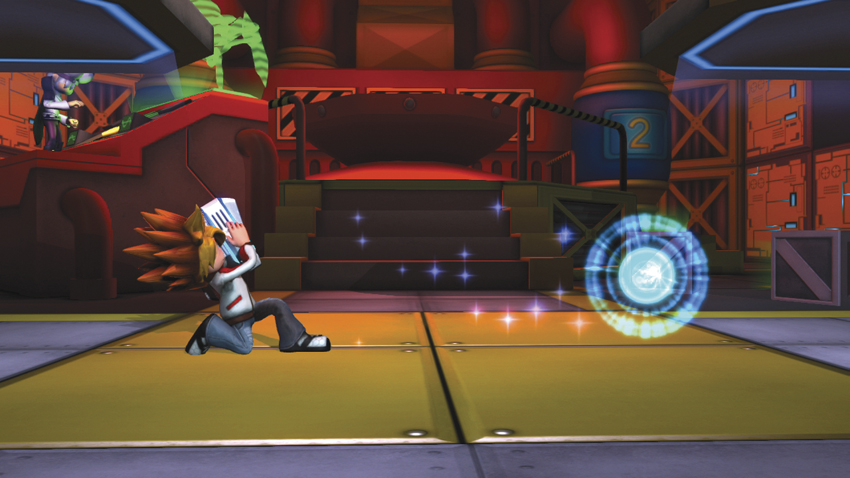
Spike’s B Launcher (
) comes out after a brief moment of wind-up. The weapon fires a large and fast-moving blue ball of energy that stuns enemies when it hits. This is another fantastic combo opener, as Spike has just enough time to rush in with a Stun Club or rising Stun Club Whirlwind (
). This speedy move has several applications, and the fact that it stuns opponents is enormously useful in heated match play
AIR ATTACKS
| # | Name | Command | AP Gain | Properties | Hit Effects | CI | Notes |
|---|---|---|---|---|---|---|---|
| 1 | Aerial RC Satellite Laser |
Air
|
20 | Cannot move until grounded | Crumple; eject tornado (aerial foe) | — | — |
| 2 | Aerial Bananarang |
Air
|
20 | Flies back to Spike | Lift | — | Actions OK while projectile in play |
| 3 | Aerial Slingback Shooter Shot |
Air
|
10, 20 | Chargeable | Lift (full charge) | — | Charging slows descent |
| 4 | Aerial B Launcher |
Air
|
10 | — | Stun | — | Fires downward at 45-degree angle |
When used in mid-air, B Launcher (
) follows a speedy downward arc before stunning enemies. Spike pauses for the briefest of moments to fire the weapon, so try to use his jump to disguise the firing animation. Anticipate your opponent’s actions when jumping and time the attack so that the stun strikes them at their most vulnerable. Try to stun them just above ground level so that you have several options for attacking once Spike lands.
Bananarang (
) is a fun attack to use in mid-air with several applications. The Bananarang flies in a straight line immediately after being thrown. Once it reaches the apex of its arc, it takes the shortest route back to Spike. Try to keep an enemy between Spike and the Bananarang at all times, as the return trip often catches foes by surprise and creates openings for solid Combos.
Aerial RC Satellite Laser (
) provides a nice way to create a metaphorical ceiling for your adversaries. The device cannot be moved around in mid-air, but tossing one over an enemy’s head before they get a chance to jump at Spike for an air combo allows you to force the opponent into an eject tornado, leaving Spike safe and sound. It takes some effort to work the Aerial RC Satellite Laser into an air combo. With that said, however, using the Aerial RC Satellite Laser on its own is plenty effective, either as a combo opener or a way to keep adversaries away from Spike
: CIRCLE ATTACKS
GROUND ATTACKS
| # | Name | Command | AP Gain | Properties | Hit Effects | CI | Notes |
|---|---|---|---|---|---|---|---|
| 1 | Hoola Hoop |
|
5~25 | Mashable (short/full) | Lift (short); eject tornado (full) | — | Spike runs when mashing stopped or when fully mashed |
| 2 | Magic Punch |
|
10 (tap), 5 (charge) | Chargeable | Stun or guard break (full charge) |
,
,
|
— |
| 3 | Teleport Boots |
|
— |
Press
or
to direct teleport
|
— | — | White line indicates range |
| 4 | Monkey Radar (Dash) |
|
10 | Monkey runs through foes | — | — | — |
| - | Monkey Radar (Banana) |
(hold)
|
20 | Hold until Radar is green | Butt-drop | — | Monkey drops banana; only one in play at a time |
| - | Monkey Radar (Pipotron G) |
(hold)
|
30, 20, 30 | Hold until Radar is red | Eject tornado (first and third hits); full launch (second hit) | — | Cannot use Monkey Radar while Pipotron in play |
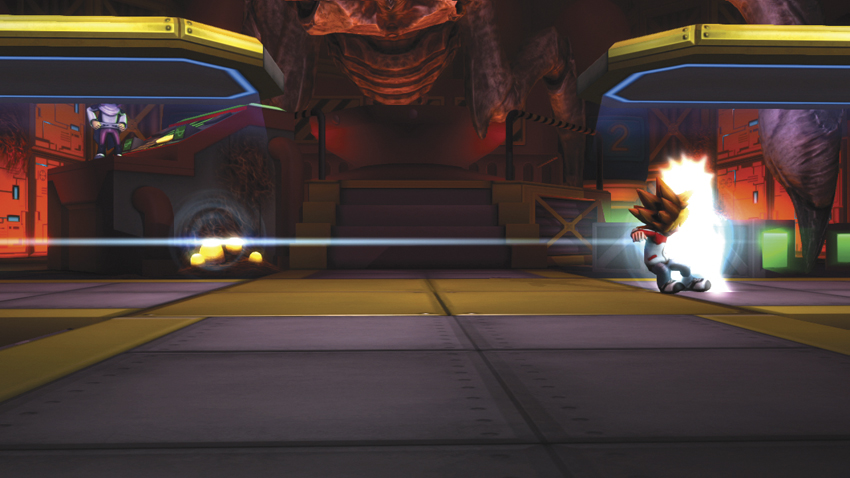
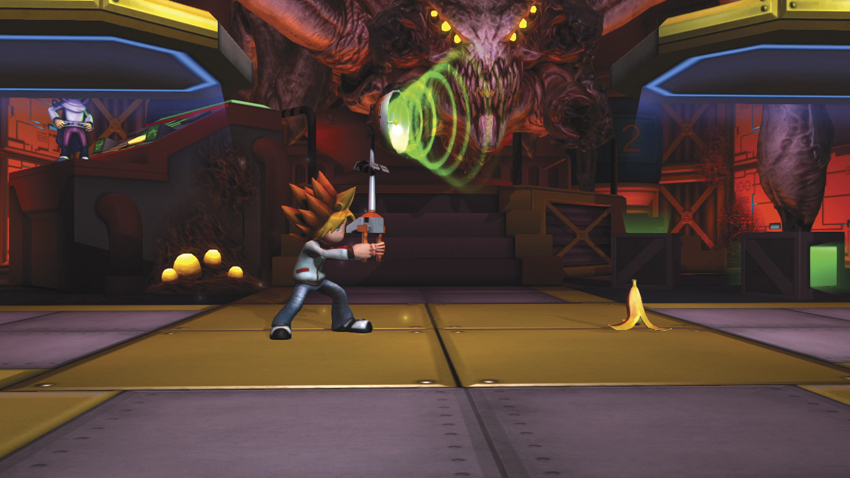
Spike has a powerful defensive maneuver in the form of his Teleport Boots (
). This move has no offensive aspect, but it is perfect for either putting Spike in the position to create an opening or avoid an incoming attack. Tapping
makes Spike teleport in the direction he’s currently facing, while holding
after pressing
makes him teleport in place as a feint. Press
or
during the beginning of the teleport animation to teleport backward or forward.
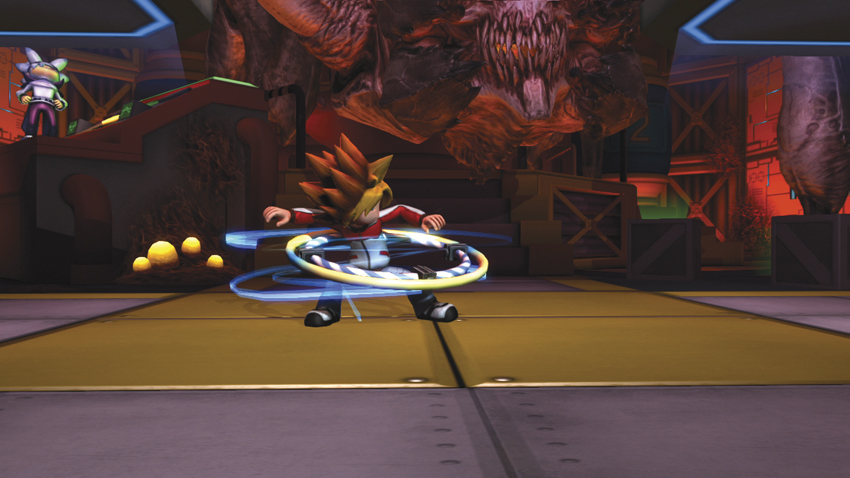
Use the Hoola Hoop (
) only from a safe position. To properly utilize the Hoola Hoop, you need to mash
until Spike begins running forward. When he hits the enemy, they’re forced into an eject tornado. However, having to mash the attack out leaves Spike vulnerable. Adversaries may block in anticipation of the full attack, which means that Spike is going to get hammered as soon as the foe attacks.
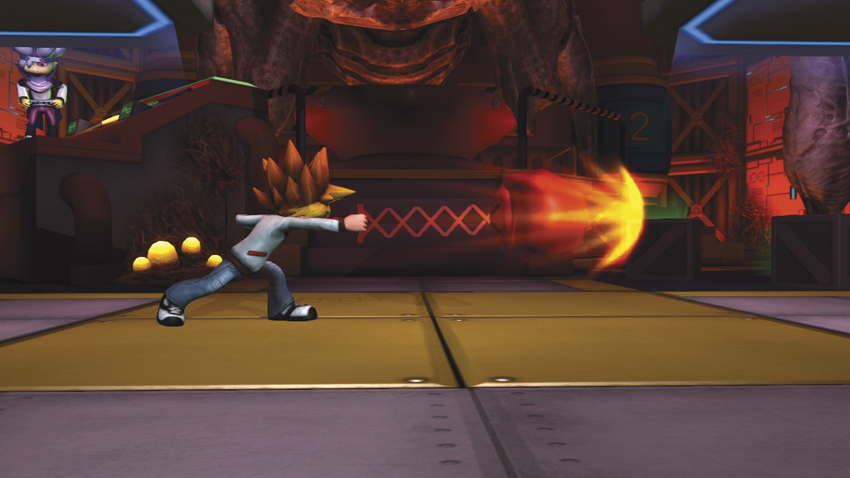
Spike’s Magic Punch (
) is a curious attack. When you tap
, Spike does a fast punch that earns 10AP. If you hold
, Spike charges the punch and earns 5AP. It seems like an unfair trade, but a fully charged Magic Punch leaves the enemy completely stunned. A charged Magic Punch is a great lead-in to a combo and it also stops attackers in their tracks.
The Monkey Radar (
) is another move that requires forethought. It has three states: Dash (blue), Banana (green), and Pipotron G (red). You achieve the other states by charging
until the light of the Monkey Radar changes color. The Dash is the default state, and a monkey runs out and dashes through nearby enemies. The Banana sits on the ground and serves to trap foes, pushing them into a butt-drop when they touch it. Pipotron G summons an enormous monster that strikes several times before disappearing. It takes time to appear, but when it does finally come out, it strikes with a speed that is going to surprise your foes.
AIR ATTACKS
| # | Name | Command | AP Gain | Properties | Hit Effects | CI | Notes |
|---|---|---|---|---|---|---|---|
| 1 | Aerial Hoola Hoop |
Air
|
4~26 | Mashable | — | — | Spike hovers while mashing |
| 2 | Aerial Magic Punch |
Air
|
30 | — | Eject spiral | — | Spike hovers during startup |
| 3 | Aerial Teleport Boots |
Air
|
— |
Press
or
to direct teleport
|
— | — | White line indicates range |
| 4 | Aerial Monkey Radar (Dash) |
Air
|
10 | Monkey flies in U-shaped curve | — | — | Spike hovers while using Radar |
| - | Aerial Monkey Radar (Banana) |
Air (hold)
|
10 per banana | Hold until Radar is green | — | — | Monkey throws out three bananas |
| - | Aerial Monkey Radar (Pipotron G) |
Air (hold)
|
10, 10, 20 | Hold until Radar is red | Full launch (final hit) | — | — |
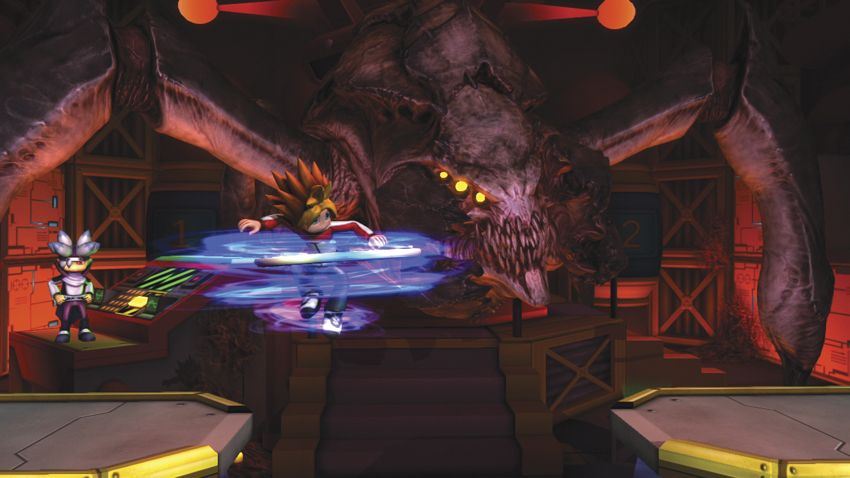
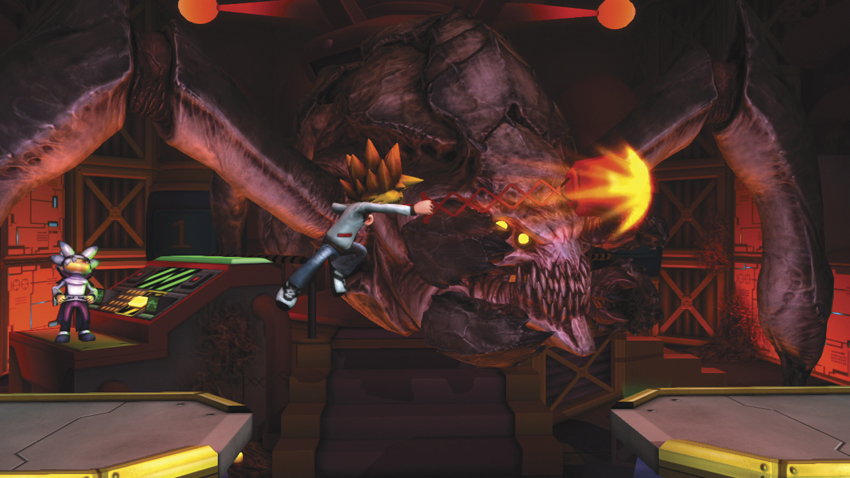
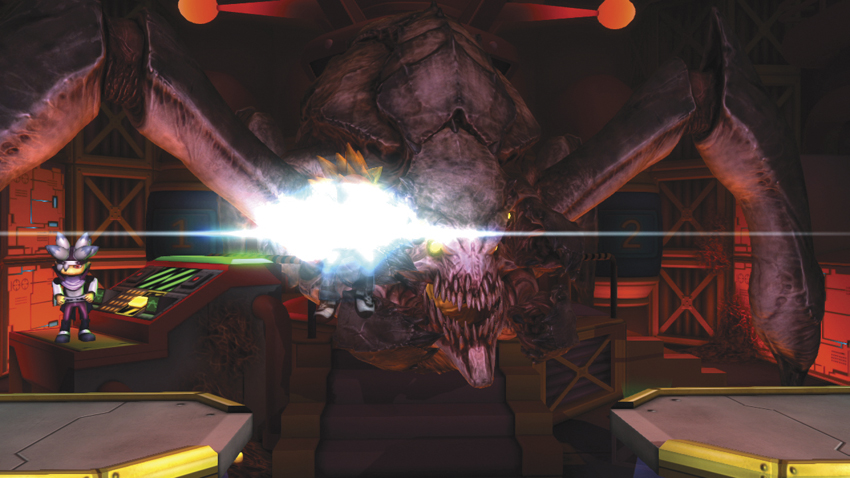
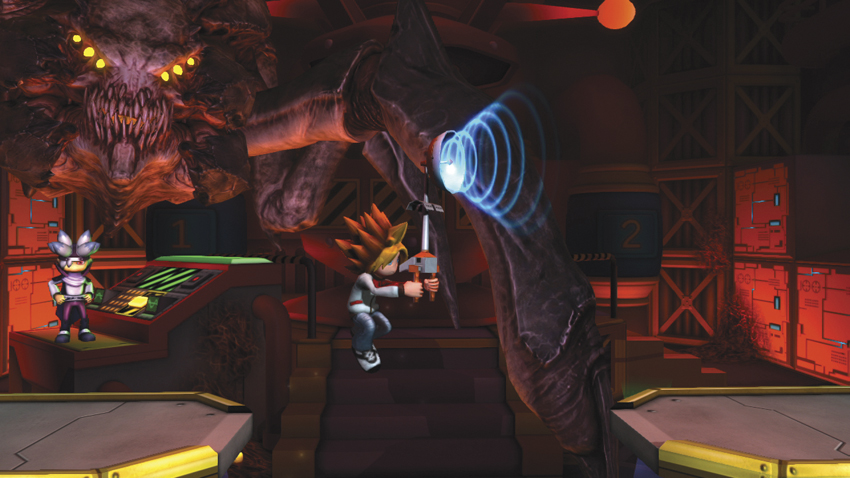
Spike’s Monkey Radar (
) is useful in mid-air, too. Spike pauses while the attack charges, and he has access to all three states. The monkey that appears during the Dash variation performs a mid-air loop in a U shape, the Banana monkey pitches three peels, and the Pipotron G remains a hard-hitting monster.
The airborne Magic Punch (
) forces Spike to hover in mid-air while the attack builds up. He’s vulnerable here, as an enemy has time to perform an air recovery out of a combo or mount an attack from the ground. Additionally, timing the Magic Punch so that it hits a jumping foe may be difficult. Activate the move just before the enemy reaches the peak of his or her jump. Properly timed, the adversary falls into the attack.
Aerial Teleport Boots (
) remains a useful evasive maneuver. It functions exactly as it does on the ground, and Spike can attack as he’s descending. Use this move to surprise your enemies with rapid-fire aerial location switches, and then take advantage as soon as they make a mistake.
Finally, his Aerial Hoola Hoop (
) is a difficult attack to nail in mid-air, but it absolutely dominates in corner situations. If Spike is close to an opponent, go for the Aerial Hoola Hoop and mash
like your life depends on it. The opposing character should be caught within Spike’s range and eat every hit.
COMBOS
MAIN COMBOS
Note: All combos assume your character is facing the right side of the screen.
I. Against grounded foe:
,
,
50AP
What’s better than a bread and butter combo that puts you just under halfway toward a full Super Meter? This combo comes out quickly and leaves the enemy in an eject spiral. It’s safe, efficient, and more than worthy of being your #1 go-to combo in a pinch. Spike isn’t particularly vulnerable while performing this combo, unless the
whiffs, and
can hit several enemies at once, preventing other opponents from rushing in and stopping Spike cold. When using this move near a wall, press
when your adversary wallbounces
for an extra 10AP.
II. Against grounded foe:
(air), land,
(charge)
50AP
This unorthodox combo nets you 50AP with only a little effort. Have Spike leap up and throw a Bananarang (
) over your enemy’s head. As soon as he lands, begin charging
. Properly timed, Spike catches the opponent as they bounce backward from the Bananarang and knocks them away. This is a strange combo, and it should serve to disorient your foe and leave them open to further punishment. Keep them guessing!
III. Against grounded and cornered foe:
,
,
,
,
70AP
This combo singlehandedly puts Spike more than halfway toward a Level 1 Super attack. Trigger the RC Satellite Laser (
,
when near the target) to force the enemy to crumble, and then move in with Spike’s bread and butter combo. This is tougher to pull off because of the requirement of maneuvering the RC Satellite Laser, but it pays off huge if you can nail every hit. With Combos like these, Spike earns AP at an extremely fast rate.
COMBO APPENDIX
| Combo | +AP | Notes |
|---|---|---|
|
,
,
|
50 |
Trigger the RC Satellite Laser when your enemy is close. Do not charge
. This combo can also be started in the air and finished on the ground.
|
|
,
,
,
|
45 | Try to do this combo close to your enemy for best results. The stun wears off if you try it from too far away. |
ADVANCED STRATEGIES
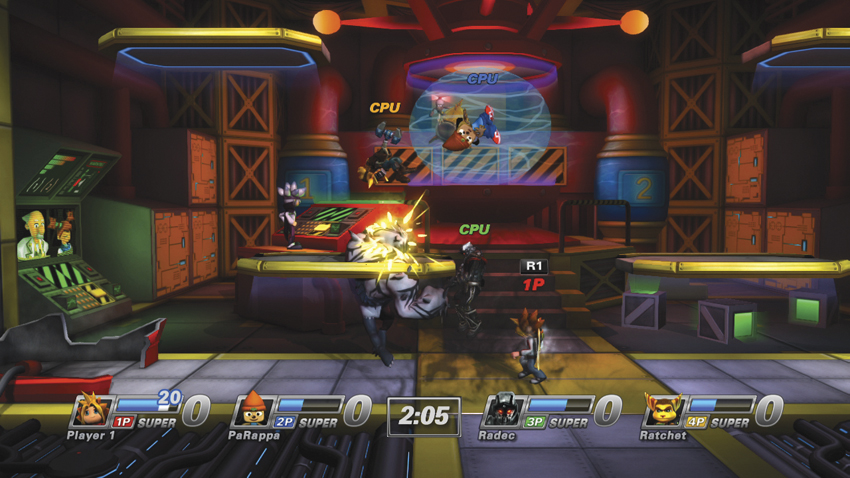
It takes time to summon Pipotron G, but he’s great at forcing enemies away from you.
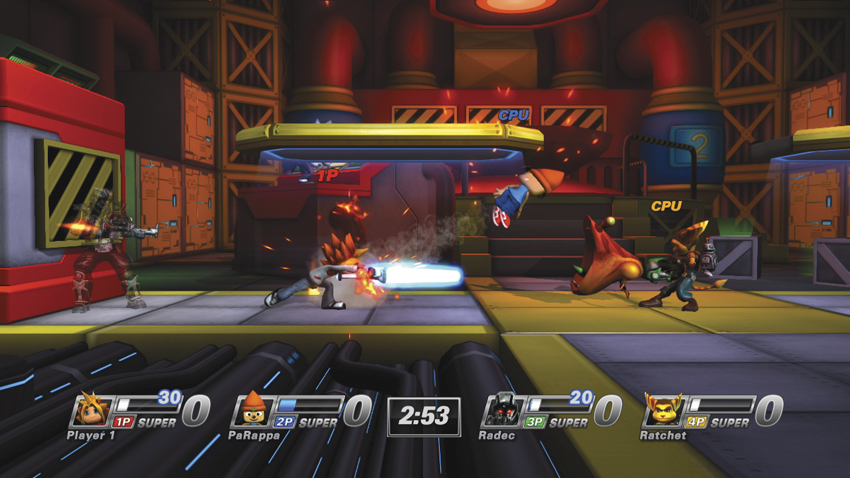
Stun Club Dash is one of your best tools.
Spike is a combo fiend. He isn’t extremely fast, but he is fantastic at linking Attacks to maximize his AP. Spike’s shortest combos result in him earning almost half the AP needed to fire off a Level 1 Super attack, and the longer ones come very close to or exceed the 100AP necessary to activate the Infinite Avoidance System. Spike earns AP at a rapid rate, which makes him one of the most fun and effective characters to play.
Your main goal should be learning your limits. Every player is different, and even though performing Combos with Spike is easy, some players may not have the physical skill required to pull them off. Your personal comfort level with Spike should guide your playing style.
If you’re skilled at pounding out combos and racking up AP quickly, go for Spike’s Level 2 Super attack. You can gain 330AP after five or six solid combos, or even faster if you can catch several characters in your Attacks simultaneously. Go for triple kills with the Level 2 Super attack for the best results. It’s a fast-moving attack that can easily kill three characters at once, especially at close range.
If you have trouble with the more complicated combos, you’re still in good shape. Build up to Level 1, which takes just 125AP, by performing fast combos that just require two or three button presses. On average, you’re going to earn between 40AP and 60AP, so you should have a usable Super attack after only three combos. Use your Level 1 as soon as you acquire it, and make it a point to go for a double kill instead of a triple kill. Getting one kill with Spike’s Level 1 is easy, and getting two kills is harder but doable. Scoring three kills with one Level 1 Super attack is much, much harder, so take what you can get. If one or two of your SUPER Attacks only kills one opponent, take the kill and try to do better next time. Have Spike jump in before using a Super attack, dodge roll into the midst of his enemies, and soften them up with a short combo before triggering the Level 1 Super attack.
Spike is a fun and easy character to play. He’s intensely rewarding for newbie players or people looking to learn the combo system, but he isn’t so simple that hardcore fighting game fans aren’t going to have a good time. He’s fast and efficient, and he has a very solid arsenal of offensive maneuvers. You can even play keep-away with him thanks to the RC Satellite Laser, and teleporting out of danger is an essential way to stay safe and open his enemies up to attack.