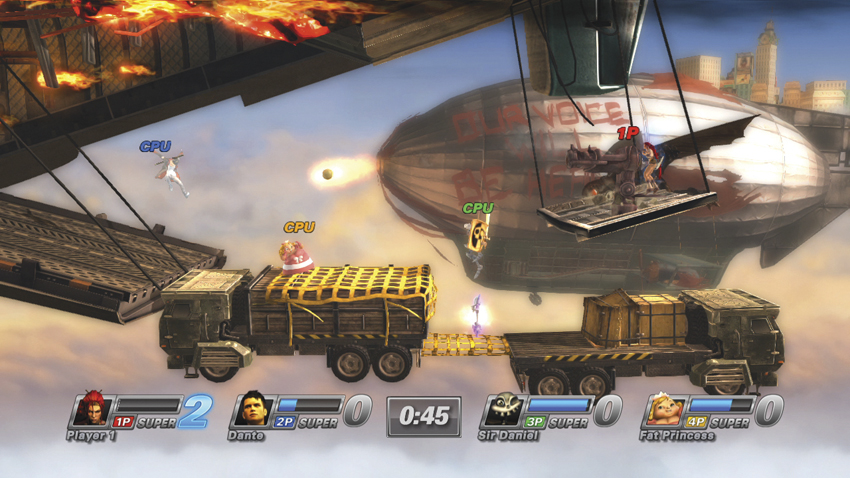
PlayStation All-Stars Battle Royale Guide Walkthrough Characters
Nariko
All-star overview
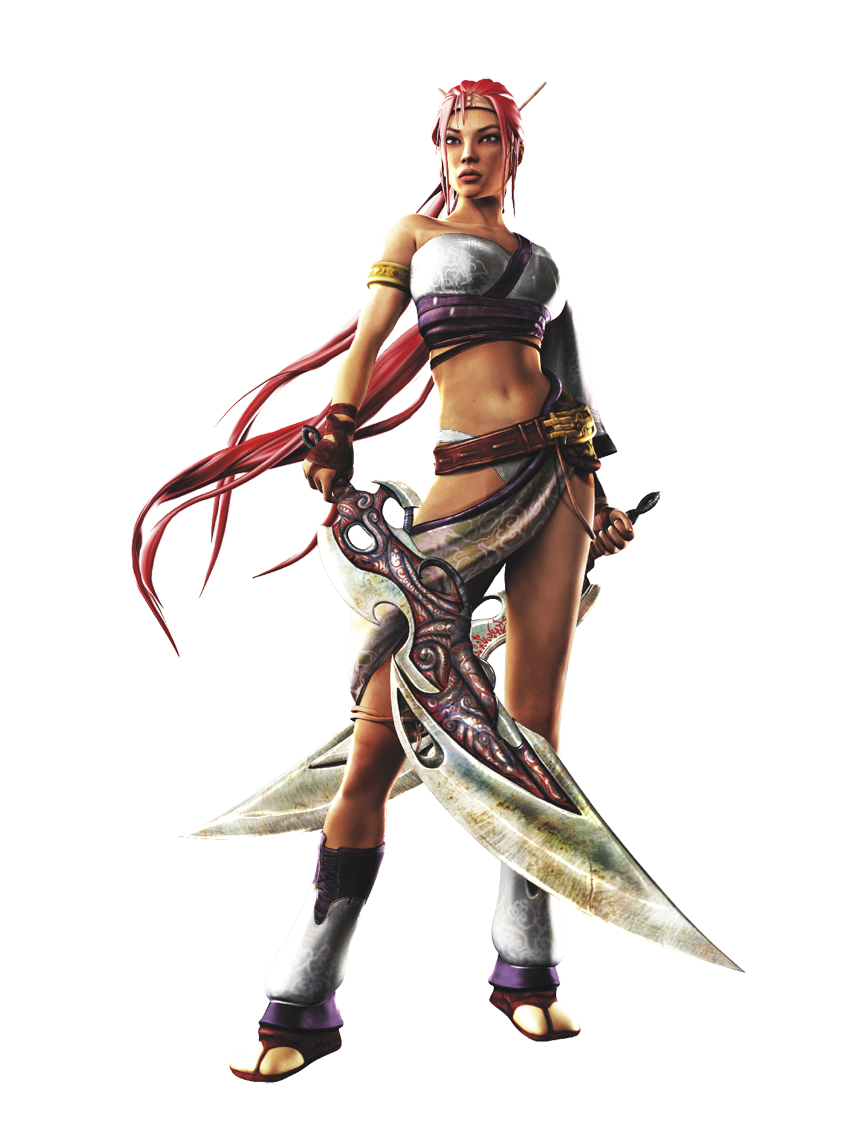
Nariko is a fast, melee-focused character that has a vast array of Attacks that can cause several disadvantageous hit states or catch multiple foes. Combined with quick recovery times, excellent air mobility, and a unique Key Pose mechanic, Nariko has a way to deal with nearly every playing style in the game. However, many of her moves have long start-up or active periods that either make it easy for enemies to knock her out of an attack or leave her exposed while she’s committed to an attack animation. A deep knowledge of her combat options and a fundamental understanding of hit states are necessities for any top Nariko players. Your main goal with Nariko is to take advantage of hit states along with the use of

 and
and
 to start big combos, building up the 150AP needed for her Level 1 Super, Twing Twang, or the 750AP needed to activate The Goddess.
WHY DO YOU WANT TO TAKE ADVANTAGE OF HIT STATES,
, AND
FOR A LEVEL 1 OR LEVEL 3 SUPER?
-
Many of Nariko’s
Attacks do not combo into one another or their Key Pose moves.
and
let you set up big combos without relying on Key Poses too much.
- Many of Nariko’s moves cause special hit states like butt-drop or shock, enabling her to continue Combos with un-cancelable moves.
- Twing Twang can score multi-kills easily while keeping Nariko at a safe distance.
- The Goddess lasts for 15 seconds and has one of the highest multi-kill potentials of any Super in the game.
HOW DO YOU BUILD UP THE AP NEEDED FOR A LEVEL 1 OR LEVEL 3 SUPER QUICKLY?
-
Use
to set up Nariko’s 90AP BnB combo.
- Use the cancel options available in Key Poses to constantly stay on the move.
-
Stay mobile using jump cancels and (air)
 to maintain an advantageous position.
- Catch multiple enemies with Nariko’s incredible range.
Much like with her fellow Ninja Theory rival, getting good with Nariko is going to take some practice. Being able to judge what type of cancel to use during Key Poses at any given moment is something that can only be learned through match experience, but with this guide, you should be able to get started on that path quickly.
AT A GLANCE
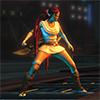
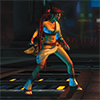
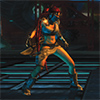
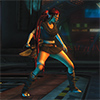
Costumes
|
|
|
|
|
|
|
|
|
|
|
|
Rundown
SUPER ATTACKS
OVERVIEW
| AP Level | AP REQ | Name | Duration | Unique Commands | Notes |
|---|---|---|---|---|---|
| 1 | 150 | Twing Twang | 1 second | — | Large blast radius |
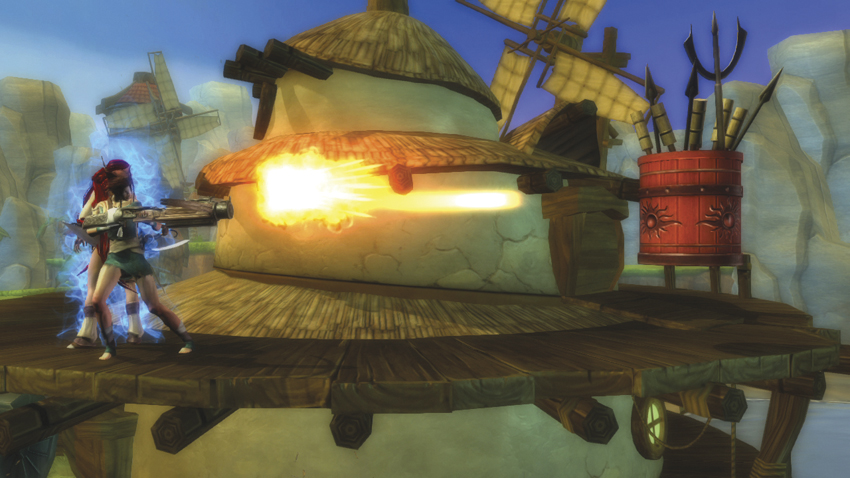
Twing Twang: Nariko’s adopted sister Kai appears along with a barrel of fireworks that spawns several character lengths away. After roughly one second, Kai fires her crossbow at the barrel, creating a shower of fireworks that kills an opponent caught in the blast. At 150AP, this is the Super you should rely on the most to amp up your score. Nariko can stay at a safe distance and easily catch multiple enemies occupied with fighting one another with its impressive blast radius. If the fireworks barrel spawns off the edge of a platform, it falls a short distance before exploding. Watch out for ranged Attacks and nearby opponents when using Twing Twang, since a single hit causes Kai to disappear and ends the Super.
| AP Level | AP REQ | Name | Duration | Unique Commands | Notes |
|---|---|---|---|---|---|
| 2 | 350 | Dawn Siege | 6 seconds | left stick: Aim; Any button: fire | Cannon disappears after six shots fired or time limit reached; enemies near cannon spawn point forced into eject roll |
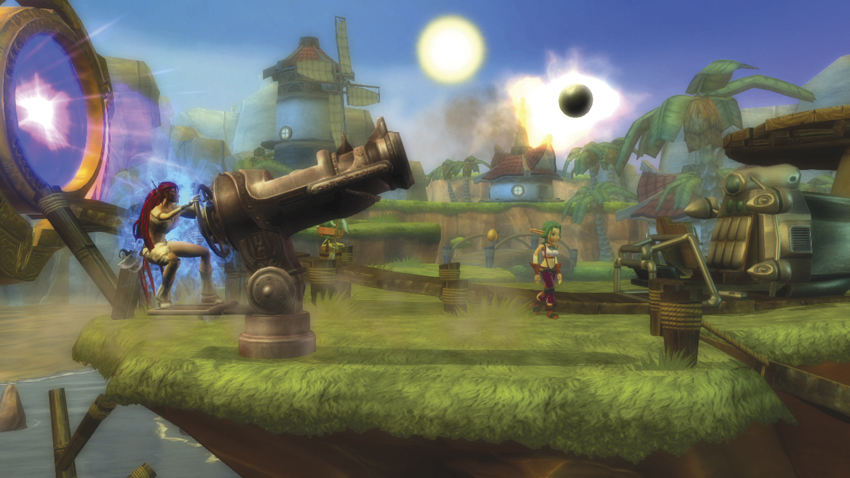
Dawn Siege: Nariko takes control of a massive cannon-turret on the spot, able to fire six cannonballs over six seconds. Control the arc of the cannon by pressing
or
, or change direction with
 or
or
 . Nariko is only vulnerable to other Supers during this timeframe, and any enemies near Nariko are forced into an eject roll when the cannon spawns. Activate this Super at a high vantage point with Nariko’s back against the wall to maximize range and minimize wasting time by turning the cannon. This Super has two major weaknesses in that adversaries above or below are safe from attack and that its stationary nature leaves Nariko open to counter-Supers.
| AP Level | AP REQ | Name | Duration | Unique Commands | Notes |
|---|---|---|---|---|---|
| 3 | 750 | The Goddess | 15 seconds |
: Stolen Kiss;
: Whirling Passion;
 : Adoring Traveler
|
Can use
or
to slightly direct Stolen Kiss after grabbing enemy
|
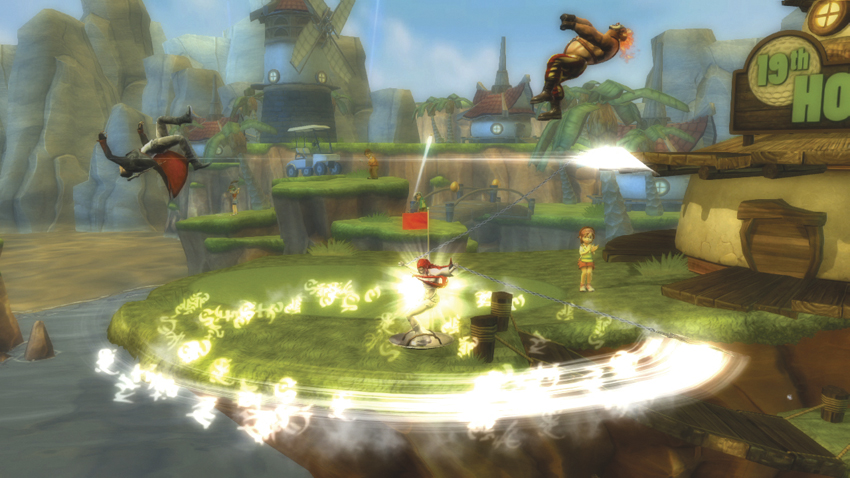
The Goddess: One of the more expensive Level 3 Supers but with one of the highest score potentials, The Goddess transforms Nariko into a white-clad harbinger of death for 15 seconds. Each attack button produces a unique attack:
activates Stolen Kiss, grabbing a nearby enemy that Nariko rides to the ground, killing her victim and anyone near the impact point. Whirling Passion (
) sends the Heavenly Sword forward, grabbing the first challenger it touches and whirling them to their death and taking any foes in their path along with them. Adoring Traveler (
) sees Nariko spinning her blades with incredible reach. The Goddess’ long duration and multiple Attacks that can catch several adversaries at once ensure that you can enjoy this ultimate power through several spawn cycles.
THROWS
OVERVIEW
| Name | Command | AP Penalty | Properties | Hit Effect | Notes |
|---|---|---|---|---|---|
| Moment’s Angel |
Right stick
|
15% | Unblockable; 30AP of super armor; two hits | Full launch; eject tornado | Leaves Nariko airborne |
Moment’s Angel: Nariko’s upward throw begins with an upward slice with her blades, launching the opponent and automatically following their ascent to deliver a kick that causes an eject tornado reaction. This throw leaves Nariko in the air, giving you the option of chasing your foe with (air)
, or heading back to ground level to dish out some more punishment. Make use of this throw to make a daring aerial escape when opponents threaten to surround Nariko on all sides.
| Name | Command | AP Penalty | Properties | Hit Effect | Notes |
|---|---|---|---|---|---|
| Possession |
Right stick
or
|
15% | Unblockable; 30AP of super armor | Eject spiral | — |
Possession: Nariko flings her opponent over her head, causing an eject spiral reaction. The recovery time on this throw is fairly long, making it impractical to use when other foes are nearby. Steer clear of using this throw often, as Moment’s Angel creates almost the same hit effect and leaves Nariko with better positioning to begin a new attack.
| Name | Command | AP Penalty | Properties | Hit Effect | Notes |
|---|---|---|---|---|---|
| Devil’s Heel |
Right stick
|
15% | Unblockable; 30AP of super armor | KD | Can act immediately once grounded |
Devil’s Heel: This downward throw drives Nariko’s sword into the ground so she can use the leverage for a double kick that results in a knockdown. Nariko is free to act the moment her feet touch the ground soon after the throw, enabling you to swiftly counter incoming Attacks or to switch your focus to another enemy.
: SQUARE ATTACKS
GROUND ATTACKS
| # | Name | Command | AP Gain | Properties | Hit Effects | CI | Notes |
|---|---|---|---|---|---|---|---|
| 1 | Heaven’s Dance 1 |
|
5, 5 | — | — |
|
— |
| - | Heaven’s Dance 2 |
,
|
5 | — | — |
|
— |
| - | Heaven’s Dance 3 |
,
,
|
5 | Key Pose | — | Key Pose | Three more attacks from Key Pose |
| 2 | Devil’s Paradise 1 |
|
10 | — | Butt-drop; lift (aerial foe) |
|
— |
| - | Devil’s Paradise 2 |
,
|
5~15 | Key Pose | — | Key Pose | Can strike enemy behind Nariko; two more attacks from Key Pose |
| 3 | Rising Divinity 1 |
|
5, 5 | — | — |
|
— |
| - | Rising Divinity 2 |
,
|
20 | Key Pose | Lift | Key Pose | Two more attacks from Key Pose |
| 4 | Angel’s Judgment |
|
20 | Key Pose | Bounce; KD (aerial foe) | Key Pose | Two more attacks from Key Pose |
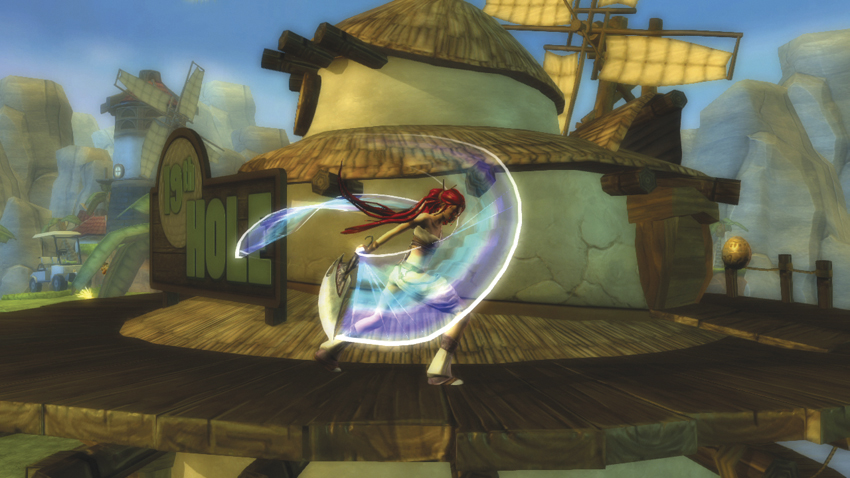
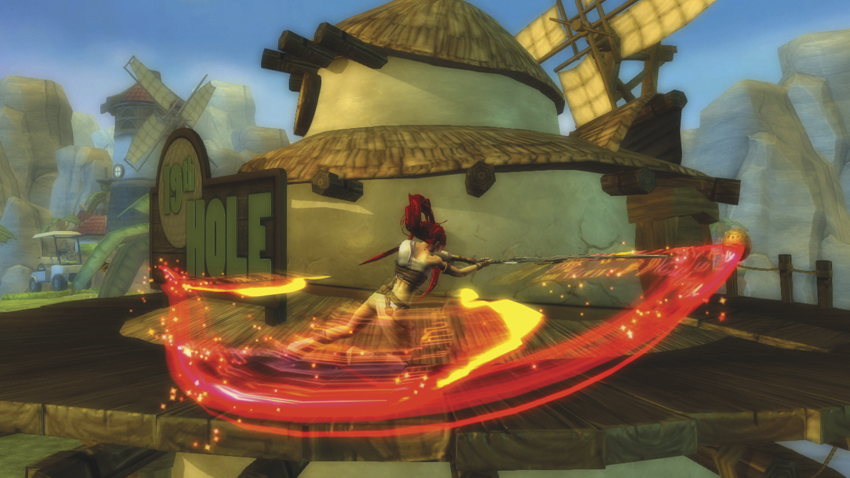
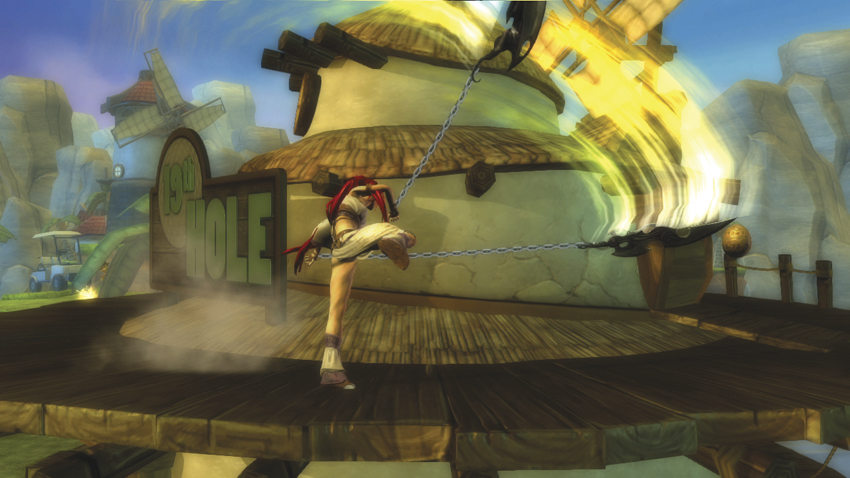
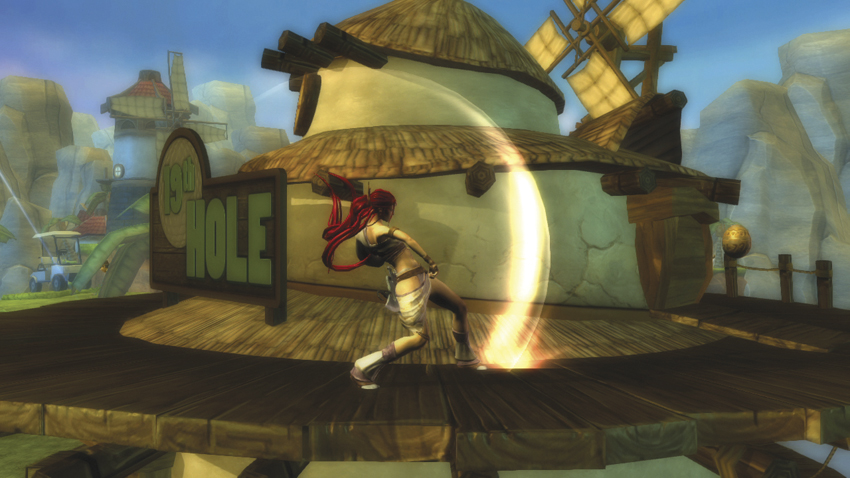
Most of Nariko’s
Attacks are not big AP generators but instead serve as the gateway to her Key Poses, which is where her true AP potential lies on the ground. Heaven’s Dance (
,
,
) consists of three quick blade swipes before Nariko enters a Key Pose. None of the Attacks leaves your opponent in a vulnerable state, so be prepared to have Nariko dodge roll, jump, or Counter (
) if the enemy tries to counterattack.
Devil’s Paradise (
) is a slow yet powerful swipe of Nariko’s blade that places the enemy in a butt-drop state, followed by a two-hit circular swing that ends in a Key Pose. Like with Heaven’s Dance, your primary opponent can attack or block before the next move connects, making your defensive options the only viable means of staying safe.
Rising Divinity (
) actually has some combo potential since the second attack input causes a lift reaction and Key Pose; immediately jump cancel and press
to catch the foe in a Heavenly Depart combo for a cool 70AP.
Angel’s Judgment (
) is Nariko’s only consistent big combo starter, causing a bounce reaction on hit and entering a Key Pose with a single input. Cancel into From Father (
) during the Key Pose as your opponent descends to place them in a shock reaction and continue with the combo of your choice.
AIR ATTACKS
| # | Name | Command | AP Gain | Properties | Hit Effects | CI | Notes |
|---|---|---|---|---|---|---|---|
| 1 | Heavenly Depart 1 |
Air
|
500% | — | — |
,
|
— |
| - | Heavenly Depart 2 |
Air
,
|
5 | — | — |
,
|
— |
| - | Heavenly Depart 3 |
Air
,
,
|
30 | — | Eject tornado; eject roll (grounded foe) | — | Very short recovery |
| 2 | Devil’s Grin |
Air
|
30 | — | Eject tornado | — | Long recovery |
| 3 | Unfurled Sky |
Air
|
5~15 | Hits 360 degrees around Nariko | Lift | — | Long recover |
| 4 | Devil’s Descent |
Air
|
20 | — | Bounce | — | Attack active once grounded |
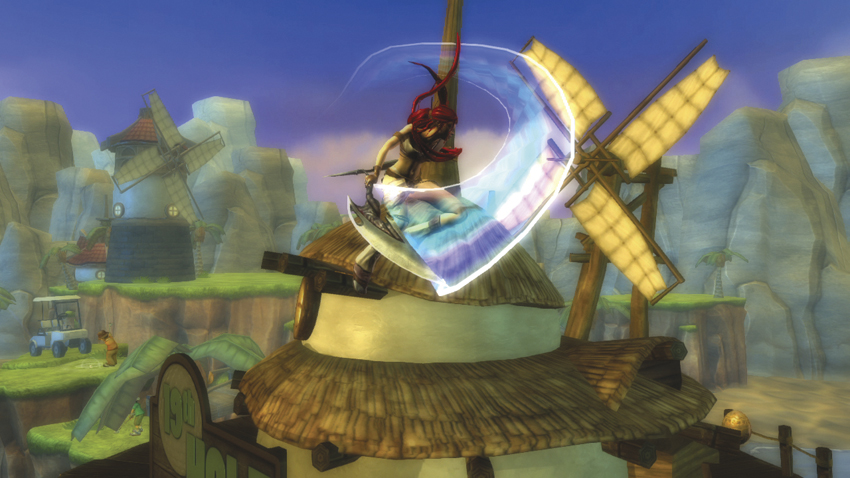
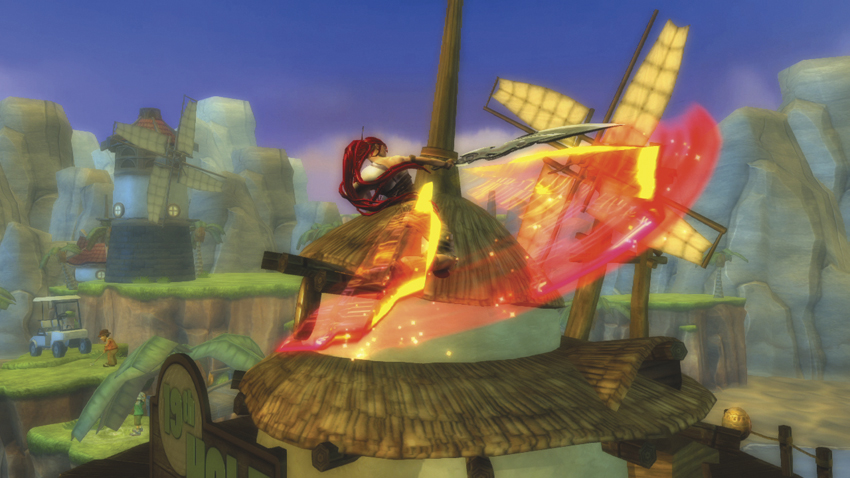
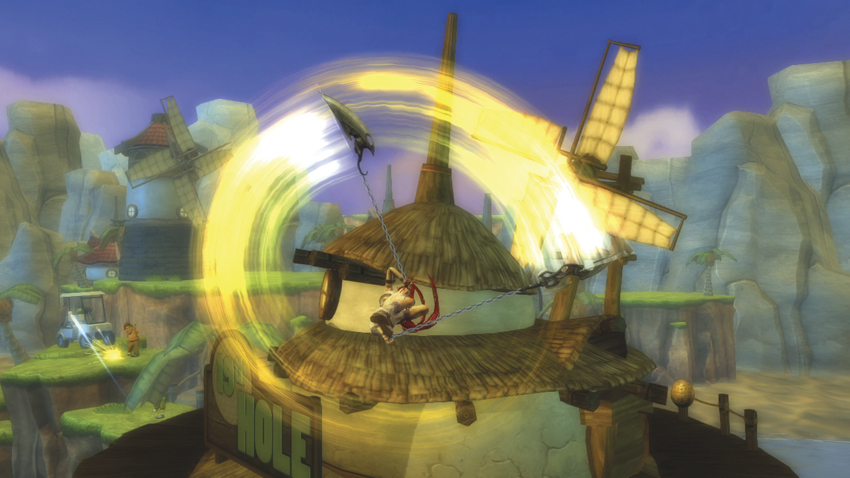

Nariko’s air
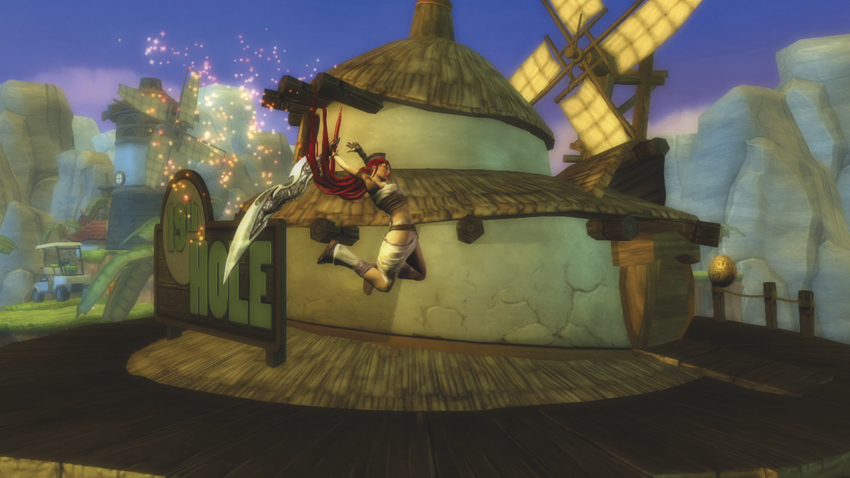
ATTACKS consist of two fast ATTACKS and two slow heavy-hitting ATTACKS with varying purposes. Heavenly Depart is a three
input combo that ends with your opponent in an eject tornado state. Its start-up time is extremely fast, making it a go-to combo option after jump canceling out of a Key Pose. The first two hits can be canceled into Unfurled Sky, which is a great option if your first attack misses because your opponent was slightly out of Heavenly Depart’s short reach. The final hit of Heavenly Depart recovers very quickly, and you can easily keep the air action rolling with
once the combo is complete.
Devil’s Grin (
) is a single horizontal swipe with a very long start-up period but packs a heck of a punch, generating 30AP and sending your foe to the other side of the stage in an eject tornado state. The sword’s reach is incredibly long, too, which makes it useful for catching enemies out of Heavenly Depart range. Unfortunately, its long recovery period means Nariko must touch the ground before she can attack again.
Unfurled Sky (
) turns Nariko into a spinning circle of bladed terror. This move has a fast start-up, hits all around Nariko, and lifts opponents with each successive hit. Try performing this attack close to the ground to launch several enemies at once, then immediately have Nariko jump once grounded to begin a new air combo.
Rounding out Nariko’s air
attack set is Devil’s Descent (
), in which Nariko slams her blade straight into the ground to cause a bounce reaction on hit. Follow this up with For Father or Aerial Moment (
) to create bigger combos. Unlike some Attacks that halt their start-up near the ground, Devil’s Descent is guaranteed to become active no matter the height of input, and Nariko retains any forward momentum she had when start-up begins.
KEY POSE ATTACKS
| # | Name | Command | AP Gain | Properties | Hit Effects | CI | Notes |
|---|---|---|---|---|---|---|---|
| 1 |
Key Pose 1
|
|
5, 5 | — | — |
|
Occurs after Heaven’s Dance 3 |
| - |
Key Pose 2
|
,
|
5, 5 | — | — |
|
— |
| - |
Key Pose 3
|
,
,
|
5, 10, 20 | — | Kneel (second and third hits), KD (final hit) | Any action | Extremely short recovery |
| 2 |
Key Pose 1
|
|
10 | — | Crumple |
|
Occurs after Devil’s Paradise 2 |
| - |
Key Pose 2
|
,
|
10, 5, 10 | Aerial attack | Lift | — | Cannot act until grounded |
| 3 |
Key Pose 1
|
|
5, 10 | Aerial attack | Lift |
|
Occurs after Rising Divinity 2; cannot act until grounded |
| - |
Key Pose 2
|
,
|
10, 10, 10 | Aerial attack | Full launch | Any attack | — |
| 4 |
Key Pose 1
|
|
10 | — | Kneel; lift (aerial foe) |
|
Attack occurs after Angel’s Judgment |
| - |
Key Pose 2
|
,
|
5, 15 | — | KD (second hit) | — | — |
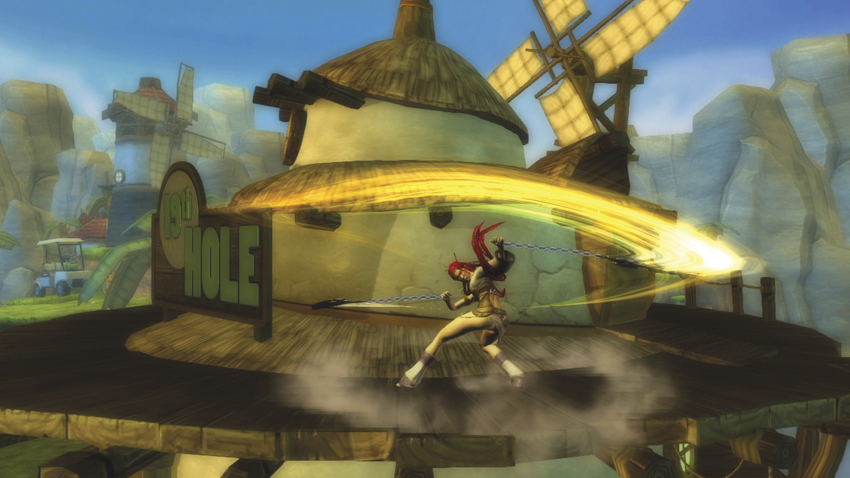
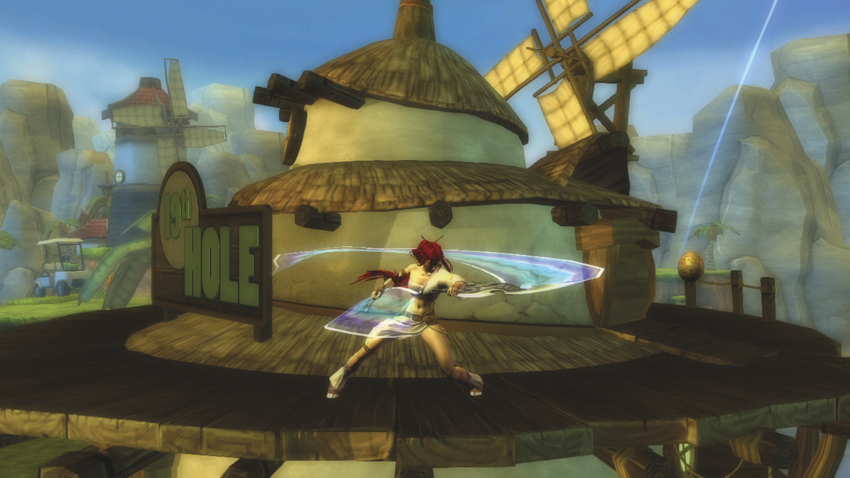
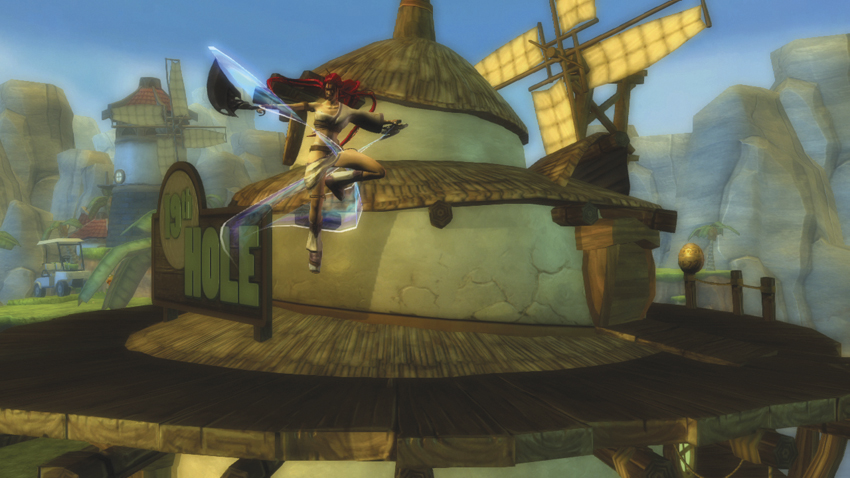
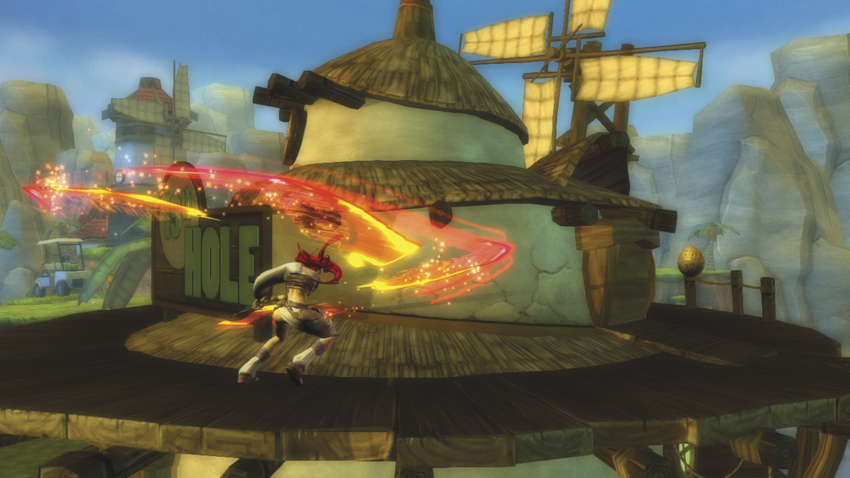
Key Poses are special windows of opportunity after certain Attacks that give Nariko certain cancel options. Pressing the same attack input as what led to the Key Pose causes Nariko to launch into a series of additional Attacks, typically with greater range, better AP generation, and reduced recovery times. Unfortunately, most of the Key Pose Attacks do not combo from their base Attacks due to long start-up times.
Key Pose Attacks use Nariko’s chain blades in a multi-hit combo that can generate 50AP for landing the full sequence. The recovery time on the final hit is negligible, allowing you to almost immediately start another attack string or counter.
Key Pose begins with a single slice, forcing your opponent into a crumple state, followed by a whirling blade attack that causes a lift. Should the full attack series connect, jump immediately once Nariko lands and catch the falling foe with (air)
for some extra AP. The
Key Pose follows a similar strategy: the first hit lifts the enemy, while the follow-up flash kick in the second sends the adversary sky-high with a full launch. If the second attack connects, you should have plenty of time to have Nariko jump and catch them with an air combo.
Nariko’s
Key Pose Attacks offer the only method of creating a direct combo from Key Frame Attacks. Vulnerable because of the bounce state inflicted by Angel’s Judgment, the first hit from this Key Pose attack brings forward a massive swipe of Nariko’s blade. The next input uses her sword as leverage for Nariko to slam down on the opposing character, ending the combo in a knockdown and 50AP in your Super Meter. While it’s best to connect For Father after Angel’s Judgment,
Key Pose has a long range and can catch multiple enemies in its second attack.
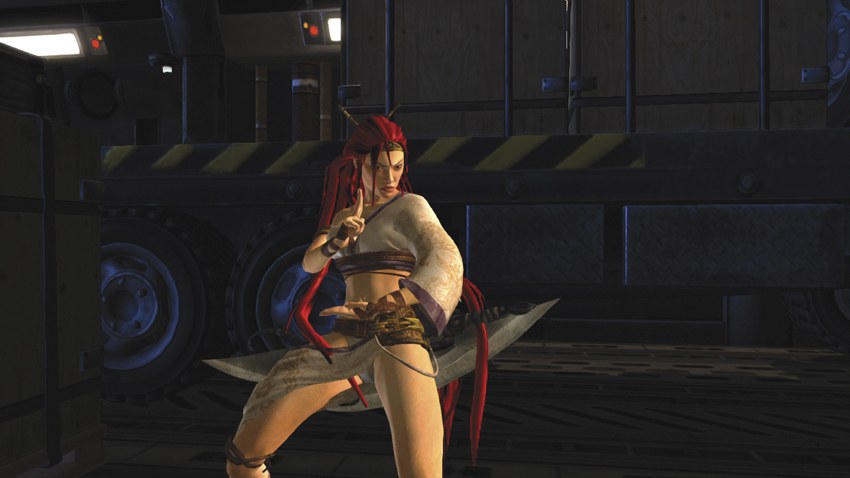
: TRIANGLE ATTACKS
GROUND ATTACKS
| # | Name | Command | AP Gain | Properties | Hit Effects | CI | Notes |
|---|---|---|---|---|---|---|---|
| 1 | Counter |
|
2000% | Counter; active instantly; reflects projectiles | Butt-drop (melee) | — | Reflected projectile retains its original properties |
| 2 | Debris Sweep |
|
5, 5 | — | Pushes foe away | — | Range extends to end of debris |
| 3 | Aerial Moment |
|
20 | — | Full launch |

|
— |
| 4 | Compassion |
|
20 | Pulls enemy toward Nariko | Butt-drop | — | — |
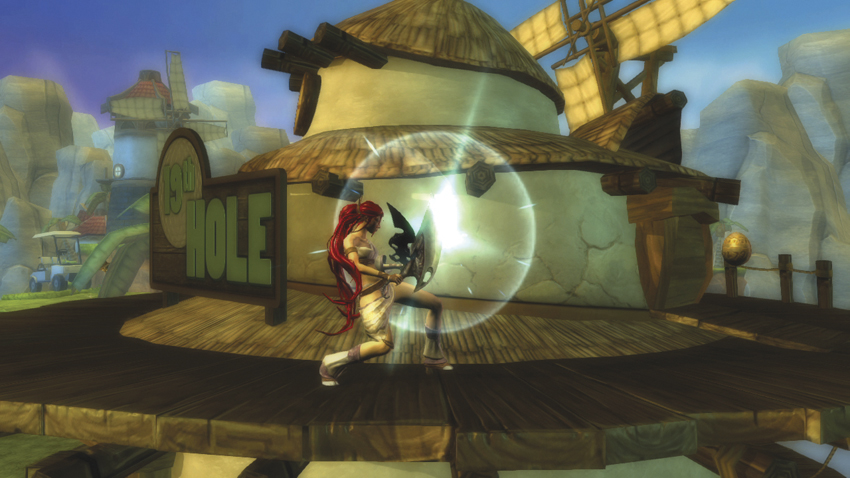
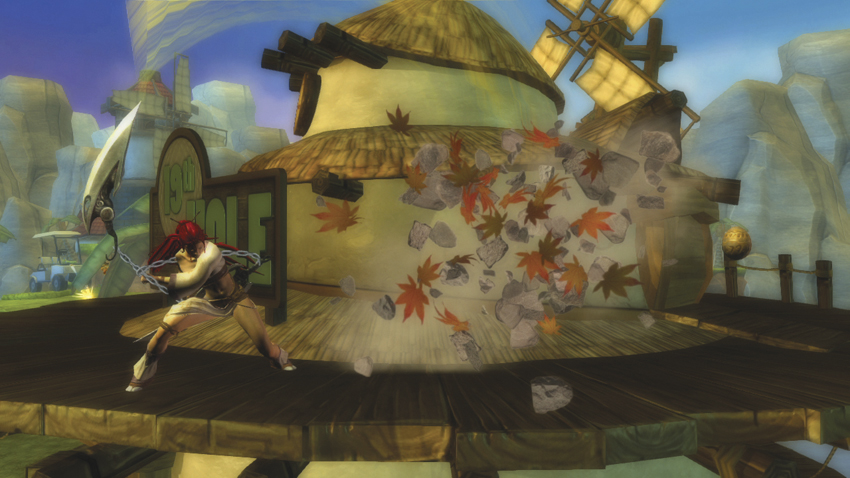
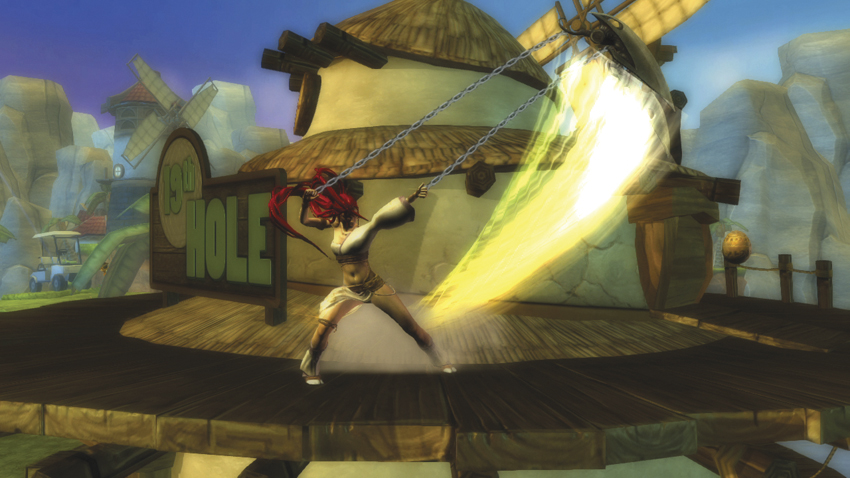
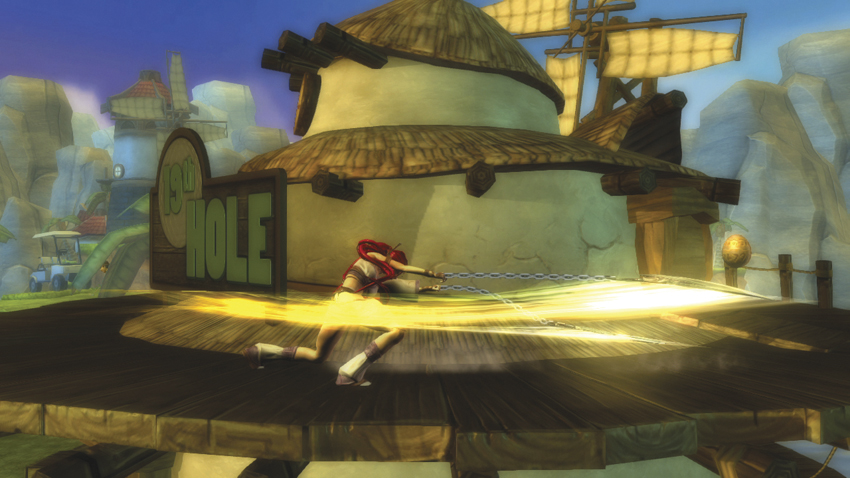
Nariko’s
Attacks make use of her two chain blades, primarily to control spacing relative to her opponents. Her Counter (
) becomes active instantly but has a short active period to defend against incoming Attacks. A melee counter results in a blade attack that puts the opponent in butt-drop, while projectiles are reflected right back to their owner but retain their original properties. This is one of her primary defensive options and a crucial component of avoiding punishment during Key Poses.
Debris Sweep (
) and Compassion (
) are used to control the horizontal space between Nariko and an opponent. Debris Sweep creates two dust clouds that force opponents away from Nariko, and the edge of the influence for this attack also happens to be the ideal distance for Nariko’s Level 1 Super attack. Compassion brings the enemy to Nariko in a butt-drop state, but its long recovery time makes Heaven’s Dance the only viable combo option.
Aerial Moment
serves as Nariko’s primary full launch attack. Since Nariko can jump cancel out of this attack, it’s not very hard to follow an enemy into the sky to take advantage of their vulnerable position. Its long start-up period makes it difficult to link in ground Combos, but jumping in with
first can earn you some more AP before using Aerial Moment and returning to the skies.
AIR ATTACKS
| # | Name | Command | AP Gain | Properties | Hit Effects | CI | Notes |
|---|---|---|---|---|---|---|---|
| 1 | Air Counter |
Air
|
3000% | Counter; active instantly; reflects projectiles | Eject tornado (melee) | — | Reflected projectile retains its original properties |
| 2 | Air Debris Sweep |
Air
|
5, 5 | Attack continues if grounded before completion | Pushes foe away | — | — |
| 3 | Heroine Moment |
Air
|
20 | Can only perform once until grounded | Lift | — | Attack OK immediately after sword detaches from wall |
| 4 | Reunion |
Air
|
0, 20 | Pulls enemy toward Nariko; blades extend down at 45-degree angle | Butt-drop (second hit) | — | Attack OK after second hit |
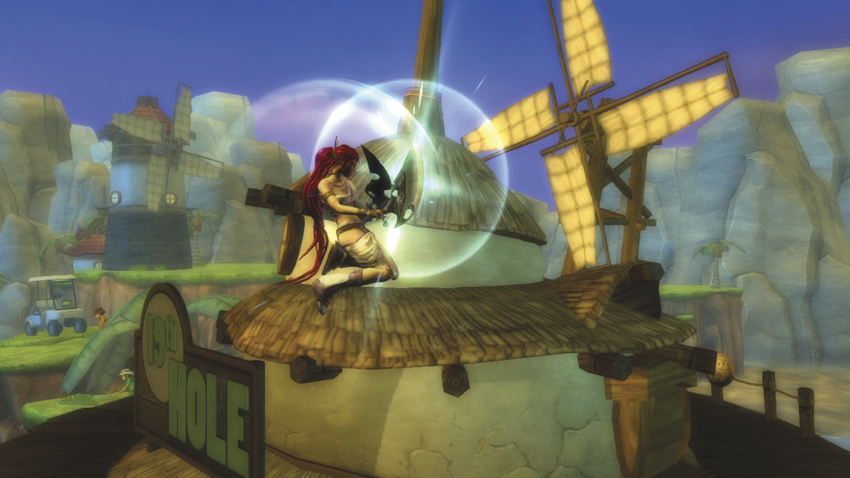
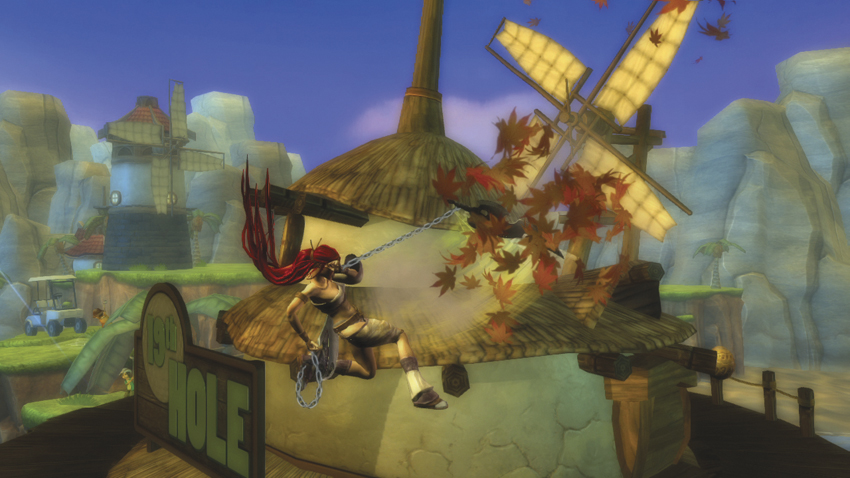
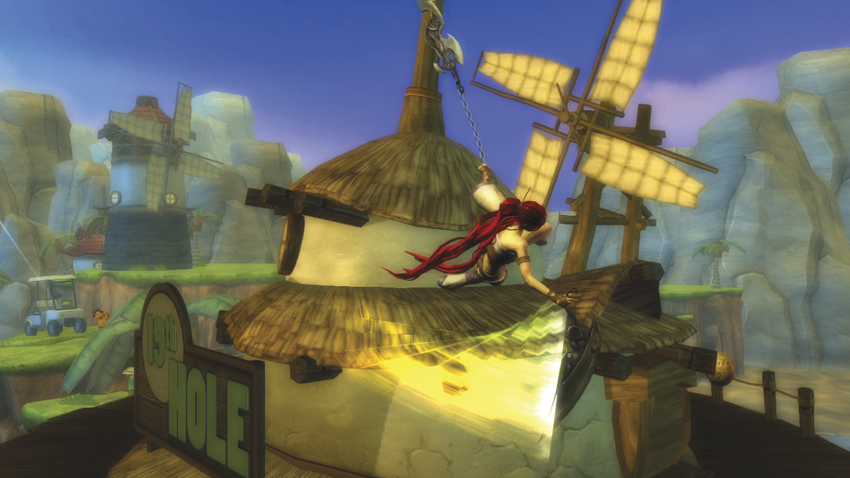
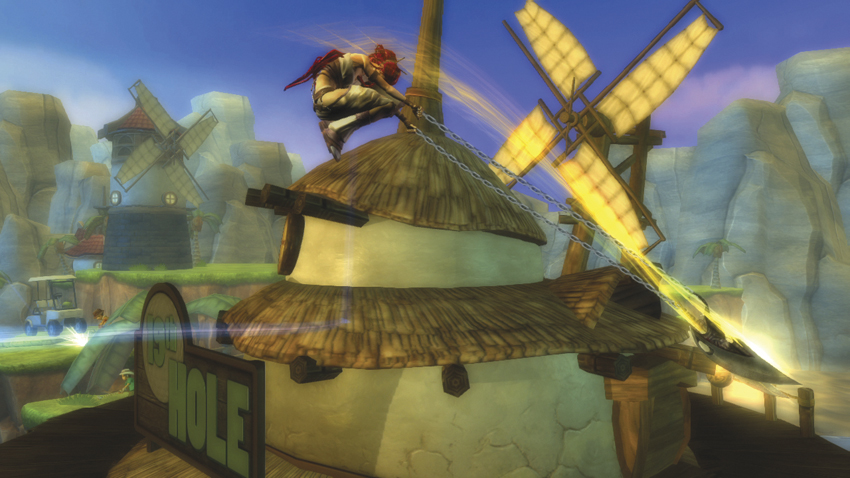
With one exception, Nariko’s air
Attacks are copies of their grounded counterparts. The air version of Counter has a shorter active period than the ground version, requiring precise timing to successfully intercept an attack. However, it can be activated right up to the moment her feet touch the ground to create a moment of safety when jumping in on an opponent. Aerial Debris Sweep still serves as a means of pushing adversaries away from Nariko.
If Nariko lands before the attack animation is complete, the attack continues in its grounded form.
Heroine Moment (
) is an attack that should be used regularly while in the air, as it’s one of her greatest mobility options. Once active, Nariko plants one of her chained blades to the back wall and swings forward while attacking with the other. Heroine Moment is great for catching foes out of reach in the air, or to simply get from one end of the level to the other swiftly.
Reunion (
), much like Compassion, sends her chain blades out in a down-forward direction to pull in the first enemy the blades hit. Nariko then kicks the foe back to earth, forcing them to the ground and ending in a butt-drop reaction. Reunion is mainly a way to get opponents away from Nariko, but it can be a viable combo starter when used close to the ground and near a corner.
: CIRCLE ATTACKS
GROUND ATTACKS
| # | Name | Command | AP Gain | Properties | Hit Effects | CI | Notes |
|---|---|---|---|---|---|---|---|
| 1 | From Father |
|
2~10 | 30AP of Super Armor during attack | Shock (final hit) | — | Four-hit attack animation |
| 2 | Fire Rocket |
|
20 | Use left stick to direct rocket; rocket passes through thin platforms | Lift | — | Cannot act until Nariko tosses launcher; rocket has two-second duration |
| 3 | The Basics |
|
20 |
Hold
or
to direct shield; bounces off solid areas and foes on hit
|
Butt-drop; lift (aerial foe) | — | Two-second duration; destroyed on block |
| 4 | Purgatory |
|
20 | Blades active until retract animation begins | Crumple; eject tornado (aerial foe) | — | 1.5 second start-up; some blades do not appear on narrow platforms |
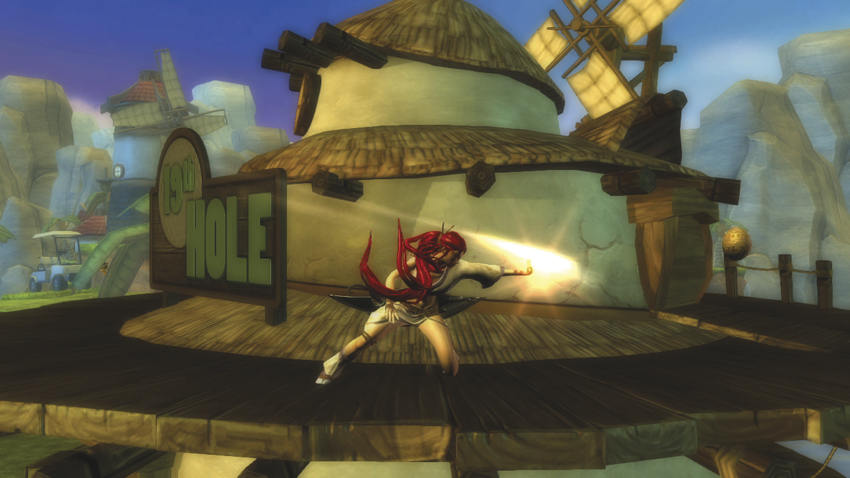
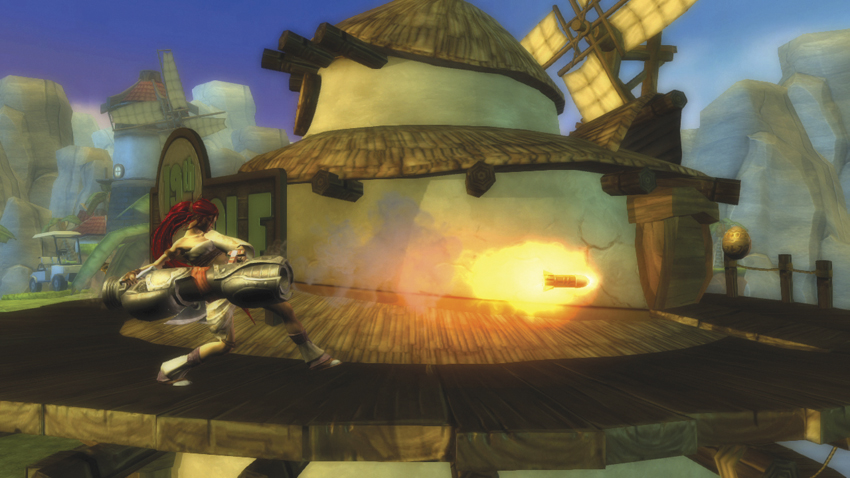
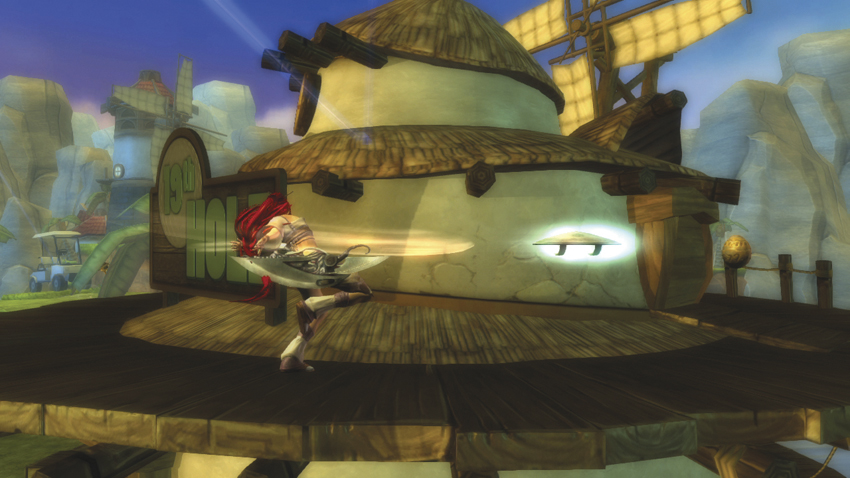
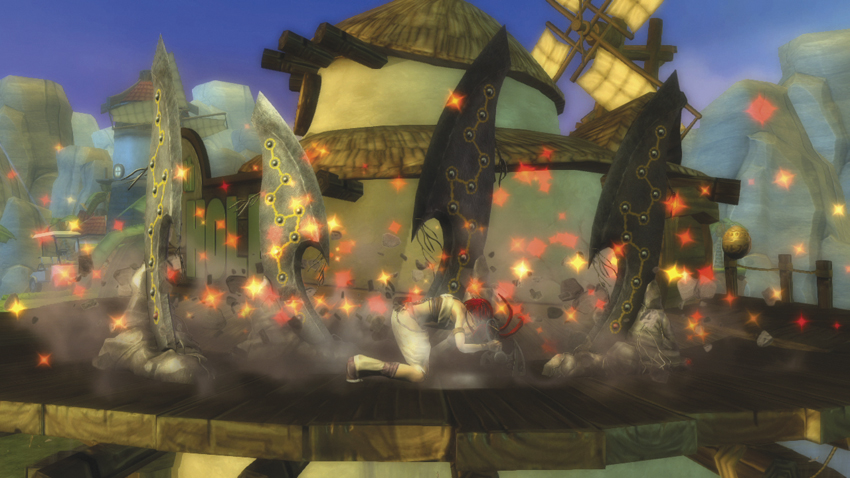
All of Nariko’s most heavy-hitting attacks are tied to the
button. For Father (
)begins with a short-range single palm strike. On contact, Nariko begins a brutal four-hit combo that leaves the opponent in a shock reaction, ready to fall victim to a new combo. The combination attack from For Father is rather long, but Nariko can absorb 31AP worth of hits from other enemies before she’s knocked out of the animation. SUPER Attacks are a constant worry while Nariko is stuck in a lengthy attack animation.
Fire Rocket (
) shoots a guided missile that you can control with directional inputs. The missile has a two-second lifespan, and Nariko cannot move until the rocket explodes and she discards the launcher. There isn’t much benefit from using Fire Rocket when weighed against the amount of time Nariko is locked in place.
The Basics (
) is a much more useful ranged attack. Nariko THROWS her shield, which can ricochet off of walls or other All-Stars. Despite a slow recovery, the fire-and-forget nature of The Basics and its long active period are good reasons to always throw one out when Nariko has a safe moment. You can also control its initial trajectory by holding
or
before the shield is released.
Purgatory (
) has the longest start-up period of any of Nariko’s Attacks, but the payoff is so worth it. After roughly 1.5 seconds, four giant blades rise from the ground around Nariko, causing a crumple effect on grounded foes and ejecting any aerial All-Stars. It can be difficult to successfully execute Purgatory, especially when dealing with rushdown-style characters, but the combo opportunities that arise can be too tempting to resist.
AIR ATTACKS
| # | Name | Command | AP Gain | Properties | Hit Effects | CI | Notes |
|---|---|---|---|---|---|---|---|
| 1 | Warm Embrace |
Air
|
2~10 | 30AP of Super Armor during attack | Shock (final hit) | — | Attack OK immediately upon enemy release |
| 2 | Air Fire Rocket |
Air
|
20 | Use left stick to direct rocket; cannot act until grounded | Lift | — | Nariko passes through thin platforms until grounded |
| 3 | The Air Basics |
Air
|
20 |
Hold
or
to direct shield; bounces off solid areas and foes on hit
|
Butt-drop; lift (aerial foe) | — | Two-second duration; destroyed on block |
| 4 | Air Purgatory |
Air
|
20 | Attack active once grounded | Crumple; eject tornado (aerial foe) | — | One-second start-up at minimum height; some blades do not appear on narrow platforms |
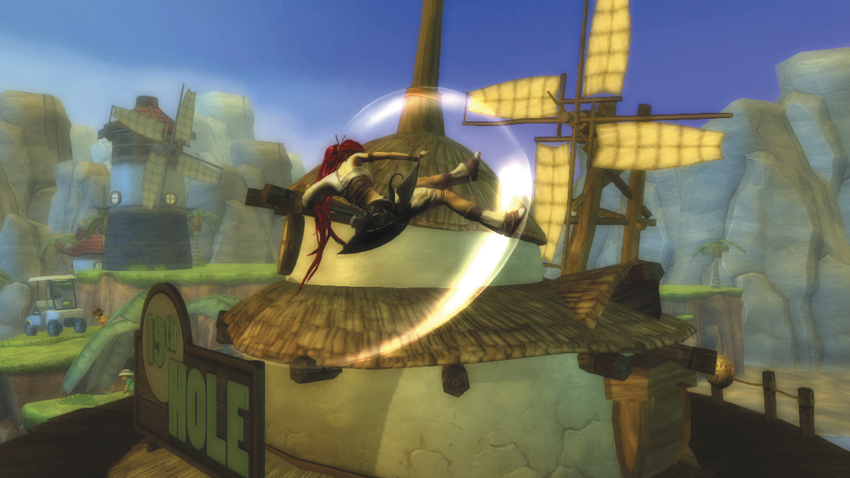
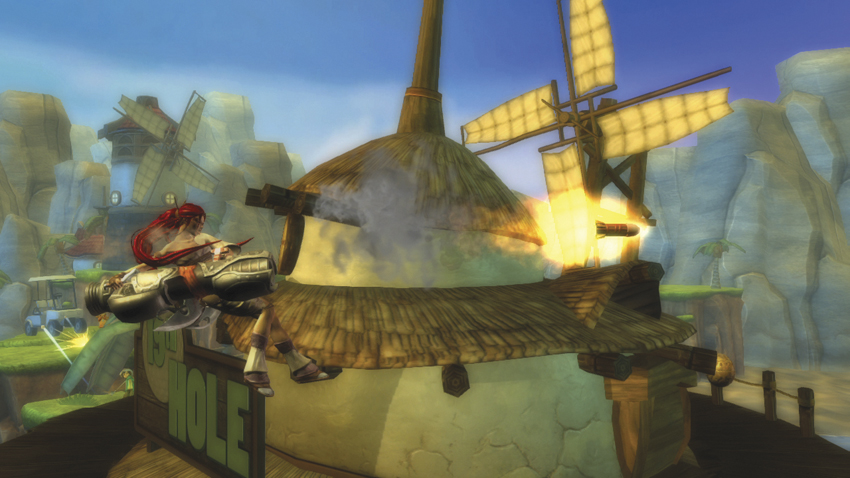
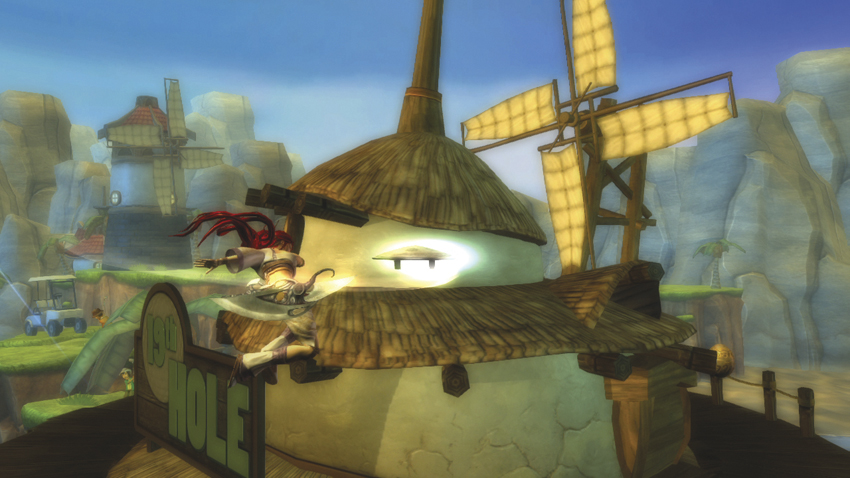
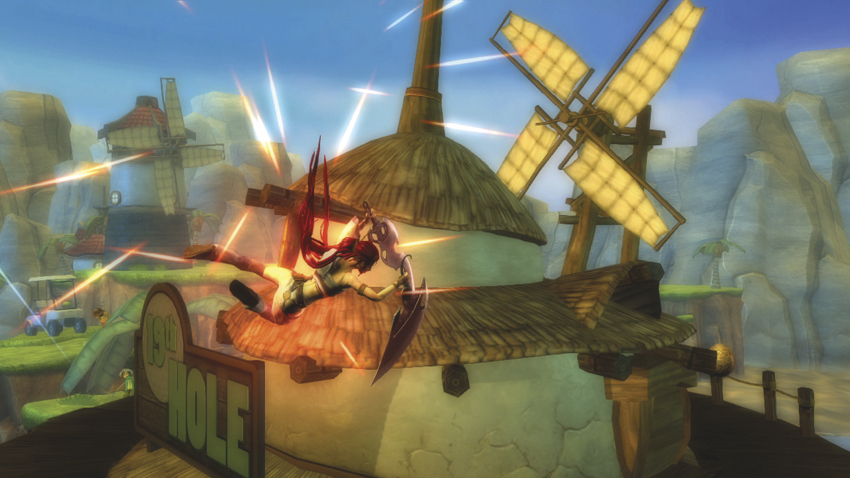
As with her
Attacks, Nariko’s air
Attacks share similar properties to their ground versions. Warm Embrace is also a four-hit combo that ends in a shock reaction. In the air, both Nariko and her victim are locked in place for its duration, but luckily, Nariko can attack the instant the final attack hits to extend her combo.
The Air Fire Rocket follows the same rules regarding guidance and recovery as the ground version, but Nariko passes through thin platforms as she descends while the rocket is active. This could be a good or bad thing, depending on if an All-Star is waiting below to take advantage of the situation. The Air Basics doesn’t have any notable differences from the ground version.
Air Purgatory takes some of the sting out the start-up time for such a useful move by letting you bank that time in the air. Nariko retains any forward moment she had when it was activated, and the blades raise from the ground the instant she hits the ground. While she can be knocked out of the move by any attack, it’s worth the risk if only for the satisfaction of having her fearlessly dive into a group of opponents and watching them crumple as the Purgatory blades worth their magic.
COMBOS
MAIN COMBOS
Note: All combos assume your character is facing the right side of the screen.
I. Against grounded foe:
,
,
, jump cancel, (air)
,
,
90AP; (with Counter) 110AP +30AP IAS Bonus
Nariko’s bread and butter combo begins with Angel’s Judgment, causing a bounce reaction. Time the
palm strike to land just as the enemy begins falling, and go right into
to launch your opponent once they’re in a shock reaction. Immediately jump cancel the launcher and finish off the combo with a full Heavenly Depart attack series. The trickiest part is timing the jump cancel after the full launch: you shouldn’t have a problem in the corner, but at mid-screen, you’re going to have put some forward motion into the jump
for Heavenly Depart to connect.
II. Against grounded foe:
(Key Pose)
,
50AP
This basic combo utilizes the Key Pose mechanic in its only instance of creating a full combo. Remember, you always have the ability to jump cancel or dodge roll out of a Key Pose, so keep your options open.
III. Against grounded foe: (air)
,
, land,
, jump cancel, (air)
,
85AP
Nariko might leave some players scratching their heads on how to perform high-AP generating Combos the first time they pick her up. Some thinking outside the typical All-Star box is required, as illustrated by this combo. Start off with Reunion to pick up a grounded opponent, and input
immediately to slam them with Nariko’s sword before they recover. During the bounce reaction, launch them to the skies with
. Immediately jump cancel and activate Heroine Moment to catch your adversary as they fall, with a final
attack to top off this combo with an additional 85AP in your Meter.
COMBO APPENDIX
| Combo | +AP | Notes |
|---|---|---|
|
,
,
, (air)
,
,
,
,
|
150 |
Variation on Combo I worth a full Level 1 Super without the need for counter. Begin mashing
after Warm Embrace to ensure a full combo.
|
ADVANCED STRATEGIES
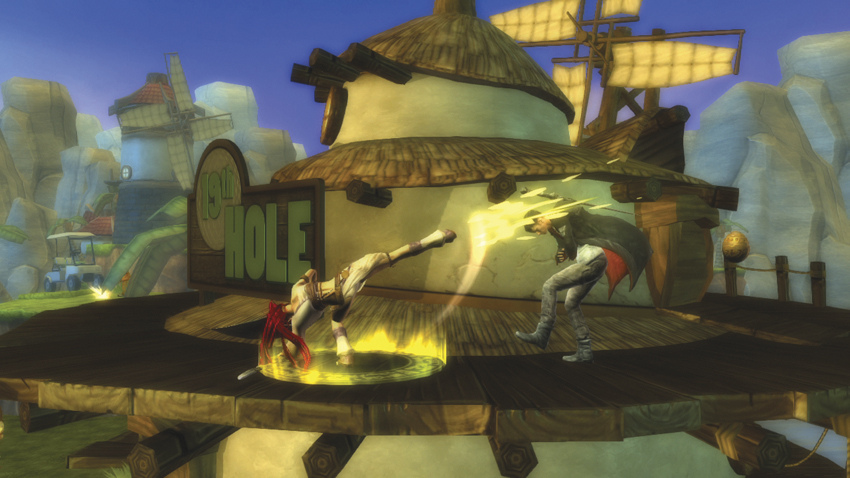
Heaven’s Dance is a fast three-hit attack string that ends in a Key Pose…
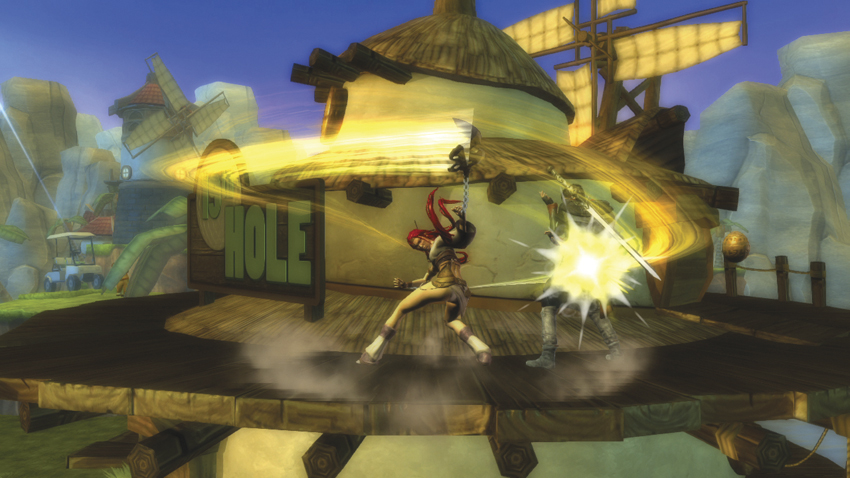
…but the Key Pose ATTACKS won’t link into a combo!
Playing Nariko for the first time can be very confusing if you’re used to combo-centric characters like Kratos and Raiden, who have a clear series of Attacks that can cancel or link together to create combos. Despite her multitude of stances and Attacks via the Key Pose system, the start-up times for these Attacks means that almost all of them become active too late in their animations to hit an opponent before they can recover. You can’t approach Nariko like a typical combo character; you have to look for creative ways to string Attacks together. Think of her basic
Attacks as an extended start-up for her Key Pose Attacks, requiring you to “wind up” before unleashing these far-reaching and AP-generating moves.
When you’re looking to utilize Key Pose Attacks, its best to approach two opponents at once. Begin your chosen
attack string on the nearest target, which hopefully catches the second foe with its last few hits. Once you enter the Key Pose, see what the second character’s current status is before making the split-second decision on which cancel option to choose. If things look safe, continue your original
input to start the Key Pose attack sequence. In most situations, the first character is forced to eat the original series of Attacks, becoming trapped in blockstun while the Key Frames impact the second opponent. You can also begin your
Attacks well in advance as you have Nariko approach an opponent, reaching the Key Pose just as she comes within striking distance so that the continued Attacks are the only ones that impact an adversary.
Should Nariko get stuck attacking a single character with a
attack string, cancel into a dodge roll at the Key Pose, toward your adversary so that Nariko crosses over to their backside. If your opponent chose to block in anticipation of the Key Frame Attacks, punish them with a throw. If they made the mistake of attempting a counterattack, begin a new series of Attacks and repeat the process!
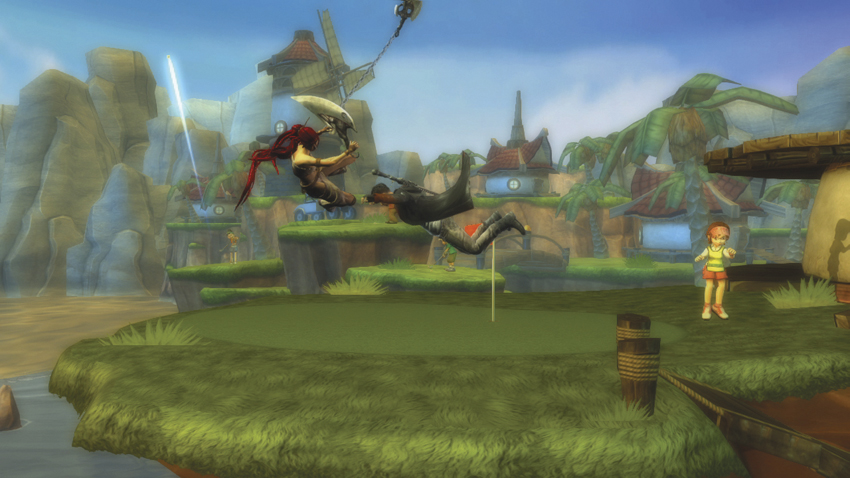
Creative use of hit states is crucial for gaining AP swiftly.
Many of Nariko’s Attacks can cause a variety of disadvantageous hit states on hit, such as shock with For Father (
), bounce with Devil’s Descent (air
), or a jump-cancelable full launch with Aerial Moment (
). Forcing an enemy from hit state to hit state while taking advantage of PlayStation All-Star’s general system mechanics, like the ability to attack instantly when grounded, are crucial aspects of gaining AP with Nariko. You can see an example of this in Combo III, where Nariko puts her opponent in butt-drop, then a bounce, followed by a full launch and ending with two lift-causing moves. The combo works because of the hit states each attack causes on hit. Each one leaves the opponent vulnerable enough so that Nariko can land normally un-linkable and interesting combinations. Spend some time in Practice Mode with this guide’s data tables nearby, and work through each of her Attacks one-by-one to begin etching the effects of each attack into your brain.
Nariko is one of the fastest characters in the game, and she easily has the best air mobility out of the entire roster. By utilizing Heroine Moment (air
), Nariko can safely cover her aerial approaches or traverse any level with great haste. She can attack immediately after her supporting chain blade detaches from the back wall, allowing you to follow up with air
to create an even bigger area of safety as she approaches the ground. Nariko also retains her forward momentum during her powerful air-to-GROUND Attacks, Devil’s Descent and Air Purgatory, which gives you the option of having her leap across the level and land with a devastating blow.
She also has the ability to wall jump, which isn’t covered by the in-game tutorials. When approaching a wall, hold your directional input toward the wall to make Nariko stick to its surface. Continue holding the directional input to stay on the wall, and after a brief moment, she begins sliding back to earth. Press
at any time to have her leap away from the wall and renew her assault!
While her Level 1 Super should be used whenever an opportunity presents itself, you should ultimately aim to acquire the 750AP needed to activate The Goddess, as it arguably has the highest score potential of them all. Each of The Goddess’ three unique Attacks has the potential to kill all three opponents at once, and with a 15-second timer, you’re going to have plenty of opportunities to destroy them all again and again. Stolen Kiss (
) forces Nariko to leap in the air, capturing the first enemy she touches and hanging in the air before bringing them down to earth. You have some aftertouch ability to direct her descent using
or
, killing any opponents caught in the impact. Whirling Passion
has a comparable range to Compassion (
), but once she connects with an adversary, her chain blades extend to cover three-fourths of the screen as she whips them in a full circle, killing more opponents caught in her path. Finally, Adoring Traveler
extends her chain blades all around her body as she spins along the ground using her shield like a top. Keep your eye on your Super Meter during The Goddess, and activate Adoring Traveling just as the Super is about to expire. Nariko won’t return to normal until the attack is complete, buying you even more time to score those last few kills.