
PlayStation All-Stars Battle Royale Guide Walkthrough Characters
Ratchet & Clank
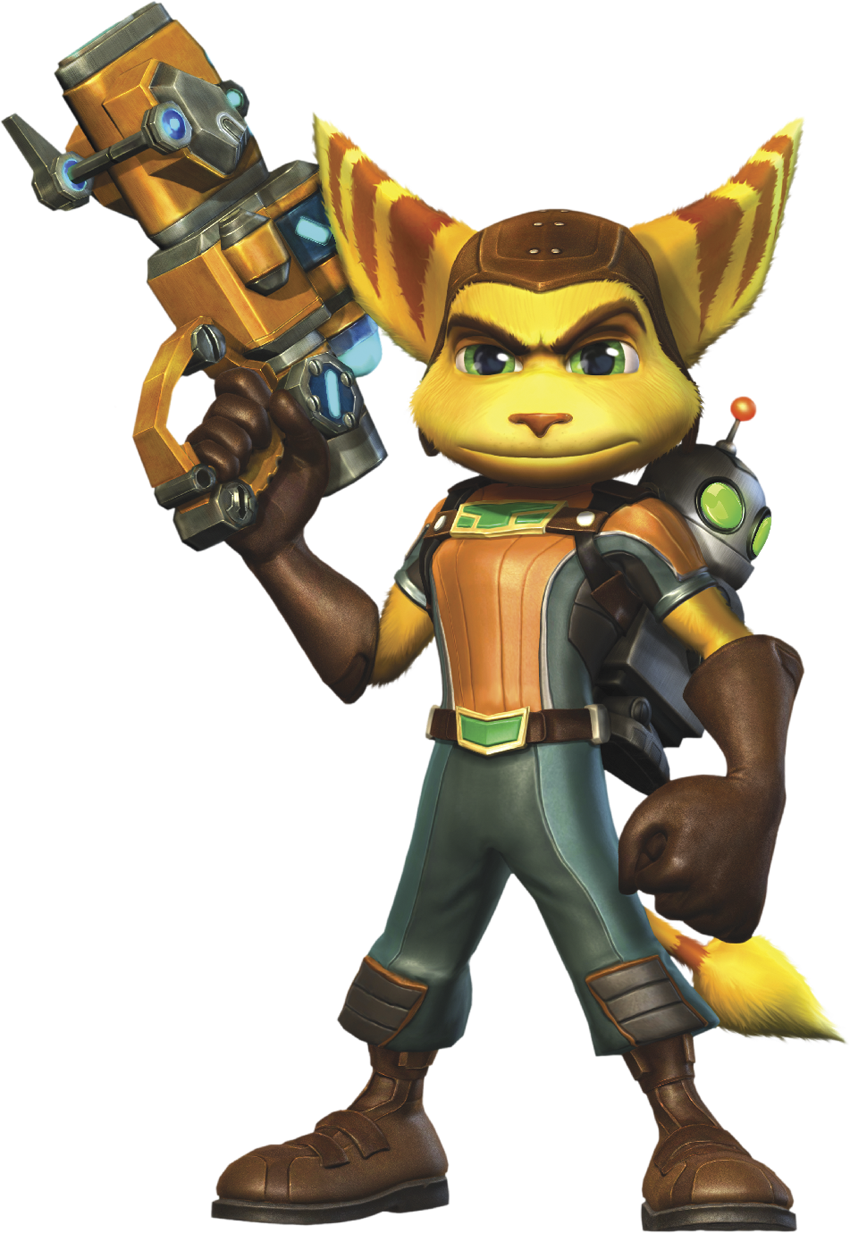
All-star overview
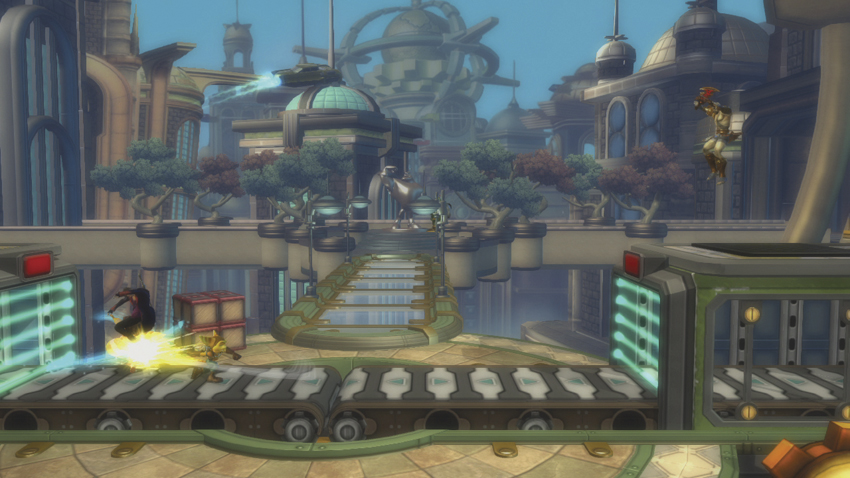
Ratchet is a solid character that excels at controlling the enemy by way of traps and zone-oriented Attacks. Approaching him at close range is dangerous, as he can easily eject an opponent or trap that foe before beginning a combo. His Level 1 Super attack is a great move that functions from medium-close range or closer, and you can easily score a triple kill with it. Ratchet has trouble when several enemies are near him or if one opponent is pressing the attack, so use his defensive options to prevent being crowded, and use your offense to take control of the fight.
WHY SHOULD YOU FOCUS ON USING RATCHET’S LEVEL 1 SUPER ATTACK INSTEAD OF HIS LEVEL 2 OR LEVEL 3 SUPER ATTACKS?
- Ratchet can earn 150AP after three simple Combos, making his Level 1 Super attack easily attainable.
- It is fantastic at close range and can easily strike multiple enemies simultaneously.
- The recovery time for the Super attack is fairly quick, which means Ratchet stays safe upon completion of the Super attack.
WHAT’S THE QUICKEST WAY TO EARN 150AP?
-
Multi-Strike 3 (
 ,
,
) has an AP gain of 30AP and can be used to beef up a combo.
,
,
) has an AP gain of 30AP and can be used to beef up a combo.
- Focus on one enemy at a time, while trapping the others for safety.
- Don’t be afraid to throw your adversary!
Ratchet can gain AP very quickly. He has a pretty simple 90AP combo, which puts you well on your way toward earning enough AP to fill your Super Meter. Avoid getting tag-teamed when battling, and focus your efforts on one enemy at a time. If you’re in a pinch and Ratchet is at a distance, feel free to reign down death from above using Ratchet’s aerial Attacks, but for the most part, you need to stay focused and encourage 1v1 battles.
AT A GLANCE
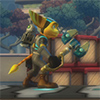
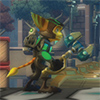
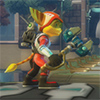
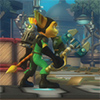
Costumes
|
|
|
|
|
|
|
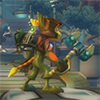
|
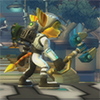
|
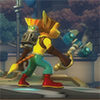
|
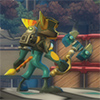
|
|
Rundown
SUPER ATTACKS
OVERVIEW
| AP Level | AP REQ | Name | Duration | Unique Commands | Notes |
|---|---|---|---|---|---|
| 1 | 150 | Ryno V | 3 second | — | — |
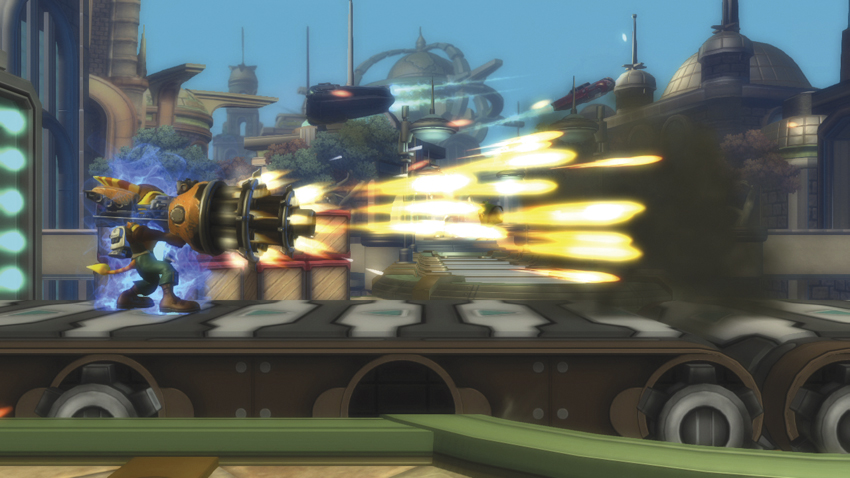
Ryno V: Ratchet pulls out his Ryno V, an advanced Gatling gun, and fires at the enemy for three seconds. This move works from point-blank range out to medium-close range but doesn’t work over long distances. The bullets dissipate shortly after being fired. As a result, make it a point to only use this move when Ratchet is close to several enemies at once to ensure that you get multiple kills with each usage. This is a reliable Super attack and well worth building your gameplan around.
| AP Level | AP REQ | Name | Duration | Unique Commands | Notes |
|---|---|---|---|---|---|
| 2 | 400 | Clank Goes Commando | 8 second |
/
 : Chronoscepter,
 /
/
 : Chronobomb
|
Chronobomb slows enemies in its radius |
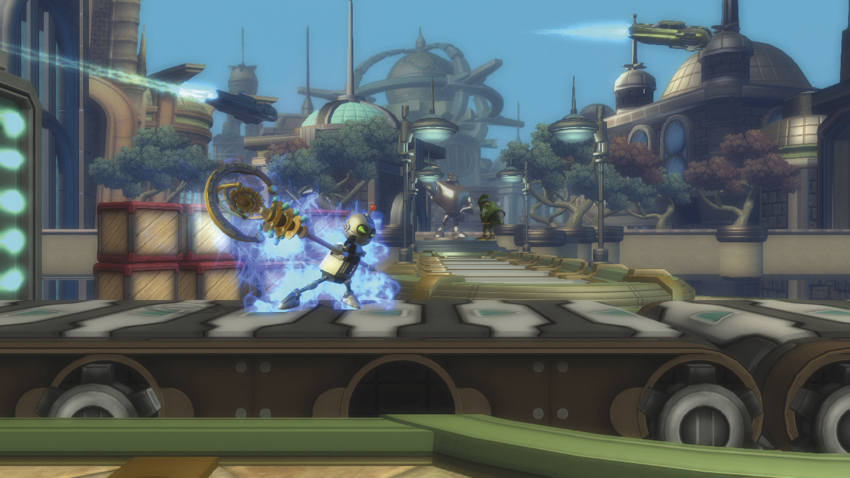
Clank Goes Commando: Clank moves from sidekick to star as he takes the reins. Clank wields the Chronoscepter, which kills enemies on impact, and the Chronobomb, which slows opponents down, with aplomb. You can completely reverse the momentum of a fight with this Super attack by using the Chronobomb to slow your foes and then killing them with the Chronoscepter. In 1v1 situations, however, this Super attack is of limited use. Characters respawn too slowly to easily work your way up to a triple kill, and it’s more efficient to hunt one enemy down on your own than to use the Chronoscepter to slow them down and then kill them.
| AP Level | AP REQ | Name | Duration | Unique Commands | Notes |
|---|---|---|---|---|---|
| 3 | 750 | Flight of the Aphelion | 12 second |
Left Stick: move reticle,
 : gun,
: rockets
: gun,
: rockets
|
Both weapons can be fired simulateously |
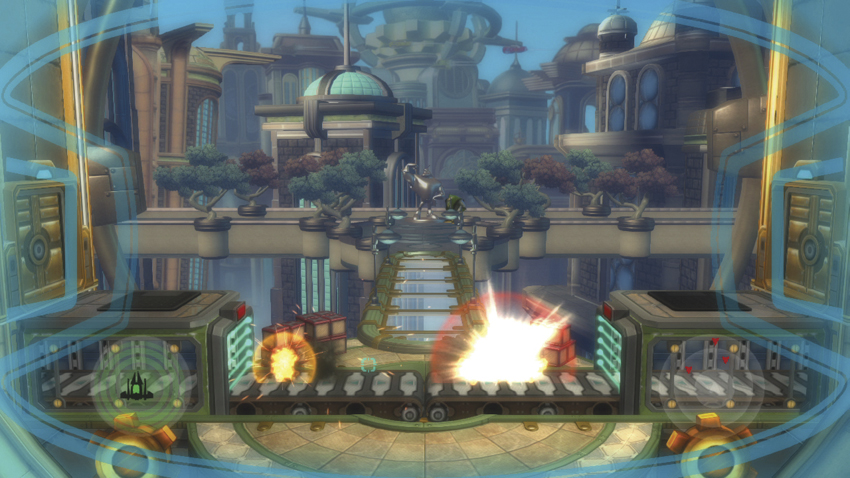
Flight of the Aphelion: The Aphelion is a sentient Lombax-built ship with terrifying offensive capabilities. During this Super attack, Ratchet and Clank are in the cockpit of the Aphelion. You can fire the gun by pressing
/
, or fire a cluster of rockets by pressing
/
. The rockets are slower-moving but have a larger area of effect. The guns are much faster but have a narrower focus. This move is most efficient on smaller stages where enemies cluster. On larger stages, foes may be able to avoid Ratchet until the Super attack is finished.
THROWS
OVERVIEW
| Name | Command | AP Penalty | Properties | Hit Effect | Notes |
|---|---|---|---|---|---|
| Suck Cannon |
Right Stick
 / Right Stick
 or
or
 / Right Stick

|
15%; +10AP for hitting additional opponents with ejected enemy | Unblockable; 30AP of super armor while enemy trapped in Suck Cannon | Full launch/eject roll/KD | Ratchet is free to move with trapped enemy; enemy automatically released after three seconds |
Suck Cannon: Ratchet has just one throw, but Suck Cannon can be used three different ways. After you perform the throw, input Right Stick
, Right Stick
or
, or Right Stick
. Right Stick
fires the captured adversary into the air in a full launch. Right Stick
or
fires the captured foe to either side of Ratchet in an eject roll. Finally, Right Stick
fires the captured enemy directly at the ground in a knockdown state. While an enemy is captured, you have a few short moments to have Ratchet jump and move around before the enemy is automatically thrown from the Suck Cannon in an eject roll.
: SQUARE ATTACKS
GROUND ATTACKS
| # | Name | Command | AP Gain | Properties | Hit Effects | CI | Notes |
|---|---|---|---|---|---|---|---|
| 1 | Multi-Strike 1 |
|
5 | — | — |
|
— |
| - | Multi-Strike 2 |
,
|
5 | — | — |
|
— |
| - | Multi-Strike 3 |
,
,
|
30 | — | Eject roll; eject tornado (aerial foe) | — | — |
| 2 | Comet-Strike |
|
20 | — | Sweep | — | Cannot act until Wrench returns |
| 3 | Lightning Ravager |
|
20 | — | Full launch | — | — |
| 4 | Hyper Strike |
|
20 | Forces Ratchet into air | KD | — | Cannot act until grounded |
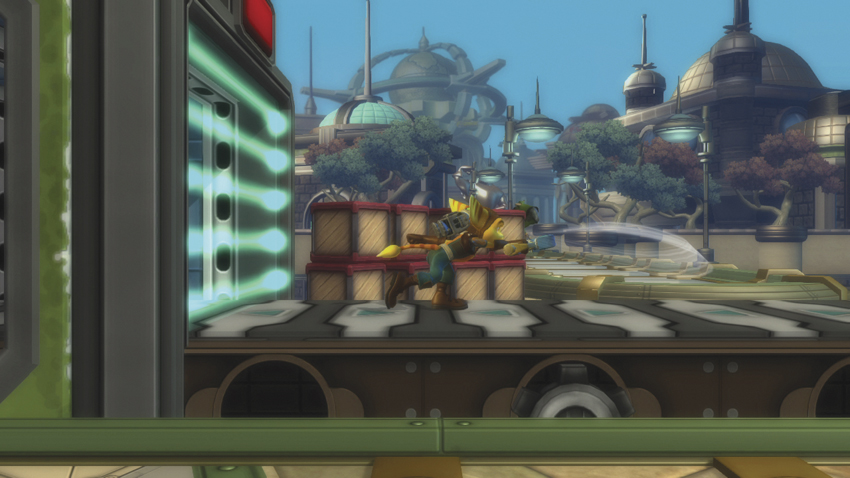
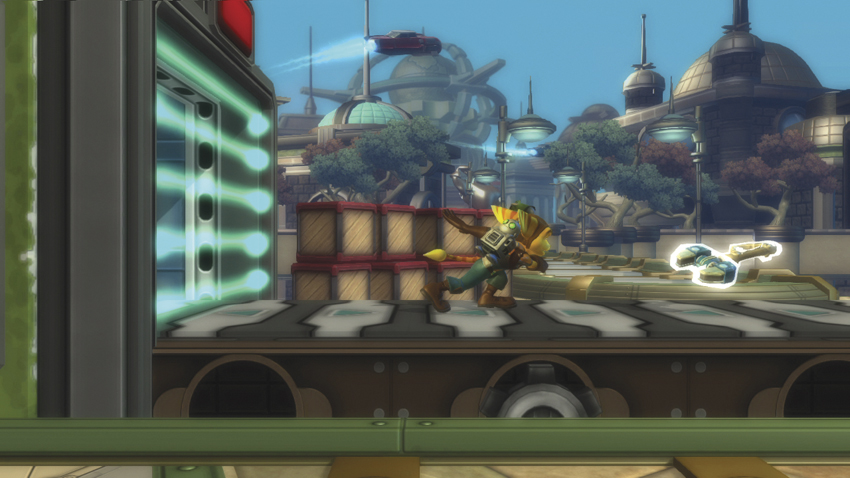
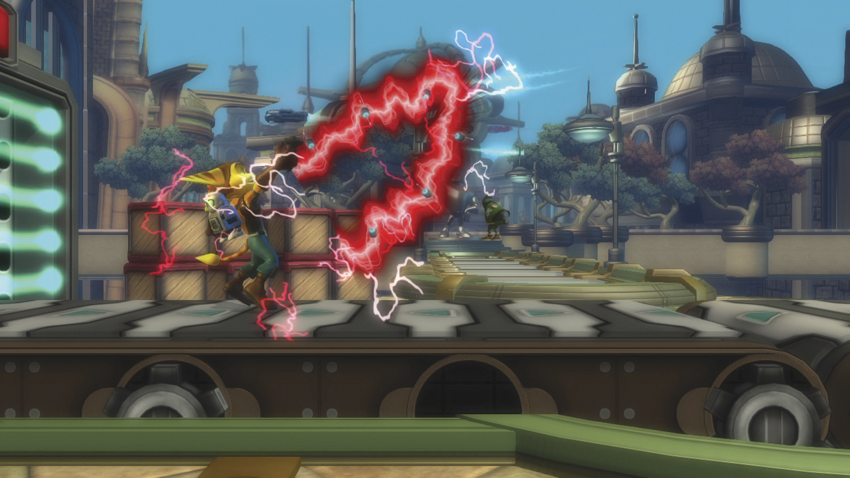
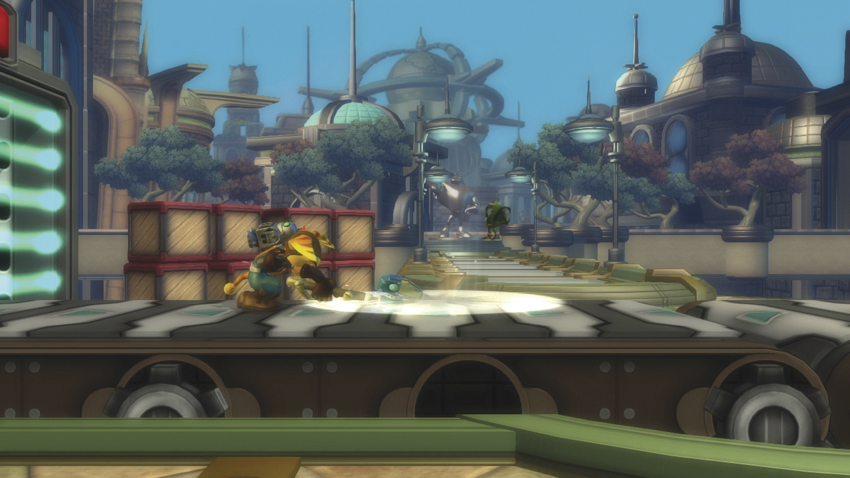
Ratchet has a few solid launchers and combo-ready Attacks that utilize
. The most efficient Attacks, in terms of immediate AP gain, are Multi-Strike 1 (
), Multi-Strike 2 (
,
), and Multi-Strike 3 (
,
,
). This quick multi-hit combo earns Ratchet 30AP and forces enemies to eject roll away, giving Ratchet the option of pressing the attack or regrouping at his leisure.
Comet-Strike (
) is a move that sweeps enemies, setting them up for Combos. It has good range—roughly medium-close—and it travels away from Ratchet and back again, so it can strike an adversary that hops over it. Ratchet cannot act until the move is finished, however, so make sure to use it when he’s in a safe position or aggressively attacking. Keeping an opponent on the defensive may give you the moment you need to recover after a whiffed or blocked Comet-Strike.
Lightning Ravager (
) is Ratchet’s key launcher. You can follow it up with several Attacks, including anti-air blasts. It comes out extremely fast, as well, and is great at surprising enemies that expected Ratchet to be an easy combo target. Use this move to keep your foes on their toes.
Ratchet is forced into the air and left vulnerable during the early stages of Hyper Strike (
). On top of that, the attack isn’t active until Ratchet’s wrench hits the ground. Hyper Strike is of limited use in match play, and it should be used sparingly. Once an enemy learns to see it coming, they’ll be able to counter it much more easily. Use this move to catch unsuspecting or otherwise occupied targets, rather than attempting to hit a character with it from the front.
AIR ATTACKS
| # | Name | Command | AP Gain | Properties | Hit Effects | CI | Notes |
|---|---|---|---|---|---|---|---|
| 1 | Aerial Multi-Strike 1 |
Air
|
5 | — | — |
|
— |
| - | Aerial Multi-Strike 2 |
Air
,
|
5 | — | — |
|
— |
| - | Aerial Multi-Strike 3 |
Air
,
,
|
30 | — | Eject tornado | — | — |
| 2 | Aerial Comet Strike |
Air
|
20 | Ratchet hovers for duration | Sweep; lift (aerial foe) | — | — |
| 3 | Aerial Lightning Ravager |
Air
|
20 | — | Full launch |
|
— |
| 4 | Aerial Hyper Strike |
Air
|
20 | Not active until grounded | KD | — | — |
Ratchet’s Aerial Comet-Strike (
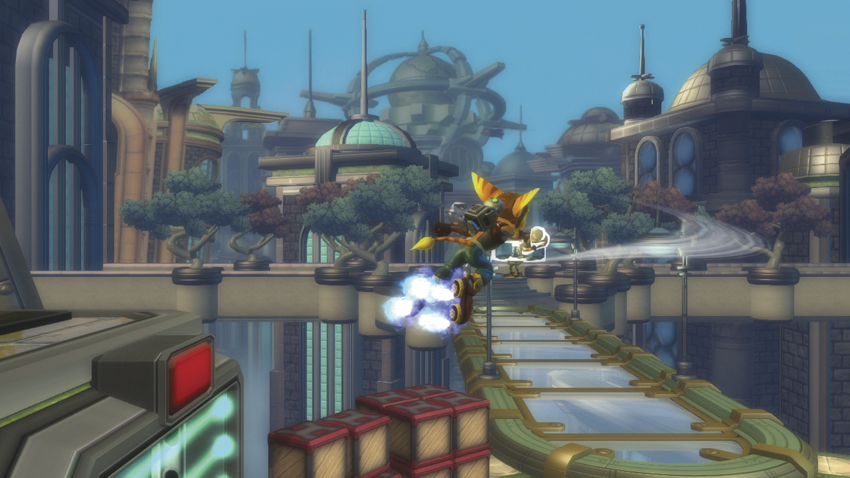
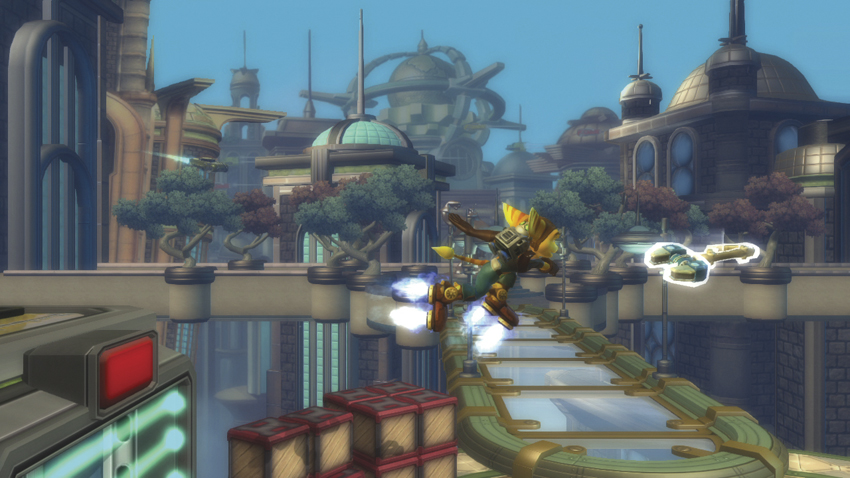
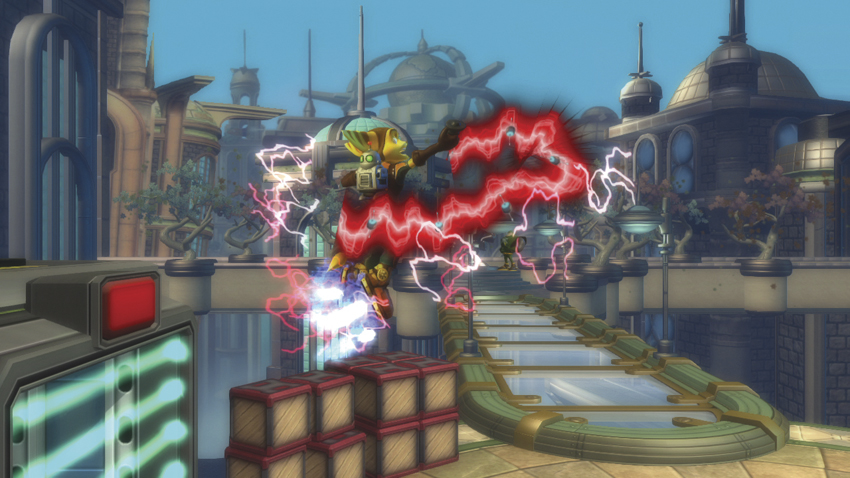
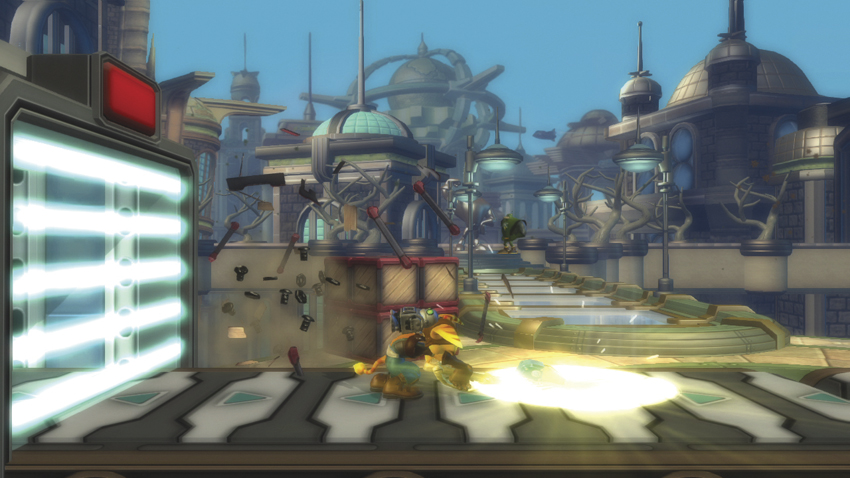
) is an effective move with one downside: Ratchet falls to the ground after landing the move. This limits your follow-up options, and the wind-up makes it tough to include this move in a combo, as well. Aerial Comet-Strike has one major benefit, however. If you can catch a jumping enemy with the Aerial Comet-Strike as it is coming back to Ratchet, there is a chance that the attack will hit twice, giving Ratchet an AP gain of 40AP instead of 20AP. The timing is tricky, but if you’re facing an opposing character that jumps often, it’s well worth a try.
Aerial Multi-Strike 1 (
), Aerial Multi-Strike 2 (
,
), and Aerial Multi-Strike 3 (
,
,
) are just as essential as their grounded variations. You can catch an enemy in an air combo worth 40AP simply by performing Aerial Multi-Strike 3, and watch your foe eject spiral away when you finish. These moves are fast, reliable, and most of all, effective at building AP.
Like Aerial Comet-Strike, Ratchet drops to the ground immediately after completing Aerial Lightning Ravager (
). As such, you should use Aerial Lightning Ravager primarily as an anti-air attack instead of a mid-air launcher. Use it to interrupt your enemy’s Combos, push them toward Hazards, or simply stall for time when Ratchet is in extreme danger and needs a breather.
Aerial Hyper Strike (
), Ratchet’s final aerial
maneuver, is exactly like its grounded variation, only even more dangerous. The attack isn’t able to hit an enemy until Ratchet hits the ground, so Ratchet is even more vulnerable. On the other hand, if Ratchet is in the air and in danger of falling prey to a combo, performing an Aerial Hyper Strike may make Ratchet fall just fast enough to dodge his challenger’s incoming attack. After that, prepare to defend, and try to turn the tables once your enemy lands.
: TRIANGLE ATTACKS
GROUND ATTACKS
| # | Name | Command | AP Gain | Properties | Hit Effects | CI | Notes |
|---|---|---|---|---|---|---|---|
| 1 | Sonic Eruptor |
|
20, 30 (charge) | Chargeable; can move after fully charged | Butt-drop (tap); eject tornado, guard break (charge) | — | — |
| 2 | Constructo Pistol |
|
5, 5, 30 | Mashable for three shots total | Eject tornado (third shot) | — | — |
| 3 | Warmonger |
|
30 | Fires up-forward | Eject tornado | — | — |
| 4 | Buzz Blades |
|
3~10 | Shots ricochet | — | — | — |
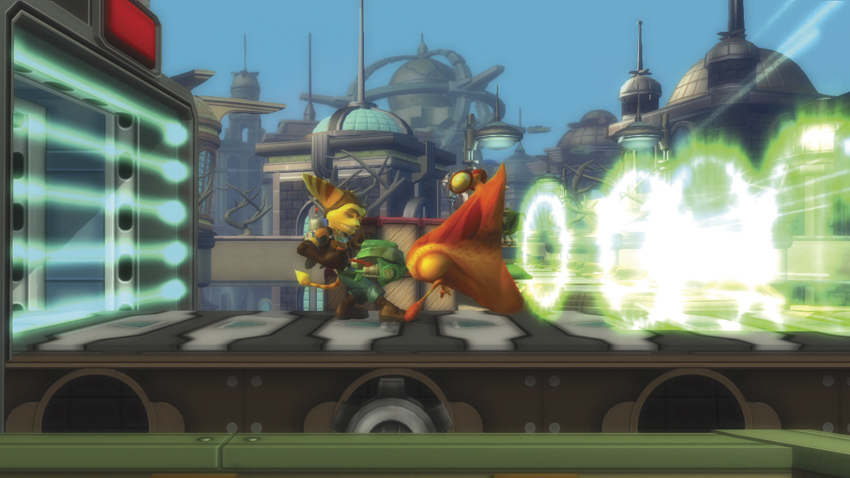
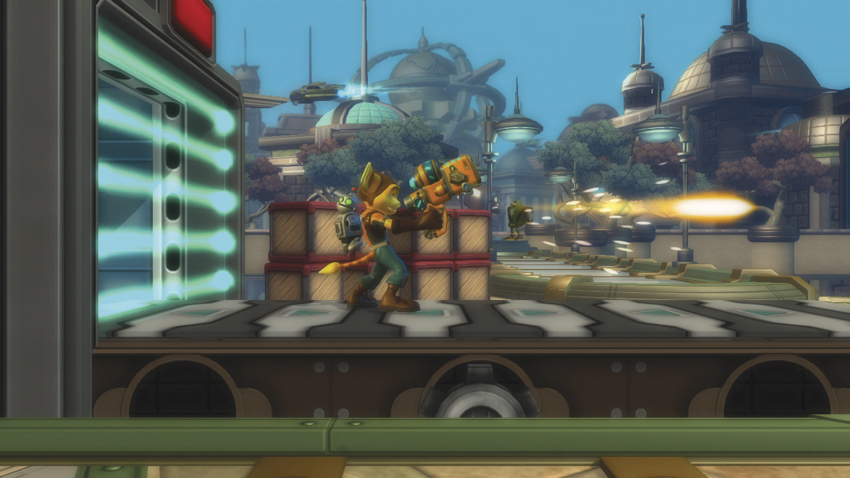
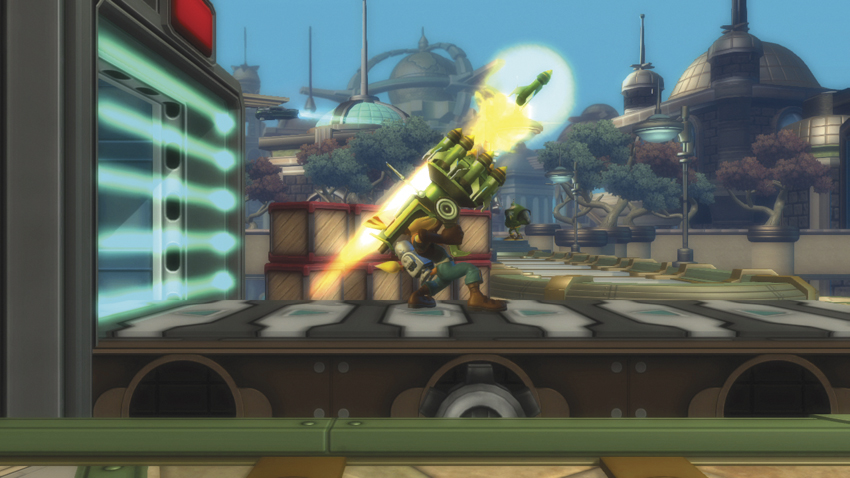
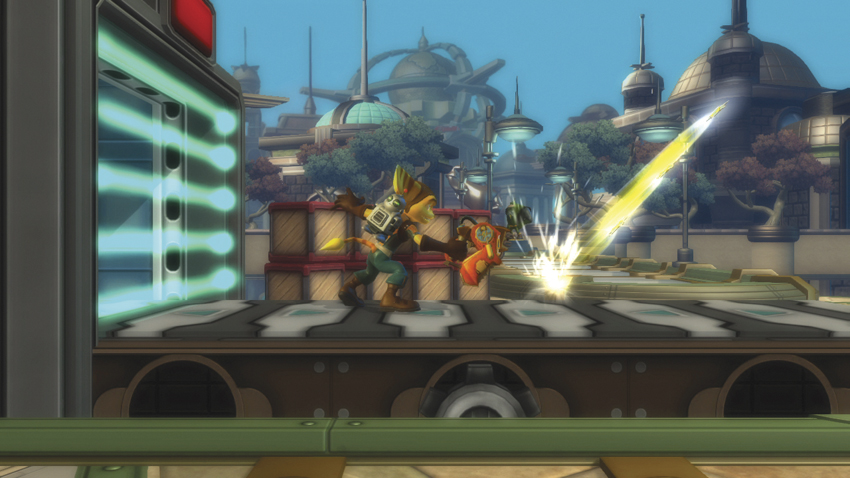

Sonic Eruptor (
) has two very useful modes. If you tap
, Sonic Eruptor earns 20AP and butt-drops the enemy. This mode is great for starting a combo or halting an attacker’s onslaught. If Ratchet is close enough, you can take advantage of the butt-drop to move in quickly with a Multi-Strike 3 (
,
,
). If he’s not close enough to move directly into a close-quarters combo, then take advantage of the butt-drop by performing a fast ranged attack that’s worth a solid amount of AP.
Constructo Pistol (
) is one of those fast ranged Attacks that provides a solid follow-up after performing Sonic Eruptor. You have to mash this move out, and connecting with three shots in a row skyrockets the AP gain to a total of 30AP. The final hit makes enemies eject tornado away. Constructo Pistol has a short range—roughly the same as Ratchet’s Level 1 Super attack—but it is still a highly effective move in match play.
Ratchet’s Warmonger (
) is a crucial part of his anti-air gameplay. Whenever you launch or sweep your enemy, try to nail them with a Warmonger for 30AP and an eject tornado. This attack leaves Ratchet at a distance from his opponent and fires at an upward angle, so use it to finish Combos instead of trying to shoehorn it into the beginning of your combo.
The Buzz Blades (
) ricochet off the ground, walls, platforms, and enemies when fired. Adversaries may try to close the gap between themselves and Ratchet by jumping toward Ratchet but stopping some distance away to avoid falling prey to an anti-air. Consider using Buzz Blades in this situation. They ricochet off the ground and into the air directly in front of Ratchet, so they have a solid chance of hitting an enemy that is just slightly outside of Ratchet’s normal range.
AIR ATTACKS
| # | Name | Command | AP Gain | Properties | Hit Effects | CI | Notes |
|---|---|---|---|---|---|---|---|
| 1 | Aerial Sonic Eruptor |
Air
|
20 | Charge can be started in air | Butt-drop | — | — |
| 2 | Aerial Constructo Pistol |
Air
|
5 per shot | Mashable | — | — | — |
| 3 | Aerial Warmonger |
Air
|
30 | Fires up-forward | Eject tornado | — | — |
| 4 | Aerial Buzz Blades |
Air
|
3~10 | Shots ricochet | — | — | — |
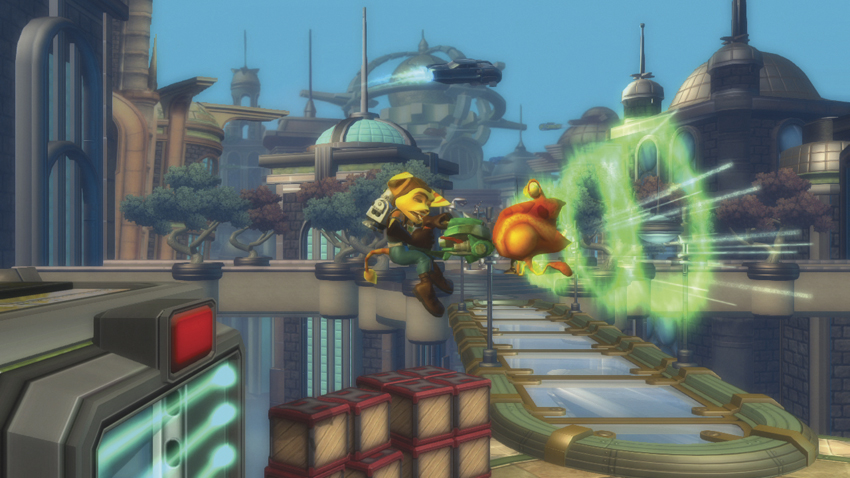
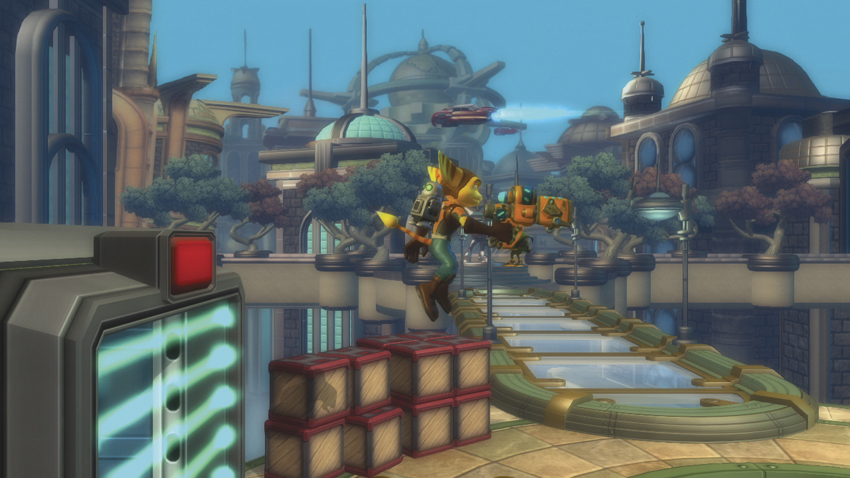
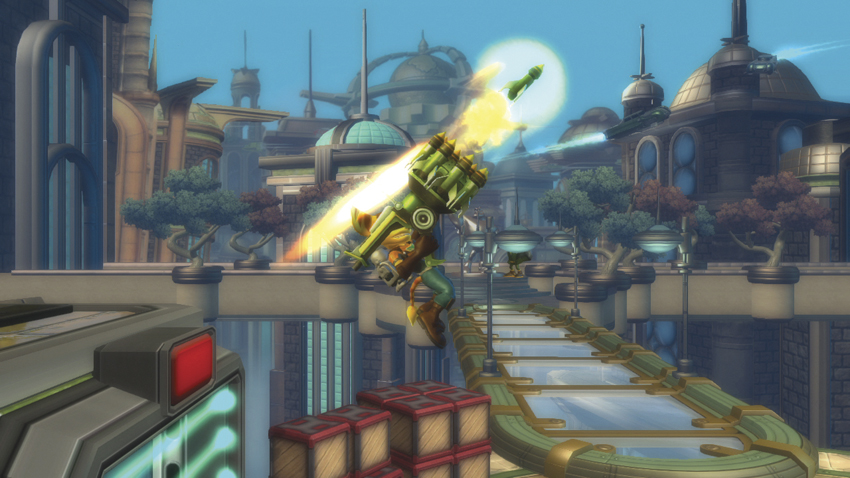
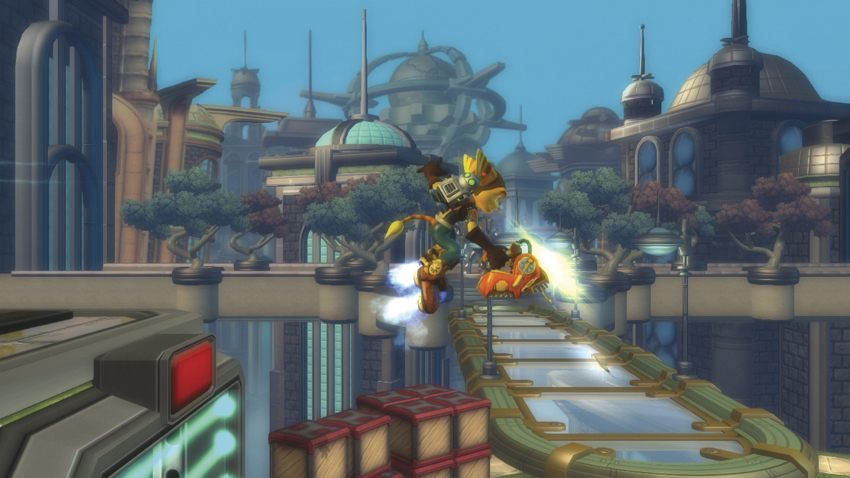
It is tough to nail all three hits of the Constructo Pistol (
) in mid-air. Your enemy may hover too long after being hit or Ratchet may fall too quickly to complete the final hit of the attack. Still, there is definitely something to be said for forcing an opposing character to remain airborne in a hit state, so don’t be afraid to use this move in battle. It isn’t worth a lot of AP, but keeping a foe suspended while they react to your shot prevents them from earning AP.
Aerial Warmonger (
) is devastating on the ground and devastating in mid-air. It still fires at an upward angle, making it perfect for picking off double jumping adversaries, and the eject tornado it leaves enemies in is a great way to ensure that they go spiraling toward a Hazard or wall for a wallbounce. When Ratchet is close to a wall, it’s a way to keep the enemy occupied with a wallbounce while you transition into other Attacks. When in the wide open, it’s a great way to enforce Ratchet’s personal boundaries.
Use Aerial Buzz Blades (
) in mid-air the same way you would on the ground. Use the ricochet to hit your enemy from an angle they aren’t expecting, or to strike a challenger that’s a little out of the way. Fire them directly at a wall at point-blank range to strike an adversary that’s directly behind you, or shoot off the edge of a platform for a little extra distance.
Aerial Sonic Eruptor (
) can be used to charge a grounded Sonic Eruptor (
) attack or used in mid-air to knock an enemy away. Both tactics are efficient uses of time, especially considering the possible AP gain. It doesn’t take long to charge the Aerial Sonic Disruptor, so time your jumps so that the attack is ready to come out as soon as Ratchet hits the ground.
: CIRCLE ATTACKS
GROUND ATTACKS
| # | Name | Command | AP Gain | Properties | Hit Effects | Cancels Into | Notes |
|---|---|---|---|---|---|---|---|
| 1 | Plasma Striker |
|
10 (tap); 20 (charged) |
Chargeable; aim with
or
|
Butt-drop, charged | — |
Press
or
to aim while charged
|
| 2 | Agents of Doom |
|
3~10 | Agents can be destroyed if attacked | — | — | — |
| 3 | Mr. Zurkon |
|
1 per shot | Eight-second duration; Mr. Zurkon can absorb 40AP of damage before dying | Twitch | — | Ratchet free to act after summoning Mr. Zurkon |
| 4 | Tesla Spike |
|
5 | Place two to create link; on hit, last spike placed remains | Lift | — | Link remains active for eight seconds; can place new Tesla Spike to reset timer |
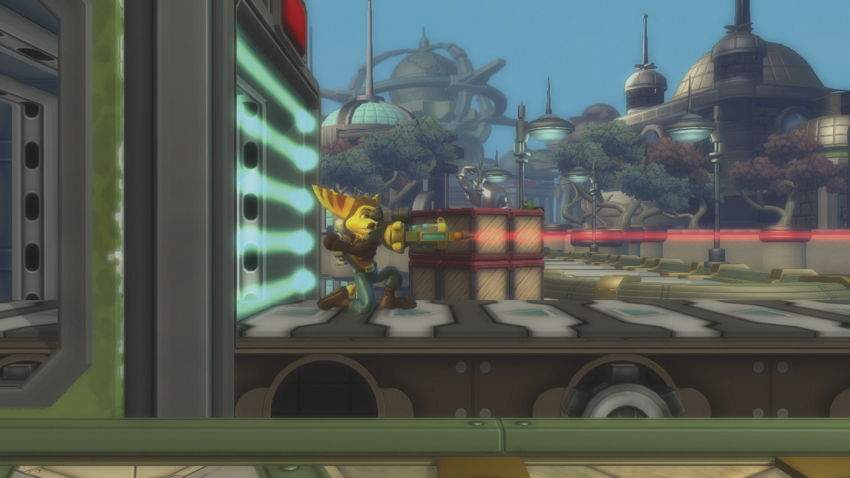
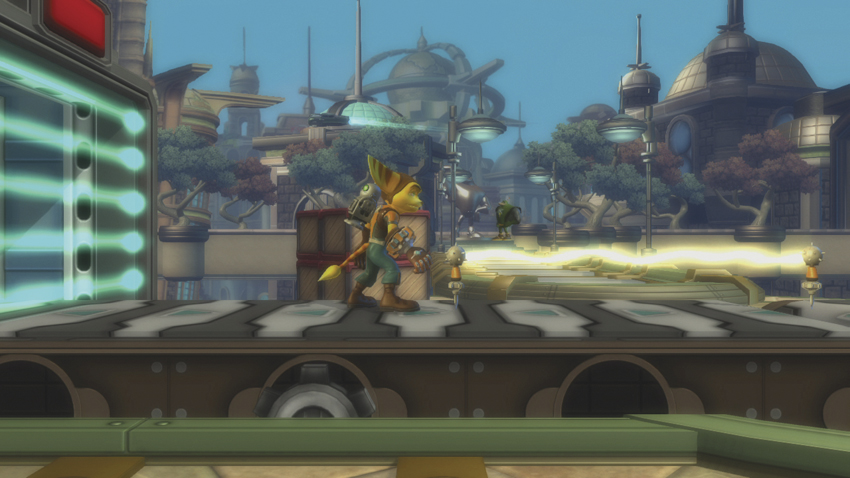
Plasma Striker (
) is one of Ratchet’s few long-range Attacks. Tap
to fire a single blast that makes the enemy twitch. Charge
to fire a laser-targeted blast that makes the challenger slide away from Ratchet and butt-drop. Even when fired at close range, a charged Plasma Striker makes the foe slide a little too far away to immediately follow up with a
-centric combo, so transition to a Constructo Pistol (
) or other ranged attack to seal the deal.
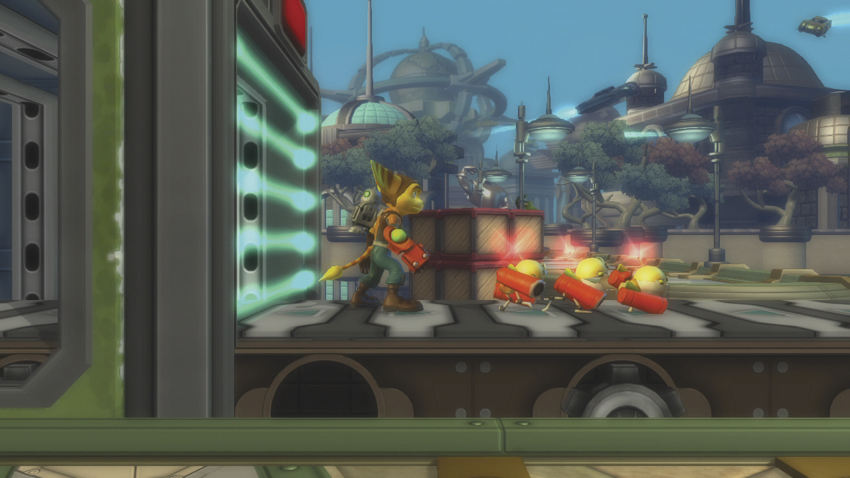
Ratchet’s Agents of Doom (
) are little explosive helpers that can help keep a foe in place while you move in with a combo. The Agents of Doom travel on their own, so you can fire off the attack and synchronize your next strike with the lead of the Agents of Doom for a powerful combo. Be creative. You can even use the Agents of Doom to attack enemies that are currently engaged with other targets and steal momentum.
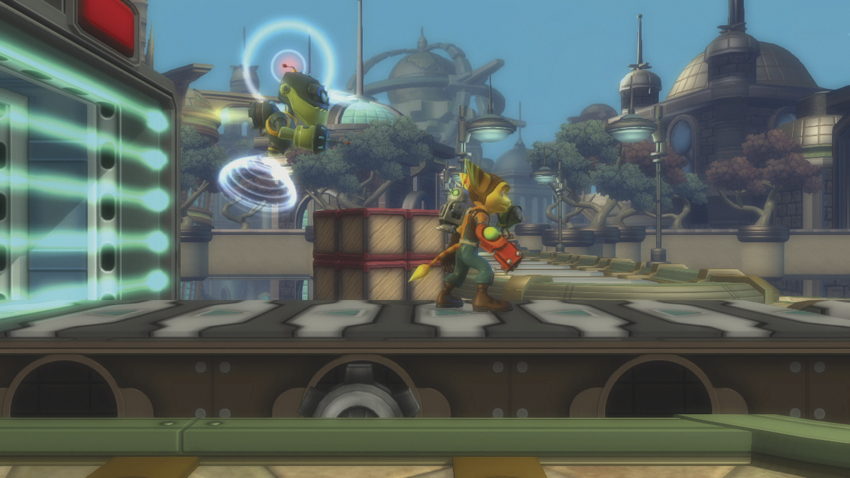
Mr. Zurkon (
) is another useful move. Mr. Zurkon stays active for eight seconds, and Ratchet is free to move while Mr. Zurkon is busy attacking adversaries. Consider Mr. Zurkon to be a free source of AP. Enemies can destroy him, but you can easily summon him again by pressing
. Keep Mr. Zurkon out at all times. While he doesn’t earn a lot of AP for you, he does keep the enemy busy while you focus on major AP gain, and a minor influx of AP every second is much better than nothing.
Using Ratchet’s Tesla Spike (
) attack is a two-step process. Planting a single Tesla Spike doesn’t do you much good. Once you plant a second Tesla Spike, an electric beam appears between the two Tesla Spikes that lifts enemies into the air. Wait until an adversary is knocked down or ejected for maximum efficiency and safety when planting Tesla Spikes.
AIR ATTACKS
| # | Name | Command | AP Gain | Properties | Hit Effects | CI | Notes |
|---|---|---|---|---|---|---|---|
| 1 | Aerial Plasma Strike |
Air
|
10 (tap); 20 (hold) | Chargeable; Ratchet hovers in place while charging | Butt-drop (charged) | — | Ratchet hovers while charging |
| 2 | Agents of Doom |
Air
|
3~10 | Agents can be destroyed if attacked | — | — | Agents do not become active until grounded |
| 3 | Mr. Zurkon |
Air
|
1 per shot | Eight-second duration; Mr. Zurkon can absorb 40AP of damage before dying | Twitch | — | Ratchet free to act after summoning Mr. Zurkon |
| 4 | Aerial Tesla Spike |
Air
|
10 | Place two to create link; spikes float in place | Lift | — | Link active for eight seconds; can place new Tesla Spike to reset timer |
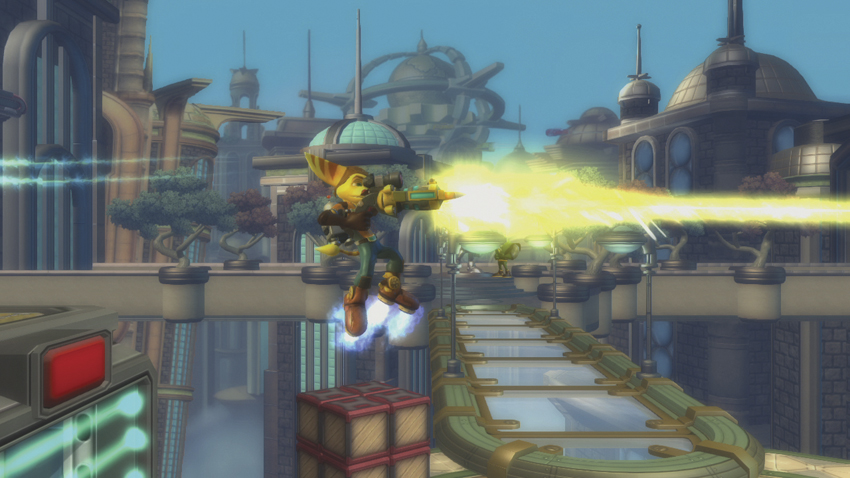
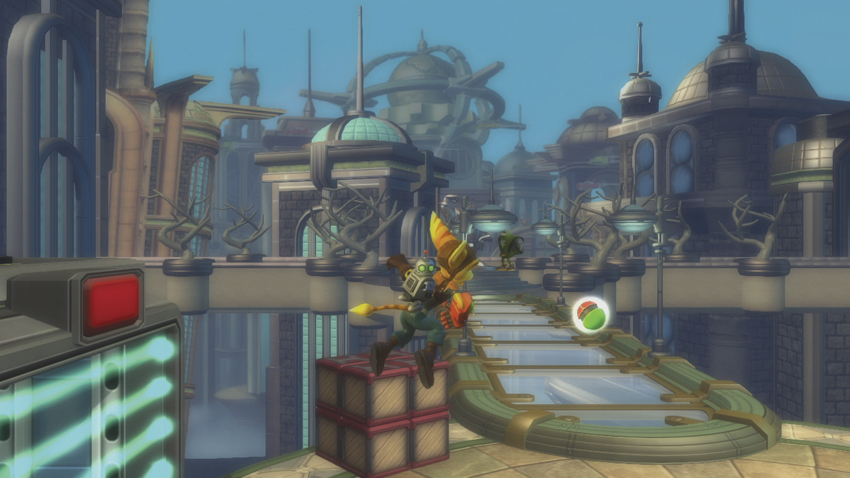
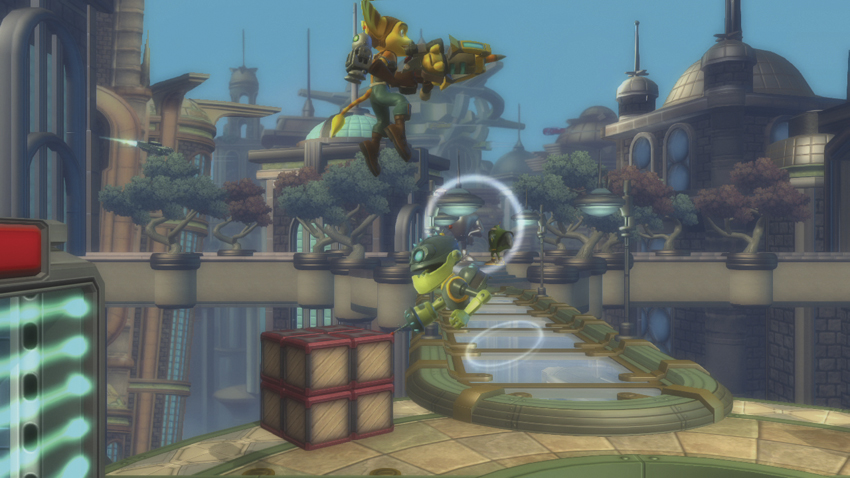
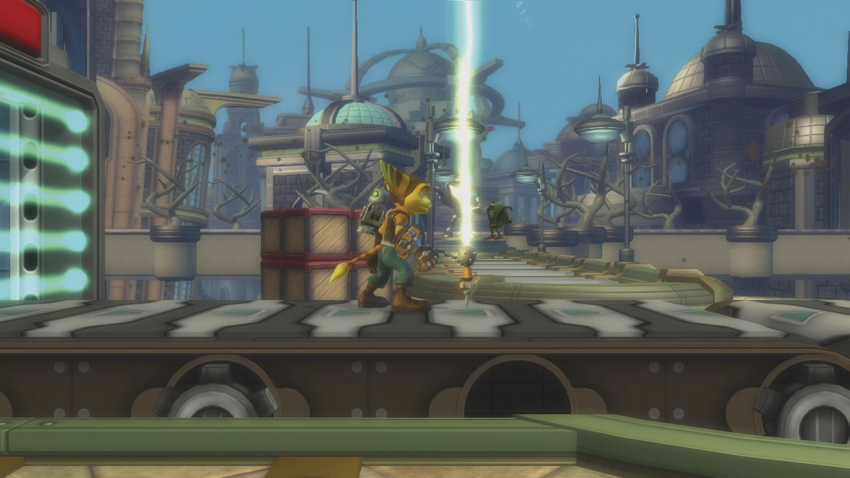
Ratchet can aim the Aerial Plasma Strike (
) or fire it normally. Simply charge the attack to hover in mid-air. The weapon has a red targeting laser that can be aimed by pressing
or
. Ratchet can hover for a few seconds before falling to the ground, so use this move to batter your enemies from a distance and safety.
The Agents of Doom (
) do not activate until they hit the ground, so you should view the aerial variation of the attack as an opportunity to seed the level with Agents of Doom in ways you cannot on the ground. Find the high ground in a level, and have Ratchet jump off it toward his enemies. Fire the Agents of Doom at them, and then float away by holding
in mid-air. The Agents of Doom should activate and strike your enemies immediately upon touching the ground while Ratchet glides to safety.
Activating Mr. Zurkon (
) in mid-air actually reduces the efficiency of the attack, unless you’re activating it near an airborne enemy. It takes time for Mr. Zurkon to reach the ground to attack a grounded opponent, and he isn’t earning AP for you when he has to seek out an adversary. If you’re going to activate Mr. Zurkon in mid-air, do so only when near an enemy to maximize your AP gain.
Ratchet’s Aerial Tesla Spike (
) allows you to create hazardous barriers in mid-air. One clever usage is to create a wall with two Aerial Tesla Spikes by stacking them on top of each other, one at ground level and one just above character height. When they connect, they’ll form a wall of danger that enemies must either pass through or jump over before attacking. When they jump over it, hit them with an anti-air.
COMBOS
MAIN COMBOS
Note: All combos assume your character is facing the right side of the screen.
I. Against a grounded foe:
,
60AP
Keep it simple. This combo requires just two moves, and the timing is very forgiving. When Ratchet is at close range, fire a Lightning Ravager (
) and follow it up with a Warmonger (
) for fantastic AP gain. This combo is safe, fast, and efficient, so use it often to augment your AP gain and to eject enemies when Ratchet’s immediate area gets too crowded.
II. Against a grounded foe:
, jump over,
,
,
50AP
This move is a little tricky. Set the Agents of Doom (
) down a short distance from your foe and then immediately over them, crossing them up, and perform a Multi-Strike 3(
,
,
). Properly timed, this combo should batter your enemy from two sides and end in a flashy eject roll finish. This is a tough
one to pull off in intense match play, but it involves tactics that you need to be able to employ to stay competitive. Keep your opponent disoriented, and learn to attack from every angle.
III. Against grounded foe:
,
,
,
60AP
This combo is well worth it, but it requires fine timing early on. At close range, lift the enemy with Ratchet’s Comet-Strike (
). The first hit of Multi-Strike 3 (
,
,
) is a low swing, and if you try to perform it too early, it may miss. Take a moment after performing the Comet-Strike to pause, and then continue the attack when the target begins falling to the ground.
COMBO APPENDIX
| Combo | +AP | Notes |
|---|---|---|
|
,
,
,
|
90AP | This is another quick-and-easy combo that results in great AP gain. |
|
,
,
,
|
50AP | Perform this move from close, but not point-blank, range. |
ADVANCED STRATEGIES
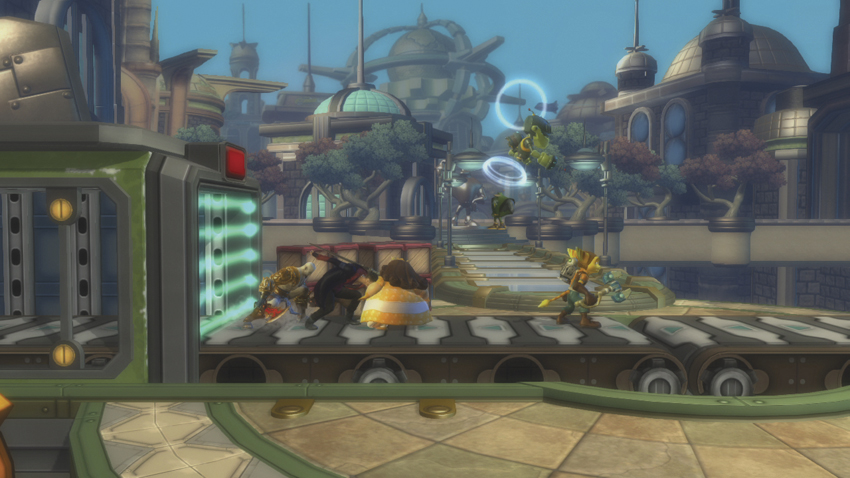
Use Mr. Zurkon (
) to augment your AP gain.
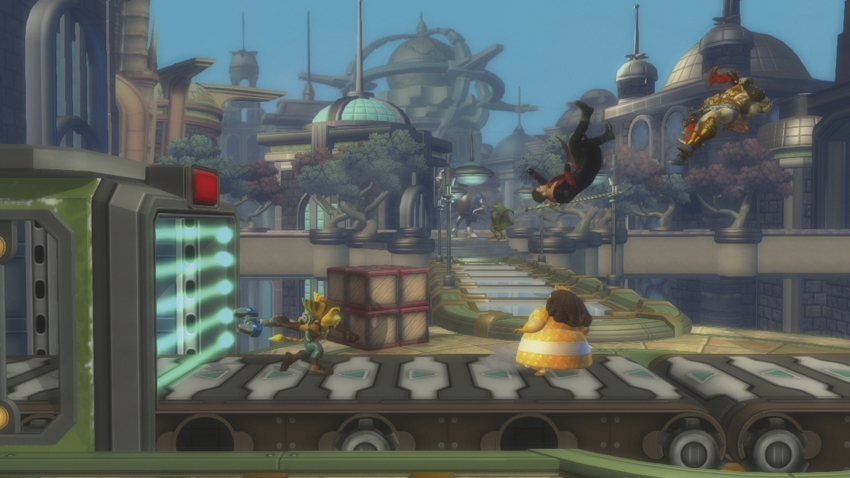
Once you finish with your foes, eject them to stay safe.
You can’t play Ratchet as a combo-centric character. He has a few good ones, but his greatest strengths are in hit-and-run tactics and controlling the battleground. He’s at his best when he can focus on one opponent at a time while simultaneously keeping other enemies away via traps. If you find Ratchet surrounded, retreat by any means necessary, and then resume the attack when he can corner his chosen foe.
Make liberal use of Ratchet’s Tesla Spikes (
). When you manage to corner an enemy, try to set up Tesla Spikes between Ratchet and the remaining foes for protection. Tesla Spikes can halt an opponent’s progress dead and leave them in mid-air for an air combo. Stay protected first to prevent your enemies from gaining AP, and then go wild once you’re protected.
One of Ratchet’s greatest strengths is his ability to play keep-away. He has several moves and Combos that end in an eject tornado or eject roll. That’s your cue to switch targets upon completion of a combo. Once the enemy rolls away from Ratchet, there is undoubtedly going to be another adversary dropping in soon. Switch targets as soon as you can, and get into a rhythm, if possible. Transition from combo to ejection to new target to combo to ejection, and then back again.
Ratchet has a couple of minor mind game options, as well. Perform a throw by pressing Right Stick
or
. This locks an enemy down for a few seconds, frustrating them and preventing them from earning AP. When they’re released from the throw, they’re still vulnerable to attack or must face a recovery period. You can break someone’s momentum with ease by way of Ratchet’s THROWS, so find the most dominant player and put a stop to their lead. You can also use a charged Plasma Striker (
) from a distance to gain AP with no fear of reprisal.
Be aggressive. Ratchet has moves that can create openings, punish whiffed Attacks, and control where and how an enemy is allowed to attack him. Take control of the match by going on an all-out offensive rush, rather than taking it slowly and trying to avoid dangerous situations. Get into the middle of the battle, and use Ratchet’s tools to dominate the opposing characters.