
PlayStation All-Stars Battle Royale Guide Walkthrough Characters
Heihachi Mishima
All-star overview
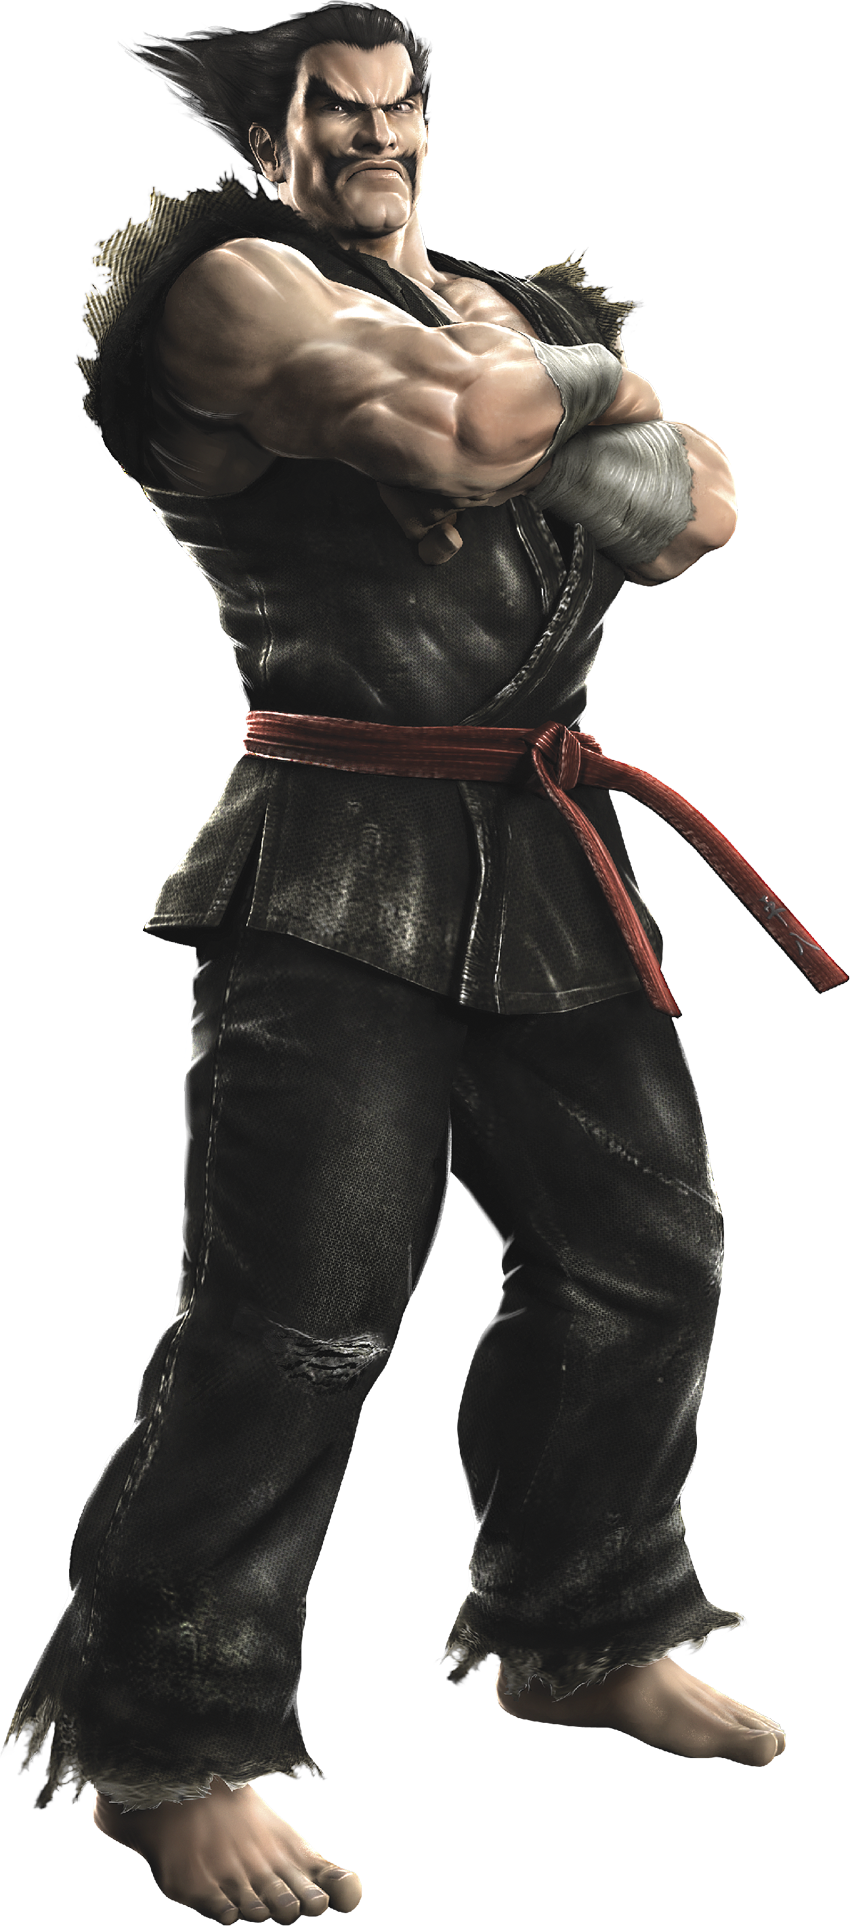
Heihachi is a combo machine with the ability to counter an opponent’s attack, dash in mid-air, play mind games with his foes, and multiply his AP gain. He’s best at extreme close range, but he has a stock of moves that work great from medium-close range, as well. His most efficient Super attack is Level 2, which takes 400AP to earn. Your goal is to build up 400AP, trigger the Super attack, and then start the process all over again. This sounds like a tall order, but for an AP earner like Heihachi, it’s simple.
WHY IS KUMA TAG TEAM, HEIHACHI’S LEVEL 2 SUPER ATTACK, THE GO-TO SUPER MOVE?
- It leaves Heihachi free to battle on his own while Kuma racks up kills.
- Kuma sticks around for 10 full seconds, which is plenty of time to score multiple kills.
- Heihachi earns AP extremely fast, making it relatively easy to get to Level 2.
WHAT’S THE BEST WAY TO EARN 400AP SO THAT YOU CAN USE KUMA TAG TEAM?
- Use Raijin Stance to triple the AP of Heihachi’s next hit.
- Focus on moves like Hell Axle 2 or Spinning Demon that offer a high AP reward.
- Take advantage of his short two-hit Combos with high AP gain.
Heihachi has made the transition from his originating series to this game very well. He’s a hard hitter with deep options for Combos. Skilled players can knock out 100AP in a single combo with ease, and even newbies can score 60AP-80AP in one combo. Although 400AP is a high amount of Super Meter to earn, Heihachi makes it easier than most.
AT A GLANCE
Costumes
|
|
|
|
|
|
|
|
|
|
|
|
SUPER ATTACKS
OVERVIEW
| AP Level | AP REQ | Name | Duration | Unique Commands | Notes |
|---|---|---|---|---|---|
| 1 | 100 | Lightning Hammer | 1 second | — | Attach range extends to lightning bolt directly in front of Heihachi |
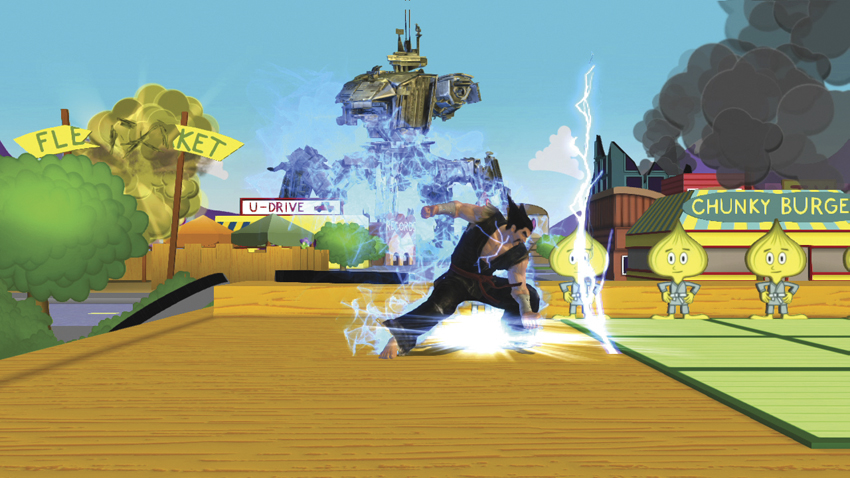
Lightning Hammer: Heihachi Mishima rears back, glowing with blue energy, before striking the enemy with his fist and foot simultaneously. This attack has a lengthy start-up time, but Heihachi’s speed makes it a viable and valuable part of his repertoire. The start-up time should prevent you from using this attack in crowded combat situations, such as when Heihachi is facing down two enemies at once, but it is great at catching foes by surprise. Use it carefully, and only when you know it’s safe.
| AP Level | AP REQ | Name | Duration | Unique Commands | Notes |
|---|---|---|---|---|---|
| 2 | 400 | Kuma Tag Team! | 10 seconds | — | Kuma automatically tracks enemies; Heihachi free to act |
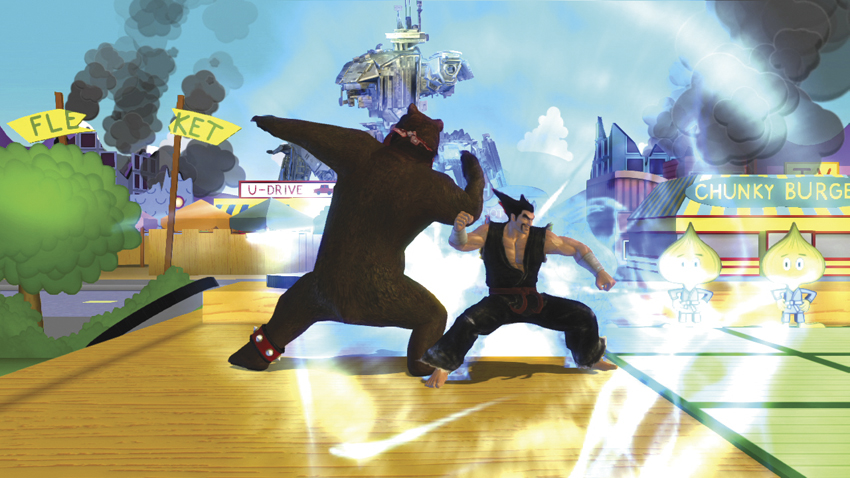
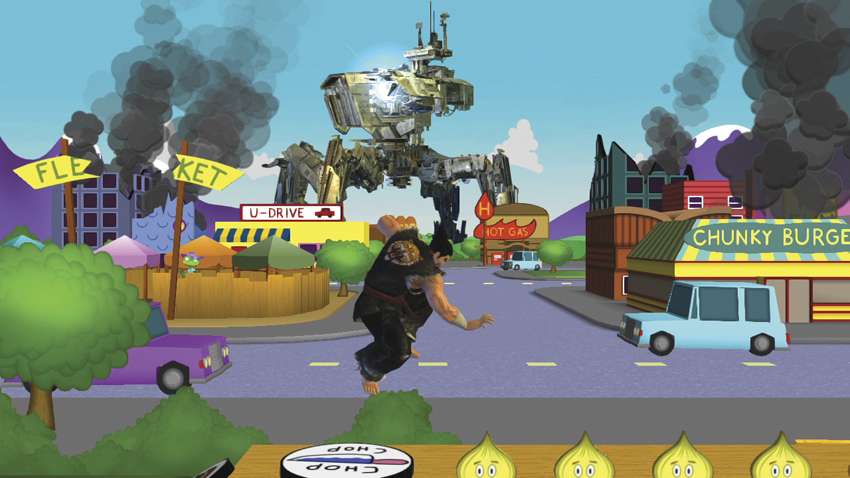
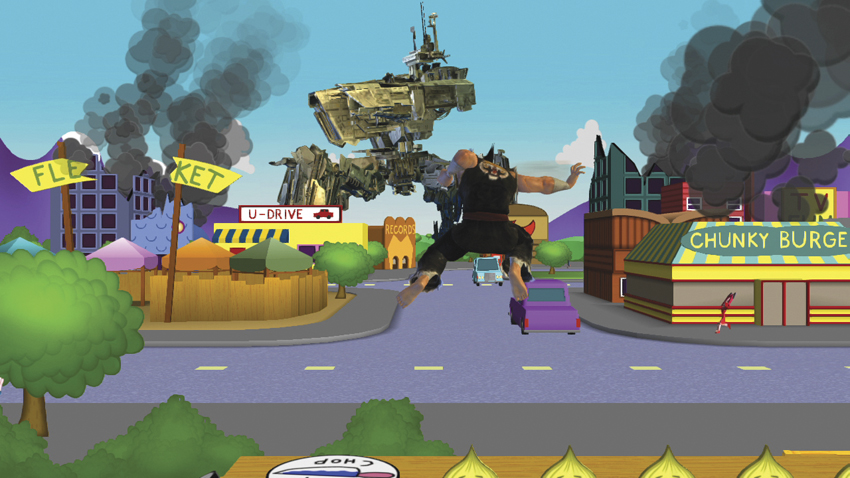
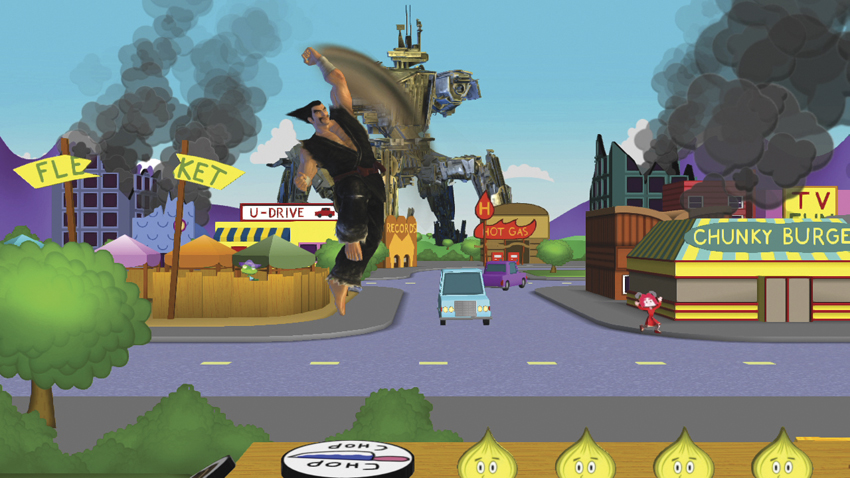
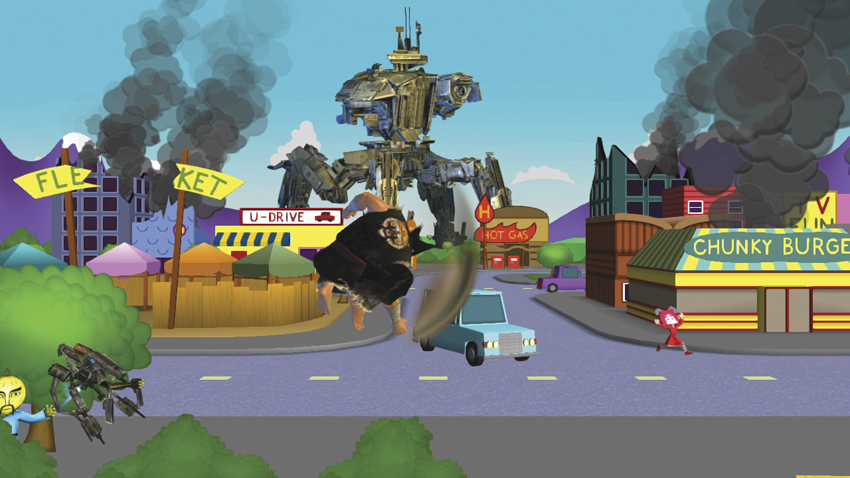
Kuma Tag Team: This Super attack is a thing of beauty. Heihachi adopts a hero pose and summons Kuma, his ursine assistant. After that, Heihachi’s role is done. You can play with him as normal and go after your enemies. The twist is that Kuma sticks around after the pose and joins the battle. Every time he hits an adversary, that target is killed. Kuma is an autonomous killing machine, and this is Heihachi’s most efficient Super attack by a wide margin.
| AP Level | AP REQ | Name | Duration | Unique Commands | Notes |
|---|---|---|---|---|---|
| 3 | 600 | Rockets Away! | Instant | — | Guaranteed to kill all enemies on screen. |
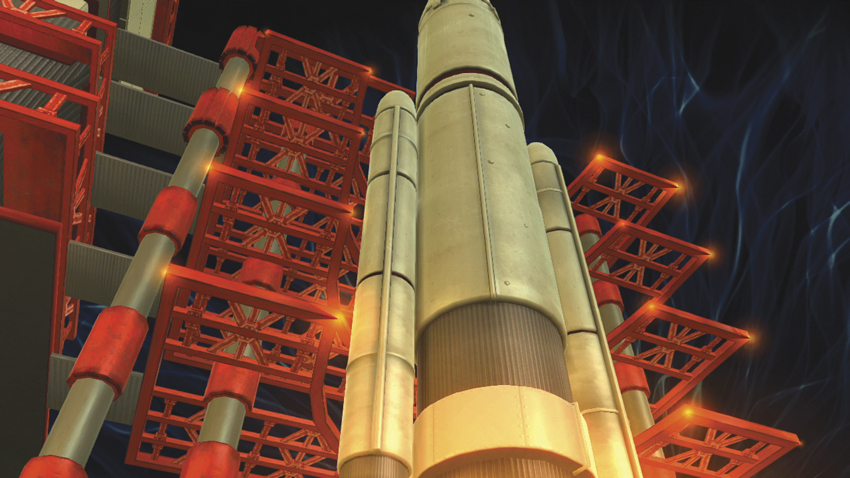
Rockets Away: This Super attack is a Mishima family classic. After the Super attack is triggered, we see Heihachi grab and look through a pair of binoculars. Every other combatant in the match has been chained to a rocket, which is then fired off into space. Heihachi laughs as he enjoys his victory. This Super attack results in a maximum of three kills. It’s very entertaining, but Kuma Tag Team packs more bang for your AP buck.
THROWS
OVERVIEW
| Name | Command | AP Penalty | Properties | Hit Effect | Notes |
|---|---|---|---|---|---|
| Jumping Powerbomb |
Right stick

|
15% | Unblockable; 30AP of super armor | Bounce | Combo starter |
Jumping Powerbomb: Heihachi’s Jumping Powerbomb is a frighteningly effective throw. It leaves the enemy open to long juggles immediately after the throw ends, since it places the foe in a bounce state.
| Name | Command | AP Penalty | Properties | Hit Effect | Notes |
|---|---|---|---|---|---|
| Stonehead |
Right stick
 or
or

|
15% | Unblockable; 30AP of super armor | Eject roll | — |
Stonehead: Heihachi leans back and then head-butts the enemy at full force, sending them rolling away in an eject roll. You can’t follow up on this move with a combo, but it’s great at enforcing your personal boundaries when competing with aggressive players.
| Name | Command | AP Penalty | Properties | Hit Effect | Notes |
|---|---|---|---|---|---|
| Slamdown |
Right stick

|
15% | Unblockable; 30AP of super armor | KD | — |
Slamdown: This throw has two parts. In the first part, Heihachi slams the enemy to the ground, bouncing them into the air. Immediately after, Heihachi automatically stomps on them, inflicting a Medium AP Penalty. It isn’t great for Combos, but it is very good at interrupting an opponent that is pressing the attack.
 : SQUARE ATTACKS
GROUND ATTACKS
| # | Name | Command | AP Gain | Properties | Hit Effects | CI | Notes |
|---|---|---|---|---|---|---|---|
| 1 | Flash Punch 1 |
|
5 | — | — |
|
— |
| - | Flash Punch 2 |
,
|
5 | — | — |
|
— |
| - | Flash Punch 3 |
,
,
|
30 | — | Eject roll | — | — |
| 2 | Iron Hand |
|
20 | — | Butt-drop | Any attack | — |
| - | Wake-Up Dive |
|
20 | Input during wake-up dodge roll | Lift | — | — |
| 3 | Demon Uppercut 1 |
|
10 | — | Lift |
|
— |
| - | Demon Uppercut 2 |
,
|
20 | — | Full launch | — | Cannot move until grounded |
| 4 | Demon’s Wings |
|
20 | 30AP of super armor during spin | Butt-drop | — | Hits on either side of Heihachi |
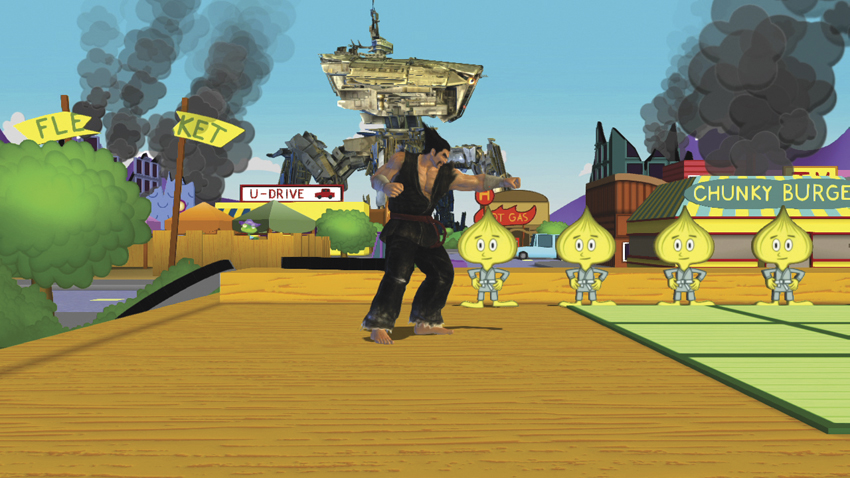
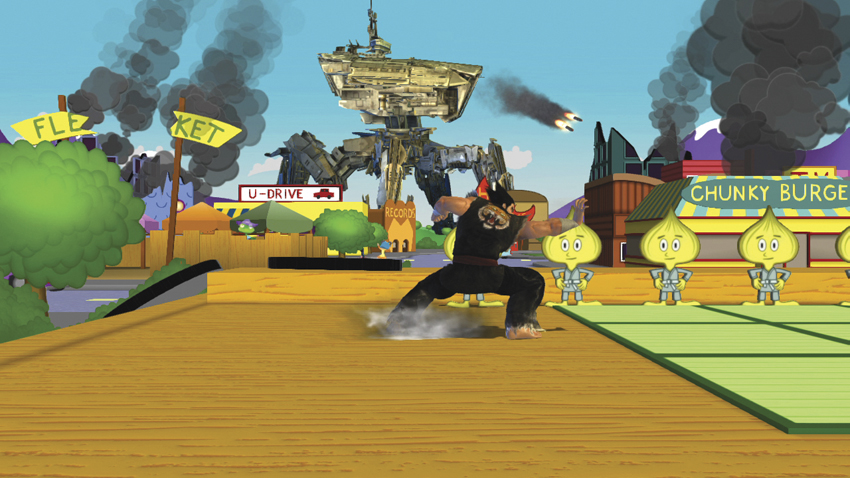
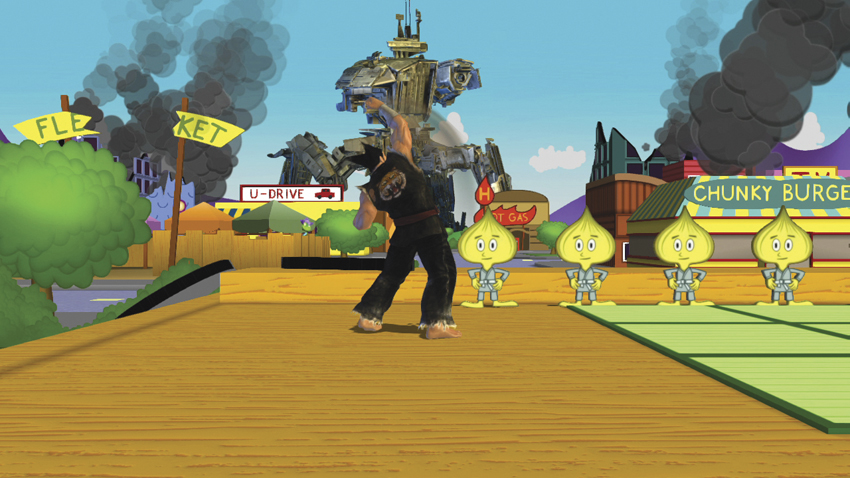
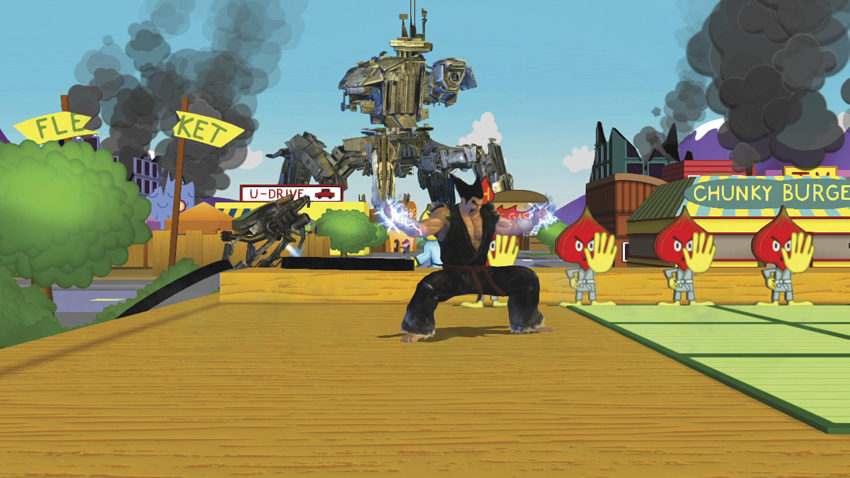
Heihachi is a character who features several combo openers among his
Attacks, which fits his origins as a fighting game character. Iron Hand (
) is a stiff palm strike that makes enemies butt-drop. Performing Iron Hand again while they’re in a butt-drop state forces them to go into a full knockdown state. However, if you transition into Heihachi’s Flash Punch 3 (
,
,
) after Iron Hand, Heihachi earns a cool 60AP.
Demon’s Wings (
) makes enemies butt-drop, as well. It has a more obvious start-up animation than Iron Hand, and as a result, it needs to be used differently. While Iron Hand is useful as a surprise attack to open a combo, Demon’s Wings is best used as an ambush maneuver. When an adversary is focused on another opponent, move Heihachi in close and use Demon’s Wings to stop their attack and begin one of your own.
Wake-Up Dive (
) can only be used during a dodge roll immediately after being knocked down. Instead of simply standing up, Heihachi rolls to his feet and immediately dives at the enemy. This attack can prevent an opponent from catching Heihachi with an attack as soon as he stands up. If Wake-Up Dive hits, then the situation reverses. Instead of Heihachi being in danger when he’s standing up after being knocked down, your enemy will be in danger and have to react to your attack. When Heihachi is getting hammered, use Wake-Up Dive to steal back some momentum and buy time to regroup.
Demon Uppercut 1 (
) and Demon Uppercut 2 (
,
) are a solid pair of launchers. Demon Uppercut 2 launches the enemy high into the air, giving you a chance to create a combo by having Heihachi jump or double jump before transitioning into an air combo.
AIR ATTACKS
| # | Name | Command | AP Gain | Properties | Hit Effects | CI | Notes |
|---|---|---|---|---|---|---|---|
| 1 | Double Palm |
Air
|
5, 10 | — | Kneel (second hit); lift (second hit, aerial foe) | — | Downward momentum paused on hit |
| 2 | Air Iron Hand |
Air
|
20 | — | Butt-drop | — | — |
| 3 | Air Demon Uppercut 1 |
Air
|
10 | — | Lift |
|
— |
| Air Demon Uppercut 2 |
Air
,
|
20 | — | Full launch | — | — | |
| 4 | Air Hammer Punch |
Air
|
15 | — | Bounce; KD against airborne opponent | — | — |
Air Demon Uppercut 2 (
,
) fully launches enemies in the air, too. At the same time, it is harder to follow up Air Demon Uppercut 2 with a combo as a result of the extreme height the opponent reaches. It works great as the tail end of a combo, however, or for a quick burst of AP gain in non-combo situations. Air Demon Uppercut 1 (
) comes out very quickly and can be a great surprise. If you hit with Demon Uppercut 1, the odds are very good that Air Demon Uppercut 2 will also connect, so get used to performing this attack at a moment’s notice.
Certain players excel at air Combos and can lock Heihachi down with ease, unless you come up with a solid counterattack. Air Hammer Punch (
) is a great counterattack to head off incoming aerial Combos. Heihachi’s mid-air downward chop bounces a grounded enemy off the level’s floor, opening them up to air Combos. When Heihachi hits an airborne foe with an Air Hammer Punch, they are smashed to the ground in a knockdown state. It can stop an incoming attack cold, and you can even use it to stop an opponent from jumping. This versatile move should be a fixture of your strategy.
Double Palm (
) works well in mid-air as a combo finisher. Heihachi’s falling motion pauses while he’s attacking, and the enemy is lifted higher into the air and slightly knocked away from Heihachi after the attack ends. This gives you a chance to regroup on the ground and catch the opposing character on their way down with another combo.
Using Air Iron Hand (
) is a little more complicated. It knocks enemies away as soon as it hits, leaving Heihachi with few options. Use Air Iron Hand near a wall to force a wallbounce to increase your chances of successful follow-ups.
 : TRIANGLE ATTACKS
GROUND ATTACKS
| # | Name | Command | AP Gain | Properties | Hit Effects | CI | Notes |
|---|---|---|---|---|---|---|---|
| 1 | Spinning Roundhouse |
|
30 | — | Eject tornado | Any attack | Repeatable |
| - | Wake-Up Sweep |
|
20 | Invincible; hits on either side of Heihachi | Sweep | — |
Input
during wake-up; any action OK once standing
|
| 2 | Hell Axle 1 |
|
10 | Aerial attack | — |
|
— |
| - | Hell Axle 2 |
,
|
20 | Aerial attack | Lift | — | — |
| 3 | Rising Toe Kick |
|
20 | — | Lift | — | Attack okay once grounded |
| 4 | Jichinsai |
|
20 | — | KD | — | — |
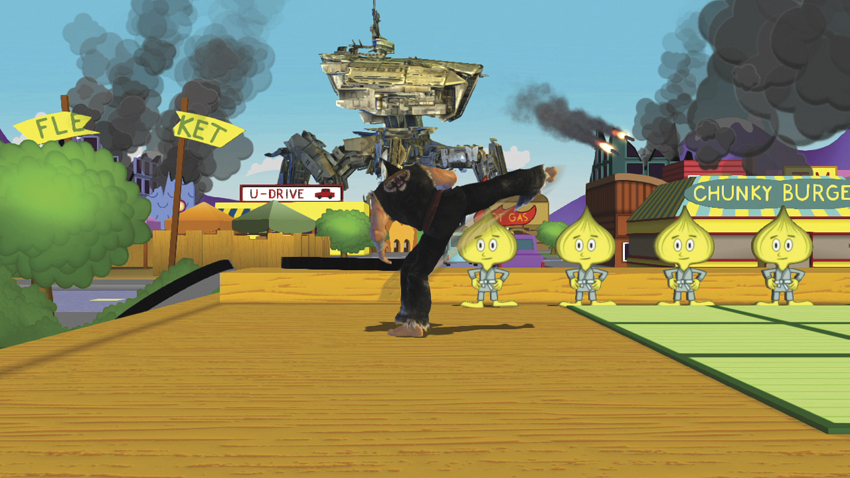
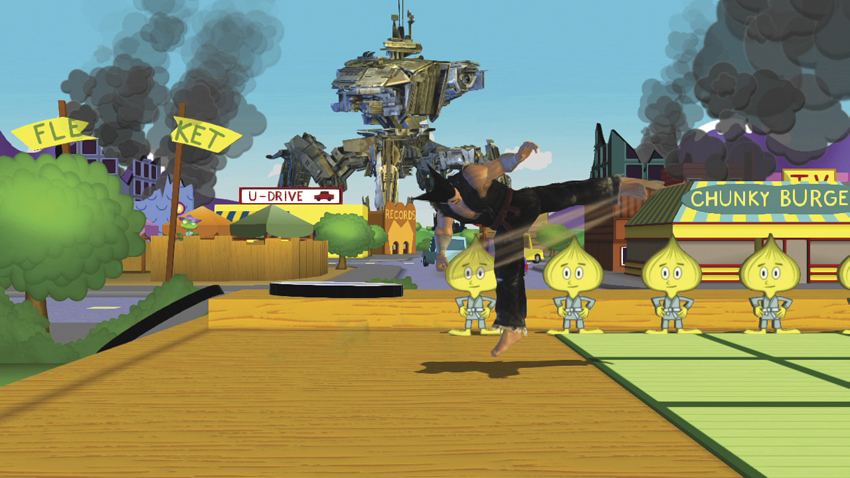
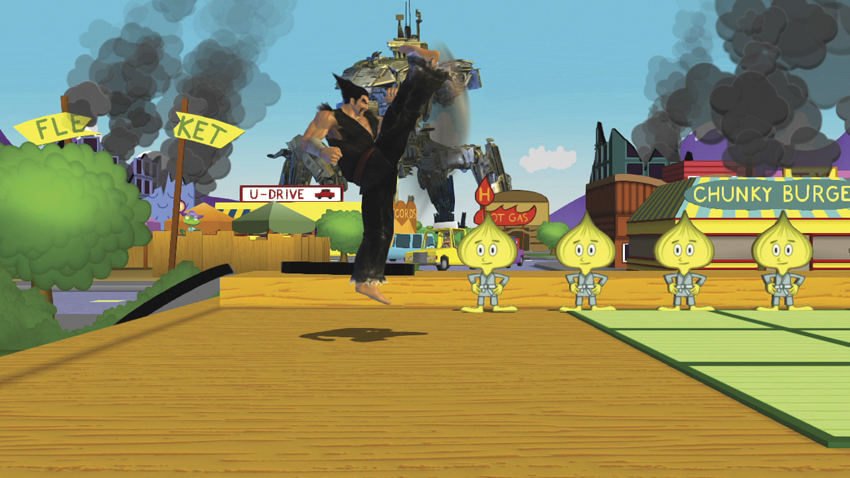
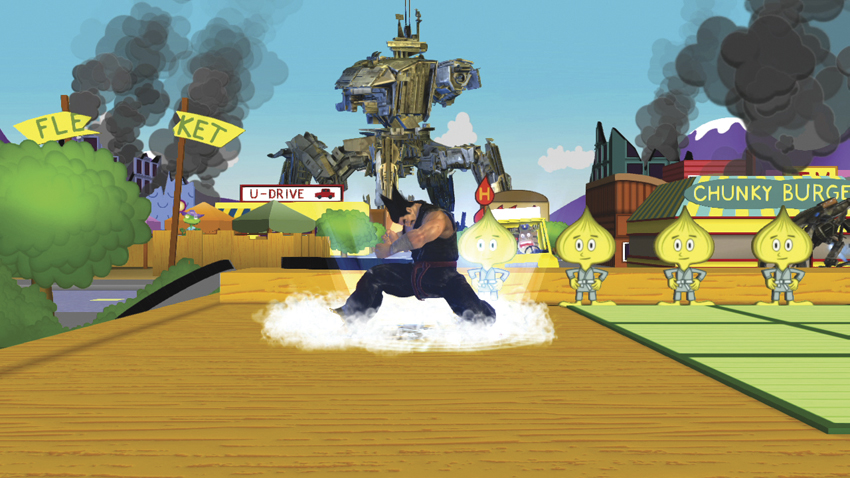
Heihachi has attack options beyond “ground combos” and “air combos.” He can force an enemy into a wallbounce with ease, and he has several Attacks that let him follow up on that wallbounce with an air or grounded combo. For example, his Spinning Roundhouse (
) makes opponents eject spiral away. If you execute it while some distance away from a wall, with your enemy between Heihachi and the wall, then the enemy wallbounces back at Heihachi. From there, you can perform an Air Iron Hand (
) for a combined total gain of 50AP. The timing is tricky, and it takes some amount of time to pull off thanks to waiting for the adversary to wallbounce, but it’s worth it. When your challenger isn’t gaining AP and you are, things are going well.
Hell Axle 2 (
,
) and Rising Toe Kick (
) are both great launchers that result in a lift state. Rising Toe Kick is by far the safest
launcher Heihachi has, as it comes out quickly and has no lead-in attack. Hell Axle 2 is a good launcher but requires Hell Axle 1 (
) to be performed before it can come out. If Hell Axle 1 whiffs or is blocked, Heihachi is left vulnerable to counterattack. Rely on Rising Toe Kick as your primary launcher, but don’t be afraid to use Hell Axle 2 when you see an opening. Hell Axle 2 is particularly effective on enemies that are jumping in or just whiffed an air attack. The AP gain is the same for both moves, as well.
Jichinsai (
) is a vicious stomp that’s best performed after making an opponent butt-drop or launching an adversary into the air. The stomp can hit twice—once in the air, and a second hit when Heihachi’s foot hits the ground—and can add up to 40AP to a combo.
AIR ATTACKS
| # | Name | Command | AP Gain | Properties | Hit Effects | CI | Notes |
|---|---|---|---|---|---|---|---|
| 1 | Wind Slicer |
Air
|
30 | — | Eject spiral | — | — |
| 2 | Air Hell Axle 1 |
Air
|
10 | — | — |
|
— |
| - | Air Hell Axle 2 |
Air
,
|
10 | — | Lift | — | — |
| 3 | Air Rising Toe Kick |
Air
|
10 | — | Lift | — | — |
| 4 | Demon Scissors |
Air
|
20 | Puts Heihachi in KD state on whiff | KD | — | Cannot attack until standing on hit |
Like Spinning Roundhouse (
on the ground), Wind Slicer (
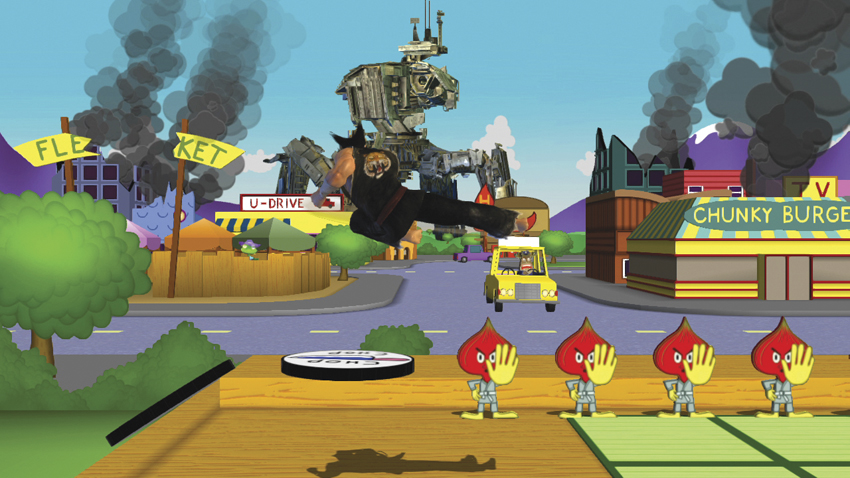
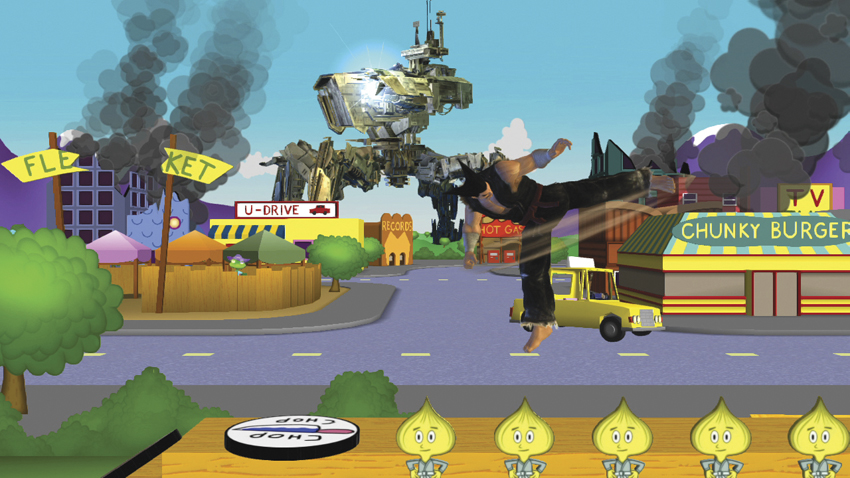
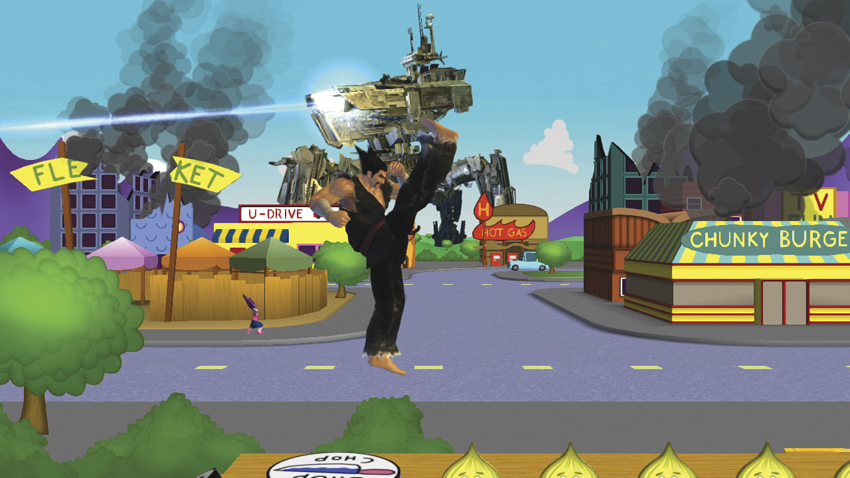
) is great at forcing enemies into a wallbounce. It’s an aerial kick, and its greatest asset is its range. Even striking an attacker with the very tip of Heihachi’s foot results in full contact, which is very valuable. While it has offensive applications, explore what Wind Slicer means to your defensive gameplan, as well. If you’re in a difficult situation, such as being outnumbered, use Wind Slicer to push an enemy away, and hopefully toward another character. This should leave you free to engage in a one-on-one battle rather than being tag-teamed by your foes.
Demon Scissors (
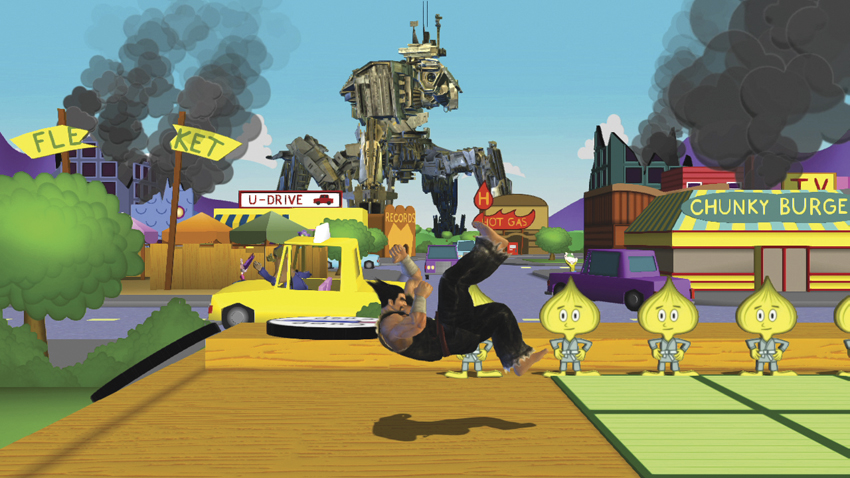
) seems like an odd move at first glance. Heihachi flips forward, bringing both legs over his head in a clockwise arc. If this move whiffs, Heihachi simply falls to the ground in a knockdown state. If Heihachi connects with Demon Scissors, however, the enemy is knocked to the ground and falls with Heihachi, who rises to his feet while his opponent is still in a knockdown state. Clever use of Demon Scissors can create an opening where there wasn’t one, but use it carefully, as missing the attack may not be worth the risk.
Air Rising Toe Kick (
), Air Hell Axle 1 (
), and Air Hell Axle 2 (
,
) remain as effective in mid-air as they are on the ground, though now you must contend with falling speeds and timing. There’s a slight forward motion on Heihachi’s Air Hell Axle 1 that lets him connect with opposing characters that may be a short distance out of his usual range, but make sure that you hit the enemy in the chest or legs. If you hit the target in the head, the foe may fall too fast for Air Hell Axle 2 to connect.
 : CIRCLE ATTACKS
GROUND ATTACKS
| # | Name | Command | AP Gain | Properties | Hit Effects | CI | Notes |
|---|---|---|---|---|---|---|---|
| 1 | Heaven’s Wrath |
|
20 | Counter hit strikes 360 degrees | Butt-drop | — | Long recovery on whiff |
| - | Demon’s Breath |
(fast)
|
30 |
Input
immediately after
|
Eject spiral | — | — |
| 2 | Wave Dash |
|
— | Invincible during forward motion | — |
,
,
|
Cancels into itself |
| - | Wind God Fist |
,
|
20 | — | Lift | — | — |
| - | Electric Wind God Fist |
(fast)
|
20 |
Input
immediately after
; 30AP of super armor
|
Lift |
|
Cancels into itself |
| - | Spinning Demon |
,
|
5, 5, 10 |
input can be repeated up to three times
|
Sweep (third hit) |
,
|
— |
| - | Tsunami Kick |
(during Spinning Demon)
|
10, 10 | — | KD | — |
Can also be performed by pressing
four times during Spinning Demon
|
| - | Spinning Demon Uppercut |
(during Spinning Demon)
|
20 |
Press
after any
input
|
Eject tornado | — | Cannot move until grounded |
| 3 | Bowling Pin Toss |
|
10 | — | — | — | Chance to produce beach ball |
| 4 | Raijin |
(hold)
|
— | Full charge triples AP gained from next hit | — | — | Three-second charge time |
| - | Pulverizer |
(during Raijin Stance)
|
20 | Dashes forward | Crumple | — | — |
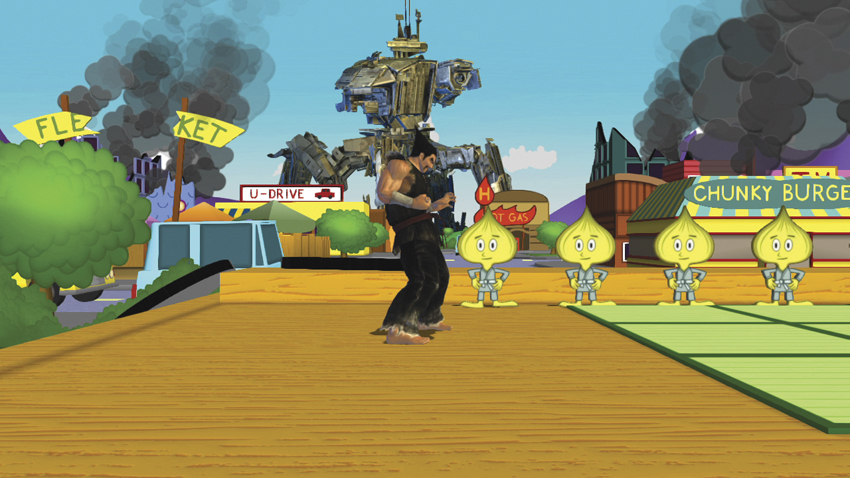
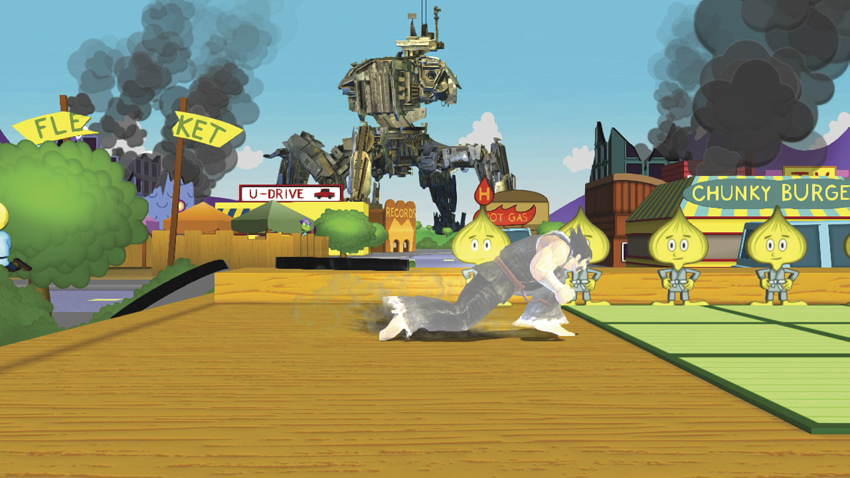
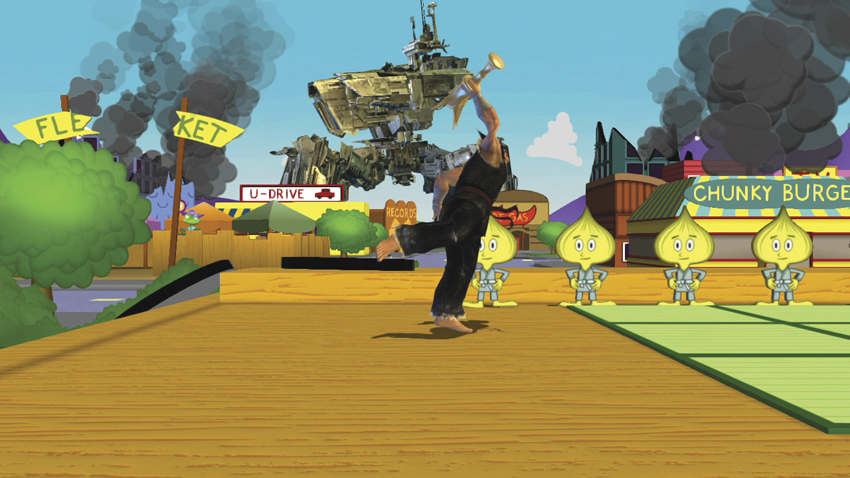
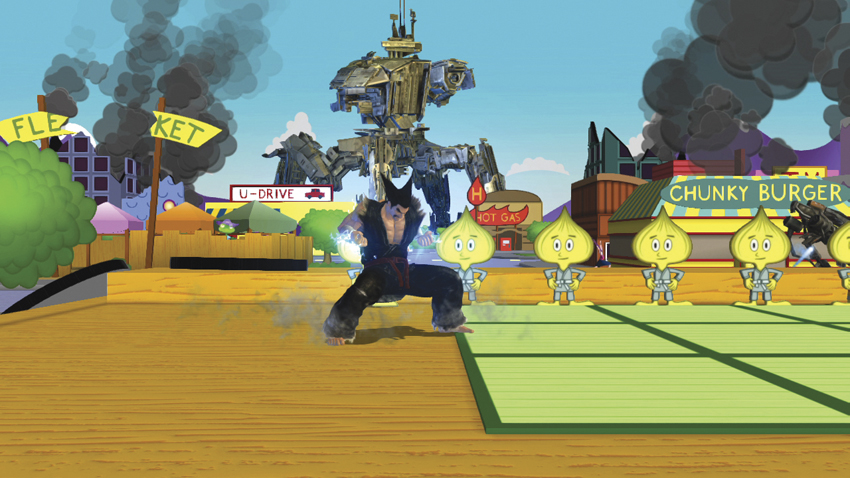
The
Attacks are where Heihachi becomes both complicated and extremely rewarding. Heaven’s Wrath (
) is a stance that automatically reacts to Attacks from any direction, even from Heihachi’s back. It earns 20AP, forces opponents to butt-drop, and has a remarkably long recovery time if you whiff the counter. There’s a very small window that Heihachi has to work with here, and if you try to perform Heaven’s Wrath too early or too late, Heihachi will take the hit instead of countering it.
In addition, Heihachi can branch off from Heaven’s Wrath and perform Demon’s Breath (
,
). This move requires extremely fast timing to pull off, as
must be pressed almost as soon as you press
. Properly timed, this move slams foes into an eject spiral. Once you have the timing down, whip out Demon’s Breath during your Combos to earn some fast AP and get some space.
Heihachi’s Wave Dash (
) is not an offensive maneuver, but it can transition into several other Attacks and moves. You can cancel this forward dash into another Wave Dash as often as you like. Simply input
again, before the original animation has ended, and Heihachi will dash twice in the same direction. Keep pressing
to keep dashing. This is a fantastic way to move around the level, as Heihachi can cancel the Wave Dash into an attack at a moment’s notice.
Of course, the Attacks are the most important part of Heihachi’s gameplan. The first branching Attacks from a Wave Dash are the Wind God Fist (
,
) and Electric Wind God Fist (
x
). The two Attacks function similarly, and both lift the enemy at the end of the attack, leaving Heihachi time to begin a grounded combo. Creating air combos after jumping toward a lifted opponent is tougher, thanks to the timing, but it’s still possible. However, the most reliable way to follow up a Wind God Fist is with a grounded attack like Jichinsai (
) or Hell Axle 1 (
).
Spinning Demon (
,
,
,
) is another move that branches off a Wave Dash. Heihachi performs three spinning kicks that end with a sweep. Press D again after the third kick to perform a Tsunami Kick, which knocks the enemy down. You can also press
at any point during a Spinning Demon to transition into a Tsunami Kick immediately. Press
after beginning a Spinning Demon to perform a Spinning Demon Uppercut. Visually similar to Demon Uppercut 1 (
), Spinning Demon Uppercut pushes foes into an eject tornado upon completion, making it a fantastic move for playing keep-away.
Heihachi’s Bowling Pin Toss (
) seems like a great anti-air, but it has a hidden function, too. There’s a chance that Heihachi will pitch a beach ball instead of a bowling pin when performing Bowling Pin Toss. The beach ball doesn’t go away after hitting an enemy. The beach ball absorbs AP every time you hit it, and the character that hit the ball last cannot be harmed by the ball. If you manage to hit the ball several times in a row, causing the ball to glow, you can earn a huge AP bonus when the ball strikes an opponent.
Use the Raijin (
) carefully. Pulverizer (
,
) is a great move and combo opener, since it makes characters crumple on hit. It comes out fairly fast, as well, so use it liberally. Raijin can bless Heihachi with triple AP on the next hit, but it takes quite some time for that effect to take hold. Charge
for three full seconds until Heihachi’s hands glow red to earn triple AP.
AIR ATTACKS
| # | Name | Command | AP Gain | Properties | Hit Effects | CI | Notes |
|---|---|---|---|---|---|---|---|
| 1 | Air Heaven’s Wrath |
Air
|
20 | Active until grounded or hit | Butt-drop | — | — |
| 2 | Air Wave Dash |
Air
|
— | May only be performed once in air | — | Any attack | Repeat input results in Air Heaven’s Wrath |
| 3 | Air Bowling Pin Toss |
Air
|
10 | More shallow throw arc than ground version | — | — | Chance to produce beach ball |
| 4 | Air Raijin |
Air
(hold)
|
— | Cannot move until grounded | — | — | Reduces one second from charge time once grounded |
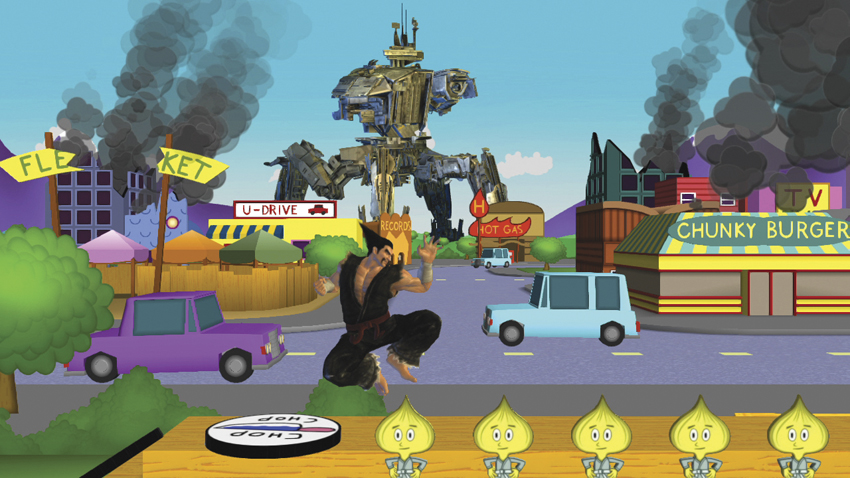
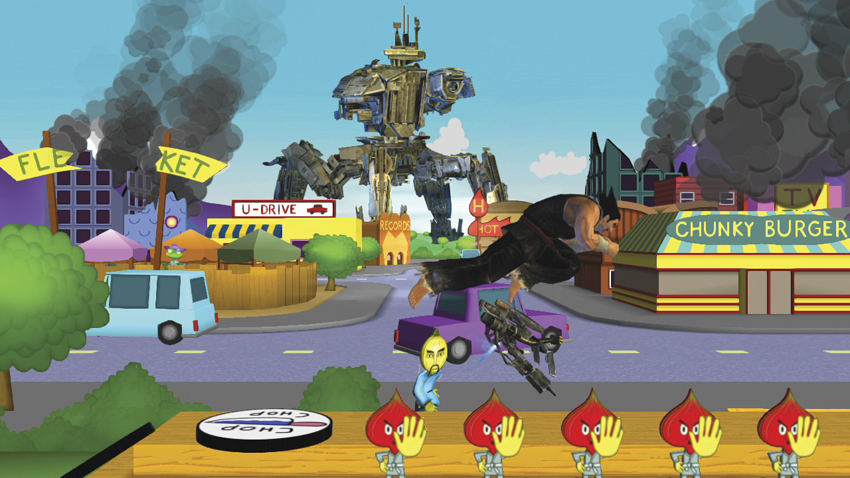
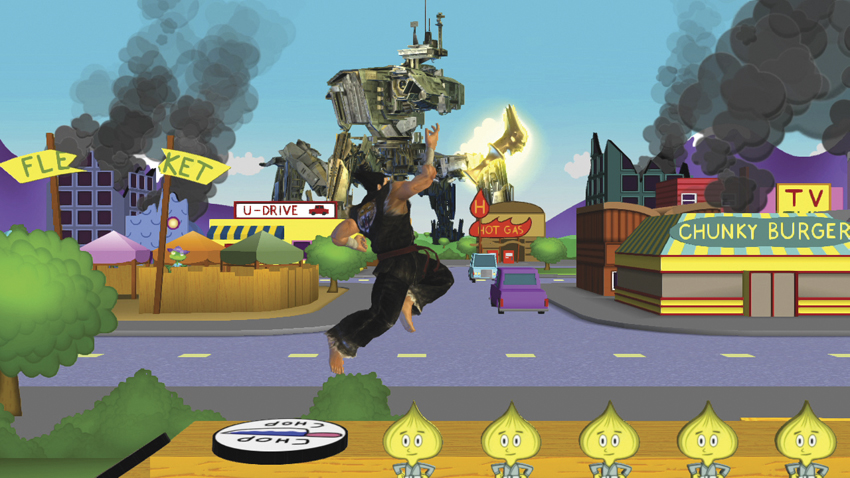
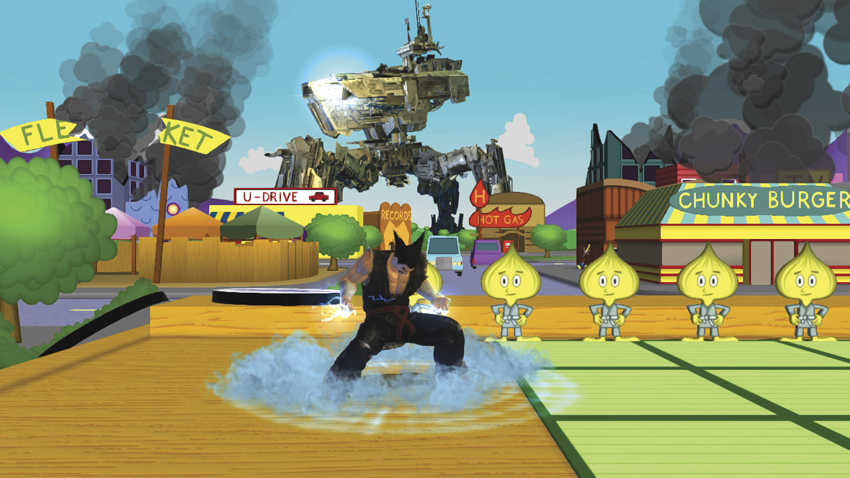
Heihachi’s airborne
Attacks are much less complicated than his grounded
Attacks. Air Wave Dash (
) is simply an air dash. Use Air Wave Dash to move Heihachi in close before utilizing an Air Hell Axle 2 (
,
) or Air Iron Hand (
). Air Wave Dash is an important mobility move, and it can be used to either approach or retreat from an enemy very quickly. If you expect trouble from an adversary, use this to keep your distance.
The Air Bowling Pin Toss (
) is almost identical to the grounded version, but Heihachi now THROWS the bowling pin at a shallower angle than he does on the ground. This changes how the pin travels, a difference that definitely needs to be adjusted for when constructing your gameplan and combos. When an enemy double jumps in on Heihachi, hopping and performing Air Bowling Pin Toss should serve to deter them.
Air Heaven’s Wrath (
) is an aerial stance that allows Heihachi to automatically counterattack when struck. When playing an adversary, pay attention to when they begin attacking after jumping. Do they attack at the peak of their jump? On the way down? Do they tend to do multiple Attacks in a single jump? Once you’ve figured that out, use Air Heaven’s Wrath to counter their Attacks as soon as they jump in and stop them cold.
It may seem strange, but using Raijin (
) in mid-air is actually a good idea, assuming you have the benefit of safety or distance keeping Heihachi away from opponents. Using Raijin in the air reduces the charge time of the attack by a full second, saving you valuable time and leaving Heihachi with a little less at risk than he would have on the ground.
COMBOS
MAIN COMBOS
Note: All combos assume your character is facing the right side of the screen.
I. Against grounded foe:
,
,
,
60AP
Heihachi’s bread and butter begins with an Iron Hand (
) before transitioning into a Flash Punch Combo 3 (
,
,
). This combo depends on the enemy butt-dropping after being struck by the Iron Hand. As soon as the adversary falls, begin inputting the Flash Punch Combo 3. After the foe eject rolls away, Wave Dash (
) in to press the attack.
II. Against grounded foe:
,
,
60AP
This is another easy combo with a high reward. Jichinsai (
) hits twice on an airborne opponent, and Hell Axle 2 (
,
) is the perfect lead-in to that attack. This combo is fairly safe to use in terms of possible reprisals. Make sure to stop the attack if Hell Axle 1 (
) misses. Try to catch foes by surprise with this combo, particularly when they’re busy battling another character. It comes out quickly enough that you can interrupt someone else’s battle, earn 60AP, and then quickly Wave Dash (
/
) to safety.
III. Against a grounded foe:
(full charge),
,
,
,
,
100AP
You need three seconds of freedom to setup this combo, but it’s intensely rewarding. Even if one or two hits whiff, Heihachi is still earning massive AP for his trouble. Begin by fully charging Raijin (
for three seconds) and then performing an Iron Hand (
). Immediately input
,
to begin the Spinning Demon, and continue pressing
until the Tsunami Kick comes out. Properly performed, you get 100AP for this combo. If you manage to catch more than one character with any step of this combo, the AP gain increases accordingly.
COMBO APPENDIX
| Combo | _+AP | Notes |
|---|---|---|
|
(full charge),
,
|
90AP | This short combo earns 90AP on a full charge. |
|
,
,
,
,
,
|
80AP |
Don't charge
for this combo.
|
|
,
x
|
50AP |
Practice to make sure you can hit the timing for the
x
every time.
|
ADVANCED STRATEGIES
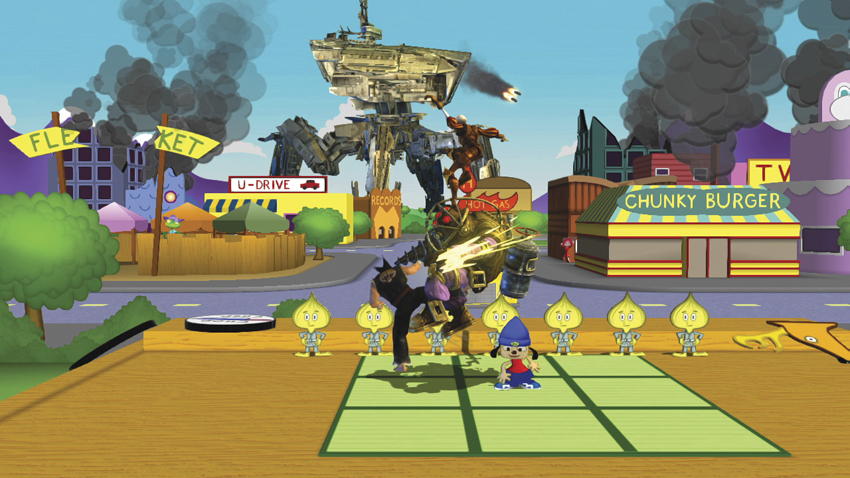
Use the Hell Axle 2 (
,
) liberally.
Heihachi is a born warrior. He has combos that earn an astronomical amount of AP for only a little extra effort, his standard Attacks are extremely versatile, he has several avenues for mind games, and introducing a beach ball into a fight always serves to disrupt every character on the screen as they seek to take advantage of the ball’s AP-earning properties.
He’s a very well-rounded fighter, perhaps due to his origins as a fighting game character. Heihachi can attack, counter, and evade with ease. A centerpiece of your strategy should be utilizing Heaven’s Wrath (
) and Air Heaven’s Wrath (
in mid-air) to counter your opponent’s Attacks. An enemy that has been countered is an enemy that isn’t currently earning AP. This keeps them from earning Super Meter while maximizing your own Super Meter gain, putting them even further behind you. When your opponent gets too close, use Demon’s Breath (
x
) to knock them away.
Use the Wave Dash (
) to quickly traverse the level and setup your Combos. Heihachi isn’t the fastest character in the game, which makes the burst of speed that powers his Wave Dash something that can easily surprise other characters. Tease your opponents by dancing in and out of medium-close range, and then when they whiff an attack, go at them hard with a Wave Dash into a launcher.
Launching enemies is one of the most important tactics in Heihachi’s home game, Tekken, as well. Launching foes gives you a chance to juggle them, and juggles are where the AP gain really takes off. Heihachi’s Flash Punch 3 (
,
,
) is a great go-to juggle, as are the Hell Axle 2 (
,
) kicks. If you’re very fast, you can even juggle an adversary using a Wave Dash and attack.
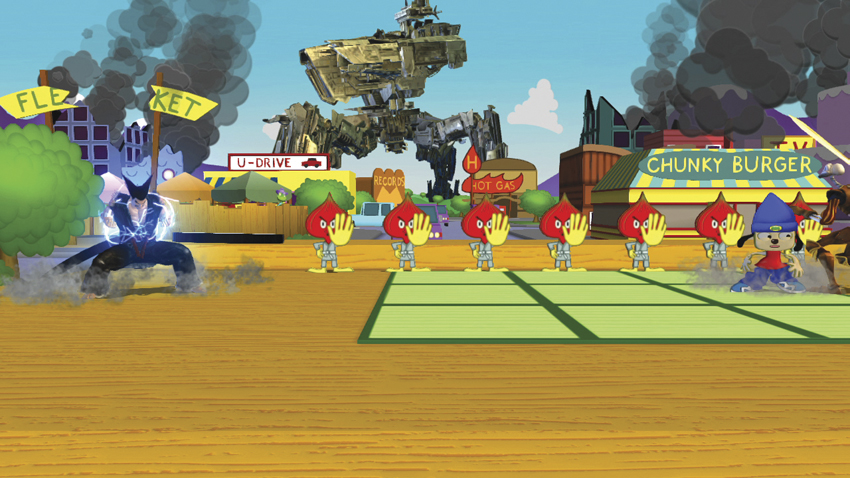
Charging Raijin (
) is risky but intensely rewarding.
The general rule to follow when playing Heihachi is that if a move looks like it should connect during a combo but didn’t the last time you tried, try to input the move a little faster next time. Heihachi requires expert timing for his most damaging Combos, and while that takes time to learn, once you get it down, you’ll find yourself completely controlling a match and demolishing your enemies.
Your goal should be to build up to the 400AP required for his Level 2 Super attack. Heihachi can do this quickly, particularly if you fully charge Raijin (
) to triple the AP of the very next hit you land. Once you earn enough AP to activate that Super attack, do so immediately, and then return to AP earning while Kuma battles your enemies.
Heihachi is at his best in one-on-one situations, especially when trying to charge Raijin, but he has a few tools to ease the difficulty of being outnumbered. Heaven’s Wrath is a 360º counter, so it can strike back at any character that hits him from any direction, even behind. Wave Dash to escape from trouble, and use the Air Hammer Punch (
) to keep your enemies on the ground. You can play Heihachi very aggressively, if you so desire, and earn AP at a positively astronomical rate.