
PlayStation All-Stars Battle Royale Guide Essentials Gameplay Overview
Gameplay Overview
Knowing the basic control functions and menu options is a good start, but now it’s time to dig into the mechanics of PlayStation All-Stars Battle Royale . This chapter covers all the need-to-know info required to begin crafting a PlayStation All-Star dynasty, with the hopes of one day capturing that top spot on the Seasonal Leaderboards.
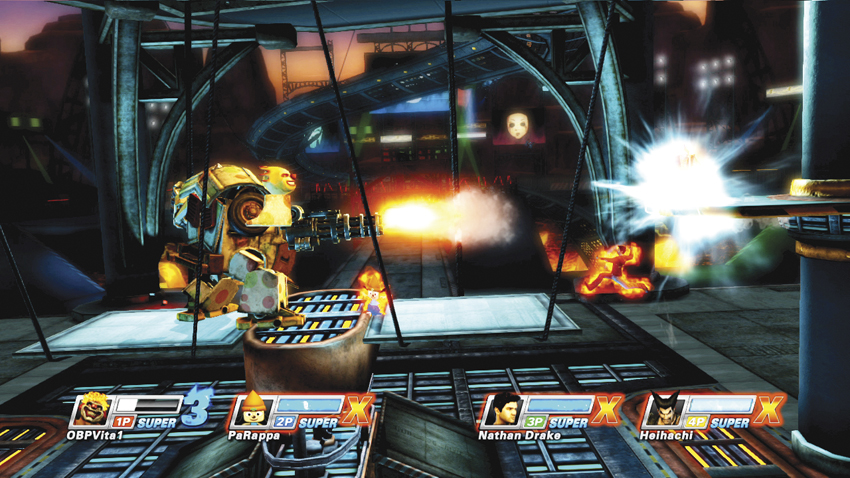
GAME SCREEN
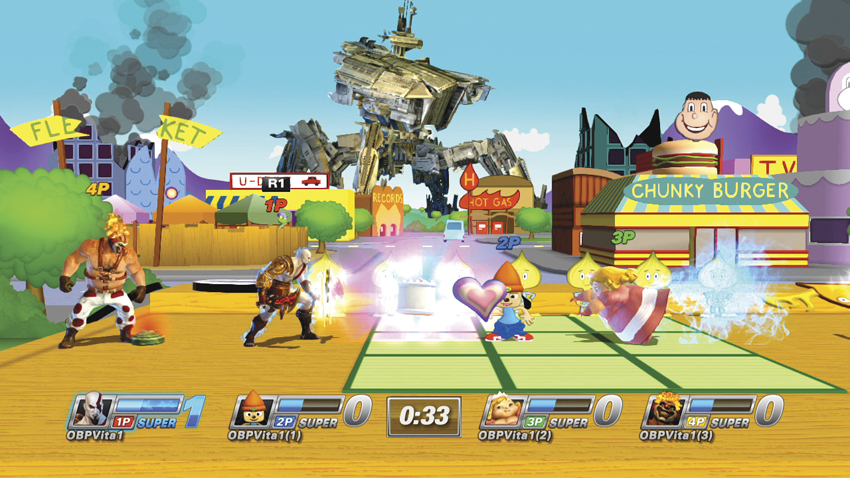
1. PLAYER INDICATORS
The number displayed above each character indicates the player controlling them. This indicator corresponds with the same color and number shown next to the character portraits at the bottom of the screen.
2. PICK-UP INDICATOR
If an
 icon appears above a character’s head, it means there is an item nearby that they can pick up.
3. CHARACTER PORTRAIT
Displays a headshot of the character being controlled by that player.
4. AP METER
The small gauge next to the Character Portrait shows that player’s current level of acquired AP. AP is All-Star Power, the energy required to perform Super attacks. Land attacks or grab AP Orbs to fill your meter. Your character glows blue when the bar is filled, indicating that you can perform a Super attack by pressing
 .
.
5. SUPER ATTACK LEVEL
Shows your character’s current Super attack level. You can build up to three levels, each more powerful than the last. If an “X” icon is displayed instead of a number, you cannot currently use your Super.
6. GAME CLOCK
Displays the amount of time remaining in the match. The clock is replaced with a kill counter or stock counter for other match rule sets.
RULES
The main gameplay in PlayStation All-Stars Battle Royale is fairly straightforward: attack opponents, build All-Star Power (AP), and use Super attacks to kill enemies. Matches can consist of two game types: Free-For-All (FFA) and Teams. Free-For-All is just what it sounds like: two to four players battle it out in an “every All-Star for himself” slobberknocker that’s sure to shake the heavens. Team games are typically two teams of two players (aka 2v2) in a duel to the death, but those seeking a challenge can try a three-on-one match if they so desire.
There are also three different rule sets for adding a bit of variety to the battle: Time Limit, Stock Limit, and Kill Limit.
TIME LIMIT
Time Limit games are the most common match type to encounter. The standard configuration consists of a three-minute time limit in which characters try to score as many kills as possible.
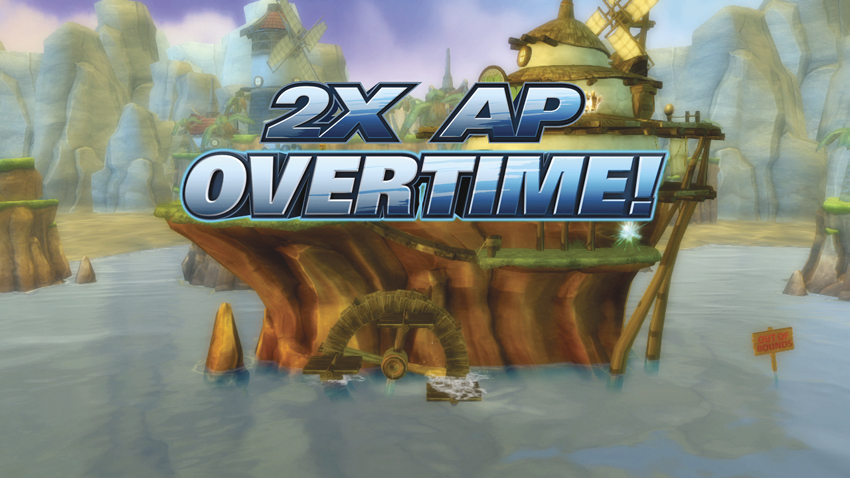
Kills are worth two points, while dying subtracts a single point. The All-Star with the most points at the end wins! The real challenge during Time Limit matches is keeping track of who’s in the lead. Since there isn’t a score display in Time Limit, you can never be certain if your kill/death ratio is sufficient enough to win, so try to keep a mental tally of your personal score as you play.
Should the match result in a tie, all players are reset to their starting positions, and all AP is removed from their meter. One minute is added to the clock, and every competitor gains AP at double the normal rate! Another tie continues the overtime process, increasing the AP multiplier again to triple the normal rate.
STOCK LIMIT
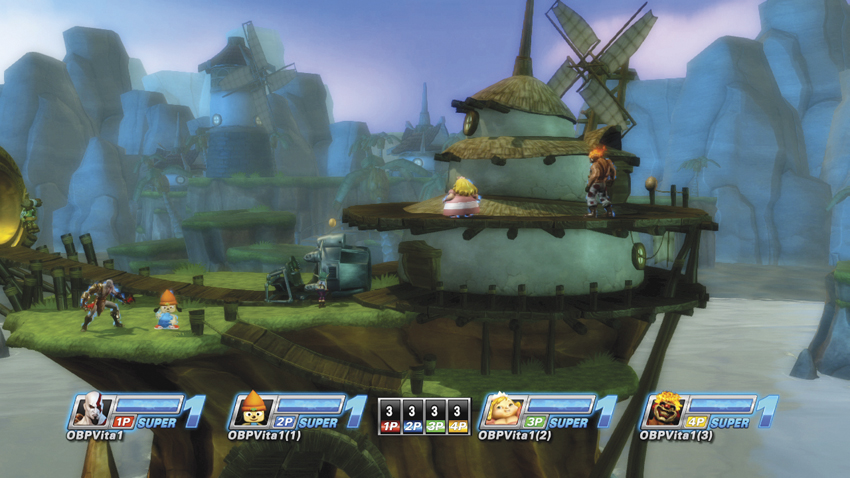
In Stock Limit games, the timer is replaced with a counter that shows the number of lives remaining for each character. The match goes on until only one All-Star is left standing.
KILL LIMIT
The mirror image of the Stock Limit rule set, Kill Limit sets a pre-defined ceiling on the number of kills required to win. Once again, the timer is replaced with a score display that indicates the number of kills each All-Star has performed. The first All-Star to reach the kill threshold is the winner.
BACK TO BRAWLING
It’s great to know how the controls, menus, and rules work, but knowing how to fight is where the real fun lies. All characters in PlayStation All-Stars are designed to reflect their individual combat styles from their originating titles, but they are interpreted with enough simplicity that every character has the same basic controls. Getting familiar with these basics first can give you a solid foundation to pick up and play your All-Star of choice.
NAVIGATING THE ENVIRONMENT
Walking and Running
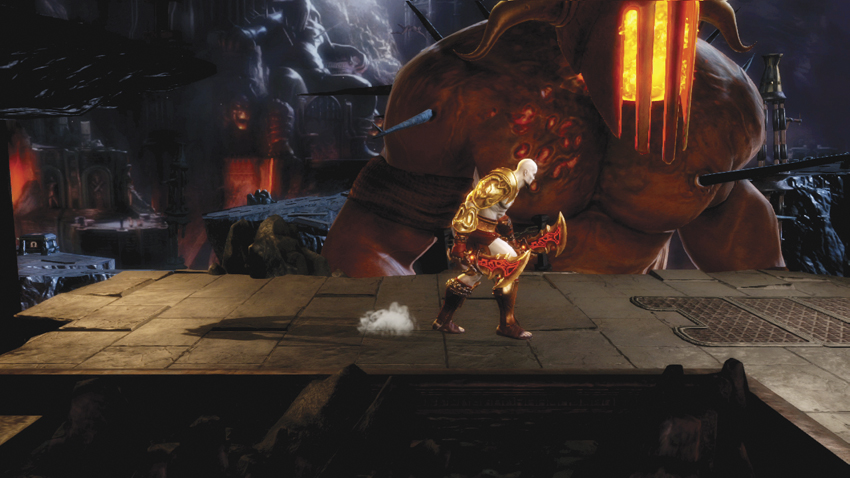
Moving around a stage is straightforward: simply push the directional buttons or left stick to the left or right to move in that direction. However, the input method used can slightly alter the way players approach the game. The left stick offers more finely tuned movement options, giving players the benefit of controlling their running speed and allowing for more control over mid-air movement. The trade-off for this fine movement control is lowered accuracy when performing attacks.
>> Moving the left stick gently
 or
or
 forces your character to walk.
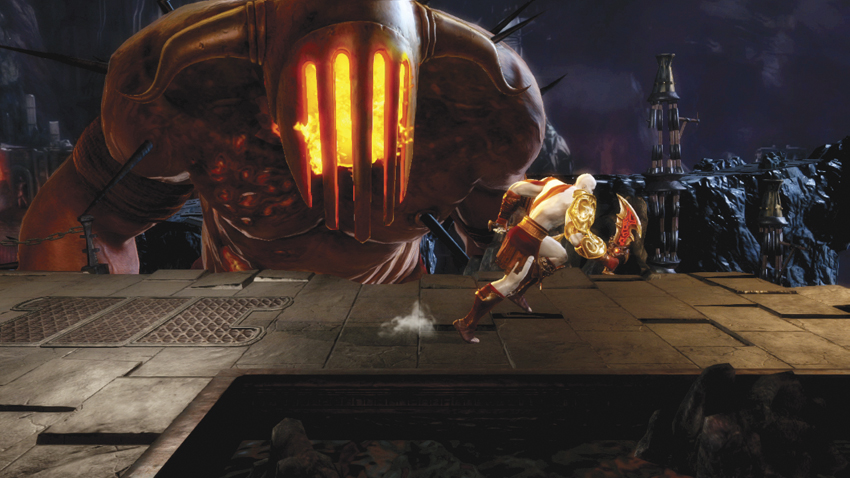
>> Using the directional buttons always forces your character to run.
Using the directional buttons forces a character to run but ensures that the attacks that the character attempts accurately reflect the player’s input. Choosing between the two is purely a matter of personal preference, as the vagaries of either input method can be compensated for with a bit of practice.
Jumping
“Press
 to jump” is a simple command to execute, but jumping has so many applications in a game like this. Nearly every stage has raised platforms for players to navigate and strategize around, and being able to effectively attack in the air is paramount to any winning strategy. So yes, “Press
to jump” is a good place to start, but there’s more ground to cover.
to jump” is a simple command to execute, but jumping has so many applications in a game like this. Nearly every stage has raised platforms for players to navigate and strategize around, and being able to effectively attack in the air is paramount to any winning strategy. So yes, “Press
to jump” is a good place to start, but there’s more ground to cover.
Press
or
while jumping to move your character in the desired direction, giving you the ability to fine-tune the angle of your jump or your landing position. Press
a second time to perform a double jump and gain more height. You can double jump at any point once your character is in the air, but you cannot jump again after double jumping until your character touches the ground. Falling off a platform or getting knocked into the air by an attack counts as one of your two available jumps.
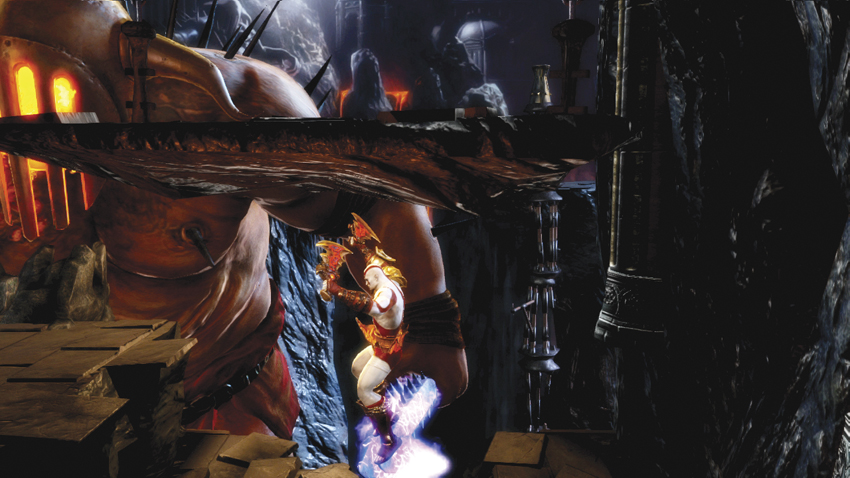
You can also have your character drop through thin platforms by pressing
 +
. This ability is handy for dodging attacks, ambushing opponents, or simply changing your location in a level quickly. Holding
while falling causes your character to automatically fall through any thin platforms in their path until you let go of the button or hit solid ground. This property applies at all times, even during attack animations, so keep it in mind when trying to nail foes hiding under cover.
+
. This ability is handy for dodging attacks, ambushing opponents, or simply changing your location in a level quickly. Holding
while falling causes your character to automatically fall through any thin platforms in their path until you let go of the button or hit solid ground. This property applies at all times, even during attack animations, so keep it in mind when trying to nail foes hiding under cover.
Crouching
Each character can crouch by pressing
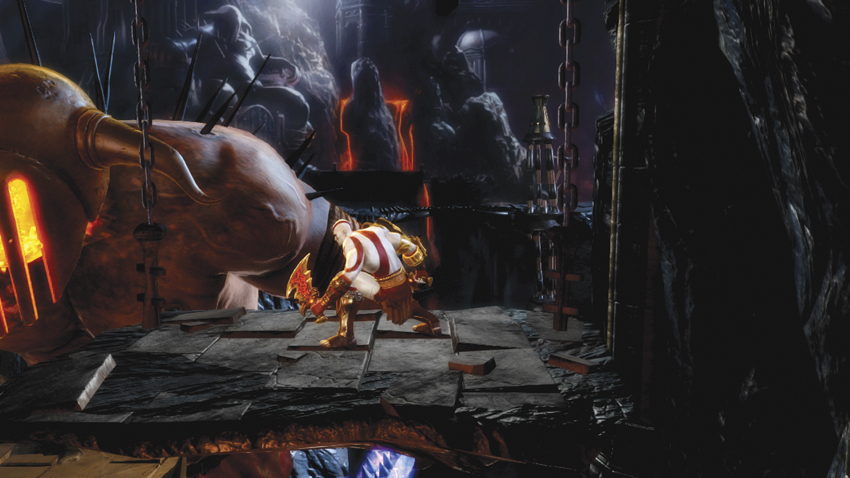
. Unlike more traditional competitive fighting games, there are no high, mid, or low hits in All-Stars. All attacks either connect with a character or they do not. However, the height of an attack relative to your character is still important. By crouching, you can avoid certain attacks while still remaining active in order to unleash a counterattack. Using a dodge roll is the safest way to avoid an incoming attack, but crouching gives you a slight speed advantage if timed correctly.
OFFENSE
Attacks
Directly attacking opponents is the primary way to gain the precious AP energy needed to unleash Supers, and this is the primary goal of every single character in the game. Luckily, you can take those quarter-circles, dragon punches, and charge-back motions from traditional fighting games and throw them out the window when you’re ready to step in the All-Star Arena.
Every character uses the same basic inputs to attack:
 ,
,
 , or
. Pressing any of these buttons on their own or combined with a direction (
, or
. Pressing any of these buttons on their own or combined with a direction (
 ,
,
/
) results in a different attack. How you use these attacks—or “tools” as they’re sometimes called—means the difference between that coveted first-place finish or the embarrassment of a fourth-place failure.
,
,
/
) results in a different attack. How you use these attacks—or “tools” as they’re sometimes called—means the difference between that coveted first-place finish or the embarrassment of a fourth-place failure.
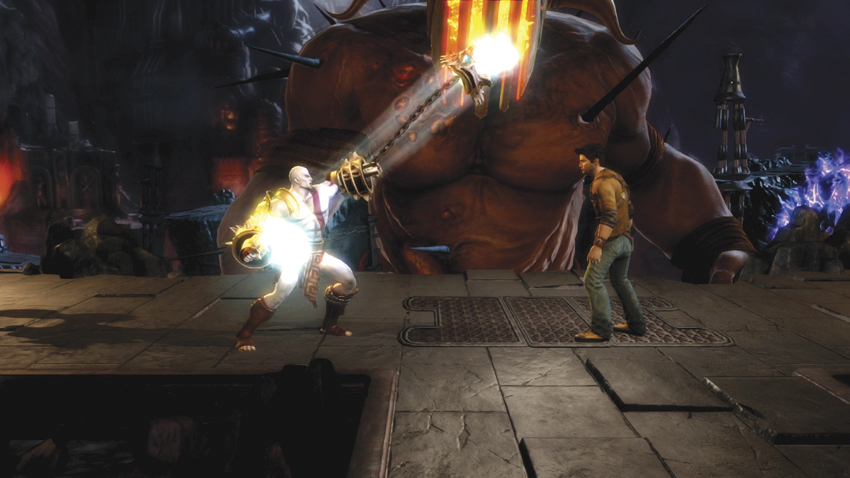
If you’ve played a character’s game of origin in the past, then you already have a head start. The designers of
PlayStation All-Stars
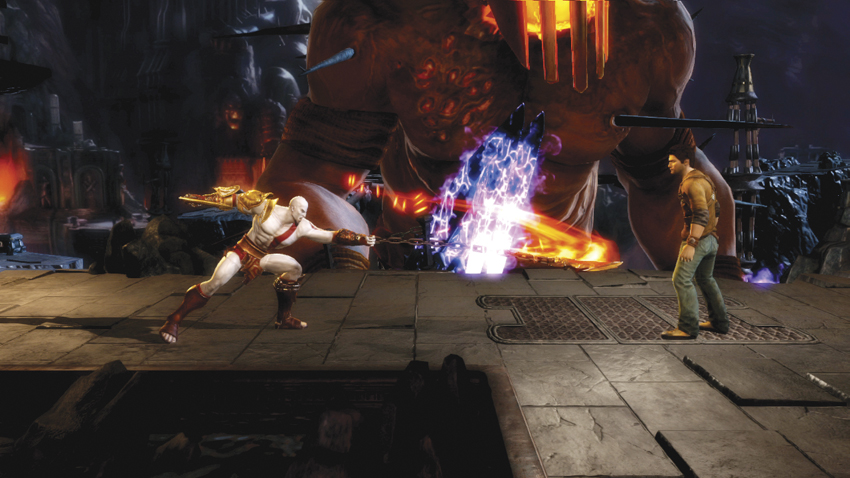
took meticulous care to ensure that each character acts like prospective players would expect them to, while maintaining balance and staying within the rule set of the game. The solution is that each attack button is themed around a certain aspect of the individual All-Star. Take Kratos, for example: every
 button attack uses the Blades of Athena,
attacks use his secondary weapons like the Nemean Cestus, and
attacks focus on equipment such as the Head of Helios or the Golden Fleece. Chances are, if it works in the original game, it most likely works in
PlayStation All-Stars
.
button attack uses the Blades of Athena,
attacks use his secondary weapons like the Nemean Cestus, and
attacks focus on equipment such as the Head of Helios or the Golden Fleece. Chances are, if it works in the original game, it most likely works in
PlayStation All-Stars
.
Each attack in a character’s arsenal earns a certain amount of AP if it connects with an opponent. Short, fast attacks that are relatively safe to perform without fear of counter attack if missed reward small amounts of AP, while slow and heavy attacks award much more. AP is also awarded when attacking a blocking adversary. This is known as “chip damage” or “chipping,” but players earn AP from chip damage at half the normal rate.
Before you challenge the world, take some time to go through each character’s move list in their basic Tutorial to get a feel for how his/her attacks work in motion.
Throws
Got an enemy that just won’t let go of the block button? Did someone just grab that Spear of Destiny item you were going for? Time to throw their buns across the stage!
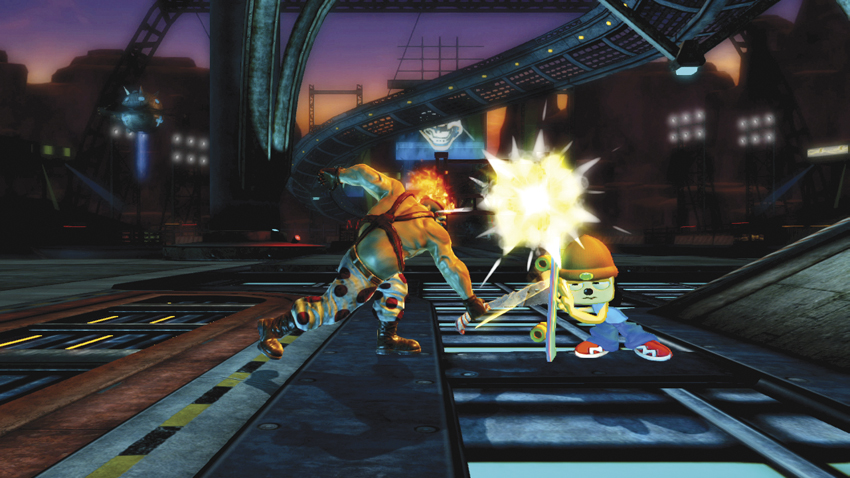
> Attacks won’t work against a blocking opponent…
Throws are unblockable attacks that put your opponent in a very disadvantageous position. The attacker gains 30AP of super armor during a throw, while the recipient loses fifteen percent of their total AP and any items they may be holding. This AP loss can potentially cause an enemy to drop down a Super Level if the penalty reduces their Super Meter below the AP requirement for their current level.
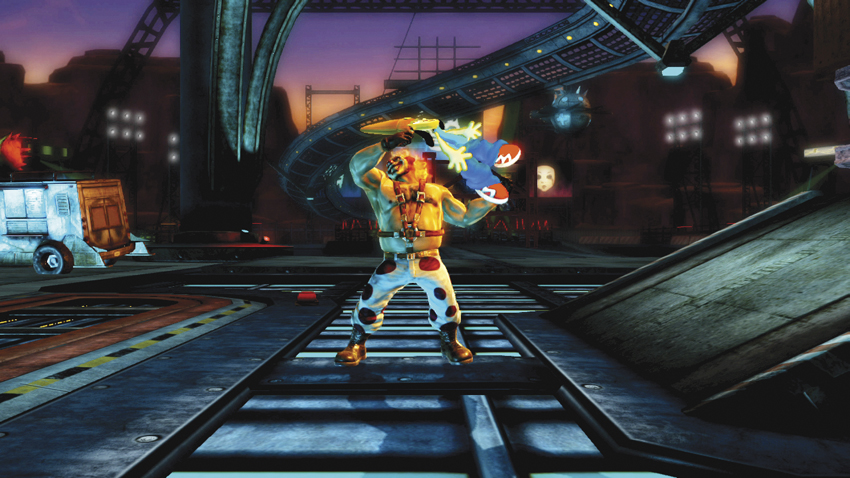
…so try a throw to stomp their defense.
In order to perform a throw, you must get within point-blank range of your opponent and move the right stick. Each direction results in a different type of throw:
typically causes a full launch,
is an instant knockdown, and
/
ejects the opponent. Each character has their own style, so refer to the individual character chapters in this guide to see exactly how throws work for your chosen All-Star.
Super Attacks
The core focus of
PlayStation All-Stars
’ scoring system, Supers are the primary method of killing opponents during a match. Super attacks require AP energy, which is acquired by attacking opponents or collecting AP Orbs. AP is stored inside each character’s Super Meter. The number next to your Super Meter indicates your current Super Level, increasing by one each time the bar is filled. You may acquire up to three levels of Super Meter, with each level representing a different Super attack. A Super is executed by pressing
once your meter is full, but there’s much more to the Super attack system than that. Here’s a quick rundown of the basic Super attack rules:
- Each character has a unique Level 1, Level 2, and Level 3 Super attack.
- The amount of AP required to reach each Level varies per character, with higher Levels requiring more AP than the one before it.
- Once you reach a Super Level, you are committed to that particular Super attack. For example, with two Levels of Super Meter stored, you cannot choose to perform two Level 1 Supers.
- Level 1 Supers have a brief startup period and can be interrupted with attacks, throws, and Supers.
- Level 2 Supers pause gameplay during their startup period, and can only be interrupted by other Supers.
- Level 3 Supers are invincible and disable an opponent’s ability to use Super attacks for its duration.
While each All-Star’s Supers are covered in-depth within their respective character chapters in this guide, it is crucial to spend some time in Practice Mode to get a feel for how they function in a match setting. Investigating Super attack factors, such as how long the move takes to activate, what (if any) special controls are required, range, and the area of effect of the Super are key to not only making sure you land your Super attacks, but also that you avoid or counter your opponents’ Super attacks.
Level 1 Supers are low-risk, low-reward attacks with limited range, used primarily to catch a single enemy for the quick kill. It’s more than possible to catch multiple opponents with a single Level 1 Super, but doing so is more a matter of being in the right place at the right time than pure skill. At such a low AP cost, Level 1 Supers can be used to guarantee a kill by placing the Super at the end of a combo or using it in conjunction with a single attack that puts the opponent into a stagger or crumple state. Do not go jumping into a pack of combative enemies and expect to clean up with a press of
, either; Level 1 Supers are easily countered with a quick attack or throw at point-blank range.
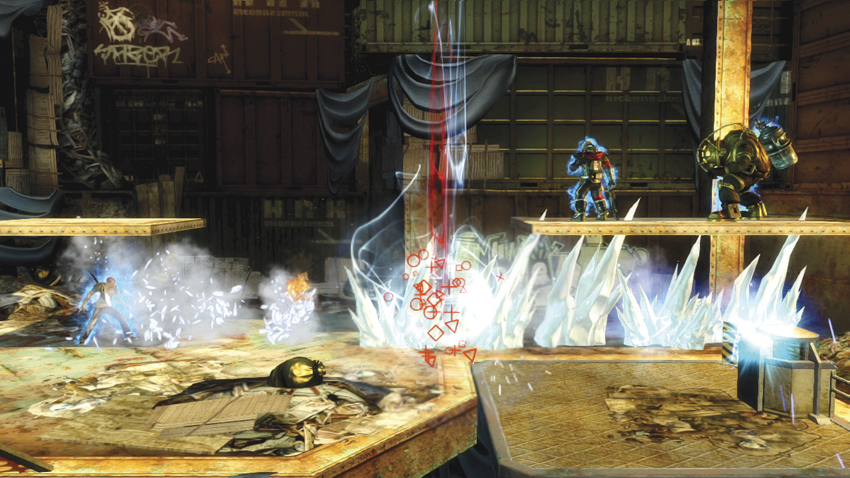
The next tier on the Super Meter requires you to save up quite a bit more AP but offers the chance to score more than just one kill. A Level 2 Super pauses gameplay during its startup period, essentially creating an instant activation, and can only be countered with another Super attack. They typically last for a longer amount of time and impact a larger area than Level 1 attacks.
>> Sweet Tooth’s Level 3 can score a lot of kills using his signature ride.
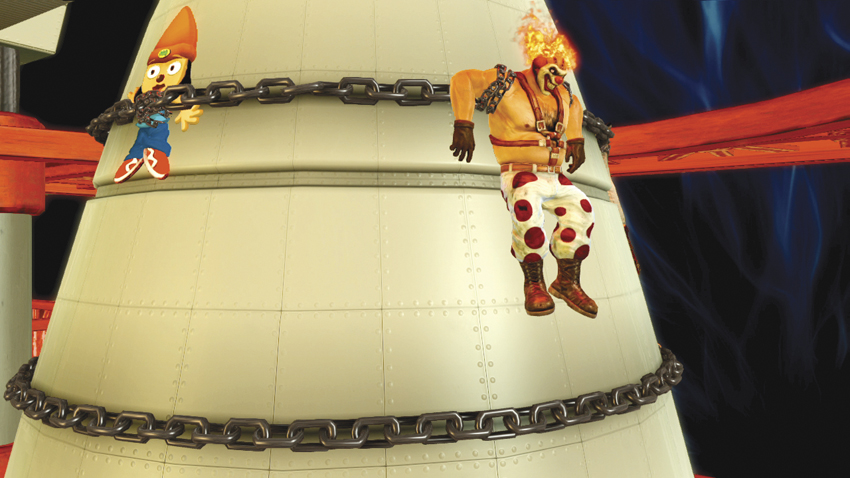
>> Heihachi’s Level 3 is good for a laugh and three guaranteed kills.
Level 3 Supers require a massive amount of AP to activate, but the rewards for conserving that precious energy are worth the wait! During a Level 3, your character is totally invincible, and no other Supers can be activated for its duration. These ultimate attacks come in two general flavors: guaranteed insta-kills of all opponents or powerful transformative attacks that put your character in a unique position, such as switching to a first-person view or donning a massive set of armor. During transformative Level 3 Super attacks, opponents are generally free to run around the arena in a futile attempt to stay alive. Due to their high AP cost, Level 3 Supers require a character to conserve AP for a majority of the match and typically don’t come into play until the match is nearly over.
DEFENSE
Block
Blocking is the most effective and direct method of preventing enemy attacks from connecting with your character. Holding
 causes a character to stand their ground and enter a blocking animation. With a few exceptions, your character cannot be forced into a hit state while blocking.
However, blocking is not a catchall solution to avoiding every type of attack. Blocking characters can still be attacked with items and throws, along with the killing blow of Supers. A blocking character is also wasting time they could be using to attack the other players but is simultaneously hindering their opponent’s ability to gain AP.
Attackers continue to earn AP when striking a blocking foe, though at a significantly reduced rate. In traditional fighting games, this is known as “chipping” or “chip damage” to indicate the minute ticks that fall off an opponent’s life bar when attacked. While there are no life bars in PlayStation All-Stars , it is still a useful term to describe how AP gain works when attacking a blocking character.
Evade Actions
If you’re trapped in a corner blocking a series of relentless attacks from your opponent, don’t lose hope, as the perfect escape plan is right at your fingertips: evasive actions!
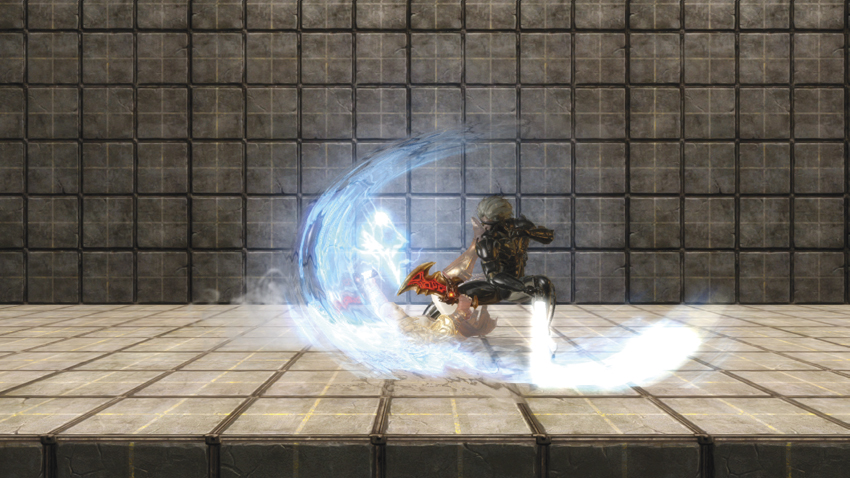
>> Use the dodge roll ability to pass right through an enemy attack…
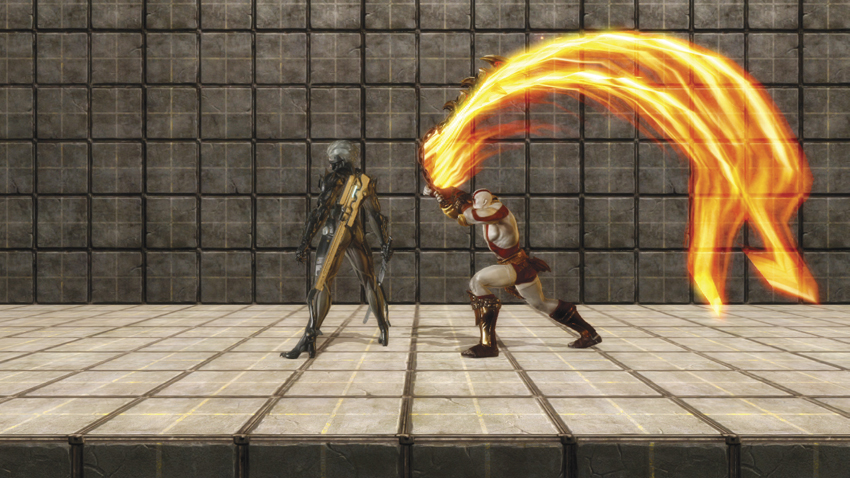
…then destroy them from the rear while they’re exposed!
While blocking, pressing
/
causes your character to perform a dodge roll maneuver. Dodge rolling enables your character to pass through opponents and avoid attacks entirely, even Supers! Dodge rolling is an excellent and crucial method of evading enemy attacks and should be a central part of any defensive strategy. The window of invincibility is very short and varies per character, so once again, it’s time to practice your character of choice to learn the minutiae of their particular dodge roll animation—it could just save their life!
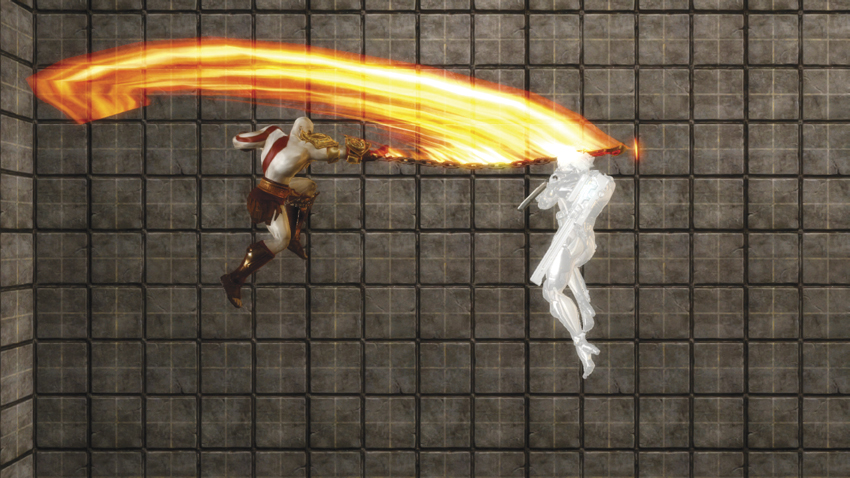
Evading attacks in the air requires a bit more strategic thought, as there is no such thing as an air block in
PlayStation All-Stars
. Instead, pressing the block button while in the air causes your character to perform an air dodge. Air dodging creates a longer invincibility window than the dodge roll and activates the instant the block button is pressed. It’s a great way to avoid an incoming attack in the air, and it is also useful for avoiding anti-air attacks when used at the last moment while jumping in on an opponent. If the air dodge is still active when your character touches the ground, press
/
to instantly dodge roll and maintain your invincibility for a longer period of time! The main downside to watch out for is that air dodges have a fairly lengthy recovery time, meaning that you cannot attack or activate a double jump for a few moments after the invincibility period wears off. Learning to compensate for this drawback is key to using air dodges effectively.
ITEMS
Ripped straight from the many worlds in the PlayStation universe, items are unique pickups that randomly appear during a match. Items activate a unique attack or character ability once acquired and used. Items can be identified by the glowing aura of energy that surrounds them and the button symbol that appears above a character’s head when they’re near the item. From the Boots of Hermes to Hedgehog Grenades, each item adds a touch of variety to matches and can help turn the tides of battle when used effectively.
Pressing
picks an item up, and pressing any attack button activates or fires the item. Drop items by pressing
again or performing a Super. You can force opponents to drop an item by catching the enemy with a throw. However, only items physically held by the character (typically weapons) can be dropped. Items that give unique abilities or buffs to a character stay with their user for their entire duration.
Projectile and melee items typically have a limited amount of ammo and do not award AP directly to their user. Instead, getting hit by a weapon item attack works more like coming in contact with a level Hazard, causing an AP Penalty on its victim by forcing AP Orbs out of their body. Other items do not cause an AP Penalty but inflict a status effect on their victim, such as freeze or stun. Item-derived status effects are typically more powerful than status effects caused by character attacks. These items sometimes have unique controls, like the Dohvat Laser Designator that forces you to aim a targeting reticle before firing. Pressing any attack button activates any item in your possession.
Consumable items bestow unique abilities or buffs to your character, and such items cannot be dropped. These include objects like the Leech Beam, which drains AP from any nearby opponent, or the Boots of Hermes that increase your character’s speed and jump distance. These become active the moment they are acquired by the player.
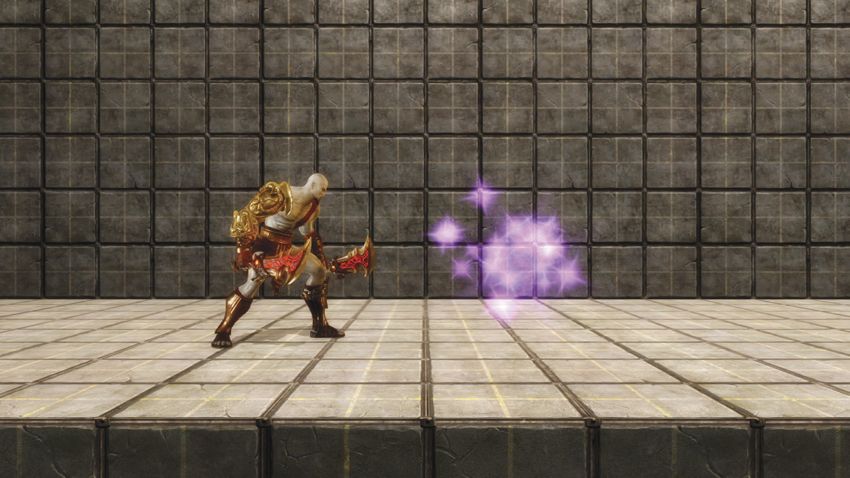
Items come in two categories: normal and epic. Normal items are surrounded by a blue-white glow and appear frequently during a match, while epic items are surrounded by a purple glow and spawn much less frequently. Epic items are rare for several reasons: they offer insanely powerful attacks or abilities, they typically last for much longer than a normal item. If you notice a purple glow manifesting somewhere on the stage, an epic item is about to come into play.
Knowing each item’s function can help you determine its priority for individual characters. For example, the Boots of Hermes won’t offer a huge benefit to a speedy character like Sly Cooper, but the heavy-footed Big Daddy could definitely use the boost of speed. By prioritizing and understanding an item’s effects, each time an item spawns, you can judge if it’s worth your time to drop everything and go for it, or just let it be and maintain your focus on building AP energy. For more information on individual items, check out the Items Section.
ADVANCED TECHNIQUES
While the basic techniques outlined in the previous section lay down the foundation of the combat system in PlayStation All-Stars , this section dives in to some of the advanced mechanics and hidden rules that may not be immediately evident to newer players. As you explore these advanced techniques, you can see how what may appear to be a button-mashing brawler at first glance is hiding a fully realized and intricate combat system, more in-line with traditional fight game mechanics, under its surface.
COMBOS
For the uninitiated, a combo is a series of attacks from which the opponent cannot escape. The word derives from “combination” and refers to a collection of attacks. The heart of dealing massive amounts of damage in a majority of traditional fighting games, combos in PlayStation All-Stars are the key to gaining massive amounts of AP energy quickly. Combos can range from a simple two-hit affair to stylish 25+ hit attack strings that build up nearly a full level of Super Meter in one go.
Most All-Stars have one very basic combo that is performed by pressing
multiple times in a row. These easy combos don’t award a whole lot of AP, but they get the job done. The real trick is finding a series of separate attacks that fit together into a single string, usually beginning with fast, light-hitting attacks and ending with a massive blow that sends the opponent flying while filling up your Super Meter. Discovering combos is mainly a matter of getting into Practice Mode and trying out attack after attack and seeing what you can do. Combo samples are included in each character’s chapter, but even more await players who have a bit of time and creativity.
Cancels
Most combos are rooted in attacks that can be canceled, meaning the character can start another attack before the animation of the prior attack is completed. Not all attacks are cancelable, and the ones that do have this property may only be cancelable into specific attacks.
A good way to know if an attack cancels into another is to pick an attack and perform it a few times. Pay close attention to the character’s attack animation and make note of when the character returns to an idle state. Now, perform that attack and try other inputs during the animation; if the new attack begins before the animation is complete, then you’ve found a cancel! Experiment further by adding a dummy in Practice Mode and setting its guard behavior to “Auto-Block,” which forces the dummy to take the first hit of an attack and then attempt to block each following hit. If the dummy doesn’t block the second attack, you’ve found a combo! Continue experimenting and adding on moves to find even more awesome attack strings.
Canceling isn’t strictly limited to attacks, either. Some character actions can be canceled into jumps, counters, and evasive actions. If you’re having trouble finding the cancelable attacks for a certain character, refer to the “Cancels Into” (or CI) column in their attack list data tables to see a full list of cancel options.
Spacing—the distance between your character and your opponent—is also a critical factor when performing combos. Always consider the range of your attacks and your character’s position in relation to the adversary when determining what attacks to perform; otherwise, you might end up missing an attack in the middle of a combo and leave your character open to a counterattack while stuck in recovery. Certain combos are only possible from close range, mid-range, or near a corner. As you learn your character’s particular quirks, judging these factors should become second nature before too long.
Infinite Avoidance System
Infinite combos are a big worry for combat designers working on fighting games. These attack loops can keep a character trapped for as long as the attacking player can maintain the input timing. They may look cool in an Internet video, but it’s definitely not fun to be on the receiving end of an infinite combo, since one player essentially cannot play anymore. To combat this, the SuperBot team developed a hidden rule set called the Infinite Avoidance System.
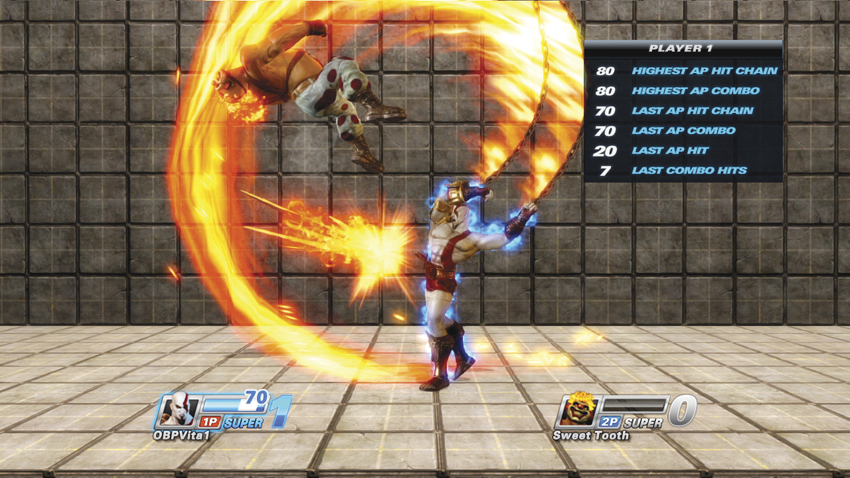
>> Kratos launches an opponent in the middle of his bread and butter combo.
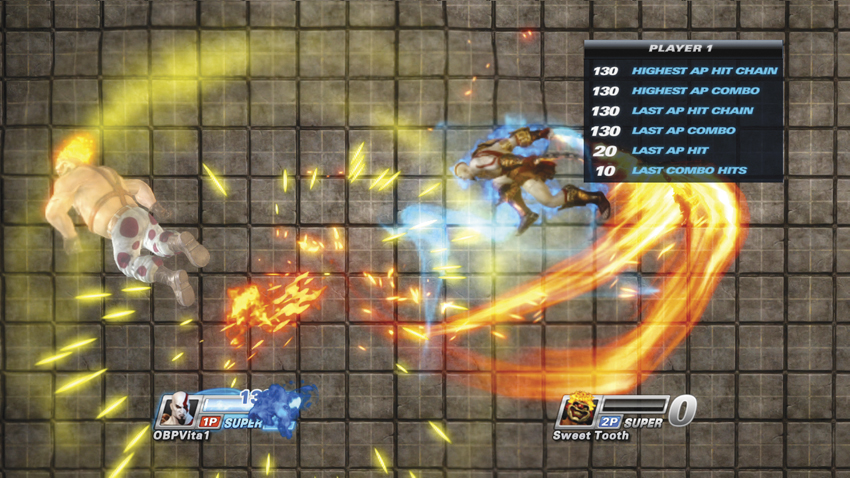
>> Just a few more hits triggers the IAS, giving the adversary a new lease on life
The core concept of the Infinite Avoidance System is simple: when an attacker earns 100AP in a single combo, the opponent is ejected away from the attacking character and remains invincible until they touch the ground or perform an attack themselves.
Now, this doesn’t mean you can’t earn more than 100AP in a combo, but the very last hit that puts you over that threshold is the last one you can land. To counterbalance this built-in escape plan, the attacking character gets a 30AP bonus any time they trigger the Infinite Avoidance System.
Landing two attacks that cause the same hit reaction in a row, such as a crumple, also causes the Infinite Avoidance System to kick in by forcing an instant knockdown. However, the attacker does not earn an AP bonus for triggering this fail-safe measure.
HIT REACTIONS AND STATUS EFFECTS
Hit reactions and status effects are another pair of hidden components within the PlayStation All-Stars combat system. Hit reactions, also referred to as hit states, refer to disadvantageous animations a character can be forced into when hit with an attack. Status effects refer to temporary effects caused by attacks that hinder the characters in other ways. From extending combos to annoying your opponents, knowing how to recognize these two components can help all aspects of how you approach a fight.
Hit Reactions
| # | Hit Reaction | Description | Example | Notes | Screen |
|---|---|---|---|---|---|
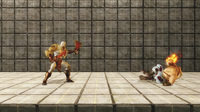
| 1 | Butt-Drop Stagger | Opponent is forced to fall on their butt. |
Drake
|
Abbreviated as butt-drop in data tables. |
|
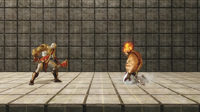
| 2 | Crumple | Opponent drops to their knees before entering a knockdown state. |
Kratos (hold)
|
Three crumple types: forward, spin left, spin right |
|
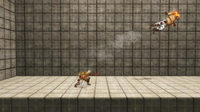
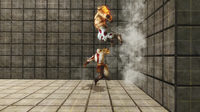
| 3 | Eject Tornado | Sends the opponent spinning away from attacker at 45-degree angle. |
Sweet Tooth
|
May result in a wallbounce if opponent is ejected close to a wall. |
|
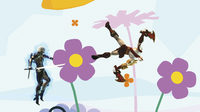
| 4 | Eject Spiral | Sends the opponent away from the attacker, pinwheeling through the air. |
Raiden
,
,
,
|
Shallower angle and slower speed than eject tornado. |
|
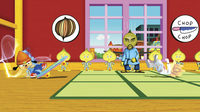
| 5 | Eject Roll | Opponent rolls along the ground at high speed. |
Sly Cooper
|
Opponent is invincible during roll animation. |
|
| 6 | Full Launch | Opponent knocked straight up into the air. |
Kratos
|
Opponent peaks at just under double jump height. |
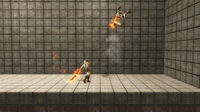
|
| 7 | Guard Break | Blocking opponent is forced to stagger backward, opening them up to attacks. |
Kratos (hold)
|
— |
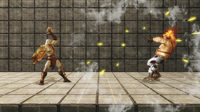
|
| — | Hitstun | The brief moment of recoil when an opponent is hit by a normal attack. | — | The default reaction caused by many basic attacks; indicated by a dash inside Hit Effect in data tables. | |
| 8 | Kneel Stagger | Opponent is forced to drop to one knee. |
Fat Princess
|
Abbreviated as kneel in data tables. |
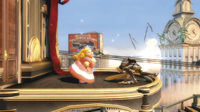
|
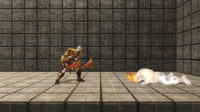
| 9 | Knockdown | Opponent is forced to lie flat on the ground for several moments. |
Kratos (air)
|
Abbreviated as KD in data tables. |
|
| — | Launch | Any hit that sends an opponent into the air. | — | Four types: mini-launch bounce, mini-launch sweep, mini-launch lift, and full launch. | |
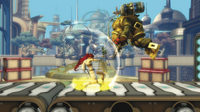
| 10 | Mini-Launch Bounce | Opponent is bounced off the ground. |
Nariko
|
Abbreviated as bounce in data tables. |
|
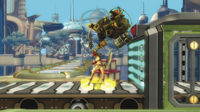
| 11 | Mini-Launch Lift | Opponent is lifted into the air, peaking at full character height. |
Sweet Tooth
|
Abbreviated as lift in data tables. |
|
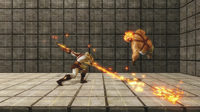
| 12 | Mini-Launch Sweep | Opponent is swept off their feet and slowly descends. |
Drake
|
Abbreviated as sweep in data tables. |
|
| — | Stagger | A prolonged hit stun. | — | Two types: butt-drop stagger, kneel stagger. | |
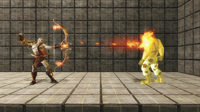
| 13 | Twitch | Attack does not force opponent into hitstun. |
Kratos
|
AP is still generated on hit, but foe is free to act at a marginally slower rate than normal. |
|
| 14 | Wallbounce | Opponent is forced to bounce off a wall. | — | Typically caused by an eject. |
|
Status Effects
| # | Hit Reaction | Description | Example | Notes | Screen |
|---|---|---|---|---|---|
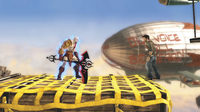
| 1 | Confusion | Opponent’s controls are reversed or jumbled. | Murder of Crows item | — |
|
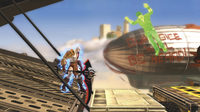
| 2 | Float | Character is forced to float upward. |
Jak
; Time Station level
|
Can be controlled or uncontrolled, depending on source of effect. |
|
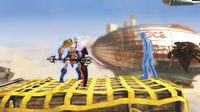
| 3 | Freeze | Opponent is frozen in place for a brief moment. |
Cole
|
Effect caused by Freeze Missile item behaves differently. |
|
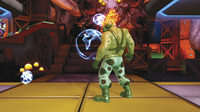
| 4 | Poison | Character slowly loses AP over time. | Satan’s acid spray in Time Station | — |
|
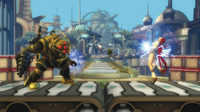
| 5 | Shock | Character is held in place briefly, just above the ground. |
Big Daddy
|
Opponent enters air recovery after shock effect wears off. |
|
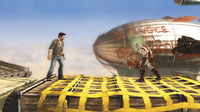
| 6 | Slow | Movement speed is decreased. |
Drake
|
— |
|
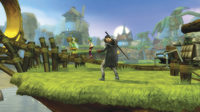
| 7 | Stun | Character locked into a dizzy animation while standing. | Respawning after falling off a level | Players can mash buttons to reduce stun time. |
|
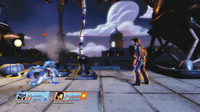
| 8 | Super Time-Out | Supers are temporarily disabled. | Hedgehog Grenade item; any Level 3 active time | Indicated by red glow on character, and Super Level is replaced with a “X.” |
|
WAKE-UP ACTIONS
It’s probably best to accept the fact that there are going be times where you’re forced into a knockdown state during a match. Those precious moments when your character is stuck lying on the ground aren’t good a reason to give up, since they instead can be turned around into opportunities to attack! Getting up from a knockdown state is referred to as a character’s “wake-up” period. Characters are temporarily invincible during wake-up, so remember to look for those white flashes. In addition, characters during wake-up can perform several different wake-up actions. Judge the positioning and action of your opponents to determine which wake-up action is right for your current situation.
Dodge Roll
By holding
or
during wake-up, your character performs a dodge roll as they rise. Dodge rolling is advised when an adversary is hovering over your character, just waiting to knock you down again or tag you with a Super attack.
Play Dead
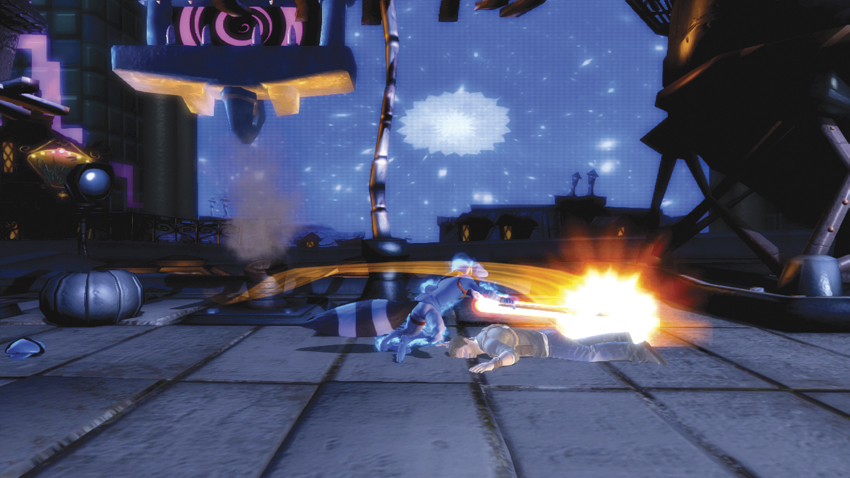
Hold the block button to extend your knockdown time, taking advantage of the invincibility given to your character during this period. Playing dead is a great option if an enemy activates a Super attack above your character’s head. Alternately, use it to make hovering foes grow bored and move on to attack someone else.
Falling Down
If your character ends up lying on top of a thin platform, you can drop through on wake-up by holding
+
+
. Falling through thin platforms can serve as an escape plan or as a method of ambushing unsuspecting enemies on the level below.
COUNTERING
Countering generally refers to interrupting an opponent’s attack with one of your own, but the term can apply to a few different aspects of PlayStation All-Stars : the base definition, input-based counter moves, and counter-Super techniques.
Countering an attack with one of your own comes down to which move is faster. Whoever has the shortest startup time on an attack wins out, and knowing which attacks are the fastest for your character in relation to other attacks is something that can only be learned by extensively analyzing frame data or gained over time through match experience.
Input-based counter attacks are only possessed by a small subset of All-Stars. Sly Cooper, Nariko, Dante, Kratos, Raiden, and Heihachi all have command inputs that cause them to brace for an impact and then immediately counter attack if hit. Each character’s counter functions a bit differently in terms of timing, so be sure to practice with a friend or training dummy. Input-based counters typically have long recovery times that leave your character exposed should you fail the attempt.
Countering Supers is the trickiest technique to lock down. Level 1 Supers can be countered by attacks, throws, or other Supers at any point. Level 2 Supers can only be countered by an opposing Super attack, and Level 3 Supers can’t be countered at all. Listen for the telltale sound of a Super being activated, and fire off an attack or Super if the positioning is right. If it connects during that brief activation window, the opponent is forced out of their Super and loses all that AP energy. Try using a throw when at point-blank range to swiftly shut down your attacker during a Level 1 Super.
AP and Meter Management
Understanding the ways you can gain, lose, and steal AP energy along with how the Super Meter works is the final piece of the puzzle when trying to put all of these separate fighting concepts together into a cohesive strategy. Many of the underlying rules regarding these systems are crucial for gaining AP and scoring quickly.
The AP required to reach each level of Super Meter is different for each character, but the incremental increase in AP needed for higher levels is universal. Level 2 requires more AP than it took to reach Level 1, and Level 3 requires more AP than it took to reach Level 2. Take Nathan Drake, for example: Level 1 = 150 AP, Level 2 = 400 total AP, Level 3 = 750 total AP. The amount of AP required per character, per Super Level, is usually balanced against how much killing potential the Super has and how fast that character can earn AP.
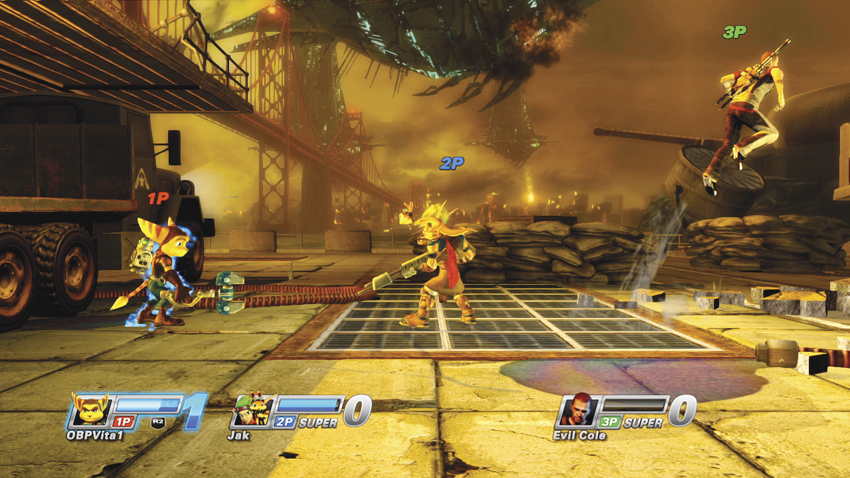
>> Ratchet almost has enough AP for a Level 2, but he activates his Level 1…
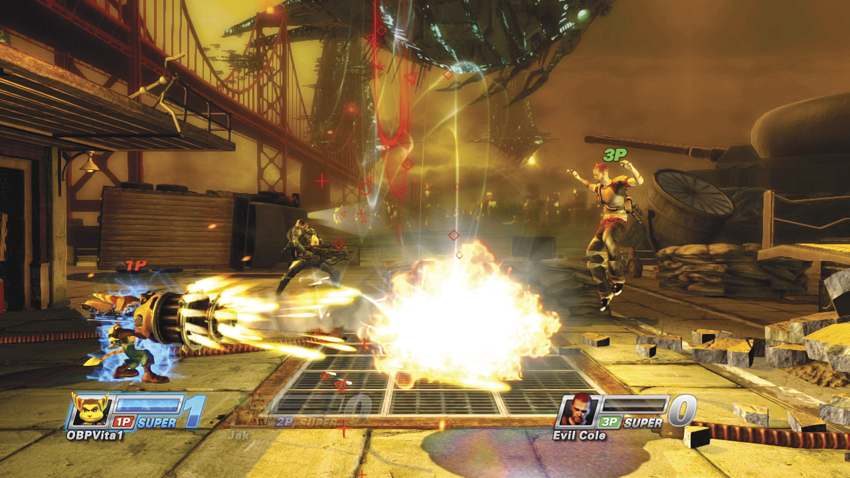
…and still has enough AP for a second Level 1!
Learning to manage your Super Meter can enable you to perform actions that are normally against the rules. Once you reach a particular Super Level, you’re committed to performing that Super. If you’re at Level 2, you cannot choose to perform two Level 1 Supers instead. However, savvy players can take advantage of the increased AP requirements to perform two Level 1 Supers or a Level 2 and Level 1 in quick succession by taking advantage of that incremental increase requirement. Watch your Super Meter, and try activating your Super just before the bar reaches the next tier. The difference in AP earned ensures that another attack is immediately at your fingertips.
Practice Mode Makes Perfect
Every player, no matter their skill level, should plan on spending some serious time in Practice Mode if they wish to improve their skills with the game. Practice Mode is invaluable in its ability to recreate a nearly limitless number of gameplay situations without you having to worry about the pressures of a timer or kill limit. There are also several levels unique to Practice Mode that allow you to test out techniques or practice combos in peace and quiet, without level Hazards or moving platforms interrupting your concentration. Read on, and learn how to get the most out of this essential game mode.
Setting Up
Selecting Practice Mode from the Main Menu drops you into the character select screen. Choose an All-Star and press
to ready up, but you have a few options to consider before moving onto level selection.
To choose any particular All-Stars you wish to practice against, press
or
to switch between character slots and ready each character as you would your own. All opponents are set to the default difficulty, but that is easily changed within the Practice Mode pause menu. Any unfilled slots are assigned a character randomly by the game, just in case you decide to practice against more foes at once.
If you need to practice with specific weapons or on a level without active Hazards, press
 to bring up the Match Options menu. There are options to determine how often items spawn, along with an option to turn level Hazards off. Pressing
or
switches to the Items Menu. Each item is displayed along with a checkbox, so simply select an item to toggle its ability to spawn. To work with one particular item, make sure that item is the only one checked.
to bring up the Match Options menu. There are options to determine how often items spawn, along with an option to turn level Hazards off. Pressing
or
switches to the Items Menu. Each item is displayed along with a checkbox, so simply select an item to toggle its ability to spawn. To work with one particular item, make sure that item is the only one checked.
Once you’re satisfied with all settings, press
 to bring up the Level Select menu. All of the regular stages are available to you, allowing you to hunt for advantageous positions or learn the timing of particular level Hazards to your heart’s content. Just remember that a majority of levels progress through their mash-up phases based on a three-minute timeline. After those three minutes are up, you must reset the room via the Practice Mode pause menu to restart the sequence.
Practice Stages
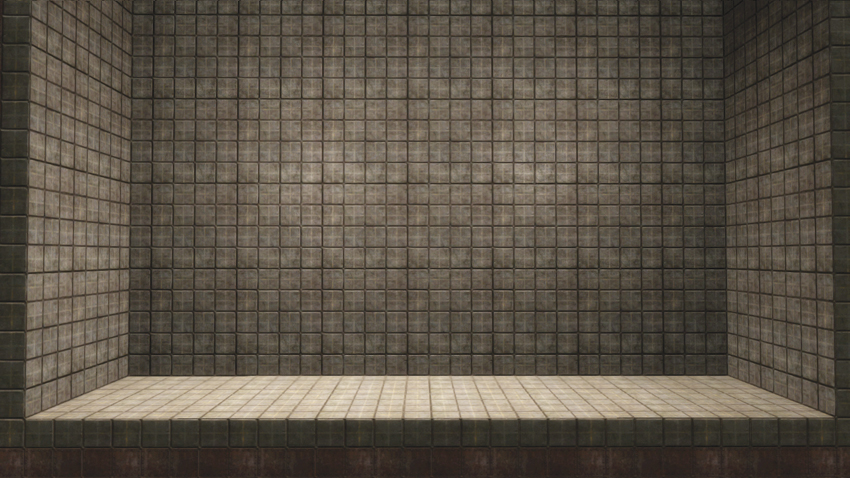
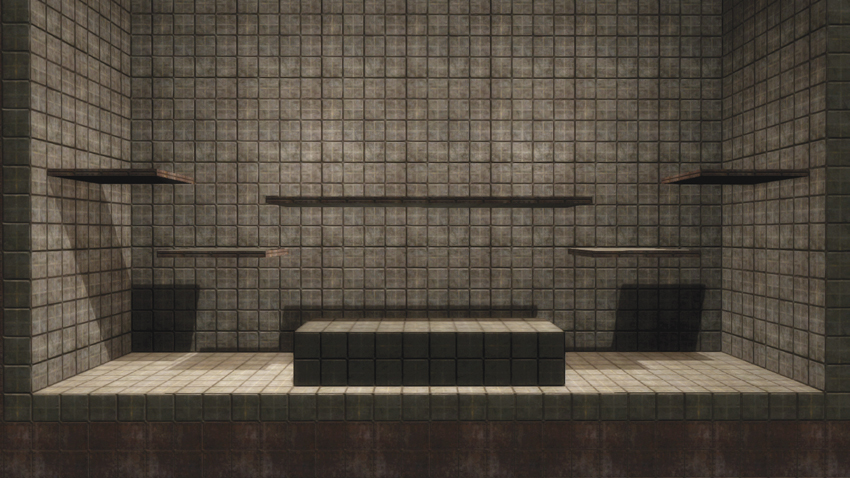
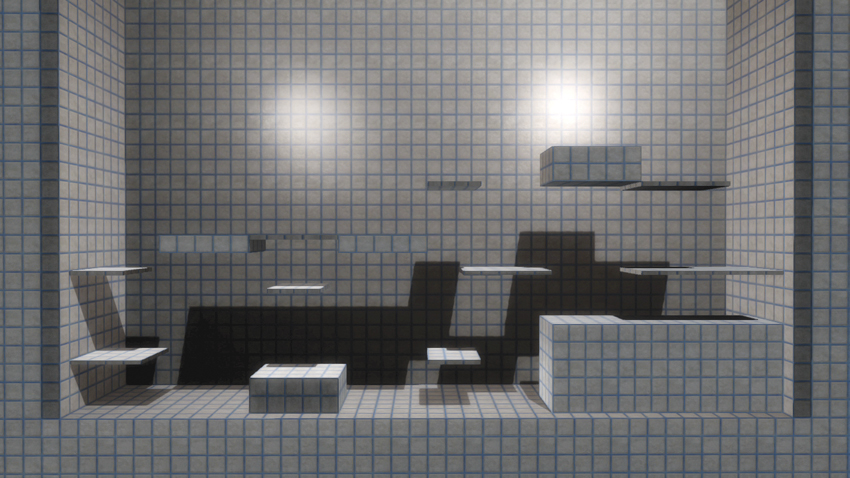
There are six stages unique to Practice Mode, two each in small, medium, and large varieties. One stage of each size is totally empty, leaving you free to practice attacks without platforms getting in the way. The other contains a smattering of thin platforms, enabling you to practice from a variety of heights. All Practice Mode-only stages have a gridded background, which can serve as invaluable visual reference when comparing attack ranges and judging character positioning. When you just want to practice combos or moves, these stages are your best bet.



GENERAL OPTIONS
Once inside the practice level you have set up, press
to bring up the in-game Practice Mode menu. From here, you may control everything from Super Meter levels to AI behaviors, and each option serves a valuable purpose.
- Input Display—Turning this option on shows a real-time display of all controller inputs of the player it’s assigned to. Use this display to determine the exact point you’re struggling with in a combo, or assign it to an AI opponent to see how they’re pulling off such miraculous maneuvers.
- Attack Display—Assign the Attack Display to your character to see the exact AP amounts earned from their attacks and combos, or even use it to determine if a string of attacks is a legit combo.
- Force Super Level—This option manually sets the Super Level for all characters. To reset Super Meter values, select NONE. Note you can only see AP gain and loss on the Super Meter when this is set to NORMAL.
- Reset All to Default—Select this option to reset all options to their
- normal values.
- Restart Level—This option completely resets the entire practice session. This option is useful when practicing on regular stages when the mash-up phases have totally finished.
BEHAVE, DUMMY
The final component in getting the most out of Practice Mode is learning how to set up the AI dummies to recreate different match situations. To start setting up an AI opponent, open the Pause Menu and use the shoulder buttons to switch between character slots. Set the “Add/Remove Character” option to “Active” for each dummy you want to bring into the fray. Once in the game, you can use the “Behavior” option to control dummy actions.
Nearly all of the dummy behavioral options include Guard Behavior and Wake-Up Defense options. Guard Behavior controls how the dummy blocks attacks:
- Auto-block—The dummy takes the first hit of an attack and attempts to block any attacks that follow. This option is excellent when attempting combos; if the AI doesn’t block anything in your attack string, you know it’s a combo!
- Always Block—The dummy blocks all the time. Use this option to practice ways to get through blocks, either via guard crush or throws.
- Dodge—The dummy actively tries to avoid your attacks by performing dodge rolls.
- Random—For each attack, the dummy’s behavior is chosen from any of the previous options.
Wake-Up Defense sets how the dummy behaves after a knockdown. It can be set to dodge roll forward or backward, or to choose a direction at random. Learn how to catch characters on wake-up using this option!
Stand
The dummy just stands around, waiting for your attacks. It always faces one direction, and it automatically air recovers if launched. Unless set specifically, the dummy simply gets up after a knockdown without taking a wake-up action.
Crouch
Practicing against a crouching opponent can be used to determine which of your attacks your adversaries can duck under. Crouching does not change an attack’s effect on an opponent.
Jump/Double Jump
If you need the dummy to get airborne, then set its behavior to jump or double jump. It continuously jumps in place and can perform an air dodge if its Guard Behavior is set to Dodge. Changing the Wake-Up Defense option determines if the dummy flips forward or backwards during an air recovery.
Follow
Follow causes the dummy to run at full speed toward your character and automatically change directions if you switch sides. This is one of two options where you cannot set Guard and Wake-Up Defense options.
Countdown Attack
A three-second timer appears above the dummy’s head, causing it to perform a neutral
attack once the countdown is complete. Countdown Attack behavior can be used to practice counters and other defensive options. The only way to get a dummy to attack in the air is to launch it upwards so that the timer runs out as it’s falling.
Human
When set to Human, you and a training partner can attack each other for as long as you want. A real-life training partner can be invaluable for increasing your skills, as the best fighting game strategies always evolve from real-world match experience against other flesh and blood people. A controller must be assigned to the appropriate player slot for a human to take control.
CPU
Let the computer take full control over the dummy and start laying the smackdown. The CPU Behavior option also has a few unique settings:
- Difficulty—Set the CPU AI to any of the five available difficulties.
- Item Behavior—The AI can be set to Always Pick-up, Ignore, or Normal behavior when items appear on a stage.
- Super Bias—Limit the CPU to Level 1, Level 2, or Level 3 Super attacks. You can also remove the Super attack ability entirely, or have the CPU use Super attacks as it normally would.
BATTLE TACTICS
By now, you should be ready to head out into the world, pick a character, and take on all challengers, both offline and online. But before you go, read over these last few combat tips… you never know when they might come in handy.
FREE FOR ALL/GENERAL TIPS
Sharpen Your Battle Vision
With several Blu-rays’ worth of characters, explosions, Hazards, and energy beams flying across the screen at all times, it’s understandable to lose track of your character from time to time. Train your eye to pay more attention to the color-coded player markers above each character. These markers are never covered by gameplay elements, and they make it easy to spot your location at a glance.
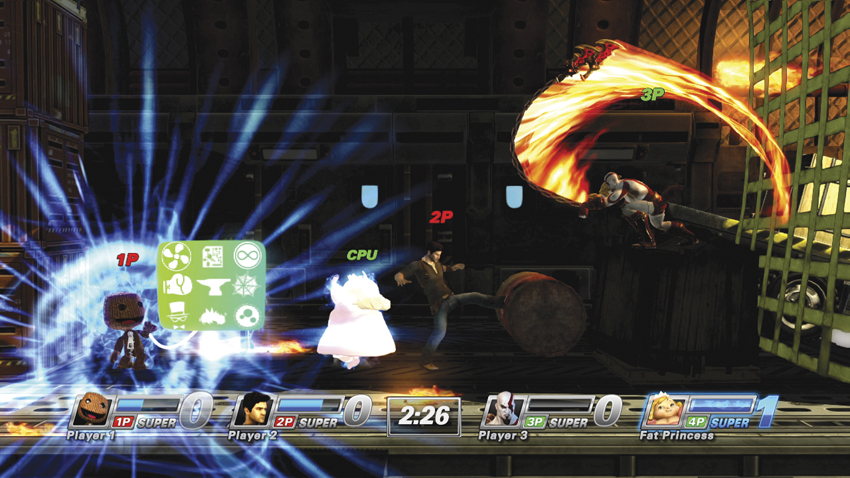
As you gain more match experience, you should slowly acclimate to the frantic action that can sometimes consume the screen, and learn to keep your cool in the heat of battle.
Become a Kill Counter
There isn’t a score counter in timed games, so it’s up to the individual player to keep track of who’s in the lead. If you notice a certain player scoring an insane number of kills, put them in the crosshairs of your own Supers to lower their score.
Knock ‘Em down a Level
You can force enemies to drop down a Super Level by causing AP Orbs to eject from their body. There are three ways to force an adversary to lose AP: throws, item attacks, and level Hazards. Each method causes the opponent to suffer an AP Penalty on hit, which comes in four different tiers:
- Light AP Penalty: Opponent loses 3% of their total AP.
- Medium AP Penalty: Opponent loses 5% of their total AP.
- Heavy AP Penalty: Opponent loses 10% of their total AP.
- Throw AP Penalty: Opponent loses 15% of their total AP.
Gunning for foes who’ve just reached a new Super Level is a smart move as long as you inflict an AP Penalty. If the opponent doesn’t have a full Super Level at their disposal, they can’t use it.
2V2 TIPS
Find Complementary Attacks
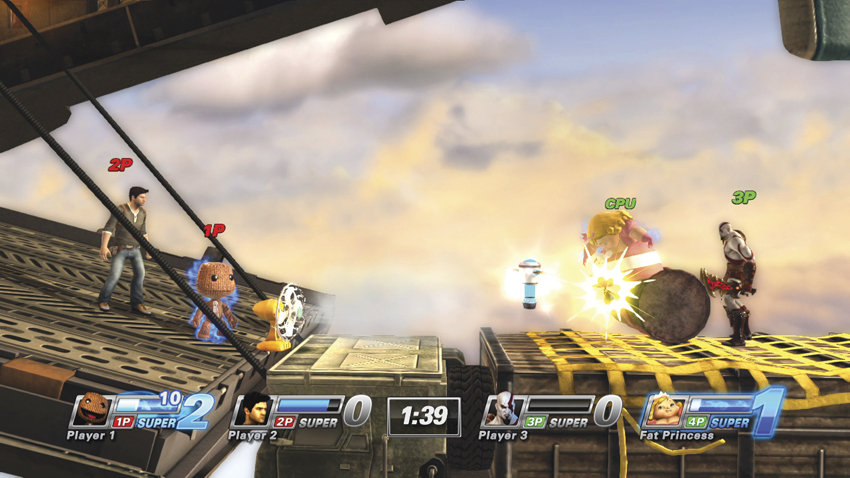
When forming a two-player team, it’s important to consider how character attacks can work together to maximize each player’s AP generation. For example, Sackboy’s Air Shooter (
) pushes any physical object, including characters, across the screen at high speed. A character teamed up with Sackboy could use his fan to increase the range on their attacks, such as sending one of Nathan Drake’s Oil Drums across the screen at high speed, or increasing the range Kratos travels during his Level 1 Super.
The best teams at the top of the leaderboards are sure to have complementary attacks and a gameplan to go along with them. You can set up a Team Match in Practice Mode, so grab a friend and start experimenting!
AP Management and Super Usage
Aside from attacks, it’s important to strategize with your partner on how to approach AP acquisition and the use of Super attacks. AP is not shared between teammates, but the final score is. Maximizing your scoring potential is critical to making that first-place finish.
For example, consider pairing up a character that has a guaranteed insta-kill Level 3 Super, like Heihachi or PaRappa, with a character that can generate AP quickly, such as Sly or Sweet Tooth. The AP generator can act as a “battery” for the other player, forcing AP Orbs out of opponents for their partner to collect or keeping enemies occupied while the character with the insta-kill grabs items to force even more AP out of your challengers. The “battery” character is free to use their Supers when the situation allows, while at the same time making sure that the other character builds up enough AP to get those guaranteed kills quickly.
Another strategy to consider is using a character that can keep a group of opponents occupied at once, such as Jak or Kratos, with an All-Star that possesses a good short-range Level 1 with multi-kill potential, like Dante. While one partner keeps the opposing team tied up in defending attacks, the other player can waltz right in and score a double kill with an inexpensive Super.
As you experiment with the roster of All-Stars, confer with your partner about what you both think would work well together, and play a few friendly unranked matches with other players to test your theories. With such a diverse cast of characters, it shouldn’t be an issue to find a team strategy that works for both of you while maintaining your individual playing styles.