PlayStation All-Stars Battle Royale Guide Walkthrough Characters
Raiden
All-star overview
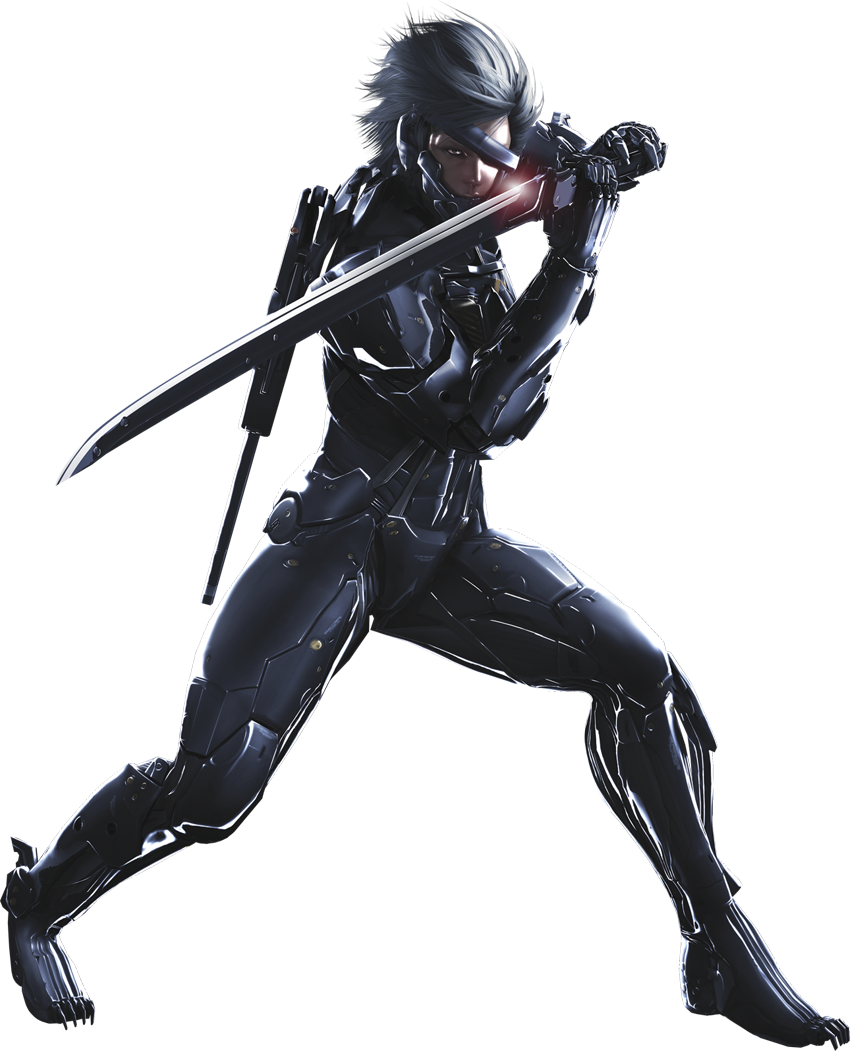
Raiden is one of the fastest characters in the game, and as a result, his combo skills are beyond reproach. He can easily rack up more than 100AP in a single combo, he’s skilled at battling opponents on both sides simultaneously, and he can traverse a stage fast as a whip with his dashing special attacks. His SUPER Attacks are all good, but his Level 2 Super attack—Blade Mode—provides the best options and most freedom when in combat situations.
WHY SHOULD YOU EARN AP UNTIL YOU CAN USE BLADE MODE?
- Blade Mode requires 400AP, slightly more than double what’s required for his Level 1 and significantly less than the 750AP required for his Level 3.
- Raiden can earn 140AP with a single simple combo, and he averages high AP gain from Combos in general.
- Raiden is fast enough to make hit-and-run tactics a viable strategy while still earning AP quickly enough to stay competitive.
WHAT’S THE BEST WAY TO EARN THE 400AP REQUIRED TO PERFORM BLADE MODE?
- Focus on long, ground-based Combos.
- Take advantage of hit states like lift and crumple to extend your Combos.
- If an enemy wallbounces, go for the extra hit and AP gain instead of preparing for them to wake up.
Raiden is one of the relatively few characters that can react to an enemy going through a close-range wallbounce quickly enough to perform an entire combo. This is a huge asset, and it marks the difference between intermediate and skilled Raiden players. Skilled players are going to go for the wallbounce so that they can double their AP gain by performing the same combo twice. Once you learn the timing, maximizing Raiden’s AP gain becomes second nature.
AT A GLANCE
Costumes
|
|

|

|
|

|

|
|

|
|
|
|
Rundown
SUPER ATTACKS
OVERVIEW
| AP Level | AP REQ | Name | Duration | Unique Commands | Notes |
|---|---|---|---|---|---|
| 1 | 150 | Stormbringer | 2 seconds |
Press
 or
or
 to slightly adjust position
|
Hits on either side of Raiden |
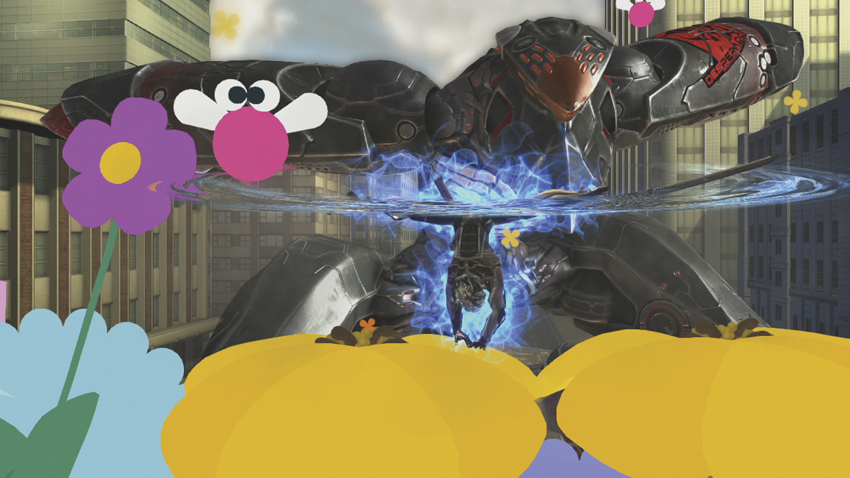
Stormbringer: Raiden’s Level 1 Super attack takes the form of a spinning handstand. Raiden locks his swords into his feet, and as he spins, he strikes enemies on either side of him. This move has a start-up time that leaves Raiden vulnerable, but once it’s going, it is pretty effective. Aim to get at least two kills when using this move. Activate it when your targets are busy fighting each other or someone else, instead of trying to catch someone by activating the move cold. Make sure your foe is distracted before attempting Stormbringer.
| AP Level | AP REQ | Name | Duration | Unique Commands | Notes |
|---|---|---|---|---|---|
| 2 | 400 | Blade Mode | 10 seconds |
Right stick to cut;
 or
or
 instant kill;
 stun foes
|
Cutting with right stick causes enemies to drop AP when killed |
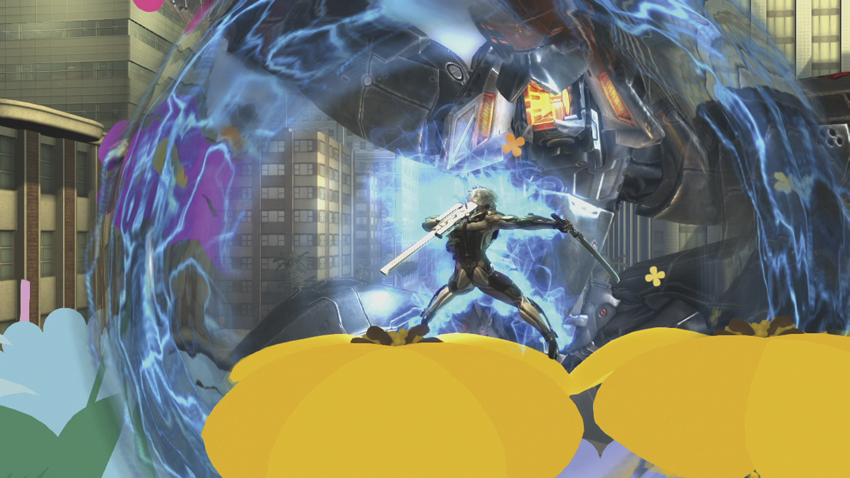
Blade Mode: Raiden pulses with power, and the shockwave briefly paralyzes his foes. For the next 10 seconds, Raiden can instant kill anyone he touches by pressing
or
. He can also paralyze enemies by pressing
, and tapping the right stick results in Raiden cutting through characters with his sword. Cut them enough, and they die. Enemies that are cut drop AP. The most efficient way to use this Super attack is to trigger it when Raiden is near three adversaries, and then go for the triple kill. If you have the time or want to stock up on AP before the Super attack ends, cut your enemies and take their AP Orbs.
| AP Level | AP REQ | Name | Duration | Unique Commands | Notes |
|---|---|---|---|---|---|
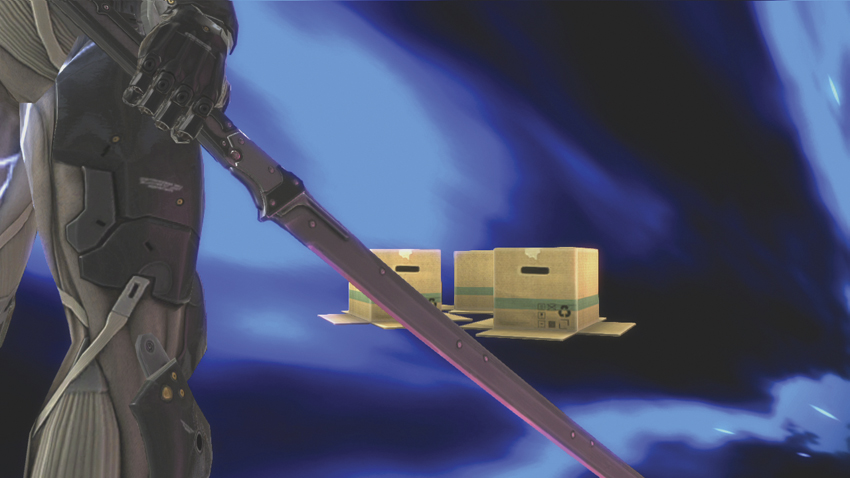
| 3 | 750 | The Box Revengeance! | 17 seconds | Right stick to cut; normal moves OK | Speed increased; enemies can move in boxes; cutting with right stick drops AP from foes |
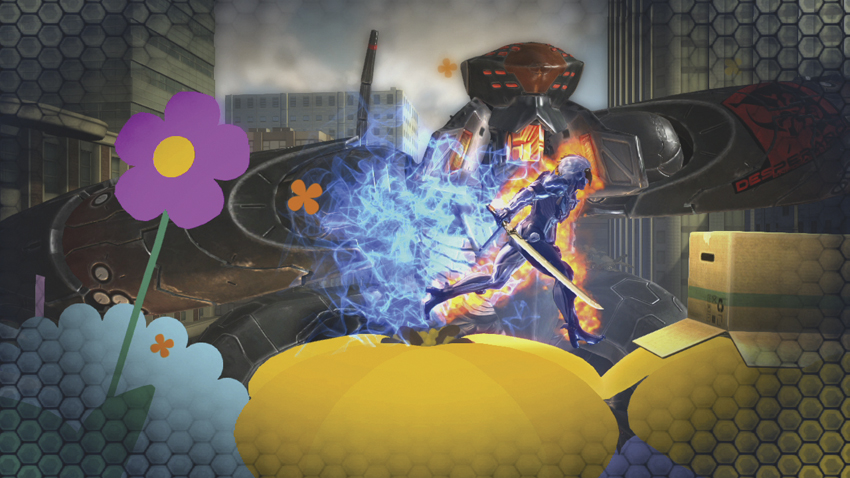
The Box Revengeance!: Watch as Raiden’s foes attempt to escape from him by hiding in cardboard boxes. One problem: Raiden’s sword can cut through anything. Use the right stick to cut the boxes, or use Raiden’s normal Attacks to kill your enemies.
is particularly effective, as a result of Raiden’s vastly increased movement speed. This move offers several different ways to kill your foes, and fast players may even be able to score four or more kills with just one Super attack. If you need to turn a match around, this is the move for you.
THROWS
OVERVIEW
| Name | Command | AP Penalty | Properties | Hit Effect | Notes |
|---|---|---|---|---|---|
| Upward Throw |
Right stick

|
15% | Unblockable; 30AP of super armor | Eject tornado | — |
Upward Throw: Raiden picks up his foe and pitches them across the stage with one hand. This move can cause a wallbounce when used close to a wall. Raiden always THROWS the enemy in the opposite of the direction he was facing when the throw occurred. You must react quickly to incorporate this throw into a combo.
| Name | Command | AP Penalty | Properties | Hit Effect | Notes |
|---|---|---|---|---|---|
| Forward Throw |
Right stick
or
|
15% | Unblockable; 30AP of super armor | Crumple | Combo starter |
Forward Throw: Raiden quickly stabs his enemy through the stomach, causing them to crumple to the ground. This is the throw that can set up several of Raiden’s Combos, and it should be an integral part of your gameplan. Go for your strongest combo as soon as your foe crumples.
| Name | Command | AP Penalty | Properties | Hit Effect | Notes |
|---|---|---|---|---|---|
| Zan-Datsu |
Right stick

|
Directly steals 30AP from foe | Unblockable; 30AP of super armor | KD | Deducts 30AP from foe |
Zan-Datsu: Raiden stabs his enemy through the stomach, flips them over his head, slams them into the ground face-first, and then yanks a series of AP Orbs out of their spine. By the time Raiden absorbs the AP, the opponent should be in the process of standing up, making this throw a difficult move to use as the opening to a combo.
: SQUARE ATTACKS
GROUND ATTACKS
| # | Name | Command | AP Gain | Properties | Hit Effects | CI | Notes |
|---|---|---|---|---|---|---|---|
| 1 | Single Hand Cut |
|
5 | — | — |
,
|
— |
| - | Single Hand Cut 2 |
,
|
5 | — | — |
,
|
— |
| - | Single Hand Cut 3 |
,
,
|
5 | — | — |
,
|
— |
| - | Single Hand Cut 4 |
,
,
,
|
30 | — | Eject spiral |
,
|
— |
| 2 | Leaping Cut |
|
20 | Dashes forward | Butt-drop | — | — |
| - | Back Cut |
|
5 | Hits behind Raiden | — |
|
— |
| - | Back Cut Follow-up |
,
|
20 | — | Kneel | — | — |
| 3 | Launcher |
|
20 | — | Full launch |

|
— |
| 4 | Jumping Roll Cut |
|
20 | — | KD | — | — |

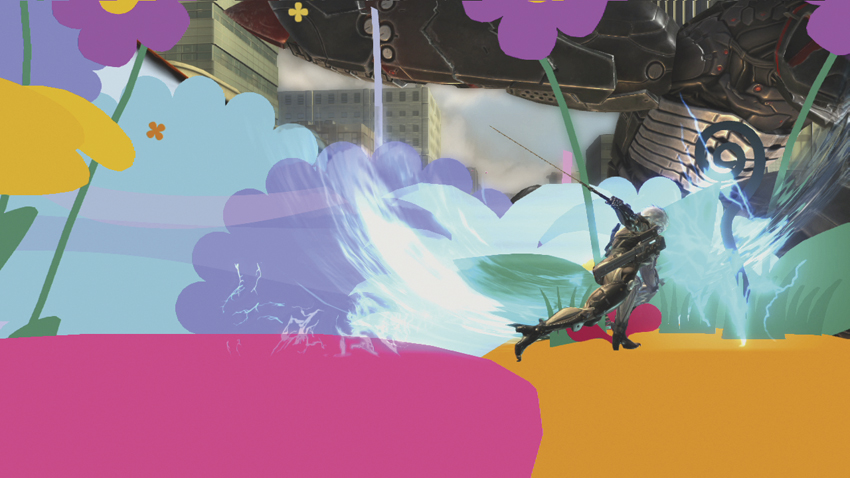
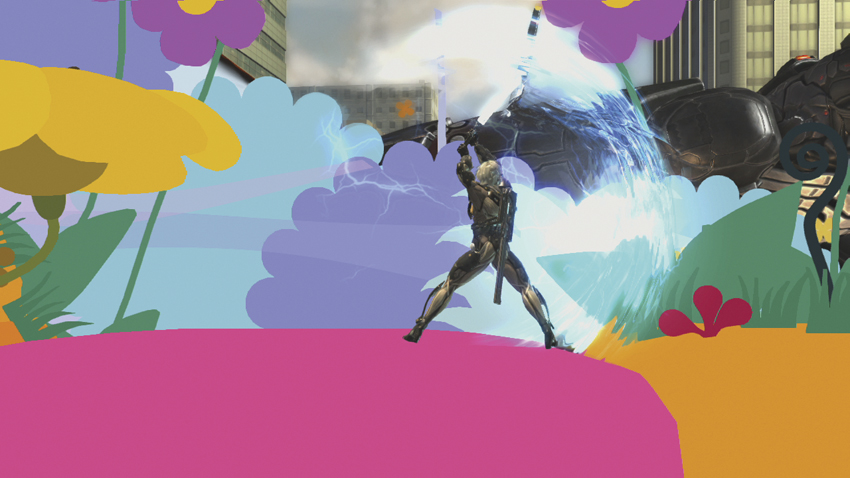
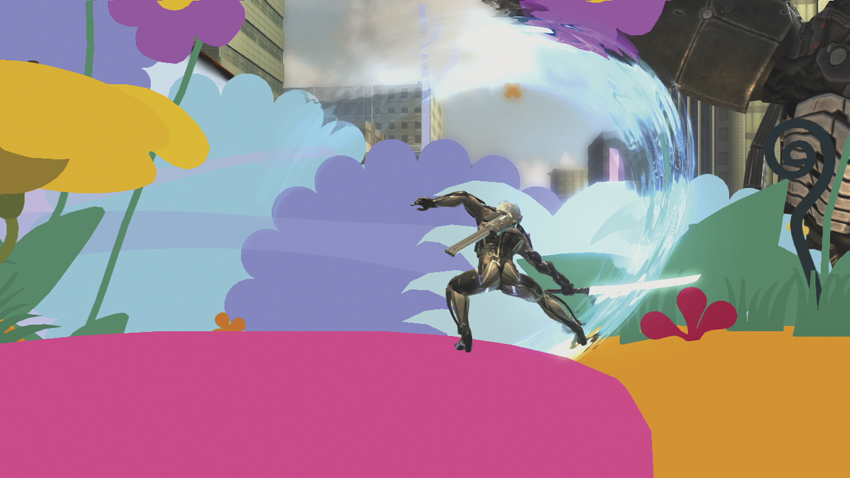
Raiden is built for speed. He’s one of the fastest characters in the game, and that speed is a tremendous asset for players. He can combo moves that wouldn’t combo with anyone else, simply because he performs them so quickly. Take advantage of his speed at every chance you get. Single Hand Cut 4 (
,
,
,
) is a speedy attack that is the foundation of Raiden’s playing style. If an enemy blocks the first hit of this attack, keep going. They’re going to try to counterattack before the end of Single Hand Cut 4, if you’re lucky, and Raiden is so fast that he can shut them down before he’s hit.
Leaping Cut (
) is a move that reveals another facet of Raiden’s gameplay. In addition to being ultra-fast, he has a very large range to work with. Leaping Cut is a great attack to pull out from medium-close range, thanks to Raiden’s strong forward dash that kicks off the move. It leaves enemies butt-dropped, too, which means that you can transition into another move, such as Single Hand Cut 4, immediately.
Back Cut (
) and Back Cut Follow-Up (
,
) are two moves that reveal yet another aspect of Raiden: the fact that he’s perfect for fighting a war on two fronts. He can strike enemies to his front, transition to striking an adversary at his back, and then turn and face that foe to focus on them with ease. No one is safe from Raiden, no matter which direction they may be in.
Launcher (
) is a classic launcher and part of Raiden’s bread and butter commands. It’s useful in any situation and launches enemies high enough for Raiden to perform a lengthy aerial combo, possibly even one worth 100AP.
Using Jumping Roll Cut (
) is a little trickier. It knocks enemies down on contact, which means that it can’t be used to open a combo. However, it makes for a pretty solid anti-air attack, so watch for an opening and take it.
AIR ATTACKS
| # | Name | Command | AP Gain | Properties | Hit Effects | CI | Notes |
|---|---|---|---|---|---|---|---|
| 1 | Mid-Air Slice 1 |
Air
|
5 | - | - |
|
Puts grounded foe in airborne state |
| - | Mid-Air Slice 2 |
Air
,
|
5 | - | - |
|
- |
| - | Mid-Air Slice 3 |
Air
,
,
|
5 | - | - |
|
- |
| - | Mid-Air Slice 4 |
Air
,
,
,
|
5 | - | - |
|
- |
| - | Mid-Air Slice 5 |
Air
,
,
,
,
|
30 | - | Eject tornado | - | - |
| 2 | Spinning Roll Cut |
Air
|
20 | - | Lift | - | Long recovery |
| 3 | Air Launcher |
Air
|
20 | - | Full launch | - | - |
| 4 | Heel Slice |
Air
|
20 | Active until grounded | KD | - | Brief pause before active |
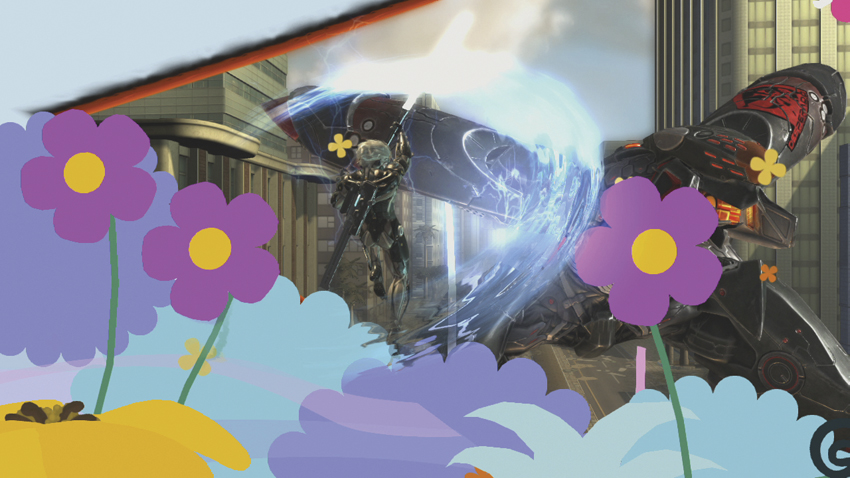
Don’t expect to be able to use Spinning Roll Cut (
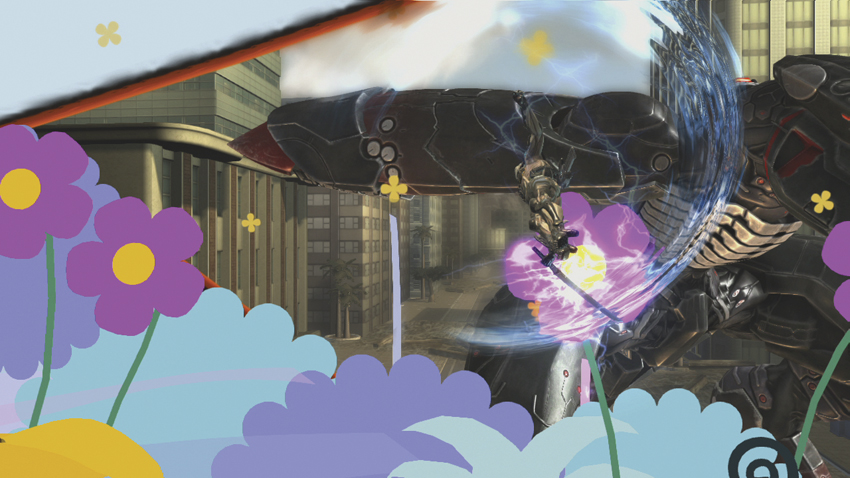
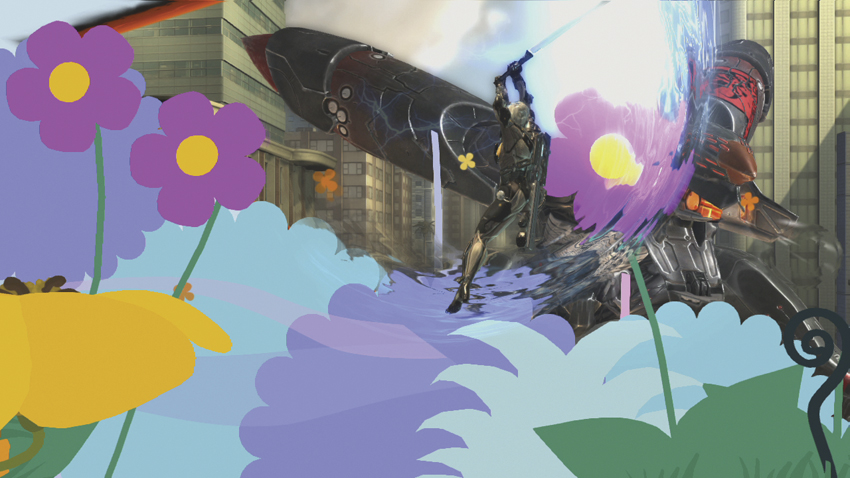
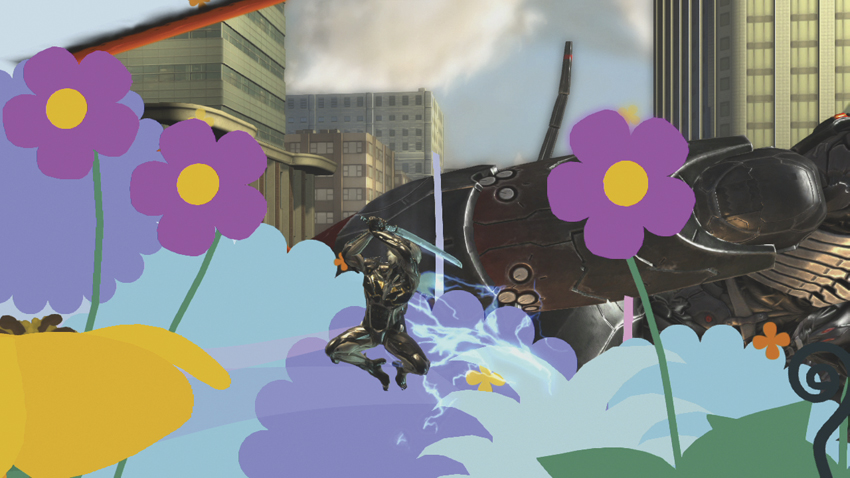
) to open a combo, either. It’s good for interrupting Combos or knocking an enemy away, but not so great at continuing a combo. The recovery time is so long that Raiden drops to the ground before he gets a chance to attack again. Keep your opponents guessing by using this move to swat them out of the air, but you’ll find that earning AP is easier with his other aerial moves.
Mid-Air Slice 5 (
,
,
,
,
) is one of those moves. Successfully landing every hit gives Raiden a total of 50AP. Raiden’s range with his sword is both tall and wide, and you’ll generally be able to land Mid-Air Slice 5 if you manage to succeed in hitting your enemy with Mid-Air Slice 1 (
). Mid-Air Slice 5 is Raiden’s most powerful basic air combo and can easily be led into with a launcher for extra AP gain.
If you really want to demolish your opponent’s air game, learn the timing on Heel Slice (
). There’s a brief pause once you activate the attack, but then Raiden streaks to the ground at lightning speed. This move can knock enemies out of the air or knock down grounded adversaries. It’s a safe counterattack in tense situations and should be used accordingly. Double jump before using it to get extra height, which should lessen the chances of a foe correctly timing a dodge or block.
Air Launcher (
) makes Raiden travel diagonally upward and forward while striking. If you’re not careful, this may result in a whiff. Don’t try to use Air Launcher at point-blank range. Take a couple steps back to ensure that the move hits fully on target. After that, you can follow up with a fast double jump and combo, or simply wait for your foe to land so that you can continue your offense.
: TRIANGLE ATTACKS
GROUND ATTACKS
| # | Name | Command | AP Gain | Properties | Hit Effects | CI | Notes |
|---|---|---|---|---|---|---|---|
| 1 | High Kick Cut |
|
5, 10 (charged) | Chargeable | Butt-drop or guard break (charged) |
,
,
|
Press
immediately after input to change direction
|
| - | High Kick Cut 2 |
,
|
5 | — | — |
,
,
|
cancel does not combo; press
immediately after input to change direction
|
| - | High Kick Cut 2b |
,
|
5, 5 | — | Butt-drop |
,
|
Cancel occurs once grounded |
| - | High Kick Cut 3 |
,
,
|
3, 3, 4 | — | Kneel; lift (aerial foe) |
,
(buffered)
|
auto executes at end of attack; press
immediately after input to change direction
|
| - | High Kick Cut 3b |
,
,
|
10, 10 | — | Lift |
,
(buffered)
|
cancel doesn’t combo but catches foe in recovery
|
| - | High Kick Cut 3c |
,
,
|
30 | — | Eject tornado |
|
— |
| - | High Kick Cut 4 |
,
,
,
|
3, 3, 4 | — | Lift |
,
(buffered)
|
— |
| - | High Kick Cut 5 |
,
,
,
,
|
30 | — | Eject spiral | — |
Same attack as
cancel High Kick Cut 3b
|
| 2 | Flurry Kick |
|
5~35 | Mashable | Eject tornado (final hit) | — | — |
| 3 | Rolling Thunder |
|
20 | — | Sweep (unique) |
(buffered)
|
Sweep lifts enemy up and over Raiden |
| 4 | Sweep Kick |
|
20 | Hits behind Raiden as blade spins | Butt-drop | — | — |



Raiden’s
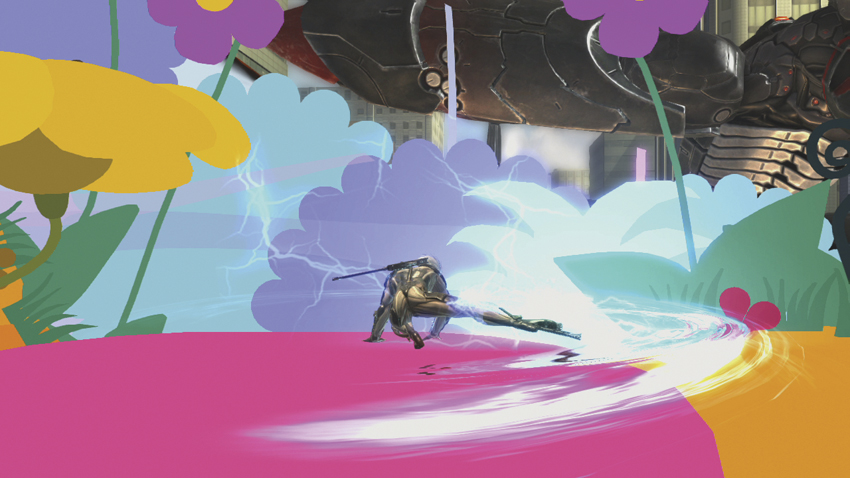
Attacks offer several options for aggressive players. High Kick Cut (
) offers 5AP on hit, but if you charge it, you earn 10AP and make the enemy butt-drop. You can follow that butt-drop with High Kick Cut 3c (
(charged),
,
) to continue the combo, for instance, or any number of other High Kick Cut Attacks.
There are eight variations of High Kick Cut, and all of them involve utilizing
and
in varying combinations. The effects of each High Kick Cut vary, as well. Certain Attacks eject the opponent when finished, while others lift them for further attack. The properties are different depending on if your adversary is airborne or grounded, as well. Being able to properly input the commands for each High Kick Cut and understanding how they differ from each other is essential to playing Raiden to his fullest. For instance, pressing
during High Kick Cut, High Kick Cut 2 (
,
), and High Kick Cut 3 (
,
,
) makes Raiden change direction mid-combo, allowing him to switch targets on the fly. You can also press
during most High Kick Cut variations to change direction with a new attack with solid range, catching enemies at a minor distance. Put in some time in Practice Mode and drill the High Kick Cut variations for best results.
Moves like High Kick Cut 3c (
,
,
) are great at removing Raiden from danger by ejecting a foe, while High Kick Cut 3b (
,
,
) is a great combo opener.
Flurry Kick (
) is a mashable move worth up to 35AP. It’s perfect for working into your Combos, especially after you make an enemy butt-drop or lift them into the air. It comes out quickly, and the final hit knocks foes away in an eject tornado. This should be a key part of your offense and one of your go-to moves to escape danger.
Rolling Thunder (
) is a unique sweep. Instead of sweeping an enemy off their feet, opening them up to easy Combos, Rolling Thunder knocks them up and over Raiden’s head. Since Raiden is skilled at fighting on two fronts, however, you can easily follow an Rolling Thunder with Back Cut Follow-Up (
,
) for 40AP. The first hit of Back Cut Follow-Up is going to whiff, but the second comes out fast enough to continue the combo. Keep this situation in mind when fighting. Where other characters have to turn around before they can attack, Raiden can do it in the blink of an eye and press the attack.
AIR ATTACKS
| # | Name | Command | AP Gain | Properties | Hit Effects | CI | Notes |
|---|---|---|---|---|---|---|---|
| 1 | Whirlwind Kick |
Air
|
30 | Hits behind Raiden as blade spins | Eject roll; eject tornado (aerial foe) | — | Long recovery if performed close to ground |
| 2 | Falling Lightning |
Air
|
20 | Active until grounded | Bounce | — | Action in air OK on hit after flipping away from foe |
| 3 | Air Rolling Thunder |
Air
|
20 | — | Sweep (unique) | — | Sweep lifts enemy up and over Raiden |
| 4 | Slam Slice |
Air
|
20 | — | Butt-drop; lift (airborne foe) | — | — |
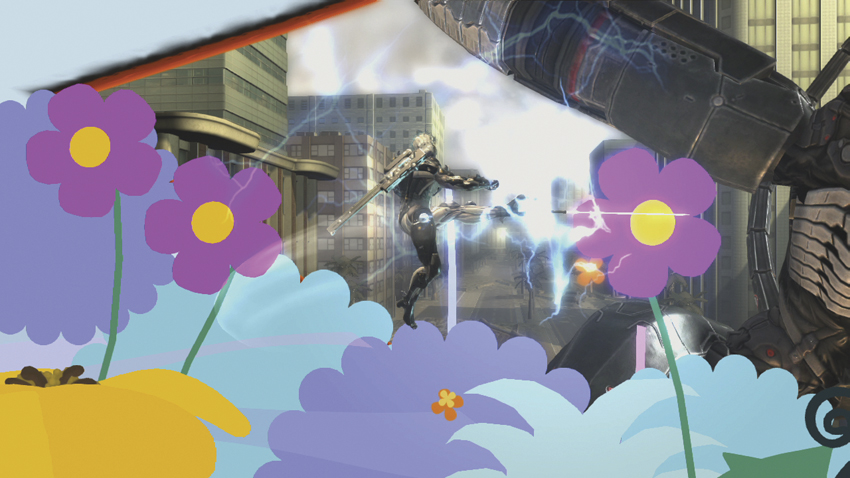
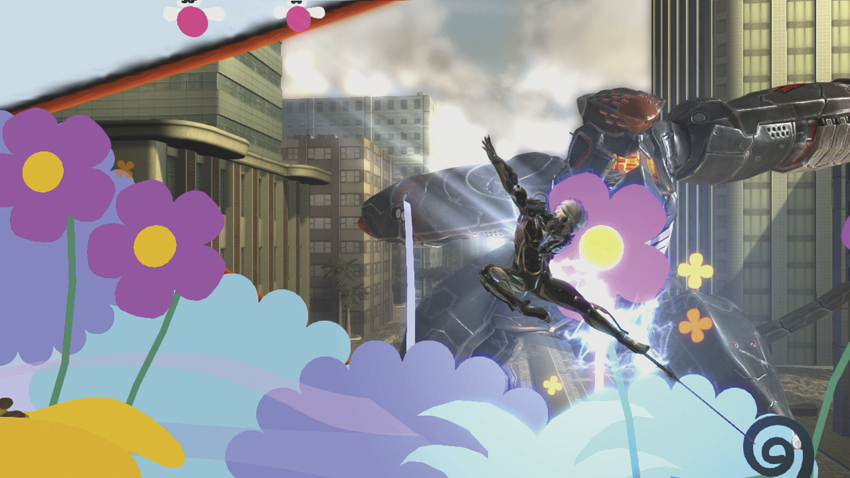

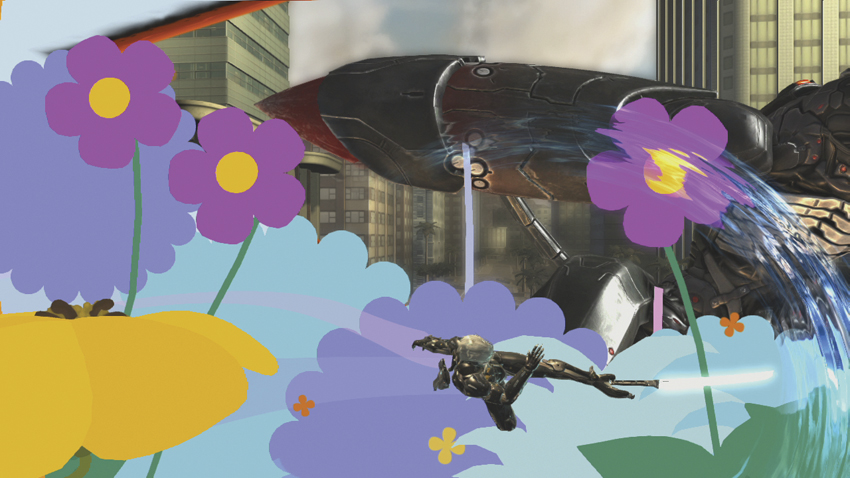
Whirlwind Kick (
) is another move that can only be used at the end of a combo or to make sure adversaries stay on their toes. The recovery time lasts until Raiden falls to the ground, making following up on this move a difficult prospect. It’s great for keeping enemies at a distance, however, and it comes out fast enough that you can incorporate it into your air Combos.
Falling Lightning (
) is another move with a traveling aspect. After a brief delay, Raiden zips toward his opponent on a diagonal angle. Once he connects, Raiden backflips away and is free to act again or pursue a combo. This move is fast, and the angle Raiden falls at means that it can be used to surprise enemies from long range. Simply have Raiden double jump and activate the move at the top of his jump to fly across the level.
Using Air Rolling Thunder (
) is a move that is tough to get used to but rewarding once you figure it out. It tosses the enemy over Raiden’s head once again, but thanks to it being an aerial maneuver, they fly a bit farther. Use a move with a dash or horizontal movement aspect to catch up to the thrown foe and continue to hammer them with Attacks.
Raiden’s Slam Slice (
) has a terrifying range. It can hit enemies from close and medium-close range with ease, and its range is longer than most of Raiden’s other aerial Attacks. This is the ultimate surprise move, so you should use it to keep your adversaries in check by taking absolute control of the air near Raiden.
: CIRCLE ATTACKS
GROUND ATTACKS
| # | Name | Command | AP Gain | Properties | Hit Effects | CI | Notes |
|---|---|---|---|---|---|---|---|
| 1 | Parry |
|
20 | Active instantly | Crumple | — | Long recovery on whiff |
| 2 | Lightning Strike |
|
20 | — | Butt-drop; lift (aerial foe) | — | — |
| 3 | Horse Jump |
|
20 | Active until grounded | KD | — | Cannot act until grounded on hit or block |
| 4 | Draw Attack |
|
20 | Teleports to opponent within five character lengths | Sweep | — | Invincible during teleport |
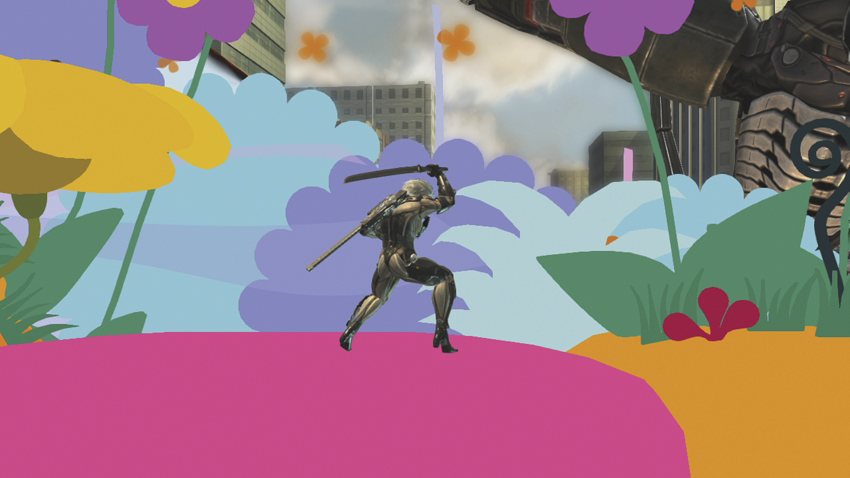
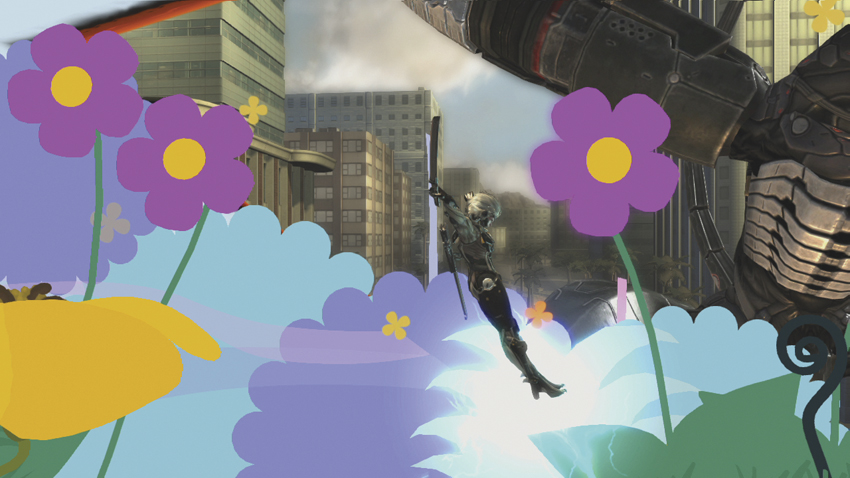
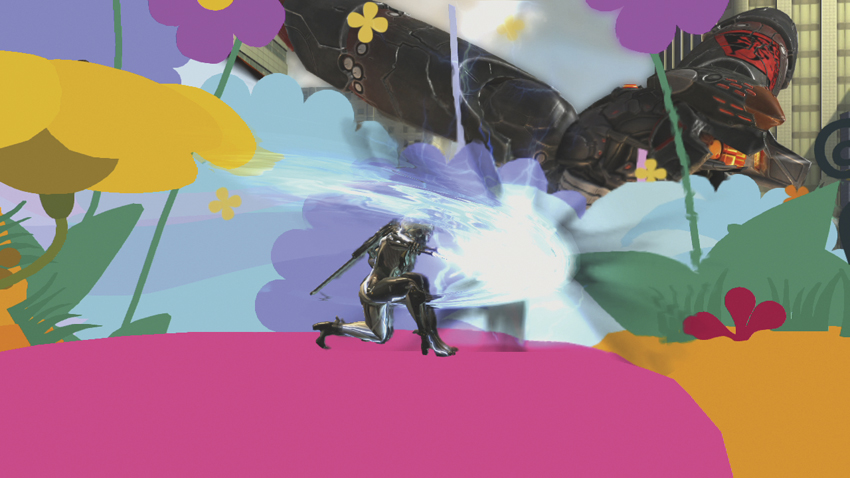
Like Heihachi, Raiden’s Parry (
) is a powerful maneuver and one of the most important moves Raiden possesses. Activate it as soon as you see an attack coming to make your foe crumple, and then immediately follow the Parry with a lengthy combo while they’re vulnerable. Use Parry to create openings in your enemy’s defense, and then hammer that opening until they retreat.
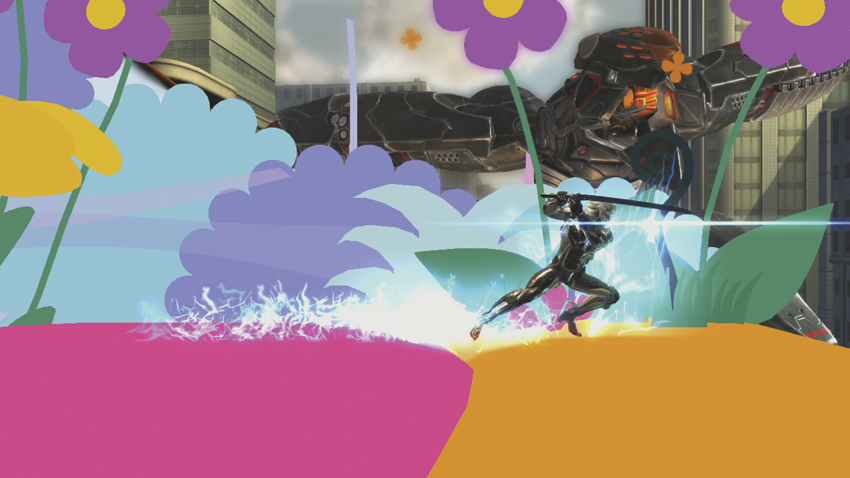
One of Raiden’s best mobility options is Lightning Strike (
). He dashes forward, covered in lightning, before finally impacting with the enemy. Raiden can cover a lot of ground this way, and he automatically Attacks when he reaches an opponent. This move can be blocked and countered, but it’s so fast that a foe would have to have great reflexes to pull that off at close range.
Raiden hops over an enemy and stomps when you perform a Horse Jump (
). This is a good move to stop an aggressive adversary, and since it results in a knockdown state, it should be used at the end of a string of Attacks, rather than the beginning.
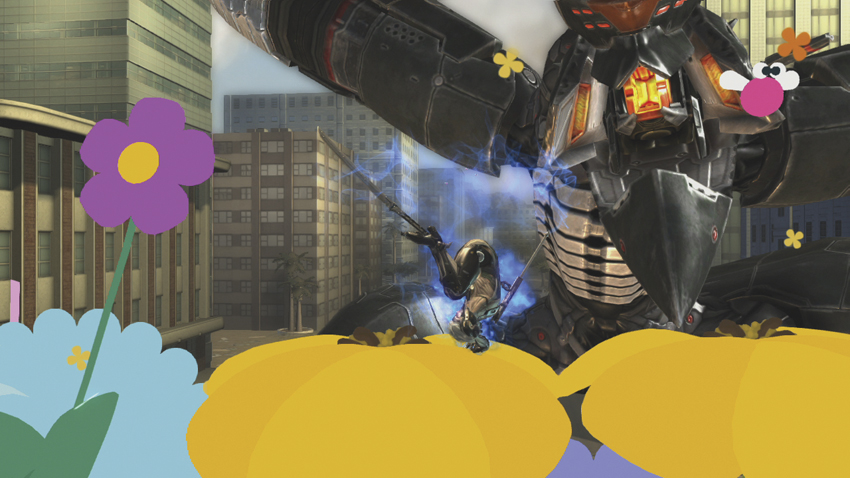
If Raiden is within medium-close range, Draw Attack (
) is an invaluable move. Raiden teleports a short distance toward the enemy before slicing their legs. This is a great move to use to surprise adversaries that are keeping their distance and hitting Raiden with projectiles or shutting him down. It’s fast, of course, and Raiden is invincible when teleporting. On top of all that, it also sweeps foes, so follow this move with a combo as soon as possible.
AIR ATTACKS
| # | Name | Command | AP Gain | Properties | Hit Effects | CI | Notes |
|---|---|---|---|---|---|---|---|
| 1 | Air Parry |
Air
|
20 | Active instantly | Crumple; eject tornado (aerial foe) | — | Raiden stops in place for duration |
| 2 | Air Lightning Strike |
Air
|
20 | — | Kneel | — | — |
| 3 | Stomp |
Air
|
20 | Invincible during attack on hit | KD | — | Attack strikes above Raiden |
| 4 | Drill |
Air
|
10, 10 | Active until grounded | Kneel (first hit); KD (second hit); lift (aerial foe) | — | Small shockwave causes kneel |

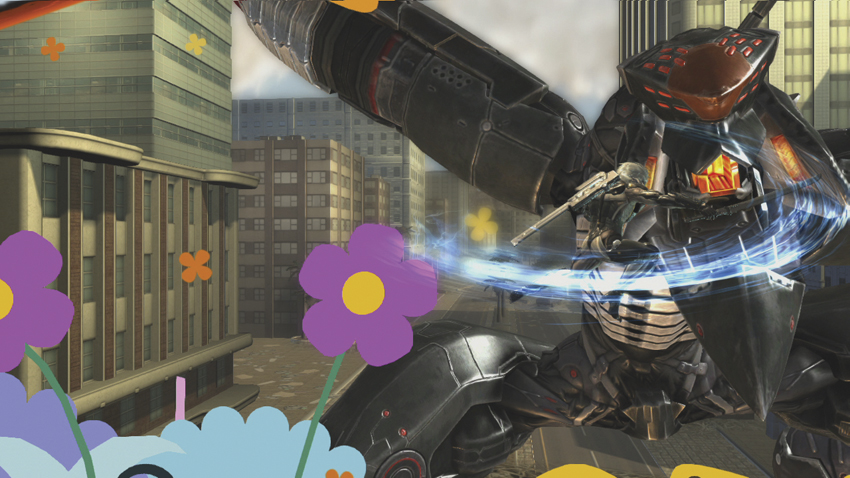
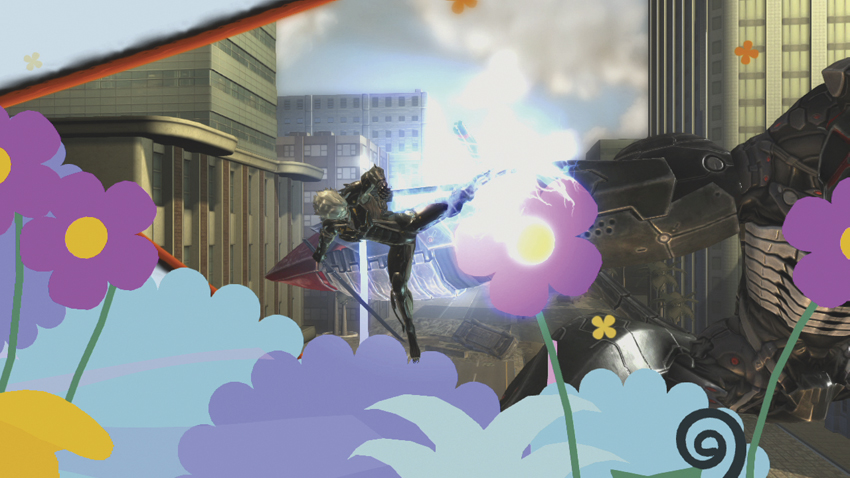

Air Lightning Strike (
) gives Raiden an aerial mobility option. This move functions in the air the same as it does on the ground, so you can use it with relative impunity, assuming you don’t whiff against an airborne and ready enemy. If you use Air Lightning Strike against a grounded attacker, that challenger is forced to kneel. Air Lightning Strike is a solid combo opener, though one that should be used sparingly.
Raiden is left facing in the opposite direction upon completing Drill (
). Keep that in mind when using this move. Raiden also follows a slight arc when performing Drill, and that arc may carry him past the foe or leave him too close for comfort. Airborne enemies bounce back into the air when struck by Drill’s shockwave, so it is vital to learn how to nail the execution of this move to ensure that it is as effective for you as it should be.
Stomp (
) appears to be a kick at first, but it soon becomes true to its name once Raiden plants a foot-held sword in an enemy’s chest and then begins stomping up and down on them in mid-air. This move can strike adversaries through thin platforms, and it’s fast enough to be useful in most situations. If an opponent is jumping near Raiden without attacking, go for the Stomp for 20AP.
The final tool in Raiden’s arsenal is Air Parry (
). Use this move less often than you would Parry (
), but keep it at the ready for aggressive players. Use Air Parry to train your enemies to avoid jumping in with Attacks or sending out blind pokes. Once you reverse a few of those, they are going to have to change their gameplan.
COMBOS
MAIN COMBOS
Note: All combos assume your character is facing the right side of the screen.
I. Against grounded foe:
,
,
,
,
65AP
Bread and butter COMBOS should be simple and rewarding, and this combo is both of those things. It opens with Leaping Cut (
) before transitioning into Single Hand Cut 4 (
,
,
,
). This combo is worth 65AP, just under half the AP needed to fill Raiden’s Level 1 Super Meter. This combo is fast enough to leave Raiden safe, but if you notice another character creeping toward Raiden’s back, press
while performing Single Hand Cut 4 to change directions and beat back the ambusher.
II. Against grounded foe:
,
,
,
,
,
,
, wallbounce,
,
,
,
135AP
This move takes careful positioning, but when it pays off, it pays off huge. Your enemy must be several character widths from the wall. If you can see the wall from Raiden’s current position, he is too close. Once you have the range down, perform High Kick Cut 3c (
,
,
) to make your enemy butt-drop. After that, quickly input Single Hand Cut 4 (
,
,
,
) to knock the attacker away. Immediately after they wallbounce, input Single Hand Cut 4 once again to earn more AP and activate the Infinite Avoidance System.
III. Against an attacking foe:
,
,
,
65AP
The first step is the hardest: perform a Parry
to catch and reverse an enemy’s attack. As the adversary crumples, quickly input High Kick Cut 3c (
,
,
) to earn more AP and knock them away from Raiden. If they wallbounce after this combo, you may be able to tack on more hits. For an intermediate combo, however, this is easy to pull out in a pinch and a great way to reverse the tide of battle and gain some momentum.
COMBO APPENDIX
| Combo | +AP | Notes |
|---|---|---|
|
,
,
,
,
, wallbounce,
,
,
,
|
140AP | Raiden can easily earn AP for his Super Meter with this combo. Be sure your enemy is in the proper position before trying this combo, or else you should simply perform one Single Hand Cut 4. |
|
Right stick
or
,
,
,
,
|
50AP | This combo is easy as pie and can give you a nice stock of AP in a pinch. If an opponent is turtling, break this combo out to retaliate. |
ADVANCED STRATEGIES

Use Lightning Strike (
) to safely close the distance and create openings.
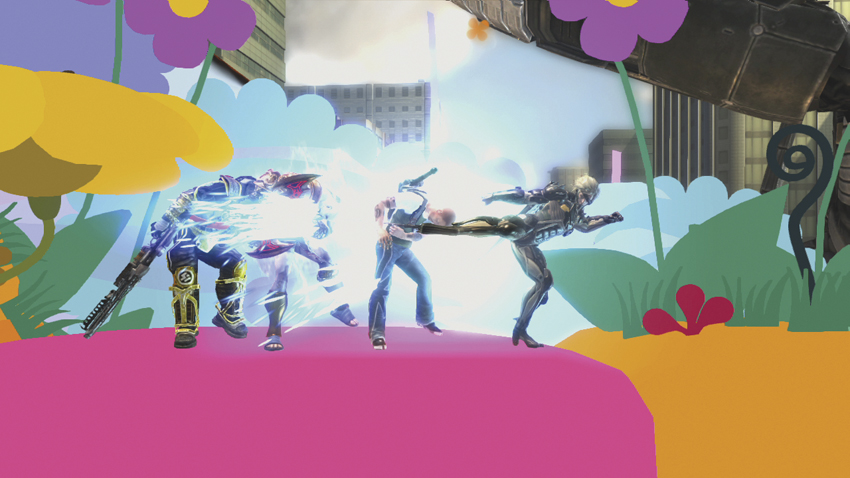
Raiden’s Flurry Kick (
) is a useful way to surprise and eject enemies.
Raiden is a character that can be played in a wide variety of ways. If you prefer to take it easy and earn your AP in large chunks at a time, you can do that. If you believe in constantly attacking and leaving your enemies devastated, you can do that, too. In order to properly play Raiden, however, you’re going to have to know him and his moves very well.
Experiment with Raiden before taking him into match play. His speed is disorienting to your foes, but it can cause you trouble, as well. It’s easy to get carried away and find yourself attacking thin air, either because your enemy blocked or dodge rolled away, or Raiden simply changed directions by accident. Before you get a strong handle on Raiden, take it easy. Use match play to figure out how his moves fit together and what you can get away with when fighting a human opponent. The CPU will fall for things humans won’t, and the reverse is true, as well. It is important to know these differences so that when things get heated, you can keep your cool and not go for a punishing combo that may whiff and leave Raiden wide open.
Raiden’s High Kick Cut (
) moves offer an incredible amount of choice for the savvy player. If you have trouble keeping up when an opponent is in your face, then use High Kick Cut 5 (
,
,
,
,
) to force them to eject spiral away at the end of your combo. If you’re a combo fiend, then use High Kick Cut 3b (
,
,
) to lift them into the air and continue your combo.
Look at High Kick Cut as a starting point and the moves that branch off it as customization. You can focus on using the High Kick Cut that best complements your style of play, and if you can incorporate two or three High Kick Cut variations into your repertoire, you can successfully play Raiden and win matches. However, being well-rounded means that you need to know what move to use and when, and that goes for the High Kick Cut variations, as well.
If you have trouble performing a certain high Kick Cut variation, focus on that in Practice Mode. Figure out why it doesn’t work for you, and try to force yourself to understand how to use it. All of Raiden’s Attacks are useful, High Kick Cut especially, and being well-rounded means that you need to know what move to use and when.
There aren’t many characters as fast as Raiden, and you need to use that advantage to the fullest. Single Hand Cut 4 (
,
,
,
) is a simple combo on paper, but it is versatile in action. You can catch floating or wallbouncing enemies with it, and it’s a great move to use from a standing position, as well. When you combine Leaping Cut (
) with Single Hand Cut 4, you’ve got a devastating combo. If you can get a lucky wallbounce, you can even earn up to 140AP, an invaluable bonus early in a fight.
Raiden needs to build up to 400AP to use his Level 2 Super attack, and 150AP for his Level 1 Super attack. Use his speed to increase your AP gain. Use long Combos with high rewards, and if you have a chance, go for a combo that has greater than 80AP gain. Raiden is fast enough to be able to recover and counterattack quickly, so if you eat a hit, it isn’t a big deal. Simply regroup and dash back in with a Lightning Strike (
), and try to force your enemies to drop their defenses so that you can hit them with a rewarding combo.