
PlayStation All-Stars Battle Royale Guide Walkthrough Characters
Fat Princess
All-star overview
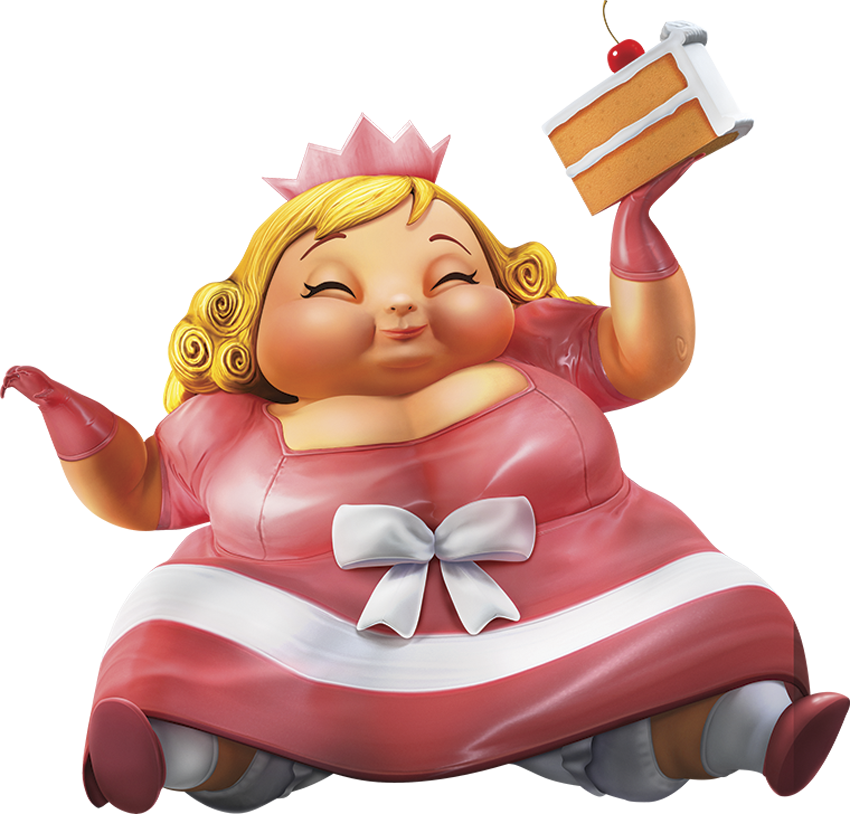
Fat Princess is a combo expert. She’s a combo-heavy character with a wide variety of combo-ready Attacks, several versatile launchers, and great finishers that alternately eject, sweep, lift, or launch the enemy at the end of the combo. She’s fast, she gains AP quickly, and her Level 1 Super attack is stellar. The goal with Fat Princess is to build AP and then immediately use her Level 1 Super attack.
WHY IS RIDE THE CHICKEN! SUCH A GREAT SUPER ATTACK AND THE CENTERPIECE OF FAT PRINCESS’S STRATEGY?
- Ride the Chicken! comes out quickly and travels a short distance, allowing it to affect multiple enemies.
- Fat Princess can easily gain 75AP or more in a single combo, which means that two solid Combos are all you need to gain the necessary AP.
- It dominates in corners, thanks to its speed.
WHAT’S THE BEST WAY TO REACH LEVEL 1 AND ACTIVATE THE SUPER ATTACK?
-
Use Ballerina Smash (

 ) as a combo finisher to quickly gain AP.
- Take advantage of her launchers to set up Combos and prevent adversaries from attacking.
- The villagers she can summon come out slowly but can keep an enemy busy while you have Fat Princess transition into a combo.
Fat Princess is a damage dealer and should be played accordingly. Rapidly switching from combos to SUPER Attacks and back again should keep your foes stressed out and afraid to approach you. Many will underestimate Fat Princess due to both her size and the fact that she came from a humorous game, but as soon as you start landing 75AP combos, they’ll realize the error of their ways.
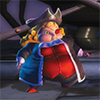
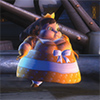
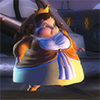
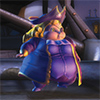
AT A GLANCE
Costumes

|
|

|
|
|
|
|
|
|
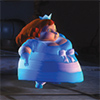
|
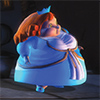
|
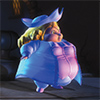
|
Rundown
SUPER ATTACKS
OVERVIEW
| AP Level | AP REQ | Name | Duration | Unique Commands | Notes |
|---|---|---|---|---|---|
| 1 | 150 | Feed Me Cake! | One second | — | — |
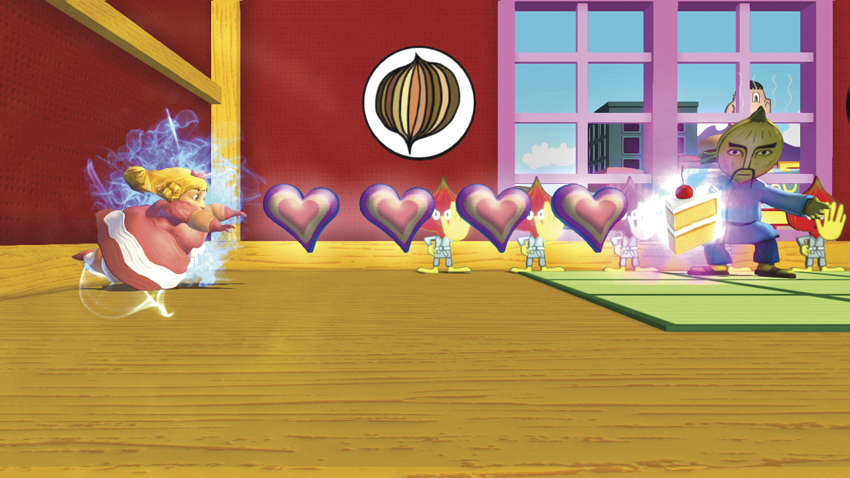
Feed Me Cake!: Fat Princess’ Feed Me Cake! is remarkably fast for a Level 1 Super Attack. It lasts a single second, and over the course of that second, Fat Princess spawns five hearts and a piece of cake. Any enemy between her and her cake is killed as soon as she touches them. This move is versatile enough to be used in almost any situation. Its range isn’t great, but the speed with which it can be acquired and utilized more than makes up for that.
| AP Level | AP REQ | Name | Duration | Unique Commands | Notes |
|---|---|---|---|---|---|
| 2 | 400 | Ride the Chicken! | Eight seconds |
Press
 /
/
/
/
 to dash
|
Chicken stays active if dashing when time expires |
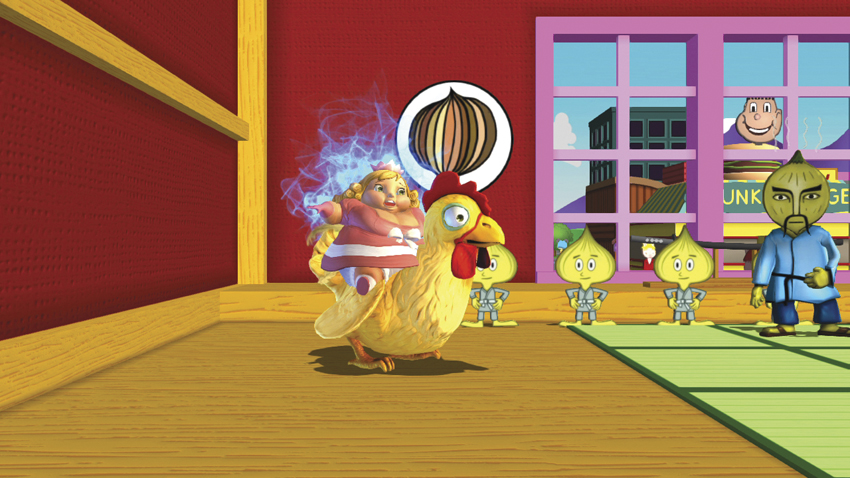
Ride the Chicken!: For her Level 2 Super attack, Fat Princess summons a yellow rooster, and she is given free reign to ride it around. Pressing any attack button causes the rooster to dash, and any enemy struck by the dash is killed. The rooster can jump roughly the height of a double jump and perform a slower attack on the way down. Eight seconds isn’t a long time, but it is enough to kill a single character twice, or all three opposing characters at least once. This move is powerful, but opponents who know its properties will definitely try to avoid Fat Princess until time runs out.
| AP Level | AP REQ | Name | Duration | Unique Commands | Notes |
|---|---|---|---|---|---|
| 3 | 750 | Protect the Princess! | 12 seconds | — | Fat Princess is immobile for duration |
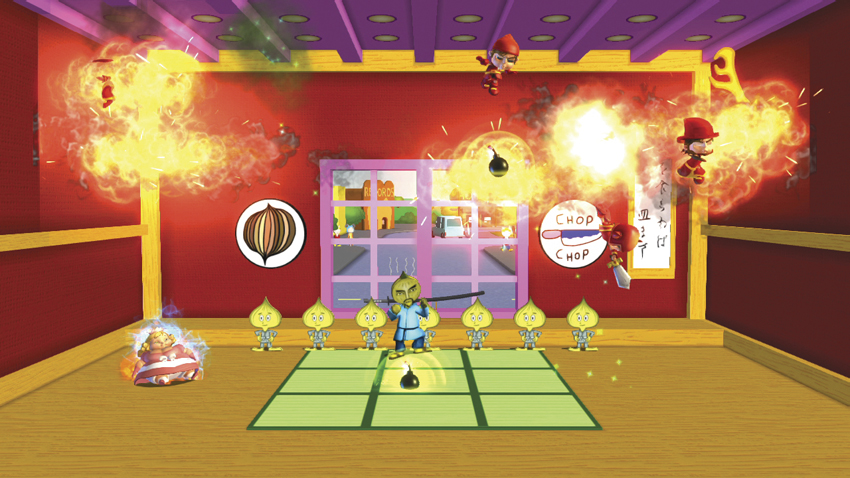
Protect the Princess!: What’s a Fat Princess without her army? Upon activating Protect the Princess!, Fat Princess’s protectors come streaming out of the woodwork and begin attacking every quadrant of the stage. They spend their 12-second time at bat raining down bombs, fireballs, and worse on the enemy while Fat Princess gorges on cake. This move is tremendously efficient when it comes to scoring kills, as there’s absolutely nowhere for opposing characters to hide. Use this move when you’re behind in the standings to quickly score at least three, and possibly even six, kills at once.
THROWS
OVERVIEW
| Name | Command | AP Penalty | Properties | Hit Effect | Notes |
|---|---|---|---|---|---|
| Tumble Toss |
Right stick
|
15% | Unblockable; 30AP of super armor | Full launch | — |
Tumble Toss: This well-rounded throw pops an enemy up, leaving them vulnerable to aerial ATTACKS. Even if an opponent has time to perform an air recovery after the throw, Fat Princess still has plenty of time to leap after them and pull them into a solid combo. Try firing an Upward Mage Fireball (
) before the throw if you’re looking to fully combo off of Tumble Toss’s hit effect.
| Name | Command | AP Penalty | Properties | Hit Effect | Notes |
|---|---|---|---|---|---|
| Whirl ‘N Twirl |
Right stick
 or
or

|
15% | Unblockable; 30AP of super armor | Eject tornado | — |
Whirl ‘N Twirl: Fat Princess grabs an enemy by one arm and treats them to a giant swing that ends in an eject tornado. This move’s fifteen percent AP Penalty and long-distance toss make it a great option when Fat Princess is being forced into a defensive position against your will.
| Name | Command | AP Penalty | Properties | Hit Effect | Notes |
|---|---|---|---|---|---|
| Belly Drop |
Right stick

|
15% | Unblockable; 30AP of super armor | Butt-drop (first hit), KD (second hit) | — |
Belly Drop: The Belly Drop is a quick belly bump that transitions into a jumping butt drop, knocking down the target. Comboing out of this move is extremely difficult, but the fifteen percent Penalty it inflicts on an enemy makes it a worthwhile addition to Fat Princess’s repertoire.
: SQUARE ATTACKS
GROUND ATTACKS
| # | Name | Command | AP Gain | Properties | Hit Effects | CI | Notes |
|---|---|---|---|---|---|---|---|
| 1 | Scepter Bash 1 |
|
10; 20 (charged) | Chargeable; 20AP super armor while charging | Kneel (tap); crumple (charge) |
(tap);
or
/
 (while charging)
|
Cannot perform second hit if charged |
| - | Scepter Bash 2 |
,
|
10 | — | Sweep | — | — |
| 2 | Scepter Dash |
|
20 | — | Lift | — | — |
| 3 | Scepter Slash |
|
20 | — | Full launch | — | — |
| 4 | Scepter Flash |
|
20 | — | Sweep |
|
Can be repeated |
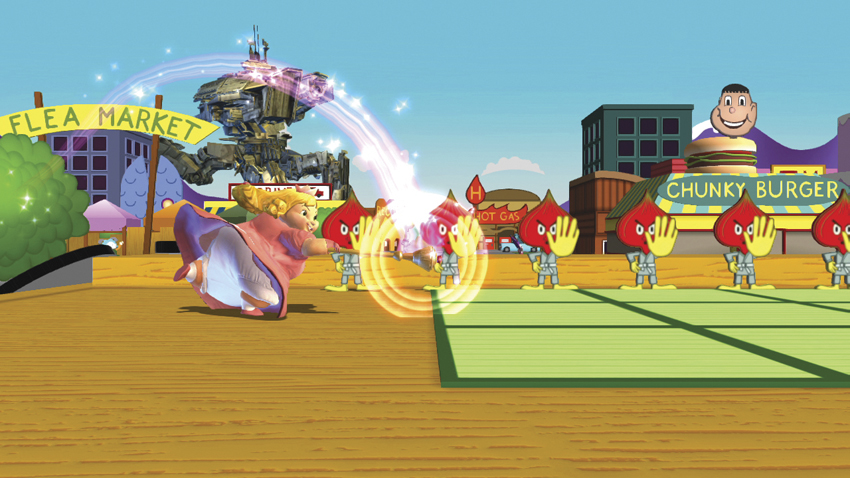
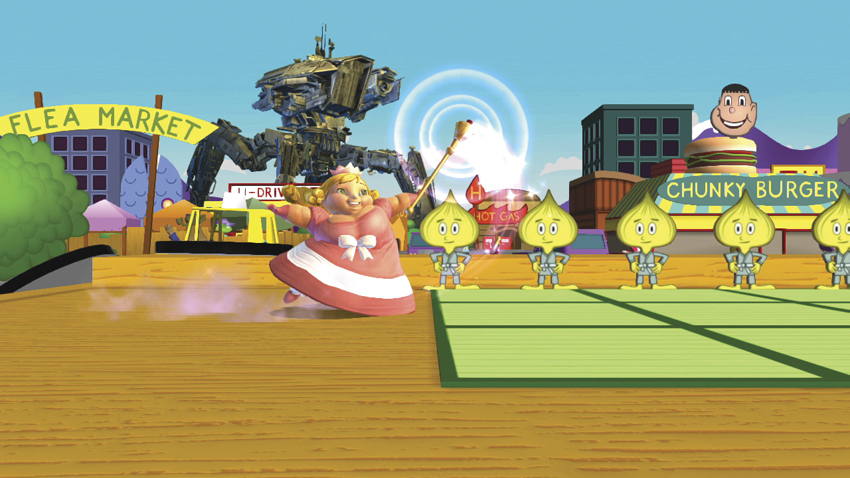
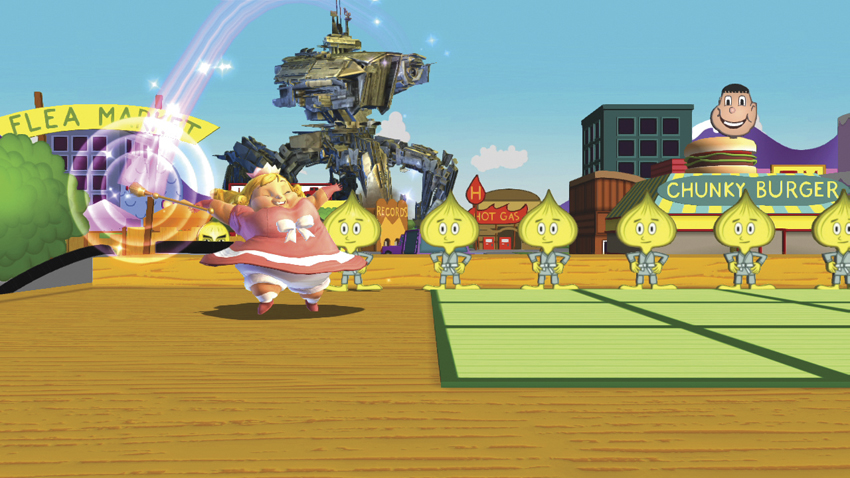
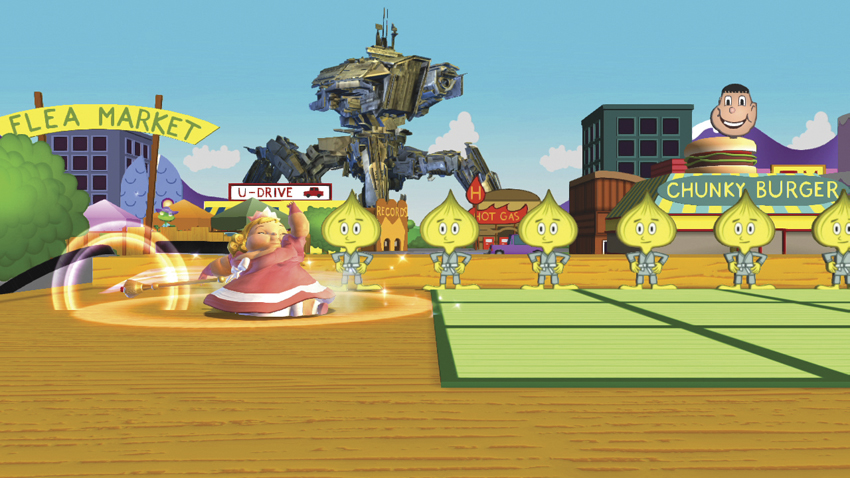
Fat Princess is a master of combos, and her
Attacks are the perfect setup and segue into rewarding combos. Her Scepter Bash 2 (
,
) sweeps enemies off their feet, leaving them open to further Attacks, including Scepter Bash 1 (
).
A charged Scepter Bash 1 makes foes crumple upon impact, which gives you time to transition to Scepter Bash 2, giving you a total of 40AP and the opportunity to continue the combo at your leisure.
Scepter Slash (
) and Scepter Dash (
) serve as essential launchers, too. Scepter Slash knocks characters high into the air, letting Fat Princess chase them down with an air combo, while Scepter Dash lifts enemies, leaving them vulnerable to a ground juggle. Both launchers create opportunities for punishing Combos and leave your opponent completely vulnerable.
Scepter Flash (
) is a sweep, like Scepter Bash 2, but you cannot transition from Scepter Flash to Scepter Bash 2. You can, however, transition into Scepter Bash 1, which knocks the enemy slightly away from Fat Princess before they perform an air recovery.
Fat Princess isn’t just a combo powerhouse, either. A charged Scepter Bash 1 can be cancelled into several different actions. One of the most straightforward is cancelling into Scepter Bash 2 by pressing
as soon as she begins spinning her scepter. This lets Fat Princess avoid the charge and immediately attack. You can also cancel into a forward or backward dash by pressing
or
, or a jump by pressing
. Charging a Scepter Bash 1 doesn’t take long, but being able to instantly transition into an attack or escape is valuable. No one can be on the offensive forever, so it’s important to know when and how to retreat.
AIR ATTACKS
| # | Name | Command | AP Gain | Properties | Hit Effects | CI | Notes |
|---|---|---|---|---|---|---|---|
| 1 | Scepter Bash |
Air
|
20 | — | KD | — | — |
| 2 | Scepter Dash |
Air
|
20 | — | Lift | — | Fast recovery |
| 3 | Scepter Slash |
Air
|
20 | — | Full launch | — | — |
| 4 | Scepter Smash |
Air
|
20 | — | Kneel | — | Fast recovery |
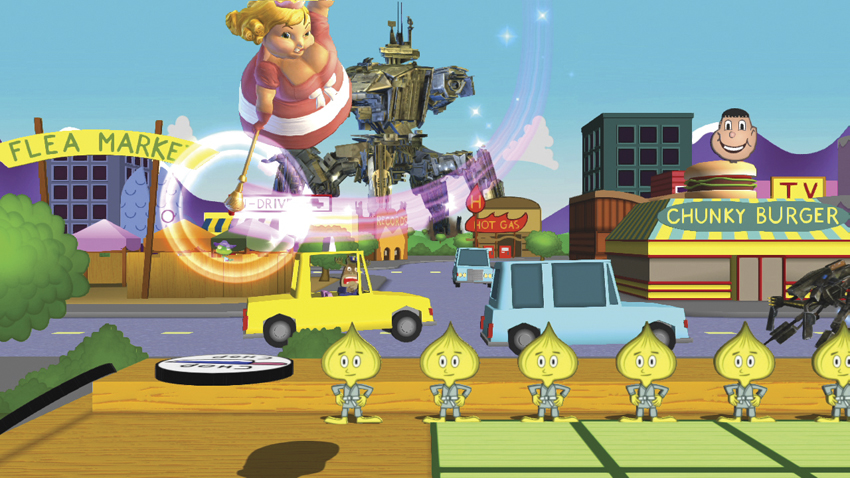
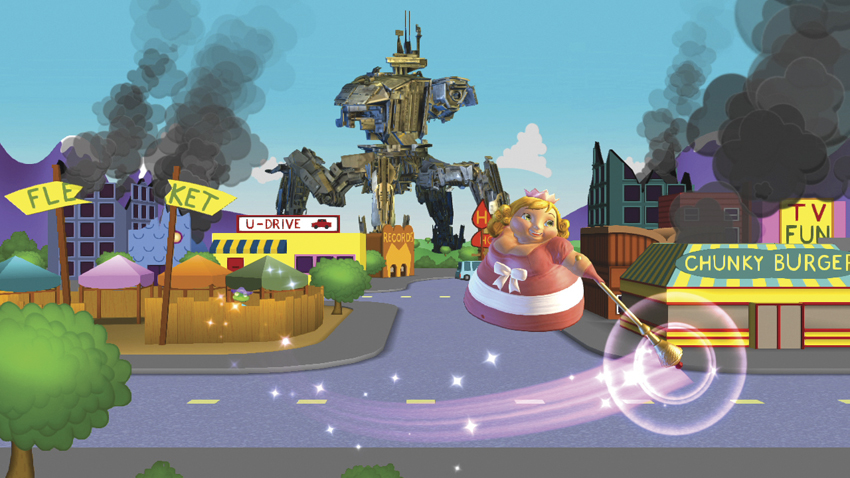
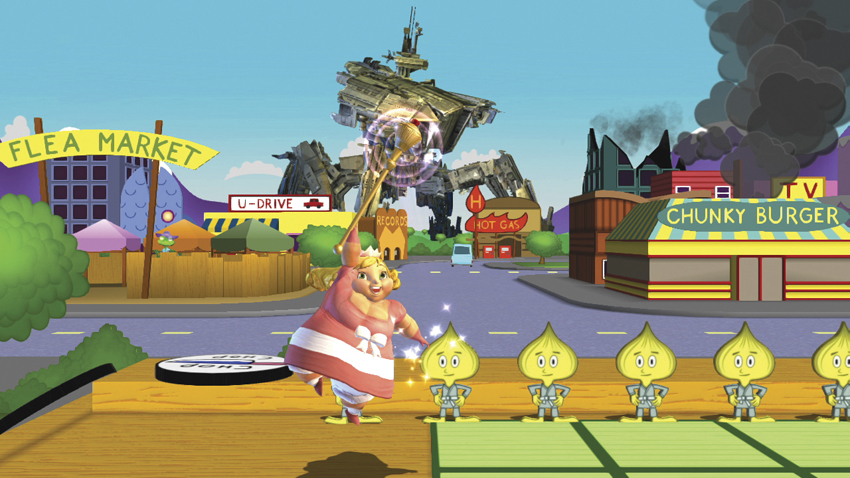
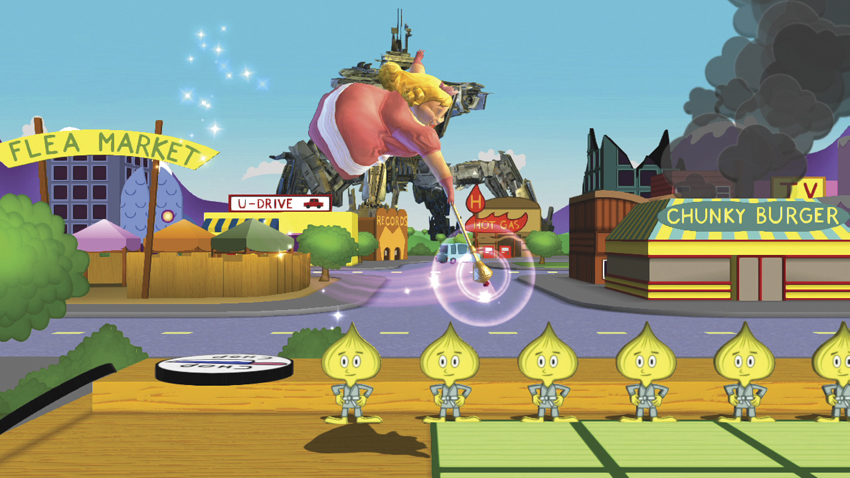
While Fat Princess’s grounded
Attacks are great for beginning combos, her aerial
Attacks serve a different purpose. Against an enemy in mid-air, her
Attacks serve to smash them down to the ground or knock them away from her. Scepter Bash (
) makes a great combo ender, as it slams the opposing character to the ground almost immediately. This move has applications outside of combos, as well. Use it to stop an adversary from jumping in, whether they’re trying to get close for a ground combo or employing aerial Attacks.
Scepter Dash (
) allows Fat Princess to move in closer to an enemy in mid-air and immediately attack, leaving the foe lifted even farther into the air and Fat Princess falling to safety. Against a grounded challenger, Scepter Dash functions similarly, though now Fat Princess has the option of following up on the attack with an aerial or ground combo.
Use Scepter Smash (
) similar to how you’d use Scepter Dash. Scepter Smash has no forward motion, so it can’t be used to safely travel across the screen, but it still knocks airborne enemies even higher into the air. Grounded foes are forced to kneel after being hit by a Scepter Smash. Take advantage of their position by quickly activating another move—Scepter Dash 1 knocks the opposing character down completely.
Scepter Slash (
) is an upward swing that launches grounded enemies. It’s a little difficult to land on grounded enemies due to its fairly short range, but it’s great on airborne adversaries. It knocks them higher into the air while Fat Princess falls, which precludes most follow-ups, but take advantage of the time it takes them to reach the ground by plotting the next step in your attack plan.
: TRIANGLE ATTACKS
GROUND ATTACKS
| # | Name | Command | AP Gain | Properties | Hit Effects | CI | Notes |
|---|---|---|---|---|---|---|---|
| 1 | Ballerina Spin |
|
5~51 | Mashable; pulls foes toward Fat Princess | Eject tornado (final hit) | — |
Press
or
to move slightly during mash
|
| 2 | Pattycake |
|
4~20 | Mashable | Lift (final hit) | — | — |
| 3 | Ballerina Smash |
|
5~30 | — | Eject tornado (final hit) | — | — |
| 4 | Butt Stomp |
|
10 |
Hold
to hop farther
|
Butt-drop | — | — |
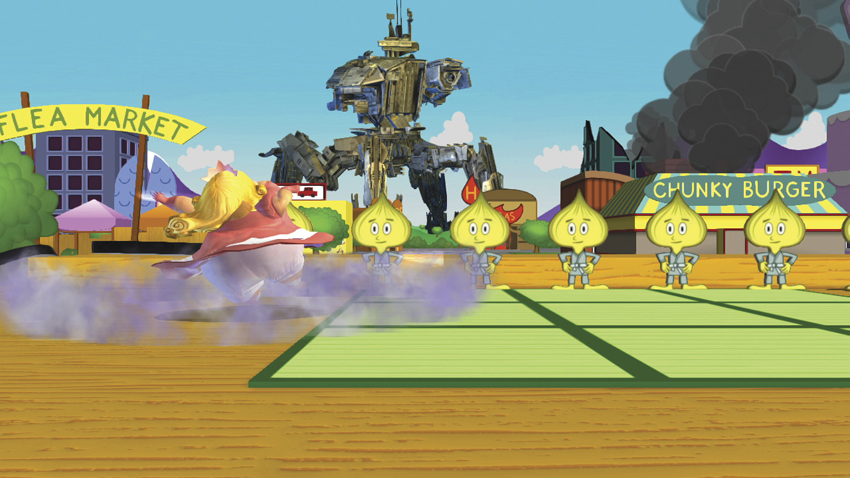
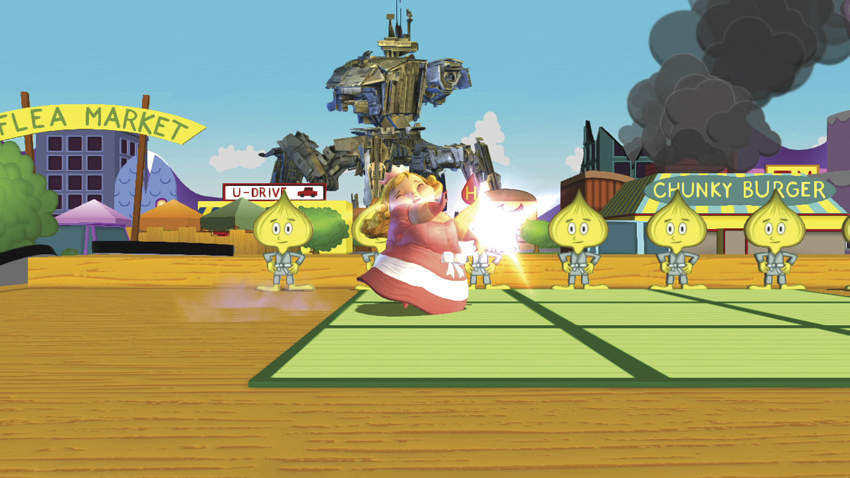
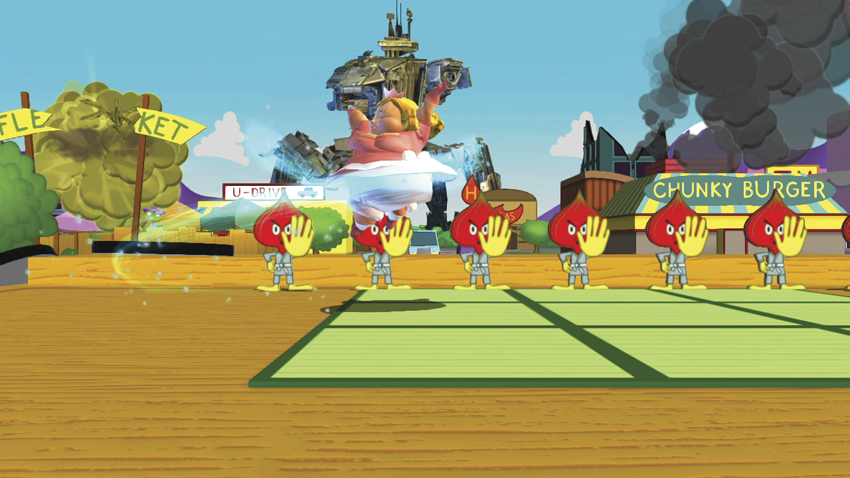
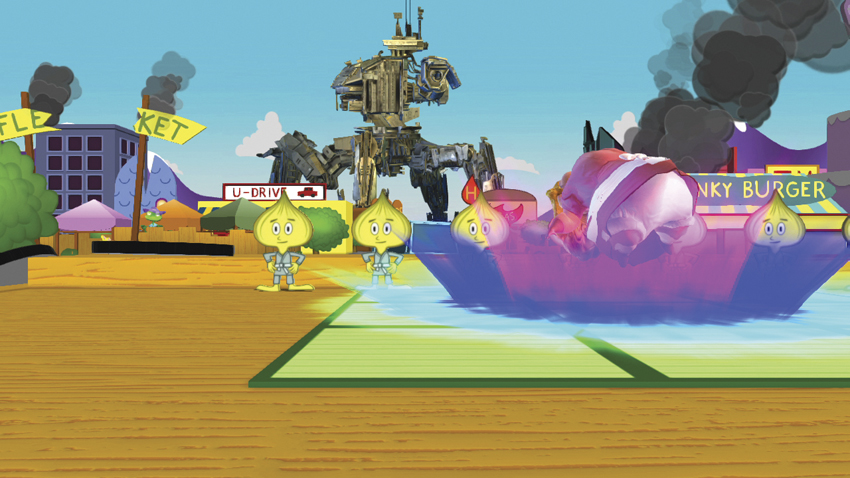
If Fat Princess’s
Attacks are best used to begin combos, her
Attacks are great extenders and finishers. Ballerina Spin (
), for example, pulls enemies in closer to Fat Princess before forcing them into an eject tornado. If every hit of the Ballerina Spin connects, Fat Princess earns 51AP. Comboing from a charged Scepter Bash 1 (hold
) into a full Ballerina Spin earns 71AP for eight hits. That’s a beautiful harvest for only a little effort.
Get used to performing Ballerina Smash (
). It’s one of the best tools Fat Princess has. While its AP gain is not as great as Ballerina Spin’s, it sends Fat Princess traveling forward at an upward angle, letting her catch grounded and aerial enemies with the same attack. From a charged Scepter Bash 1, Ballerina Smash earns Fat Princess up to 50AP and leaves the opponent in an eject tornado state. As a result, Fat Princess is left in safety, free to turn her attentions toward another foe or to trigger a Super attack at will.
Fat Princess’s Pattycake (
) is a quick dash that leads to even quicker slaps from Fat Princess. It isn’t as versatile as Ballerina Smash, but it’s an integral combo extender. The last hit of Pattycake lifts enemies. A combo that begins with a charged Scepter Bash 1, transitions into Pattycake, and then ends with Ballerina Smash is worth 56~65AP, and once again leaves Fat Princess in complete safety.
Bringing up the rear is Butt Stomp (
). Fat Princess performs a short hop before dropping to the ground, creating a minor shockwave. Charging the attack makes for a longer hop but a longer start-up time, as well. Use Butt Stomp like you would Pattycake. It should keep enemies near Fat Princess and leave them vulnerable to a combo.
AIR ATTACKS
| # | Name | Command | AP Gain | Properties | Hit Effects | CI | Notes |
|---|---|---|---|---|---|---|---|
| 1 | Ballerina Kicks |
Air
|
3~12 | — | — | — | — |
| 2 | Belly Bounce |
Air
|
30 | Dashes forward | Eject tornado | — | — |
| 3 | Ballerina Glide |
Air
|
5~30 | — | Eject tornado (final hit) | — | — |
| 4 | Butt Stomp |
Air
|
10, 10 | Active until grounded | Butt-drop | — | — |
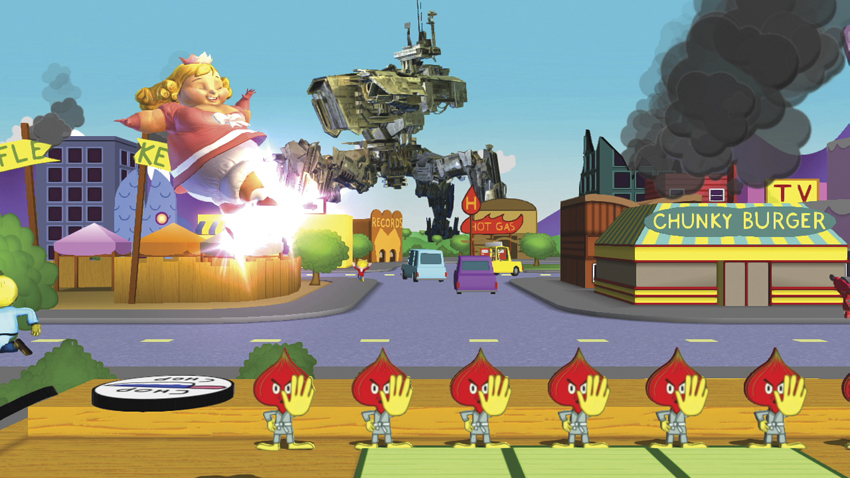
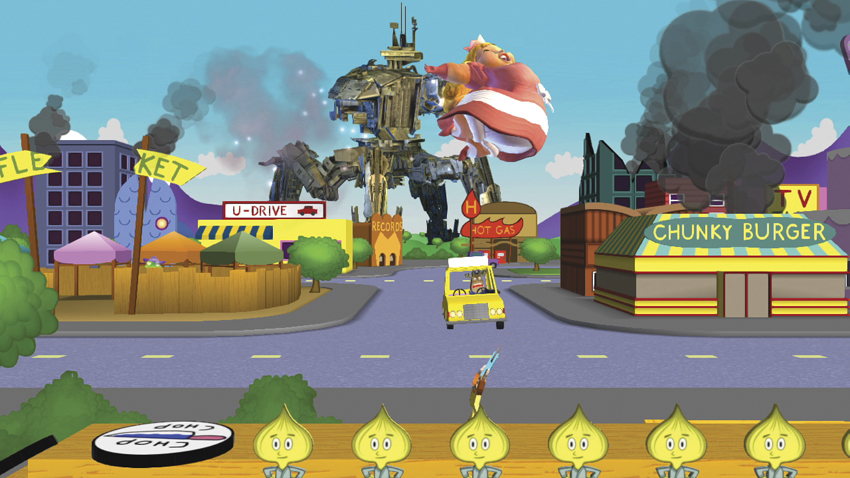
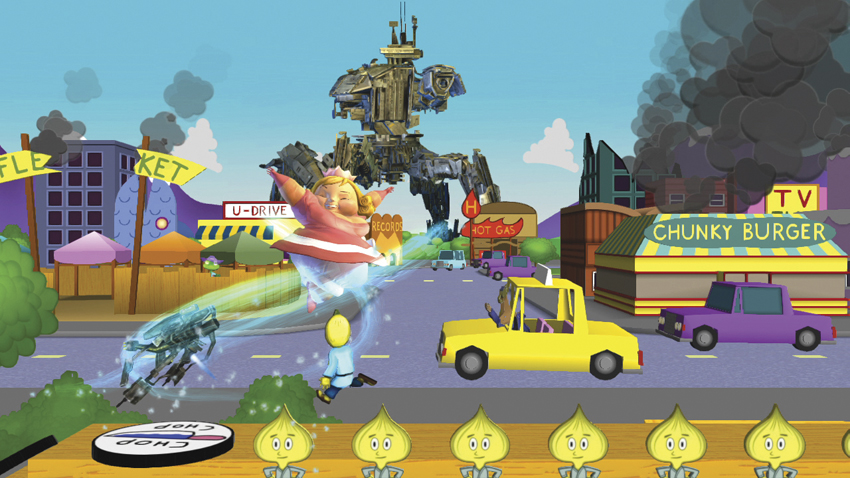
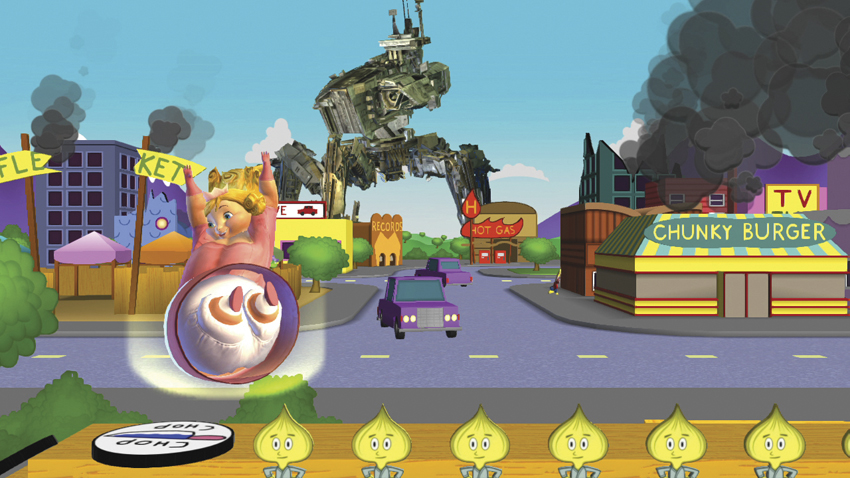
The Butt Stomp (
) really shines in mid-air. Instead of beginning with a hop, Fat Princess simply goes directly into the attack and slams toward the ground at high speed. It completely halts the upward motion of any airborne enemies and forces grounded adversaries into a butt drop. Go from a Butt Stomp to Scepter Dash (
) and then to Ballerina Smash (
) for 65AP.
Belly Bounce (
) is both an offensive maneuver and aggressive air dash. Fat Princess jolts forward, bumping enemies out of her way and covering a lot of horizontal ground. This can be performed twice off a double jump, which means that Fat Princess can quickly cover the length of a screen with just two simple Attacks.
Use Fat Princess’s Ballerina Kicks (
) as a combo extender. It only earns 12AP, but 12AP is a great bonus at the end of a combo. Her Ballerina Kicks keep an enemy in the air for a while, as well, creating even more opportunities for massive damage.
Ballerina Glide (
) is just as useful in the air as it is on the ground. Fat Princess’ forward motion during this move means that you can connect with air Combos that may not seem like they should work at first glance. Use that element of surprise to keep your opponents guessing. Ballerina Glide comes out quickly and ends with an eject tornado, so it’s a very safe move to use alone or in Combos.
: CIRCLE ATTACKS
GROUND ATTACKS
| # | Name | Command | AP Gain | Properties | Hit Effects | CI | Notes |
|---|---|---|---|---|---|---|---|
| 1 | Mage Fireball |
|
20 | — | Lift | — | Villagers do not affect Fat Princess’s actions |
| 2 | Warrior Rush |
|
10 | — | — | — | See above |
| 3 | Upward Mage Fireball |
|
20 | — | Lift | — | See above |
| 4 | Worker Bomb Drop |
|
20 | Bomb has three-second timer | Full lift | — | See above |
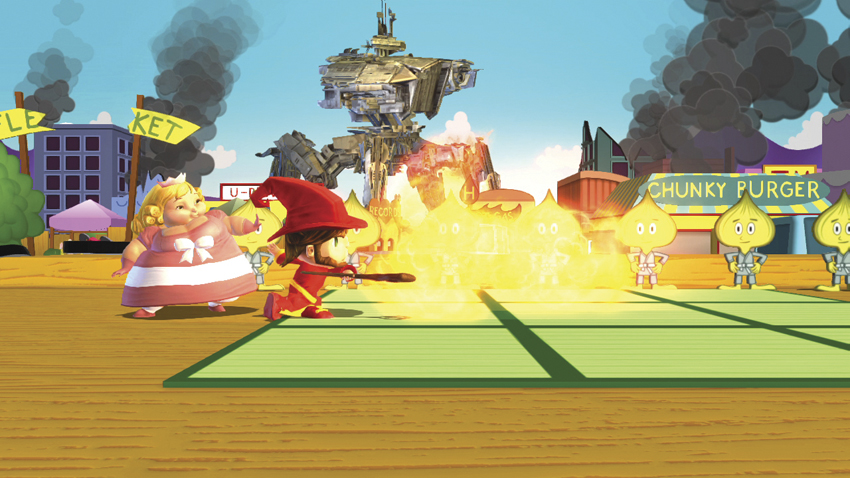
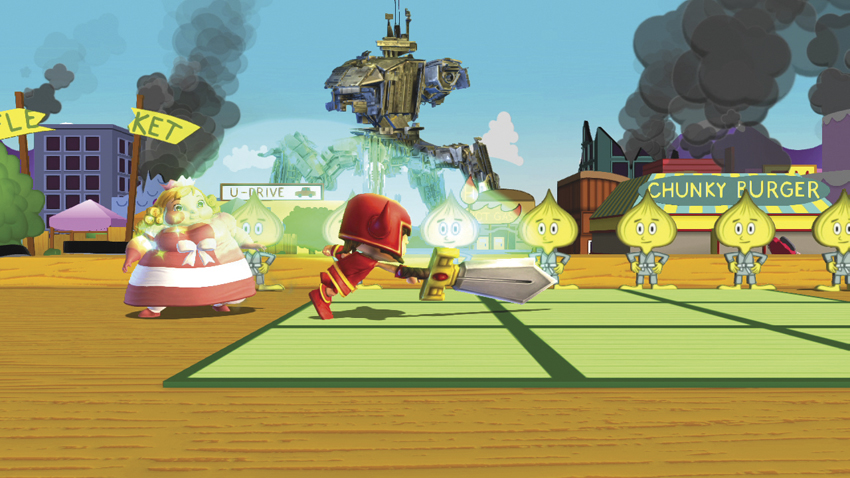
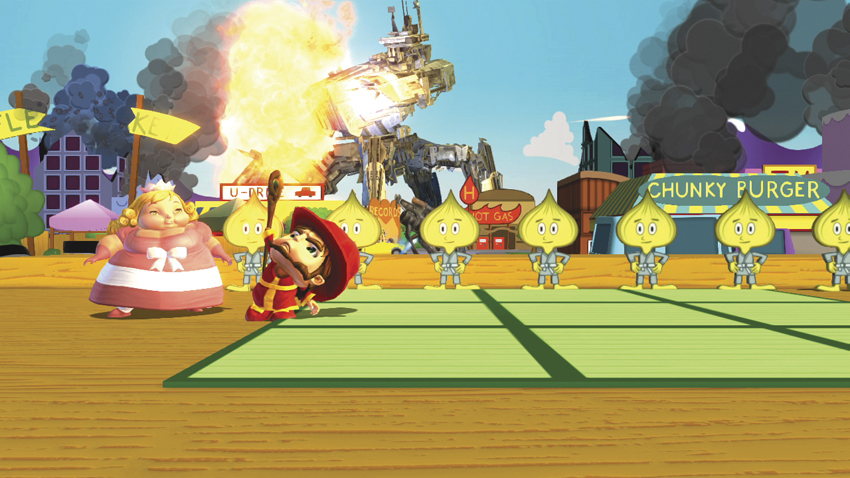
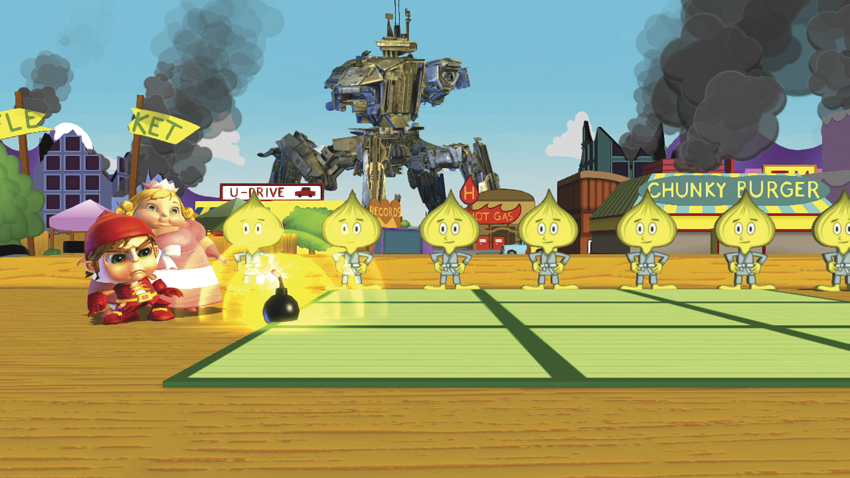
Use the Worker Bomb Drop (
) in close-quarters situations. A worker appears in front of Fat Princess and carefully places a bomb directly in front of her. This move is obvious, and it’s easily dodged when used on its own. As part of a close-quarters attack, however, it’s just one more thing to worry about. Whenever you use Worker Bomb Drop, make it a point to throw a fast combo or Ballerina Smash (
) immediately after it. With proper timing, the bomb should explode while the enemy is caught in the Ballerina Smash. This is especially effective in corners.
Mage Fireball (
) and Upward Mage Fireball (
) are trickier to use in combat. There’s a brief delay before the Attacks connect with the enemy, which means that using these Attacks as part of a combo requires a bit of forethought. One effective strategy is to call for a Mage Fireball, wait a moment, and then follow the fireball in and immediately throw out a combo or Ballerina Smash. The same tactic works for the Warrior Lunge (
). Set up the attack first, and then follow it in and take advantage of the hit state it leaves the opposing character in.
Fat Princess’s
attacks are best thought of as strikers. She can activate these attacks without having to stop her movement or cease attacking. Since the
attacks are performed by her army, Fat Princess is free to move and attack, and she can even activate SUPER Attacks when her minions are attacking the enemy.
AIR ATTACKS
| # | Name | Command | AP Gain | Properties | Hit Effects | CI | Notes |
|---|---|---|---|---|---|---|---|
| 1 | Mage Fireball |
Air
|
20 | Mage hovers in place where summoned | Lift | — | Villagers do not affect Fat Princess’s actions |
| 2 | Warrior Lunge |
Air
|
20 | Dives down at 45-degree angle | Butt-drop | — | See above |
| 3 | Upward Mage Fireball |
Air
|
20 | Mage hovers in place where summoned | Lift | — | See above |
| 4 | Worker Bomb Drop |
Air
|
20 | Bomb has three-second timer | Full launch | — | See above |
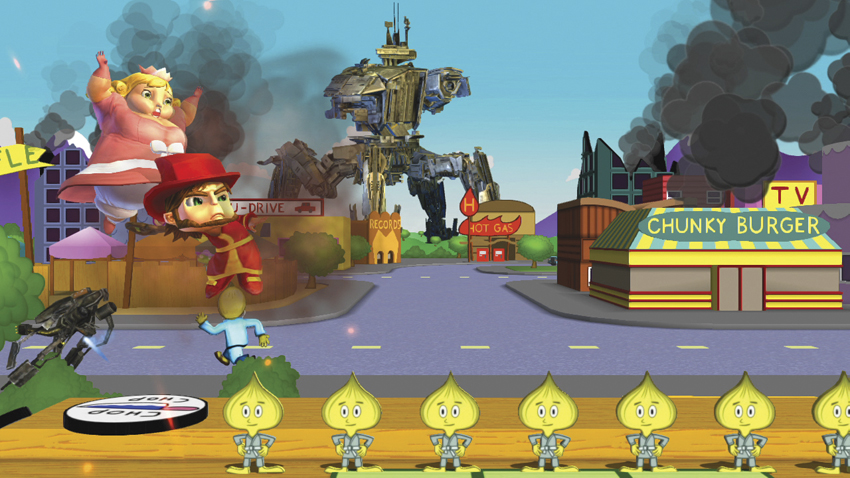
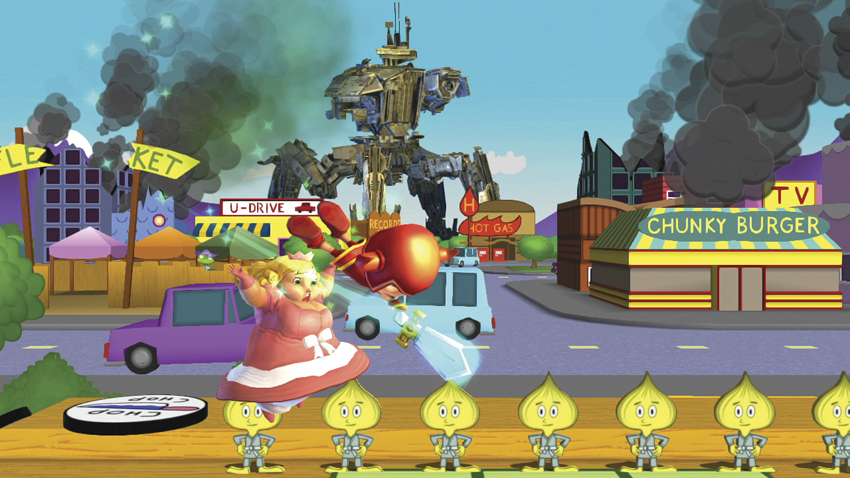
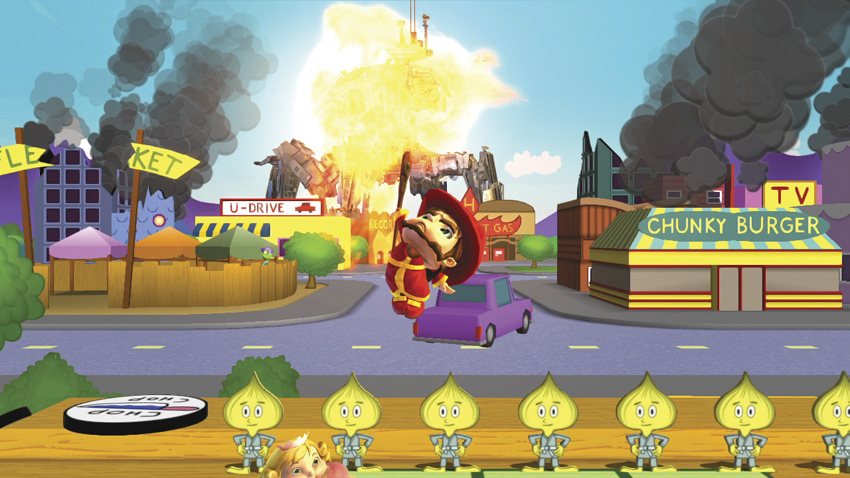
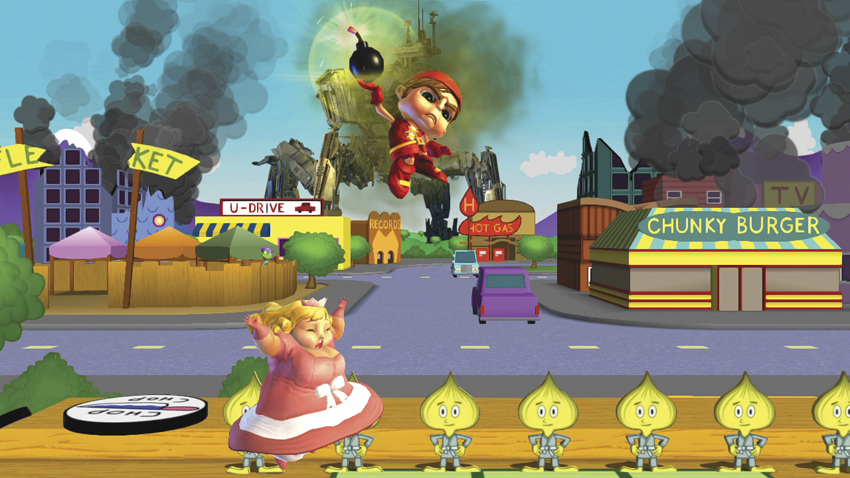
Only one member of Fat Princess’s army can be on-screen at any one point in time, which complicates her aerial
Attacks. While it would be nice to hammer the enemy with several different Attacks from the air, that is best left to her Level 3 Super attack. Instead, you need to improvise.
The first step to properly utilizing her aerial
Attacks is fully understanding the properties of each move. Warrior Lunge (
) comes out quickly, and the Warrior travels on a 45-degree angle toward the ground. Mage Fireball (
) and Upward Mage Fireball (
) take a moment to come out and travel in a horizontal and vertical line, respectively. Worker Bomb Drop (
) takes even longer to damage an adversary as a result of the bomb’s three-second timer. Each attack is different and requires practice before it can be incorporated into your gameplan.
Mage Fireball and Upward Mage Fireball aren’t the best moves to try to utilize in a combo, but Warrior Lunge can be a great move to use early in a combo. You simply have to prepare it beforehand, have Fat Princess rush in, and time her first strike so that it hits just before the Warrior does. Worker Bomb Drop functions similarly—leap over an enemy and drop a bomb, and then immediately turn and begin a ground combo. The bomb should explode during the combo, either opening the foe up to aerial Attacks or knocking them away from Fat Princess entirely.
COMBOS
MAIN COMBOS
Note: All combos assume your character is facing the right side of the screen.
I. Against grounded foe: charge
,
,
,
65AP
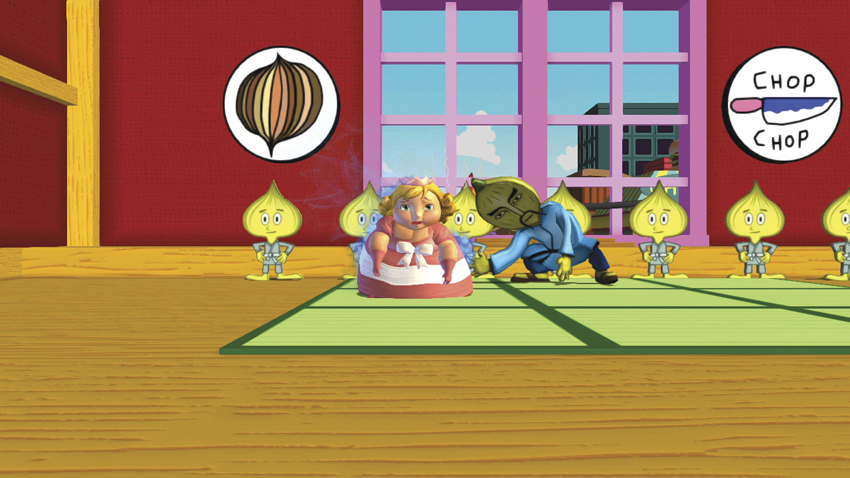
Fat Princess’s bread and butter combo begins with a charged Scepter Bash 1, followed by Scepter Bash 2, and ends with a Ballerina Smash. This combo is simple and rewards completion with a hefty amount of AP. It can be used in any situation where Fat Princess can find a split second to prepare the charged Scepter Bash 1, and once the Scepter Bash 1 hits, avoiding the rest of the combo is nearly impossible. As a nice bonus, connecting with the latter two-thirds of this combo on two or more characters fills your Super Meter most of the way toward Level 1. If you can corner three characters with this combo, you’re basically guaranteed to fill your first Super Meter’s first level. Use this at will, and take advantage of the breathing room that the eject tornado at the end provides.
II. charged
,
,
,
75AP
The charged Scepter Bash 1 and Ballerina Smash are two of Fat Princess’s most valuable moves. Scepter Bash 1 can be used as an opener to all sorts of combos, both grounded and grounded transitioning to aerial. Ballerina Smash is a great finisher, one that forces enemies to get closer to Fat Princess while she hammers them with Attacks. You can place almost anything between those two Attacks and enjoy a combo that results in a high AP gain.
III.
,
,
55AP
Working Fat Princess’s
Attacks into her combos is harder than it is to incorporate her
or
Attacks, but it is far from impossible; it’s all a matter of timing. In this combo, call the Warrior Lunge and then wait a brief moment before moving in with the Scepter Bash 2. Both Attacks should hit the enemy at the same time, setting the foe up for the finisher.
COMBO APPENDIX
| Combo | +AP | Notes |
|---|---|---|
|
,
,
|
55 | This combo is fast, easy, and effective. |
|
,
,
|
50 | Once again, Fat Princess's combos are simple and rewarding. |
ADVANCED STRATEGIES
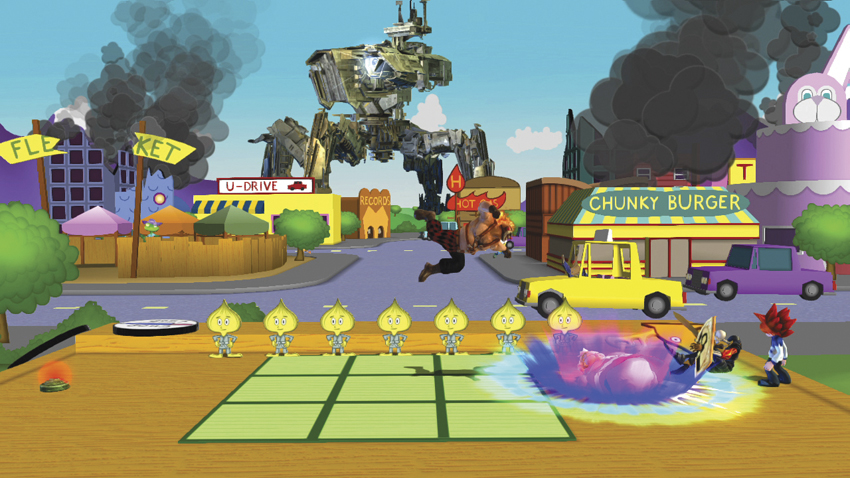
Use the Butt Drop to keep enemies out of the air.
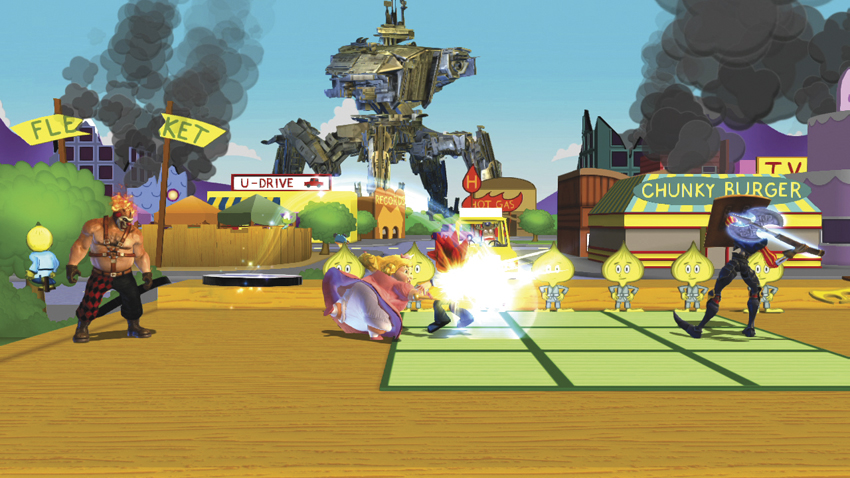
The charged Scepter Bash 1 is one of the best tools that Fat Princess has.
Fat Princess is a combo master. Most of her Attacks can be used in combos with ease, and that ease doubles when she’s got an enemy cornered. With the use of Attacks like Worker Bomb Drop (
) or Upward Mage Fireball (
), Fat Princess can keep the opponent guessing and on the defensive.
Speed and versatility: these are two of Fat Princess’s greatest assets. She can quickly traverse a screen, thanks to two different Attacks that double as air dashes, and once she gets within close range, the sky’s the limit. Her most reliable combo starter is the Scepter Bash 2 (
,
), which sweeps enemies off their feet, but a charged Scepter Bash 1 (
) or Scepter Flash (
) are almost as good.
Generally, Fat Princess combos should begin with a
attack, continue on into
and
Attacks, and then end with either a downward smash in the air or another
attack. You can mix it up, but for the most part, this is a safe and efficient way to rack up AP very quickly.
Her army is useful but difficult to implement in the middle of a combo. Using
Attacks just before a combo begins increases the chances of the hit connecting and adding to the combo. Another great way to utilize the
Attacks is to make it a point to use them to make an adversary keep their distance. Use the fireballs and bombs to close off avenues of attack, and then take advantage of your enemy’s hesitation with a strong combo.
Fat Princess needs 150AP for a Level 1 Super attack, 400 for a Level 2, and 750 for Level 3. Those are steep, especially the Level 3, but the good news is that her Level 1 Super attack is more than good enough for the job. All it takes are two or three brief Combos to build up enough AP for a Level 1 Super attack, and then Fat Princess goes from “frighteningly effective” to simply “frightening.” Her Level 1 Super attack is fast and excels at close range.
Repeat this cycle over and over. Build up AP quickly, and then bust out the Level 1 Super attack. Trap enemies in a corner, force several opponents into falling prey to a combo at the same time, and generally dominate the match by building and utilizing AP as quickly as possible. Fat Princess is a sprinter, not a marathon runner, so do not let your challengers take over the momentum of the match.