
PlayStation All-Stars Battle Royale Guide Walkthrough Characters
Nathan Drake
All-star overview
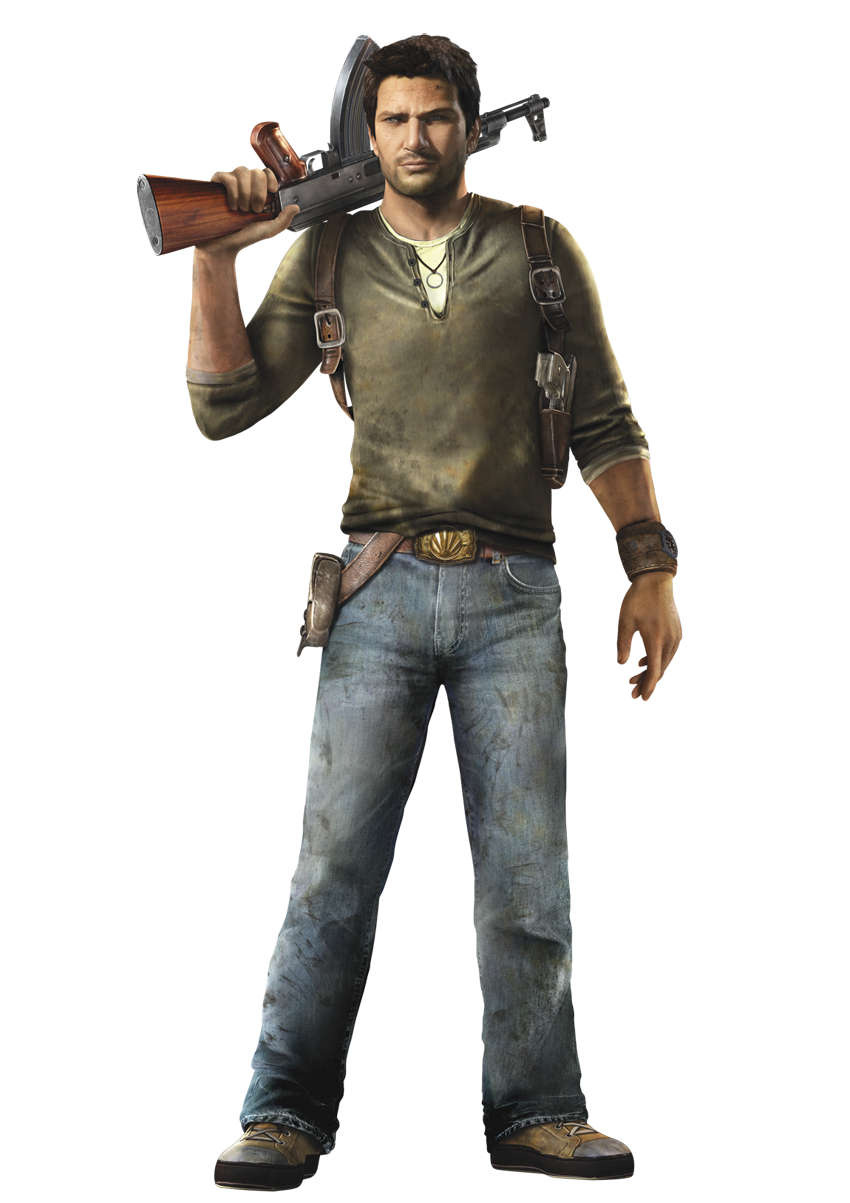
Nathan Drake’s move set gives him a treasure trove of options to attack his opponents: hard-hitting melee attacks, a wide arsenal of brief mid to long-range Combos, and the ability to suppress enemy actions. Coupled with excellent navigation-based moves, Drake can move across the map quickly and safely while building AP faster than you can say “Sierra Madre.” Your main focus as Nathan Drake is to build up 400AP rapidly in order to unleash his Level 2 Super attack: Stone Pillar.
WHY DO YOU WANT TO USE STONE PILLAR TO KILL DRAKE’S FOES?
- Stone Pillar is active instantly and blocks most attacks, making it highly effective as a Counter-Super.
- Stone blocks split apart after being pushed, allowing Drake to drop Stone Pillar from a ledge and kill opponents at various level heights.
- It can easily catch multiple enemies grouped together for a big score gain.
- Drake’s Level 1 Super attack isn’t viable for racking up a lot of kills because it requires tricky timing to score, is ineffective at close range, and leaves him exposed to attack from all sides.
KNOWING THE BENEFITS OF STONE PILLAR, HOW ARE YOU GOING TO BUILD UP 400AP CONSISTENTLY AND QUICKLY?
-
Using the Oil Barrel (
 ) and Run and Gun
 attacks to start combos for big AP gain.
-
Avoiding attacks (and losing AP) by staying mobile using
 and air
, or digging into a safe spot with
and air
, or digging into a safe spot with
 to attack foes from the safety of cover.
-
Suppressing opponent actions using attacks like Oil Barrel (
), Toss Grenade (
 ), and Tranquilizer Dart (
 ) while you buy time to set up your next big attack.
Drake is a veritable jack-of-all-trades in his All-Stars incarnation. This means he almost always has a way out of sticky situations, but only if you choose wisely when picking an attack. Many of Drake’s attack options leave him exposed in some way, so you need to be aware of your surroundings and always have an escape plan if you’re going for that #1 spot at the end of a round.
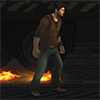
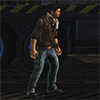
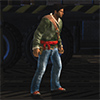
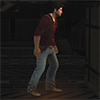
AT A GLANCE
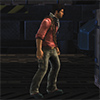
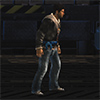
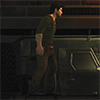
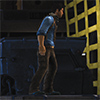
Costumes
|
|
|
|
|
|
|
|
|
|
|
|
SUPER ATTACKS
OVERVIEW
| AP Level | AP REQ | Name | Duration | Unique Commands | Notes |
|---|---|---|---|---|---|
| 1 | 150 | Propane Tank | Three seconds | Press any attack button to shoot tank | Shot can pass through walls |
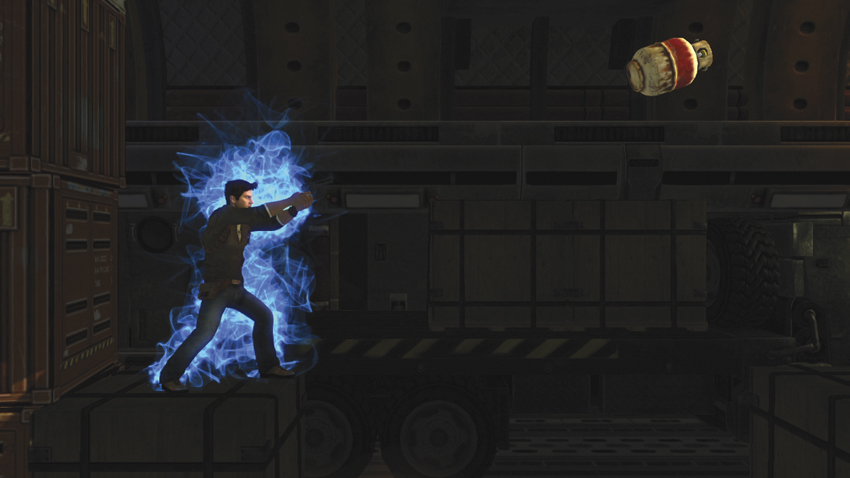
Propane Tank: Drake throws a propane tank that explodes when shot or detonates after three seconds, killing any foes caught in the resulting blast. The propane tank travels slightly farther than a Grenade Launcher round, exploding with roughly double the blast radius. It is a difficult Super touse effectively: you are vulnerable for its duration, the propane tank disappears if you get hit, and the soonest it can detonate places the explosion four character lengths away from Drake. Keep Drake safe by activating this Super from a higher platform to hit opponents on a lower level or vice versa, as Drake’s gunshot ignores walls and platforms to ignite the tank. Don’t use this Super as a reaction to an enemy attack; instead, wait for foes to group together in a pack before throwing the tank.
| AP Level | AP REQ | Name | Duration | Unique Commands | Notes |
|---|---|---|---|---|---|
| 2 | 400 | Stone Pillar | Five seconds | — | Drake can move after initial shove; blocks most attacks |
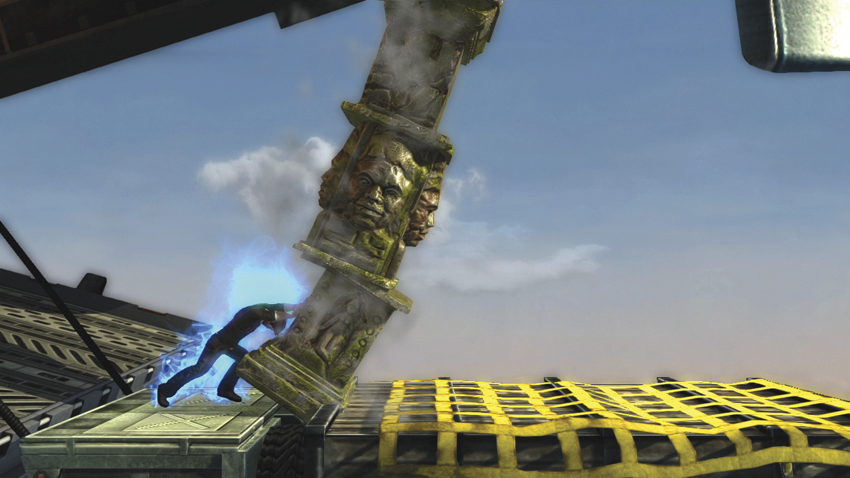
Stone Pillar: Drake’s most useful Super attack, his Level 2 summons a massive pillar for Drake to push over, its three pieces breaking apart and killing any enemy they touch. Stone Pillar is active instantly, making it perfect for killing foes at point-blank range or countering other super attacks. Try activating Stone Pillar at a platform’s edge to maximize the distance and area the stone blocks cover, hopefully catching more adversaries at various heights. The pillar blocks stay on-screen for five seconds but become inactive once settled on the ground. It’s also a very safe Super attack, as Drake can act almost immediately after shoving the pillar.
| AP Level | AP REQ | Name | Duration | Unique Commands | Notes |
|---|---|---|---|---|---|
| 3 | 750 | El Dorado Sarcophagus | 15 seconds | Opponents turn into ghouls; press any attack button to fire Golden Gun | Gun auto-aims at nearest ghoul; ghoul attack awards 10AP and causes kneel on hit |
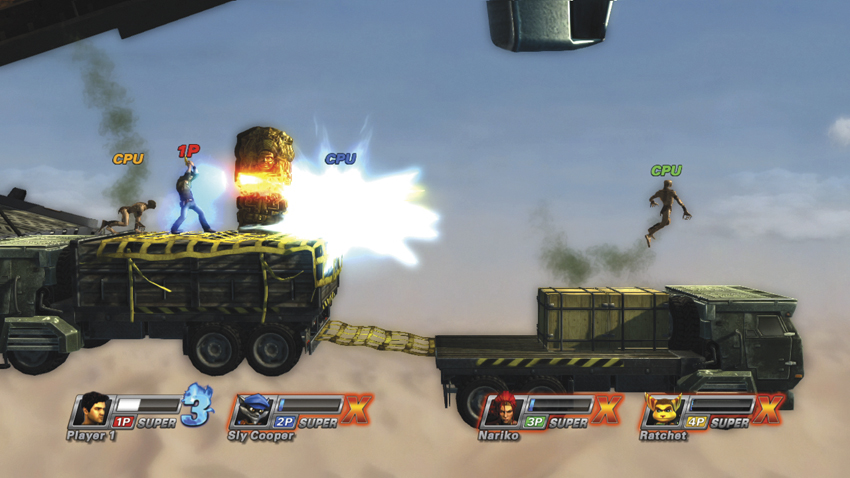
El Dorado Sarcophagus: A pricey Super attack at 750AP, Drake’s Level 3 summons an ancient sarcophagus that transforms every opponent into a hellish ghoul for 15 seconds. Ghouls are limited to a single attack and can still move freely around the level, but Drake is armed with a Golden Gun that kills them in a single shot! Oh, and the gun auto-aims, too. Enemies continue to respawn as ghouls while the Super attack is active, so try to stay near spawning areas to maximize your score. Watch out for enemies trying to hide behind cover and avoid their swipe attack; time spent in recovery animations or chasing down runners is time you could spend racking up points!
THROWS
OVERVIEW
| Name | Command | AP Penalty | Properties | Hit Effect | Notes |
|---|---|---|---|---|---|
| Flip Up |
Right stick
|
15% | Unblockable; 30AP of super armor | Full launch | Combo starter |
Flip Up: Drake grabs his opponent and flips them straight up into the air. It is possible to hit the foe with the Grenade Launch after, but the timing is strict. Flip Up is better used to force adversaries onto higher platforms or into Hazards.
| Name | Command | AP Penalty | Properties | Hit Effect | Notes |
|---|---|---|---|---|---|
| Mighty Kick |
Right stick
 or
or
|
15% | Unblockable; 30AP of super armor | Eject roll | — |
Mighty Kick: Drake grabs his enemy by the shoulders and kicks them like a red barrel, forcing them into an eject roll. The adversary is invincible during the eject roll, so an immediate follow-up attack is impossible, although it does put your foe into a prime position for Drake’s Level 1 Super attack!
| Name | Command | AP Penalty | Properties | Hit Effect | Notes |
|---|---|---|---|---|---|
| Back Punch |
Right stick
|
15% | Unblockable; 30AP of super armor | Knockdown | — |
Back Punch: Drake delivers a one-two punch, driving the enemy into the ground in a hard knockdown state where they stand. Use this throw to either get away from the foe while they recover, or set up another attack.
: SQUARE ATTACKS
GROUND ATTACKS
| # | Name | Command | AP Gain | Properties | Hit Effects | CI | Notes |
|---|---|---|---|---|---|---|---|
| - | Brutal Combo |
|
5 | — | — |
|
Tap
immediately after
to change direction
|
| - | Brutal Combo (2nd hit) |
,
|
5 | — | — |
|
Tab
right before
to change direction
|
| 1 | Brutal Combo (3rd hit) |
,
,
|
20 | Random hit: heavy punch, uppercut, or front kick | Kick = butt-drop; punch = lift | — | — |
| 2 | Haymaker |
|
20 | — | Butt-drop; lift (aerial foe) | — | Follow up attack possible on ground |
| 3 | Throw Grenade |
|
20 | — | Lift |
|
Five-second fuse; repeatable |
| 4 | Slide Attack |
|
20 | Slide stops at platform edges | Sweep; lift (aerial foe) | — | Can attack as soon as Drake begins standing |
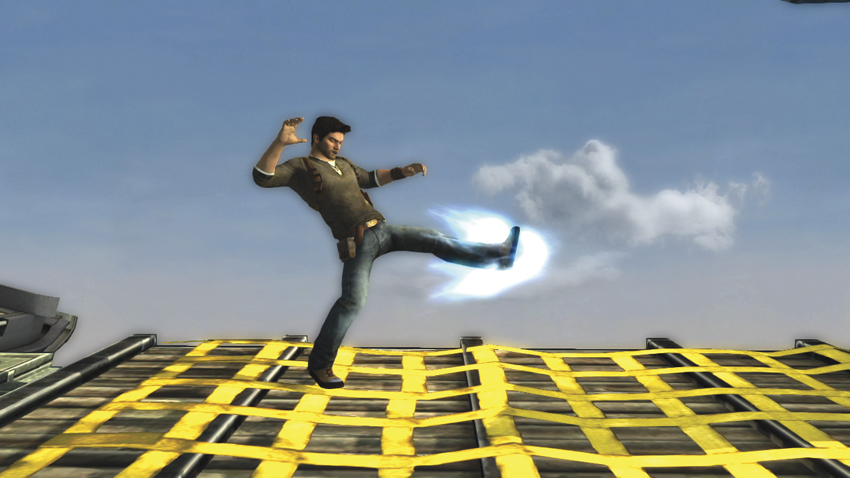
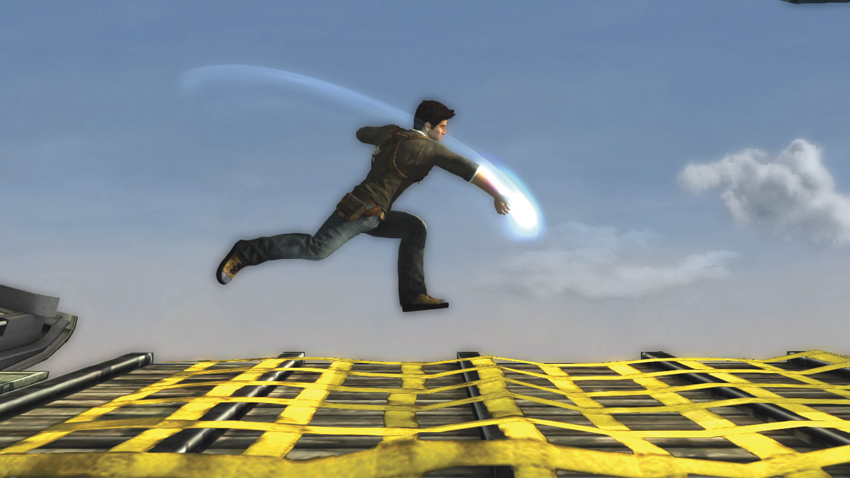
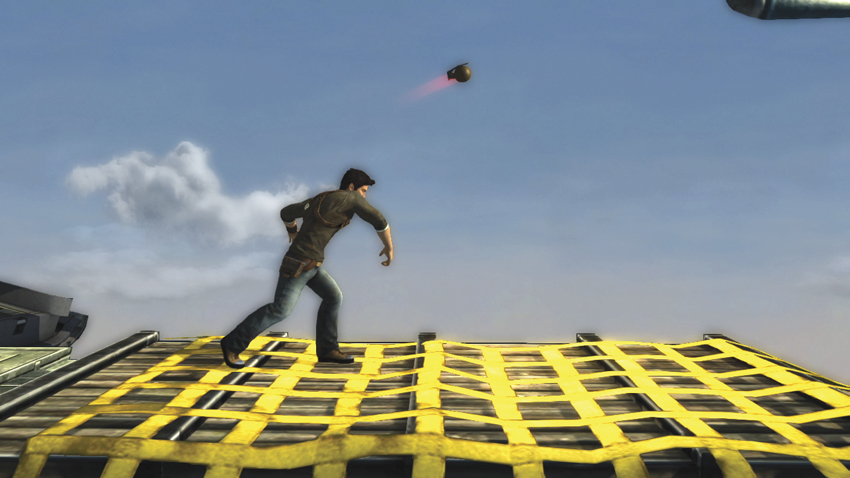
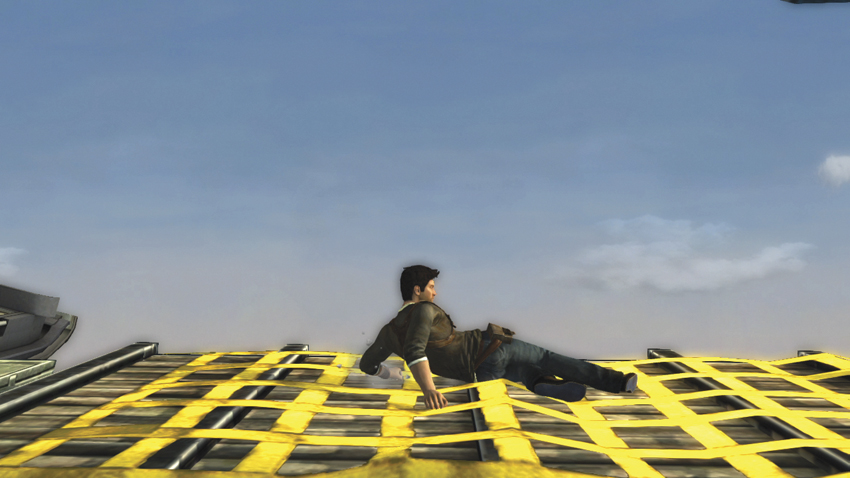
Each of Drake’s
Attacks represents his wide range of melee moves and animations from the Uncharted series, and they are used as the foundation for a majority of his Combos. On the ground, the Haymaker and Slide Attack are his best combo starters. Useful at close or mid-range, the Haymaker knocks the opponent onto their butt, giving Drake enough time to fire his Magnum or Run and Gun Attacks before they can recover. Slide Attack cannot only avoid some projectiles, but on hit, it also sweeps the enemy and can be followed by the Brutal Combo or Oil Drum Attacks to create a combo.
Drake’s Brutal Combo deals very little damage, making it impractical for long-term AP gain, but it is one of his fastest Attacks if you find yourself in a pinch. The third hit of Brutal Combo is chosen randomly from three animations: two punches that cause a mini-launch lift or a front kick that results in a butt-drop, which leaves the enemy vulnerable to a follow-up. Since you only have a one-in-three chance of starting an extended combo, it’s best to use Brutal Combo to finish off an attack string. Just pay attention to Drake in case that front kick appears!
The only non-melee move in the
attack group, Throw Grenade pulls out the signature red flash of an explosive from Uncharted. His grenades operate on a five-second fuse, and can be thrown repeatedly so that up to four grenades are on screen at one time. Use grenades to control space in the level, making enemies wary of that telltale beep.
AIR ATTACKS
| # | Name | Command | AP Gain | Properties | Hit Effects | CI | Notes |
|---|---|---|---|---|---|---|---|
| 1 | Punt Kick |
Air
|
20 | — | Lift | — | — |
| 2 | Drop Kick |
Air
|
30 | — | Eject spiral | — | — |
| 3 | Throw Grenade |
Air
|
20 | — | Lift | — | Five second fuse |
| 4 | Double Swing |
Air
|
20 | — | Kneel; lift (aerial foe) | — | Can follow up against grounded opponent |
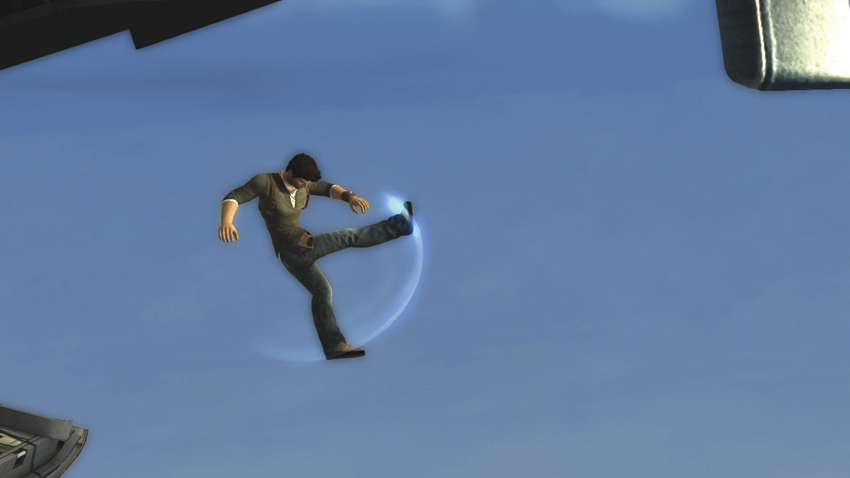
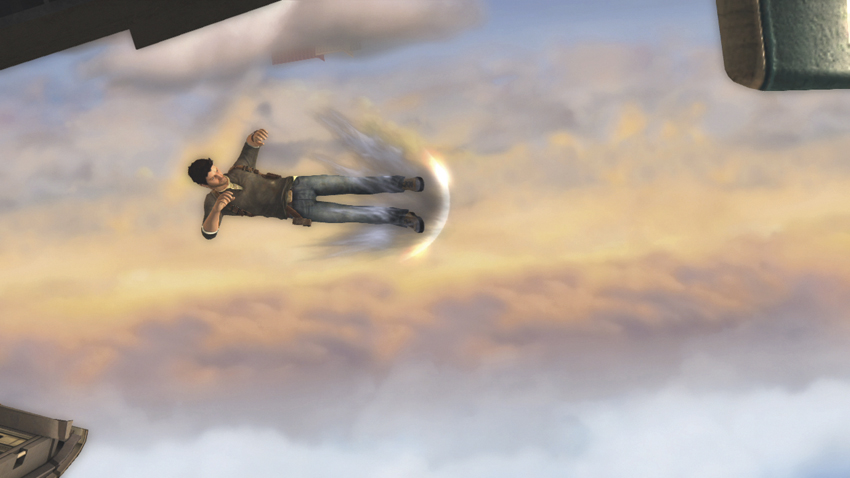
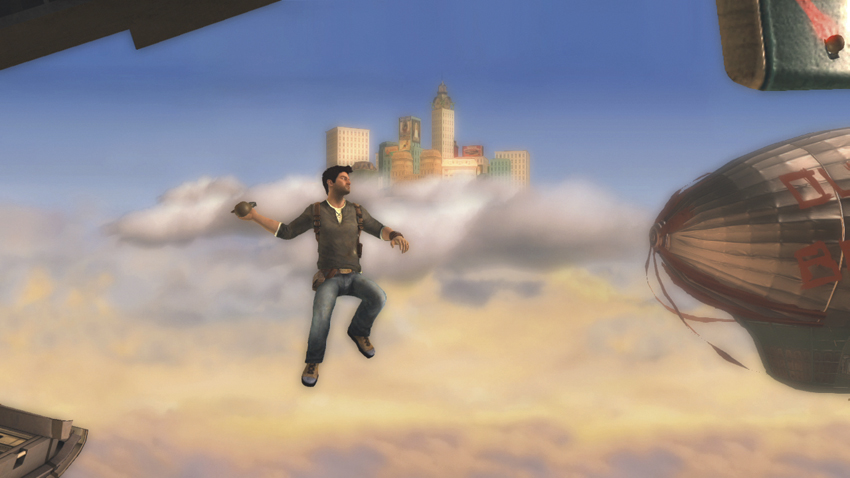
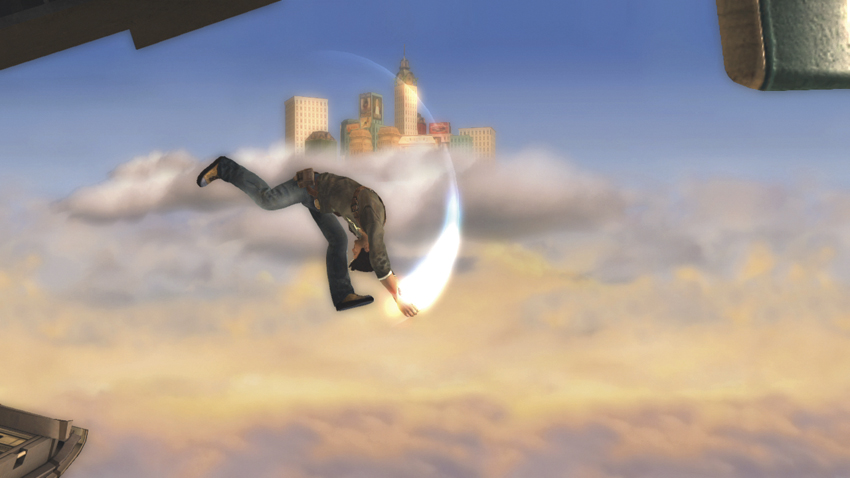
A majority of Drake’s air
Attacks work best when jumping in on a grounded foe. Both Punt Kick and Double Swing can be used to start vicious combo strings but must be executed close to the ground so Drake can take advantage of this. Punt Kick knocks the enemy into the air, after which you can follow up with
or jump again and use Drop Kick to send them flying. Double Swing is forces a grounded opponent to kneel, giving you just enough time to connect
,
, or
for big damage. Neither Punt Kick nor Double Swing is effective against airborne foes.
However, Drop Kick is a great move for getting an airborne enemy off of your back. On contact, it immediately puts the opponent into an eject spiral, sending them flying away from Drake at super-speed. With practice, it’s possible to connect Drop Kick on enemies who have just been forced into a wallbounce!
The air version of Throw Grenade works exactly like its grounded counterpart. You can use the added jump height to throw grenades farther, striking enemies on the other side of the match or covering your approach from above.
: TRIANGLE ATTACKS
GROUND ATTACKS
| # | Name | Command | AP Gain | Properties | Hit Effects | CI | Notes |
|---|---|---|---|---|---|---|---|
| 1 | Run and Gun |
(hold)
|
3~9 | — | — |
(while firing)
|
Hold
for continuous three-round bursts; press
or
to run while firing
|
| - | Run and Gun Advance |
(hold)
,
|
3~15 | — | — |
,
|
Press
while running for Coverwall
|
| - | Run and Gun Retreat |
(hold)
,
|
2~10 | — | — |
|
Press
while running for Coverwall
|
| - | Run and Gun Rifle Butt |
(during Run and Gun)
|
30 | — | Eject roll; eject tornado (aerial foe) | — | — |
| 2 | Magnum |
|
30 | — | Eject tornado | — | Long recovery |
| 3 | Grenade Launcher |
|
20 | — | Lift | — | Grenade explodes on impact |
| 4 | GAU-19 Heavy Machine Gun |
|
5~50 | — | Eject tornado | — | Max damage only possible when catching enemy below Drake |
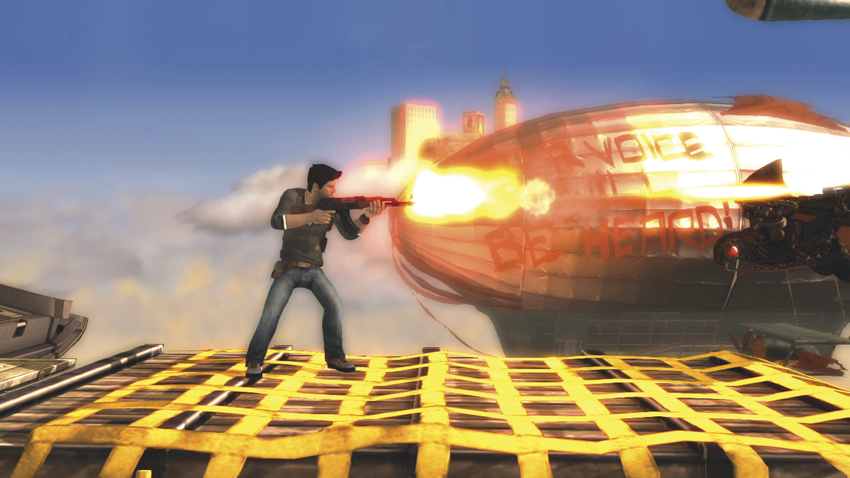
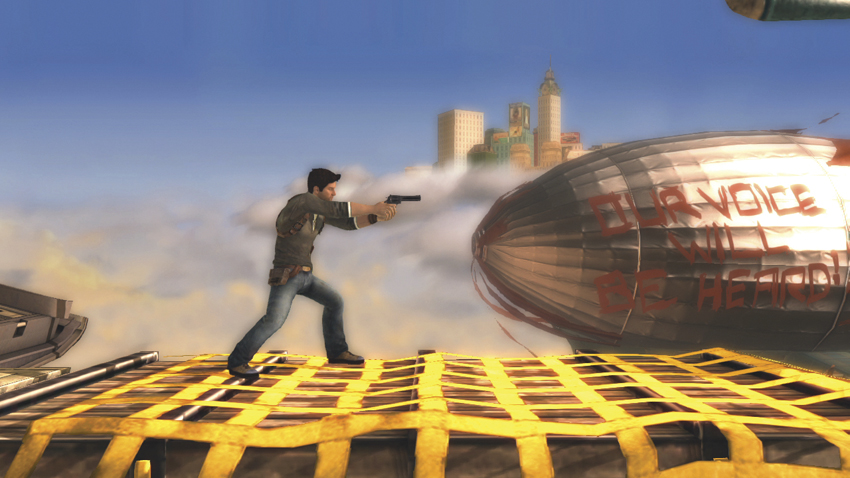
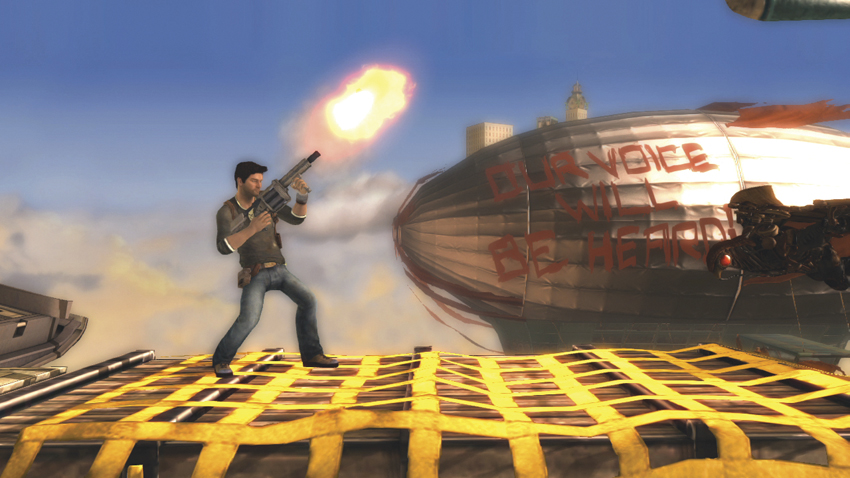
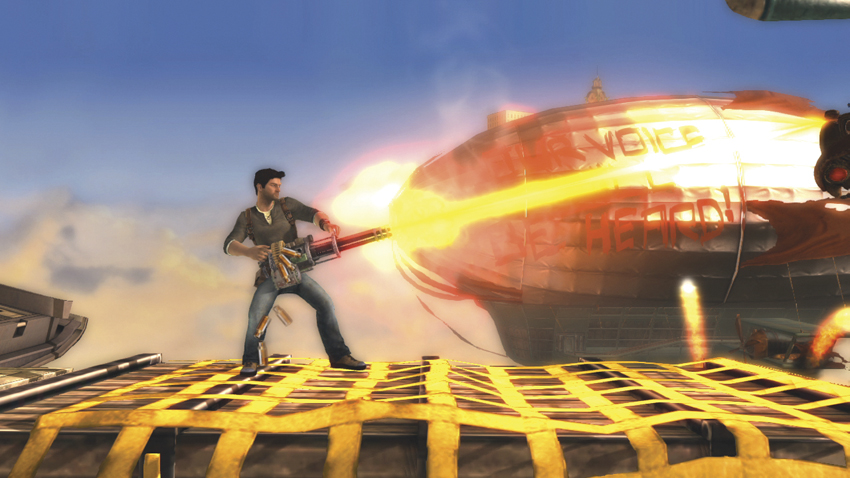
Attacks using
represent Drake’s proficiency with all kinds of firearms. Run and Gun gives Drake a multitude of options for attacking and defending. Holding
produces an AK-47 that Drake fires in three-round bursts, reloading after every round. The reload animation leaves him vulnerable, so avoid firing it more than once if your first burst misses. Instead, on hit, press
to advance on your enemy, locking them in place with a hail of gunfire and then pressing
to beat them down with the rifle. Should an adversary close in while firing, press
to have Drake retreat. Either
or
can be canceled into Coverwall by pressing
, giving you protection should another opponent get too close for comfort.
The Magnum is a one-hit eject tornado for your opponent. The projectile covers about a third of full-screen length and is best used to finish off a combo or get an enemy away from Drake. It has a long recovery period, so don’t just go firing it off randomly, or expect to be punished by your attackers.
The Grenade Launcher and GAU-19 Heavy Machine Gun add a bit of heavy metal to round out Drake’s arsenal. Grenade projectiles travel at a 45-degree angle, exploding on impact. It can be used as an effective anti-air attack, or to strike enemies from the opposite side of a platform. The Heavy Machine Gun is Drake’s slowest move; its stream of bullets covers a wide area in front of him but leaves Drake totally exposed from above and behind. It should only be used when you’re certain no enemies can touch Drake.
AIR ATTACKS
| # | Name | Command | AP Gain | Properties | Hit Effects | CI | Notes |
|---|---|---|---|---|---|---|---|
| 1 | Rope Swing |
Air
|
1~10 | — | — | — | May only be performed once per aerial state. |
| 2 | Magnum |
Air
|
30 | — | Eject tornado | — | Halts Drake’s forward momentum |
| 3 | Grenade Launcher |
Air
|
20 | — | Lift | — | Grenade explodes on impact |
| 4 | Uzi Spray |
Air
|
10 | — | — | — | Fires in 30-degree arc |
Neutral
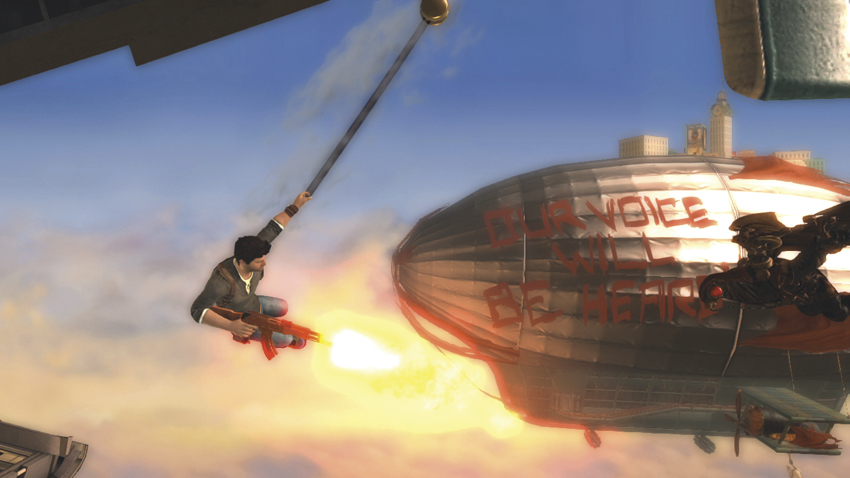
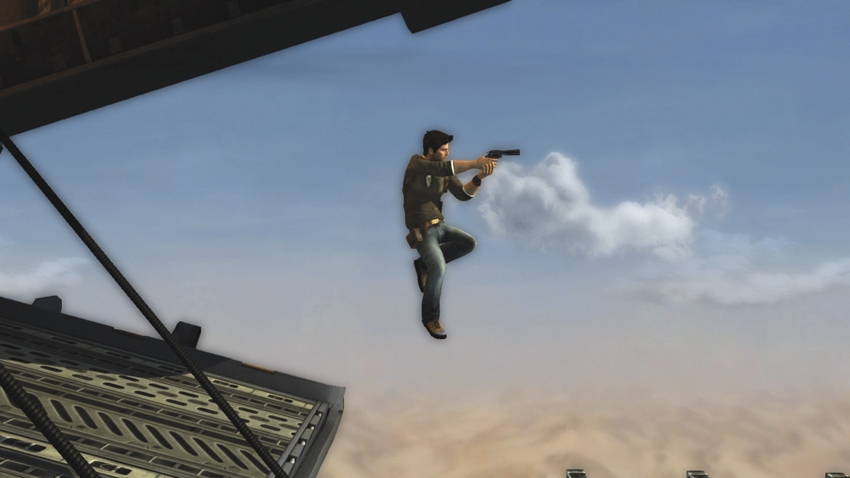
forces Drake to swing along a short rope, firing his AK-47. Rope Swing can be used to cover an air approach and give Drake some forward momentum. Combined with the Zipline, practiced players can traverse from one side of a level to the other without ever touching the ground!
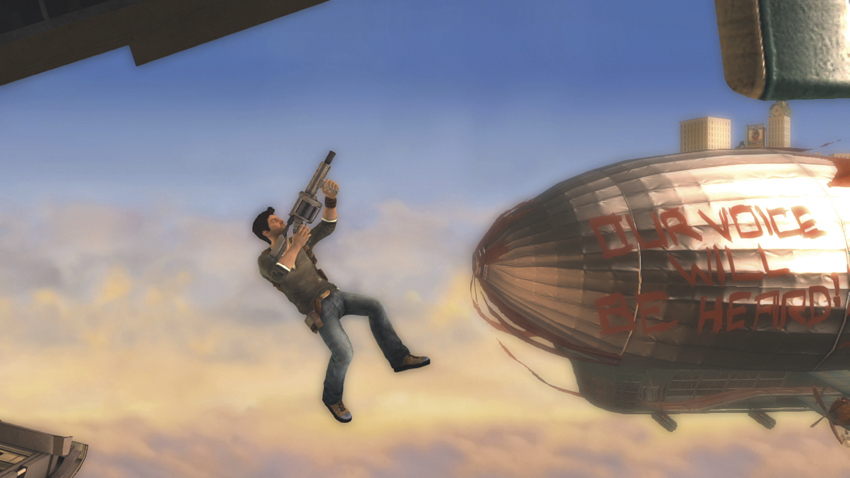
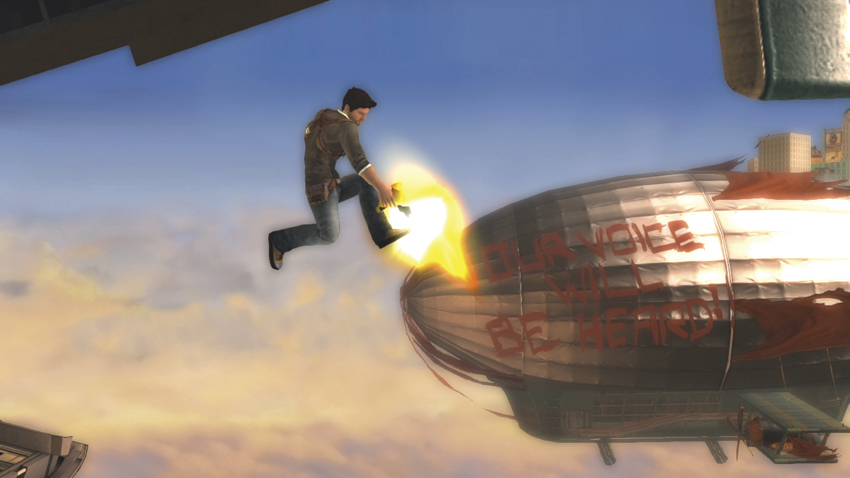
The air Magnum functions basically like its grounded versions, but it stops any forward momentum Drake may have, and its slow recovery leaves him vulnerable from anything less than double-jump height. However, it is possible to fire two Magnum rounds in quick succession: once right above the ground, and a second immediately after landing. The Grenade Launcher also mirrors its grounded version, only the projectile can be forced to travel farther thanks to the added height.
Uzi Spray fires a stream of short-range bullets in an arc below Drake that interrupts enemy actions. It is primarily used for suppressing enemies as Drake jumps into a melee or while making a daring escape, buying you brief window of opportunity to follow up with a Brutal Combo, Oil Drum, or to plan your next attack.
: CIRCLE ATTACKS
GROUND ATTACKS
| # | Name | Command | AP Gain | Properties | Hit Effects | CI | Notes |
|---|---|---|---|---|---|---|---|
| 1 | Oil Drum |
|
10, 30 | Only one drum in play at a time; physical object | Sweep; eject tornado | — | Oil Drum explodes on hit or after three seconds |
| 2 | Tranquilizer Dart Gun |
|
10 | — | Slow; jump disabled | — | Effect lasts five seconds |
| 3 | Zipline |
|
20, 10 |
Hold
to ignore thin platforms
|
Butt-drop; lift | — | No final hit if in aerial state before touching ground |
| 4 | Coverwall |
|
— | Barrier blocks 100AP worth of damage | — |

|
Press
or
to switch sides; press
to exit cover
|
| - | Rifle Butt Takedown |
(in cover)
|
20 | — | Butt-drop | — | — |
| - | Blind Fire |
(in cover)(hold)
|
2~10 | — | — |
|
Hold
/
to direct fire; press
while firing to retreat
|
| - | Take Cover (Throw Grenade) |
(in cover)
|
20 | — | Lift | — | Throw arc cycles randomly between short/med/long |
| - | Take Cover (Grenade Launcher) |
(in cover)
|
20 | — | Lift | — | Grenade explodes on impact |
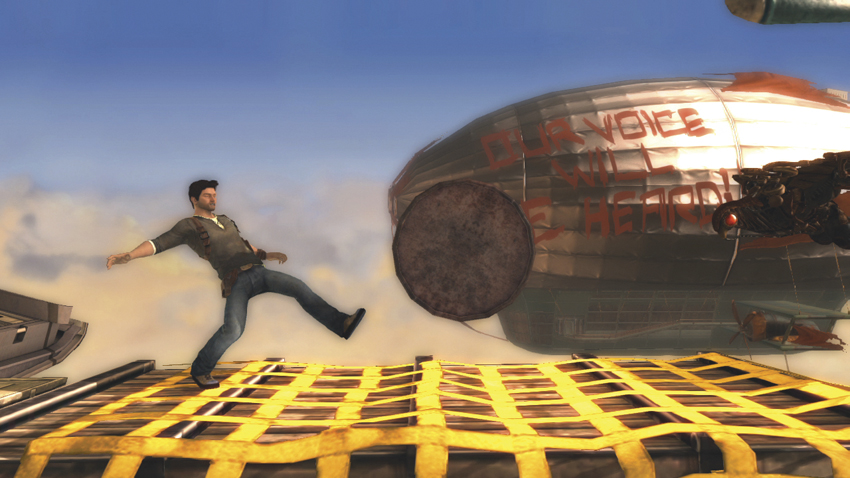
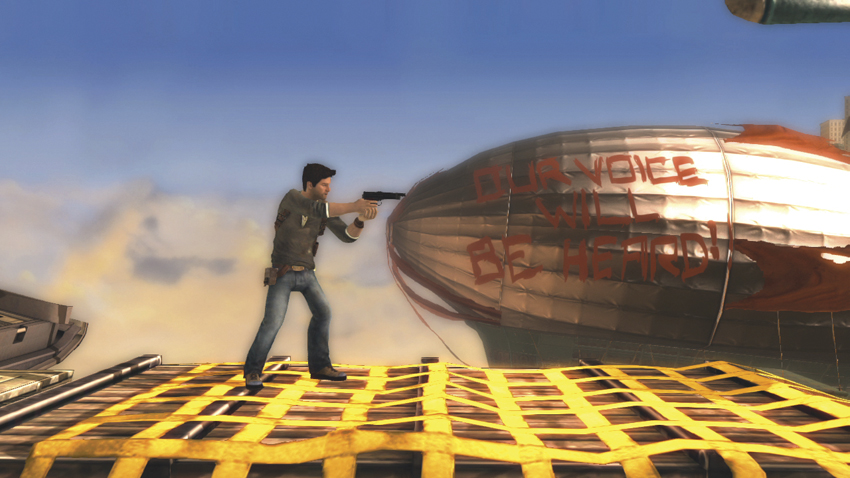
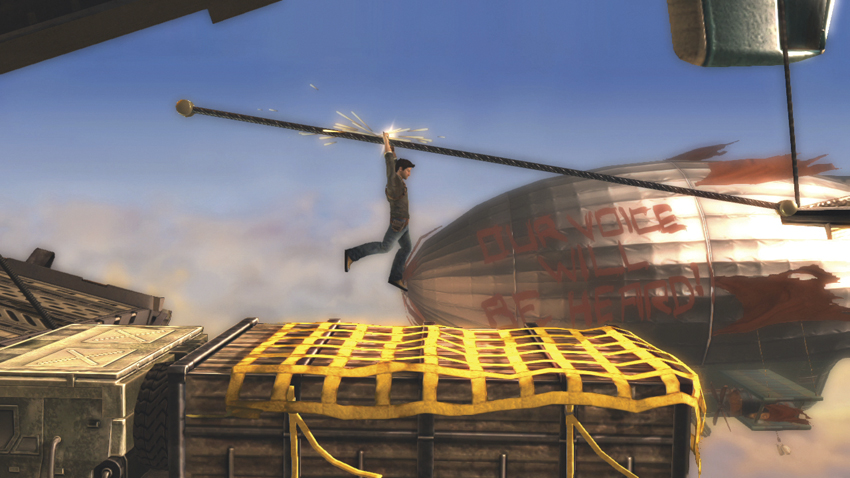
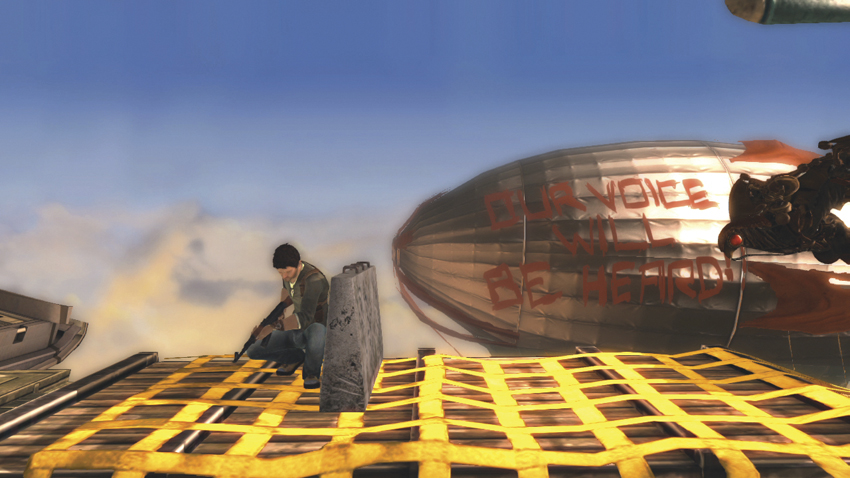
Drake’s
base Attacks represent his ability to use the environment to his advantage. The Oil Drum attack rolls an explosive barrel in front of Drake, sweeping any opponent it touches and exploding after three seconds or if attacked. It serves a dual purpose: setting up mid-range combos and controlling space. The recovery time is fairly long, however; the only viable combo options at mid-range are projectiles like Run and Gun or Magnum. The air version is more effective for close-range combos.
The Tranquilizer Dart Gun takes away a foe’s ability to jump and slows their movement for five seconds. It’s a great solution for dealing with faster characters like Sly Cooper or Dante, but you see less of a benefit against big, slow fighters such as Big Daddy or Sweet Tooth.
Covering ground with the Zipline is a relatively safe way to travel, as Drake can strike enemies on the way down and during his rolling dismount. The rolling dismount only occurs is Drakes touches the ground at the end of the line. Otherwise, Zipline forces Drake to suffer a brief recovery period when dismounting in the air. Drake automatically stops at thin platforms, so be sure to hold
if you wish to have him pass through.
A concrete barrier that absorbs 100AP worth of attacks, the Coverwall is one of Drake’s best defensive options. From this stance, you can lob grenades, fire his AK-47, or deliver a close-range melee attack. It can be used to quickly cover your front side during Run and Gun Advance, or put Drake’s back against a wall and spam attacks all day long. When you need to have Drake escape from cover, don’t press
. Instead, jump to exit instantly or press
while firing to enter Run and Gun Retreat. Don’t rely on it to keep Drake 100% safe; he’s still vulnerable to throws and Super Attacks.
AIR ATTACKS
| # | Name | Command | AP Gain | Properties | Hit Effects | CI | Notes |
|---|---|---|---|---|---|---|---|
| 1 | Oil Drum |
Air
|
10, 30 | Only one drum in play at a time | Sweep; eject tornado | — | Oil Drum explodes on hit or after three seconds |
| 2 | Tranquilizer Dart Gun |
Air
|
10 | — | Slow; jump disabled | — | Fires down at 45-degree angle; effect lasts five seconds |
| 3 | Zipline |
Air
|
20, 10 |
Hold
to ignore thin platforms
|
Butt-drop; lift | — | No final hit if in aerial state before touching ground; steeper and longer than ground version |
| 4 | Ledge Fall to Cover |
Air
|
20 | Active until grounded | Knockdown | — | Once grounded, Nate rolls away from facing direction |
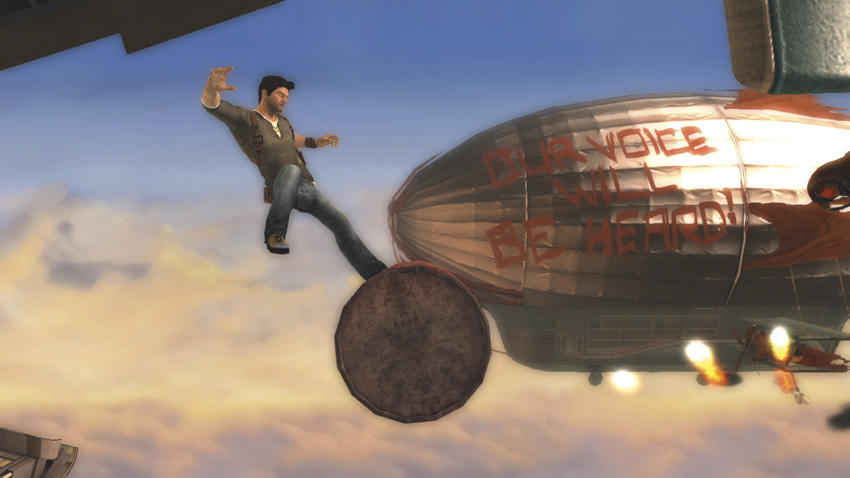
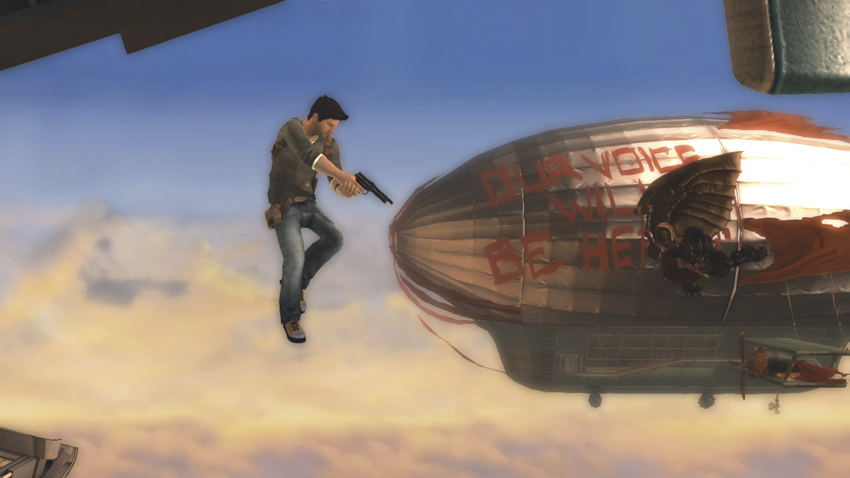
Three of Drake’s air
Attacks are variations of his ground moves. The air Oil Drum can be used to drop barrels on enemy heads or cover Drake’s descent. It can create exciting combo opportunities at close range, while covering the area in front of Drake as the Oil Drum rolls along the level. Air Tranquilizer Dart Gun fires downward at a 45-degree angle, and it offers the same results as the ground version. A well-timed dart fired while jumping toward an opponent can prevent their escape.
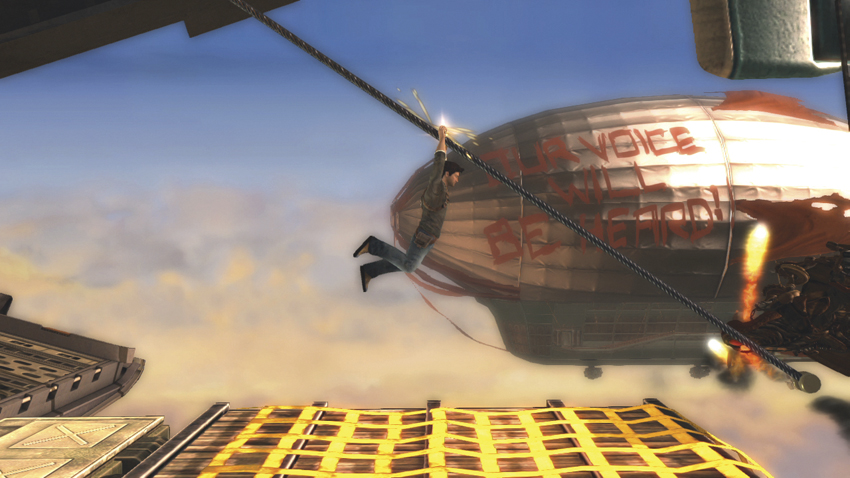
Air Zipline opens up Drake’s mobility options in the air. It’s steeper and longer than the ground version, allowing Drake to cover more ground in less time. Combine this with Rope Swing after the aerial recovery period to safely traverse back and forth across larger arenas; just don’t forget to hold
to pass through thin platforms!
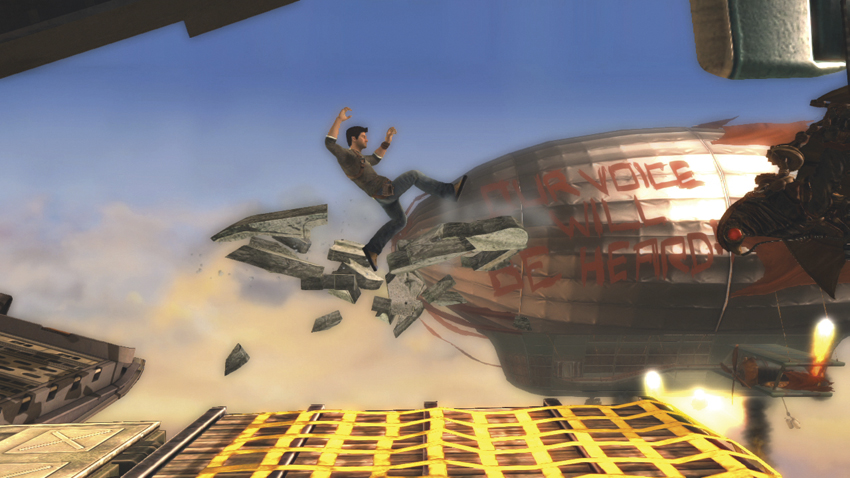
Ledge Drop to Cover creates a pile of rubble underneath Drake, forcing him to fall straight down and causing a knockdown against enemies. If you see adversaries lined up at multiple heights, hold
to continue falling through platforms and take everyone down with him!
COMBOS
MAIN COMBOS
Note: All combos assume your character is facing the right side of the screen.
I. Against grounded foe:
,
,
,
x
,
111~114AP + 30AP IAS Bonus
Drake’s bread and butter combo starts with a Haymaker, followed immediately by a Slide Attack while the opponent is still stuck in a butt-drop stagger. The Slide Attack places Drake on the opposite side of his opponent, so press
to follow up with a second Haymaker in the opposite direction. Hold
to catch the opponent in a hail of gunfire and, once you’ve confirmed the hit, press
to enter Run and Gun Advance. Once you’re within melee range, press
to Rifle Butt your opponent and trigger the Infinite Protection System for a hefty AP bonus! Start this combo with a jump in air
to earn enough AP for a full Level 1 Super in a single combo.
II. At mid-range:
, (hold)
,
,
58~64AP, 91~94AP (corner required)
Release the Oil Drum and start holding
as soon as it hits the opponent, and then press
once you confirm the first bullet hits. Your foe is held in place by the gunfire, so hit
to deliver the final blow. It’s also possible to catch your attacker in the Oil Drum explosion for an extra 30AP as long as it stops in a corner behind your opponent. You have many opportunities to have Drake escape should things go wrong: if Run and Gun misses or an enemy approaches, simply press
to cancel into cover and plot your next attack.
III. Near wall, Level 1: (air)
, land,
,
,
,
 , any attack button
50AP + Kill
The main issue with Drake’s Level 1 Super attack is that it’s very easy for enemies to run away from the explosive. However, in the corner, Drake can force them to join the barbeque. Jump in with (air)
to knock them in the air, immediately jump once grounded, and input
to cause a wallbounce. Once Drake is grounded, quickly press
followed by
. Timed correctly, the enemy wallbounces right into the path of the Propane Tank, killing them just as they recover!
COMBO APPENDIX
| Combo | +AP | Notes |
|---|---|---|
|
, (hold)
,
,
|
71~74 |
Variation on Combo II that works anywhere. Can start with (air)
for extra AP.
|
|
(air)
, land,
|
54~56 |
Requires point-blank range. Input
immediately after landing.
|
ADVANCED STRATEGIES
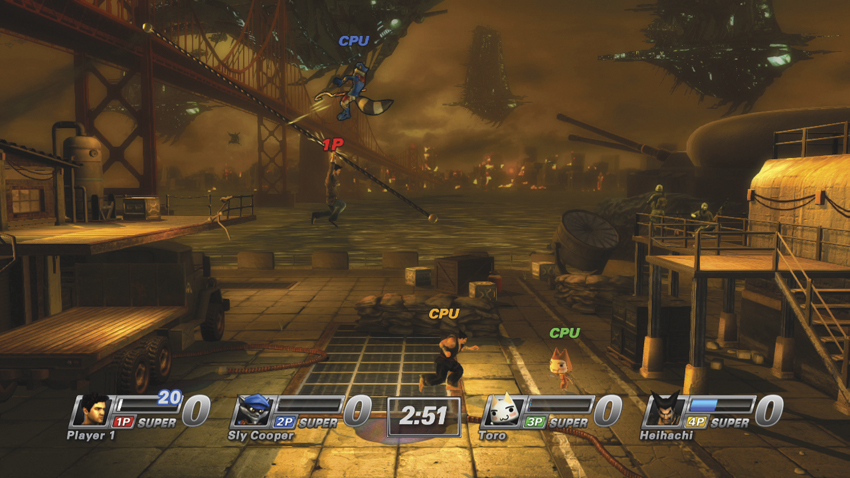
Make your daring escape by double jumping from the highest platform and pressing
.
Nathan Drake’s keen combat prowess in his relentless pursuit for ancient treasure has been fully adapted to the fighting systems present in PlayStation All-Stars. With meaty in-your-face melee Attacks and an arsenal of projectiles at his disposal, Drake can effectively fight off all types of characters from mid and close-range. However, inputting the wrong attack can cost you dearly, as many of Drake’s more damaging Attacks have long active or recovery periods that leave him exposed from behind. Much like when embroiled in an intense gunfight with rival tomb raiders, Drake needs to seek the safety of cover, stay mobile, and carefully choose when to attack in order to reach Level 2 quickly.
At close range, you want to stick with Drake’s faster moves to avoid a counter attack during longer startup periods. Just a basic
,
,
combo can get Drake out of most melee situations, but this only gains you 30AP. Instead, practice performing short jumps to strike enemies with (air)
, (air)
, or (air)
to set up longer Combos. This technique can serve you well on all types of levels, large or small.
Setting up Drake’s SUPER Attacks is simply a matter of waiting for the right opportunity. His Level 1 Super, the Propane Tank, requires too much time to execute and affects too small an area to use on reaction. Instead, look for enemies grouped into corners or other hard-to-escape areas before letting the tank fly. You can also use attacks that knock foes down and away from Drake like Haymaker or Magnum, then throw the tank toward them just as they finish their wake-up action.
Stone Pillar is easily Drake’s most versatile and easy-to-use Super attack, thanks to its instant activation and wide area of coverage. While knocking the stones over the edge of a platform is a smart idea, avoid doing so over narrow gaps without an enemy immediately across from Drake, as more than likely only one stone is going to fall in that narrow gap and minimize your scoring potential. In fact, in stages with many platforms bunched together, try to activate Stone Pillar at ground level to cover as much vertical space as possible.
By staying active for a full 15 seconds, Drake’s Level 3 Super can increase your score dramatically, but banking 750AP is no easy task. Think about the level you’re on before committing to building three full meters; enemies can still move around while in ghoul form, so larger or platform heavy levels give them more ways to escape from Drake’s Golden Gun. Attempting to build three levels on Franzea or Hades is a no-brainer, but bigger arenas like Invasion might not be worth the trouble.
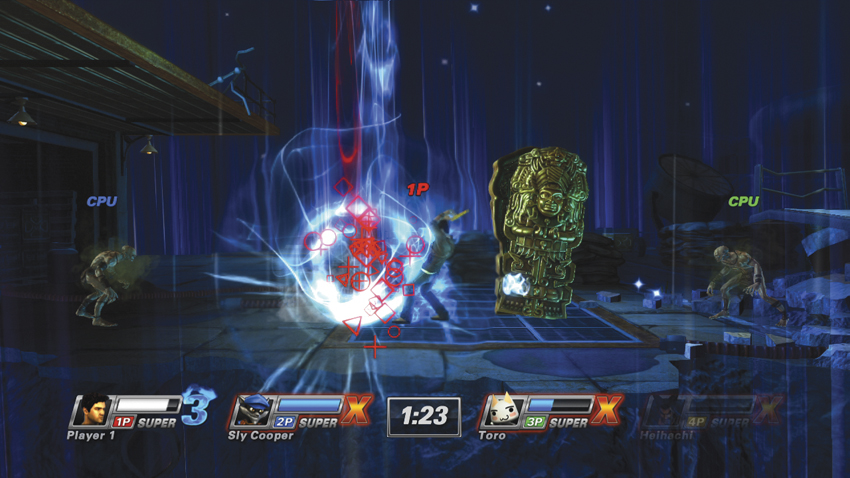
Drake’s Level 3 is best used on smaller stages. Ghouls have less space to run.