
PlayStation All-Stars Battle Royale Guide Walkthrough Characters
Sackboy
All-star overview
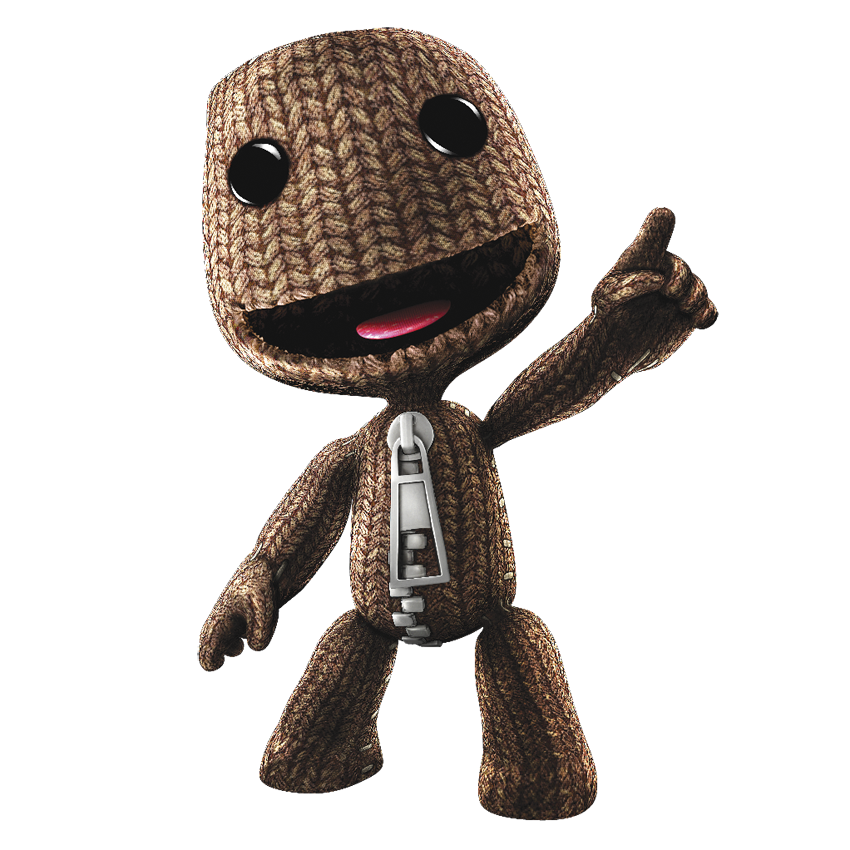
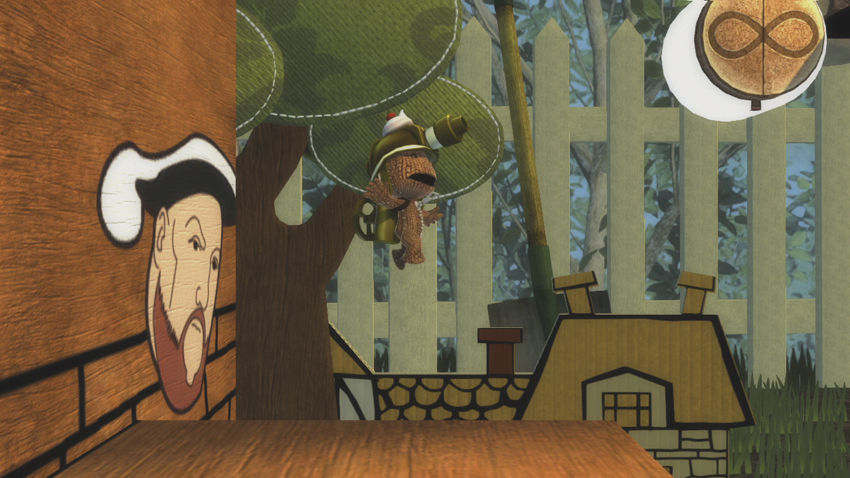
Sackboy is a crafty little character, with a variety of traps that can easily lock down an opponent. He isn’t very combo-friendly, and he instead excels at disrupting other characters and keeping foes away from his immediate vicinity. Since Sackboy can’t go toe-to-toe with the faster characters, you should work on building enough AP to utilize his Level 1 Super attack and earn kills with that move, instead of holding out for a Level 3 attack.
WHY IS SACKBOY’S COSTUME DASH THE MOVE TO USE?
- It comes out quickly.
- It superficially resembles his normal Attacks, which may confuse players into trying to block the Super attack.
- Sackboy can earn 45AP with a simple combo, and can therefore earn more than 100AP after three short Combos.
- Sackboy’s Bad Guy BBQ takes a while to set up, reducing its effectiveness and giving opponents a chance to dodge the attack.
WHAT’S THE BEST WAY TO QUICKLY EARN 100AP?
- Use traps to force your enemies into various hit states, and then use a short combo to earn AP.
- Use Jam Session and Cakeinator on distant enemies to earn AP and disrupt adversaries from relative safety.
- Use Jetpack Corkscrew to quickly close the distance between Sackboy and his foes.
Your #1 goal should be to earn AP as quickly as possible while using traps to keep your enemies from earning AP at the same time. Sackboy is fully equipped for this strategy, and he even excels at it, once you get used to the rhythm of setting traps, attacking, retreating, and re-setting your traps. Play Sackboy aggressively, but don’t make the mistake of getting in too close when battling. When he gets trapped, use Checkpoint Anchor to escape to safety.
AT A GLANCE
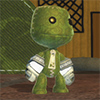
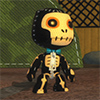
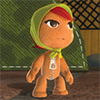
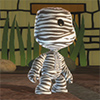
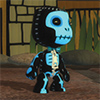
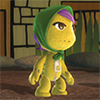
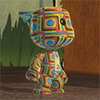
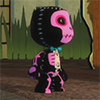
Costumes
|
|
|
|
|
|
|
|
|
|
|
|
Rundown
SUPER ATTACKS
OVERVIEW
| AP Level | AP REQ | Name | Duration | Unique Commands | Notes |
|---|---|---|---|---|---|
| 1 | 100 | Costume Dash | 1 second | — | Random Cole, Drake, or PaRappa costume |
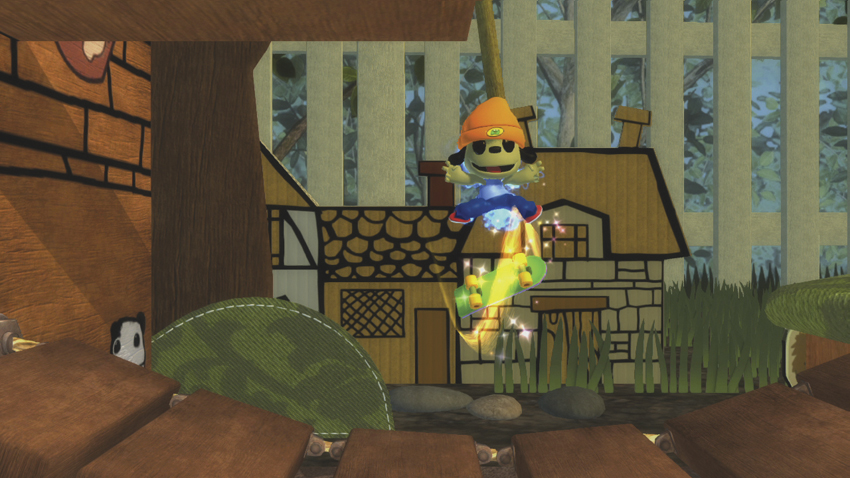
Costume Dash: Always ready for action, Sackboy changes into a familiar costume before dashing forward and performing an attack. The costume and attack are randomly chosen. Sackboy may appear as Cole, Nathan Drake, or PaRappa, and he performs a leaping lightning attack, swinging backflip, or kickflip, respectively. The properties of each move are identical, so the changes are purely cosmetic. The start-up sequence resembles Sackboy’s
 moves, which may serve to confuse an enemy just long enough for Sackboy to land the Super attack. This is a good Super attack for group situations or when you’re in need of a quick influx of two or three kills to even the score.
| AP Level | AP REQ | Name | Duration | Unique Commands | Notes |
|---|---|---|---|---|---|
| 2 | 325 | Bad Guy BBQ | 6 seconds | Left stick: move coals; any button: drop | Sackboy immune to attacks and throws for duration; PopIt range limited to opponent locations |
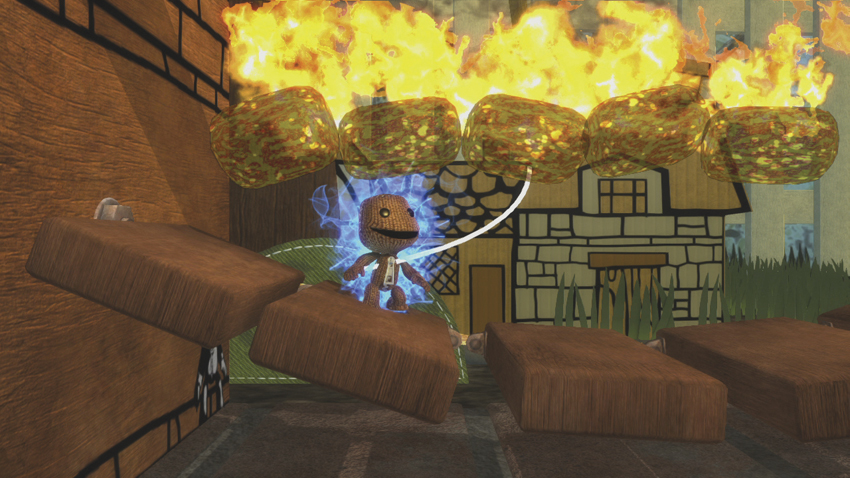
Bad Guy BBQ: Sackboy uses PopIt to select a Hazard. He decides to use the hot coals to get the job done and begins the process of setting the coals in the environment. You can aim the coals before they’re active, and Sackboy is immune to THROWS and attacks while placing the object. The coals fall if placed in the air, and they can kill any enemy that touches them while they’re active. Don’t take too long to place the coals, or else you’ll be giving your enemies a chance to earn AP while Sackboy is busy.
| AP Level | AP REQ | Name | Duration | Unique Commands | Notes |
|---|---|---|---|---|---|
| 3 | 600 | Prize Bubble Roundup | Instant | — | Prize Bubbles remain after end of duration |
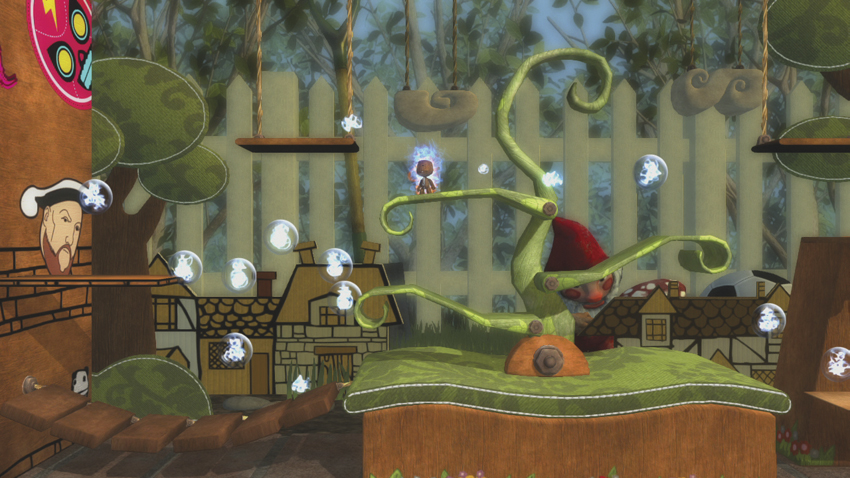
Prize Bubble Roundup: Sackboy summons more than a dozen Prize Bubbles and transforms any enemies into Prize Bubbles. To kill your foes, simply touch them. This works even after their Prize Bubble has burst, so you have a chance to score a few multiple kills over the duration of this Super attack. In addition, AP is stored in Prize Bubbles that hover around the stage, giving you[md]or your opponents[md]a chance to earn some free AP once the Super attack ends. This is a solid Super attack, particularly if you’re looking for multiple kills, but be aware that you are going to have to chase down your attackers, rather than the Super attack automatically killing them.
THROWS
OVERVIEW
| Name | Command | AP Penalty | Properties | Hit Effect | Notes |
|---|---|---|---|---|---|
| Spiderweb Sticker Surprise |
Right Stick

|
15% | Unblockable; 30AP of super armor | Lift; held in place | Combo starter |
Spiderweb Sticker Surprise: Sackboy tosses an enemy into the air but is caught by surprise when a spiderweb appears and holds the opponent in place for a few moments. This is a good move to use when you need to have Sackboy escape danger, or when an aggressive challenger refuses to back down.
| Name | Command | AP Penalty | Properties | Hit Effect | Notes |
|---|---|---|---|---|---|
| Boxing Glove Sticker Surprise |
Right Stick
 or
or

|
15% | Unblockable; 30AP of super armor | Eject tornado | Can hit multiple opponents with boxing glove, all suffer throw AP Penalty |
Boxing Glove Sticker Surprise: Sackboy grabs an enemy and prepares to knock the living daylights out of them with a solid punch. Before Sackboy can act, however, PopIt summons a boxing glove sticker, which then smashes the adversary into an eject tornado while Sackboy leaps over the glove. This throw is a reliable way to set up a wallbounce or to get some distance.
| Name | Command | AP Penalty | Properties | Hit Effect | Notes |
|---|---|---|---|---|---|
| Anvil Sticker Surprise |
Right Stick

|
15% | Unblockable; 30AP of super armor | KD | Can hit multiple opponents with anvil, all suffer throw AP Penalty |
Anvil Sticker Surprise: PopIt surprises Sackboy again, this time by placing an anvil above Sackboy and his foe as soon as Sackboy makes contact. Sackboy dodges out of the way, but his opponent is not as lucky. The anvil slams to the ground, knocking down the enemy in the process.
 : SQUARE ATTACKS
GROUND ATTACKS
| # | Name | Command | AP Gain | Properties | Hit Effects | CI | Notes |
|---|---|---|---|---|---|---|---|
| 1 | Slap Happy 1 |
|
5 | — | — |
|
— |
| - | Slap Happy 2 |
,
|
20 | — | Lift | — | — |
| 2 | Grabinator Grab |
|
5, 20 | — | KD | — | Bodyslam can hit other opponents for an instant KD |
| 3 | Gripple Grapple |
|
5, 20 | Pulls Sackboy up to opponent | Lift | — | Long recovery on whiff |
| 4 | Bounce Pad Shield |
|
30 |
Hold
to keep shield out; reflects projectiles
|
Eject tornado | — | Reflected projectiles retain their original properties |
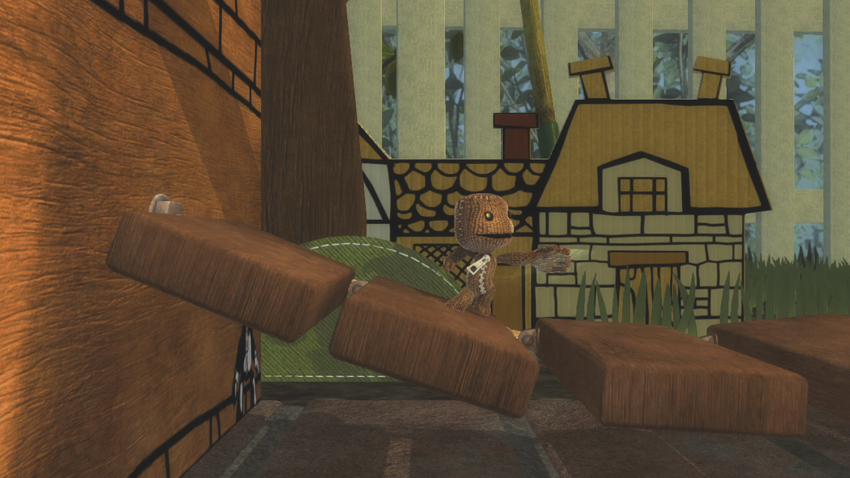
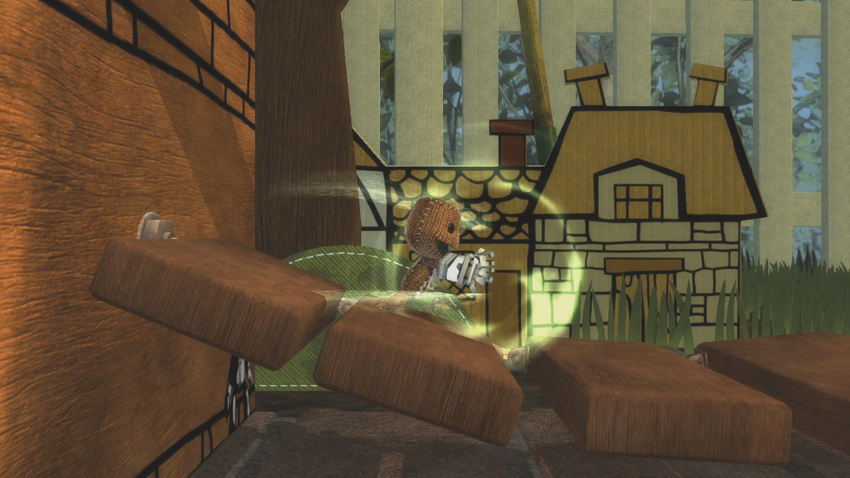
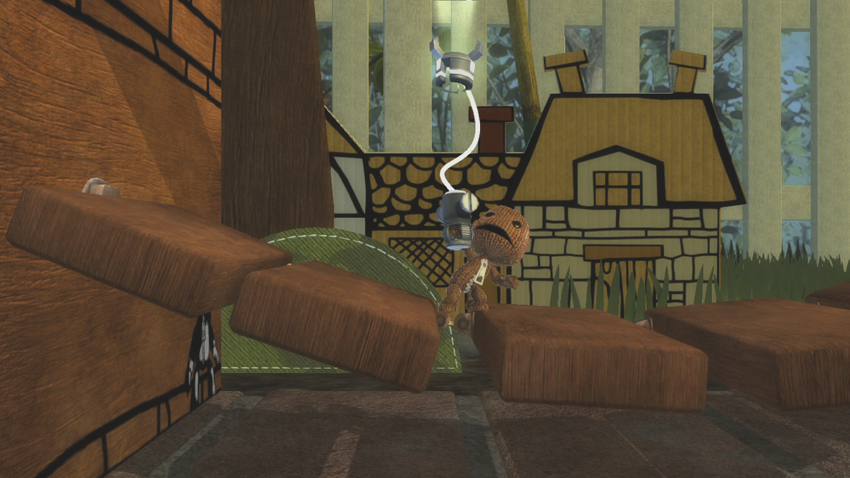
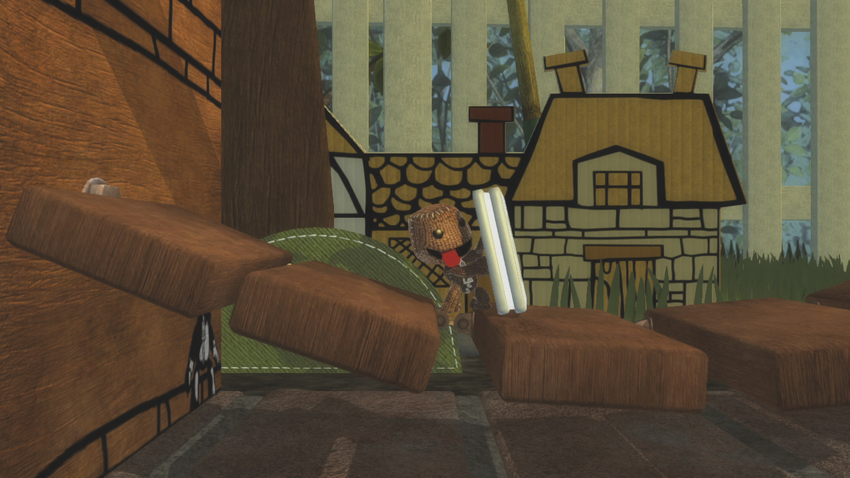
Keep your enemies away with Bounce Pad Shield (
). This move has an extremely short range—essentially just a thin vertical line in front of Sackboy—but it is very effective. You can spring it on enemies that are approaching you between their Attacks, or you can even use it to counter a foe’s Attacks. Bounce Pad Shield is a great defensive asset, and you can hold
to keep it out longer. The 30AP gain makes this move a must-have, no matter your strategy.
While many characters have a launcher or crumple move mapped to
, Sackboy instead has a move that results in a knockdown: Grabinator Grab (
). This is a slow command throw that earns Sackboy 25AP after both hits land. You can’t follow this throw with a ground combo or juggle, thanks to the enemy immediately being granted invincibility frames upon completion of the throw animation. Grabinator Grab is a safe move, however, and you can use it to change the momentum or rhythm of a fight.
Gripple Grapple (
) lifts your enemy into the air and works as a solid combo extender. Successfully completing this move against a grounded opponent is difficult, however. Sackboy fires his Gripple Grapple at a 90-degree angle to the floor, straight up into the air. If Sackboy’s firing hand isn’t directly next to the target, then the attack won’t connect. The tip of the Gripple Grapple tracks airborne enemies slightly. It won’t home in on an adversary’s exact position, but it will lean in the enemy’s direction in an attempt to make sure the attack connects.
Slap Happy 1 (
) and Slap Happy 2 (
,
) are Sackboy’s most basic Attacks. This quick one-two attack lifts opponents upon completion of the second hit. In a close-quarters situation or in a corner, this gives you a chance to follow up with a Gripple Grapple and then transition into a proper aerial combo.
AIR ATTACKS
| # | Name | Command | AP Gain | Properties | Hit Effects | CI | Notes |
|---|---|---|---|---|---|---|---|
| 1 | Spinning Slap |
Air
|
20 | — | KD | — | — |
| 2 | Air Grabinator Grab |
Air
|
5, 20 | — | KD | — | — |
| 3 | Air Gripple Grapple |
Air
|
5, 20 | Tracks opponents slightly | Lift | — | — |
| 4 | Air Bounce Pad Shield |
Air
|
30 | Two-second duration; reflects projectiles | Eject tornado | — | Reflected projectiles retain their original properties |
It is important to get used to how Air Gripple Grapple (
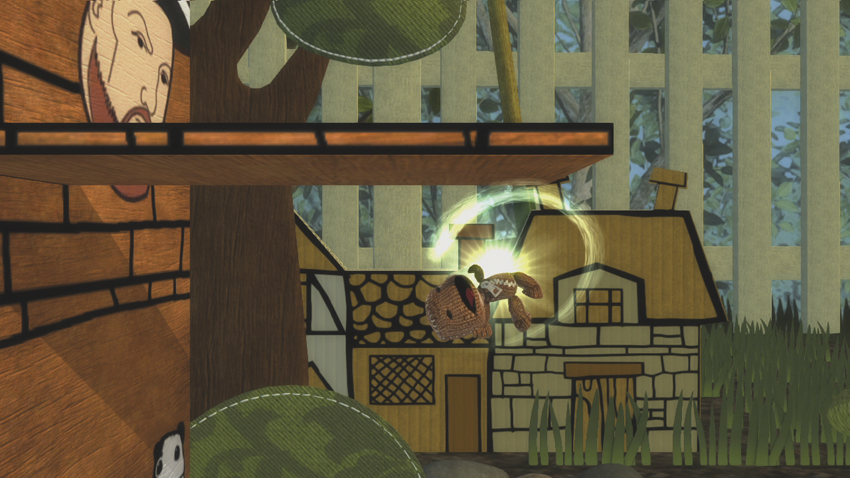
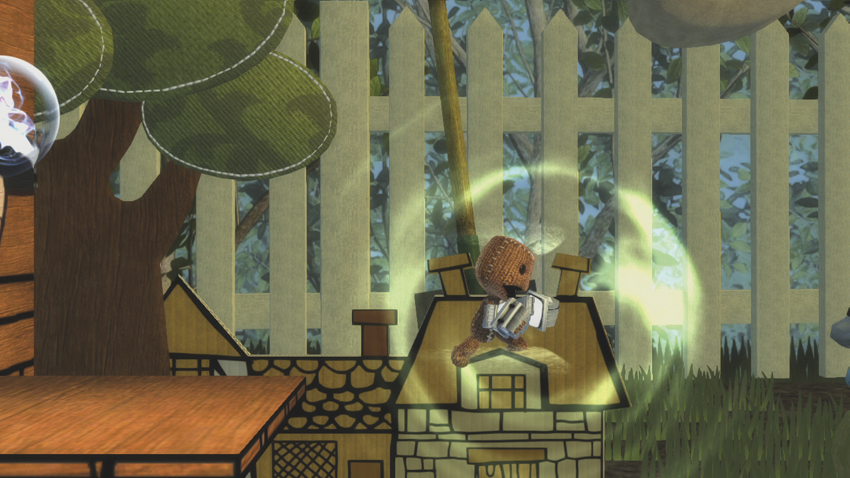
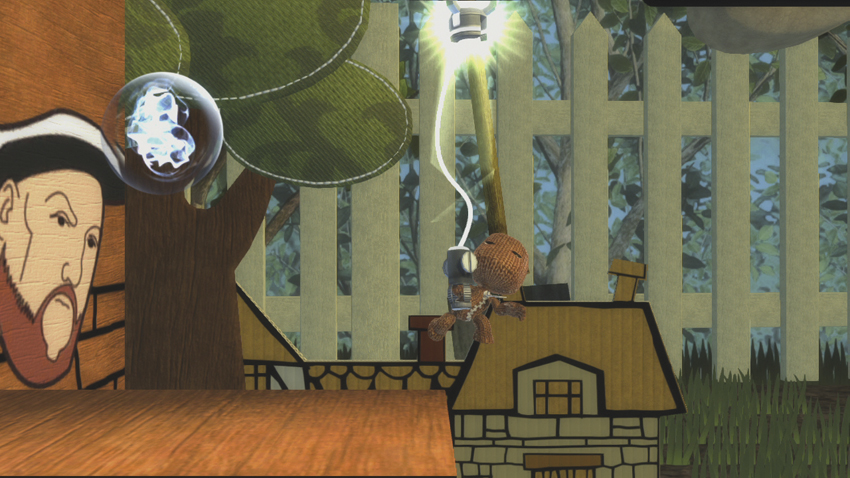
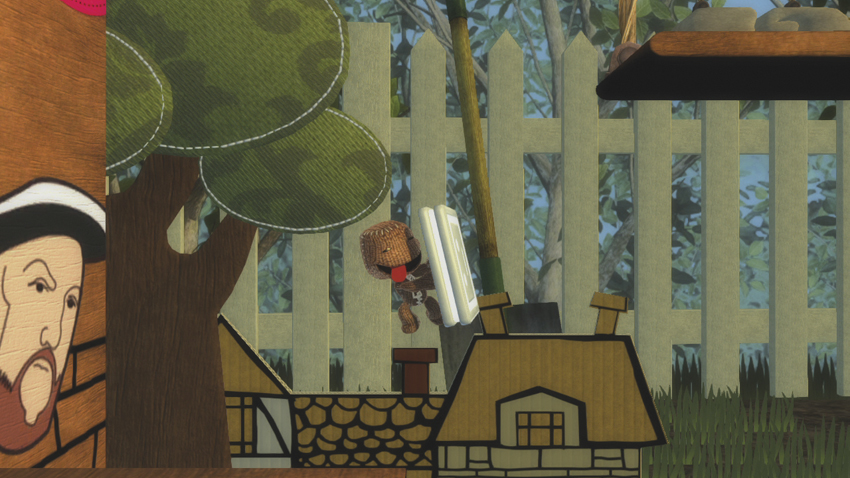
) works in mid-air as soon as possible. It functions similarly to the grounded Gripple Grapple, but utilizing it in mid-air means that you need to learn to judge Sackboy’s height and whether or not he’ll be able to perform the move before he hits the ground. Take into account the height of your foe and how close they are to hitting the ground, as well.
Air Bounce Pad Shield (
) sends enemies flying in an eject tornado. This move remains ultra-useful, especially when battling adversaries that are fond of jumping in with Combos or using mid-air dashes to close the distance. Keep the command for Air Bounce Pad Shield in the back of your mind, and be ready to whip it out at a moment’s notice. It may just save the day and give you the space you need to take the advantage in heated match play.
If you’ve got an enemy that excels at air combos and likes to take to the air to begin their Attacks, hit them with Air Grabinator Grab (
). This throw forces both Sackboy and the enemy to the ground very quickly, and then Sackboy bodyslams the foe to end the move with a knockdown state. This throw moves relatively quickly and is a great way to encourage your foes to stay out of Sackboy’s airspace.
Spinning Slap (
) is another move that ends in a knockdown. It hits just once for 20AP, and Sackboy is forced to the ground after performing the attack. This move is a little trickier to land than the Air Grabinator Grab, as a result of Sackboy’s minor wind-up before hitting the enemy. Don’t let that deter you—this is a nice anti-air alternative to Air Grabinator Grab.
 : TRIANGLE ATTACKS
GROUND ATTACKS
| # | Name | Command | AP Gain | Properties | Hit Effects | CI | Notes |
|---|---|---|---|---|---|---|---|
| 1 | Jam Session |
|
25 | Jam ball active for two seconds; bounces off surfaces | — | — | Long start-up |
| 2 | Jetpack Corkscrew |
|
20 | Dash forward | Butt-drop | — | — |
| - | Redline Corkscrew |
(hold)
|
30 | Dash forward; charge increases distance and AP gain | Eject tornado or guard break | — | Passes through foes |
| 3 | Jetpack Jump |
|
20 | — | Full launch | — | Cannot act until grounded |
| 4 | Checkpoint Anchor |
|
— | Checkpoint has 40AP of armor | — | — | — |
| - | Checkpoint Popout |
(Anchor present)
|
— | Sackboy teleports to Checkpoint | — | — | Sackboy vulnerable when popping out of Checkpoint |
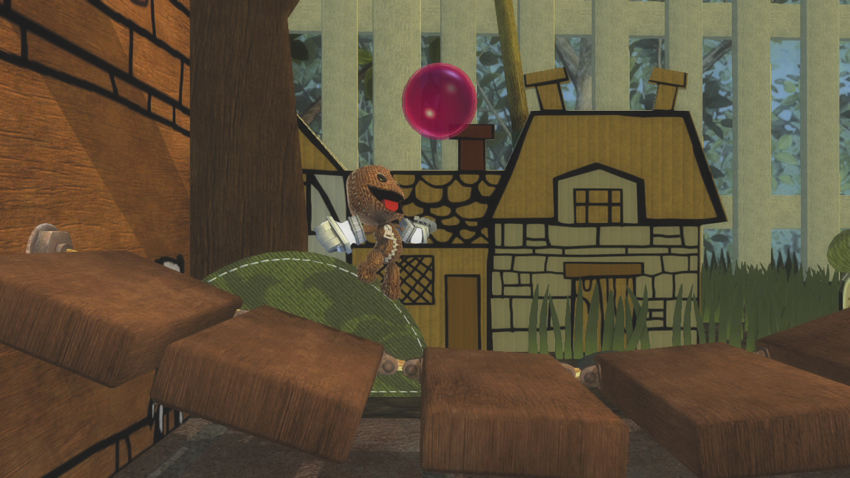
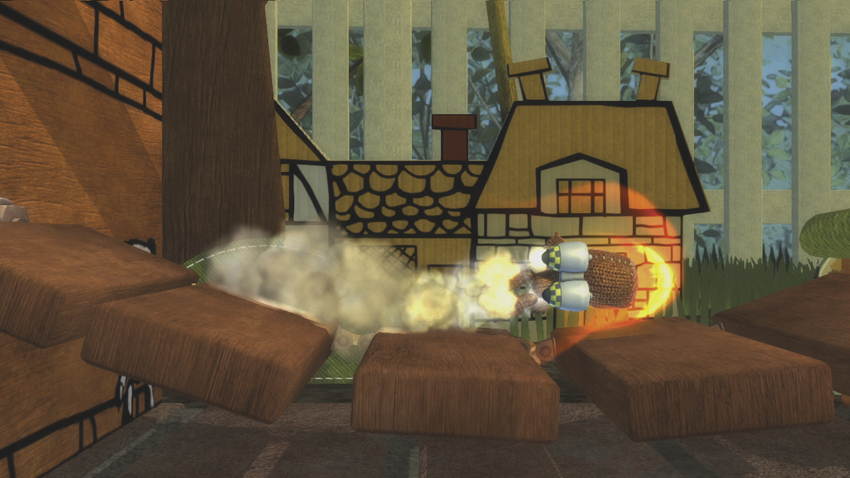
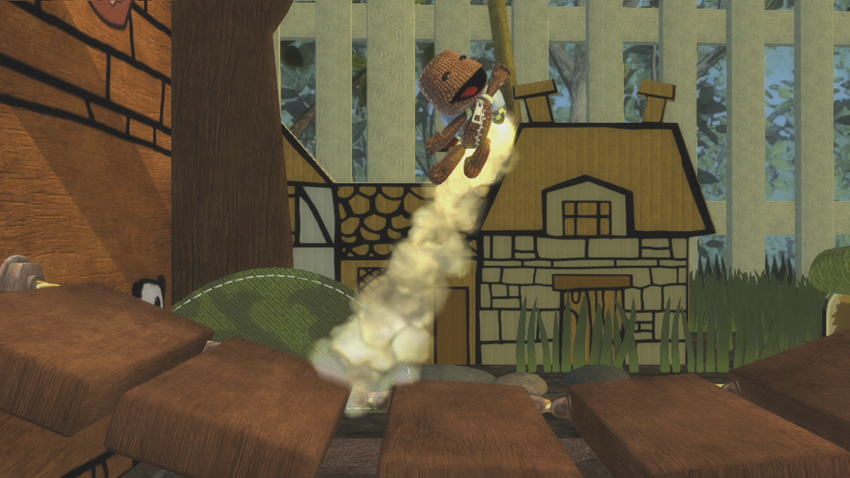
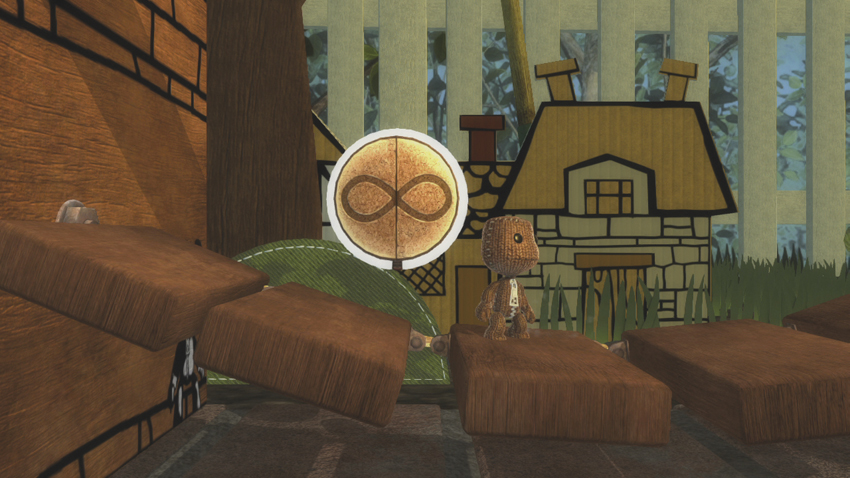
Checkpoint Anchor (
) and Checkpoint Popout (
) when Checkpoint Anchor is active) gives Sackboy a tool that most other characters can’t match: a teleport. Press
to place a Checkpoint. They can be placed in mid-air, at ground level, or anywhere you like, as long as you can access that area. Press
again to pop out of the Checkpoint. Sackboy is vulnerable for a brief moment after exiting a Checkpoint, but as soon as the Checkpoint begins fading, he can start attacking. Checkpoint Anchor can be used to get back into the thick of things or to escape danger. The implementation is entirely up to you.
Jam Session (
) is an unorthodox projectile. Sackboy summons a ball made of jam, tosses it into the air, and spikes it toward the ground. It may hit an enemy directly if that enemy is close enough, or it may bounce along the ground for a couple seconds before dissipating. The long start-up period is counteracted somewhat by the 25AP gain once the move hits an adversary, but this is not a move you necessarily want to use when Sackboy is up close to a foe. Use this move to keep your enemies from blindly rushing in from a distance. Force them to jump in on Sackboy, and retaliate with an anti-air.
Jetpack Jump (
) is a great combo opener or extender. Sackboy rockets into the sky, launching the enemy in the process, and can follow up with another attack as soon as he touches the ground. Performing two Jetpack Jumps in a row is an easy way to get the height needed for a solid air combo.
Jetpack Corkscrew (
) is a good combo opener, too, and its Redline Corkscrew variation (hold
) is great for punishing an opponent that
spends too much time blocking.
AIR ATTACKS
| # | Name | Command | AP Gain | Properties | Hit Effects | CI | Notes |
|---|---|---|---|---|---|---|---|
| 1 | Air Jam Session |
Air
|
25 | Jam ball active for two seconds; bounces off surfaces | — | — | Long start-up |
| 2 | Air Jetpack Corkscrew |
Air
|
20 | Dash forward | Butt-drop | — | — |
| - | Air Redline Corkscrew |
Air (hold)
|
30 | Dash forward; charge increases distance and AP gain | Eject tornado; guard break | — | Passes through foes |
| 3 | Air Jetpack Jump |
Air
|
20 | — | Lift | — | Long recovery |
| 4 | Air Checkpoint Anchor |
Air
|
— | Checkpoint has 40AP of armor | — | — | — |
Jetpack Corkscrew (
) and Redline Corkscrew (hold
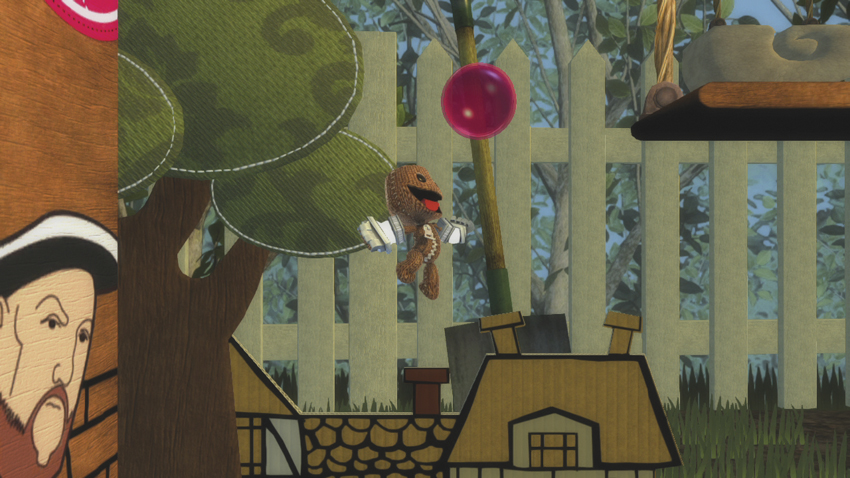
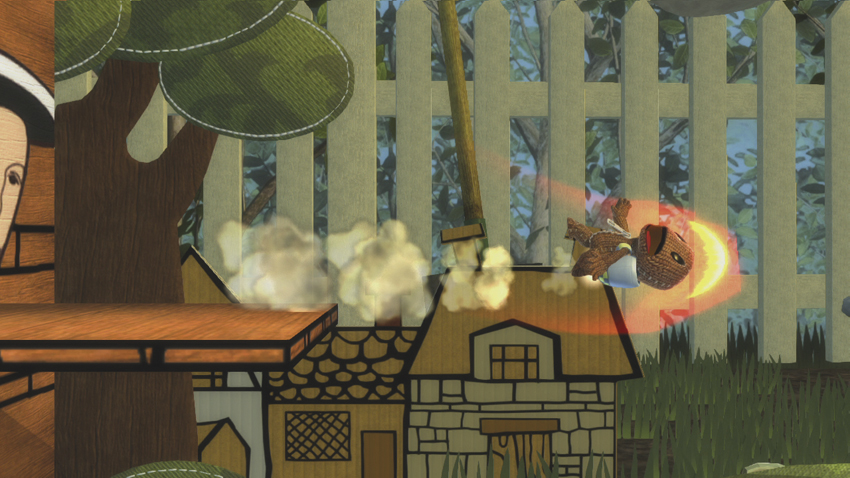
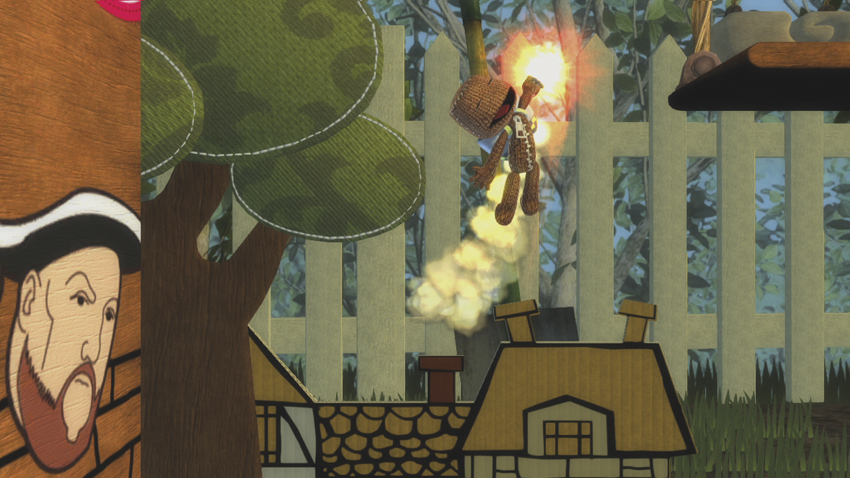
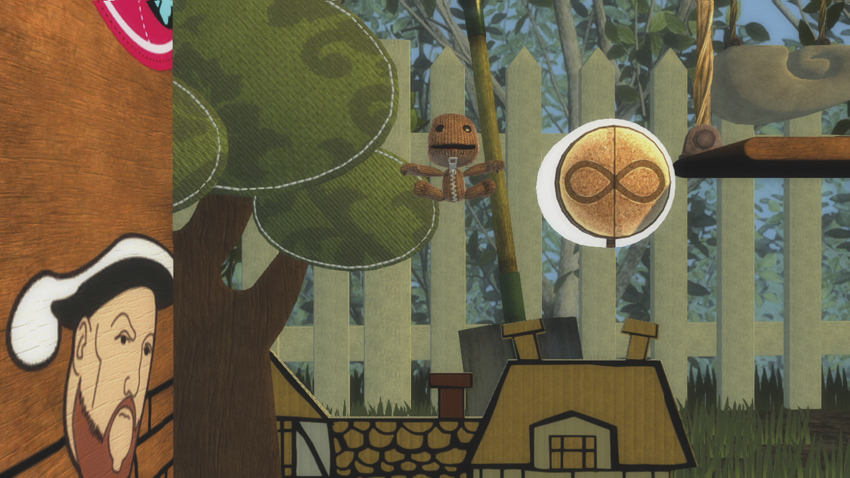
) are both fantastic aerial Attacks that require tricky timing to pull off correctly. Sackboy charges briefly as his jetpack powers up when performing Jetpack Corkscrew, which can give enemies a chance to fall past Sackboy or escape using a type of air dash, if available. Redline Corkscrew is a great move to use when jumping in on a pack of challengers. Sackboy falls slower than normal when charging Redline Corkscrew, so if you begin charging at the top of his jump, the attack is going to be ready to go when Sackboy hits the ground.
Air Checkpoint Anchor (
) and Air Checkpoint Popout (
) are just as useful as they are on the ground, if not even more useful. Creating a Checkpoint in mid-air can give Sackboy a bit of breathing room immediately after teleporting and may allow him to escape to safety when in danger.
In addition, it’s harder for enemies to hit a Checkpoint that’s suspended in mid-air without being attacked themselves.
Use Air Jetpack Jump (
) to provide a nice finale to your air Combos. Sackboy pinwheels to the ground after successfully completing the attack. If the Air Jetpack Jump connects, Sackboy should hit the ground before the enemy and be prepared for a follow-up attack by the time his adversary lands.
Like the mid-air Jetpack Corkscrew, there is a brief delay while Sackboy winds up before Jam Session (
) is truly active. Jam Session is best used to fend off an enemy before they attack, rather than getting someone out of Sackboy’s general area on short notice. If you notice a bunch of adversaries battling each other and leaving Sackboy alone, pitch a few Jam Sessions their way to get their attention and score some free AP.
: CIRCLE ATTACKS
GROUND ATTACKS
| # | Name | Command | AP Gain | Properties | Hit Effects | CI | Notes |
|---|---|---|---|---|---|---|---|
| 1 | Cakeinator |
|
25 | Cake sticks to walls, ceilings, platforms; active until attacked or hit | Butt-drop | — | Places Sackboy in butt-drop state when fired |
| 2 | Air Shooter |
|
— | Pushes characters and physical objects along at high speed | — | — | — |
| 3 | Bounce Pad Bounce |
|
— | Bounces characters to double jump height twice before breaking | — | — | Counts as double jump; opponents can bounce off pad without ill effect |
| 4 | Electric Panel |
|
5 | Active once grounded and until hit | — | Shock | — |
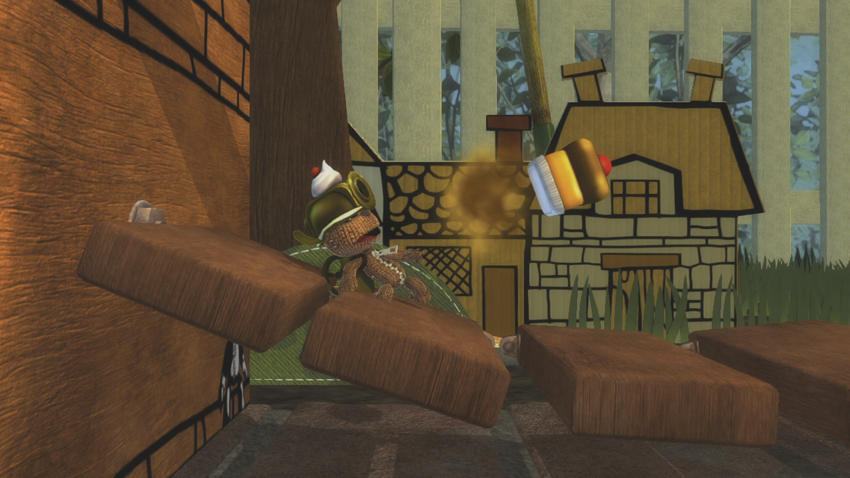
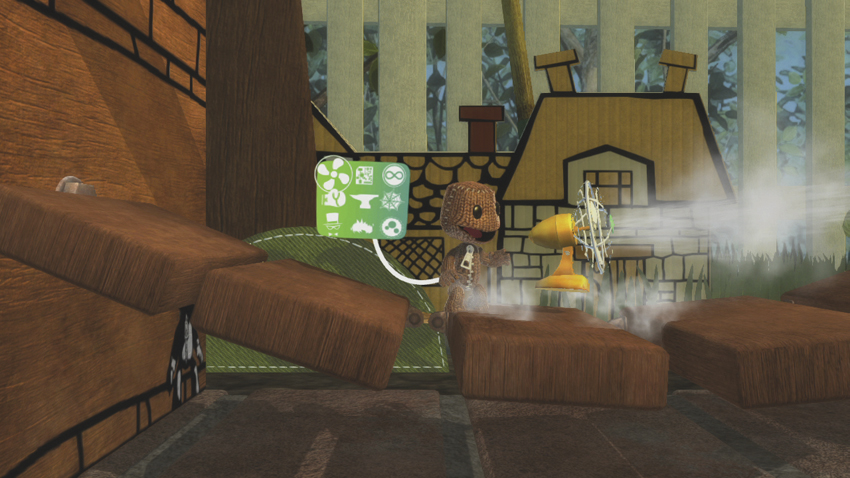
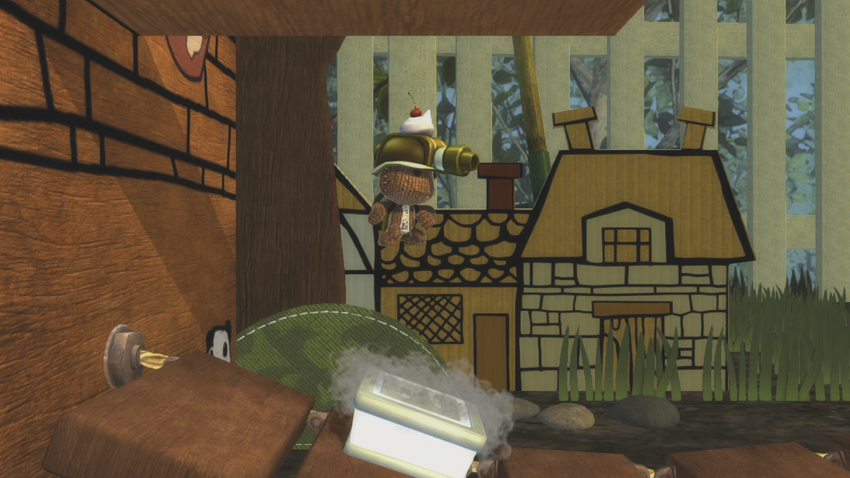
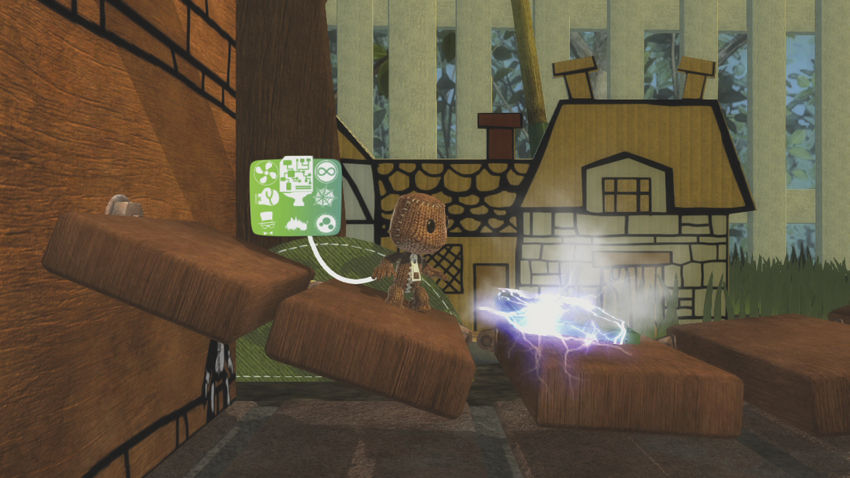
Sackboy’s
Attacks reveal his true strength: traps. Sackboy can keep an enemy pinned down, corner his foes, or force adversaries to move about the stage according to his will, and his
Attacks are a crucial part of achieving those effects.
The first tool is his Cakeinator (
). This is only a relatively safe move, as enemies are forced to butt-drop once the move hits, but Sackboy butt-drops from the force of launching the cake. However, the cake remains in place if the attack whiffs, and can even stick to walls, floors, and platforms. Intentionally whiff Cakeinator to set up a trap for your opponent. If they can’t get to Sackboy without being forced to butt-drop, then you have the advantage.
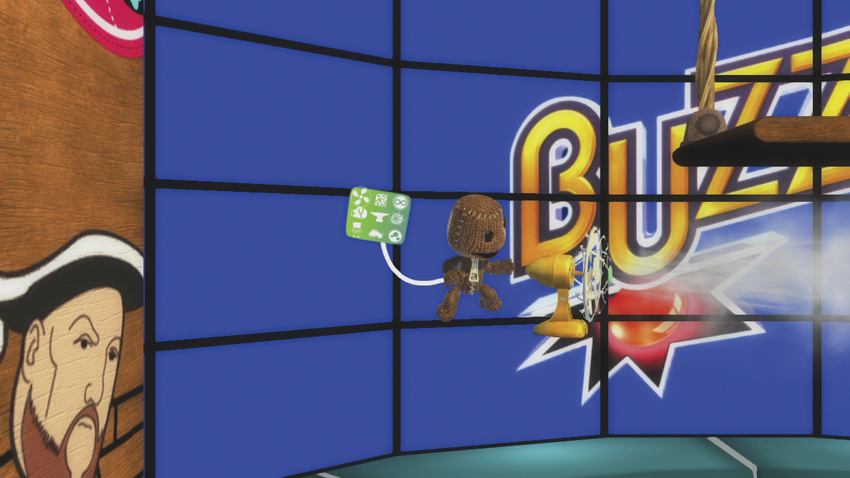
Use Air Shooter (
) to totally disrupt a match. This innocent fan can push characters and objects, including Sackboy, along at high speed. This can throw off someone else’s combo or let you ambush an enemy when they least expect it.
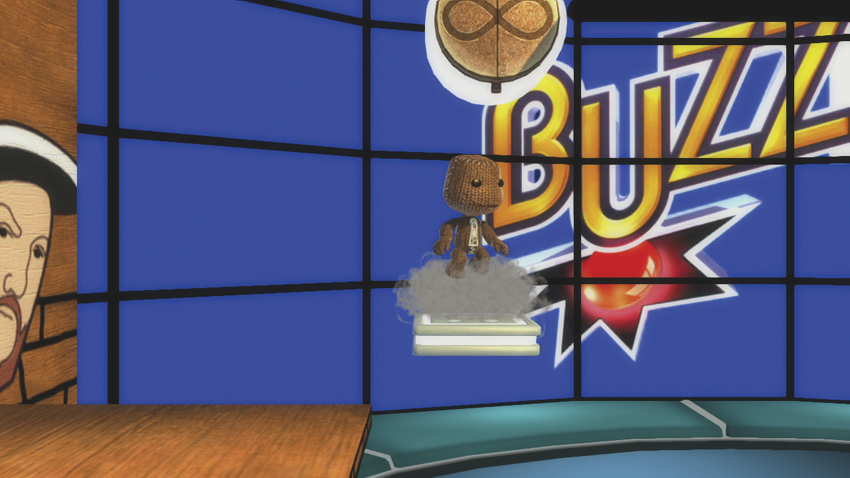
Sackboy has two types of pads at his beck and call: Bounce Pad Bounce (
) and Electric Pad (
). Bounce Pad Bounce is a pad that can near-instantly skyrocket a character to double jump height. Electric Pad, on the other hand, shocks a foe when they touch it, locking them in place for a brief moment.
All of these moves are great for disrupting a fight. Drop an Air Shooter close to a character that is trying to begin a combo on someone else to halt the proceedings, or use the Electric Pad to prevent enemies from sneaking up on Sackboy from behind.
AIR ATTACKS
| # | Name | Command | AP Gain | Properties | Hit Effects | CI | Notes |
|---|---|---|---|---|---|---|---|
| 1 | Air Cakeinator |
Air
|
25 | Cake sticks to walls, ceilings, platforms; active until attacked or hit | Butt-drop | — |
Cannot act until grounded; cannot hold
to pass through thin platforms
|
| 2 | Air Air Shooter |
Air
|
— | Pushes characters and physical objects along at high speed | — | — | Fan falls from point of activation |
| 3 | Air Bounce Pad Bounce |
Air
|
— | Bounces characters to double jump height twice before breaking | — | — | Cannot use if double jump already used in air; Bounce Pad falls to ground |
| 4 | Air Electric Panel |
Air
|
5 | Pad not active until grounded | Shock | — | — |
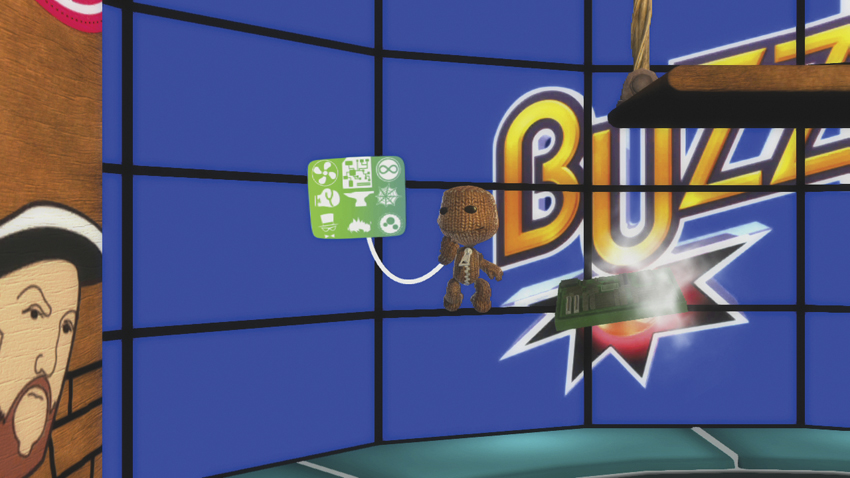
The only thing better than traps are traps that you can drop with no fear of retaliation. All of Sackboy’s grounded
Attacks are also usable in mid-air, and properly utilizing these AIR Attacks increases the odds of Sackboy dominating a match.
Air Bounce Pad Bounce (
), for example, forces opponents to leap into the air. If you were to have Sackboy jump over a group of battling enemies and drop an Air Bounce Pad Bounce, then whichever character it hits goes flying into the air, ready and waiting for your air combo or downward smash. You can set up your foes to be hit by other challengers in mid-air.
Sending an Electric Pad (
) downward is another great maneuver. Properly timed, you can shock an enemy and have Sackboy hit the ground before they’re unfrozen. At that point, you can attack at will. The same is true of an aerial Air Shooter (
). You can push opponents into position in mid-air and then take advantage of their momentary confusion. You can also push foes out of position—if you can predict when an enemy is going to jump in, you can meet that enemy with an Air Shooter in mid-air and force them away.
If you’re having trouble fending off attackers, Air Cakeinator (
) is a great way to plant traps from relative safety. If Sackboy is in a safe area, leap into the air and fire an Air Cakeinator at your opponents. This serves to keep enemies away from Sackboy while you earn AP. Enemies can attack the cake to make it go away, but most won’t want to risk the damage and will instead choose to jump over it on pure instinct, giving you a chance to use an Air Shooter to knock them back into the cake trap.
COMBOS
MAIN COMBOS
Note: All combos assume your character is facing the right side of the screen.
I. Against grounded foe:
,
,
45AP
Keep it simple. Use an Electric Pad (
) to lock your opponent in place, and then move in with a Slap Happy 2 (
,
). This move requires very little effort for a pretty decent payday of 45AP. Considering that Sackboy’s Level 1 Super attack only requires 100AP, performing this combo once puts you well on your way toward earning a solid kill or two. When you mix this combo up with Sackboy’s
traps, you can quickly rack up AP and punish your foes at will with a Super attack.
II. Against grounded foe:
,
,
65AP
This combo requires careful timing. If you’re a moment late, you may whiff the second Jetpack Jump (
) or the Gripple Grapple (
) at the end. If you see the target perform an air recovery after the first Jetpack Jump, you waited too long and should immediately prepare for your enemy to counterattack. To ensure that this combo hits cleanly, try to hit enemies that are coming down for a jump or in the middle of an attack. Once you nail the second Jetpack Jump, go for the Gripple Grapple to top things off and earn a total of 65AP.
III. Against jumping foe:
,
45AP
Punish jump-happy enemies with this quick combo and earn almost half of the AP needed to fill Sackboy’s Level 1 Super Meter at the same time. When you see an enemy jumping in on Sackboy, or simply jumping above Sackboy, fire the Gripple Grapple (
) to pull Sackboy up to their position and lift the target into the air. After that, simply press
to slam your foe to the ground with a Spinning Slap (
in mid-air) and finish the combo.
COMBO APPENDIX
| Combo | +AP | Notes |
|---|---|---|
|
,
,
,
|
85 |
This variation on Combo I only works when near the corner. Use the wall to keep the enemy in range for the final
.
|
|
,
,
,
,
|
90 |
For a little extra oomph, use an Electric Pad (
) to kick off this combo, but be sure that Sackboy is near the corner.
|
ADVANCED STRATEGIES
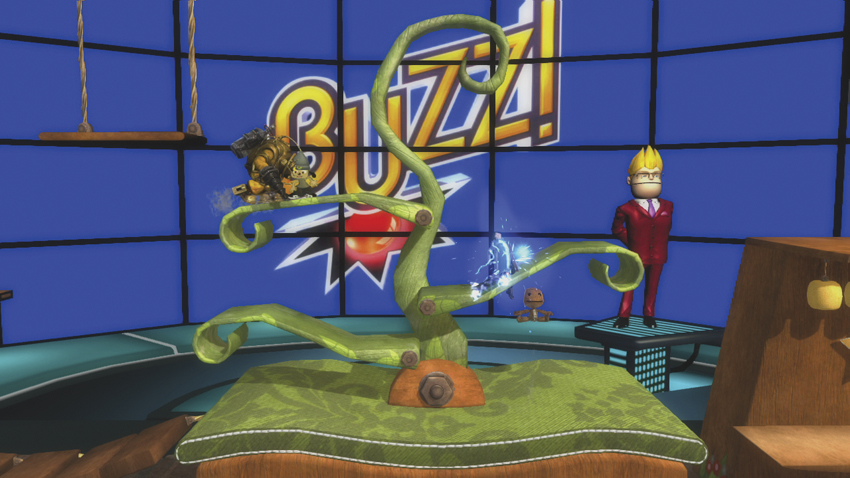
Use Sackboy’s traps to keep your opponents away from him.
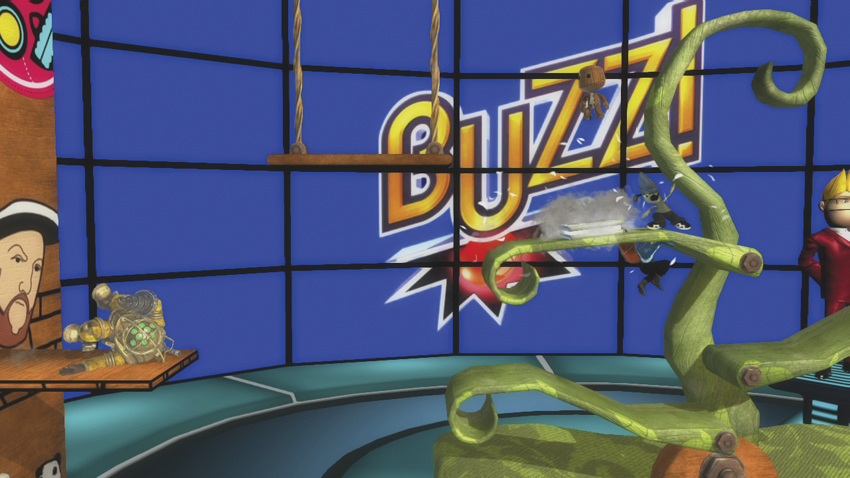
Traps like the Bounce Pad Bounce (
)can also help you disrupt someone else’s battle.
Sackboy isn’t a combo-focused character. He has a long start-up time on certain moves, he has long recovery periods for others, and his basic strings like Slap Happy 2 (
,
) are very short.
This makes it tough to create long Combos that keep an enemy occupied while you earn massive amounts of AP. As a result, you must pursue a different strategy with Sackboy.
The centerpiece of your strategy should be Sackboy’s traps, the vast majority of which are special moves that involve
. Air Shooter (
), for example, is a valuable move when it comes to giving Sackboy the space he needs to operate. If you’re fighting against a player that is continually performing long Combos on you, drop an Air Shooter at their feet the next chance you get. They’ll be blown away, and you should still have time to utilize the Air Shooter yourself to sprint after that and perform a combo or ejection of your own.
Don’t underestimate the power of Electric Pad (
) , either. It appears a short distance in front of Sackboy, and Sackboy is invulnerable to its effects. Any enemy that touches it, however, is shocked, opening them up to your best combo. You should always have an Electric Pad out, no matter what type of player you are, even though it only earns you 5AP. Shocking foes is a tried and true way to start a combo, and even if you aren’t ready to attack, in a four-player melee situation, someone else will take advantage of the enemy you trapped. If you’re playing 2v2, use Electric Pads to set up your target for your partner.
Another good move for 2v2 is the Bounce Pad Bounce (
). Like the Electric Pad, it’s good for setting up enemies for Attacks, but it’s also a great escape hatch. If you’re getting hammered or stuck in a corner, drop a Bounce Pad Bounce to launch Sackboy into the air and then escape.
The ultimate escape hatch, however, is Sackboy’s Checkpoint Anchor (
). This move gives Sackboy an unprecedented amount of freedom, though it isn’t without its own minor level of risk. Sackboy is vulnerable after performing a Checkpoint Popout (
), so you need to be certain that you’ve placed the Checkpoint Anchor in a safe place. Double jump before setting the Checkpoint Anchor. This prevents opposing characters from easily destroying the Checkpoint, and it also gives Sackboy time to recover from teleporting on the way down to the ground.
Your goal is to earn 100AP as quickly as possible and then trigger Sackboy’s Level 1 Super attack. Sackboy earns AP at a pretty decent clip, despite his weak combo game, so this should be no trouble at all. Try to earn another half a bar of Super Meter before activating your first Level 1 Super attack, since earning the next half will be much easier than starting from scratch. If you can avoid being trapped by your challengers, this method should allow you to get off to an early lead. After that, trigger your Super attack as soon as you hit Level 1, and find a likely target to maintain your lead.