
PlayStation All-Stars Battle Royale Guide Essentials Arcade Mode
Arcade Mode
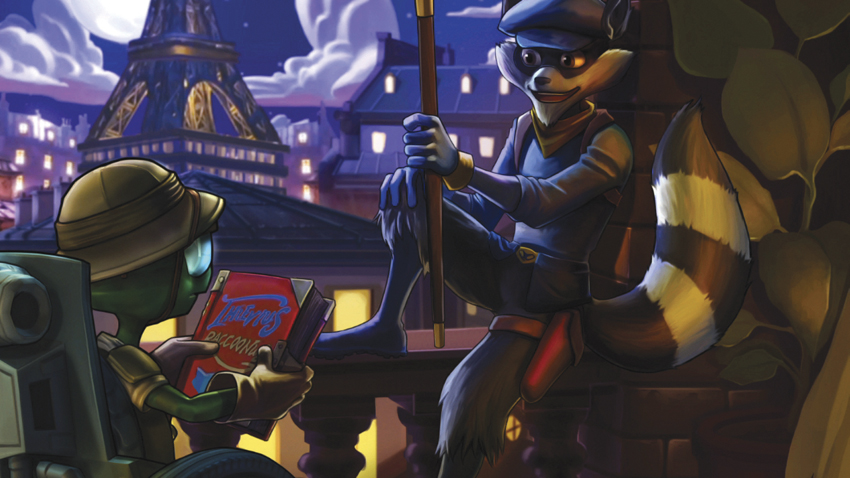
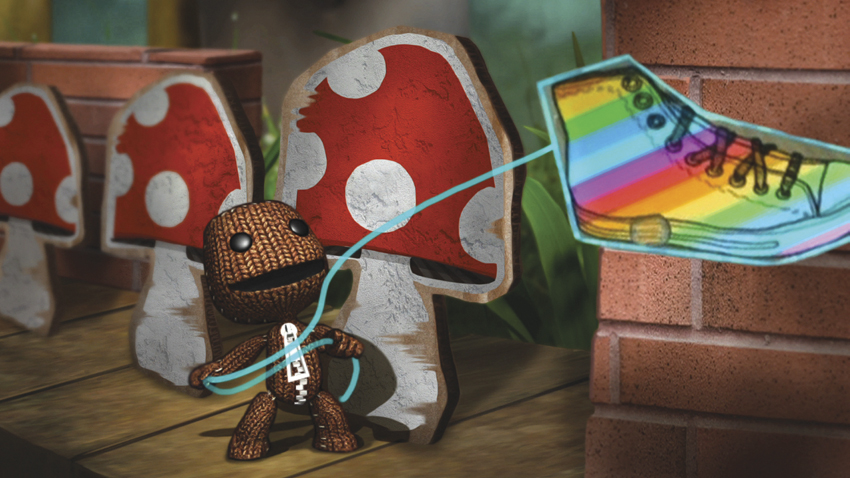
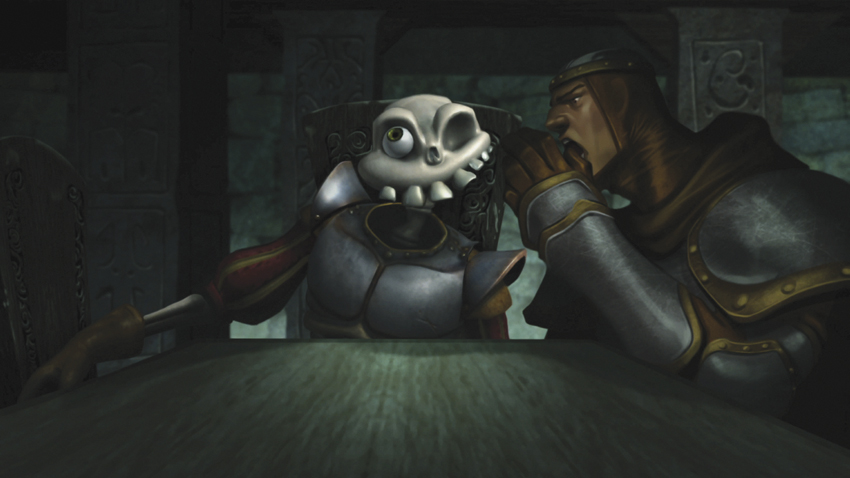
The Battle Royale has begun. Twenty fighters from every corner of the PlayStation universe have been assembled, each with their own stories. Some fight for honor, some for the glory of battle, while still others brawl for the love of... cake. Though this motley cast of characters couldn’t be more varied, those differences will intertwine and bind them, and before these All-Stars’ journey is through, they will have met not only their ultimate challenge, but settled a feud with a specific fighter that closes out their chapter.
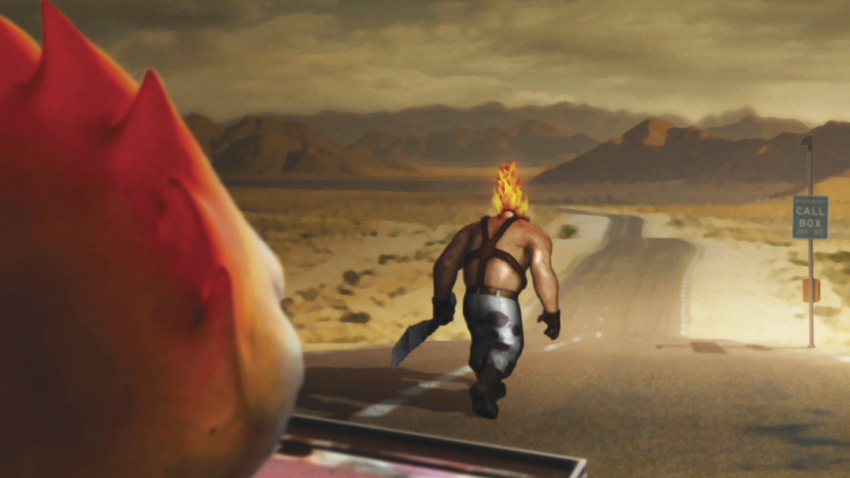
Arcade Mode offers a chance to get to know a character inside and out—not just their moves, but their reasons for becoming part of the fracas. Think of Arcade Mode as a way to learn the ins and outs of your favorite—or most dreaded—combatants in the Battle Royale. No two characters play the same
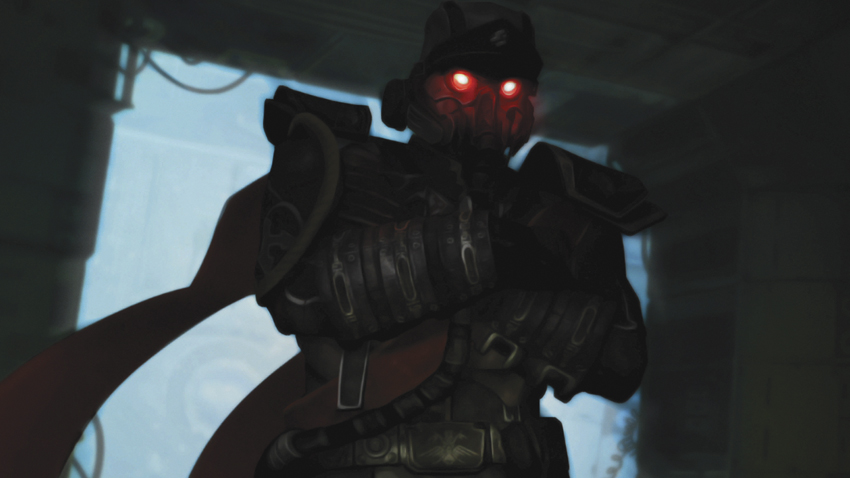
way, so learning how each of them handles a particular situation is half the fun, and it provides valuable experience and understanding of how to counter their moves when another player has selected them. Plus, who wouldn’t want to know why a cyborg ninja and a city’s savior are duking it out in the first place?
Though this part of the guide won’t delve into the characters themselves all that deeply (that’s in a prior chapter, so if you haven’t taken the time to consult that section, please do, as there’s no better way to get both at-a-glance and incredible detailed data on everything the roster can do), it does allow for some quick strategies and a peek into the motivations of the fighters that can help you feel out your first steps through their journey. It’s no exaggeration to say that PlayStation All-Stars Battle Royale offers something for everyone in its cast, though, so after playing favorites for a while, consider trying everyone out at least once. You’ll find out their story and become a better brawler in the process!
DIFFICULTIES
PlayStation All-Stars Battle Royale saddles players with a difficult choice from the outset: just how much pain are you willing to endure? On the standard Hero difficulty, the opposing AI usually avoids using Supers until Level 3 and rarely chains attacks, and even trap-based characters abstain from littering the stage with their gadgetry. At Legend difficulty, attacks start to flow into combos, Supers are used more readily, and the full move set is utilized. All-Star difficulty is where the AI starts to behave more like real players. Traps are set constantly; attacks are chained into stuns, juggles, and combos; and Supers aren’t just unleashed at extremely opportune times, but the AI tends to be extremely good at avoiding your Level 1 Supers, as well.
Keeping that in mind, it’s always best to go for Trophies on Hero, particularly if you aren’t using Practice Mode to set conditions for the Level 3 Super-related ones. Getting the basics of the characters’ stories and their story-based Trophies is also immensely easier on Hero. Save the harder difficulties for the many, many Goals related to those characters. Don’t worry: there’s plenty of opportunity to soak up RP to reach Level 300 with everyone. Save the sweat and expletives for the truly difficult challenges.
PROGRESSION
Though there are a whopping 20 characters with paired stories to experience, the actual makeup of the battles is always the same regardless of the fighter or difficulty:
Battle 1—A debut fight against a single opponent. FFA rules apply here, so the fighter with the highest store wins the round. Supers add two points for a kill and subtract a point from the killed character’s tally.
Battle 2—A three-fighter match-up; standard FFA rules apply.
Battles 3 and 4—Two full four-player FFA match. Three minutes to rack up more kills than the rest of the pack. Battle 4 features one character with slightly better AI than the other two.
Battles 5 and 6—Another two four-player FFA tussle, but with a three-kill limit. These are far more dangerous, as any of the enemy AIs need only reach three kills before you do to end the match. Battle 6, like Battle 4, has one AI at a slightly higher difficulty than the other two.
Battle 7—A one-on-one duel with your rival. A short cutscene specific to each character plays before the match to highlight the reason for the rivalry. Despite the characters being paired up, the cutscene for each rival is slightly different.
Battle 8—The final fight again Polygon Man and his minions. Four lives are allotted, and once they’re gone, it’s Game Over, so be careful with your Supers.
RIVALRY MATCHUPS
Kratos vs. Sweet Tooth
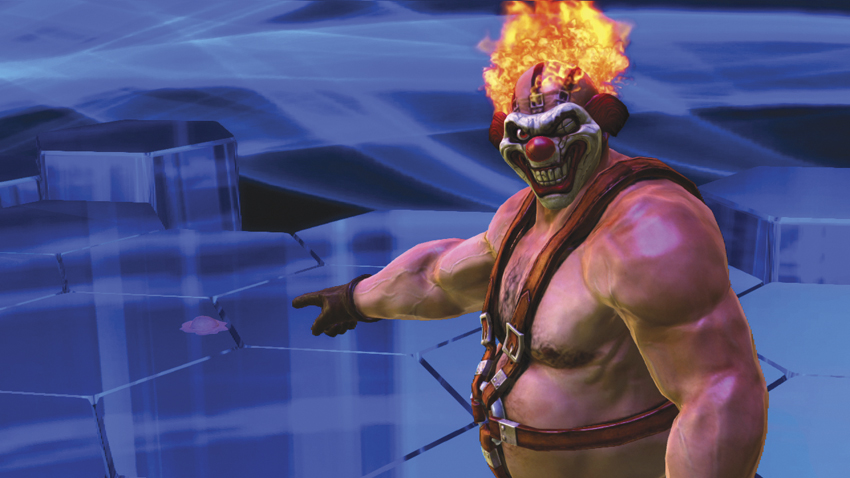
What happens when a psychopathic clown and a slightly less psychopathic but equally vengeful Spartan meet? Ice cream. More to the point, ice cream forcibly removed from its rightful resting place on top of a cone. Sweet Tooth, being murderous and whatnot, clearly doesn’t appreciate Kratos’s Blades of Athena based taunt, and after some manly fightin’ words, the battle is on.
AS KRATOS
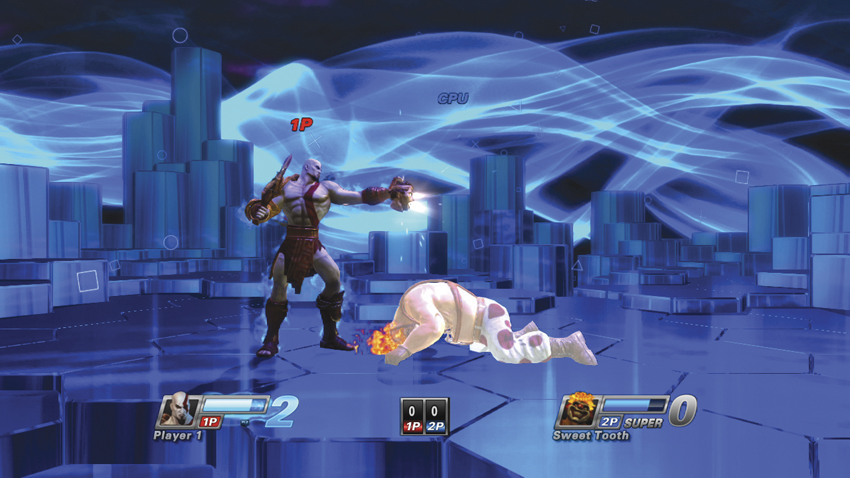
Kratos’s biggest advantage here is his range. Almost nobody on the roster has his melee range, and no other character has his combination of range and speed. Use that to your advantage, unloading with juggles to boost ap and employing his

 launcher to create breathing room where needed. Charge

 after a knockdown to force sweet tooth intro a crumple, and immediately follow a level 1 for a guaranteed kill. Remember, there’s no time limit in this battle, just a first-to-three race for kills, so take your time and make sure each super unleashed connects.
AS SWEET TOOTH
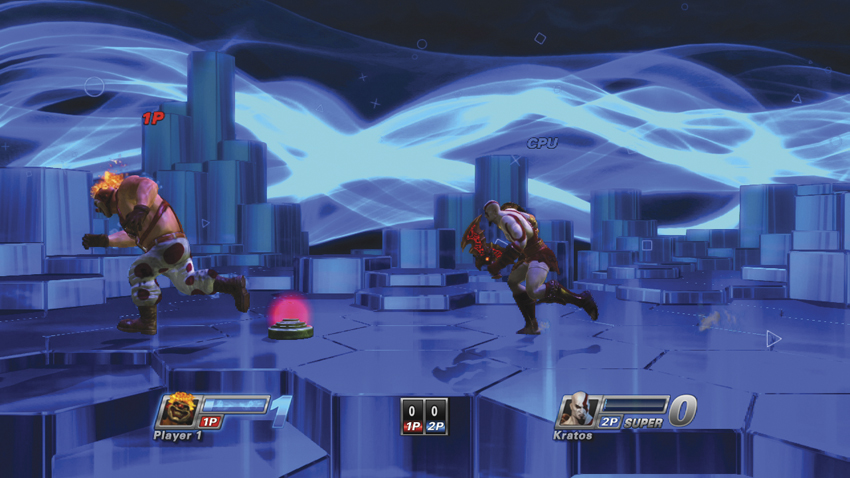
Sweet Tooth is, in many ways, the opposite of Kratos. He doesn’t have the range (or any range, really), but he can make things more productive by always having a mine (
, which can also be done in the air) planted. Avoid jumping in on Kratos, as he has a multitude of attacks to counter this, and instead work on drawing him to Sweet Tooth with careful blocks and rolls. One of the best ways to soak up AP is to unload with the
 shotgun blast, which sends the Spartan flying and forces an air recovery to give Sweet Tooth some time to plant a mine.
Parappa vs. Spike
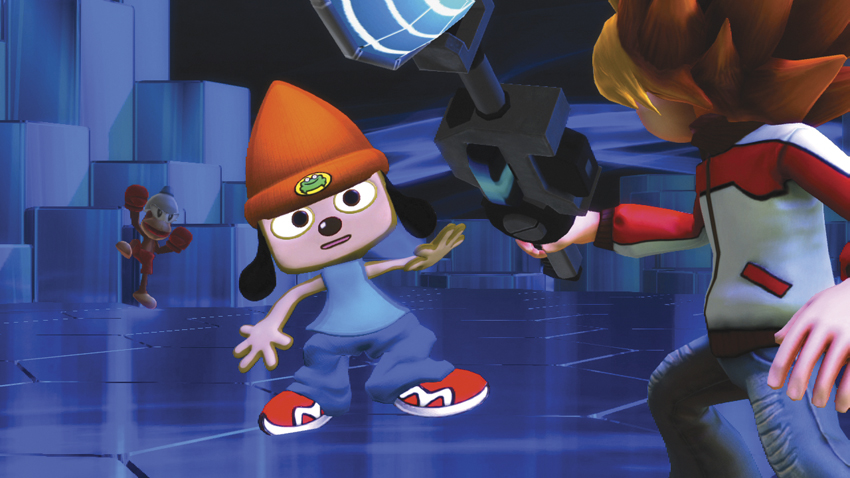
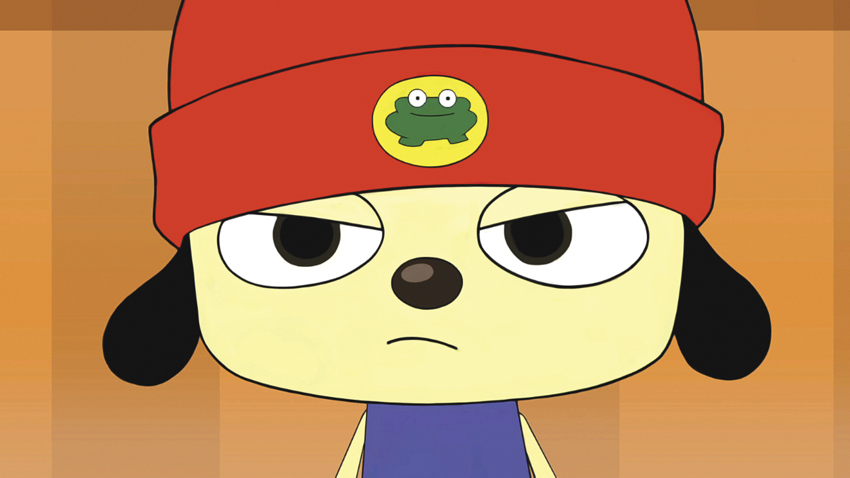
You gotta believe this little pint-sized match-up is going to be a hectic one. Both PaRappa and Spike can scoot around with plenty of speed, so when the pair square off with a little simian-assisted mistaken identity, there’s only one way things can go: either PaRappa finds his inner courage, or Spike makes use of that temporal net to save the world from the monkey apocalypse—one that may or may not actually be happening.
AS PARAPPA
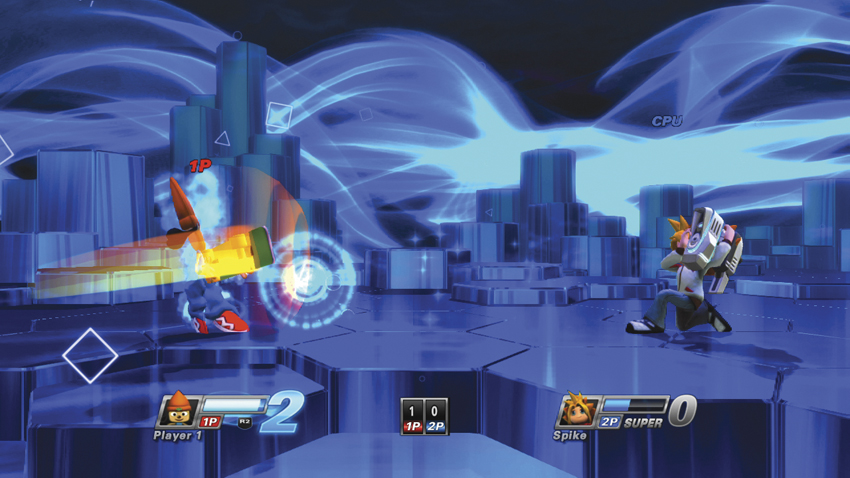
One of the hardest parts about using PaRappa is the fact that his Level 1 super actually hits upward. Although he does have a small amount of forward impact, the sweet spot for the super means it’s best used when enemies are in the air, which definitely requires a bit of practice. Thankfully, his Level 2 super is extremely useful and lasts long enough that it’s possible to correct for a whiff (and make no mistake, on all-star difficulty, misses are commonplace even when you’re not battling a spastic ape catcher). Make the most of PaRappa’s ability to reel in Spike with the neutral
mic attack (following up quickly with some
strikes is a great way to build AP), and if the spiky-haired opponent is proving a little too rowdy, don’t be afraid to throw down the boom box to lure him in close (and pocket a little AP in the process).
As Spike
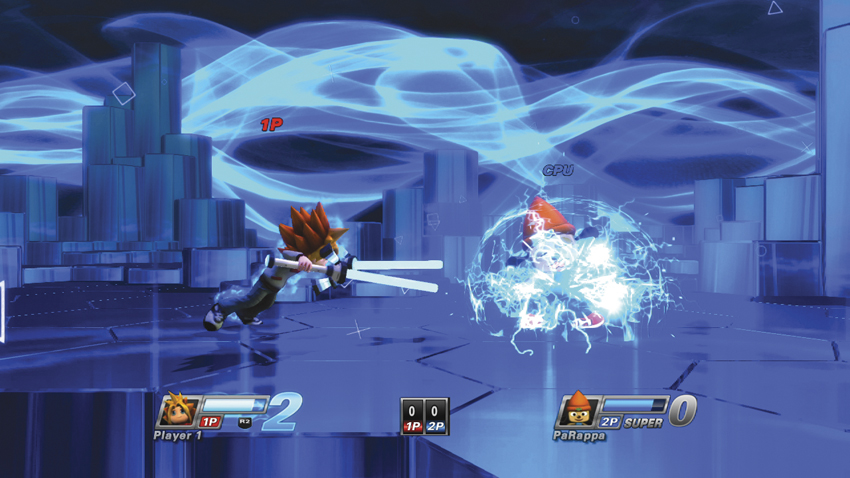
Spike’s best weapon is his ability to stun with lightning balls (
), so go hog wild with them whenever possible. His ability to teleport away (
 ) is also an incredibly useful way of gaining a bit of breathing room and even dodging PaRappa’s Level 2 super if the ai decides to use it. Mostly, though, the fight is a matter of staying on the attack, using the wider area of effect from spike’s batons to juggle in the air and waiting for openings to really throw hurt on the rapping pup.
Fat Princess vs. Evil Cole
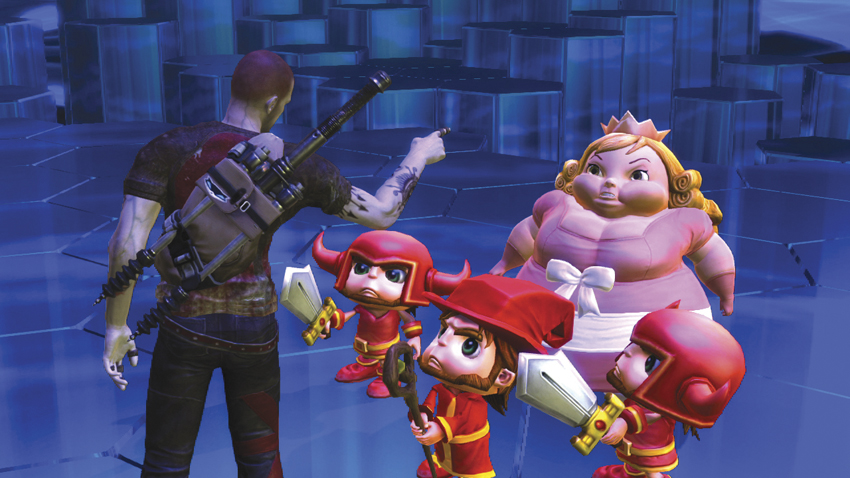
Let this be a lesson to us all: when a princess asks for cake, it’s a good idea to give her some—especially if she comes from a fairy tale realm where her…healthy appetite is usually appeased. Evil Cole, of course, is on the hunt for Conduits of any form and cares little about plus-sized, pink, cake-gobbling royalty, so the only solution apparently is to teach the Fat Princess what happens when the dark specter of Empire City is crossed.
As Fat Princess
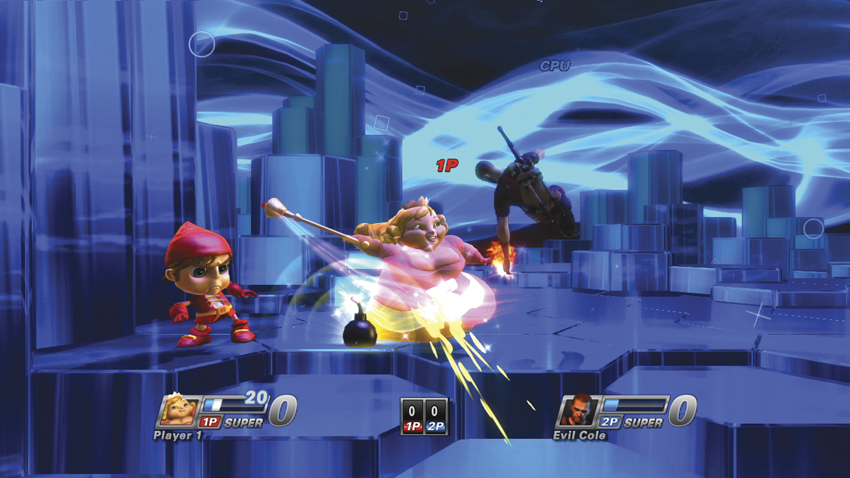
Fat Princess is actually one of the most deceptively powerful characters in the All-Stars roster, mostly because she’s so darned good at juggling even with standard attacks. She can close the gap between herself and her opponent with relative ease, and the default mashed
spinning attack catches enemies on either side of her before finishing with a butt stomp that sends them flying. Make use of this as much as possible to keep Evil Cole on the ropes, along with keeping your villagers working at all times to catch Evil Cole with bombs and fireballs. When it comes time to unleash a Super, remember that Fat Princess’ Level 1 lets her actually see where the dash toward cake is headed. Place the cake on the other side of a falling Evil Cole, and enjoy the show.
As Evil Cole
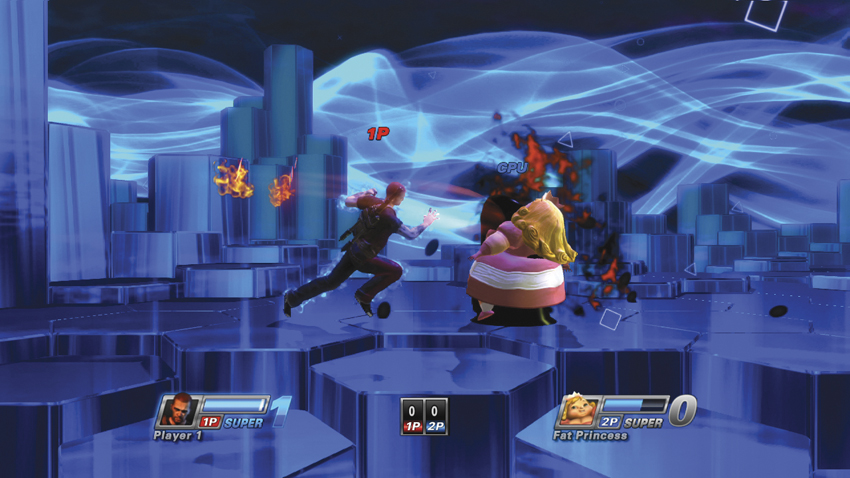
It can be a little difficult to manage some of Evil Cole’s Supers, mostly because they require Evil Cole to be fairly close to his target. There’s a small bubble of effect when launching the Level 1 that’s widened for Level 2, but it’s still extremely important that the Supers be launched in close proximity, which also means when Fat Princess is on the ground and not spamming her subjects (which is quite often). Use grinds (
) or a firebird strike (
) to close long distances before unloading with the bread and butter charged
combo to keep building ap. Cole’s ability to litter the air with double grenades (
) also means he’s great at zoning and air denial, so use that to ground the plump potentate.
Radec vs. Sir Daniel
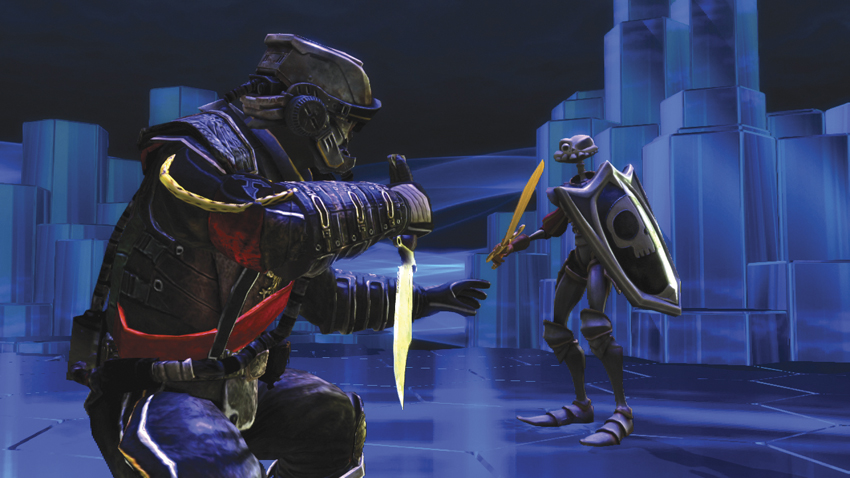
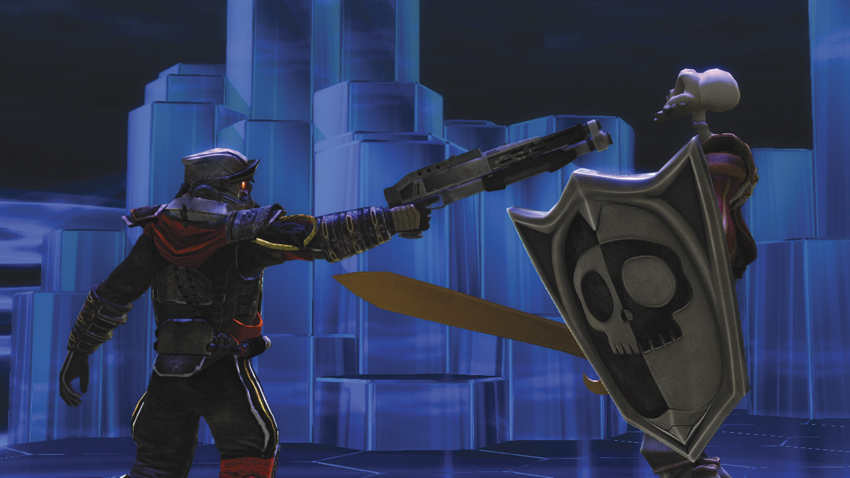
Apparently on Helghan, enunciation is as important to the hardened way of life as a militaristic dictatorship. Poor Sir Dan, however, knows nothing of a planet beset by the harshest of conditions, though he knows a thing or two about being dead—something most of the All-Stars cast can’t claim. Still, in order to earn the continued adulation of his people, any potential threat by the wizard Zarok must be dealt with swiftly, and no glowy-eyed, gravelly-voiced second-in-command is going to stop him.
AS RADEC
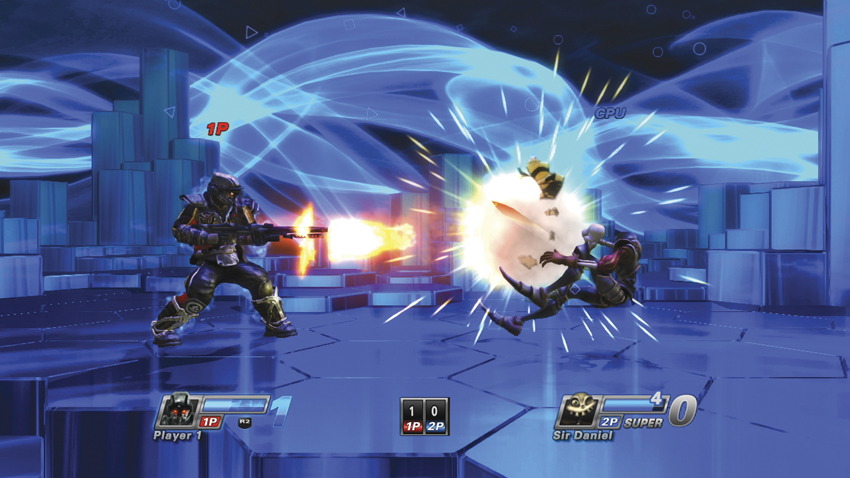
Though many of Radec’s actions have a long wind-up, he is gifted with an extraordinary means of getting out of trouble. His
teleport not only moves him away from Sir Daniel, but drops a handy troublemaking grenade in the process. Take note of this strategy, as it’s central to Radec’s ability to sow chaos. His
lightning ball helps keep enemies from jumping in—which is perfect since Sir Dan is especially vulnerable to the
sniper shot when on the ground. This also has the benefit of knocking the bony knight away and keeping his attacks at bay. Sounds like the kind of thinking that made the Helghast militaristic might what it is today.
AS SIR DANIEL
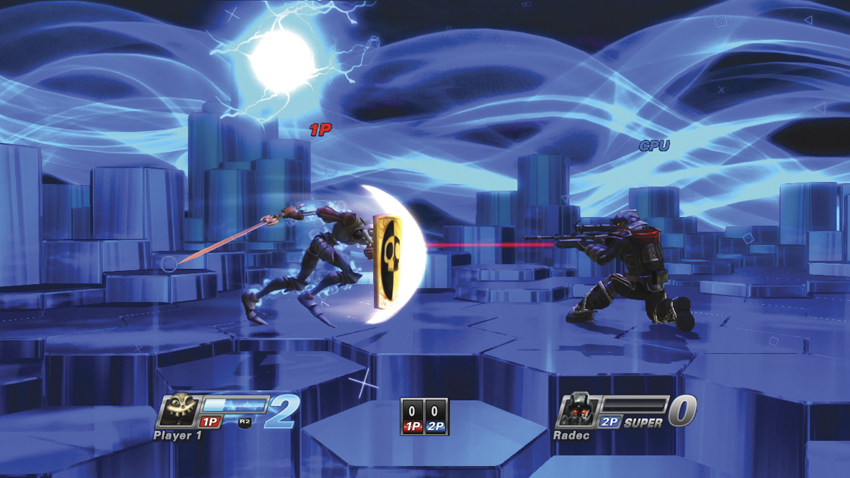
Sir daniel fortesque is an interesting man, and not just because he’s, well, skeletal. By using his Golden Shield (
) summon, much of Radec’s ranged attack moves can be mitigated if not outright negated with a little timing. Dan’s supers are also rather quick, but they should be pulled off at close range or as radec is falling from a jump. His
-based three-hit combo builds ap nicely and should get you into healthy Super territory quickly. A healthy guard is best here, as Radec’s ability to create aerial deniability is nearly unmatched. Sir Dan’s Level 1 Super is also the most troublesome in the game because it has absolutely zero forward effect; instead, it fires out at a 45-degree angle and with pitiful range. Without any platforms in this arena, the Super must be activated when Radec is in the air and very, very near.
Sly Cooper vs. Nathan Drake
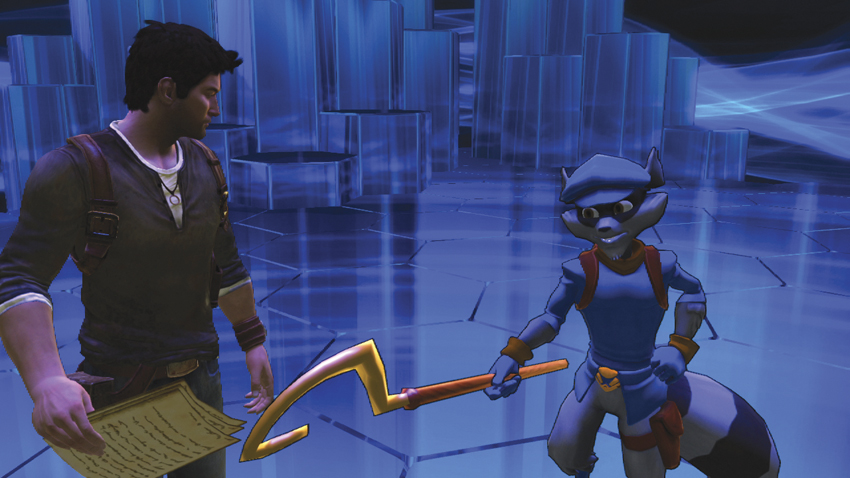
They say there’s no honor among thieves, but neither Drake nor Sly seems to be an especially bad individual. Both have some sense of morality about their sticky fingers, but when it comes time to reclaim missing pages of the Thievious Raccoonus—or using them to find one heck of a treasure—there’s no backing down for either thief. Looks like this one will have to be settled the old-fashioned way…
AS SLY COOPER
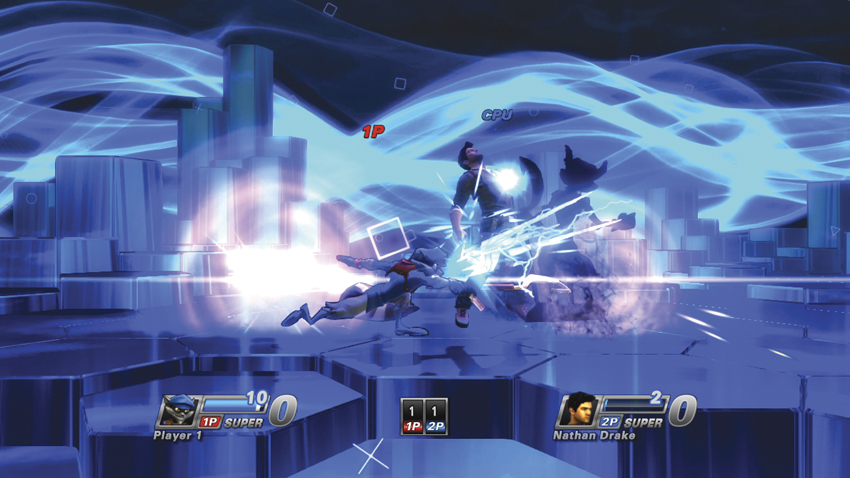
It’ll take everything in Sly’s arsenal to overcome the barrel-ridden nightmare of Drake’s onslaught, particularly the
teleport to avoid attacks since he can’t block. Make heavy use of moves that create distance while still offering a chance for damage, like the electric slide (
), hat mine (
), and their aerial variants. Sly’s normal
attacks offer a paltry amount of AP, but his
rising swipes act as a great two-hit strike that garners quite a bit of Super juice. Cutting loose with a Level 1 Super is preferable to saving up for more because Murray’s dash can kill anything along the short distance he runs, and he appears behind Sly for a tiny bit of whiff insurance.
AS NATHAN DRAKE
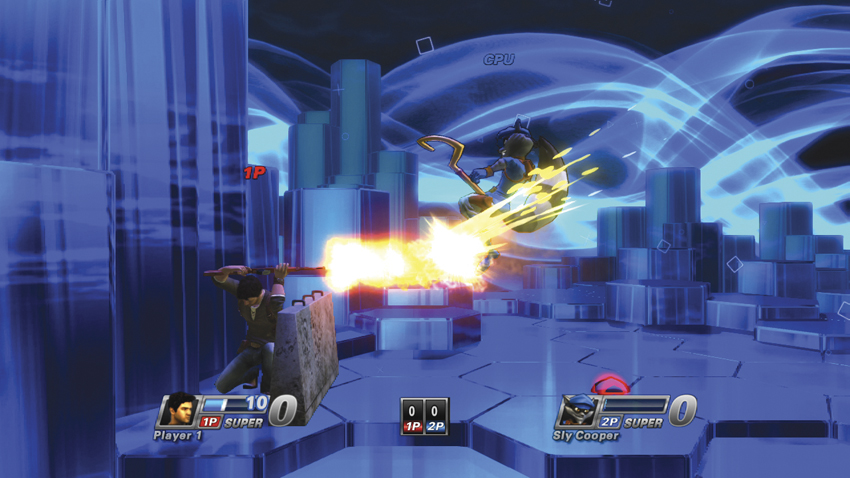
Drake is a blast in this fight precisely because he’s so good at exploiting the fact that Sly can’t block or roll and can only turn invisible. Use this for everything it’s worth, tossing out barrels (
) as often as possible and unloading with ranged shots (
works well) to catch the thief as he’s moving around the level. Drake’s Level 1 isn’t much use here, thanks to Sly’s teleport abilities, so focus on building up enough ap for stone pillar. The smaller layout of the rivalry level makes the tall stone pillar difficult to avoid. If Sly is countering a majority of your attacks, put Drake’s back to a corner and activate coverwall (
). Spam Drake’s AK-47 (
) to slowly build ap while Sly futilely tries to counter, appearing in front of Drake instead and soaking up more rounds.
Cole vs. Raiden
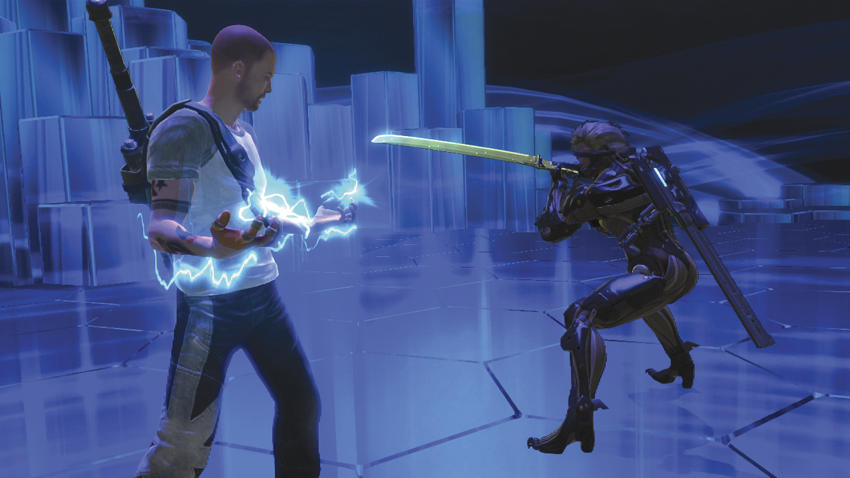
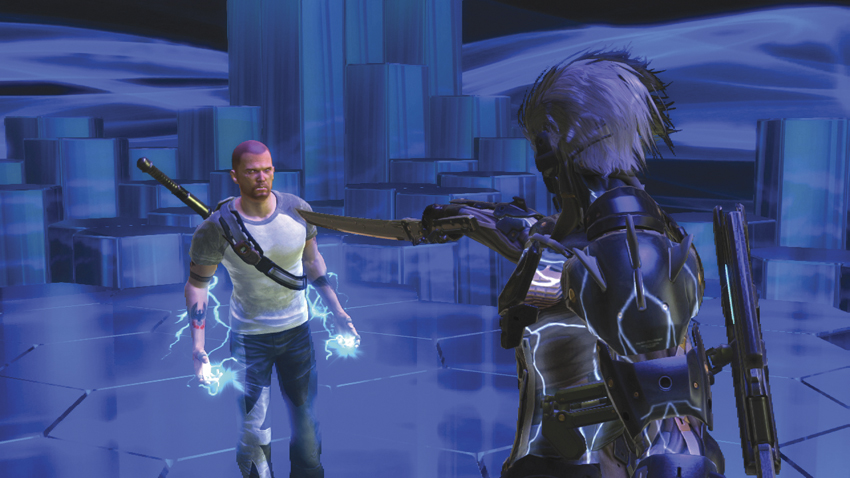
What is to be done when two electrically charged anti-heroes meet on the field of battle? One is searching for others like him, while the other wants nothing more than to be free of those who would continue to monitor his every move. When an unstoppable cyborg force meets an immovable Ray Sphere-powered object, the result is a whole lot of bravado, speed, and lightning.
AS COLE
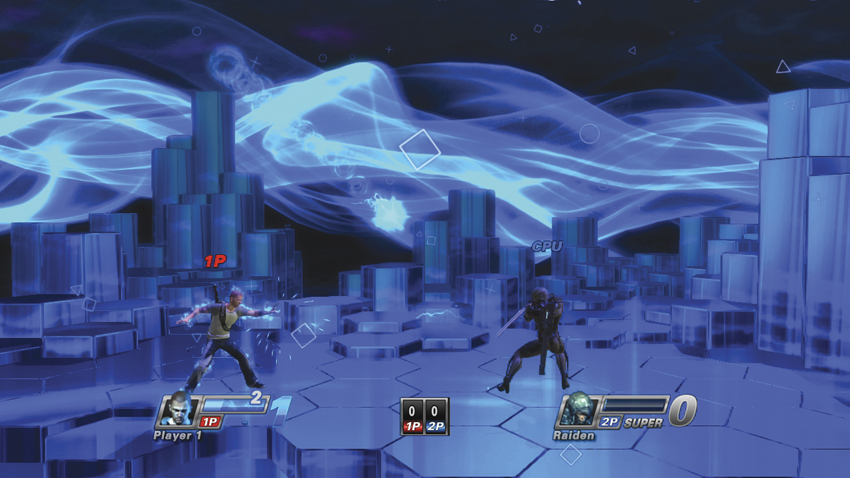
Cole is a great all-around character, allowing for punchy melee attacks (pun intended), quick movement toward and away from enemies, and lots of potential for harassment thanks to his
sticky grenades that remain active in the environment for a few seconds. Make the most of these to control Raiden’s movement or box him in, then follow up with some simple
combos to keep the pressure on. In a pinch, Cole’s
attack can freeze Raiden if it’s not blocked, but on All-Star difficulty, there aren’t many lucky breaks like that. Keep Raiden close so that the Level 1 Super connects, and this little squabble can end before moving on to the final challenge.
As Raiden
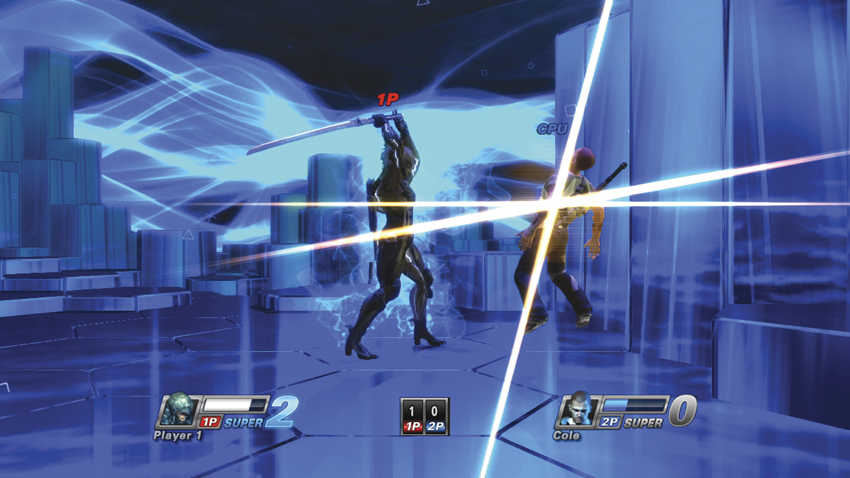
Jack’s cybernetic body means tons of speed and a lethal amount of quick slashes and kicks buried under simple button presses of
and
, respectively. Here’s the thing, though: he’s far more than just a button-mashing machine, and getting to know some of his deeper combos in the tutorials will really help to dish out as much punishment as possible whenever cole is in range. Make liberal use of Draw Attack (
) to avoid cole’s projectiles, and don’t forget that raiden’s parry
is active instantly, earns 20ap on hit, and opens up huge AP-generating combo opportunities. This is important because Cole in the hands of the game’s high-level AI is a constantly moving, constantly attacking… well, he’s not quite a machine like Raiden, but he’s not far off, either.
Ratchet vs. Jak
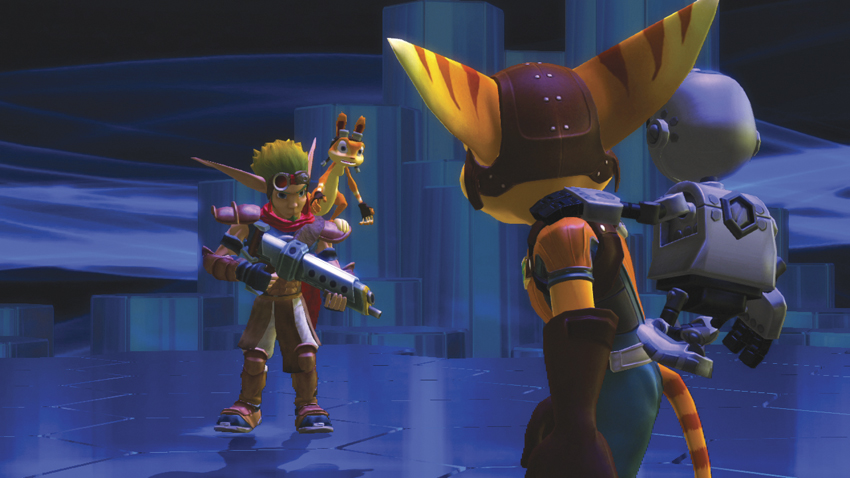
It’s the match-up PlayStation 2 owners debated until they were blue in the face. What happens when a Eco-powered hero and his Ottsel sidekick are pitted against some of the most imaginative weapons a Lombax and his robotic buddy have at their disposal? Now, finally, everyone can find out as one pair seeks out Gold Bolts and the other searches for more Eco…
AS RATCHET
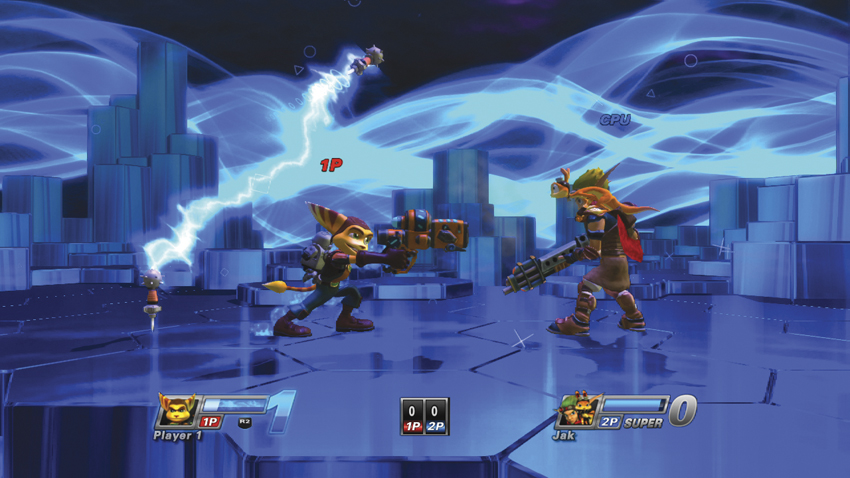
Although Ratchet is a fine brawler and packs a multitude of options for dispensing medium-range attacks with his various weapons, his best-kept secret is the use of the
Tesla Spikes. They have to be placed in fairly close proximity to link and provide a steady beam of protection and can be destroyed with a long-range shot, but their true goal is locking down an area for a few extra seconds rather than being a primarily damage-inducing attack. Make heavy use of Ratchet’s wrench when at close range, too, as it has a great go-to combo attack, and the boomerang throw on
 can be coupled with more long-range options. Oh, and it should go without saying that mr. Zurkon is to be deployed at all times. Just press
to listen to his amazing words of wisdom and soak up a few attacks in the process.
can be coupled with more long-range options. Oh, and it should go without saying that mr. Zurkon is to be deployed at all times. Just press
to listen to his amazing words of wisdom and soak up a few attacks in the process.
As Jak
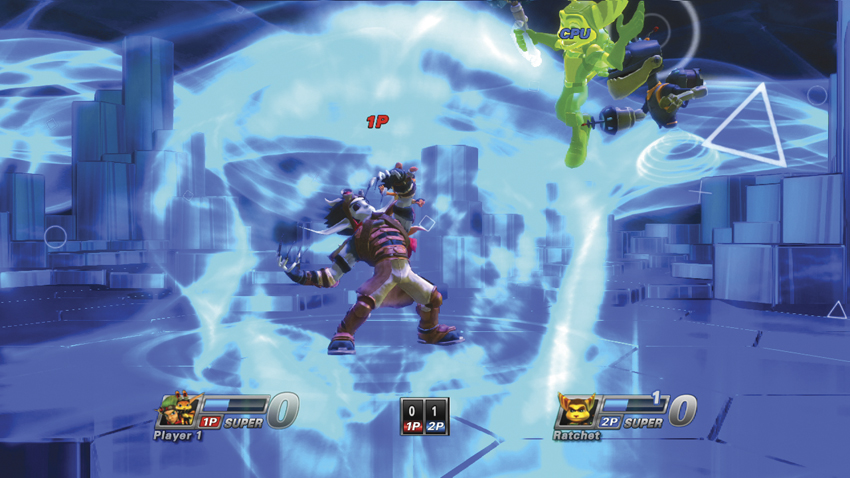
Jak is more agile than Ratchet, and his weapons are actually a more long-range threat. Put that to use by deploying the protection of a gyro buster (
). It serves as an additional object for Ratchet to concentrate on, and if he doesn’t, it provides a means of getting a few free AP chunks as it hits him. Holding
to release a steady stream of electricity can also help clear the air on the way down from a fall. When it finally comes time for a Super, make sure Jak’s fairly close before kicking off a Level 1. The radius of attack and height make it a great option while Ratchet is in the air. To guarantee a kill opportunity at Level 1 or Level 2, try to catch Ratchet with a Mass Inversion shot
and activate a Super while these intergalactic heroes are forced to float towards the stars.
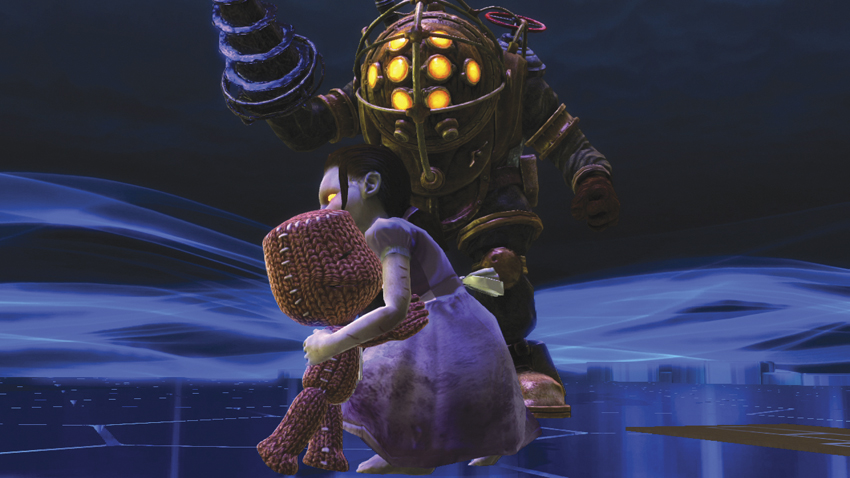
Big Daddy vs. Sackboy
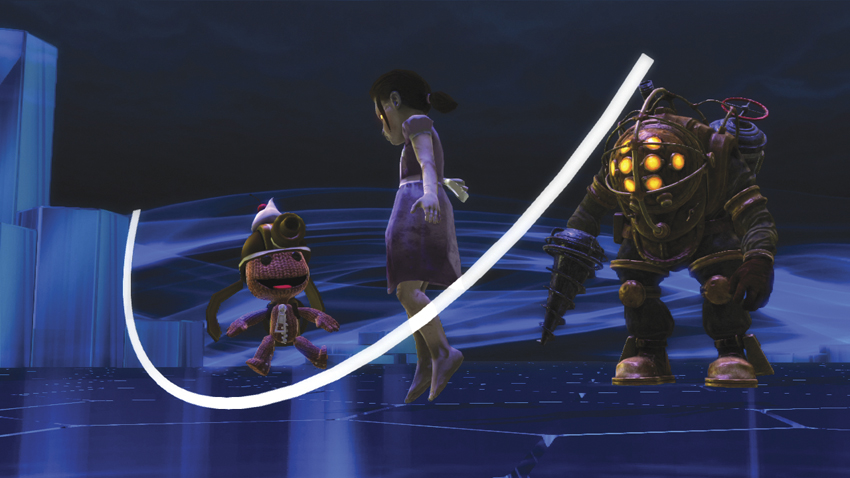
The biggest character taking on the smallest one may seem like an unfair pairing, but nothing can stop a Little Sister once she’s set her mind to it, and who can blame her for loving Sackboy? The little guy is just so impossibly cute, so it’s not really a huge surprise that Big Daddy takes offense to all the attention the stitched-together bit of joy and imagination is getting. The walking bulwark had better be careful, though…even tiny things can pack a big punch.
As Big Daddy
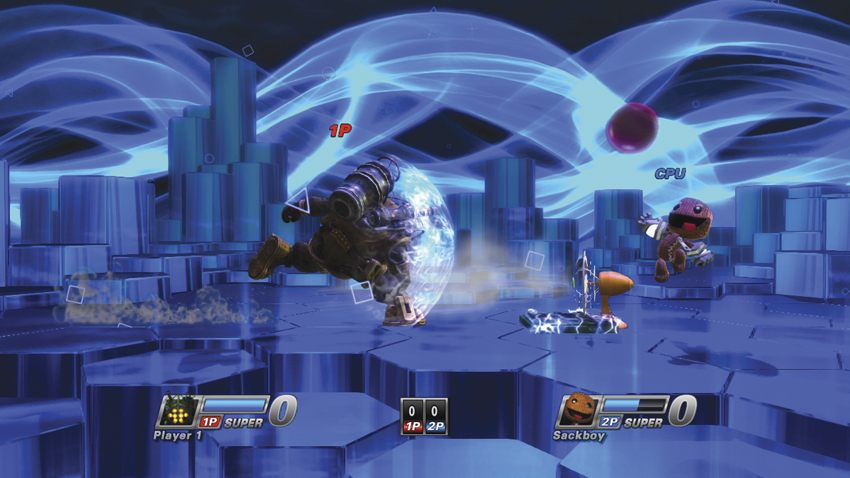
Big Daddy’s got plenty of drawbacks: he’s slow, he can’t jump terribly high, and his reach is pitiful at best. Thankfully, the attacks hidden behind the
button can help quite a bit—charging dash (
) covers ground and damages at the same time, the drill smash vd attack catches anyone in its radius. Liberal use of plasmids like shock (
) and Winter Freeze (
) can keep sackboy locked down while Big Daddy closes the gap, while cyclone trap (
) limits Sackboy’s aerial options. The problem is all those fans Sackboy just loves throwing out. Dashing against them helps (especially in the air), but the key is to just overwhelm the little guy with as many attacks as possible. Draw him in with blocks, and then go to town with that drill of yours.
As Sackboy
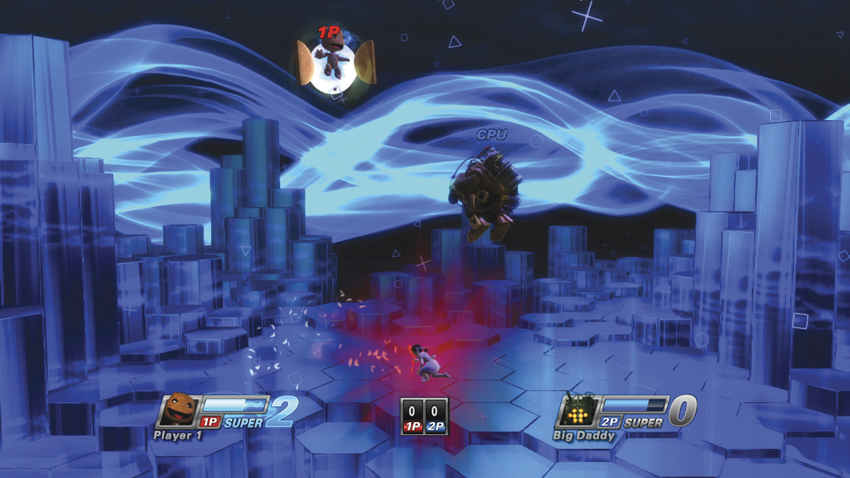
A man chooses. A slave obeys. But a Sackboy creates. With a distinct speed and range advantage over Big Daddy, this is Sackboy’s fight to lose. Start the match by using the Bounce Pad (
) and place a checkpoint anchor (
), Creating an escape plan in case big daddy muscles you into a bad situation. Always place an air shooter and electric pad between sackboy and big daddy, hindering his approach while you fire Cakinator rounds and jam session balls to your hearts content. Should big daddy get too close for comfort, deploy the bounce pad shield (hold
) to reflect his plasmid attacks or even the big man himself… as long as he doesn’t use one of his many super armor-imbued melee attacks. Keep an electric pad (
) deployed at all times and, once big daddy falls for the trap, send him back to rapture with a Level 1 Super.
Dante vs. Nariko
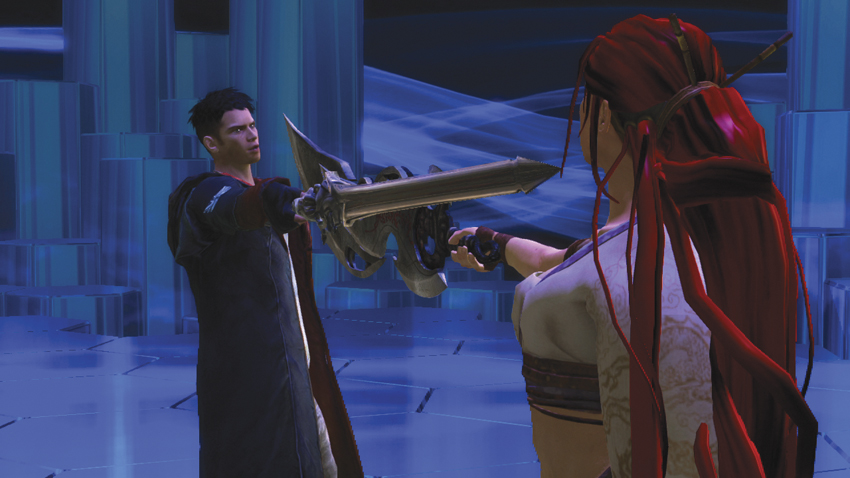
When two headstrong, combo-driven characters meet, there’s bound to be a little friction. When both of those characters are also sword-toting masters with their weaponry, don’t be surprised to see some extremely lengthy bouts rising out of this little clash. Nariko overcame a curse of death and fulfilled a prophecy meant for a man, while Dante is Nephilim: half-demon, half-angel, and all kinds of badass. Yes, this is going to be one hell of a fight.
AS DANTE
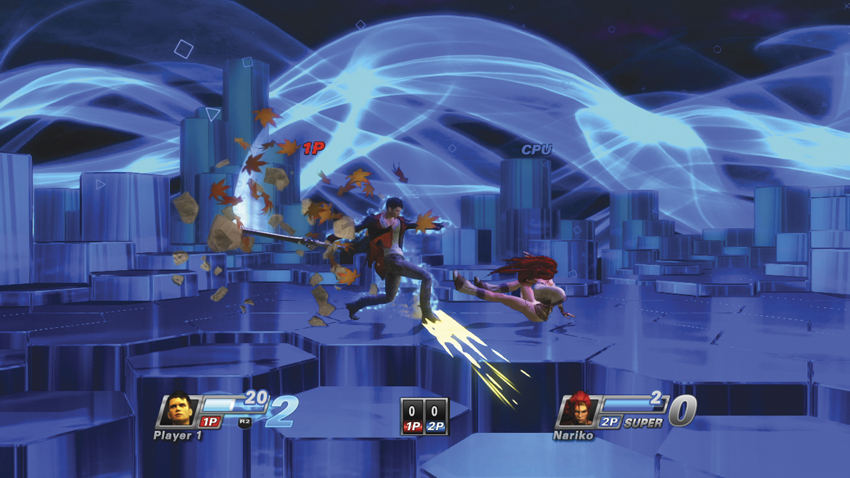
Dante’s one of the most ap-rich characters in the Battle Royale, chiefly because he’s capable of such lengthy combos. Make the most of his move set and play as if you were in a devil may cry game: start with a few initial
strikes, switch to
(don’t forget to hold both buttons!), Follow with another few
strikes, and finish with
to slam Nariko back to ground level. There are so many different combinations and juggles that Dante is capable of that it’s highly recommended you check out his Combo Tutorial.
AS NARIKO
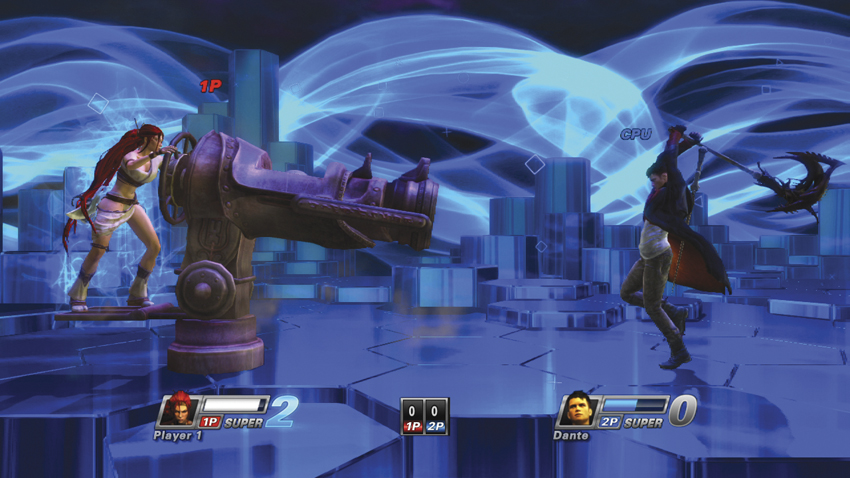
Nariko’s biggest issue is that she’s just not as big of an AP-gathering fighter as Dante. Thankfully, she has easily the longest combos in the game and can string them together almost endlessly. She’s also ridiculously deep as a character if you get into her different stances, so as much as Dante’s tutorial is recommended, Nariko’s is doubly so. If that’s not your style, you can usually make her work by locking Dante into a long string of attacks (mix up neutral,
,
, and
directions with
attacks to extend the combos). Again, though, be aware that her fight will likely be longer than Dante’s, as she can’t quite rack up the ap like he can. If going for Level 1 Supers, try to launch them after giving Dante a good beat-down; while Kai is helpful, her attack can whiff pretty easily with just a jump.
Heihachi vs. Toro
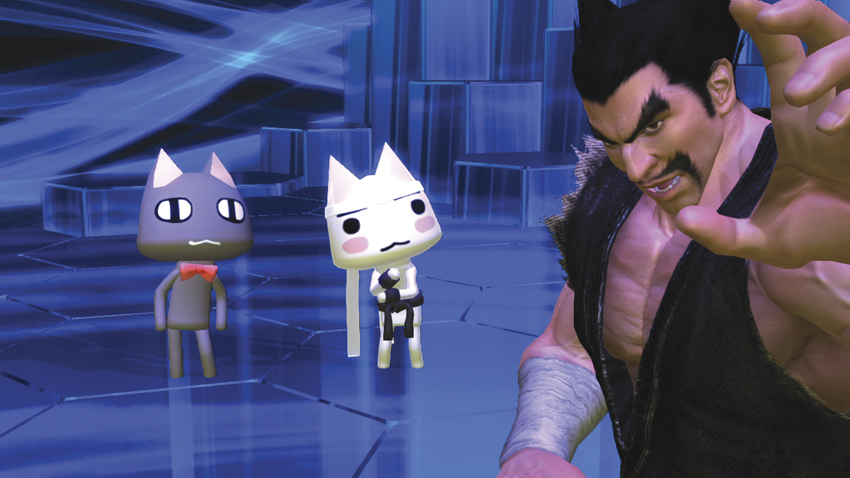
Two warriors, one borne of absolute destruction, the other seeking honor and humanity, must square off in one of the most interesting pairings in the Battle Royale. Heihachi, consumed with youth and power, plays almost like he’s in a different game (which, of course, he is), while Toro has a seemingly bottomless supply of costumes and alternate move sets. Both are welcome additions to the fight, but when their personal ideals clash, there can be only one victor.
AS HEIHACHI
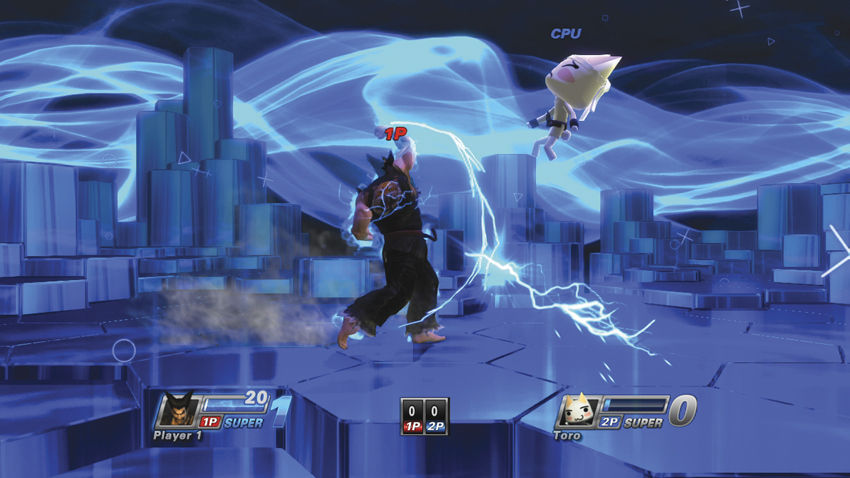
The Mishima Zaibatsu head is centered around powerful strikes and carefully timed reversals, and as such, his pacing is markedly different from that of toro, who is extremely flighty and agile. With only his fists, Heihachi’s attacks must be executed in close proximity, but when they connect, they generate plenty of AP. His
combo might seem like an easy string, but it hits with absolutely monstrous force and should be the default go-to means of building AP. After just two full connects of all three strikes, his ap meter will be just a hair shy of a Level 1 Super, which must be executed at close range and can be avoided easily with a back roll. Try to catch toro as he’s falling from a jump or while getting up to make the most of the attack.
AS TORO
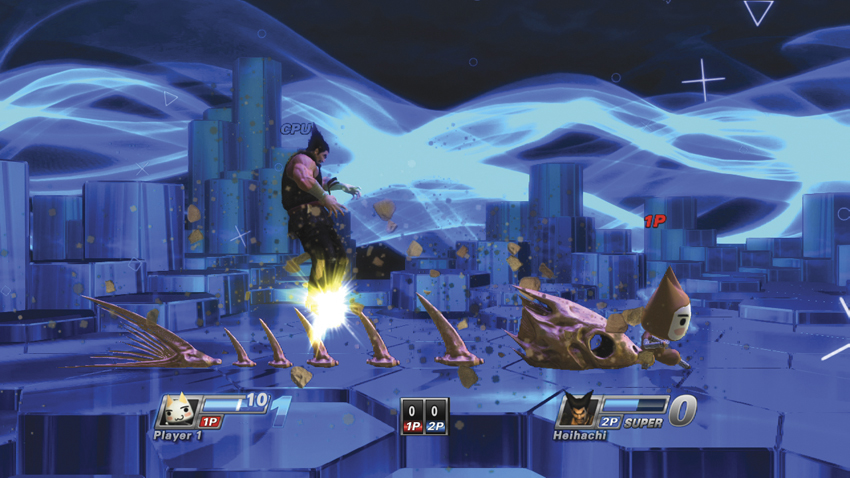
Toro’s strength lies in his ability to constantly switch roles. Like Dante and Nariko before him, careful consultation of the previous character chapter and the in-game combo tutorials is extremely important to getting the most out of the character and avoiding heihachi’s meaty strikes. Toro’s ninja form (
) lets him teleport out of danger (
), and his Oni form (
) is great for throwing out debilitating attacks (
). The idea here is to keep heihachi at a distance with ranged attacks (
) and light combos while building up to Super Level 2. When activated, the super is arguably the most powerful of the Level 2s because it hits like an insta-kill. Be patient, work toward supers, and show the seemingly youthful tyrant what it is to be truly human.
BOSS BATTLE: POLYGON MAN

No matter who you have chosen to take all the way through Arcade Mode, there is only one result after trouncing your character’s rival: a brutal battle against the king of all PlayStation icons, Polygon Man. The angular, disembodied head that helped launch the original PlayStation console back in the mid-nineties has returned with a vengeance, and he packs more than a few rule-destroying tricks in true fighting game fashion.
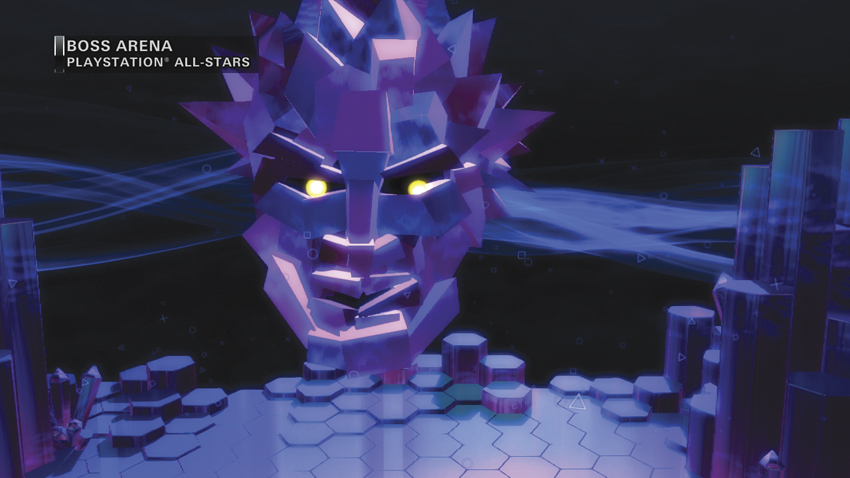
The Polygon Man bout may seem simple enough, but initial impressions are only a peek into the madness that is the catchphrase-spouting threat. In reality, this fight is broken up into three main phases, each more difficult than the last. Polygon Man doesn’t even do most of the fighting himself. Instead, he calls in dark versions of the opponents you faced in the past, and with their AI cranked up to rage-inducing levels, the only way to overcome them is to use your character’s entire arsenal.
Your opponents will be singularly focused on your character and will ignore each other.
Their Supers do not affect each other, though the passive effects of negating the ability to use Counter Supers while a Level 3 Super is in effect.
They are completely unaffected by level Hazards, but your character is. It might seem like a minor difference, but the fact that they are unharmed and indeed unfazed by the environmental attacks means they’re going to be forever on the offensive—even when you’re trying to get away from Polygon Man’s attacks.
Polygon Man’s henchmen do not have the typical invincibility grace period that occurs immediately after spawning, allowing you to take advantage of stored Super Levels.
Walkthrough
Though the phases of the final battle are similar, the character you’re using shapes the opponents they’ll face—but it’s important to note that there is indeed some randomization to the selections. What isn’t random is Polygon Man’s role in the fight: throughout the phases, he’ll spend time spouting now-infamous catchphrases and transforming himself into various Hazard-spewing background enemies from all of the stages previously, then return to normal, all while you’re stuck dealing with foreground threats. Though the fights can be a little daunting on easier difficulties, All-Star difficulty is absolutely brutal, so that’s what the following tips are geared toward, though they’ll absolutely work for the lesser challenge levels.
THE BATTLE BEGINS
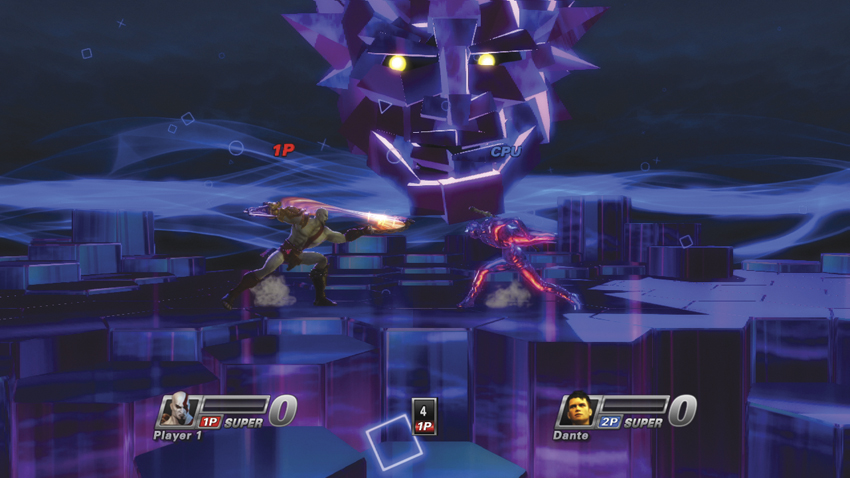
Things start off simply enough: just a single fighter to contend with, but their ai has been cranked up to a level that makes even one solitary brawler a force to be reckoned with. The key is to make the most of this (relatively) easy challenge; try to rack up a full Level 1 super and get almost all the way to Level 2. Let loose with your Level 1 and hope it connects, then get ready for the next phase of the fight.
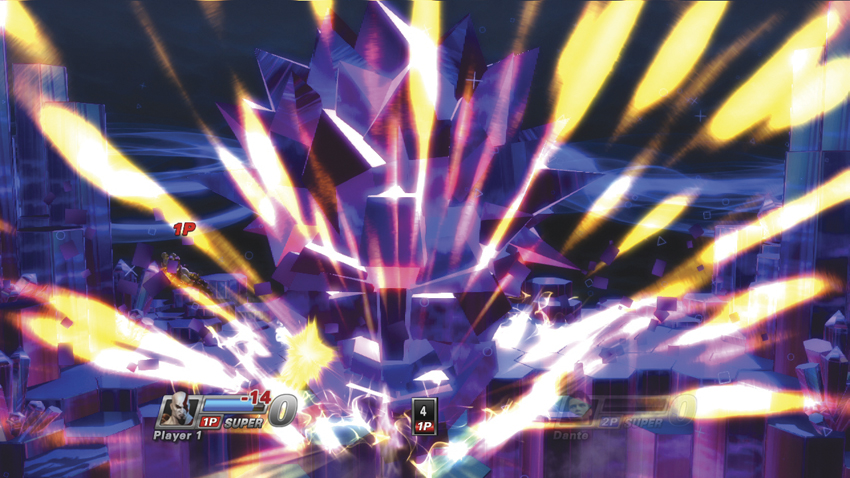
Whenever all of the AI fighters are taken out with a Super, Polygon Man slams down in an attempt to crush your character. Simply have your character perform an evasive action as he starts to plummet, then unload on him freely to chip away at his resolve—literally: after beating on him for a bit, his left cheek shatters, and wisps of power start to leak out. After dishing out enough punishment, your character is forced into an eject tornado state when Polygon Man retreats to the safety of the background. Grab any AP Orbs lost from his retreat, and prepare for the process to begin anew.
ANOTHER CHALLENGER APPEARS!
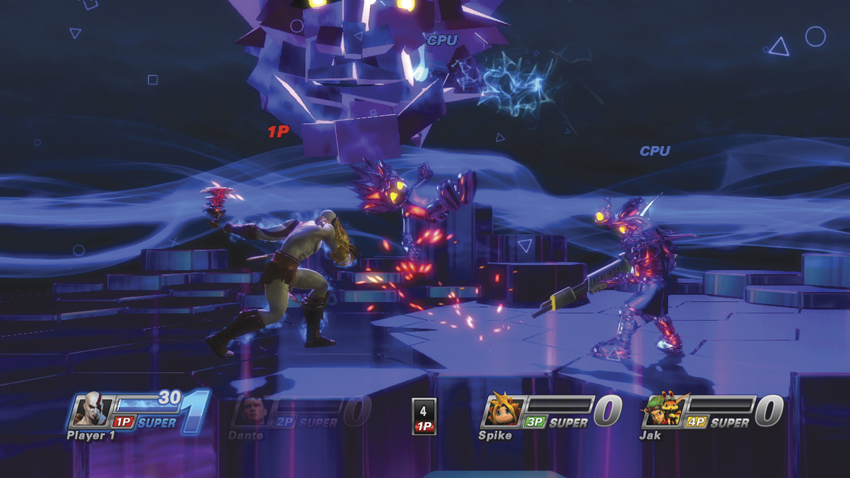
Once Polygon Man realizes just one opponent won’t take you down, two more fighters join the mix, often with contrasting styles (in other words, a short-range fighter is paired with someone more long-range or that can litter the stage with traps). With just a few attacks, you should easily get to Level 1 because of the pre-planning you did on that first opponent. Dispatch one of the new threats and work your way up almost all the way to Level 2 before kicking off your Super.
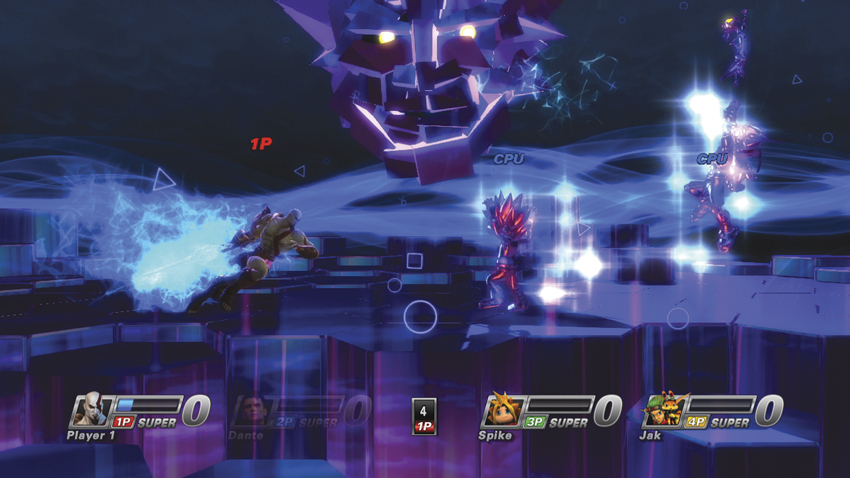
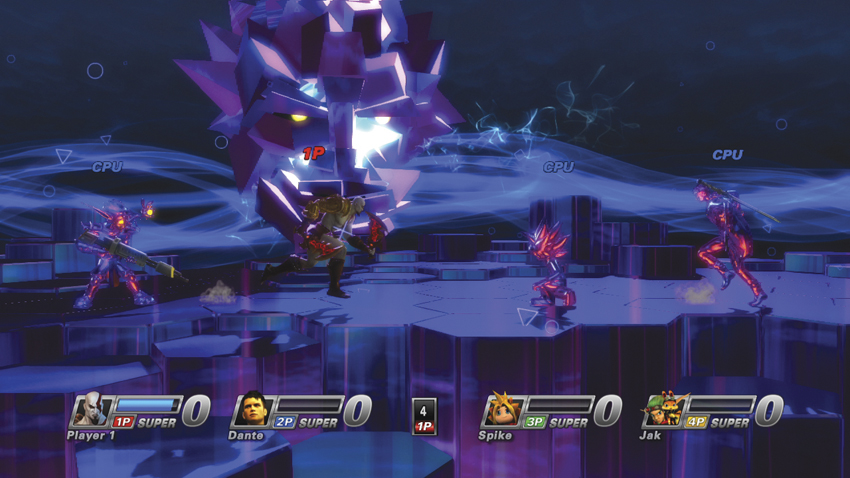
WAIT, NOW THERE ARE THREE OF YOU?
Here’s where things get insane. With three combatants, all of them deviously complementary in their difference, the final phase of the fight will test the limits of your four available lives. Immediately go on the offensive and try to take down at least one attacker with an early Super. It won’t be easy; level 1s are easily interruptible, but you don’t have the luxury of being able to save up for a big finish—at least not while there are multiple enemies to contend with. There’s no time limit here, but the kill count is a far more worrying restriction. Stock your ap as safely as possible, attacking with hits that can eject opponents away for breathing room as needed, and if your character happens to have traps, make sure there’s always one placed in the stage. It takes equal parts patience and quick reactions, but keep at it. The sooner you can remove an enemy fighter from the equation, the sooner the fight’s tension relaxes, so work quickly and surgically.
Your reward is being able to unload on the pointy-faced antagonist when he crashes down one last time. Make use of any leftover Super Meter to finish Polygon Man in a single blow; or take your time to pummel him to pieces and savor the feeling of each hit landing, because you’ve finally closed out your character’s journey.
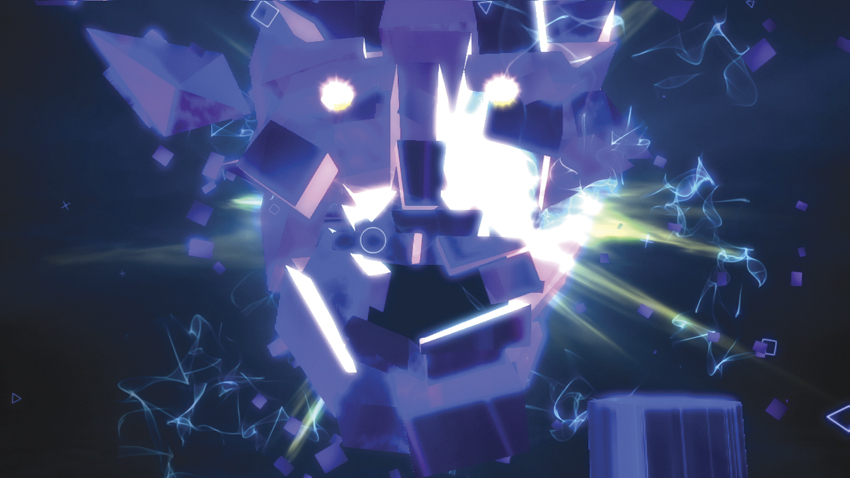
THANKS FOR PLAYING!
After defeating Polygon Man, each character absorbs the massive ap orb powering Polygon Man and returns to their home world. What they do with that power is up to you to discover by completing each All-Star’s story. You’re also guaranteed a few rewards for your troubles: completing Arcade Mode with any character completes the arcade goals for that character and difficulty for massive Ranking Points, along with any unlocks earned by reaching higher ranks. A single run-through with any character on hero should at least net you enough RP to unlock their second costume, if not more. Check out the customize menu for your character to see all the goodies you’ve earned!