
Mario Kart 8 Deluxe Guide The Tracks
Triforce Cup

Wii Wario’s Gold Mine

Wario’s refined his gold-gathering process by purchasing a functional gold mine. Mine carts and their tracks litter the insides of Wario’s Gold Mine, creating hazards for the unsuspecting. There are a few shortcuts available for the bold, but take care not to fall off the sides of this borderless track while hunting them down.
Grand Prix
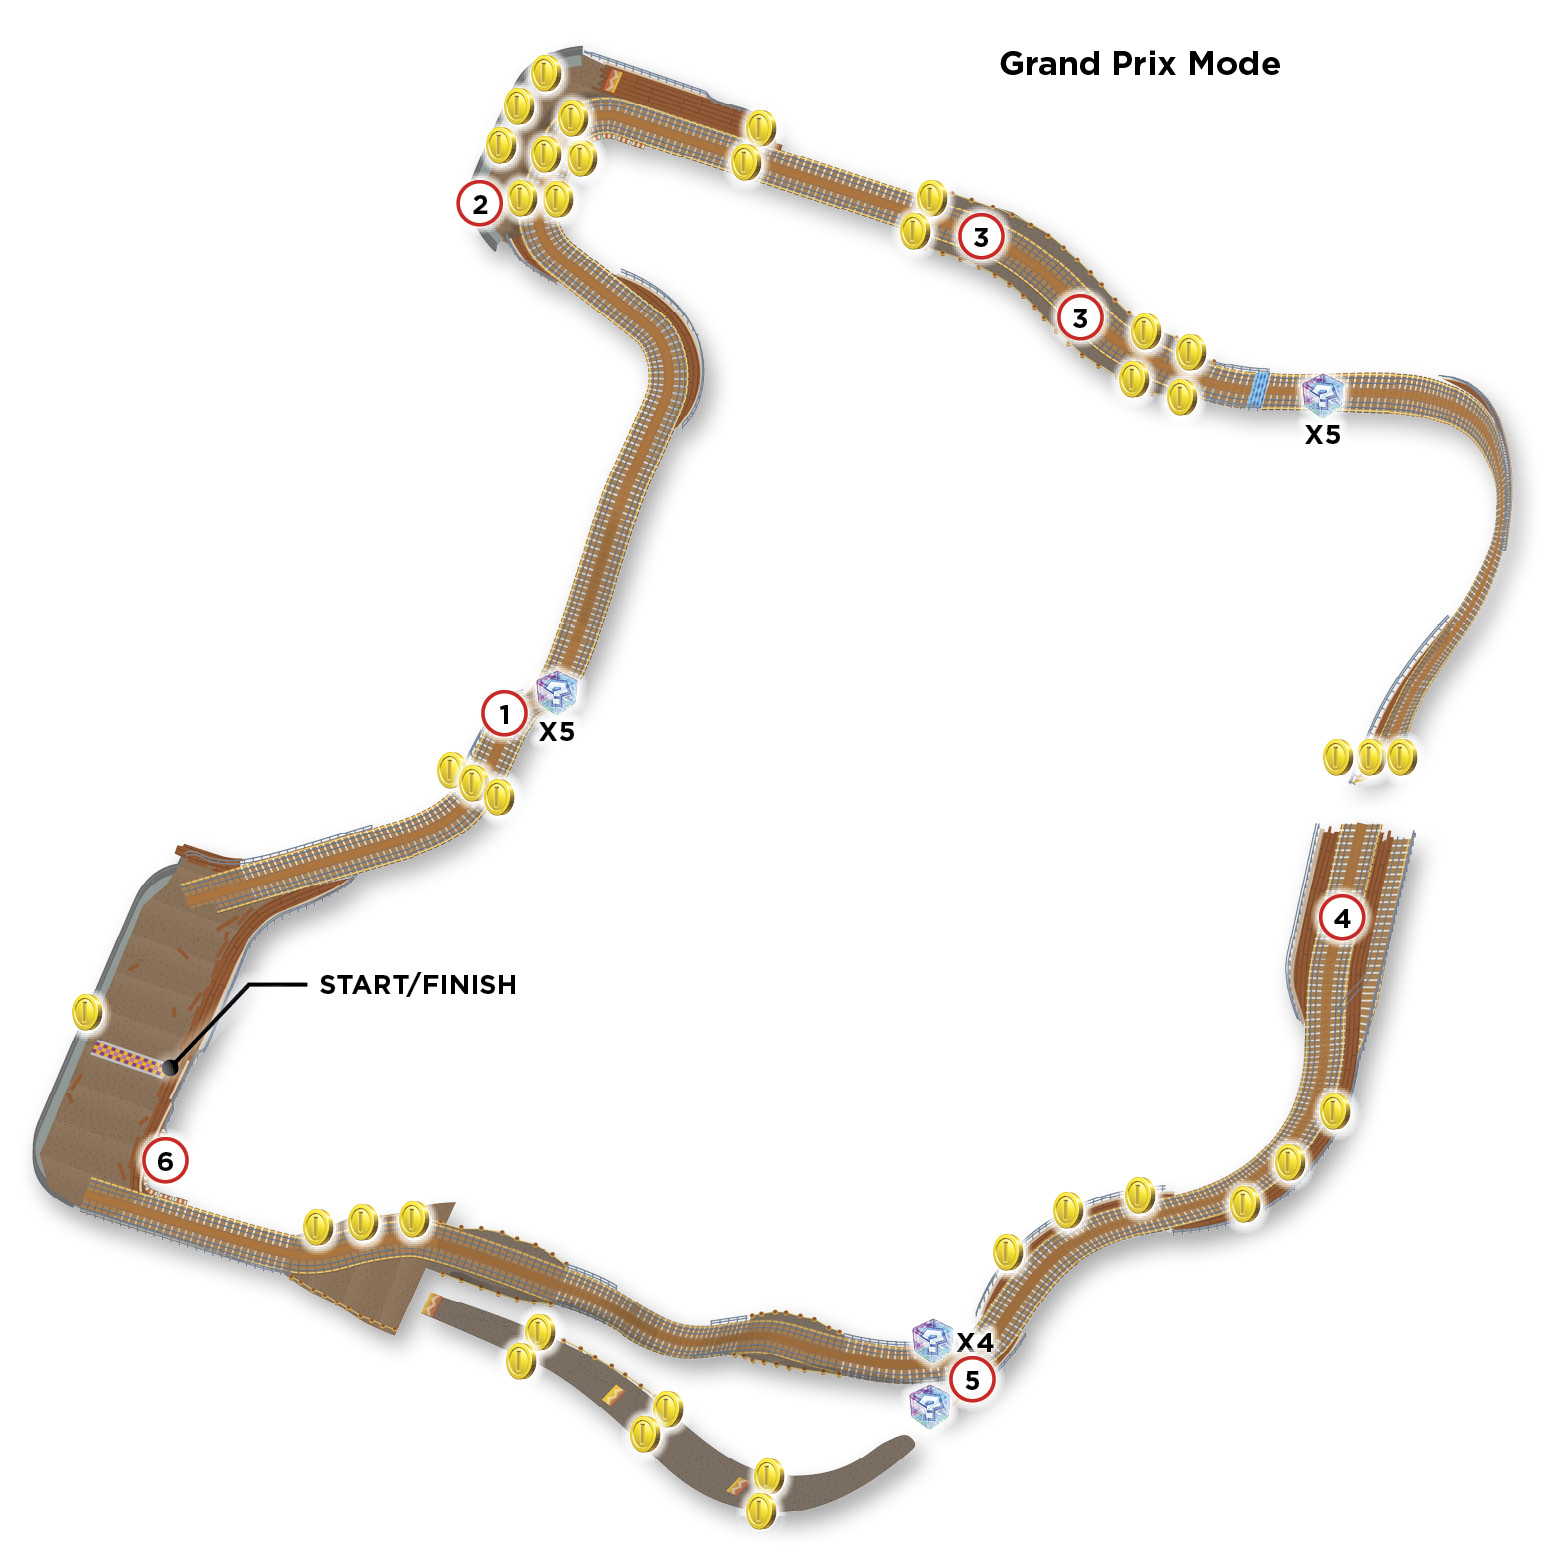
Shortly after the race begins, you’ll reach a near-vertical drop. A set of dash panels will send you flying before you even realize they’re there. A set of Item Boxes follows.
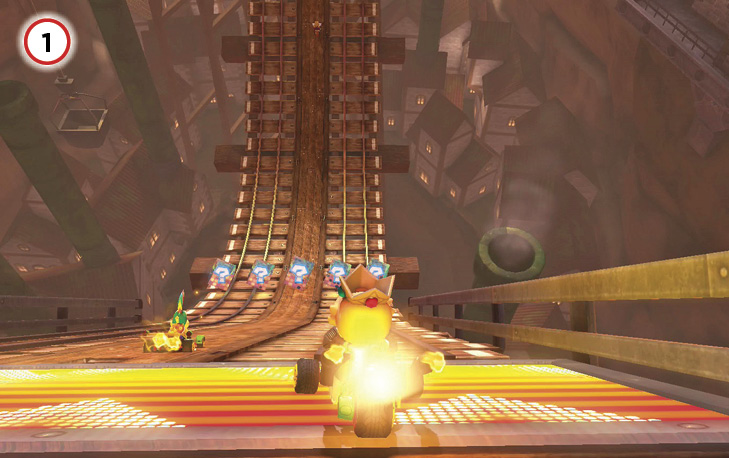
You can nab some Coins and hit a dash panel if you drift onto the hidden area just below the west side of this map. Just make sure not to hit the wall when taking this path.
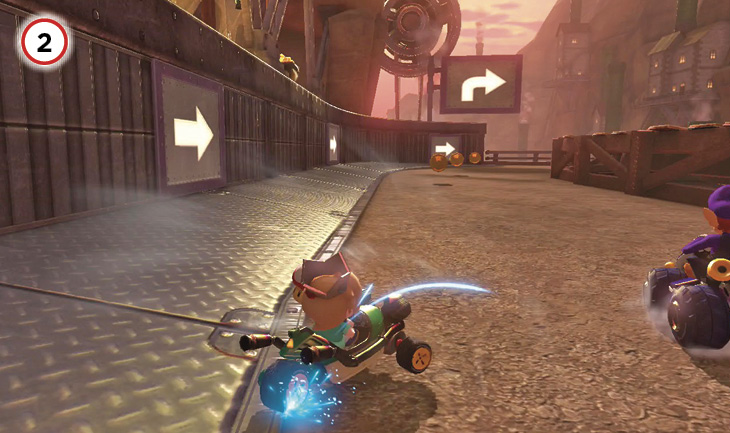
Take care not to hit any of the two sets of bats at the start of the mines. While many of them will fly just above your kart, some will fly straight into it, slowing you down in the process.
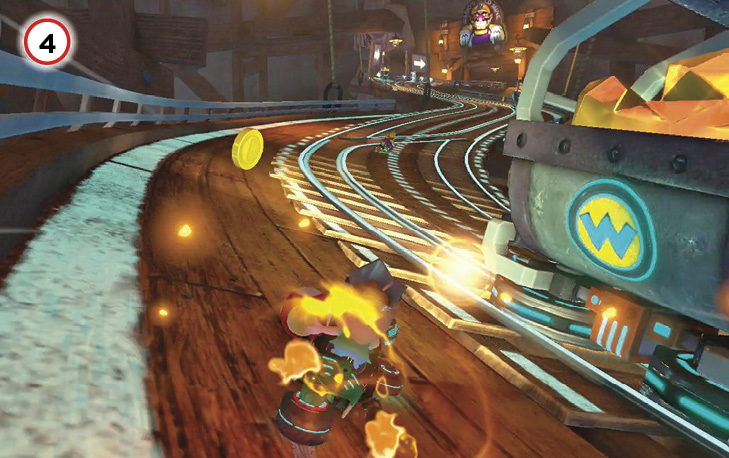
After you hit the antigravity section of this course, you’ll run into an active line of mine carts. Drift by them for a Spin Boost, but be careful not to hit them directly.
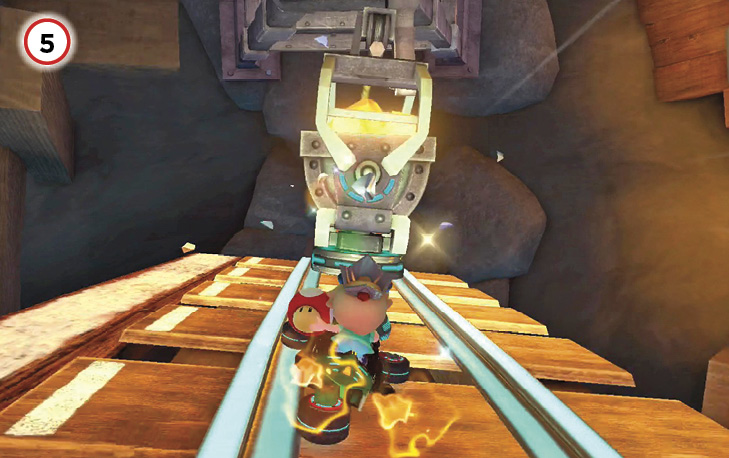
Stay to the left side of the mine cart tracks while riding through the mine cart section for the chance at a rather large shortcut through the track. There are several Coins and dash panels to help you get going and stay going, so don’t miss them!
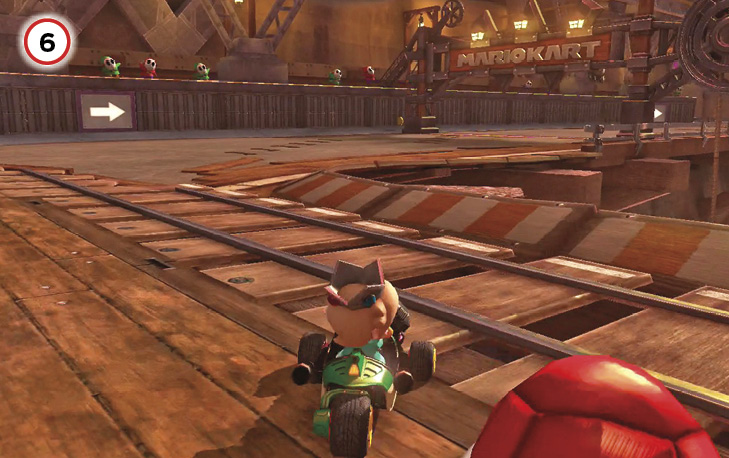
On the final turn before the finish line, if you’re observant, you can see a small ramp on the right side of the track. If you time it right, you can hit the jump button while riding off this ramp to get a small boost and slightly cut corners.
Time Trial
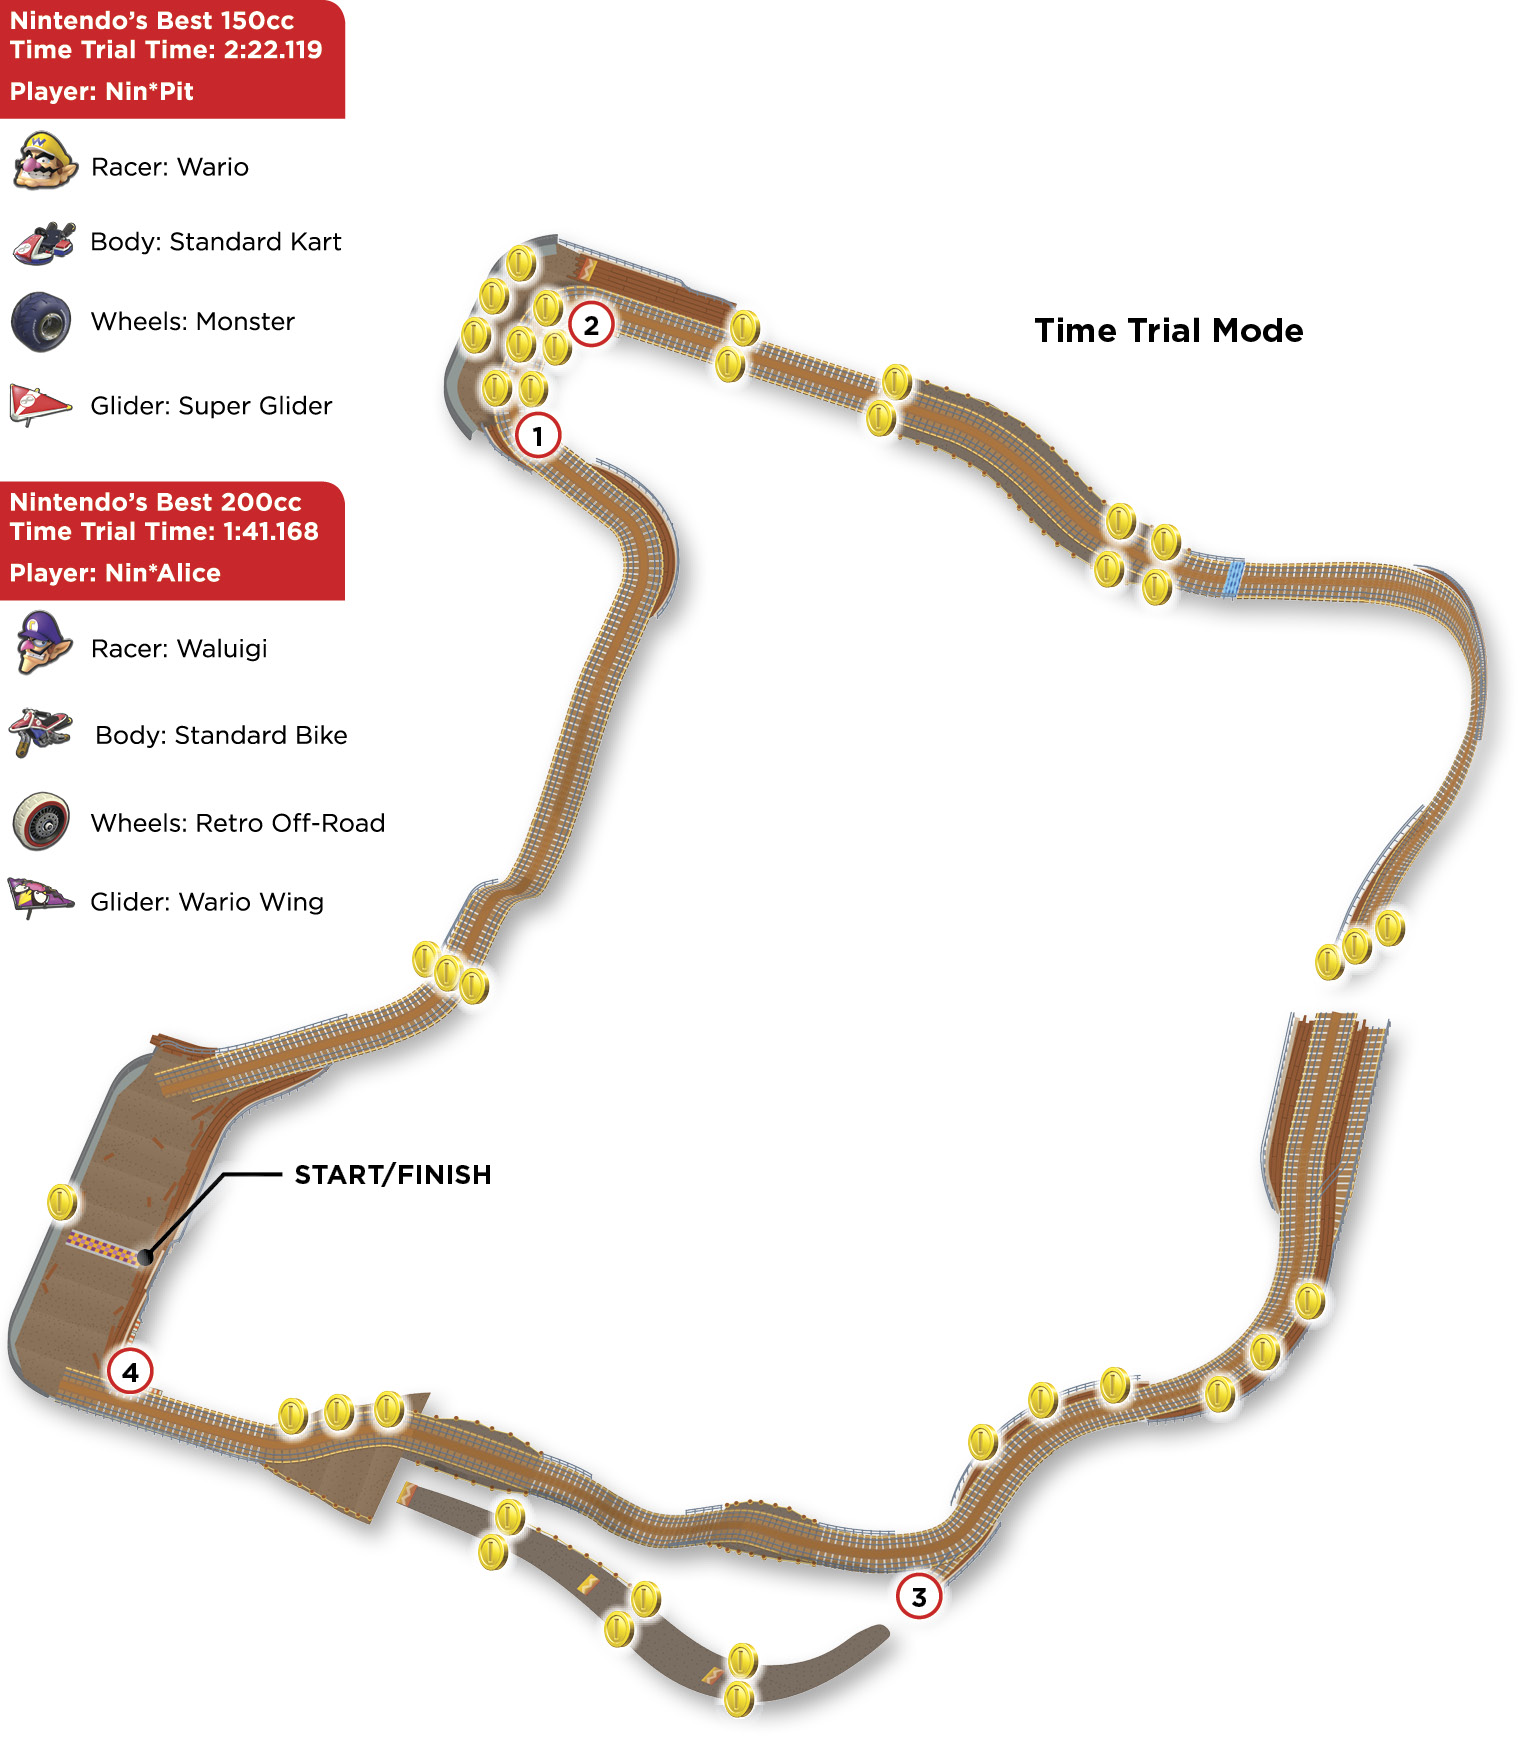
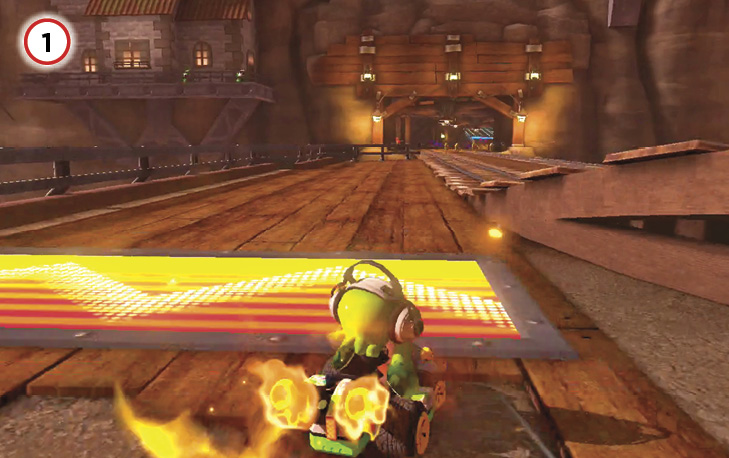
Don’t bother going off the side of the road for the path behind the main track. The dash panel may be tempting, but in reality you’re pretty much breaking even when all is said and done. Stay on the upper path and grab Coins on the outside of the lane on your first lap. Stay on the inside of the turn on successive laps.
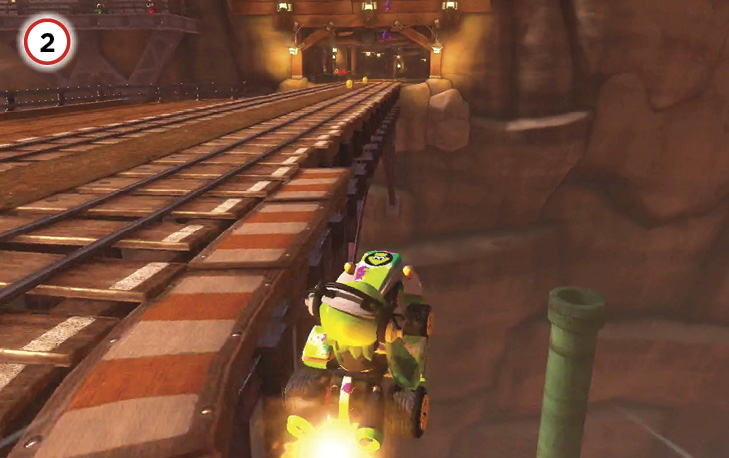
You can hit a small jump at the end of this turn to try for a Jump Boost. It can be pretty tight and you run the risk of driving off the track, but if you feel confident, give it a shot.
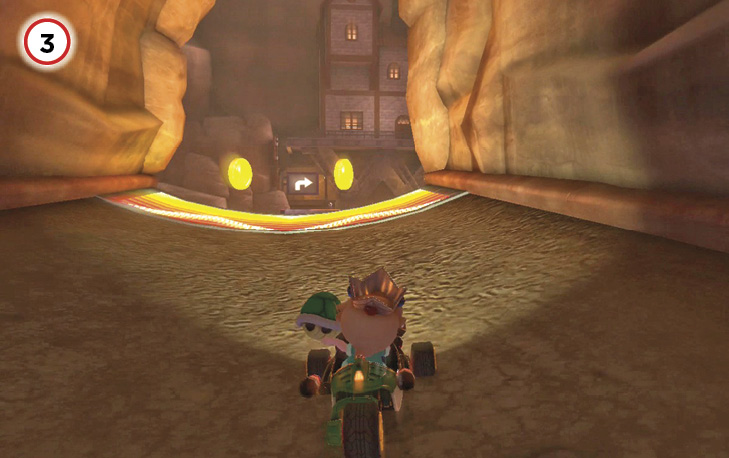
There’s a handful of Coins to be claimed in the shortcut at the end of the mine shaft, plus a nice set of dash panels to help speed you along.
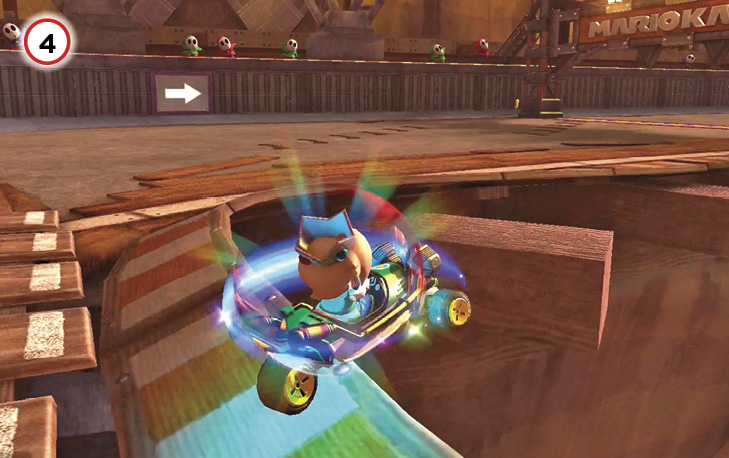
There’s a small ramp on the corner of the final turn. It doesn’t look like a ramp, but if you drive over it and hit the jump button, you’ll earn yourself a Jump Boost.
SNES Rainbow Road

The classic among all other classics, Rainbow Road is a throwback to the original Super Mario Kart on the Super Nintendo, complete with a perfectly horizontal track. But just because you played this in the original game doesn’t mean it lacks new tricks for you to master. Be ready for anything, especially when there are Thwomps around.
Grand Prix
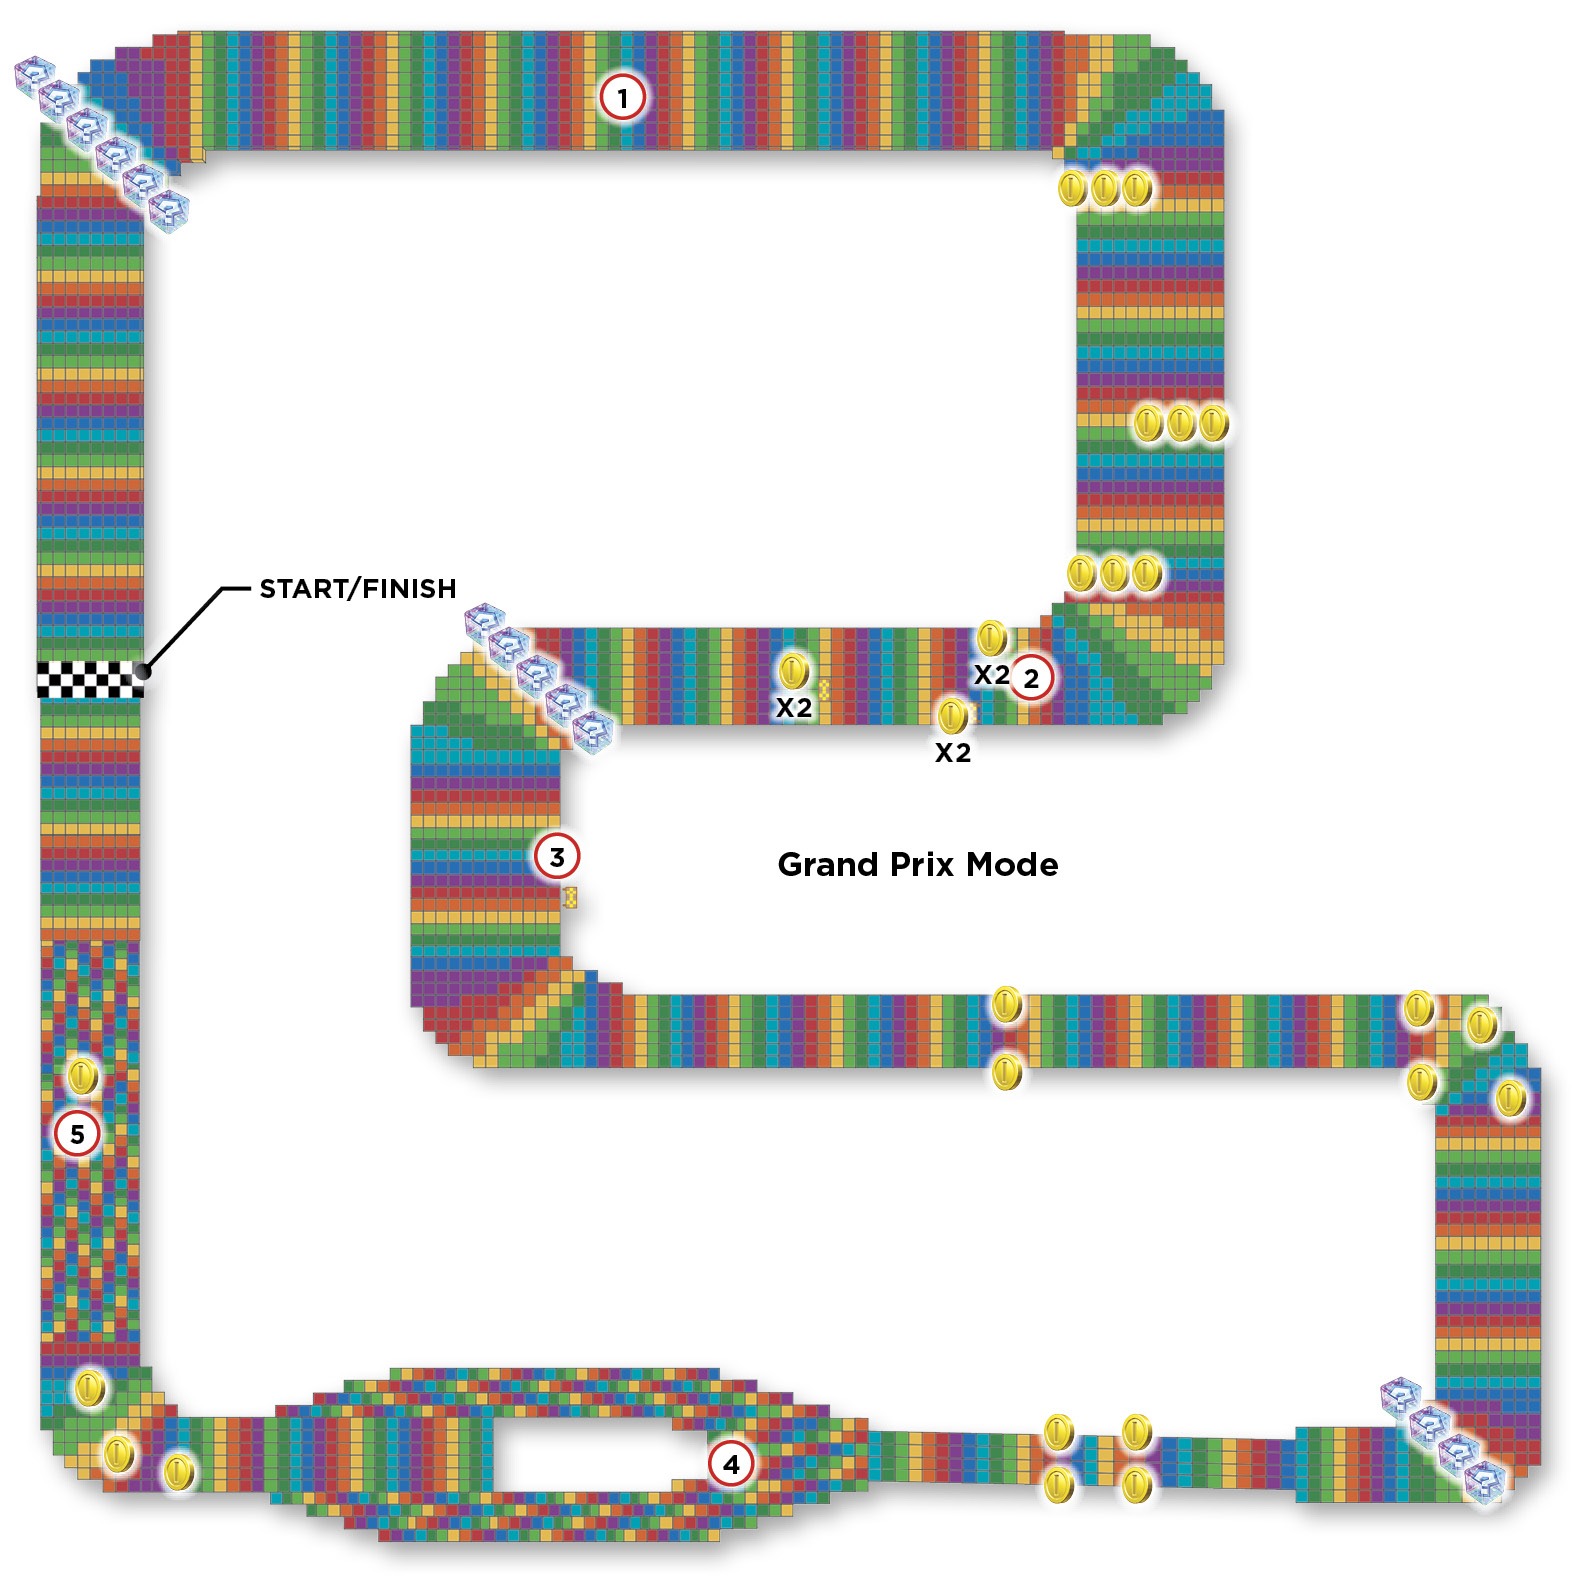
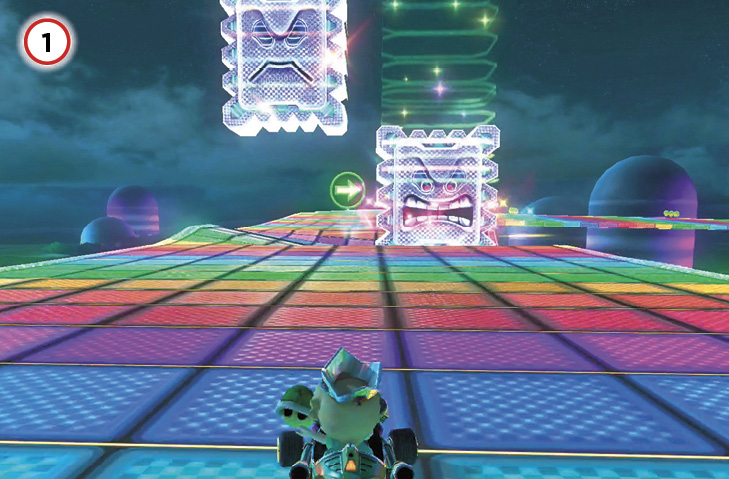
A pair of Thwomps hovers menacingly over the straightaway after the first turn of the course. When one wiggles, that means it’s about to come crashing down onto the track. When this happens—and it will—the track ripples violently, which can make driving a challenge. Turn lemons into lemonade: use the ripples for some quick Jump Boosting by timing your jumps when at the top of a ripple. It takes practice, but mastering this tactic will give you a solid advantage over the other racers.
When you see one Thwomp wiggle, aim to its partner’s side of the track. There’s some timing to avoiding getting smashed. If you’re far away from a smashing Thwomp, you’re probably safe to keep driving in its direction.
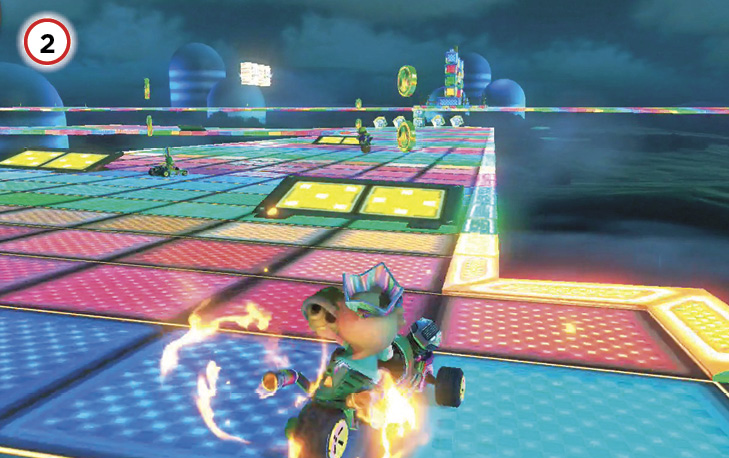
A set of three jumps will greet you just after the third turn of the race. Pairs of Coins sit on top of them, so not only can you get a Jump Boost when riding off the ramps, but you can also nab some Coins to increase your speed.
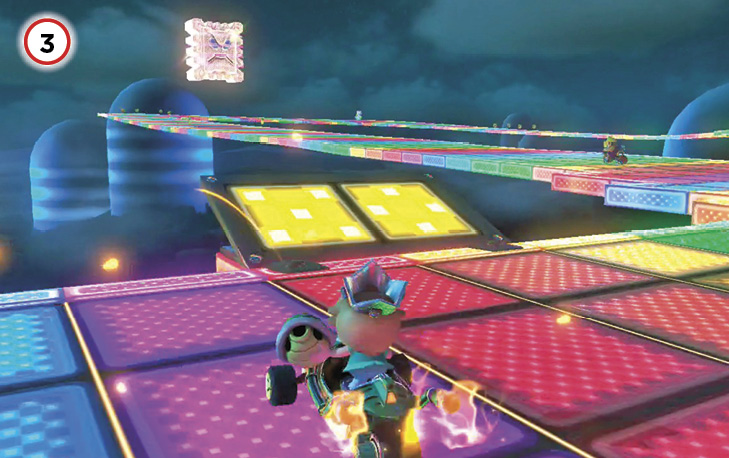
You’ll notice a peculiar ramp leading out into the vastness of space in the middle of this turn. Don’t worry, you’re not being tempted to throw the race. If you hit that ramp at an angle, you can cut the corner and reach the track just past the turn. You’ll need to build up a Mini-Turbo on the turn before the ramp to avoid falling into oblivion. If you have a Mini-Turbo built up, sail away, friend.
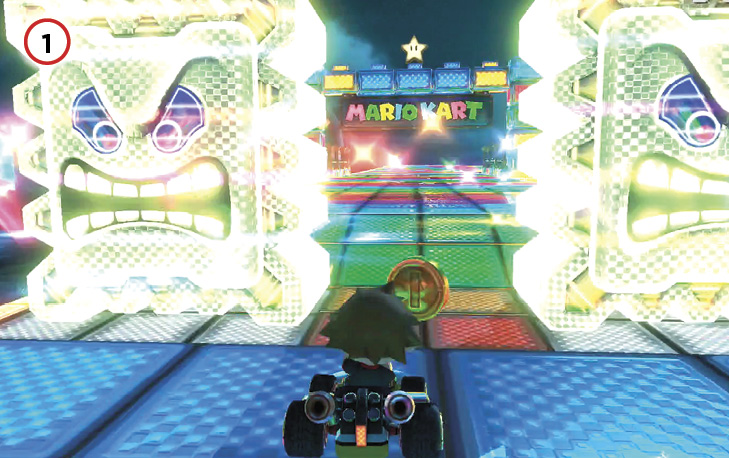
If you have a Mushroom at this point, you can use it to boost off the ramp and past two Thwomps. You can also Jump Boost off the left or right corner of the ramp, but take care not to land under a smashing Thwomp.
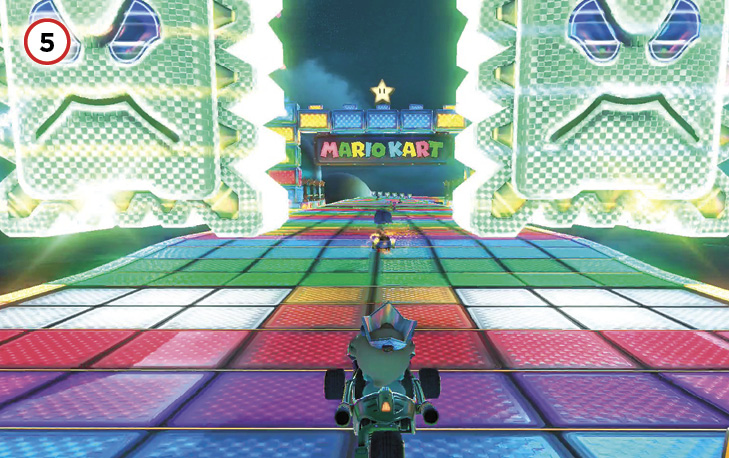
Two more Thwomps guard the finish line, and they both smash down at the same time. Don’t be intimidated! Aim for the Coin between the two ill-tempered tablets and you’ll be perfectly fine.
Time Trial
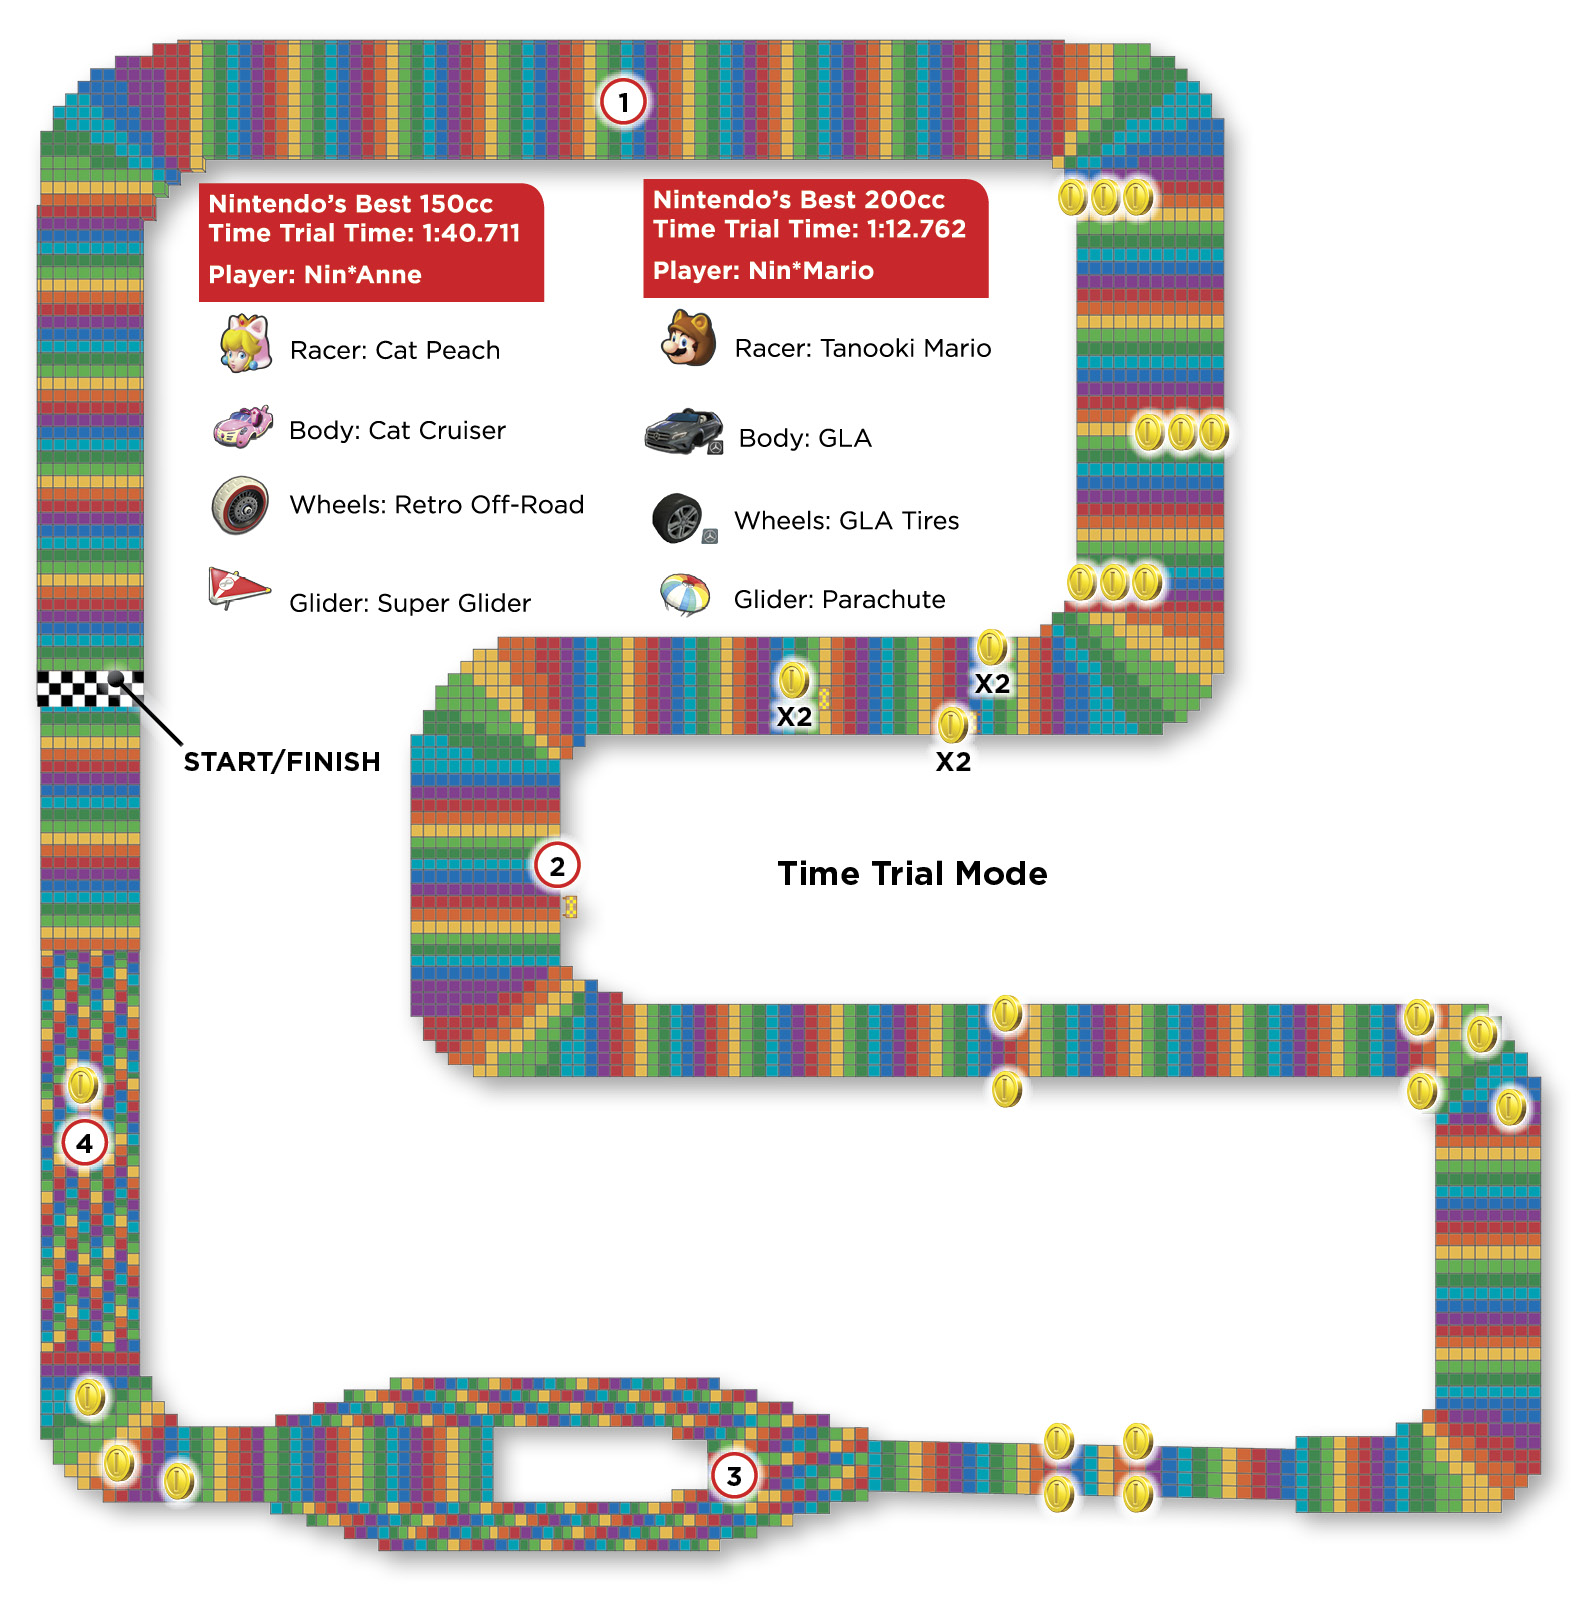
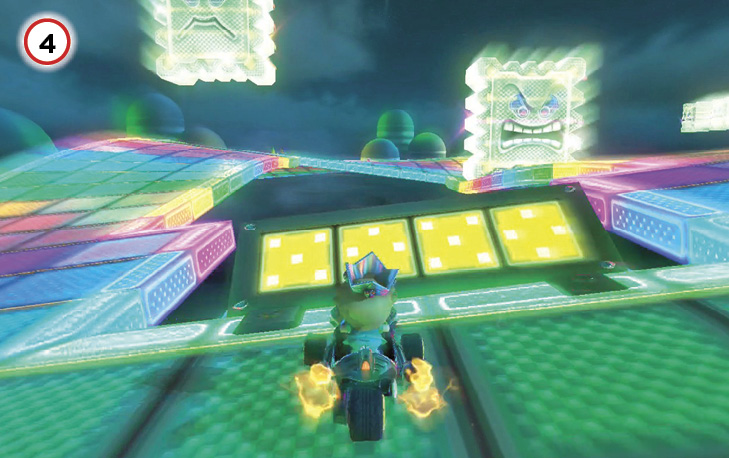
Remember, when you see a Thwomp wiggle, move to the opposite side of the road. You can also Jump Boost off the ripples it creates if you time your jumps right.
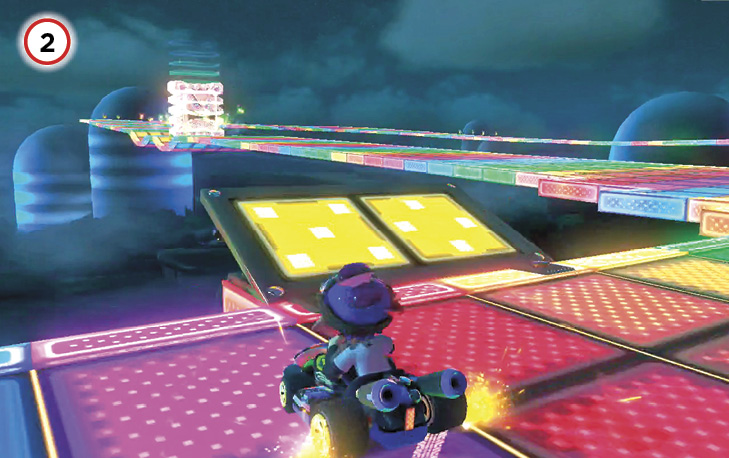
If you built up a Mini-Turbo on the previous turn, you can use it to launch off this ramp’s right corner to cut the upcoming turn.
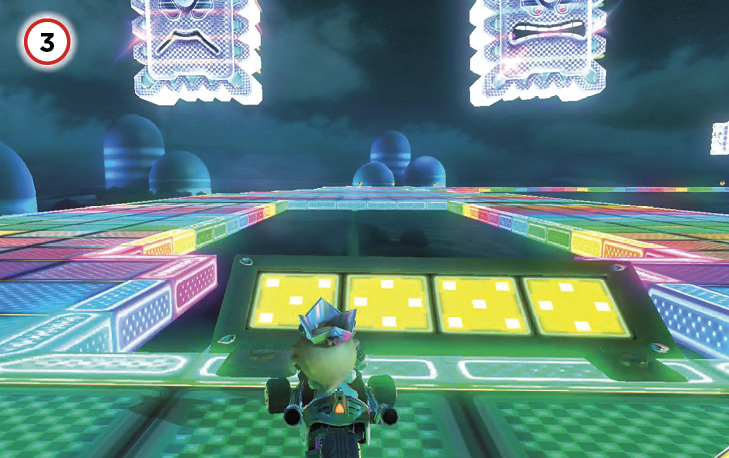
Use your Mushrooms on this ramp on every lap to avoid the Thwomps altogether and cut down on your time.
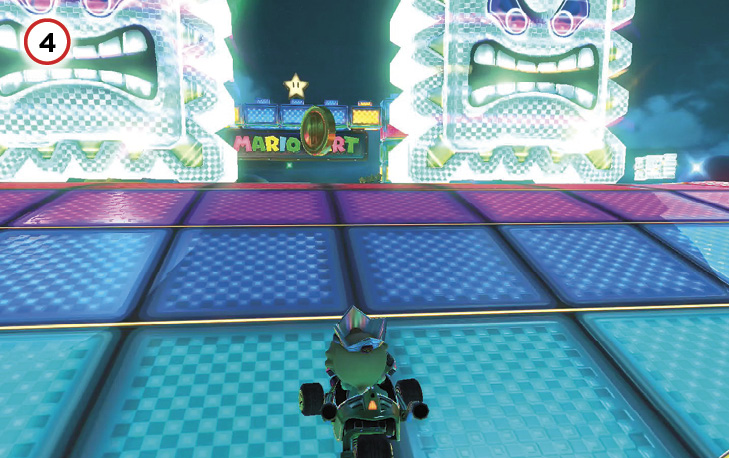
To avoid both Thwomps in this final stretch of the track, aim for the Coin between them. You can also straddle the right side of the track, which is faster but more dangerous.
Ice Ice Outpost

Two courses intertwine to become a single twisting, sliding track with shortcut and drift opportunities in abundance. If you’re looking to get ahead of the pack, this track will push your fundamental driving skills to their limits. While we are big believers of practicing in general, for this track in particular, it wouldn’t hurt to practice a few times before hopping online or taking it on in the 150cc and 200cc modes.
Grand Prix
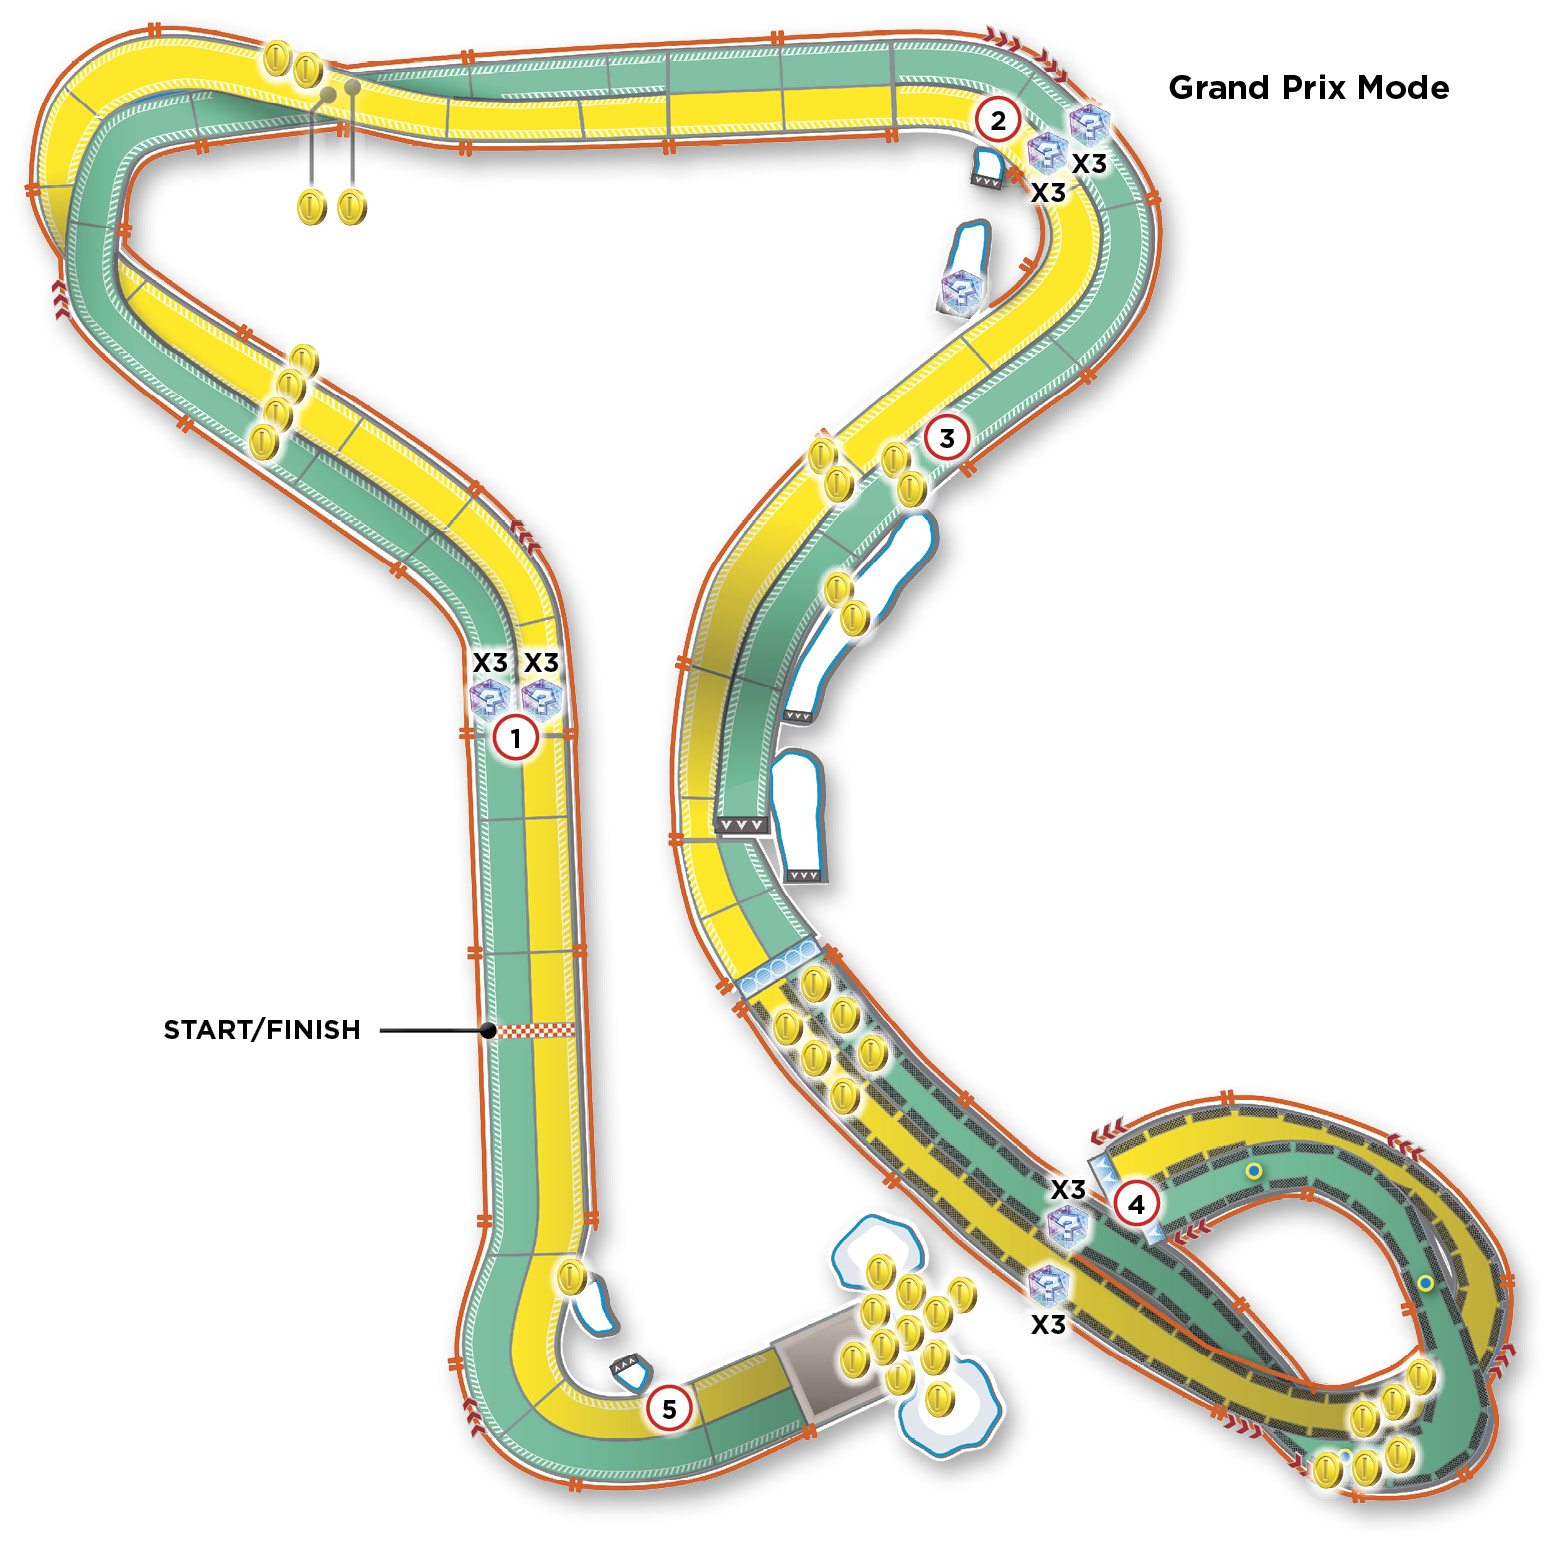
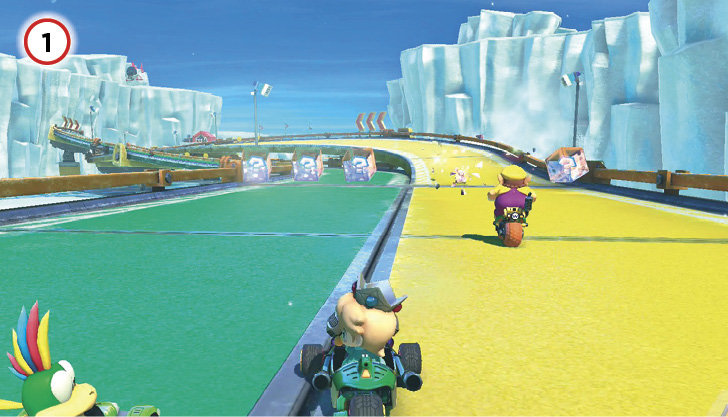
Ice Ice Outpost is almost entirely made up of two intersecting tracks. Deciding on a path can cause a bit of conflict, but we advise taking the green path—it will serve you well more often than not. Ultimately the decision is dependent upon your circumstances, but you can’t go wrong with green.
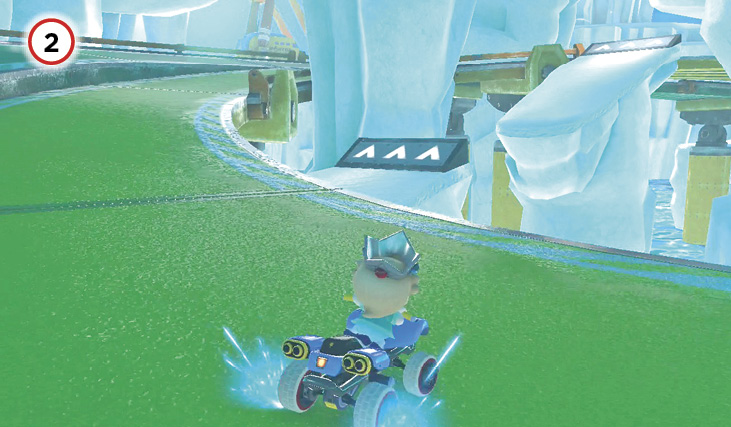
The biggest shortcut on this track comprises two out-of-the-way ramps that can be a real challenge to drive on. Hitting this first ramp requires specific timing and a solid drift to angle you in its direction. It takes a lot of practice to hit this ramp without having to slow down, and while avoiding the icy waters below, but if you can manage it, you’ll gain a huge advantage over your opponents.
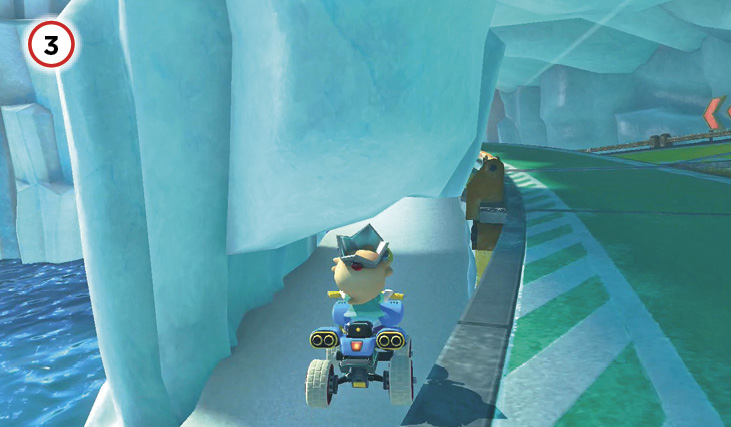
If you’ve managed to hit the first ramp, you’ll be perfectly in line for a second shortcut. Up the track, just after the turn with the shortcut ramp, you’re able to drive off the left side of the track and fall onto a path made up of ice. Follow this path to another ramp that will allow you to get a Jump Boost and cut ahead of opponents.

Mastering these two shortcuts is key to mastering this course. If you’re able to nail both, you can easily take the lead, provided you’re close enough to the first-place racer.
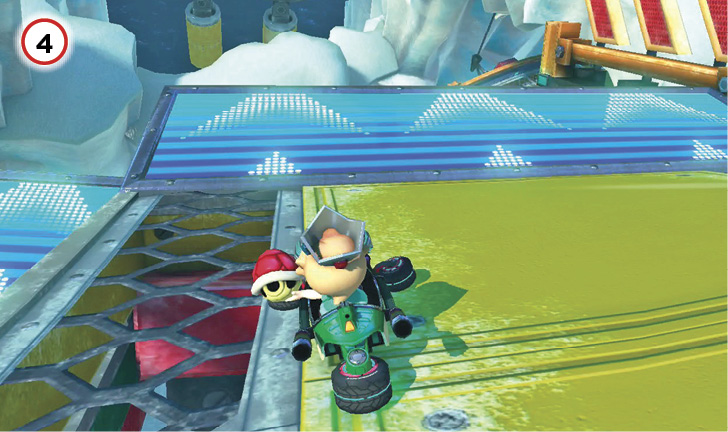
Shortly before the finish line, you’ll reach a ramp and a row of dash panels that will shoot you into the air. Just before you land back on solid ground, you’ll see a giant arrow of Coins, perfect for filling up those last Coin slots. Aim for the center of the arrow to nab as many as possible.
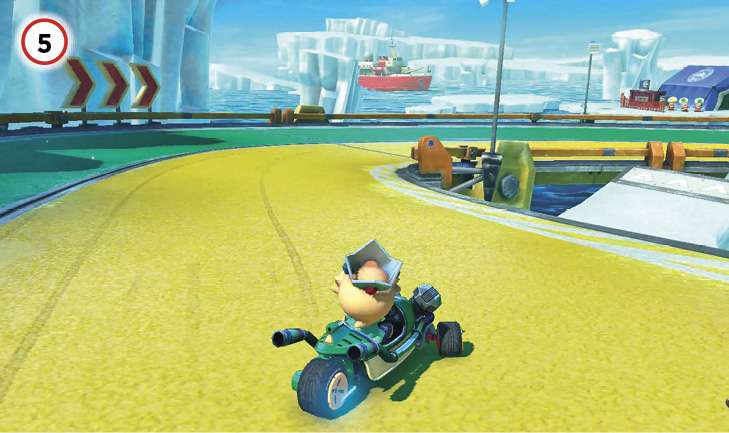
Just before the final turn you should see another shortcut ramp on the right side of the track. This ramp can put you a bit ahead, but it’s an incredibly tight turn that’s more likely to cost you your position than improve it, without extensive practice. Don’t go for it unless you’re absolutely certain you can nail it.
Time Trial
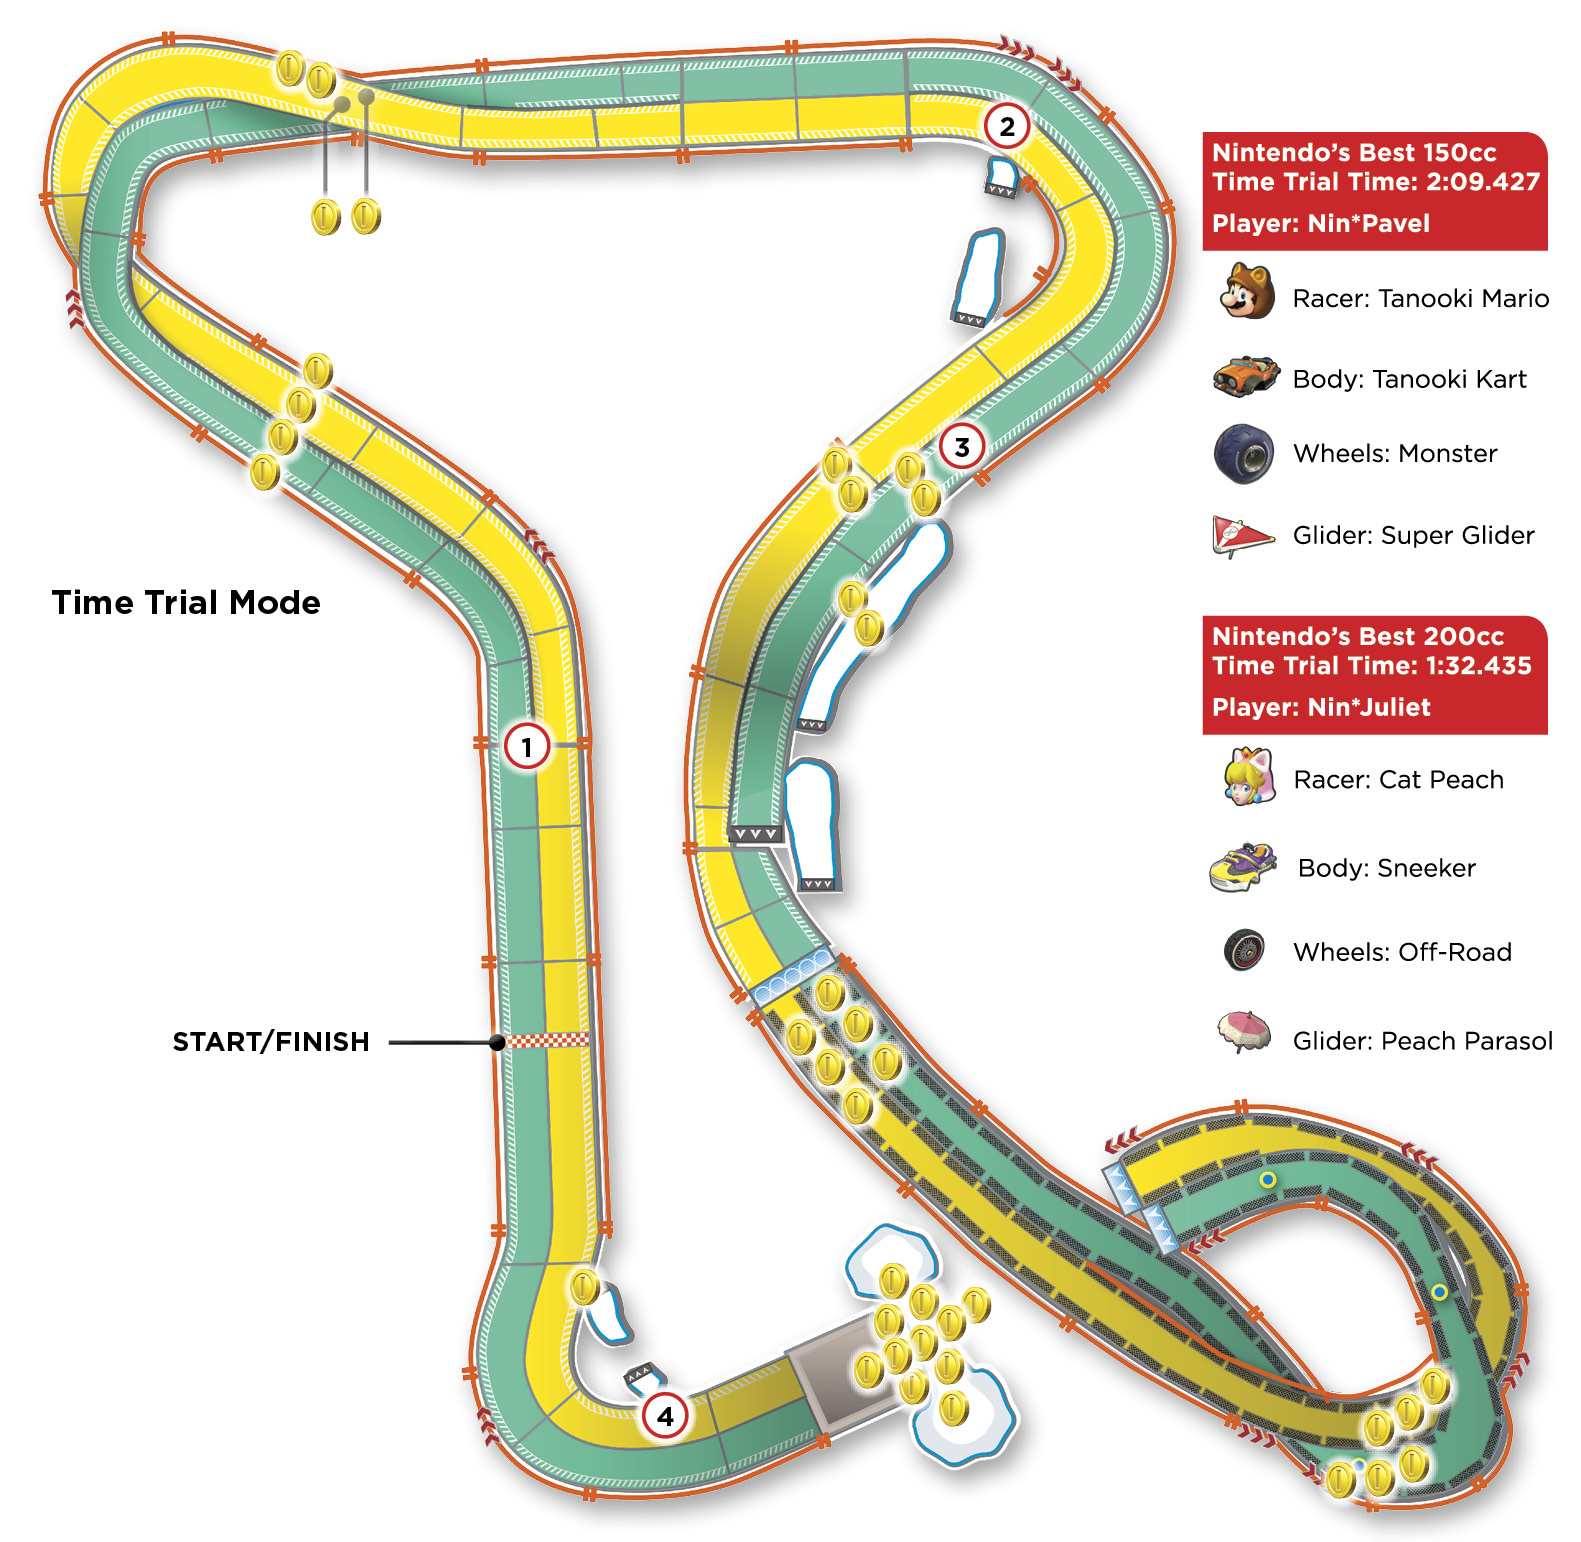
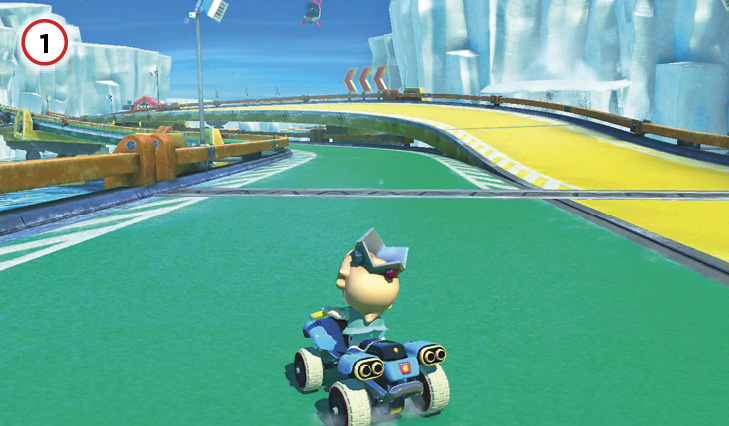
Stick with the green path for the entire course, simply because it’s the faster of the two routes.
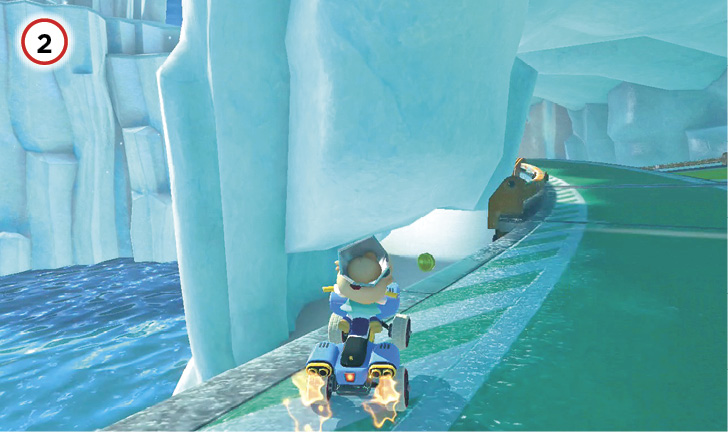
Using this shortcut is key to beating the course ghost. Drift toward the left side of the track to angle yourself toward the ramp, then hit it. It takes practice, but once you have it locked down, you’re sure to beat the ghost.
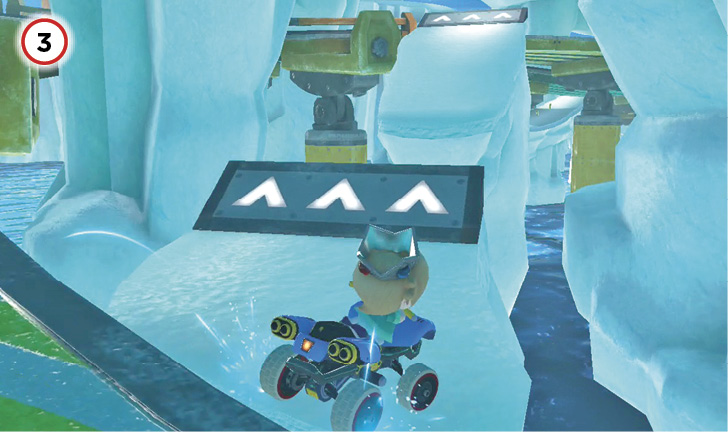
If you successfully hit the first shortcut, the second shortcut will be all the sweeter. Simply drive straight ahead off the road to land on the icy platform below. If you didn’t hit the first shortcut, you can reach this platform the same way, but you’ll be tackling it from a different angle.
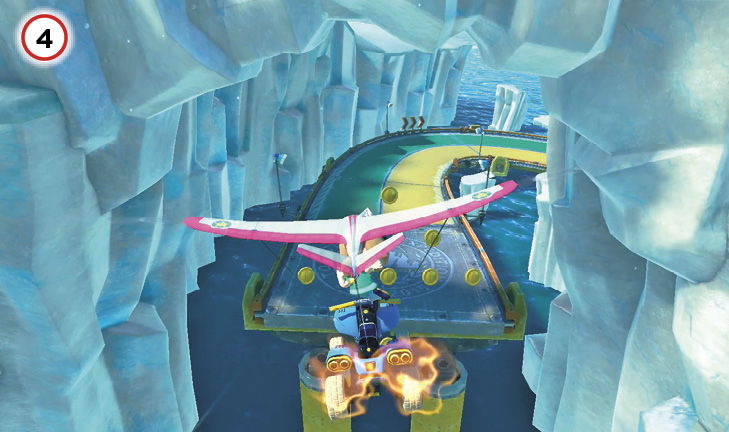
To hit this last shortcut, you need to cut your flight short by aiming your glider down toward the track below. This will require you to miss out on any of the Coins in the air, so make sure you’re full or close to full on Coins before making the attempt.
Once your tires touch the track, emulate the strategy for reaching the first shortcut by drifting toward the left side of the track to angle yourself toward the ramp, then release the drift. You should go over the ramp cleanly once you’re aimed correctly, but the timing on the drift will take a bit of practice.
Hyrule Circuit

Zelda fans rejoice! This stage is packed full of references and nods to our favorite Hylian hero’s adventures. The Coins are now rupees, the Piranha Plants are now vicious Deku Babas, and the Spin Boost pillars are now crystal switches. You’ll have a couple of tricky shortcuts and opportunities to build up your drift until you achieve the coveted Ultra Mini-Turbo (cue the lightning). This is a much more technical track than you might suspect, so get your game face on and race like Link riding Epona!
Grand Prix
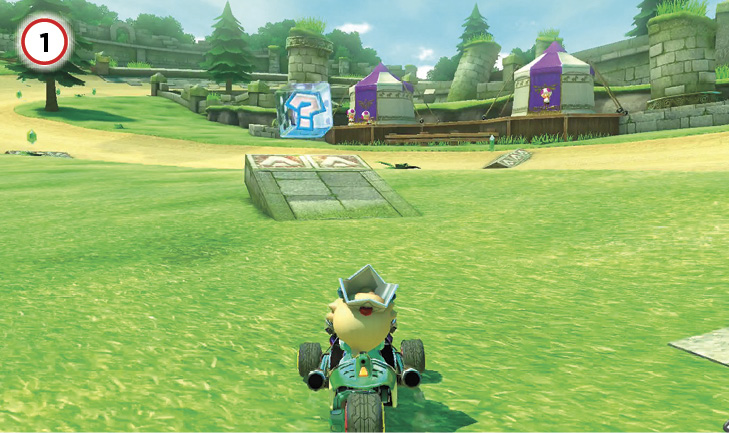
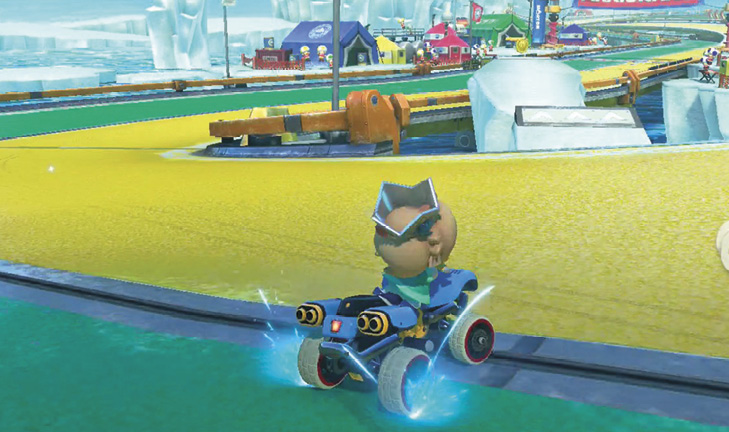
Before the first turn of the track, look to the left, into the grassy field on the side of the course, to see a lone ramp with an Item Box on top. We know it’s tempting to try and power through the grass to reach the obvious shortcut, but don’t do it! Not without a Mushroom, anyway. Without a Mushroom, this shortcut is anything but short; this ramp works better for Time Trial.
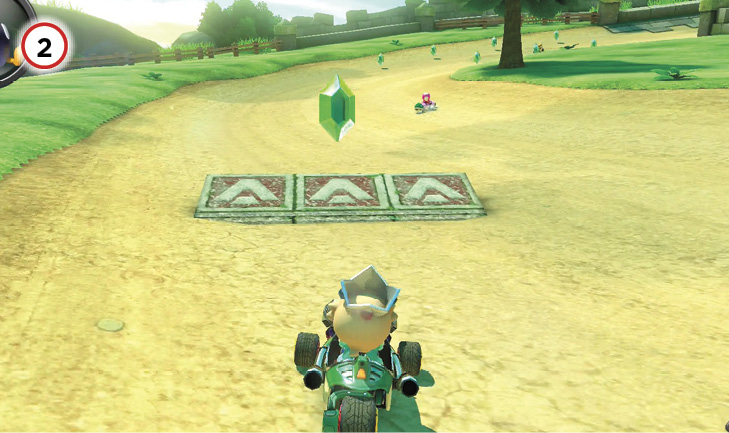
After the first formal turn of the track, you’ll encounter a pair of ramps. Get a Jump Boost or two off them, and grab a rupee while you’re at it.
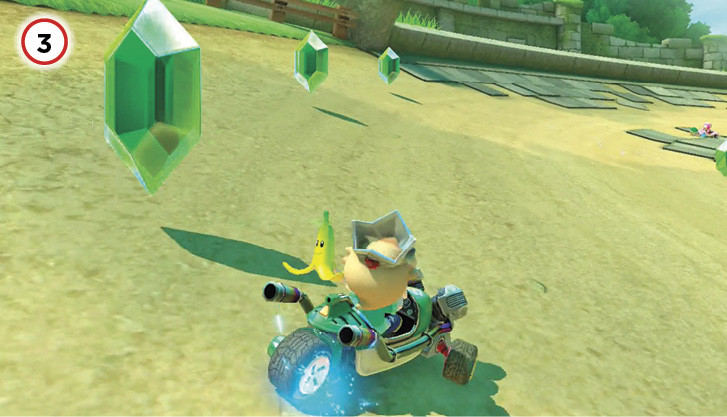
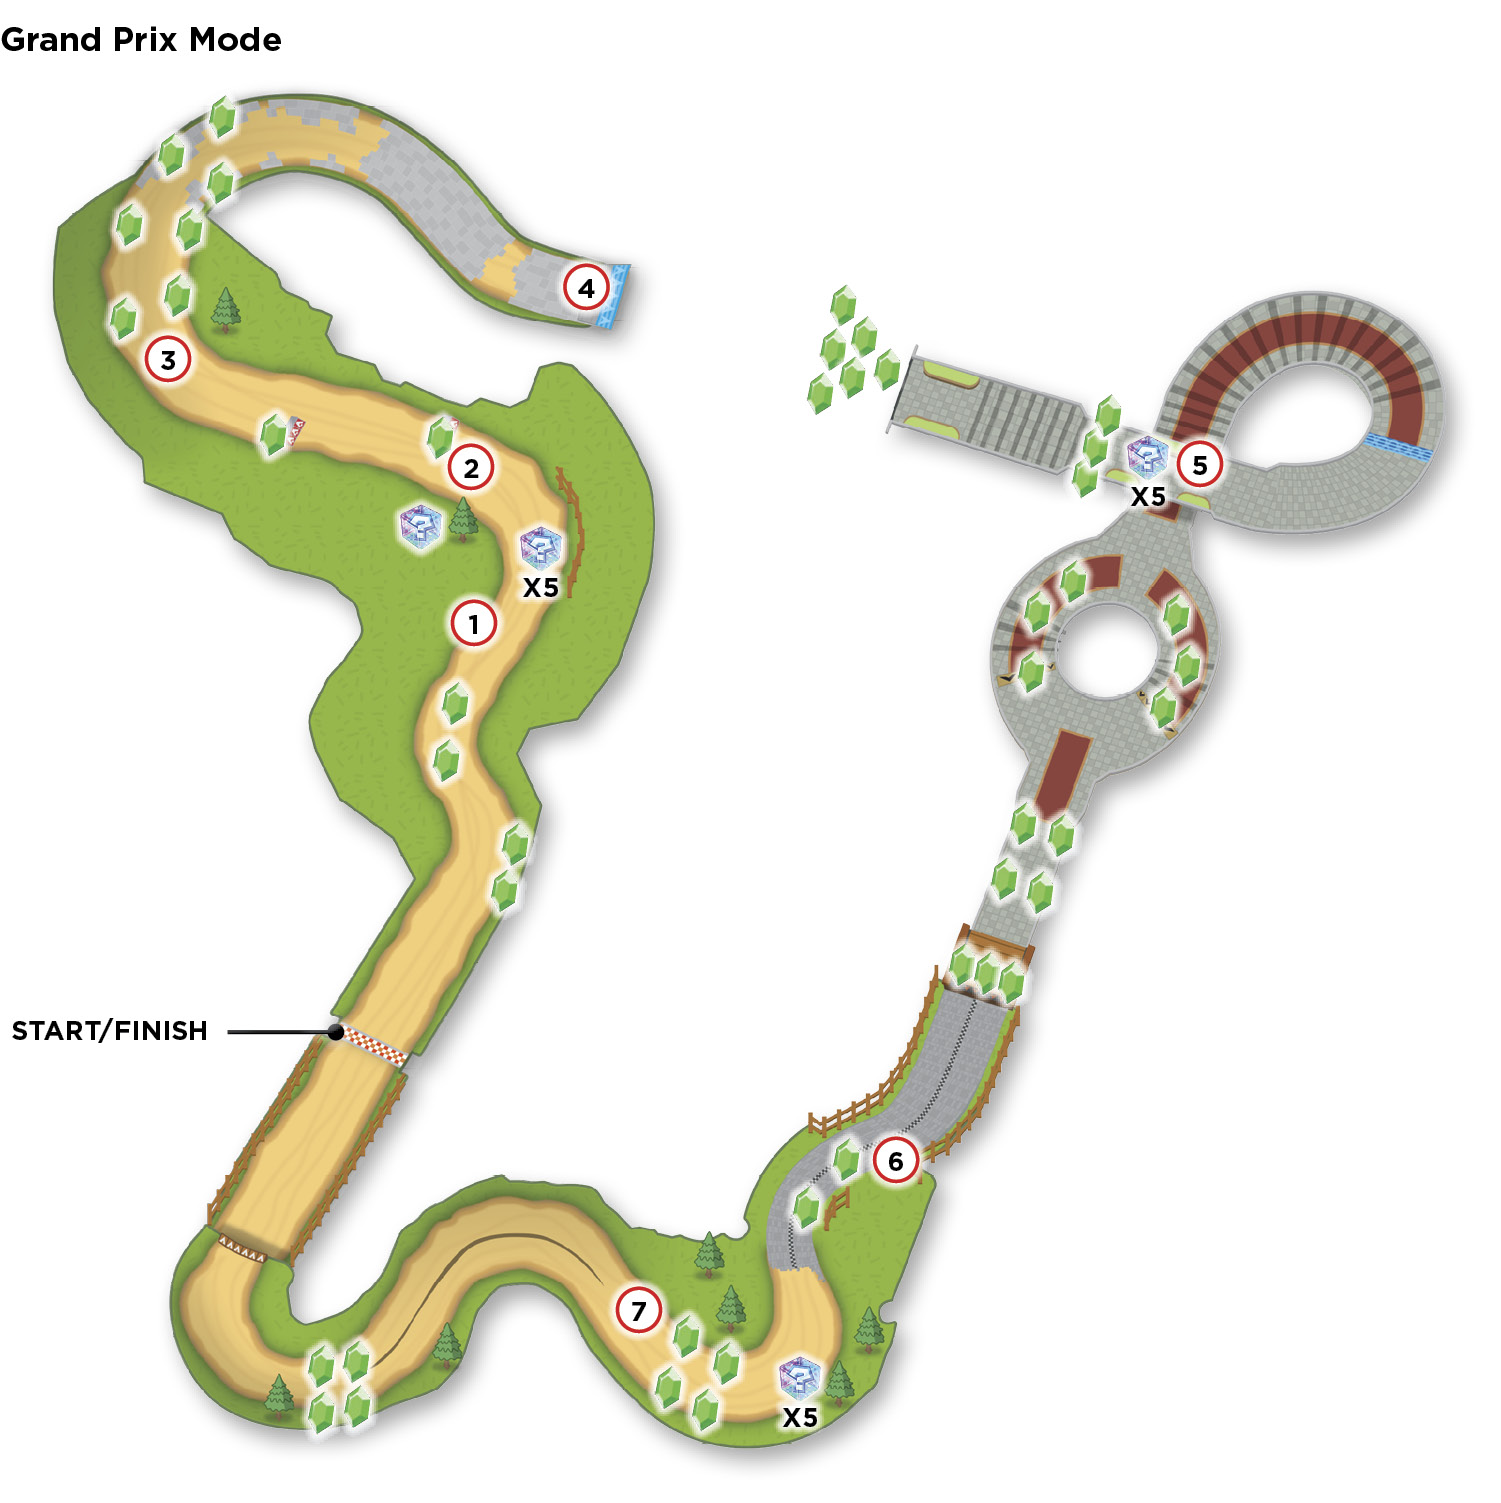
The northwest corner of the map marks an excellent opportunity for a Super Mini-Turbo, or even an Ultra Mini-Turbo. While an Ultra is possible, don’t push it! Ultra Mini-Turbos aren’t faster than any other Mini-Turbo; they just last longer. If you’re rapidly approaching the ramp at the end of the turn, let off the drift and take the Mini-Turbo you have. After a certain point, an Ultra Mini-Turbo isn’t going to help you, but a prolonged drift in order to reach the Ultra will. Feel it out to get the timing down.
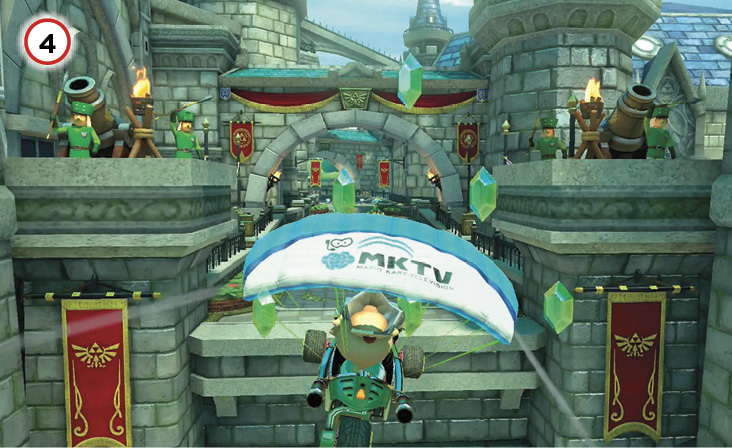
At the end of the aforementioned turn, you’ll reach a ramp that will send you soaring. In the middle of the air is a Triforce-shaped alignment of rupees just waiting to be claimed. Try positioning yourself so that you fly between two rupees to give yourself an opportunity to grab more than one.
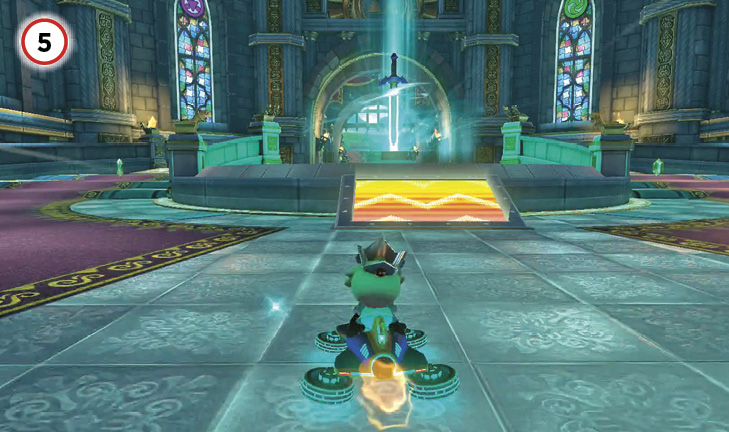
If you manage to hit all three crystals in the stairwell, you’ll reveal a ramp with a dash panel that will launch you through the Master Sword in the middle of the chamber at the base of the stairs. It’s a cheeky shortcut, and quite difficult to pull off, especially when you have other racers trying to blast you into oblivion with Spiny Shells and Bob-ombs. Focus instead on using the stairwell to build up an Ultra Mini-Turbo, and let the ramp happen of its own accord. You’ll need that ramp for Time Trial, but in Grand Prix you can go on by guilt-free without worrying about it.
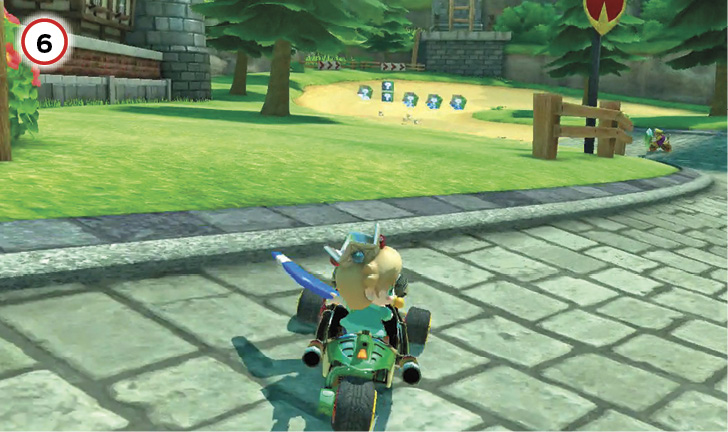
Just like the ramp at the beginning of the course, you can cut corners through this grassy knoll if you have a Mushroom. If not, ignore it. It will set you back rather than help you.
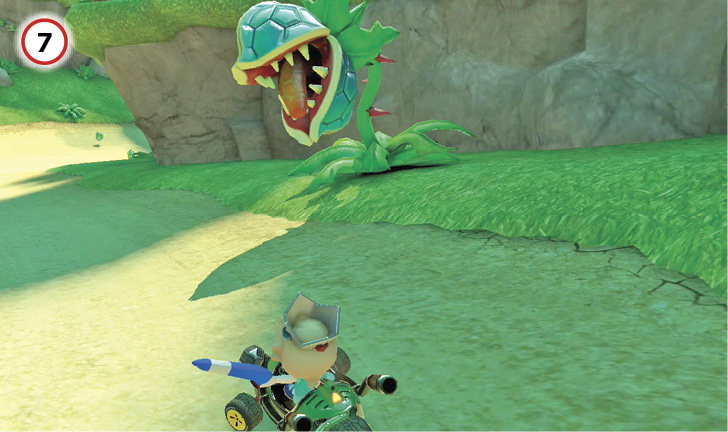
Deku Babas litter both sides of the track at this point. Stay away from the sides, and you’ll be just fine. Get too close? Deku Babas are all too keen on adding you to their diet.
Time Trial
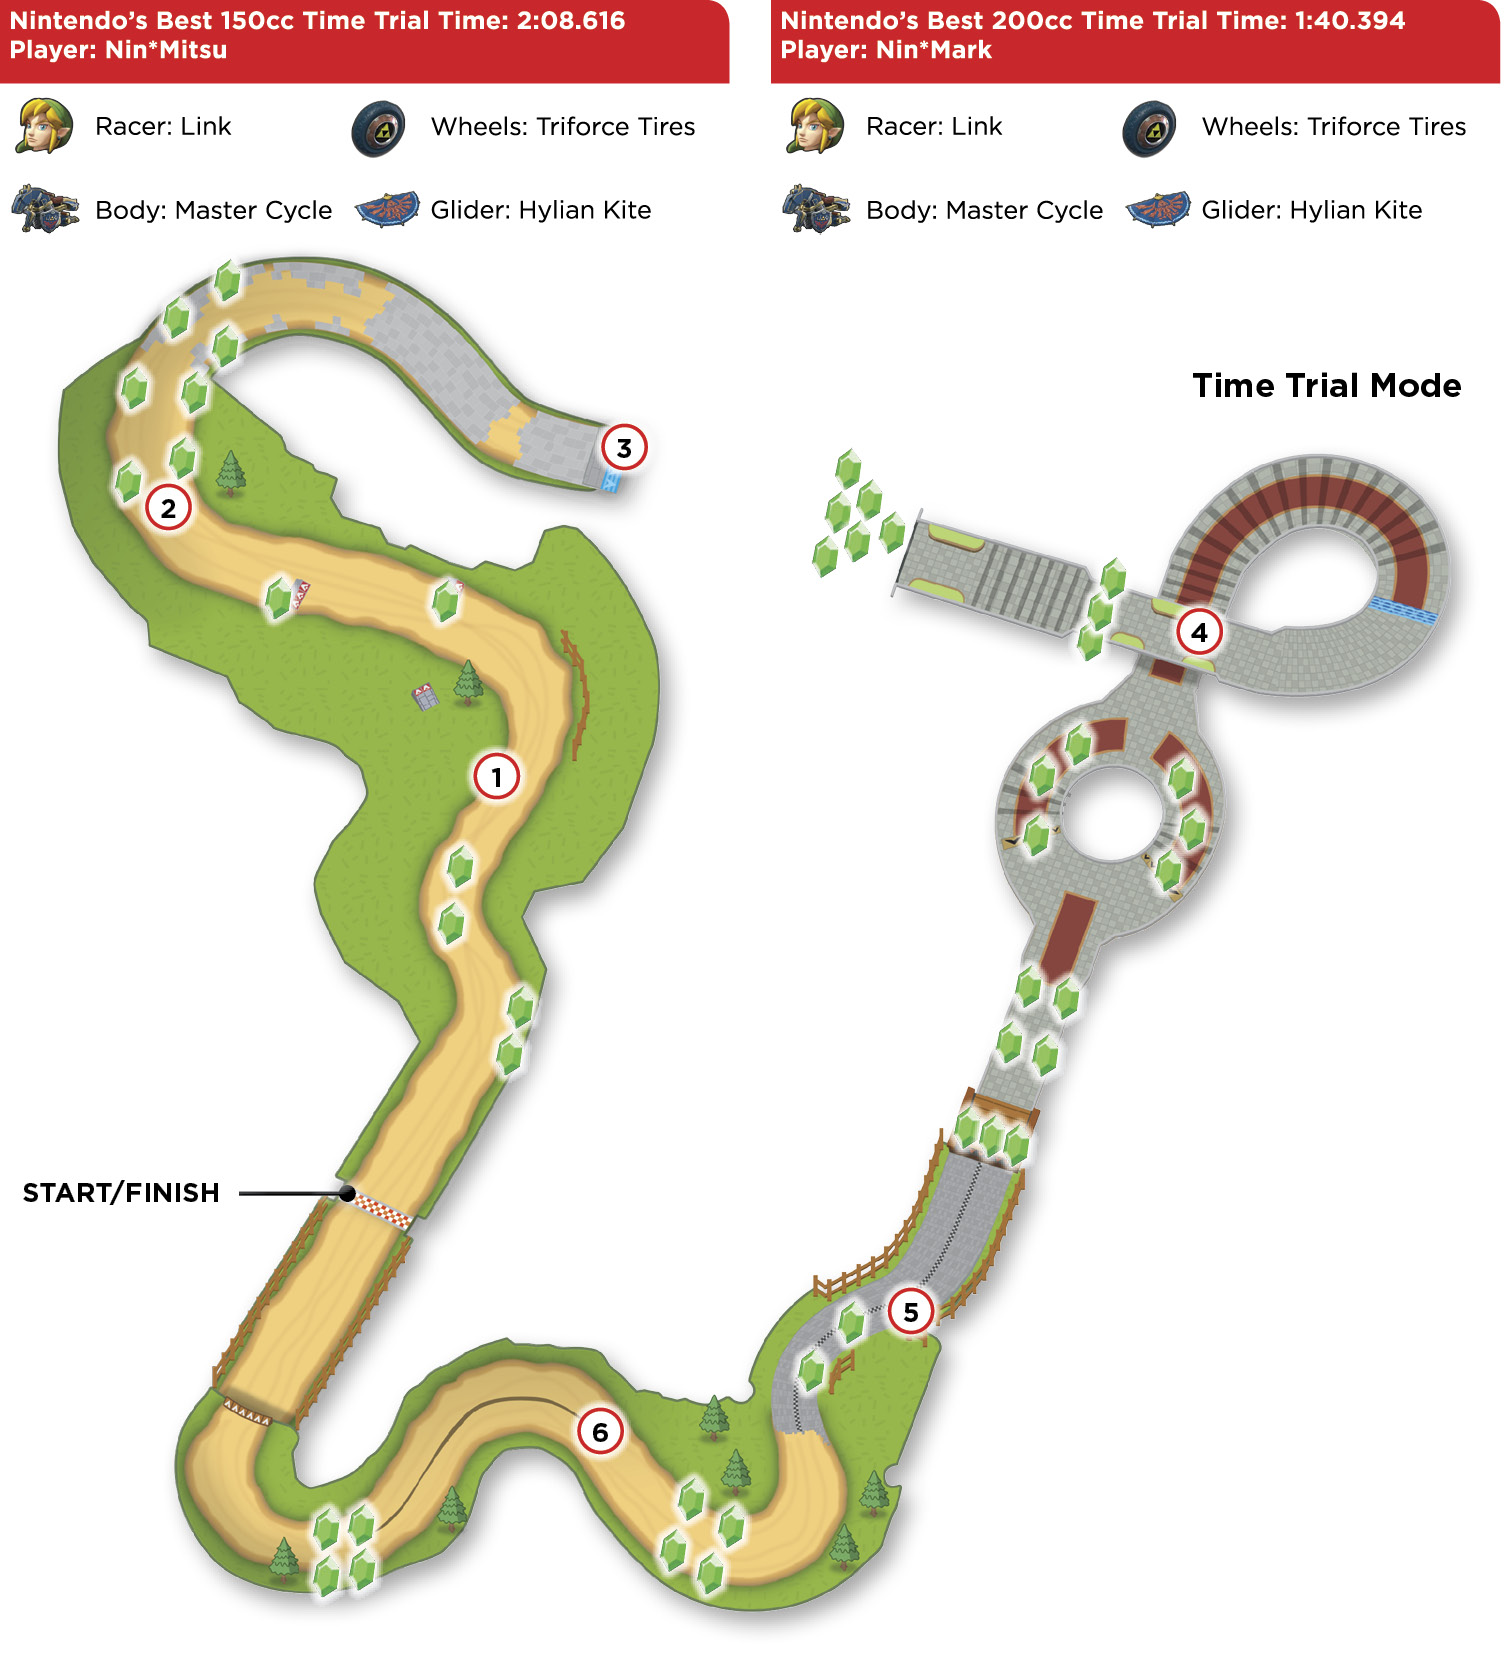
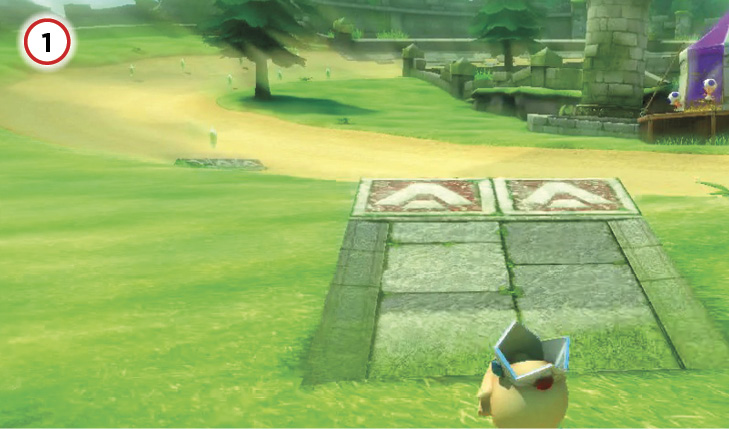

Save all three of your Mushrooms for this ramp, which will cut your time by a few seconds every lap. However, don’t aim at the smaller ramps on the main road. You may be tempted to hop off them for additional Jump Boosts, but it’s a much safer bet to avoid them altogether.
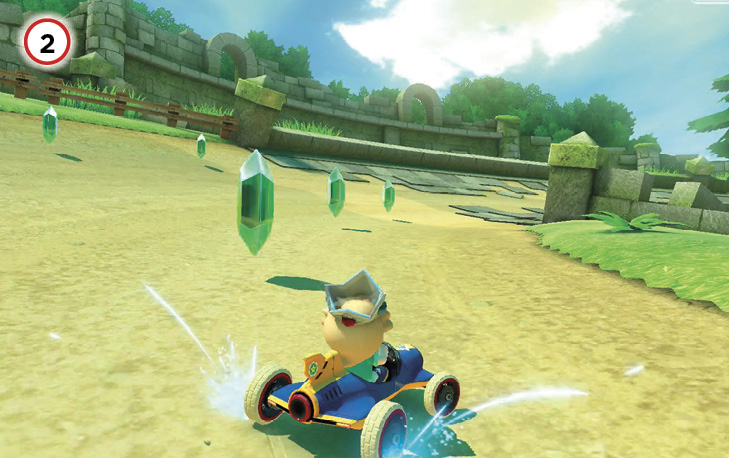
Stay on the inside line of the turn to grab the three rupees that line it. You have the potential to build up an Ultra Mini-Turbo on this turn, but don’t actively try for it. When you see the jump ahead approaching, let go of your drift and head straight for it. Ultra Mini-Turbos don’t increase your speed more than regular Mini-Turbos; they just last longer. Don’t push it!
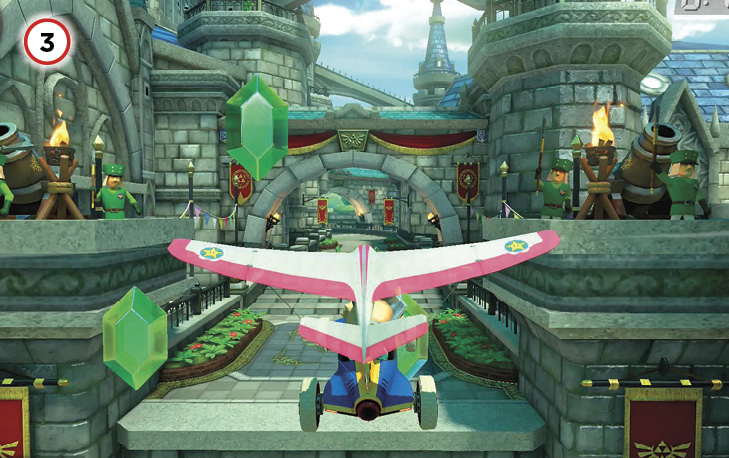
After taking flight, position yourself between two of the rupees in the Triforce formation of rupees for a chance at snagging more than one. The key to every first lap of Time Trial is filling up your Coins as quickly as possible, and the same applies to Hyrule Circuit and its rupees.
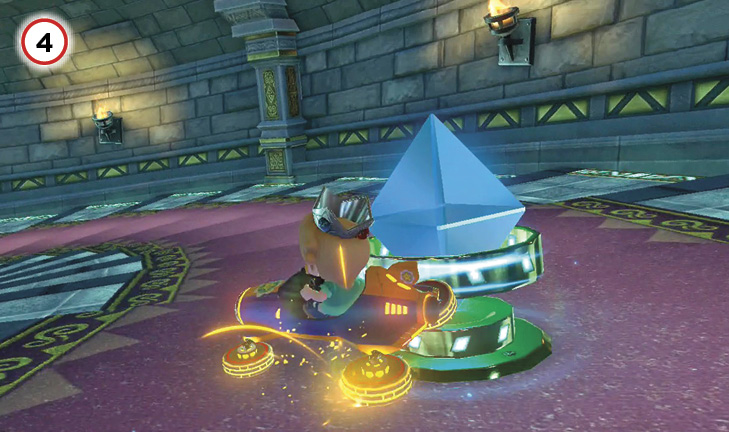
This is likely one of the most complicated turns in all of Mario Kart 8 Deluxe. It’s an excellent and easy spot to build up an Ultra Mini-Turbo, but the three crystals that line the staircase make this area tricky. At the end of the stairs, you’ll reach an entry room with two paths—one on the left and one on the right—with the Master Sword proudly displayed in the room’s center. If you manage to hit all three crystals, a ramp with a dash panel will lift out of the ground in front of the Master Sword’s pedestal, giving you a fantastic shortcut through this room.
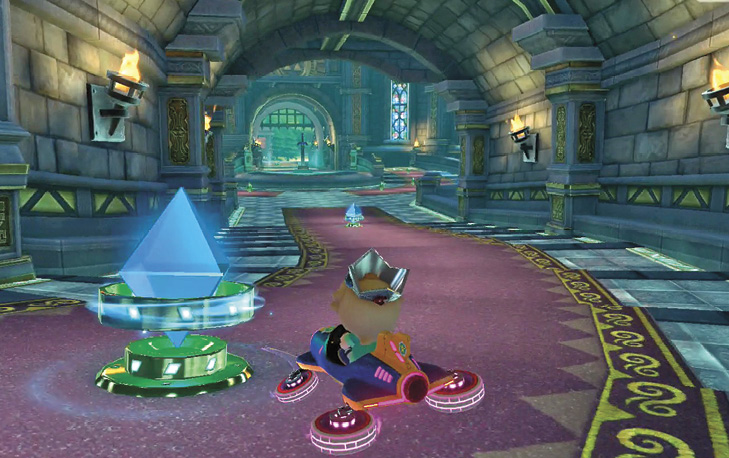
The issue is maintaining speed while hitting the crystals, which presents a further problem: the stairs. Drifting down these stairs will see your kart shifting and sliding outside your control with every drop onto a lower step. Long story short, to get through this area, you need to drift.

Your ability to hit all three crystals while maintaining full speed is largely determined by the starting point of your drift, and the kart and parts you’re using. Once you reach the second crystal, release your drift in the center of the track and let loose your Mini-Turbo. The third crystal is pretty easy to hit if you’ve hit the other two, so line up your kart just after the second crystal and fly right on by the third. The ramp will rise, and your shortcut will be made manifest! If you hit this ramp twice during a 150cc Time Trial, with a solid bit of driving on the rest of the course, you’re sure to take the record for yourself.
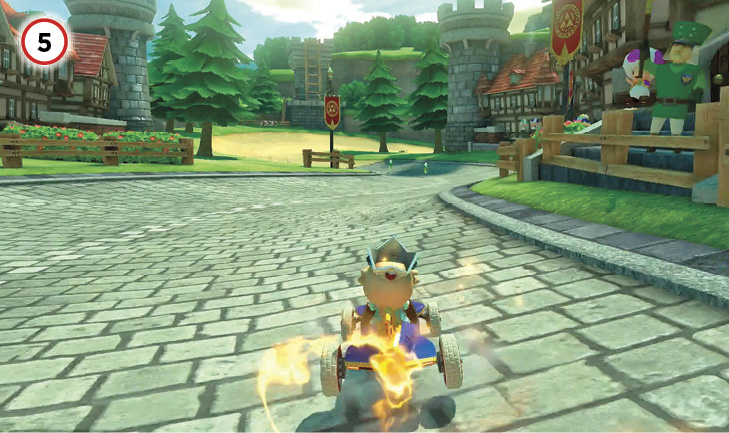
We know your Triple Mushrooms make this opening extremely tempting, but resist the urge! Your Mushrooms are put to much better use on the ramp just after the start of the track.
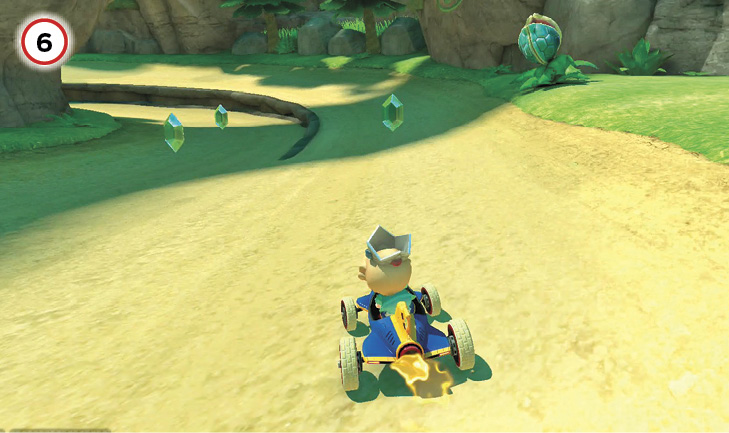
Choosing one path over another here isn’t going to make a huge difference to your time. However, with that said, we suggest you go with the right side of the track. You won’t have to worry too much about wayward Keese, but take care not to get near the Deku Baba at the end of the first bend.