
Mario Kart 8 Deluxe Guide The Tracks
Shell Cup

Wii Moo Moo Meadows
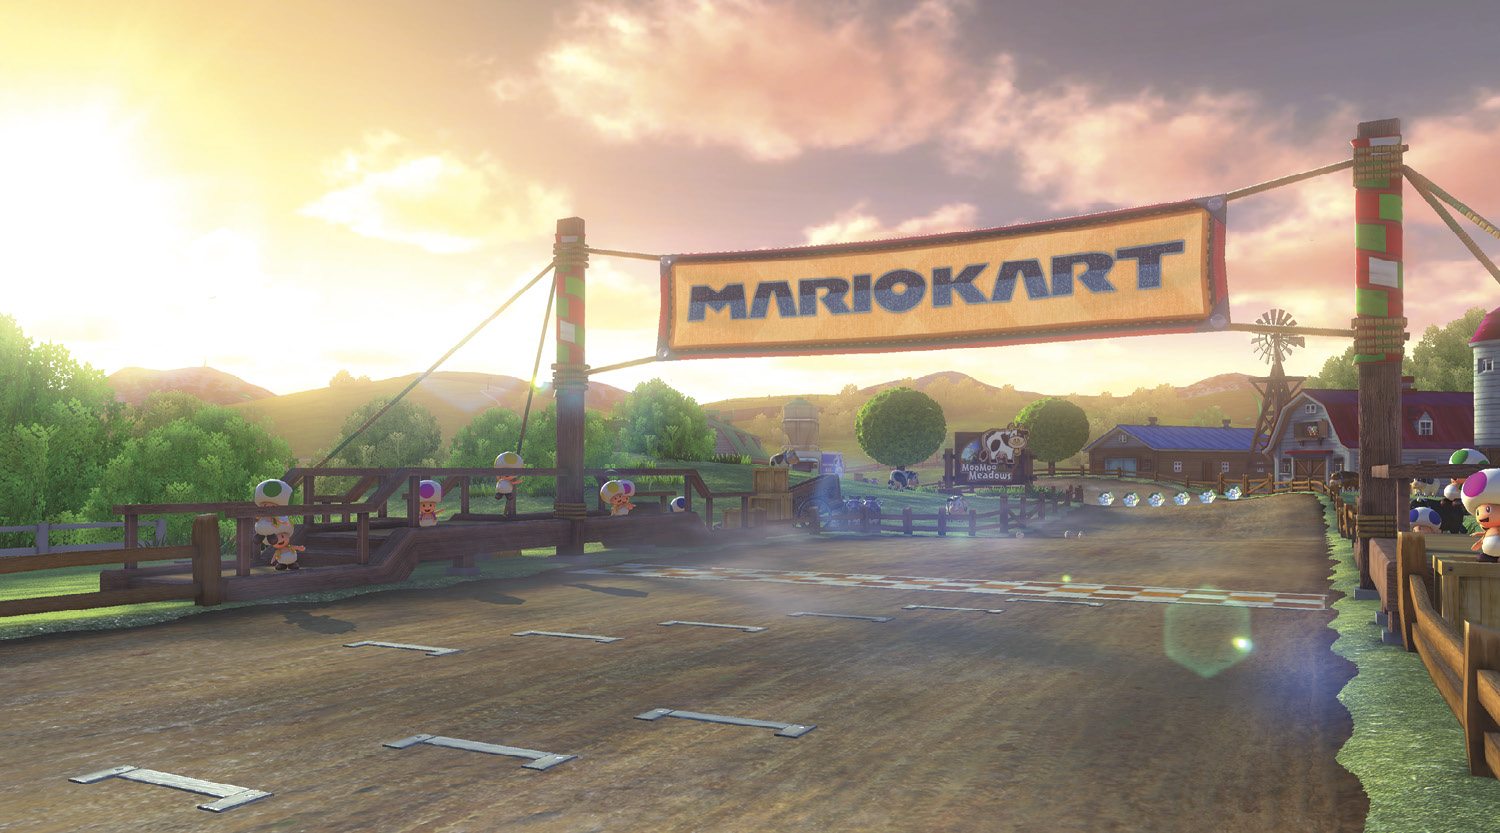
Moo Moo Meadows has seen subtle changes from its debut in Mario Kart Wii. Most noticeably, the local Moo Moo population has increased, which makes racing through the gentle curves and hills of the meadows more of a challenge. This is a short race course, with large open spaces for drivers to maneuver through.
Grand Prix
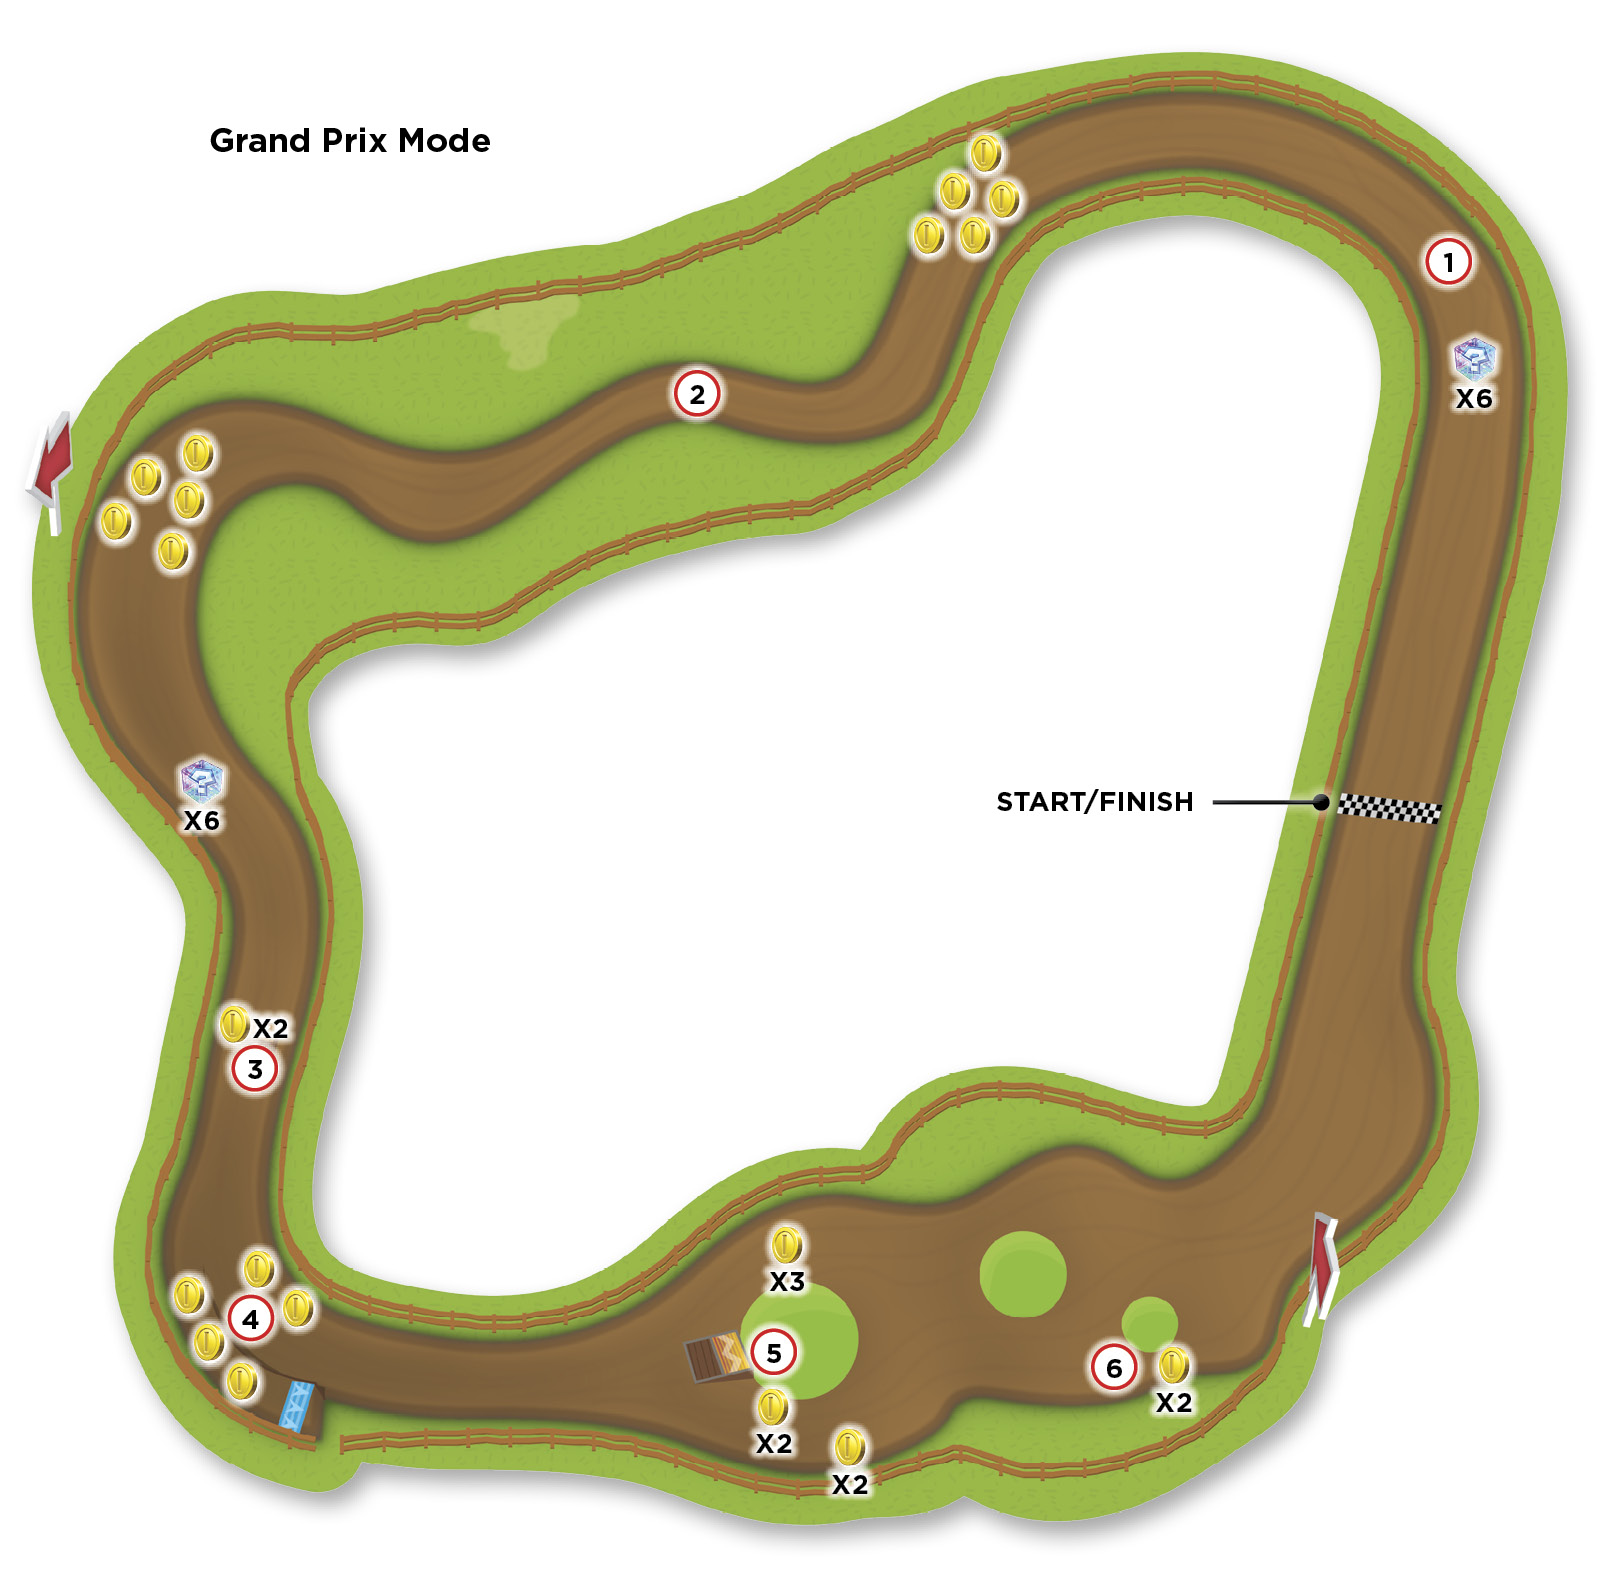
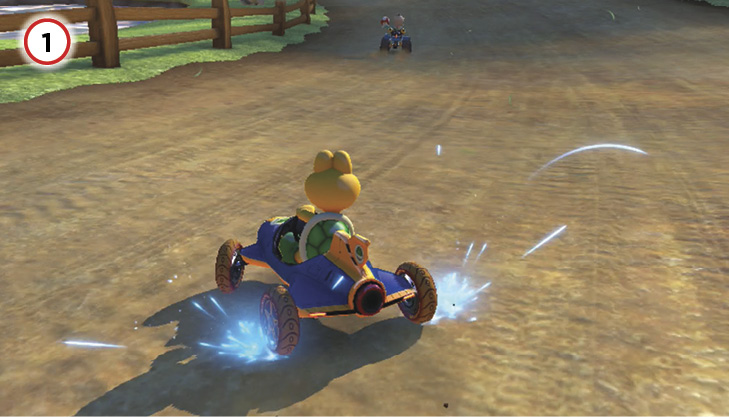
The opening left turn should give you an idea what to expect through each lap: wide-open spaces on the track itself, which makes using any non-homing weapons on your rivals more difficult.
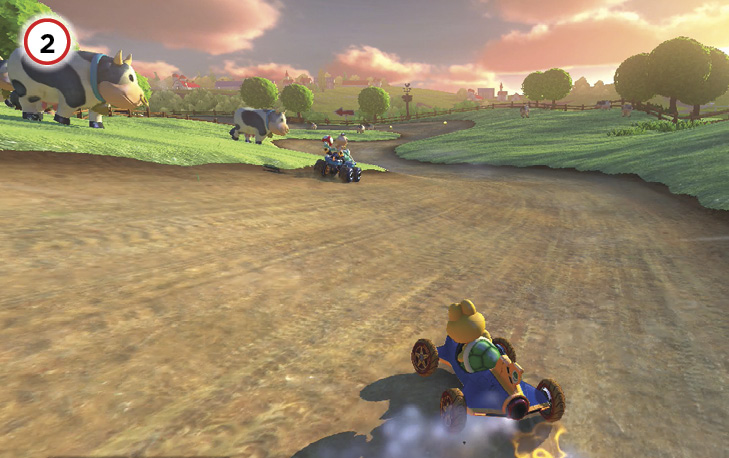
Things get a bit more interesting when you reach the field inhabited by Moo Moos. Their constant wandering makes trips through this section different with every lap, as they start crossing onto the main track over the course of the race! The winding S-curves through this field can be cut down significantly with proper Mushroom boosts across the grassy hills.
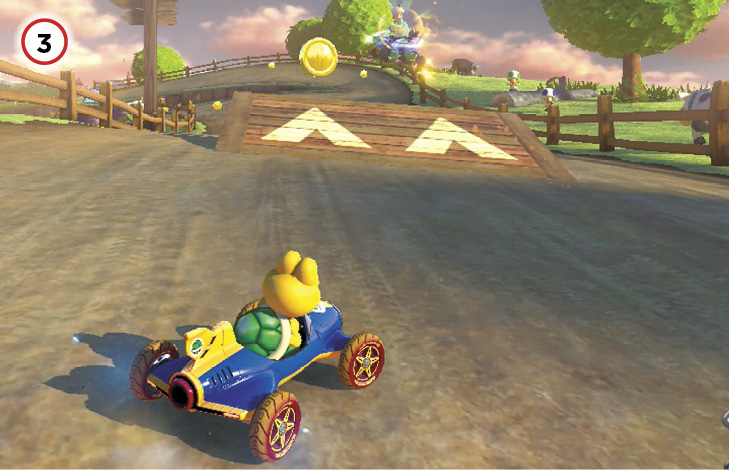
Jump Boost off this ramp for extra speed, and get ready to choose your path on the upcoming left turn.
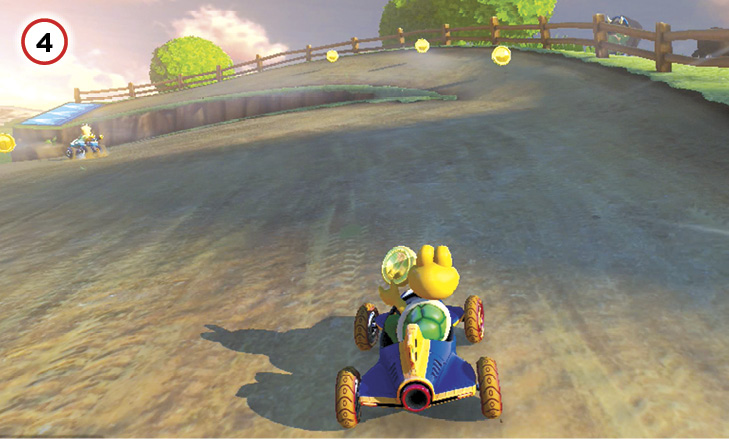
You can choose to follow a route that earns you more Coins, eventually taking to the sky with a glide ramp. The lower, faster path denies you the ability to fly over some of the bumpier terrain in the section that follows.
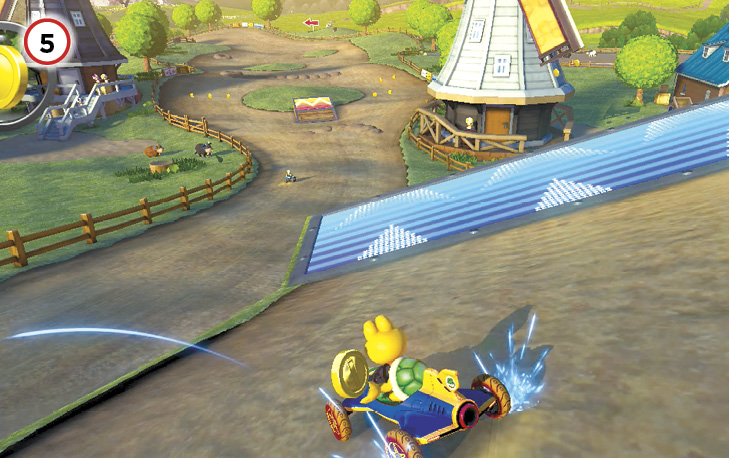
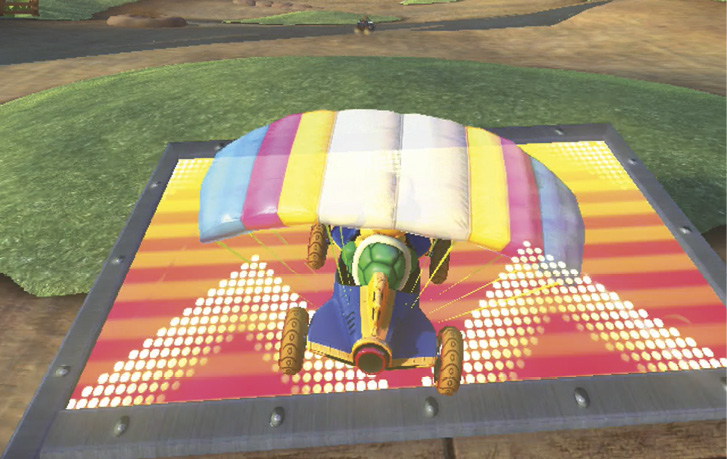
Flying from the glide ramp gives you a chance to bypass the hilly final section of the track, avoiding pesky Monty Moles in the process. You can extend your flight by landing on another dash panel ramp at the center of the hilly mole field.
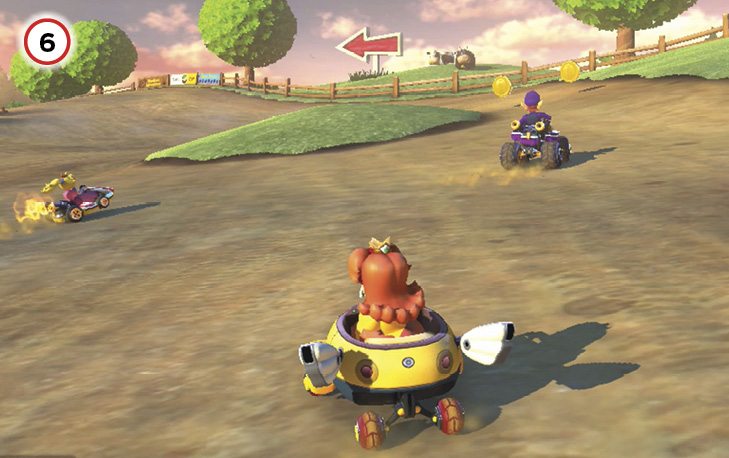
If you choose to not take the glide ramp into the air, make sure you Jump Boost off the dash panel ramp and any molehills in your direct path, but otherwise focus on avoiding patches of grass on the hill. There are many Coins scattered throughout this field, but it’s not worth sacrificing speed or first place to go out of your way to collect them.
Time Trial
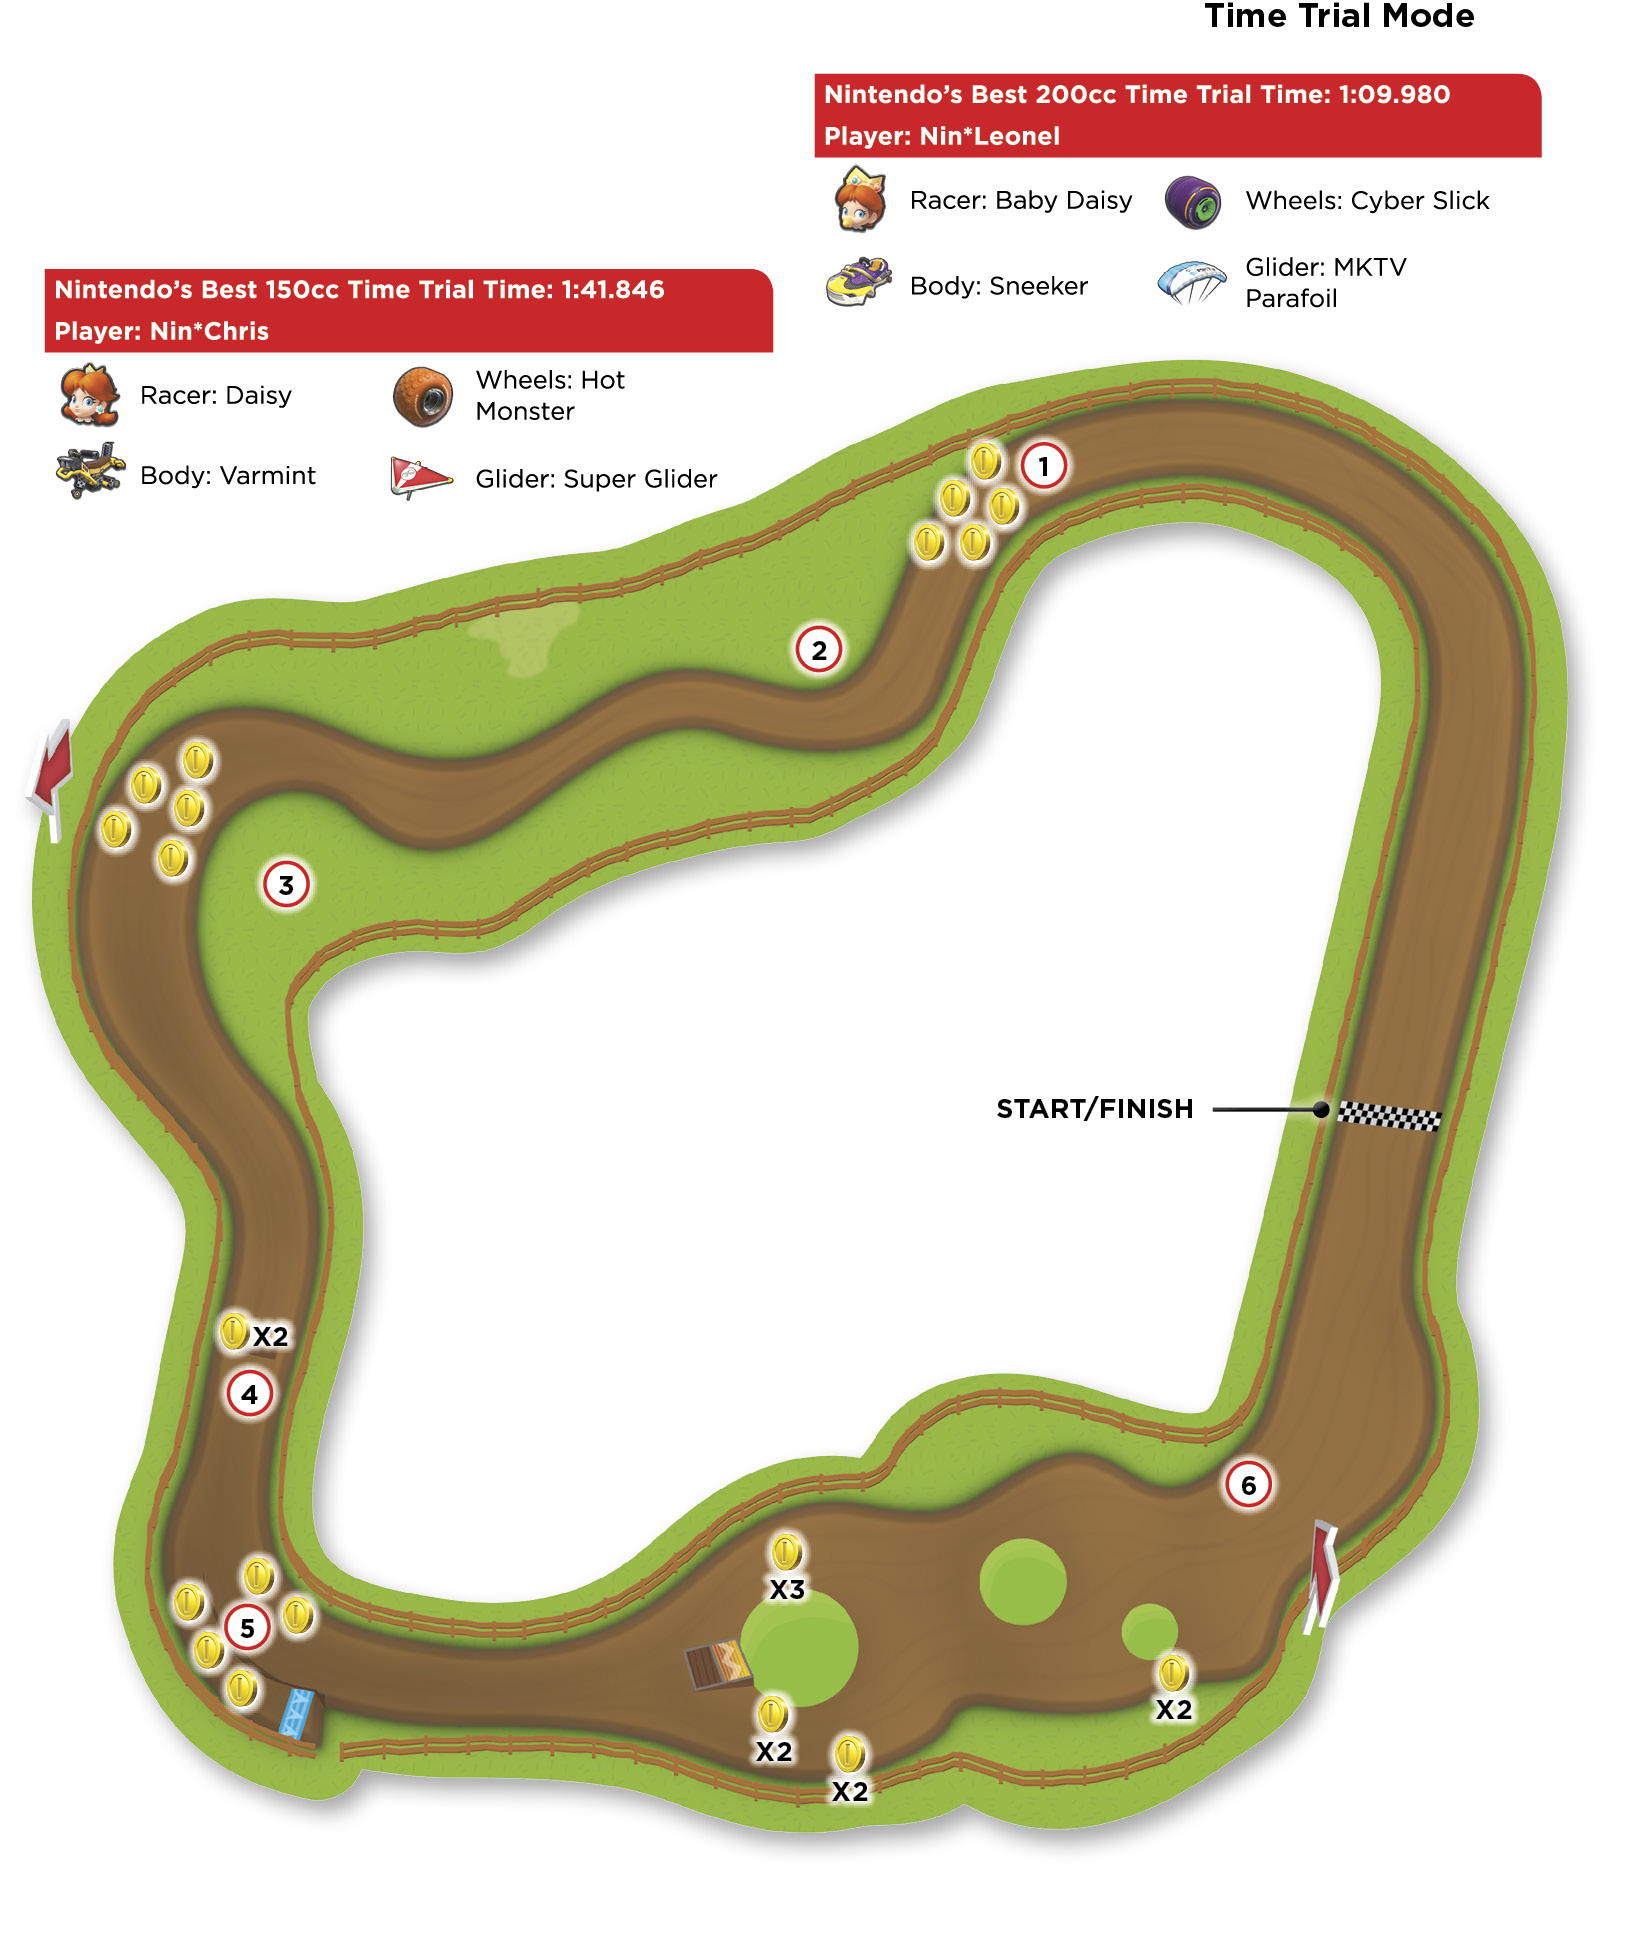
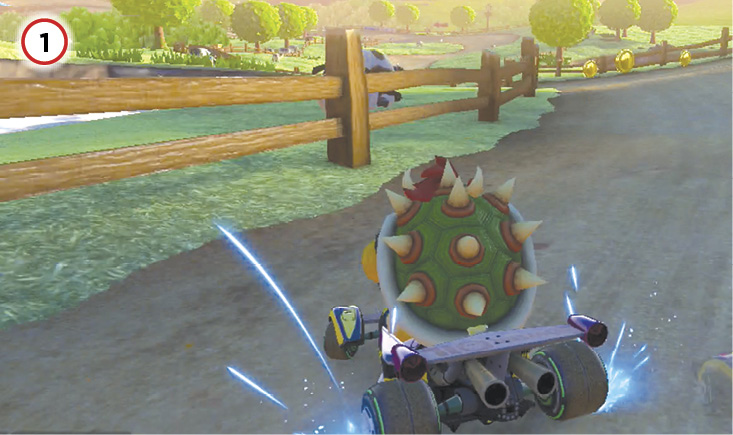
In general, you want to take the turns as close to the inside as possible to squeeze as much time off your laps as you can. However, in your first lap you need to reach ten Coins quickly. Taking the outside line to snag three Coins just before reaching the Moo Moo field might be worth it.
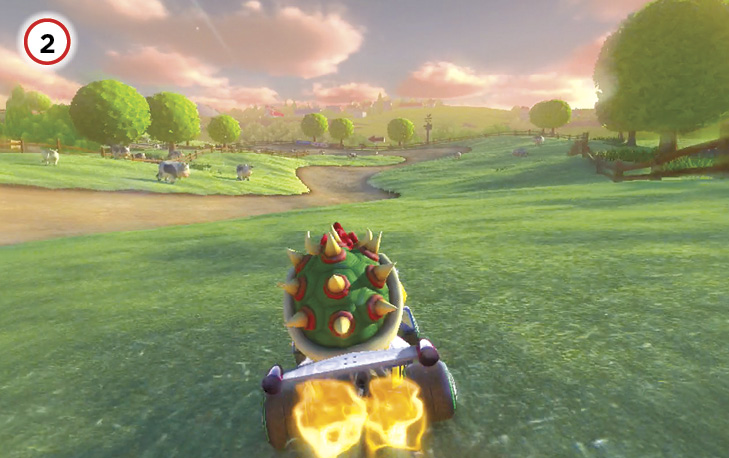
The Moo Moo field has at least two good points to use a Mushroom on. The first is over a patch of grass on the right-hand side of the course just as you get past the first set of Coins to collect. Through all three laps in the Time Trial, this is a consistently safe route to avoid Moo Moos while maintaining good speed.
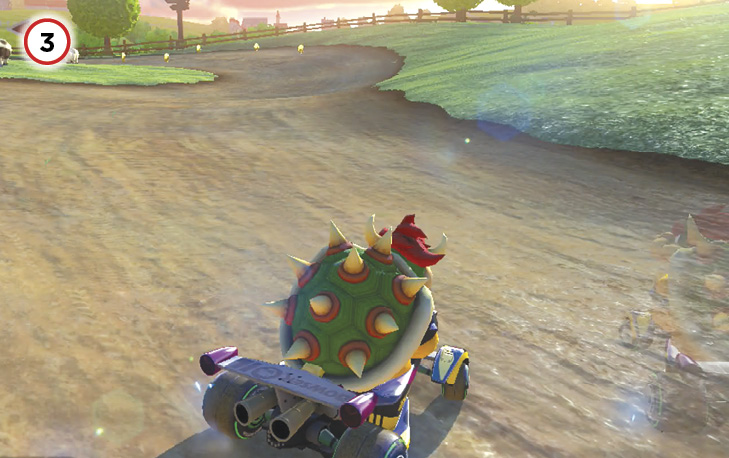
You can cut another section of the course by using a Mushroom to blast across the grass to the left of a second group of five Coins. Moo Moos tend to complicate this crossing during all three laps, and misjudging your Mushroom boost might have you lose speed in the grass if it wears out before you reach the track again.
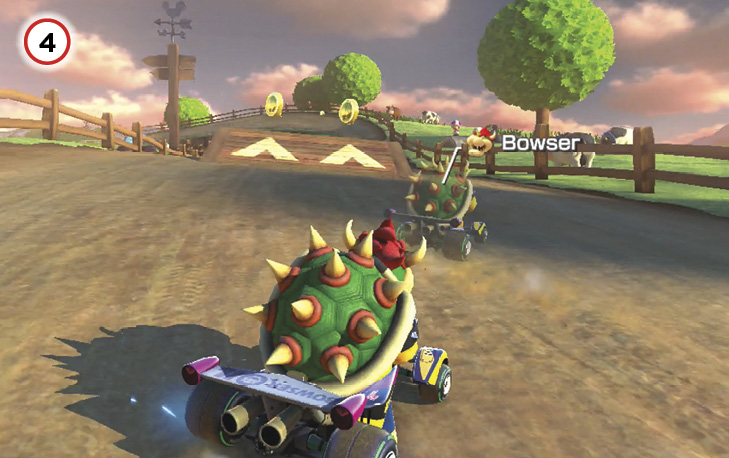
You can Jump Boost off the ramp for Coins if you need them, but it’s best to avoid it if you don’t.
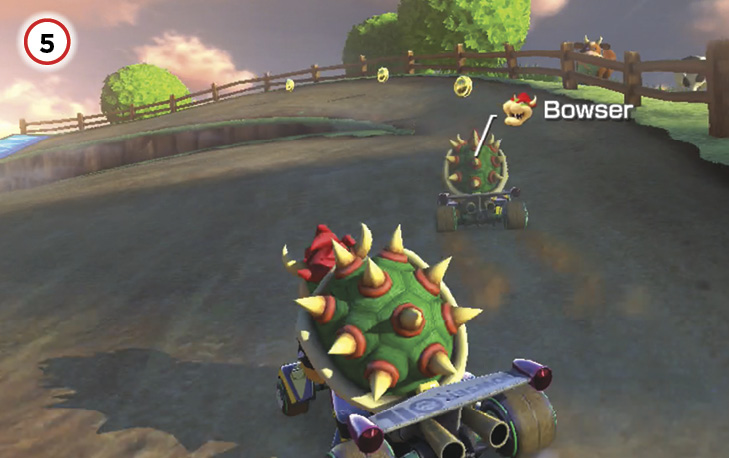
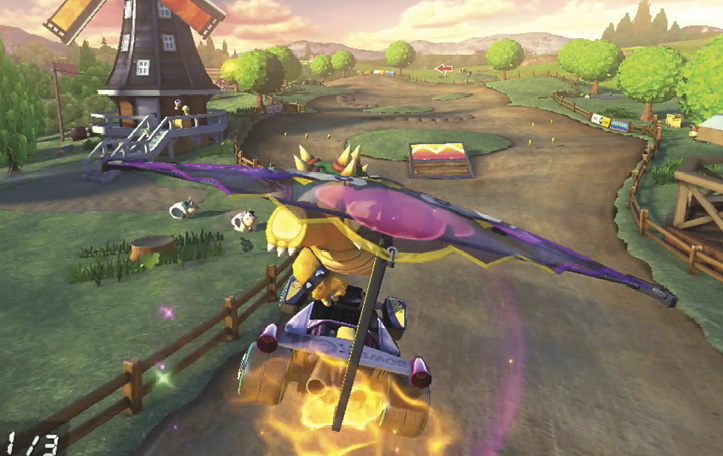
It’s arguably faster to take the inside of this turn and avoid using the glide ramp entirely. However, with the right angle and timing, you can Jump Boost off the glide ramp, land and Jump Boost off the dash panel ramp in the middle of the last field, and extend the flight even farther by Jump Boosting off a molehill!
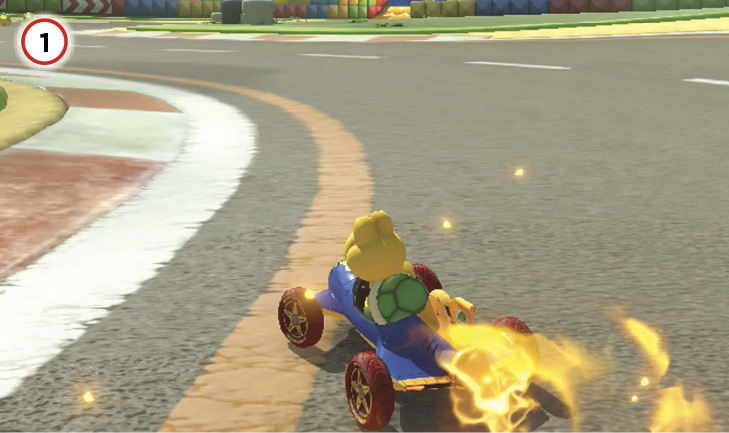
Cut this final left turn as much to the inside as you can. Swinging out too wide can cost you precious seconds.
GBA Mario Circuit
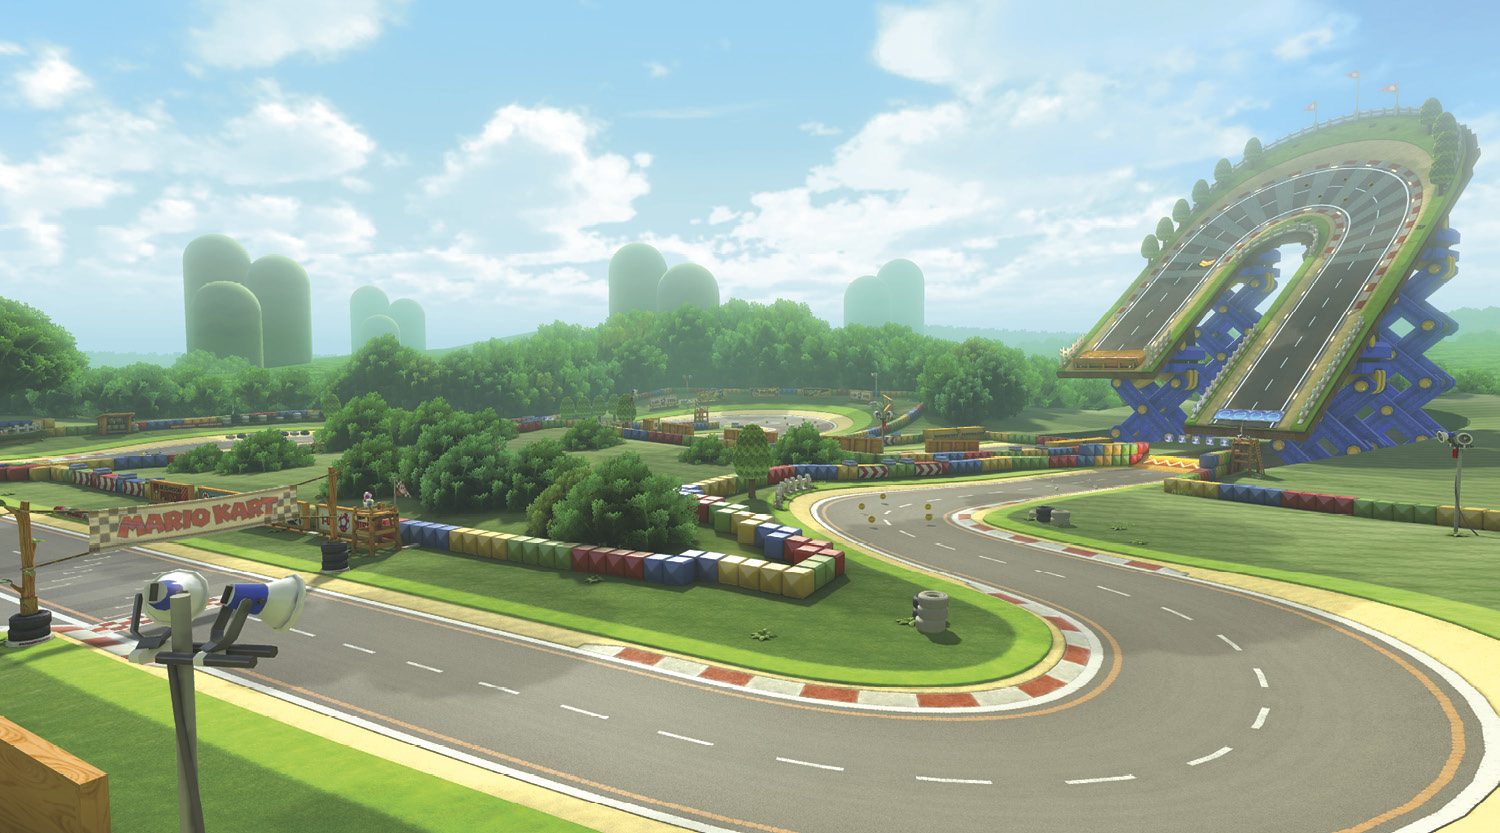
Despite the addition of antigravity panels and having an entire portion of the course lift into the sky, this returning iteration of Mario Circuit is still a fairly traditional course. Emphasizing the basics of Mario Kart racing, the various turns of Mario Circuit reward the racer willing to cut corners tighter than the rest.
Grand Prix
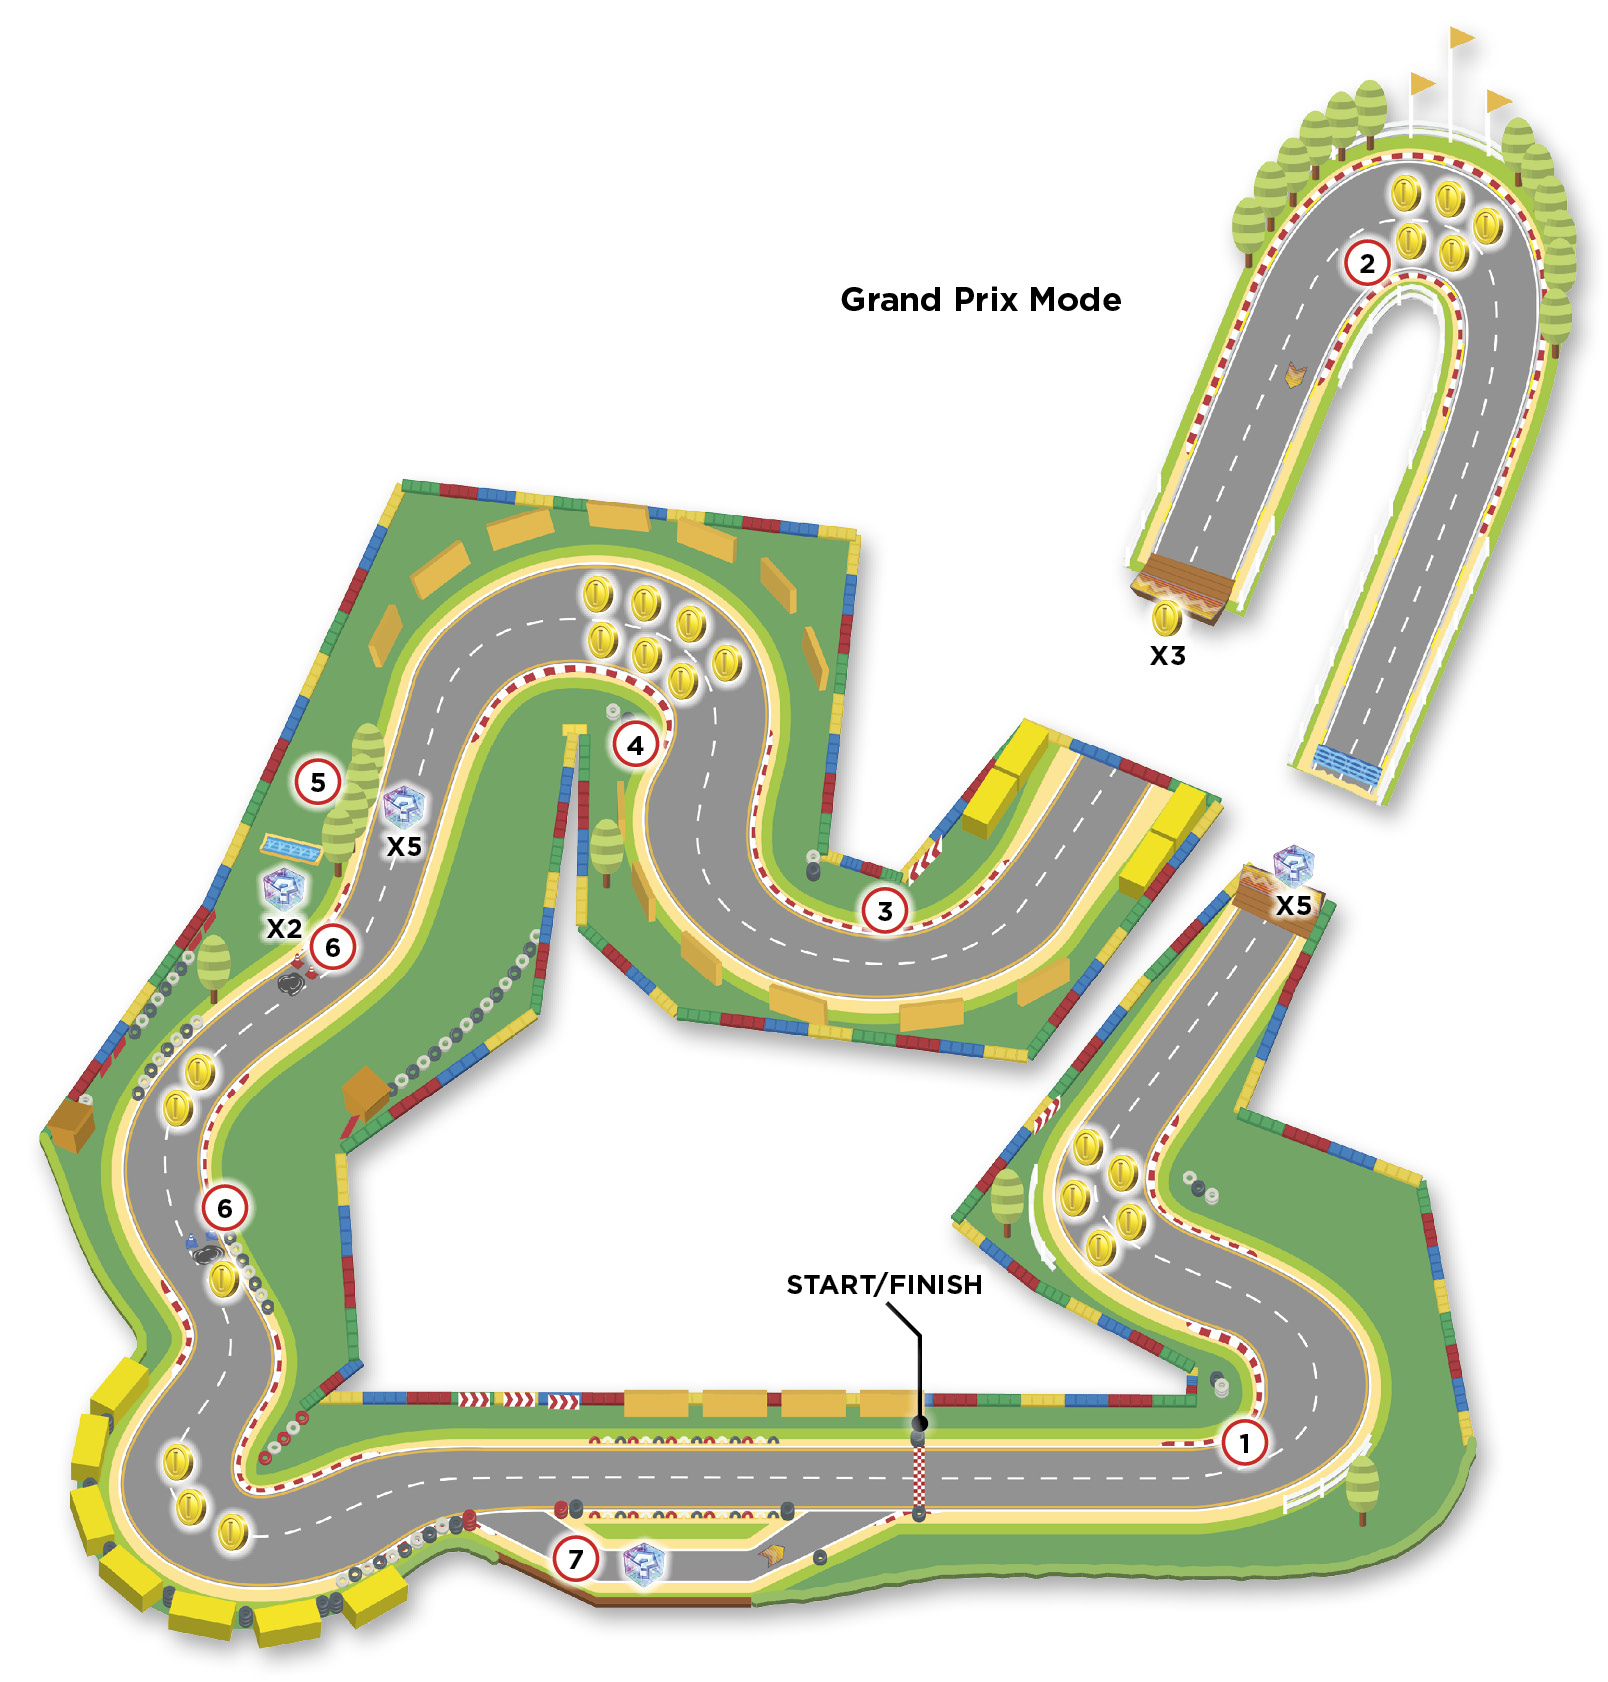
The opening two turns can be cut heavily by boosting across the grass with a Mushroom. You won’t have this at the start of Lap 1 in a race, but if you do get a Mushroom, consider holding on to it specifically to cut the first turn. It’ll put you on a line to collect some Coins on your way to an antigravity panel.
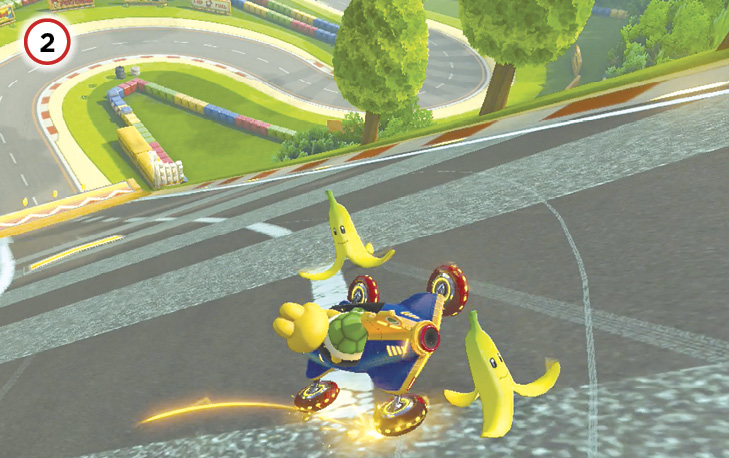
Just past the antigravity panel on the mid-air portion of the course is a sharp hairpin left. Keep to the inside to hit a dash panel on your way back downhill. The dash panel itself is a great location to set Bananas or to shoot Green Shells at pursuing racers who are trailing you while trying to reach the dash panel themselves!
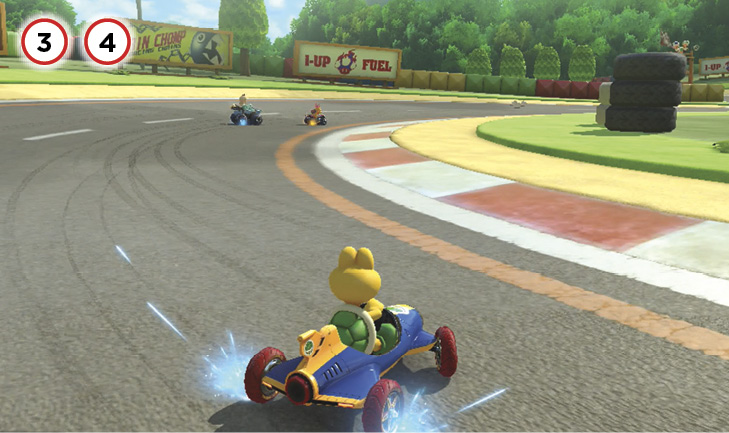
A hairpin right comes just after returning to the ground level of the course. This turn, and the turn after it, are ripe for being cut with the use of Mushrooms to blast across the grass. However, the second of these turns is where such a tactic will be of greater use.
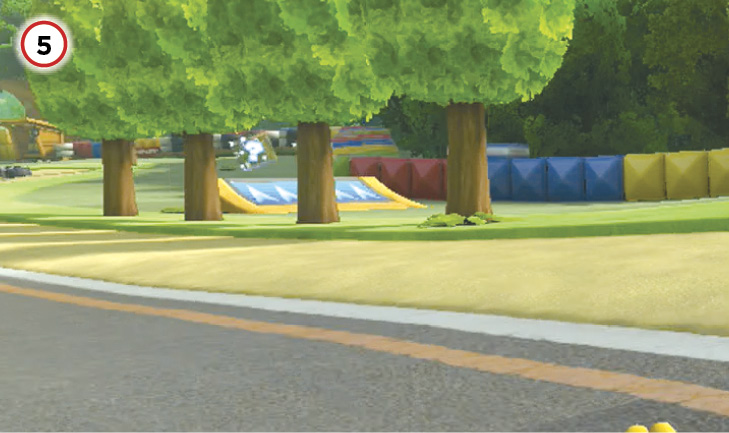
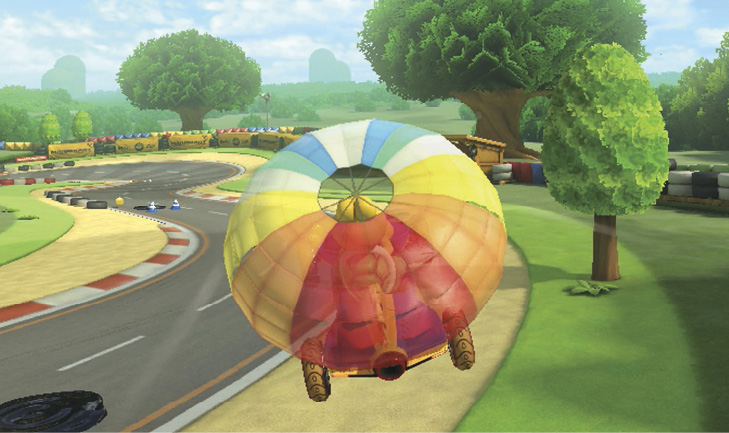
Off the road to the right of another cluster of Item Boxes is a glide ramp that can launch you across a good chunk of the course. You do need a Mushroom to access it, as the rough grass in front of the ramp will slow you down otherwise.
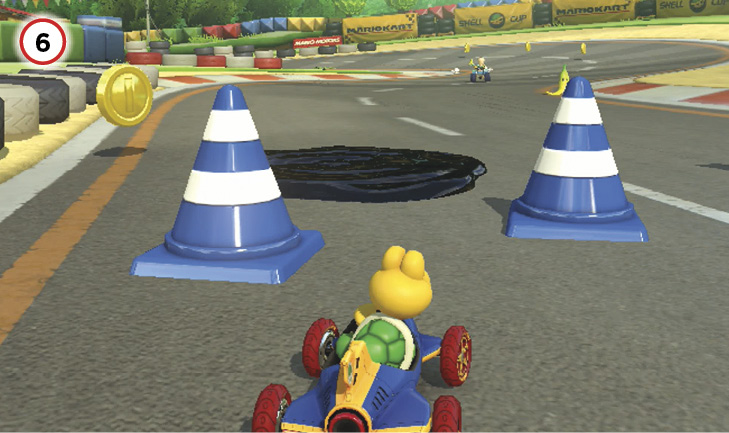
Watch out for the oil slicks marked by road cones in this section. Short of having a Super Star to plow through them unharmed, your best defense is to simply avoid them. Clever players can set up traps with Bananas that can send a rival spinning into an oil slick, costing an opponent up to six Coins for hitting both hazards!
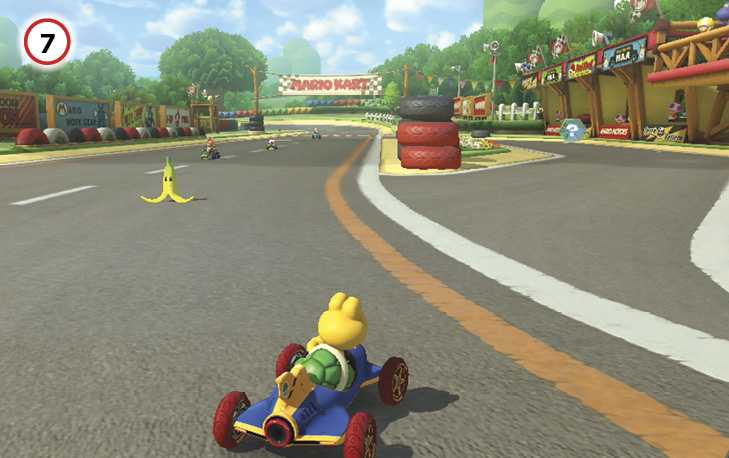
After the final left turn leading to the final straightaway, check the right side of the track to see the entrance to a small pit area that contains an Item Box and a dash panel. With some clever drifting, you can score a Mini-Turbo before you hit the dash panel to cross the finish line. Consider dropping Bananas here to trip up your rivals.
Time Trial
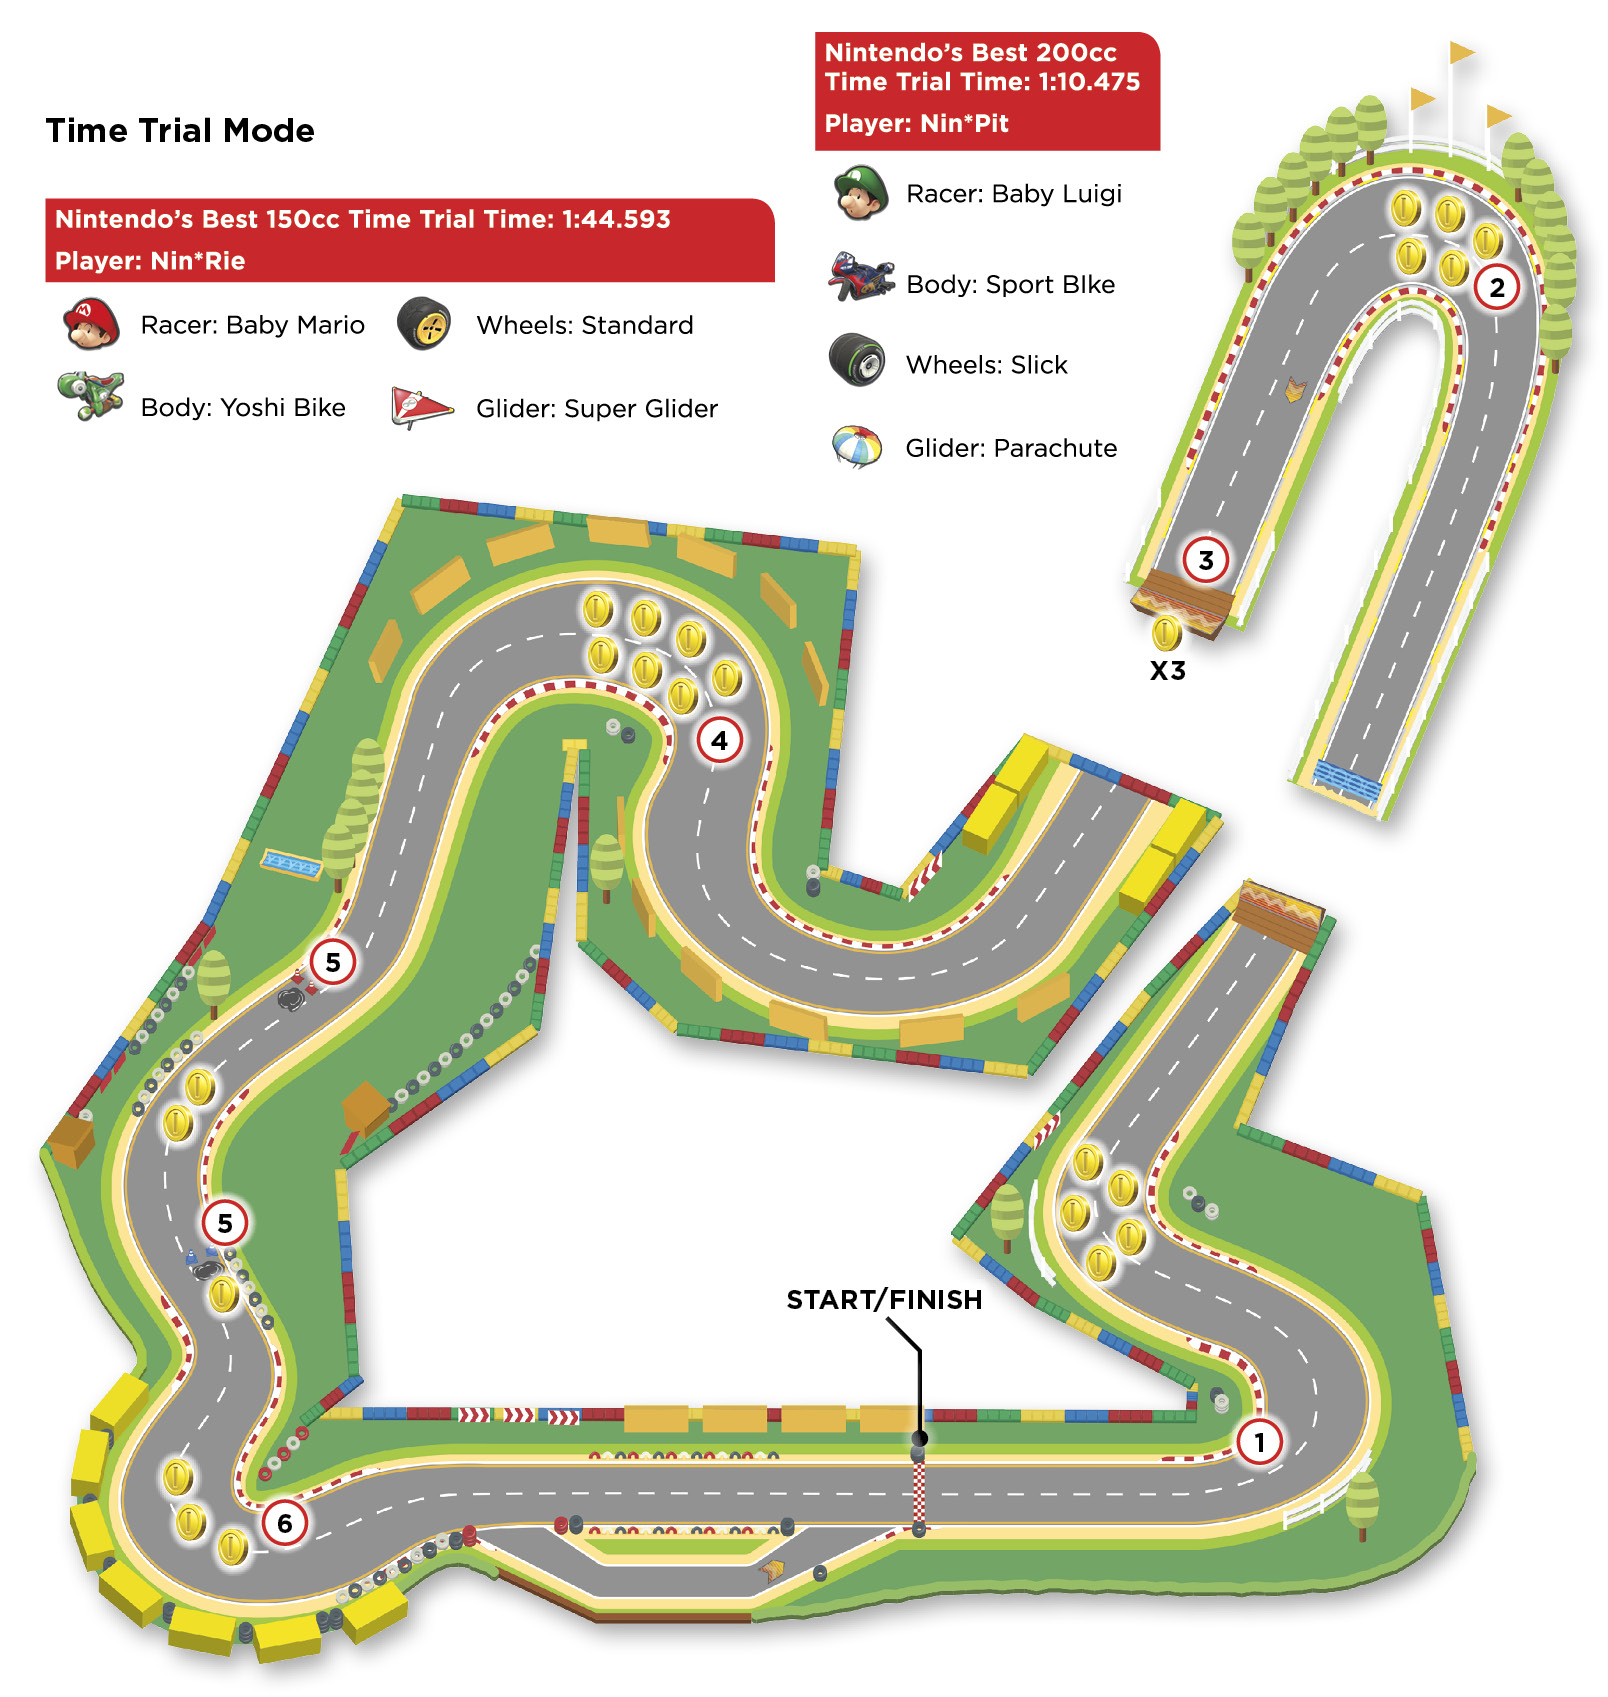
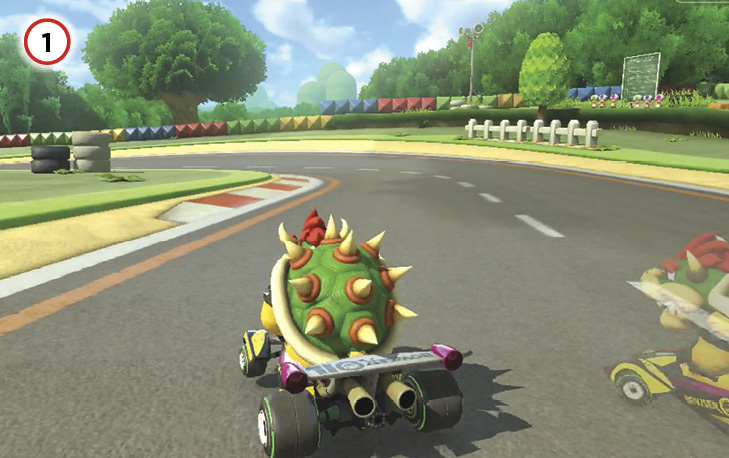
Arguably, it might be a good idea to start Lap 1 of your Time Trial by burning a Mushroom to cut the first corner. With the right angle, you’ll speed across the grass and be lined up to snag some Coins for your trouble.
After getting launched up to the raised portion of the track, the hairpin has five more Coins—two on the inside line and three on the outside. For Lap 1, it may not be a bad idea to take the turn wide to collect the outer three Coins. If you cut the turn early enough after collecting the three, you can still get back to the left side of the track in time to hit the small dash panel.
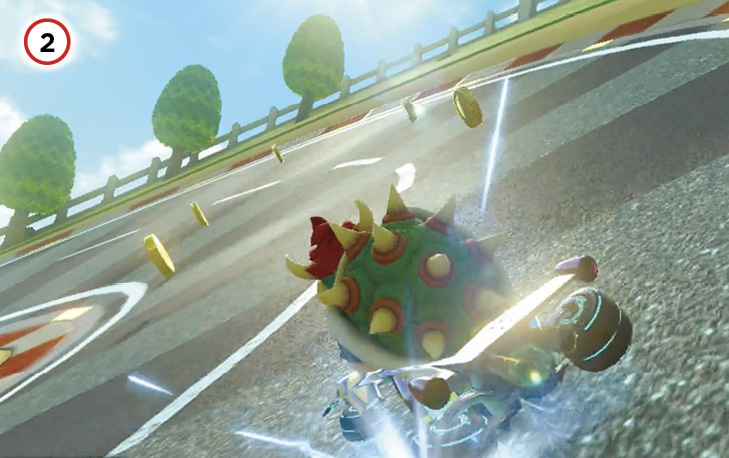
Don’t miss collecting one of the three Coins at the end of this dash panel ramp.
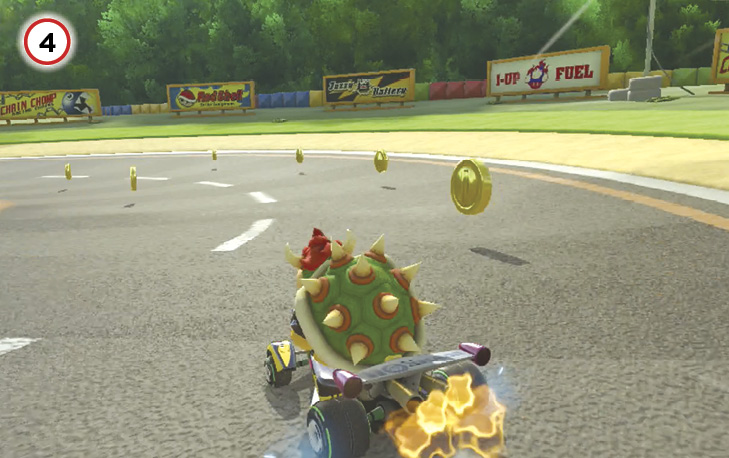
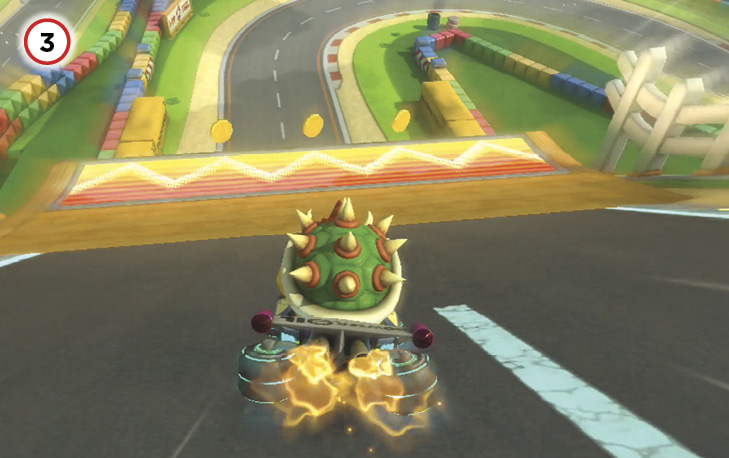
There are seven Coins to collect on this turn, but ideally you’ll only collect the three on the inside of the track during Lap 1. Don’t waste a Mushroom to reach the ramp on the grass after the turn!
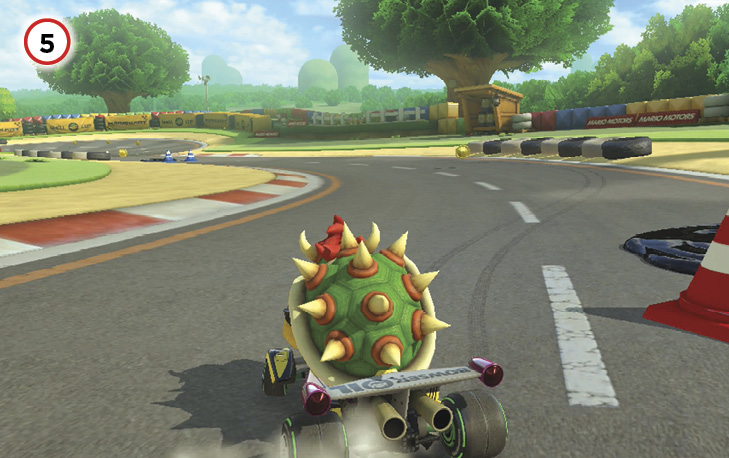
Watch the oil slicks on the road, and collect Coins if you still need your ten. Take the most direct route through the curves leading to the final turn, with minimal turning to avoid slowing down unnecessarily. Make sure you grab the Coins here if you still need them! As you reach the second oil slick, begin drifting to set up your approach for the final left turn.
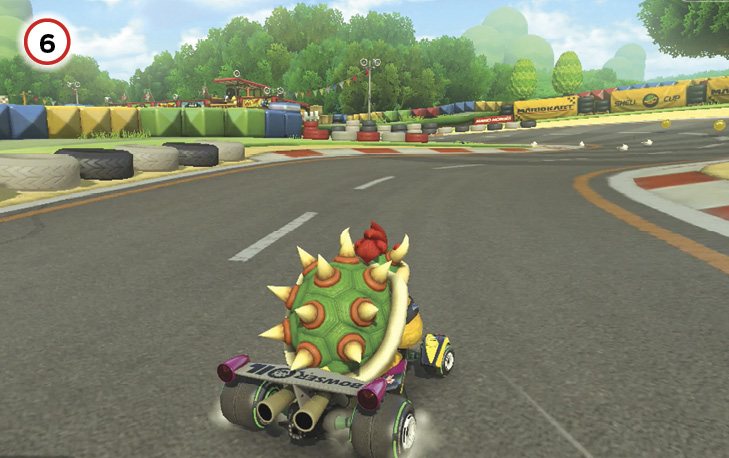
Take this last turn as tight as possible. You can also use a Mushroom to cut across the grass just to the right of the tire barrier while drifting, and Super Mini-Turbo toward the finish line.
DS Cheep Cheep Beach
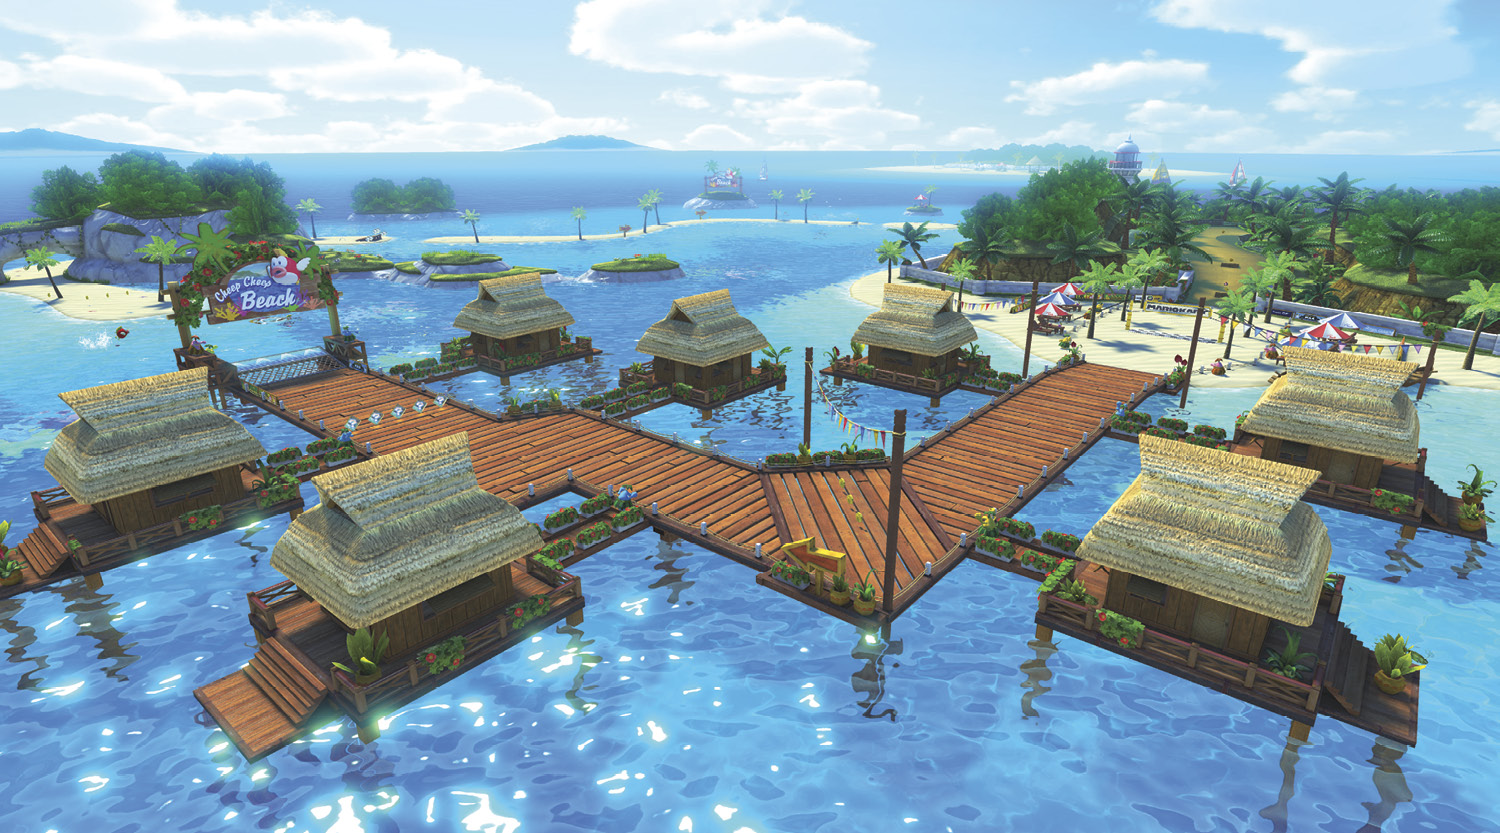
Cheep Cheep Beach is an even faster race course than it was when it first appeared in Mario Kart DS! With the ability to drive underwater with significantly fewer restrictions, this track has expanded in scope considerably, making for some very intense races during the Grand Prix. Shrewd racers have plenty of ways to cut down their lap times to stay ahead of their rivals.
Grand Prix
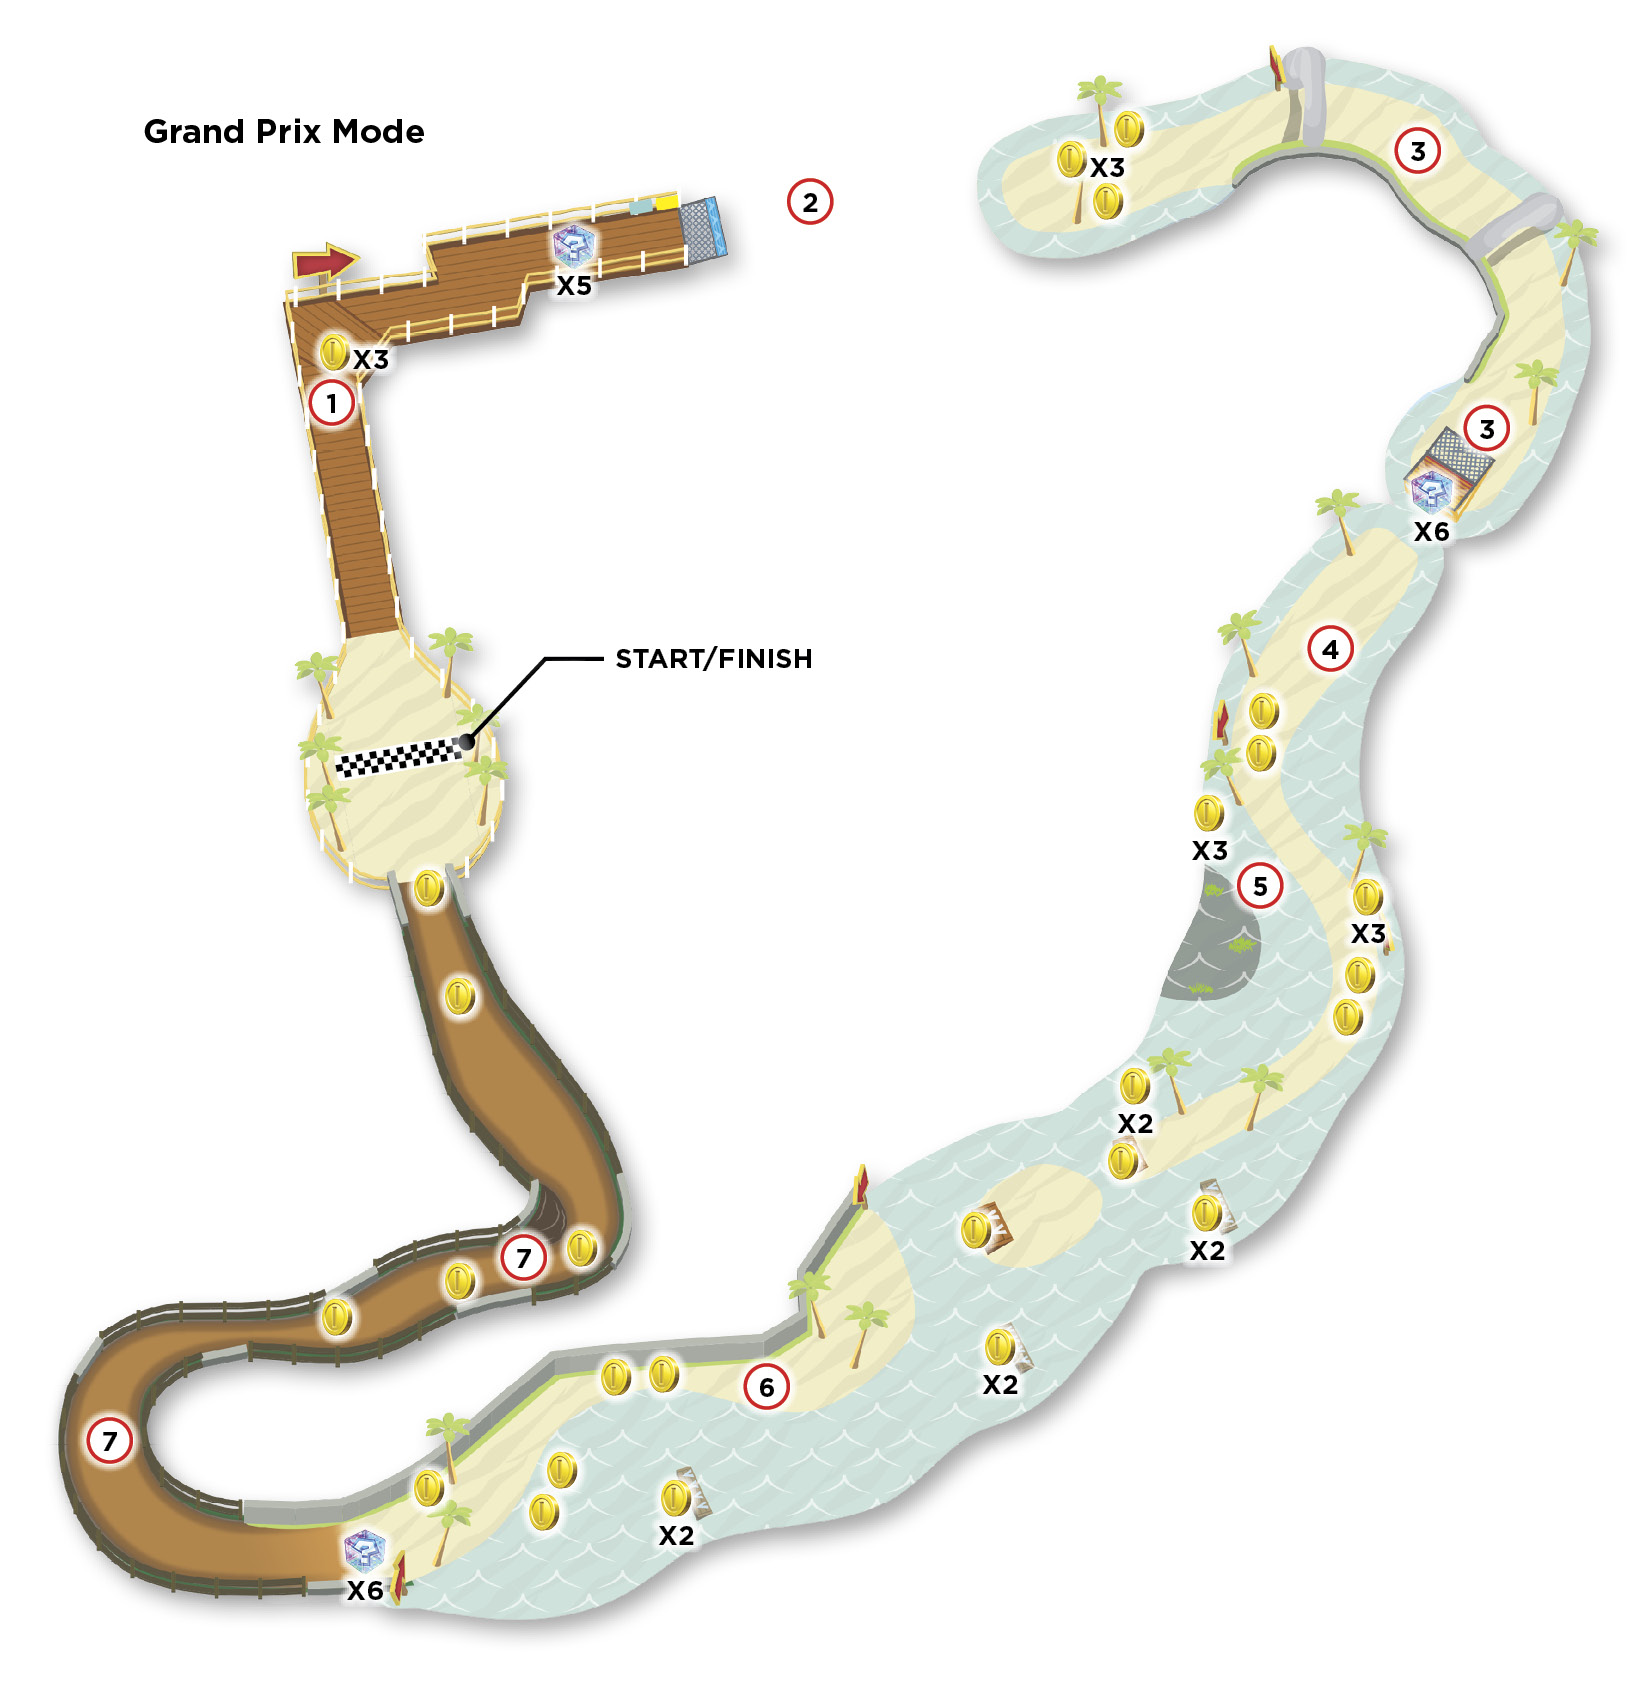
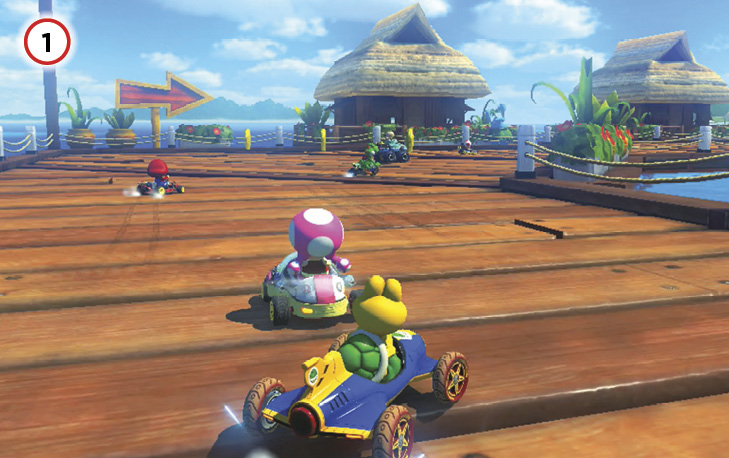
When drifting through the dock here, watch out for sudden changes to the shape of the sides of the boardwalk.
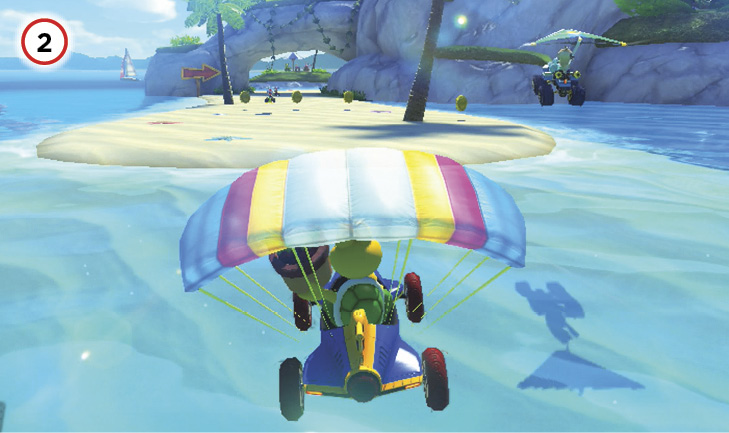
The glide ramp launches you over a large stretch of deep water. Watch out for Cheep Cheeps flying through the air, and aim to land back on the beach as soon as possible to collect some more Coins.
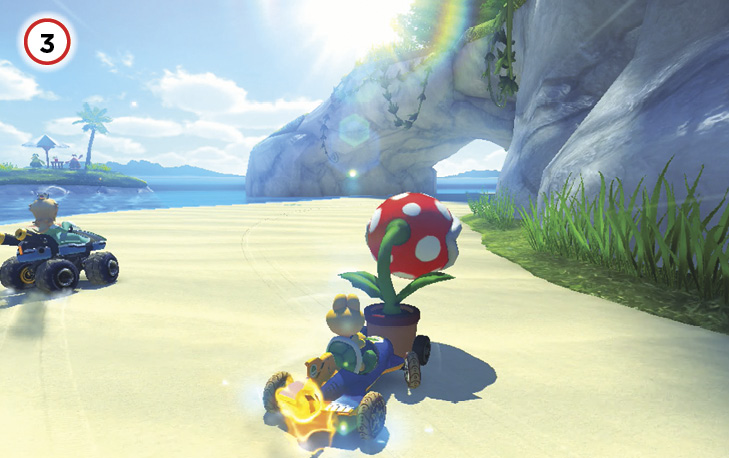
After an easy right turn, you’ll race down another section of the beach, toward a dash panel ramp and a number of Item Boxes. While you can avoid using the dash panel ramp, there’s not much call to do so. Hit it straight, aiming for the curving strip of sand poking out of the water.
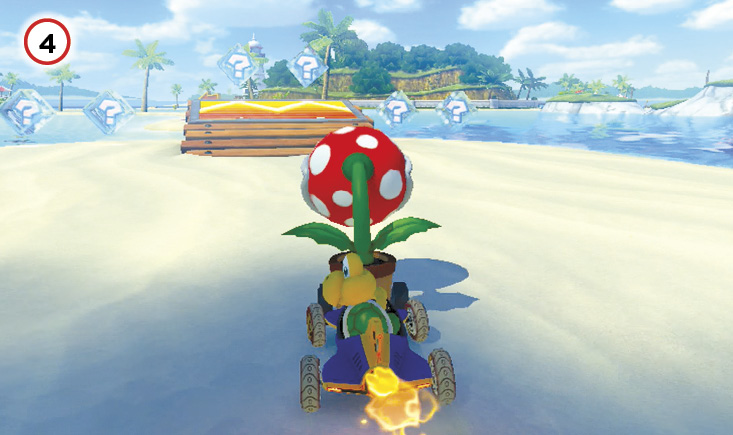
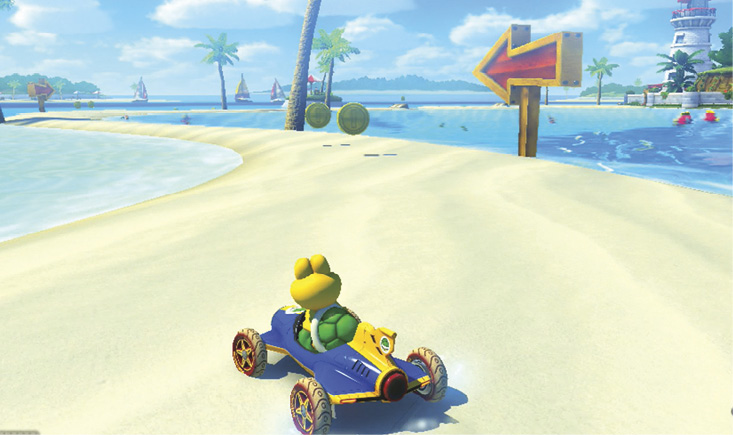
You have some options here. The waters to the left of the beach road have underwater ramps with Coins on them. The sand strip itself has plenty of Coins and a couple of ramps to Jump Boost off of, and it can be drifted through with ease. It is narrow enough that you may be forced into the water to avoid Shells and Bananas, however.
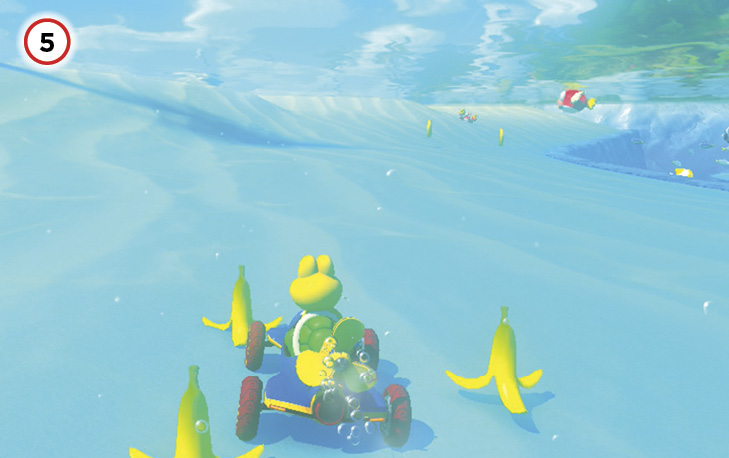
There is also a water route you can take just to the left of this red arrow telling you to make the turn. Once under the water, a Mushroom can blast you over some rough terrain—a faster choice compared to drifting around it.
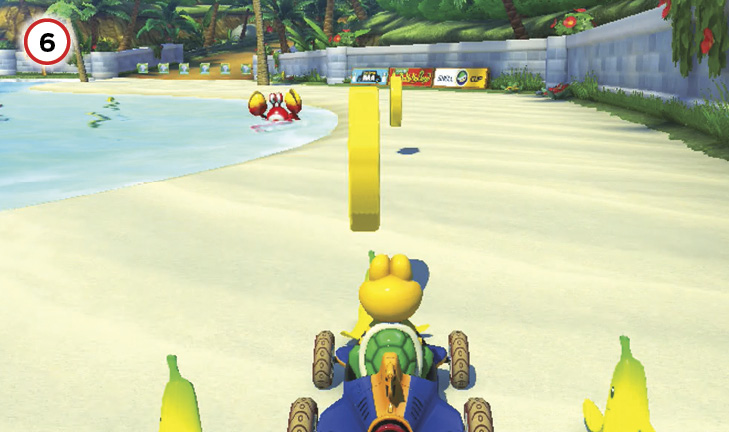
Sidesteppers will be crawling all over this section of the beach and in the waters to the left of it. We recommend sticking to the beach, collecting Coins and avoiding trouble with the Sidesteppers. Watch out for incoming items, and don’t be afraid to use the trees to block incoming Shells.
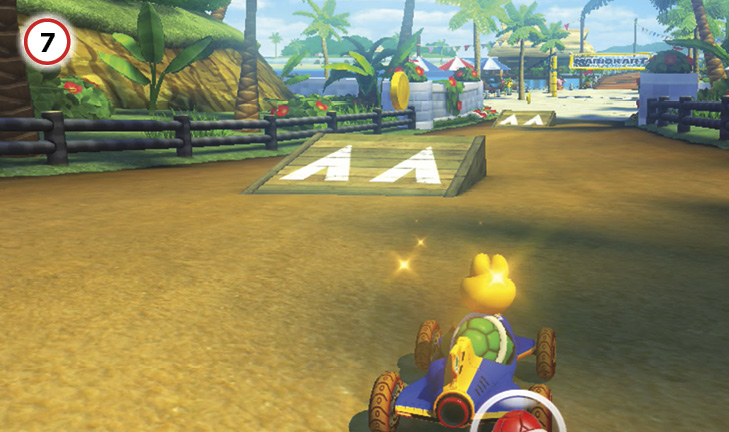
After exiting the beach via a hard right turn, smoothly work your way through the S-curves before making a final sharp left for the sprint to the finish! Watch out for the mud on the inside of the final turn, and take advantage of the ramps on the straightaway. If you have Bananas, set them down in front of the ramps. You might catch other racers with them.
Time Trial
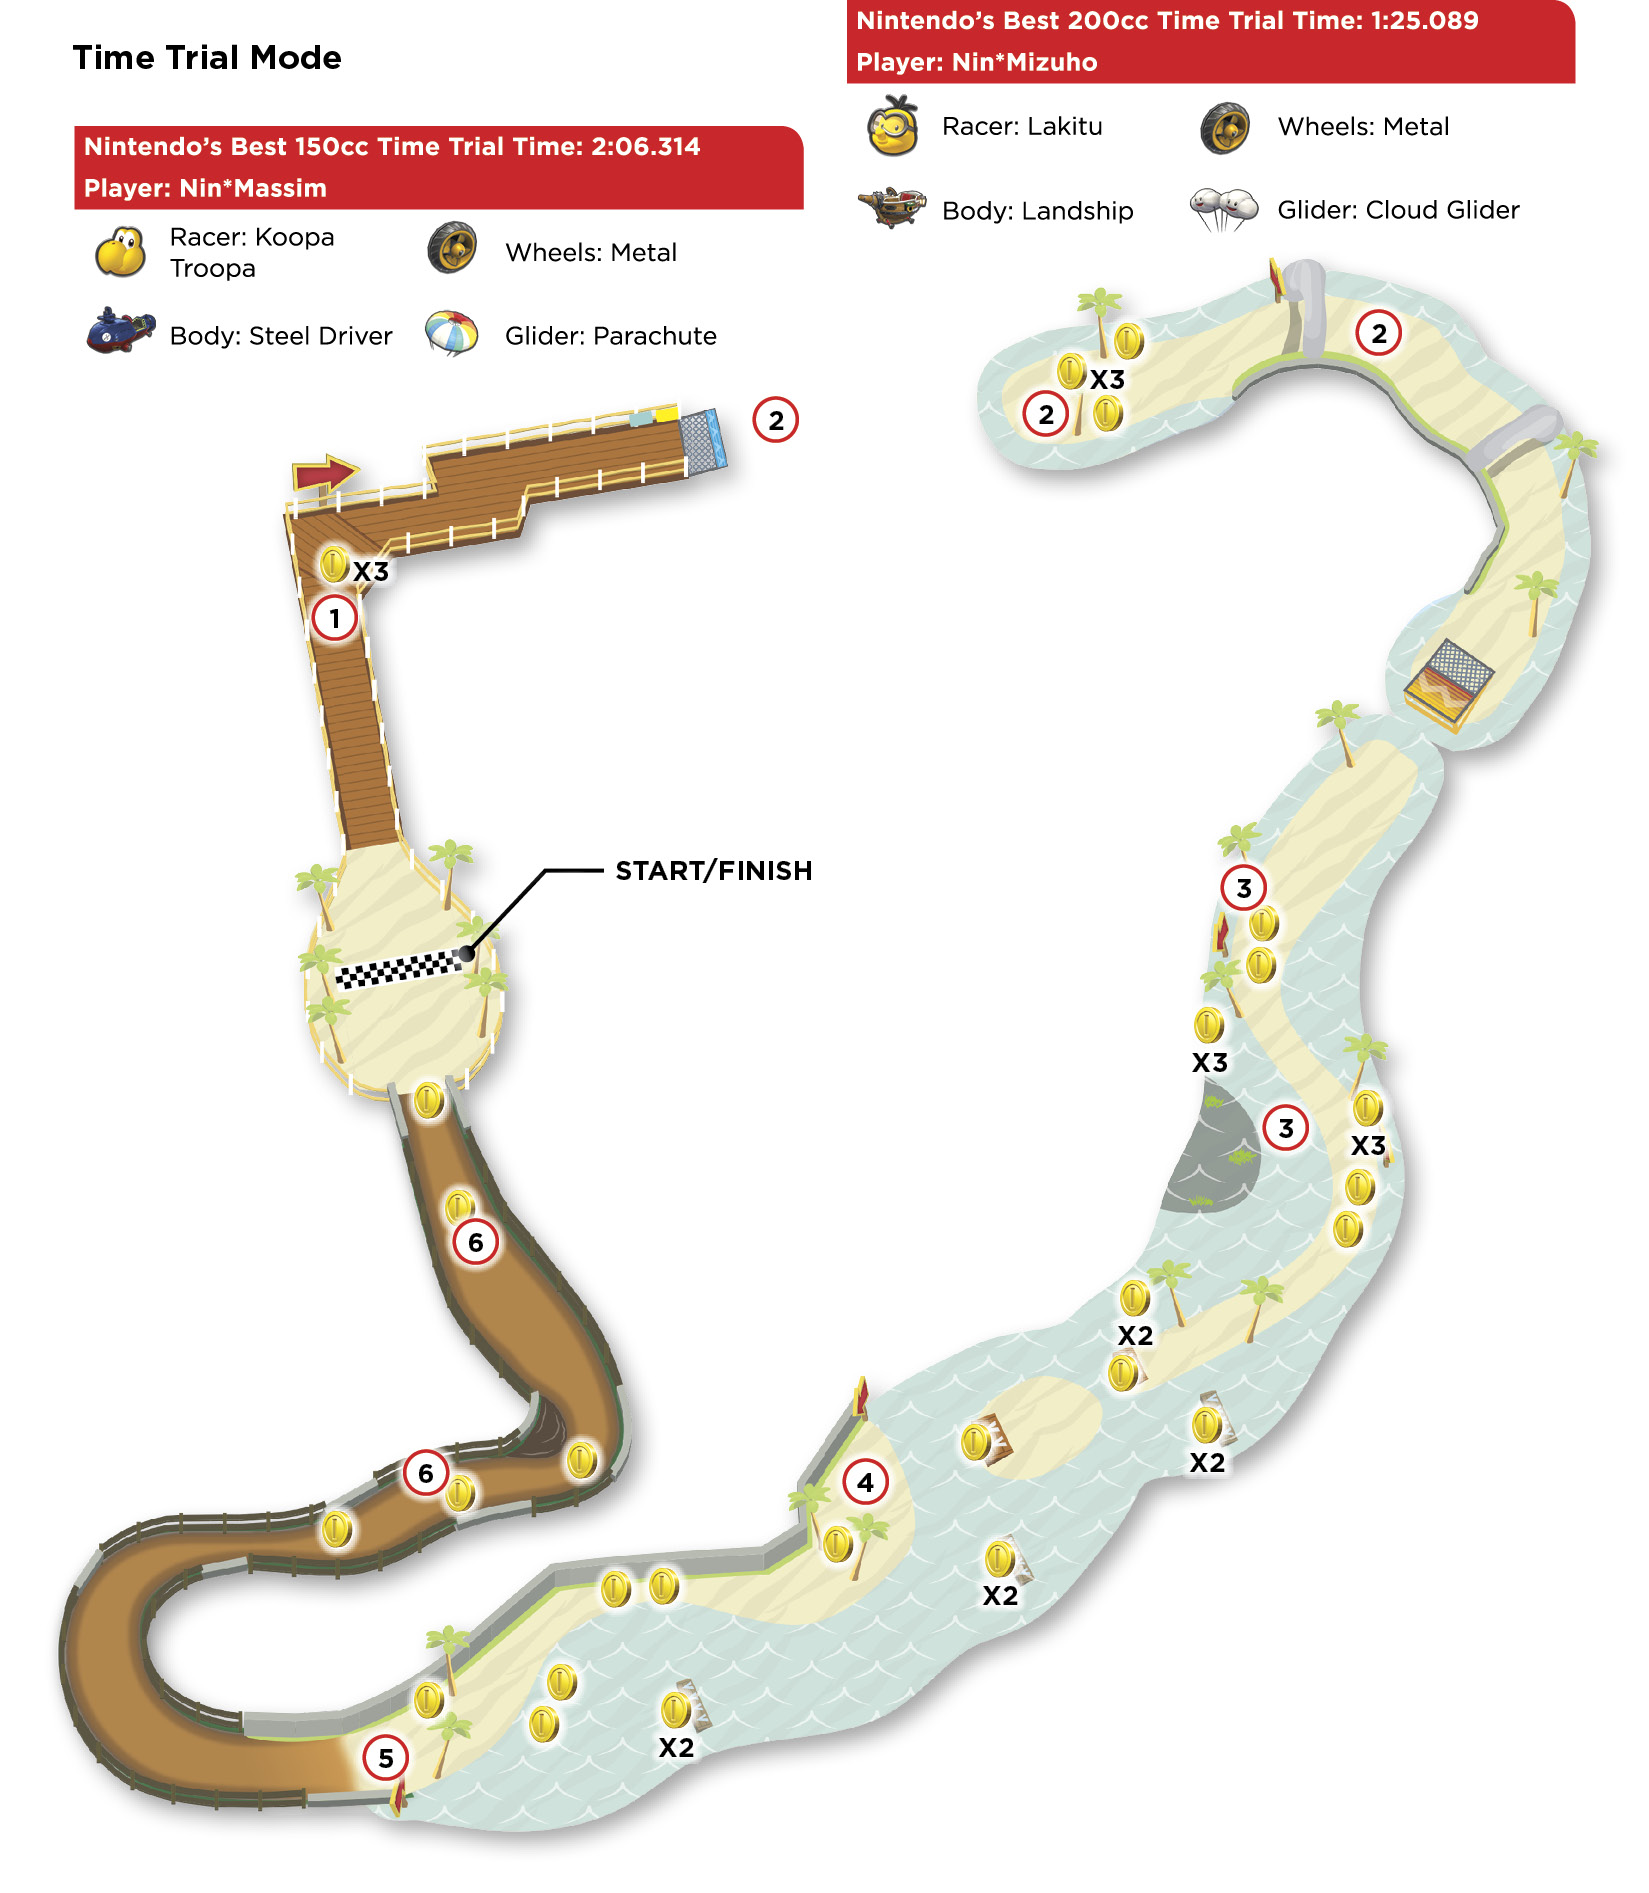
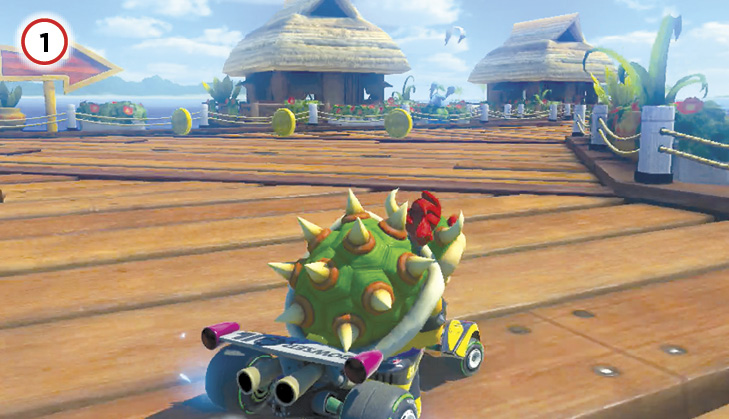
Take the first turn as tight as possible. On Lap 1, collect at least one of the Coins.
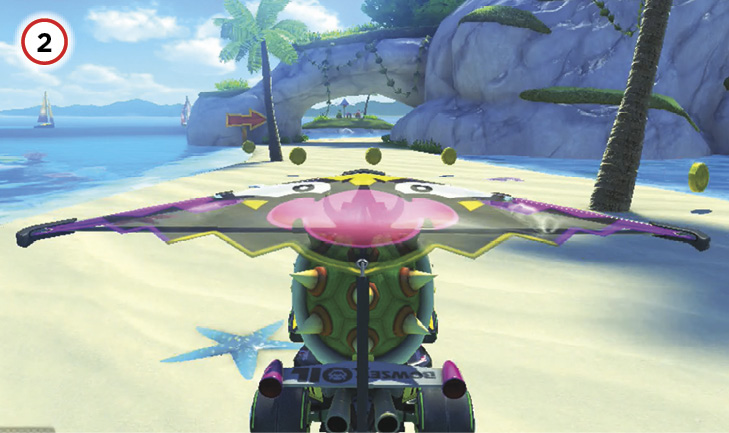
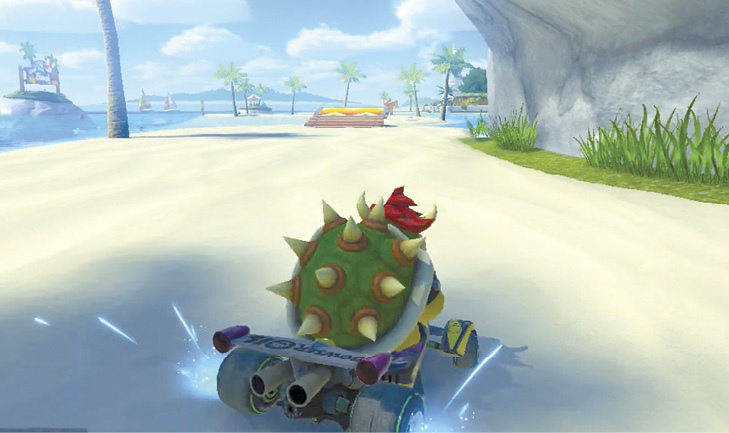
The flight across the water should not be dragged out more than necessary. Hit the beach ASAP and collect a Coin as you roll on through. Drift through the following turn as close to the rocks on the right as you can, making sure to pull off a Super Mini-Turbo before you take the next dash panel ramp across the water.
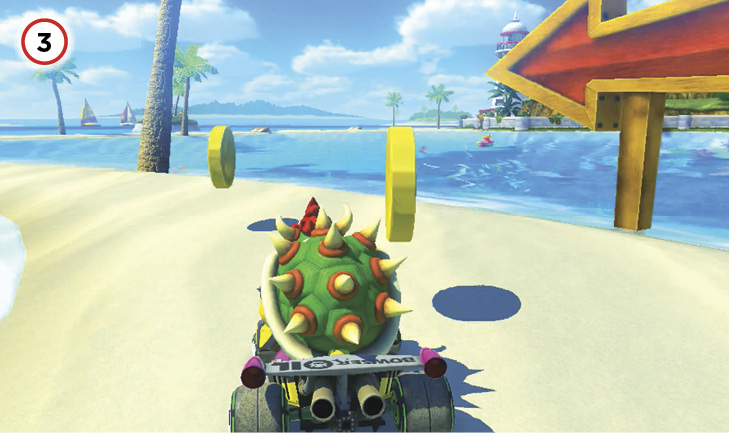
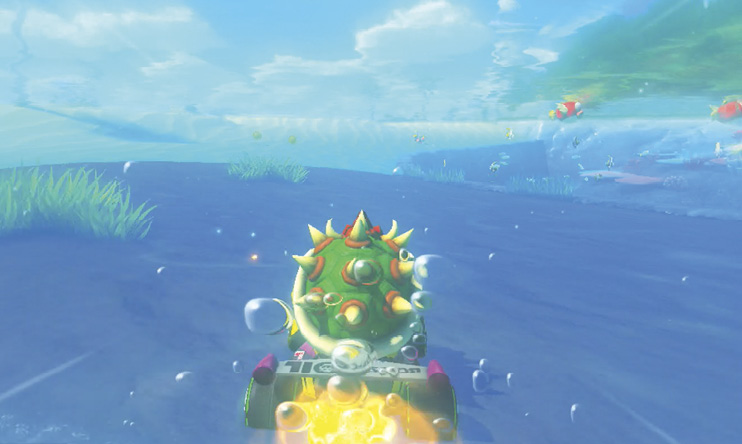
The big shortcut that was optional during the Grand Prix is essential here. Go into the water just to the left of the red arrow sign, collecting a Coin in the process. Under the water, use a Mushroom to cross the dark patch of terrain, making sure that you don’t fall into the chasm to the right of it. Ignore the Coins you see to the left!
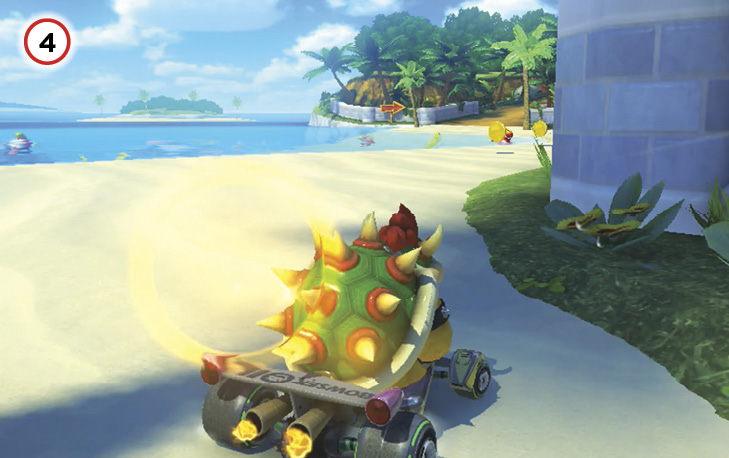
As you exit the water, avoid any Sidesteppers that wander into your path, and aim to take the route between the pictured tree and the wall to the right to collect the Coin there. From here, you can either stick to the beach and collect a few Coins there, or you can drive through the shallow water for a more direct route toward the final portion of the course.
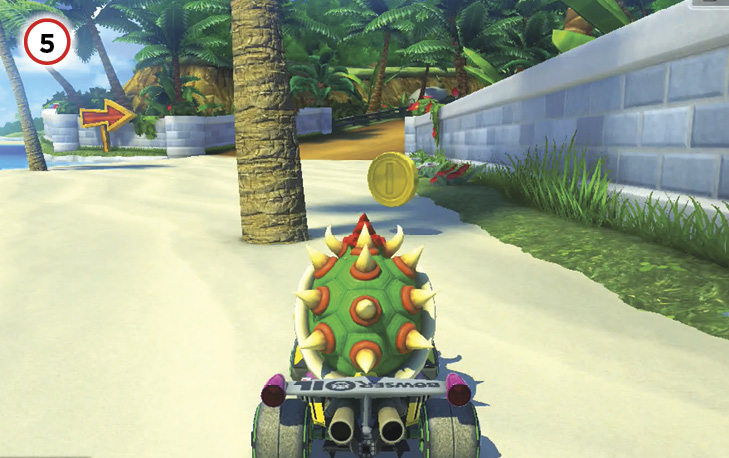
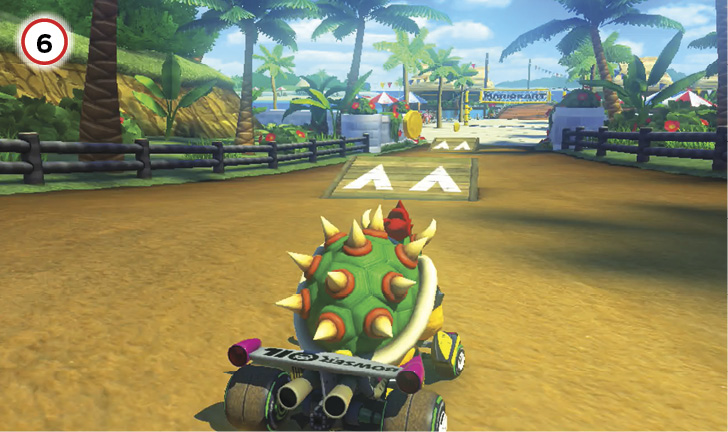
Another Coin can be found close to the exit of the beach, between another tree and the retaining wall on the right.
The run toward the final left turn has three more Coins you can collect. Afterward, if you’re still not at ten Coins in Lap 1, you have two more Coins you can collect as you Jump Boost from the ramps on the final straightaway. If you have ten Coins, avoid these ramps altogether.
N64 Toad’s Turnpike
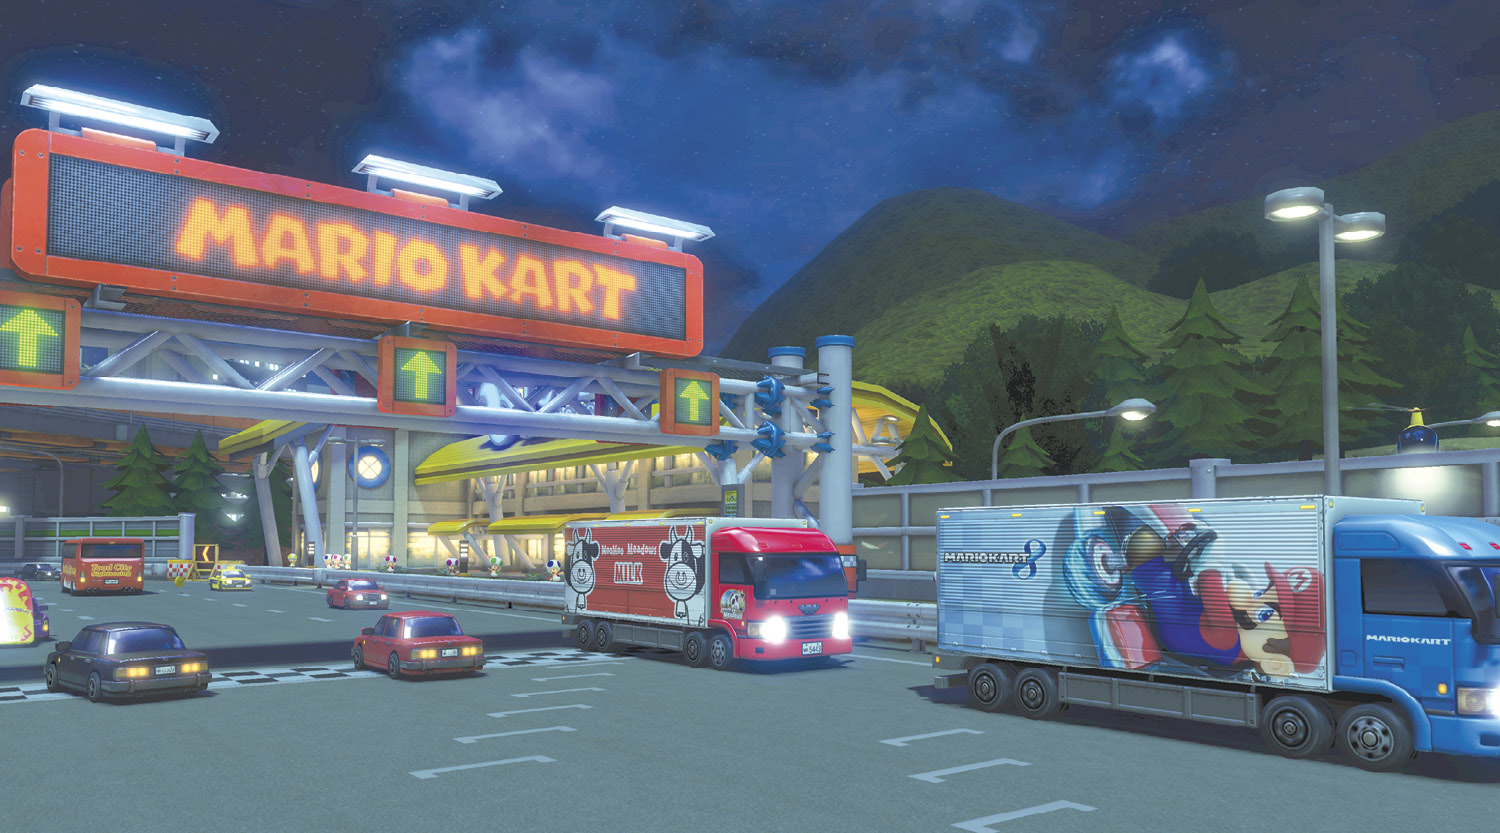
Looking at the map, Toad’s Turnpike doesn’t seem like a very tough course to drive through. However, this multi-lane freeway is filled with all manner of vehicles, large and small, and its drivers don’t exactly believe that the racers have the right of way.
Grand Prix
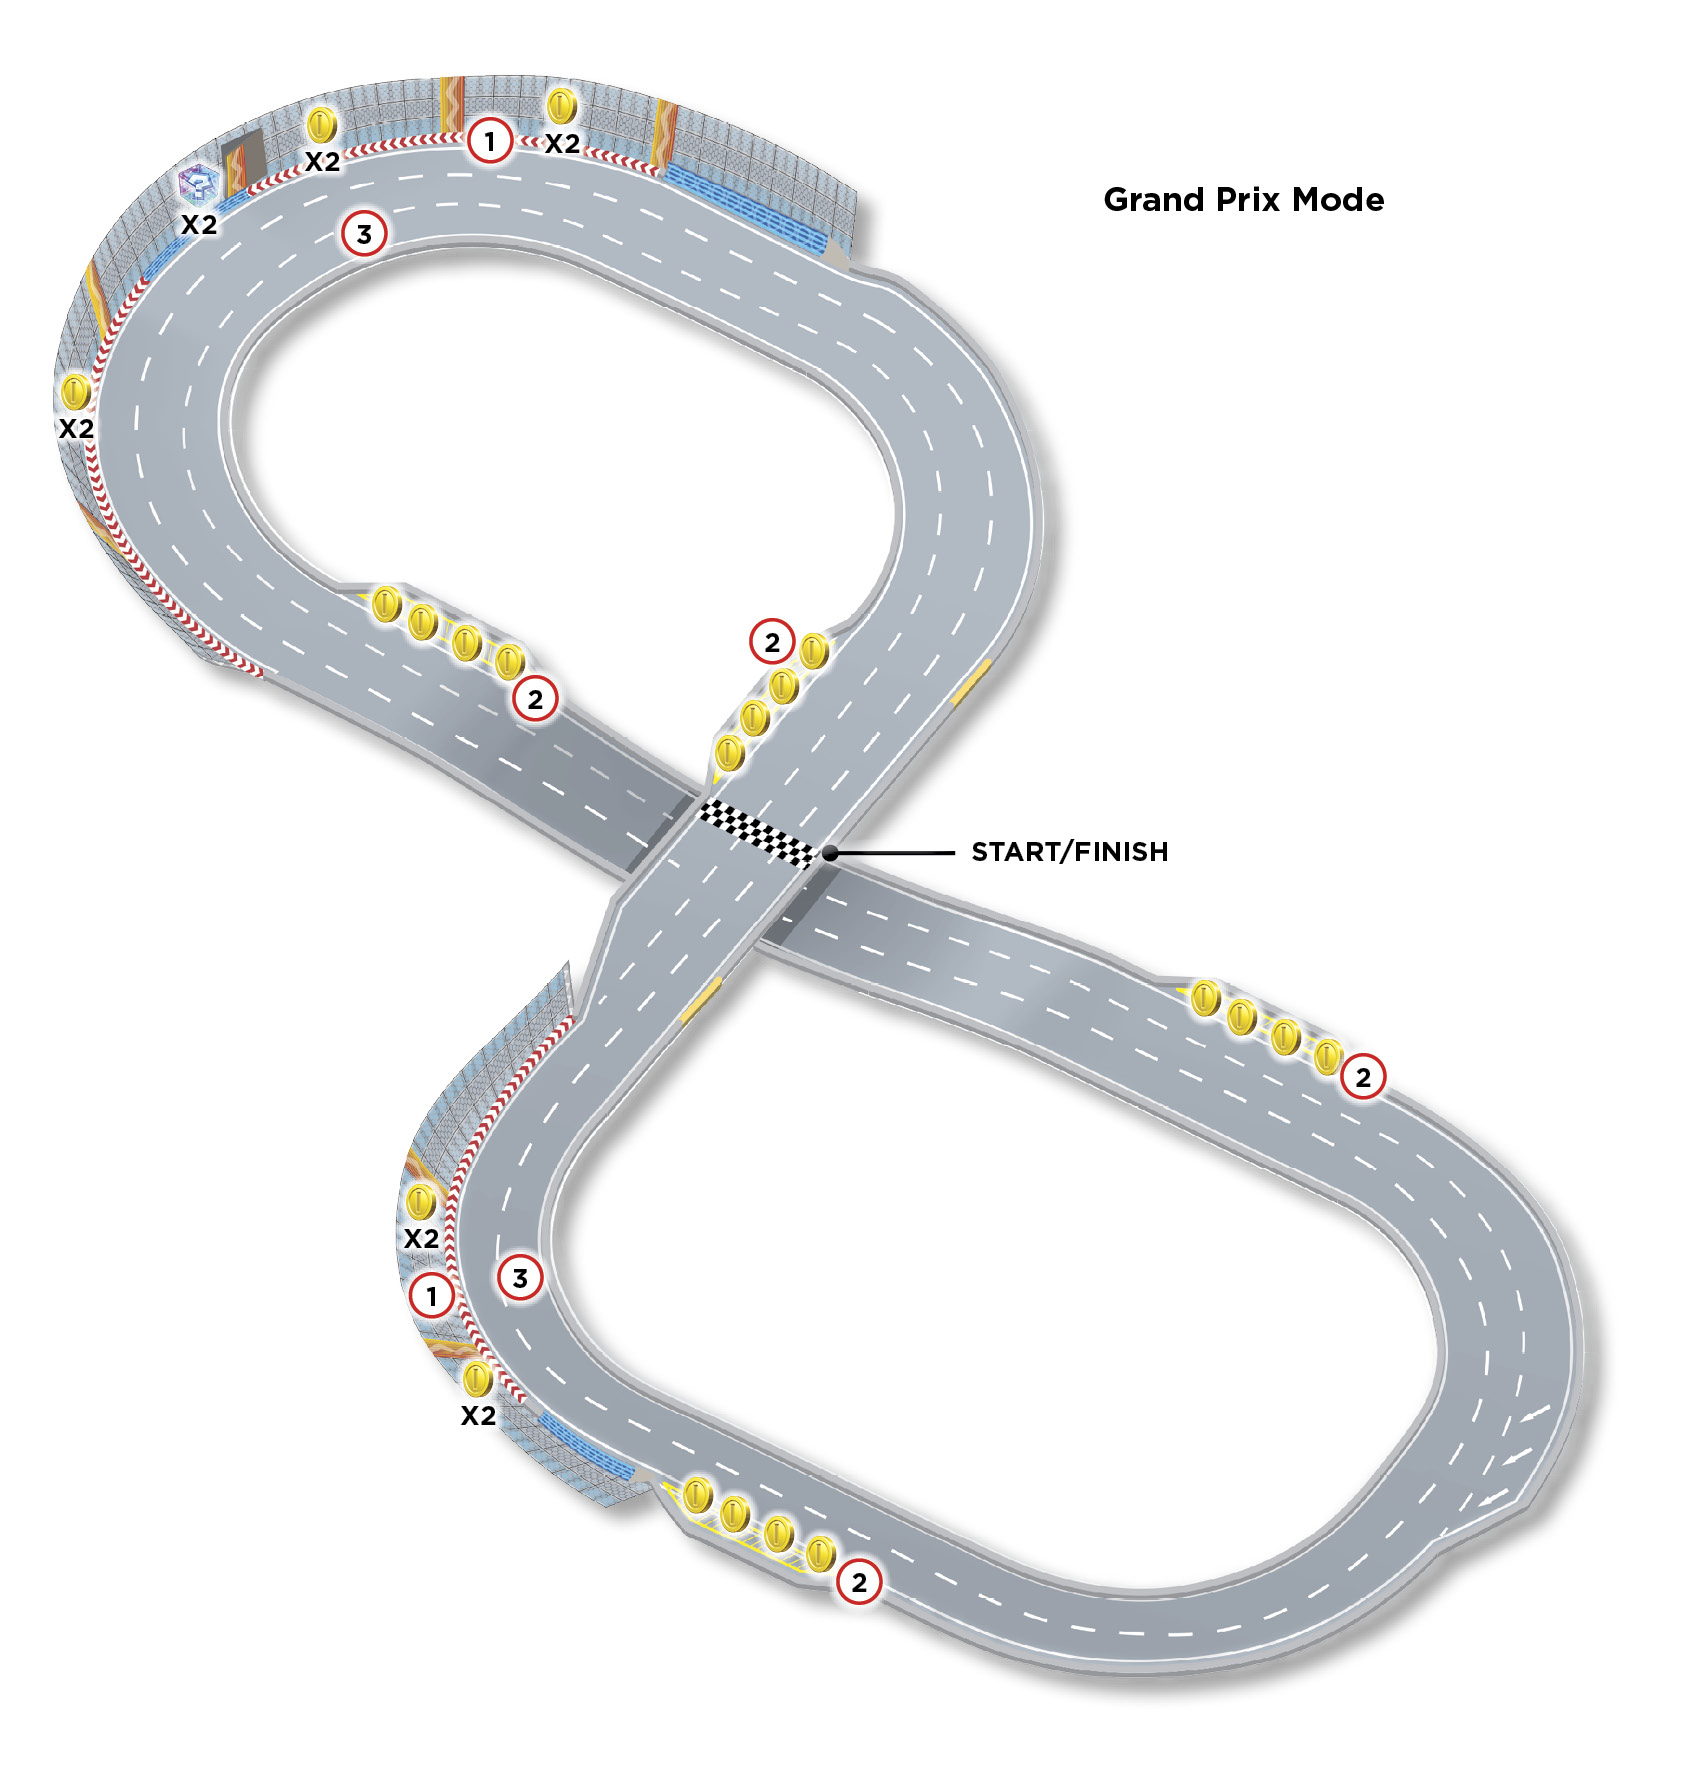
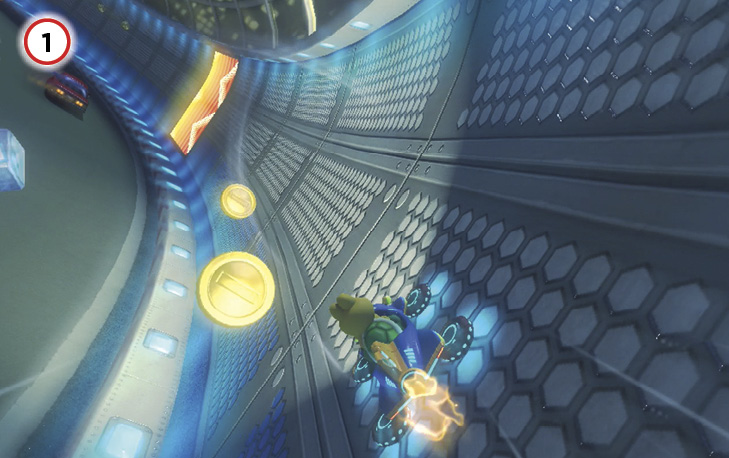
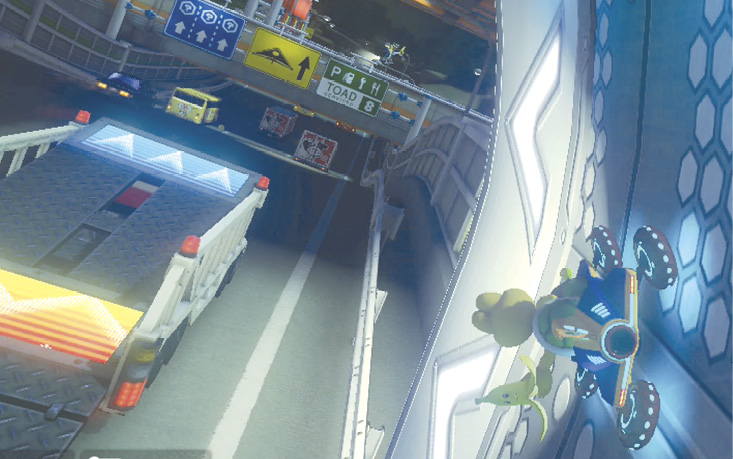
There are two sections on Toad’s Turnpike where you can ride the walls and use dash panels to pick up some good speed while collecting Coins. The big danger with these walls, besides items from rival racers, is jumping off them back onto the track. Occasionally, traffic might be in your way, and a crash can be very inconvenient to deal with!
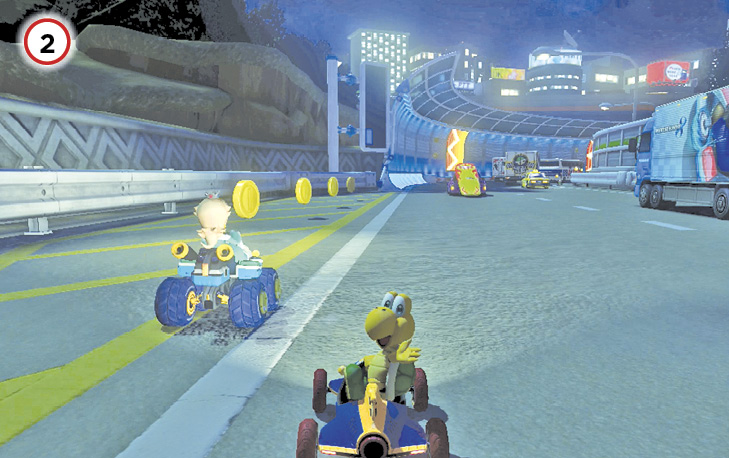
As you race, keep an eye out for small outlets in the side of the road where rows of Coins are located. If you’re out in front but have rivals close behind, you can deny them groups of Coins while maintaining your lead!
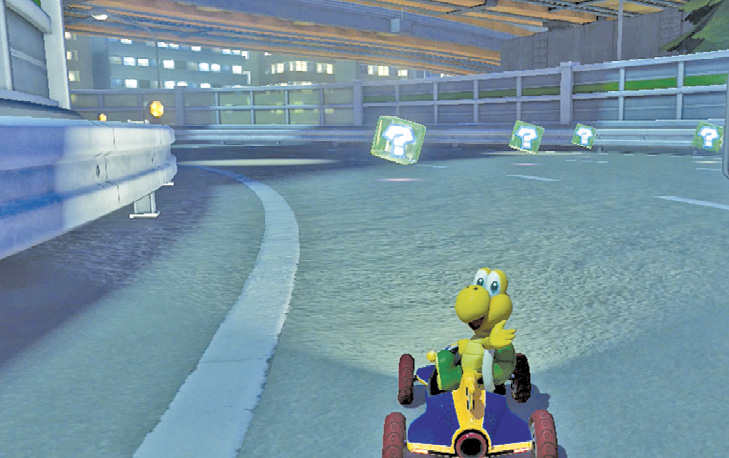
Item boxes on the road move with traffic, which can make getting equipped with something to attack and defend with difficult at times.
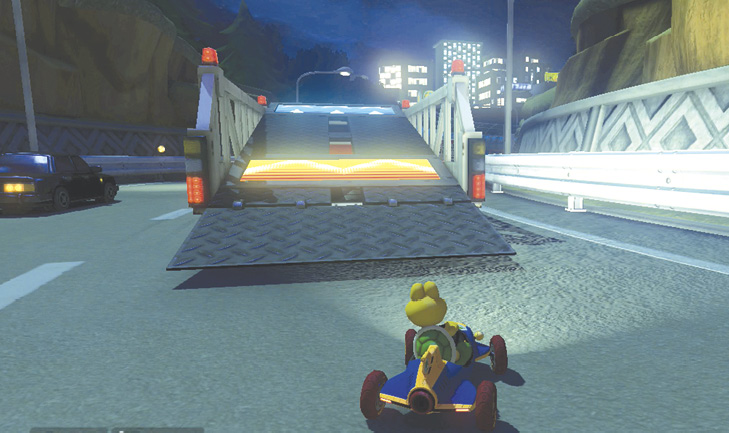
Watch for opportunities as you race to use dash panel ramp trucks to start gliding through the air. It’s possible to land on top of some cargo trucks and Jump Boost off the ramps at the front of the cargo containers. Just make sure you don’t go flying into other vehicles, or off the track itself!
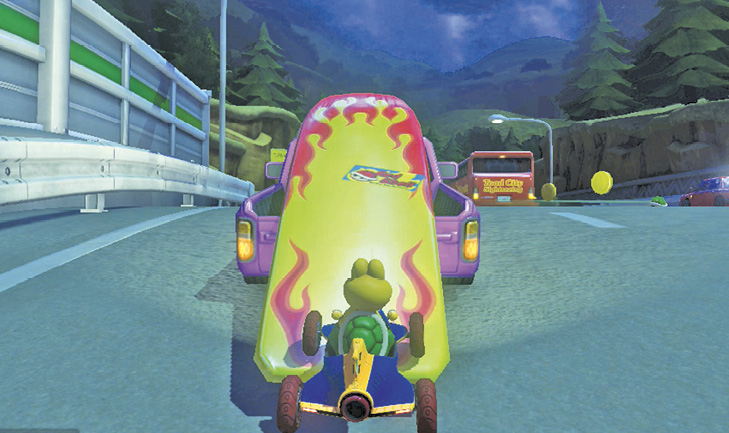
Occasionally, you’ll encounter smaller vehicles with surfboards you can Jump Boost off of. As with the larger ramp trucks, watch where you’re jumping to avoid an accident!
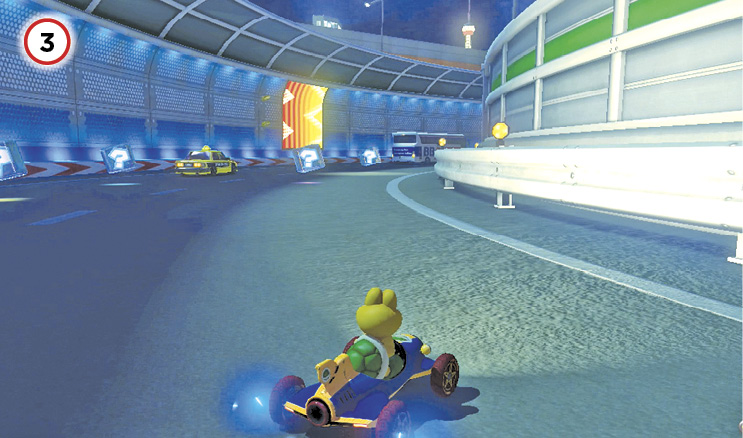
Depending on your Coin situation and your position in the race, rather than riding the walls when you can, you might want to stick to the ground to drift and Mini-Turbo as much as possible on the very inside lane of the course. This is technically faster, but can be very dangerous when traffic is factored in. Even the heaviest racers can pull this off with practice!
Time Trial
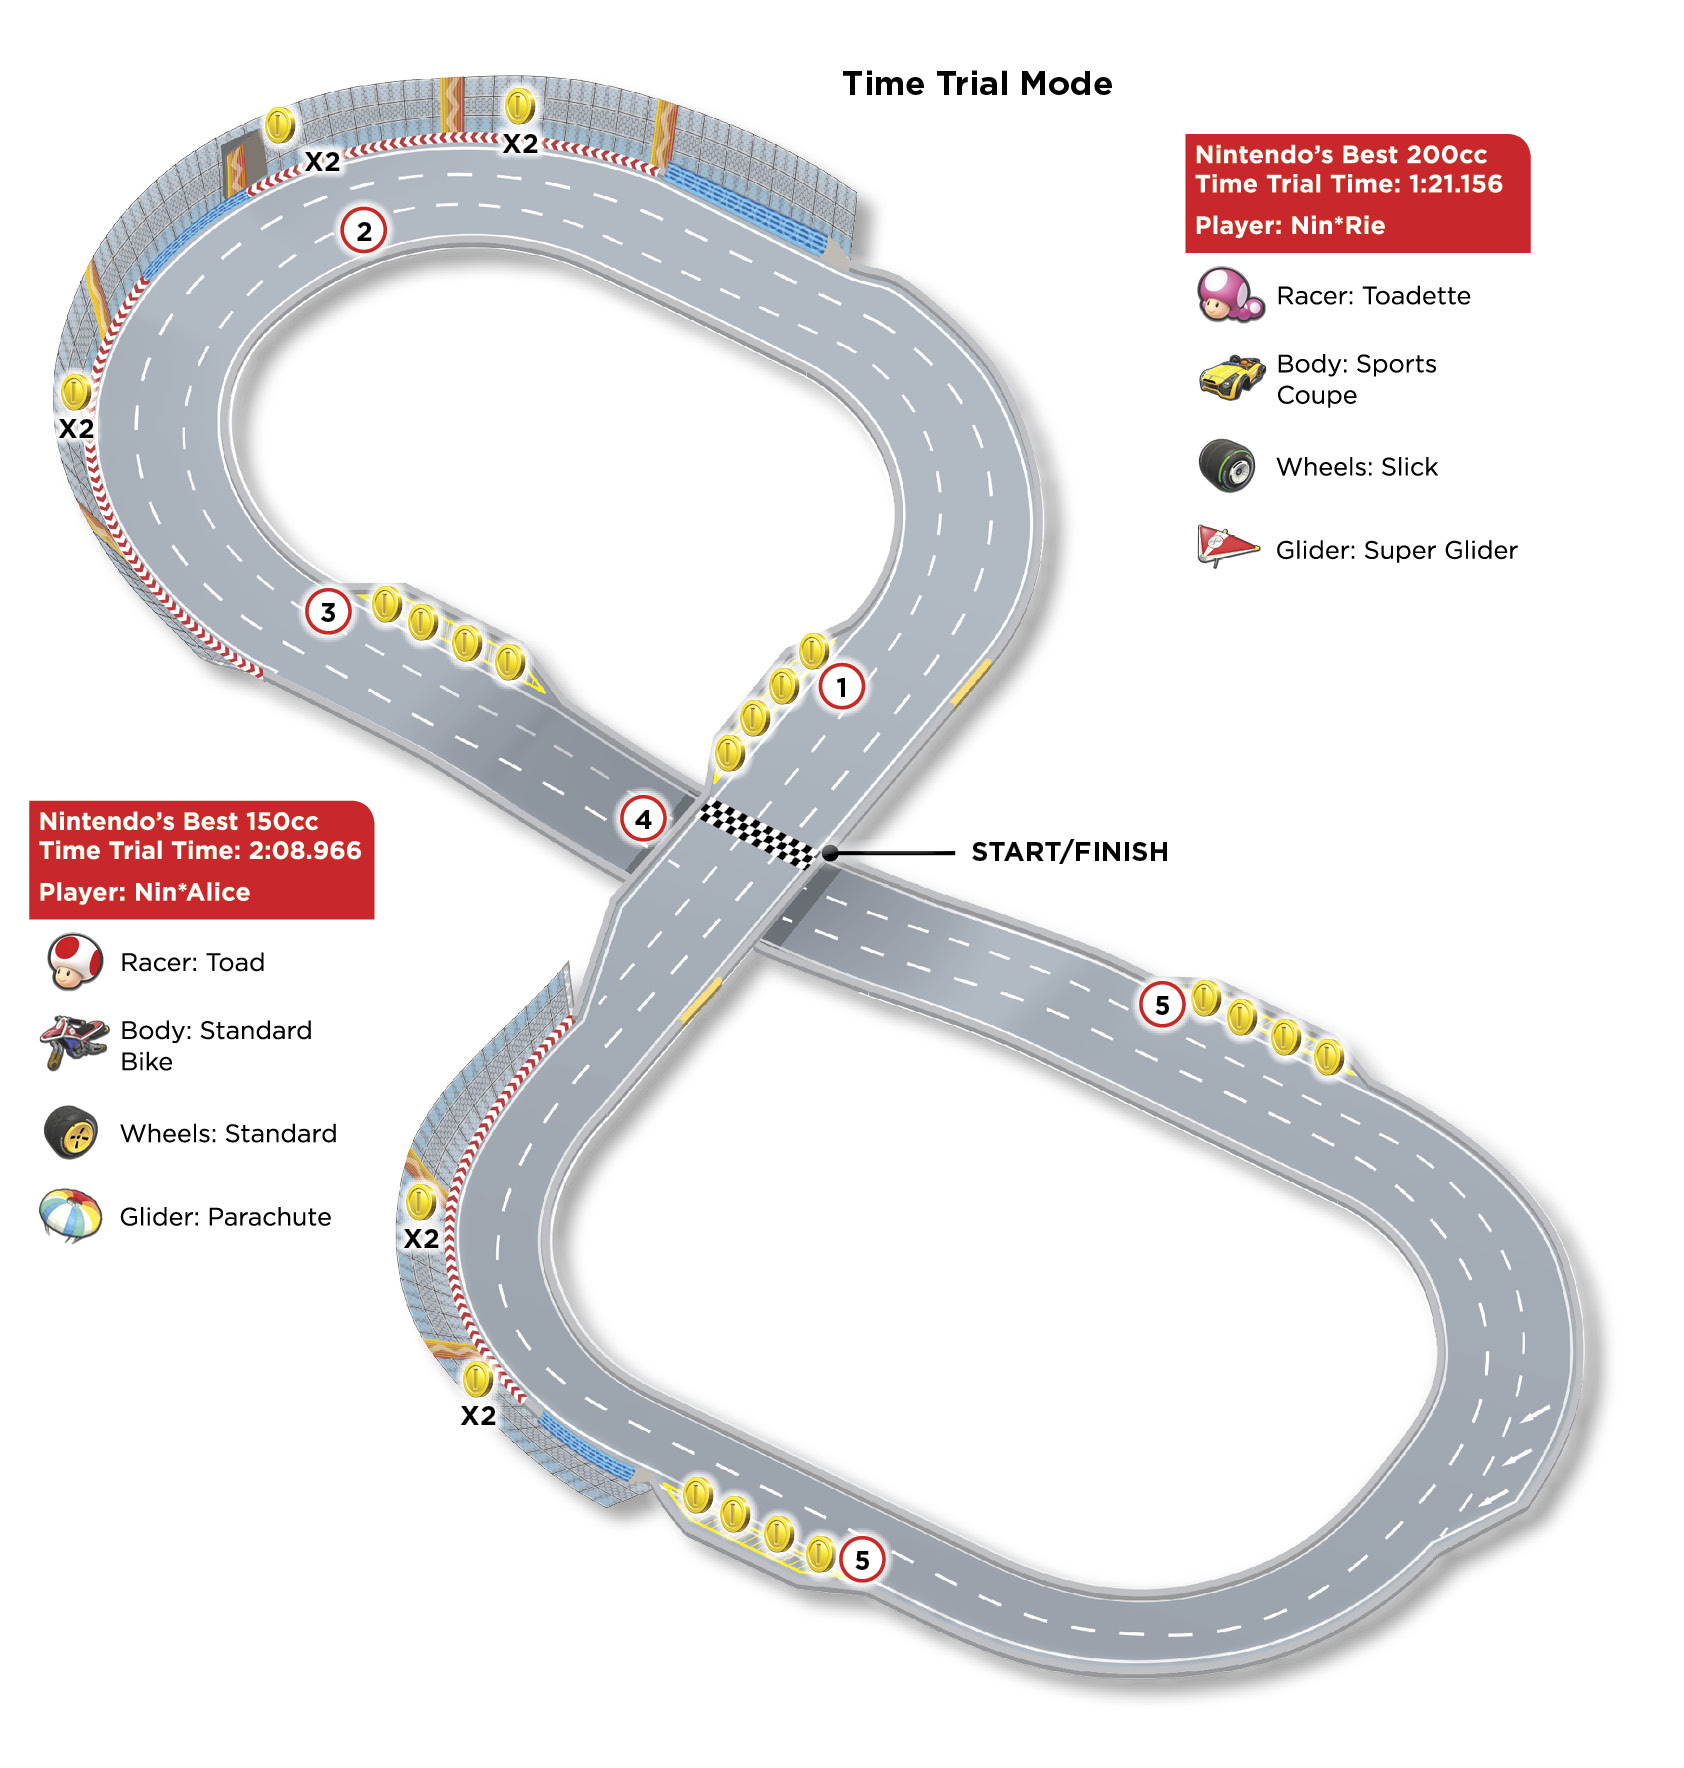
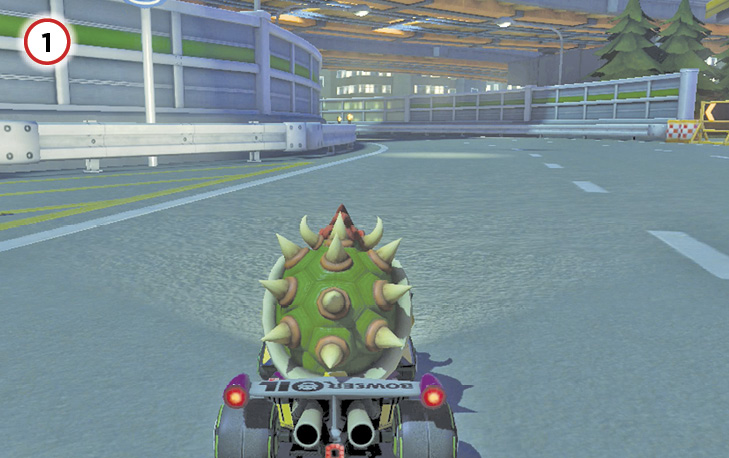
You’ll pass up some Coins on the left side of the track just as you start. Pass them up initially, and head straight for the first big turn. You can collect these later if you need them.
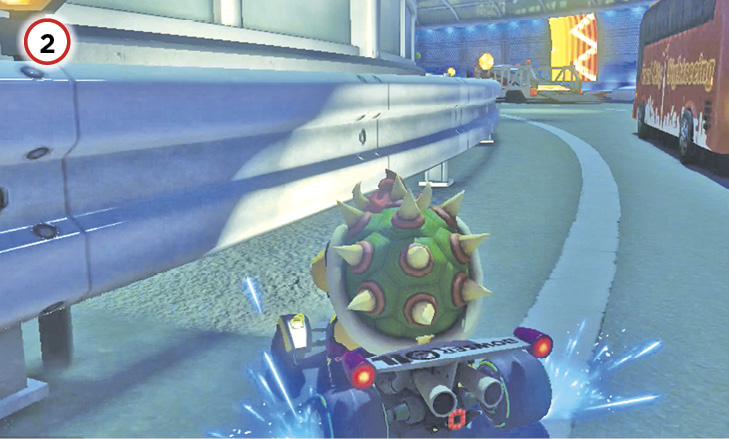
The speed of riding the walls is deceptive! You’ll actually save time by drifting and Mini-Turboing on the inside of every turn on this course. This means you’ll have to squeeze between vehicles and the retaining wall, but it’s worth it!
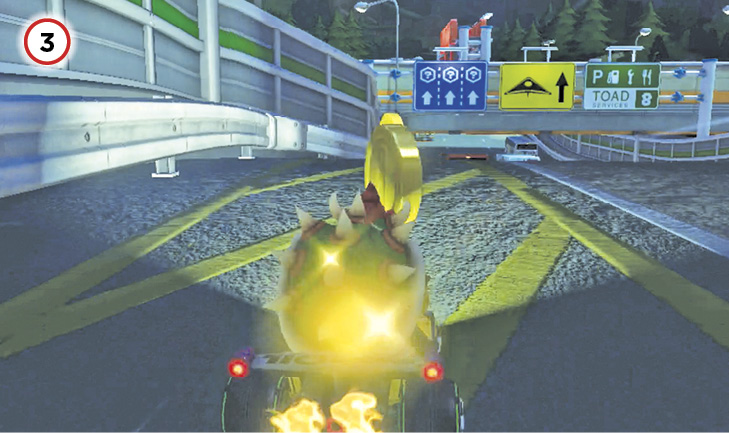
As you exit the first big turn, stay on the left side of the track to collect four more Coins. Then begin switching lanes to the right while maneuvering around traffic and avoiding turning so violently that you lose your forward momentum. The transition to the right side of the course should be smooth.
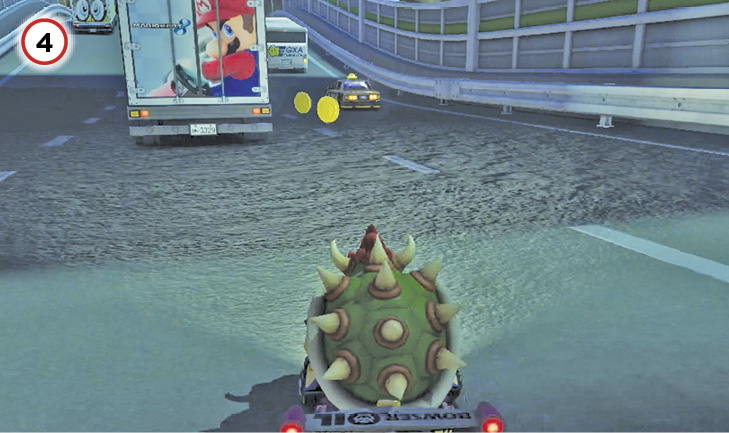
Watch for Coins as you’re making your way to the right side of the course on this long straightaway. This is also a good place to use Mushrooms for that extra burst of speed.
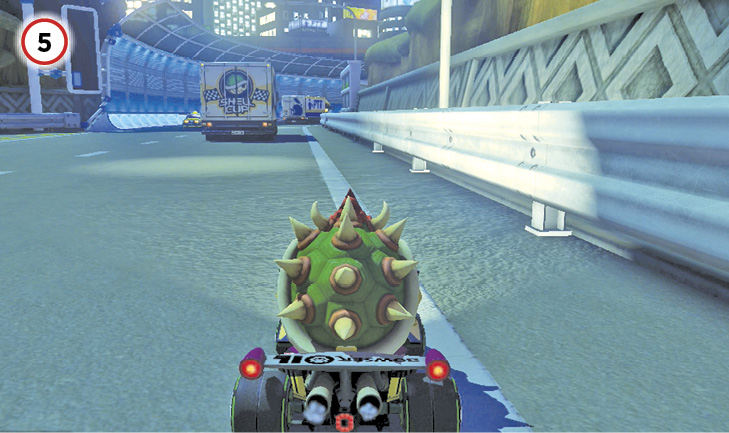
You might be tempted by the Coins on the left side of the track as you head into the final turns. Ignore them and stick to the inside line. You can make up for missing the Coins by collecting the ones just past the start line.
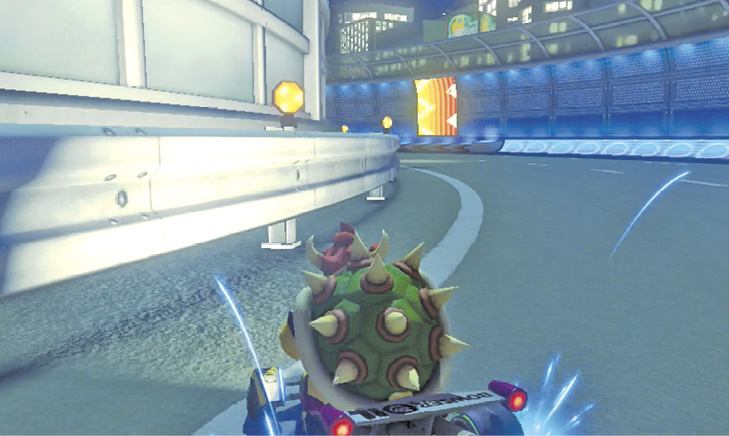
Every turn should be taken as tight to the inside wall as possible. Ideally, you’ll be drifting and Mini-Turboing during this. Traffic will complicate things over the course of three laps, but you’ll have to deal with it if you want to post fast times on this course!