
Mario Kart 8 Deluxe Guide The Tracks
Leaf Cup

DS Wario Stadium
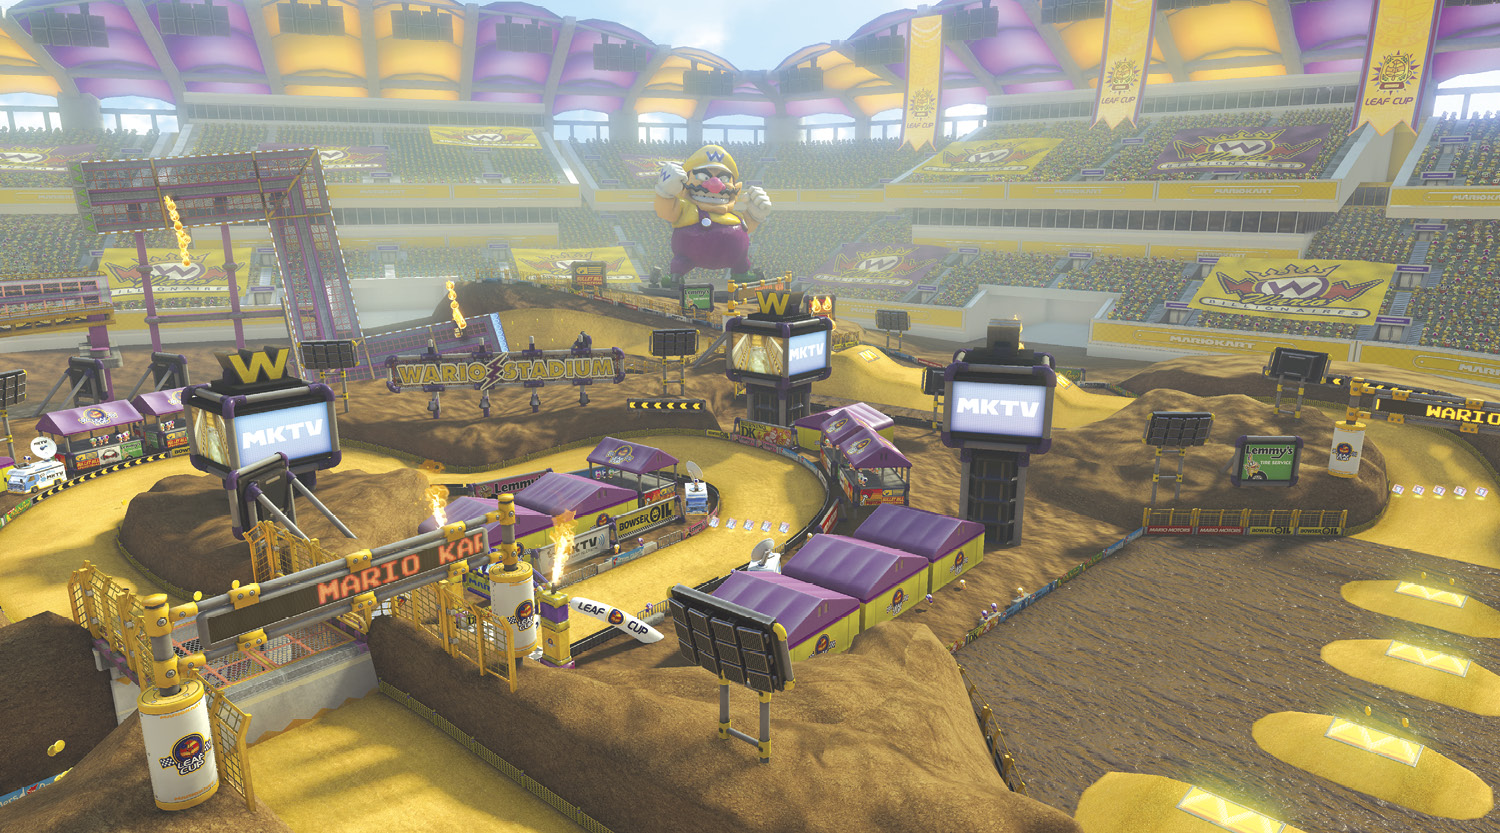
Big hills, many dash panels, and massive jumps make Wario Stadium one of the most exciting courses in the whole game, fitting for its return to the Mario Kart circuit, and a proper opener to the Leaf Cup! Racers will have to do their best to nail every leap accurately to come out on top.
Grand Prix
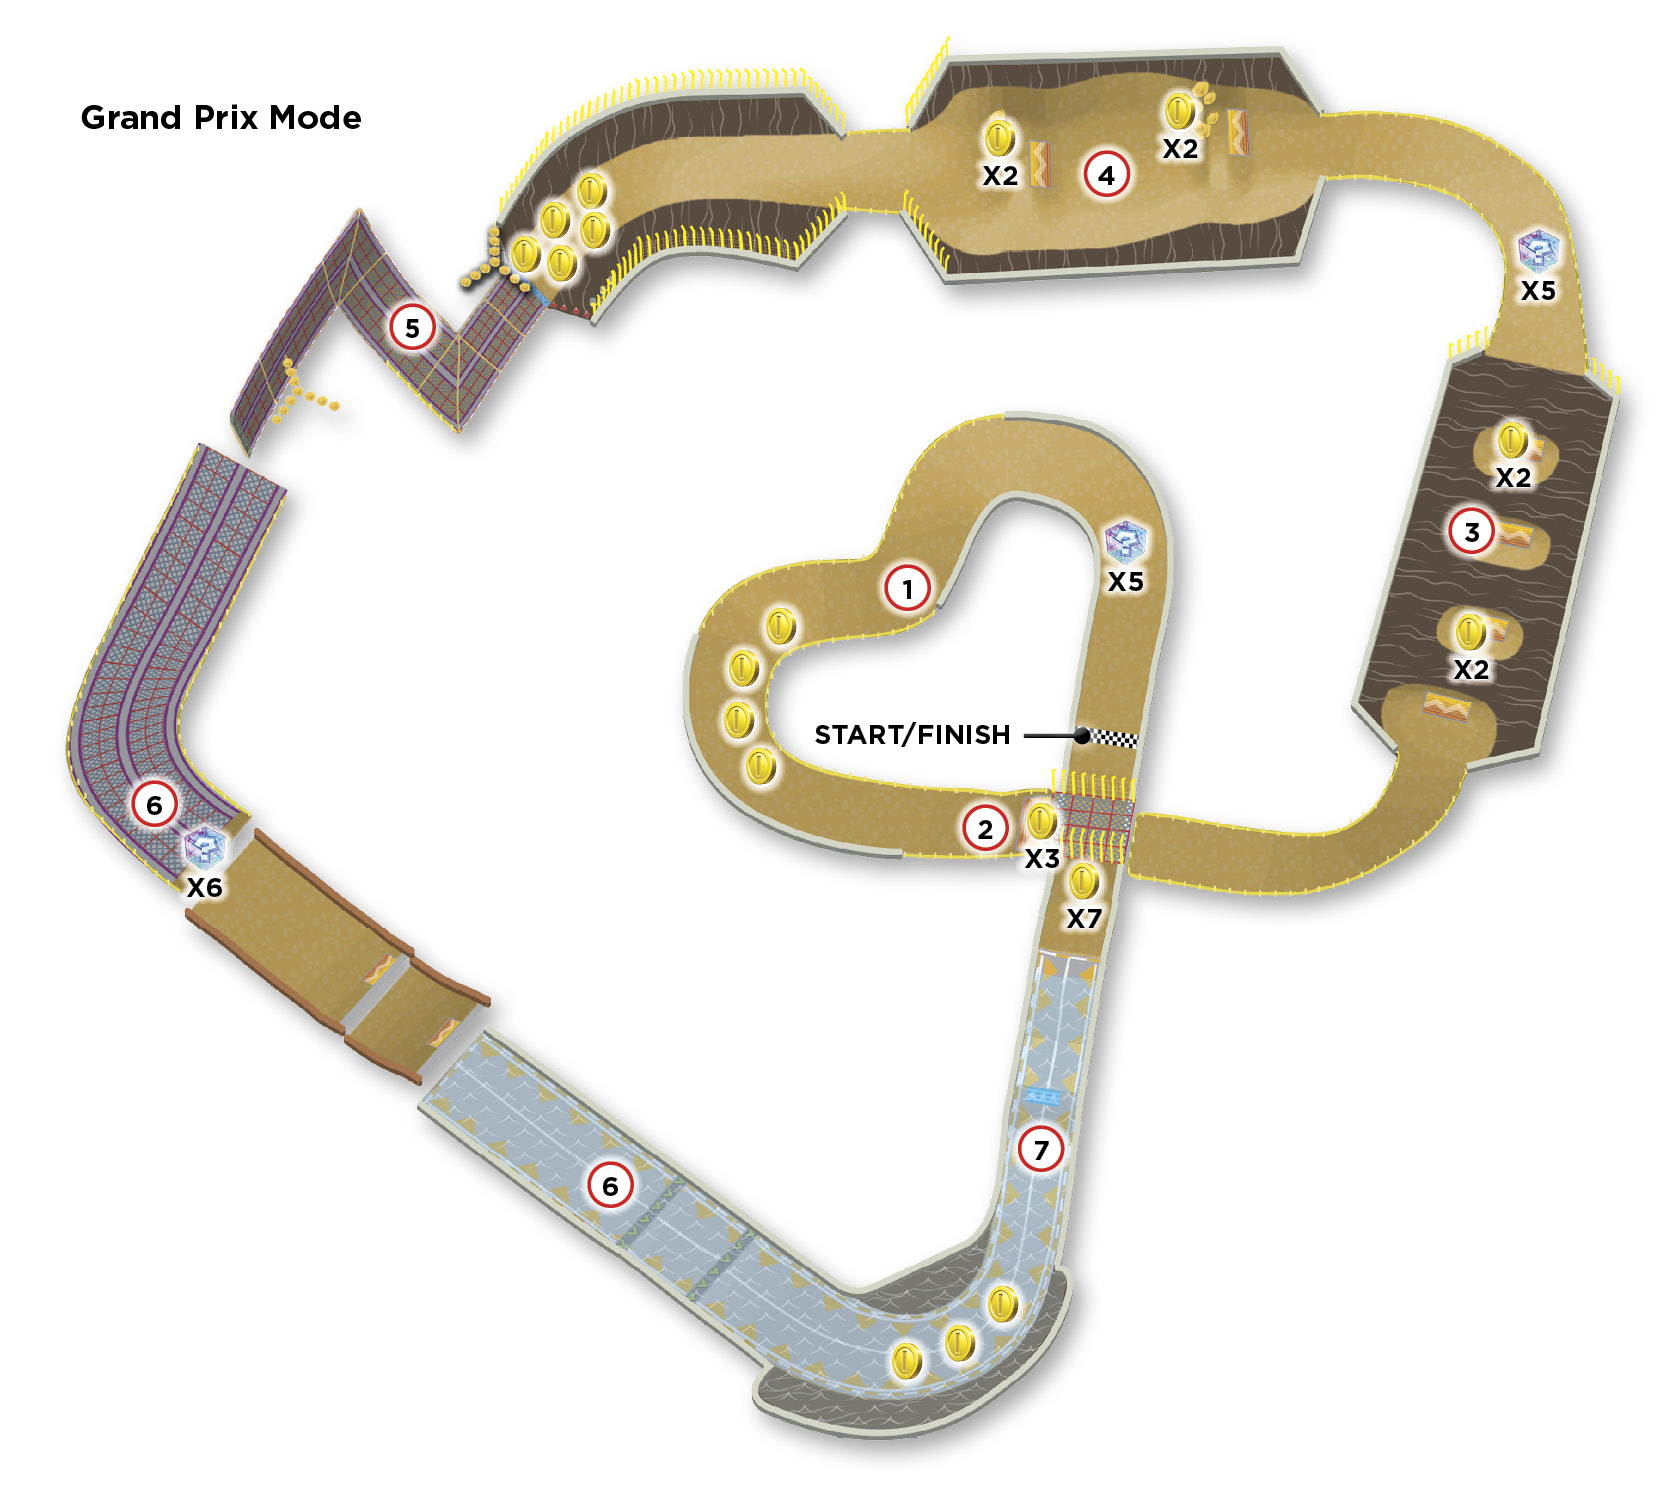
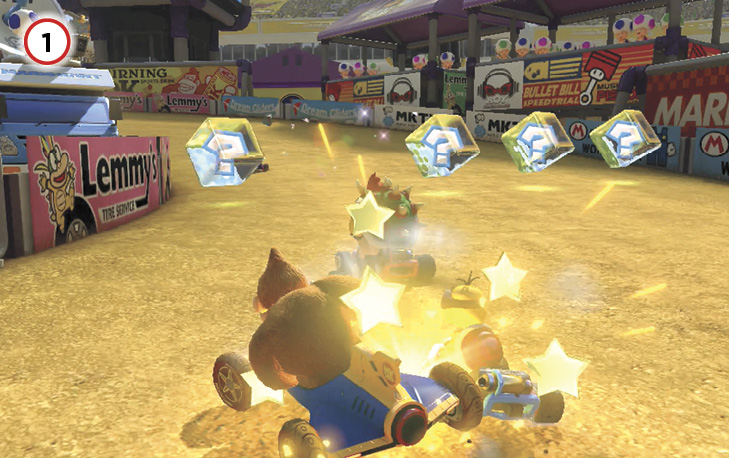
Three sharp turns greet racers almost immediately beyond the start line, with only a small group of Item Boxes before you reach the first turn. Don’t be surprised at the start of this Grand Prix that you struggle to break out of the pack early on while navigating the turns!
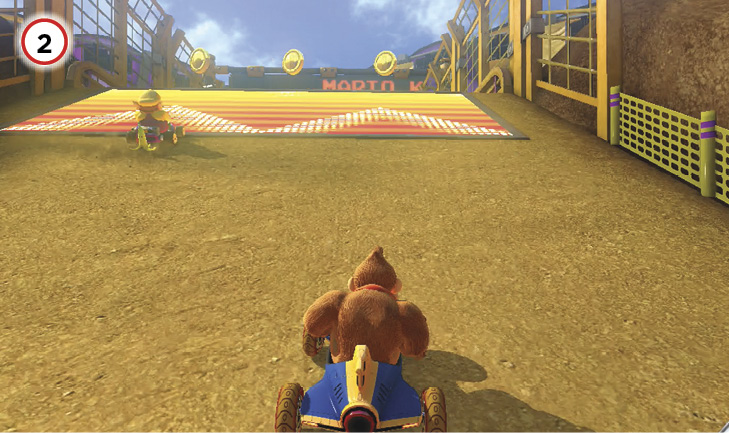
This first jump can trip up unprepared racers, as a sharp left turn awaits just as you land from it. Like with any jump on this course, it’s a great place to use Bananas to trip up close pursuers.
The four small island ramps in the sea of mud here can all be Jump Boosted, allowing a racer to reach insane speeds before the upcoming left turn... but at the cost of control. Racers blitzing through this section will not have an easy time evading shells fired back at them, or missing Bananas placed on the ramps themselves.
These two large jumps have fireball rings just behind them. The jumps themselves are offset slightly, making it tough to hit both dash panels while keeping up your speed and avoiding the fire rings. You can really ruin a racer’s day with a well-timed item attack here!
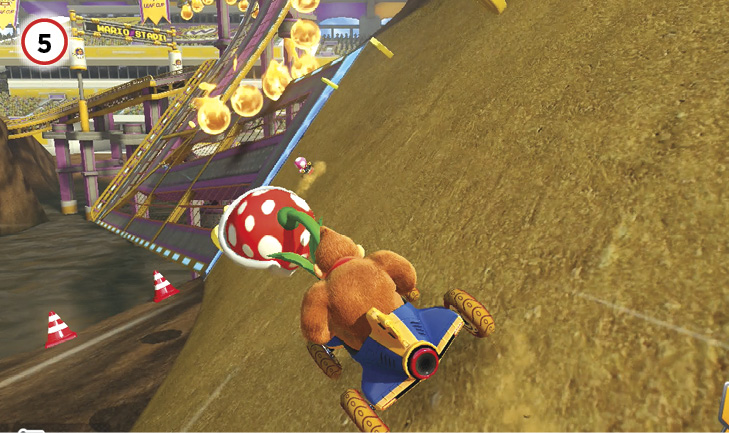
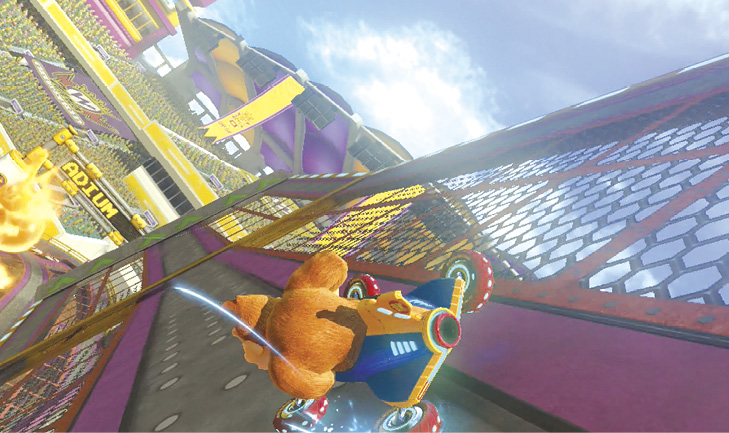
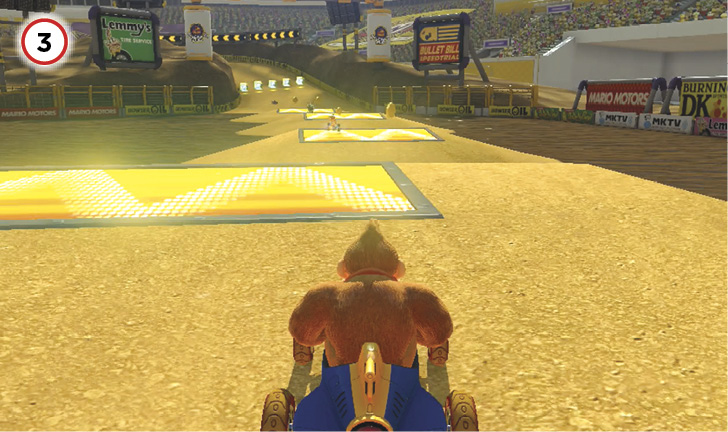
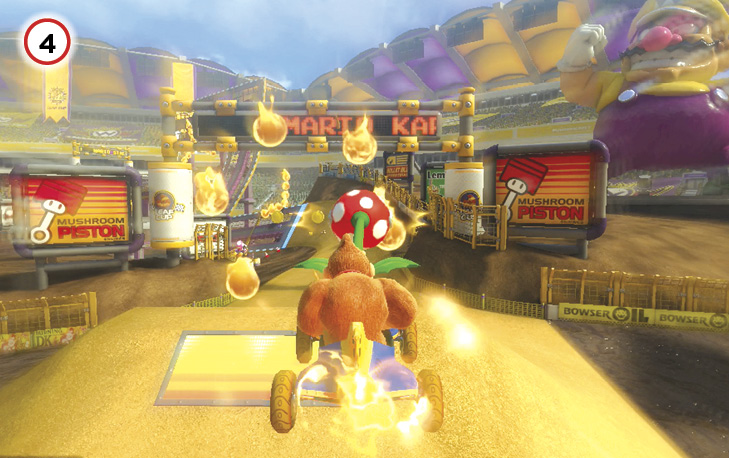
Watch the fire chains while making your way through this twisted section of the track. More danger comes as a ramp launches you off the mid-air section of the track back down to the ground level. If you’re in a bad position here, you can miss the jump and fall out of bounds!
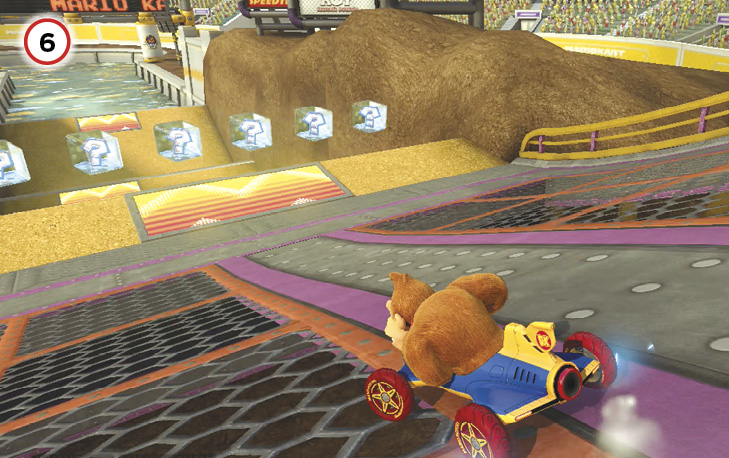
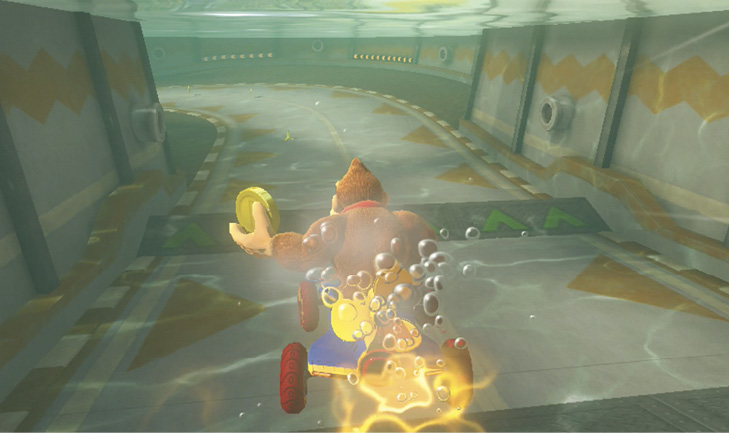
Another trio of dash panel ramp jumps await just beyond the antigravity section of the course. Once again, the dash panels here are offset from each other, making it difficult to hit every one as you pass through this section. As you go into the water here, you’ll find two more ramps that can be Jump Boosted, though if you’ve carried enough speed in the previous section you’ll skip at least one of them.
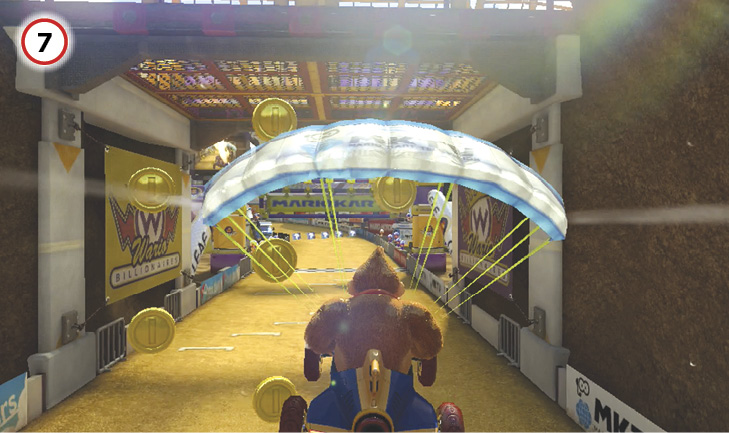
The final stretch begins with a glide ramp that sends you flying over a body of water standing between you and the finish line. If you have any items to foul up the ramp with, use them! Also, striking a racer in the air over the water can cost them many places if the competition is tight.
Time Trial
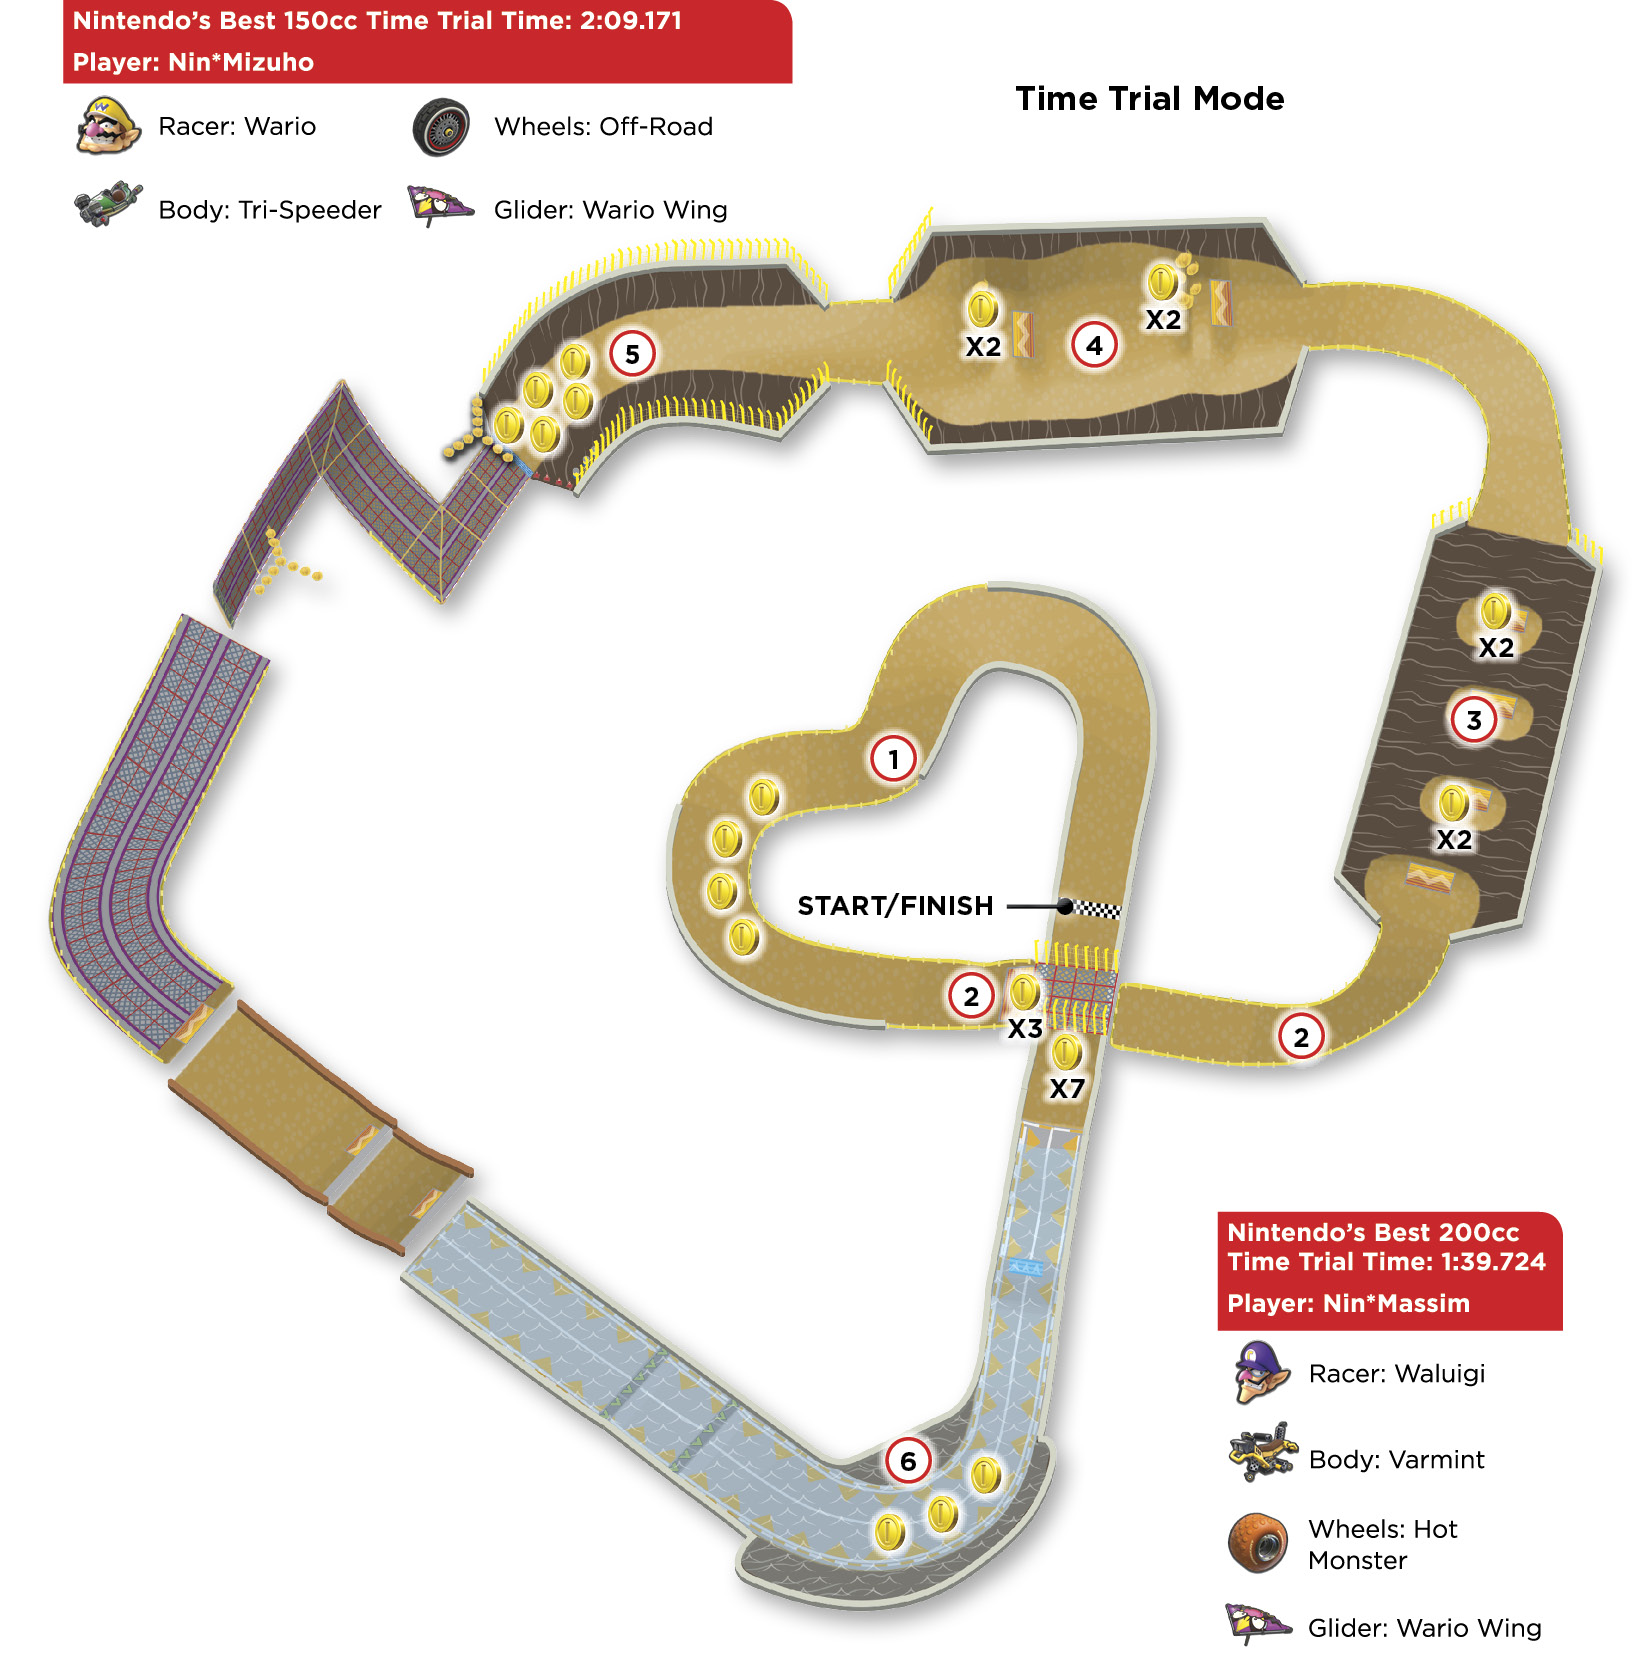
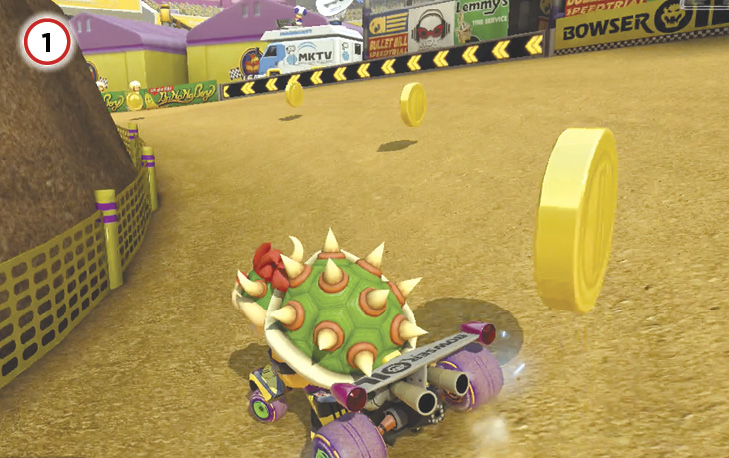
Navigate the first three turns smoothly, taking the straightest line possible. On the last turn, don’t miss the four Coins on the inside line as you approach the first jump.
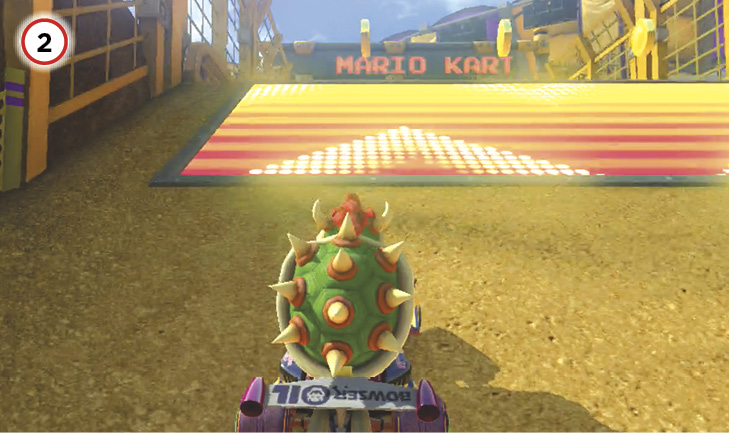
Anticipate the hard left coming after the first jump. Stay on the inside line, making sure you collect at least one Coin from this ramp during Lap 1. Ideally you’ll exit the turn aimed directly at the first of the four dash panel ramps coming up.
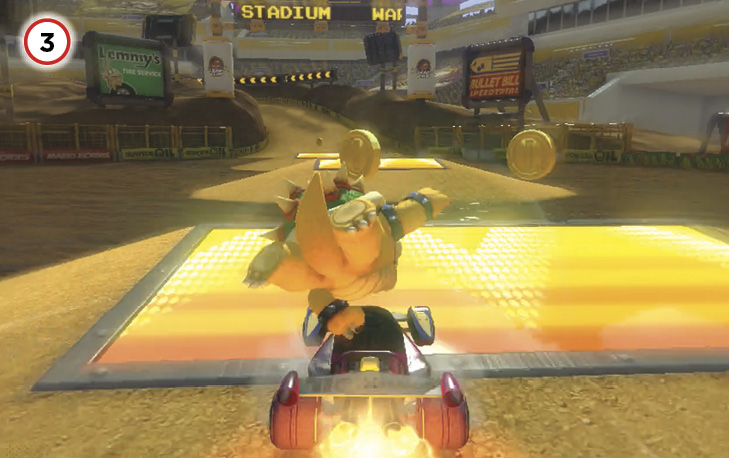
On an optimal run through this section, you’ll Jump Boost from all four dash panel ramps, and during your first lap you’ll collect two of the Coins placed here.
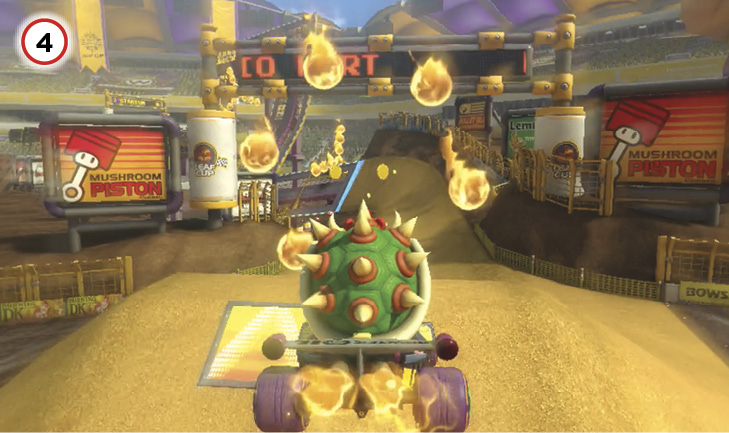
On the two big jumps, concentrate on hitting both dash panel ramps with Jump Boosts while evading the fire chains. You can collect a Coin just beyond the second ramp, but you might shoot past it if your speed is high enough.
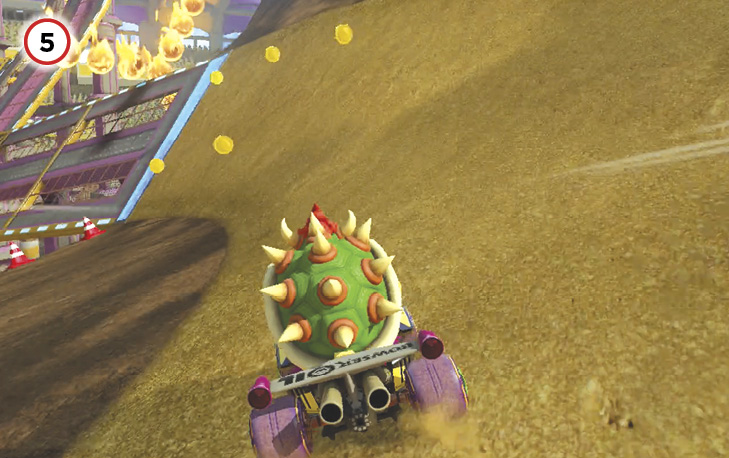
Approaching the antigravity section of the track, you will see two lines of Coins: one with two Coins, and another with three. On Lap 1, take the three Coins, evade the fire chain just beyond them, and navigate the rest of the section with drifts and Mini-Turbos.
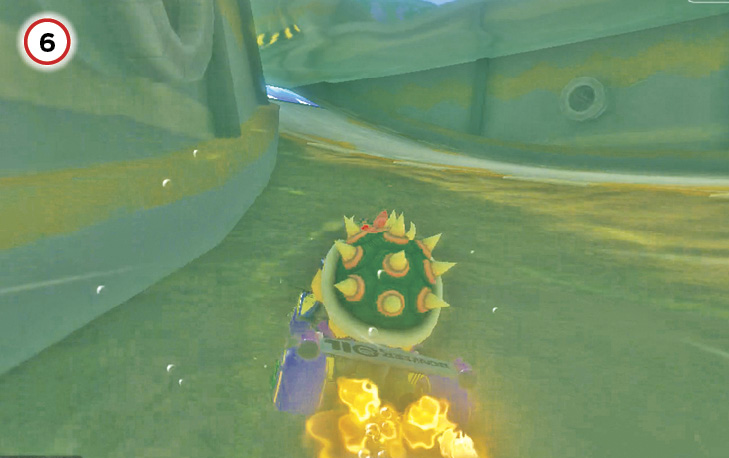
After Jump Boosting through the jump gauntlet, the final left turn is where you should use a Mushroom. On all three laps, you can cut across the mud on the inside of the turn, saving yourself some valuable time. Just make sure you make the turn and glide over the final water hazard!
GCN Sherbet Land
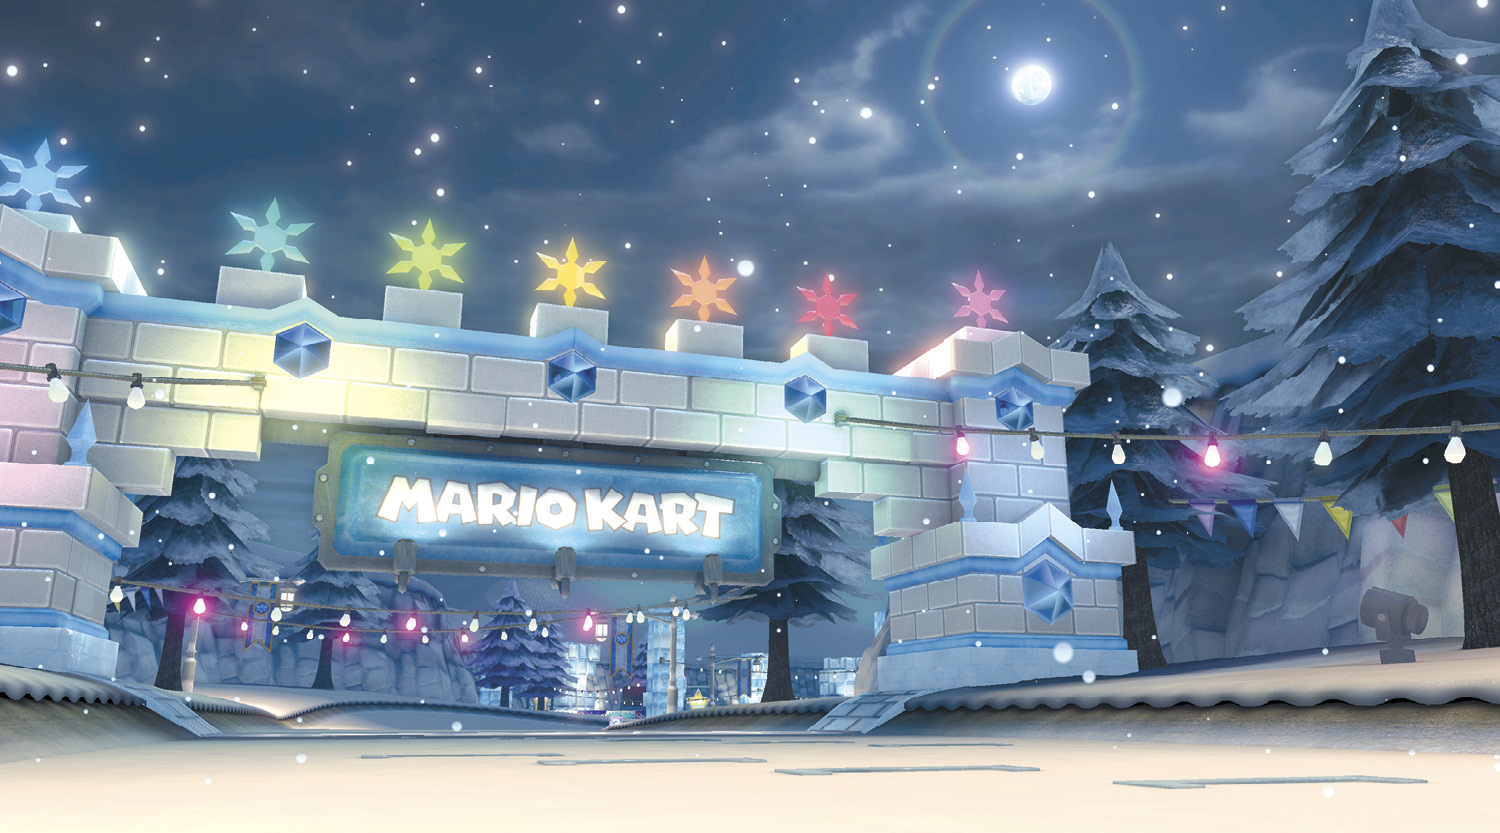
Sherbet Land has seen extensive changes from its original appearance back in Mario Kart: Double Dash, more than almost every other returning classic course. Racers can stick to the traditional routes on the surface of the course, or they can dive underneath the ice and race through previously unseen parts of the venue!
Grand Prix
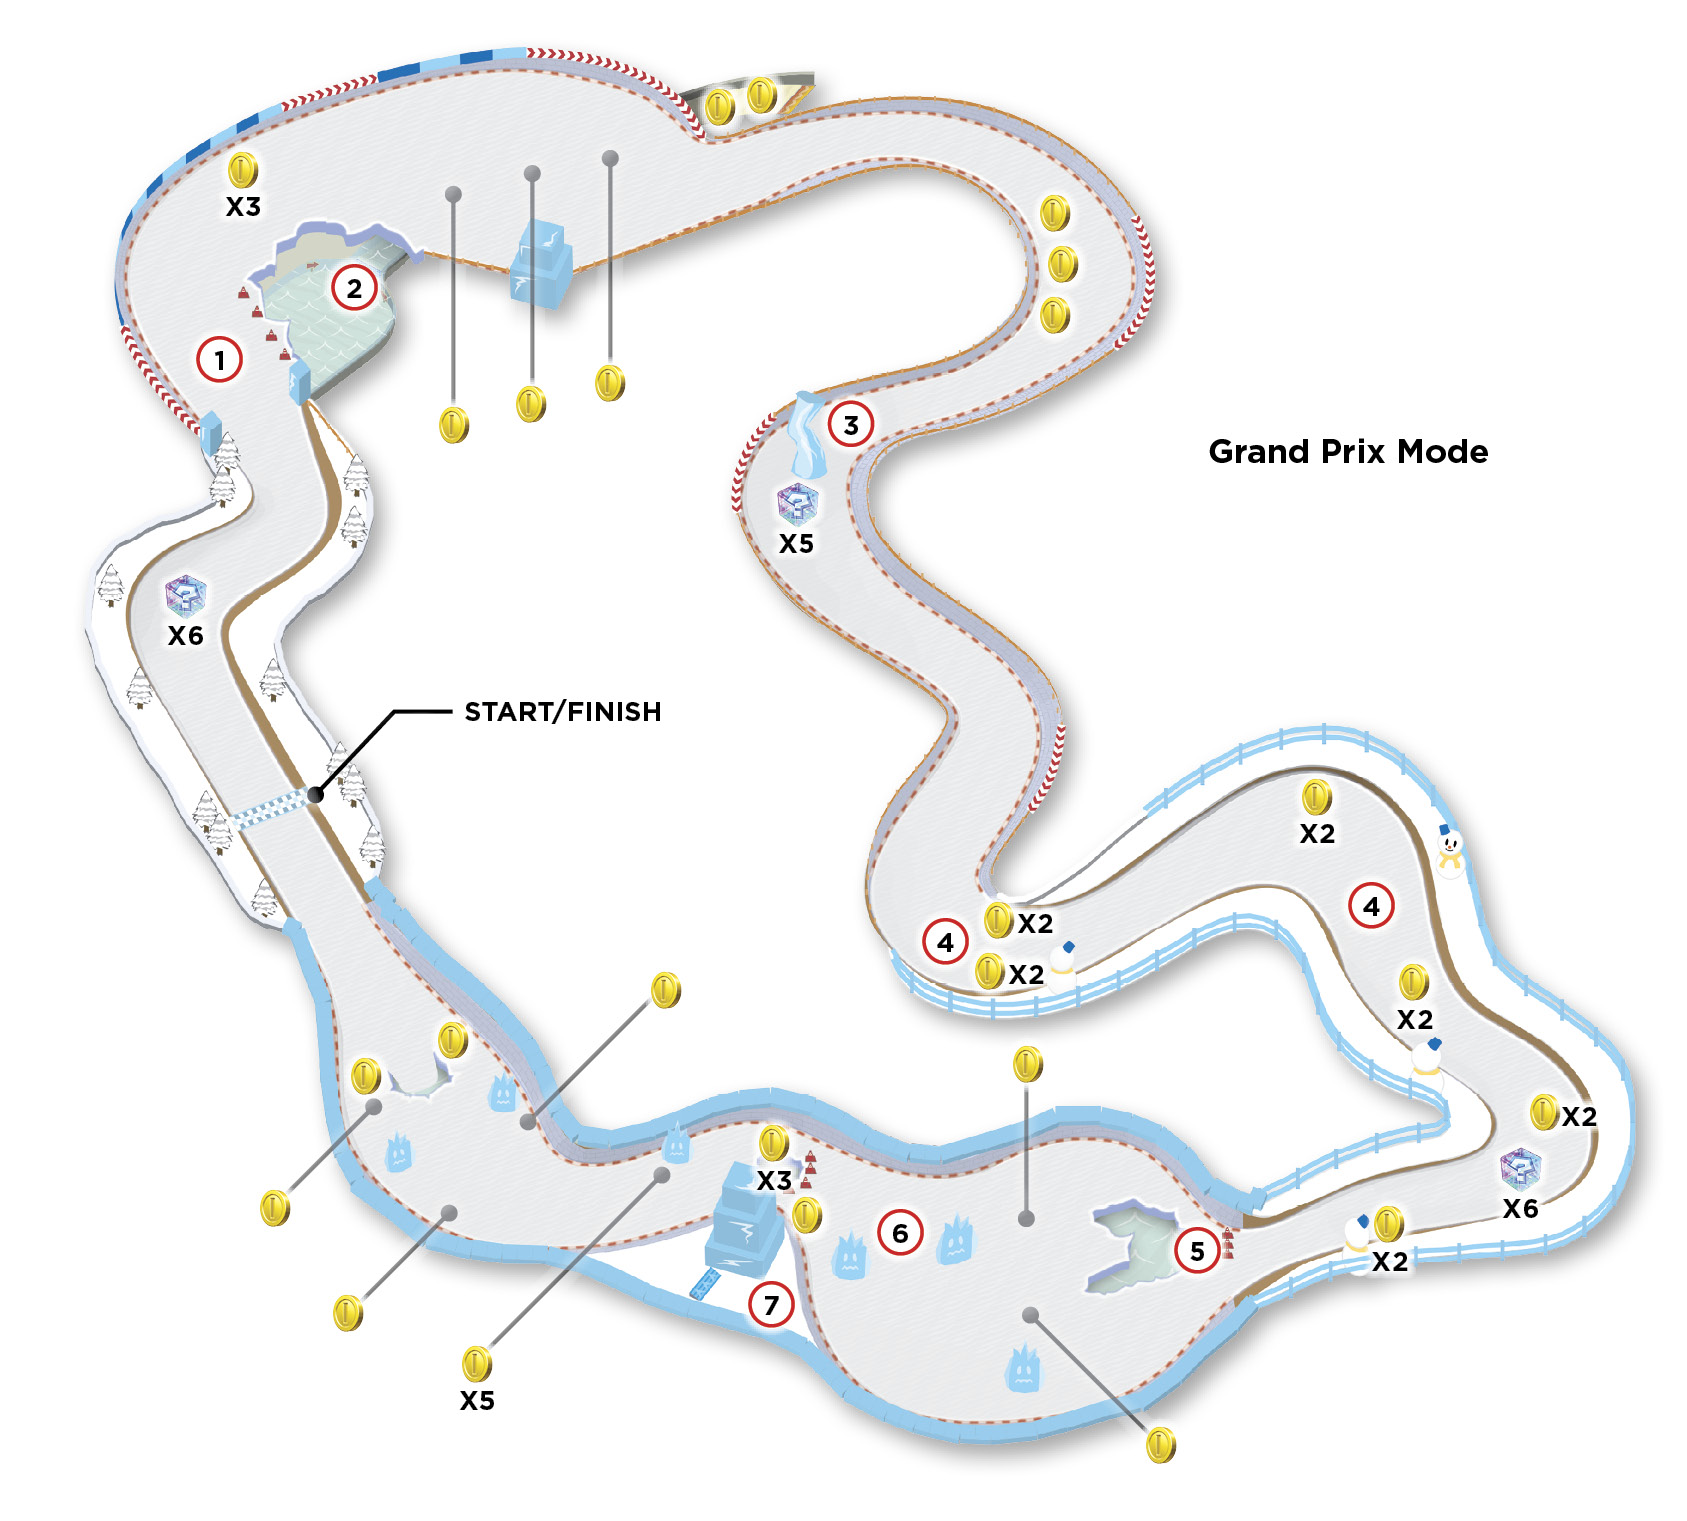
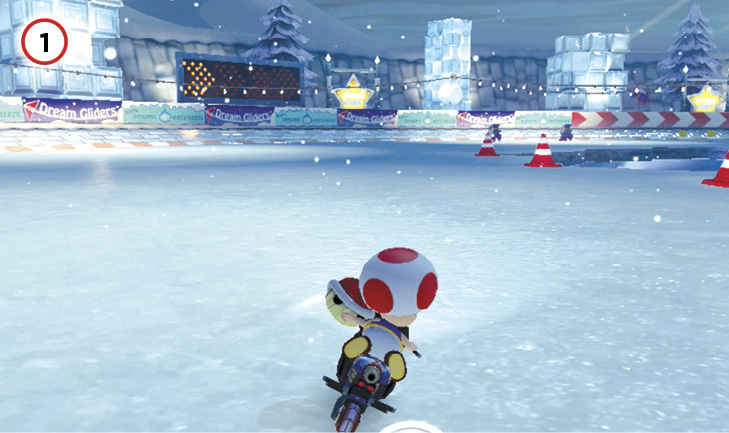
Just after crossing the first line of Item Boxes, you have a choice of two paths to take. The first is to stay on the ice, hugging the hole in the ice as much as possible while you drift and Mini-Turbo around it toward the cave. Shy Guys skate through this area, trailing Coins to collect.
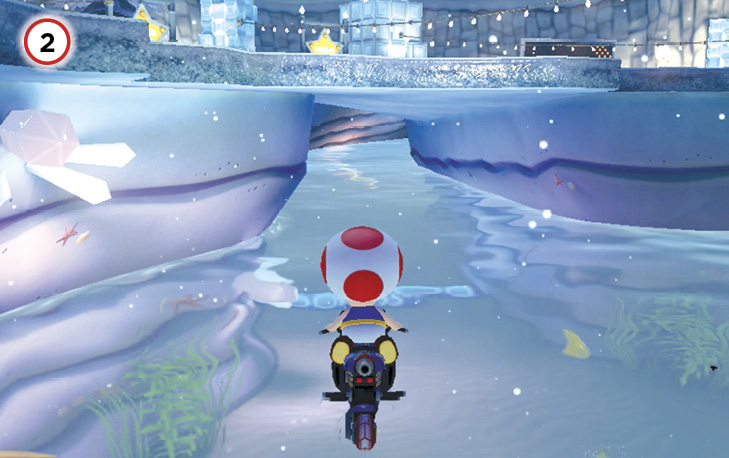
The other option is to drive off the ice through the warning cones on the right, driving through the water into a tunnel filled with dash panels. This route will deposit you farther into the cave, and you can snag some extra Coins this way.
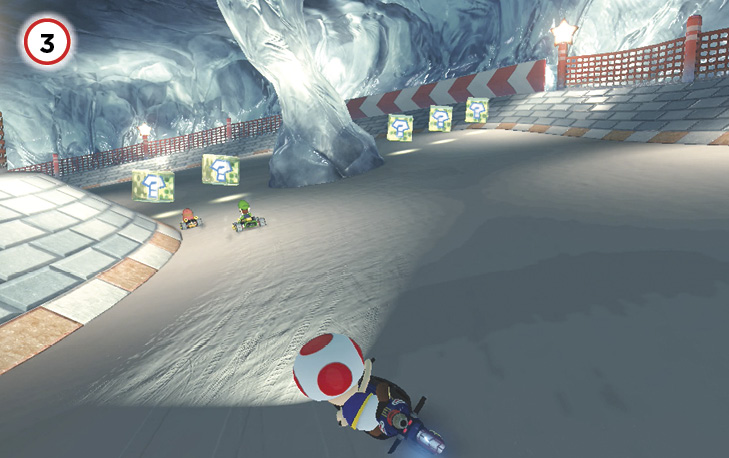
The larger cave is split up at one point by a large ice pillar. If you have a Banana at this point, set it down among the Item Boxes. Both sides of the pillar are narrow enough that you have a good chance of catching other racers off guard.
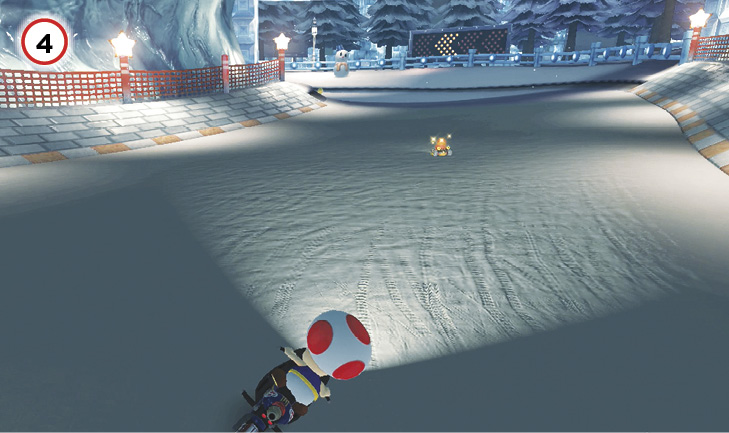
The winding turns just outside of the cave take you through a very wide portion of the track, with plenty of Coins to collect. The large size of the track makes it tough to set up traps or fire shells back at opponents trailing you—there’s just too much room to maneuver. Mushrooms can help you cut across the rough snow on the sides of the track.
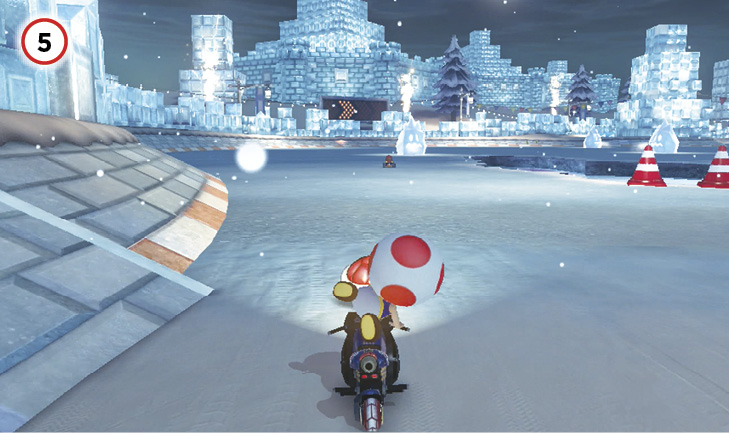
As you exit the snowy portion of the track, you have three more options in the route you can take to the finish. The most immediately obvious is to drive through the road cones in front of another break in the ice and race underwater around pillars. Continue until you reach a hill that you can Jump Boost off of right in front of the finish line.
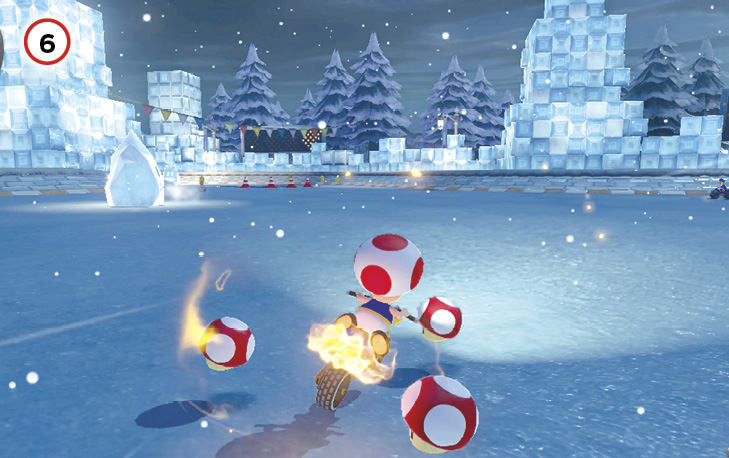
You can also take to the ice itself, driving around the breaks in the ice and avoiding the Freezies. This isn’t the easiest route to take, nor is it the fastest, when you factor in the icy conditions. There’s just a lot more room for bad accidents to happen, especially when items are part of the equation.
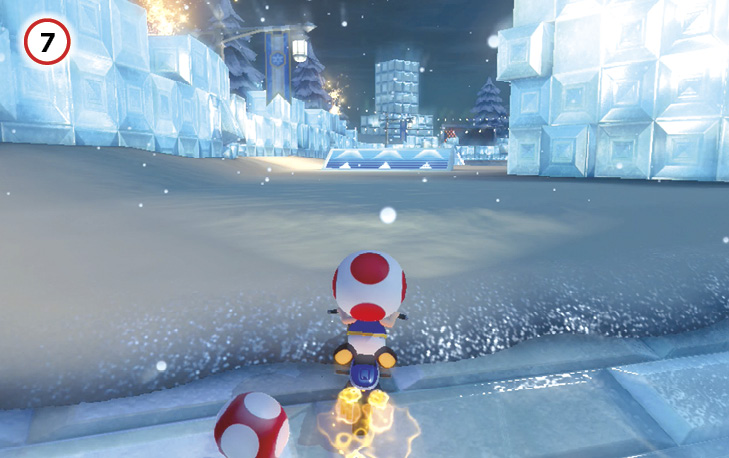
The last route requires a Mushroom, but it is the fastest and should always be taken if you’re properly equipped. You’ll be able to see Coins leading to the shortcut itself, and there’s a glide ramp that allows you to fly over any Freezies covering the final straightaway to the finish line.
Time Trial
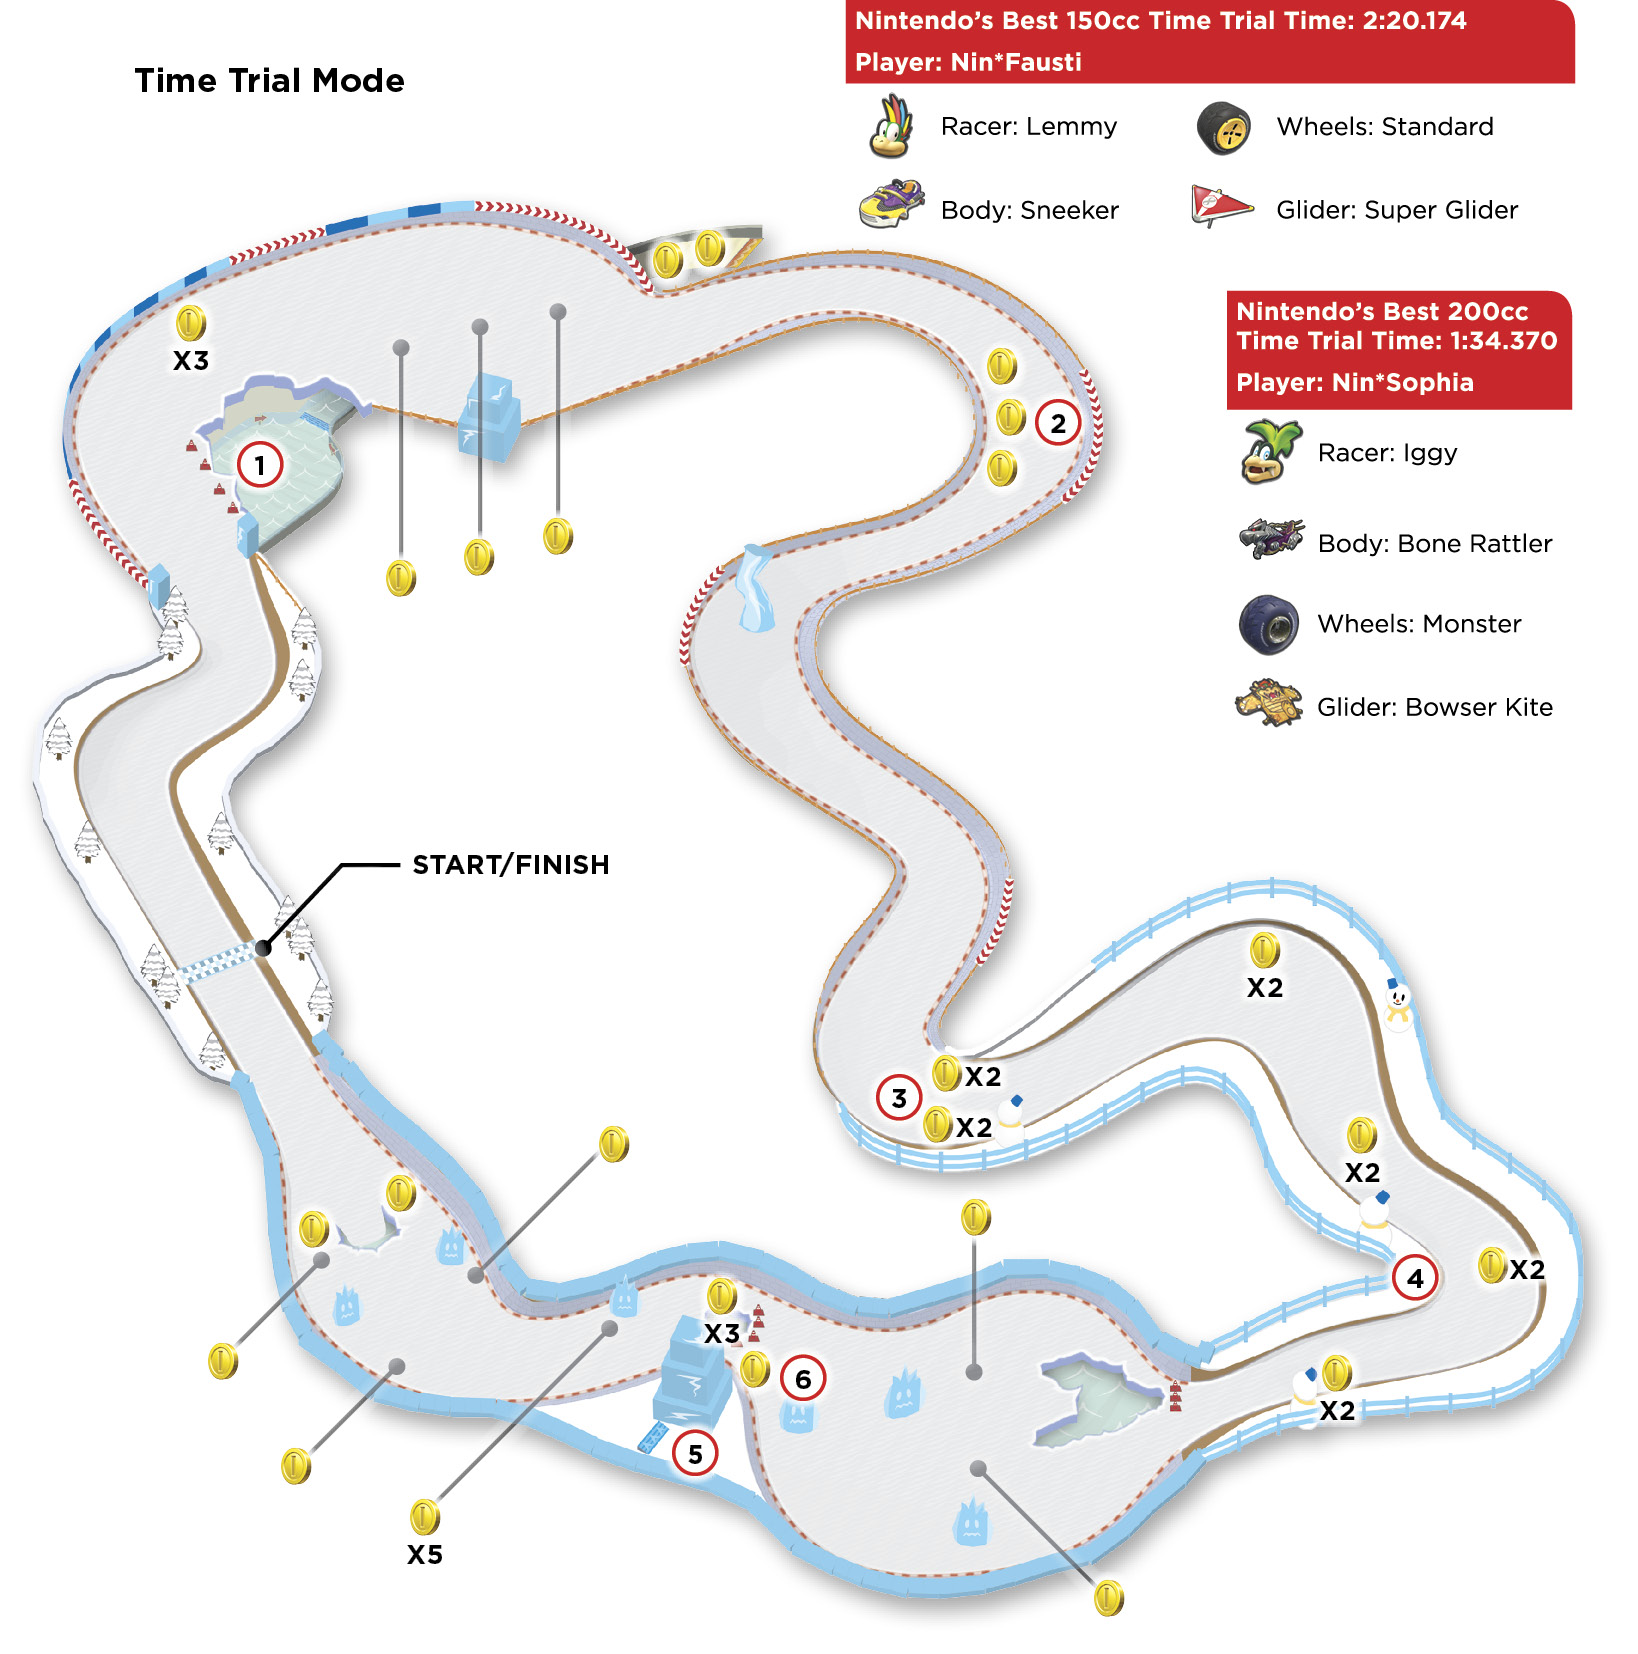
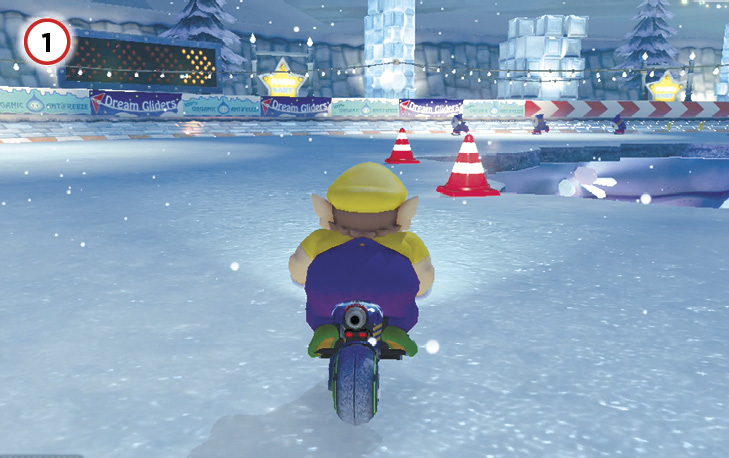
Dropping below the ice for the five Coins in the dash panel tunnel is tempting. It’s actually faster to stay on the ice, taking the turn as close to the hole as possible.
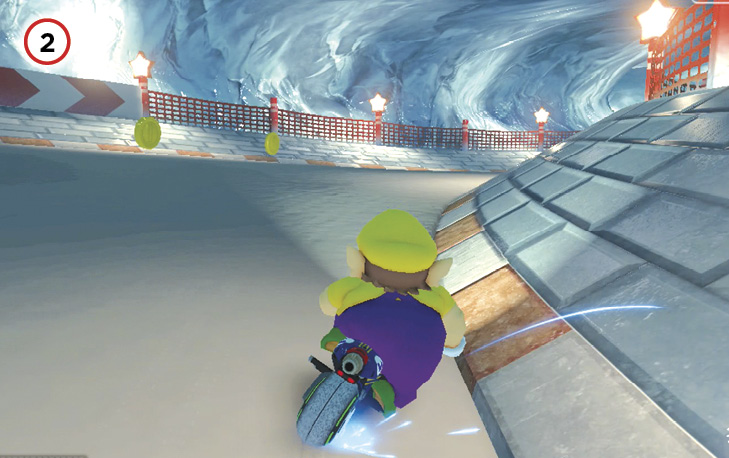
The first turn inside the cave has three Coins you can try and collect while drifting through. However, you might want to consider sticking to the inside of the track.
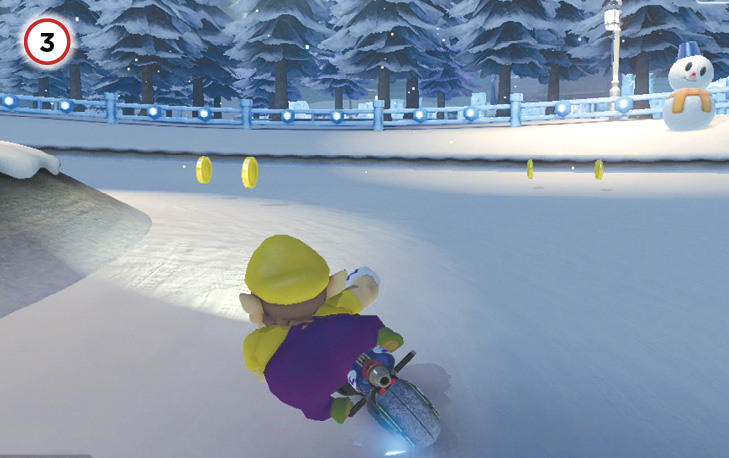
Hug the inside of this turn to snag another pair of Coins as you exit the cave.
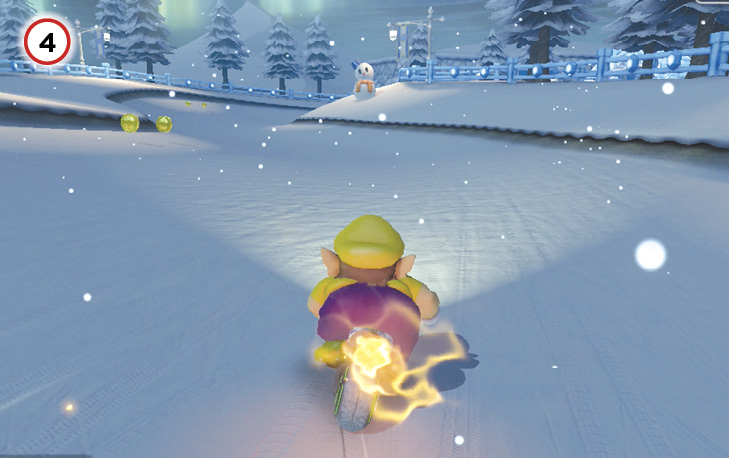
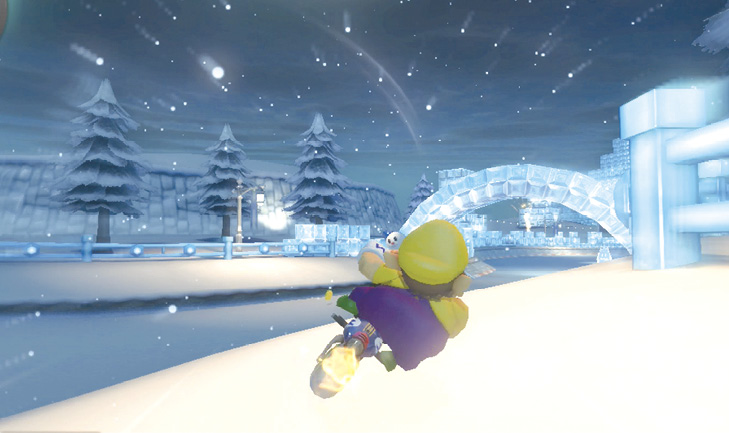
As you exit the caves, the wide stretch of road has a number of Coins to collect. More importantly, you can cut the final right turn just before the ice with a Mushroom. As you do this, drift through the thick snow while hugging the wall, and then Super Mini-Turbo back onto the track. When you reach the ice, do NOT go under the ice to race through the water.
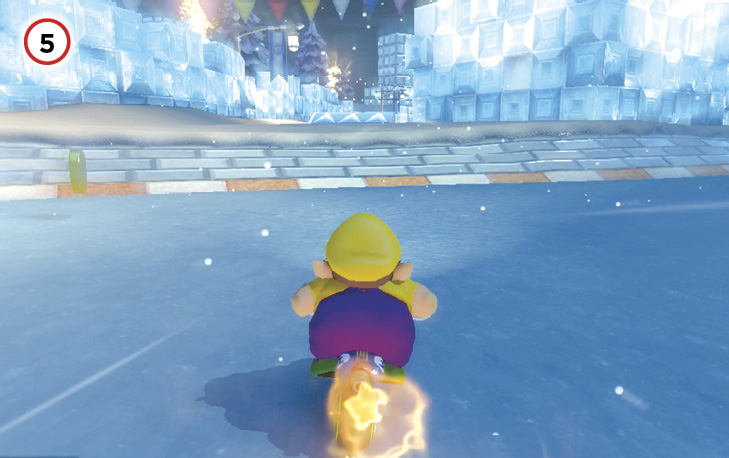
You can use a Mushroom to take this glide ramp shortcut across the snow and head straight for the finish line.
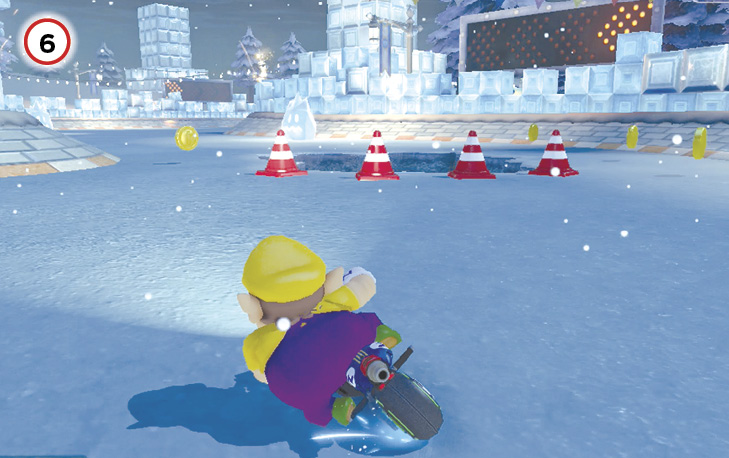
If you’ve already expended a Mushroom to take the shortcut described at Point 4, stay on the ice, drifting and Mini-Turboing as much as you can, taking the final series of curves as tight as possible.
3DS Music Park
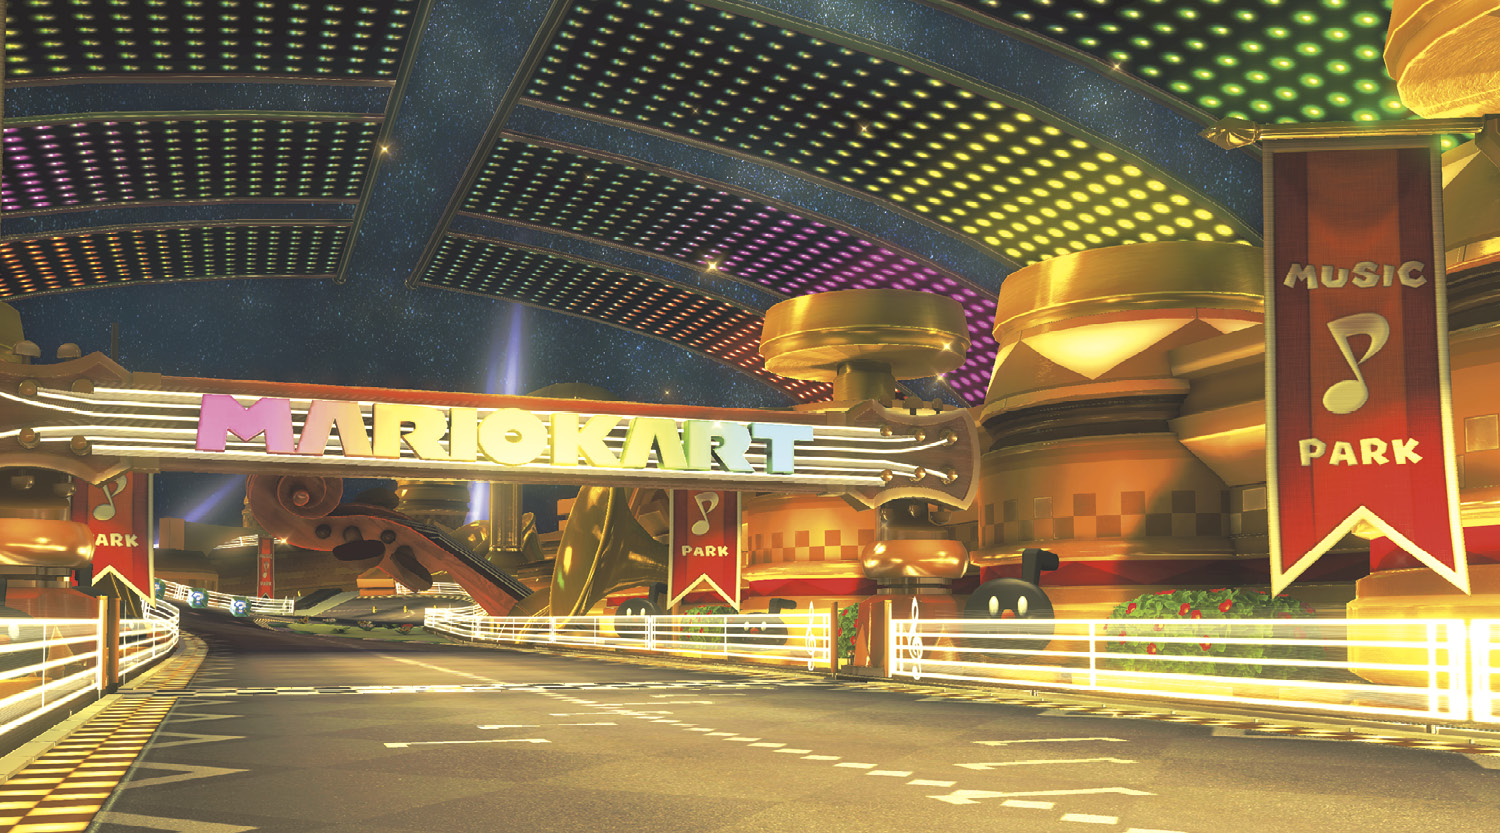
Music Park returns to Mario Kart 8 Deluxe! Almost unchanged from its first appearance, Music Park is still a whimsical race course with a soundtrack that changes with every massive piano key and tambourine that racers drift and bounce over. Even the Piranha Plants snap to the beat. Don’t get so lost in the music that you forget where you are on the track.
Grand Prix
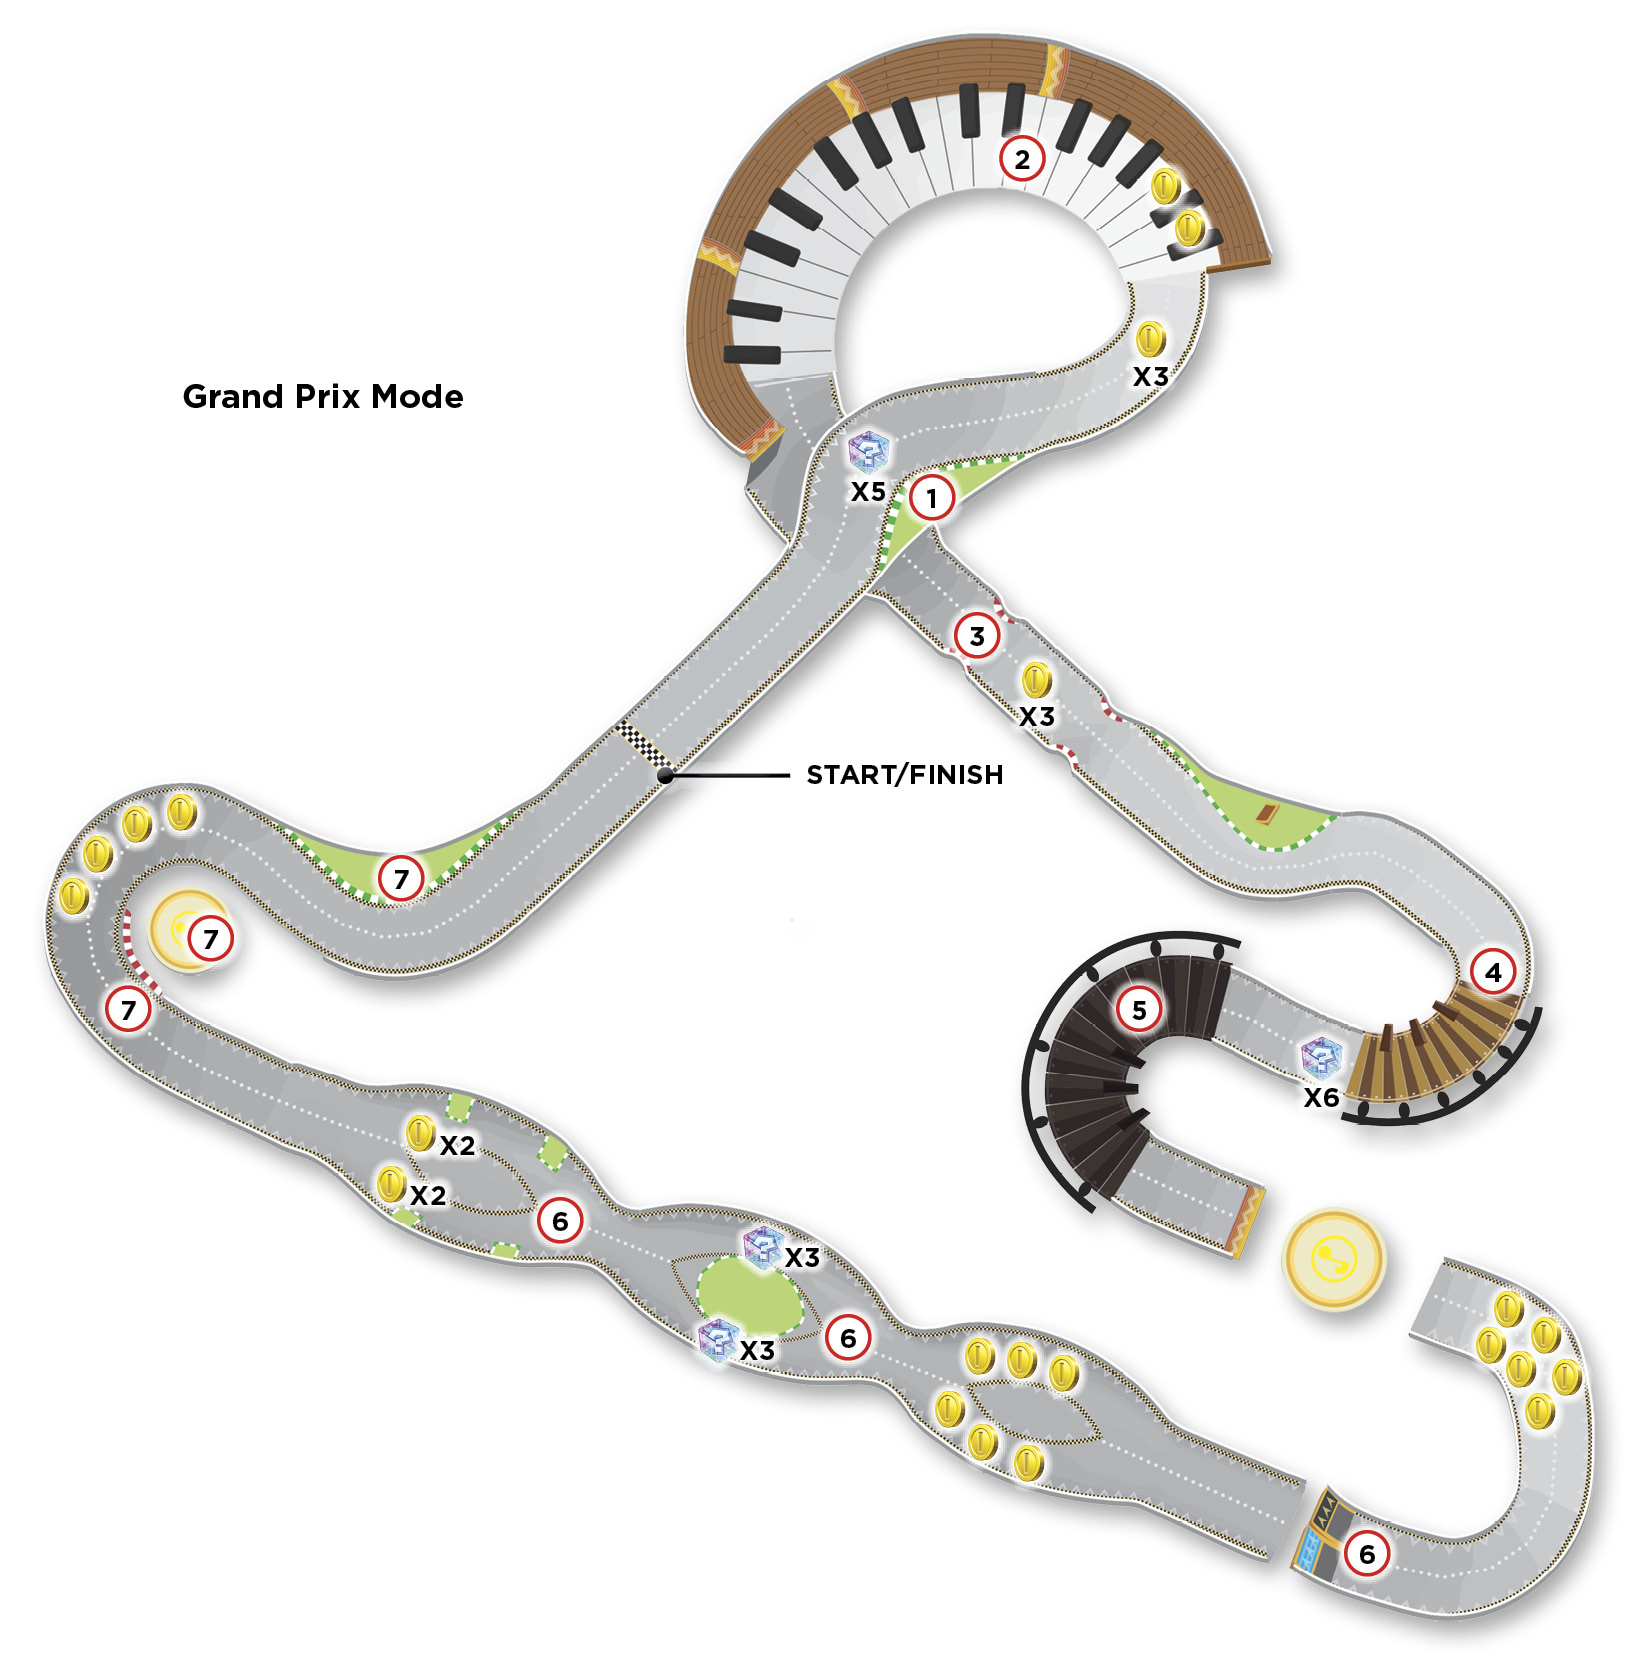
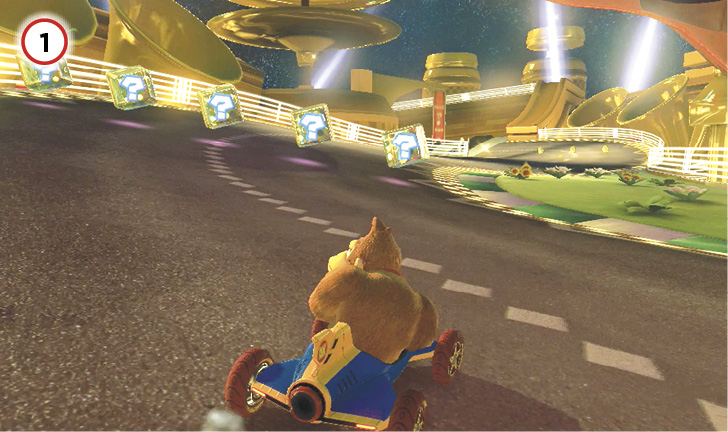
Patches of grass like the one next to the first set of Item Boxes you encounter can be bypassed with Mushrooms. Having one by this point in the race is a rarity, as there is another location where the item is best used. Keep an eye out for opportunities to exploit the grass patches as you race!
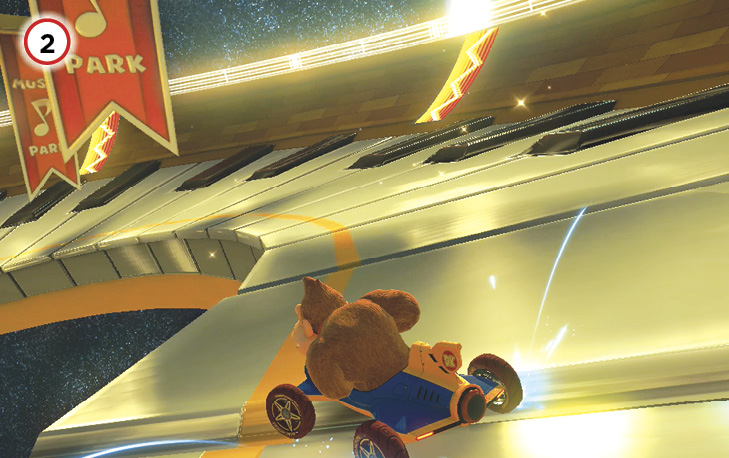
It’s tempting to try and drift on the outside of this turn, using the dash panels as opposed to sticking to the piano keys on the inside of the track. Don’t fall to this temptation! You’re almost always going to be able to overtake any racer that strays to the outside if you stick to the white piano keys. The closer to the abyss you are, the better.
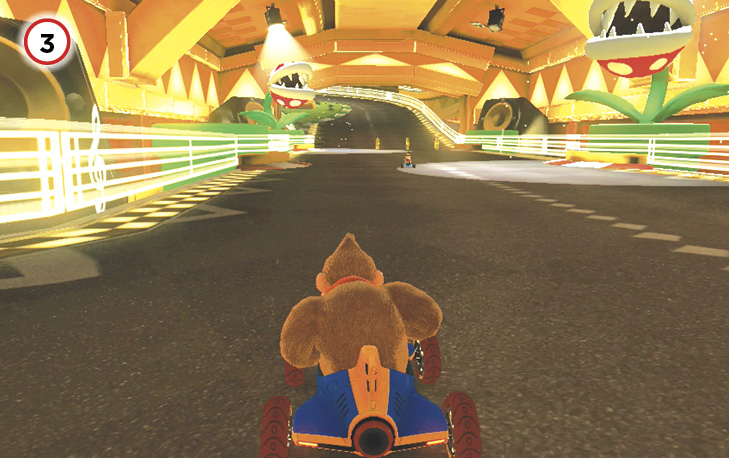
There are four pipes on this stretch of road. At any given time, two are lit up by spotlights, with Piranha Plants waiting for racers to drive into the light so they can take a bite out of them. Avoid the lights entirely, or use a Mushroom to fly past the plants before they can react.
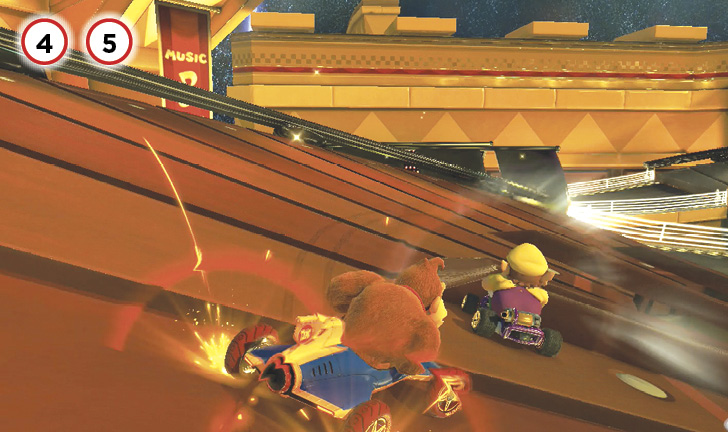
For the next two hairpin turns, you don’t necessarily want to be in as tight as possible. Hitting the raised keys will actually slow you down, and Jump Boosting off them can cause you to lose even more speed from a bad landing. In the worst case you might even throw yourself off the track!
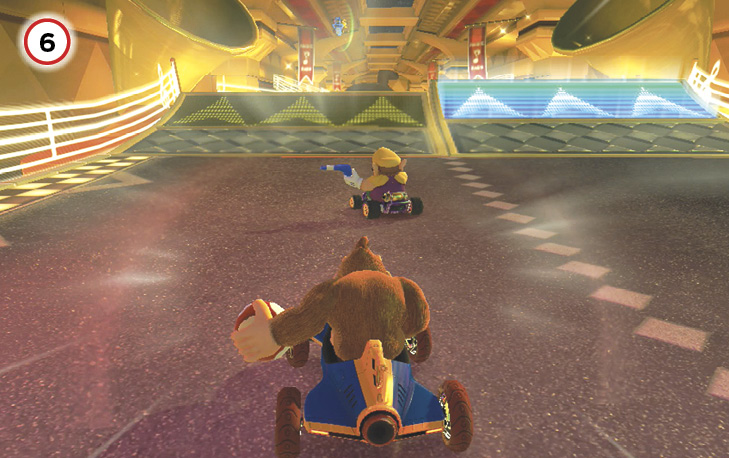
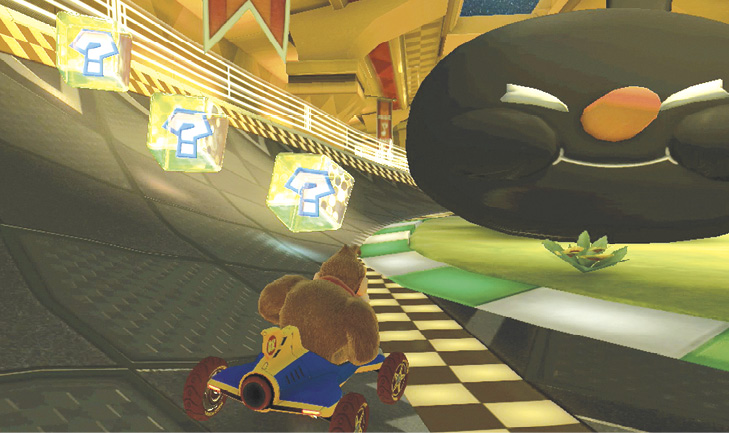
The glide ramp before the Bouncing Notes alternates between locations depending on the background music. While it is tempting to try and stay in the air, you can get more speed by weaving and mini-boosting through the light curves of the track, and you can collect items to help you while on the ground.
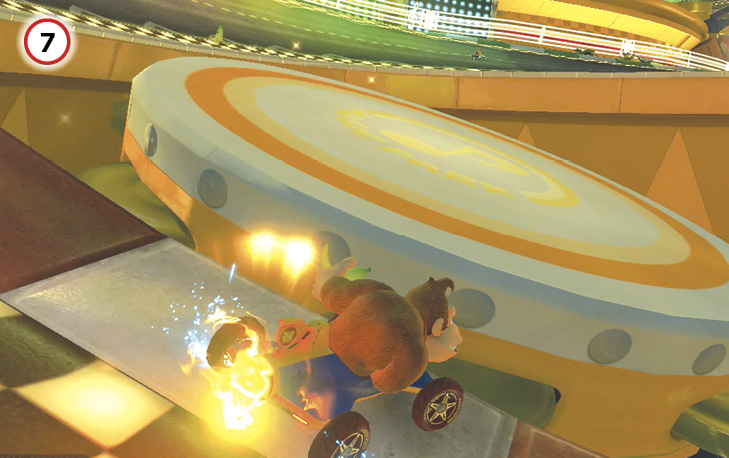
This doozy of a shortcut requires you to cut the second-to-last turn hard to the right, jump off a small ramp, bounce off a tambourine and onto a grassy patch facing the finish line, and then boost away with a Mushroom. If you’re not equipped to make the best use of this shortcut, do what you can to prevent other racers from making use of it while taking on the final turns!
Time Trial
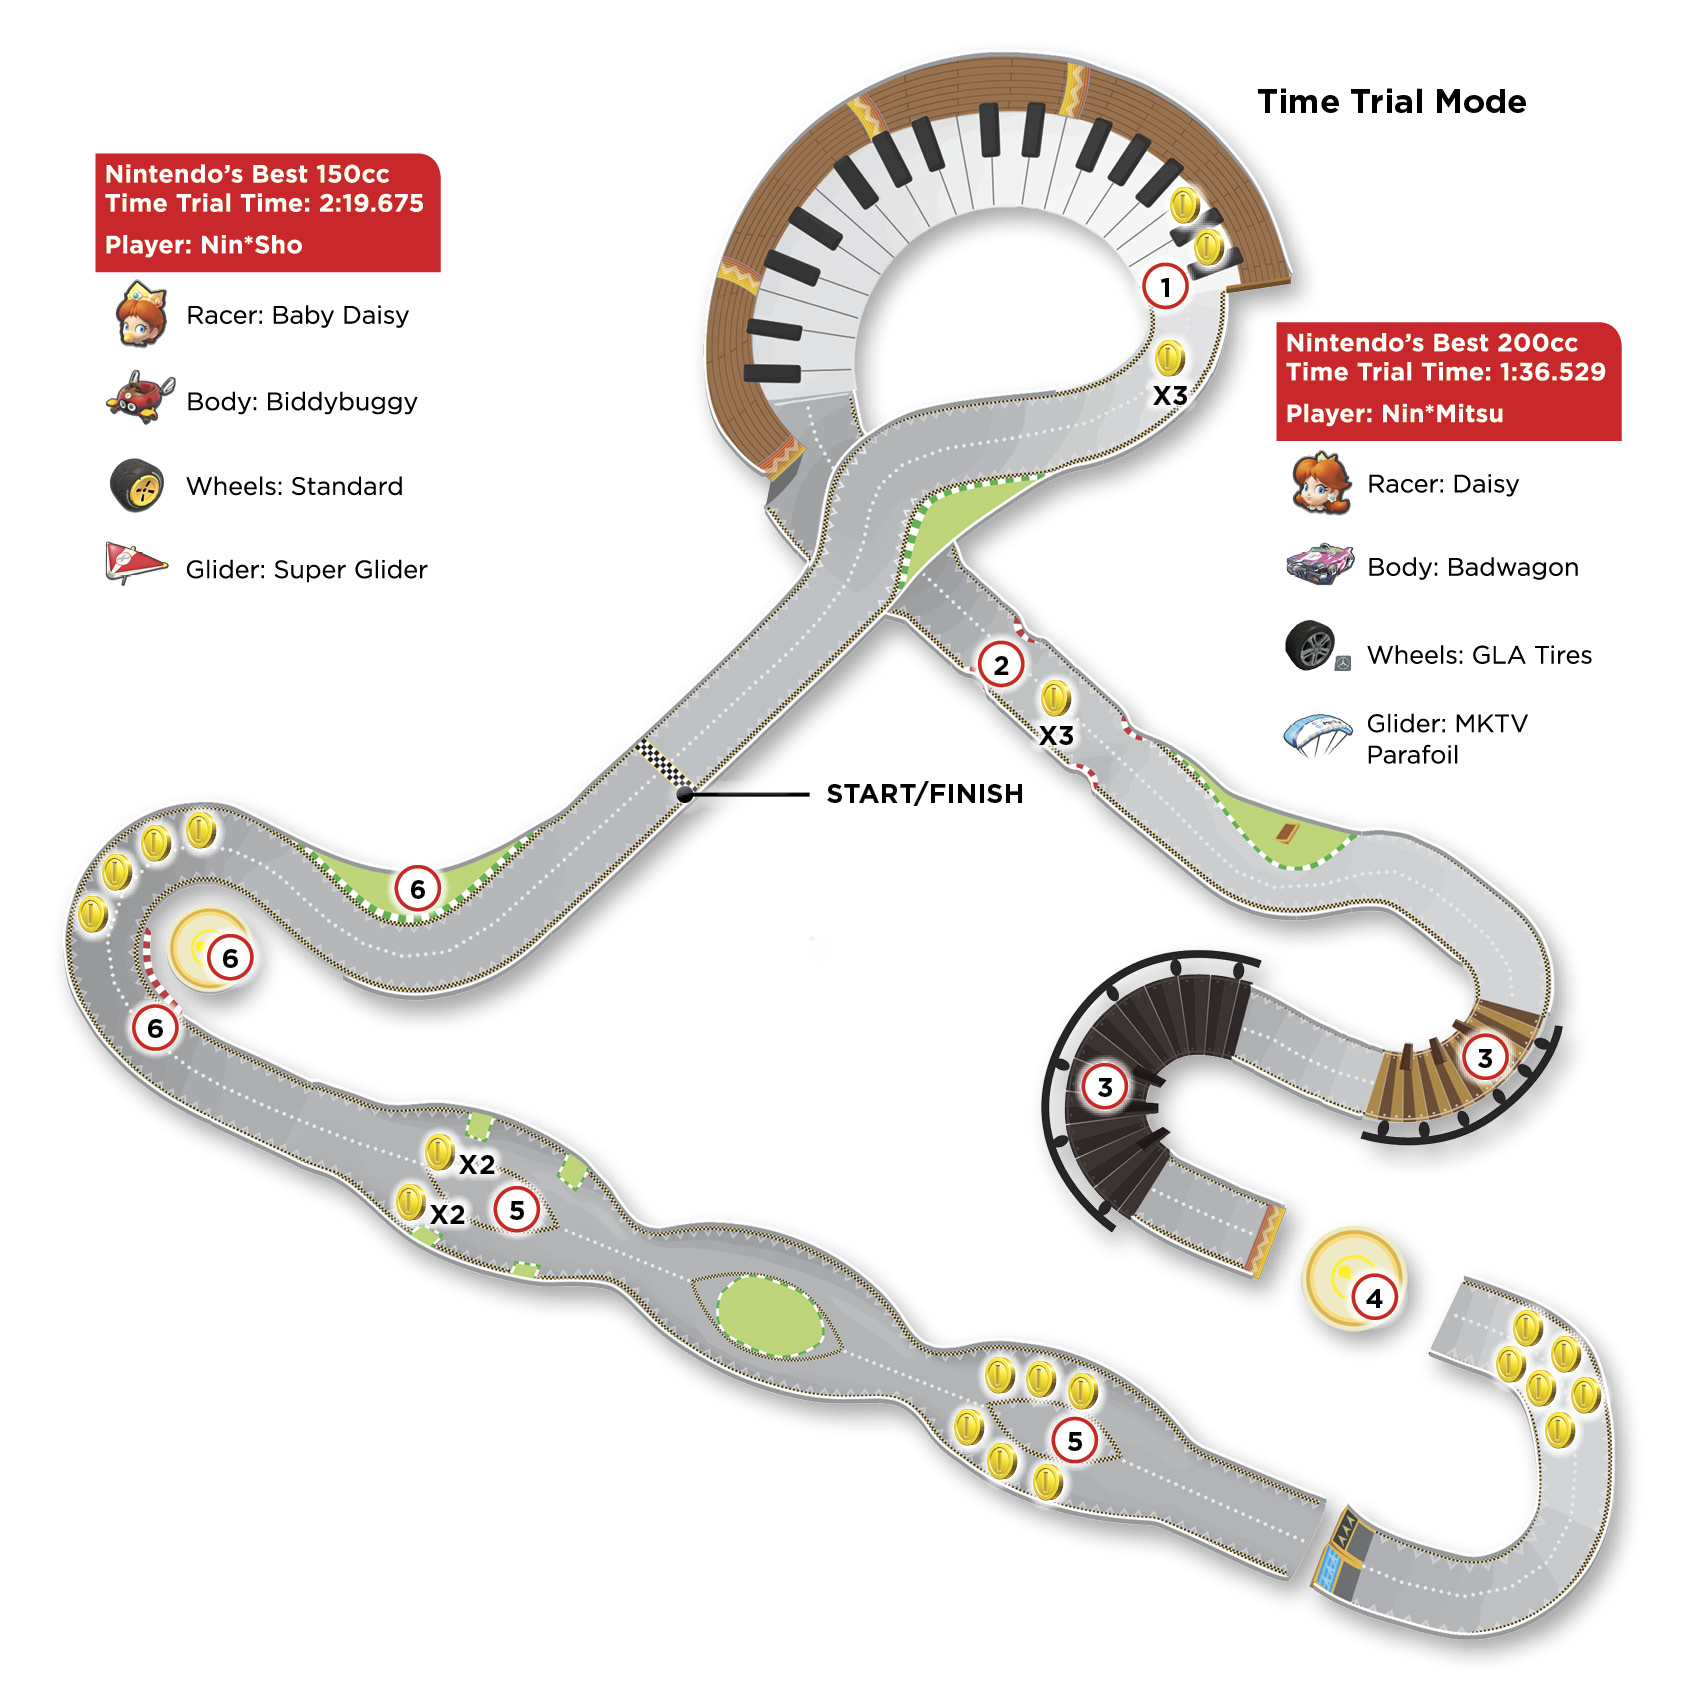
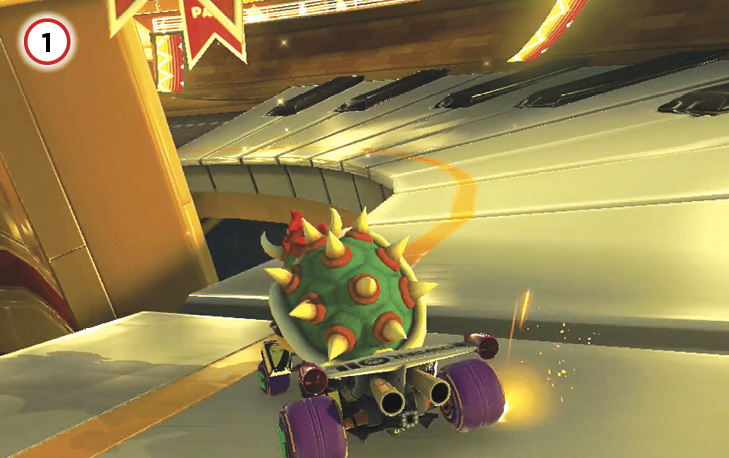
As crazy as it might sound, you’ll have to pass up many Coins on the first piano key turn. Drift through it as close to the edge as possible. (See the picture for a good example.) You can collect at least one Coin before this turn on Lap 1, and more are on the way.
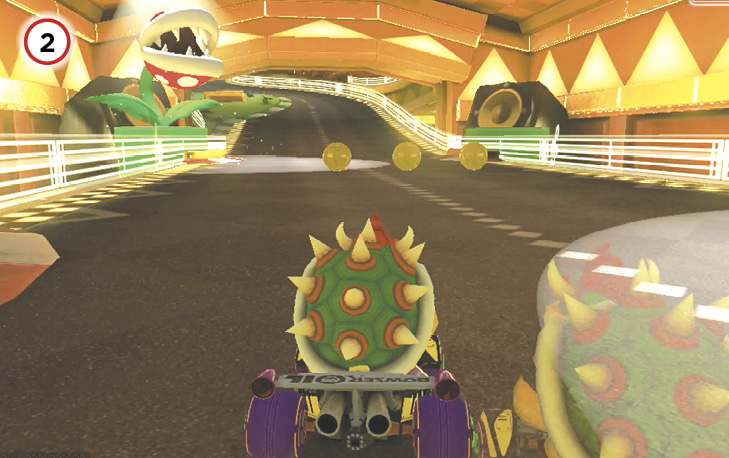
When driving past the Piranha Plants, do not swerve violently out of their way, as this will cost you a lot of speed. Curve yourself around the spotlights gently, collecting a Coin as you squeeze past the baddies.
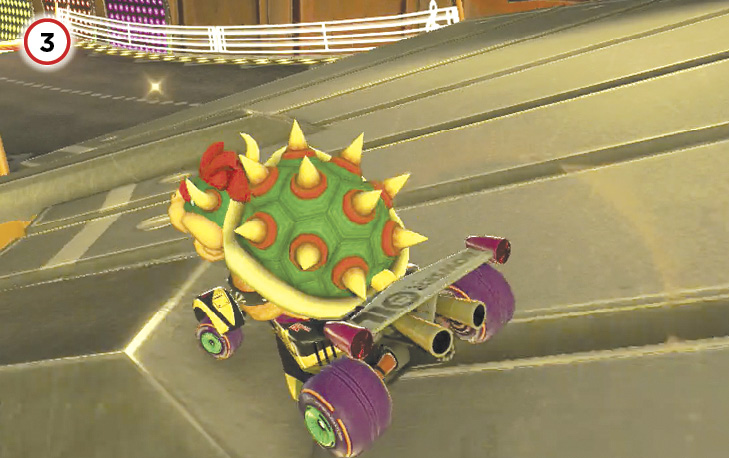
For the two consecutive hairpin turns with raised piano keys on the inside track, drift through these turns as close to those raised keys as possible, without hitting them.
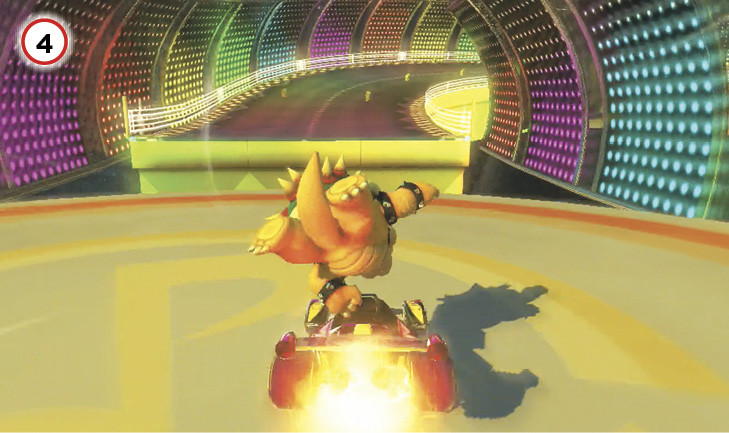
Crossing the first tambourine on Lap 1, we recommend not actually Jump Boosting off of it. You’re still hurting for Coins at this point, so a standard bounce across the gap will give you a better shot at snagging three Coins in one pass. For later laps, go as fast as you can.
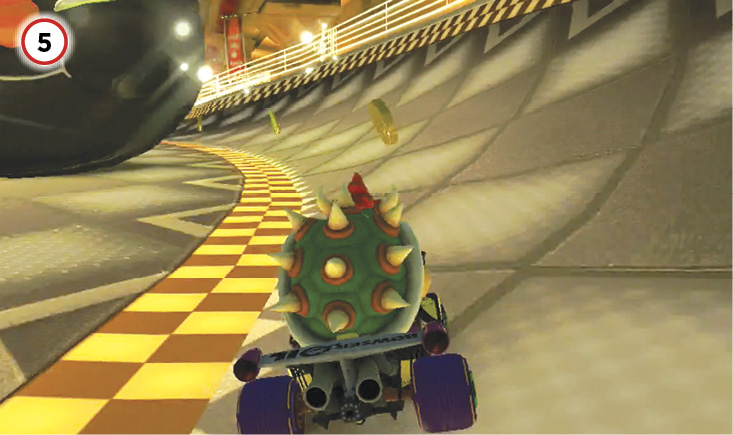
When navigating the Bouncing Notes on Lap 1, you can collect at least five Coins in one pass while staying at a pretty good speed.
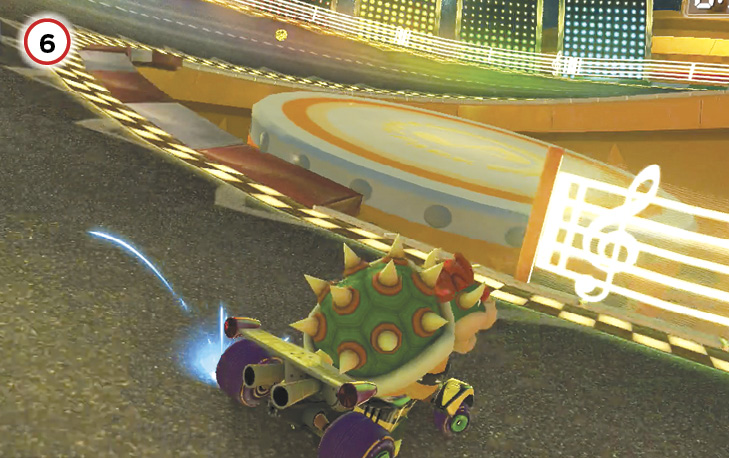
The shortcut near the end of the course is mandatory if you want to have a competitive lap time. Start the final turn early, Jump Boost off the ramp on the inside of the turn onto the tambourine, then Jump Boost away from it onto the grass, and Mushroom across the finish line. Simple to read on paper, but practice is required for perfecting this shortcut!
N64 Yoshi Valley
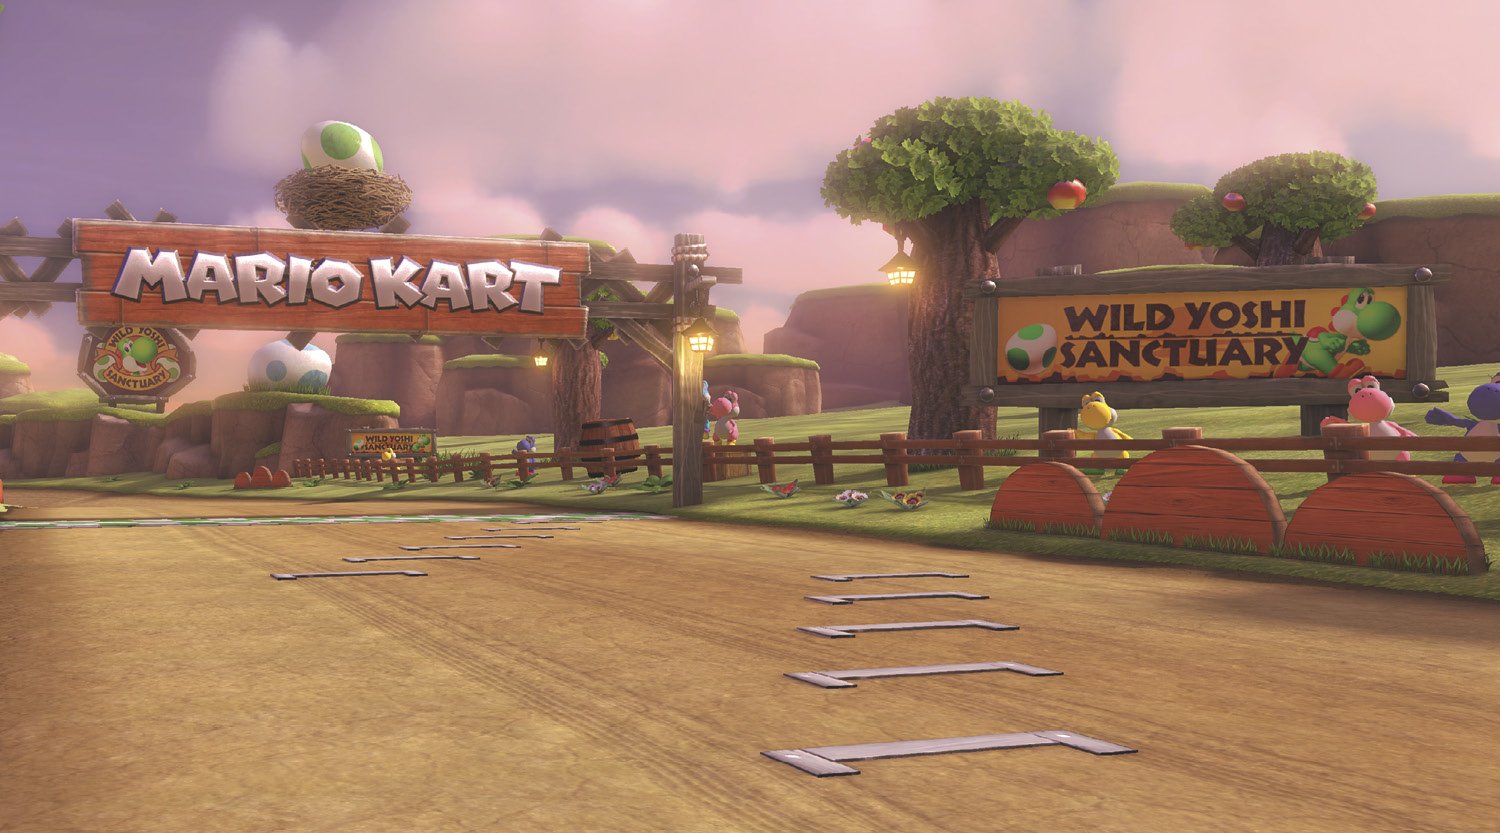
Don’t be deceived by the appearance of the Leaf Cup finale! Yoshi Valley opens with a deceptively complex, maze-like design, but it is actually quite simple to push through this maze to quickly get to where you need to go for the second half of the course.
Grand Prix
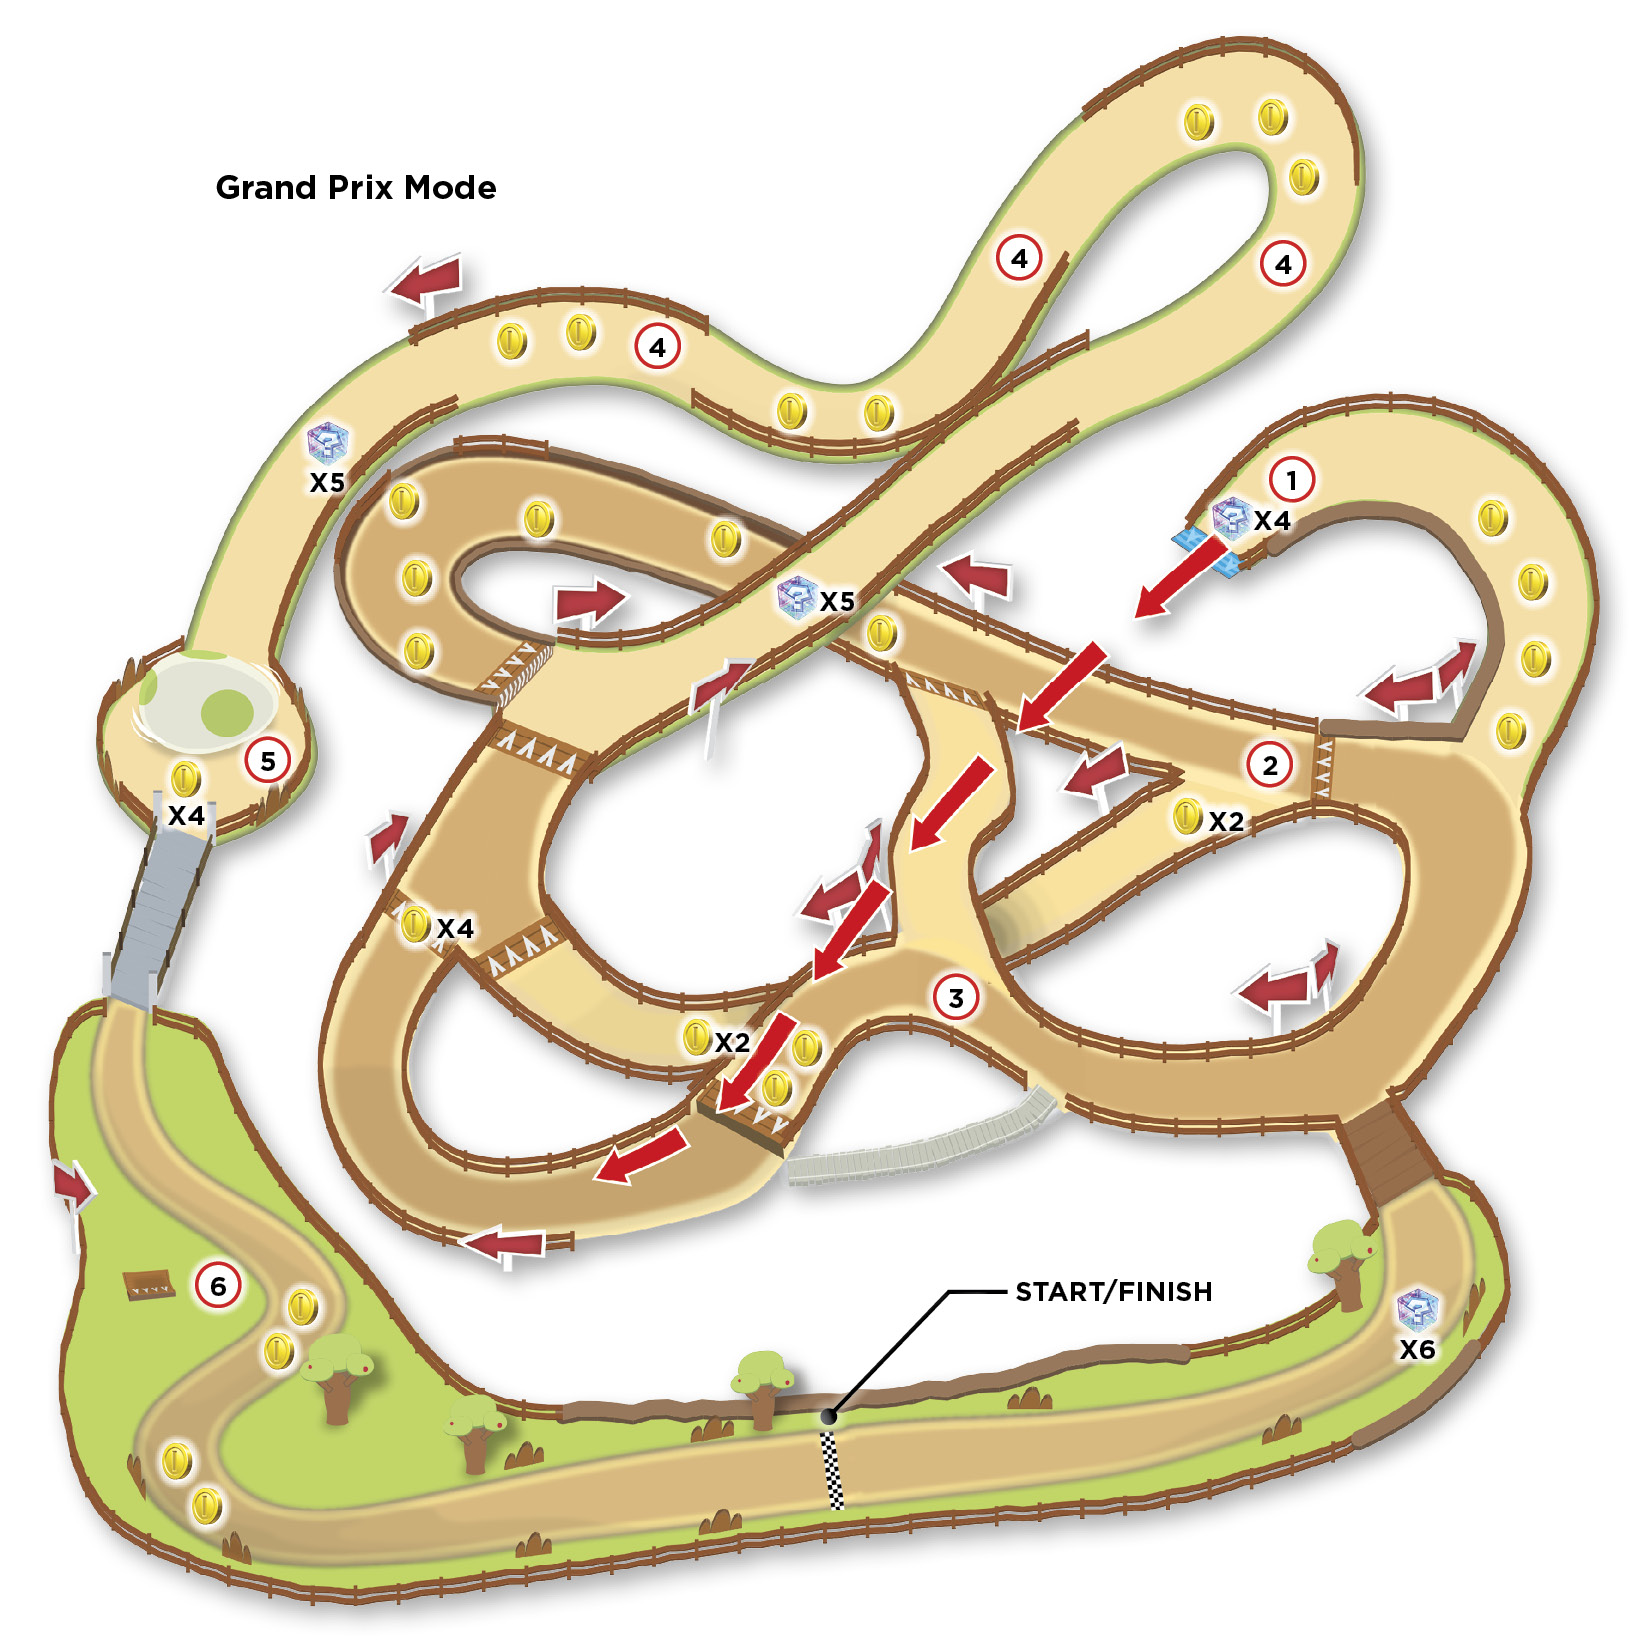
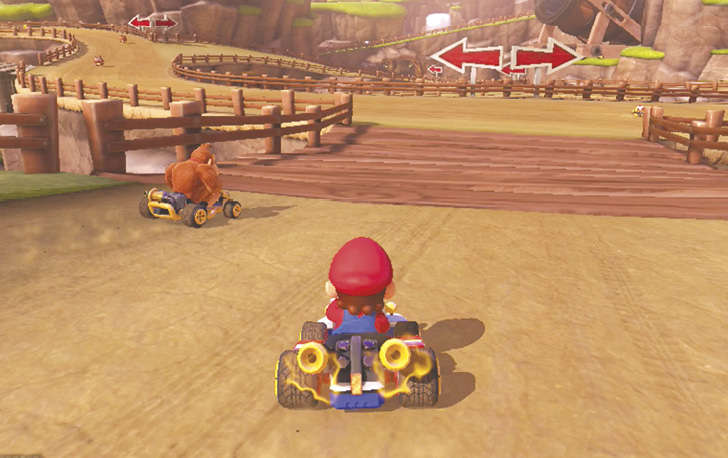
After the first turn, you enter the “maze” of Yoshi Valley, a series of interconnected paths that all eventually lead to where you need to go. Red arrow signs show points where you can choose a different branch in the road. These roadways are much thinner than most of the other parts of the course, so expect some chaos as racers arm themselves with items!
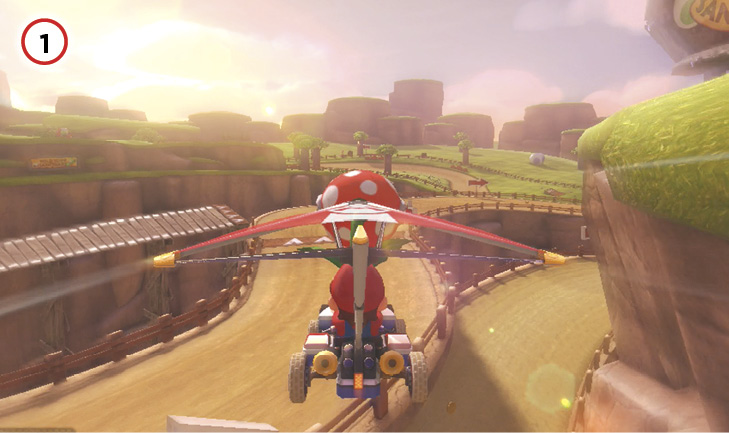
Going right twice takes you to a cannon that will blast you to where you need to go, but ironically this is one of the slowest ways to accomplish this.
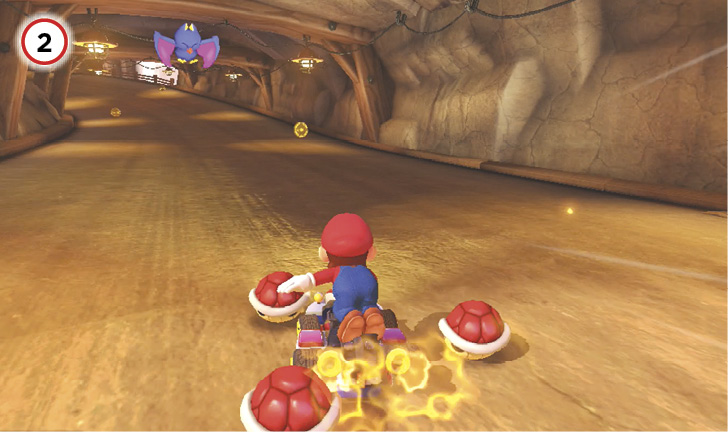
Going right at first toward the cannon, but choosing to make a left as soon as you can and then following this route, will take you into a Swoop-infested cave. As scenic as this route can be, it’s definitely not the most efficient! There are some extra Coins to collect for your trouble.
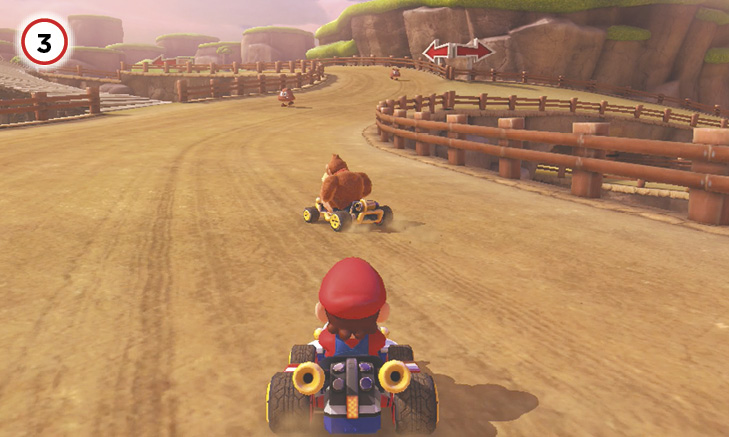
Going to the left and following the track while navigating around Goombas will take you on a direct, and the fastest, path to the next real section of the course. You can also use a small wooden bridge shortly after your first left, though that route is slightly longer despite being more direct in nature.
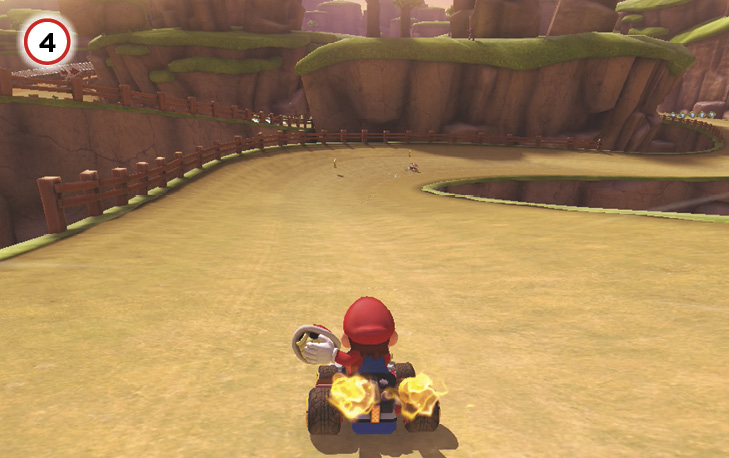
As you break out of the maze on your chosen route, you’ll ultimately end up on a long and wide stretch of curvy road. Watch yourself near the edge of this section of the course, as there is a conspicuous lack of guardrails throughout the area. If you’re a heavy racer, definitely try to force your lighter rivals off the course by any means you see fit.
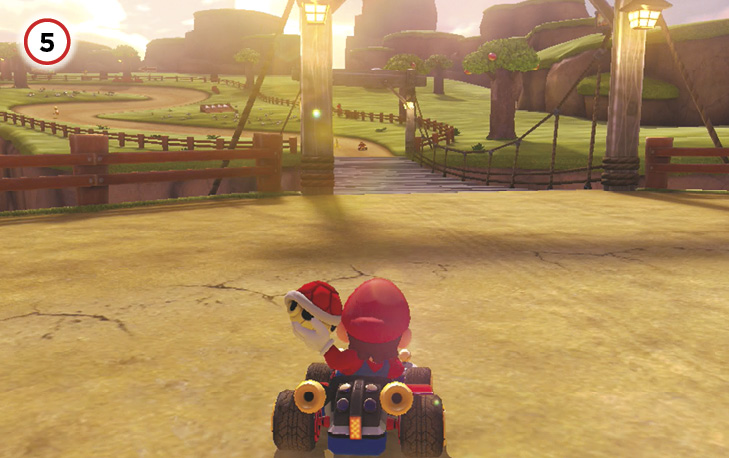
The massive Yoshi’s Egg rotating around this mesa is fairly easy to evade. The real problem is the small bridge behind it. It’s narrow enough that the right items applied here can make life very difficult for anyone following you.
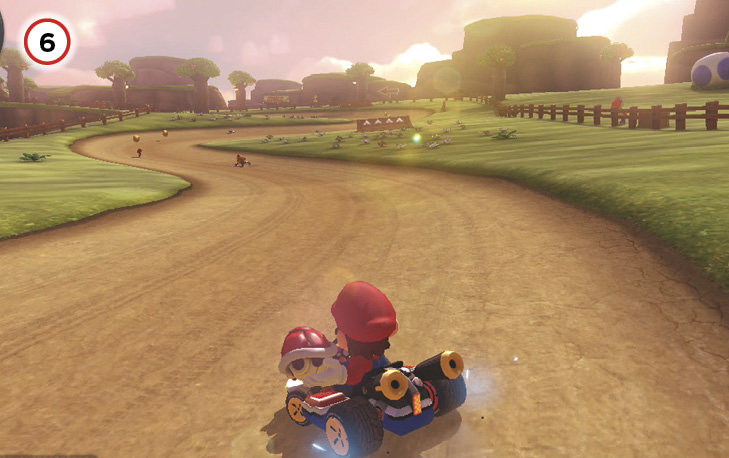
The final series of turns up a grassy hill can be made much shorter with smart Mushroom use.
Time Trial
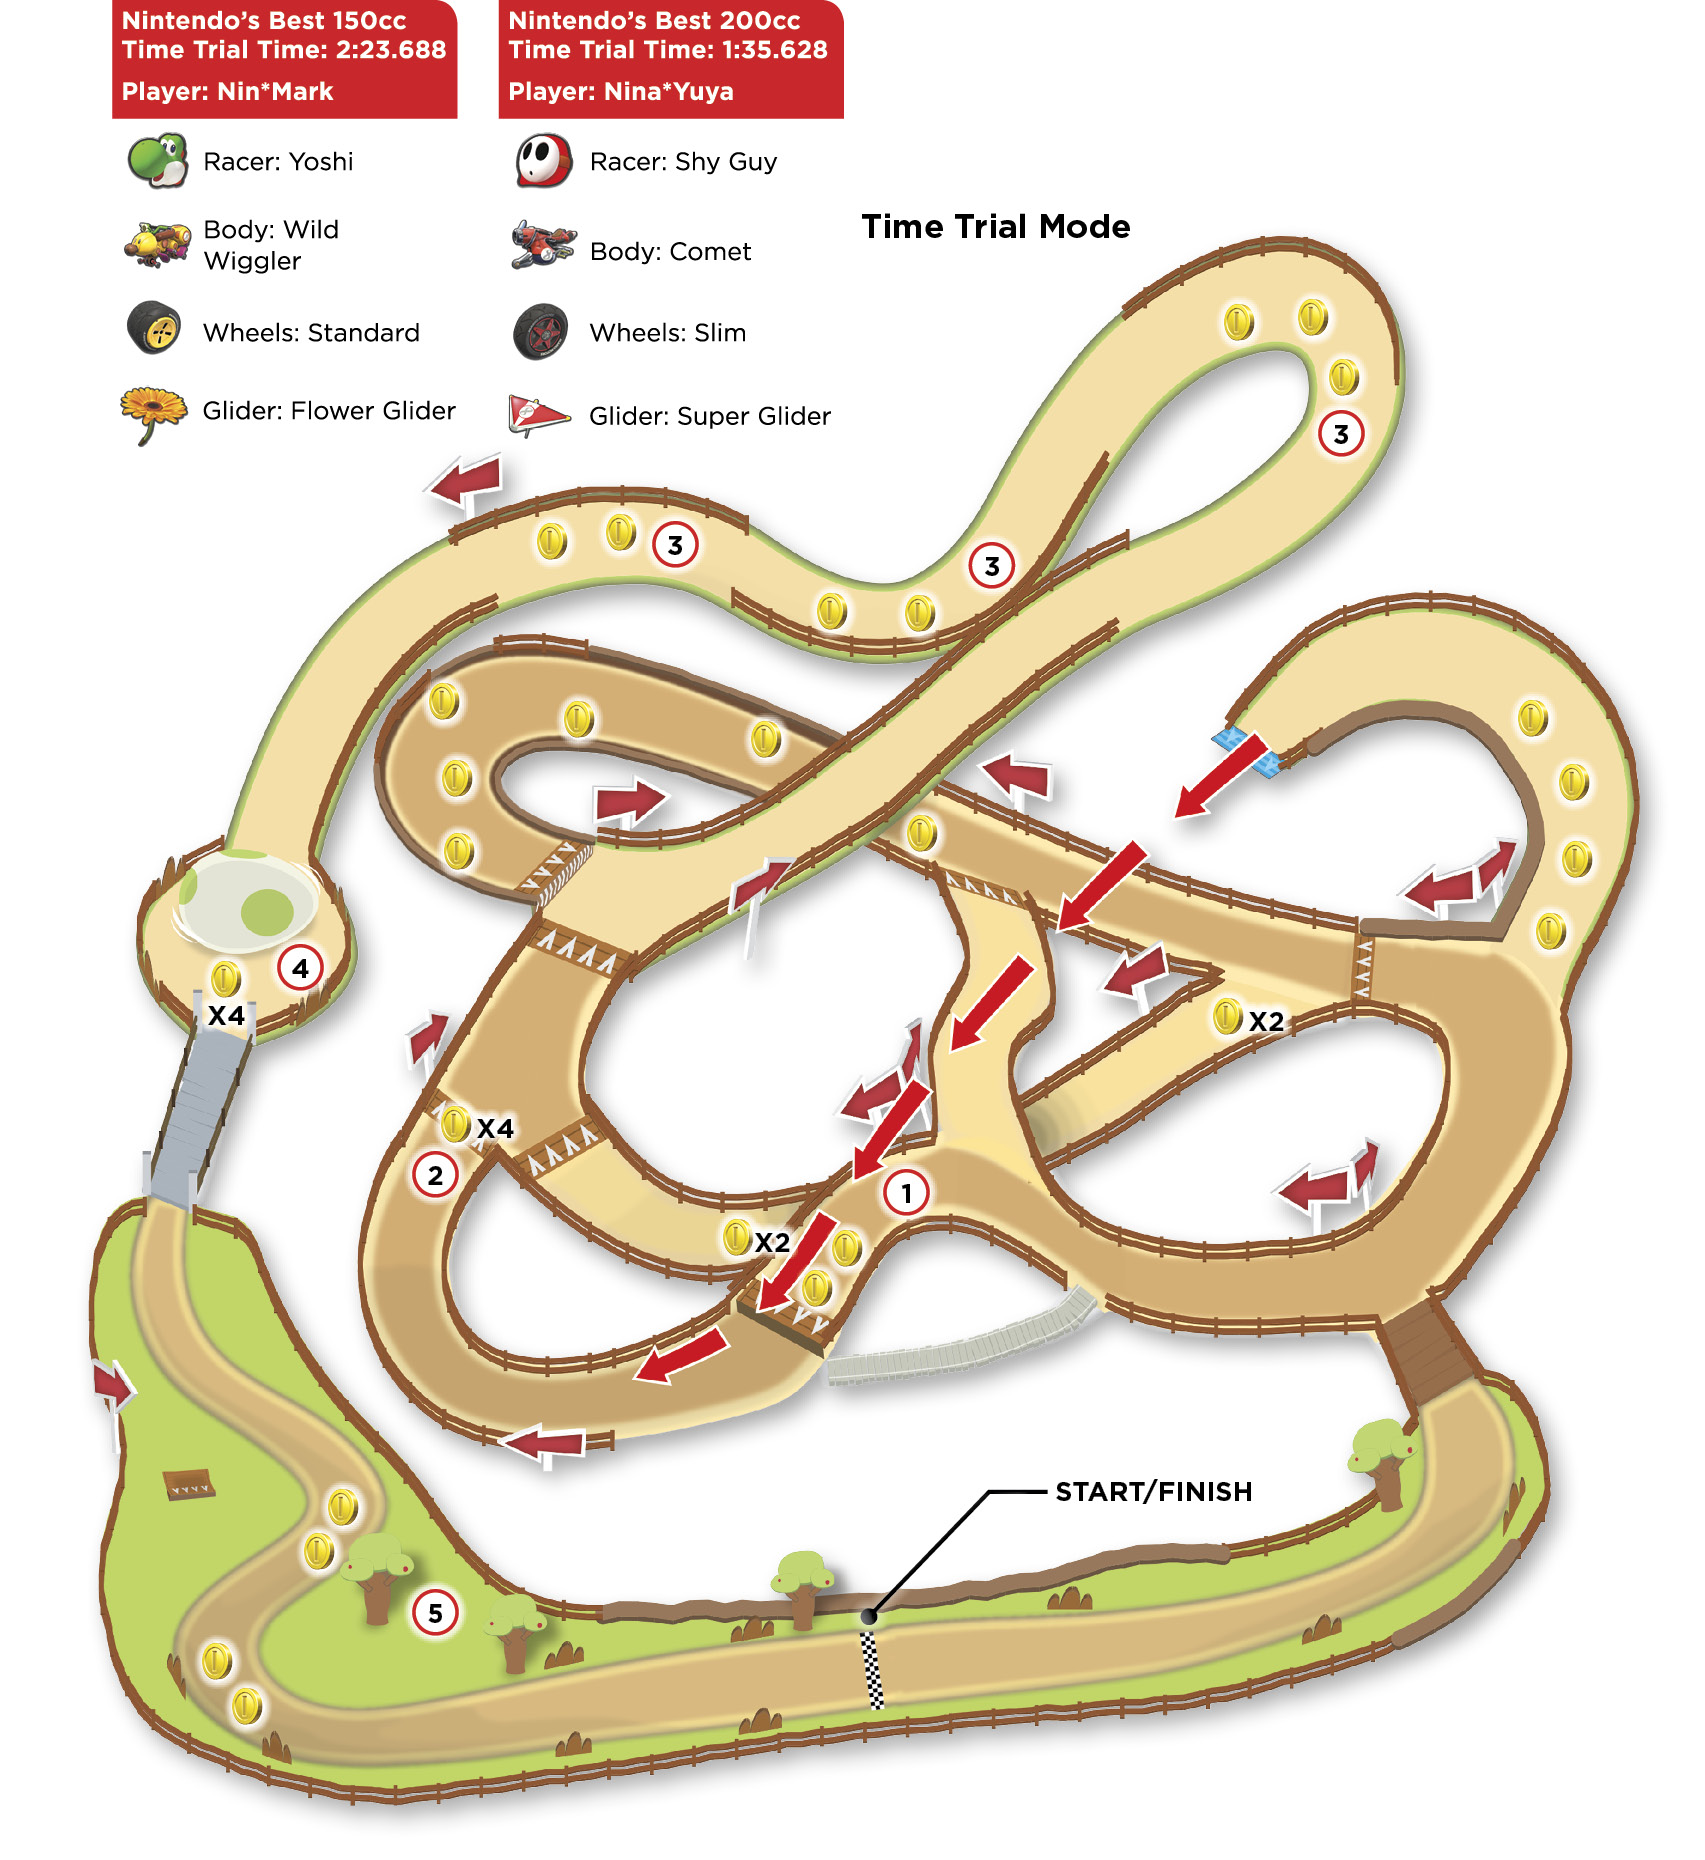
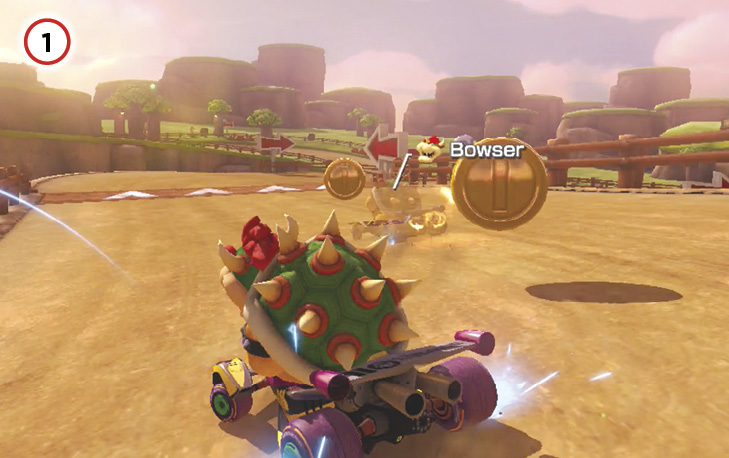
Don’t waste time in the maze! Take the left side routes on every lap. On Lap 1, don’t take the bridge that comes just after your first left turn. Take the path right next to it, slip past the Goombas, and collect two Coins in the process.
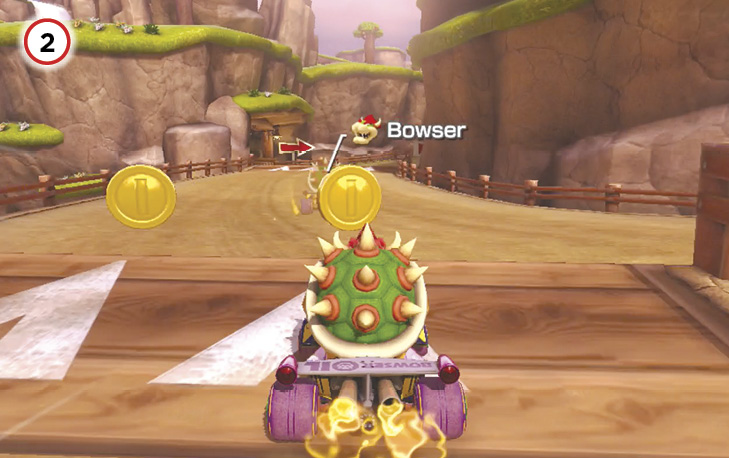
Your third Coin on Lap 1 can be retrieved on one of the final ramps you can Jump Boost from on your way to the second half of the track.
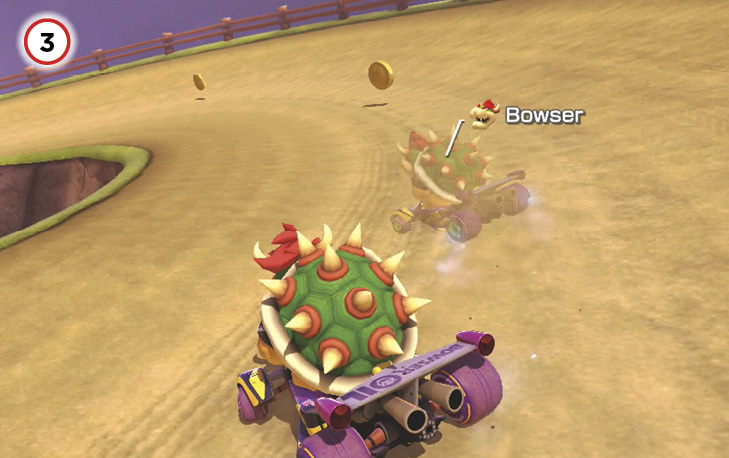
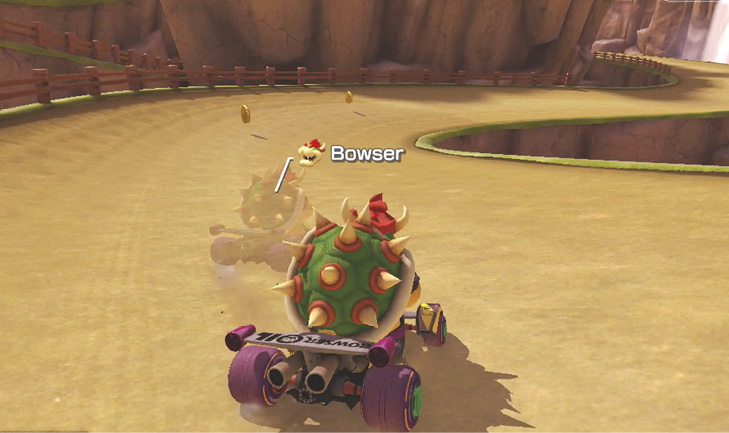
The winding path to Yoshi’s Egg has seven Coins to collect. When you finish Lap 1, there should be seven fewer Coins in this section.
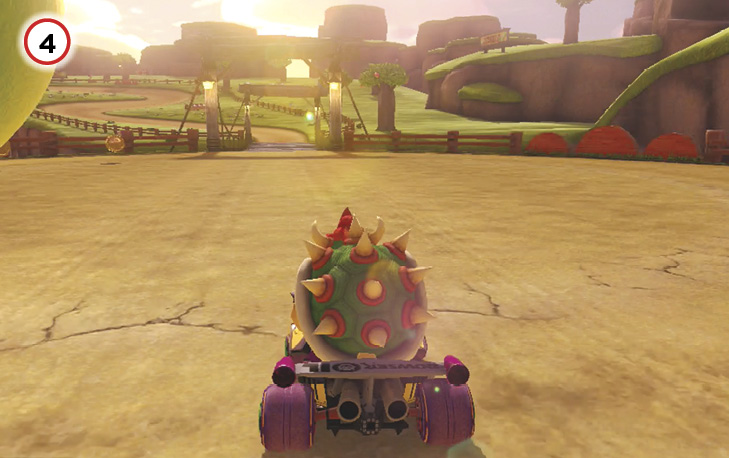
If you still haven’t grabbed ten Coins by the time you reach Yoshi’s Egg, you can snag at least one or two more from the line of Coins chasing the egg.
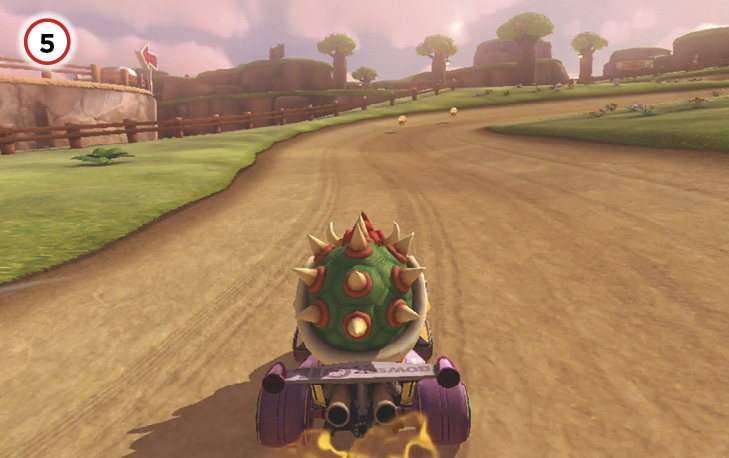
After the bridge crossing, take the first left, then line up with the Coin pictured here, aiming for the grass beyond it. Mushroom boost across the grass through this Coin, drifting and turning to the left as you go up the hill between a pair of trees. It’s a straight shot to the finish from there. This shortcut should be taken on every lap, so save your Mushrooms for it!