
Mario Kart 8 Deluxe Guide The Tracks
Special Cup
Cloudtop Cruise
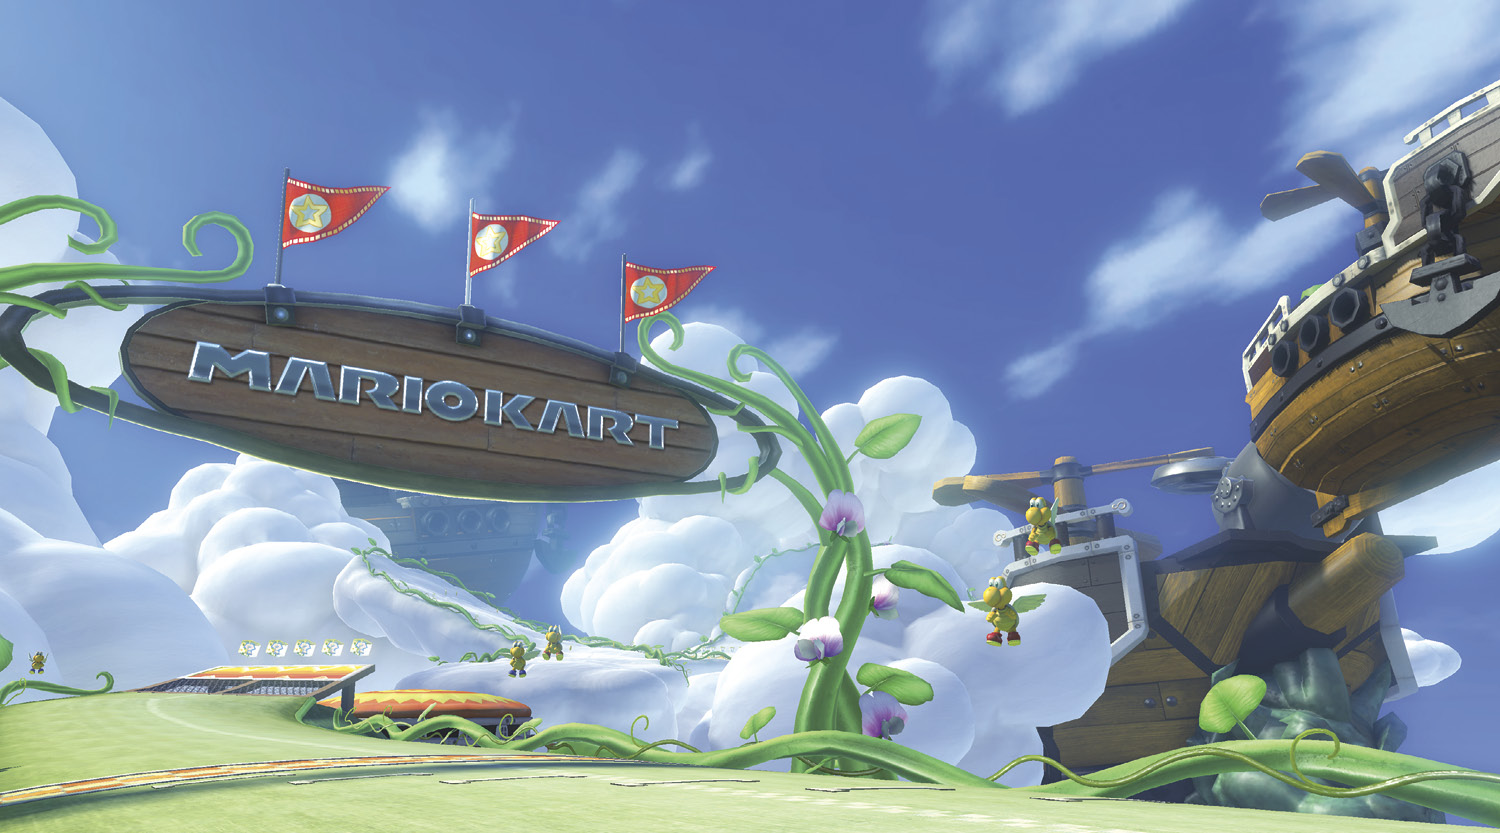
The Special Cup opens with a very fast course. Cloudtop Cruise rewards racers who are aggressive in their execution of Mini-Turbos off any turn, and Jump Boosts off of anything that can trigger them.
Grand Prix
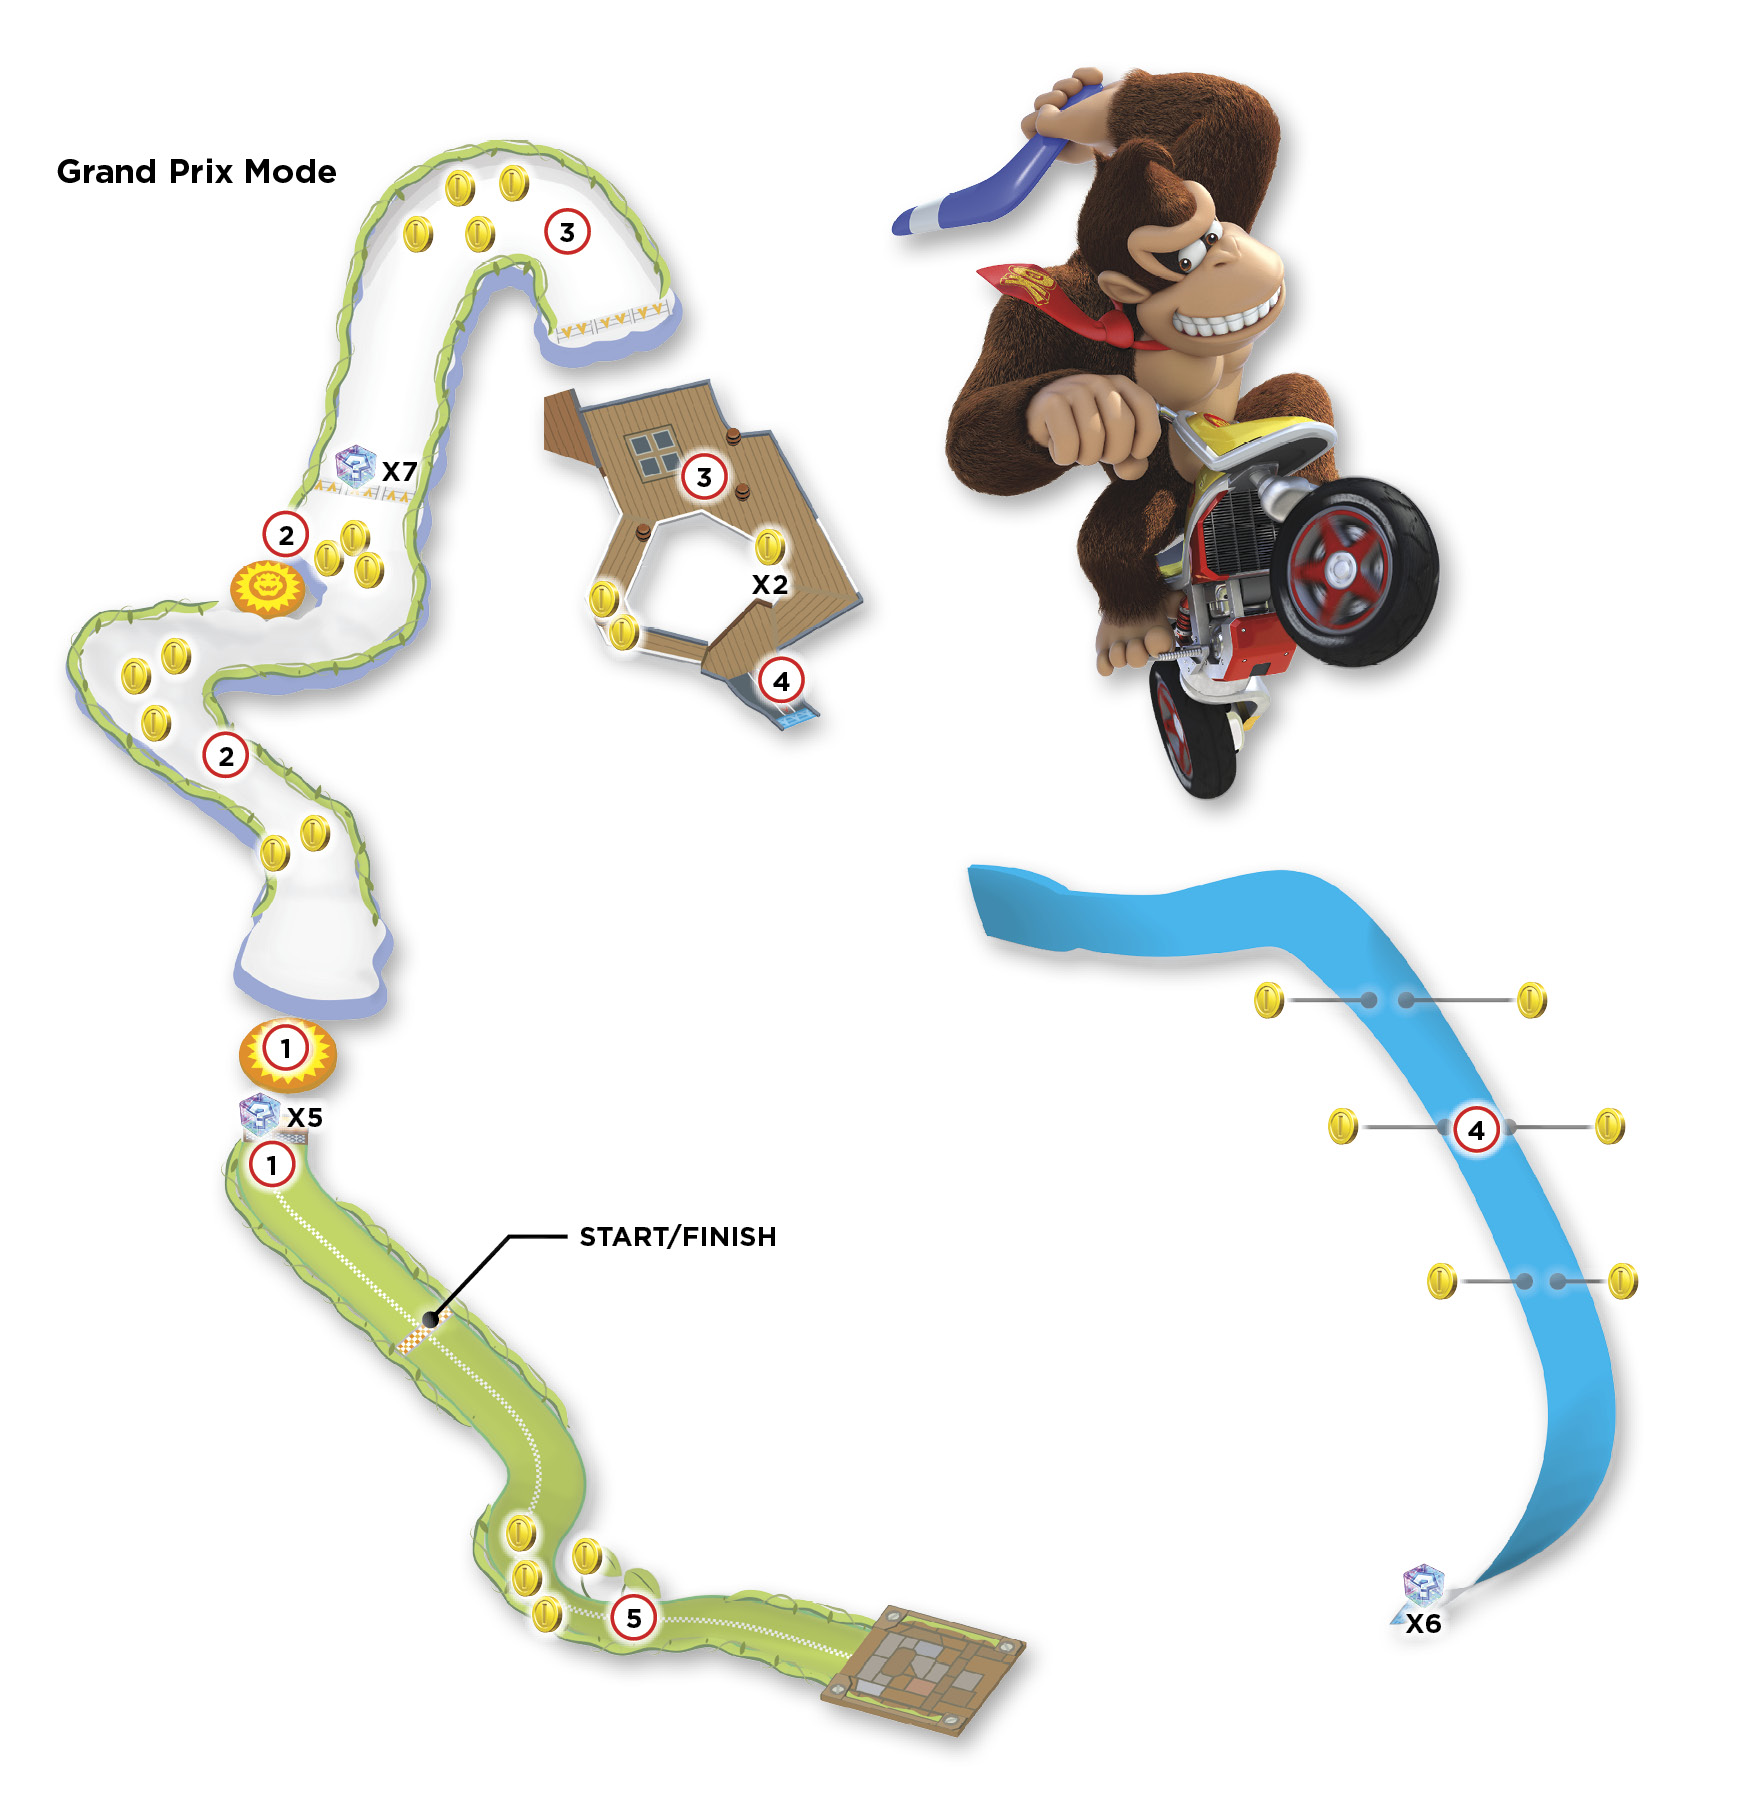
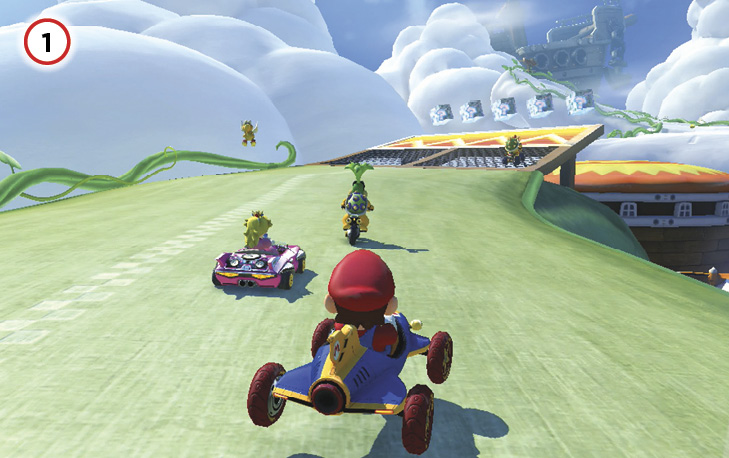
A dash panel ramp launches you onto a bounce pad as the track begins. You can score Jump Boosts both off the ramp itself and the bounce pad.
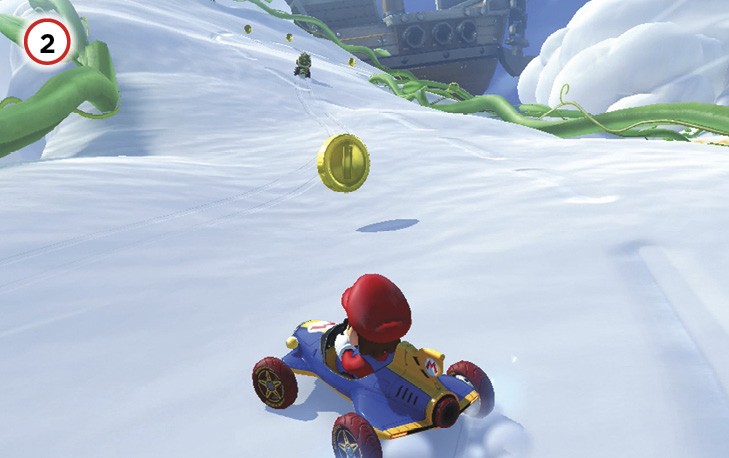
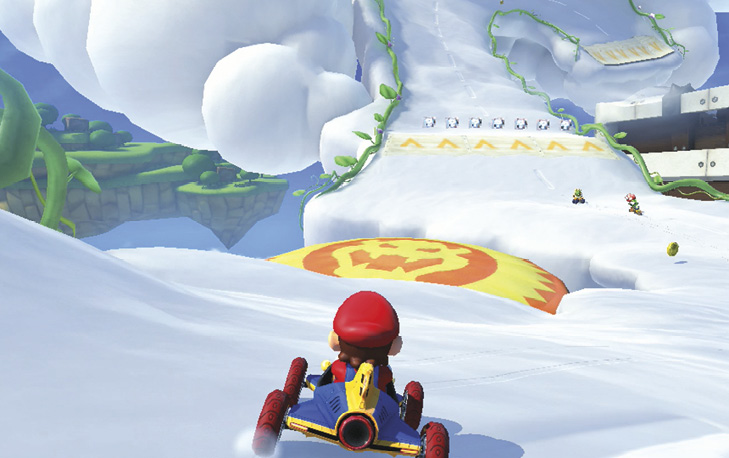
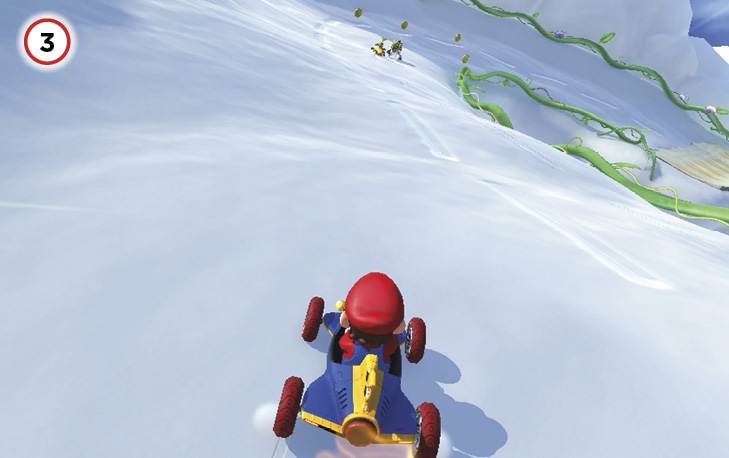
The upcoming turns right after the first bounce pad can be raced through like normal; however, there is another bounce pad that can be used if you take up a proper racing line, aiming for it and the section of track beyond. Scoring another Jump Boost here, and off the ramp that follows, is a good way to stay ahead of the pack.
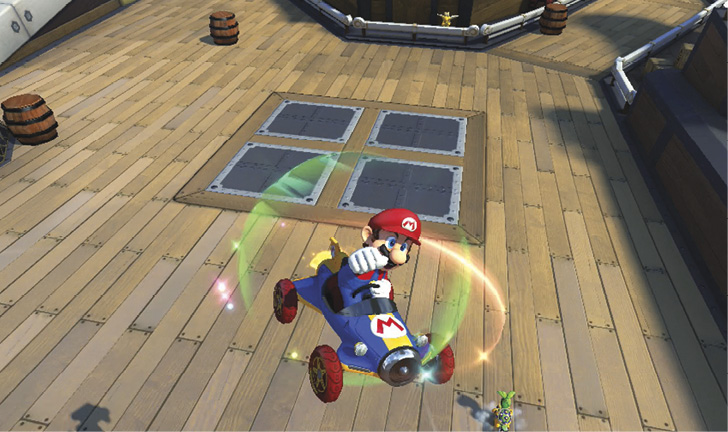
After a sharp right turn, you’re dropped onto an airship with two paths around the central propeller. Neither path is particularly faster. Both feature barrels that can slow you down if you don’t have the speed or the assistance of items to break through.
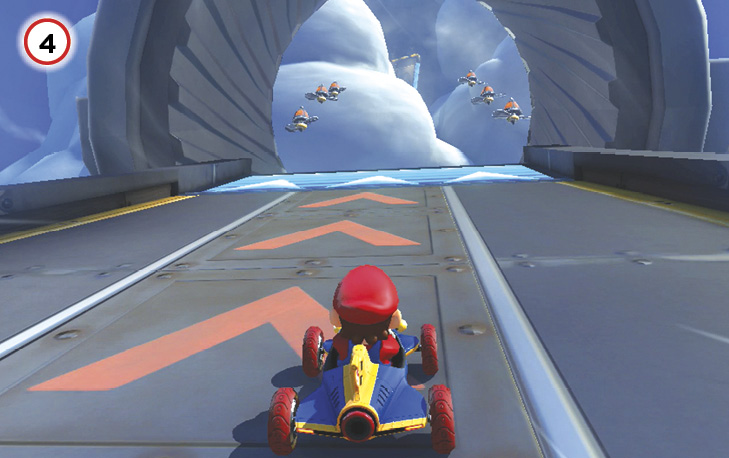
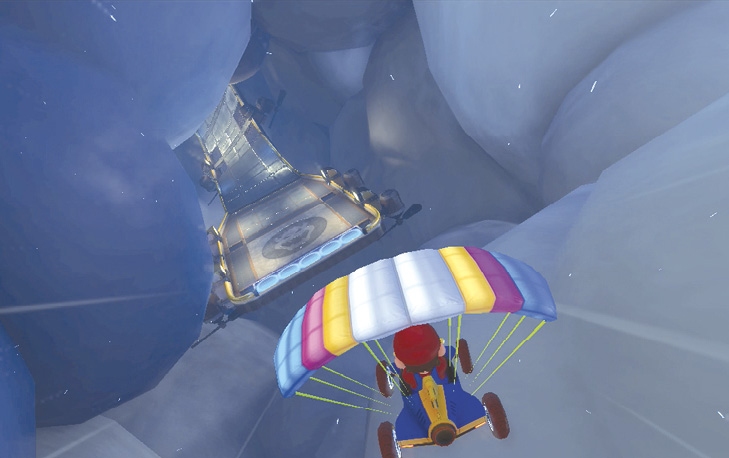
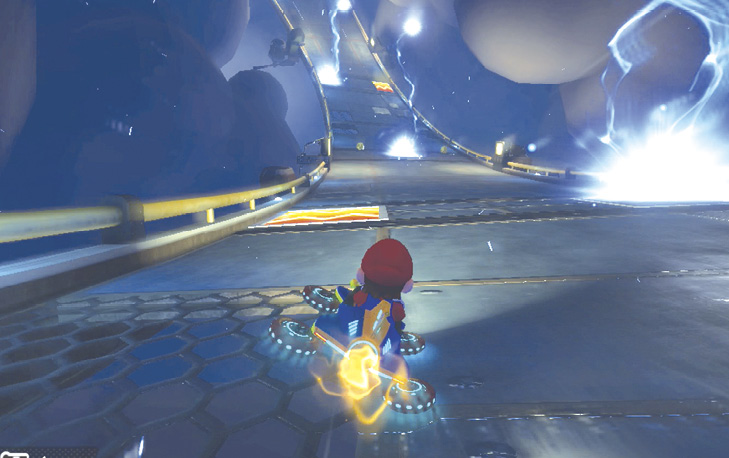
At the bow of the airship is a cannon that shoots you through the clouds to reach another section of the course. Dash panels litter the track, and you want to use these. However, lightning strikes these panels in an alternating pattern. Watch for a strike to start building up so you can avoid that panel altogether.
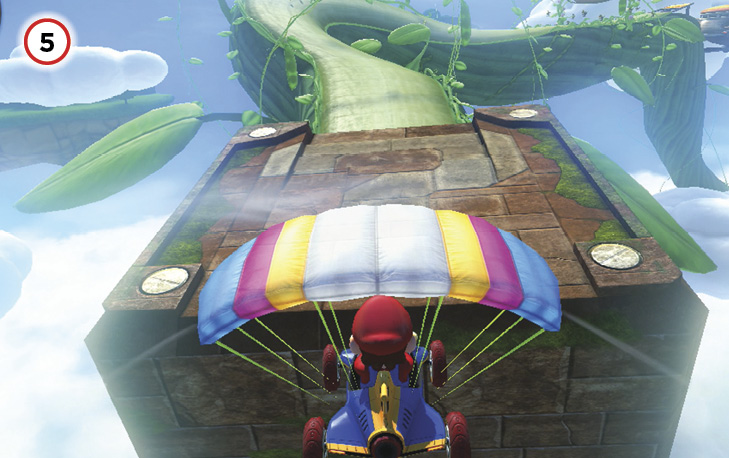
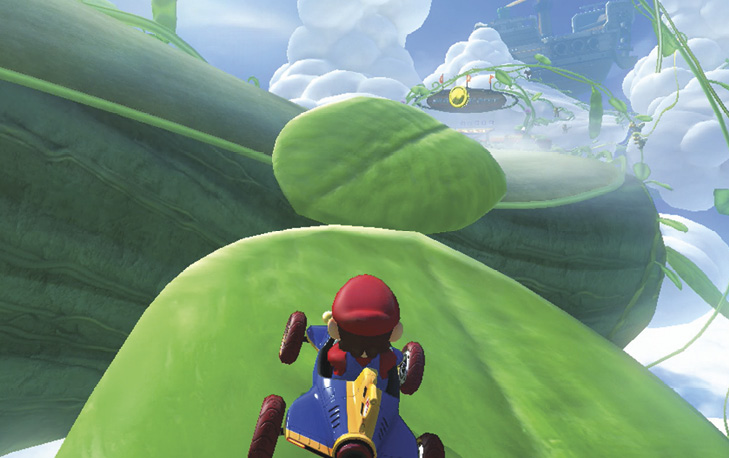
As you shoot out of the clouds, the final turn leading to the finish line can be seen. More importantly, there’s a pair of leaves to the right of the track, suspended in mid-air. You can use these leaves to cut that corner. Be VERY careful using that shortcut if other racers are around. If you’re a lightweight racer and make contact with someone heavier, you’ll fall into the abyss!
Time Trial
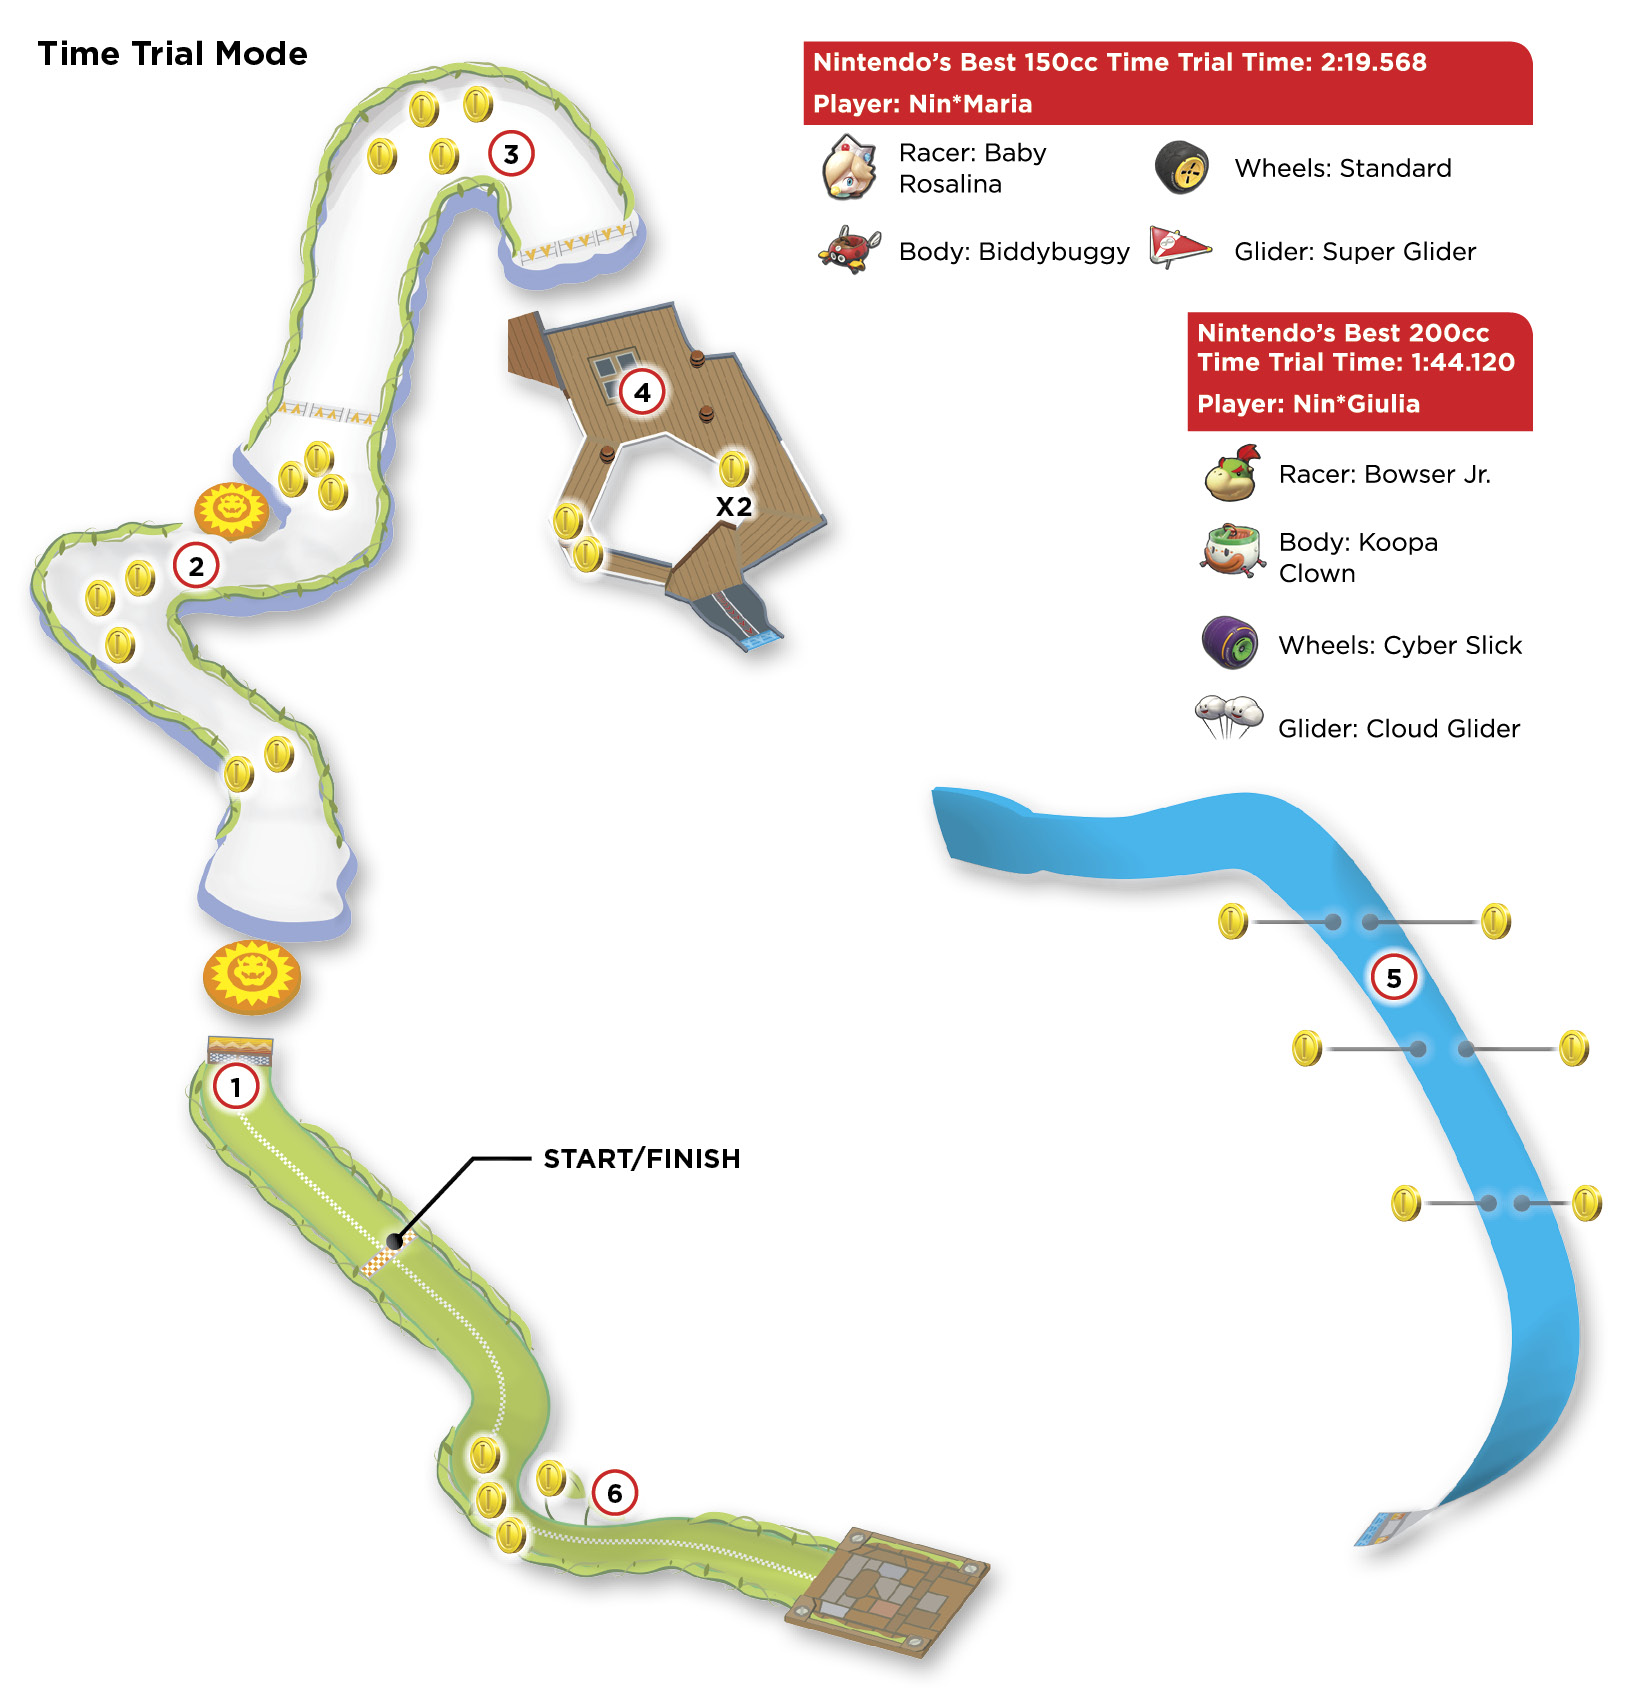
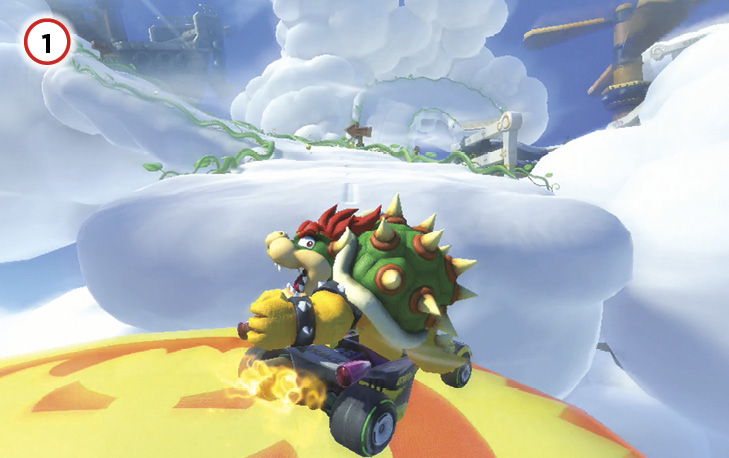
Jump Boost off the dash panel ramp and the bounce pad right after the race starts.
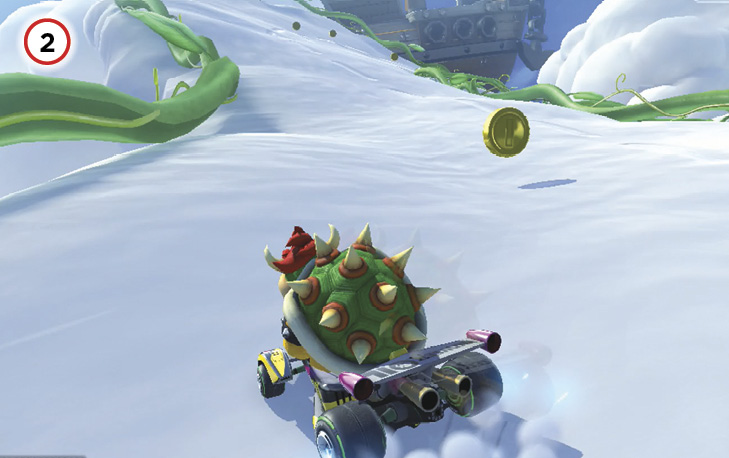
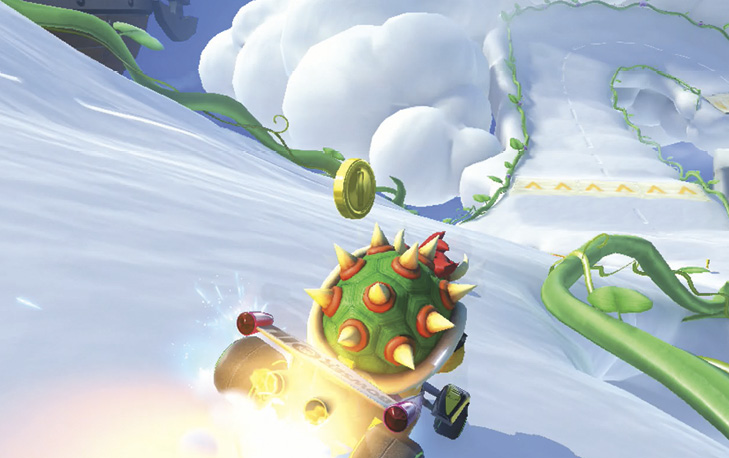
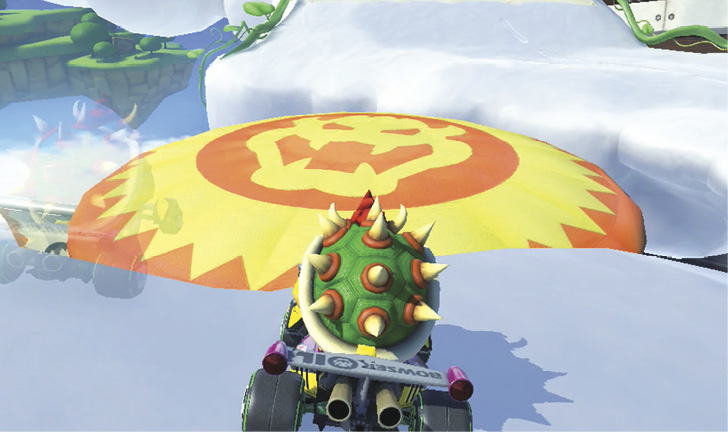
The follow-up S-curve lines you up for the first major shortcut of the race. Collect the two Coins on the inside lines of the S-curve while making tracks for the short cloud ramp that launches you onto another bounce pad. Drift aggressively through the S-curve to try and score Mini-Turbos in between collecting the Coins, and make sure you Jump Boost off the cloud ramp, the bounce pad, and the ramp that you land on beyond the bounce pad.
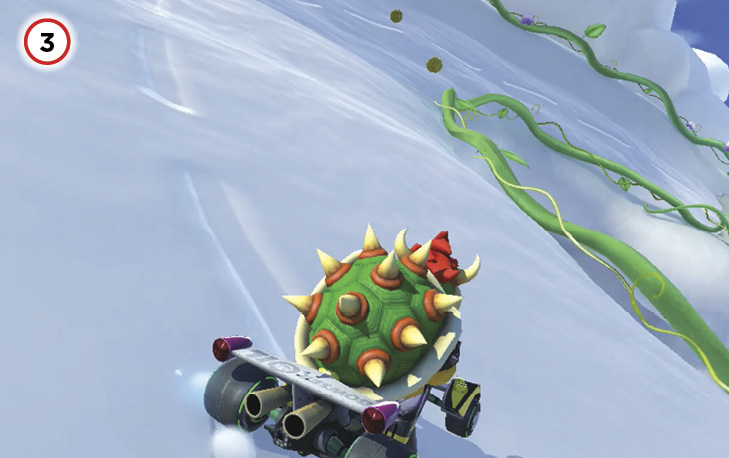
Just past the gauntlet of Jump Boosts is another sharp right. You have a choice of drifting on the outside of this turn to collect three Coins, or cutting the corner close and snagging only one Coin on the inside line. Be sure to Jump Boost off the ramp that follows!
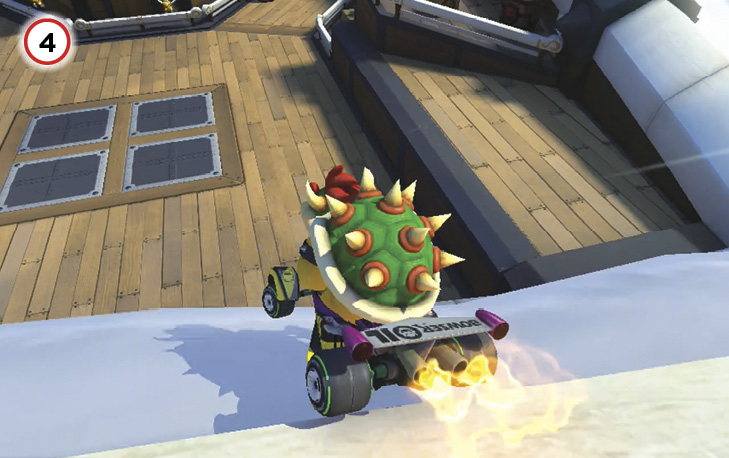
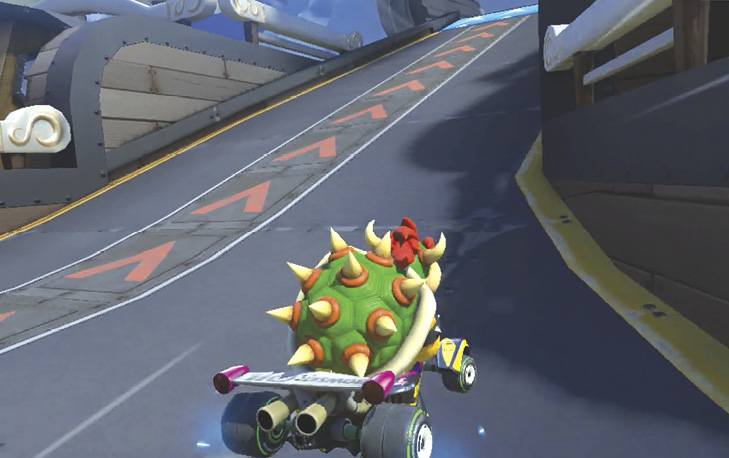
The track split on the airship contains Coins on both sides. For Lap 1, take the right-side split to pick up two more Coins. Drift and Mini-Turbo through this turn, then do a drift and Mini-Turbo hard to the right to launch yourself forward toward the cannon at the front of the ship. For the right route, you can collect one Coin while sticking to the inside line. Take this route for future laps.
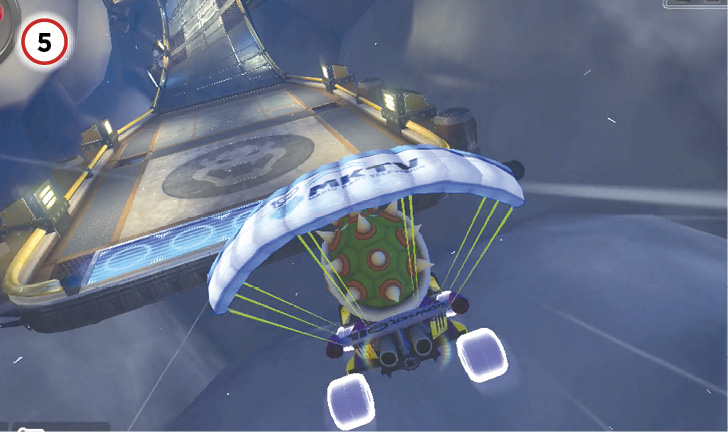
After getting launched into the clouds, you must use the dash panels to speed through this section while also avoiding the lightning that strikes them. However, during Lap 1 you’ll want to favor the far left side of the track to collect two more Coins. This will cost you some speed as you’ll miss dash panels to collect both Coins, but you can make up for this using a Mushroom in between panels. You can use two Mushrooms on Lap 1 to ensure you collect two Coins, saving a third Mushroom for the final lap.
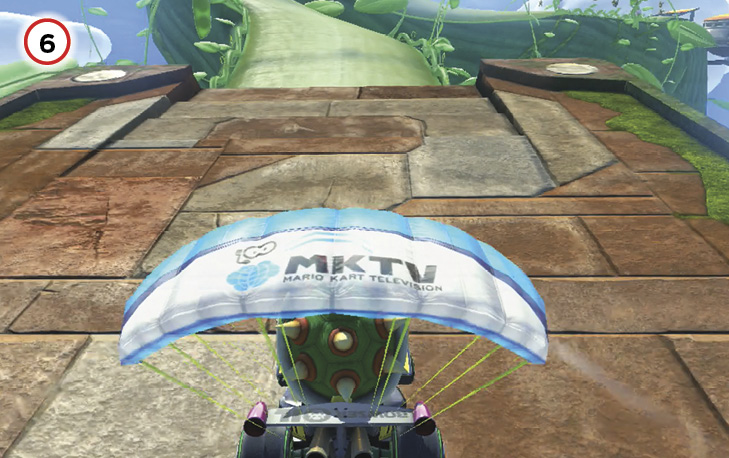
The final shortcut is absolutely required to score top lap times, and contains one more Coin for your trouble. When hopping from each leaf, be sure you Jump Boost, and when leaping from the second leaf, make sure you’re lined up with the finish line!
Bone-Dry Dunes
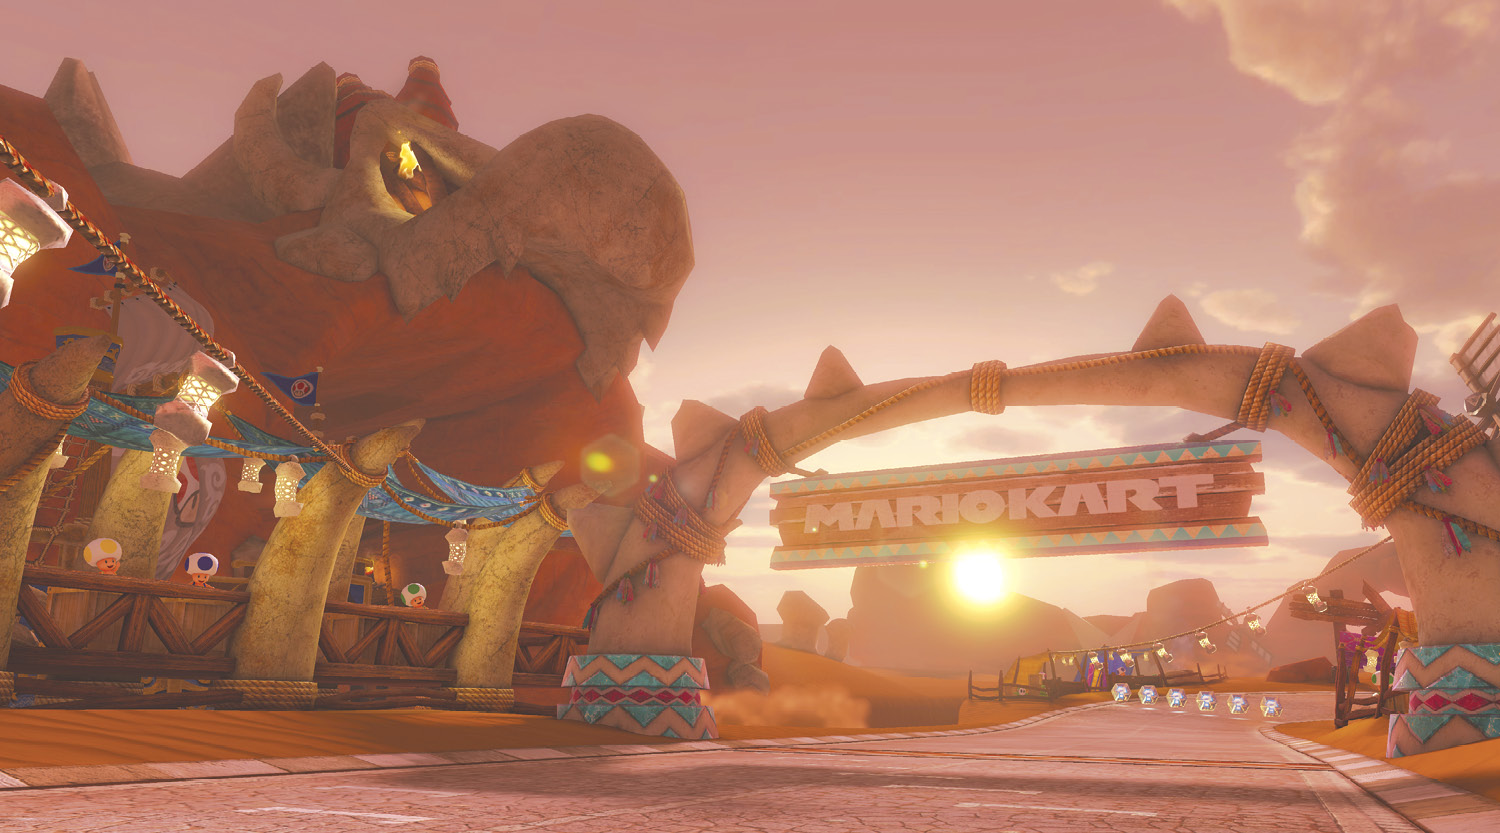
Desert sands and ancient skeletons make up most of this course. When playing in the Grand Prix mode, be on the lookout for heavyweight racers if you’re a lightweight character. One wrong bump can send you into a wall, or into the sands off-road, the latter of which takes more time to recover from.
Grand Prix
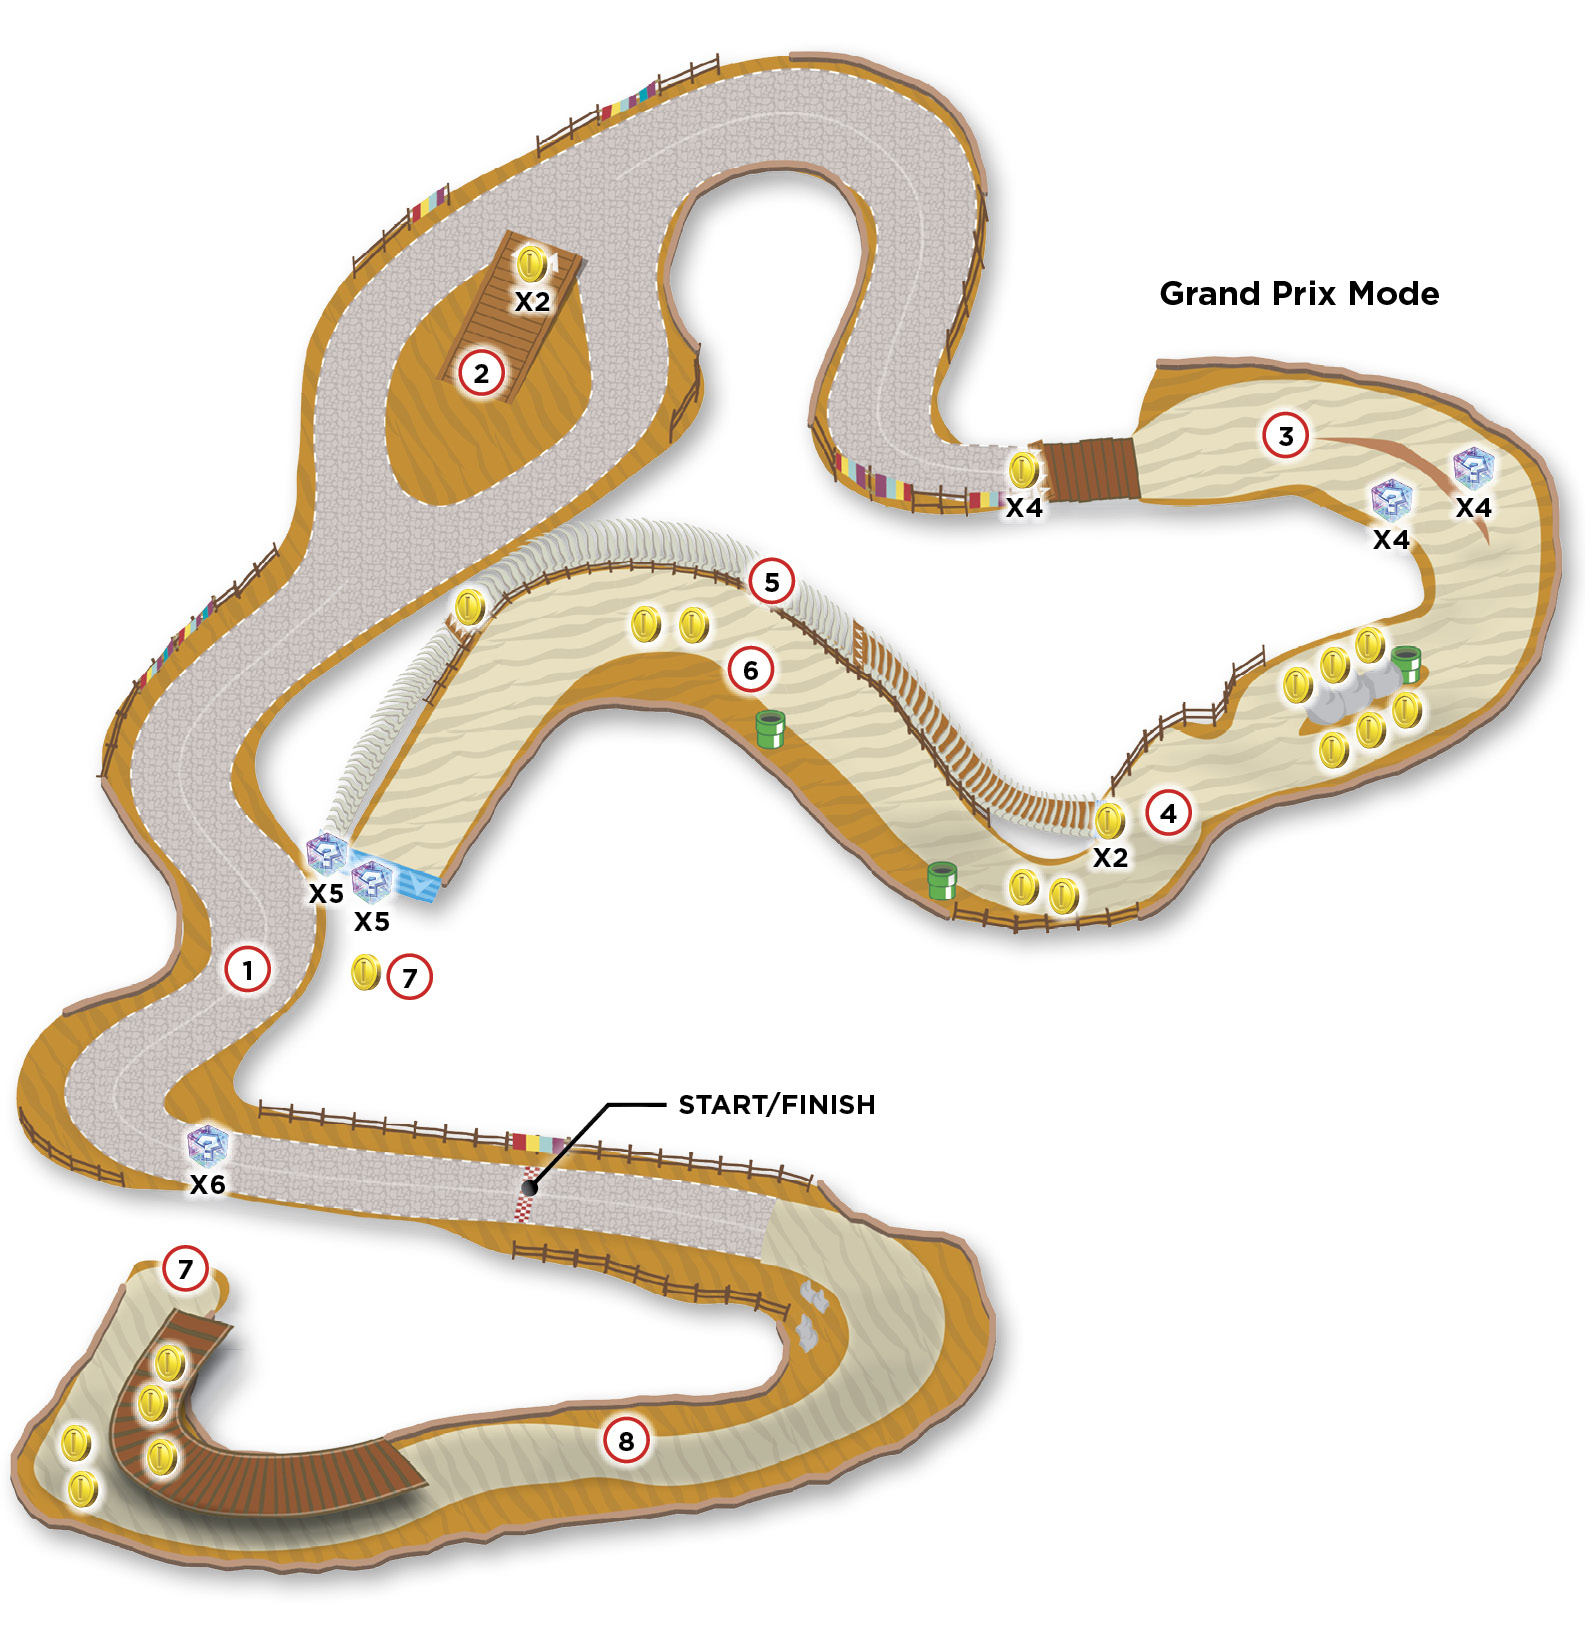
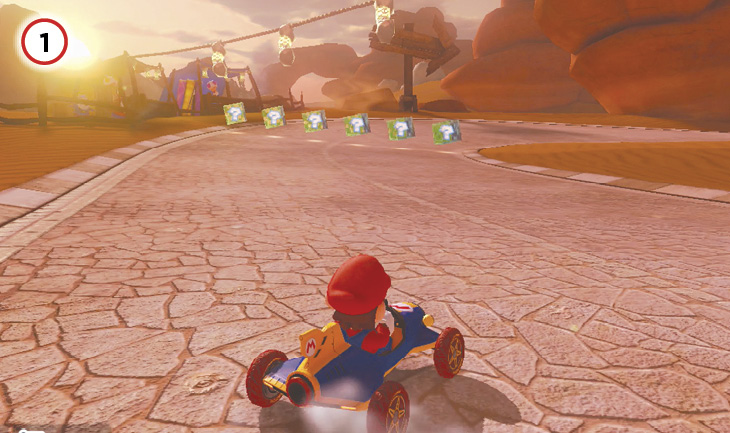
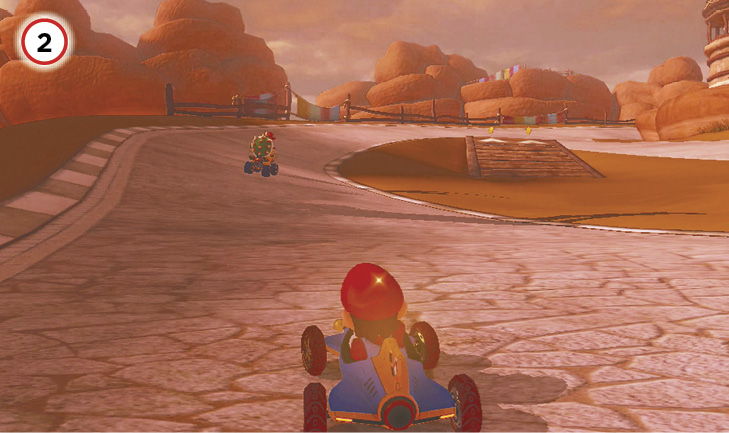
Be aggressive in these opening turns and go for multiple Mini-Turbos. If you’re lucky enough to have started at or near the front of the grid, you can reach Item Boxes early to deny at least one or two racers valuable weapons. Spectators in airships will toss Coins onto the track, so be sure to collect the Coins if you’re out in front!
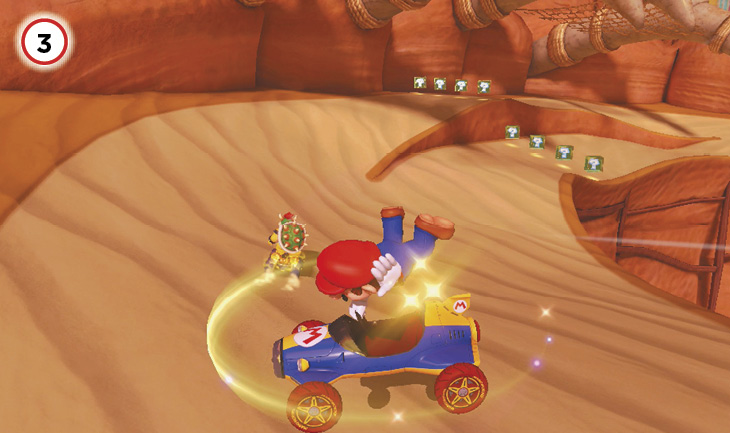
The patch of sand at the center of this oval can be blasted over with a Mushroom. Be sure to Jump Boost off the ramp at the end of the sand!
After crossing the bridge, you can choose a lower road or an elevated road. In both Time Trials and the Grand Prix, there’s not much call to take the higher road unless the lower route is rendered completely unsafe by Bananas.
A split in the road protected by a Bone Piranha Plant leads directly to the major decision point of the race. On the right side of the track behind the Piranha Plant you can see an antigravity panel that will take you on one route, while passing that ramp and following the main road leads you to another section of the course.
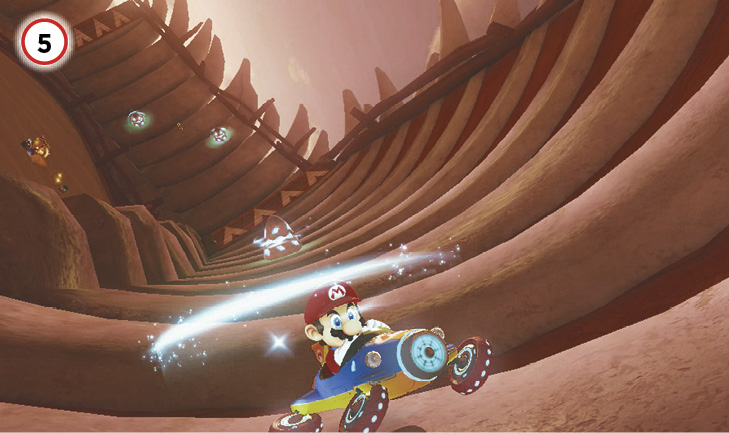
Taking the antigravity panel puts you on a bone road filled with Spin Boost pillars. Take advantage of the speed boosts they can provide, and don’t miss scoring Jump Boosts off the ramps here. Eventually a launch ramp will send you flying over a chasm.
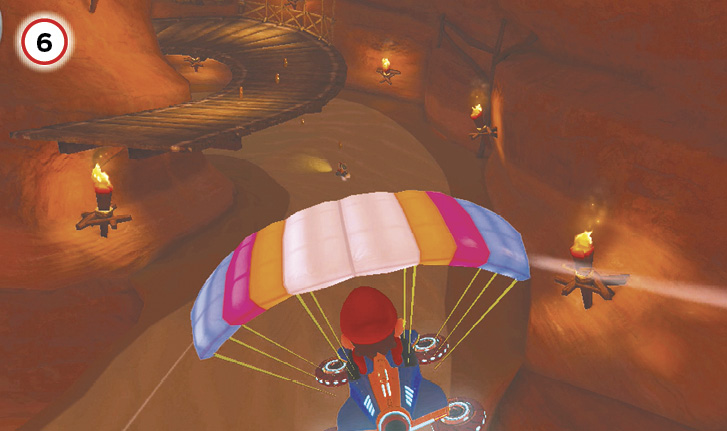
The lower route is not quite as fast as the bone road, and is guarded by multiple Bone Piranha Plants. However, with the use of a sand geyser in the chasm following this section of the course, you’re in better position to reach a more advantageous route.
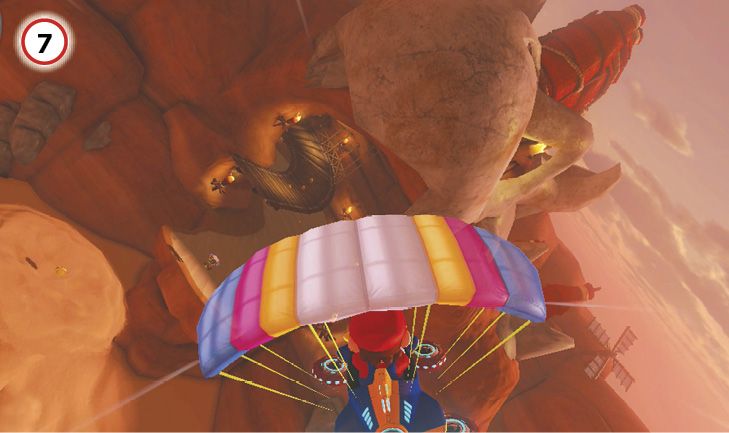
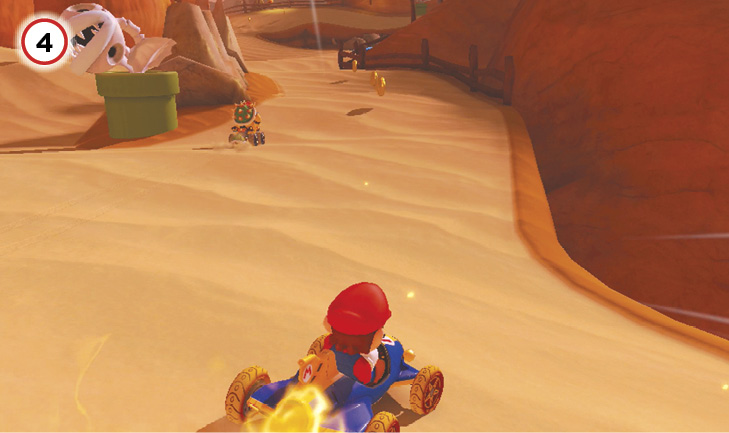
Beyond the chasm is a cave with two routes to drive. The first and most obvious route is the one on the ground level. If you followed the bone road, or get a boost off the sand geyser that spouts at the center of the chasm, you can glide up to the upper route.
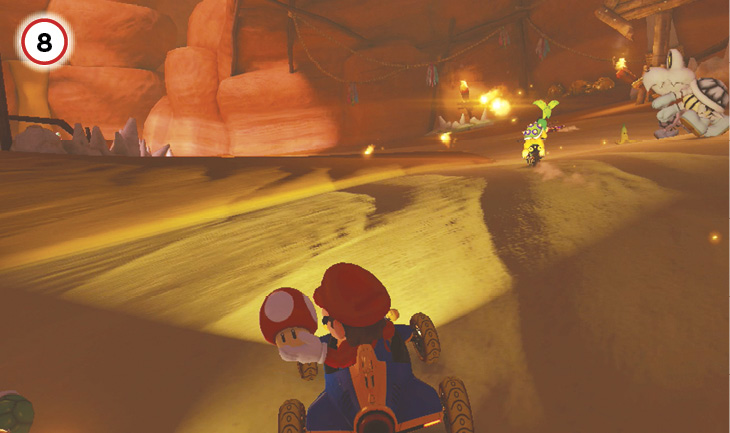
The lower route in the cave is protected by a trio of Dry Bones. If you have a Mushroom, you can bypass the Dry Bones and a good chunk of the last turn toward the finish by rocketing off-road to the left of the Dry Bones, aiming toward the finish line. Watch out for obstacles off-road that can slow or stop you when using this shortcut!
Time Trial
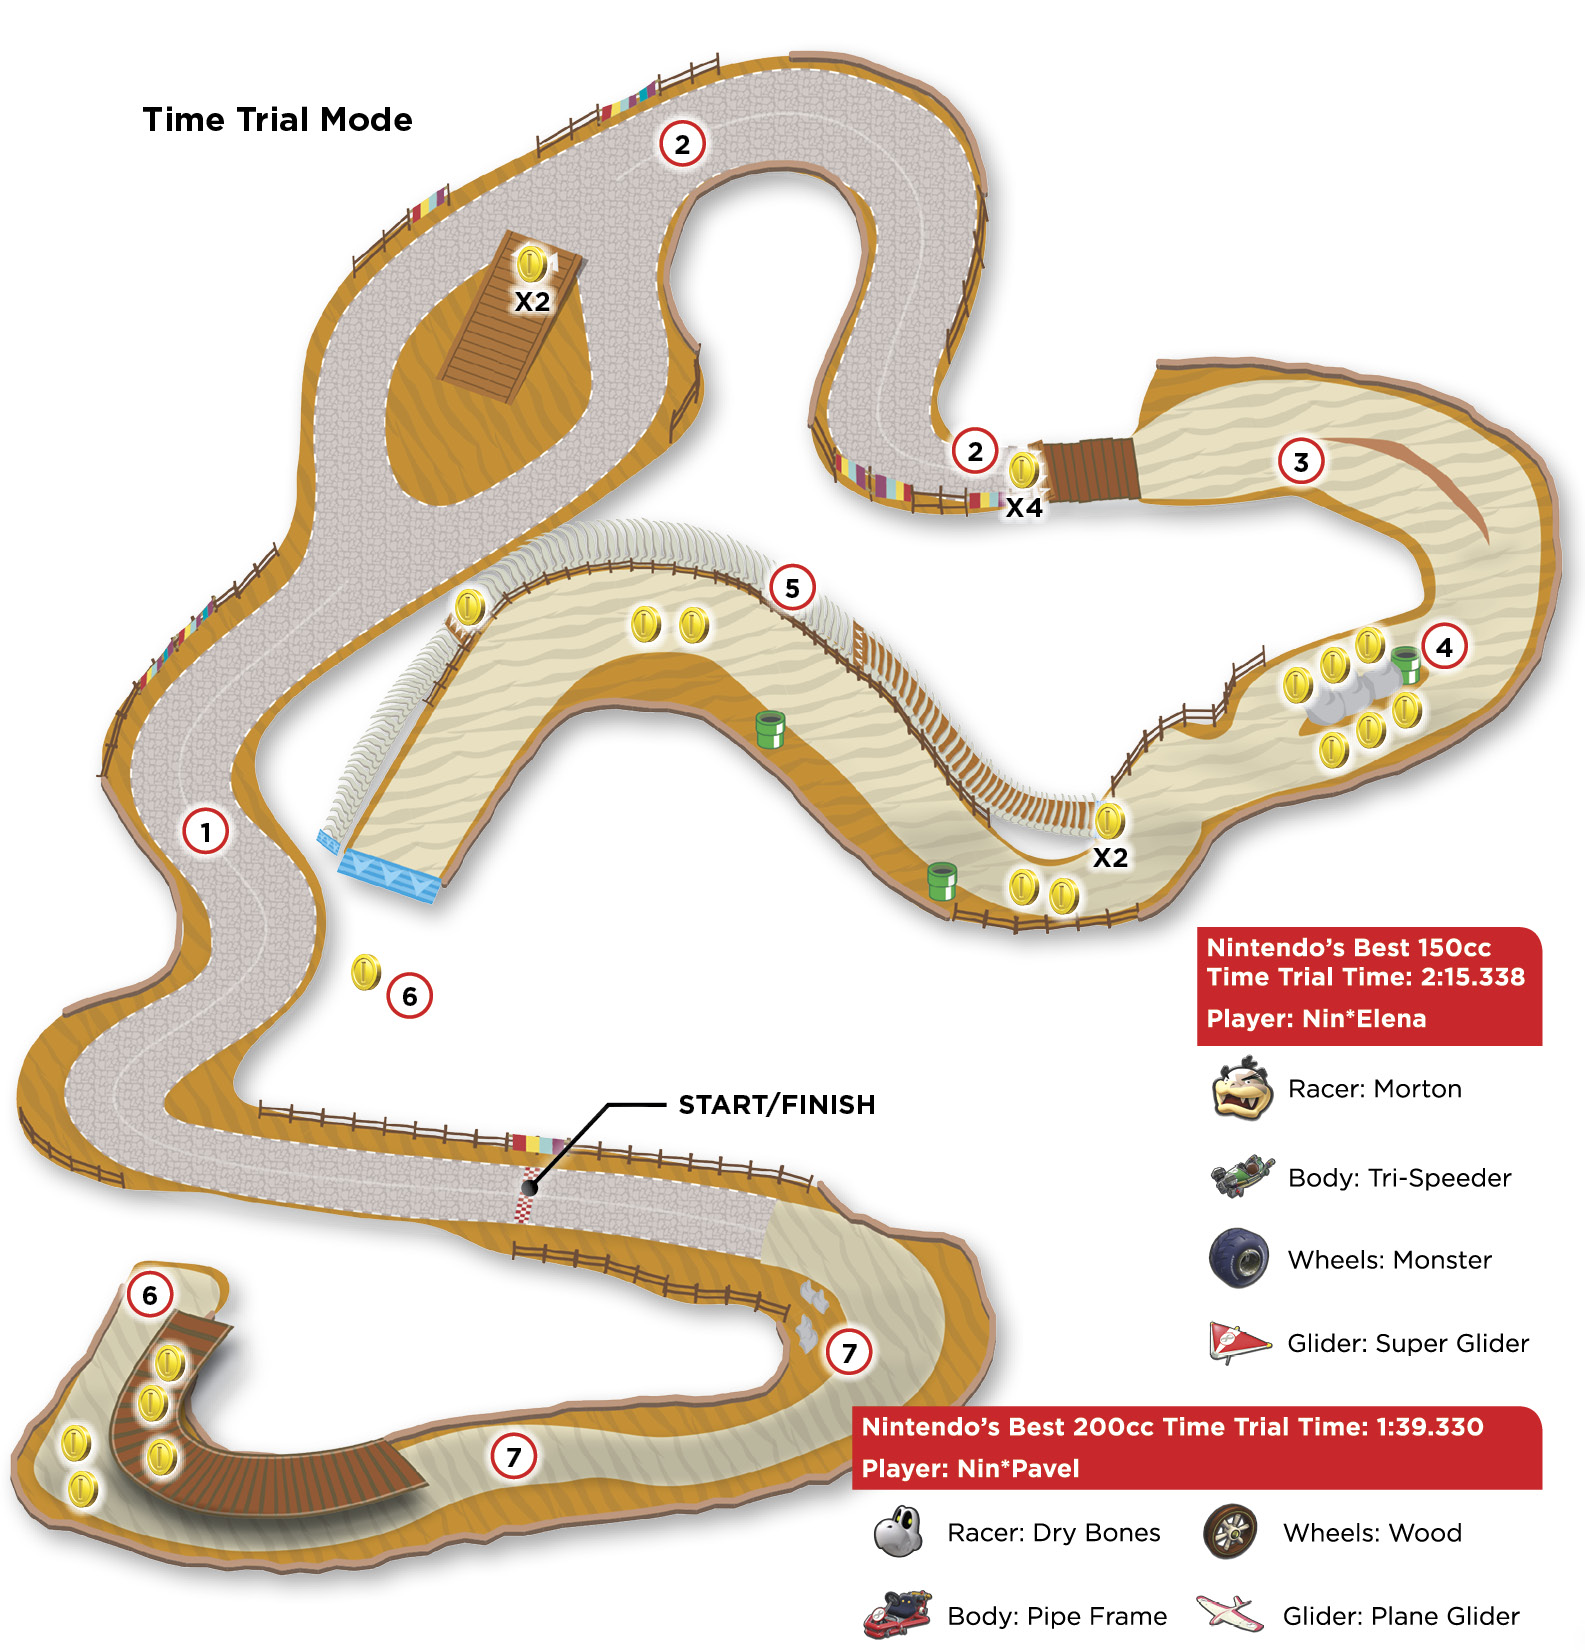
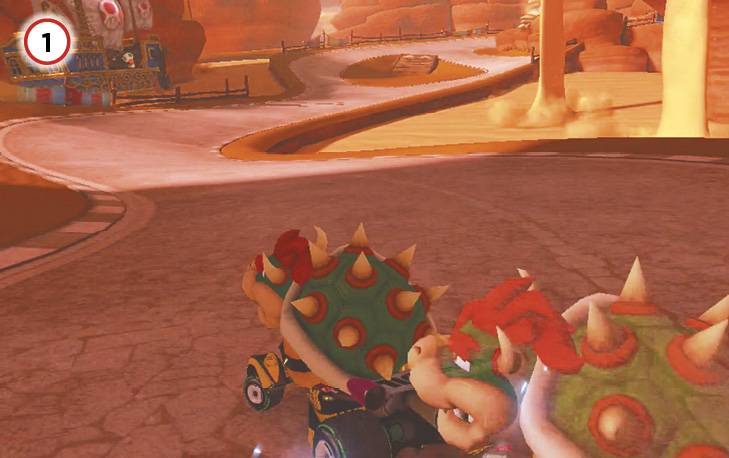
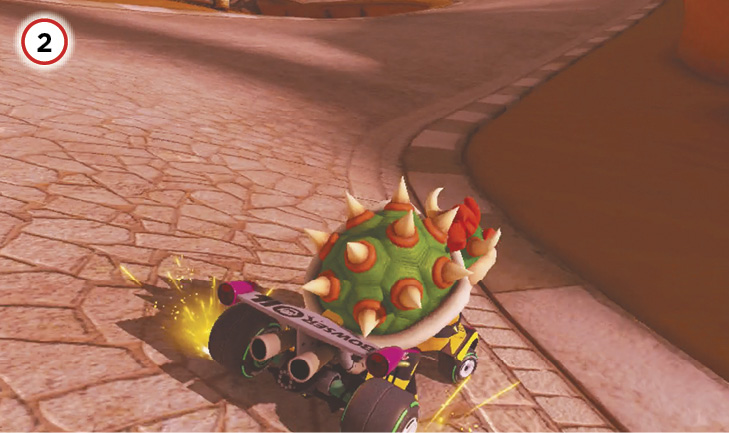
Drift and Mini-Turbo through the opening S-curves. As you approach the split in the track on Lap 1, airship passengers will toss three Coins onto the approach to the left track. On Lap 2, three more Coins will be tossed onto the approach to the right track.
After the split tracks rejoin, you have a hard right turn, followed by a hard left. The left leads into a ramp you can Jump Boost from over a bridge. You can collect at least one Coin from this ramp, through we recommend sticking to the right side of the bridge jump if possible, to better line you up for the next turn.
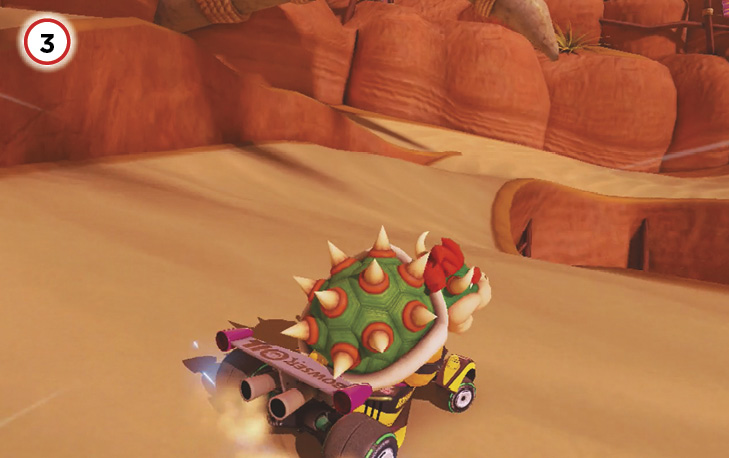
After the bridge jump, the track splits again into upper and lower routes. Take the lower route and stick to the inside of the turn as best you can!
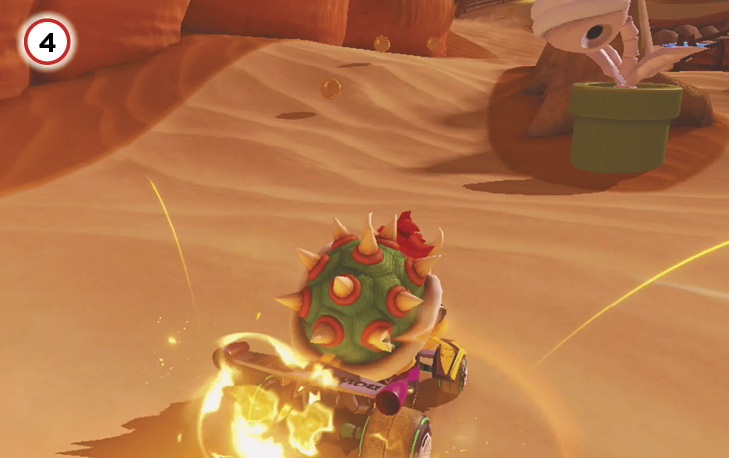
The track splits again shortly after the first split, this time with a choice to go left or right around a Bone Piranha Plant, each path with three Coins to collect. The inside route is slightly faster, but it is much harder to make the right turn onto the antigravity panel for the next course section. The outside route works best both for collecting Coins and aligning for the antigravity panel.
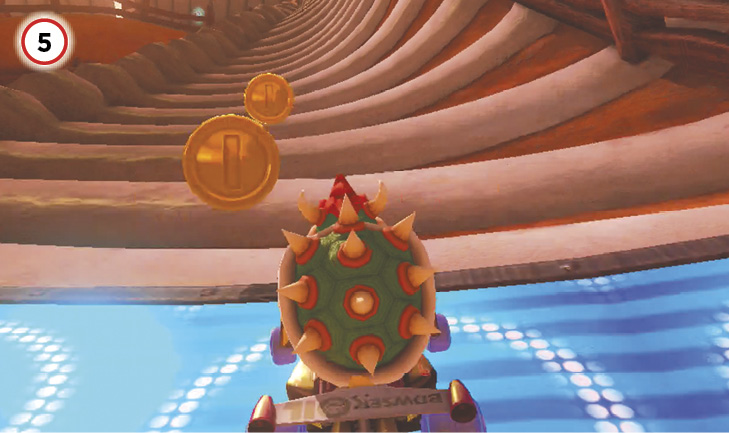
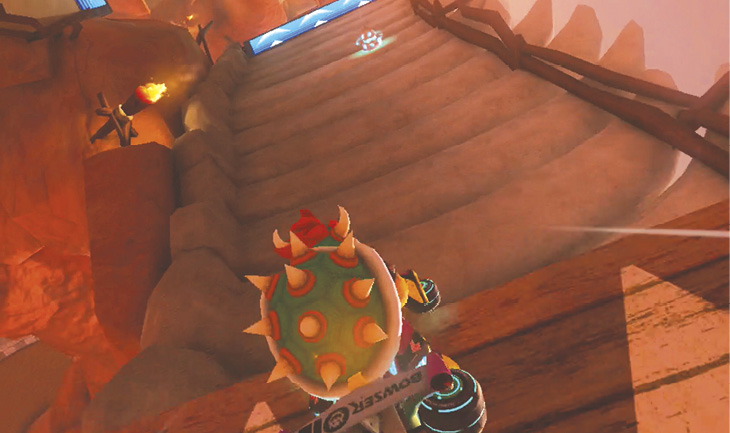
The next track split isn’t even an option: the antigravity panel will take you on a section of the course with multiple Spin Boost pillars for additional speed boosts. If you stick to the center of this route, you can collect three Coins and hit most of the pillars with the sides of your vehicle.
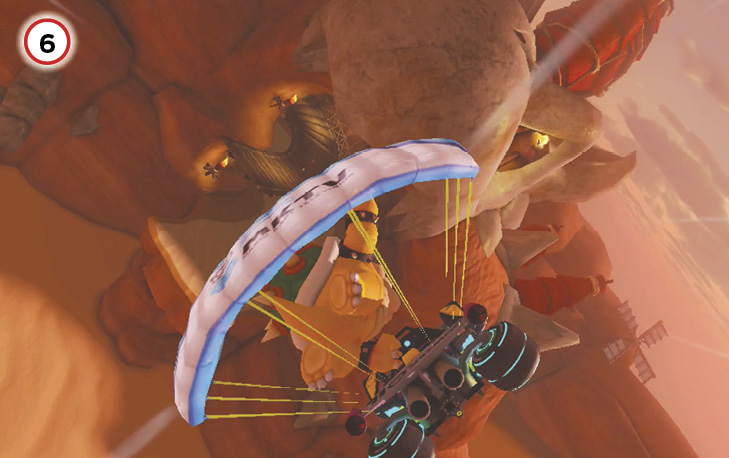
As you fly across the chasm from your wall ride, you can still aim to reach the upper route if you launch from the far-right side of the glide ramp. The turn is much easier from there, and allows for a Jump Boost. If it looks like you’re not going to make it, dive for the lower route and get ready for a very sharp left turn.
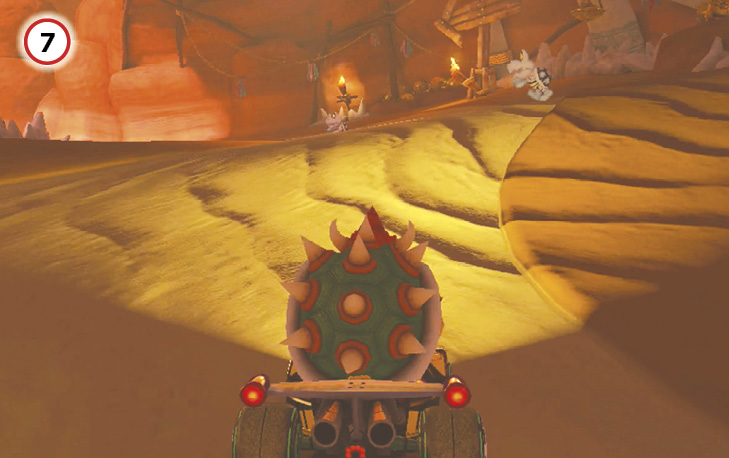
The upcoming stretch is guarded by two Dry Bones. Avoid them, and line up for this final shortcut between two bone piles to the left of the course, using a Mushroom to keep up your speed. This’ll help bypass the final turn and put you on a straighter line for the finish!
Bowser’s Castle
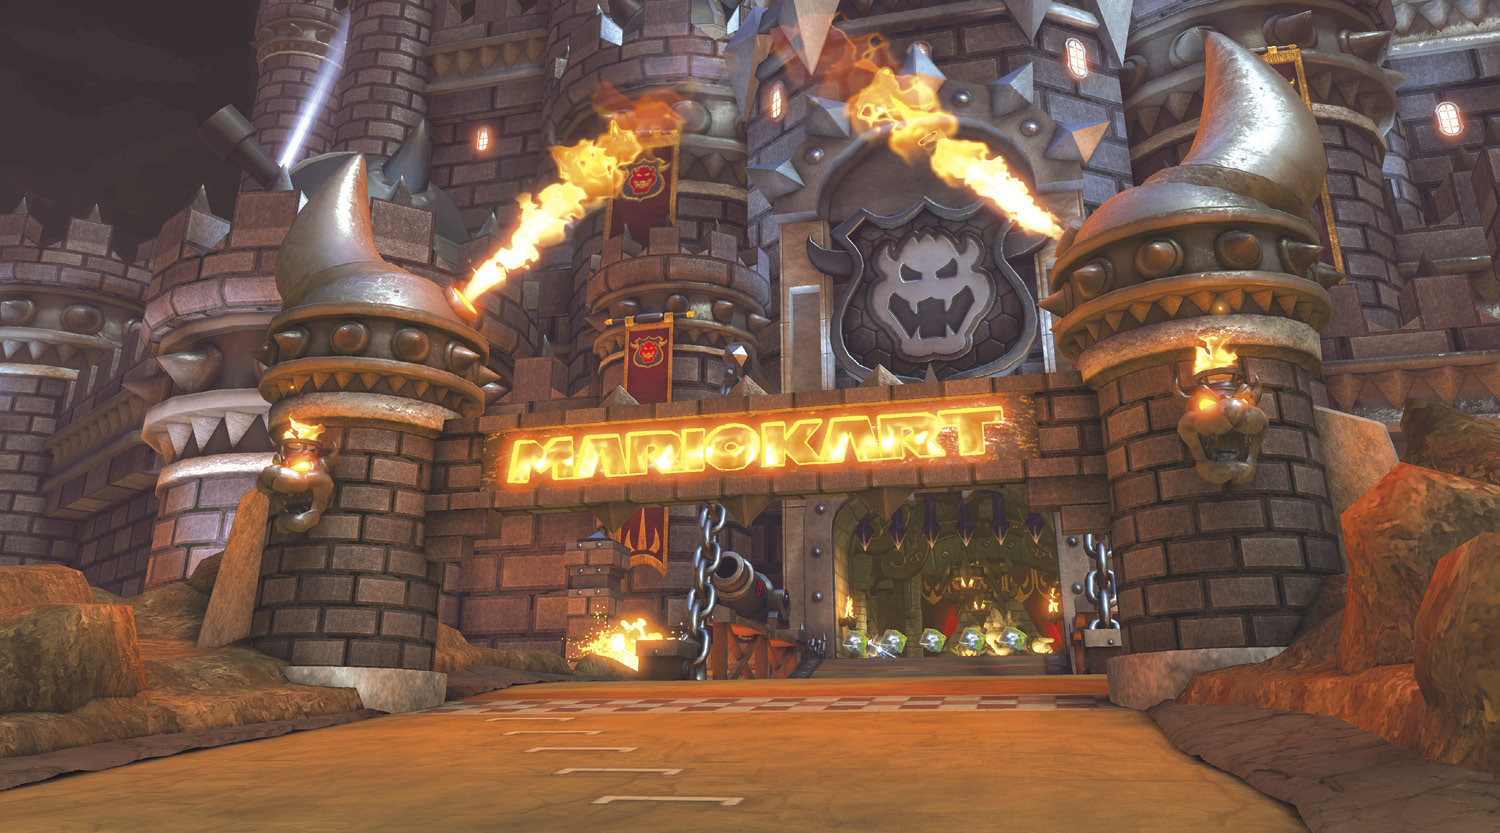
As one would expect of Bowser, his castle is filled with all manner of obstacles meant to interfere with plucky plumbers and kart racers alike. Higher-difficulty races through this course can be extremely challenging, as you’ll be fighting the course almost as much as you’ll be fending off the items from other racers!
Grand Prix
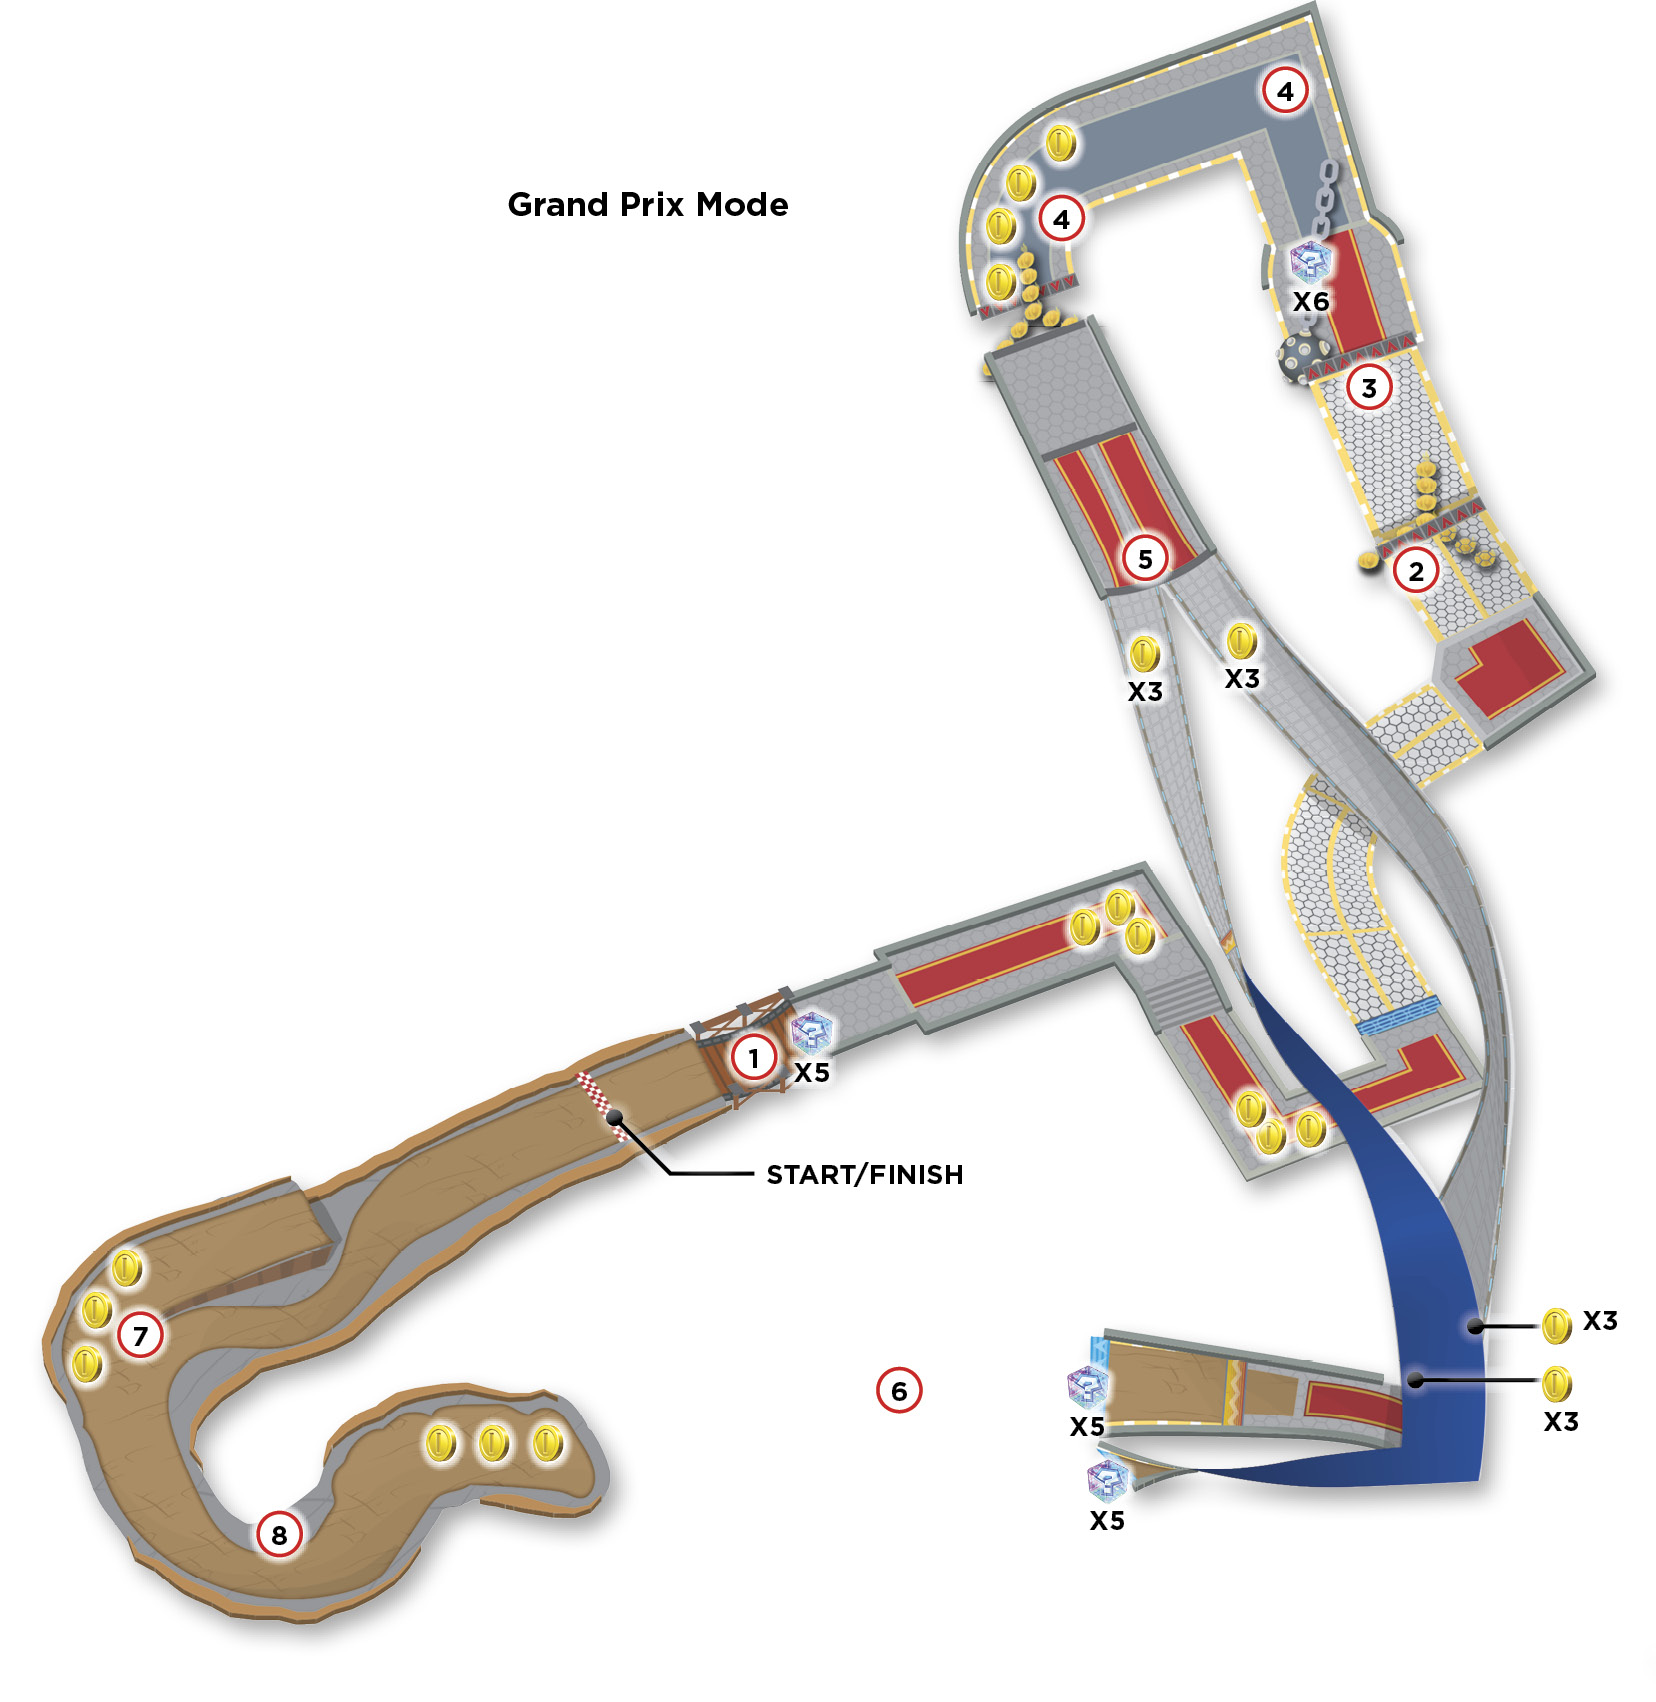
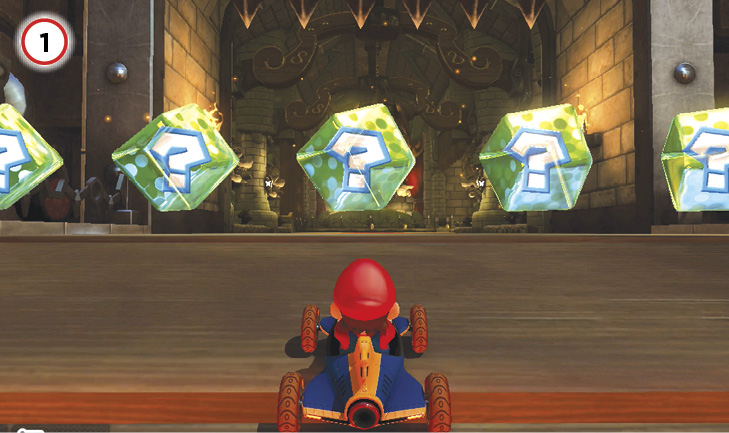
Jump Boost off the bridge leading into the castle itself. The corridor beyond will have multiple laser statues, but they are only active on Laps 2 and 3.
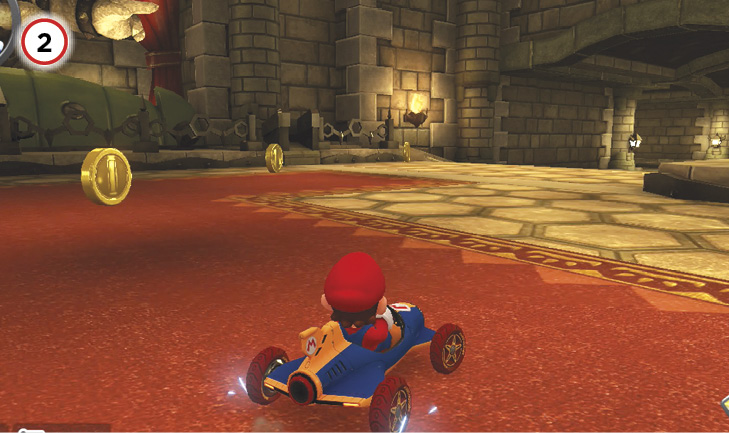
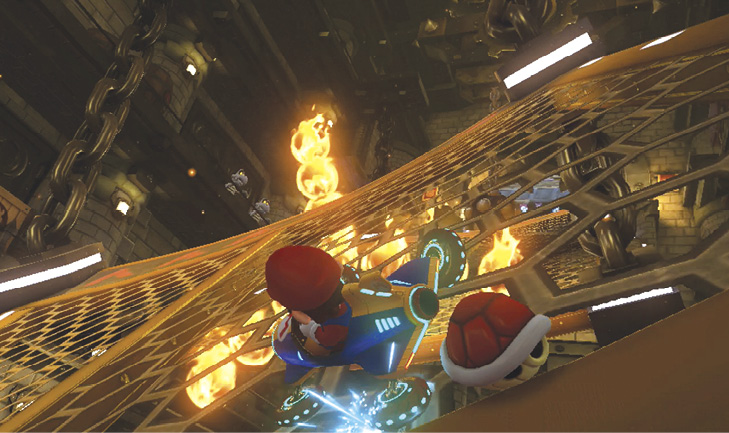
The first Fire Bar trap comes after a set of hairpin turns. You can Jump Boost off the ramp in front of the fire chain to help speed past it. The track just before any given trap is prime territory to set Bananas and force racers to take potentially unsafe paths to avoid your items and the traps!
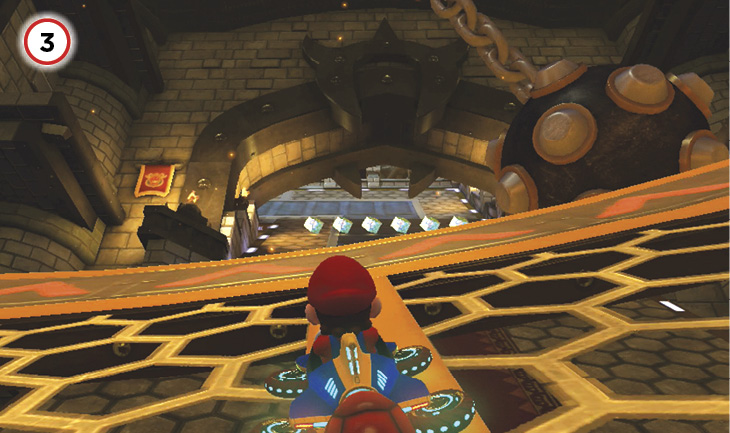
Make sure you align with the next part of the track after slipping past the fire chain. A similar setup awaits with a ball and chain. Touching it even slightly will cause you to spin out and lose Coins!
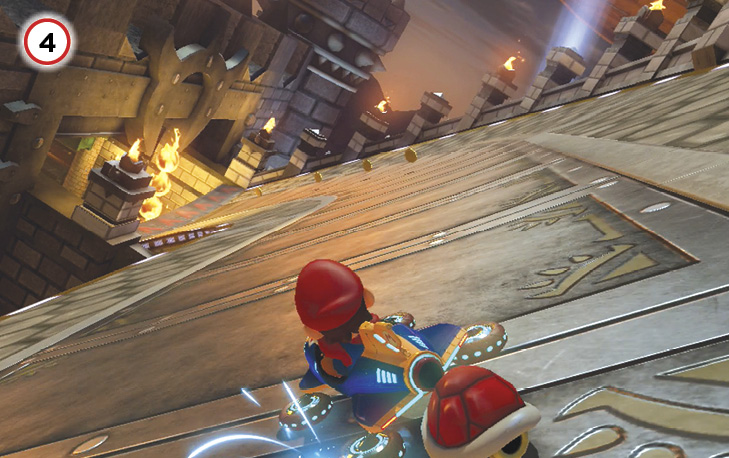
Another hairpin turn is just past the ball and chain, leading to another ramp and another Fire Bar trap.
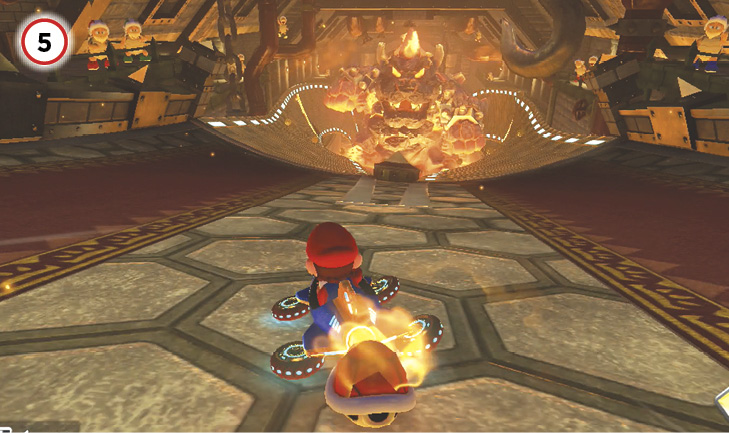
The course splits into two antigravity paths, with the Bowser monument punching away at both. You can Jump Boost off the undulating portions of track, sometimes repeatedly when you’re driving away from the statue. Just make sure the monument doesn’t flatten you with its fists!
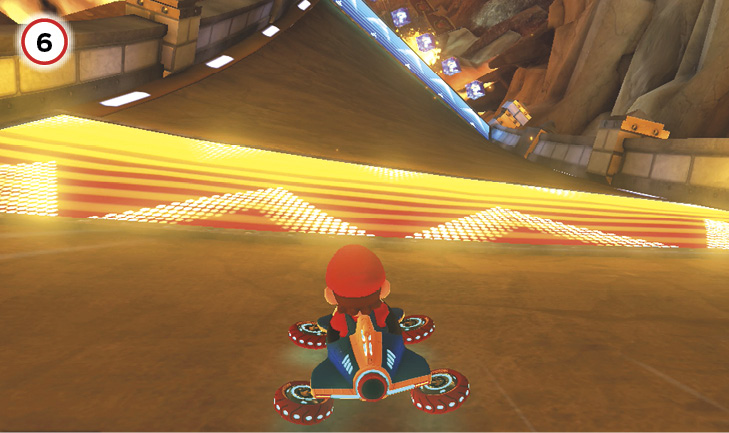
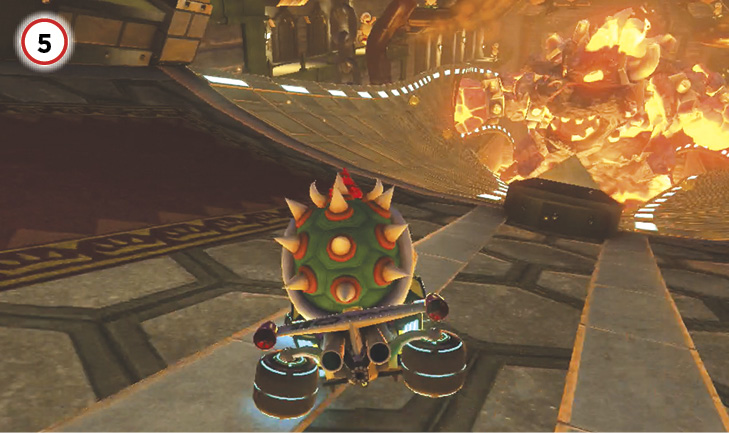
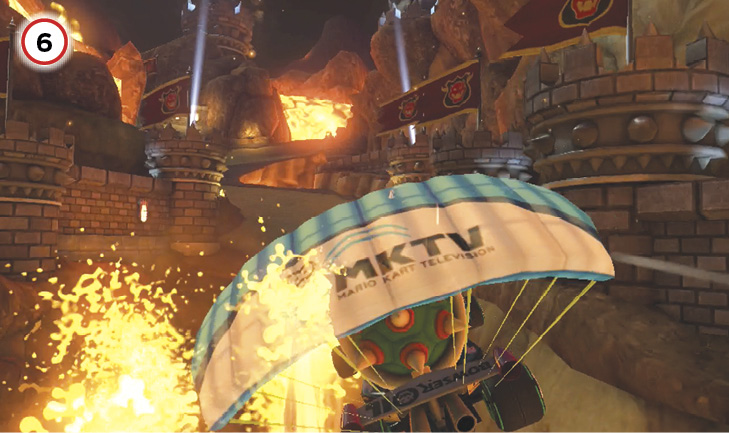
Regardless of your chosen path, both will launch you across a lava chasm. Make sure you don’t stray too low so you don’t hit the lava geysers, or fail to make the jump entirely!
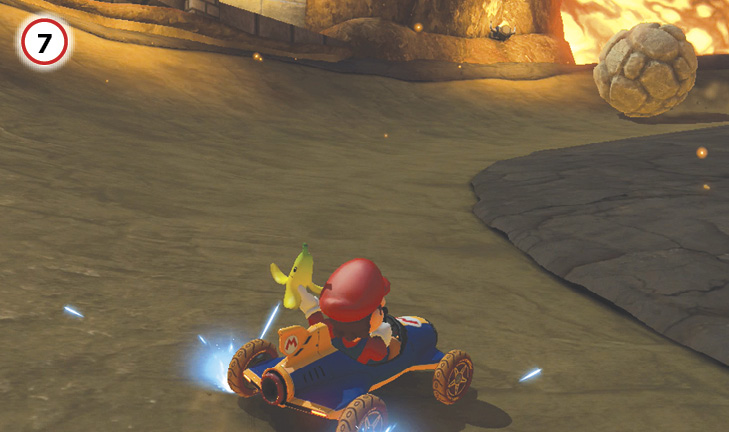
The last part of this course is a long right turn going uphill, while boulders roll down the hill. As you reach the end of the climb, you can choose to stay on the inside track, or take a raised part of the track for another ramp to Jump Boost off of.
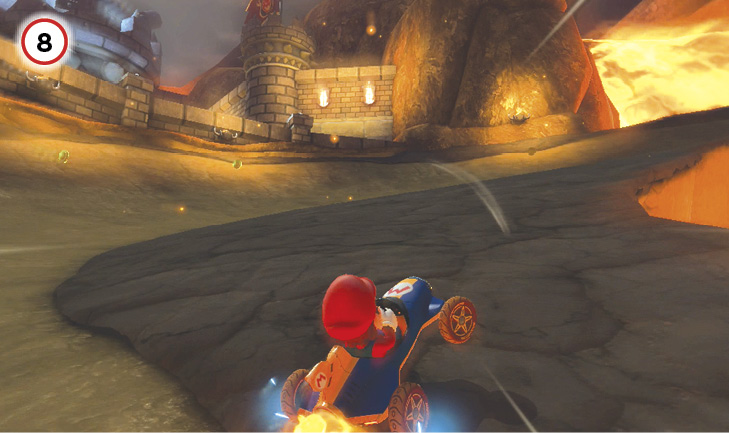
You can also cut a good chunk of the inside track by using a Mushroom across a portion of rough dirt on the right side of the track.
Time Trial
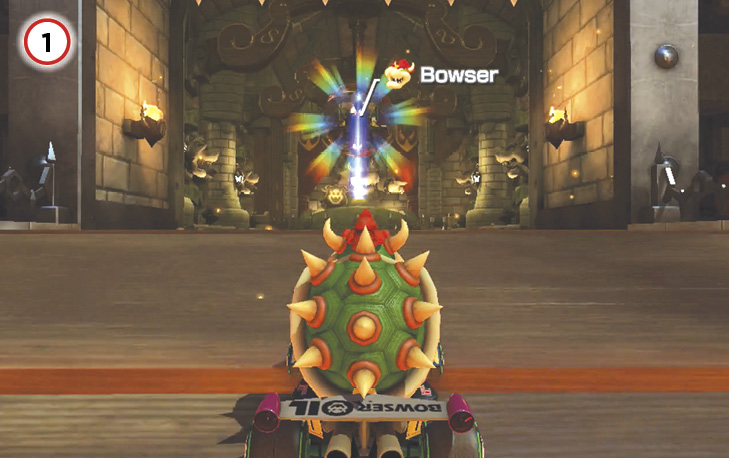
You can Jump Boost off the ramp bridge leading into Bowser’s Castle—do this on every lap.
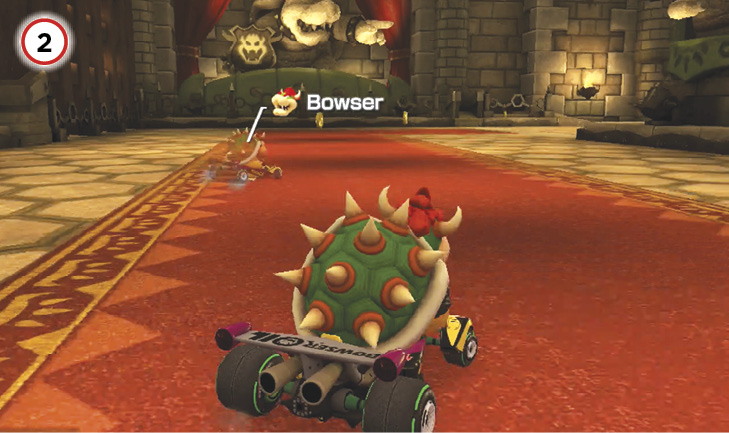
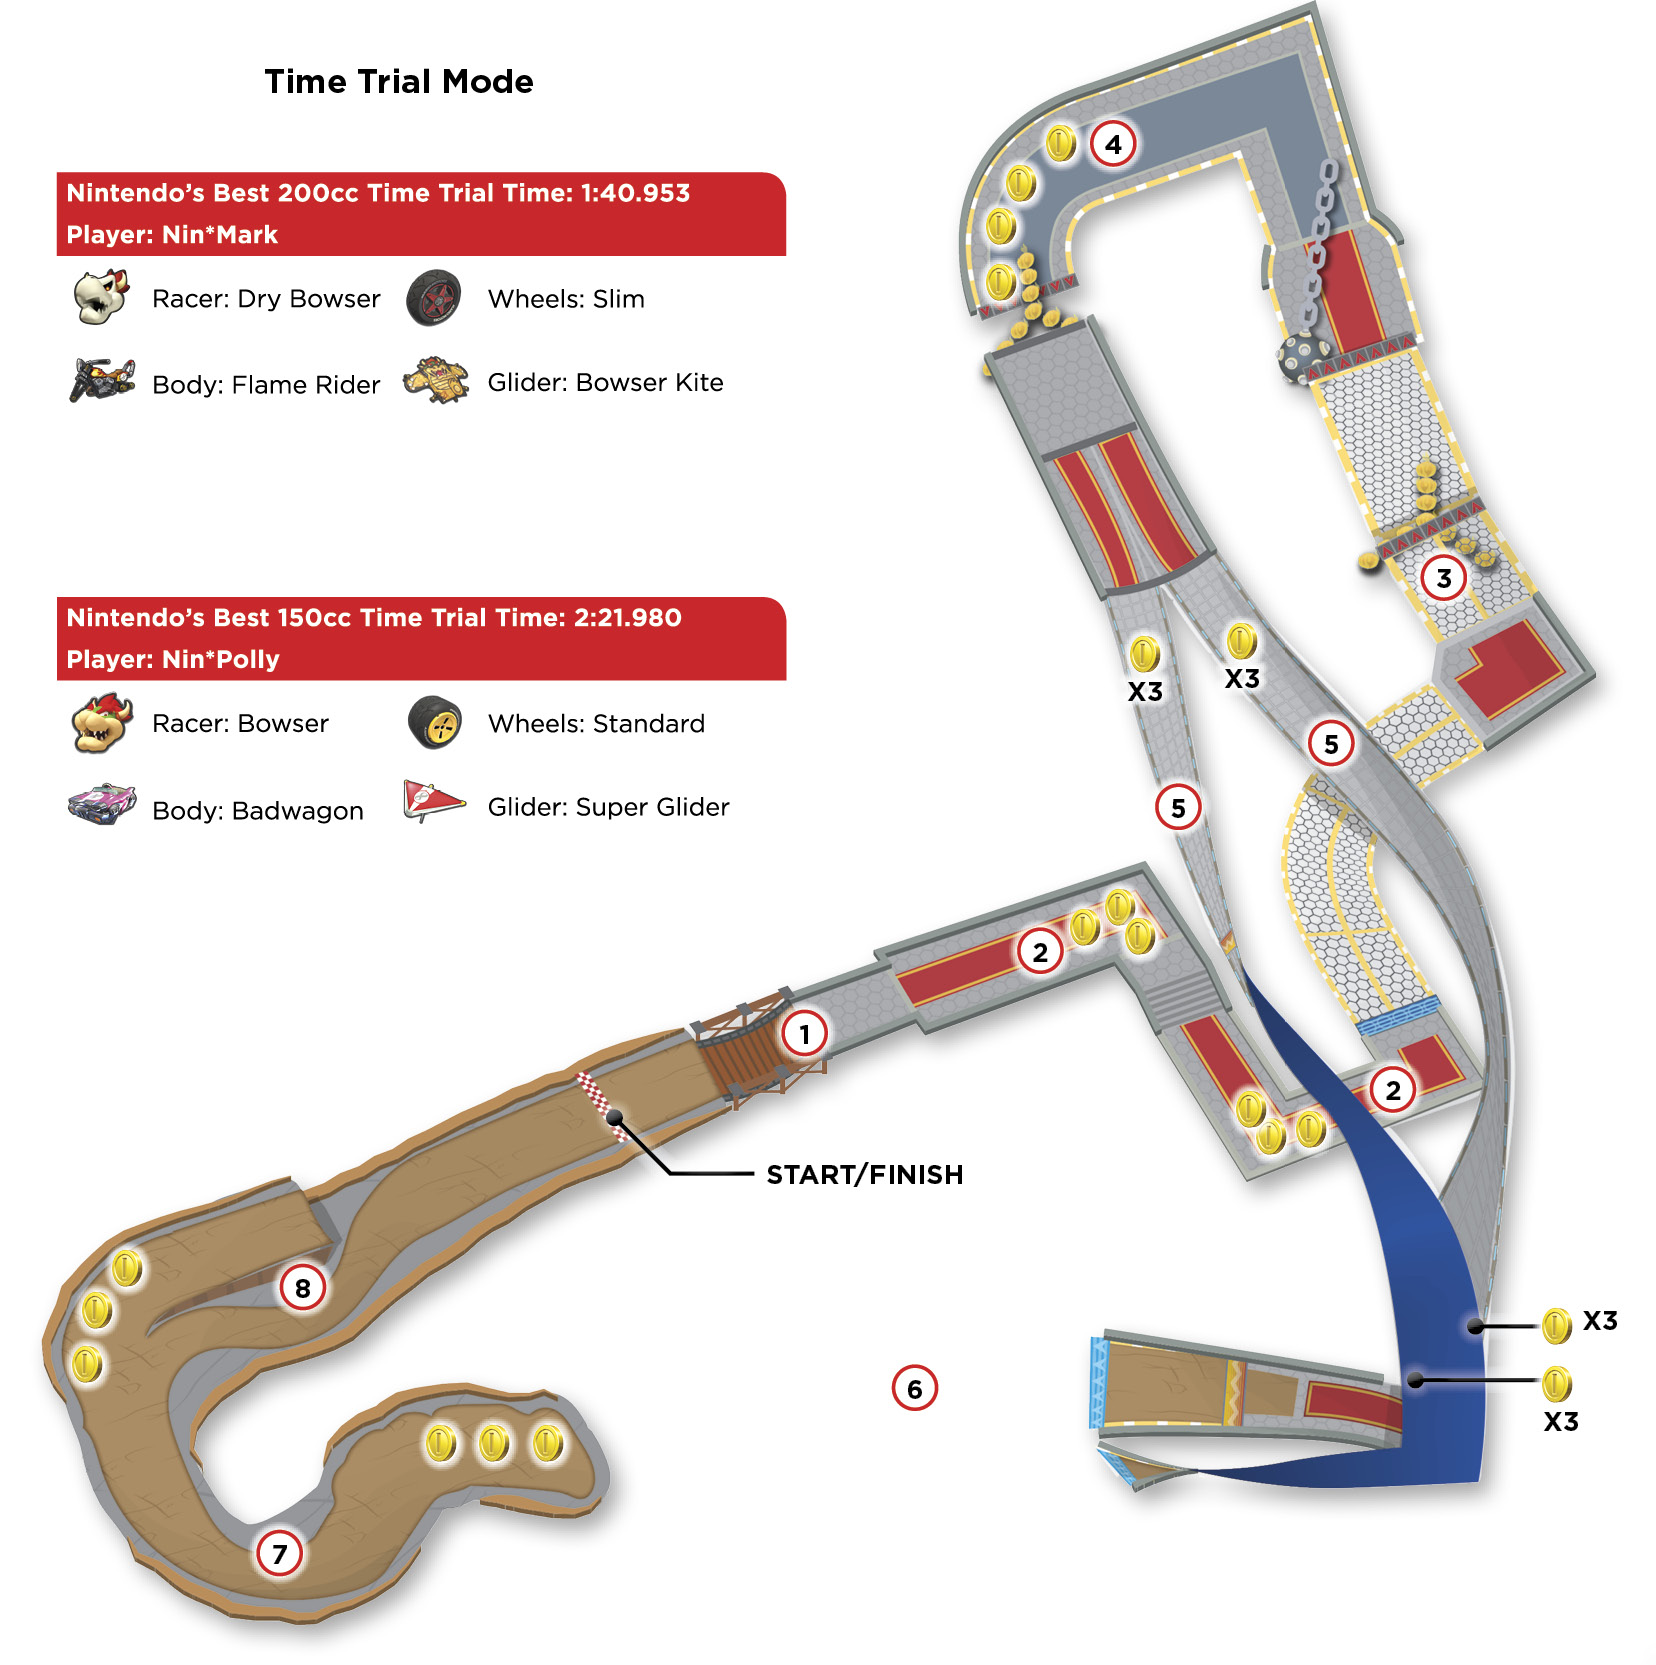
On Lap 1, the laser statues are inactive and the first turn to the right can be easily navigated to collect three Coins while drifting on through. Three more Coins can be found in the middle of the track on the second turn to the left.
After a relatively simple S-curve, you have to navigate the Fire Bar/ball-and-chain gauntlet. Stay focused on the road ahead so as you slip past the traps (while Jump Boosting off the ramps in front of them), you’re aiming yourself toward safe racing lines.
This long turn to the left has four more Coins to collect. Try to snag ’em all on Lap 1, and on future laps cut this turn as tight as you can to the left side of the track. Be ready to avoid the upcoming Fire Bar trap!
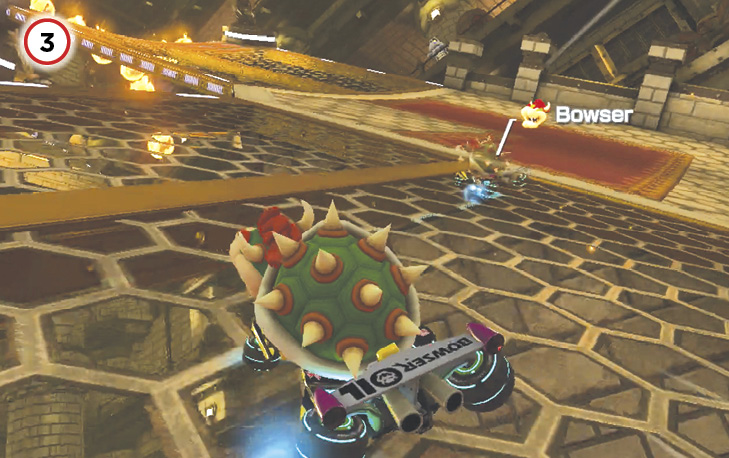
The split routes around the massive Bowser monument can be exploited for multiple Jump Boosts just after the monument punches them. Jump at the peaks of the hills rolling along the track. If you managed to catch up to the shockwaves going in your direction, you can even score multiple Jump Boosts! There are two rows of three Coins that you can collect from each route.
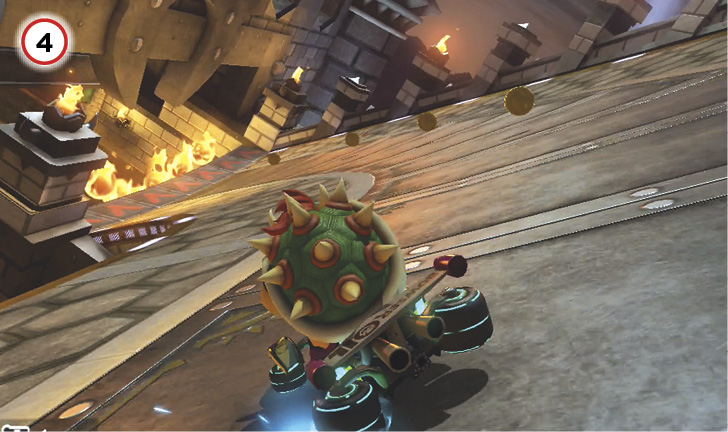
Be careful when gliding across the chasm here. Lava geysers will knock you out of the air if you’re too low. Try to center yourself with the track as you finish crossing the chasm. There are three more Coins to pick up if you need them.
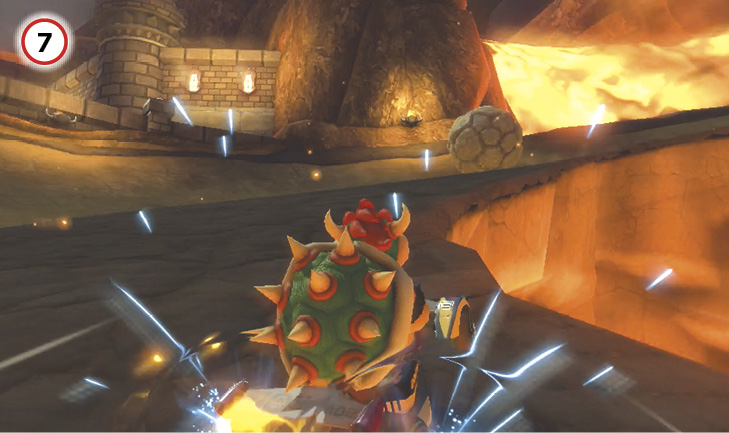
Cut across the rough terrain at this corner with a Mushroom to save some time. It also helps to be drifting to the right as you shoot over the rough ground to align yourself with the line of Coins headed uphill. Watch out for boulders rolling at you!
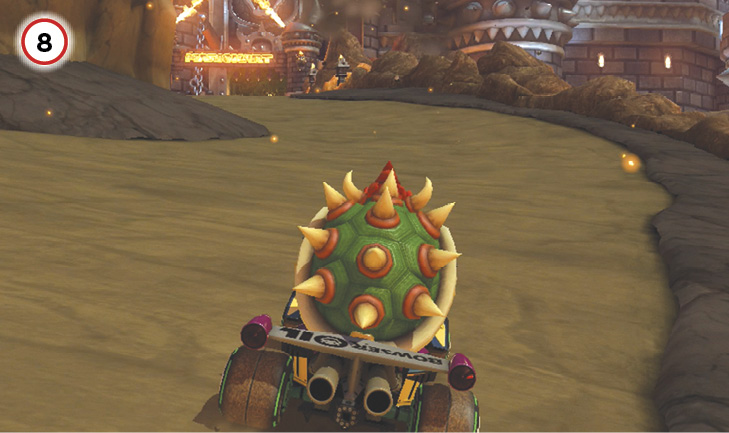
In the final stretch, the S-curve to the right of the ramp is actually faster to race through.
Rainbow Road
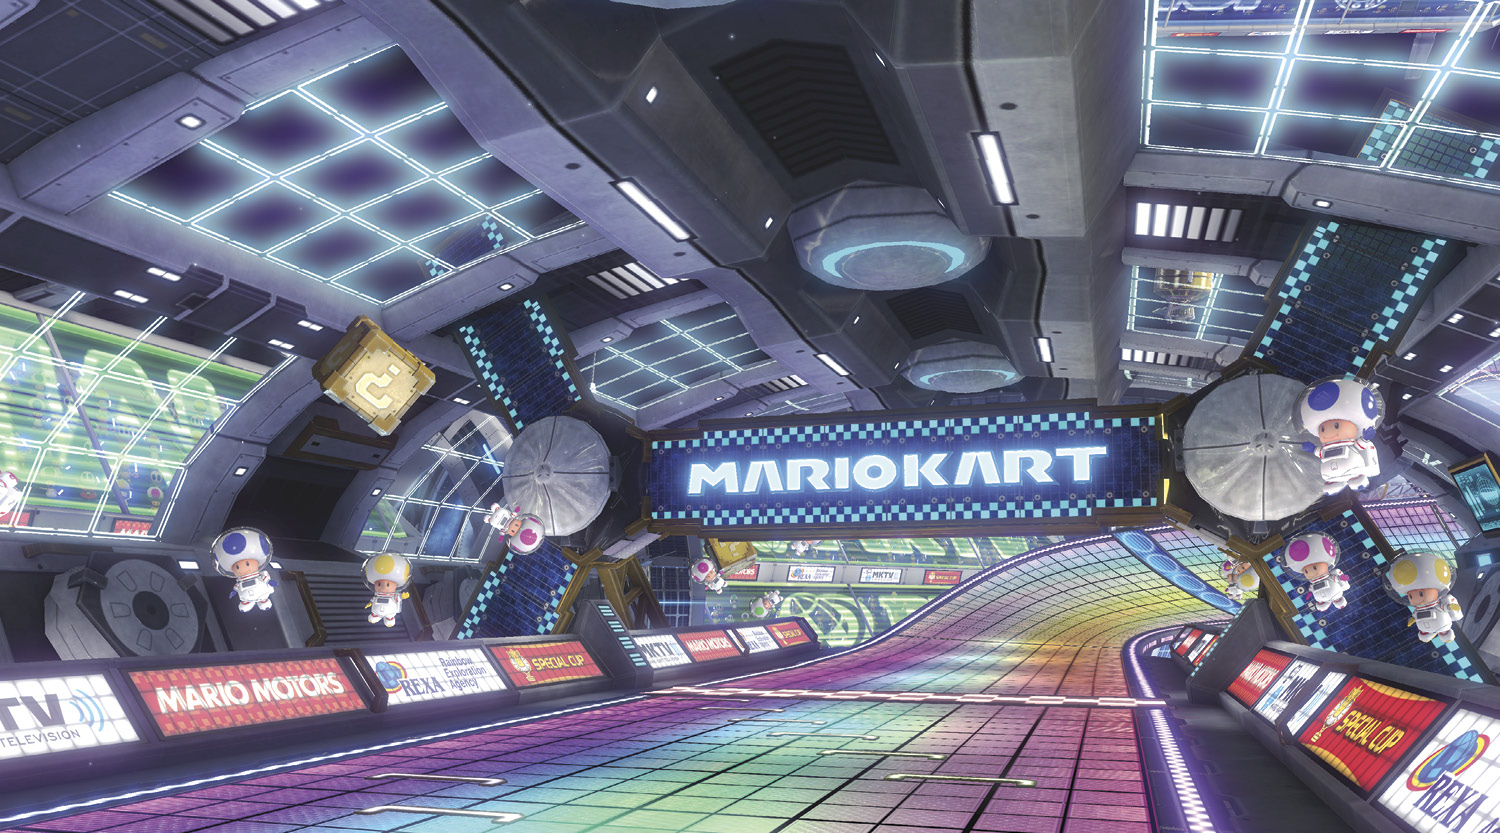
Racing in low orbit is a fitting way to end the Special Cup. In what has become a Mario Kart tradition, many long stretches of Rainbow Road have no protective walls. Combine that with the slippery antigravity sections of the track, and you can be in for a rough race, particularly on higher difficulties.
Grand Prix
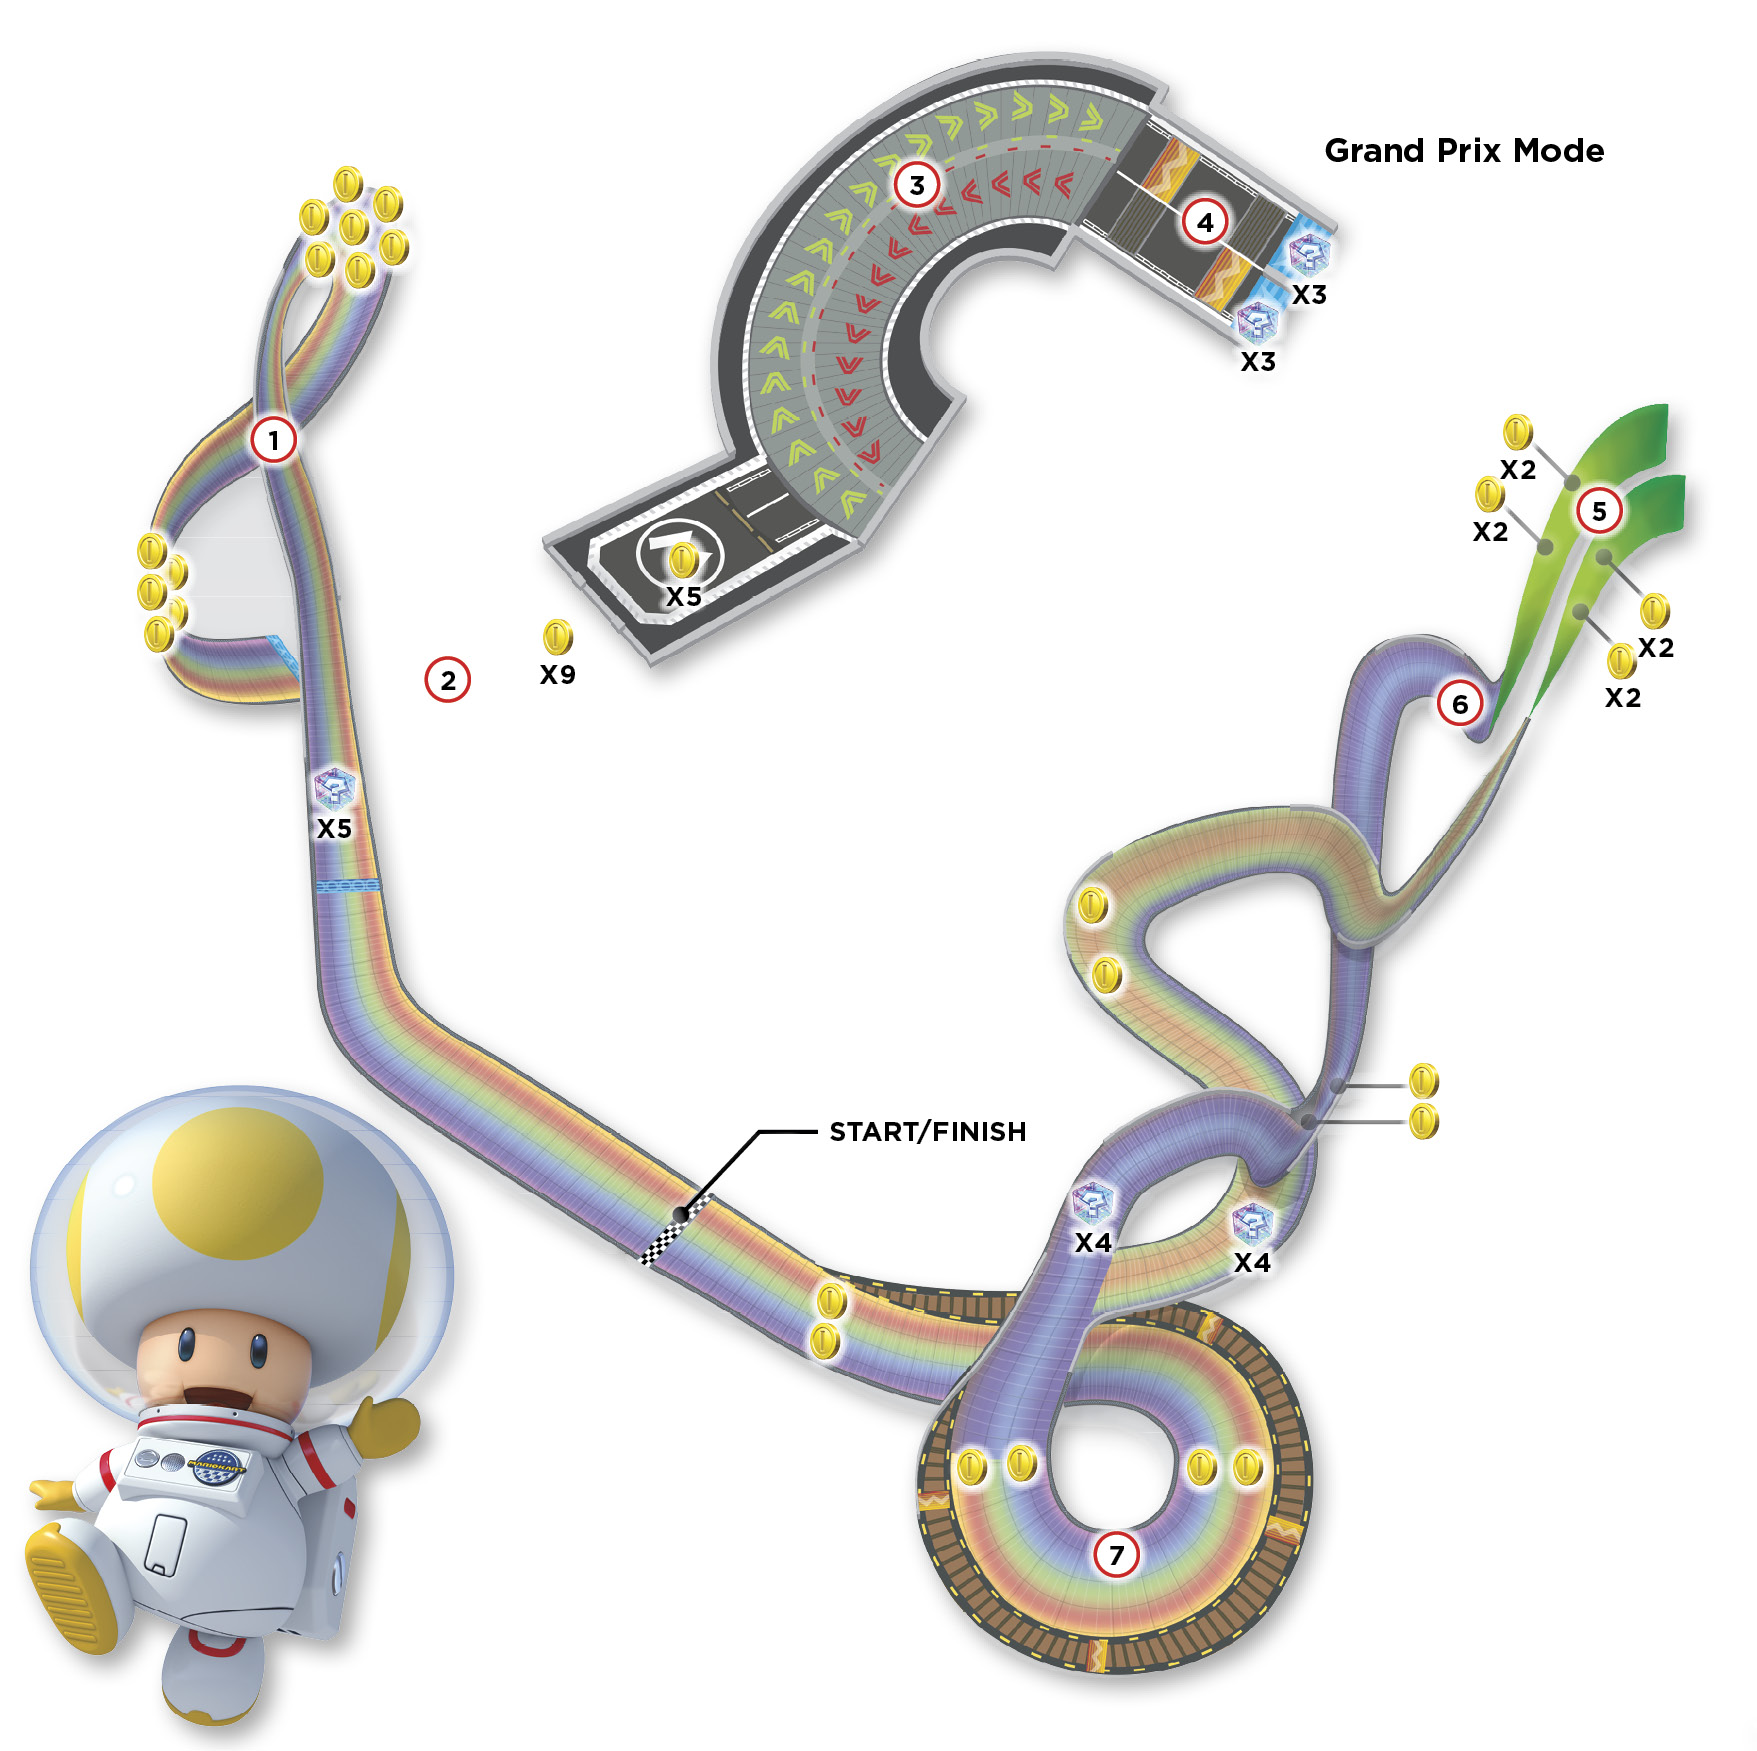
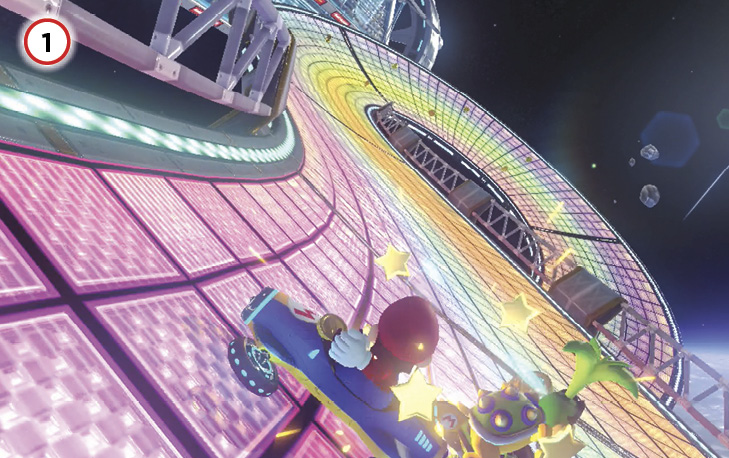
The first two big turns can be a doozy. The antigravity panel before it makes your controls more slippery, and there’s no retaining wall throughout the turns. Watch your flanks when passing through this turn—a rival racer can send you off the side!
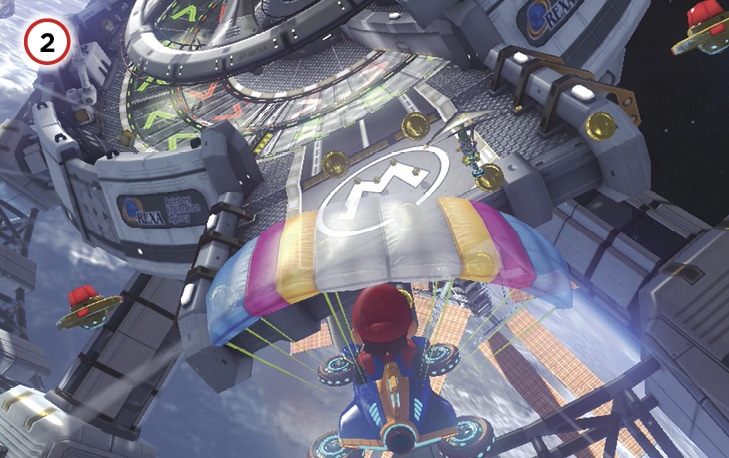
A glide ramp sends you flying toward the space station. Don’t miss collecting some Coins while in mid-flight.
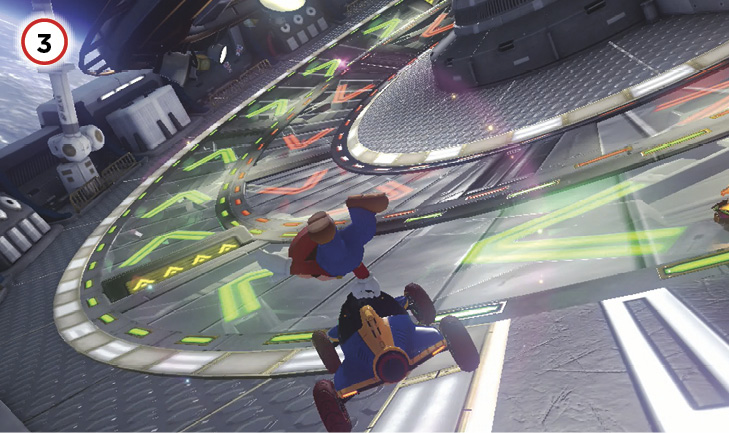
The conveyor belts inside the space station will change their direction with every lap. Stay on the belt with green arrows pointed in the direction you need to go.
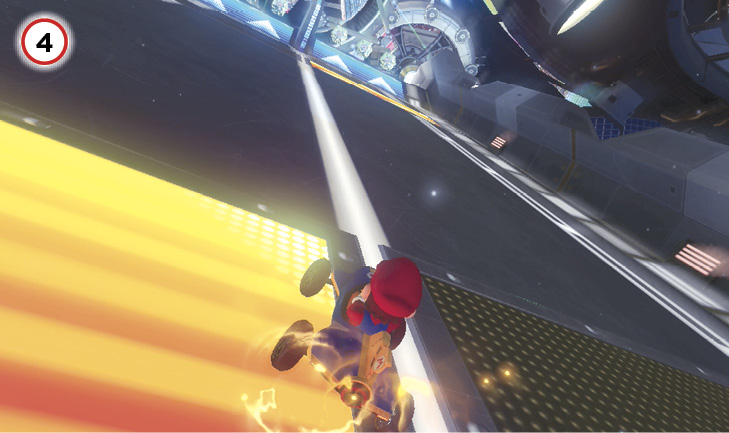
Dash panels will propel you toward one of two glide ramps leading to alternate roads to follow. You can adjust what road you follow, but the rings around the glide path will try to force you onto a designated route.
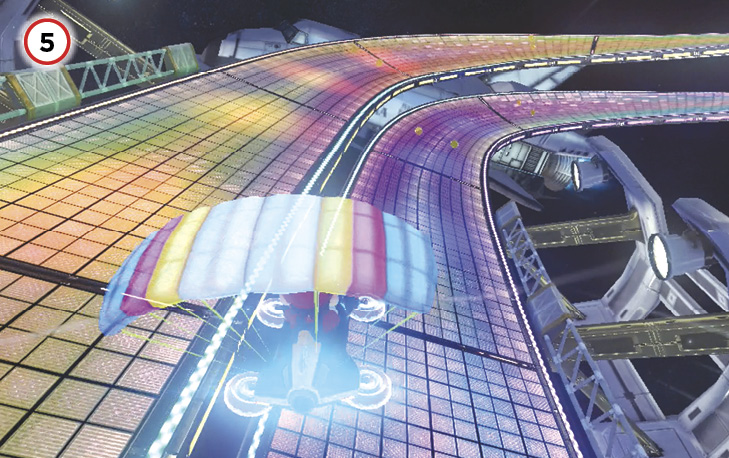
The split roads have no walls for the majority of their length, and are dotted with Spin Boost pillars to boot. Always know if you’ve got racers close by. During harder-difficulty GP races, these two paths can be a boulevard of broken first-place ambitions. It’s very easy to get knocked off!
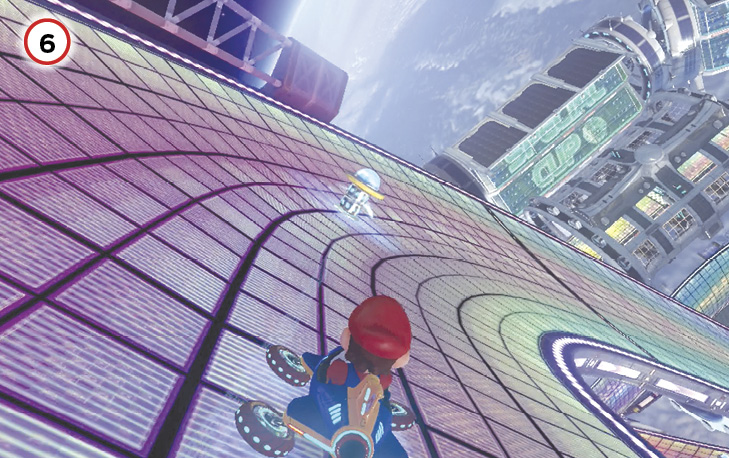
An amazing shortcut is available if you take the right-side glide ramp onto the lower route of the split course section. Marked by a lone Spin Boost pillar, if you drive straight off the track behind the pillar, you’ll land on another piece of the track looking right at the final hairpin of the track, and you’ll have cut a good chunk of the course to boot! No Mushroom is required for this stunt.
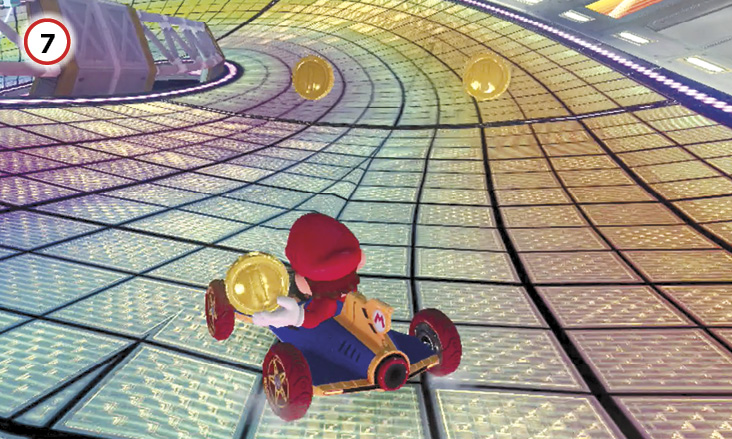
The final hairpin turn before the finish is another doozy. If you’re not in a particularly maneuverable vehicle, sticking to the inside line might be hard. You can drift farther to the outside and use the dash panels there to make up for taking the longer racing line. Whatever you choose, if you have Bananas, this turn is a particularly cruel place to deploy them, as you can easily make racers fly off the sides of the track!
Time Trial
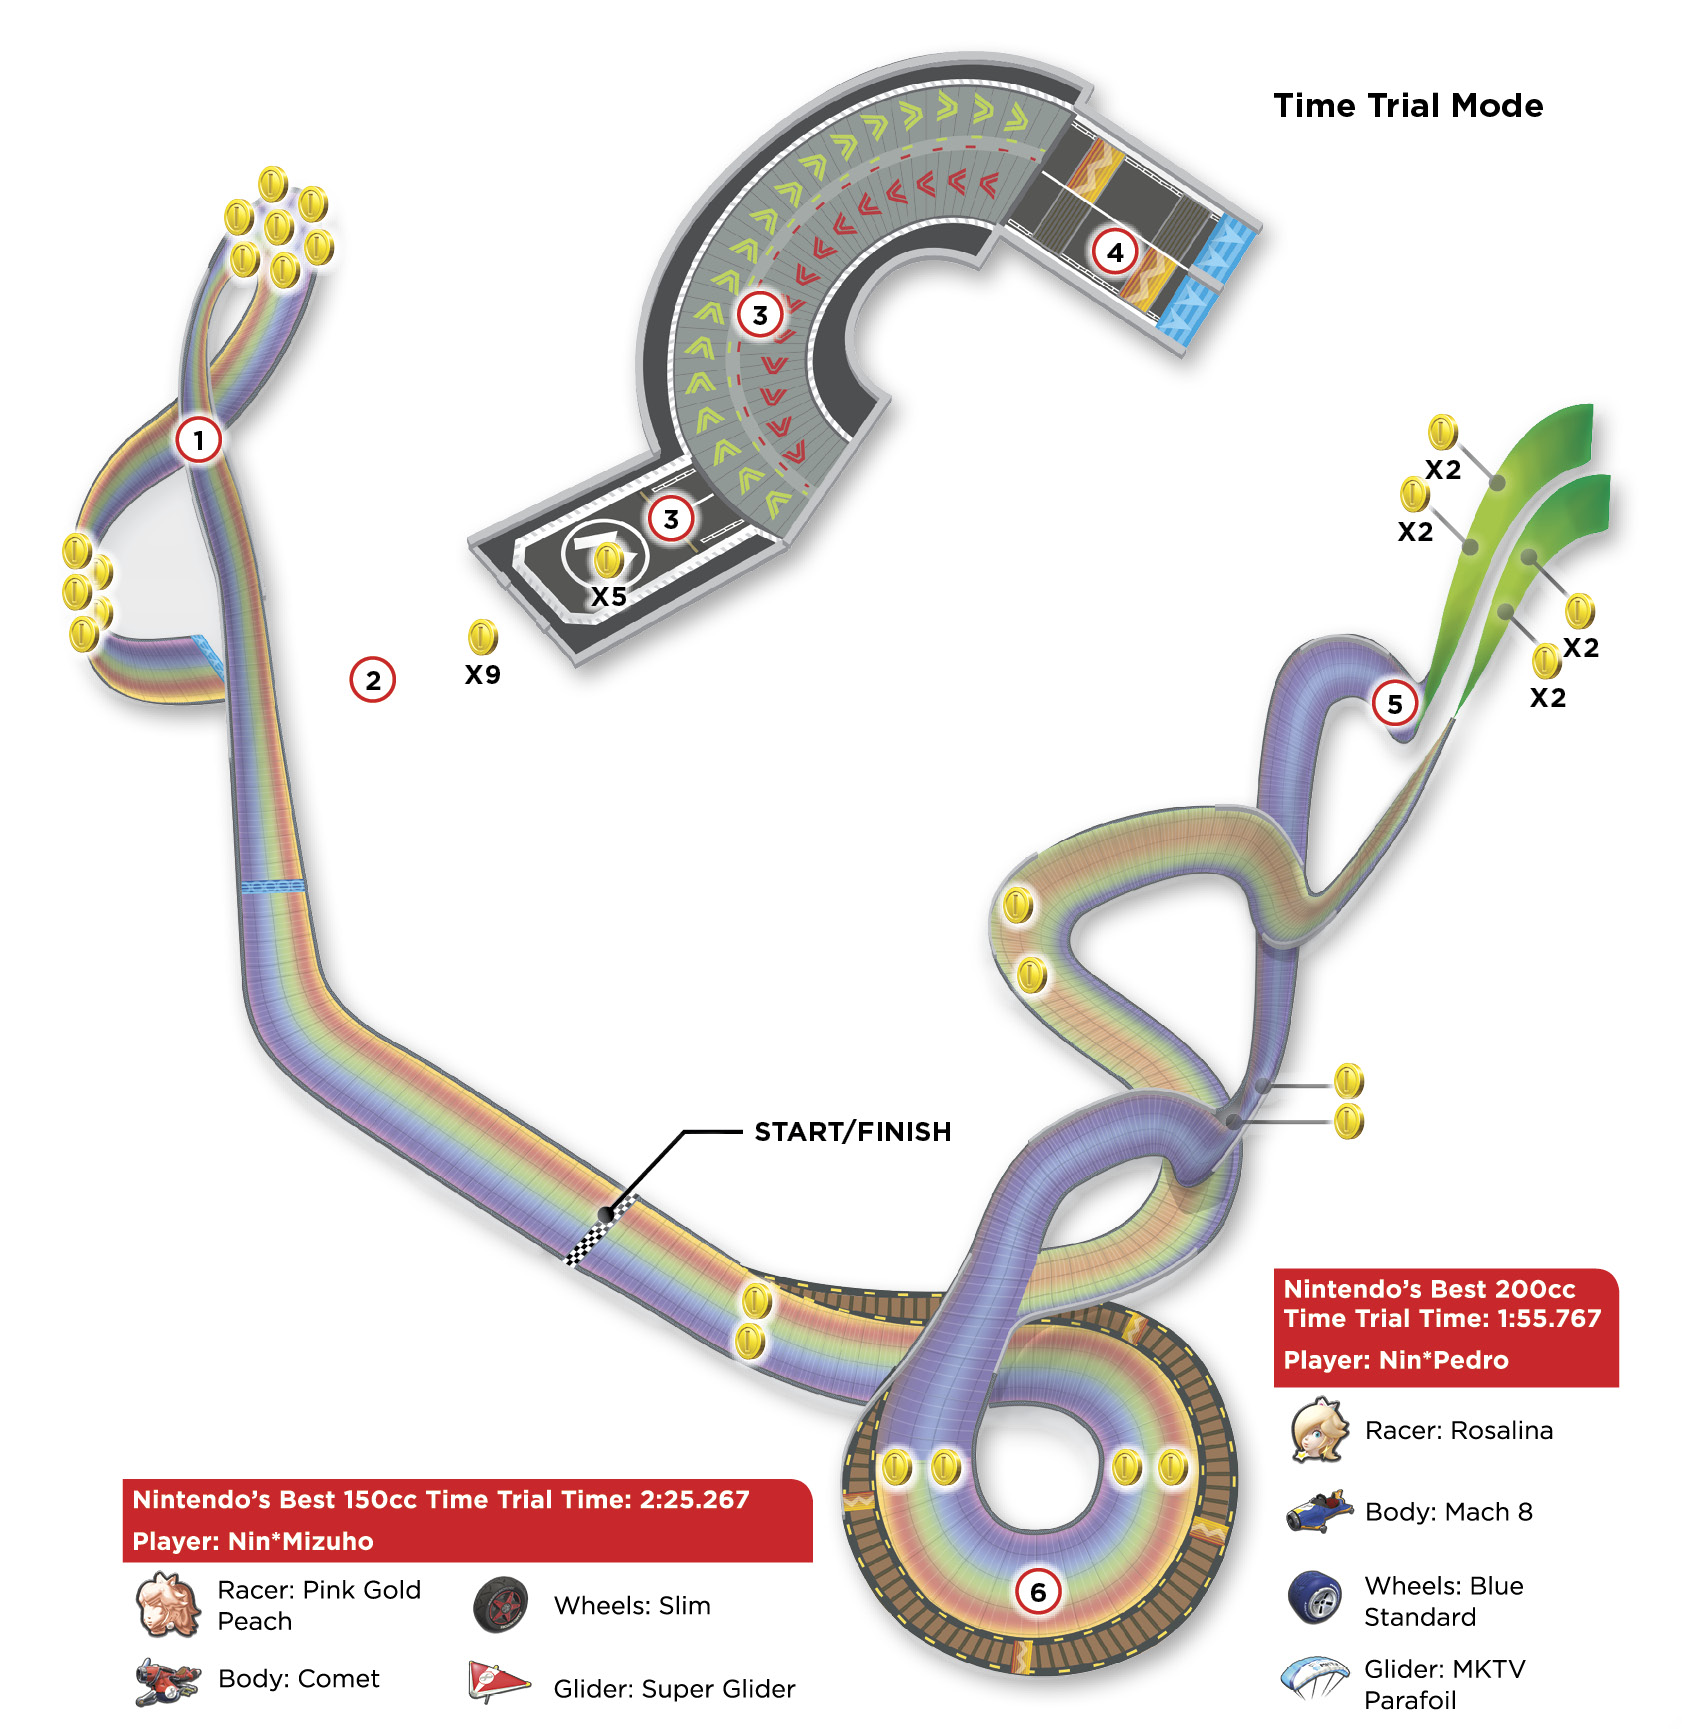
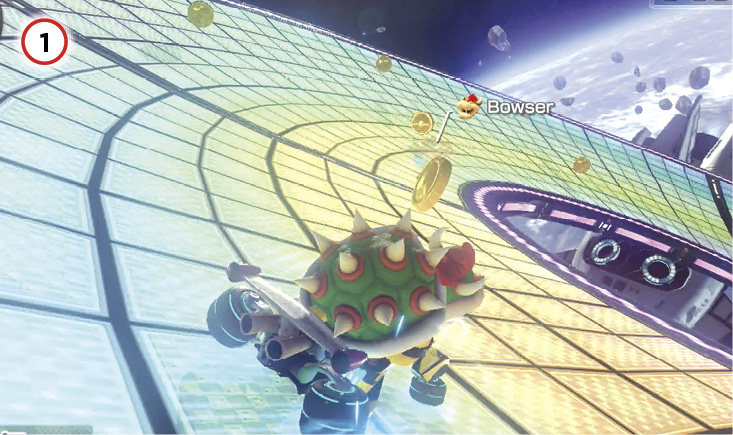
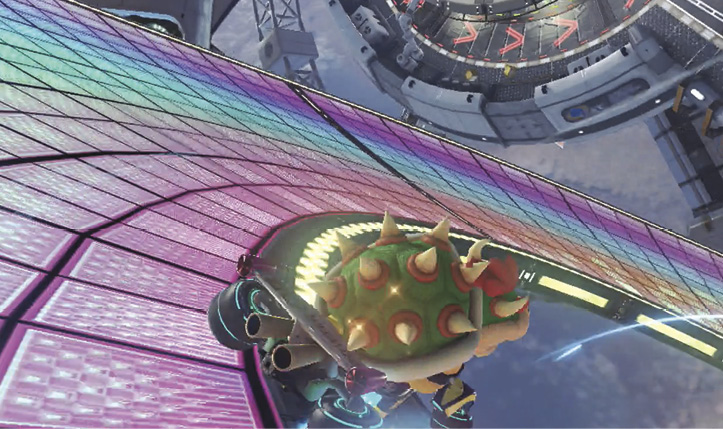
Rainbow Road Time Trials are all about getting the most out of every single drift you make and cutting your turns as tight to the inside racing line as possible. The first two turns have five Coins to collect on the inside of the track, and six on the outside. It’s worth staying on the inside line for all three laps. After Lap 1, you should take these two turns with drifts that have your front wheels literally hanging off the side of the track!
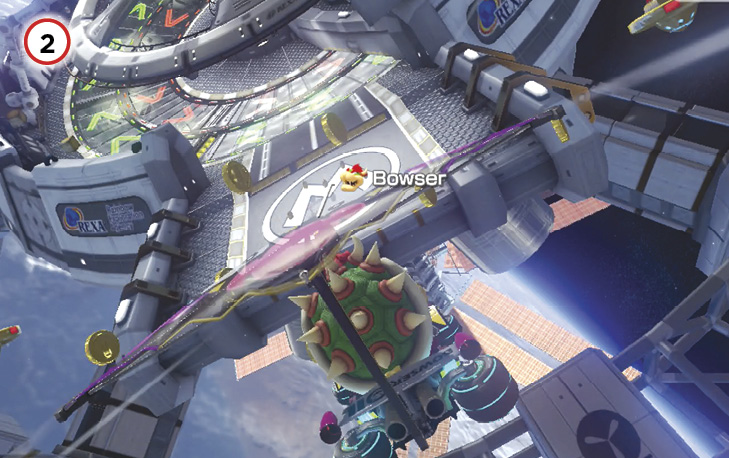
For all three laps, when gliding over this chasm, try to collect at least one Coin while lining up to take on the upcoming space station.
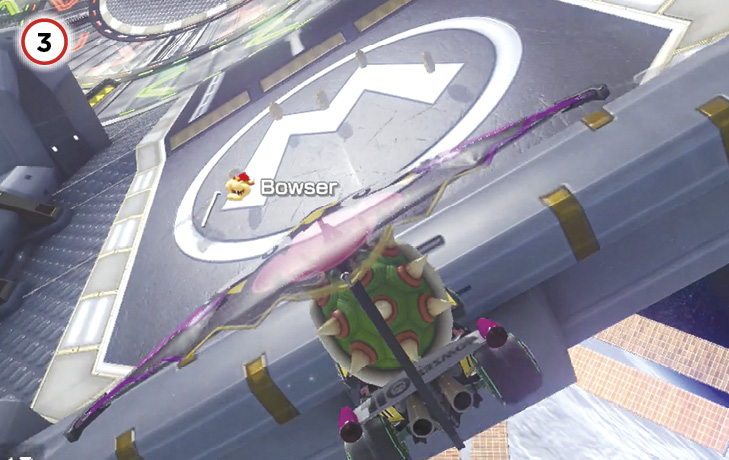
Landing on the station near the M platform should give you another chance at more Coins. Make sure you Jump Boost off the ramp onto the conveyor belts, and aim for the belt on the inside of the right turn up ahead. If that belt has red arrows pointed at you, use a Mushroom to power through the belt.
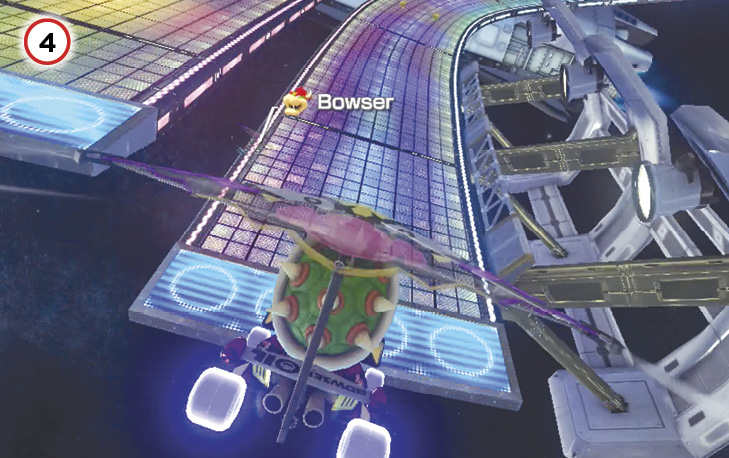
Always choose the glide ramp on the right, as it leads to the lower route in the split course section, which leads directly to the big shortcut of the track. Both routes feature multiple Coins to collect. By the time you get to this point in Lap 1, you should be at or close to ten Coins.
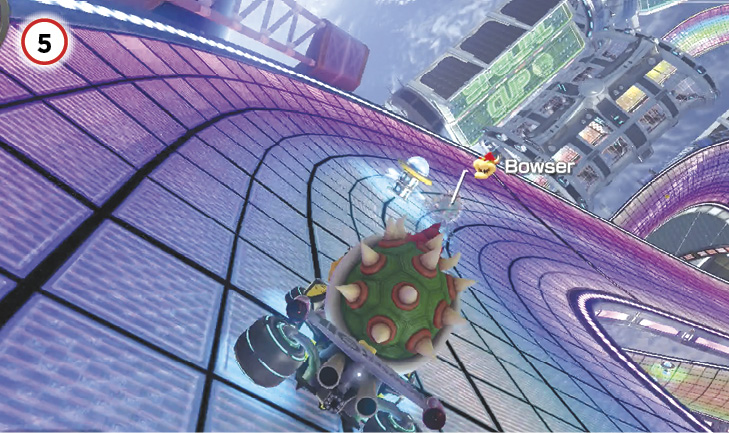
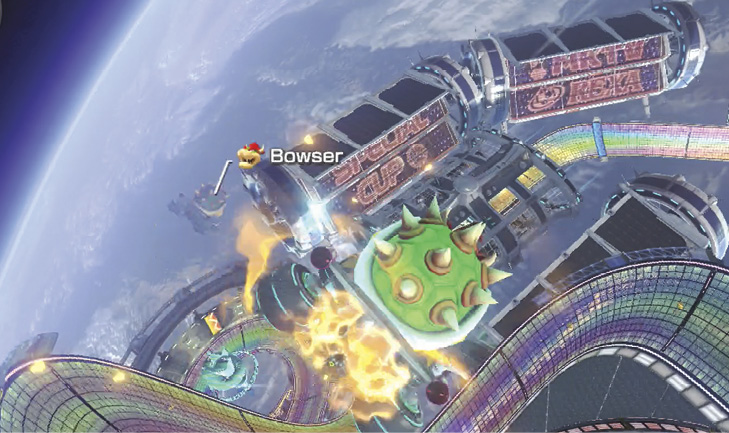
The shortcut, marked by a lone Spin Boost pillar, at the center of a curve to the right, is vital to take if you’re trying to break records. As you go off the seemingly blind jump to the track below, aim yourself slightly to the left so you land on the track, and not on speed-sapping rough terrain!
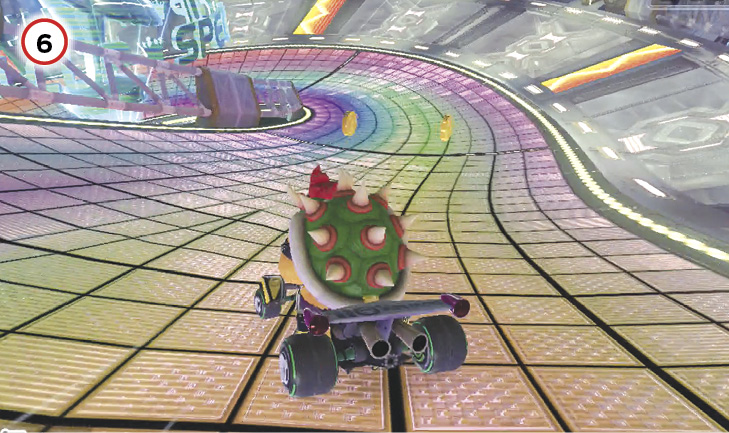
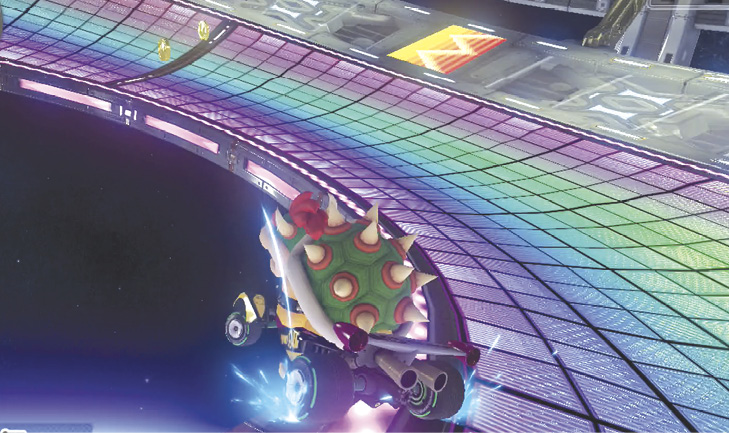
The last hairpin is tough, but for maximum speed should be taken as tight as possible on every lap in a Time Trial. Hang those front wheels over the edge of the course while drifting!