
Mario Kart 8 Deluxe Guide The Tracks
Banana Cup
GCN Dry Dry Desert
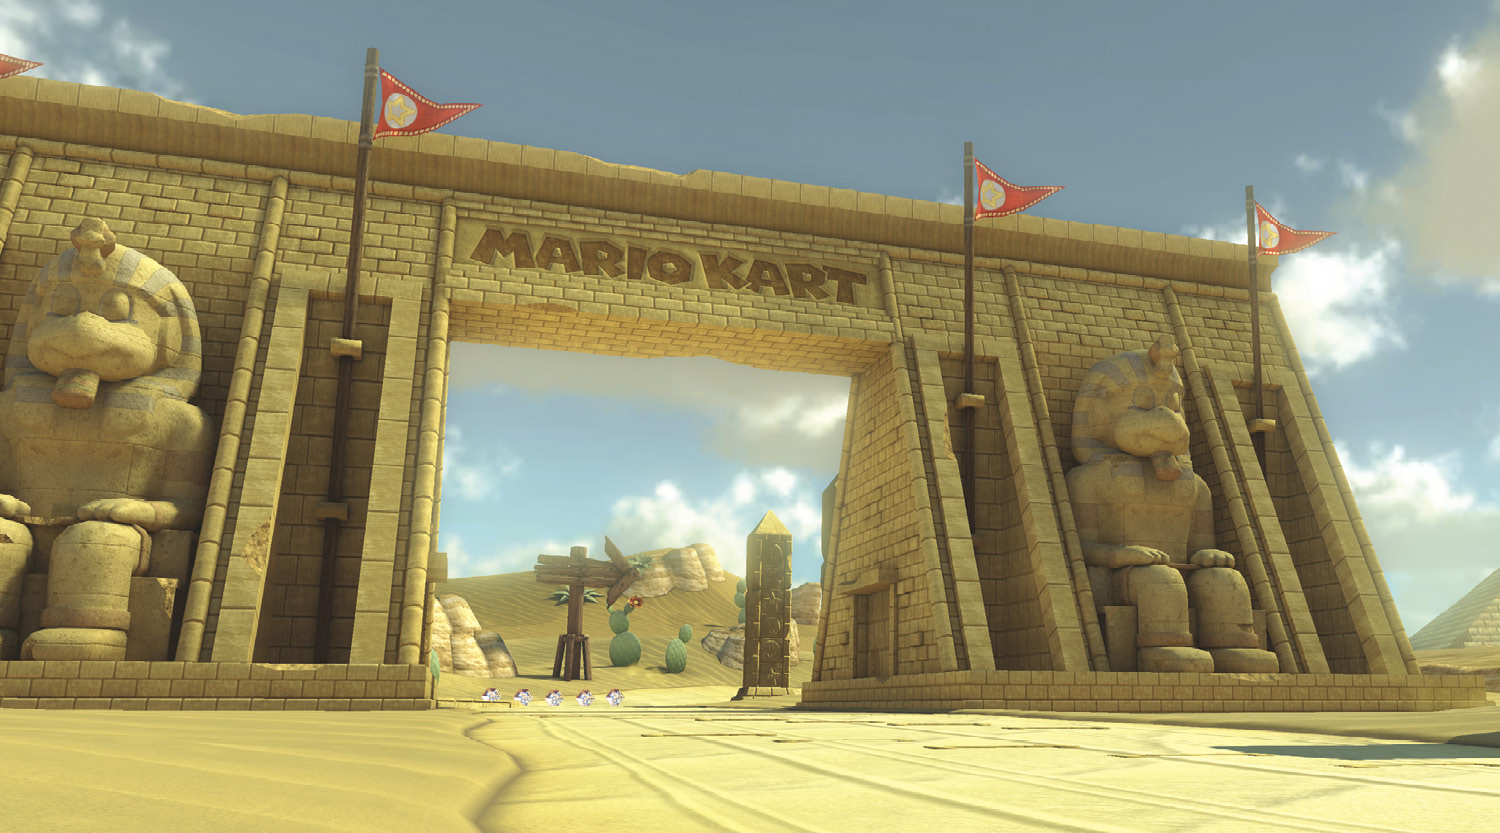
A different sort of fun in the sun, the Dry Dry Desert returns as a venue to the Mario Kart circuit. Some players may remember devastating whirlwinds that once populated the course during races, but you’ll find that the air is much calmer this time around, and the desert is also wetter than before!
Grand Prix
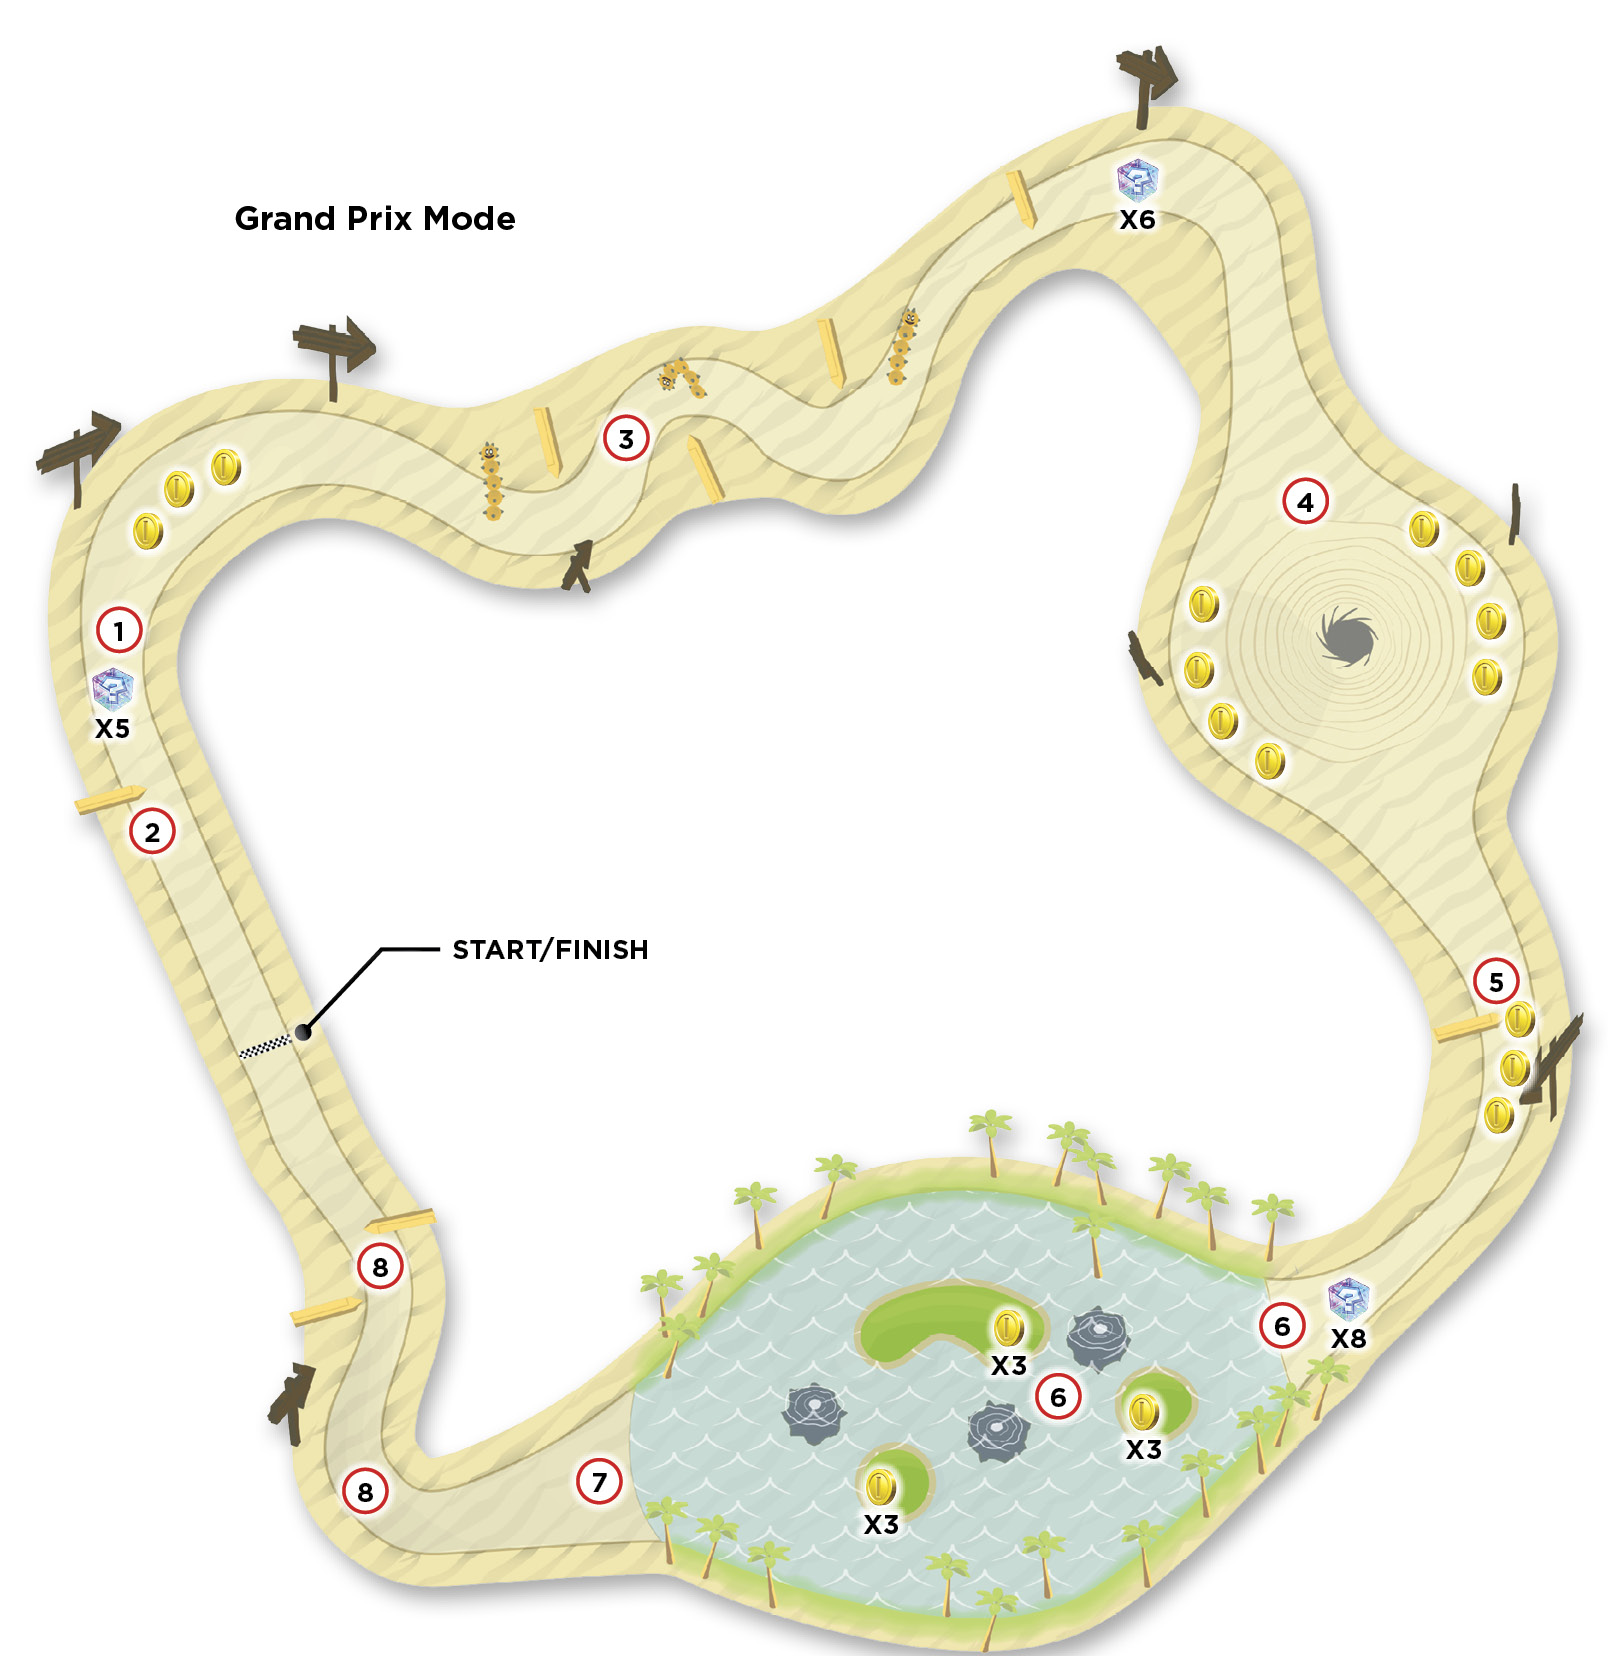
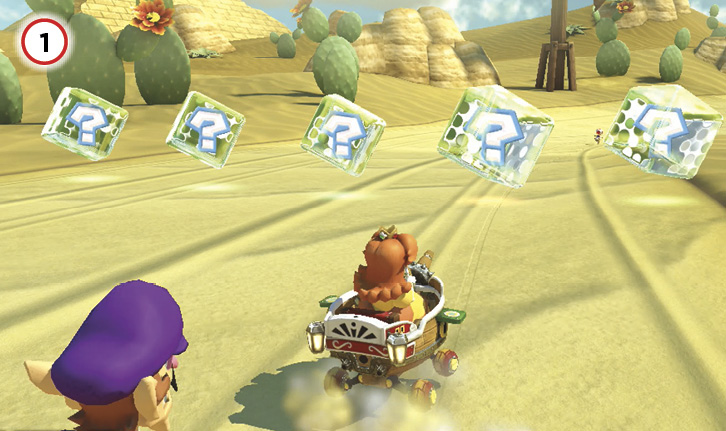
It’s imperative that you get a good start on this course. Items are available only seconds out from the start line. If you’re at the front of the pack going into the upcoming turns, you’ll want to have something ready to defend yourself with!
On Lap 2, one of the stone pillars near the start of the lap will fall onto the track to become a ramp to use.
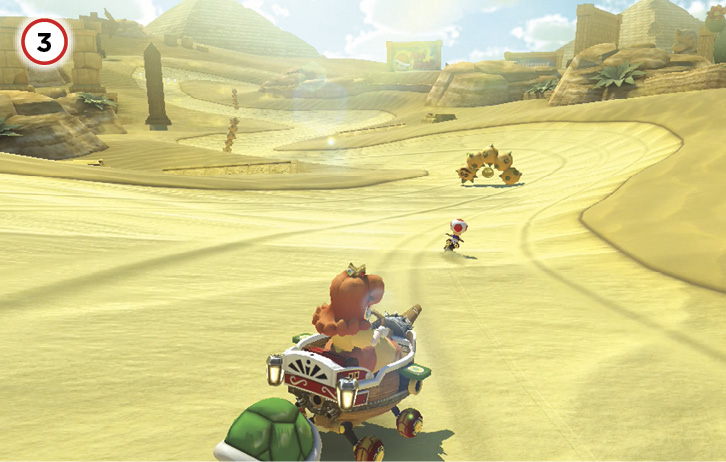
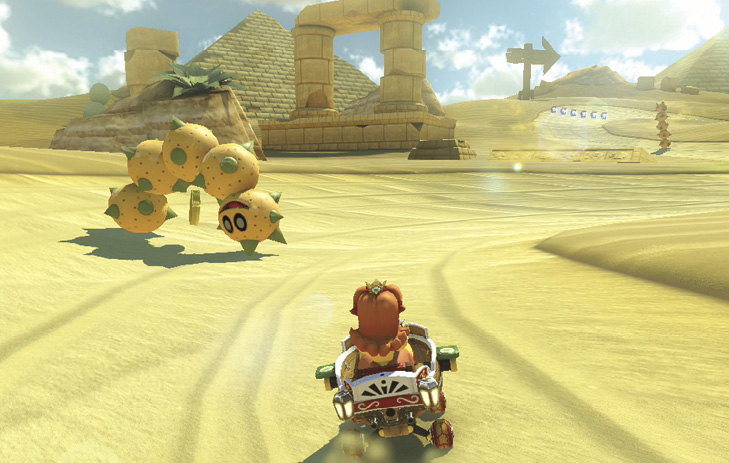
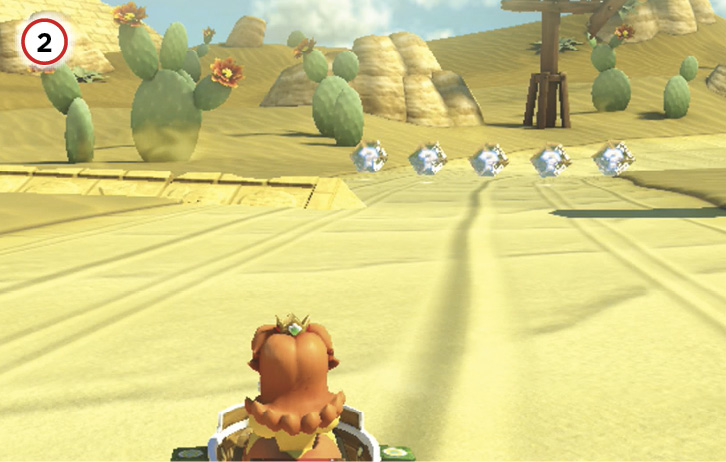
The five consecutive hairpin turns of this section are populated by Pokeys. You should be able to see where they are and adjust your racing line accordingly. If you have Mushrooms, you can cut across the sands off-road as a shortcut. Watch for stone pillars to become ramps to help propel you across the off-road portions of the track during later laps!
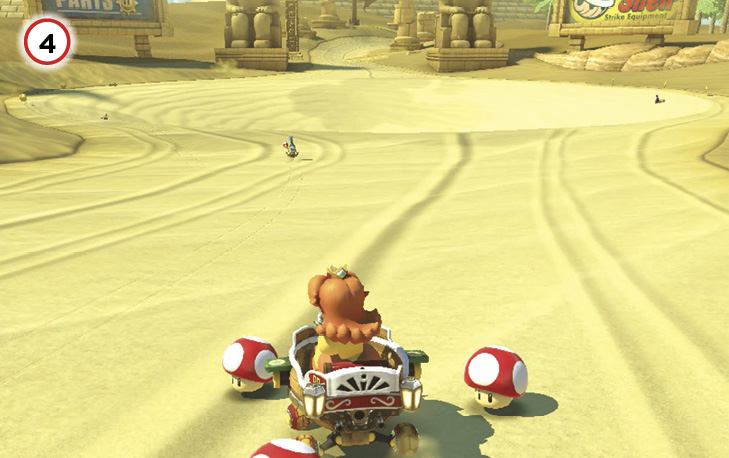
The sand sinkhole has two thin roads lined with Coins going around it. You can drift and Mini-Turbo through those curves. Again, a Mushroom can help you cut across a portion of the sinkhole to save some time. Be careful about other racers and items in this section—it’s surprisingly easy to get knocked into the sinkhole!
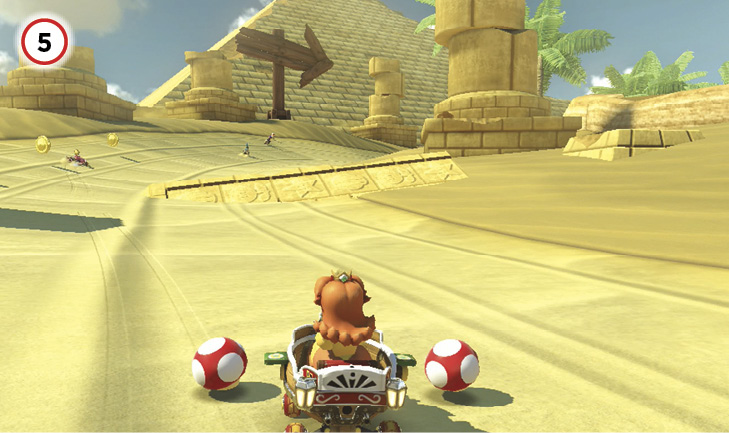
Another stone pillar will fall during this curve to the right. If you’re still hurting for Coins, ignore this ramp and take the outside line.
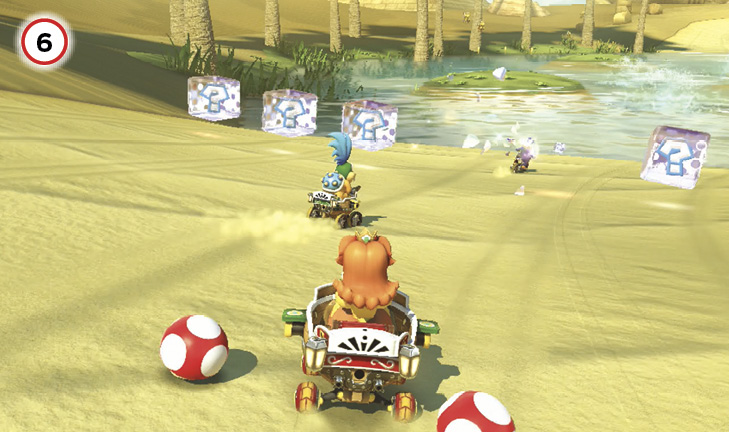
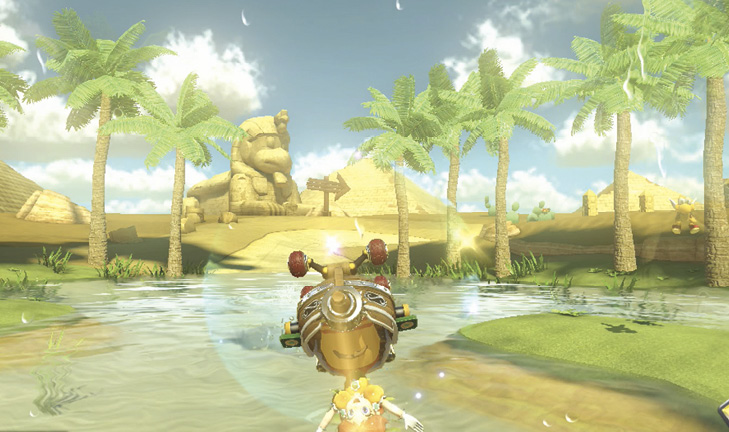
The oasis has multiple water spouts that will launch you out of the water. They slow you down, but are useful for evading Green Shells. If you’re trying to maintain speed, avoid the water spouts entirely. Jump Boost off the hill on the right side of the oasis, while skirting just to the left of the water spouts.
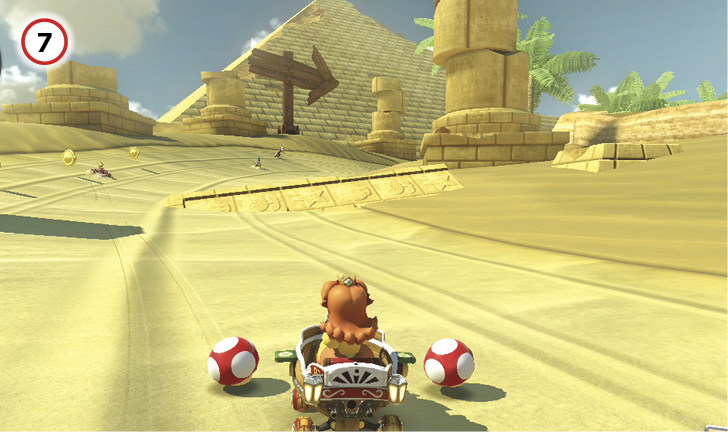
You can Jump Boost just as you exit the water on the other side of the oasis.
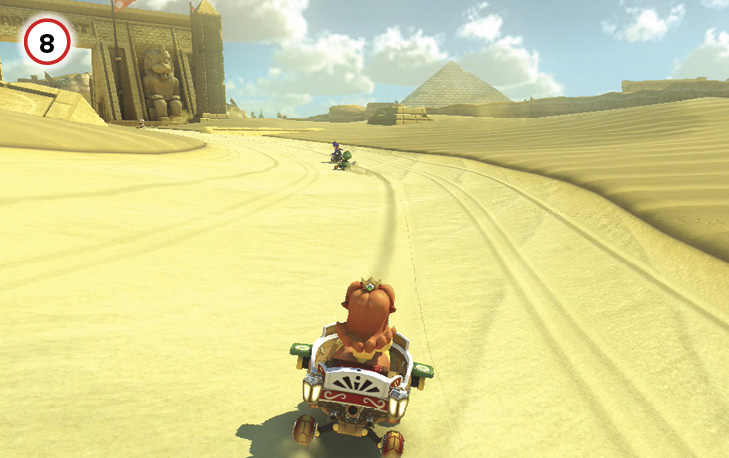
Over the course of your three laps, multiple stone pillars will fall alongside the final straightaway. You can cut the final right corner with a Mushroom.
Time Trial
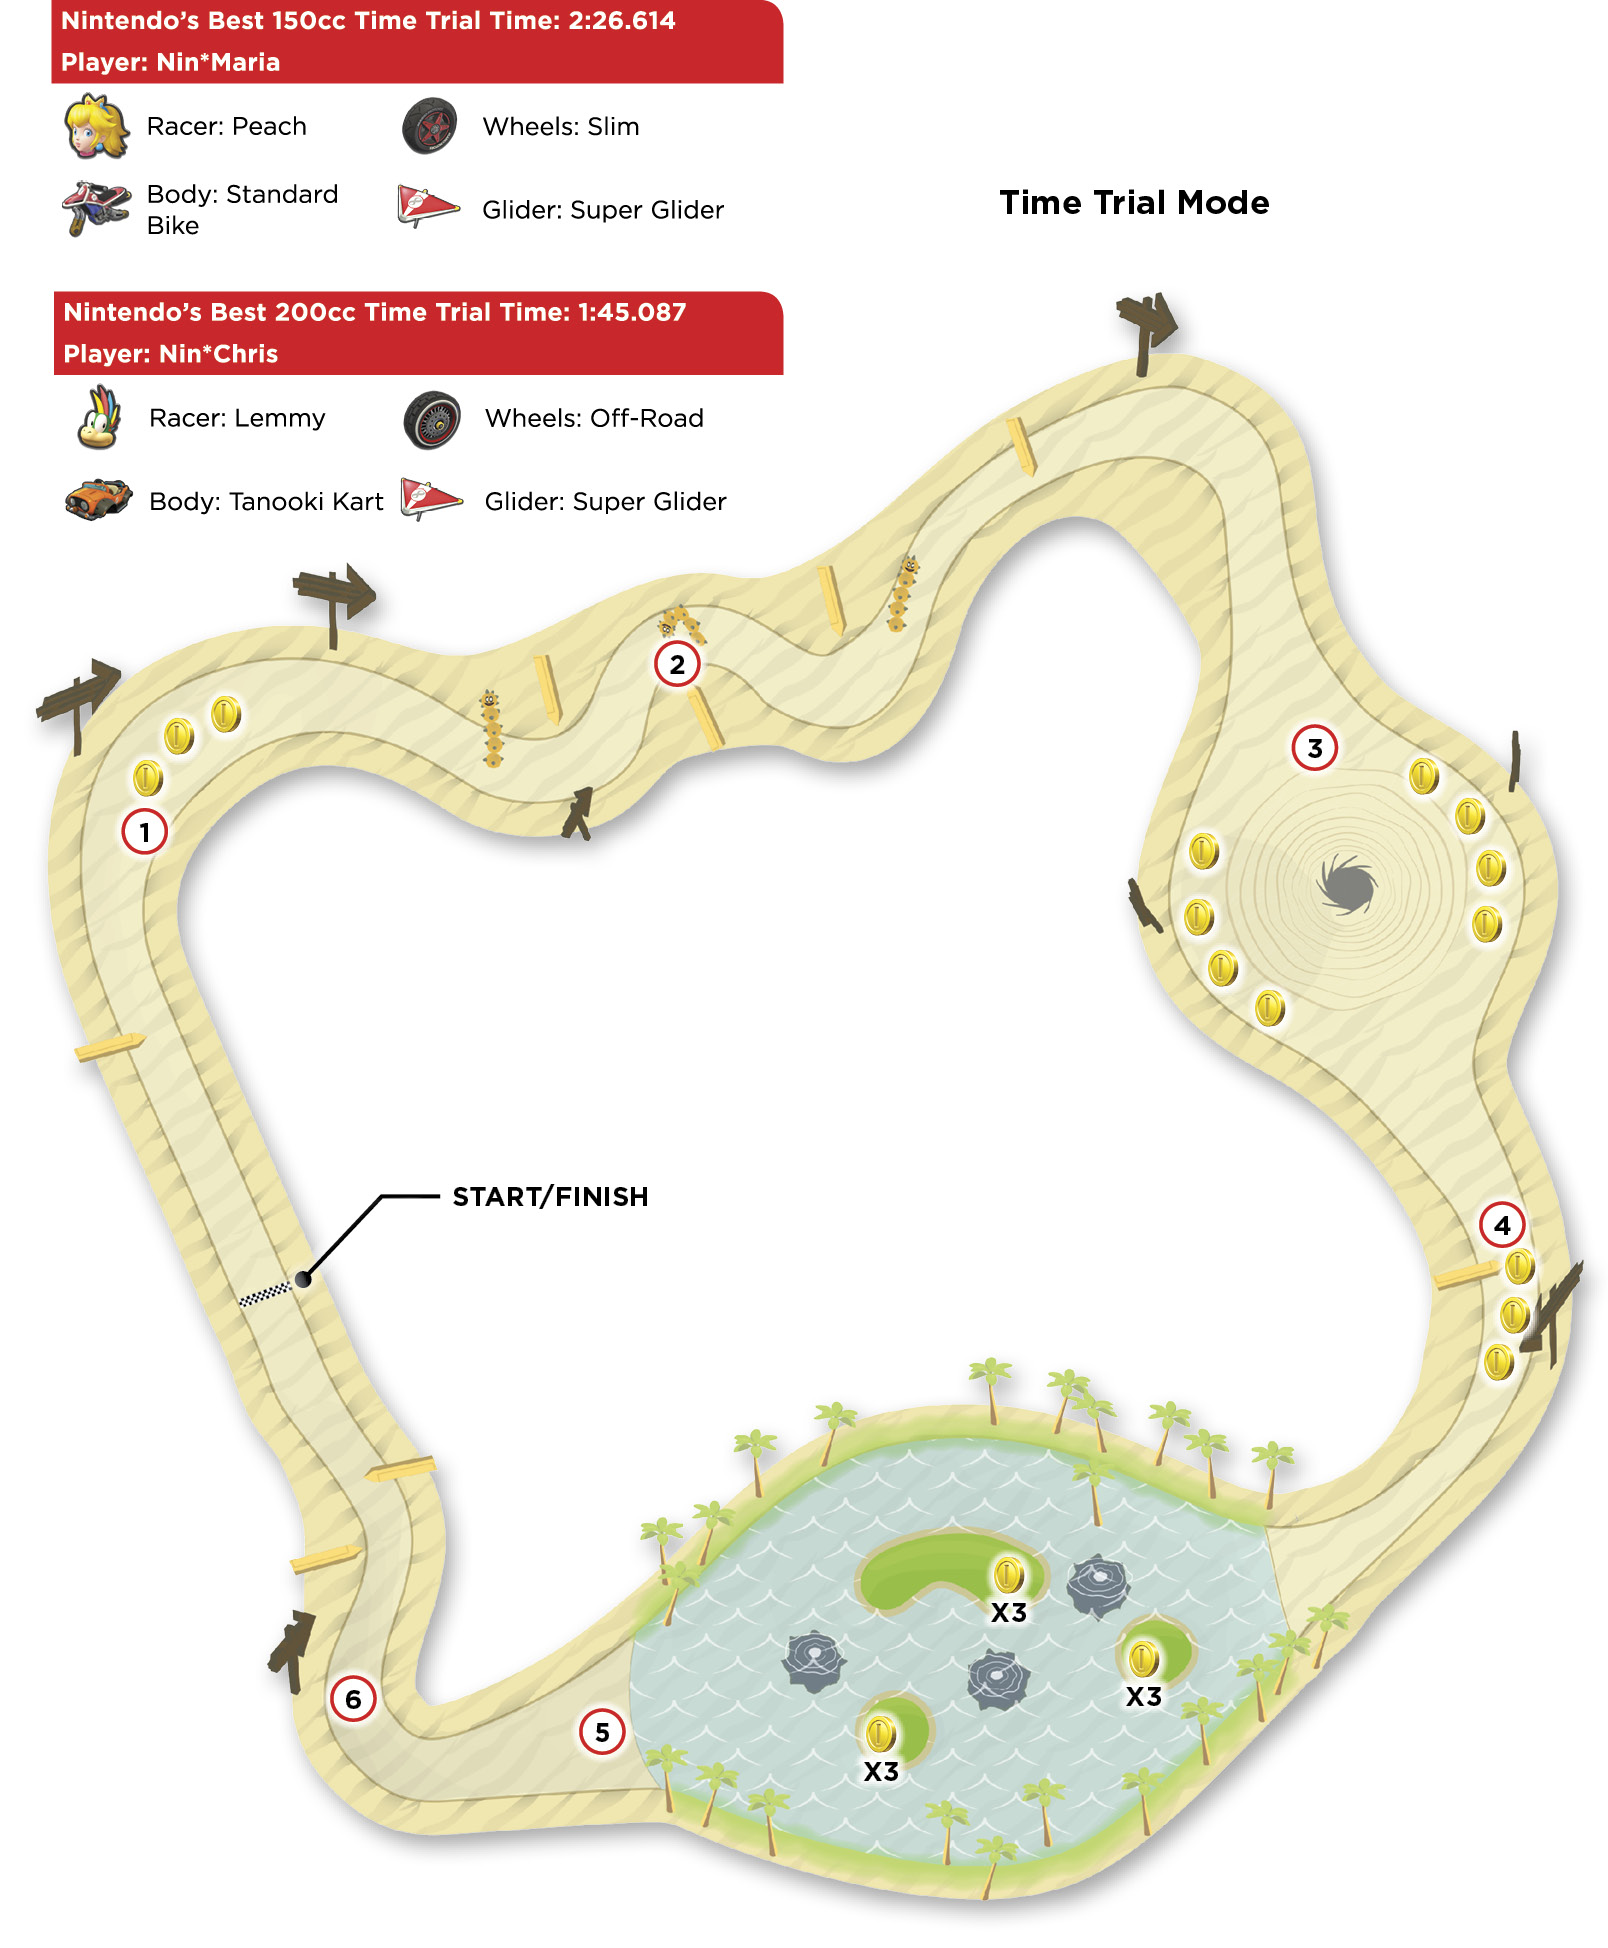
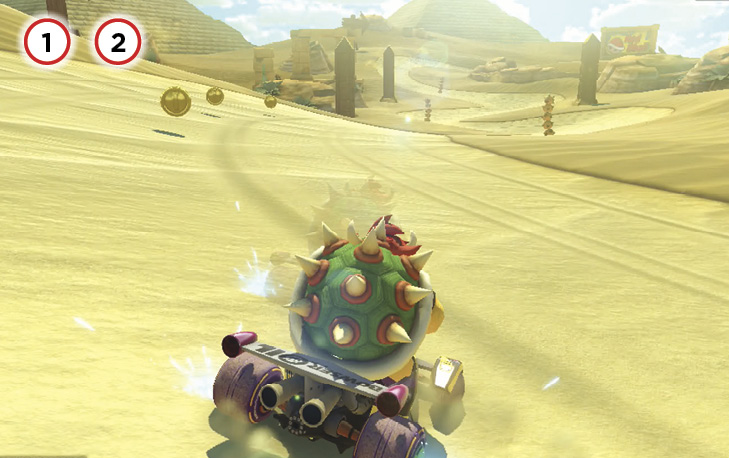
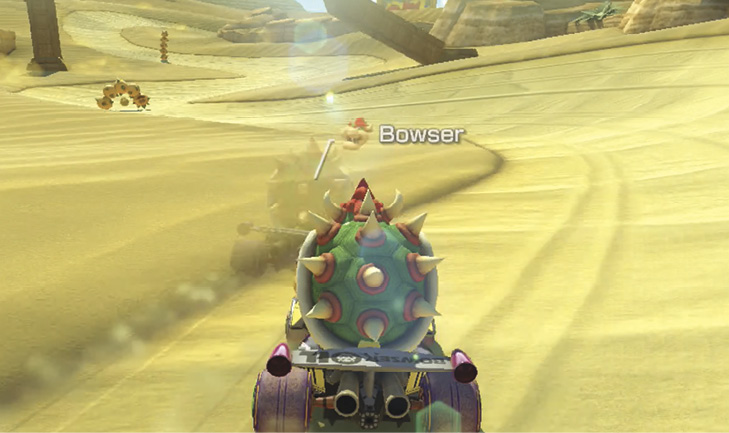
Don’t miss the three Coins on the first turn. The upcoming hairpin turns feature a number of places to cut across the dark sands with a Mushroom, but this may not be as fast as a shortcut found closer to the end of the track!
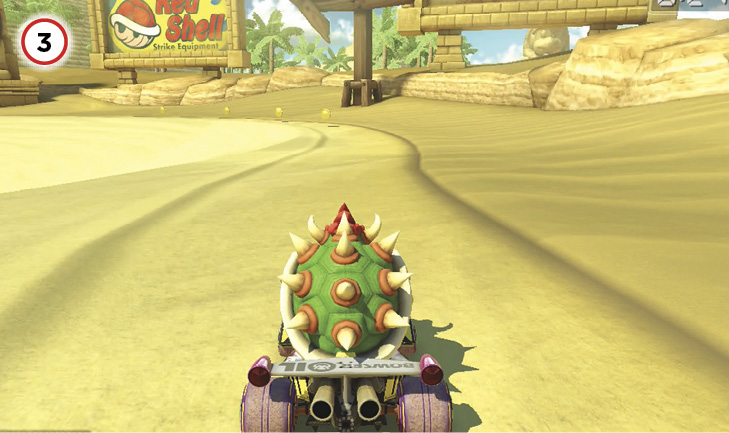
It’s vital that you collect at least four Coins when passing by the sinkhole during Lap 1. Both routes on either side have what you need.
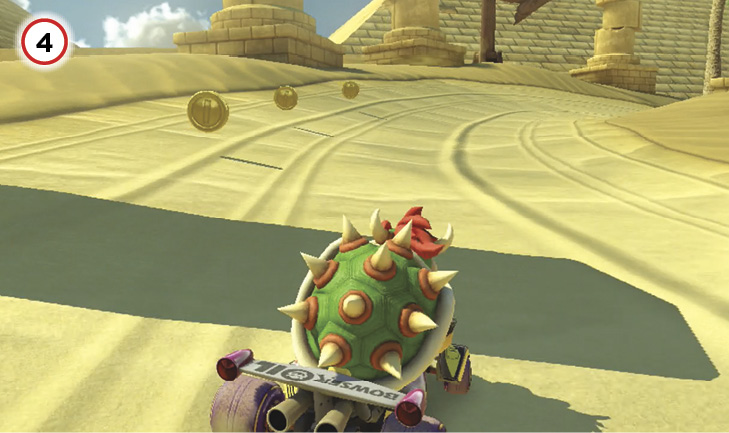
Exiting the sinkhole zone, collect the three Coins to the left of the falling stone pillar.
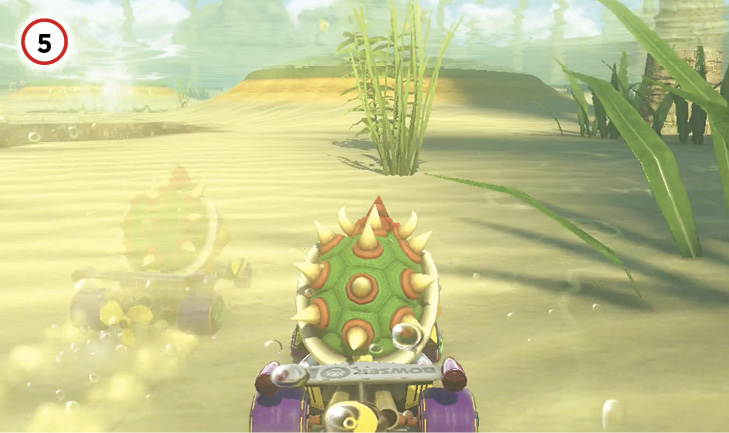
There’s a trick to getting through the oasis swiftly. Avoid the water spouts entirely, using the hill on the right side to Jump Boost. It’s possible to Jump Boost off the hills while remaining in the water, to avoid slowing down when you crash back into the water. Don’t miss the Jump Boost just as you leave the oasis.
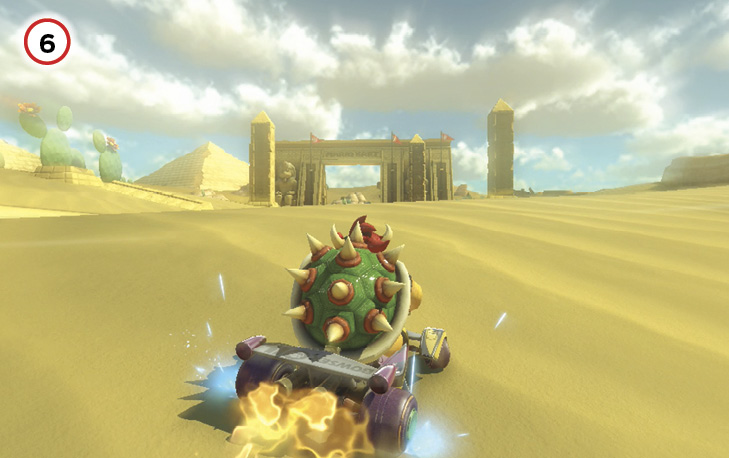
The final right turn can be cut hard across the sands with a Mushroom, following the stone wall well inside rough ground.
SNES Donut Plains 3
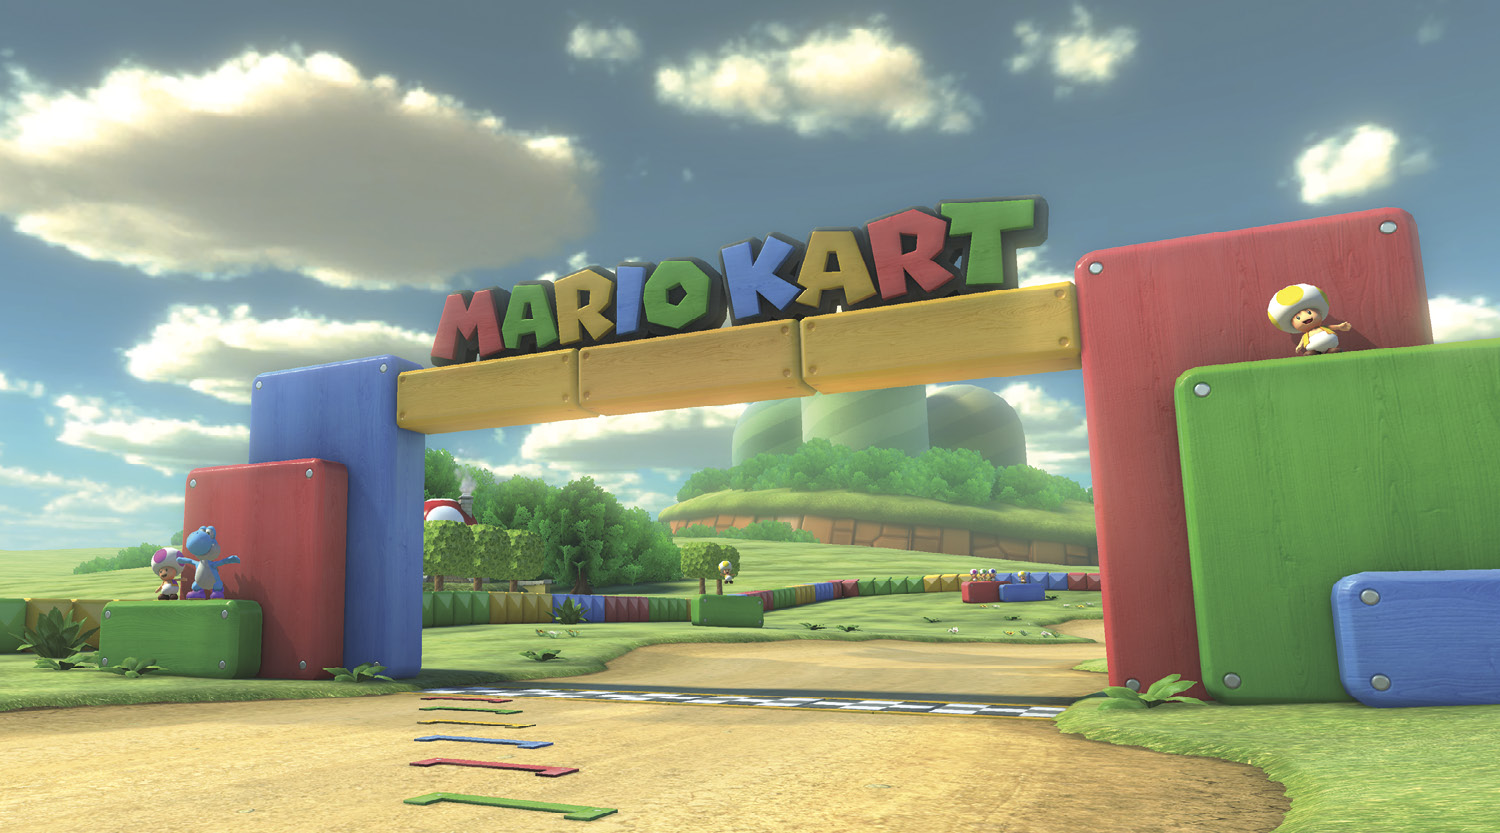
Returning from the original courses of the very first Super Mario Kart, Donut Plains 3 is a short and fast course. The ponds and grassy fields around the course can be exploited by a properly equipped and skilled racer for some fantastic shortcuts.
Grand Prix
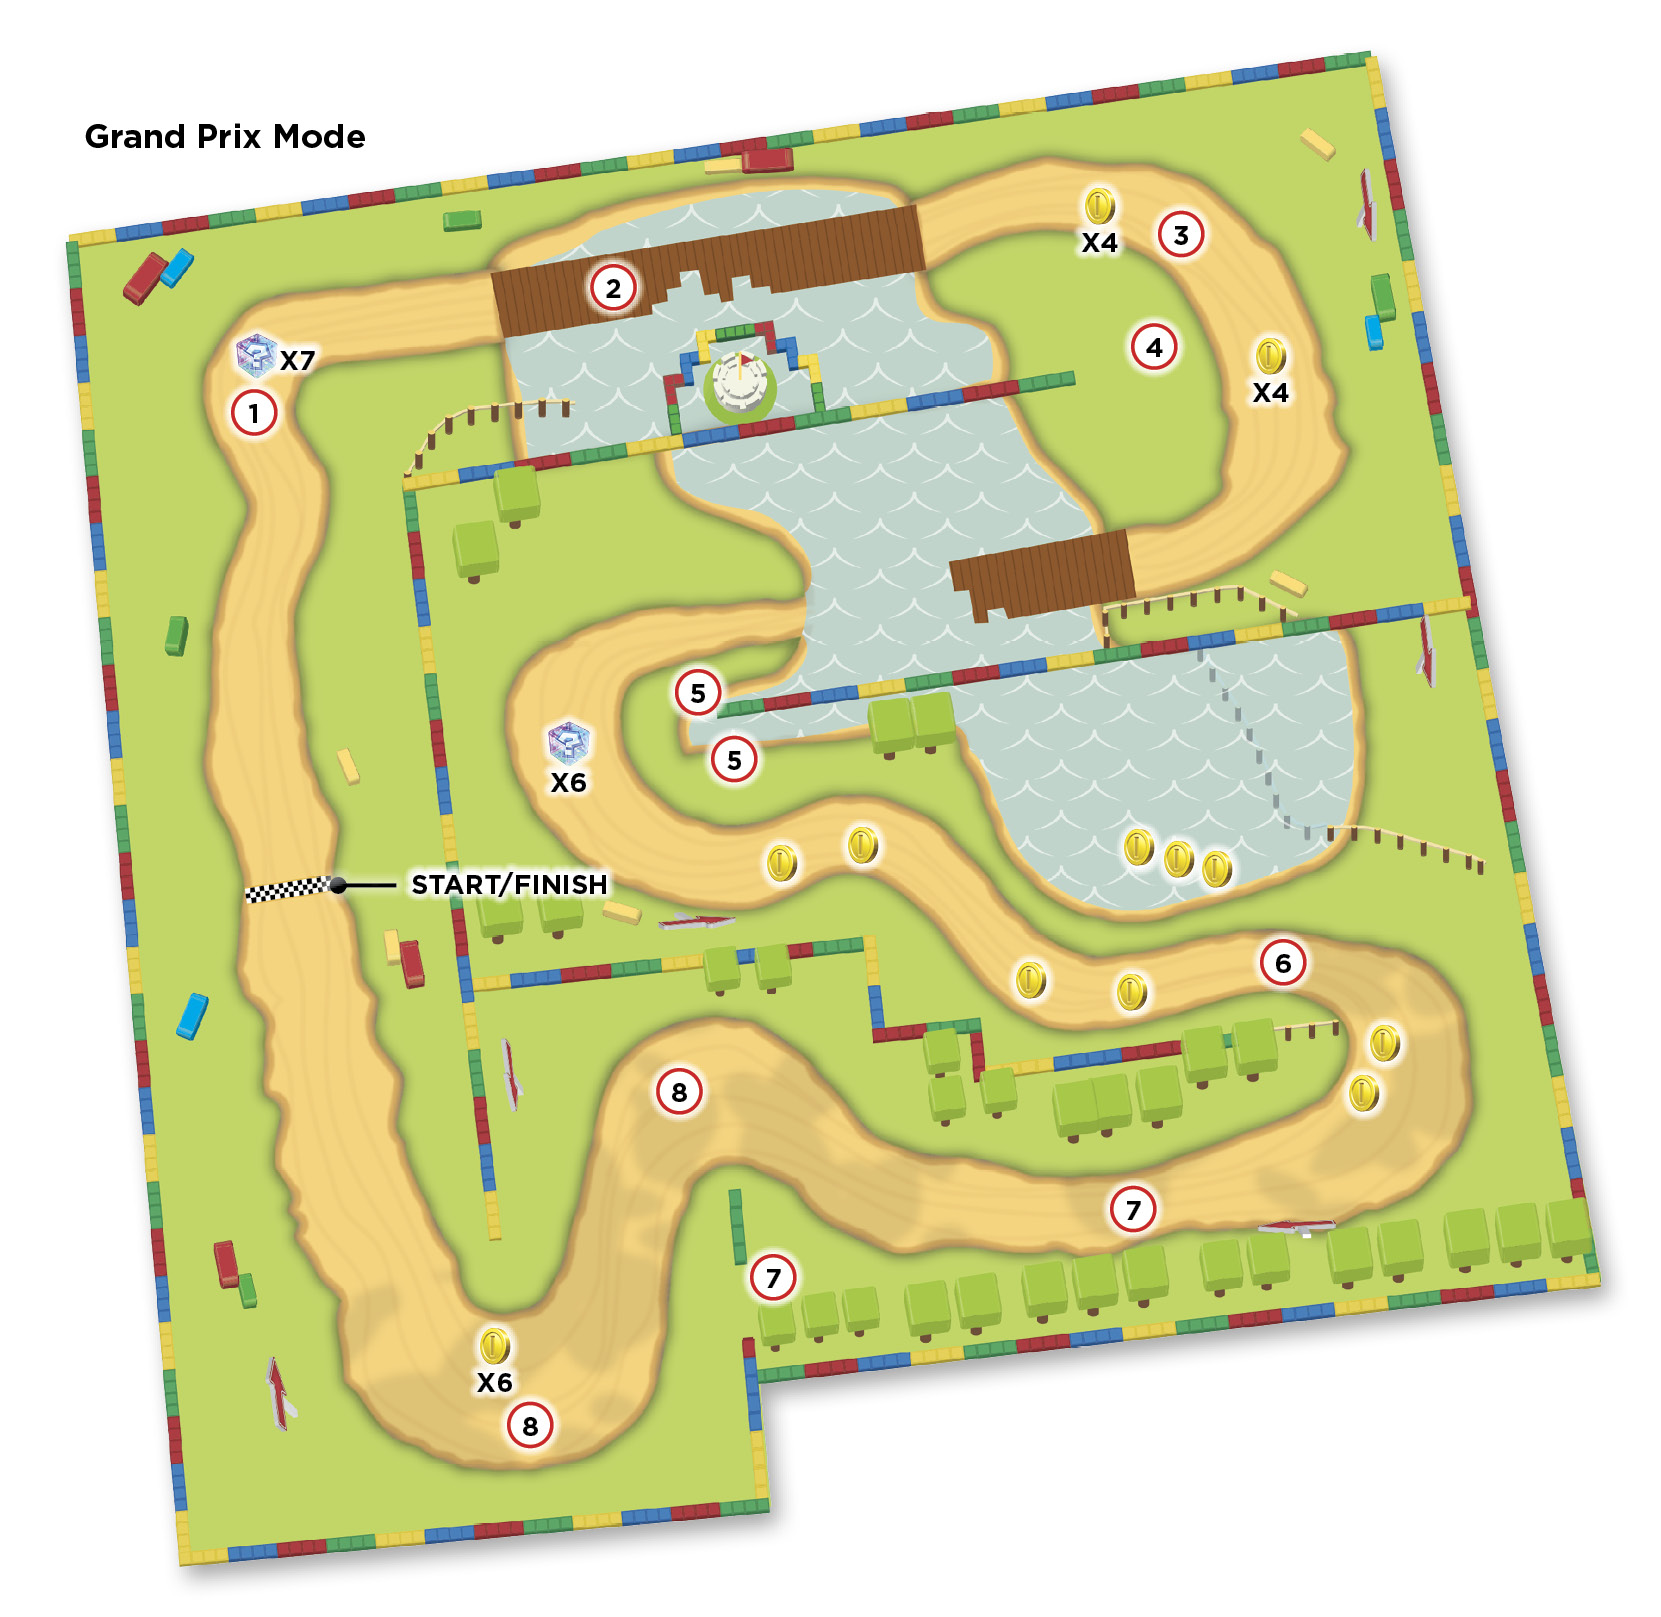
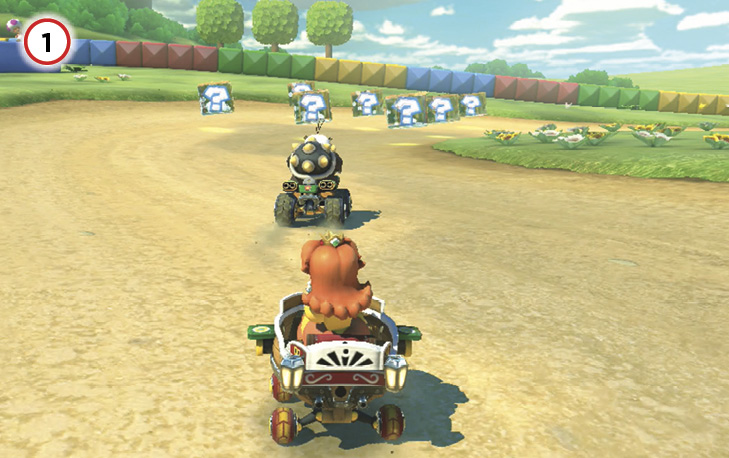
The first right turn, particularly during Lap 1, is vital to retrieve items from during the Grand Prix. If you don’t get a good start, you’ll likely miss out on items and be caught in the middle of the pack—and have a bit of a fight on your hands to break free.
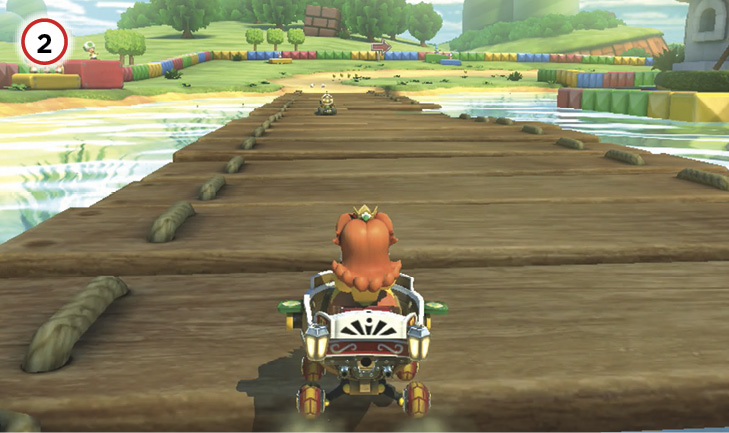
When crossing this first bridge, don’t fall into the water unless you have a Mushroom to push you through the other side, and even then there’s a better use for it just across the bridge. While you can drive through the water, normally it’s a slower route.
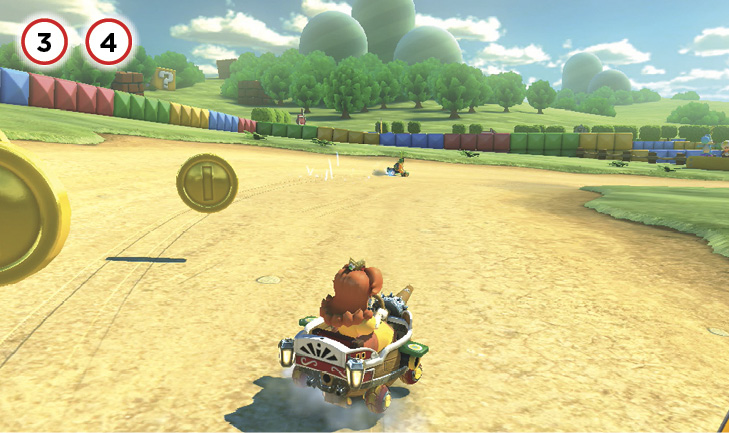
Staying on the road during Turn 2 can snag you some badly needed Coins. However, this turn can be cut very heavily by Mushrooming across the grass on the inside of the turn, past the retaining wall, and into the second pond.
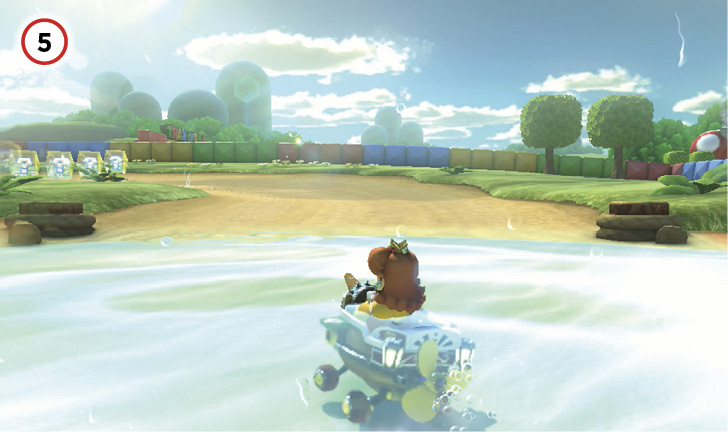
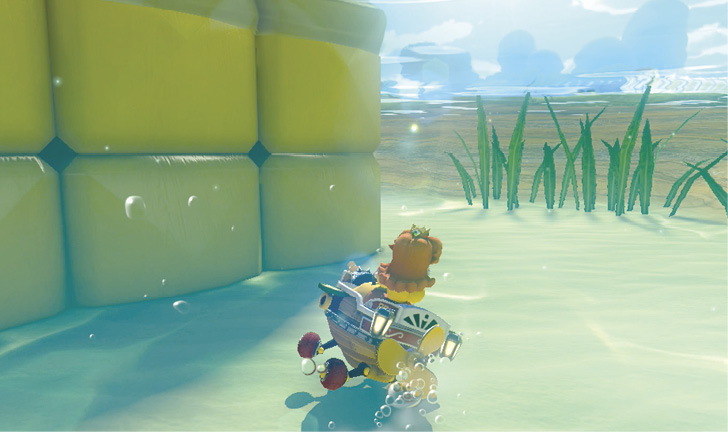
Exiting the second pond and following the obvious route through the Item Boxes into the following series of curves is simple. However, this second pond is also the site of another major shortcut—one that does not require Mushrooms. Simply cut the corner while in the water, avoiding contact with the retaining wall on the left, and drive up out of the water. The correct exit angle will be marked by tire tracks on the hill, and you can Jump Boost off this makeshift ramp onto the track.
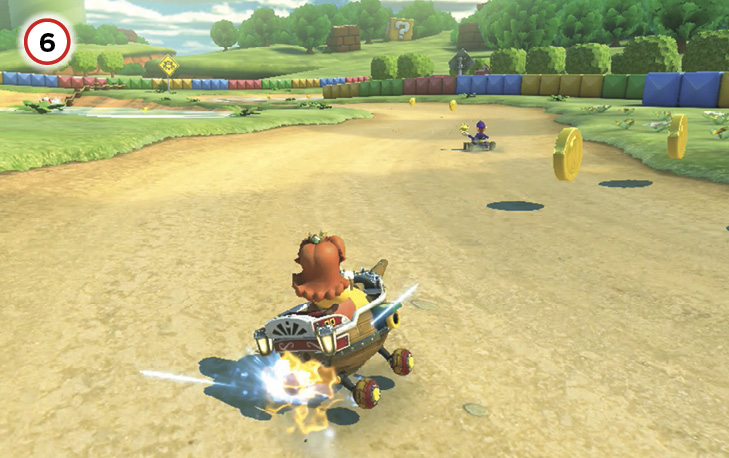
However you decide to navigate out of the second pond, don’t miss the Coins on the next part of the course!
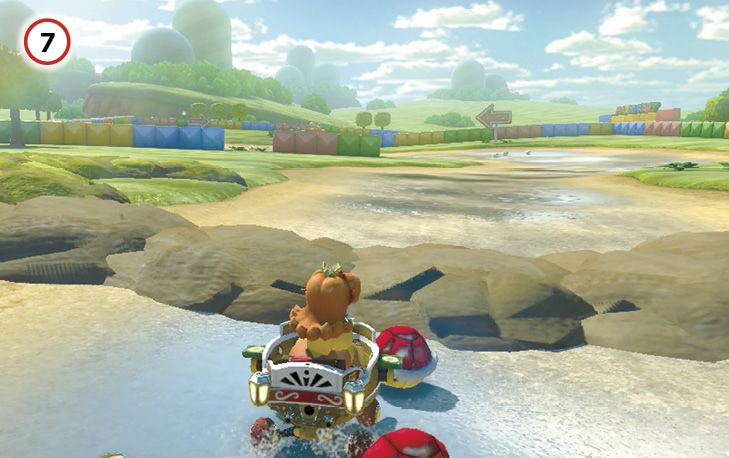
After a hairpin right over wet terrain, this straightaway is infested by Monty Moles. Jump Boost off their hills if they get in the way. If you have a Mushroom again at this point, you can aim for yet another shortcut through a gap in the retaining wall.
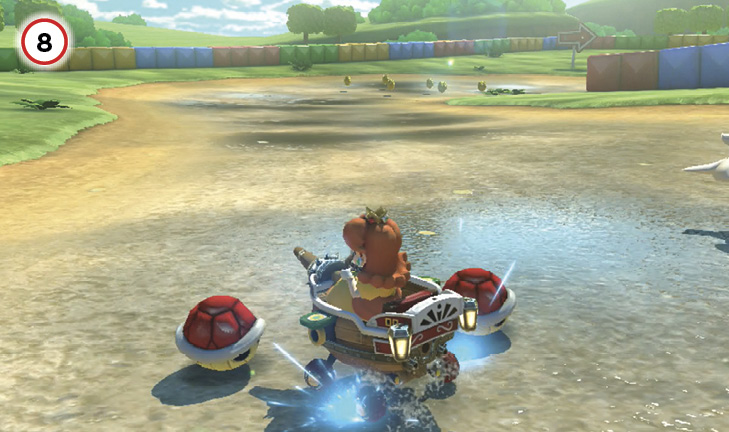
If the shortcut is out of the question, leaving the Monty Mole straightaway requires you to navigate two final hairpin turns before the last stretch. The terrain here is wet, so be prepared to compensate for that. This is also a good location to cut loose with Bananas or any shells you might have to complicate things for rivals behind you.
Time Trial
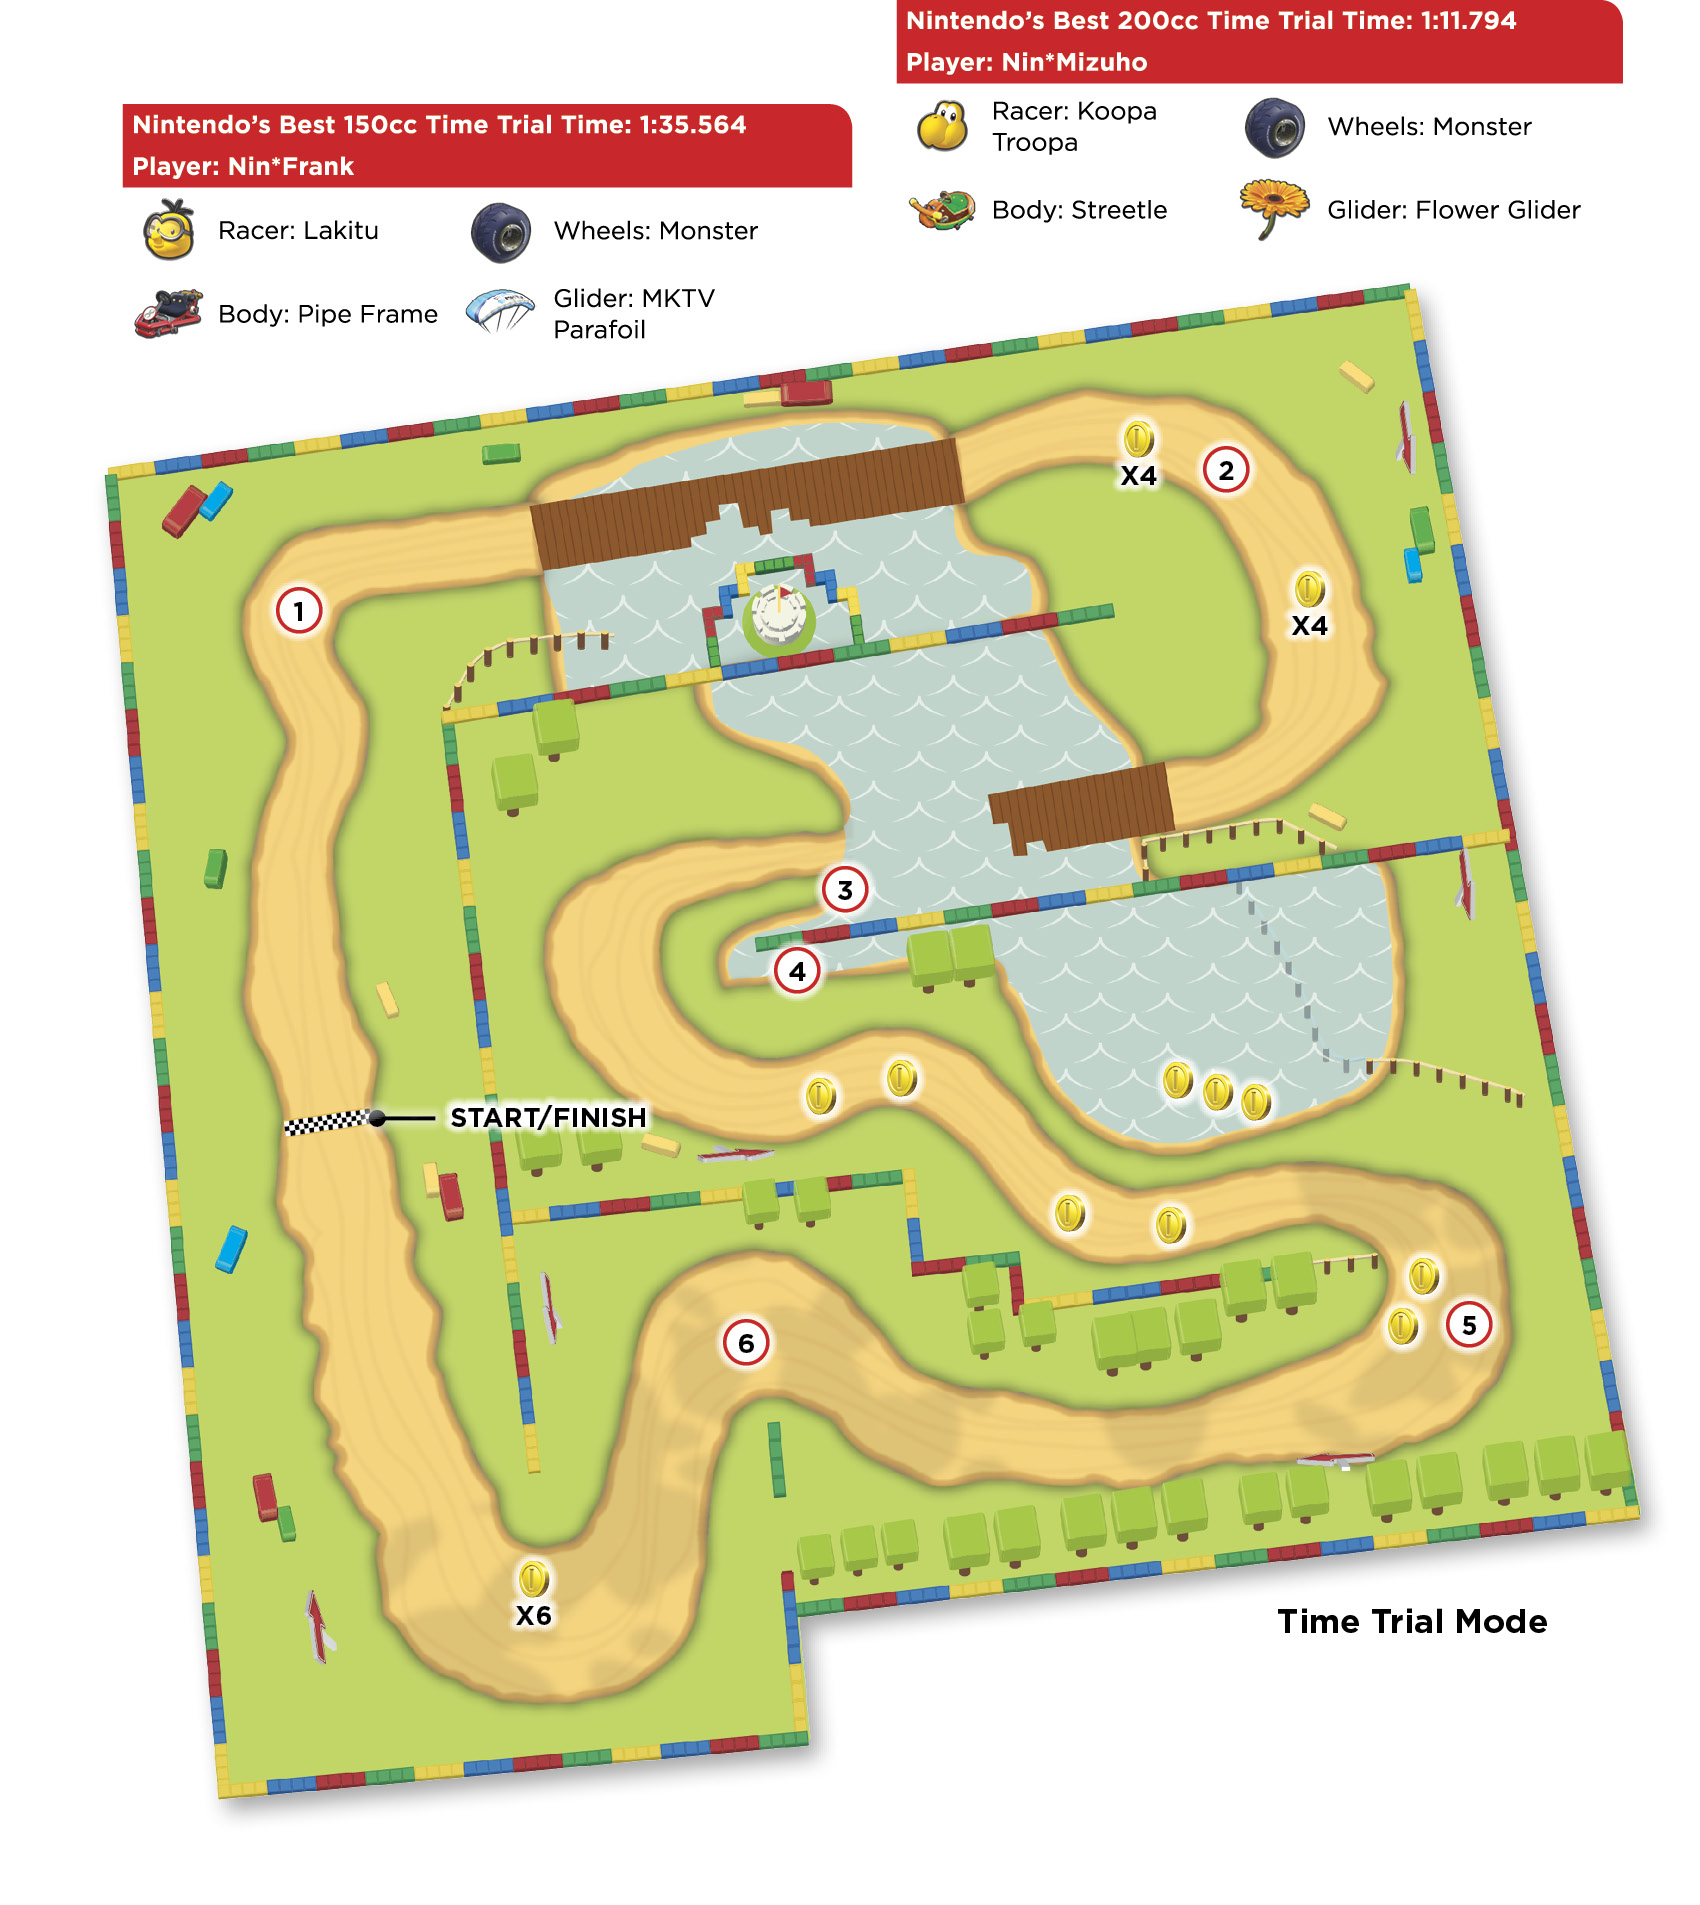
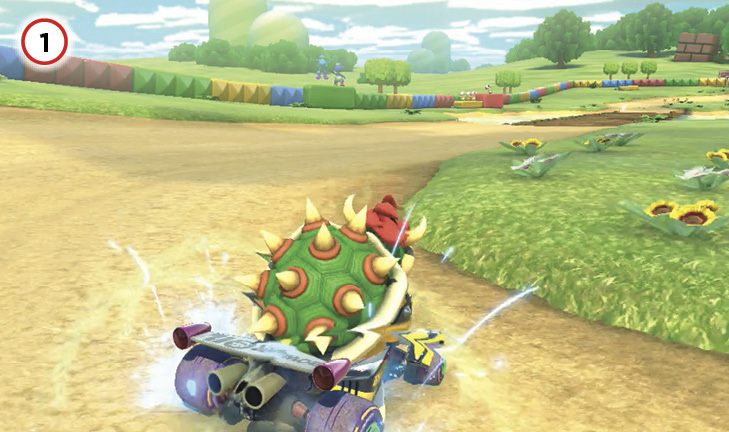
After starting, cut Turn 1 as tight to the grass as possible, and cross the bridge.
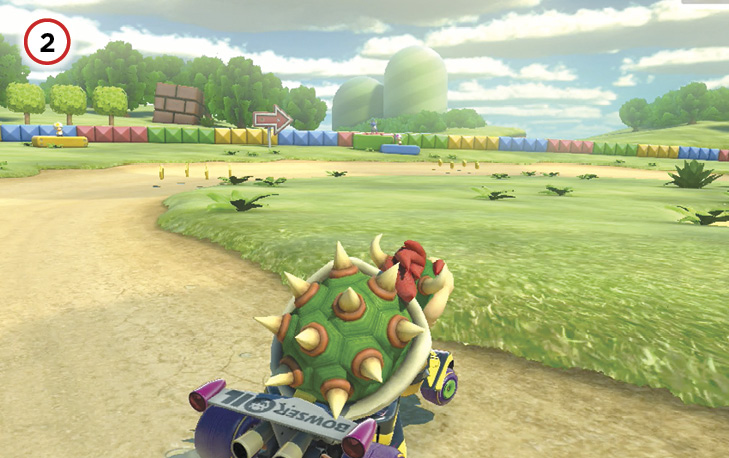
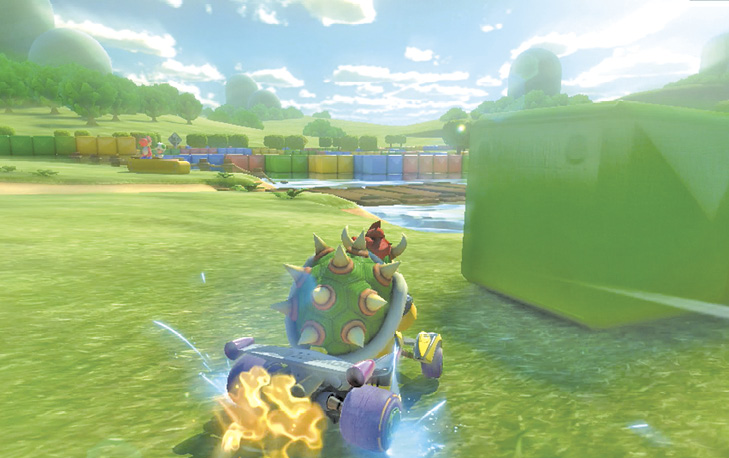
There are four Coins you can safely collect on this turn during your first lap. However, it’s better if you cut this first turn by using a Mushroom to cross the grass, blowing past the dividing wall and aiming for the next part of the pond. If you’re aiming for the best time, there’s a good possibility that you will not reach ten Coins during this Time Trial. You have to make up for this with excellent cornering.
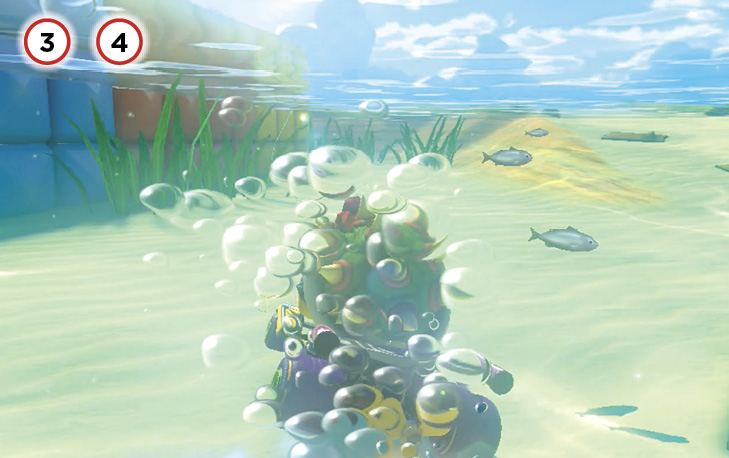
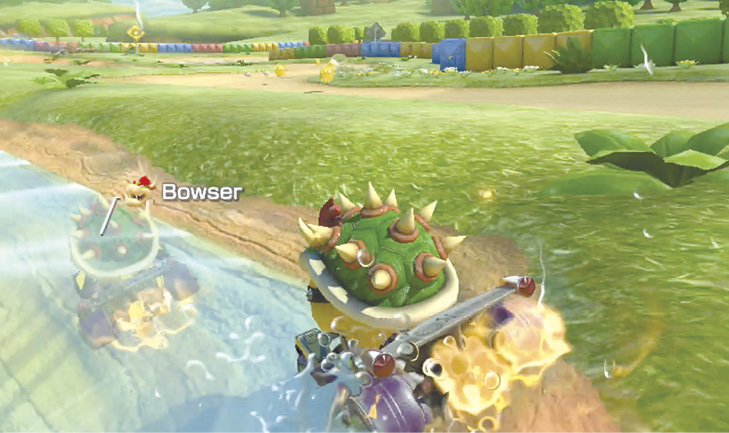
You must take the shortcut route out of the second pond to make good times! The hardest part isn’t cutting the turn, it’s exiting the water at an angle that lets you collect Coins on the next stretch of road. You can have up to eight Coins by this point.
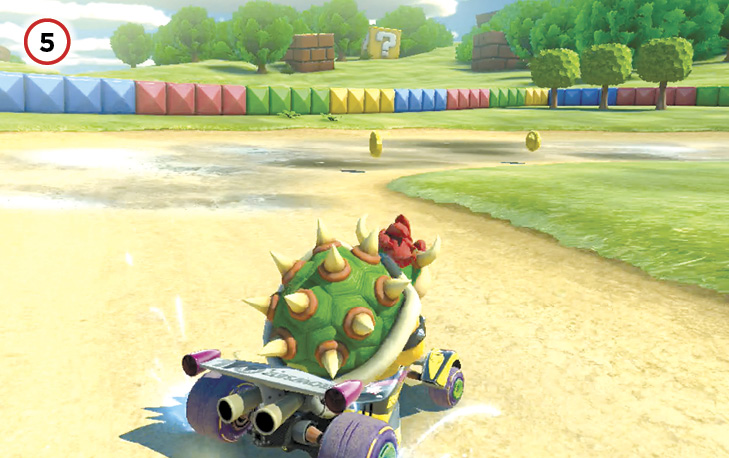
The hairpin onto the Monty Mole straightaway has two more Coins to collect. Snagging them can be tough thanks to the wet terrain. Optimal laps down this stretch will have you taking advantage of Jump Boosts off the molehills.
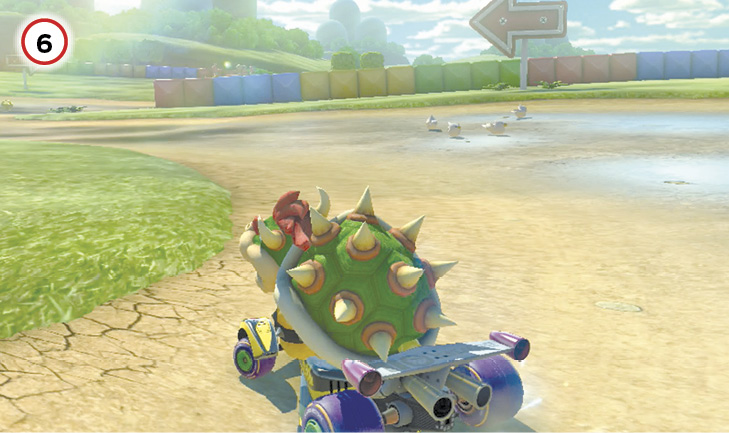
The last two turns should be taken as tight on the inside line as possible. Ideally, the transition from the next-to-last turn to the very last turn should almost be a straight-line drift from one apex to the next. The corner just before the final stretch does have some Coins you can collect on the inside line to help boost your total.
N64 Royal Raceway
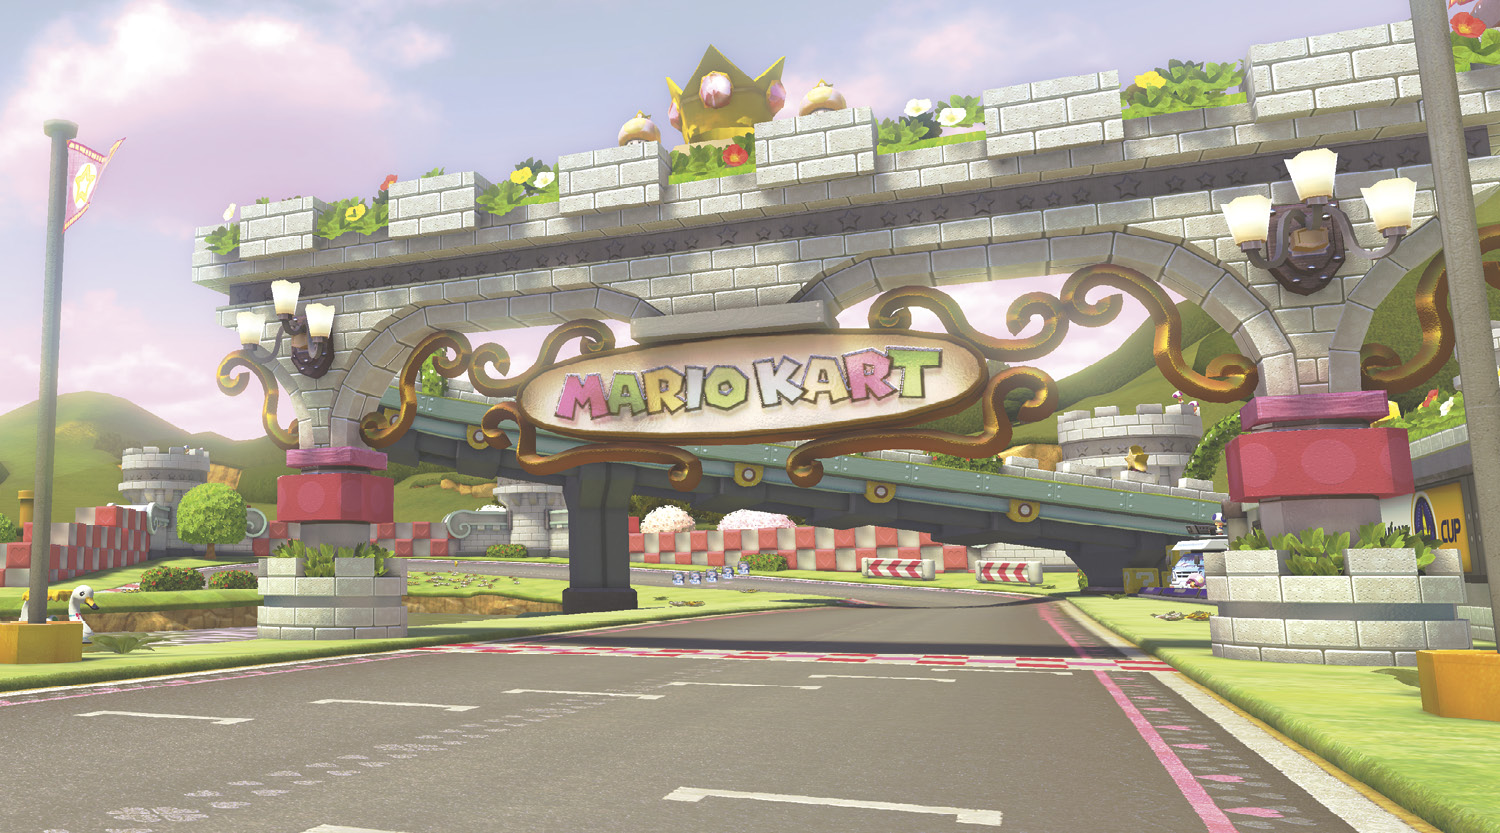
One of the longer courses in the game, Royal Raceway is not a particularly challenging course to race on. Racing well, however, demands that a driver exploits every single turn to the fullest. Unlike so many Mario Kart courses defined by special features and obstacles, this track can be defined by a distinct lack of them.
Grand Prix
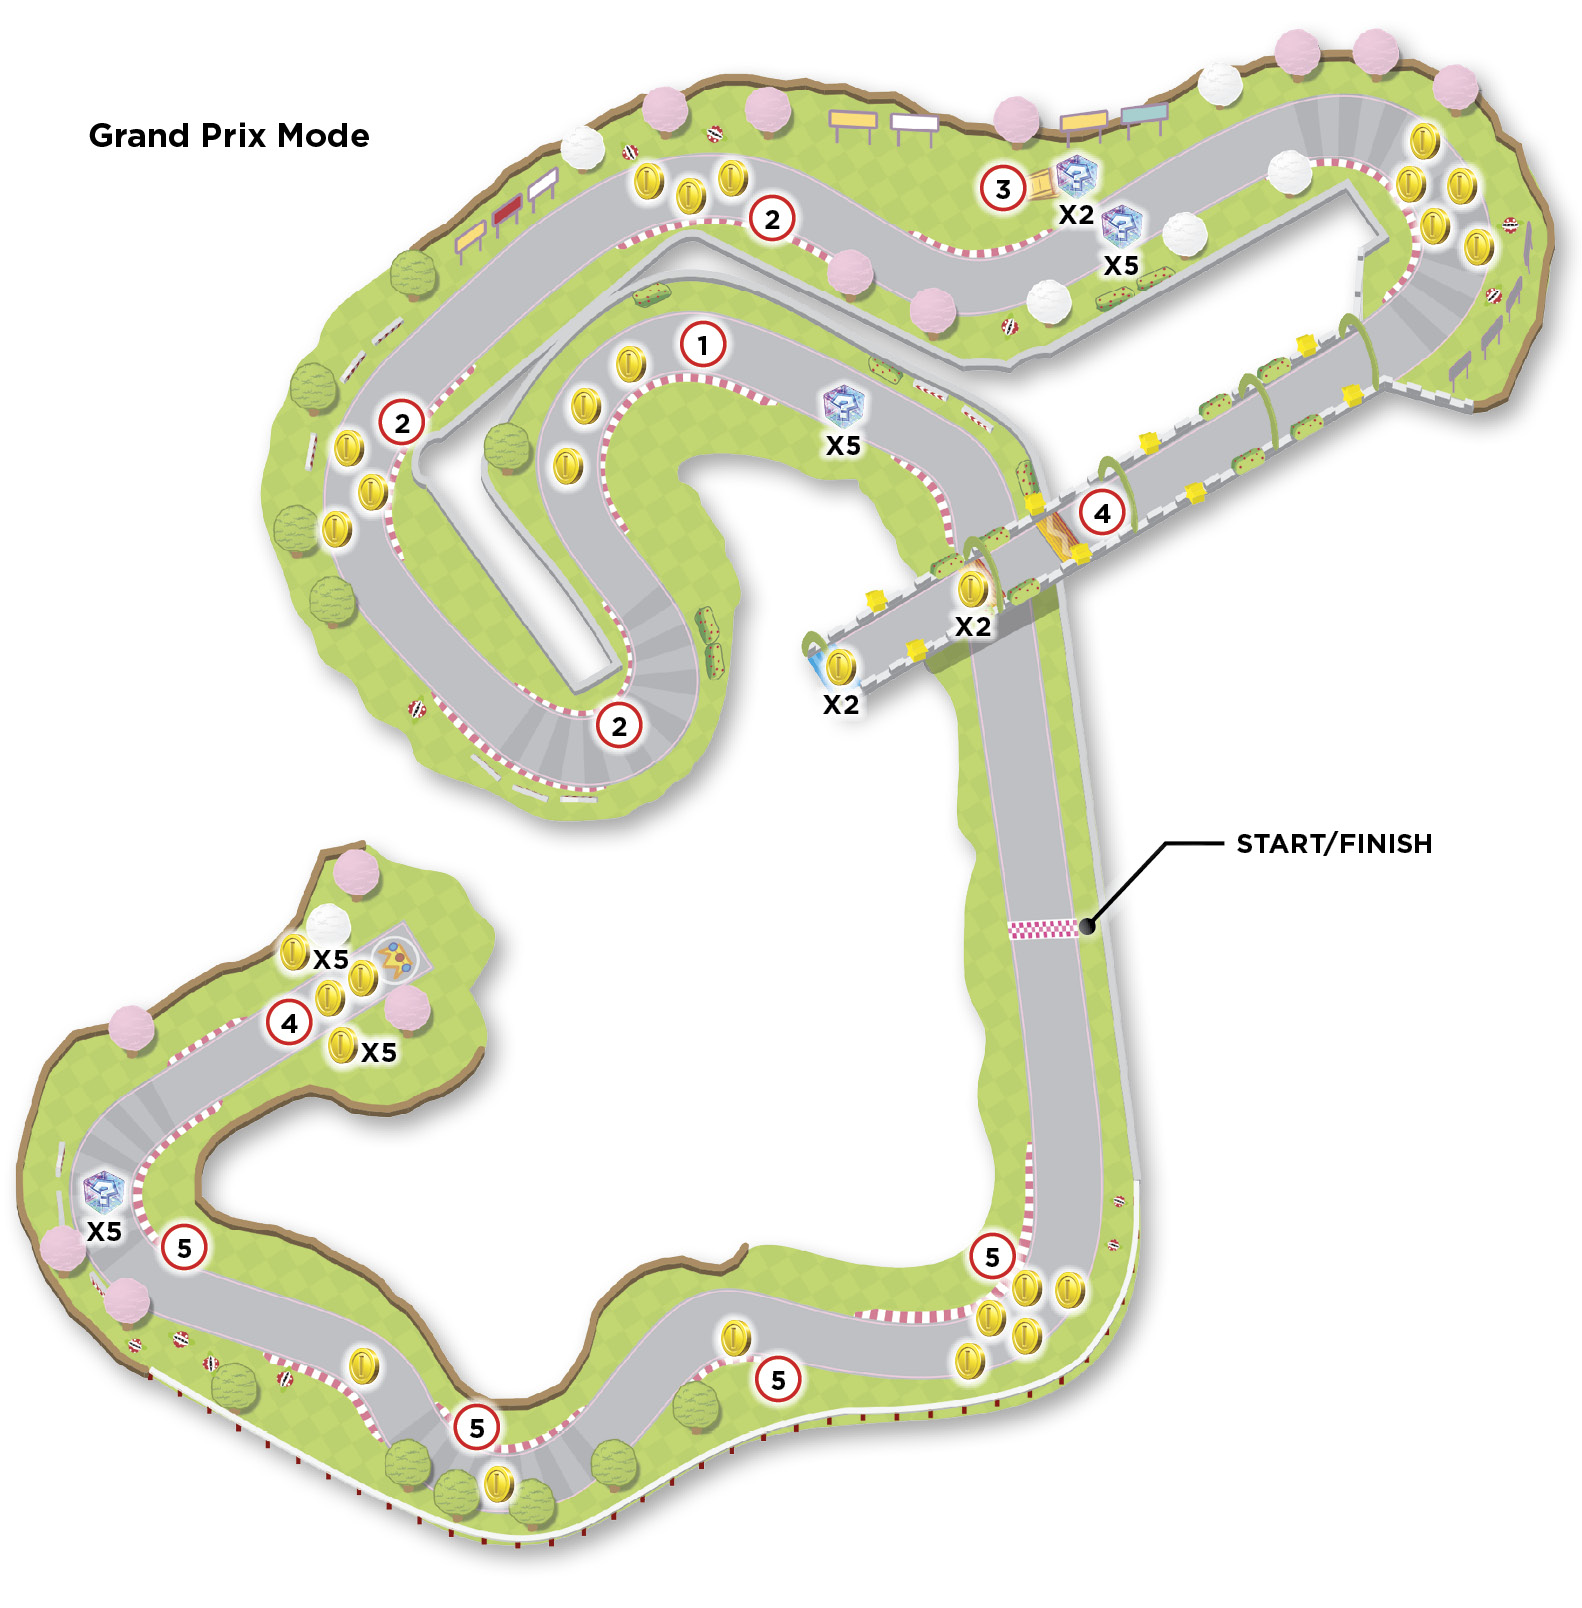
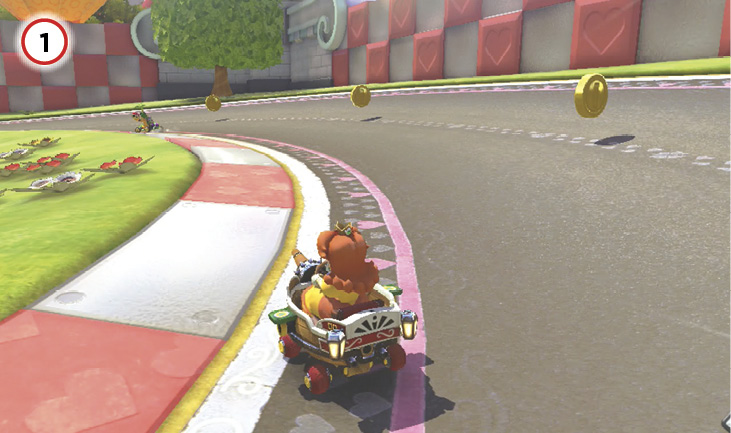
Coins and items are a precious resource on this track. With little in the way of natural obstacles to help defend against your rivals, your use of items requires timing, and it becomes important to deny every Coin to the enemy. Always look for groups of Coins, like these pictured on the first left turn, and collect them on every lap if possible.
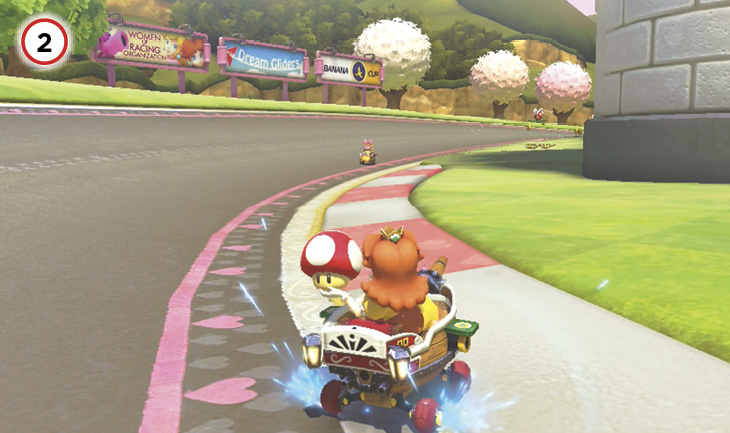
Technically more of a Time Trial technique, hugging turns tight enough that your wheels drag across the red-and-white stripes on the roadside might be one of the things that keeps you ahead of your opponents, especially on higher difficulties. That said, seeding the insides of turns with Bananas can be a great tactic to handle anyone following you closely.
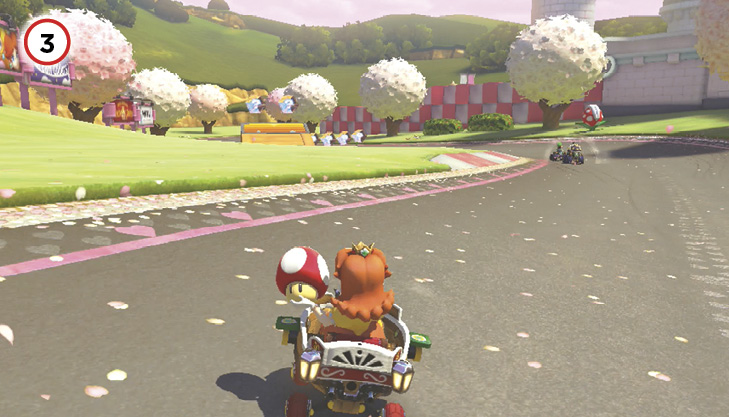
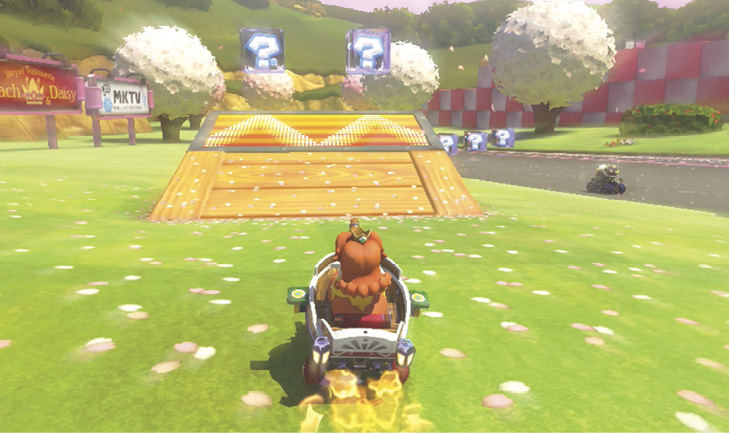
To the left of this curving section of track is a ramp with a dash panel on it. You need a Mushroom to reach it without tanking your speed, though. You can collect more items from the Item Boxes at the end of the ramp.
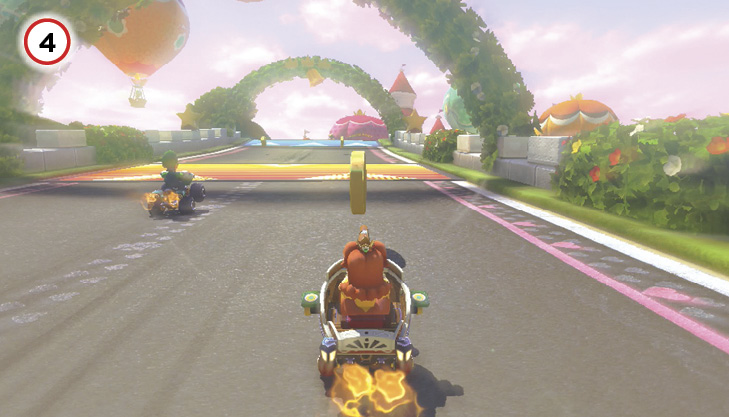
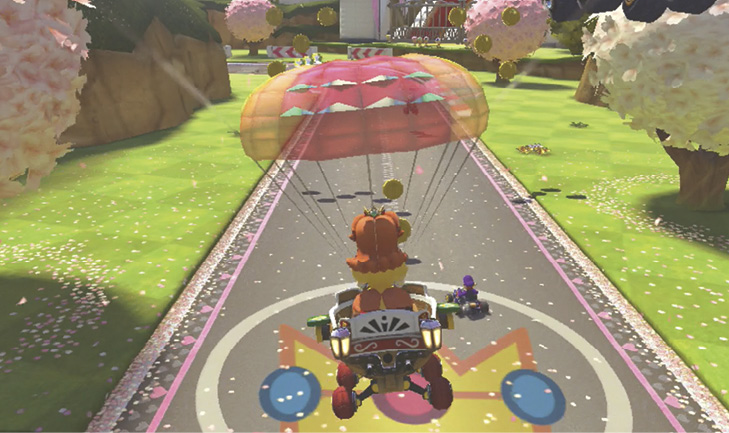
This uphill portion of the track has two dash panels and a glide ramp that will launch you across the lake to the other side of the track. More Coins can be collected from clusters in the air on the other side of the water.
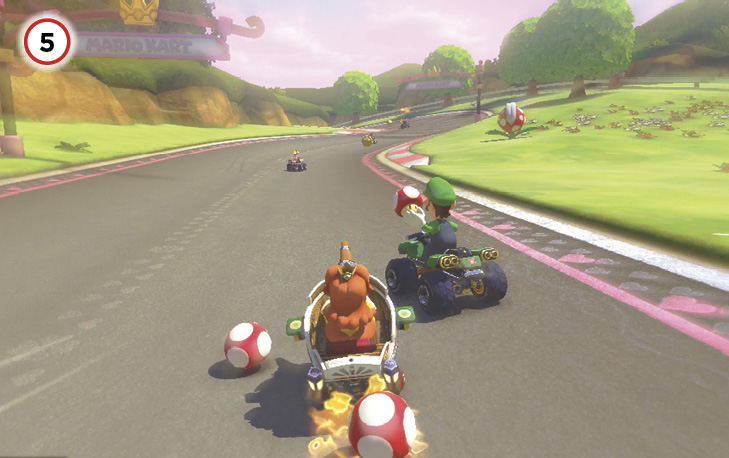
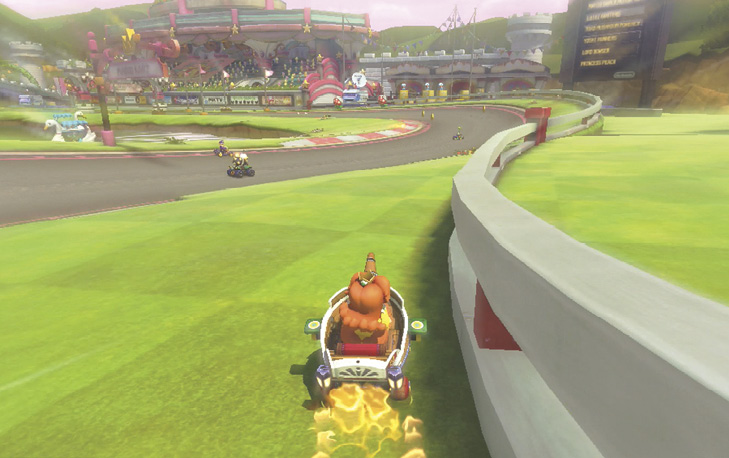
The turns in this series all have chunks of grass that can be cut across with Mushrooms, if you have ‘em. Otherwise, drift through the turns to try and score multiple Mini-Turbos. Watch for Coins scattered on the inside of each curve!
Time Trial
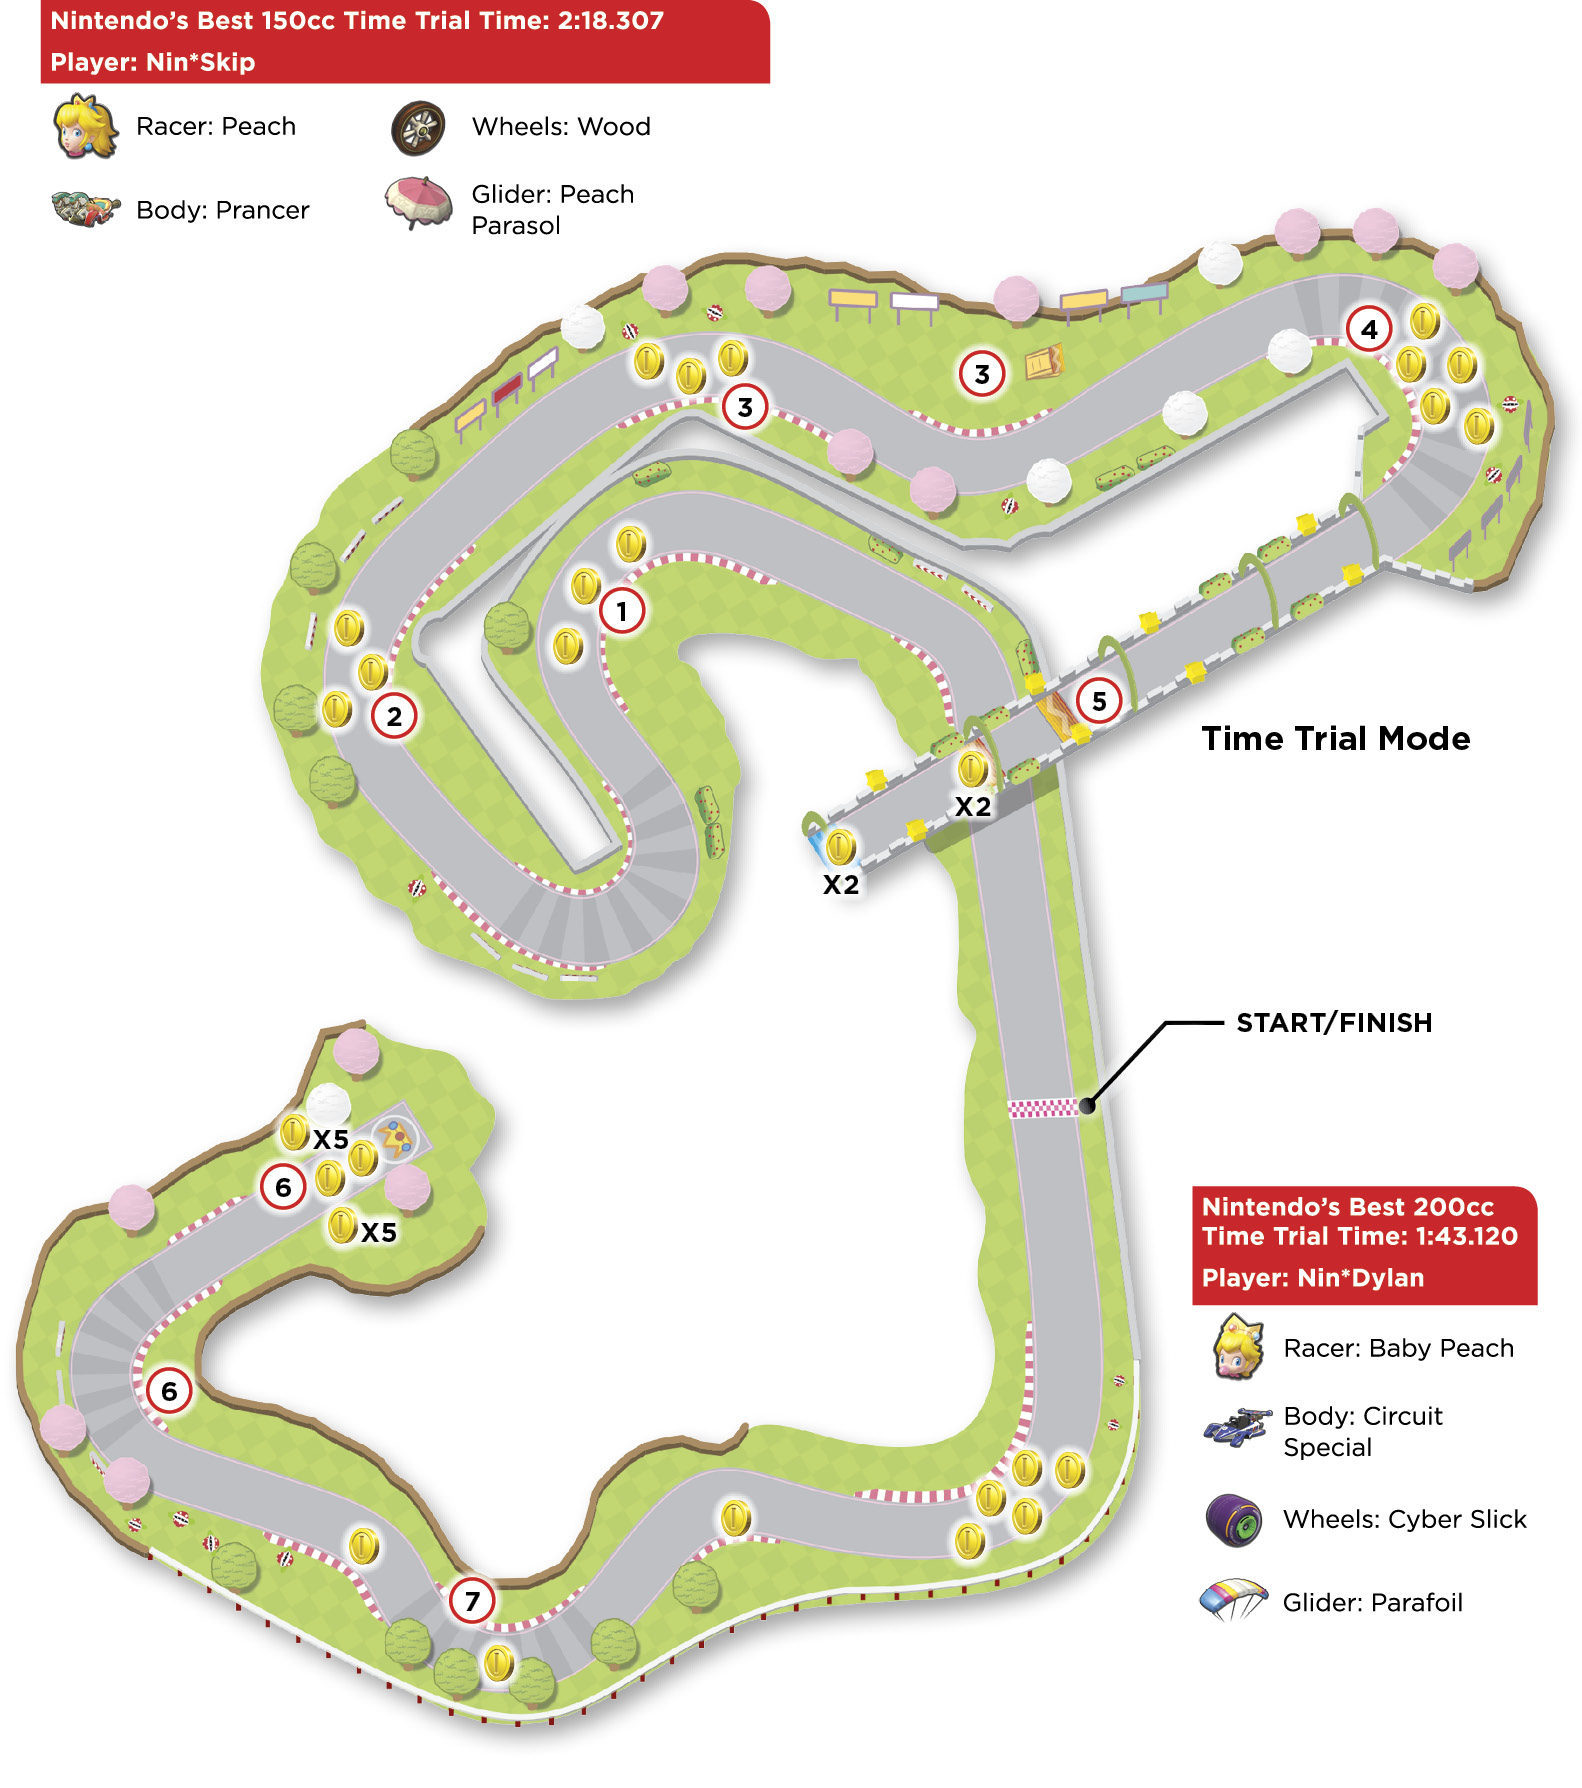
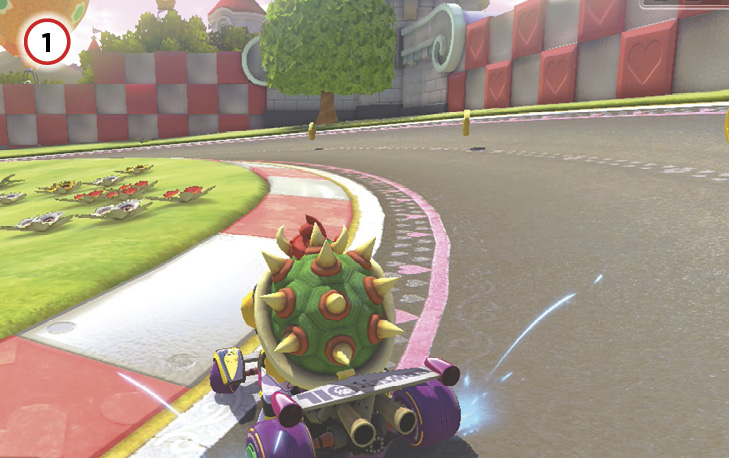
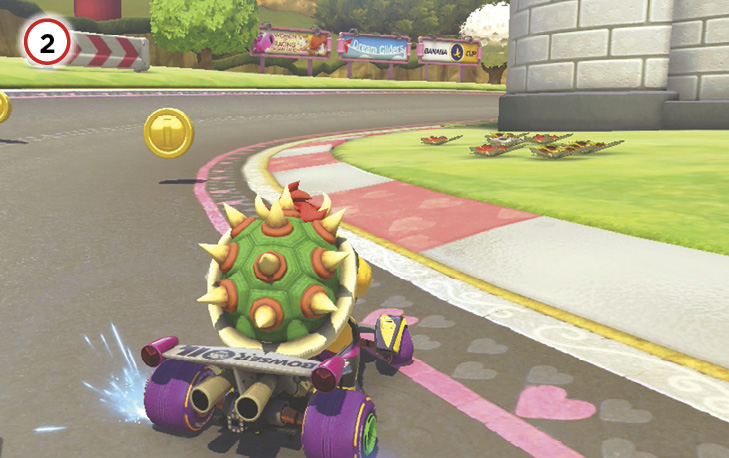
On this turn, you can afford to pass up the Coins and take the turn as tight to the inside as possible.
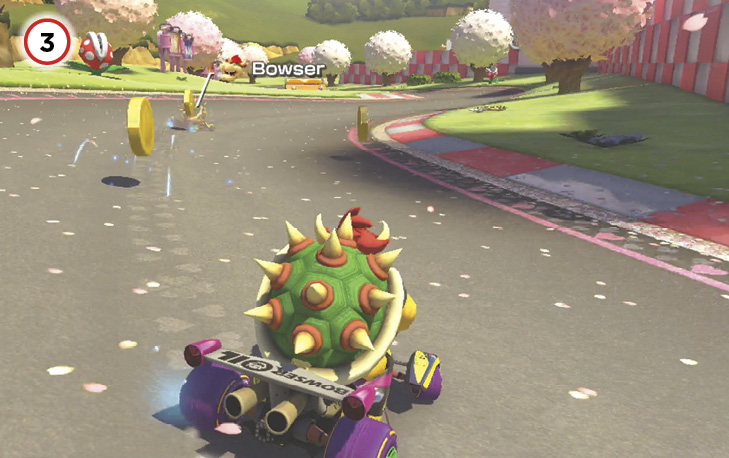
The hairpin turn after the first three Coins leads to another grouping of three Coins. Stay on the inside, and collect the lone Coin near the red-and-white markers.
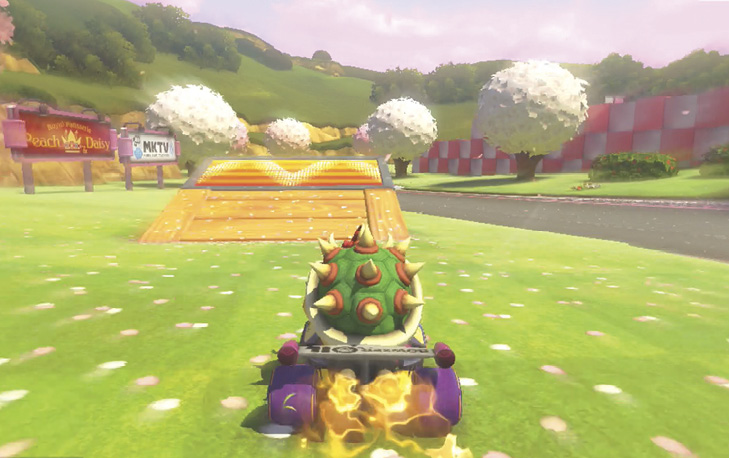
Another trio of Coins can be found just before the ramp on the left-hand side of the course. You can collect two of these Coins during Lap 1, then burn a Mushroom to take the ramp and cut a portion of the course. However, this isn’t necessarily an efficient use of your items. Save them for later!
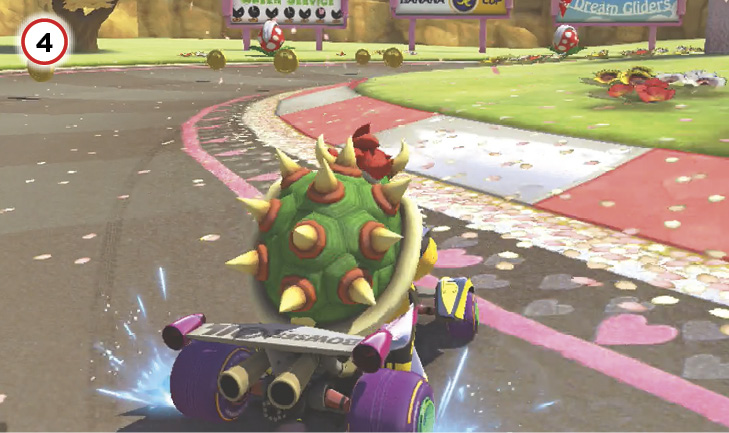
The turn leading toward the uphill jump has more Coins to collect, with a pair on the inside line being the ideal target.
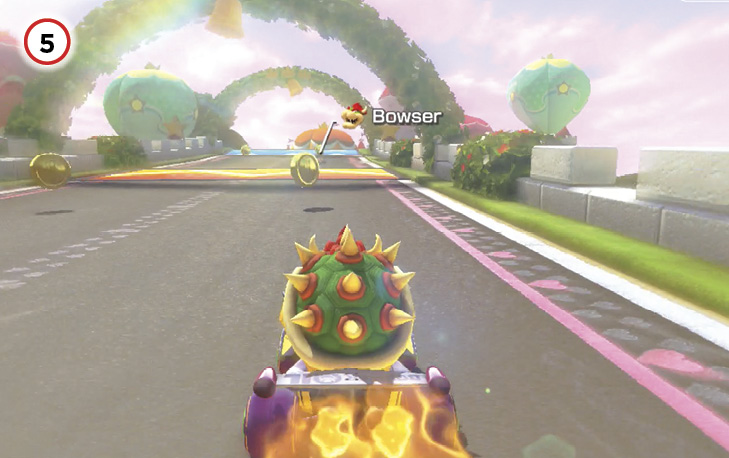
As you approach the jump itself, four Coins, lined up in two rows, can be found. If you’ve done well on your first lap, this is where you’ll have reached ten Coins.
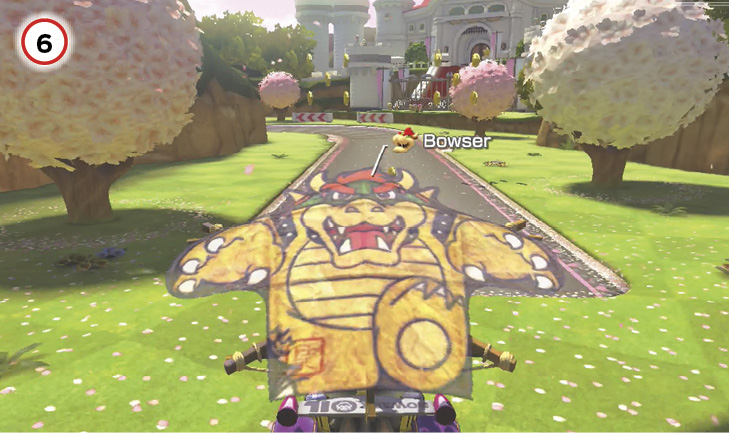
Crossing the lake, you can collect from other groupings of Coins if you still need to reach ten on Lap 1. After you land from the glider flight, cut the upcoming left turn by Mushrooming across the grass, as close to the stone wall as you can get away with!
As you work your way through this series of curves, don’t miss out on collecting the Coins while drifting and Mini-Turboing your way to the finish. As always, keep to the inside of the curves as best you can.
3DS DK Jungle
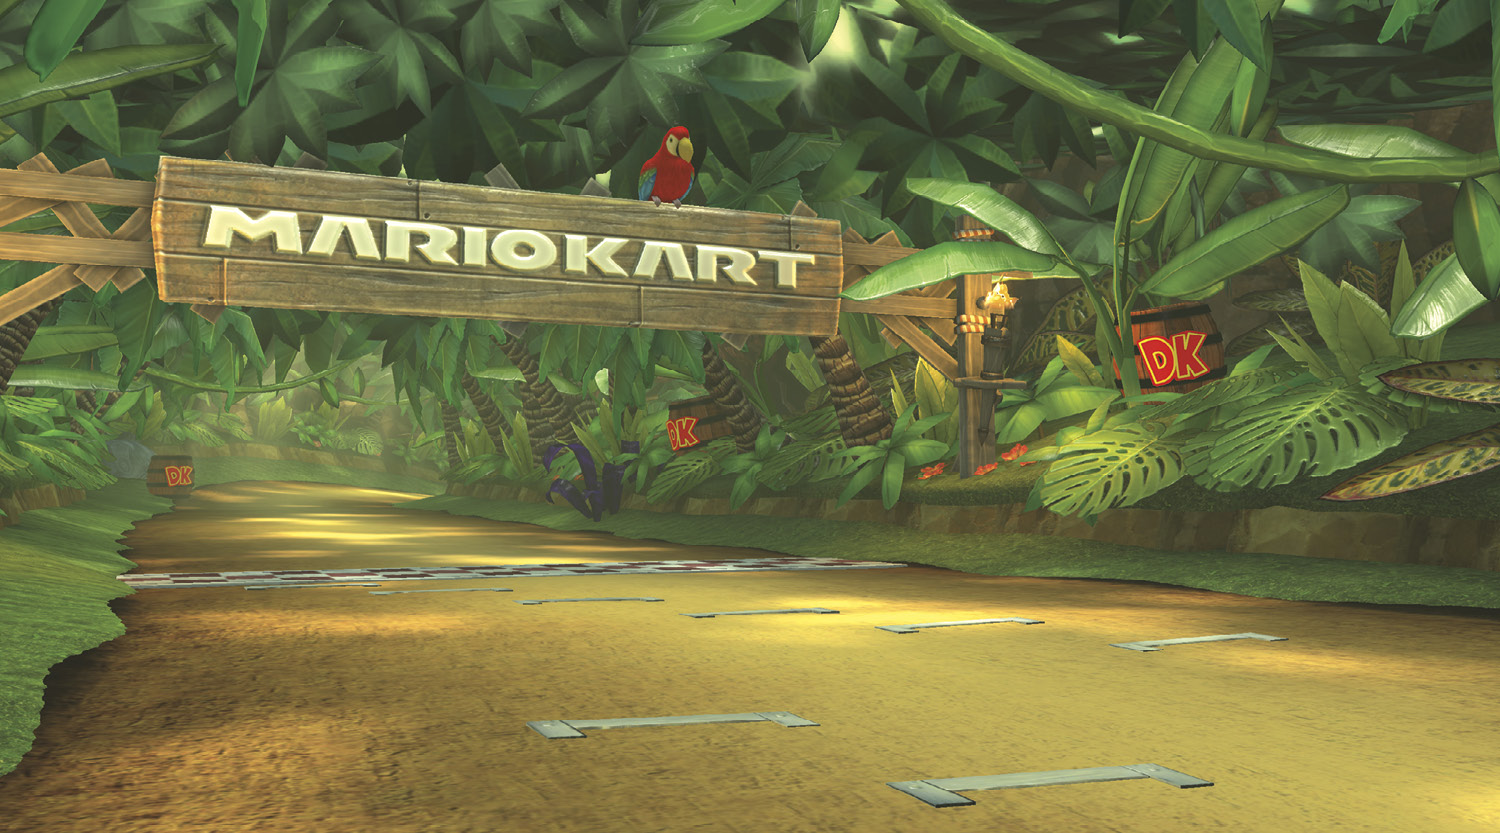
After fending off a maddened horde of Tikis, and driving off the Snowmads, Donkey Kong’s island is once again a venue in the classic cups. Racers will be fighting the course as much as they’ll be fighting each other as they tear through the jungle in search of victory!
Grand Prix
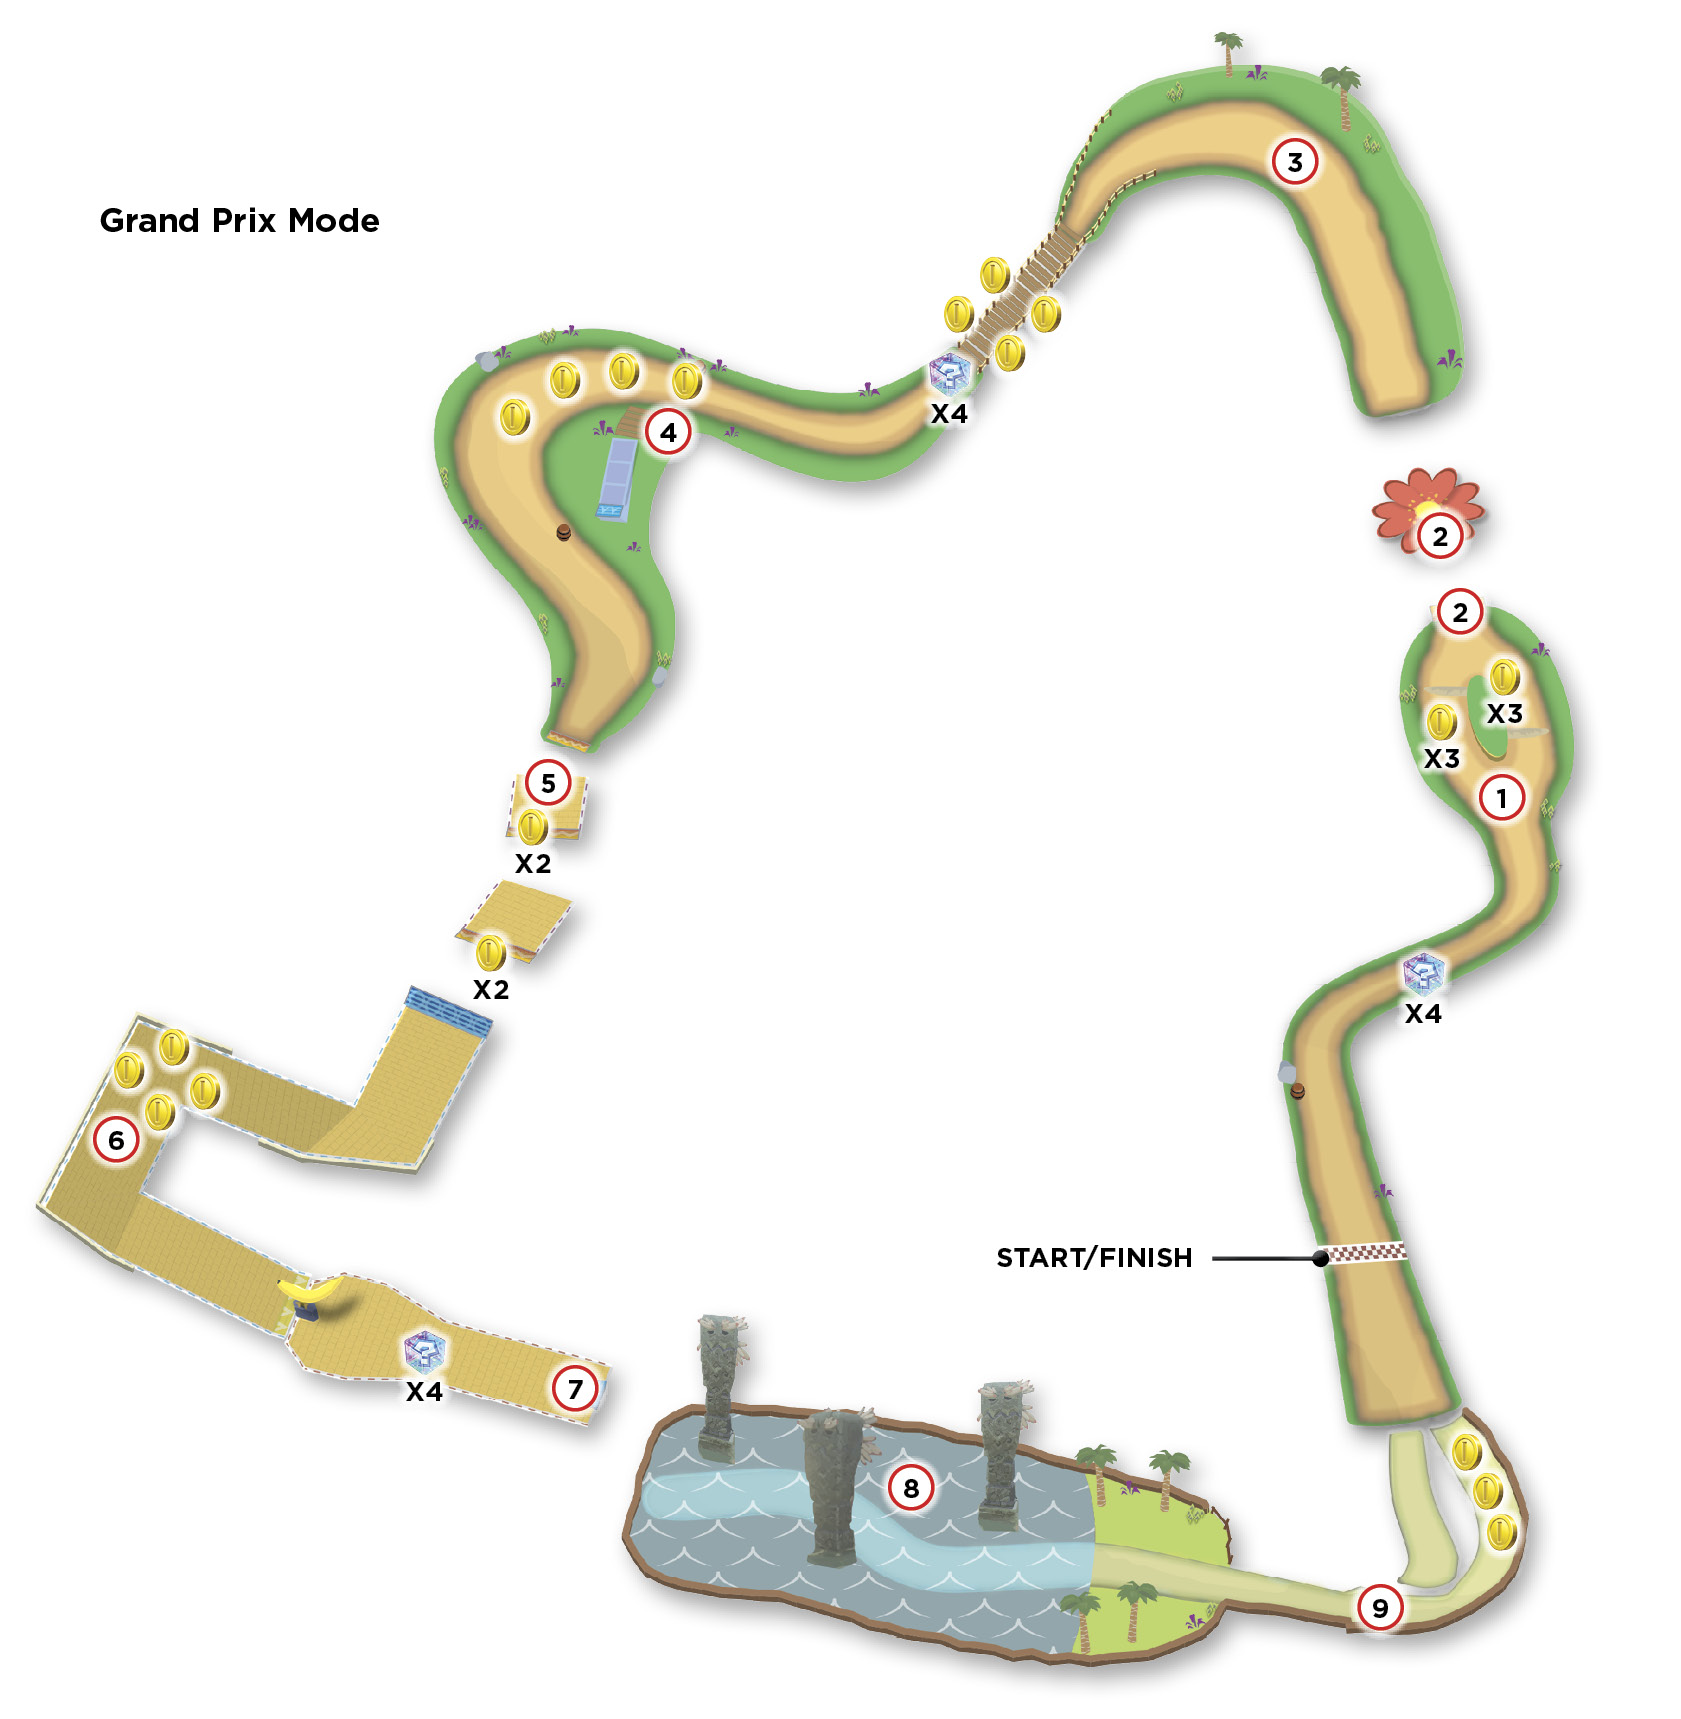
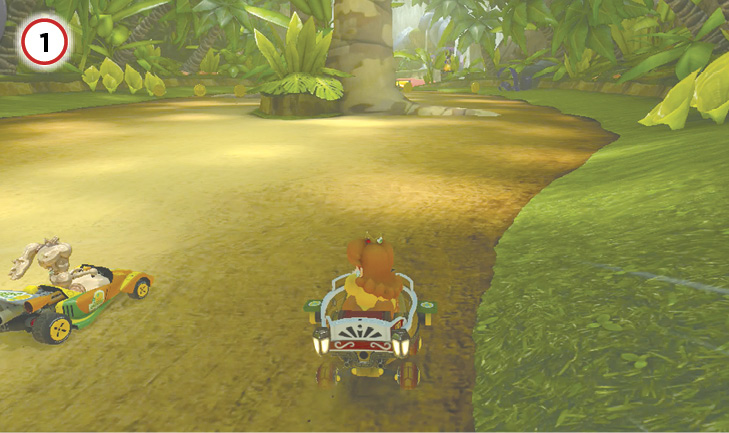
Soon after starting the race, you encounter a short split in the track. Tree roots have grown across the track and can be Jump Boosted for extra speed. Don’t miss out on collecting Coins from either route!
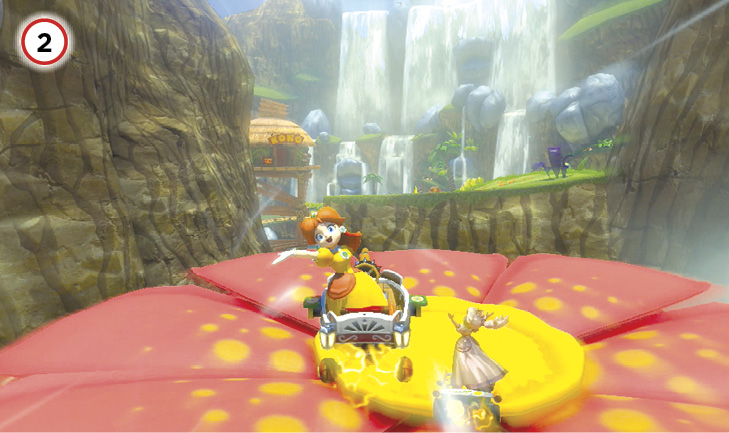
Right after the split rejoins, a dash panel ramp sends you flying onto a bounce pad, which then sends you onto the next portion of the course. Make sure to trigger Jump Boosts on both the ramp and the bounce pad!
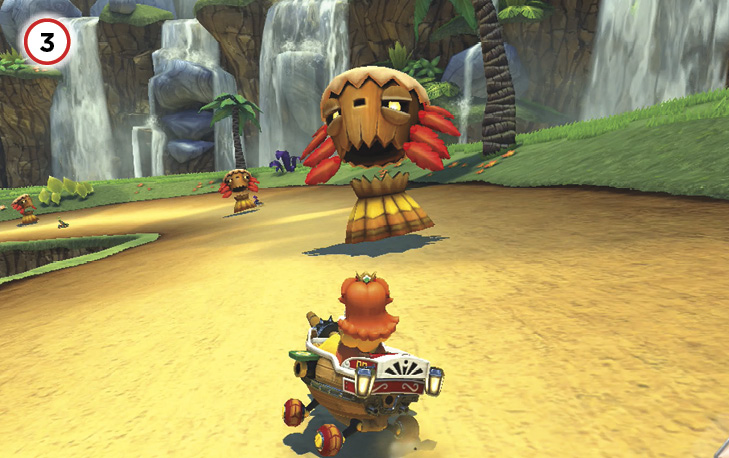
This stretch of the track is guarded by three Tiki Goons. You can defeat the Tiki Goons with various items if you have them at your disposal, but it’s best to avoid the Tiki Goons entirely and save any items you have for other racers!
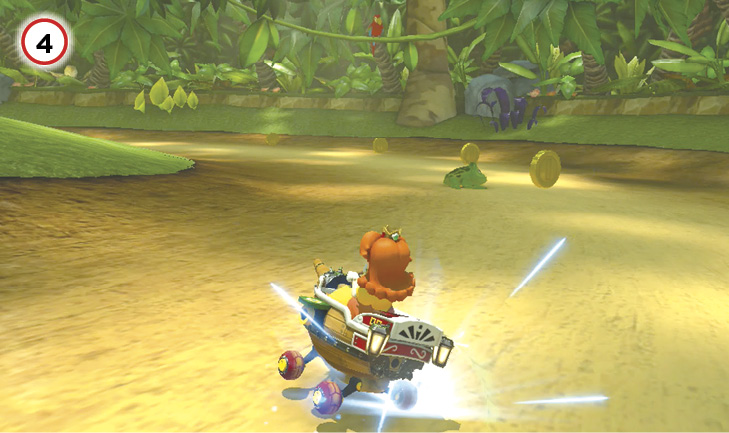
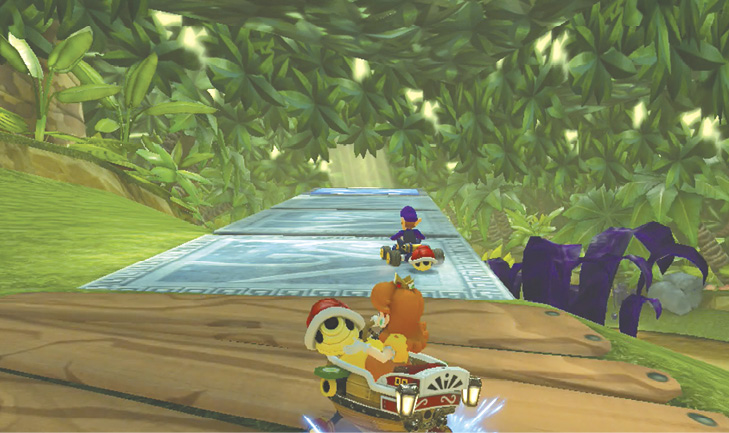
After crossing the bridge, you can choose to stick to the track and drift through the oncoming left turn, collecting Coins and avoiding the Frogoons on the road. Alternatively, if you cut this turn early and follow the stone ramp to the left of this part of the track, you can Jump Boost from a glide ramp and pick up some speed.
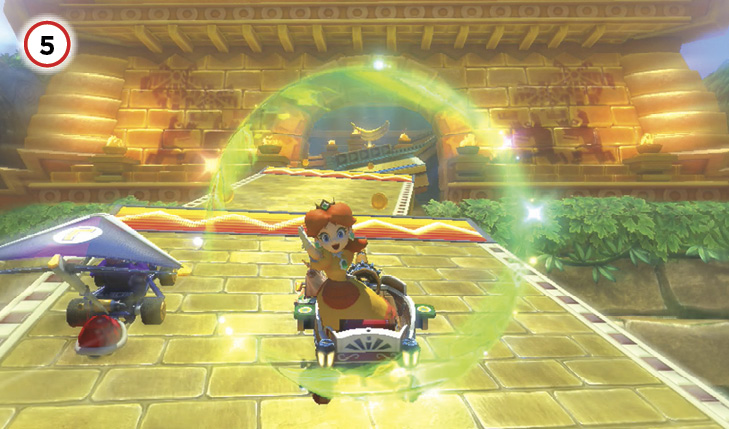
If you’ve chosen the path with the glide ramp, the upcoming three consecutive dash panel ramps can extend your flight if you properly Jump Boost from each ramp. However, it is somewhat easier to collect the Coins on these ramps if you aren’t gliding.
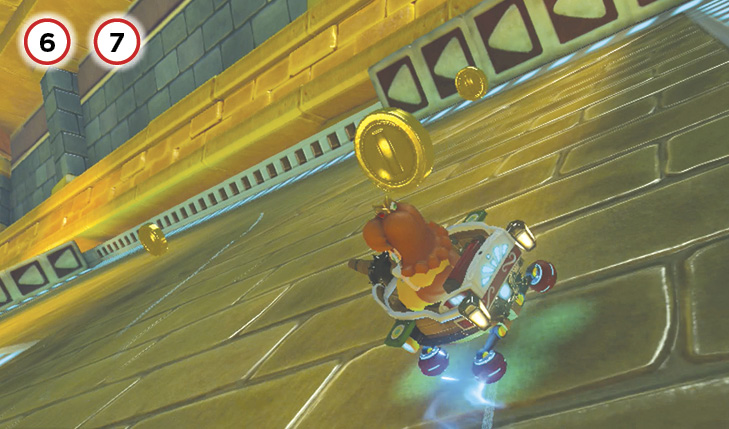
Stick to the inside of this hairpin turn to continue collecting Coins. Don’t forget to Jump Boost off the upcoming ramps! A particularly mean thing to do is to set Bananas on the upcoming glide ramp, as it gives other racers very little room to maneuver around them.
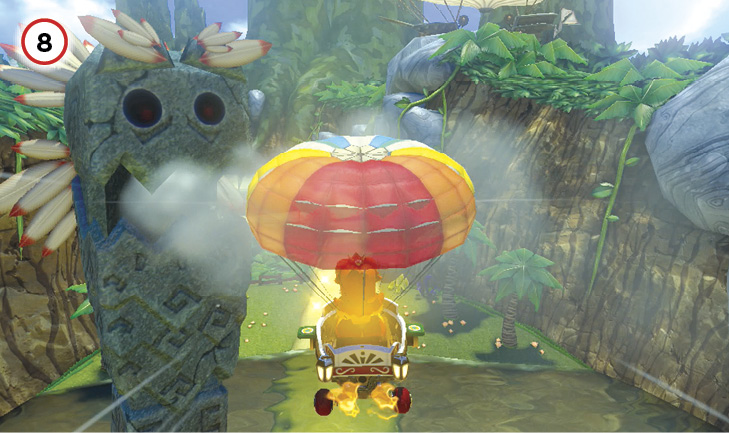
The Screaming Pillars blow large gusts of wind that can slow your progress across this chasm. Falling into the water far below is not a winning option, so try to make it to the track on the far side!
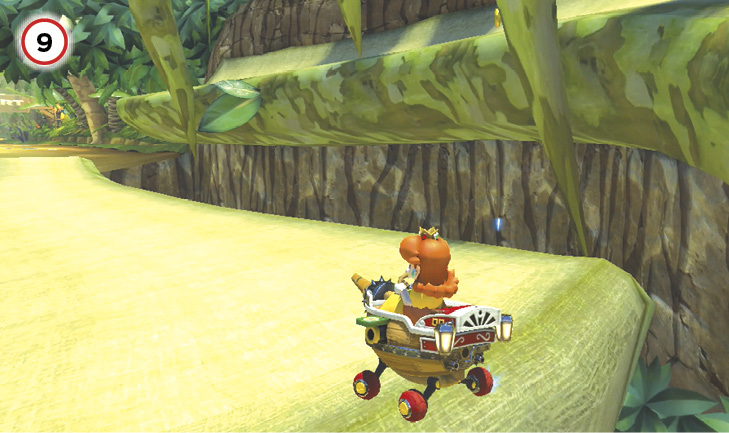
You have one last split in the track to negotiate. Following the main course on the upper path will take you through some additional Coins. However, the faster route is to cross the gap to the left of where you land from your glider flight. The short track here puts you on a straight line to the finish! Jump Boost off the ramps on this lower route to keep up your speed.
Time Trial
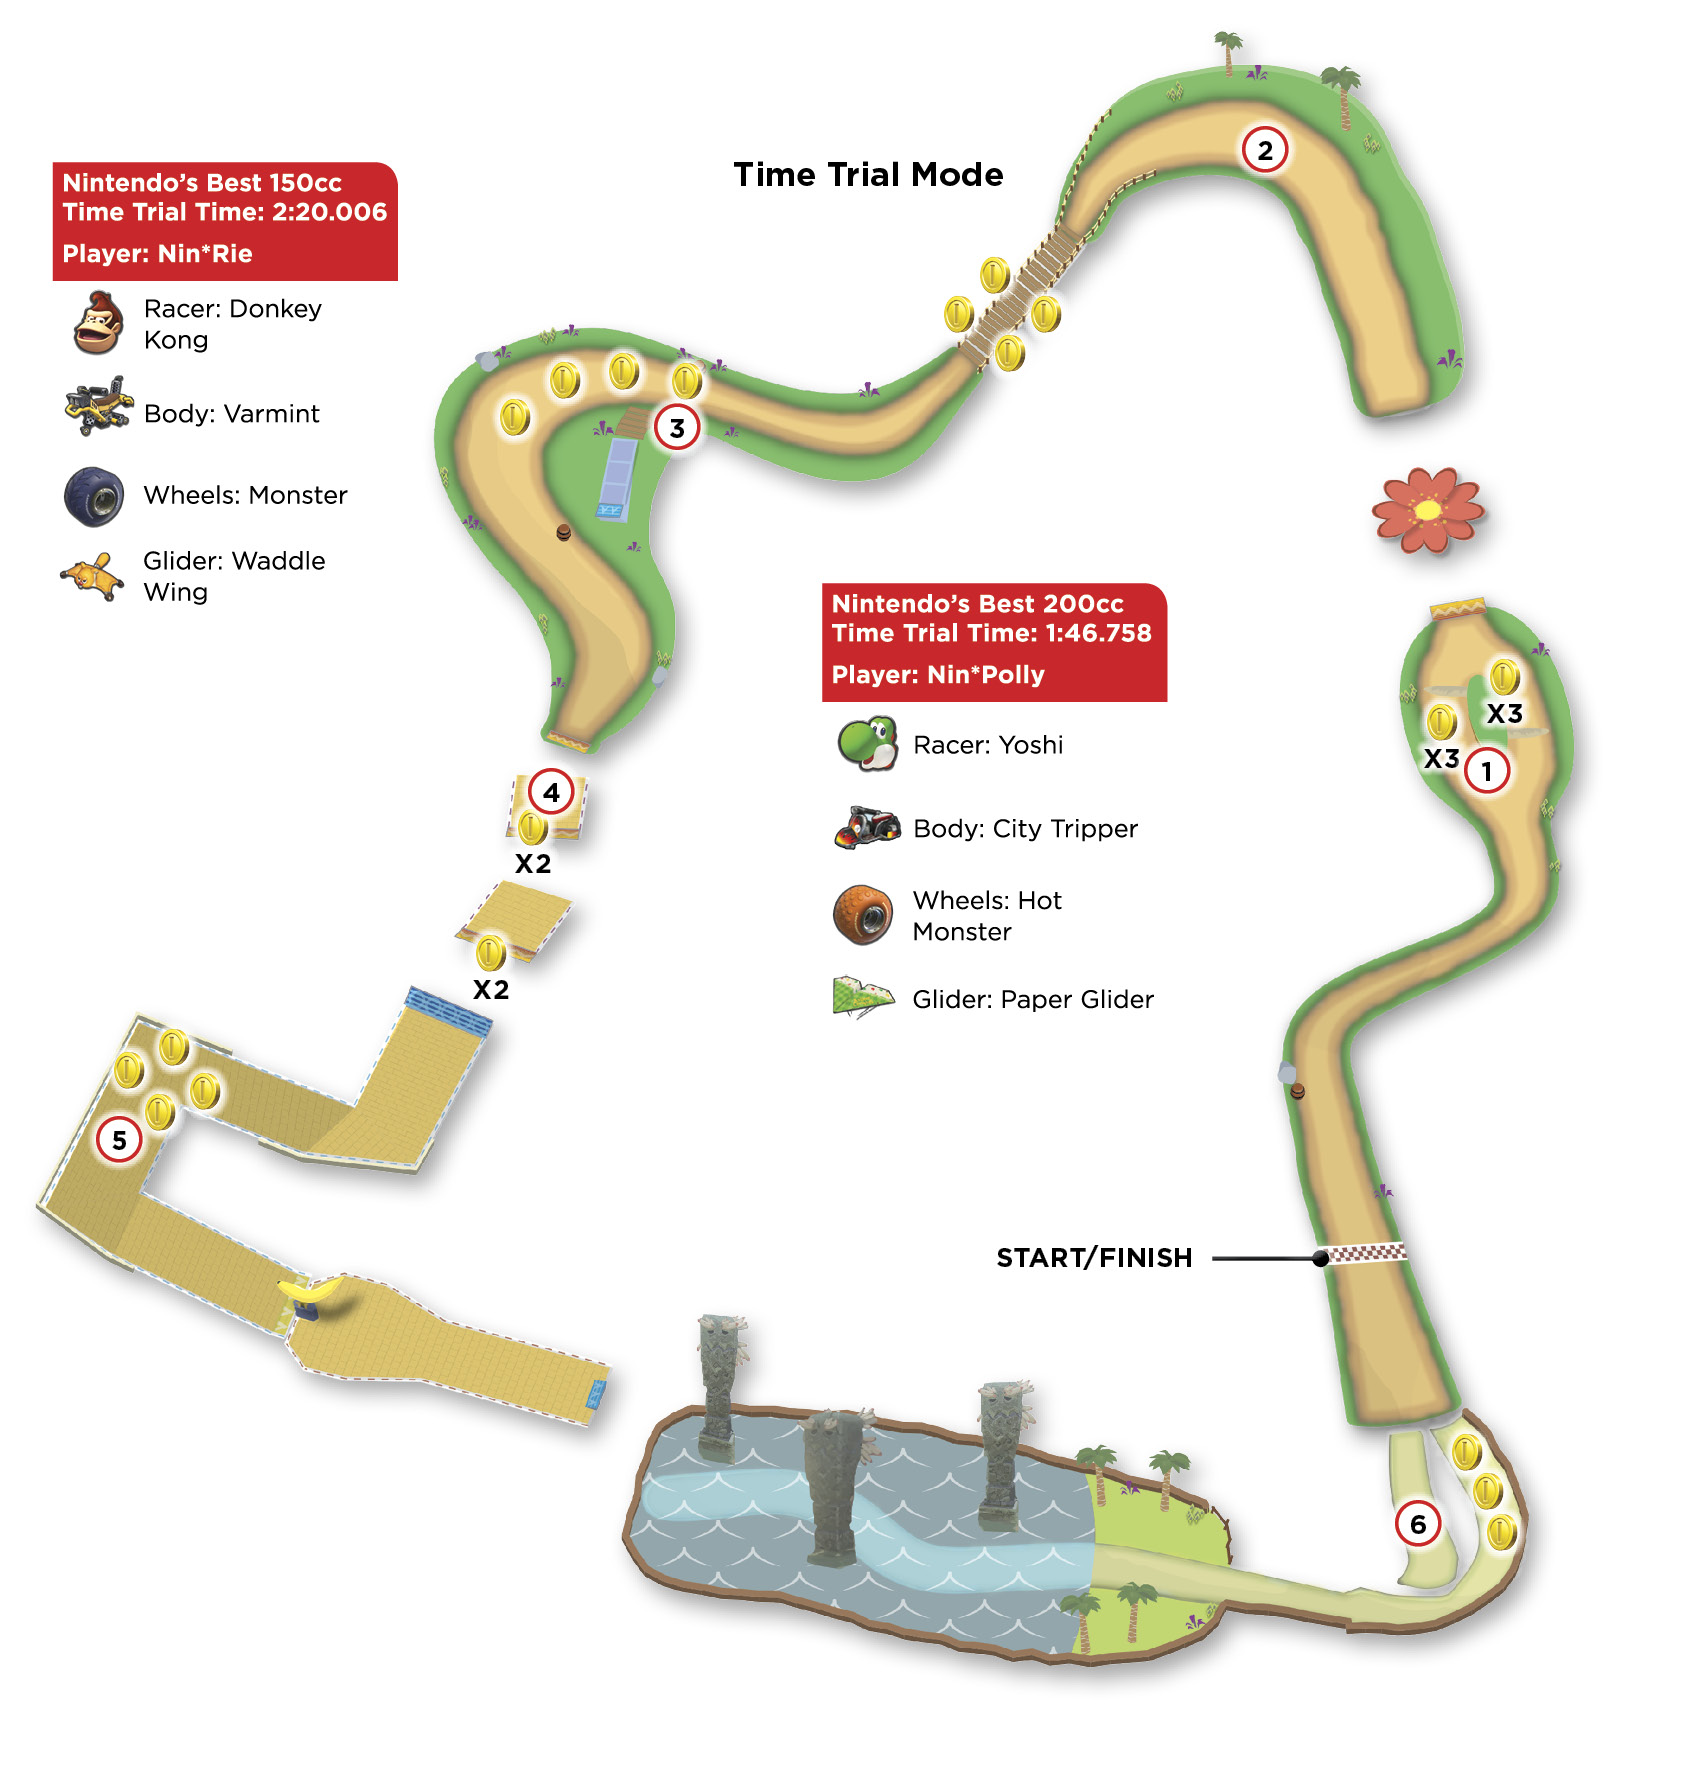
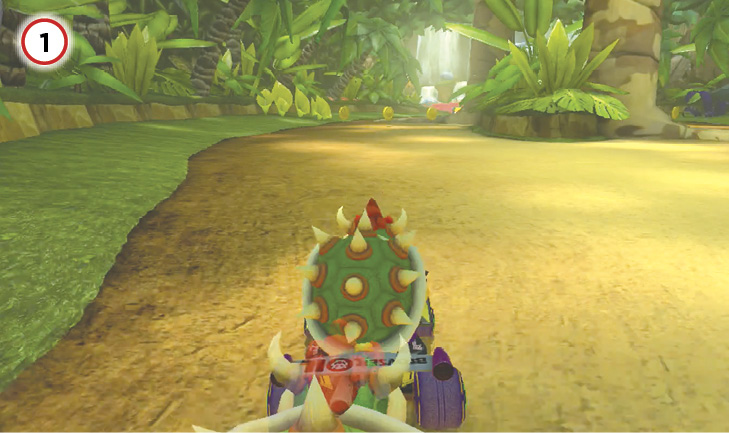
When you get to the first split in the track, take the left side. It’s a slightly more direct route to the dash panel ramp and bounce pad. Don’t forget to collect a Coin here for each lap, and make sure to Jump Boost off the tree root and the upcoming jumps.
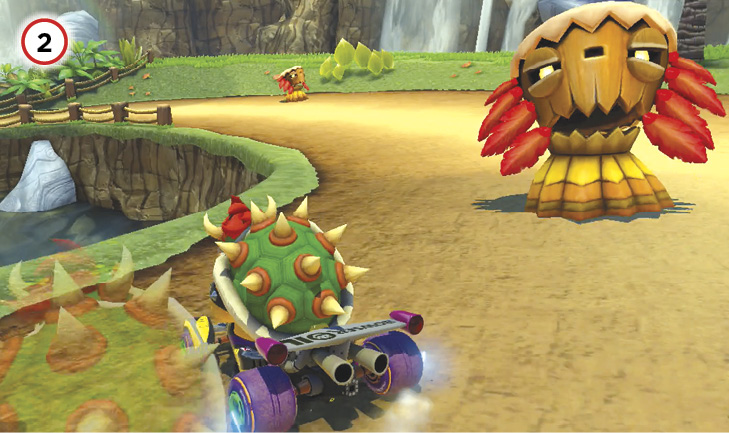
Stick to the left side of the track as best you can, drifting past the Tiki Goons. When you get to the bridge, collect two of the Coins. By Lap 3, no Coins should remain on this bridge!
You have a choice to make here: take the shortcut of the glide ramp, or stick to the ground level and collect the four Coins while avoiding the Frogoons. You can also try to cut this corner by using a Mushroom to cross the grass between the inside wall and the stone ramp. For the last of these options, trigger the Mushroom as you cross onto the grass to avoid launching into the air.
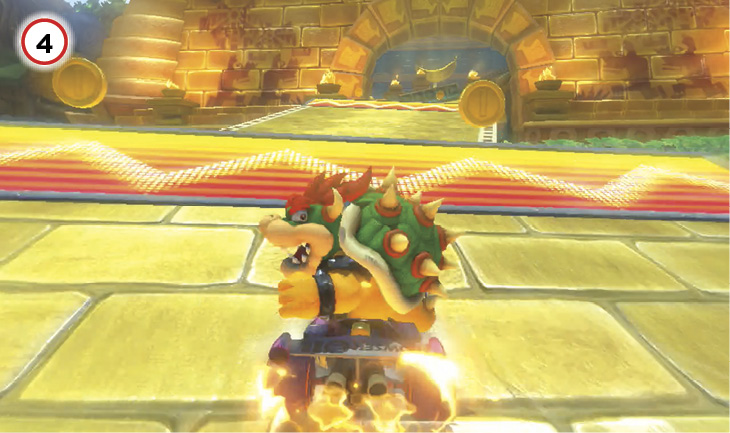
When crossing the multiple dash panel ramp jumps, you can collect two Coins during your first two laps, if you do this right. Jump Boost off every ramp!
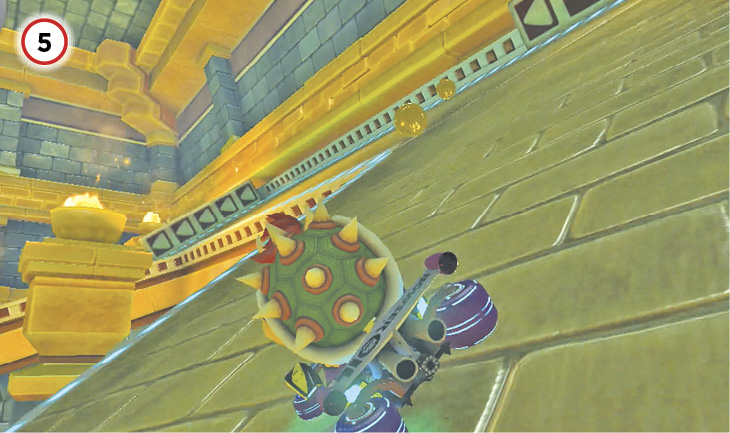
The antigravity hairpin turn has two Coins you can pick up on the inside. Ideally you ought to be at seven Coins before you cross the Screaming Pillar chasm on your first lap.
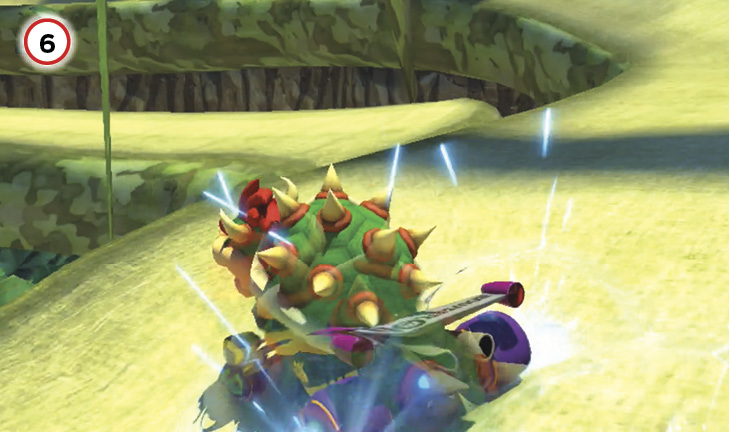
While it hurts to not have ten Coins by the end of Lap 1, it’s best to take the shortcut as soon as you land from the glider flight. Try to get a Mini-Turbo drifting across this shortcut, but you can also use a Mushroom here to keep up your speed.