
Mario Kart 8 Deluxe Guide The Tracks
Crossing Cup
GCN Baby Park

The simplest track in Mario Kart 8 Deluxe is a wide oval surrounded by colorful toddler amusements. Two straightaways connect two long, gentle curves, allowing for maximum speed, drifting, and item mayhem. Because the course is so short compared to other tracks, the lap counts are higher here.
Grand Prix
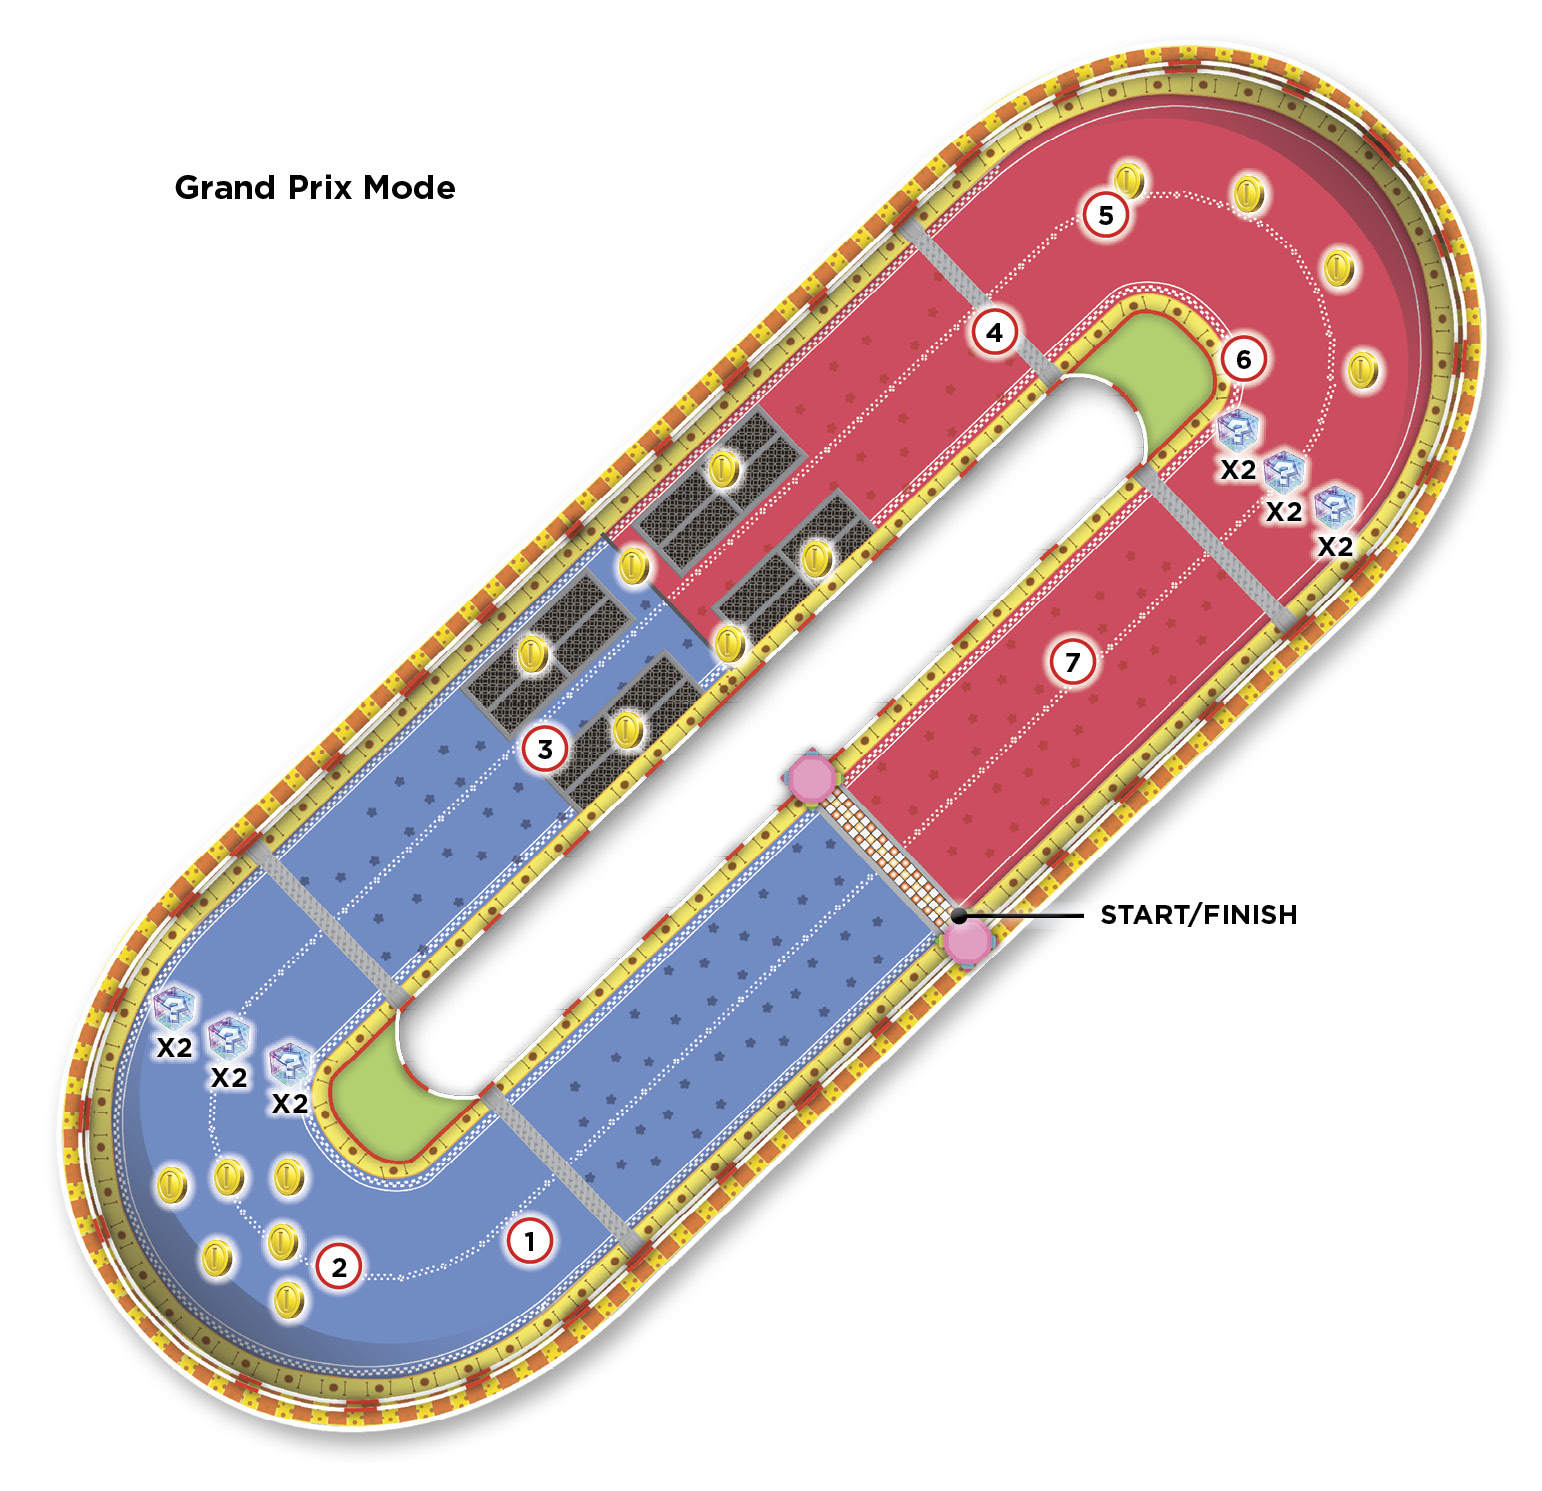
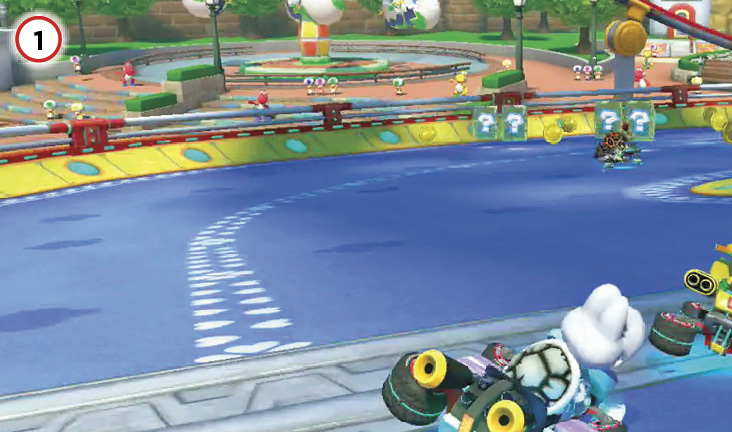
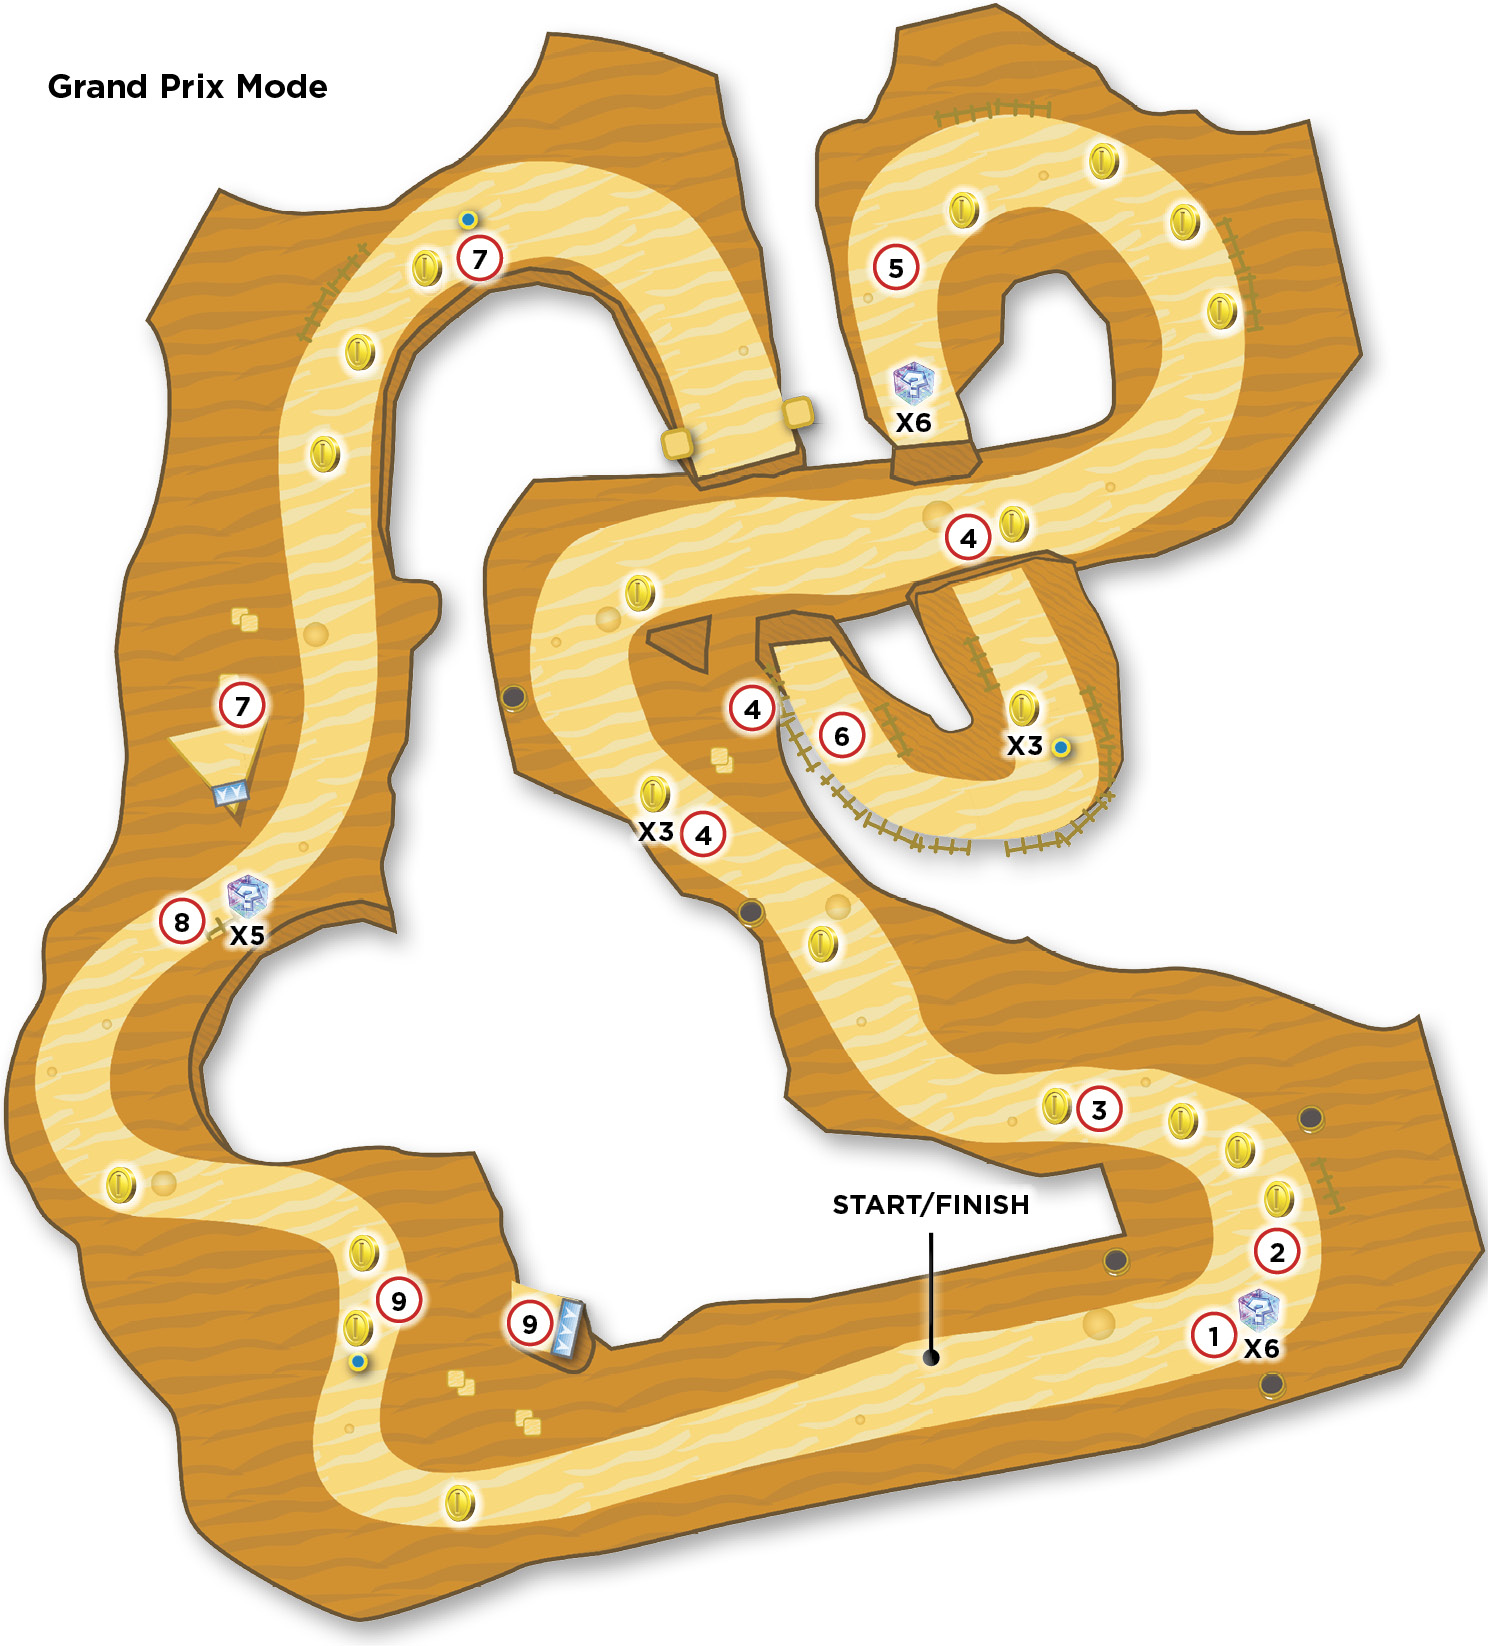
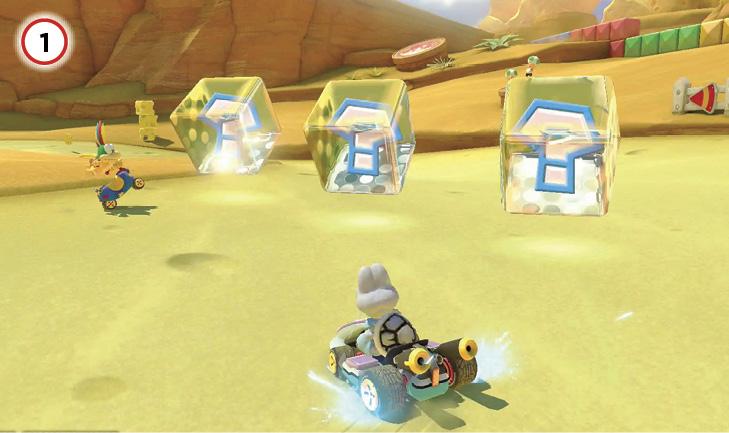
After coming off the starting grid (hopefully with a Rocket Start), the first decision involves how to take the first turn. If you’re at the head of the pack, drifting wide around the turn allows maximum collection of Coins, while building a Super Mini-Turbo boost toward the first straightaway.
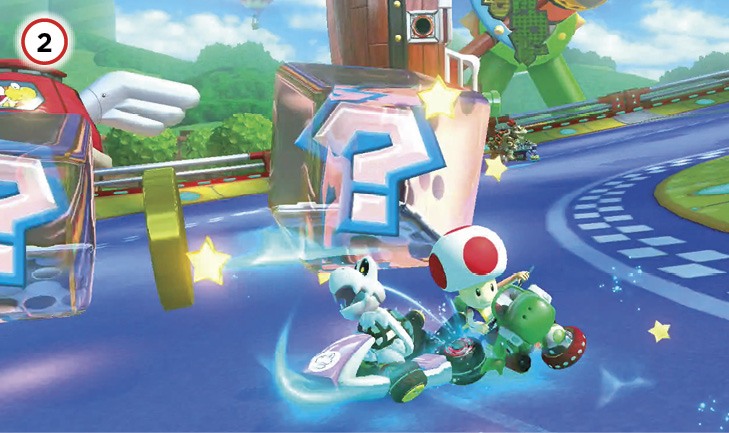
The Item Boxes in Baby Park move in pairs at different speeds around the track. By the time the racers are drifting into the first turn, the six Item Boxes in pairs round the corner, passing through the cluster of Coins. Afterward, as the race progresses, you’ll run into duos of Item Boxes traveling together continually.
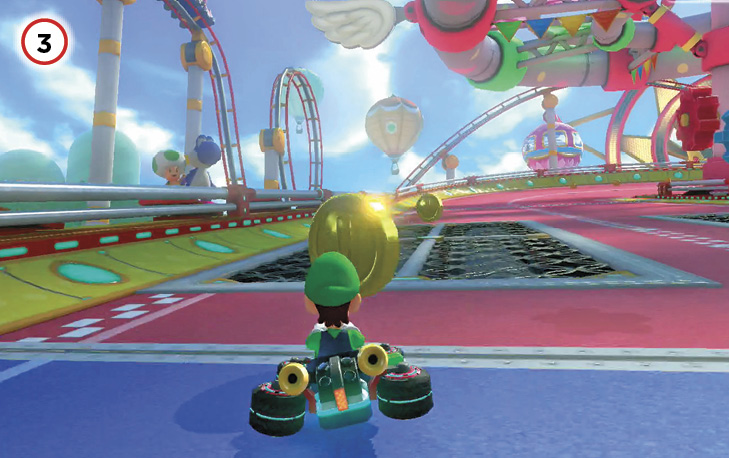
Down the straightaway opposite the starting grid, there are three Coins in a line down each side. Veer wide in one direction or another to build toward ten Coins in reserve. Apart from these Coins and those in the curves, more are sure to build up on the track as racers score item hits against each other, knocking Coins loose.
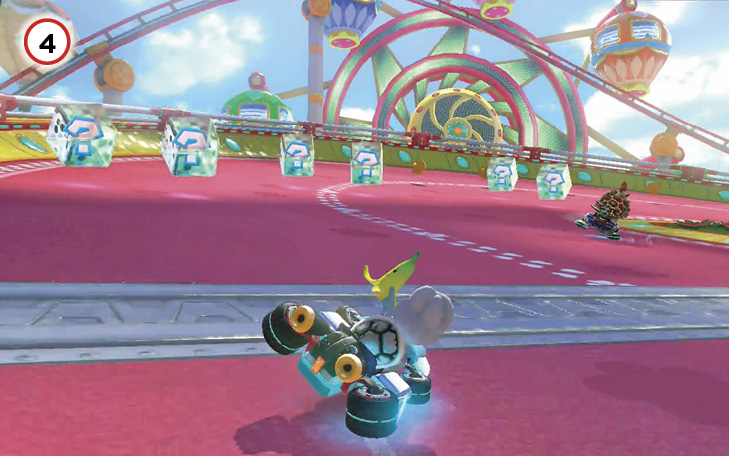
Approaching the second turn, another group of Item Boxes traveling in pairs rounds the corner. Replenish or bolster your items held with one of these boxes while preparing to tackle the curve.
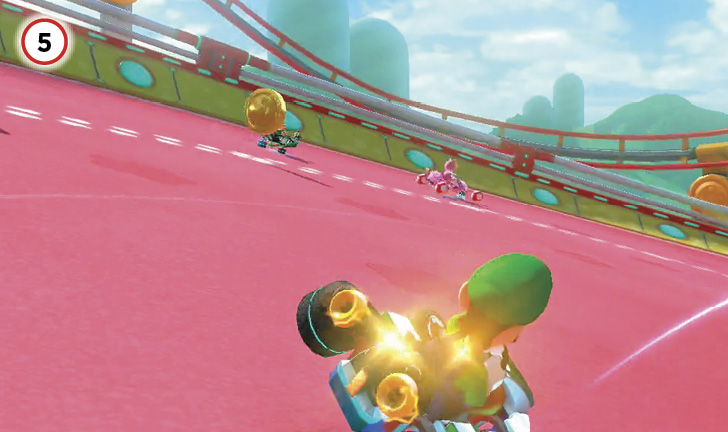
Four Coins are arranged around the curve in a path, allowing a racer traveling that line to greatly increase their kart’s top speed. When Coins are full, take a tighter path out of the turn toward the finish line.
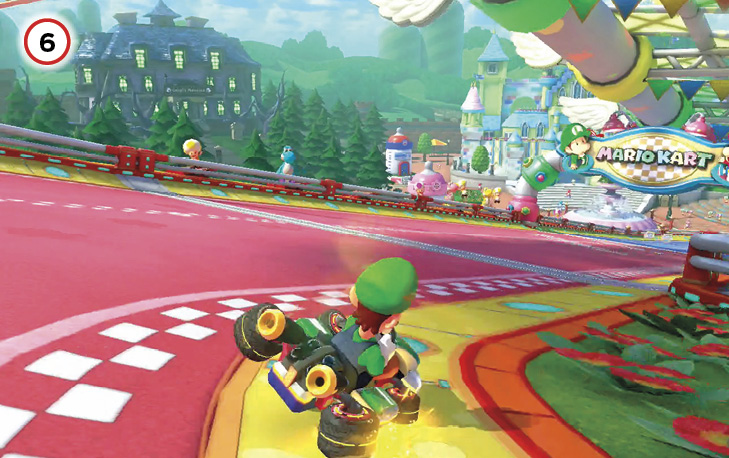
With a Mushroom in hand, a minor shortcut off-road is doable, allowing the sharpest possible turn around the bends and the straightest, fastest insertion back into the straights. Instead of drifting smoothly in the middle of the road through the Coins, start the drift earlier, turn sharper, then activate the Mushroom to blast right through the grass in the straightest line possible. Without a Mushroom, it’s safe to cut the turn as tight as the yellow banked curb, but not into the flowers and grass. However, at 200cc you can clip a portion of the grass and still maintain both momentum and drift buildup.
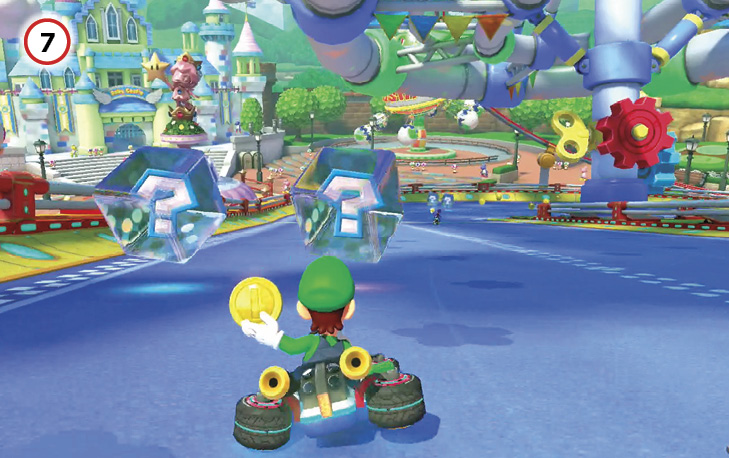
Encounters with Item Boxes after the first lap will be with a pair at a time, as the slightly different speeds of the pairs split up their original lines of six. In general, if you need an item ASAP, veer to the outside of the track, where the fastest pairs travel. If you’re stocked with an item or two already, you can take a tighter path around the inside of the track to slightly shorten the overall distance you have to travel.
Time Trial
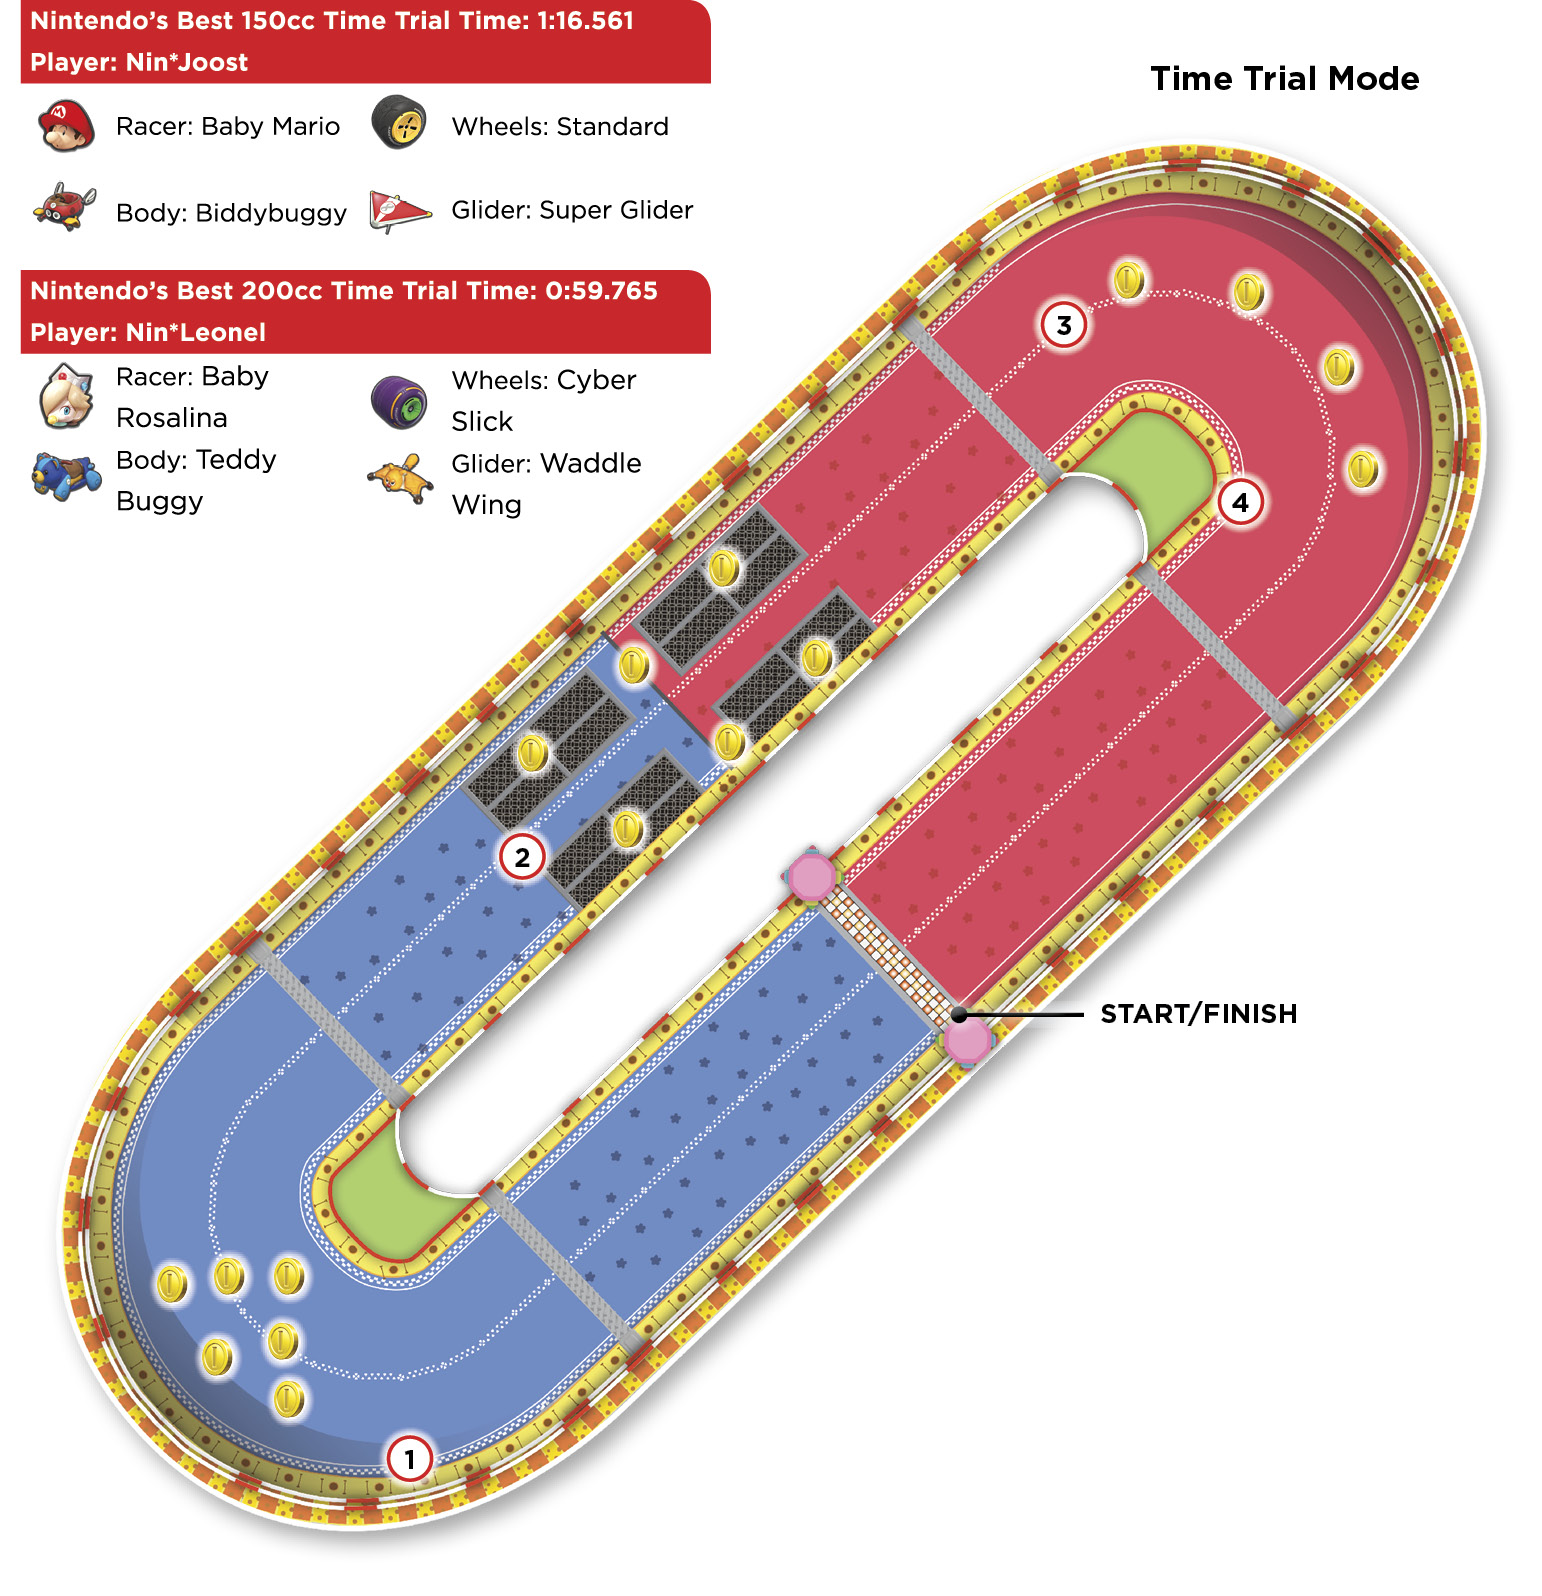
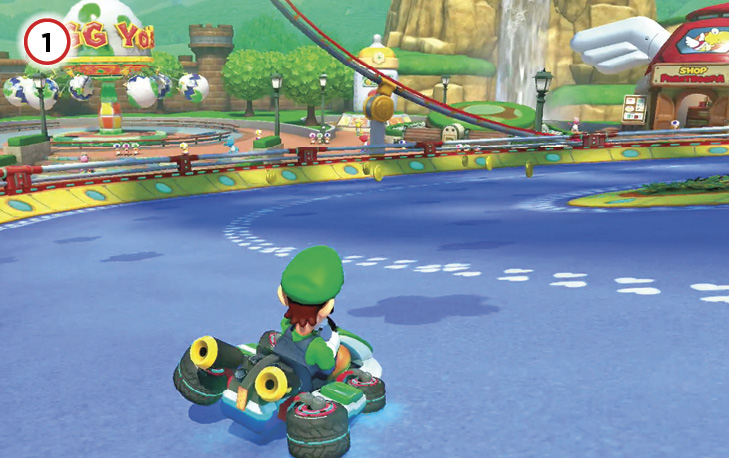
As usual during Time Trial, earlier laps should focus on maxing out Coins at ten while racing cleanly, and later laps can be devoted to blasting through shortcuts with Mushrooms. Baby Park races last for seven laps instead of three, though, so the extremely loose guideline of “one Mushroom per lap” that’s usually applied to Time Trials doesn’t apply here.
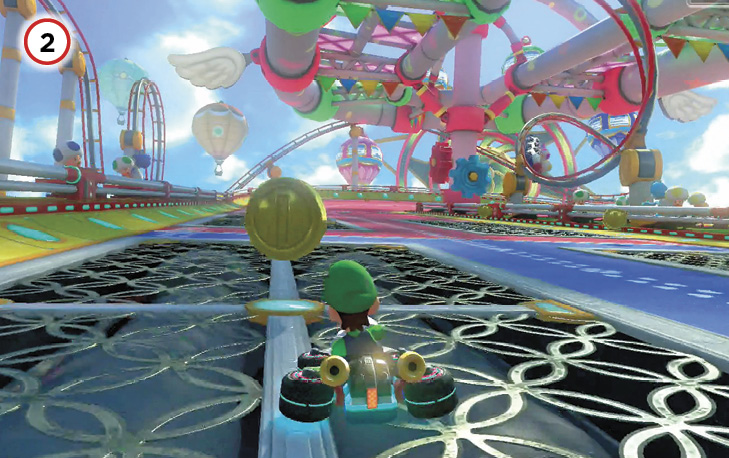
Collecting three Coins up either side of this straightaway will put you at six Coins total if you also swept up three Coins going wide in the first turn.
The four Coins around this turn can put you at ten total after one lap, with six laps to go.

On later laps, with Coins filled up, take this turn much tighter, either cutting into the yellow curb (which doesn’t slow vehicles down) or cutting even more sharply through the flowers and grass with a Mushroom.
GBA Cheese Land

Crossing Cup’s second course is held on a paved and presumably delicious cheese landscape. The course is lined in most places with big expanses of rough terrain waiting to bog vehicles down in grainier cheese sand, with jumps, secrets, and obstacles sprinkled liberally along the route.
Grand Prix
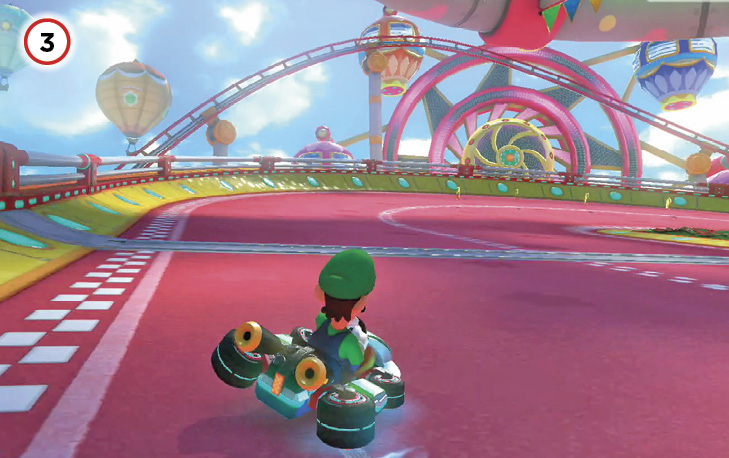
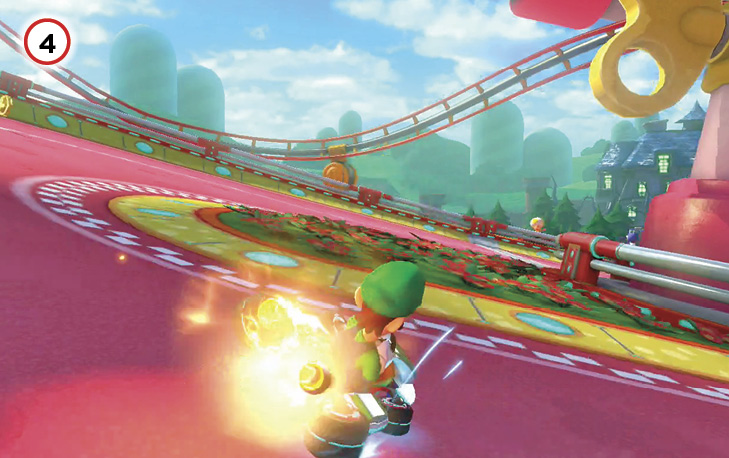
Your first shot at items comes right after the start of the race, heading into a drifting left turn. With all the sand on the edges of the course and several shortcuts, Mushrooms are especially useful when acquired.
Four Coins are spaced throughout the first hairpin turn, allowing you to build up max speed.
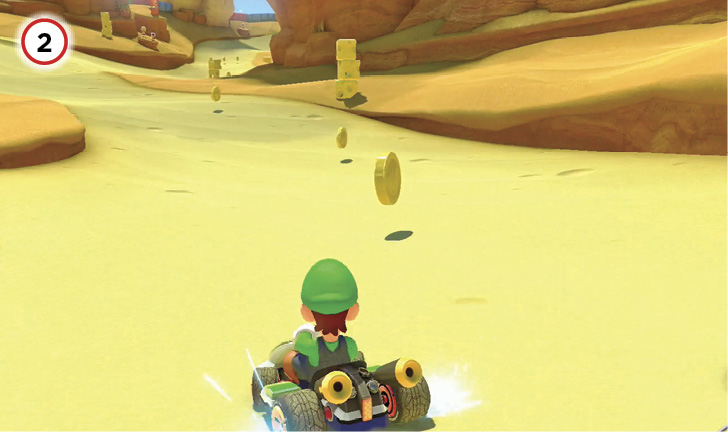
The fourth Coin along the turn is in a smooth cheese crater, and the Coin coming up ahead is too. The ramped walls of these concave craters will give vehicles a bit of lift as they drive up and out of craters, like driving up small ramps. With enough speed, this small jump allows for Jump Boost tricks, even just off the ground! This is especially true using drifting Mini-Turbos or Mushroom boosts in and out of cheese craters.

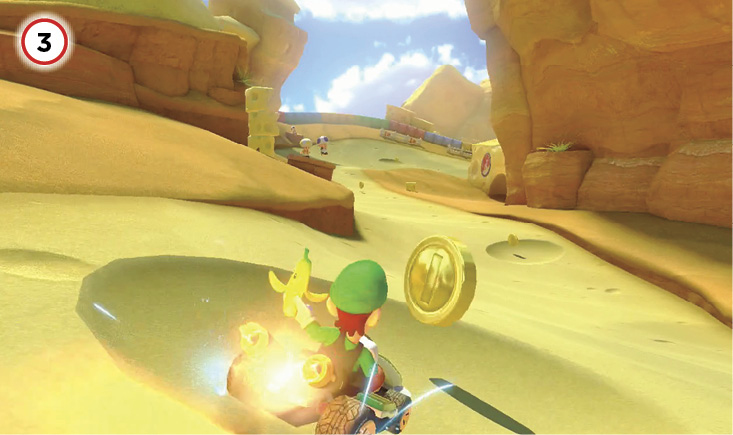
Three Coins laid across the road point the way to a shortcut. If you don’t have a Mushroom ready, then continue through, grabbing one of the Coins along the way. Prepare to turn right and navigate another two Coin craters.
But if you have a Mushroom ready, veer off-road to the right before the three Coins, activating the Mushroom and powering through the sand underneath a cheese arch. Be ready to turn right after the arch and return to the road.
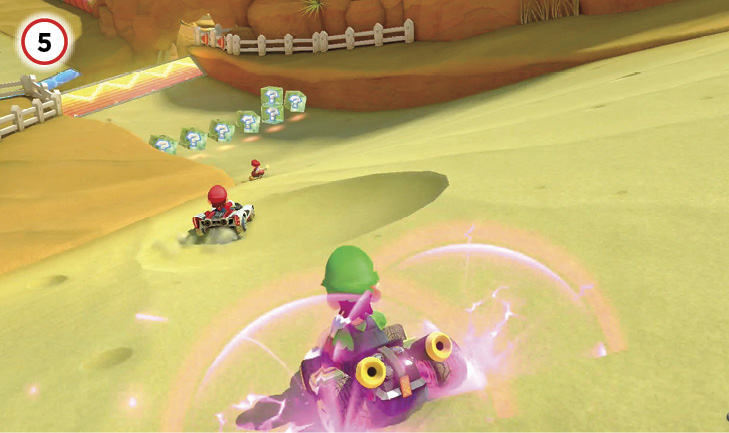
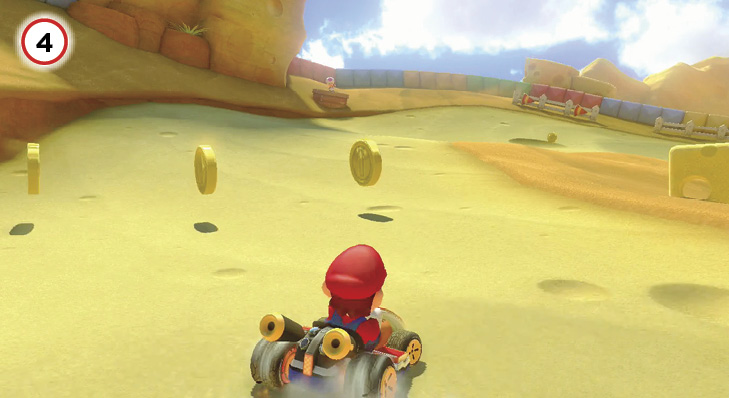
This curling turn goes on so long that it’s easy to build to a purple-sparking Ultra Mini-Turbo boost by drifting all the way through. With a little more control along the outside of the turn, four Coins can be collected leading into the jump ahead. Some Item Boxes just before the ramp enable item replenishment heading into the next segment.
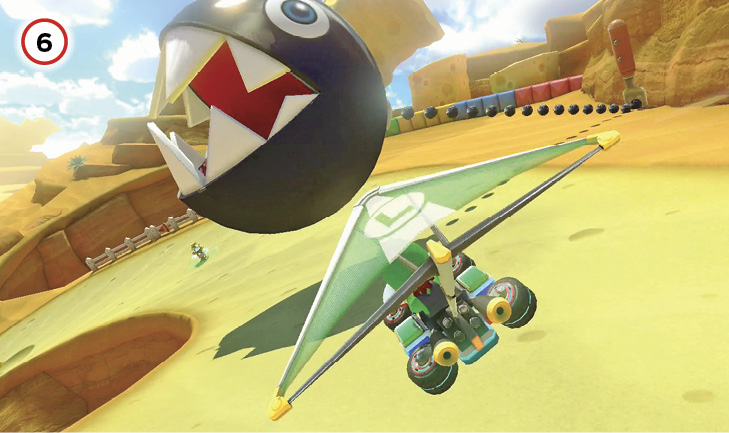
Landing from the ramp crosses an antigravity panel and puts all vehicles into antigravity mode. A hairpin turn to the right lies ahead, with some Coins and a Spin Boost pillar. Just past the pillar, a ramp launches vehicles over the road below, and it’s glider time. A Chain Chomp past the gap greets vehicles coming in for a landing. Be ready to veer left out of its reach while continuing to maintain altitude, or dive just under the Chain Chomp as it snaps at racers higher off the ground.
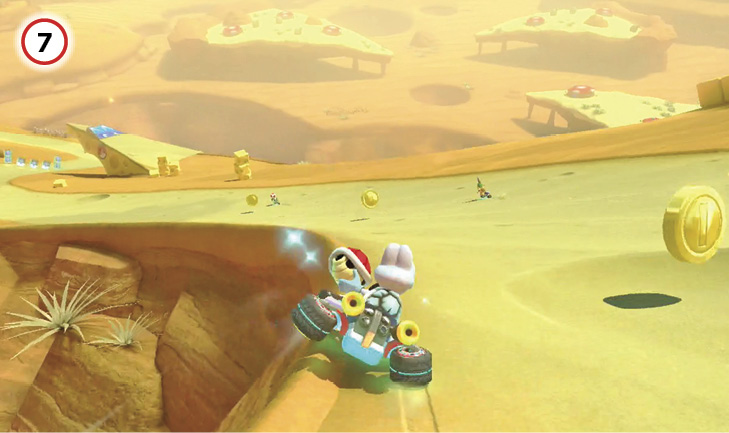
The left turn beyond the Chain Chomp doesn’t have protective walls on either side, so take care not to fall off. A Spin Boost pillar and the following cheese crater (holding a Coin) provide two chances for free speed boosts along this stretch. A ramp off-road to the right just past the Coins provides a soaring glider shortcut over the gap ahead, if a Mushroom is handy. Some tasty-looking chunks of cheese block the way, but they’re no match for a Mushroom boost!
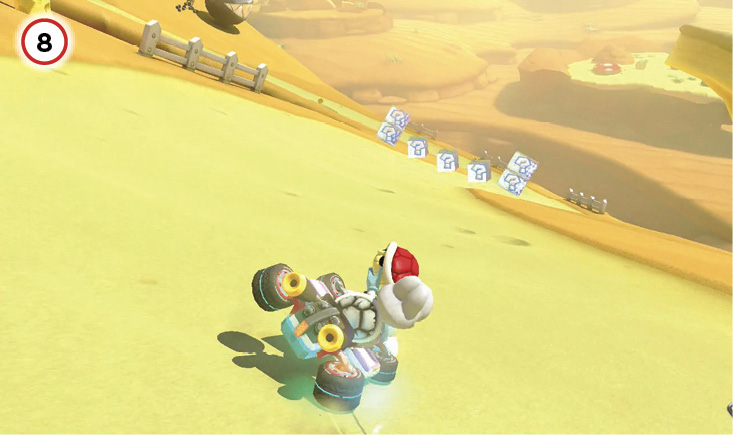
The twisting road ahead leading around the off-road ramp shortcut starts with some Item Boxes. Veer wide to either side of the road to claim the double Item Box, if possible. The Chain Chomp ahead will usually strike at ground level, so stay to the left of the road to assure safety.
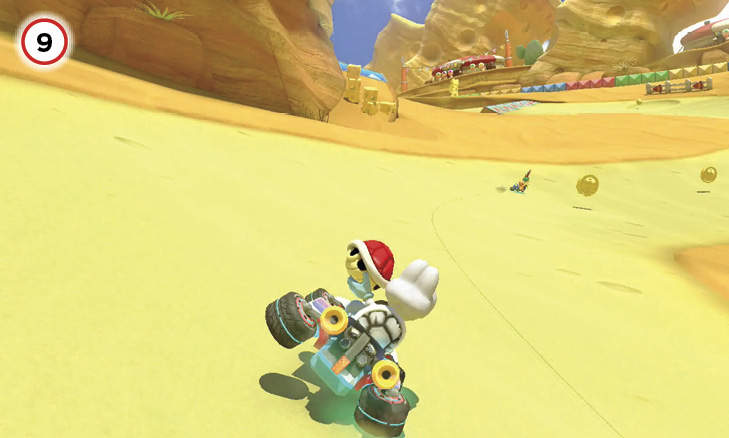
Straight ahead just past the Chain Chomp, more blocks of cheese barely disguise another off-road ramp shortcut. A Mushroom boost here will launch you over the sand and short hill ahead, closing in on the finish line via glider. When approaching this section fungus-free, you’ll have to navigate the final stretch of twisting road surrounded by speed-destroying sand. A final left turn leads to two ramps; antigravity mode finally shuts off after the second ramp. Jump Boost off each ramp on the way to the finish line.
Time Trial
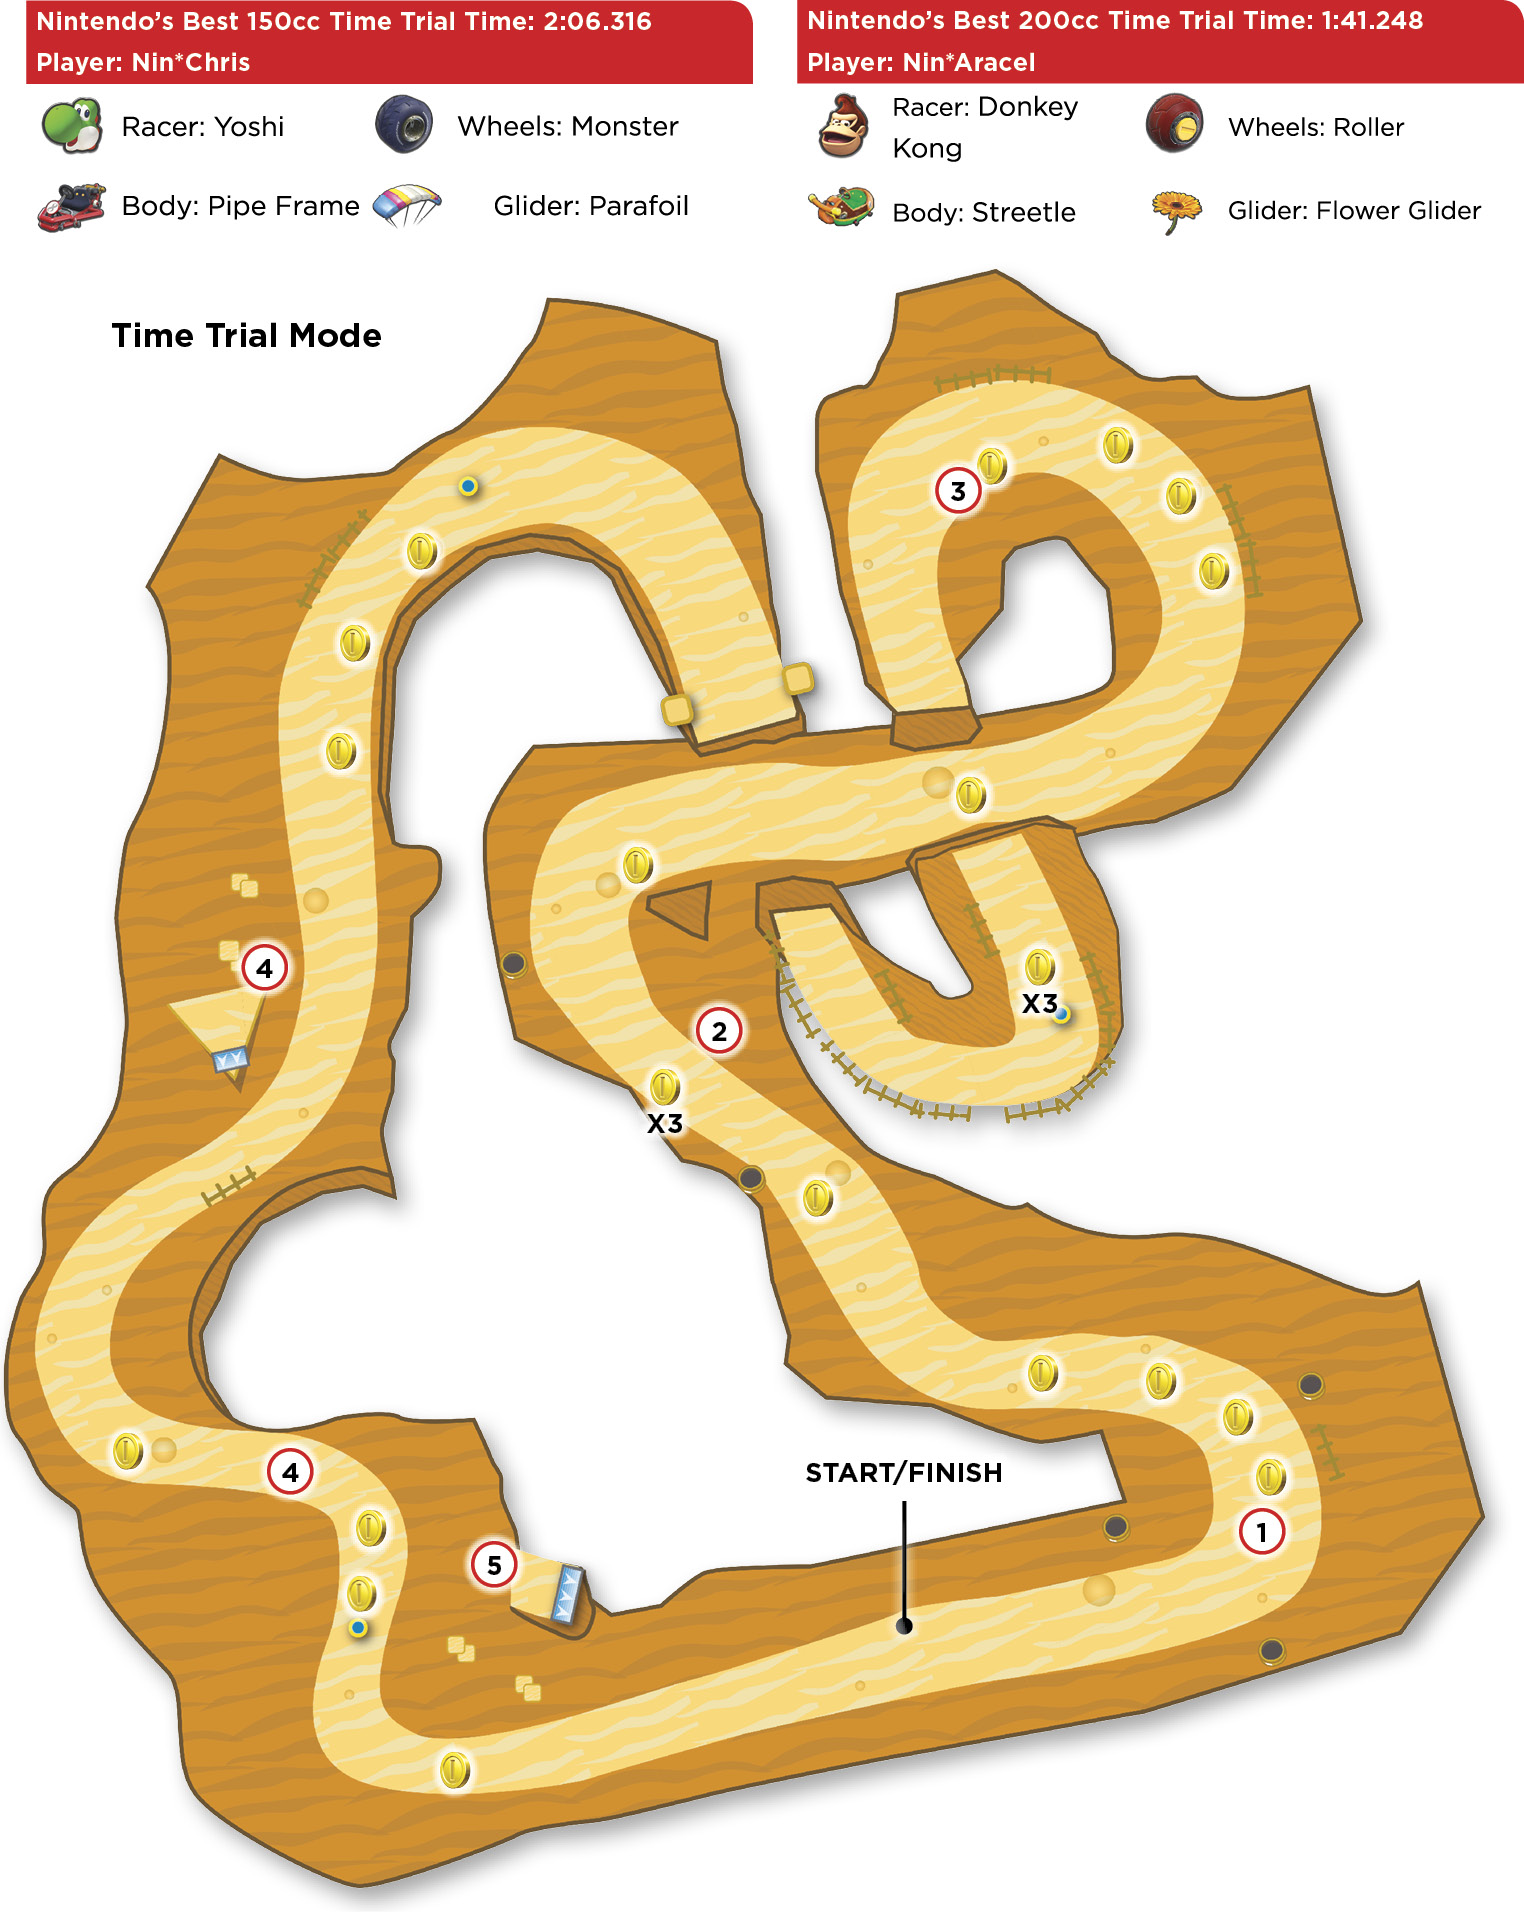
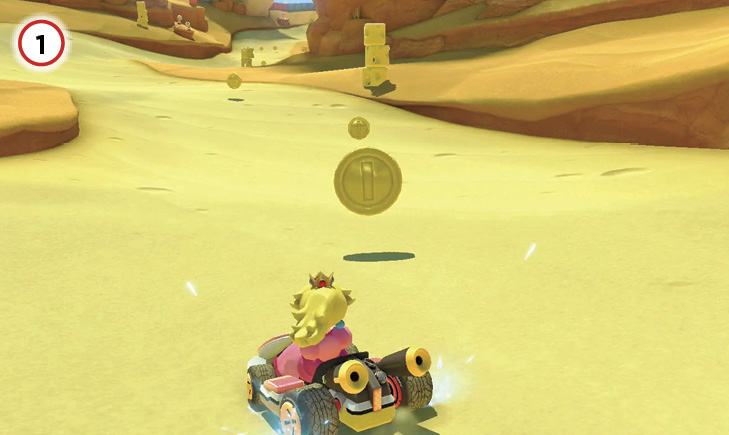
It’s important to collect as many Coins as possible on the first lap, starting with the four along the first turn.
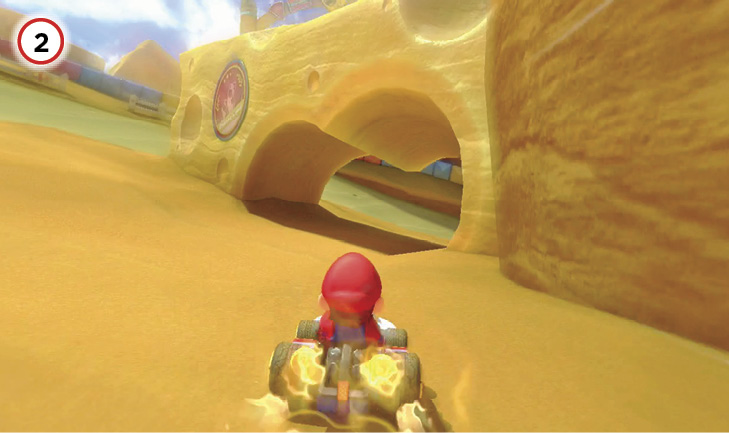
Following the road during the first lap allows the quickest collection of ten Coins and top speed. On later laps, you may choose to use a Mushroom to go off-road under the cheese arch to the right of the track.
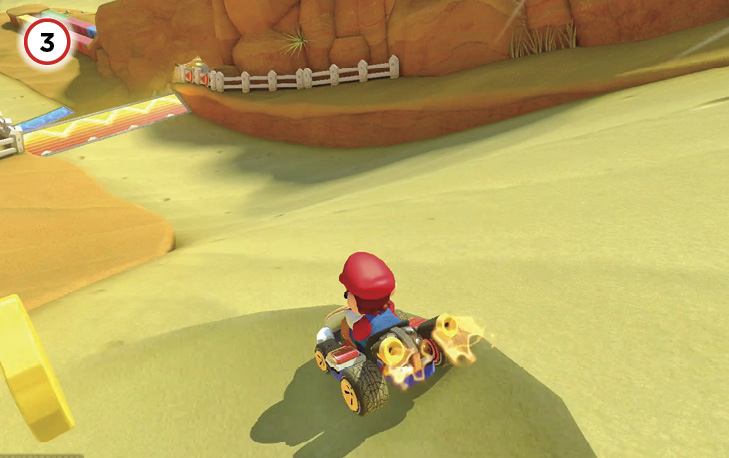

Drifting around the hairpin turn toward the jump into antigravity territory, it’s possible to arrive at ten Coins stocked. Going this fast, driving into cheese craters on the track usually gives you a chance to do a low-altitude Jump Boost driving back out. Still, even with so many opportunities to go fast, it’s crucial not to get greedy and end up sliding off the track and into the cheesy dirt. Any accidental off-road excursion or plunge off an unwalled section of track spells doom for a solid Time Trial attempt here.
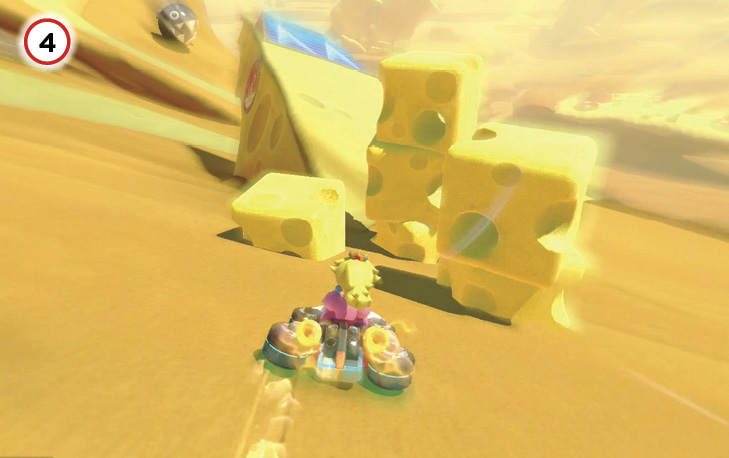

A Mushroom-fueled beeline for the ramp here allows you to skip a winding section of track ahead. The second Chain Chomp is entirely avoided, and the shortcut puts you on a direct path for the very next shortcut, if desired. Of the track’s three big Mushroom shortcuts, this is the most meaningful. It’s a good idea to spend one Mushroom per lap clearing this gap.
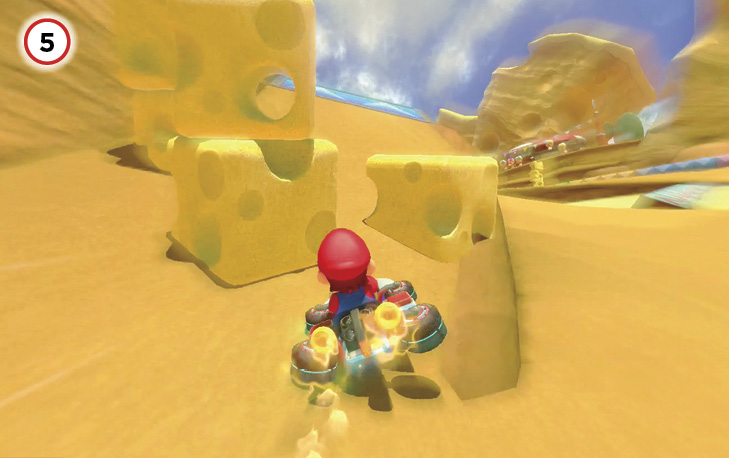

The last major shortcut in Cheese Land is a ramp found just after the second Chain Chomp. It’s to the left of the track, partially blocked by blocks of cheese. A Mushroom dash through the cheese and over the ramp can carry you clear over the finish line. If you opt not to jet over this shortcut, following the winding S-curve toward the finish provides several chances for Mini-Turbo drifts and Jump Boosts.
Wild Woods

This aptly named racing romp takes place winding through a Shy Guy tree city. Precarious driving over high-altitude, rickety wooden tracks gives way to a virtual flume ride downhill through rushing water. From the pond the water feeds into, an antigravity-enabled climb straight back up the trees completes the circuit.
Grand Prix
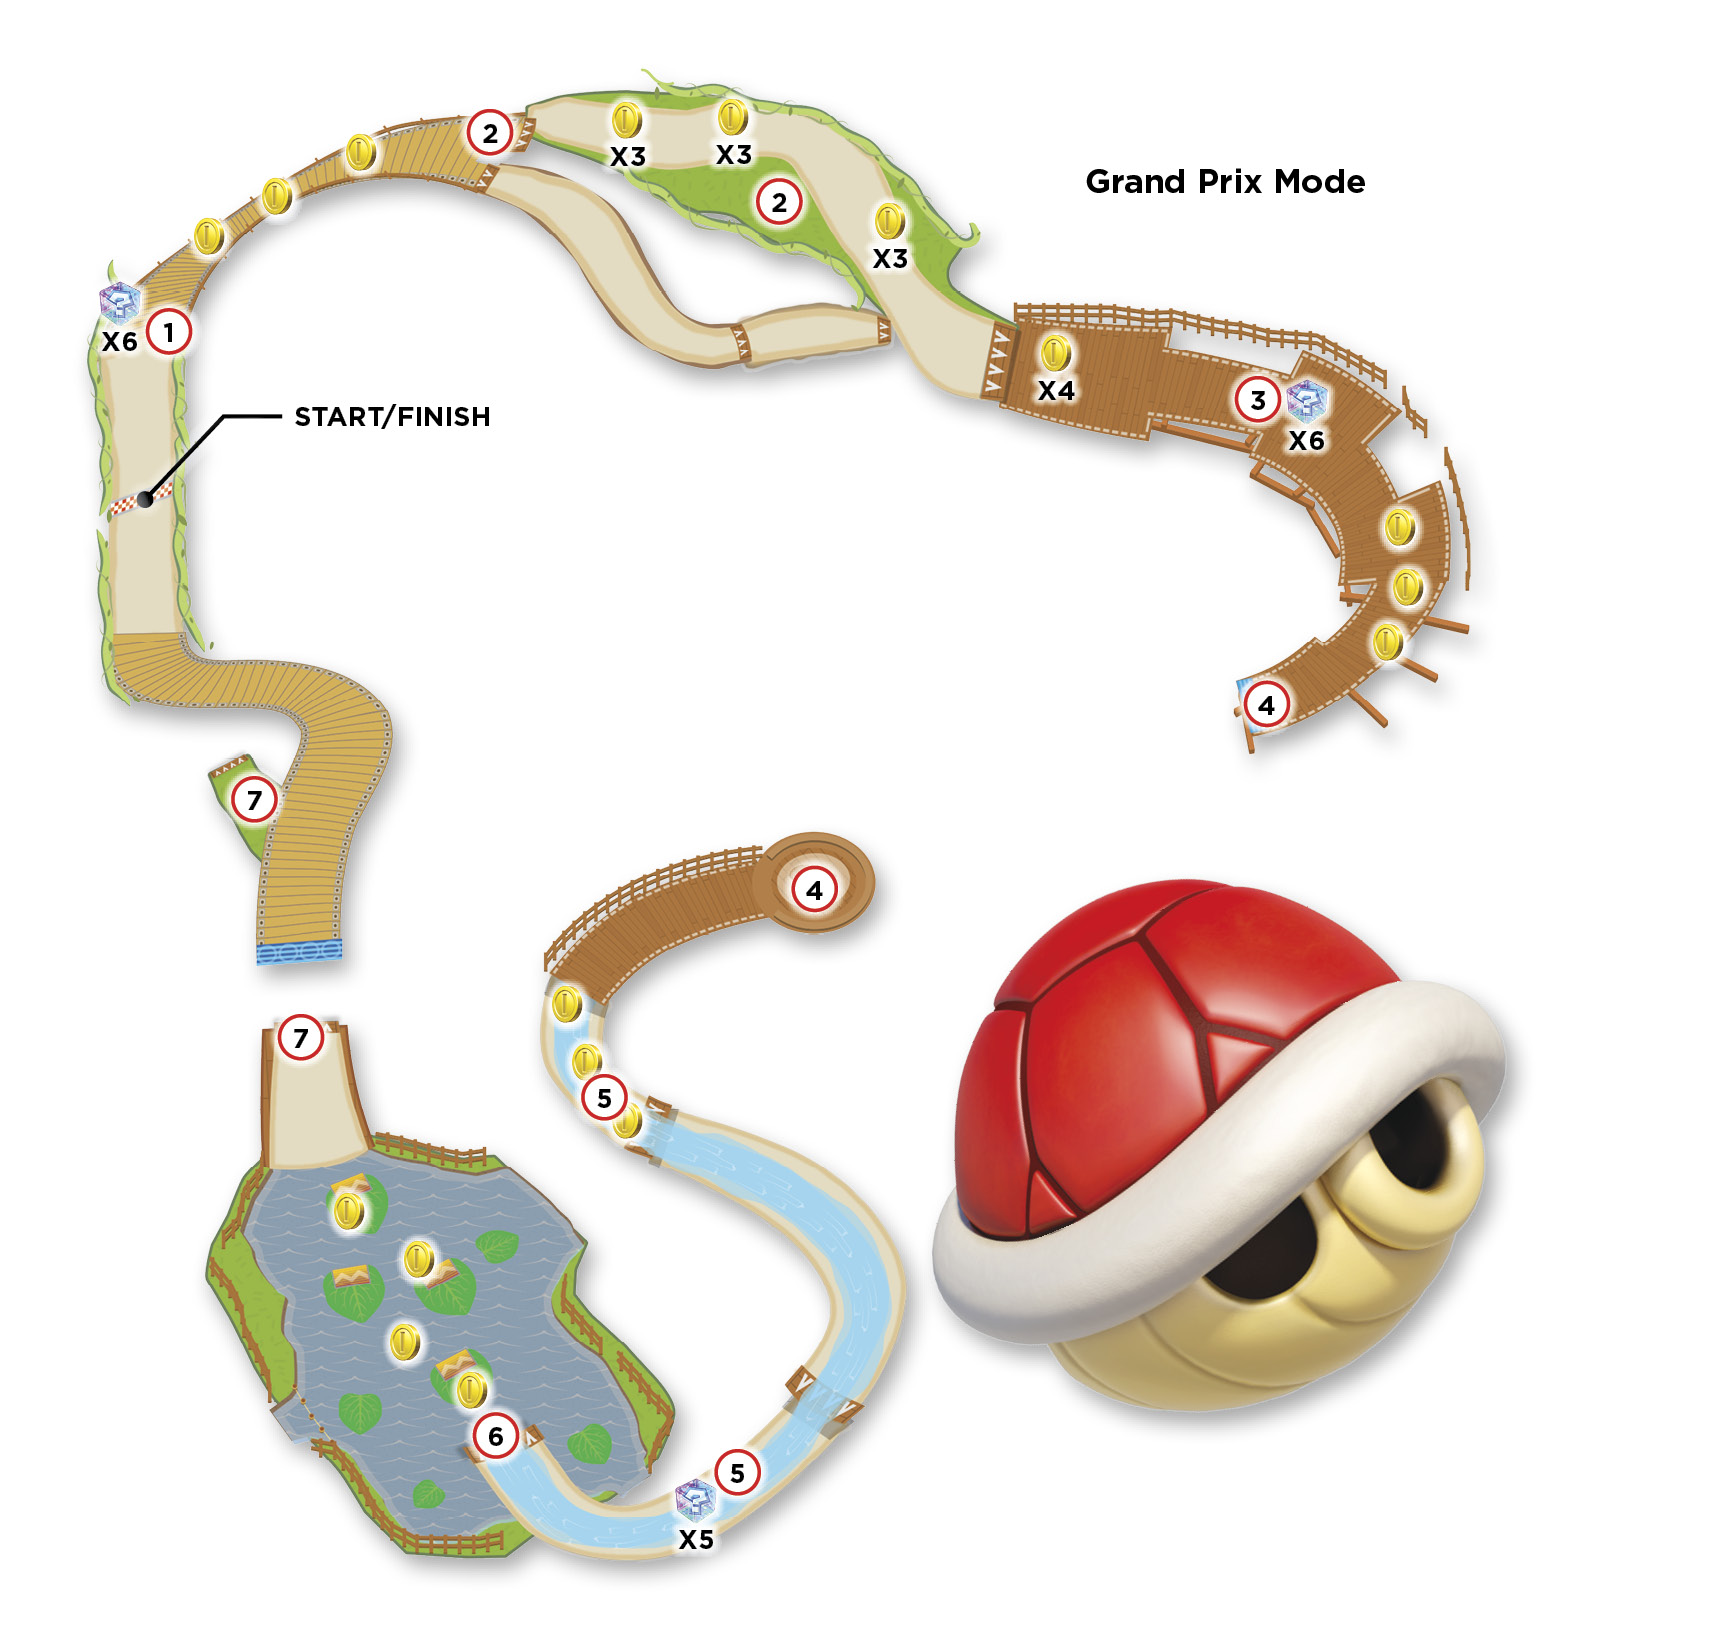
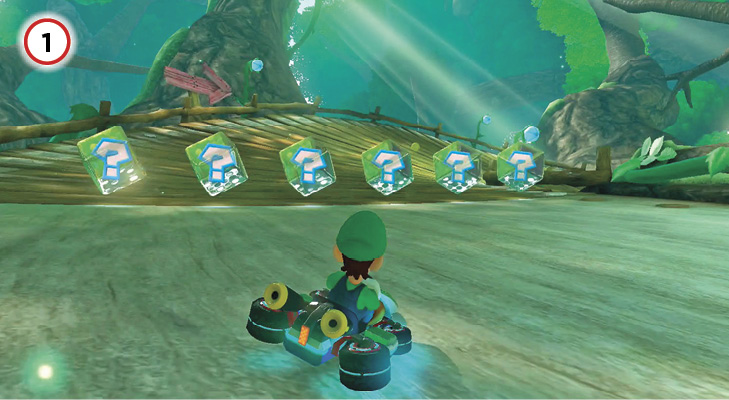
The first cache of Item Boxes is visible from the starting grid, so everyone will be squabbling in the treetops right away. Since you’re in antigravity configuration here, any collisions result in Spin Boosts to both parties. After collecting an item here, there are three Coins lined up in the road ahead. Try to collect these while jockeying for position with other drivers and dealing with everyone’s first item salvo.
The track splits over a gap up ahead. Take the ramp one way or the other, Jump Boosting along the way. If your Coin count is low, take the left fork, which has several chances for change collection in a short distance. If you’ve already stocked up on Coins, take the right fork, which is slightly more direct (though also a little trickier, as the right path over the drop-off is narrow).
If you have a Mushroom ready to go, and aren’t concerned about Coins, the fastest path through this split section is to Jump Boost off the left ramp, then Mushroom boost straight ahead through the grassy off-road patch here, arriving with a full head of steam at the ramp from the split section back to the wooden track. Collect a Coin during the jump, as your vehicle disengages from antigravity mode.
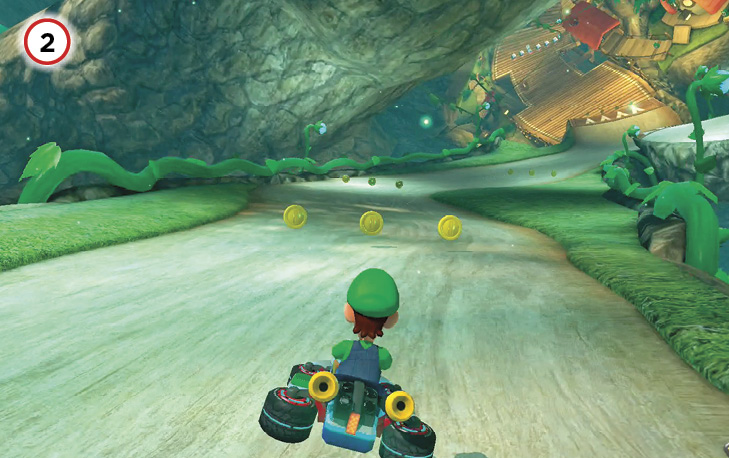
Hooking around to the right on the planked track, you’ll pass a row of Coins, then more Item Boxes. There’s one double Item Box in this group, second from the left. Taking a racing line to snag the double Item Box is a tad riskier than drifting tighter around the turn, since the unwalled track edge is closer. If you’re going for the double Item Box, approach it in a racing line that skirts the left edge of the planks (allowing for the gaps), so it’s easier to angle into the right turn after filling both item slots at once.
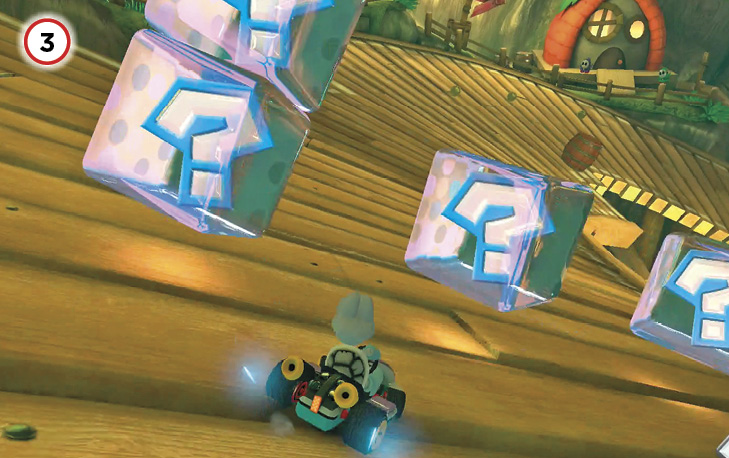
Three Coins line the route to a huge glider crossing. Jump Boost off the ramp, then guide your vehicle steadily over the gap. Be ready to swerve left upon landing on the far side.
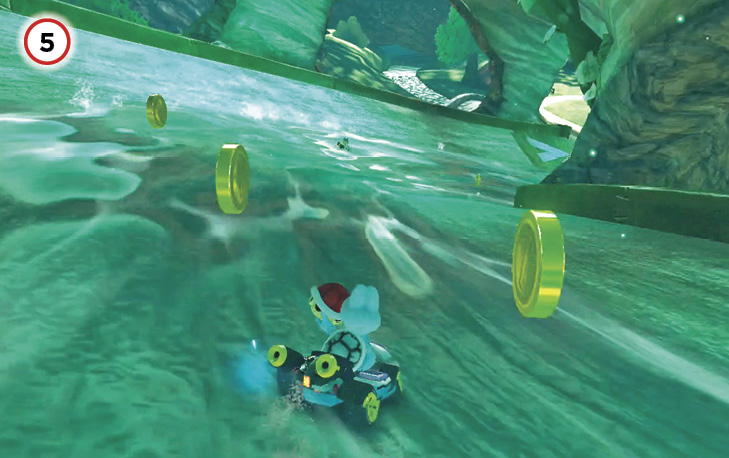

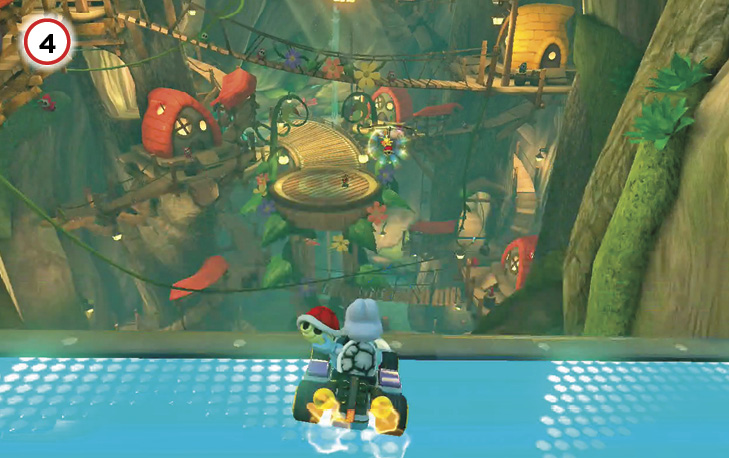
The race continues its descent through the trees after the gliding portion with a plunge down a drainage channel. A fast-running stream pouring down the channel helps wash everything along, including racers and glittering Coins. Between the Coins being carried along by the water, and any Coins dropped by adversaries getting into item warfare in this section, this is a great strip to either rebuild or max out your Coin reserves. While plunging downhill, be sure to Jump Boost over the short drops in the path for extra momentum.
In the final stretch downhill here, Item Boxes line the path. Travel right down the middle for the double Item Box. Snagging a Mushroom here is especially useful, since a late-lap shortcut through rough terrain is coming up.
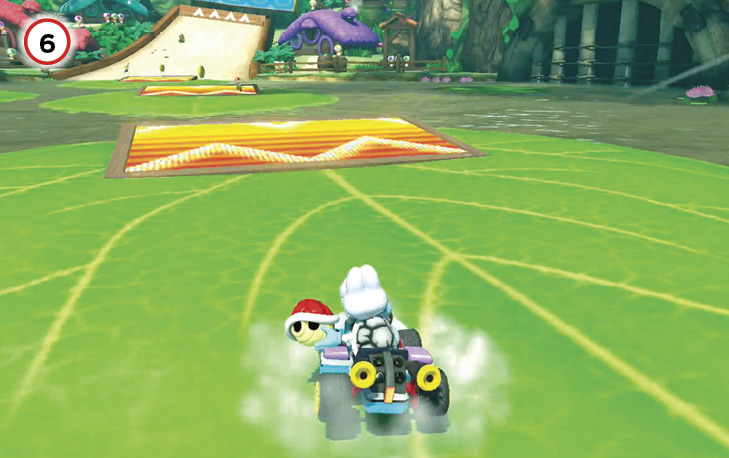
At the bottom, the channel pours into a shallow pond. Several big lily pads carrying dash panels float about, with the course leading to a sheer vertical surface at the far end of the pond. Accelerate across the pond, nailing as many dash panels as possible along the way. The dash panels provide a little lift as they kick your vehicle forward, allowing you to tack on a Jump Boost with good timing. The panels also happen to each hold a Coin, as a bonus.
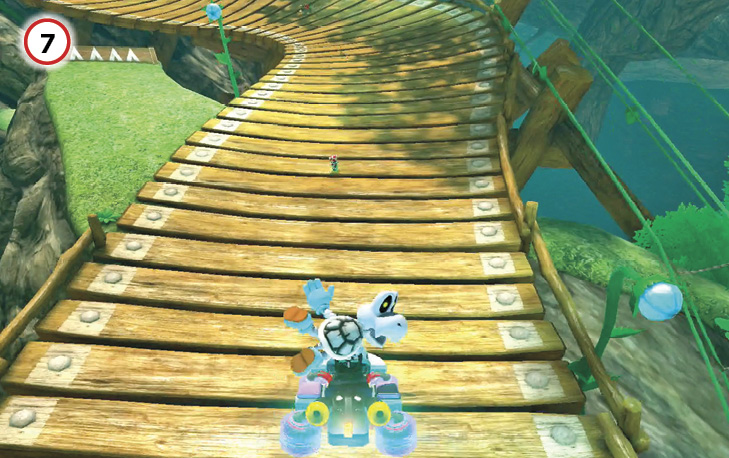
After the pond crossing, the track resumes, with a ramp pointing at a wooden track leading straight back up. Panels just past the ramp kick in antigravity mode, allowing racers to begin the climb back up to the Shy Guy village in the tree canopy. Just after landing from the jump into antigravity mode, you can swerve left and plow through a brief off-road section with a Mushroom (if available), hitting a ramp over the small gap here for a last-moment shortcut pointed right at the finish line.
Time Trial
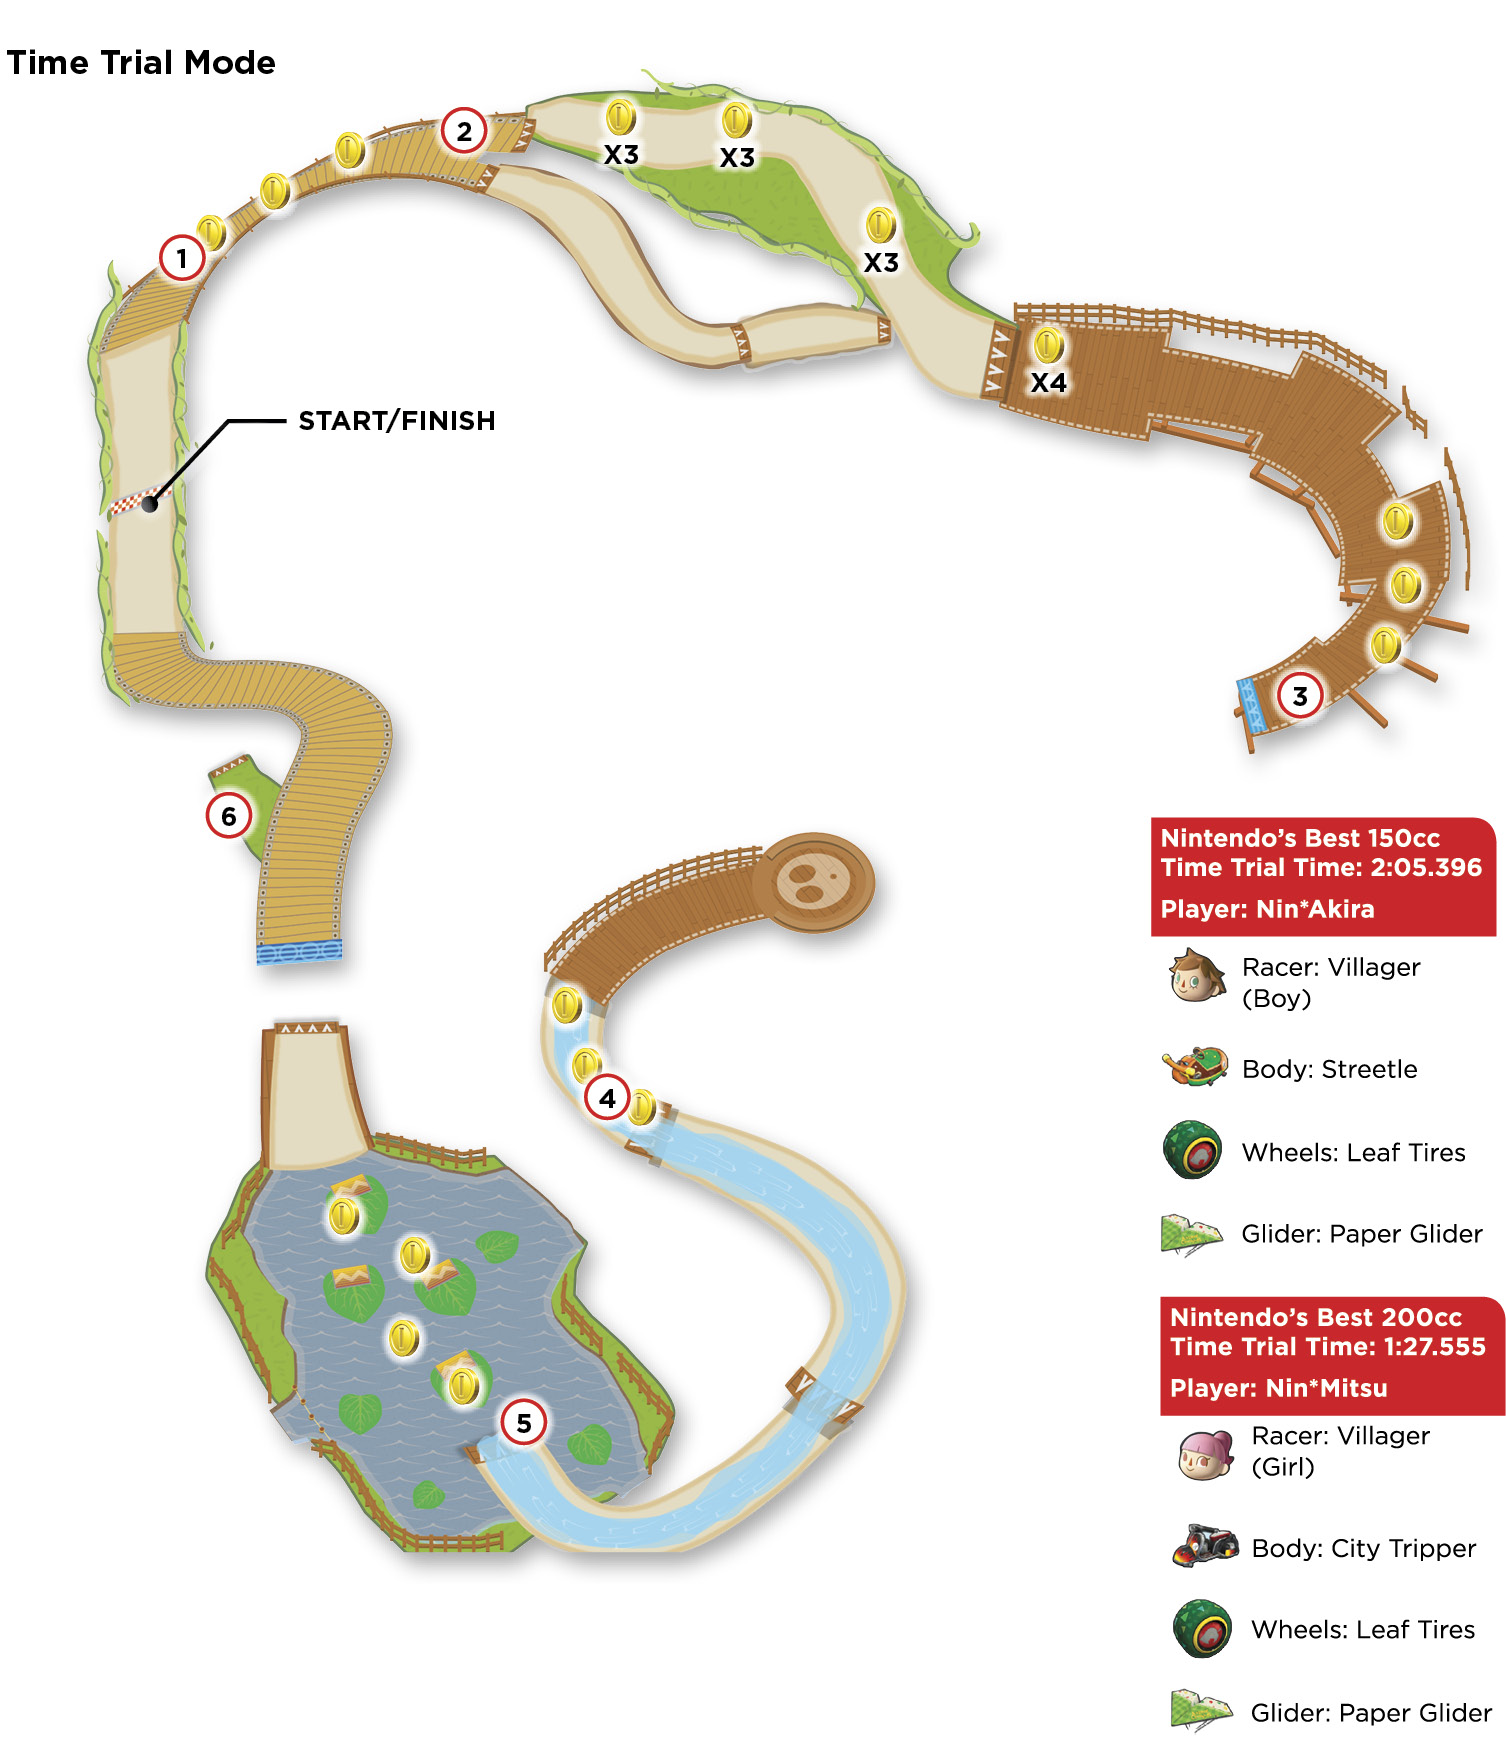
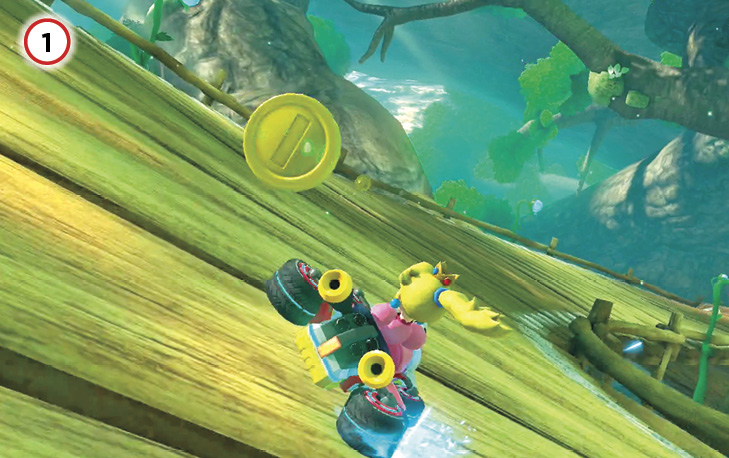
Coins are quite front-loaded in the first part of this track, so getting to ten should be accomplished quickly on a solid first lap.
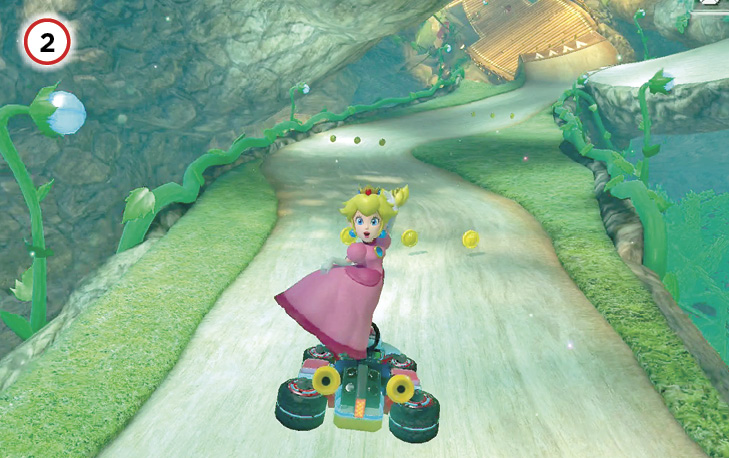
When building up Coin reserves, take the left path, which features patches of rough terrain that Mushrooms make short work of. A Mushroom can be used to blast over the inside edge of the left path, or even to leap over the not-quite-a-ramp patch of sloped greenery to the left of the actual ramp away from the split section.
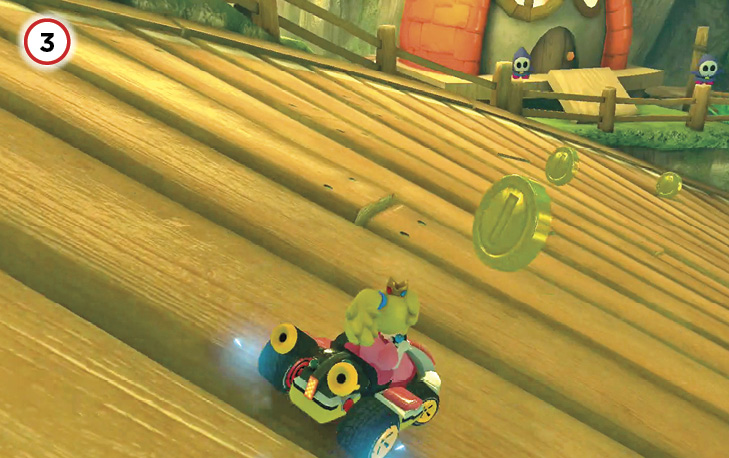
The wooden section of track here curves right, leading to a big jump. Along the route you’ll have to steer clear of sheer drop-offs on the sides, and a barrel in the middle of the track. The three Coins found here can put you at ten in reserve already, if you’ve taken every chance so far to snag Coins, and haven’t yet had any knocked away from collisions or item strikes.
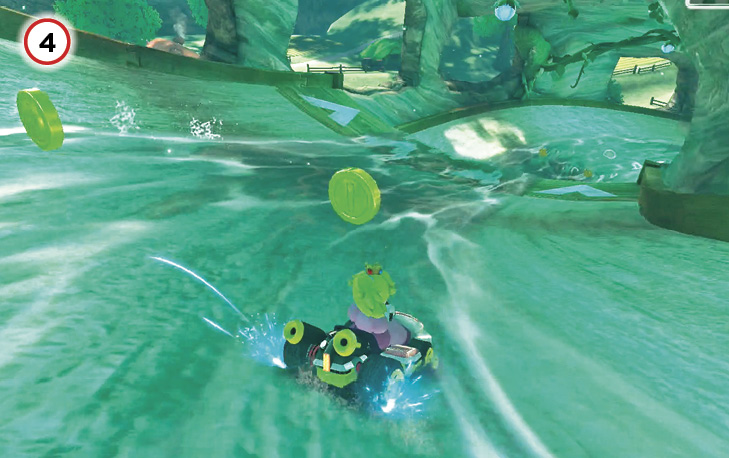
Racing downstream, pick up Coins as they wash by if needed, but otherwise focus on the shortest path downhill. Be sure to Jump Boost over any short hops on the way down, as the path drops away several times in a shelf, or step.
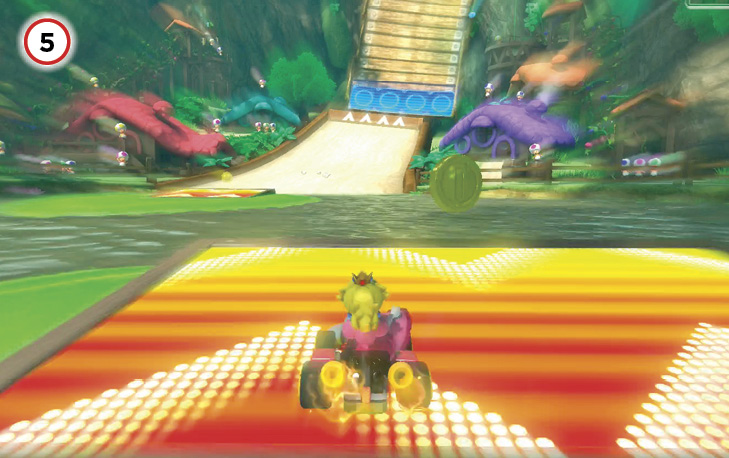
The panels on the lily pads here provide an extra push across the pond, and a Coin can be found atop each one. However, if you’ve already banked ten Coins, try to trigger panels by driving over them off-center, avoiding the Coin in the middle. Coins don’t respawn in Time Trial mode, and during later laps you might lament Coins you unnecessarily picked up earlier, when you need Coin replenishment and none remain.
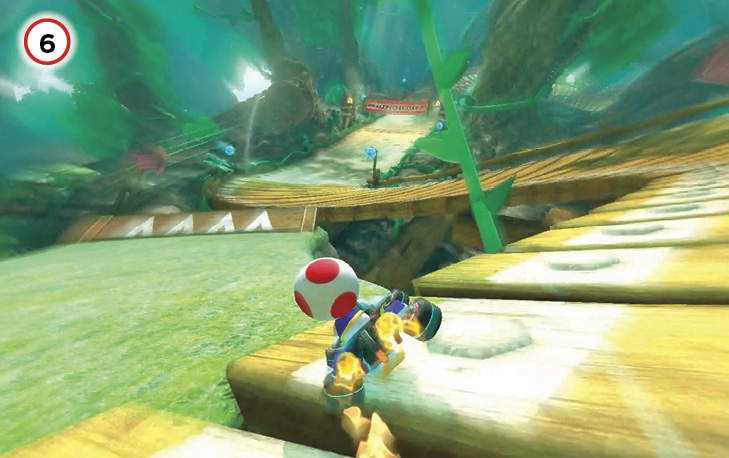

One of the best uses of a Mushroom in Wild Woods is this leaping shortcut toward the starting grid. With Triple Mushrooms ready, you can afford to take this shortcut every lap. After landing from the ramp out of the pond, immediately look to swerve left and blast through rough grass, right into the ramp beyond.
Animal Crossing

The peaceful hamlet of Animal Crossing has the local rowdiness index kicked up considerably as the Mario Kart Grand Prix rolls into town. True to Animal Crossing character, races in the village can take place during any season of the year, with the weather affecting race conditions. In terms of obstacles and hazards to watch out for, Animal Crossing is much more dangerous than previous tracks in Crossing Cup.
Grand Prix
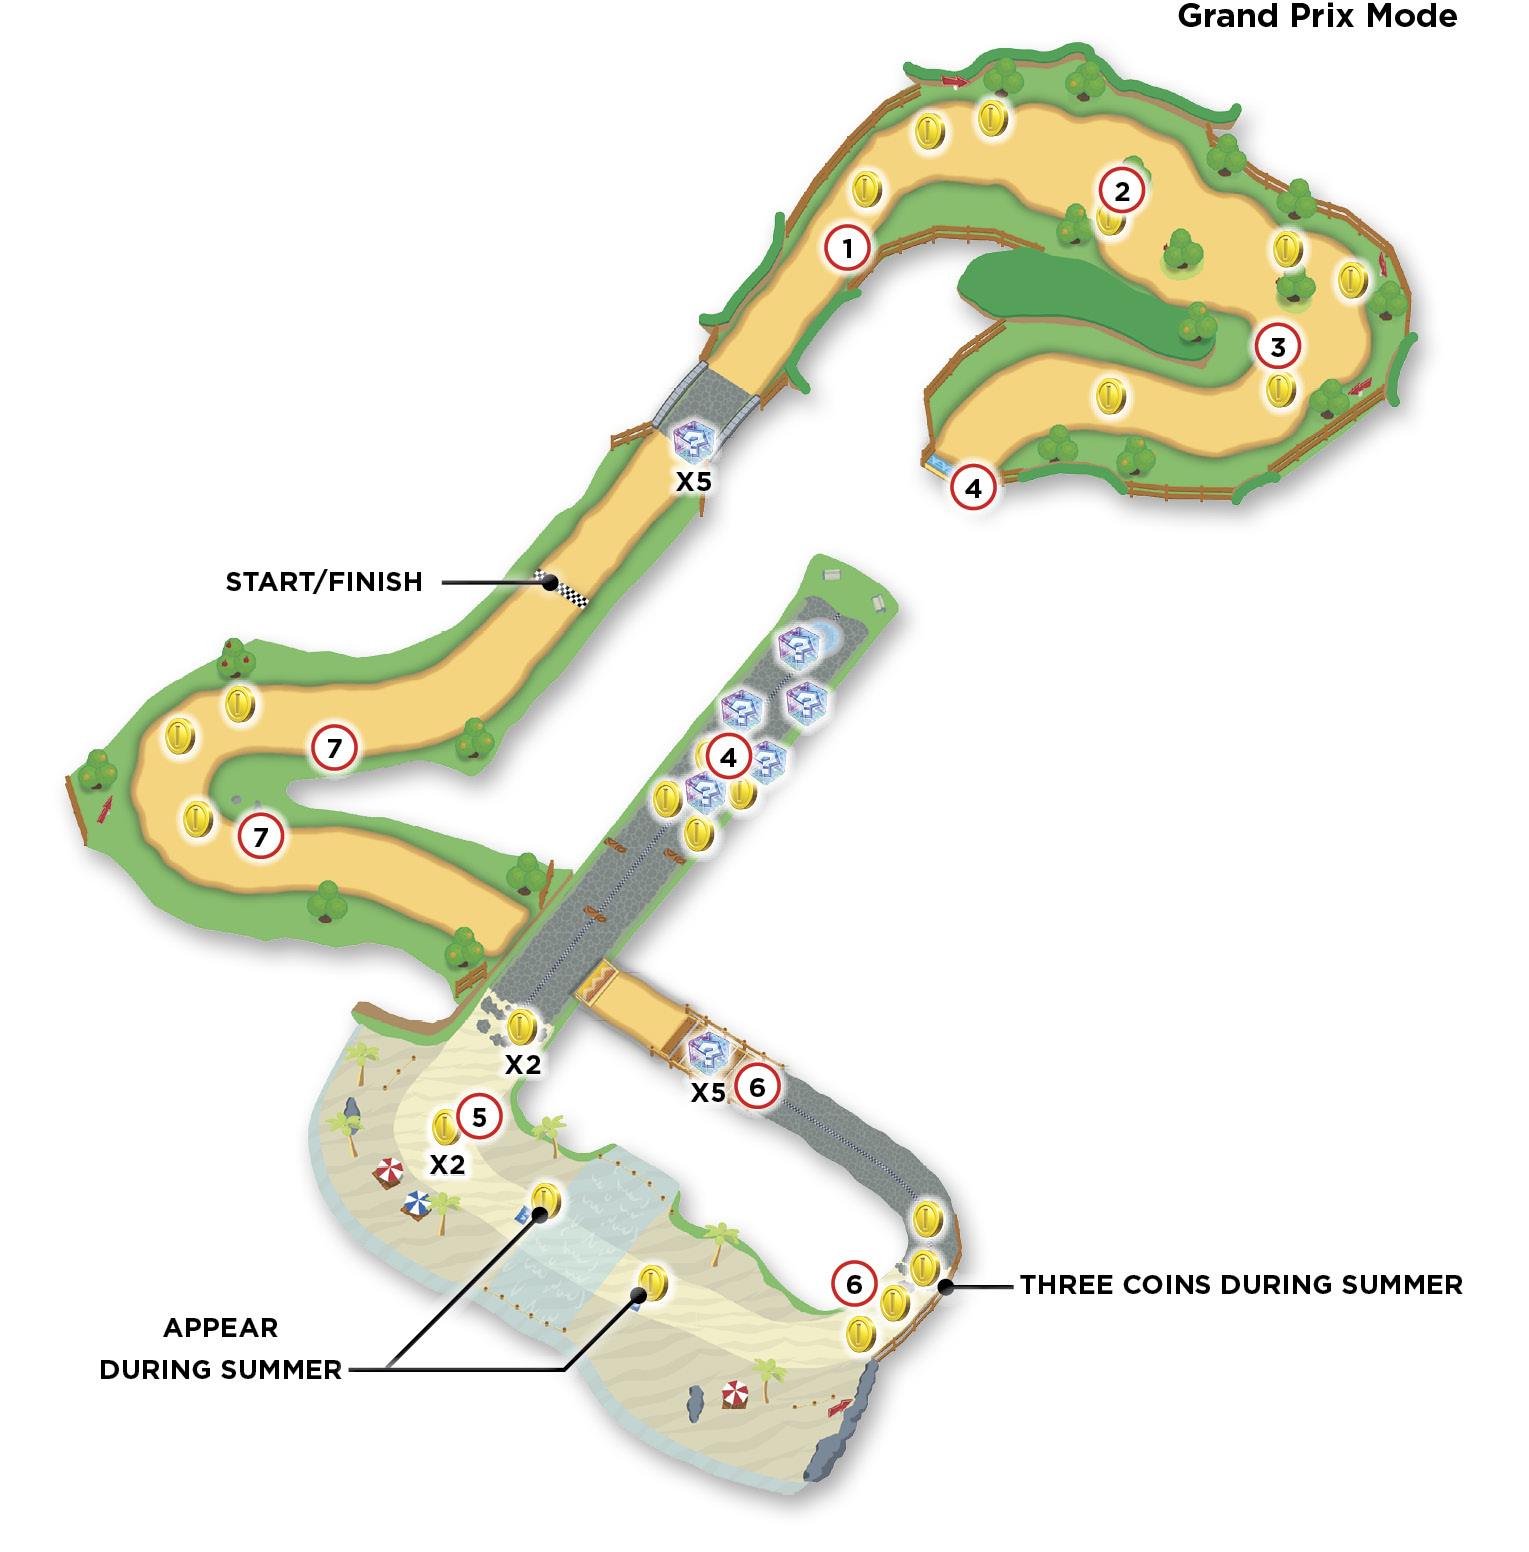
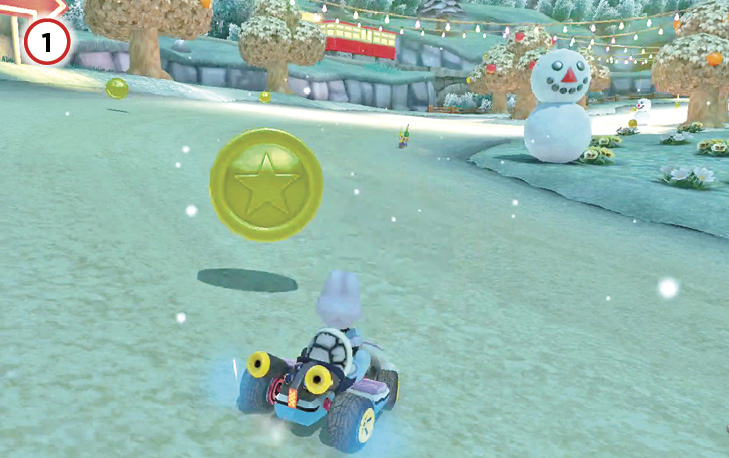
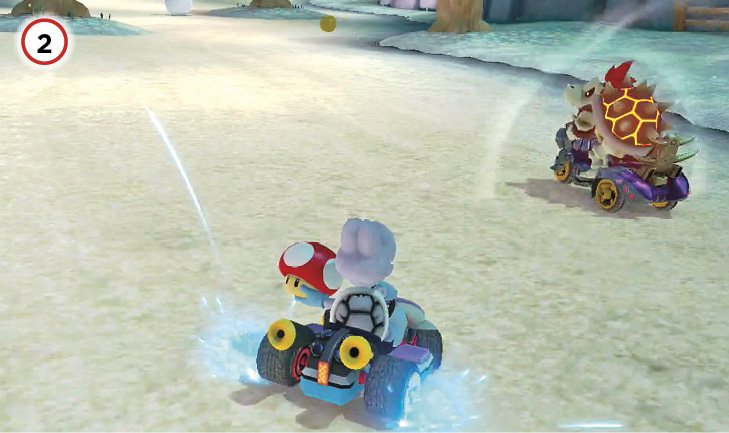
Racers will be shouldering each other right away for the Item Boxes strewn across the small bridge dead ahead. Beyond the bridge, the road curves right toward a grove of trees. Three Coins line the curve. Prioritize Coins early, but later on it can be worth using a Mushroom to cut hard right over the rough grass, boosting ahead toward the treeline.
The sparse grove here is lined on both sides with speed-killing grass, and of course the trees are not too shabby at stopping vehicles dead. Stay on the clear path away from trees and grass. In the fall, there are also a few piles of leaves to avoid.
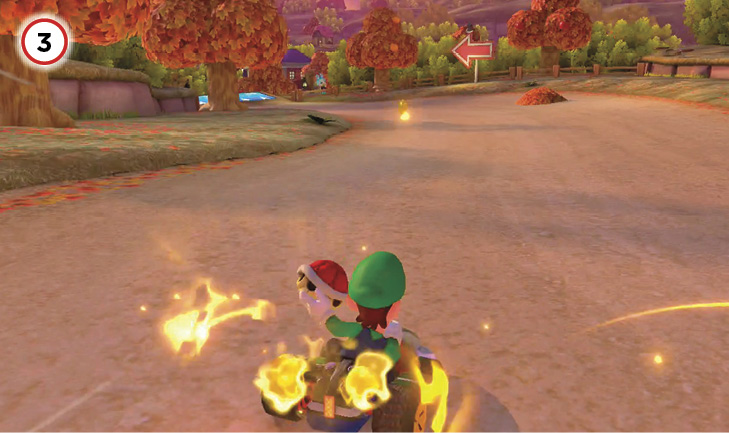
The right turn out of the grove can be cut much shorter by blasting over the grass with a Mushroom.
A much wider exit out of the grove provides a chance to build up Coins, though. Drift left following the three Coins that hook behind the last tree. Release the Mini-Turbo built up from drifting behind the tree in time to boost forward into the last Coin, heading out of the grove in the process. Either way, be ready to keep turning right sharply.
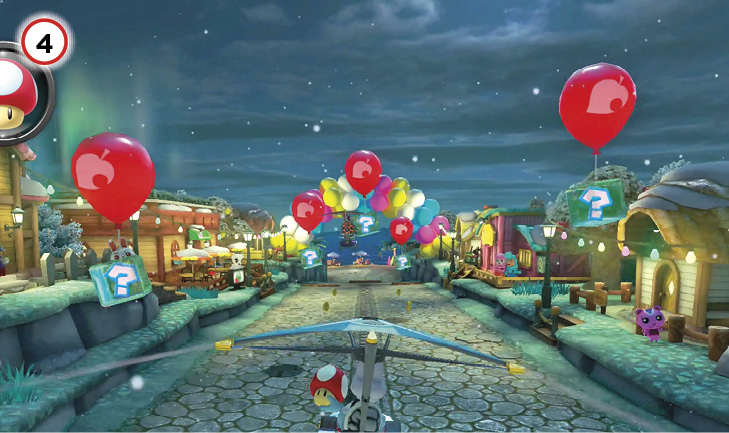
The first big jump in Animal Crossing sends vehicles airborne long enough to deploy their gliders, and the festive residents have set up an enticing choice concerning where to land just beyond the town fountain. If you need items, keep the nose up for altitude and aim toward the Item Boxes the villagers have set up floating in the air, suspended by balloons above the track. If you’re focusing on collecting Coins, nose down and land earlier, veering to scoop up two Coins along the way on either side of the road. Farther ahead there are another two Coins, giving another chance at adding to your max top speed.
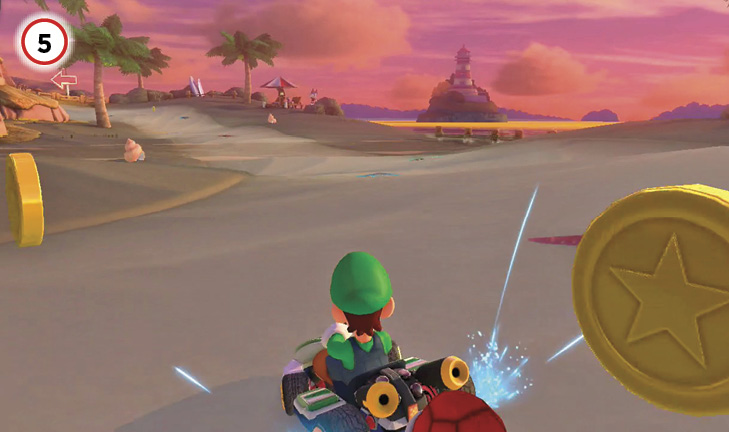
There’s nothing like a day at the beach! Again, there’s a place to cut corners with a Mushroom here—cut left on the extreme inside of the track, well into the sand, then rejoin the track ahead before the Mushroom boost wears off. Without a Mushroom, just follow along the paved part of the beach track, preparing for another big turn up ahead.
During the summer, ramps deployed on the beach track allow Jump Boosts and Coin collection. The potential for Jump Boosts means that it’s better to save your Mushroom for somewhere else in summer, and just ride the ramps here.
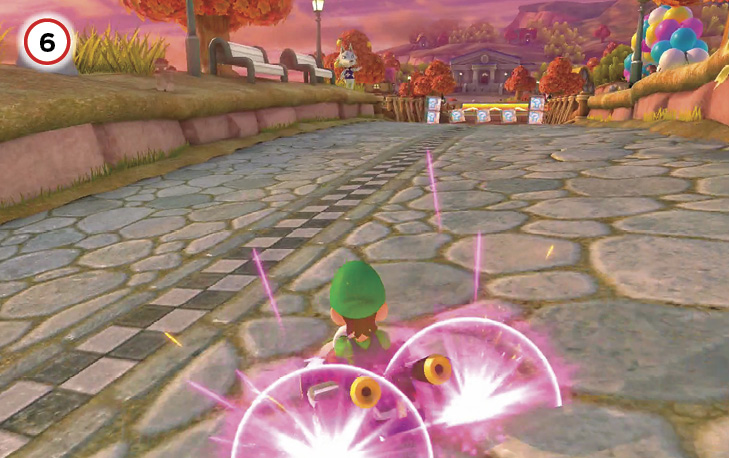
If you haven’t maxed out top speed yet, focus on collecting the Coins on the curve. If you have, then take the turn tighter and prioritize scoring a well-aimed Mini-Turbo boost.
Once the curve straightens out again, there’s a small bridge here lined with Item Boxes. For a double item pickup, ride either side of the track for the Item Box on the end. Beyond the pickups, coming up ahead there’s a big jump over a lower section of track. Aim well off the ramp and Jump Boost on takeoff to gain momentum heading into the final stretch.
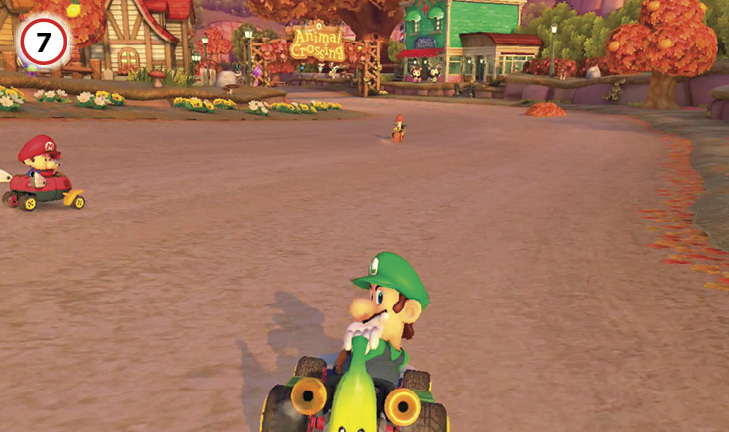
The wide right turn ahead has rough grass and impenetrable rocks on the inside, and furious Mr. Resetti popping up right from the dirt of the track. The best Mushroom shortcut presents itself here, since you can turn hard right and barrel over the grassy off-road patch, aimed straight at the finish line and burning serious rubber. Of course, be sure to avoid slamming into the rocks in the grass along the way.
On the other hand, if you’re not using the shortcut yourself, you can spoil the fun for other racers by dropping Bananas where Mushroom-boosters typically exit the grass.
Time Trial
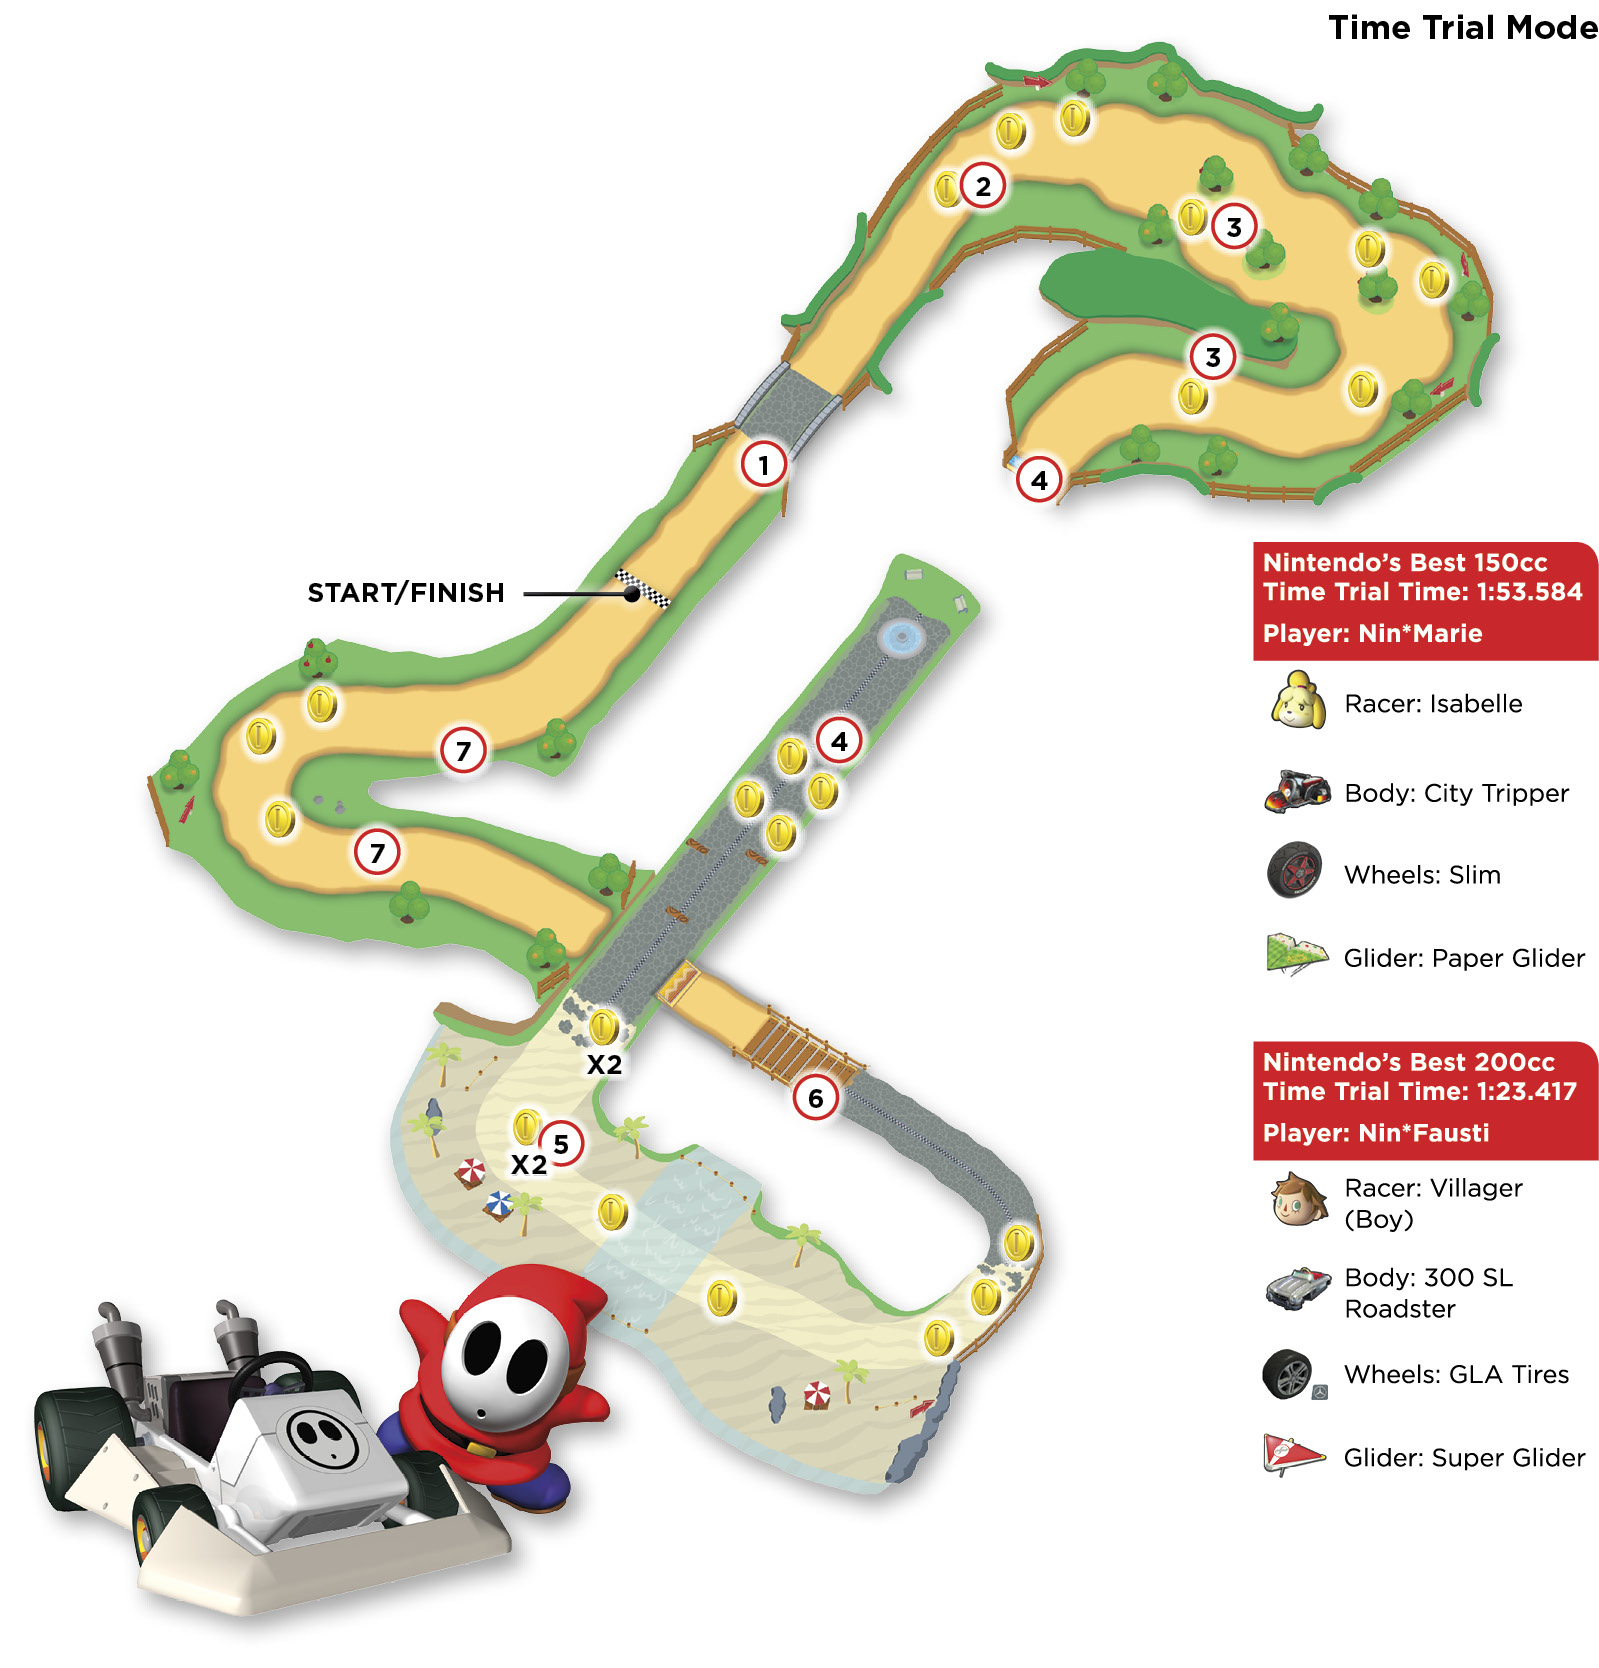
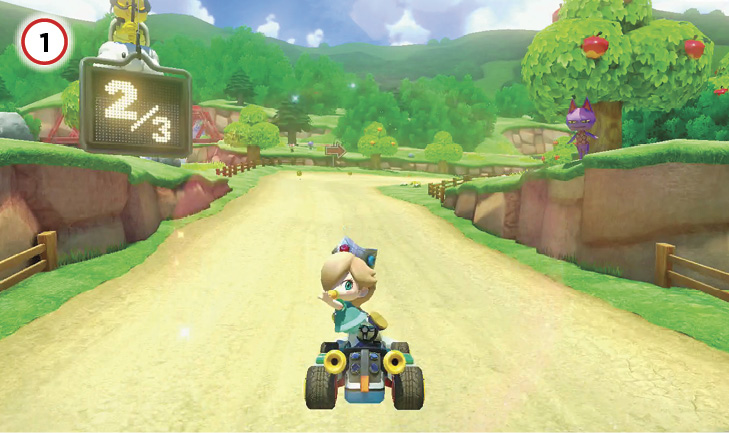
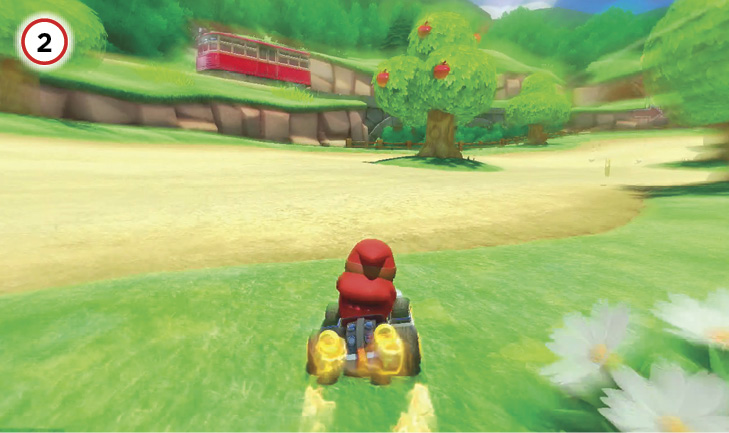
After blasting off the starting grid with a must-have Rocket Start, be ready to get more speed via a Jump Boost over the little rounded stone bridge ahead.
Use this corner to curve smoothly to the right while accumulating Coins. A Mushroom shortcut is possible through the grass here, but it’s more advantageous to spend Mushroom boosts on the track’s last shortcut.
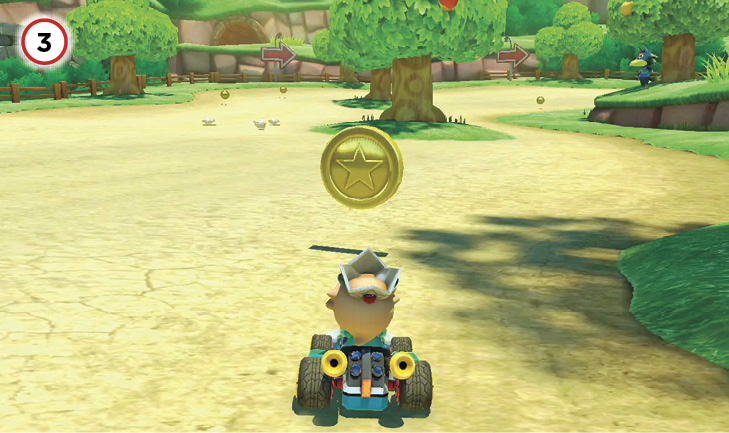
On the first pass, you’ll want to sluice right and then left through the trees along the Coin path. When Coins are already maxed, cutting through the grass is a worthy use of a fungal power-up.
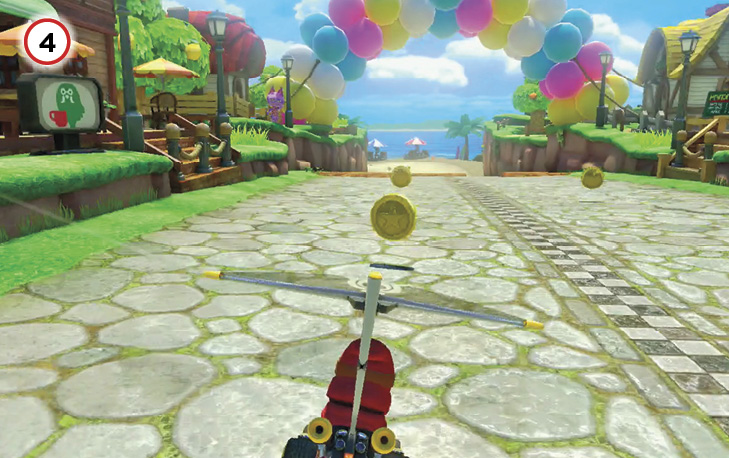
During the big glider jump, there won’t be consideration for picking up floating Item Boxes. If you need Coins to get closer to ten on hand, descend and scoop up a couple, then Jump Boost over the logs ahead. If you’re satisfied with your Coin count, stay airborne as long as possible, gliding toward the beach stretch.
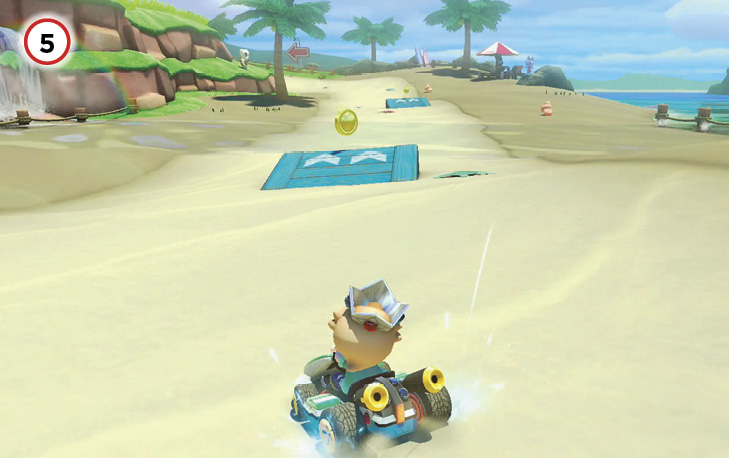
Approaching the beach, follow the turn to collect Coins along the way, and to line up a path across the ramps here. Time Trials in Animal Crossing are always held in the balmy summer, allowing for maximum speed here with Jump Boosts.
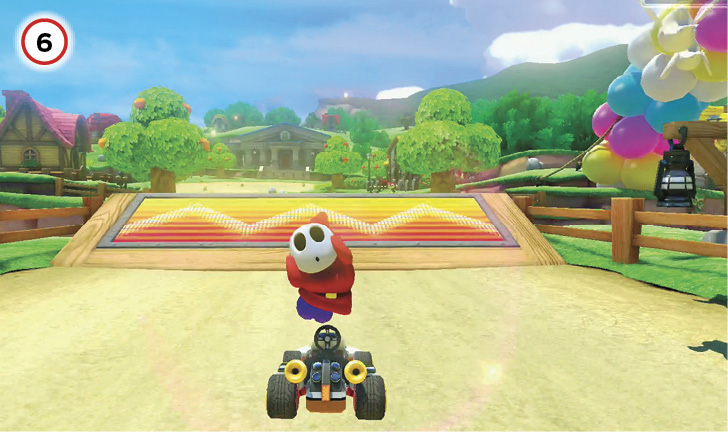
Heading toward the last big jump, gain a small Jump Boost off the sagging wooden bridge on the way, then another Jump Boost off the ramp itself.
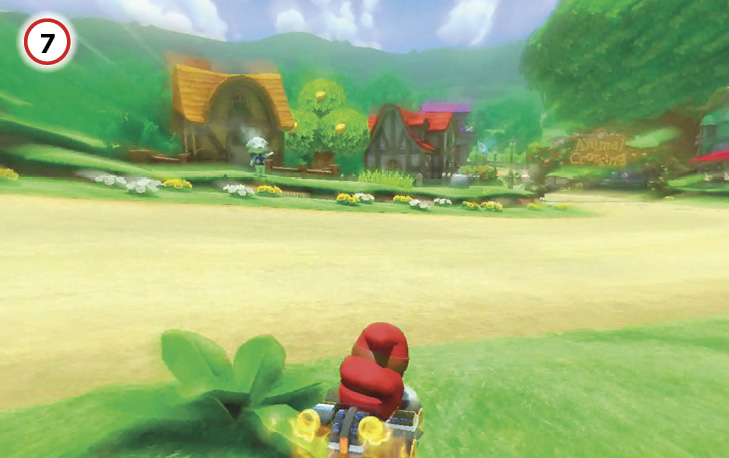
After landing, pull hard to the right and Mushroom boost through the grass toward the finish line, watching out for rocks in the way. If you prefer using Mushrooms elsewhere, you’ll have to take the turn wider, avoiding Mr. Resetti. Drift into a powerful Super Mini-Turbo out of the curve to finish the lap strong.