
Mario Kart 8 Deluxe Guide The Tracks
Bell Cup

3DS Neo Bowser City

This race tears through the neon-purple-and-blue cyberpunk landscape of Neo Bowser City. Wicked back-and-forth turns are paired with several track sections missing walls, forcing drivers to exercise discretion as they barrel through the metropolis.
Grand Prix
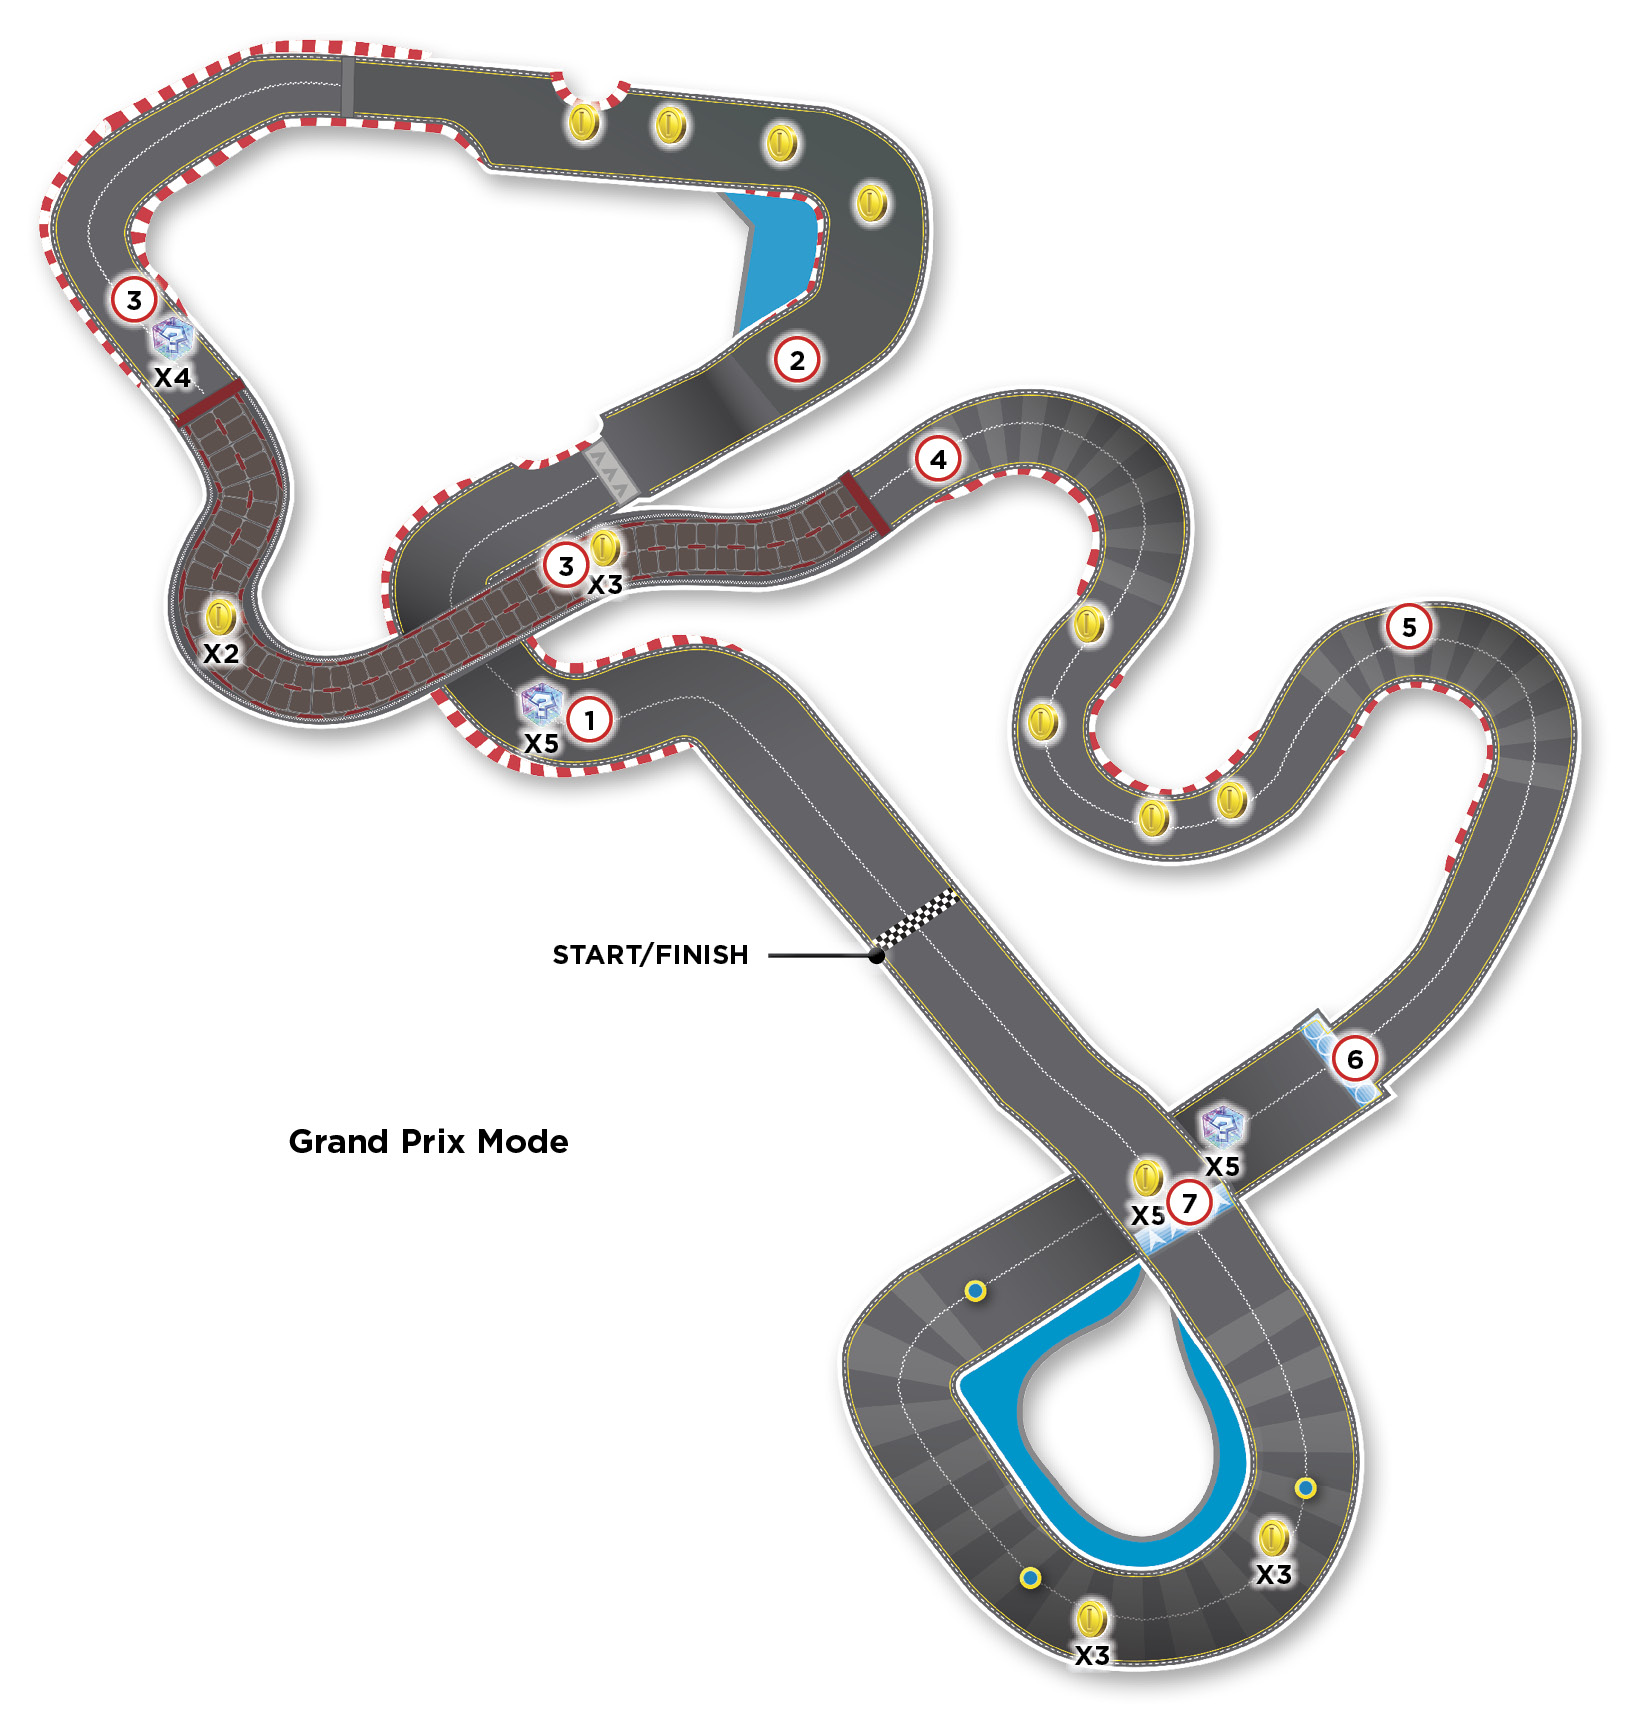
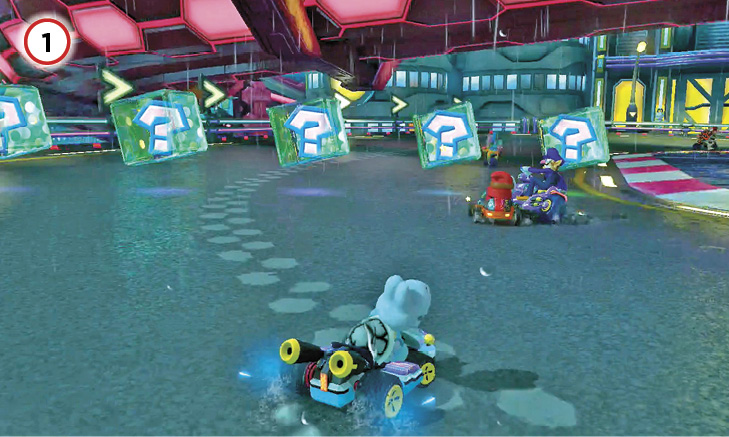
The first turn series features a left turn followed by a drifting hairpin turn to the right. Some Item Boxes are situated across the track on the way, kicking off combat between racers. It’s not too big a deal yet, since the turn angle isn’t terrible, but the left wall of the track before the Item Boxes is missing, so beware the potential to fall off and lose precious time and Coins.
After a small ramp ahead (which allows a Jump Boost for a little extra speed), there’s a left turn with a patch of momentum-killing grating on the left side of the track. A small shortcut is available here with a Mushroom in hand: turn left more sharply than usual and rocket straight over the off-road section. If you’re short on Coins, take the outside of the turn instead and trace a line that picks up four Coins here.
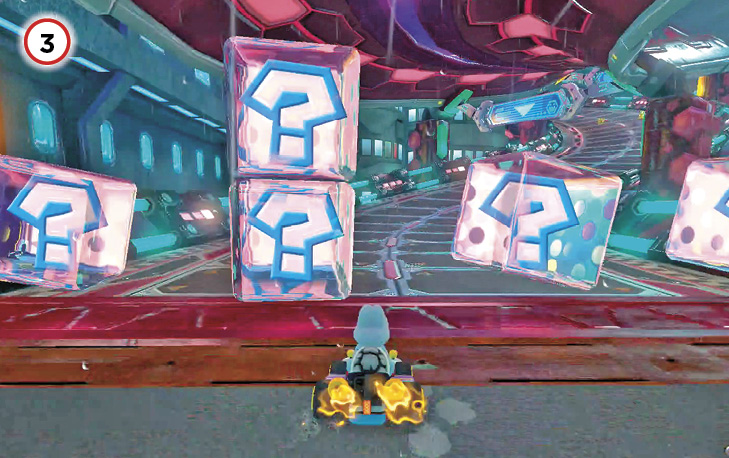
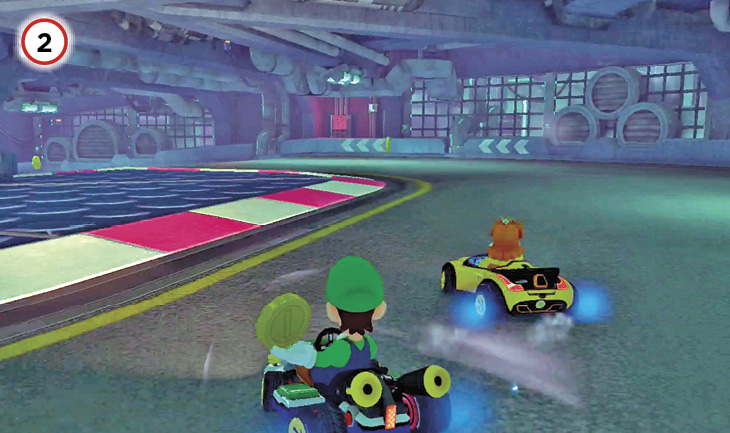
Item Boxes here allow a quick restock; aim for the left to snag the double Item Box, if you don’t have any items on hand, to instantly fill both slots. The track after the Item Boxes also contains two clusters of Coins lengthwise across the track, so racers can scoop up two more Coins by passing through. With no drop-offs or off-road patches, the obstacles here are other drivers and the walls.
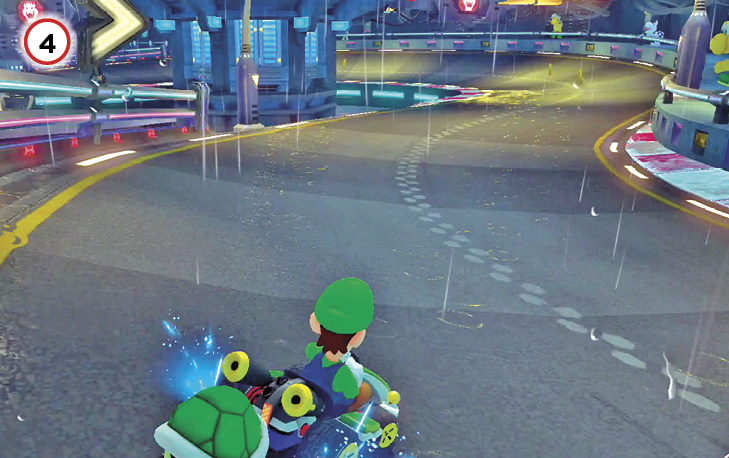
No two ways about it: the right-left-right hairpin series here is the trickiest spot in Neo Bowser City. The first right turn opens with the left track wall missing, which isn’t a big deal for your racing line, but might be meaningful if competitors on the track are getting especially rowdy in the vicinity. Around where vehicles exit the right hairpin turn, the left-side track wall trails off again, so as you begin the left hairpin turn, too tight a steering angle will lead right off the track. While taking care not to bang into the outside wall or drift sharply off the inner drop-off, collect the four Coins here along the left turn if possible.
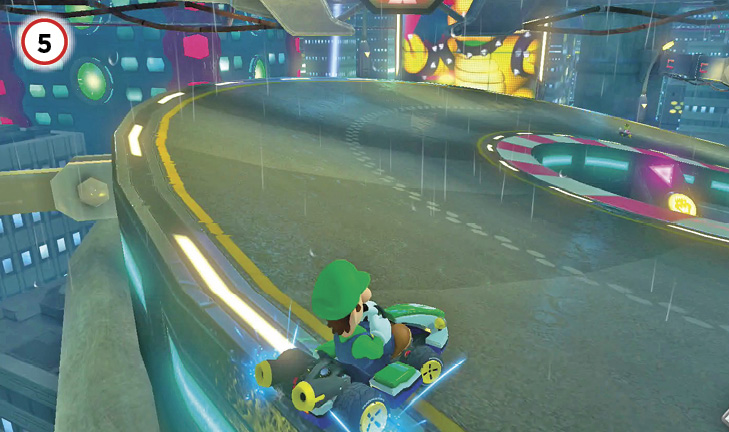
The third switchback in the hairpin series is the most challenging yet, with a sharp angle and no protective wall on either side of the track, for the duration of the turn. It is extremely easy to throttle too hard into this turn and end up in a situation where you find yourself drifting right off the left side of the track. Even during 50cc or 100cc Grand Prix races, you might find it helpful to at least pump the brake as you angle right—better safe than sorry! On 150cc, you’re almost certainly going to have to apply some drift braking while rounding this bend. During asphalt-scorching 200cc races, you must apply a deft drift-braking technique to stay on-track and lined up.
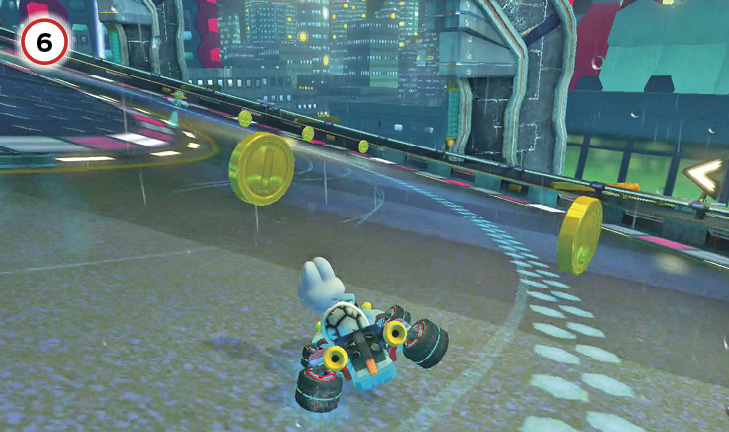
Panels here switch passing vehicles to antigravity mode. Immediately afterward there’s a useful line of Item Boxes. For a double Item Box, stick to either side of the track, not the middle, when entering this section. Beyond the Item Boxes, the road hooks left, forcing racers into a drifting antigravity turn. The inside of the track during the left curve is momentum-killing terrain, but you can skirt sharply into it and blast through with a Mushroom.
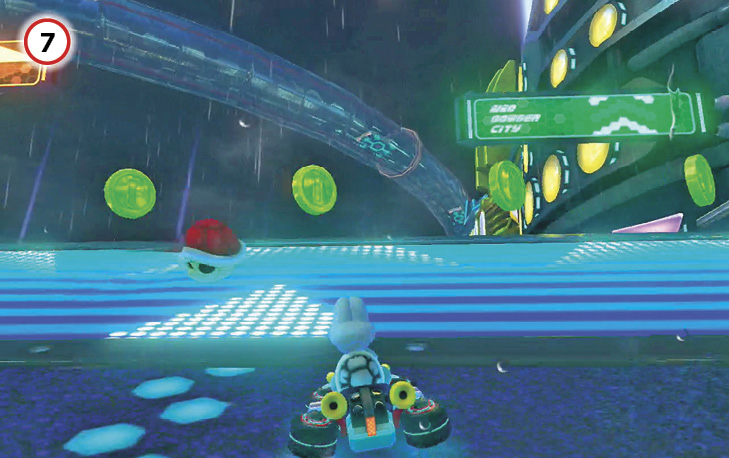
The only feature on the final approach to the finish line is a ramp, which gives you a chance for a Jump Boost on the way home. By steering left off this jump and seemingly off the stage, though, a big shortcut can be accessed where adventurous racers bypass the finish line by gliding precariously over the abyss alongside it. Gain a little loft from a fan at the end of the glide path to lift back up onto the track, touching down at Point 1 on this map.
Time Trial
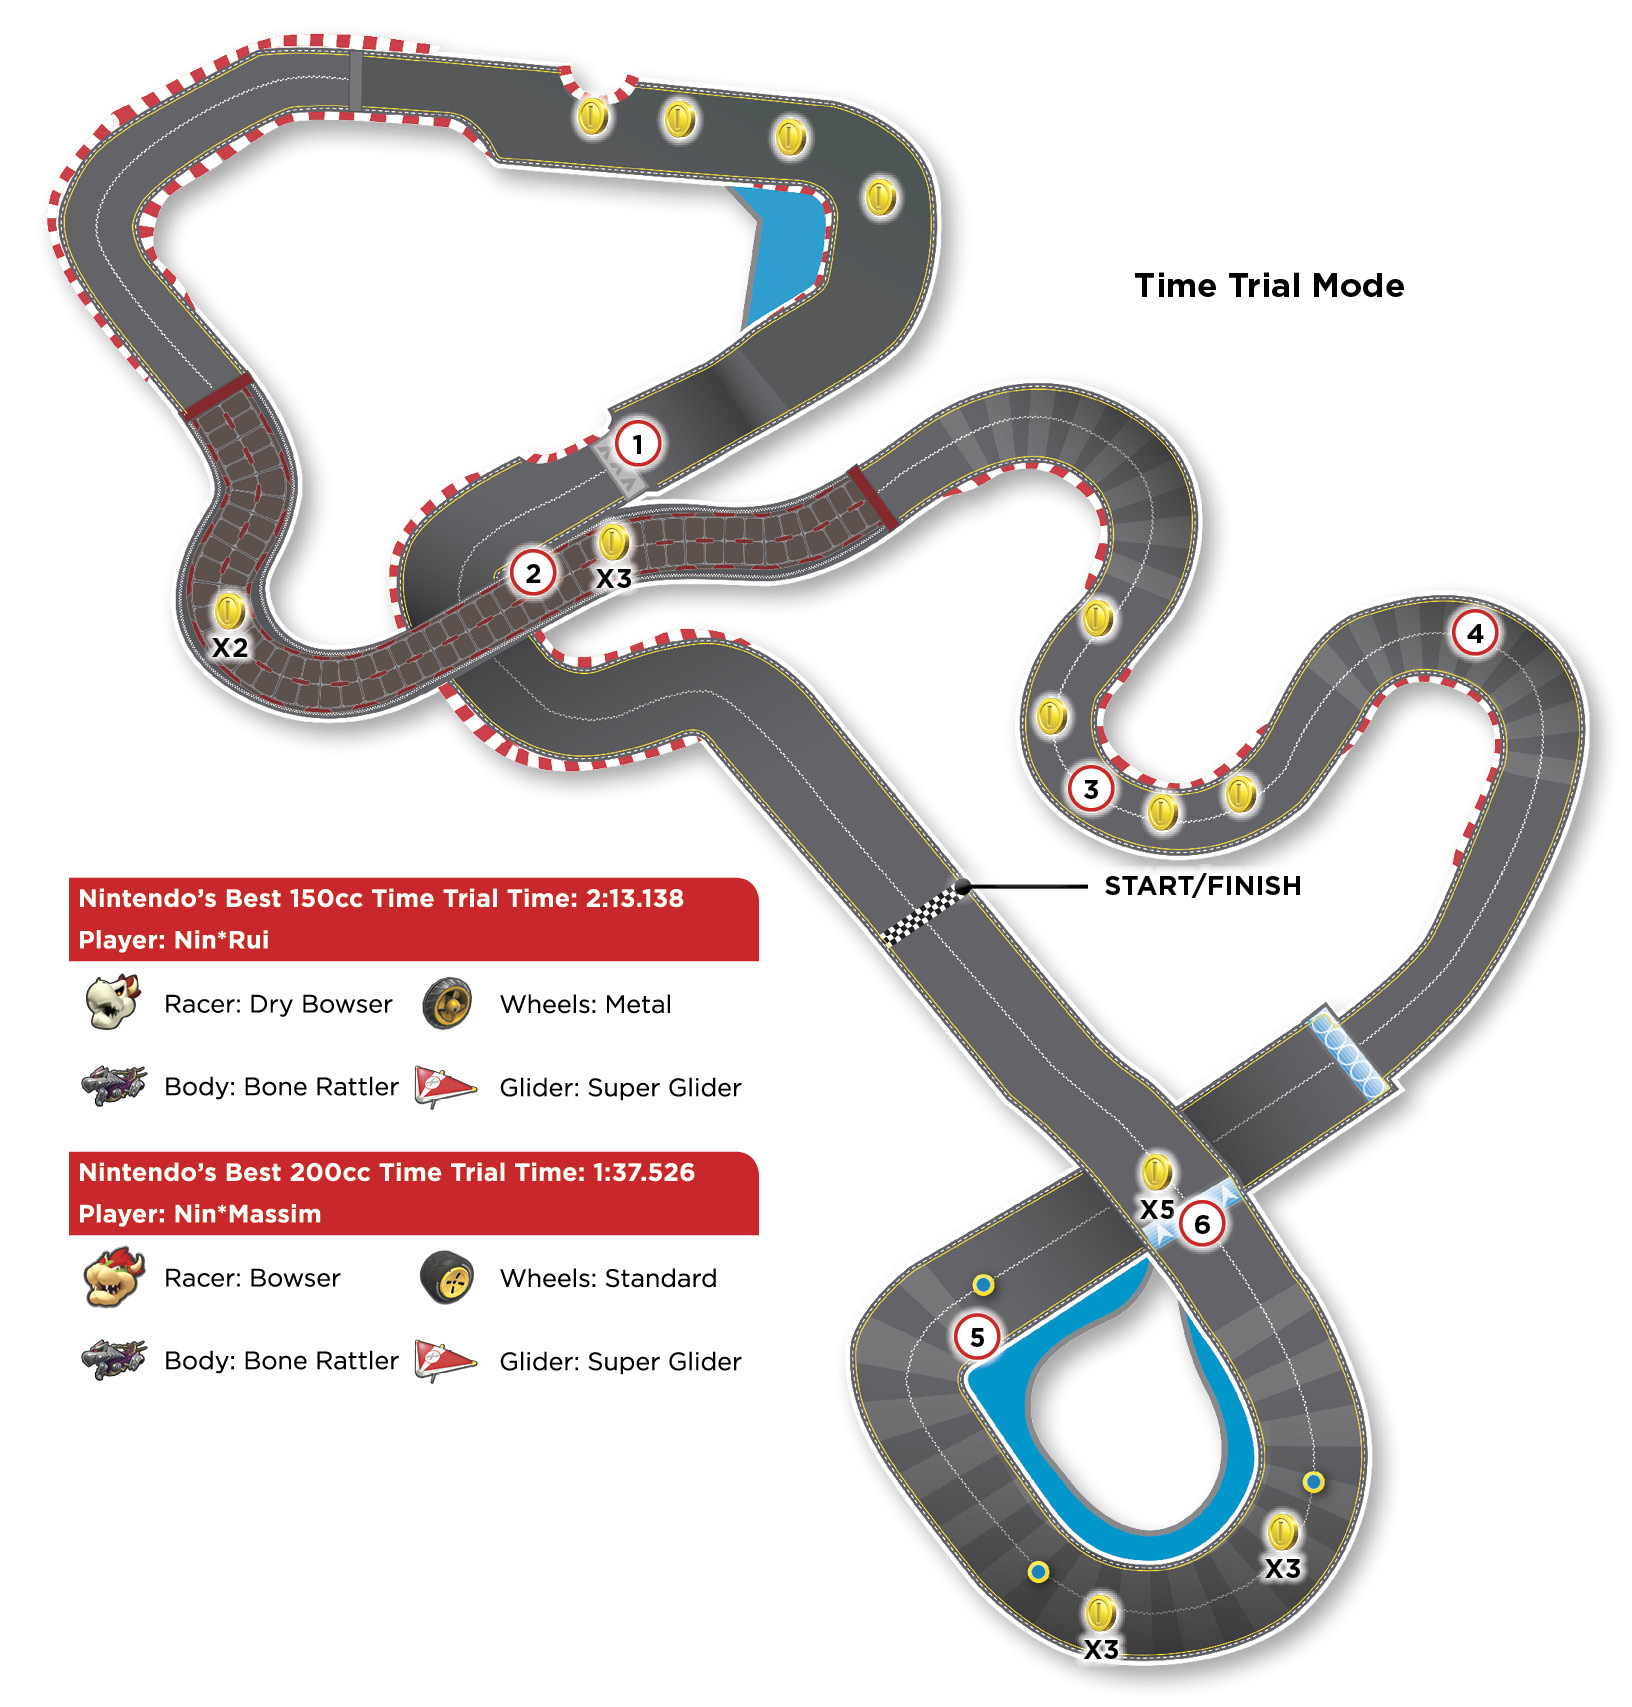
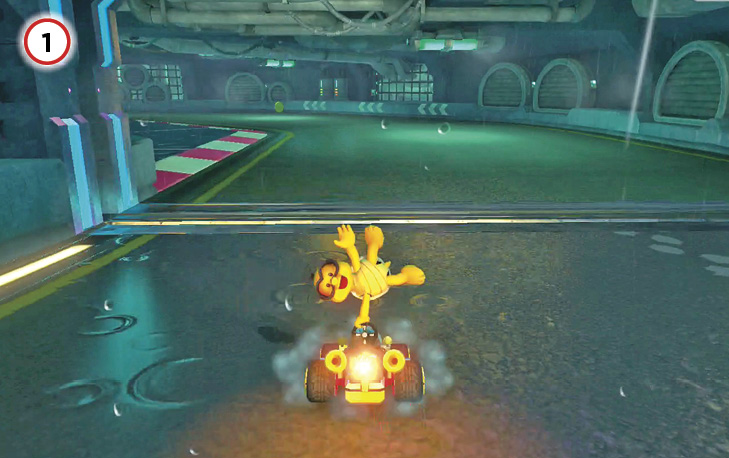
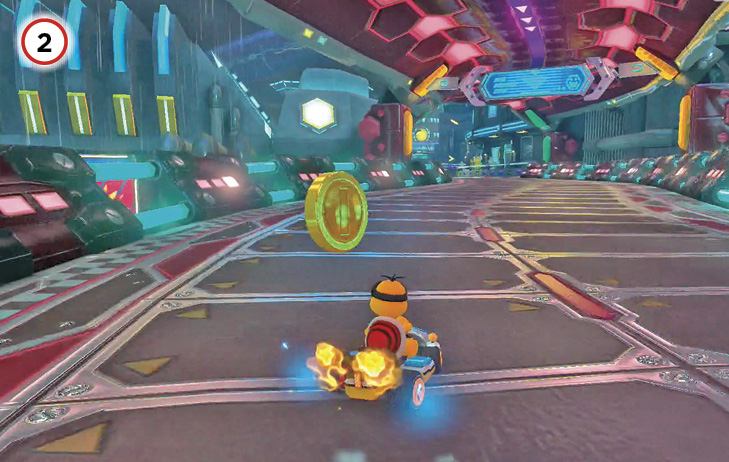
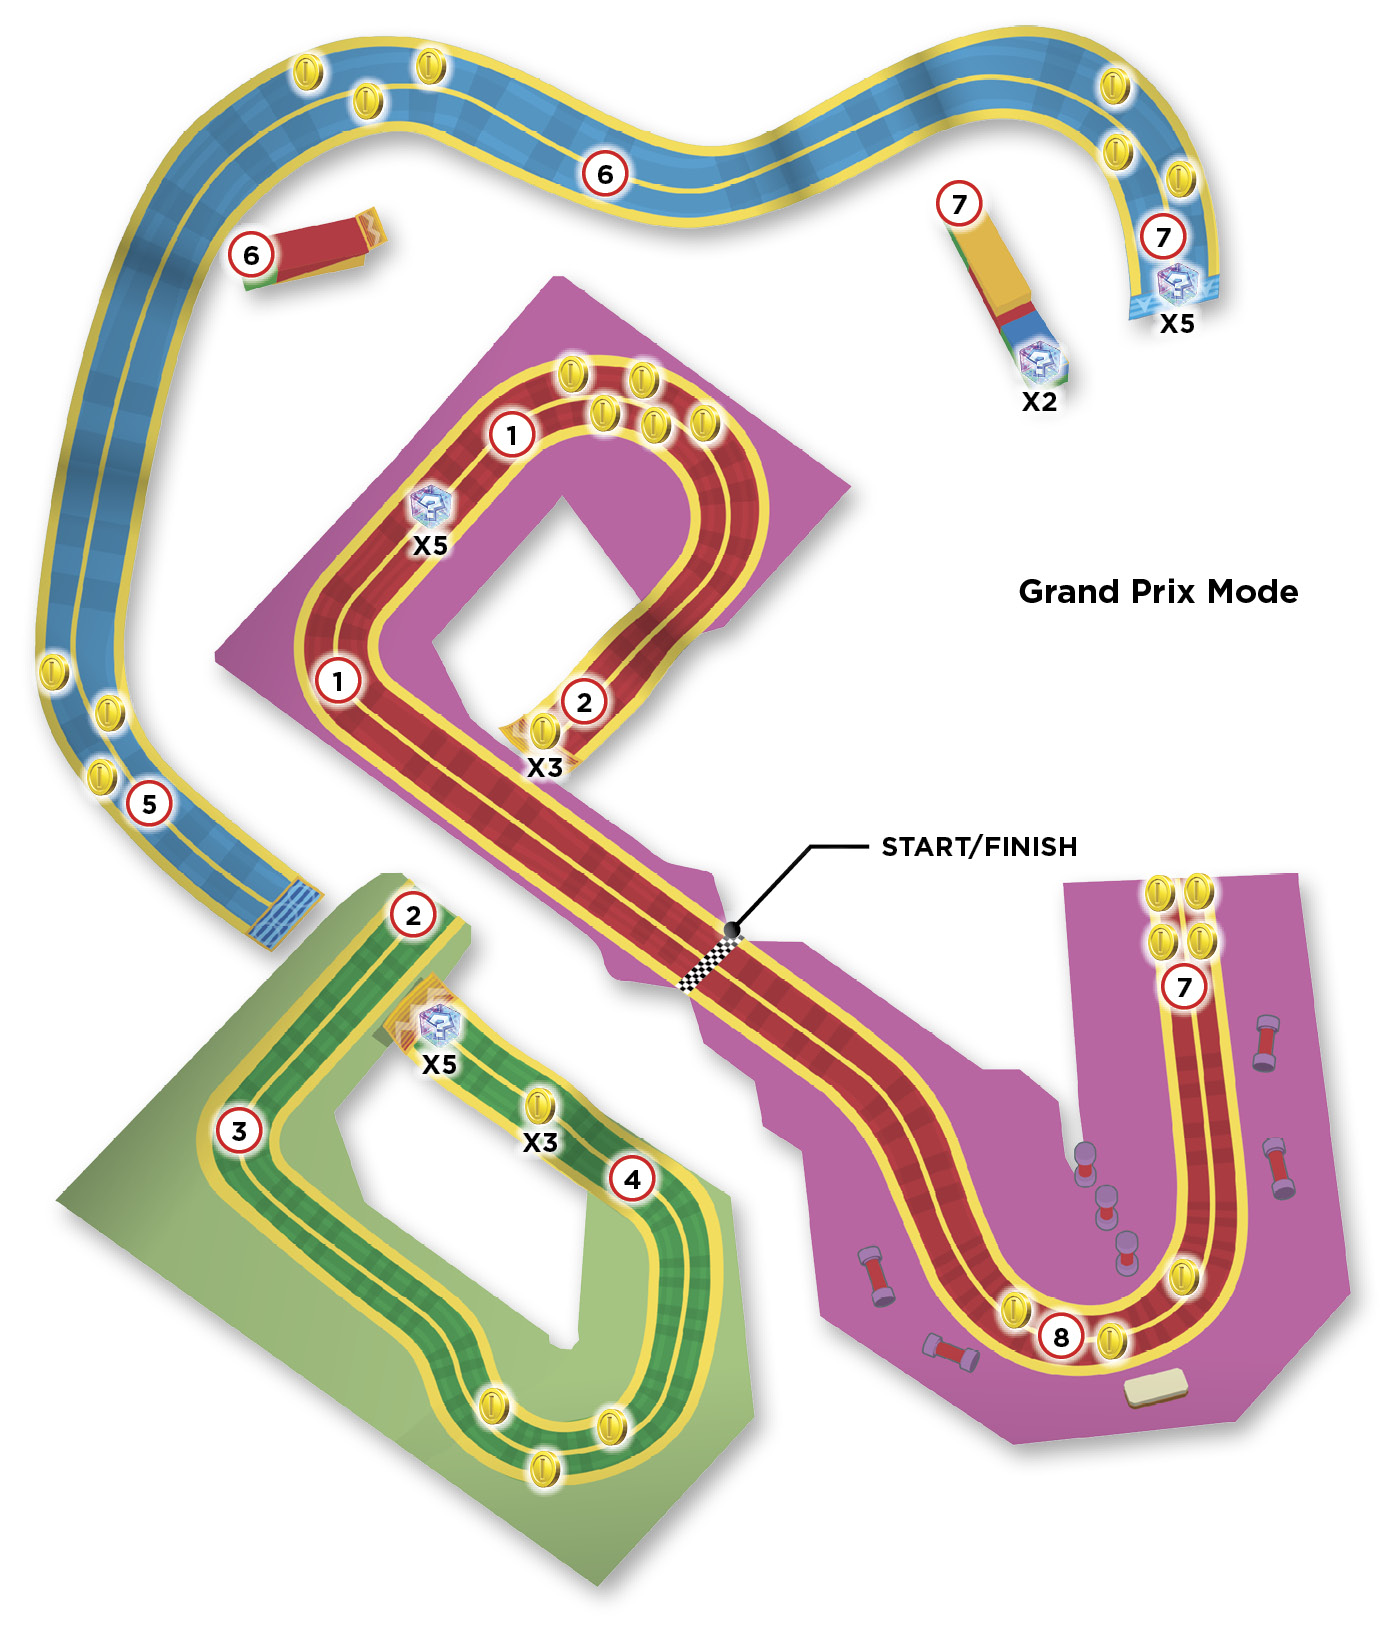
Without rivals coursing around the track and hurling shells, you’re free to focus on racing lines and accruing Coins. The first gentle S-curve turn here leads to a small ramp, allowing for a Jump Boost before arriving at a section of track with the first four Coins. Without enemies around, you’ll lose Coins here by slamming into walls too hard, or falling off the track. On the first lap, the Coins are the priority, but during later laps, a Mushroom can be used just after the ramp to cut sharply left through the off-road section here.
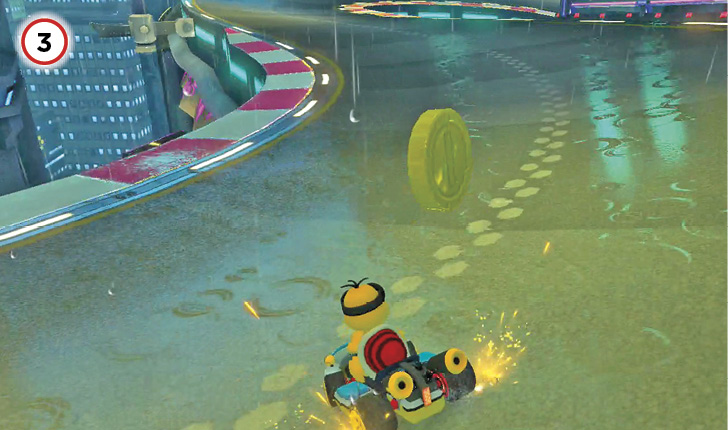
Continue to build up Coins while slaloming up the path to the switchback turn sequence ahead.
During Grand Prix races, mistakes can be covered up by waylaying the competition with items, or by their own errors. In Time Trials, there’s no way to make up for lost time, so be cautious careening through wall-free segments.
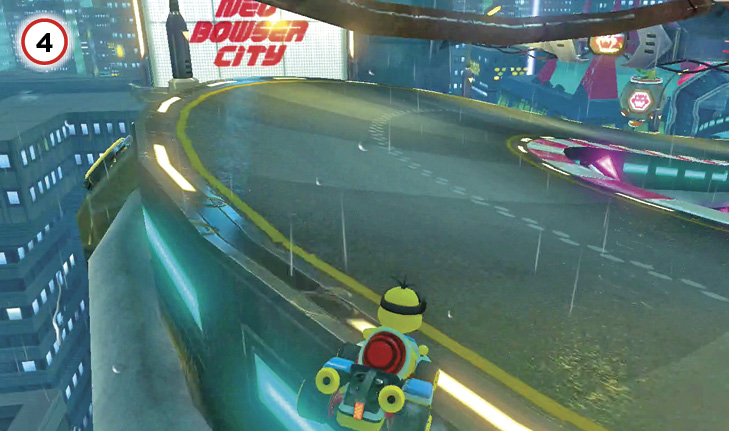
The twist here is diabolical, so be sure to apply the brake to reduce speed a bit, and take the turn hard rather than drifting out wide, perhaps right off the road.
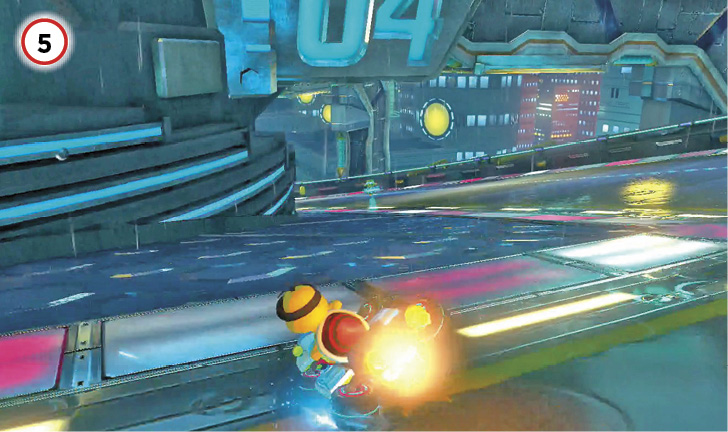

In the antigravity zone, one of the best uses of your Triple Mushrooms appears. The Mushroom allows you to cut hard left and rocket right through a rough off-road section. By now, it’s possible to have ten Coins even on the first lap, so this is a good place to use a Mushroom each lap.
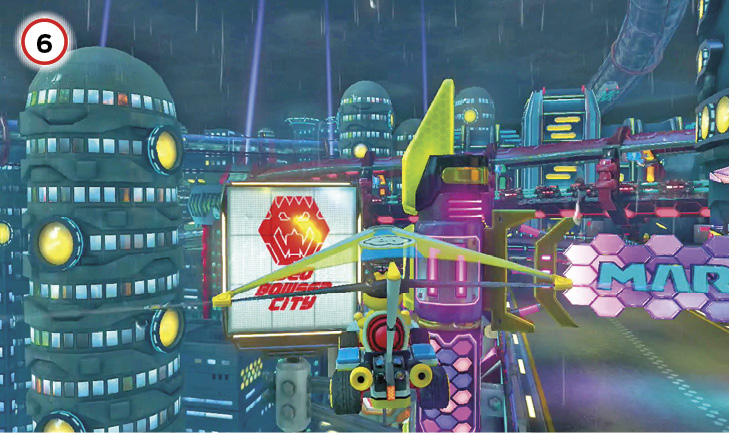

Jump left off the final ramp before the finish line and you can take to the air, skipping the starting grid’s section of track altogether. This shortcut requires precise steering, since the glider must be piloted between stage elements ahead, onto a fan that will blow it back up onto track level before descending too far. This shortcut doesn’t require the use of a Mushroom, though, freeing up Triple Mushrooms for tight corner-cutting elsewhere in Neo Bowser City.
GBA Ribbon Road

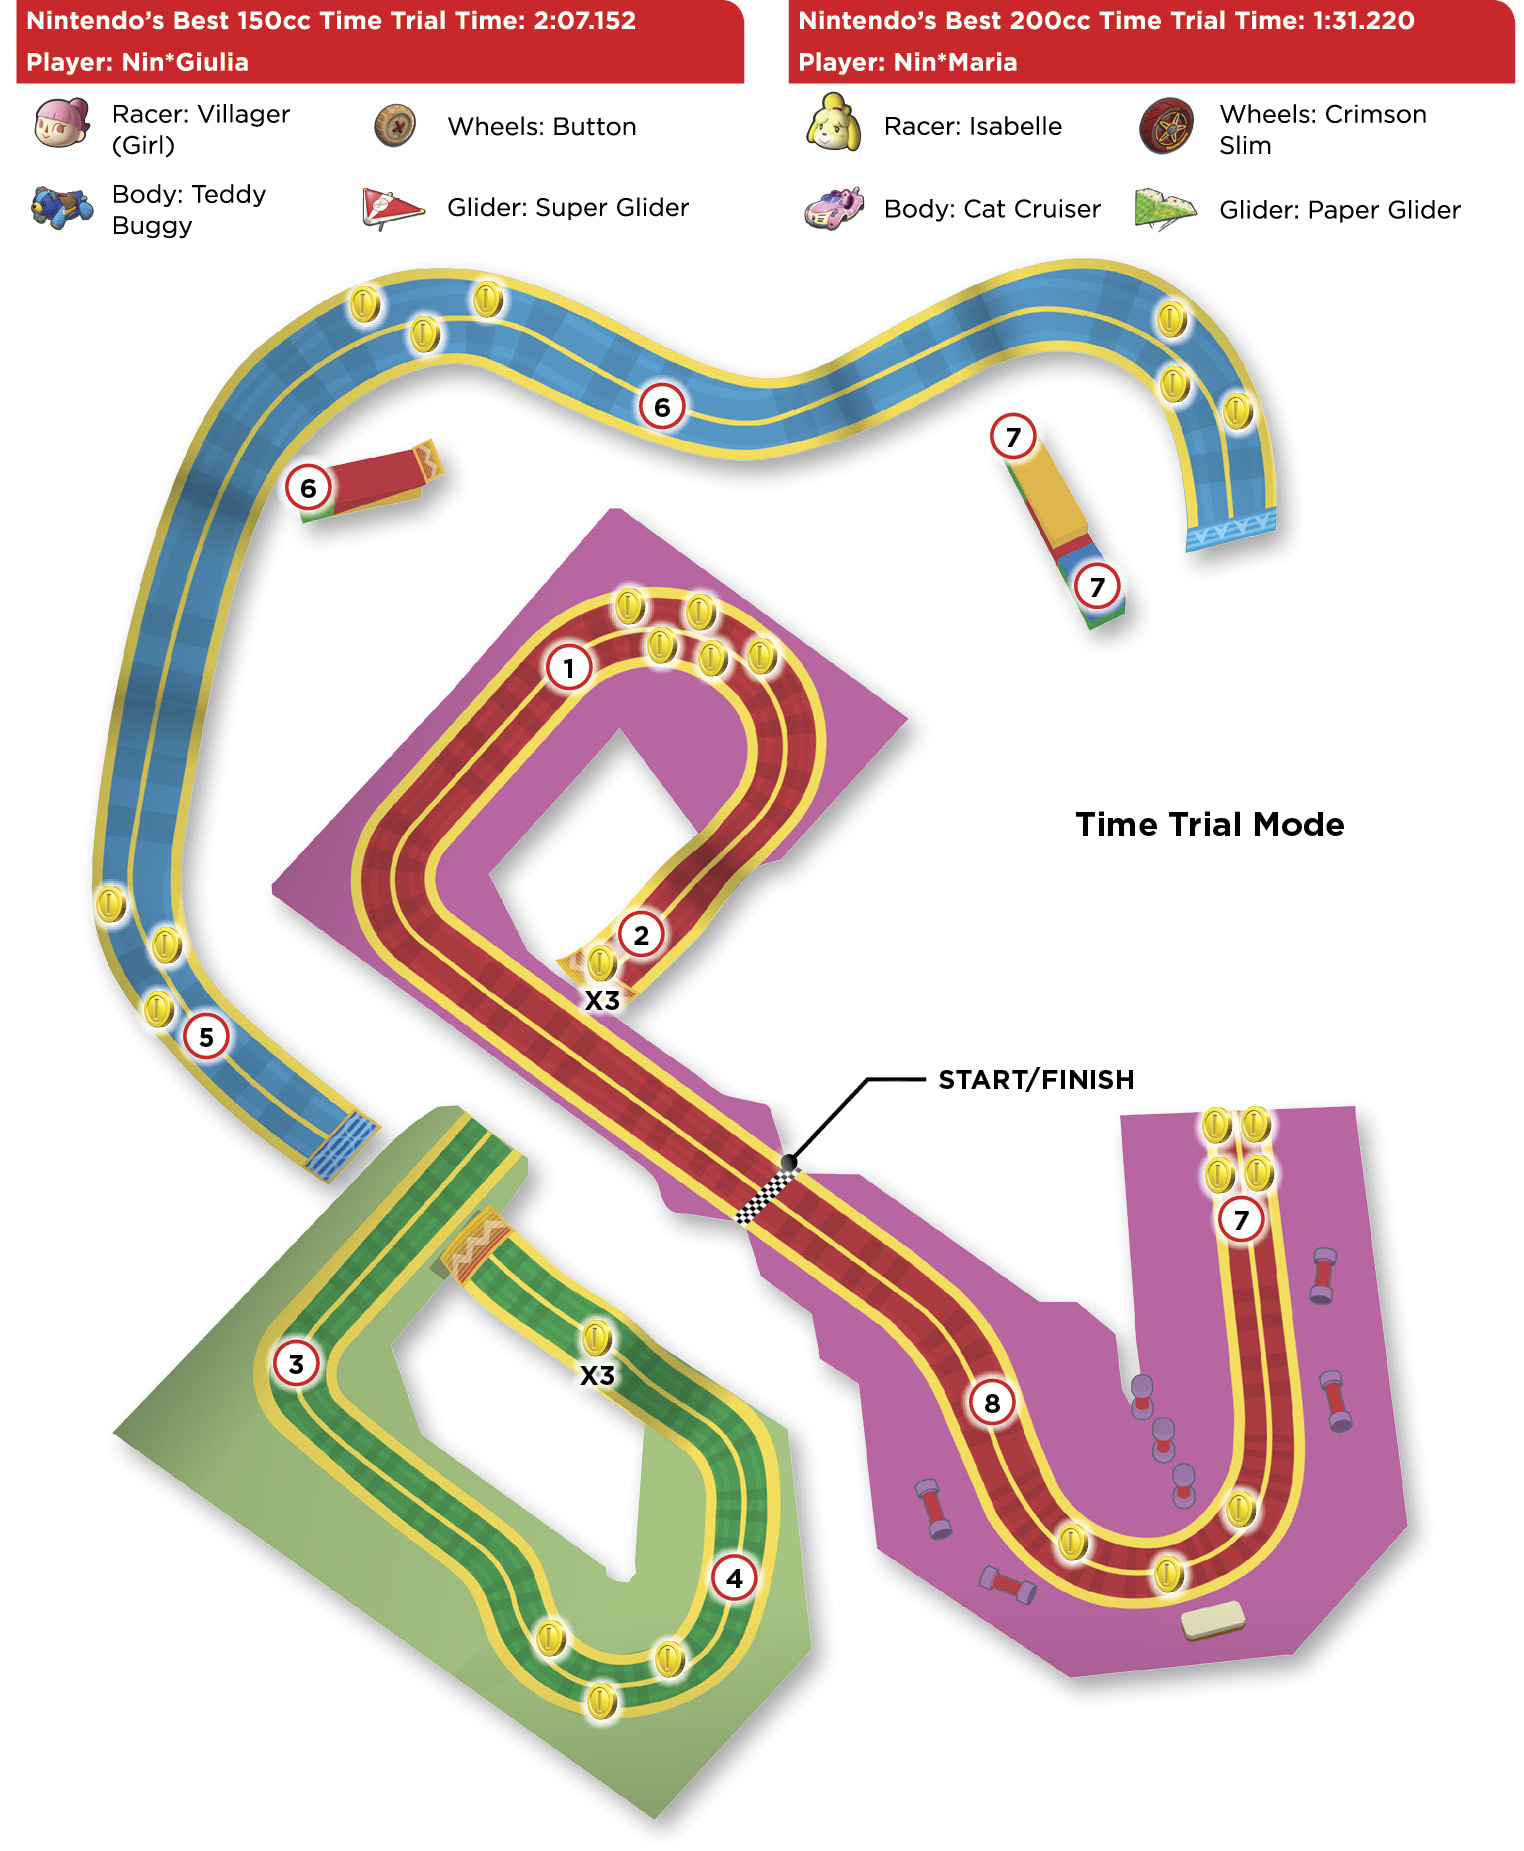
The track is an amazing miniature toy set in Ribbon Road, surrounded by model castles, building blocks, and presents. This colorful course will test your discipline, since almost the entire track lacks protective walls and is surrounded by rough patches. This is an easy place to make unforced errors, but it’s also home to some fun banked drifting turns and thrilling shortcuts.
Grand Prix
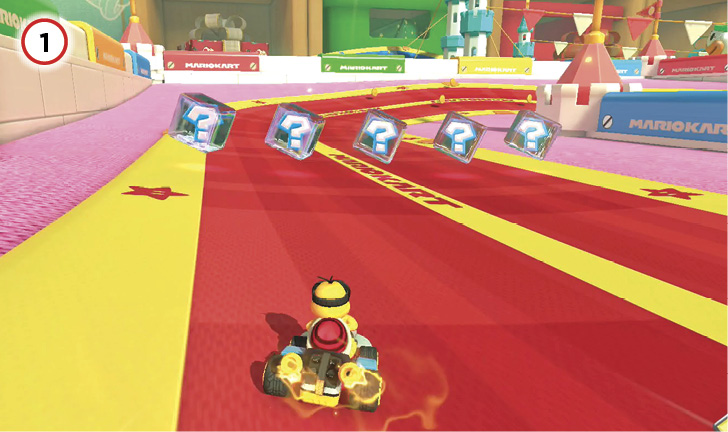
Rocket Boost off the starting grid to get going with a purpose, looking ahead to the banked right turn coming up. Drift through the turn to build up a Mini-Turbo heading into the first batch of Item Boxes. Another right turn up ahead has Coins lined up on both the inside and outside. A Mushroom boost can be used to cut a sharper right turn over the rough off-road portion, though during Lap 1 you’ll be preoccupied with Coin-collecting, and almost certainly won’t have a Mushroom ready unless you lingered too long around the first Item Boxes.
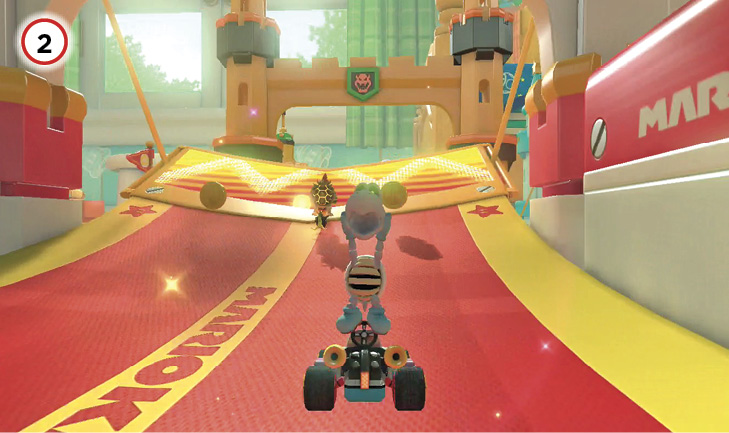
Out of the Coin turn, you’ll approach a ramp-like hill leading to a bonafide ramp. Hit the hill with enough speed and you’ll catch enough air to Jump Boost, so do so before immediately Jump Boosting again off the actual ramp. You’ll soar alongside competitors and land on a green stretch of rolling track below.
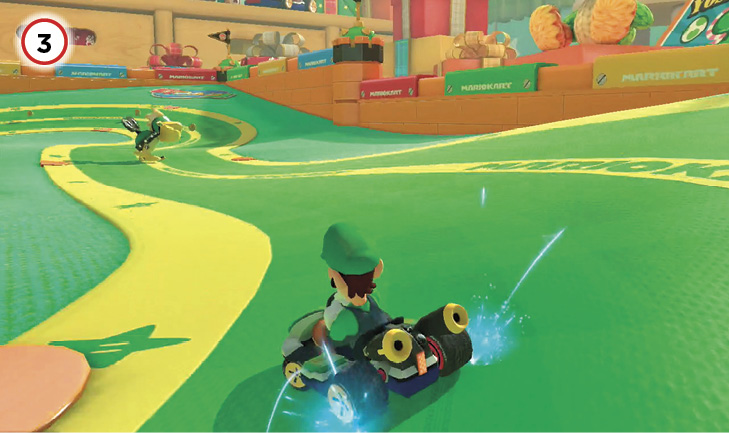
After a short green straightaway, the path curves left, where you’ll see wind-up Mecha-Koopas prowling the track. Give these robots a wide berth as you slalom through the shallow left-right-left turn. The secret to these turns is that you don’t need to be turning very much, so don’t get too aggressive drifting here or you might slide into the rough. With a Mushroom handy, you can cut left past the Mecha-Koopas much tighter, blasting through the speed-killing green matte surface that surrounds the track. Cutting ahead in the road skips three Coin pickups, though, so take the normal route and save the Mushroom if your Coins aren’t full.
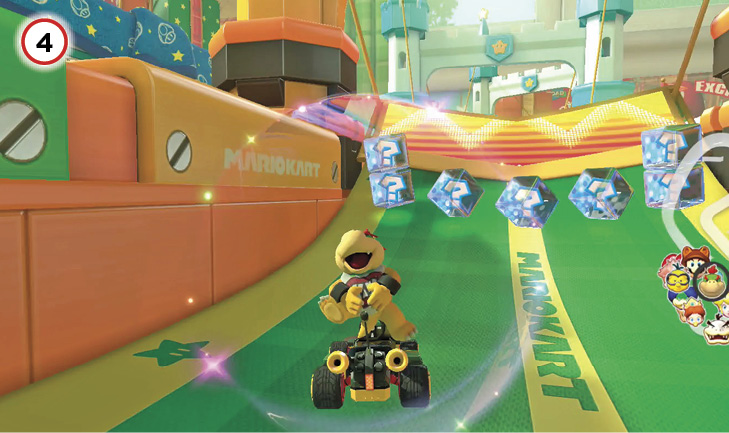
Where the track straightens out, the path leads to another small hop into a big jump. Hit the first hill with a Jump Boost while picking up one of the Coins across the road. Surging toward the big ramp, pull to either side of the road to pick up a double Item Box along the way, before Jump Boosting off the ramp. After the jump here, vehicles will engage their antigravity modes, the better to stick to the strange track ahead.
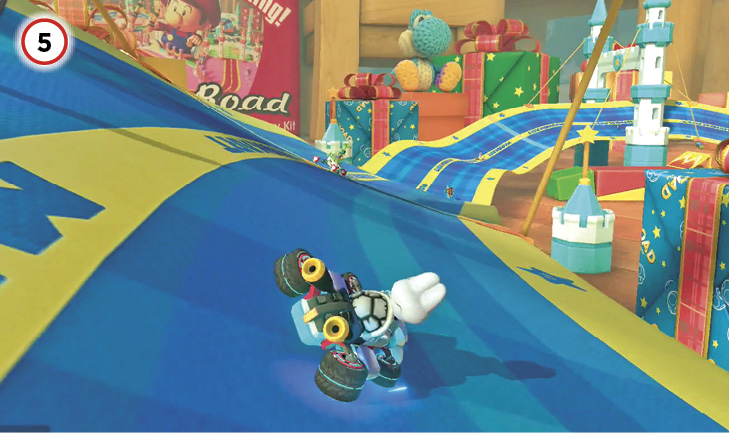
The blue track ahead after the ramp has no walls or guardrails on either side, and the entire length of it roils with crests and troughs like a roll of paper unfurling in slow motion. Whenever you cross one of the crests in the wave, you’ll catch enough air to Jump Boost, if you react quickly. Be cautious about doing this reflexively if you’re approaching a bend in the course, because you don’t want to be boosting off the ground when you desperately need the wheels in contact with the road and turning.
There are chances to collect Coins at several places along the churning road, with more Coins available on the outside line than closer to the inside.
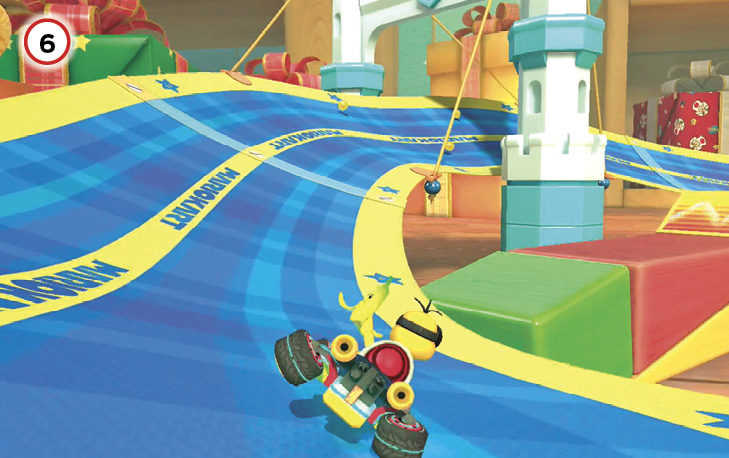
On the ribbon bridge, keep an eye out for a green block coming up on the ground to the right side of the road. If you can successfully transfer from the roiling road to this platform, you can score the first of two tremendous shortcuts here, with no Mushrooms necessary.

The problem is that it’s a hard turn to judge. Simply turning the wheel, no drift or brake applied, may not produce a sharp enough turn, so you hit the block but drive off the far side. Slowing down too much runs the risk of losing the momentum required to make it to the block in the first place—it’s close, but not so close that you can take it slow enough for total comfort. Plus, slowing down makes you a sitting duck for aggressive opponents close behind you.
With practice and good timing, you can Mini-Turbo straight from the track to the shortcut blocks. With the green block approaching, and starting from the right side of the track, hop left to begin drifting while lightly turning the wheel right. You want a regular Mini-Turbo—blue sparks, which don’t take long to appear—and you want the sparks to appear right about when your nose is pointed down the barrel of the shortcut. Releasing the drift and engaging the Mini-Turbo now kills the drift’s lateral momentum (the thing that was still carrying you in the correct direction on the rolling road, although the nose is now pointed off-course), carrying you forward off the track and onto the blocks in a straight line. This takes a little finesse and requires some practice but is a better long-term approach than trying to slow down and turn. If you’re going to risk falling off the track for an advantage anyway, risk it assertively.
If you choose not to attempt the shortcut, focus on scoring a Coin or two while unleashing drifting Mini-Turbos and Jump Boosts around the turn. With Bananas handy, consider spreading them around where shortcut users land from the jump.
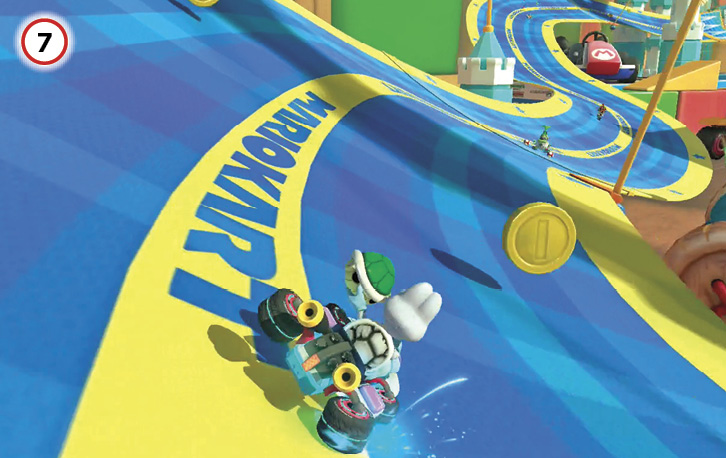
The combination turn-and-shortcut here is basically a more extreme version of the one right before. A green block still signals the stack of blocks to aim for, but the turn is tighter and the jump distance longer. If you’re successful in crossing from the track proper to the shortcut of blocks, there will be a chance for a Jump Boost off the yellow ramp block.

Whichever route you take, a launching ramp is coming up. There are Item Boxes positioned just past the ramp; from the road, aim for the center for a double Item Box. From the shortcut ramp, aim for the Item Box on the left.


You’ll end up launching into a glider segment, where you’ll have to pilot your craft around seemingly gigantic Koopa Copter toys toward an arched landing on the far side of the big gap. Immediately upon landing on the far side, there’s a chance to collect a couple of Coins while getting used to solid ground again.
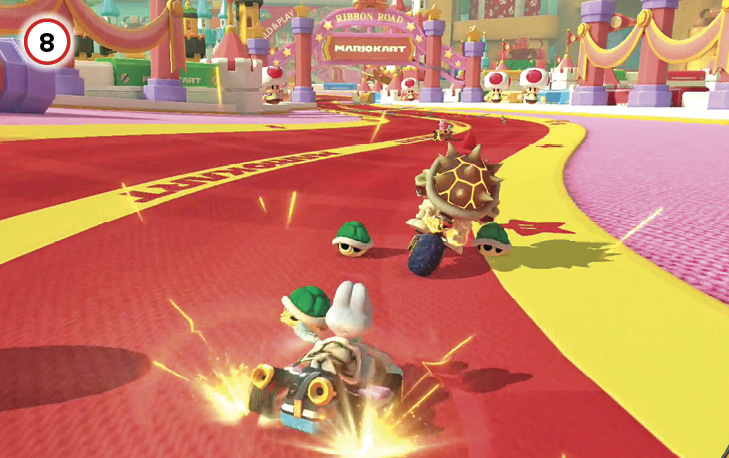
A wide right turn surrounded by off-road texture provides racers a generous road for the final push. Either use a Mushroom to cut through worries about maneuvering and plow straight for the finish, or drift along the Coin path while building toward a Super Mini-Turbo.
Time Trial
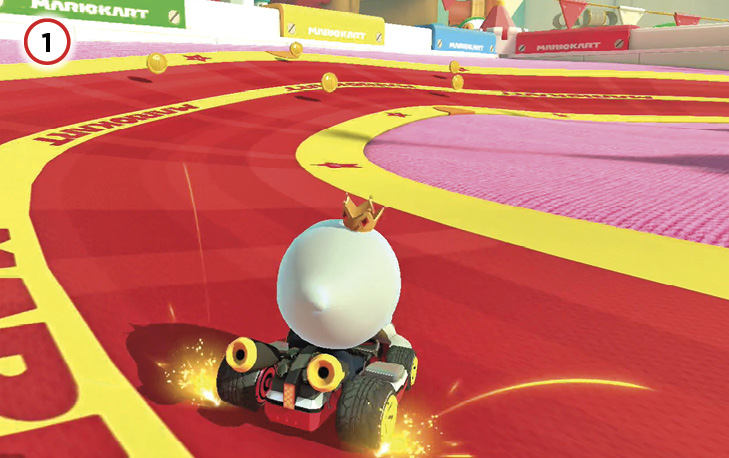
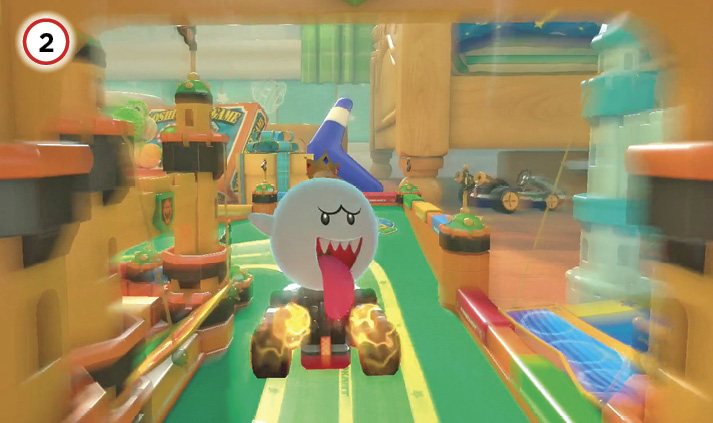
Out of the gate, with no adversaries or items to worry about, a solid performance depends on keeping up top speed and a tight racing line without getting bogged down off-road. As usual, part of the job of the first lap is to outfit you with Coins, so your top speed is maxed out for later laps. The first two right turns can be taken tight and inside, building up sparks for boosting. Take advantage of the pile of Coins on the second turn. Whatever you miss now, you can get on the next lap, if needed.
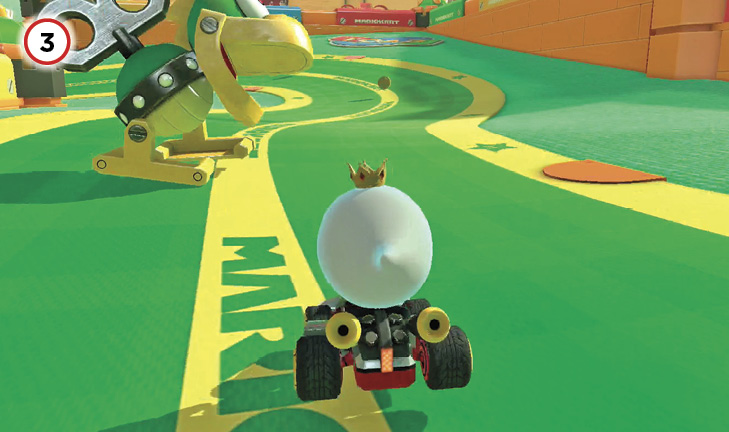
A small hop before a ramp allows for two rapid Jump Boosts over this gap. Jump Boosts provide a little extra oomph during a time when sudden acceleration contributes to forward progress quite nicely. There’s no resistance from the track when airborne, and every little bit helps. Jump Boosts can be produced off jumps large or small, but also off other situations where your vehicle is bounced or lofted up off the ground just a bit more than during an R hop. This can include driving over divots, logs, or craters on otherwise-pristine track, and it can include situations like here in Ribbon Road, where the track itself can kick you up off the ground a bit through its movement.
The Mecha-Koopas stomping around here are somewhat unpredictable, so you’ll have to adjust on the fly if one of them is interfering with your preferred racing line. Slice between the turns with blue-sparked Mini-Turbos, if you’re feeling nimble.
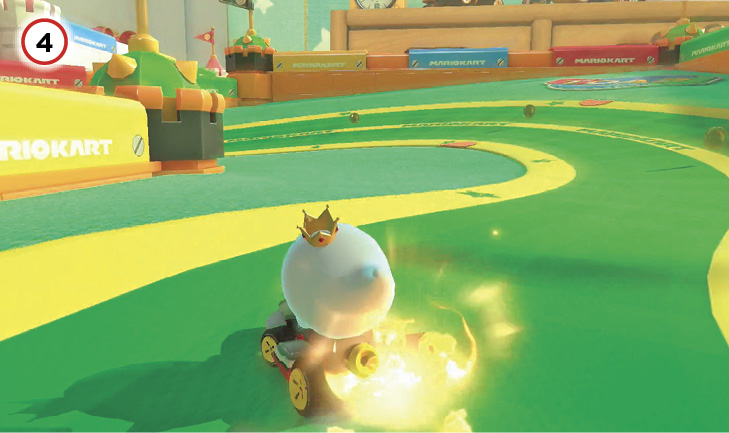

The biggest shortcuts on Ribbon Road don’t involve Mushrooms, so you can choose between a few appealing off-road options for Mushroom use. One solid option is to cut right through the horn of grassy terrain here. Save this tactic for when Coins are full, though. If taking the normal way around, keep your drifting tight against the left curb, building speed for the jumps ahead.
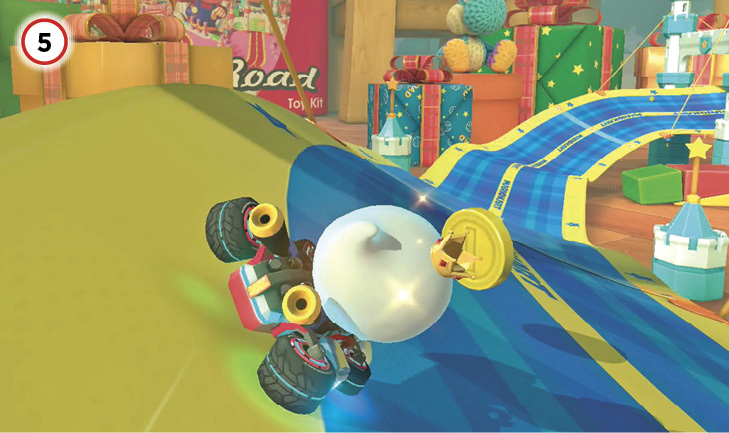
A couple of Jump Boosted leaps here will transition you to antigravity mode on the waving, wobbling section the whole race is named after. Swing wide on the left your first time through this section—if you’ve snagged every Coin reasonably possible so far, you’ll hit ten here.
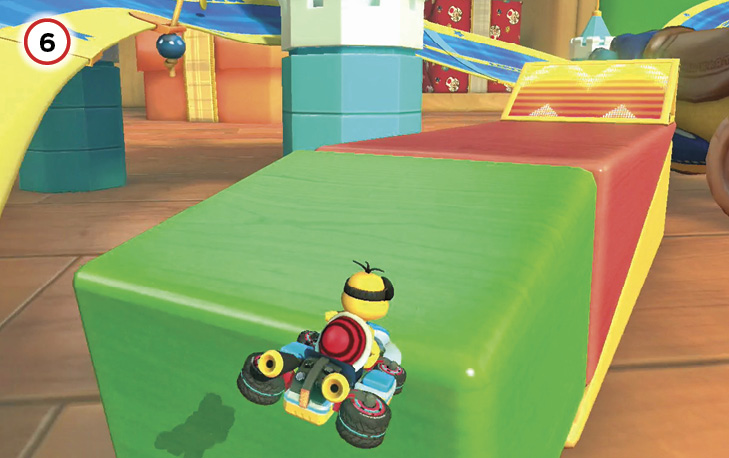
Either slow down just enough to make the turn onto the green block without gliding off, or channel your momentum forward over the straight path with a well-aimed Mini-Turbo.
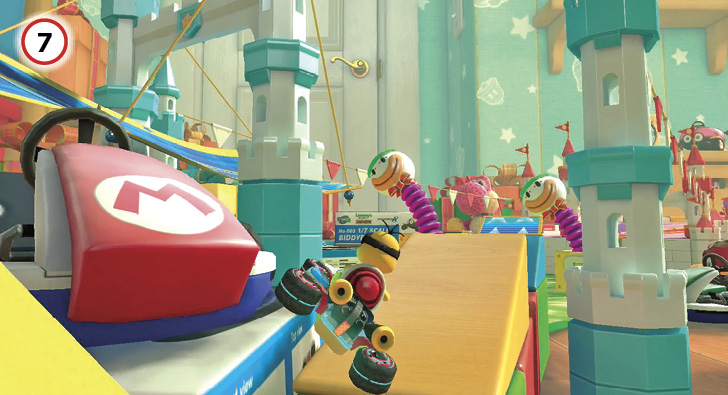
Taking these shortcuts is always hair-raising, but at least matters are greatly simplified without other racers interfering as you try to line up.
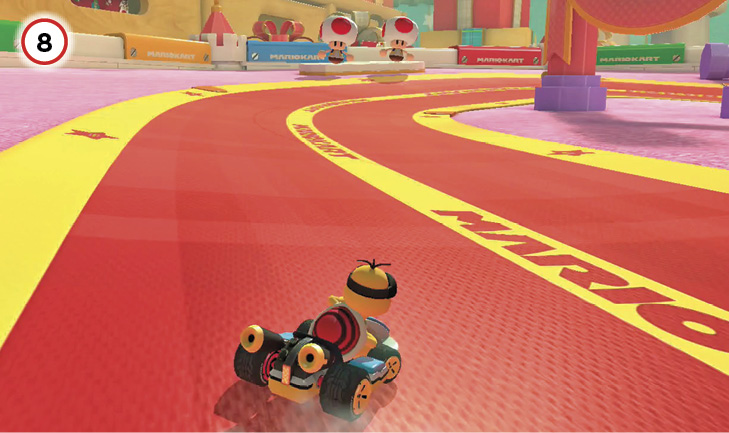
After navigating the glider segment, avoiding the Koopa Copter toys, touch down back on the track and then swerve right, in between the columns, and cut across the terrain with a Mushroom. This shortcut is the best use of your Mushrooms.
Super Bell Subway

In all the excitement of being in the Mushroom Kingdom, did you ever stop for a moment to ponder how people live their day-to-day lives? What do they eat? Where do they work? How do they get to and from the locations most vital to simply being? We have no idea about the first two questions, but Super Bell Subway can certainly answer the third—a hussling, bustling train station for the normal, everyday citizens to get from Point A to Point B and back again.
Grand Prix
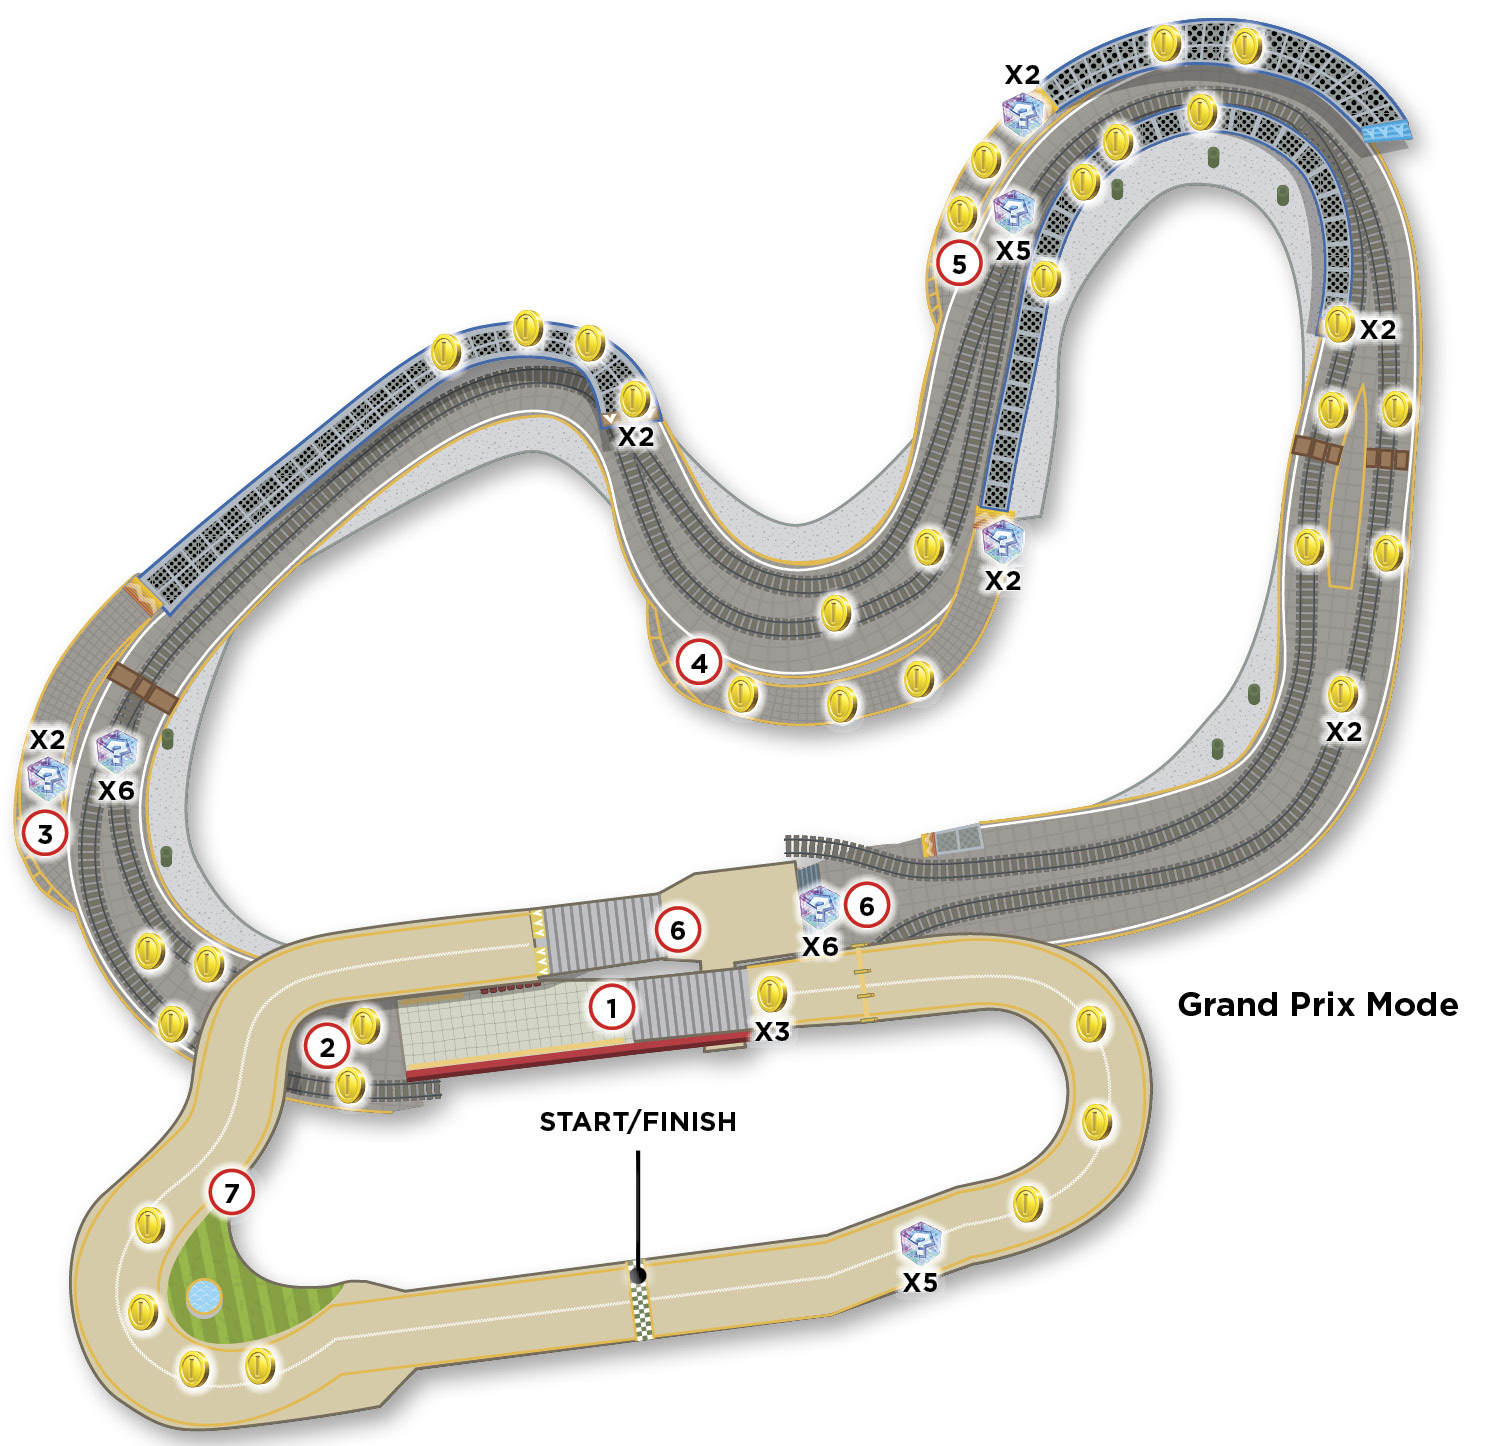
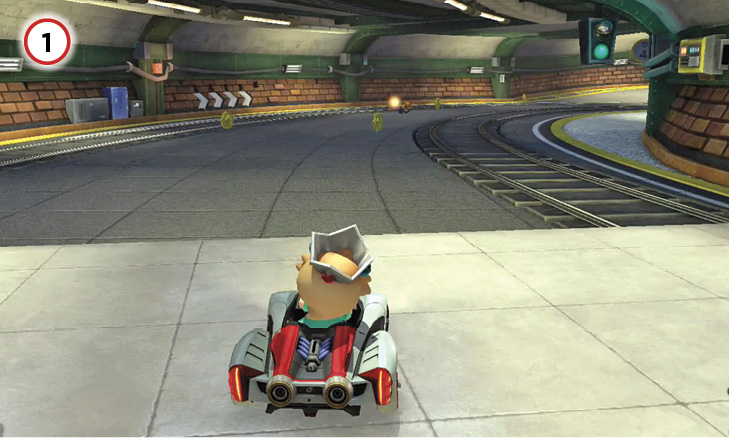

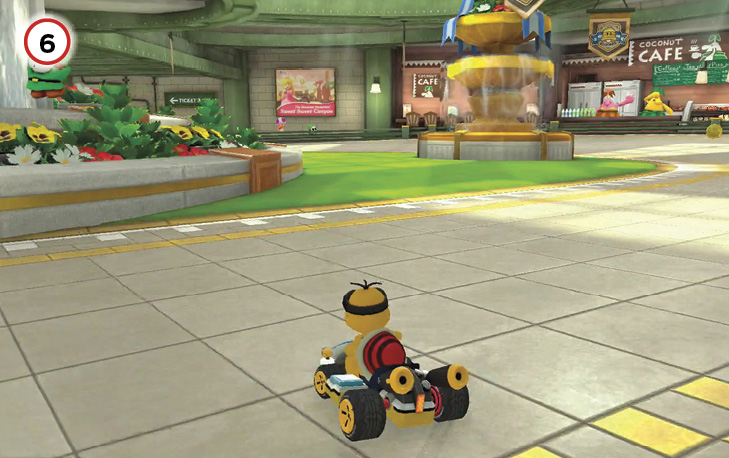
Most of the race is spent in the underground portions of the Super Bell Subway. These sections are made up of hard turns, so stick to the inside of each one and drift on through. Try and stay away from the outsides of the turns. Not only are these lines slower, but it’s harder to drift when you have a train passing; a single touch to the train will knock you out.
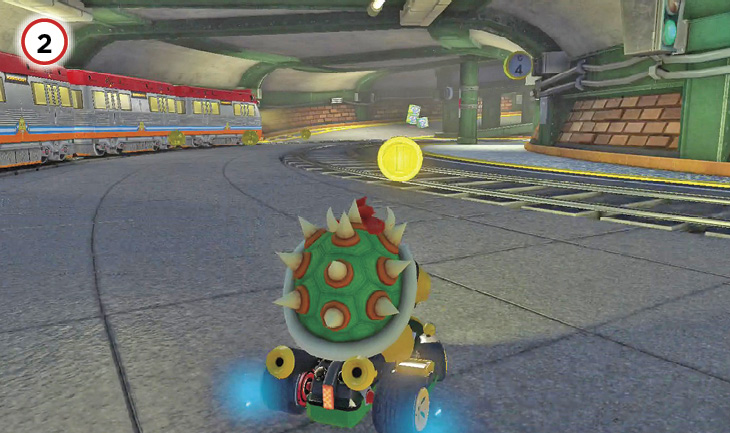
As this is a subway, these tunnels are filled to brimming with trains. They don’t move particularly fast, but they can spin you out with even the slightest contact. Stay close to the insides of the turns, and whatever you do, don’t touch that train!
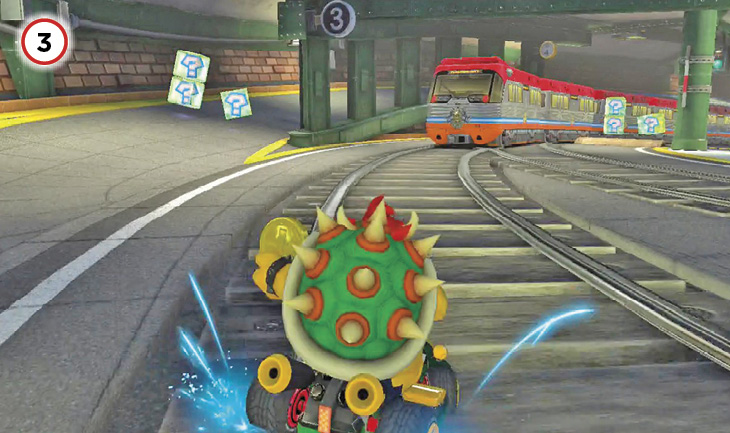
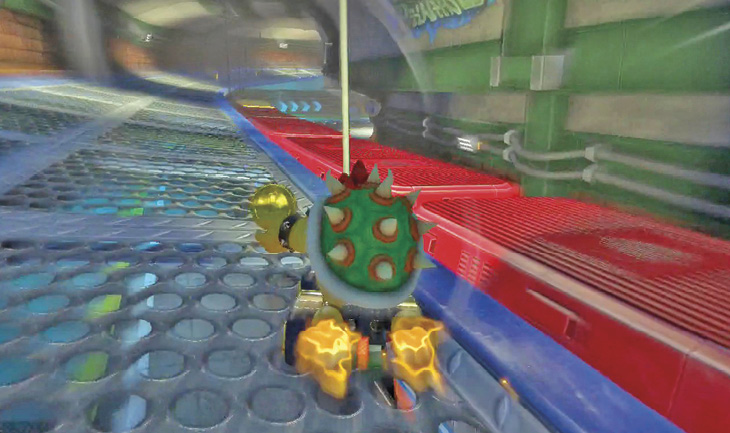
You can use this ramp to avoid the trains and other traffic. The ramp itself hangs a sharp left, so be careful not to hit the wall on your way up. Once up the ramp, you’ll drive along a catwalk for a time. If a train happens to be passing by underneath it, you can attempt to hop on the train and hit a dash panel at its back end. It’s a risky maneuver, so don’t attempt it if you’re not sure you can reach that dash panel.
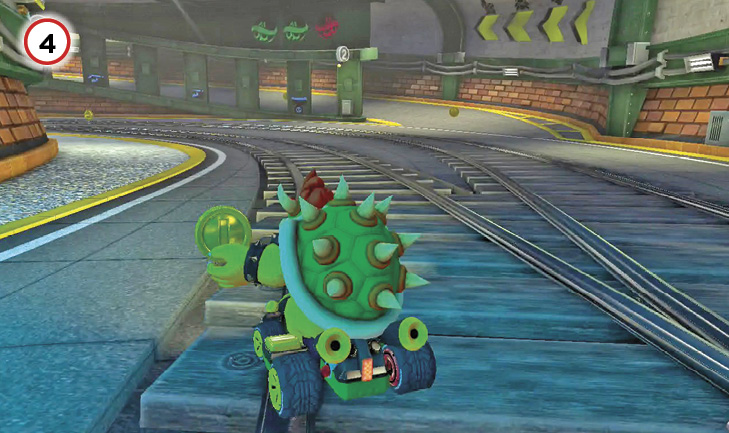
Immediately after dropping off the first catwalk, another ramp will be waiting ahead. This turn is hard to make on a straight path, so go in with caution.
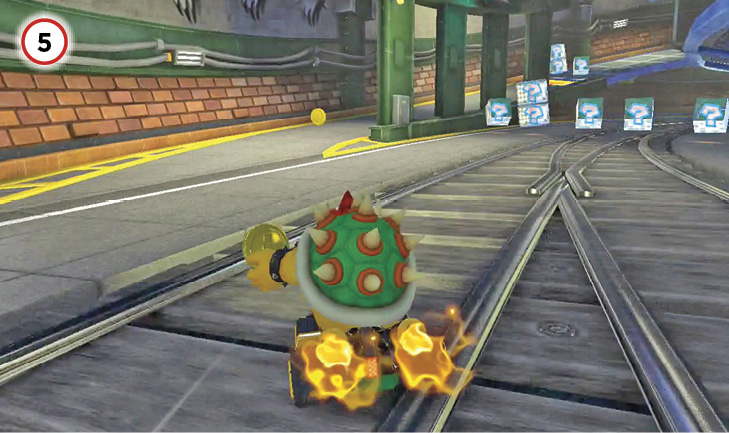
If you miss the second ramp, there’s a third and final ramp that will appear on your left. It’s much shorter than the first and second ramps, but it will get you off the ground and out of harm’s way. The one advantage to this path is that it ends with a ramp that will deploy your glider, meaning you can glide your way through the remainder of the subway.
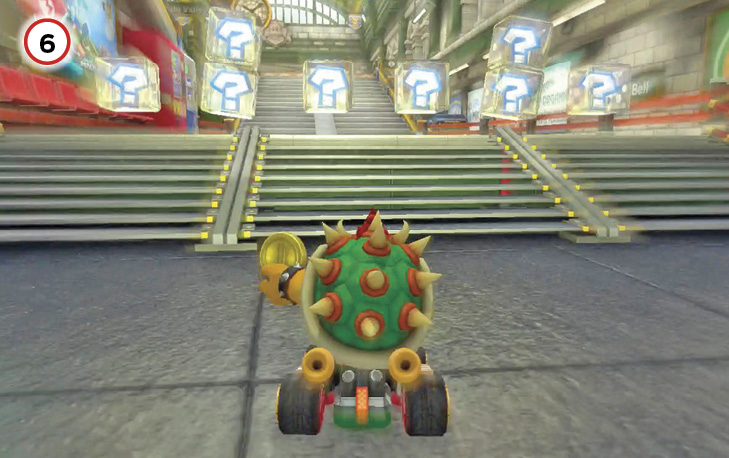
If you hit the jump button right at the tops of these stairs, you’ll get a Jump Boost. Get Jump Boosts on both sets to blow past the competition.
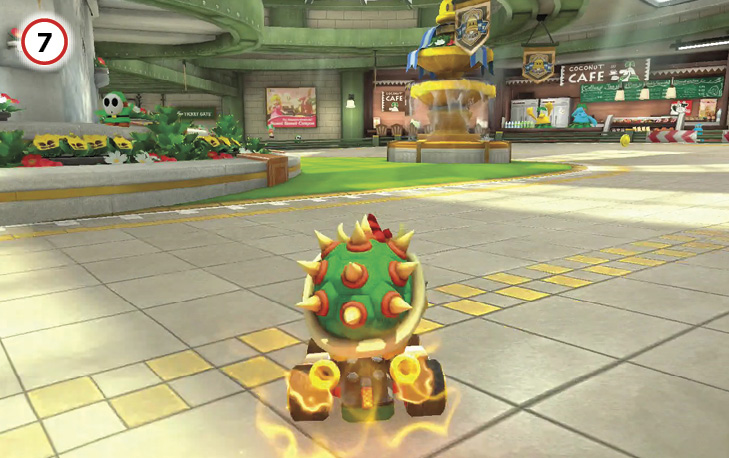
If you happen to have a Mushroom handy, you can cut through the grass here. It might be enough to put you in the lead at the end of a tight race.
Time Trial
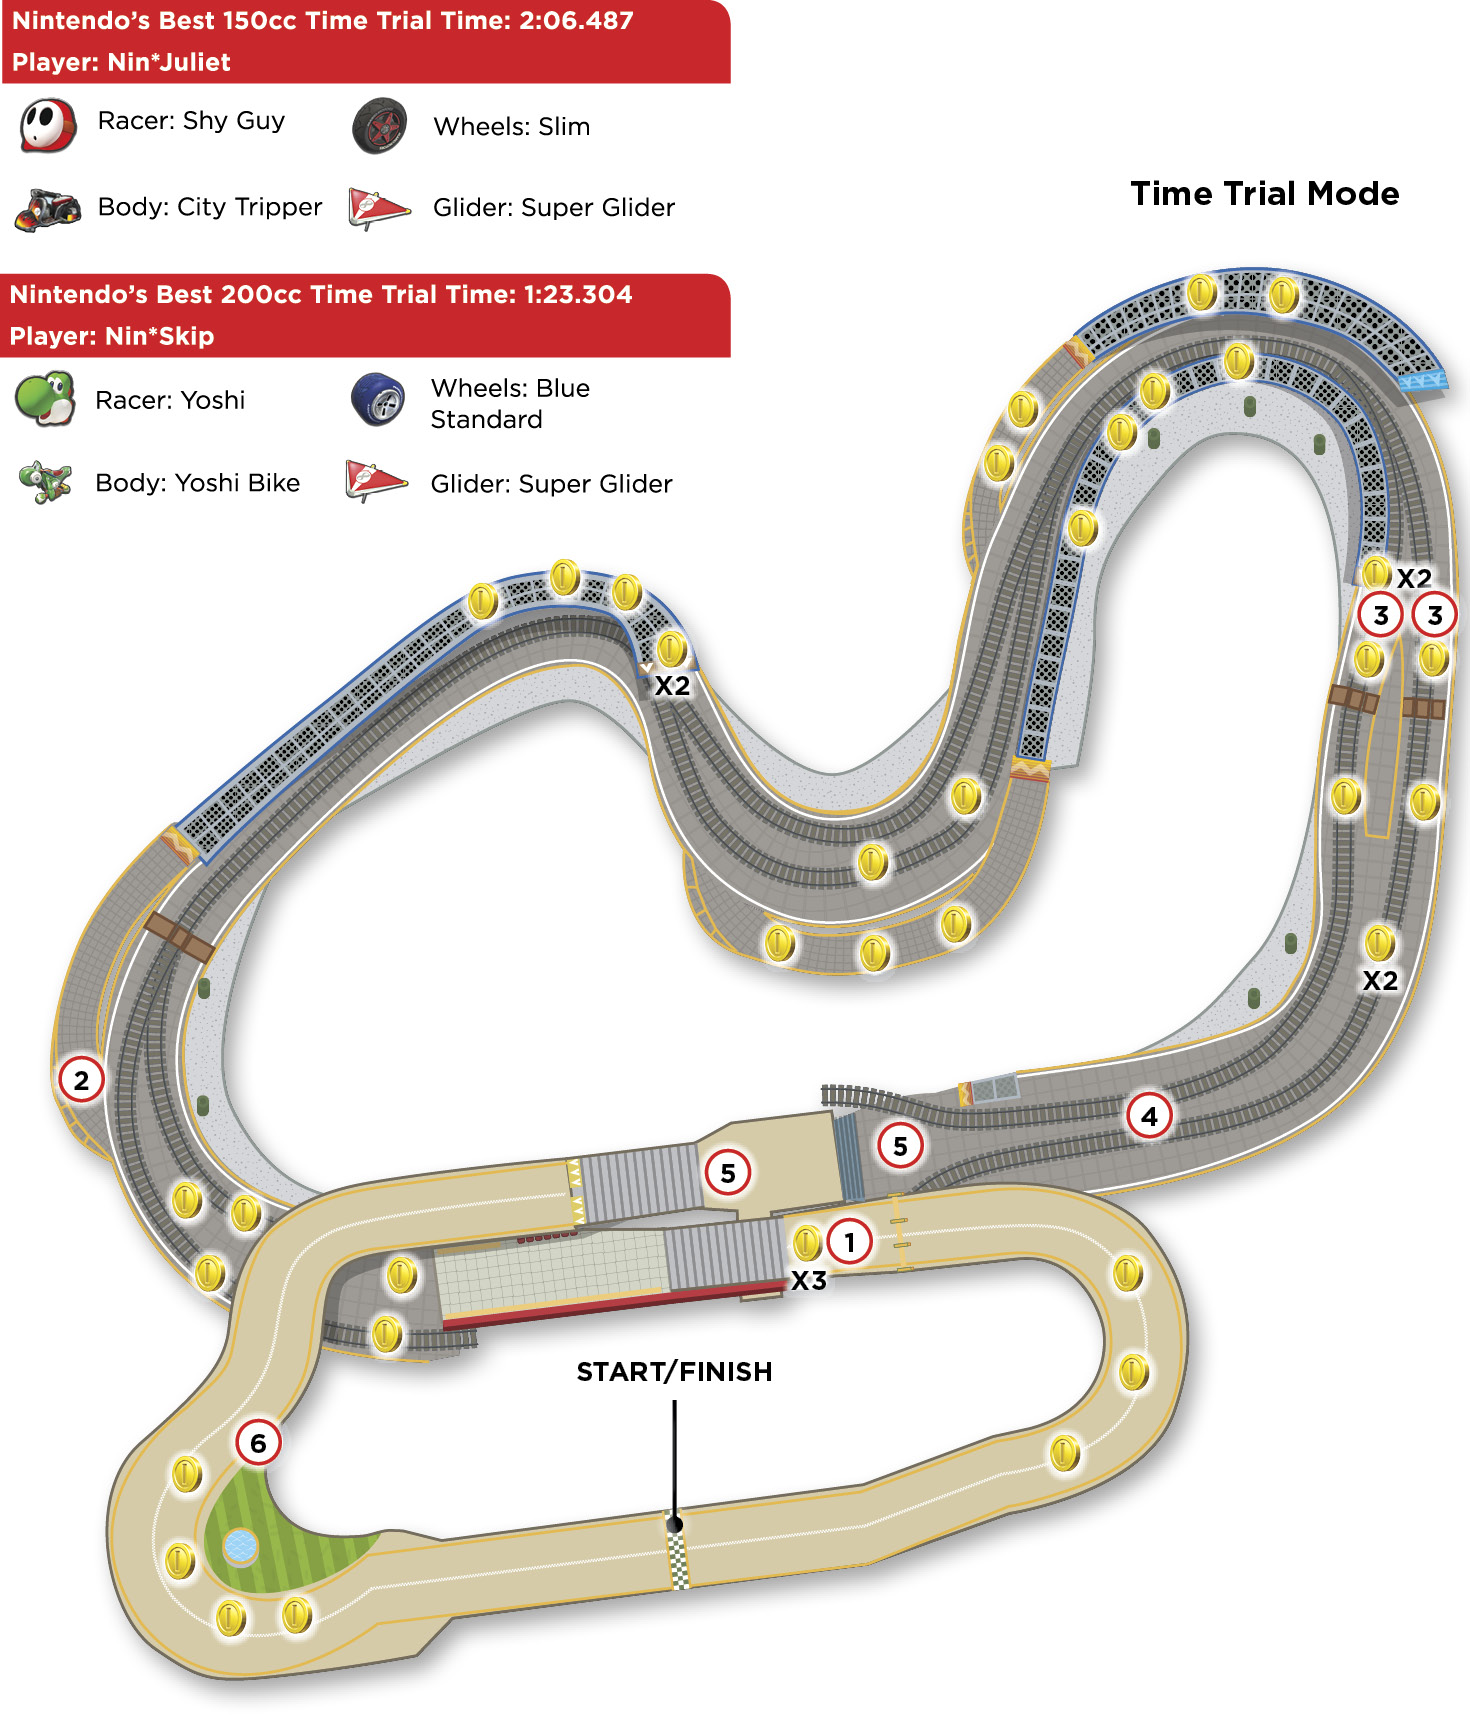
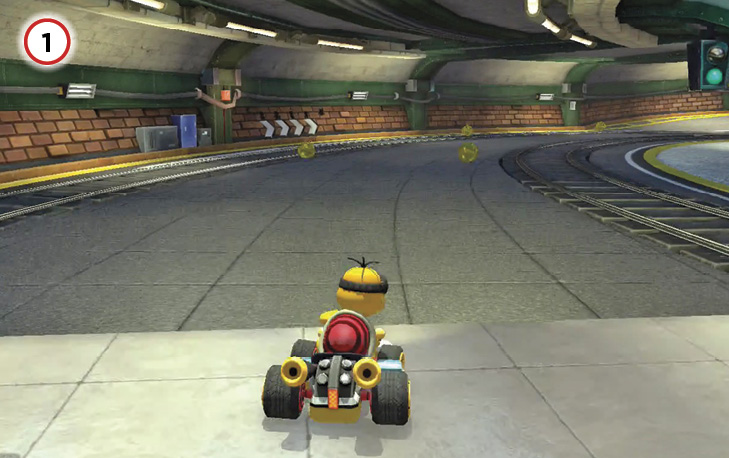
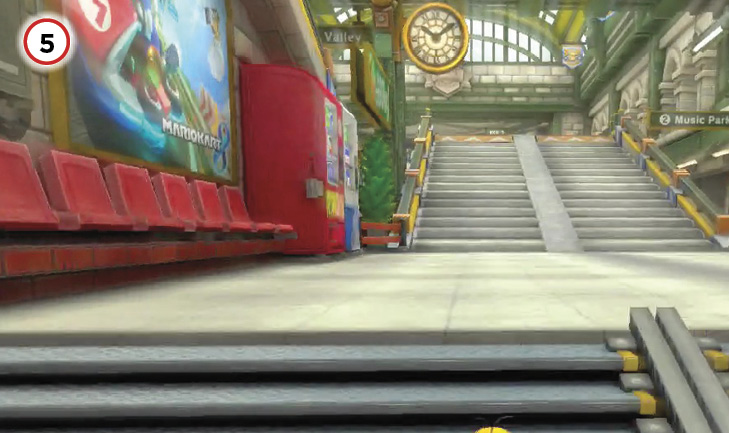
Make sure to jump off these stairs to get a Jump Boost. It’s not much, but any bit of extra speed will work in your favor.
Don’t bother going up any of the three ramps in the subway. Avoiding the trains is nice, but you’ll have to brave the locomotives to get your best time. Instead, stay on the inside of every turn and hug the line as much as you can. Drift around the turns, build up a Mini-Turbo or better, release, and then do it again on the next turn.
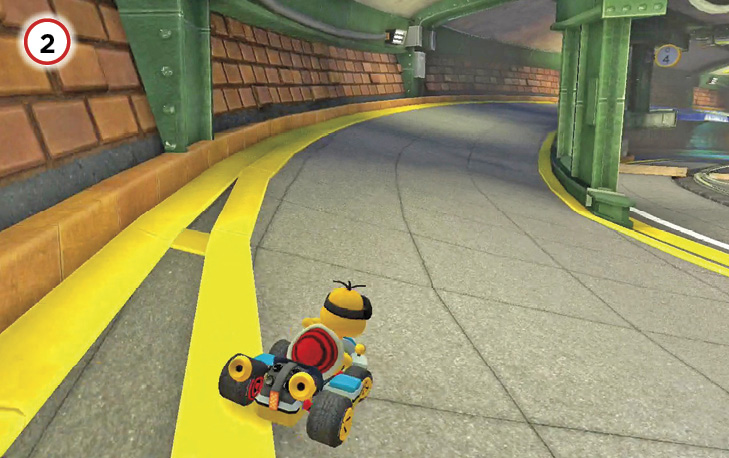
You can jump off the little speed bumps just below the third subway catwalk area for a Jump Boost. Don’t miss the opportunity!
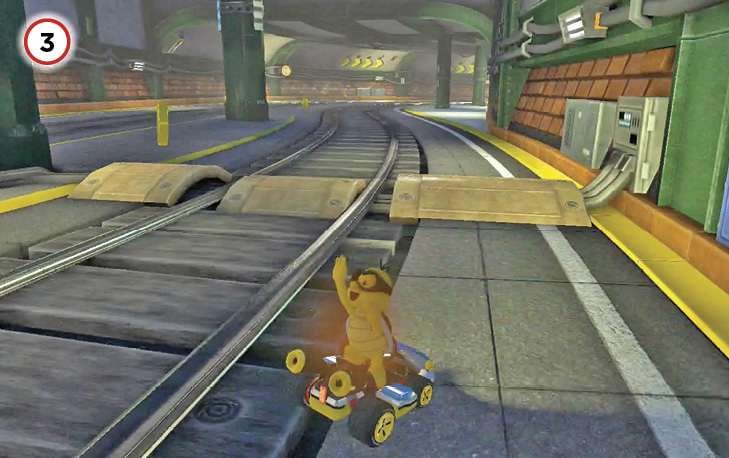
Dash panels can be found on the left and right sides of the road and at the tops of the stairways against the left and right walls. We suggest you stay close to the ground and go for the panels on the lower level. You can get Jump Boosts from the upcoming stairs, but you’ll miss one set if you take the upper dash panels.

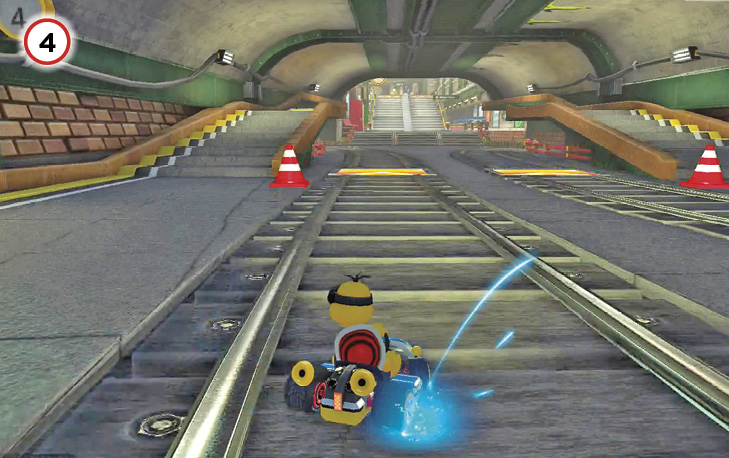
You can earn Jump Boosts off these stairs if you time your jumps correctly. They’re certainly a nice follow-up to the dash panel you just hit.
Save your Mushrooms for this shortcut. There’s no better use for them on this track.
Big Blue

Another blast from the past appears in the form of this sprawling F-Zero course. Big Blue is one of the only courses that begins and ends in different places, failing to close the loop—it begins near sea level, winds above the ocean in loops and curls, and eventually points straight upward to the finish line in the belly of an enormous airship. Indeed, when you look at the map provided here, realize that it’s a profile view! Big Blue has no Coins on the track, like Mute City. Instead, Coins are built up by spending time driving through purple boost pads.
Grand Prix
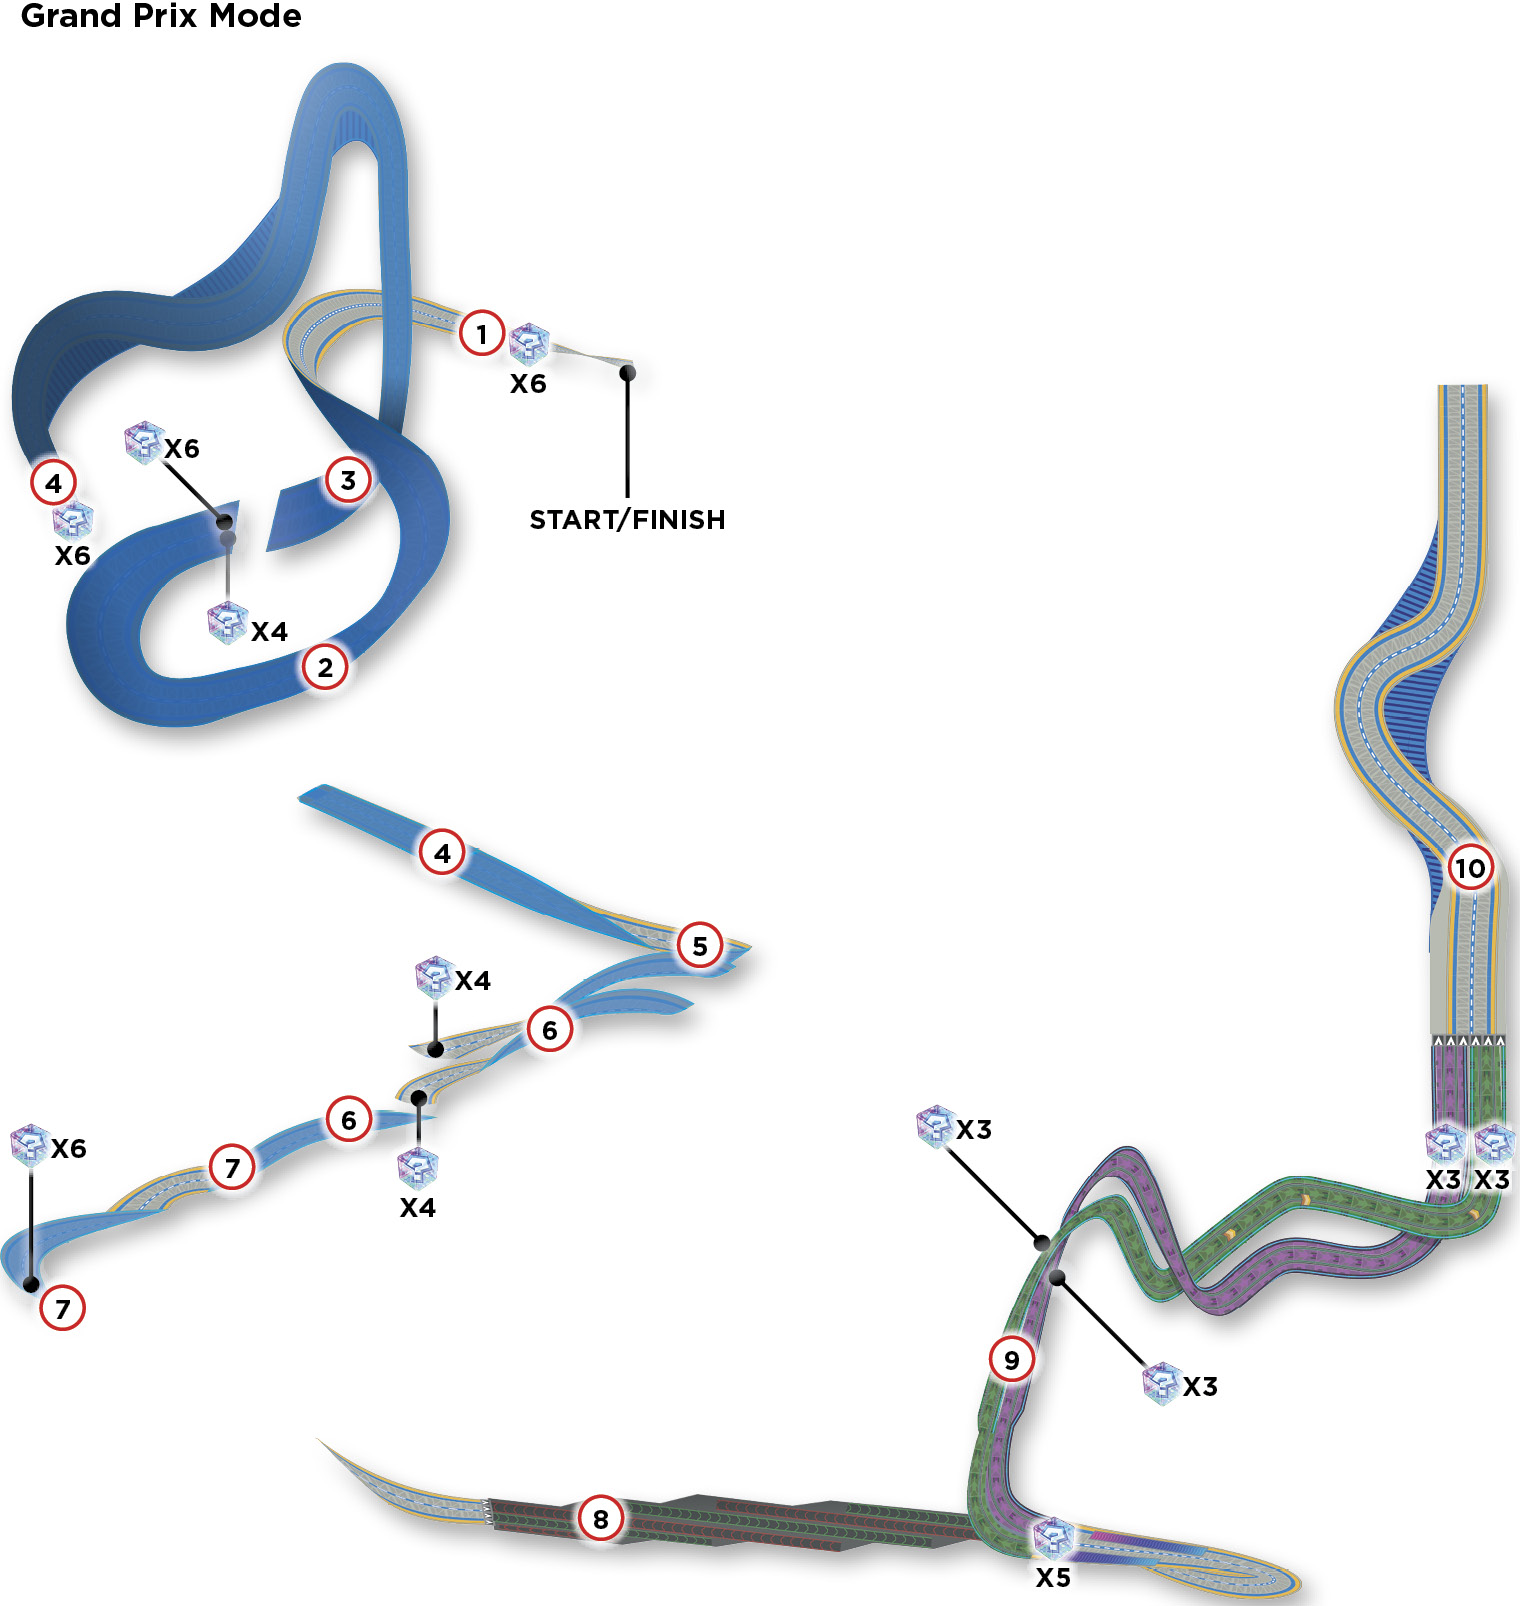
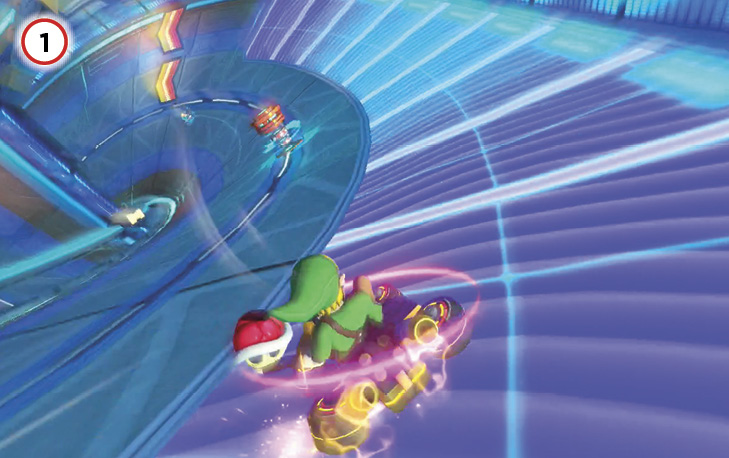
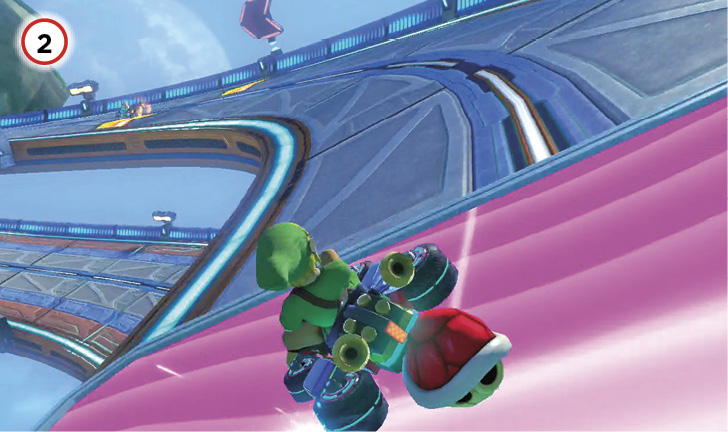
At about the point you run into the first line of Item Boxes, it’ll be time to start drifting toward the first big turn. Many of the turns in Big Blue are long, sloping twists like this one, where an extended shallow drift can carry you forward through boost pads and Spin Boost pillars, building sparks for a Mini-Turbo all the while. Heading into the turn, drift into the dash panel on the right and ride that boost through the purple panel on the outside wall. This recharge zone will fill up your Coin total quickly. There are no actual Coins to be found in Big Blue, unless they’re knocked from other motorists. After exiting the recharge zone, catch a boost from dash panels on the right, then ride that boost into the center of the road to nail a Spin Boost pillar too.
After a small ramp and downward step (which you should Jump Boost during), the track splits into two halves, which fork into upper and lower decks. Both forks hook into left turns that end in big jumps. Much of the top deck is covered in purple recharge panels, so if you’re short on Coins, take the right fork and head up. The left fork doesn’t have a recharge panel, but has more Item Boxes spread in front of the jump at the end, including a double Item Box right in the middle. (If you take the right fork toward the purple panels, the double Item Box is second from the left.)
After landing from the jump, whichever fork you took, be ready to tackle some conveyor belts. The green conveyors move away from you, boosting speed; the red conveyors move toward you, acting as a brake. The key to plowing through this segment efficiently is to aim and line up drifts that both align with the turn at hand, and carry you over the green conveyor through the entire curve.
Immediately after landing from Section 2’s final jump, be ready to make a slight turn right, from the left side of the course. Jump Boost off the end of the conveyors here, then get ready to immediately drift hard to the right, again from the left side of the course. After exiting that section of green conveyor, tack hard to the right side of the road, then begin drifting left immediately as you enter the next green belt. After this short drift, tack hard again back to the left side of the road, and then drift right, riding the left side of the road on the last strip of green belt.
If you’re going to cross over a section of red conveyor briefly, such as at an angle, hopping can help reduce or eliminate loss of momentum. Running full-steam into the path of the red belts, though, is a terrible momentum-killer. Like when veering off-road into bad terrain, a Mushroom can salvage a bad turn or drift solidly onto a red conveyor, but it’s better not to need to use one.
Immediately after exiting the fourth and final conveyor strip, a huge jump looms, with Item Boxes across the lip. The second one from the end on either side is a double Item Box. After a lengthy glide descending, you’ll touch down on a bit of track with purple panels on either side, so pick up more Coins in reserve if needed. The “pit stop” with these recharge panels represents the end of Big Blue’s first segment.
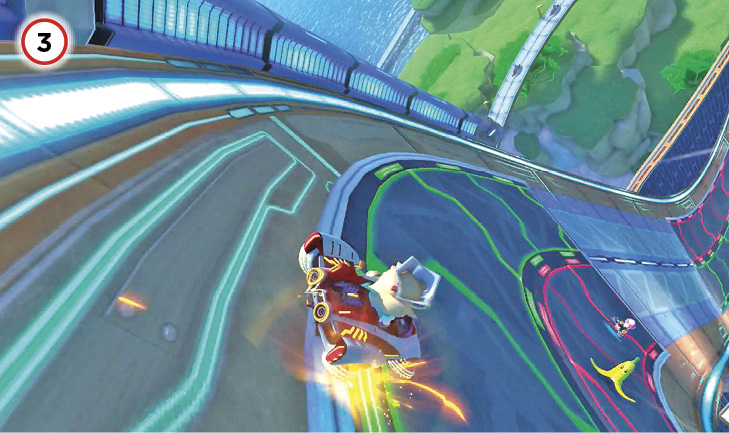
The track here curls dizzyingly downhill. As if to prove the point, jets of water spew onto the track and form minor rapids, adding to the sense of speed. Much of this section lacks guardrails around the track, and the track again splits into upper and lower decks, which amount to basically the same journey, with important exceptions. The first major turn in the sci-fi waterpark is a sharp right, after which you’ll have to choose whether to take the left or right split in the road. As before, both arms rejoin after several twists and turns. Either fork ends in Item Boxes and a small jump. (The second box from the left is the double pickup, so veer that way. Even if you don’t need two items right this second, it might deprive someone hot on your tail.)

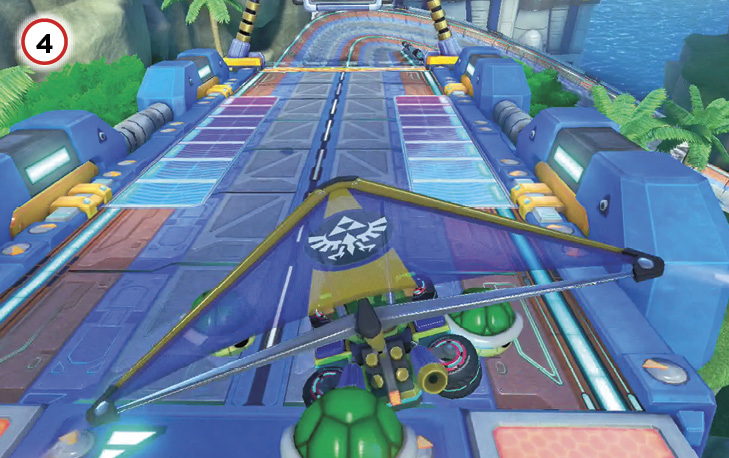
The left fork where the track splits is basically the same as the right fork (detailed in Point 5), except that it conceals one of the game’s less-obvious shortcuts. As a plus, the shortcut doesn’t require the use of a Mushroom. To take it, fork left at the split, then drive along the right edge of the top deck, while keeping a keen eye on the guardrail on the left. You want to fly off the track right where the guardrail ends, veering hard left while leaving the track. Trust us. Properly done, you’ll glide off the track in antigravity mode without aid of a ramp, so no glider deploys. Antigravity mode helps loft you just enough anyway and you’ll rejoin the track farther down, skipping altogether the entire turning portion of the double-decker segment (though you’ll also skip all the Item Boxes there, which is worth thinking about if you’re empty-handed).
As a caution, note that while this is a terrific shortcut, it’s a terrible place to get hit with a shell.
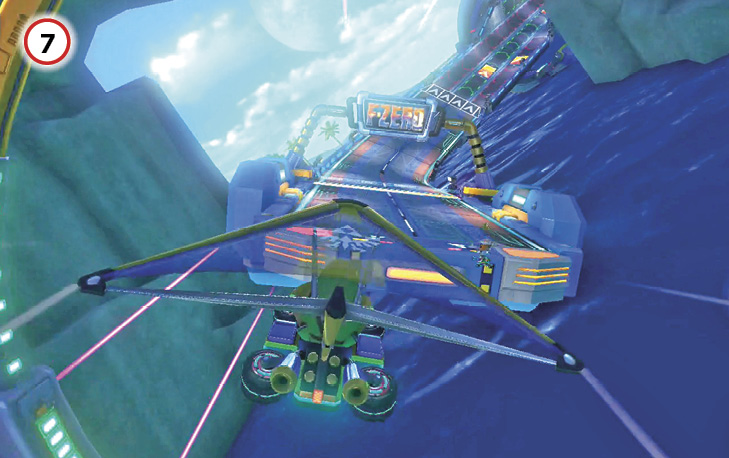
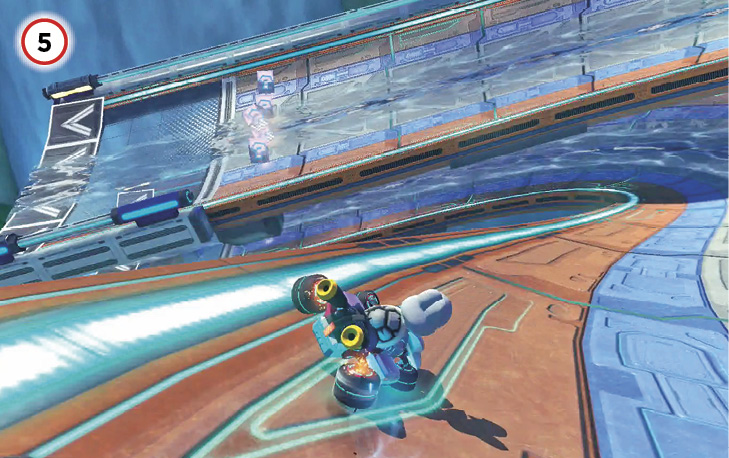
From the previous landing, you can opt to recharge Coins with purple panels running along either side of the track. The right turn coming up quickly reveals a ferocious snaking S-curve up ahead. From the panels, drift through the right-left-right turns, holding the drift only long enough for blue sparks to emerge, creating a Mini-Turbo upon release. As the kart surges forward, immediately begin a drift in the other direction and repeat. You can hold each drift long enough here for blue sparks, but no longer, and careening back and forth on a trail of blue-spark boosts will carry you perfectly through this series. At the end of the sci-fi rally series, several Item Boxes line the road ahead of a supercharged antigravity glider corridor. The second pickup from each side gives double items. Resupply, then immediately Jump Boost off the ramp into the glide path.
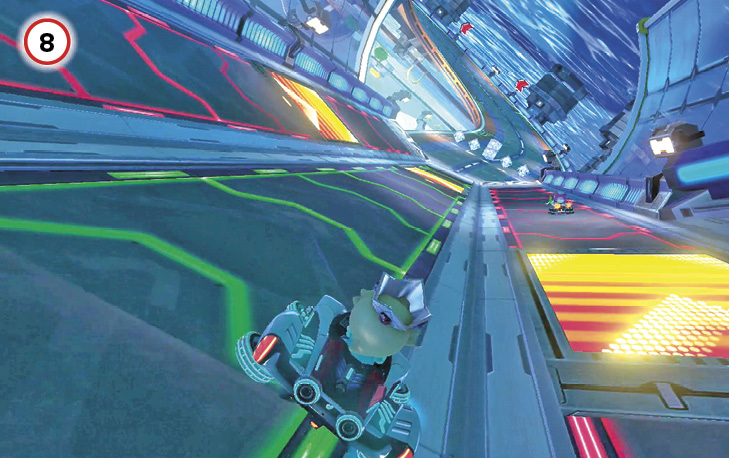
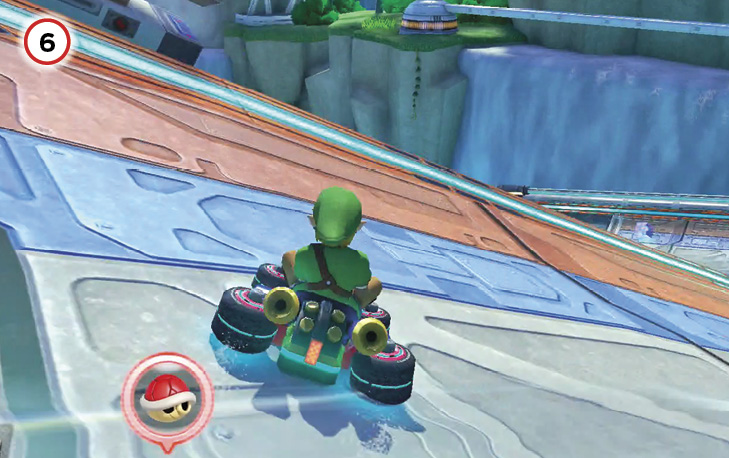
This section kicks off the third leg of the course. It’s time for more green and red conveyor belts up ahead on a long straightaway, nauseatingly inverted over the big blue sea. The moving conveyors have dash panels on them, creating a little puzzle on the fly—with some foresight and luck, you can line up dash panels and keep a boosted state for the full duration of the conveyor belts. If you catch a bad angle or poorly time lining up boosts, at least advance forward on green conveyors and avoid red belts. At the end of the straight, keep to the center line to snag a double Item Box.
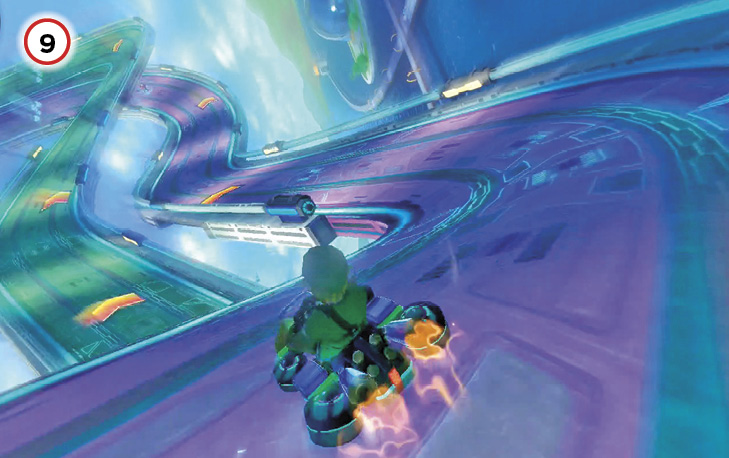
Follow a sharp left curve to find purple panels on the roadsides and a Spin Boost pillar in the middle, a chance for either a Coin recharge or a short-term surge. A short, sharp right turn after the panels reveals the third and final track split, with Item Boxes along the entry to either side. Enter on the left of either branch to skate over the double Item Box. Whether you fork left or right, the path here involves a relatively narrow and twisting path lined with precisely placed Spin Boost pillars and dash panels. A careful combination of drifting, spark-boosting, and hitting those track elements for extra boosts can carry you through this entire section in a thrilling tear. Where the twisting turbo tracks rejoin, there are more clusters of Item Boxes, this time with the double pickups in the middle of each group. Since this section begins and ends with pickups, and is closing in on the finish, there’s no reason to hold back.
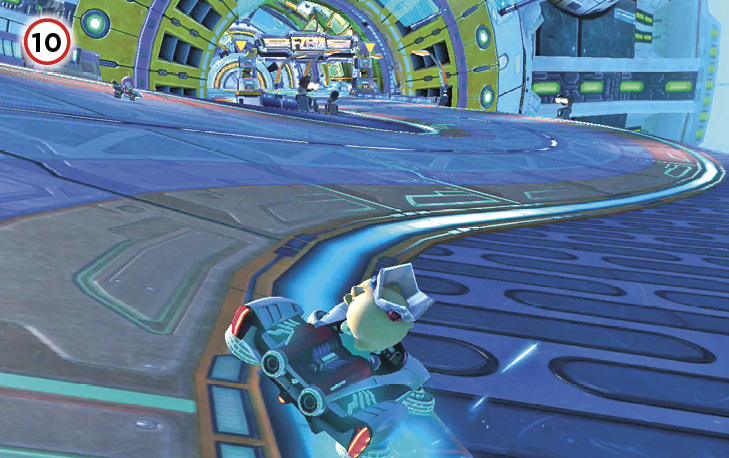
The dash for the airship finish concludes with a big, wide S-curve with rough terrain forcing wide turns. This is just about the simplest part of the entire course, with lots of Item Boxes freshly opened, so expect this to be a shooting gallery.
Time Trial
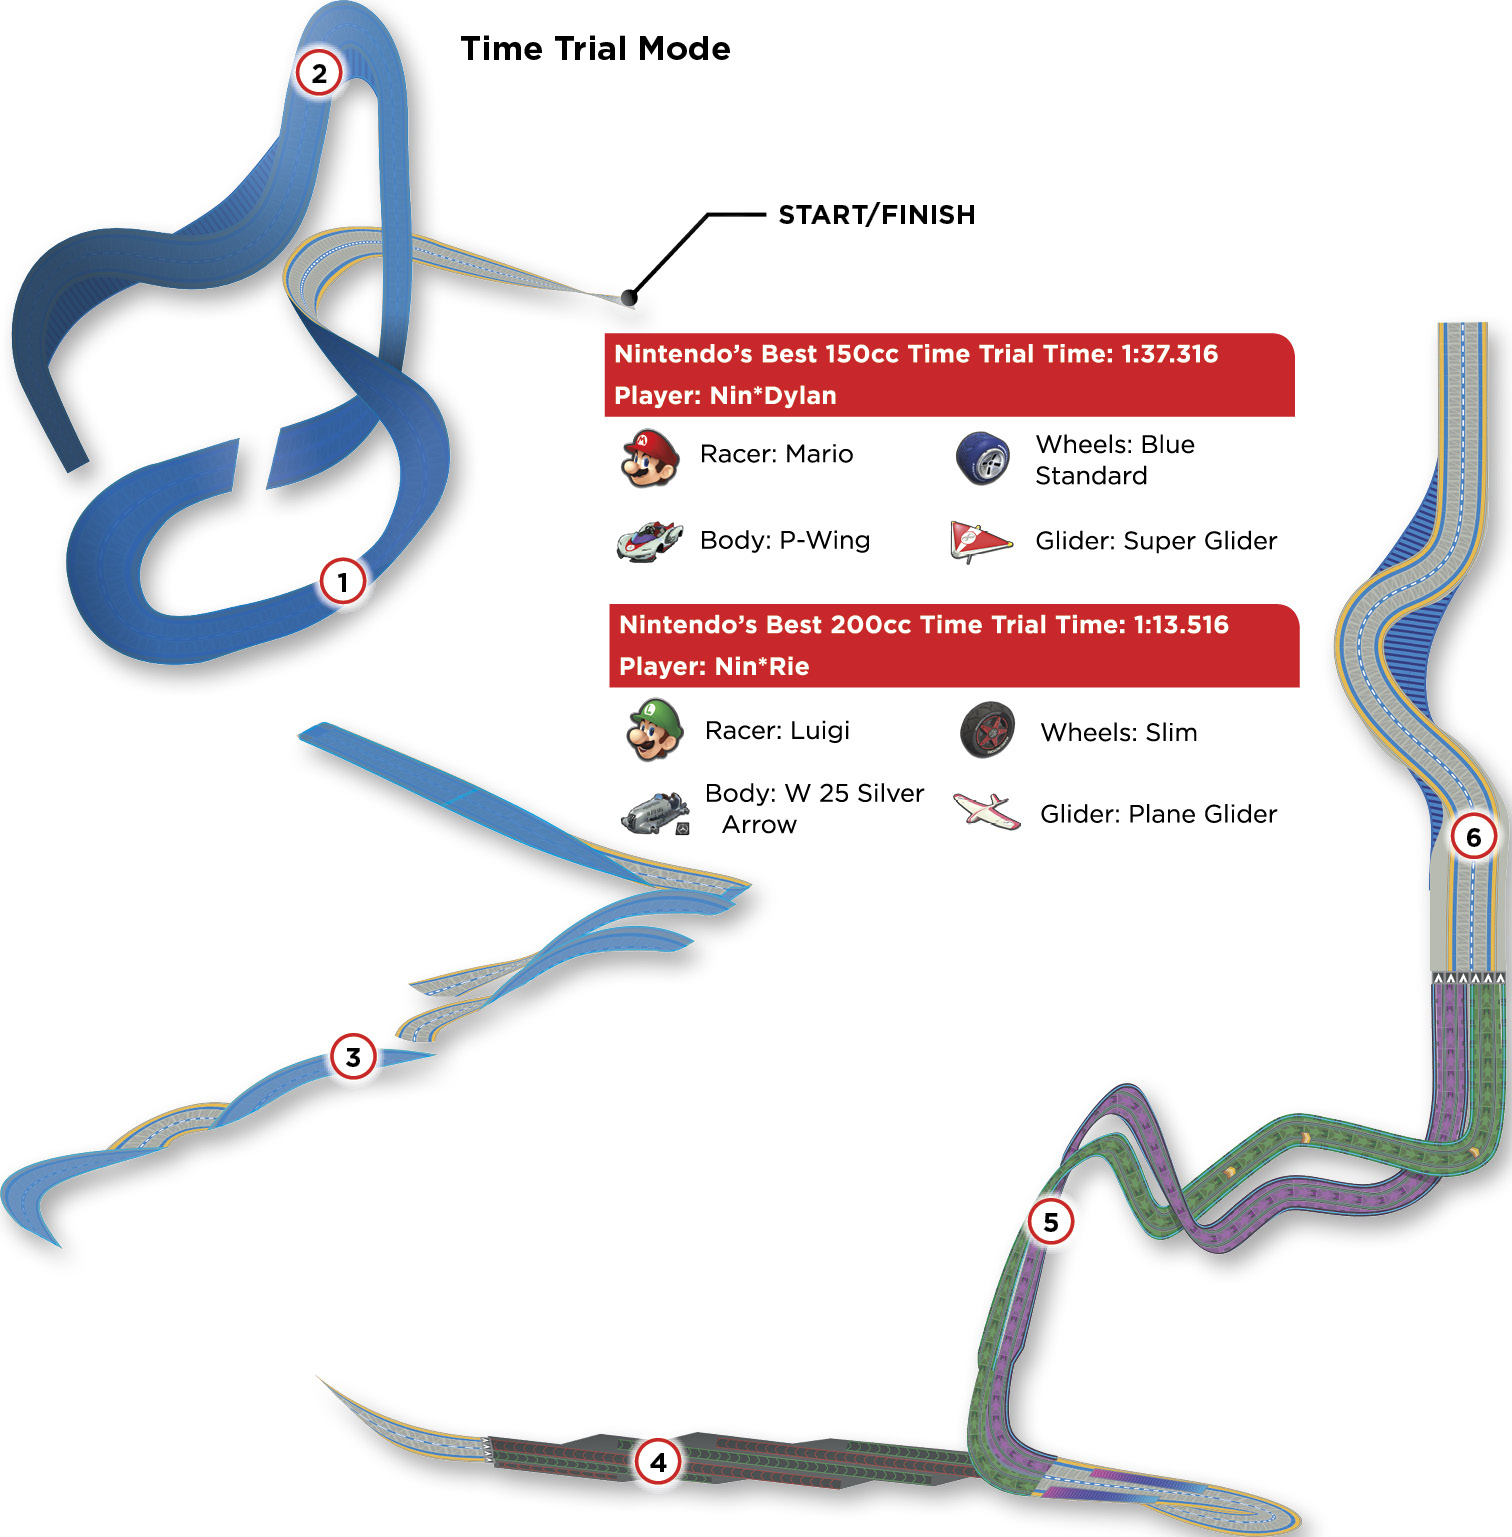
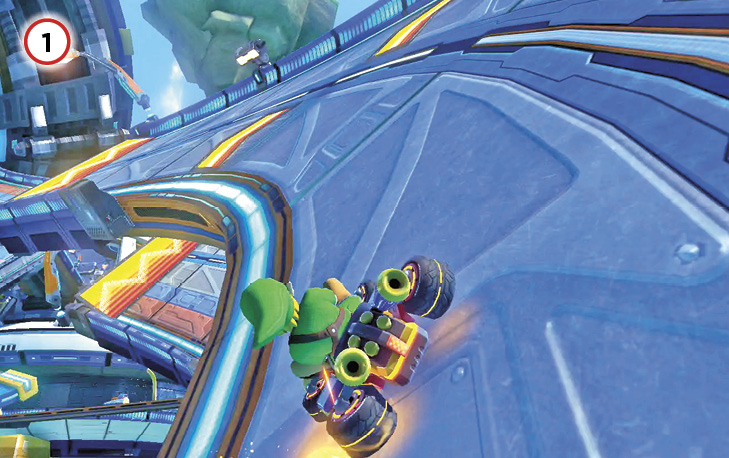
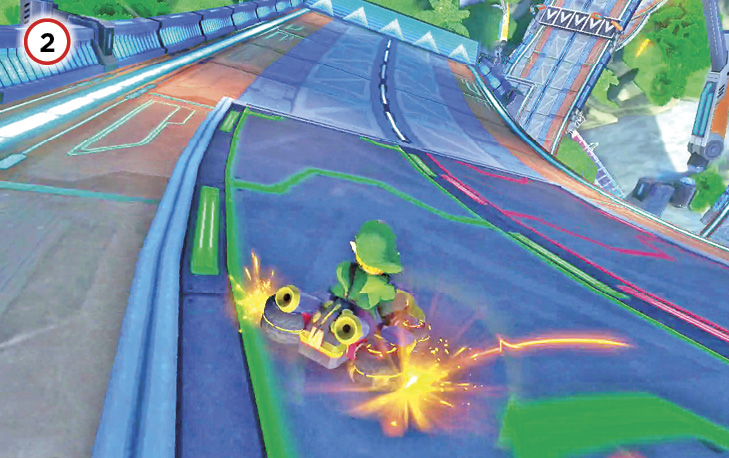
The first left turn into the purple-panel pass should already put you at six or seven Coins in reserve; drift wide right to ensure coinage. Then, at the first track split, taking the right fork for the upper deck’s recharge panel will surely cap your top speed.
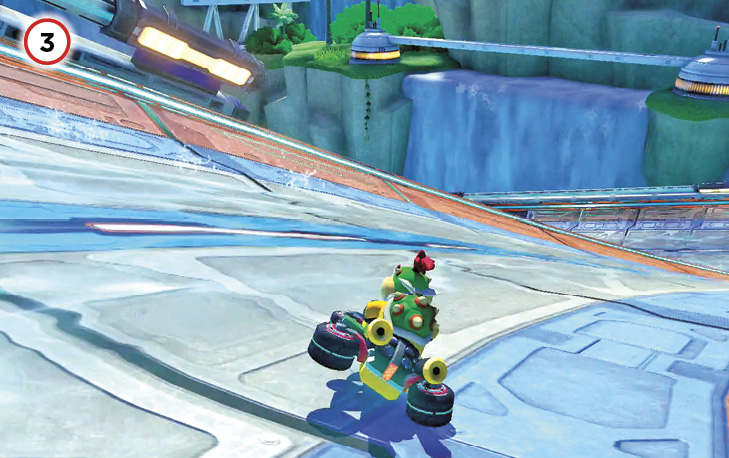
Riding the green conveyor belts as cleanly as possible is crucial. It’s possible to use a Mushroom here either to regain footing when bogged down by a red belt, or to take a quasi-shortcut skating over brief off-road patches around the conveyors, but your Mushrooms are best saved for other places.

After following the downhill waterslide, take the next left fork, heading for the hidden-in-plain-sight shortcut, which is achieved by driving off the track just where the left fork’s guardrail ends. Use a Mushroom boost to give the downhill squirrel-glide a little extra pep.
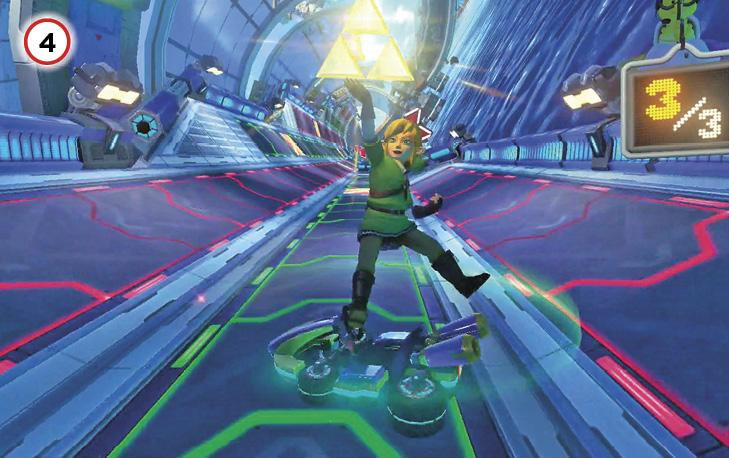
After threading the rally turns and glider sequence, it’s time to tackle the conveyors. For the very best Time Trial records, you’ll want to hit a fresh dash panel just as the previous boost wears off, clear across this straightaway. Remember that it’s fine to divert onto a red belt if that scores you a dash panel, but otherwise red belts are fatal to momentum.
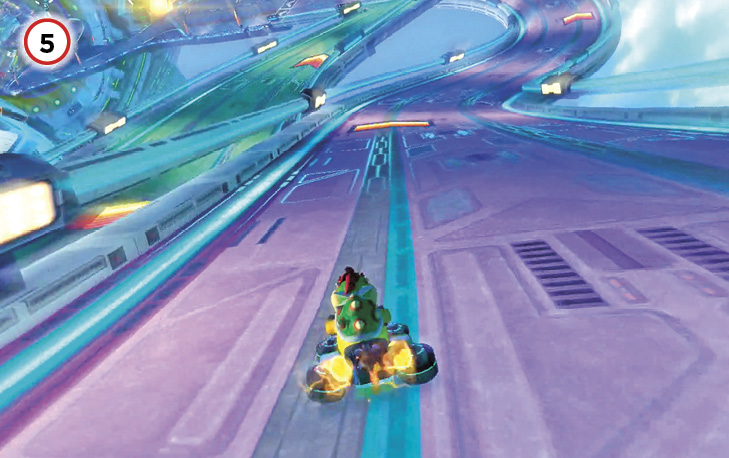
The paths here are the most similar of the splits, so just focus on keeping momentum, hitting every boosting track element possible, and not hitting a wall.
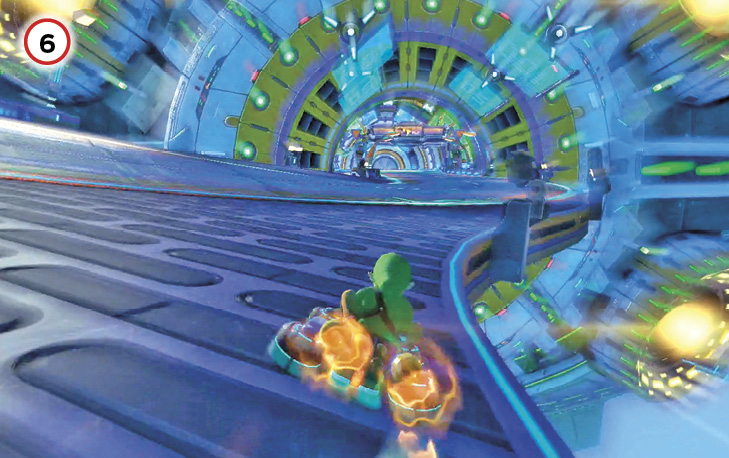
You’ve come all this way and still have two Mushrooms? The better to warp through the final stretch diversion-free. The wide turns here at the end are forced on drivers by a couple stretches of rough surface, but with two Mushrooms you can rocket through both effortlessly on a turbo-charged beeline for the finish.