
Mario Kart 8 Deluxe Guide How To Drive
Items
Items are your primary means of offense and defense on the track. Using an item is as simple as tapping the item button on your Joy-Con or Pro Controller (on a sideways Joy-Con, this is SL, while on an upright Joy-Con (L) or a Pro Controller, both L and ZL work to throw items. Racers that are hit by items (or course hazards) will have three Coins knocked away from them onto the track, which adds to the inconvenience of getting hit by limiting their top speed.
There are two distinct types of items that are handled in different ways.
Equipable Items
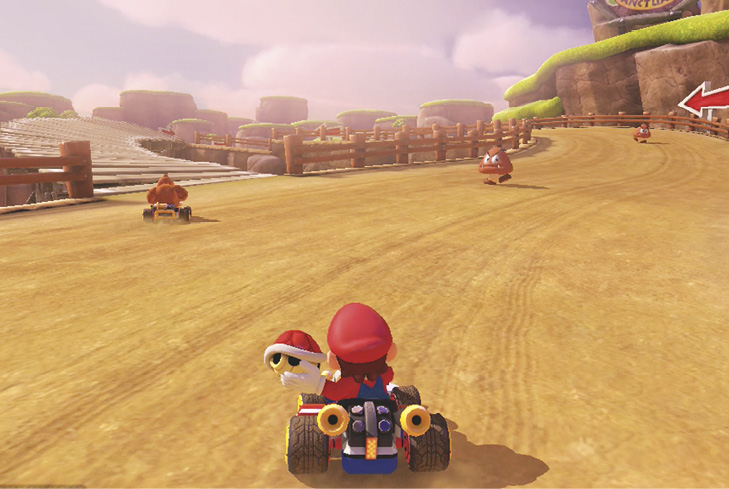
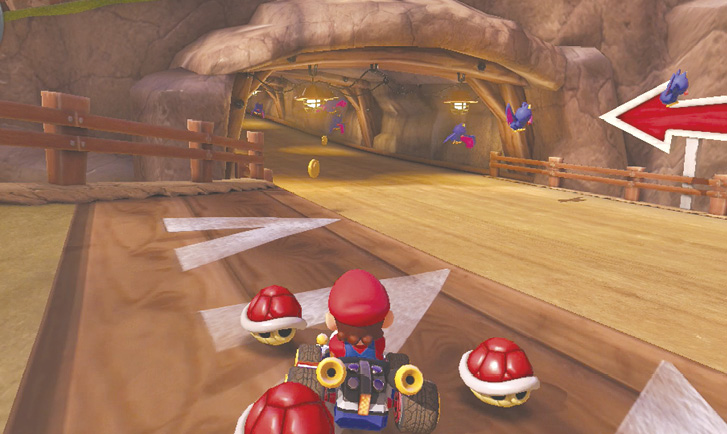
Equipable items appear behind or around your racer when you either hold down the item button (for single items like Bananas or Shells) or tap it once (for Triple Bananas or Shells). You can use these items to protect yourself from incoming attacks to the rear, attack racers in front of you, fire at racers closing in from behind, or leave on the track as traps.
Banana
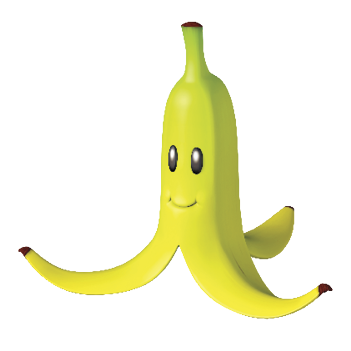
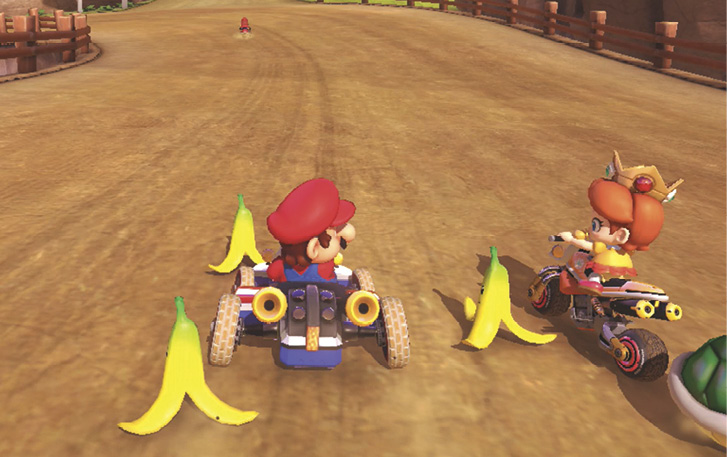
One of the most common defensive items available, Bananas cause racers to spin out if they make contact with them. You can drop one behind you, or toss it far out in front of you. However, one of best uses of a Banana is to hold on to it, dragging it behind your racer to absorb incoming attacks. It will only absorb one strike, and can’t stop things like the Spiny Shell or Boomerang, but it can be a clutch defense to break out and keep the lead with!
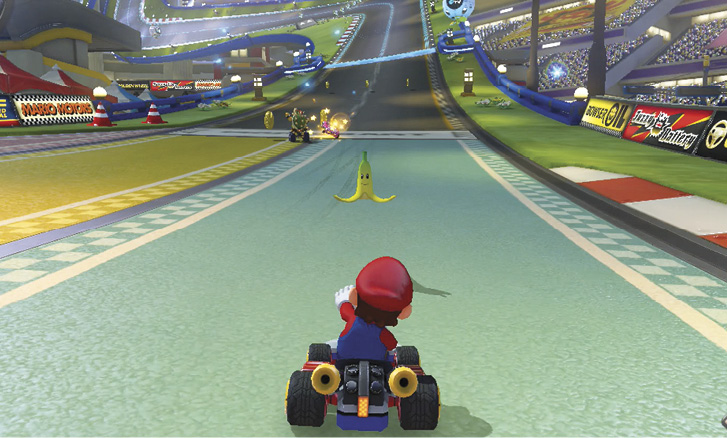
Tossing a Banana forward requires you to hold up on your analog stick or control pad while tapping the item button. Simply tapping the item button, or releasing it after being held, will drop the item behind you.
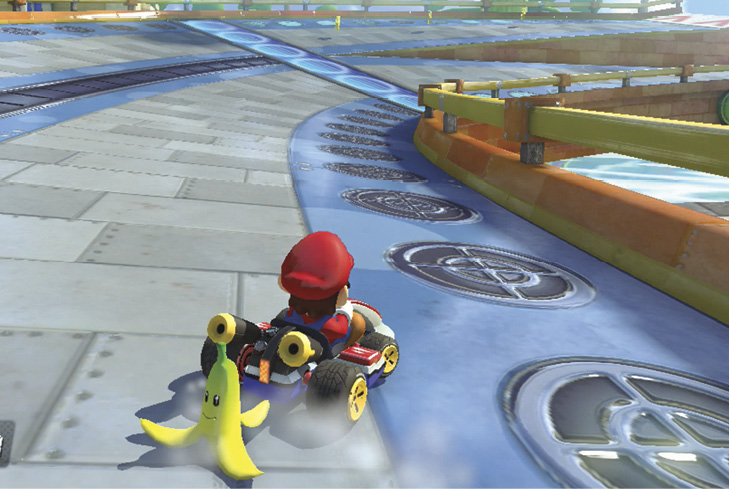
Items that are held behind your racer require you to hold down the item button to keep them placed there. Don’t forget this, as it is a cornerstone to defending yourself in a race! If you’re the frontrunner in a race, especially toward the end, it’s usually more valuable to use whatever item you have on hand as a shield to your rear (blocking Shells and whatnot) than as a weapon itself.
Triple Bananas
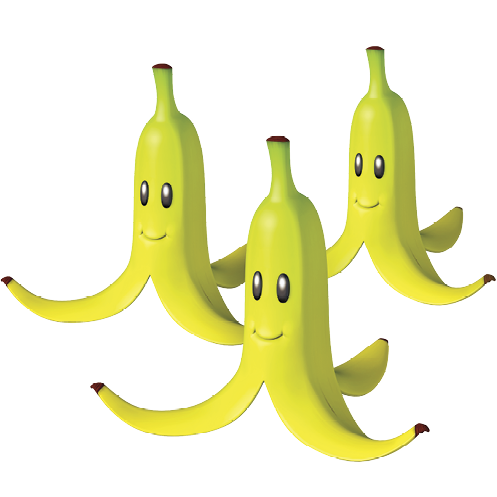
Once you tap the item button, the Triple Banana surrounds your racer with a rotating barrier of three Bananas. You can throw these Bananas forward or leave them behind you. Your defense from attacks via shells is less sound, especially when you have only one or two Bananas orbiting your racer, but the Triple Banana makes a great enhancement to any ramming attacks you try out!
Green Shell

The Green Shell fires straight forward when you hit the item button, or backward if you hold down on the analog stick or control pad. As with the Banana, you can hold the Green Shell behind you to defend against attacks from behind, or clip racers with it as you pass them up.
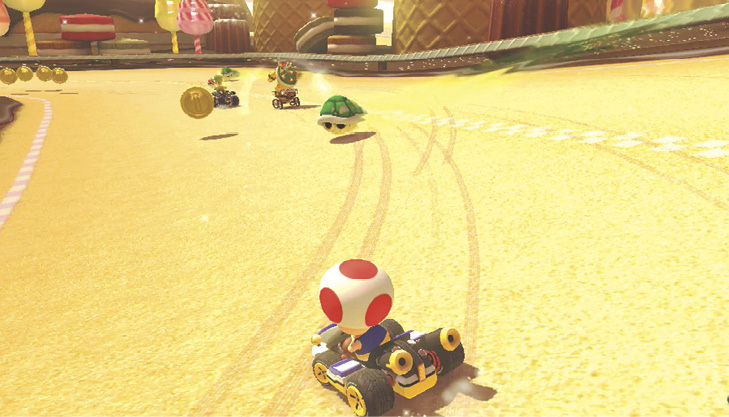
What makes the Green Shell so awesome (and frustrating) is that when you fire it, if you miss your intended victim, it can bounce off walls for quite some time before it eventually breaks. A bouncing Green Shell will ALWAYS seem to bounce at you at all the wrong moments, but you’ll also feel smooth as heck when you score a perfect bank shot off a wall to hit the first-place driver just before the finish, and take the lead for the win as a result.
Triple Green Shells
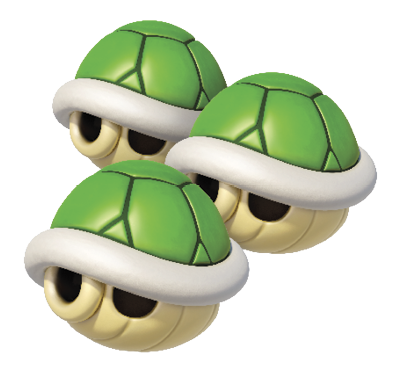
Similar to Triple Bananas, Triple Green Shells will orbit your racer once you trigger the item, providing defense and offense simultaneously, with the same disadvantages shared between them as you work through the arsenal. The biggest threat with three Green Shells is that you can clog up a section of a course with three bouncing hazards.
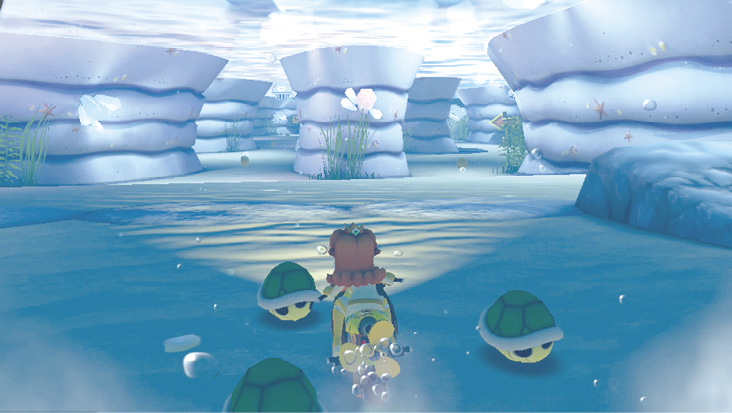
Red Shell
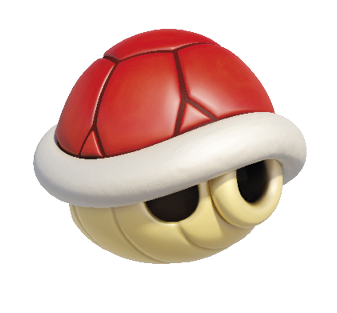
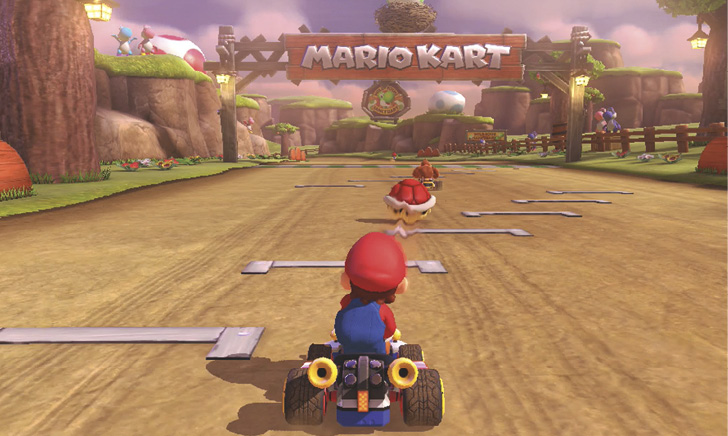
Red Shells can be fired forward and backward, just like a Green Shell, and they can be used for defense in the same manner. A big difference is that Red Shells do not bounce off walls—they shatter immediately. The other big difference is that they will home in on the nearest target in front of the racer that fired it. Red Shells will pursue a racer almost anywhere, so always keep in mind this potential threat, and save some items to defend yourself with!
Triple Red Shells
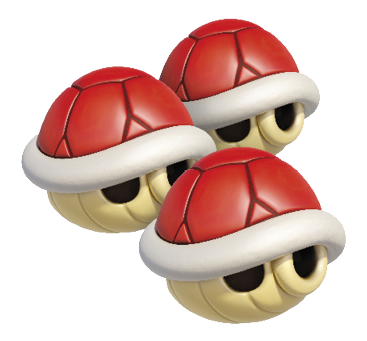
Triple Red Shells provide the same defensive benefits as the Triple Green Shells, but in terms of offense you want to be more deliberate in how you use them. Don’t fire them all at once at a target! Fire them steadily, one at a time, making sure you clear any defensive items your opponent might have before your second or third shell strikes home!
Bob-omb
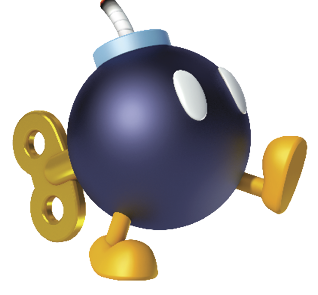
Just like other equipable items, you can hold on to the highly explosive Bob-omb, or toss it far forward like you would a Banana. Compared to a Banana, the Bob-omb has a slightly larger effect radius. On contact with a racer, or after its short fuse is burned out, the Bob-omb goes off with a colossal explosion. Racers hit directly by the Bob-omb will be sent flying upward, while those who touch the blast before it fades will spin out. One cruel trick is to drag the bomb behind you, drift in front of a racer, and Mini-Turbo away just as you drop the bomb in their face!
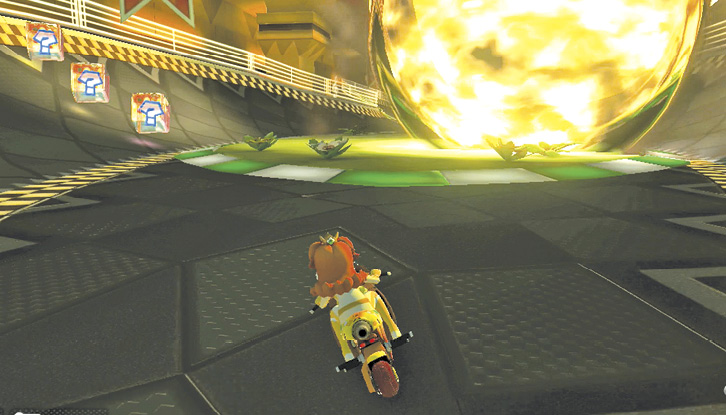
Crazy 8

The Crazy 8 provides eight items in an orbit around you: a Green Shell, Red Shell, Banana, Mushroom, Bob-omb, Blooper, Super Star, and Coin. You can ruin the days of many racers before you’re through with a Crazy 8! The item that is used when you tap the item button will be the one that is at the front of your racer, so pay attention in order to use the item you want!
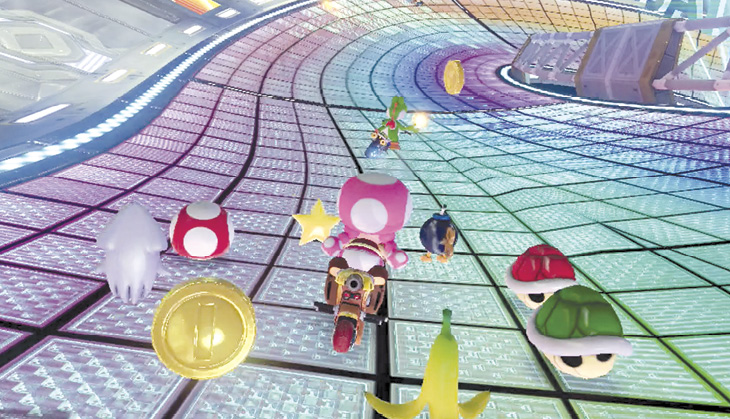
Be careful when you have the Crazy 8 equipped! Getting hit will cause you to drop all of your remaining items onto the track for others to collect. Additionally, the Bob-omb you carry can be triggered by items on the track or other racers while it spins around you. We recommend you get rid of it ASAP, especially if you’re in the middle of the pack!
Tactical Items
Tactical items are items that you can’t equip for defense. Once you use them, they last until their effects wear off, and that is that. As such, you need to time the use of these items well, as they can greatly affect the outcome of a race!
Mushroom

A Mushroom provides a powerful, lengthy speed boost when you press the item button. You’re going so fast with a Mushroom, rough terrain doesn’t slow you down, and at the peak of the boost, you can shove aside any racer, regardless of their weight class compared to yours! Some of the best shortcuts in the game require you to make use of a Mushroom.
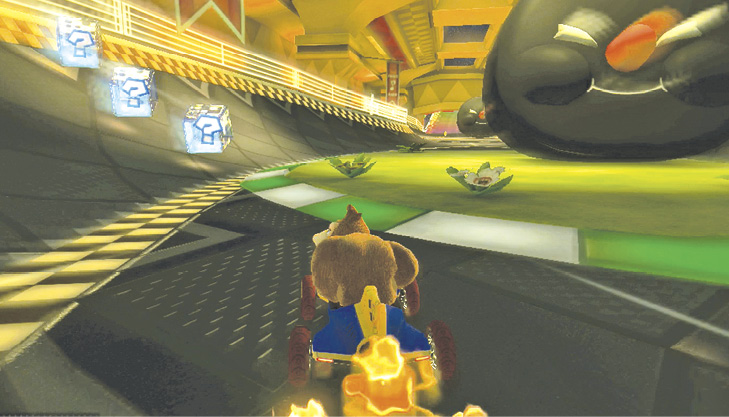
Mushrooms are also one of the ways you can escape a Spiny Shell. Drawing upon reserves of mana, luck, and perfect timing, if you fire off a Mushroom just as the Spiny Shell is about to land on you, you can escape, just barely ahead of the shell’s detonation!
Triple Mushrooms
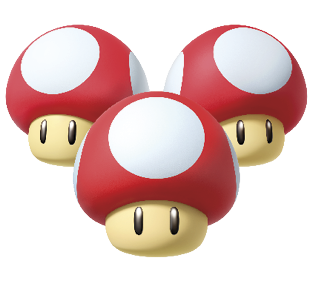
Instead of one Mushroom, you get three. The effects are the same with each Mushroom used. If you need to use them to catch up with a rival, it’s best to not fire them rapidly, and instead let the boost from one start to subside before triggering the next. The Triple Mushroom is notable for being the one item you get during Time Trials. In this game mode, you must use the Triple Mushroom wisely if you want to break records.
Golden Mushroom

The Golden Mushroom is a rare item that you’ll likely see in situations where you’re near the back of the pack. Like its standard cousins, the Golden Mushroom boosts you forward at a high rate of speed. However, until the item finally fades away on its own, you can boost as many times as you want! Just make sure you don’t fly into a bottomless pit or crash into any items while boosting.
Coins

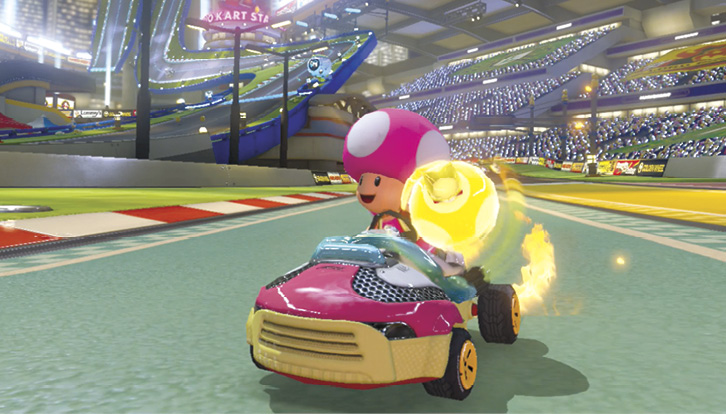
The Coin item allows you to add two Coins to your total. There are no defensive or offensive properties to this item whatsoever, but it can be useful if you’re struggling to keep the Coins you’re collecting off the track during an intense race!
Bullet Bill
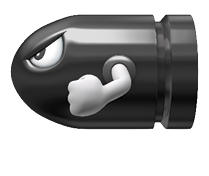
If you’re far enough behind, there’s a chance that you can get a Bullet Bill item. This temporarily morphs your racer into, you guessed it, a Bullet Bill, and launches you down the track at a high rate of speed. You don’t even have to worry about turning—this power-up will handle it for you! Any rivals unfortunate enough to be in your way will be rammed aside effortlessly.
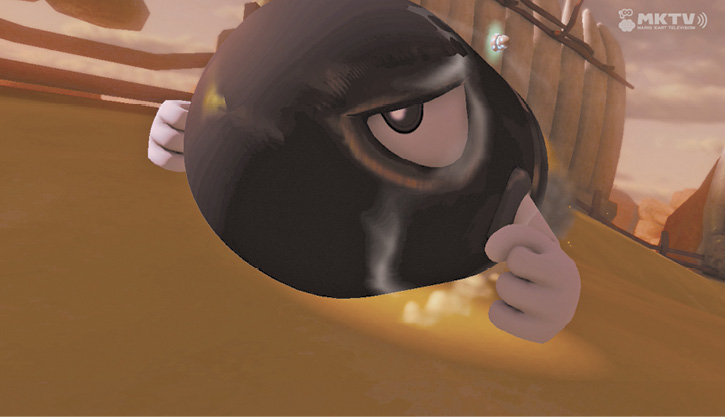
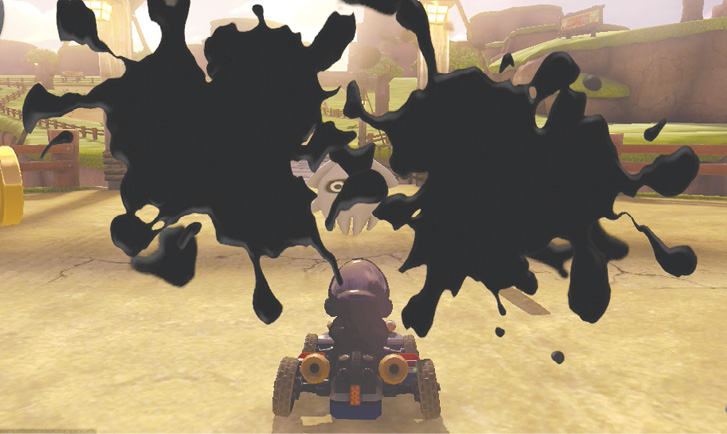
Blooper

Using a Blooper will send one of these squids to every other racer on the track. After a short delay, the Blooper will spray ink all over the racers, obscuring their vision. This sudden loss of sight can cause some very unfortunate accidents, with racers running into threats they’d normally avoid with ease. The ink fades on its own, but if you use any Mushroom, or use a dash panel, or drive into a body of water, the ink will be stripped away so you can see again.
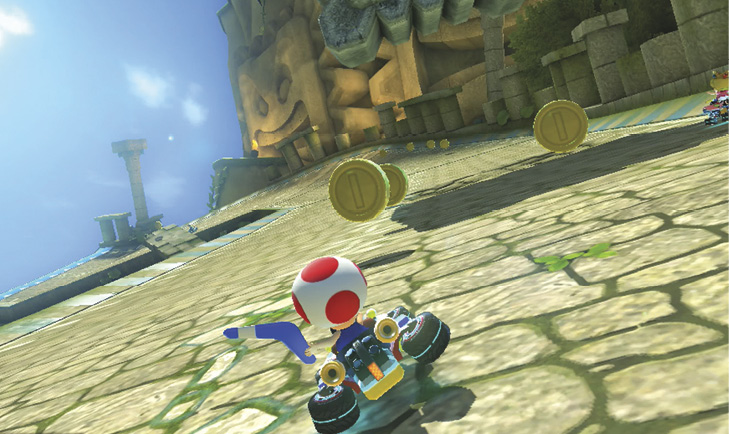
Boomerang Flower

The Boomerang Flower grants you a powerful ranged weapon that you can throw forward or backward like a shell. The big difference is that the Boomerang will return to you twice, assuming it doesn’t hit anything that destroys it before it comes back. You can hit enemies with the Boomerang twice in one toss: once on the way out and a second time on the way back.
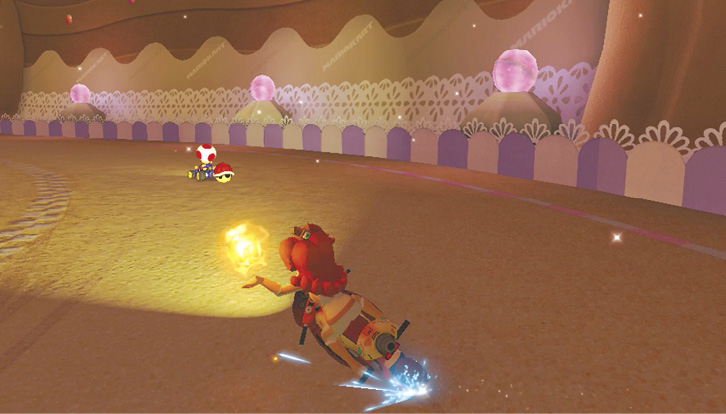
Fire Flower

The Fire Flower grants you the temporary ability to throw fireballs at your enemies. You can fire them forward or backward, and they move fast enough that you don’t have to lead a target too much to hit them. Better yet, you can bank shot the fireballs off walls and other obstacles to hit rival racers! Unfortunately, the fireballs do have a limited range compared to any shell, and will fizzle out after a few seconds.
Piranha Plant
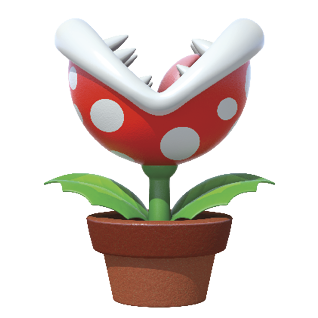
Acting both as a speed increase and a weapon, the potted Piranha Plant bites at any items and racers in its path, even chomping down on Coins to add them to your total! With every bite, you get a small speed boost. The plant will attack anything it can reach without your prompting, but you can also hold down your item button to make the plant bite constantly for a steadier boost in speed.
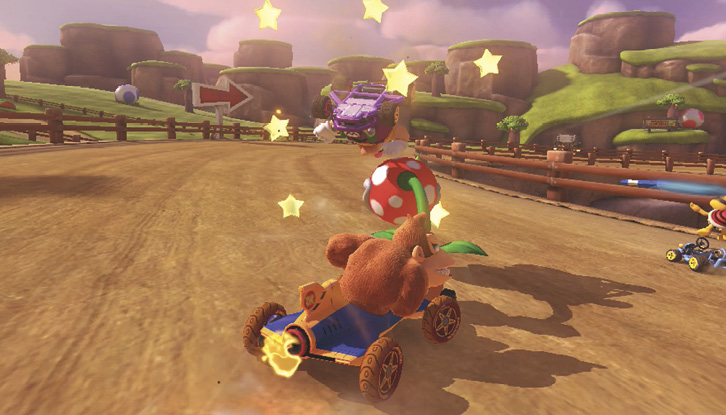
Super Horn

The rare Super Horn is one of the few items in the game that can outright stop a Spiny Shell from striking a race-ruining blow! Only capable of one blast, the Super Horn emits a very short-range shockwave all around you, blasting away any items that might be close to you, including those relentless Spiny Shells. Racers caught in range will also spin out. If you manage to get yourself a Super Horn and are in the lead, hold on to that horn for as long as you can! There’s always a Spiny Shell with your name on it.
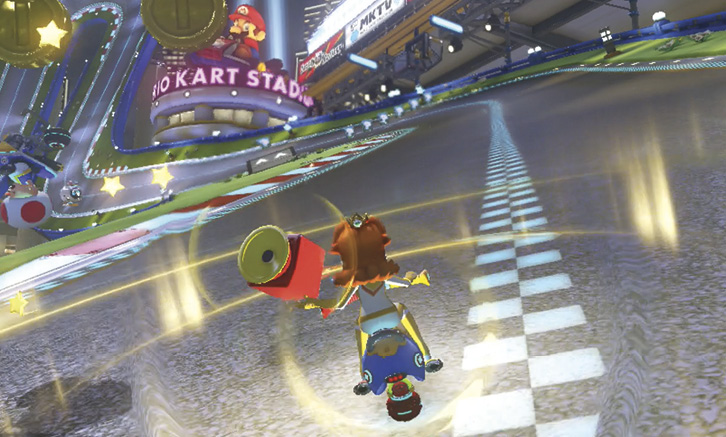
Super Star

Super Stars tend to be granted to players near the back of the race pack. Using one gives you a short window of greatly increased speed, and total invincibility to anything on the track! Anyone who touches you will spin out and lose Coins, and thanks to your increased speed even going off-road will hardly slow you down.
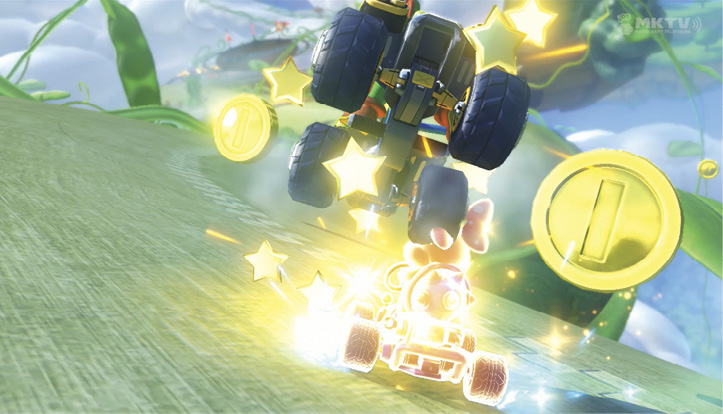
Lightning

This portable Lightning Bolt strikes every other racer on the course with a shrinking blast of electricity. The effects of being shrunk eventually wear off, but the user of this item can gain a few spots easily. Note that the higher in the ranks a racer is, the longer the Lightning effect will last.
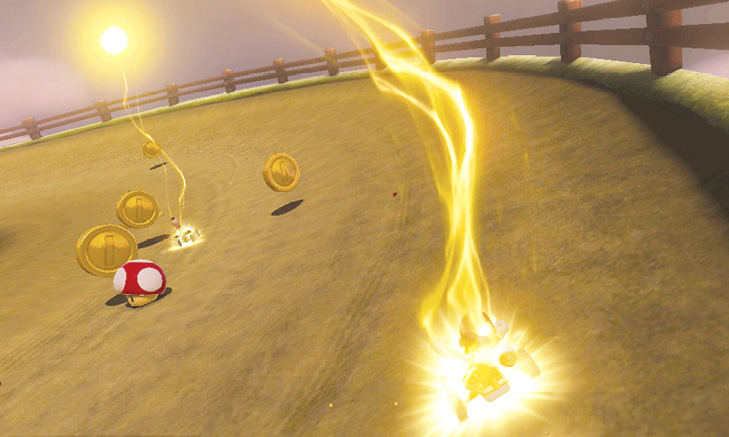
If you’ve been shrunk by Lightning, don’t get run over by other racers, as recovering from getting flattened takes time, costs you a lot of speed, and might even cost you the race!
Spiny Shell

Responsible for sundered friendships and broken dreams of first place, the Spiny Shell has returned to once again be the bane of the front-runner! Once fired, a Spiny Shell streaks along the ground, batting aside anyone or anything unlucky enough to be in its way as it seeks out the first-place racer. When it gets close to its target, it pops up into the air before diving down to unleash an enormous blue explosion that tosses the intended victim into the air, and spins out anyone unfortunate enough to be caught in the blast.
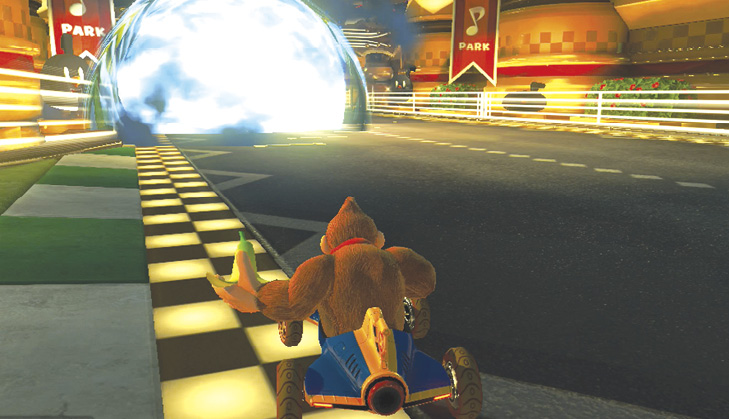
The Spiny Shell, as problematic as it is, CAN be beaten! A well-timed Mushroom can send you out of harm’s way as the shell begins its terminal dive. The Super Star shrugs off the blue menace. The Super Horn can shatter the Spiny Shell if it’s in range. However, if you do not have any items, your only other option is to fall back to second place. If you do that early enough, the Spiny Shell will aim for the new first-place racer and ignore you!
Feather

New to Mario Kart 8 Deluxe, the Feather makes its return for the first time since the SNES! Available only in the revamped Battle Mode, using the Feather results in a spinning super jump that can avoid other cars and items on the ground, and pop balloons above an opposing motorist’s head.
Boo

Also new to Mario Kart 8 Deluxe, when deployed, Boo will steal a random opponent’s item, placing it in your possession. Spooky!
Item Roulette
When you first hit an Item Box, a roulette begins. You might be convinced that you can time pressing the item button to get a specific item you want, but that’s not the case. The item you get is primarily determined by what position you are in. Each item that you can get has a certain percentage chance that it will be what the roulette awards you. However, some items you simply can’t get while in certain places. First place isn’t ever going to get a Bullet Bill or Super Star, while a racer in last place will see a greater chance at picking up those items. While it might be luck that you get a certain item, using what you have skillfully is what separates the newer Mario Kart player from the more experienced racers!
Item Probabilities
The following charts show the likelihood of getting specific items for both players and computer racers in Grand Prix Mode. In VS Race, you can select special item settings that change what will be available.
| Item Rates Key | |
|---|---|

|
Frequent |

|
Somewhat frequent |

|
On occasion |

|
Infrequent |
| Doesn’t appear | |
Rate Item Probabilities
Grand Prix - Player Kart
1st Place  Ranking Ranking  Last Place Last Place |
|||||||||
|---|---|---|---|---|---|---|---|---|---|

|

|

|

|
||||||

|

|

|

|

|
|||||

|

|

|

|

|

|
||||

|

|

|

|

|

|

|
|||

|

|

|

|
||||||

|

|

|
|||||||

|

|

|

|
||||||

|

|

|

|

|

|

|

|
||

|

|

|

|

|

|
||||

|

|

|

|

|
|||||

|

|

|

|
||||||

|

|

|

|

|

|
||||

|

|

|

|
||||||

|

|

|

|
||||||

|

|

|

|
||||||

|

|

|

|
||||||

|

|

|

|
||||||

|

|

|
|||||||

|

|

|

|
||||||

|

|

|

|
||||||

|

|

|

|

|
|||||

|

|

|

|

|
|||||
Grand Prix - Computer Karts
1st Place  Ranking Ranking  Last Place Last Place |
|||||||||
|---|---|---|---|---|---|---|---|---|---|
|
|

|

|

|

|

|

|

|

|
|
|
|

|

|

|

|

|

|

|

|
|
|
|

|

|

|

|

|
||||
|
|

|

|

|

|

|

|

|

|

|
|
|

|

|

|
||||||
|
|

|

|
|||||||
|
|

|

|
|||||||
|
|

|

|

|

|

|

|

|
||
|
|

|

|

|

|

|
||||
|
|

|

|

|

|
|||||
|
|

|

|

|
||||||
|
|

|

|

|

|

|
||||
|
|

|

|

|
||||||
|
|

|

|

|
||||||
|
|

|

|
|||||||
|
|

|

|

|
||||||
|
|

|

|

|
||||||
|
|

|

|

|
||||||
|
|

|

|

|

|
|||||
|
|
|||||||||
|
|
|||||||||
|
|

|

|

|

|
|||||
Vs. Race - Player Kart
1st Place  Ranking Ranking  Last Place Last Place |
|||||||||
|---|---|---|---|---|---|---|---|---|---|
|
|

|

|

|
||||||
|
|

|

|

|

|
|||||
|
|

|

|

|

|
|||||
|
|

|

|

|

|
|||||
|
|

|

|
|||||||
|
|

|

|
|||||||
|
|

|

|

|

|
|||||
|
|

|

|

|

|

|

|

|

|
|
|
|

|

|

|

|

|

|
|||
|
|

|

|

|

|
|||||
|
|

|

|

|

|
|||||
|
|

|

|

|

|

|
||||
|
|

|

|

|
||||||
|
|

|

|
|||||||
|
|

|

|

|
||||||
|
|

|

|

|
||||||
|
|

|

|

|
||||||
|
|

|

|
|||||||
|
|

|

|

|
||||||
|
|

|

|

|
||||||
|
|

|

|

|
||||||
|
|

|

|

|

|
|||||
Vs. Race - Computer Karts
1st Place  Ranking Ranking  Last Place Last Place |
|||||||||
|---|---|---|---|---|---|---|---|---|---|
|
|

|

|

|

|

|

|

|

|
|
|
|

|

|

|

|

|

|

|

|
|
|
|

|

|

|

|
|||||
|
|

|

|

|

|

|

|

|

|
|
|
|

|

|

|
||||||
|
|

|

|
|||||||
|
|

|

|
|||||||
|
|

|

|

|

|

|

|

|
||
|
|

|

|

|

|

|
||||
|
|

|

|

|

|
|||||
|
|

|

|

|
||||||
|
|

|

|

|

|

|
||||
|
|

|

|

|
||||||
|
|

|

|

|
||||||
|
|

|

|

|
||||||
|
|

|

|

|
||||||
|
|

|

|

|

|
|||||
|
|

|

|
|||||||
|
|

|

|

|

|
|||||
|
|
|||||||||
|
|
|||||||||
|
|

|

|

|

|
|||||
Vs. Race - Player Kart (Frantic Mode)
1st Place  Ranking Ranking  Last Place Last Place |
|||||||||
|---|---|---|---|---|---|---|---|---|---|
|
|

|

|
|||||||
|
|

|

|
|||||||
|
|

|

|

|
||||||
|
|

|

|

|

|
|||||
|
|

|

|
|||||||
|
|

|

|
|||||||
|
|

|

|

|

|
|||||
|
|

|

|

|

|

|

|

|

|
|
|
|

|

|

|

|

|

|

|
||
|
|

|

|

|

|

|
||||
|
|

|

|

|

|
|||||
|
|

|

|

|

|

|

|
|||
|
|

|

|

|
||||||
|
|

|

|

|
||||||
|
|

|

|

|

|
|||||
|
|

|

|

|
||||||
|
|

|

|
|||||||
|
|

|

|

|
||||||
|
|

|

|

|

|
|||||
|
|

|

|

|

|
|||||
|
|

|

|

|

|
|||||
|
|

|

|

|

|
|||||
Vs. Race - Computer Karts (Frantic Mode)
1st Place  Ranking Ranking  Last Place Last Place |
|||||||||
|---|---|---|---|---|---|---|---|---|---|
|
|

|

|

|

|

|

|

|

|
|
|
|

|

|

|

|

|

|

|

|
|
|
|

|

|

|

|
|||||
|
|

|

|

|

|

|

|

|

|

|
|
|

|

|

|
||||||
|
|

|

|
|||||||
|
|

|

|

|

|
|||||
|
|

|

|

|

|

|

|

|

|
|
|
|

|

|

|

|

|

|

|
||
|
|

|

|

|

|

|
||||
|
|

|

|

|

|
|||||
|
|

|

|

|

|

|

|
|||
|
|

|

|

|
||||||
|
|

|

|

|
||||||
|
|

|

|

|
||||||
|
|

|

|

|
||||||
|
|

|

|
|||||||
|
|

|

|

|

|
|||||
|
|

|

|

|

|

|
||||
|
|
|||||||||
|
|
|||||||||
|
|

|

|

|

|
|||||