
Mario Kart 8 Deluxe Guide The Tracks
Lightning Cup

DS Tick-Tock Clock
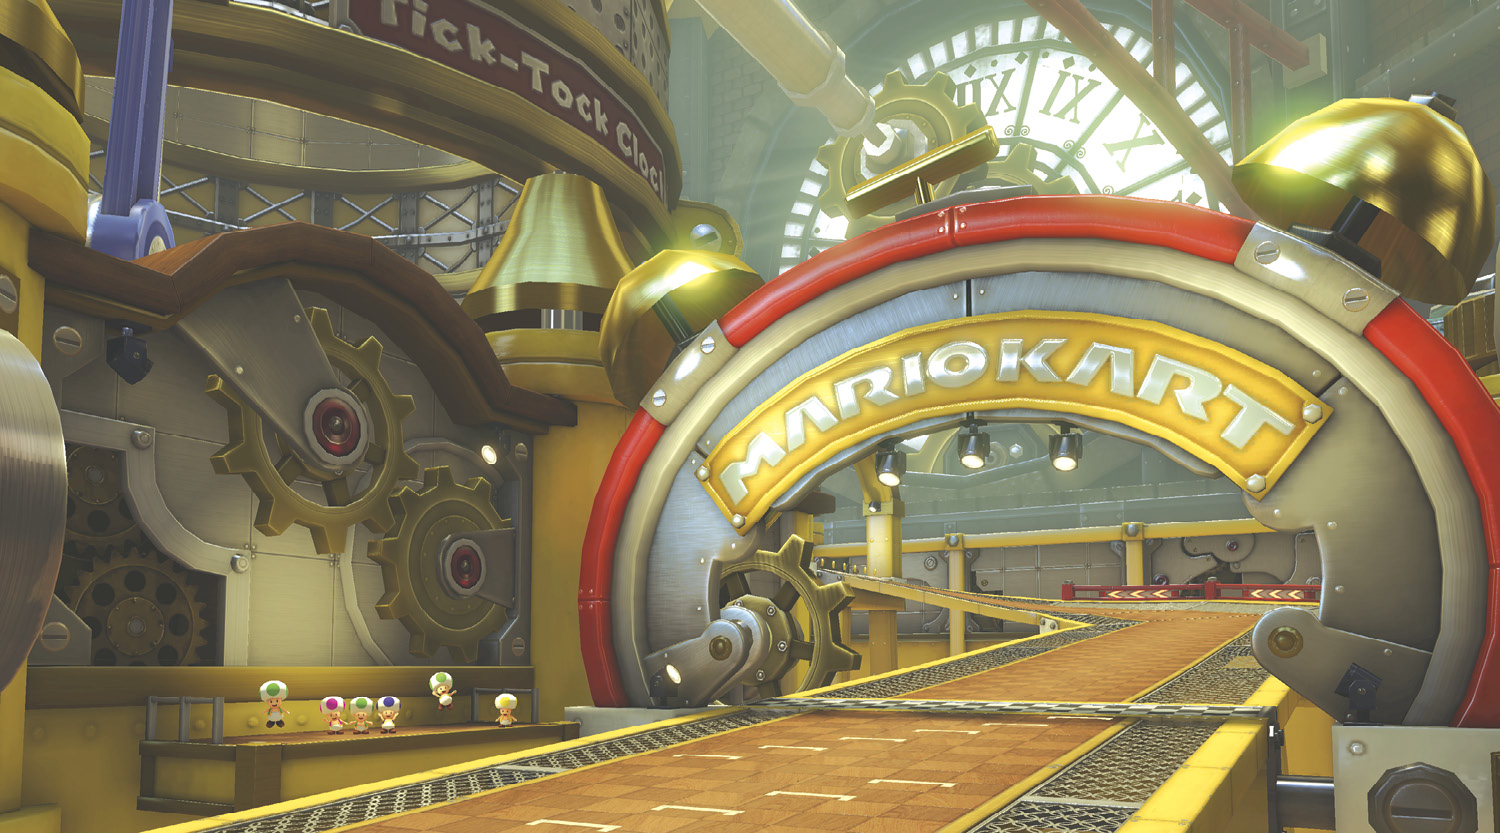
Precise racers with an excellent sense of timing will be tough to beat on Tick-Tock Clock. Some of the best shortcuts are only available at certain points of the race, on specific laps, as the gears and clock hands keep turning regardless of what the racers are doing.
Grand Prix
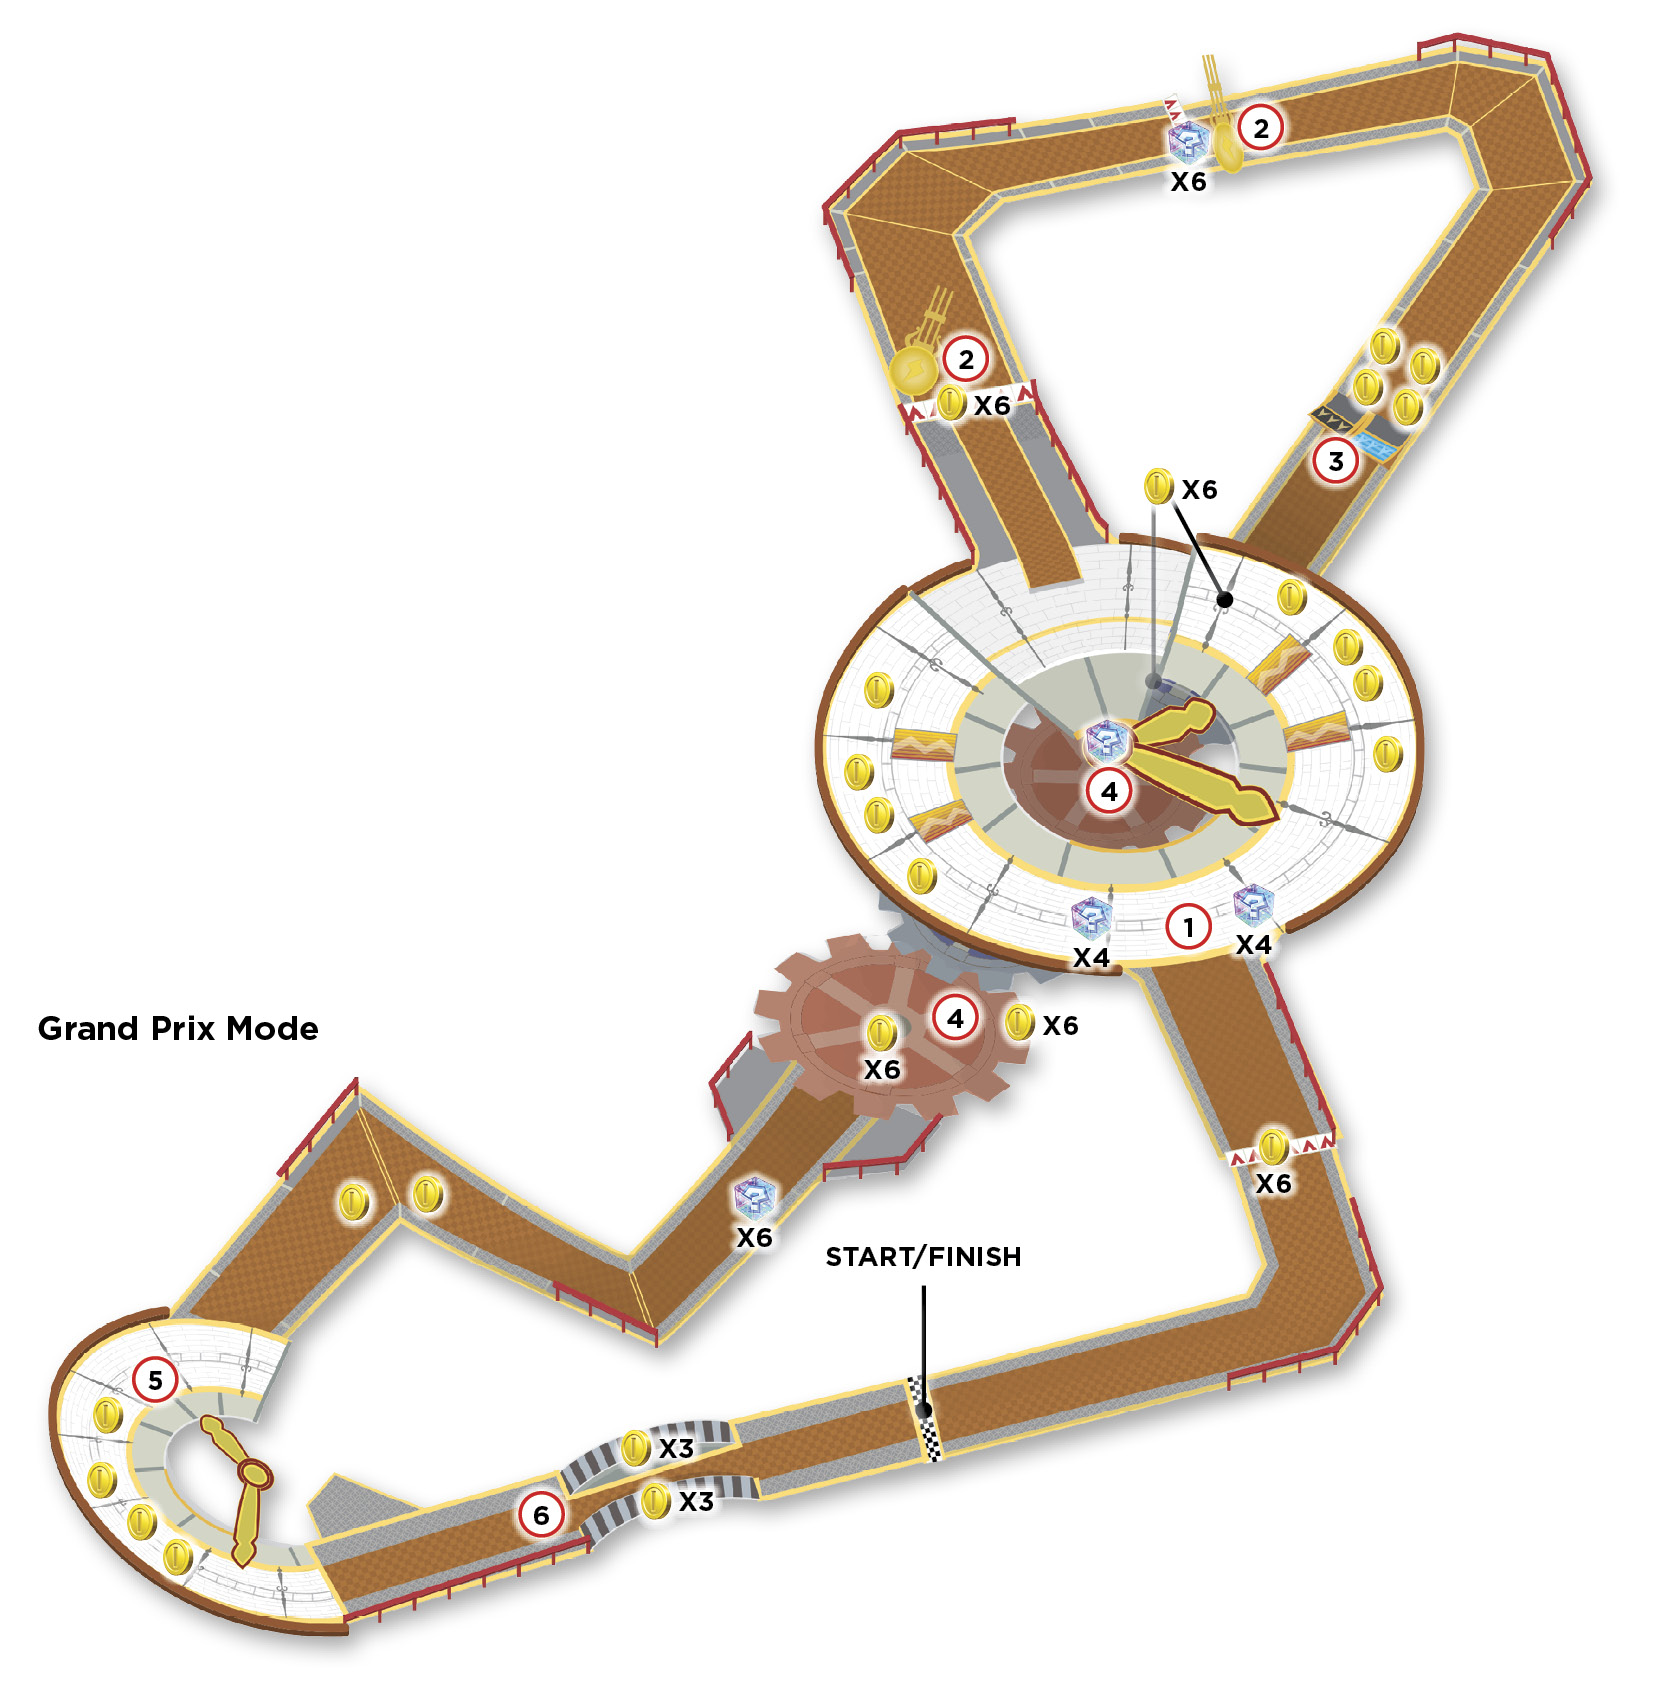
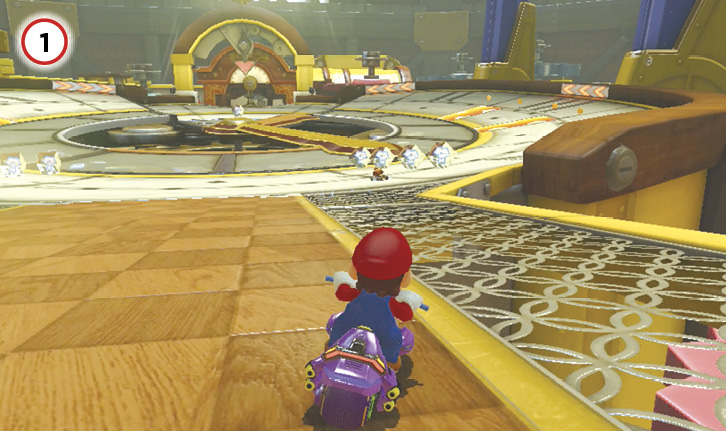
After the first turn, you come across a large clock-shaped portion of the course. The hands of the clock move throughout the duration of the race, so you can’t always expect to use them to cross the gap at the center of the clock. On the outer edges of this section are dash panels, Coins, and many Item Boxes.
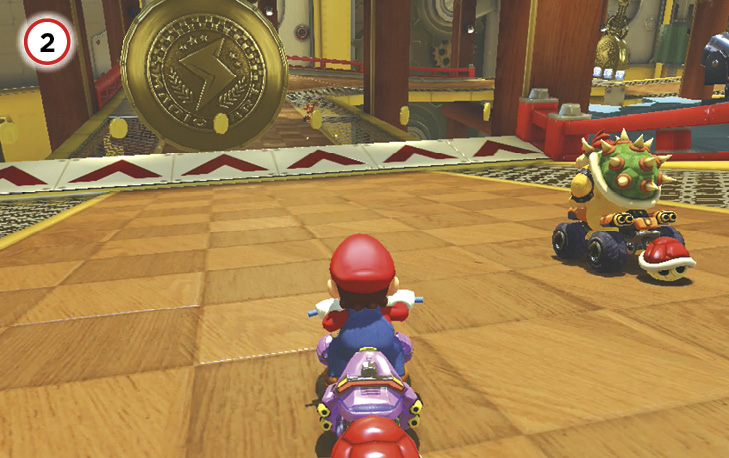
When navigating past the pendulums, make sure you score Jump Boosts off the ramps, and try to collect Coins and items along the way.
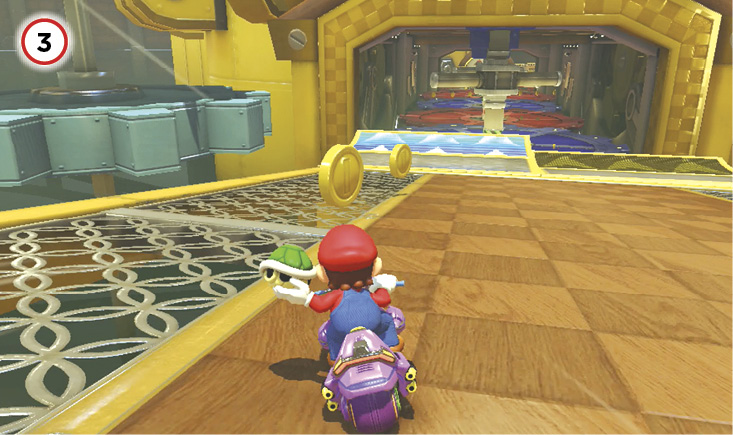
The two glide ramps here alternate between being active and inactive. If you choose to glide, you can avoid dealing with the rotating gears in the next section, while collecting Coins in mid-air. Set Bananas on these ramps in hopes of tripping up the competition, if you can.
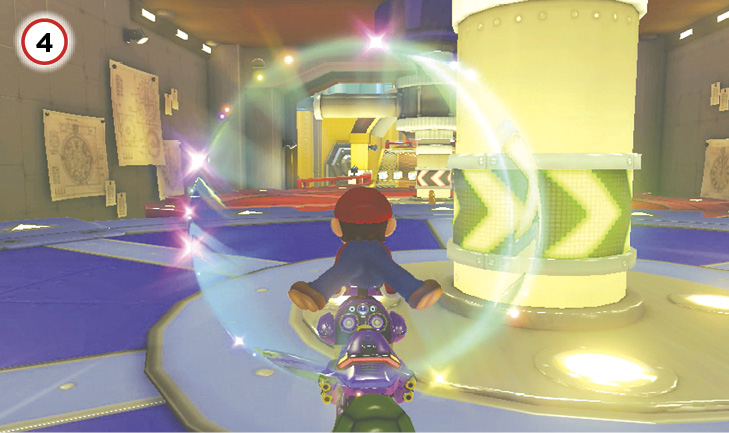
You’ll eventually have to land on the gears, so make sure you land on the side of the gear that is pointed in the direction you want to go. If you ignore the glide ramps, or land early, you can maintain good speed by weaving around the central pillar of the gears, making sure you’re always being helped forward. You can also score Jump Boosts off of the teeth of the gears.
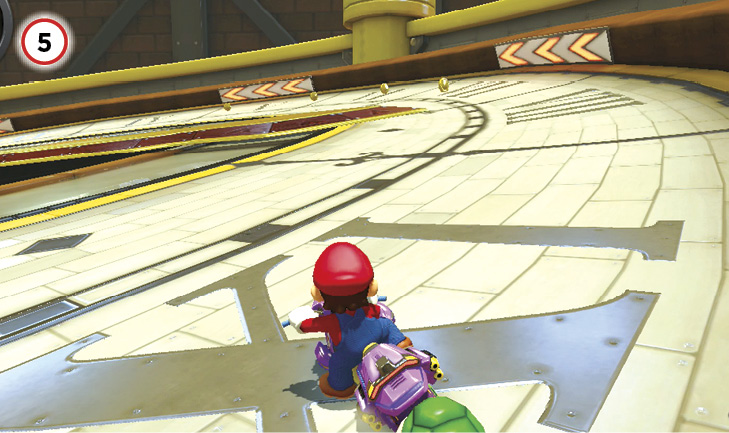
The final turn leading to the finish has more clock hands that can help or hinder you. On Lap 1, if you’re going fast enough, the long minute hand might be in place for you to use as a tough shortcut to navigate. Later laps will not afford you this luxury.
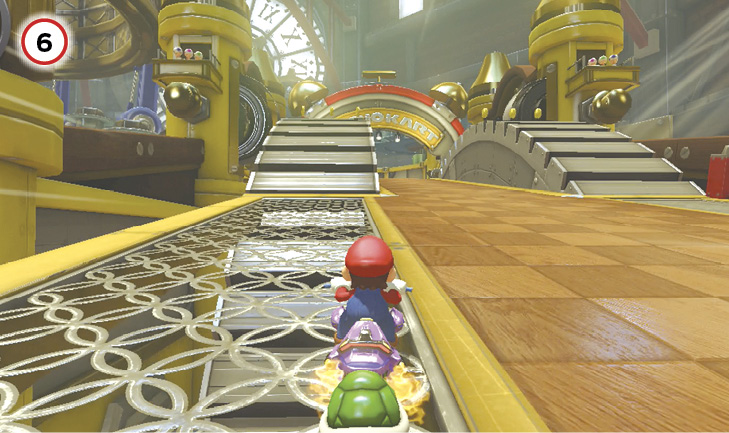
The final stretch uphill to the finish has a pair of gears on either side of the track. You can ride along the gears and Jump Boost off them, though you’ll only benefit if the gear is rotating toward the finish line!
Time Trial
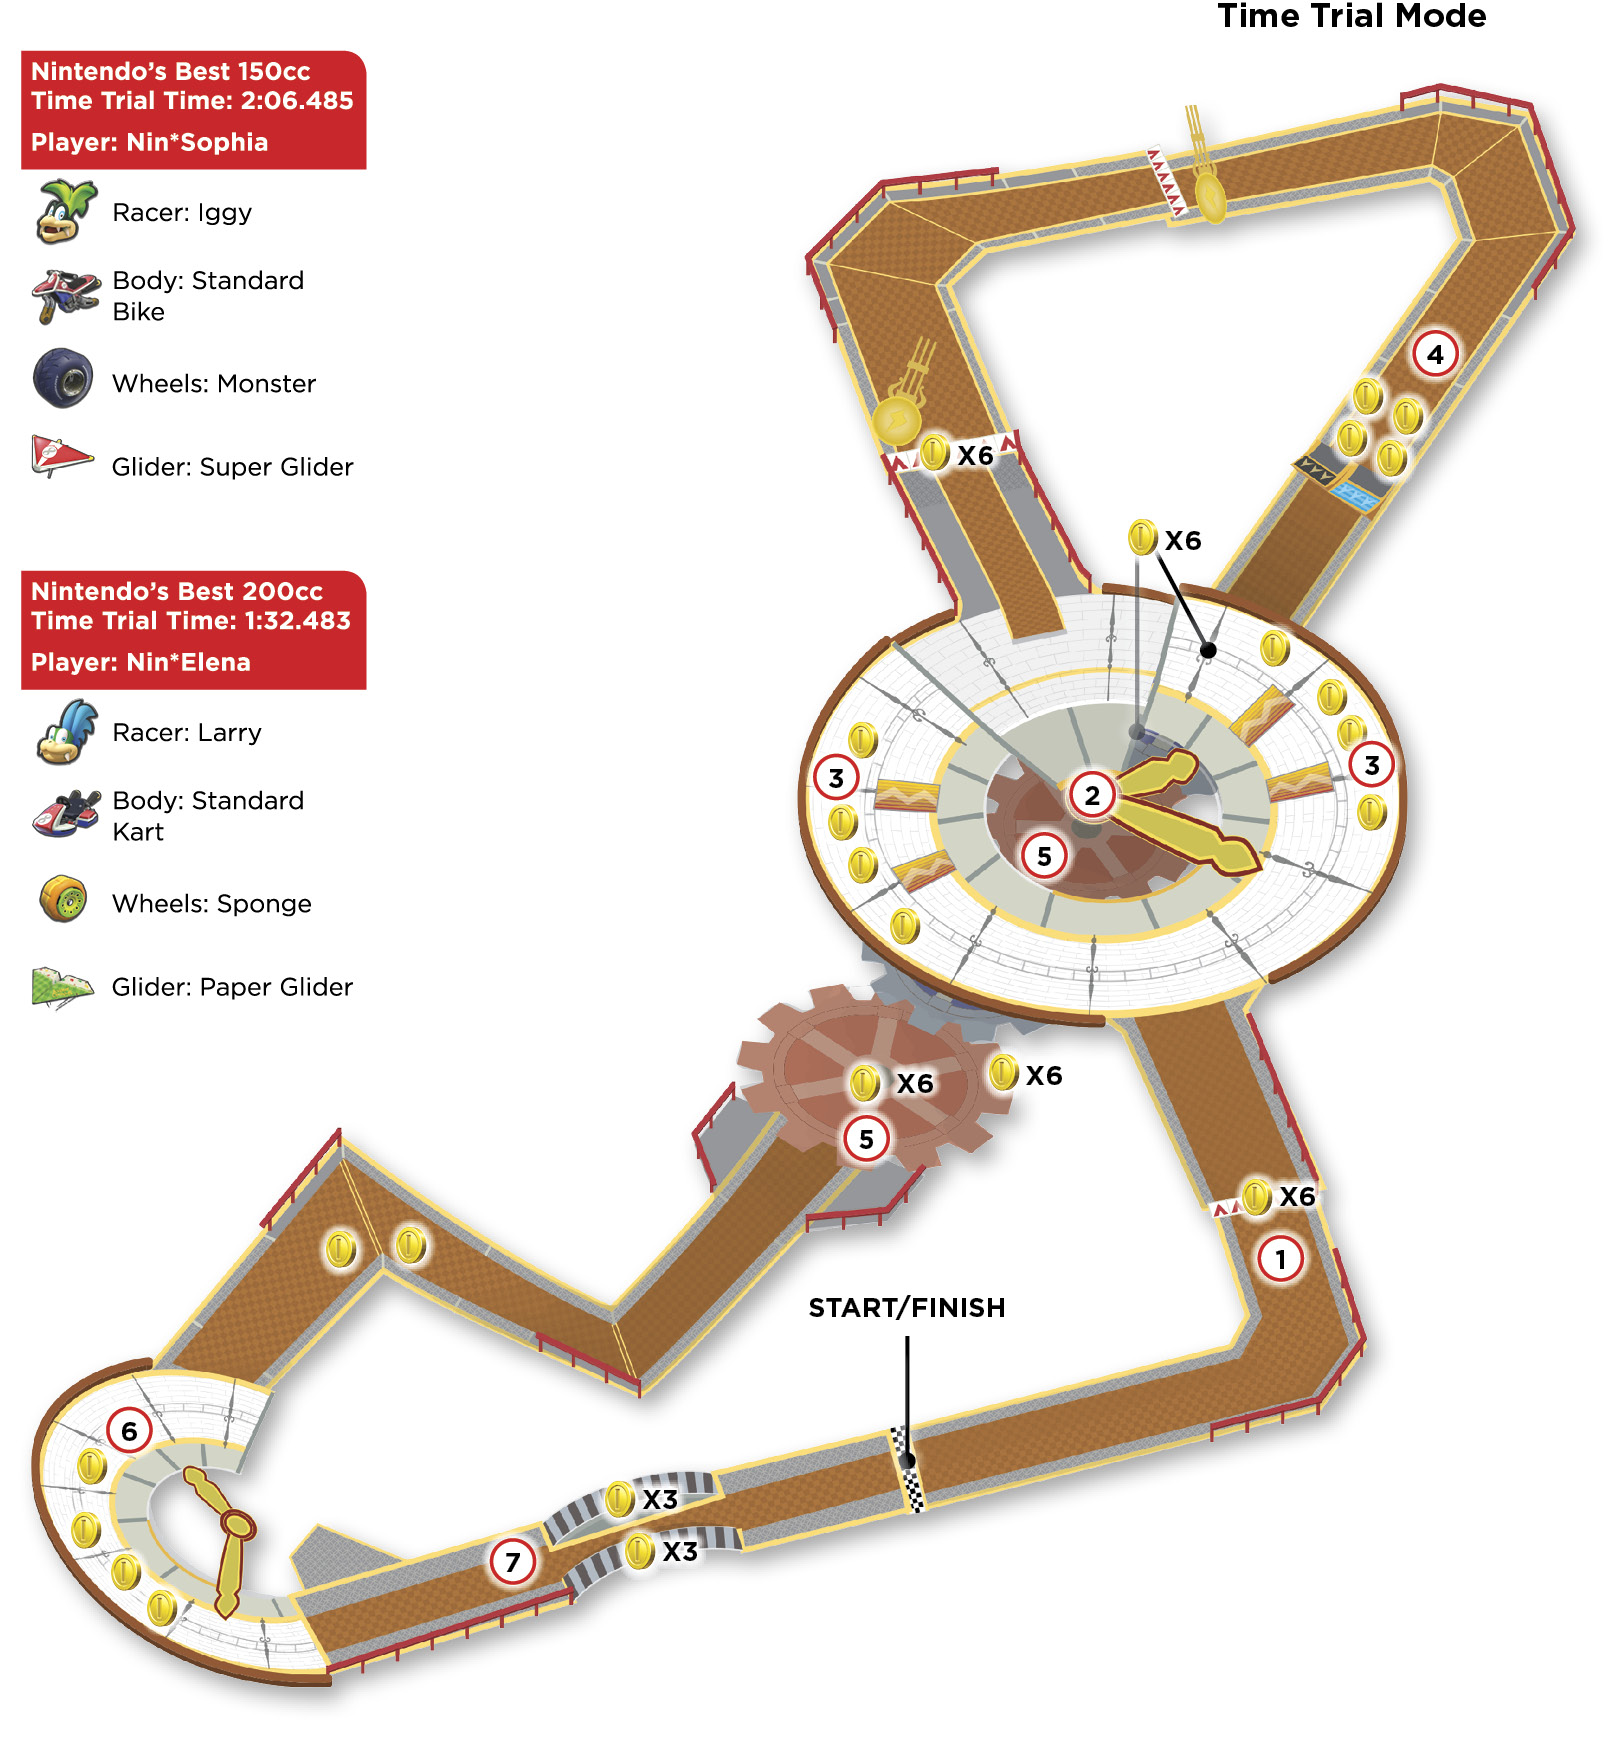
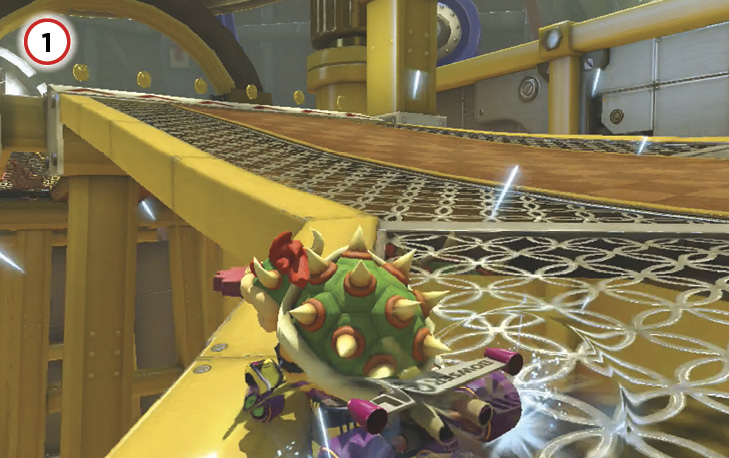
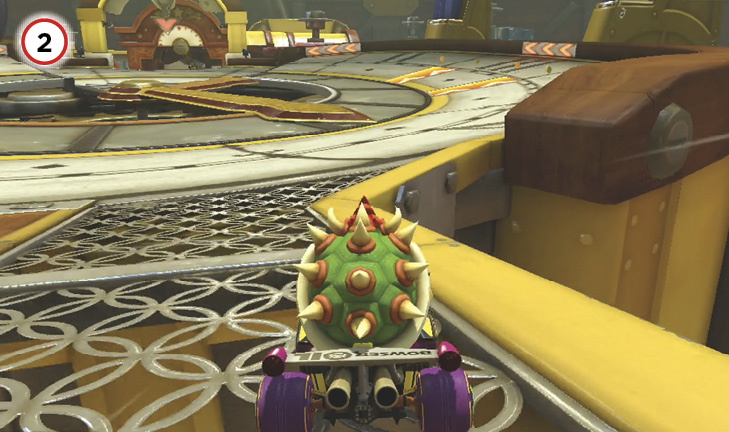
On every lap after the first turn, you can collect at least one Coin as you Jump Boost over the hill ramp down toward the clock section.
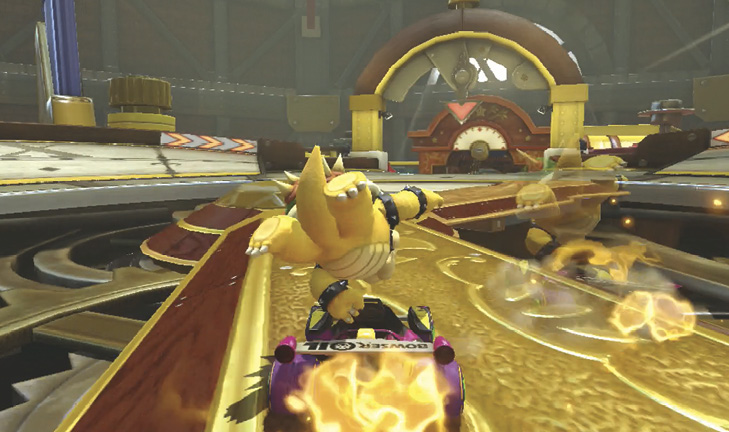
On Lap 1, the clock hands are arranged in such a way that you can cross the center of the clock without falling into the abyss, if you’re skilled enough. To get the most out of this shortcut will require you to Jump Boost off of the ramps on the sides of the clock, and at the center of the clock itself.
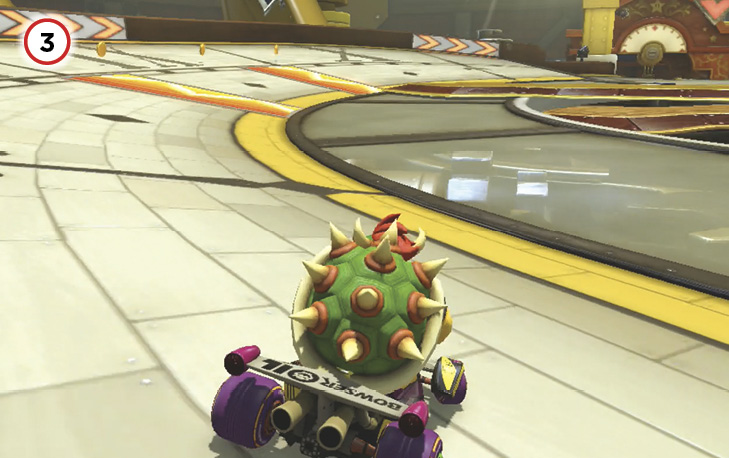
Later laps through this clock section are a good opportunity to collect Coins on the sides of the course, if you still need them.
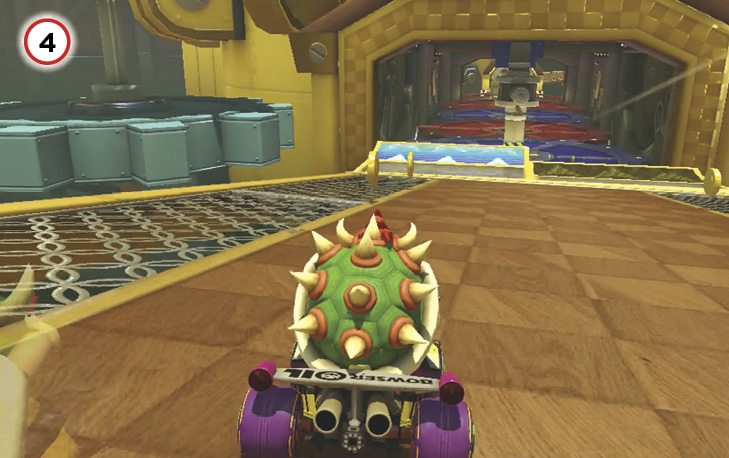
After navigating past the pendulums, collecting another Coin in the process, you have to choose whether or not you want to glide into the rotating gears section. Don’t miss out on collecting the Coins in front of the ramps.
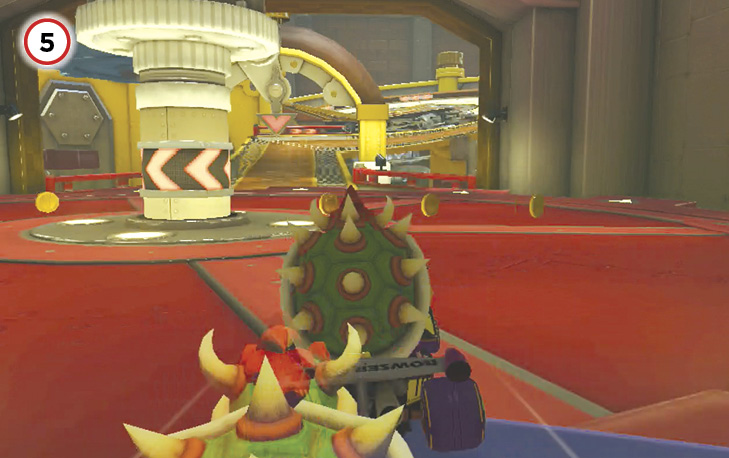
With smart uses of drifting and Mini-Turbos, you can gain a surprising amount of speed by driving over the gears and Jump Boosting off their teeth. Just make sure they’re rotating in the direction you want to go!
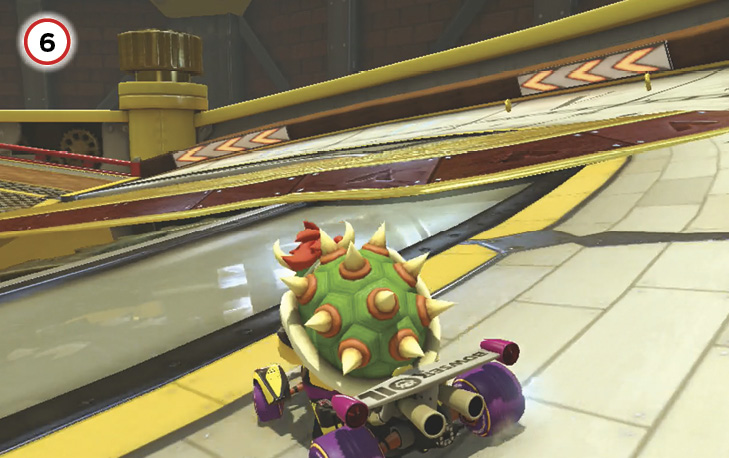
This last turn is a doozy. Thanks to the clock hands, you don’t always have an easy way to cut the last corner over the gap. You can use a Mushroom and Jump Boost off the sides of the clock hands to bridge the gap, but this can get tricky as the Time Trial progresses.
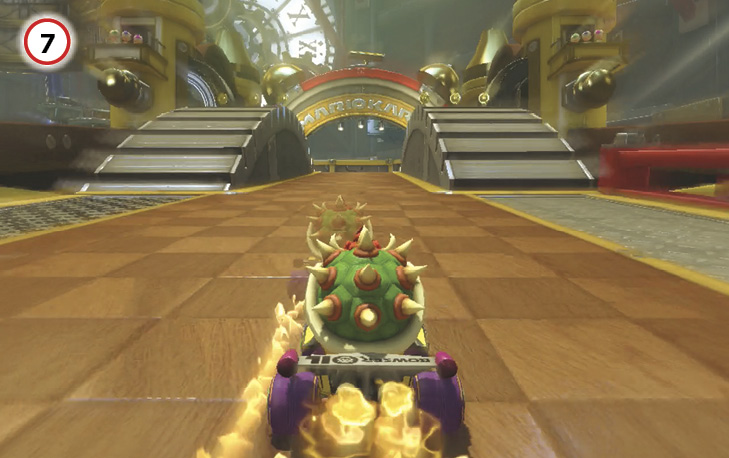
Ignore the gears on the side of track as you sprint toward the finish line. Even if they’re going the direction you want to, you lose some speed on contact with the gear itself.
3DS Piranha Plant Slide
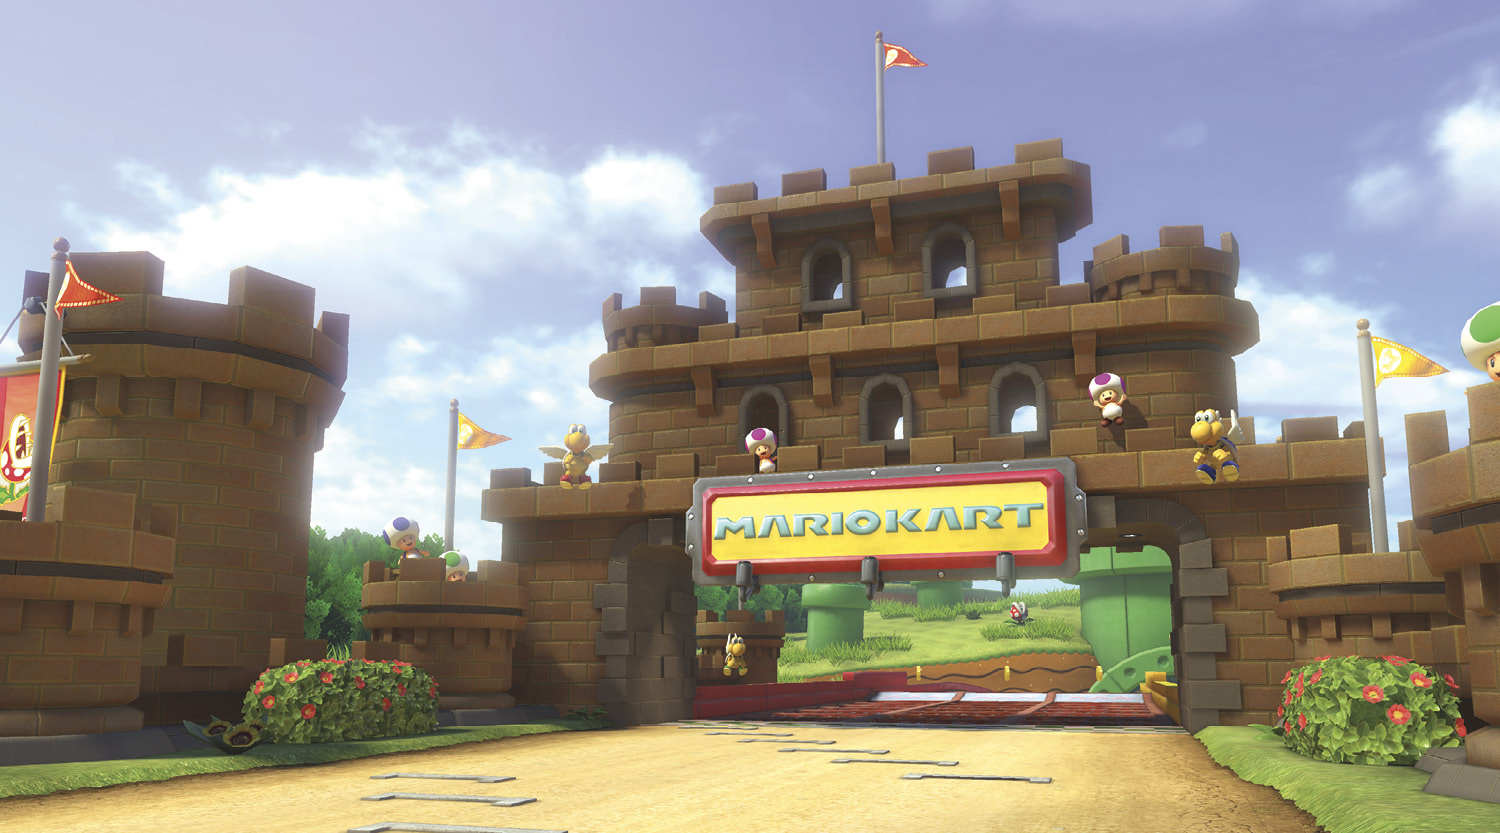
Arguably one of the fastest courses in Lightning Cup, the aptly named Piranha Plant Slide has racers tearing past the dangerous foes, following rushing currents of water through a sewer. Drivers will have to think fast and act faster to handle the sharp turns, Goombas, and Piranha Plants that dominate the track.
Grand Prix
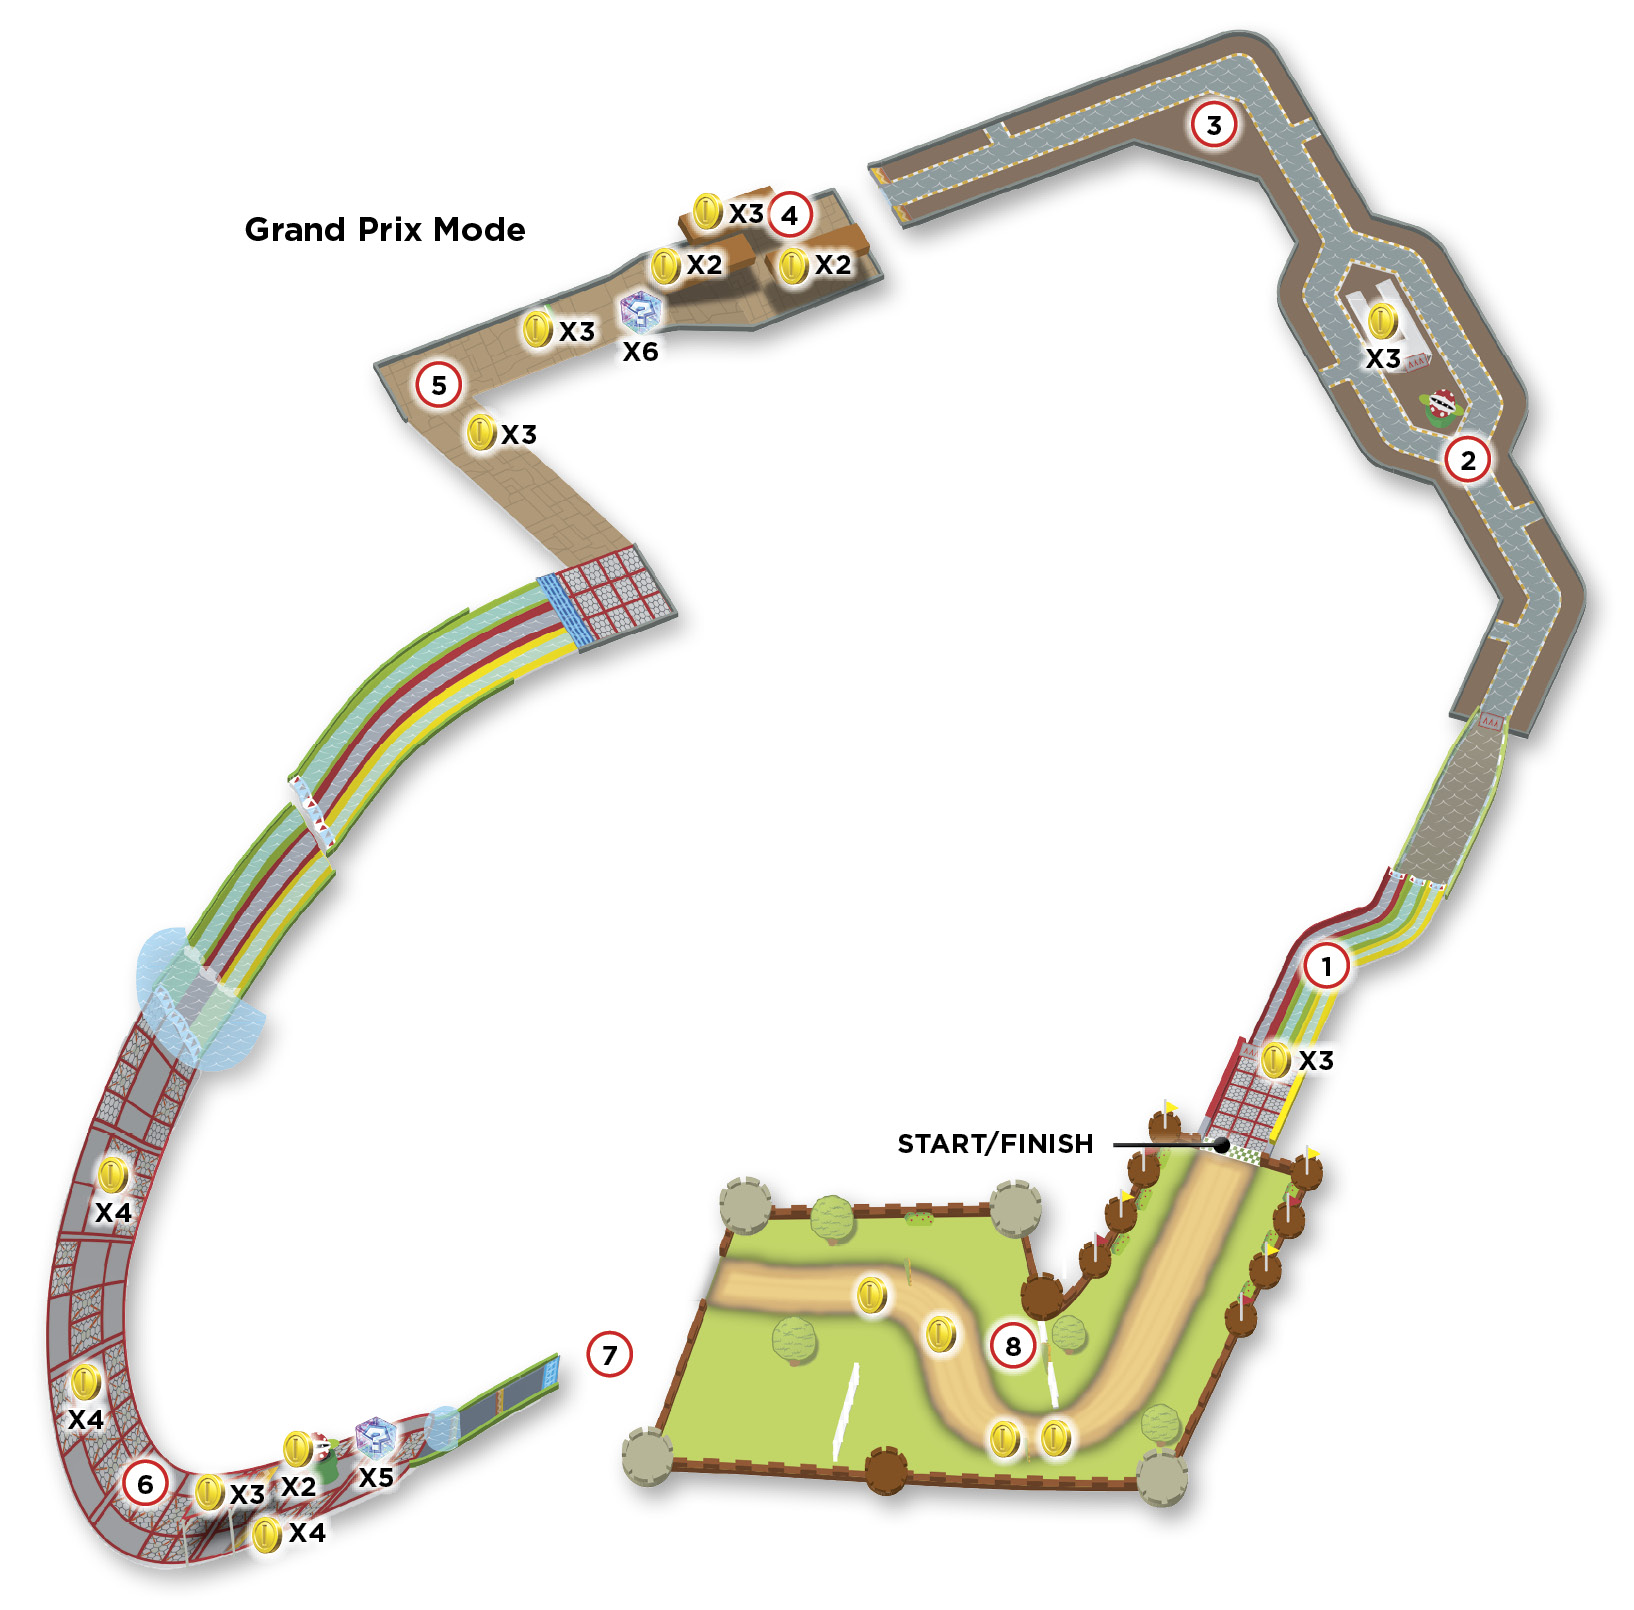
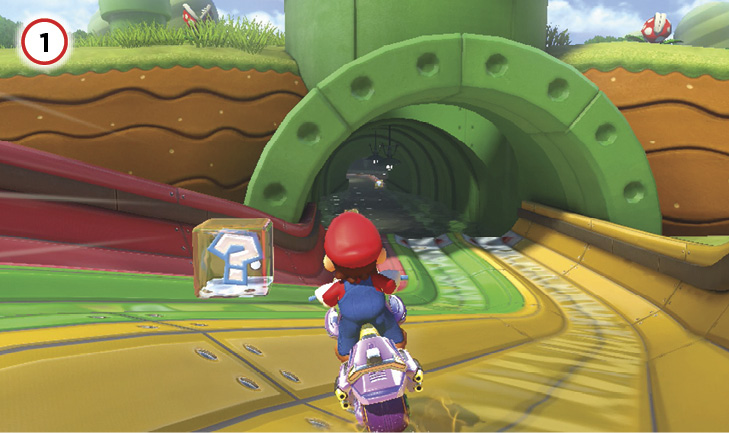
Right as you start, when driving down the curved slide, try to stay in the water rather than riding on the raised sections of the slide. You’re pushed along by the currents while in the water. Don’t miss Jump Boosting off the ramps as you enter the sewers!
When approaching the first Piranha Plant, pay attention to what side it is facing, and drive on the opposite side, staying in the water to keep up your speed. A mean trick here is to use items to force other racers to fall in range of the plant so it can bite them.
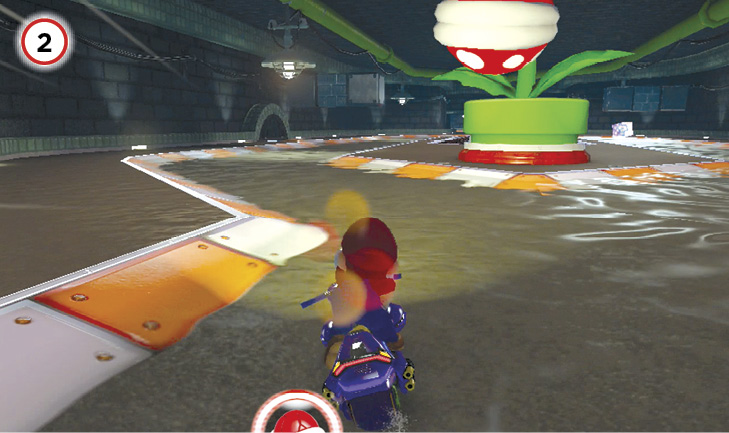
After slipping past the first Piranha Plant, the course takes a sharp left turn, through a small group of Goombas. You can avoid most of them by sticking to the inside of this turn, close to the wall.
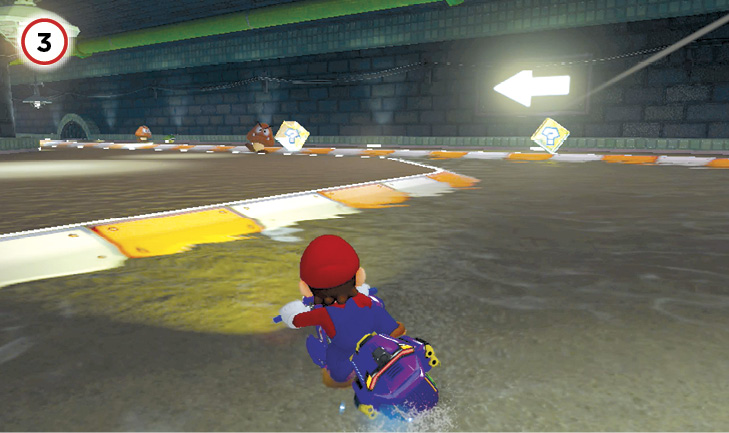
As you clear the Goombas, you can try to jump onto a set of floating blocks to collect some Coins with the help of dash panel ramps. If you have Bananas, you can set them on these blocks to catch racers who try to follow you onto these narrow paths.
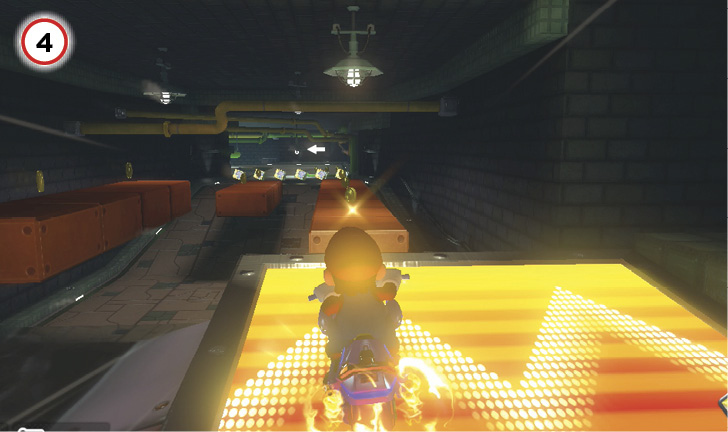
There’s a lack of guardrails on the two turns leading up to the large pipe that takes you underwater. As you Jump Boost off the small pipe ramps, watch for opportunities to knock rivals off the track, while also keeping an eye out for them trying to do the same to you!
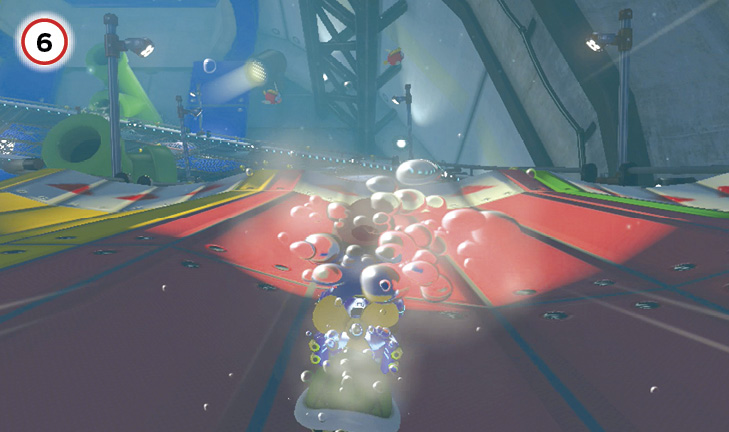
After the pipe sends you underwater, you’re close to the second Piranha Plant. This guy has some serious range, so unless you have a Mushroom to boost past the side he’s facing, or use the nearby dash panels, you don’t want to be caught unawares by him!
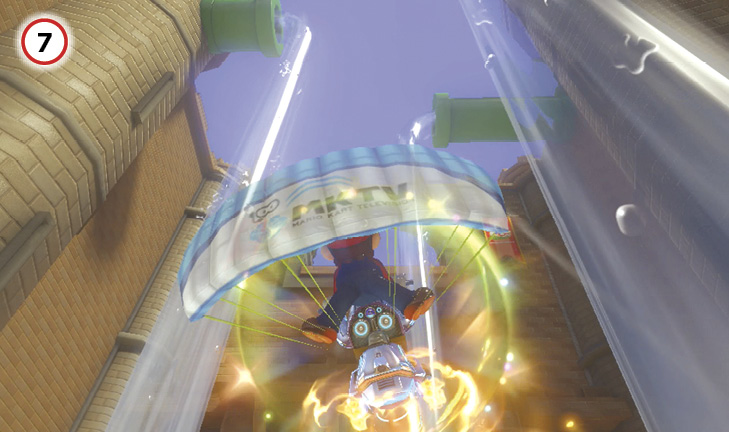
The glide ramp at the end of the water section sends you flying upward past a number of drain pipes. Do not touch the water flowing from them, as you’ll likely not manage to make it to the landing site for your final run toward the finish.
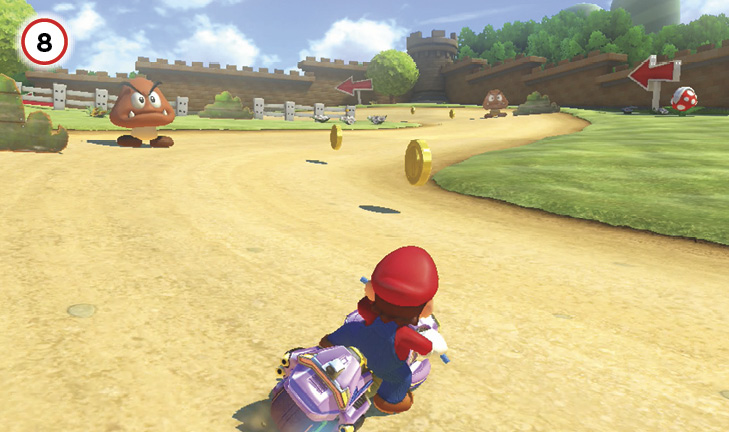
This winding series of turns has Goombas and fake signs of Goombas waiting for you! Avoid the real baddies as best you can while negotiating the turns. You can use Mushrooms for a significant shortcut here, so if you manage to get one in the water section, hold on to it! Once you get through this final series of turns, the finish line is literally around the final corner!
Time Trial
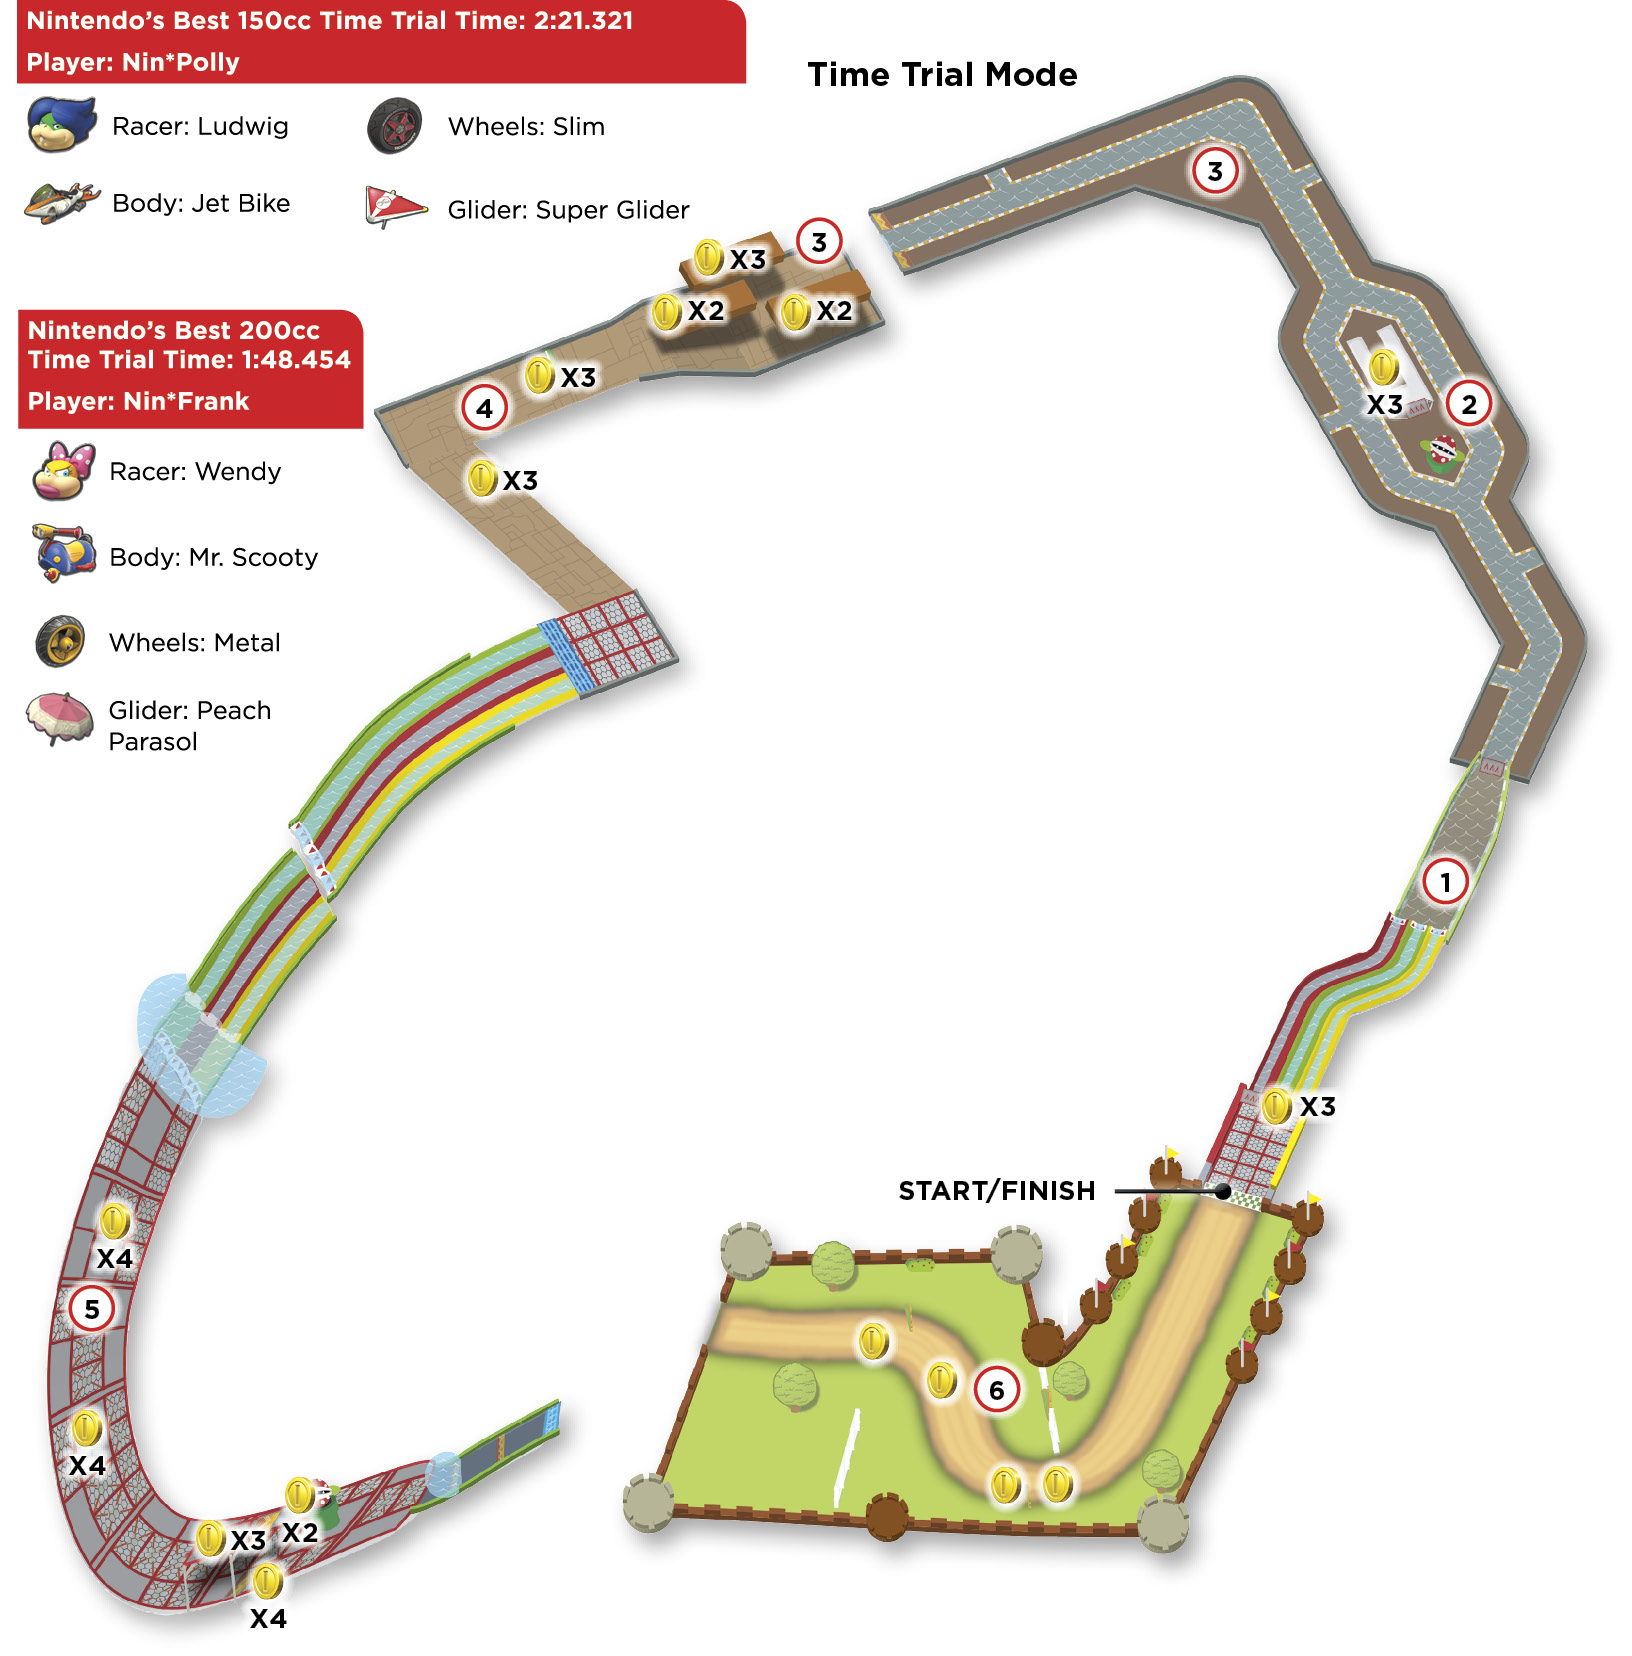
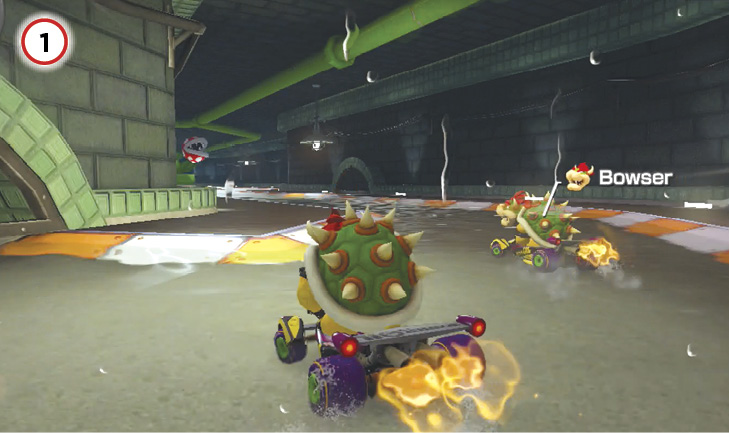
The general rule for the first part of this Time Trial is simple: stick to the water as much as you can to enjoy the boost from the water current. Also, take advantage of any ramps you encounter throughout for Jump Boosting purposes.
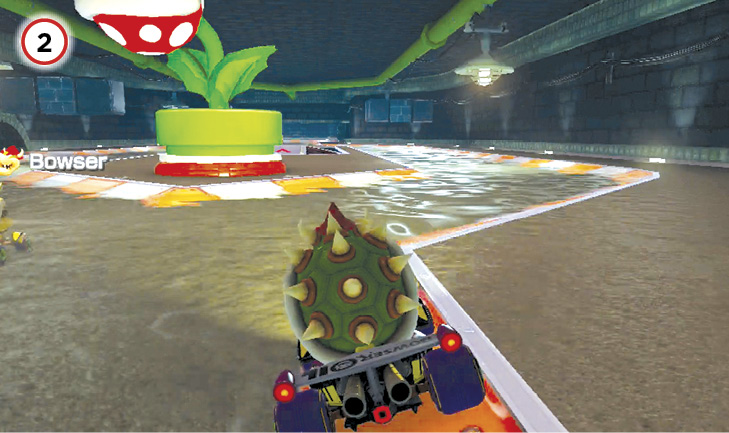
Slip past the first Piranha Plant, and aim for the ramp behind it so you can leap onto a smaller section of the track to collect three Coins. On the following laps, it’s faster to drift and Mini-Turbo in the water currents on either side of the plant.
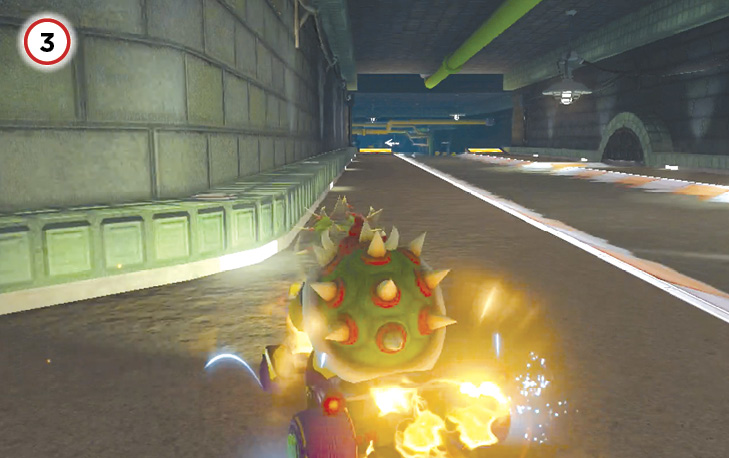
The turn just beyond the Piranha Plant should be cut as hard to the left as possible. Do this to avoid the Goombas and line up for one of the dash panel ramps that can launch you onto one of the floating block platforms, which contains some extra Coins.
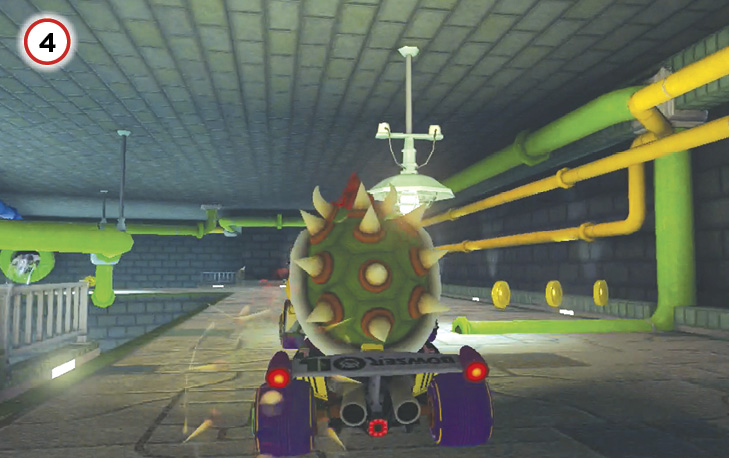
Two small pipes on the ground in this section of the course have three Coins floating over them. It’s tough, but try to collect the Coins and Jump Boost off these pipes!
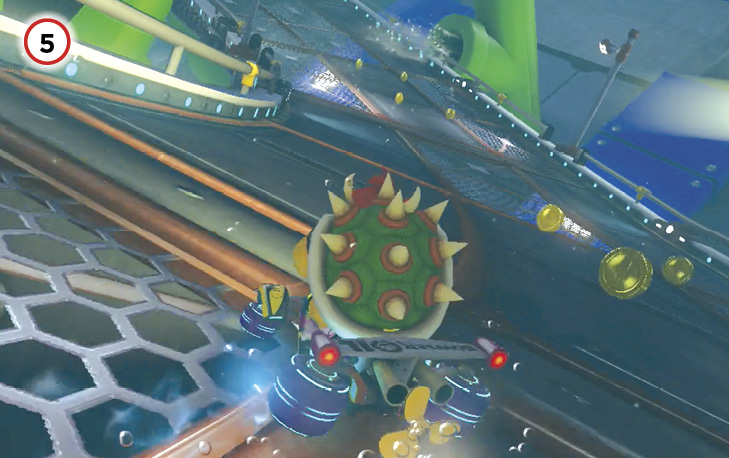
The underwater section is straightforward for the most part. During the first two laps, it’s easily possible to collect six Coins in one pass! As you approach the second Piranha Plant, stay to the right side of the track, and use the dash panel to blow past the baddie with no fuss at all.
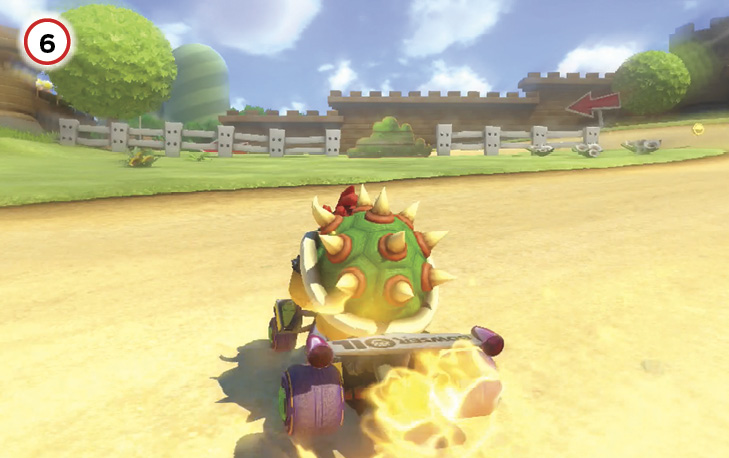
After launching out of the water section back onto dry land, you’re on your way to the spot where you’ll want to use a Mushroom for all three laps. Launch yourself across the grass, through the pictured sign, while drifting hard to the left. By this point in Lap 1, you should already have ten Coins, so you can afford to miss a few here. Just make sure you hit this shortcut every time!
Wii Grumble Volcano
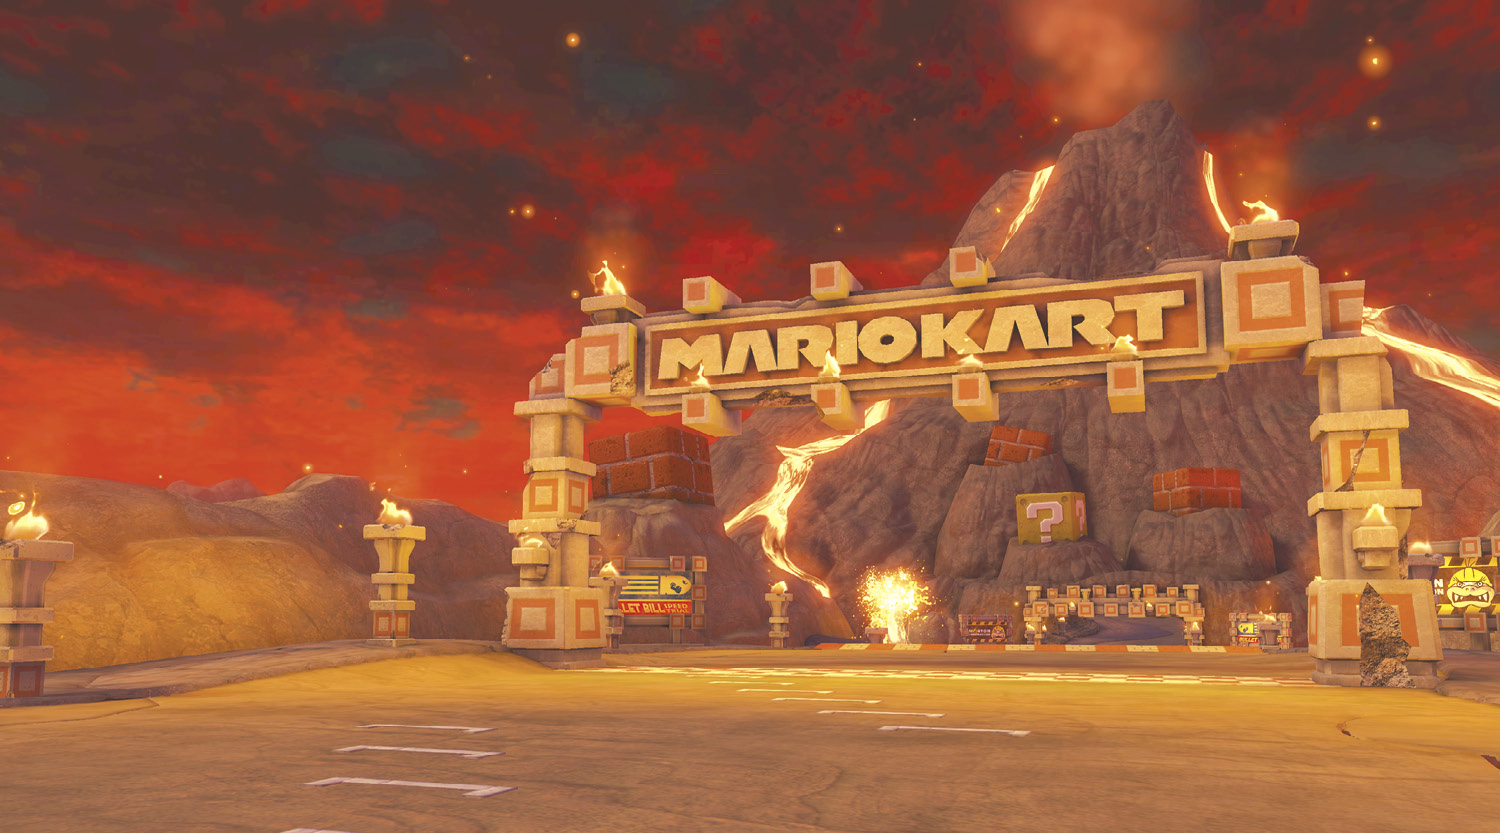
Grumble Volcano pulls no punches. With every lap, the terrain changes as whole sections of the course collapse into the lava. The volcano itself spews flame that fouls up sections of the track, the road is uneven, and it’s very easy to take a lava bath if you’re not paying attention.
Grand Prix
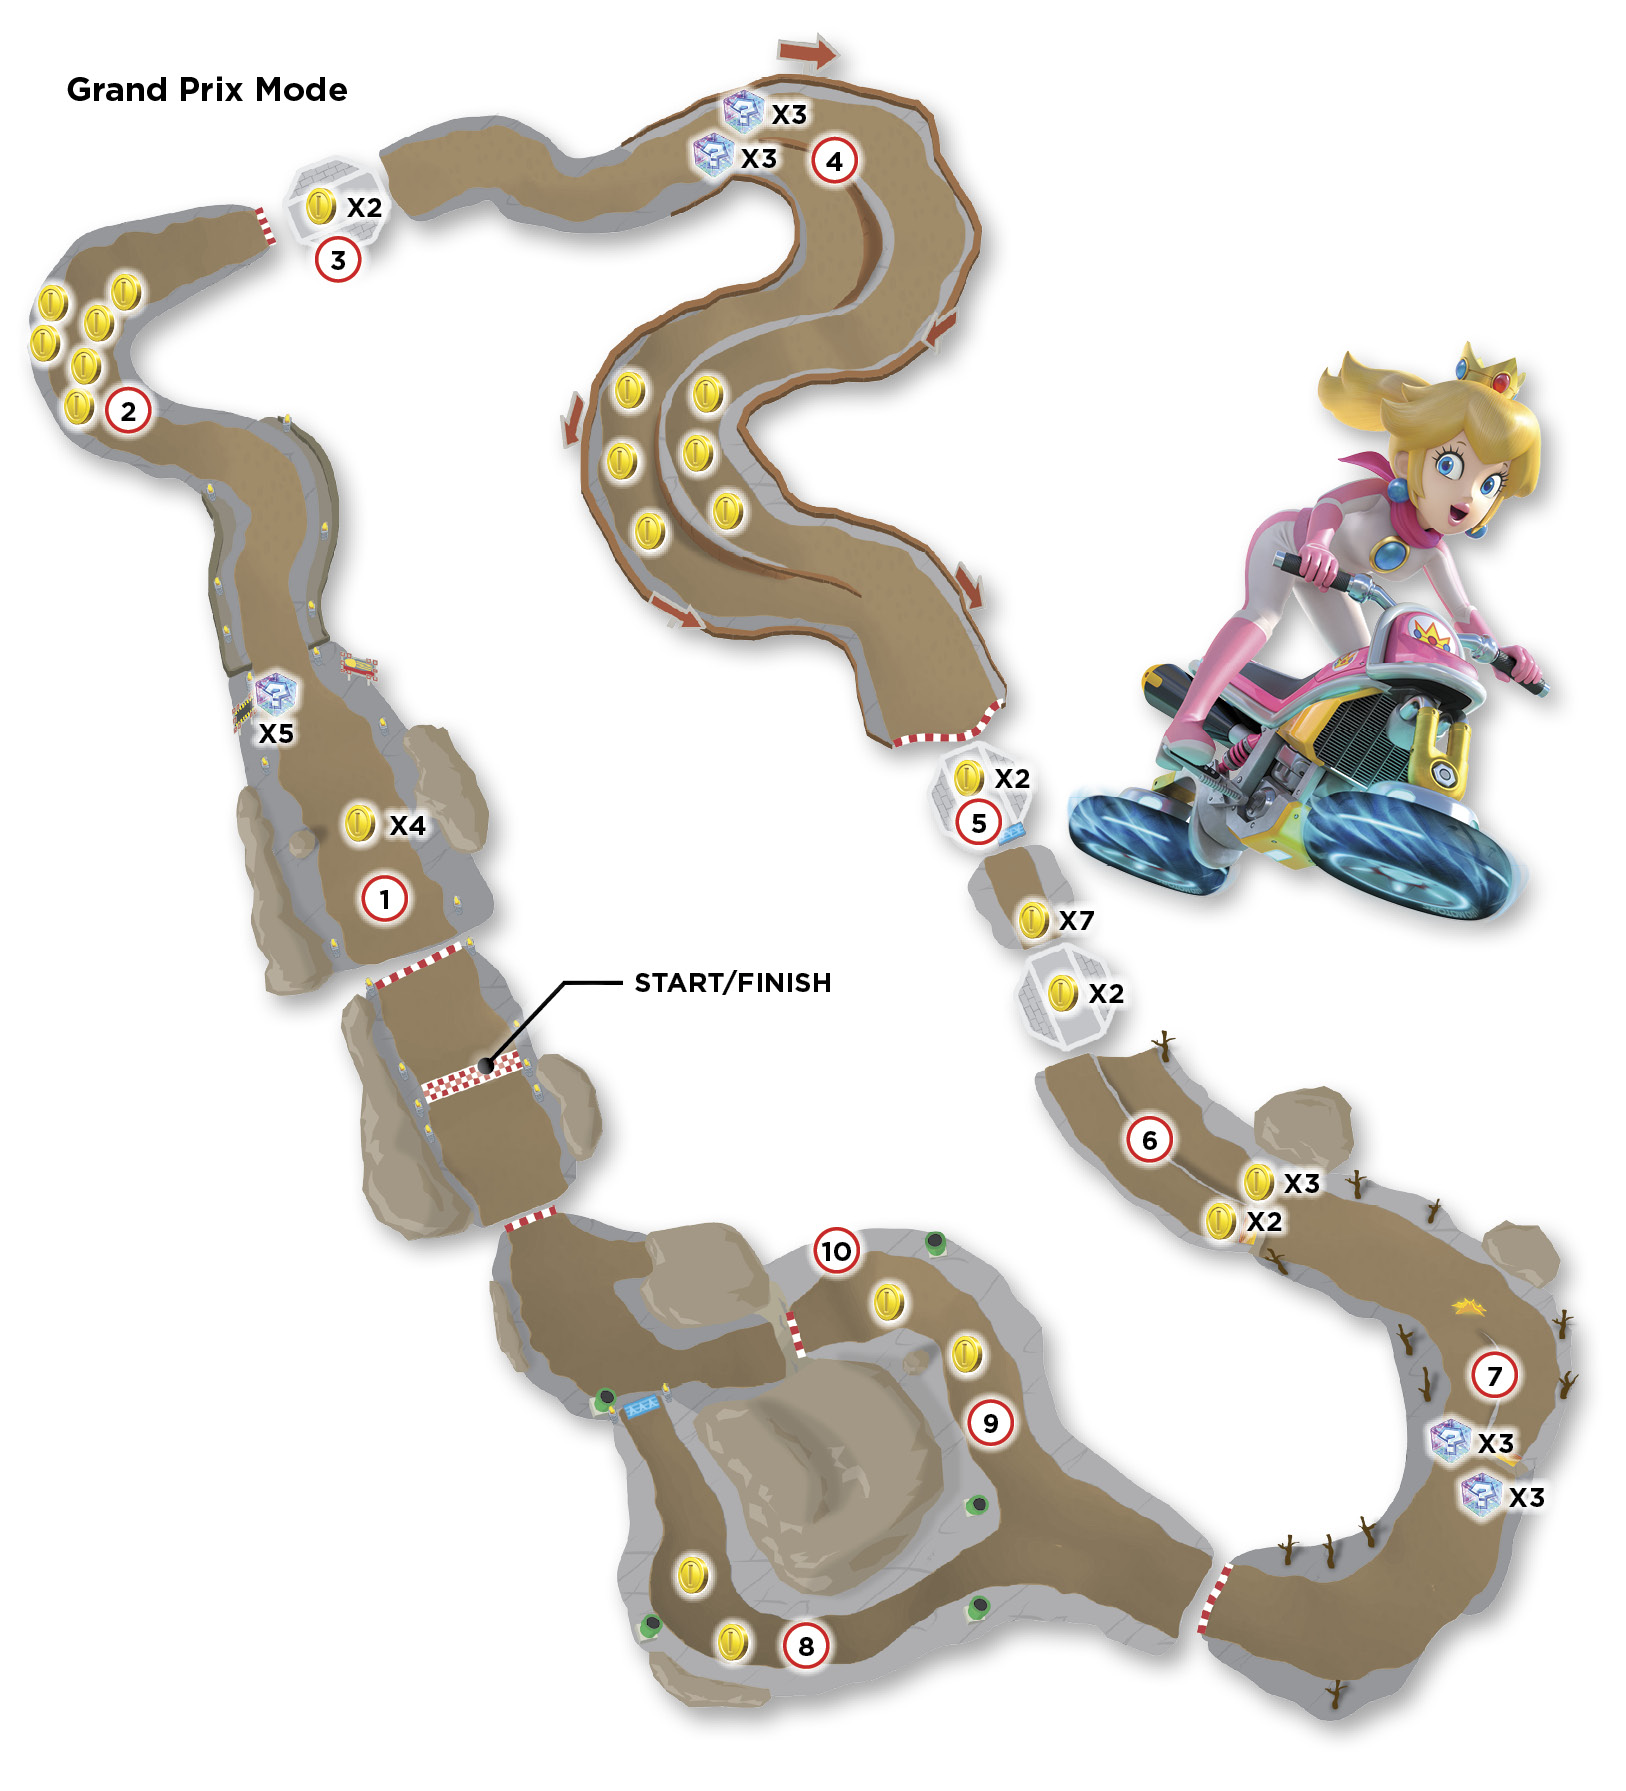
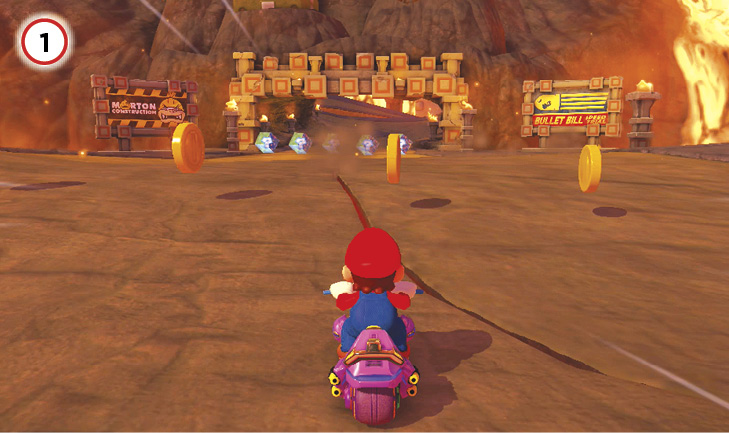
The section of road just after the race begins provides a basic example of how the track will change as the race progresses. Two of the Coins on the right side of the course will become unreachable when the land underneath them sinks into the lava on Lap 2.
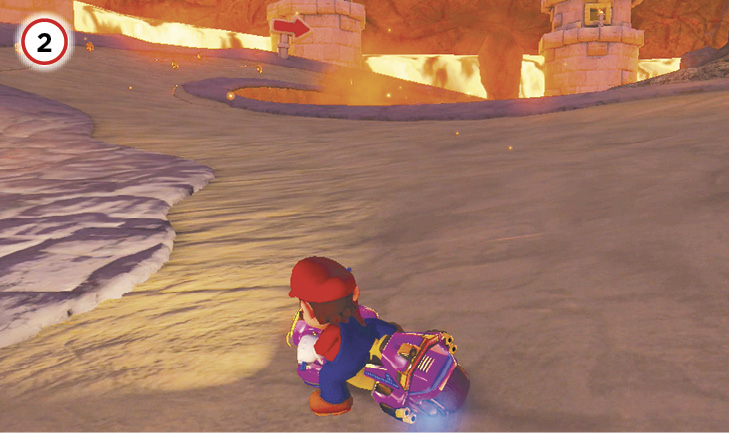
The first turn inside the mountain starts out wide and easy to navigate. As the race progresses, huge chunks of the track break away, leaving you with much less room to drift through the turn. This turn becomes a hot spot for placing Bananas to send racers flying into the lava!
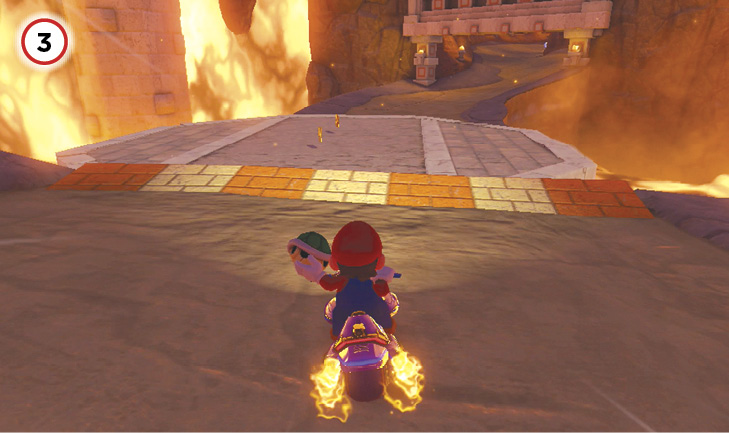
This platform moves back and forth in the lava. Concentrate on getting to the ground on the other side. The platform never moves enough that you will fall into the lava unless you make some serious driving mistakes.
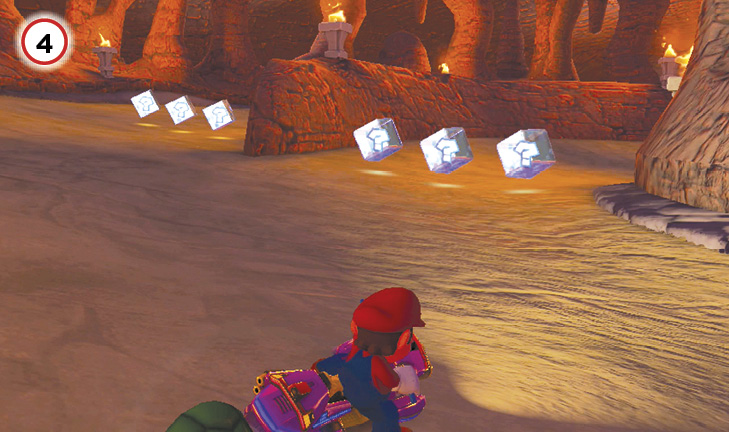
The road splits up into upper and lower paths, following more or less the same turns. You can drop from the upper path down to the lower if you slip off the right side of the route. The lower route isn’t decisively faster, but it is a bit easier to navigate.
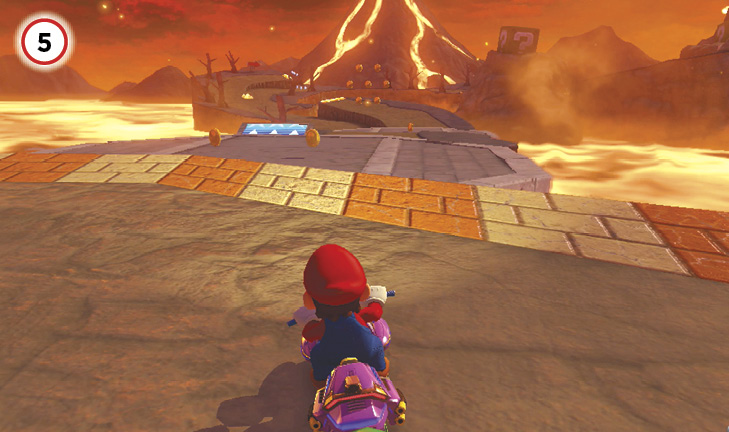
The paths rejoin as you exit the cave, and another moving platform awaits you. On this platform is a glide ramp, an invaluable tool for reaching some more Coins caught in the air. This is another amazingly evil spot to set Bananas so you can send some rivals tumbling into the lava!
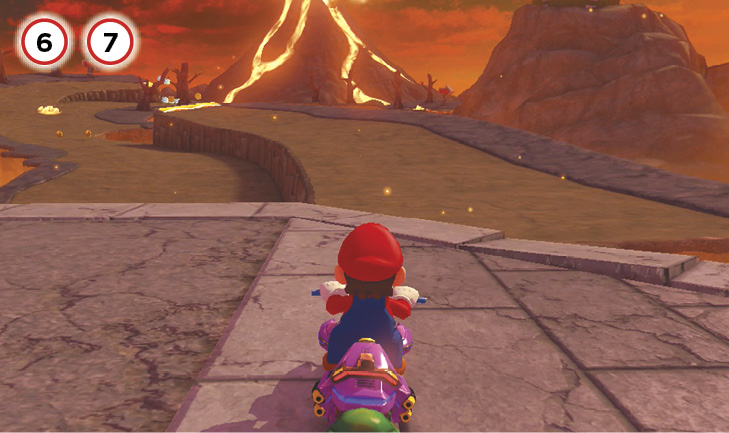
The road from the glide ramp platform splits twice for very brief periods. The upper routes have dash panels to make up for being longer to navigate, but you’re generally faster on the ground. Watch out for fire patches on the ground, caused by the erupting volcano!
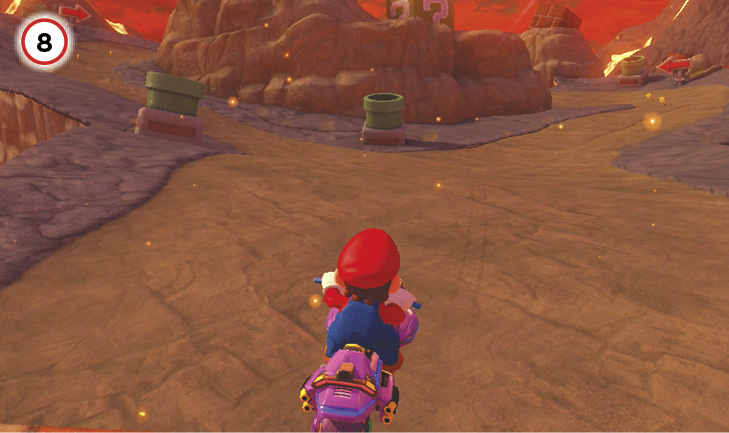
This tall mountain has two routes around it. The first is to climb up it, following the road to the left. Fire Snakes populate this narrow road, so be careful as you handle this turn. At the top of the mountain is a glide ramp that will send you on a straight line to the finish.
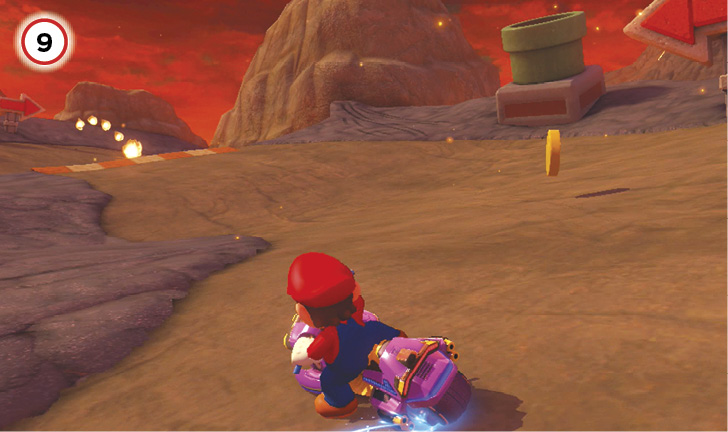
The right-hand route is faster, but more complex to navigate, requiring sharp turns to stay on the road while avoiding the rough terrain and the Fire Snakes on the path.
Things near the mountain change on Lap 3, with a portion of the course sinking away to reveal a small stone ramp. You MUST have a Mushroom available if you want to safely use that ramp to cut past the final turn for a more direct shot at the finish line.
Time Trial
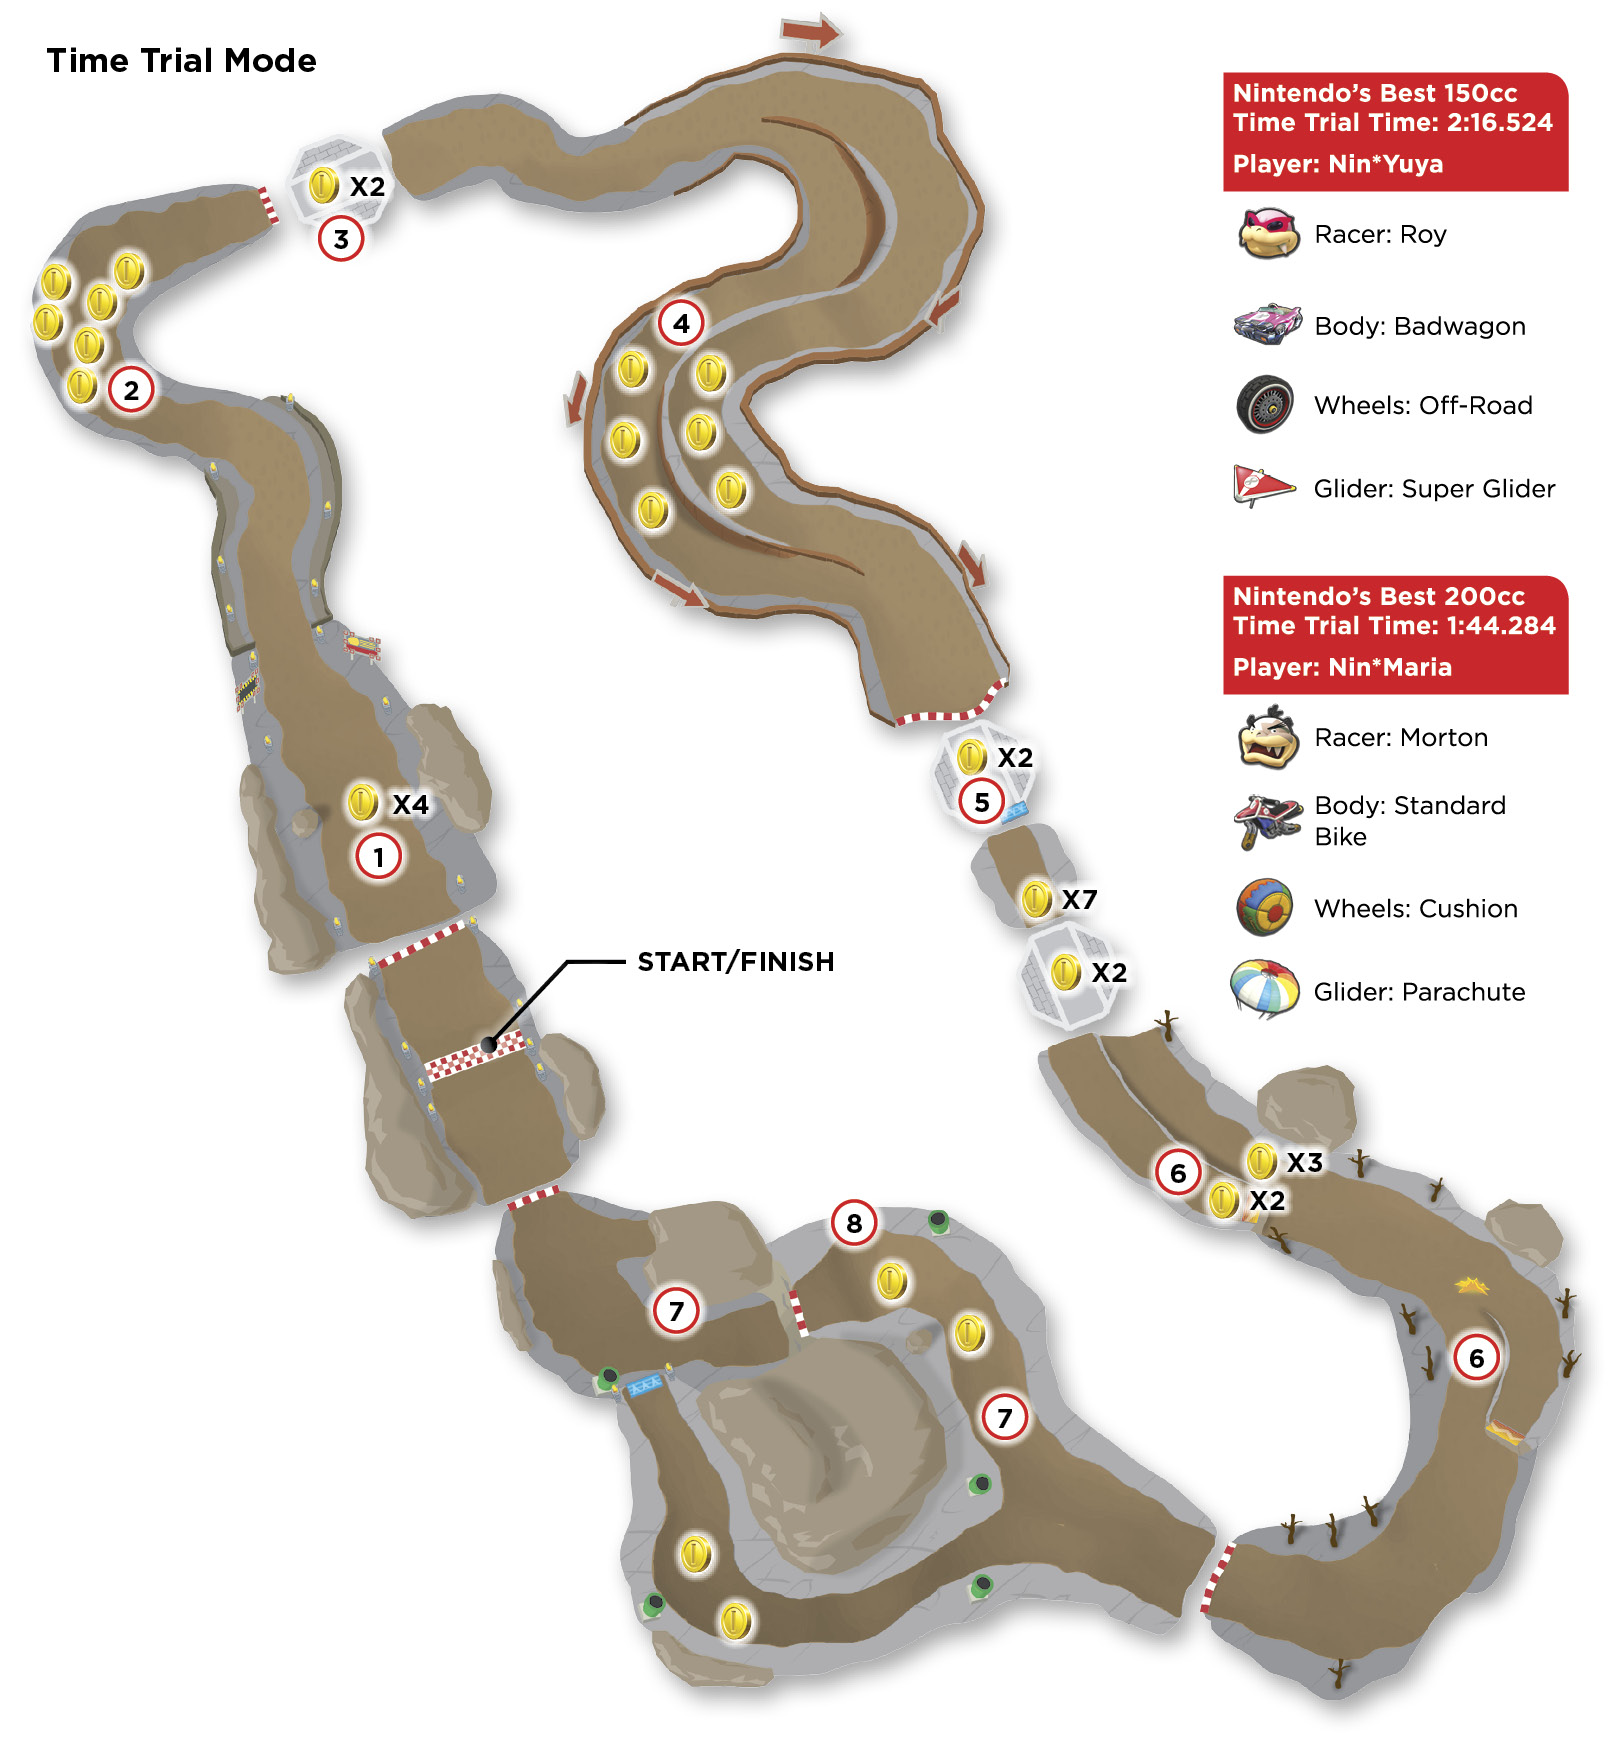
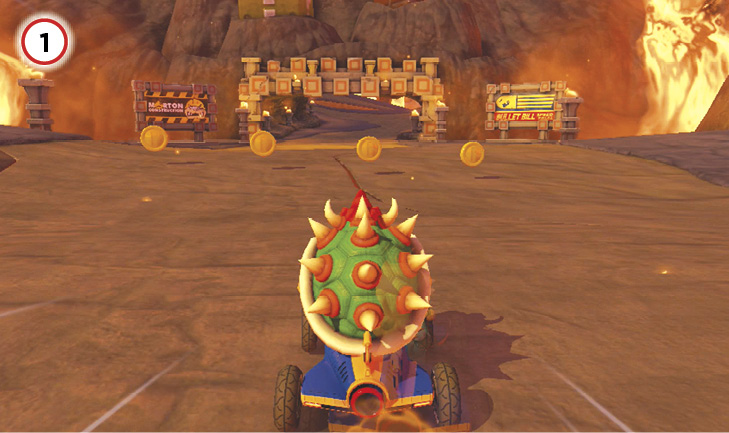
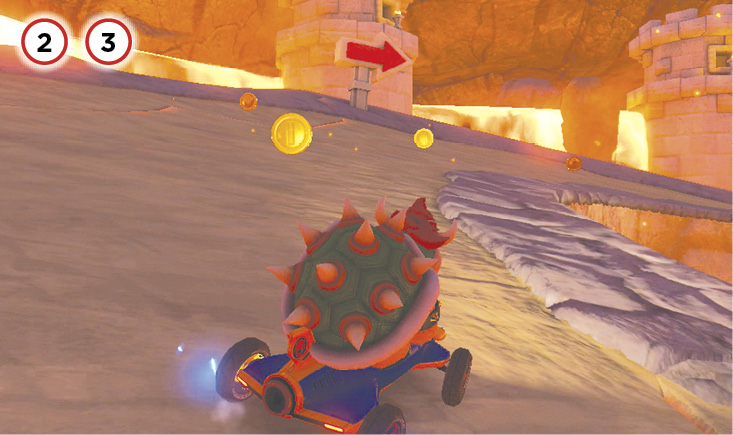
Collect one of the two Coins on the right side of the course just after you start. On later laps, the ground will have collapsed underneath them.
Remember that the first turns as you enter the cave will be more dangerous to navigate on later laps, when the ground has collapsed into the lava. Make sure to collect three Coins on the inside racing line during Lap 1. As you exit the turn, try to set yourself up to collect the two Coins on the moving platform before you enter the next part of the cave.
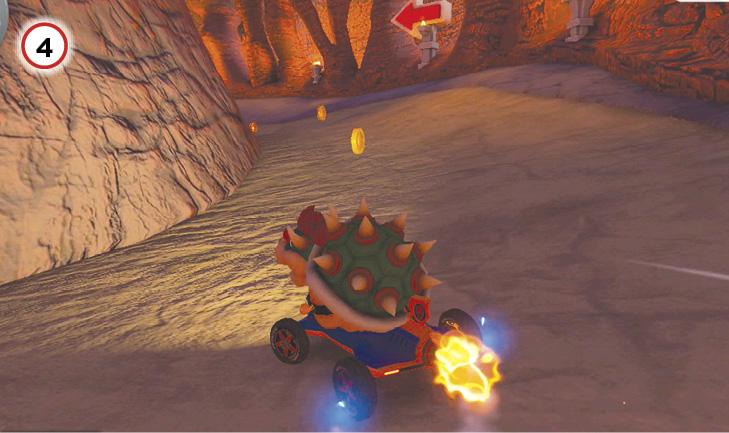
At the track split, stay on the lower level, and make sure you collect the three Coins on that path. You can score multiple Mini-Turbos during this long turn.
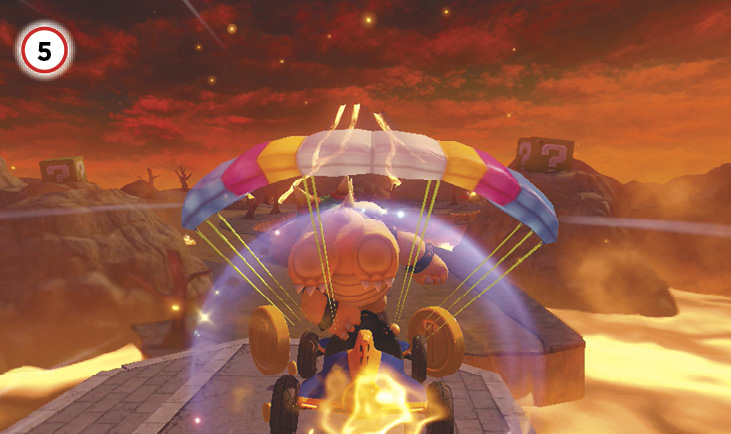
Exiting the caves, you can choose to glide over many of the most dangerous obstacles and collect more Coins in the process. If you’ve driven well on Lap 1, you can have ten Coins once you finish crossing these moving platforms.
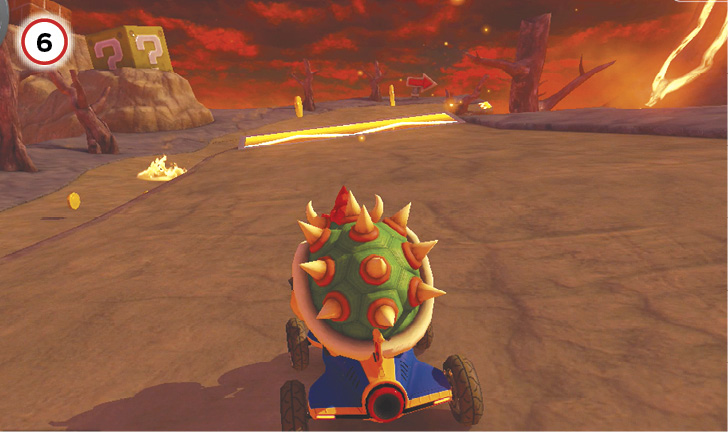
The two raised portions of the track do contain dash panels to speed you along. The first of these raised portions can help cut down on your times. The second forces you to take a wider and longer path to reach it, and it’s overall faster to stay on the ground level and drift through the turn as tight to the rough terrain as you can.
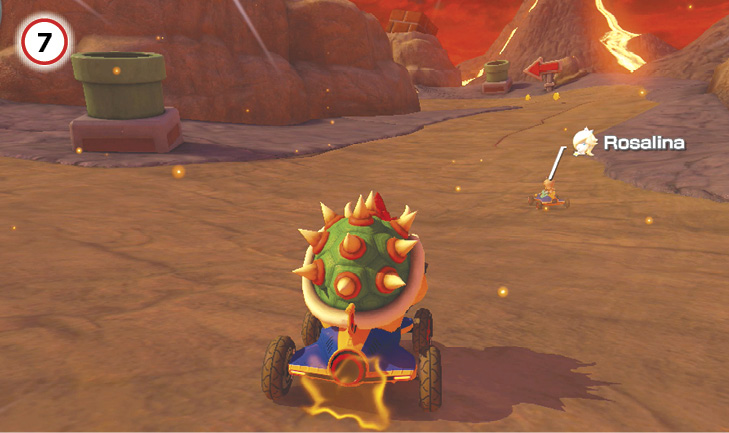
When you reach the final split in the track, take the right-hand route, and cut the final turns by going across the rough ground with a Mushroom.
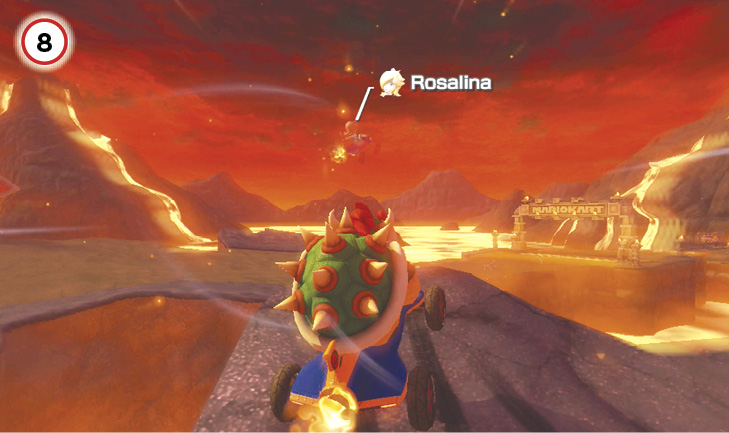
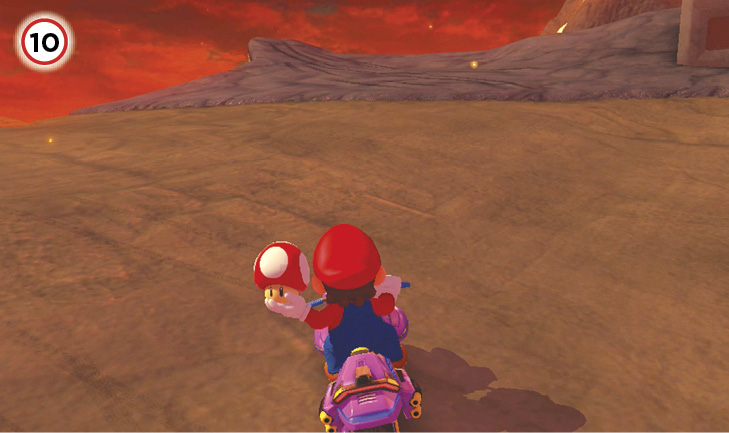
On Lap 3, the terrain near the final turn on the right route will have changed to reveal a vital shortcut over the lava. Using this newly created ramp requires a Mushroom, so make sure you save one for it!
N64 Rainbow Road
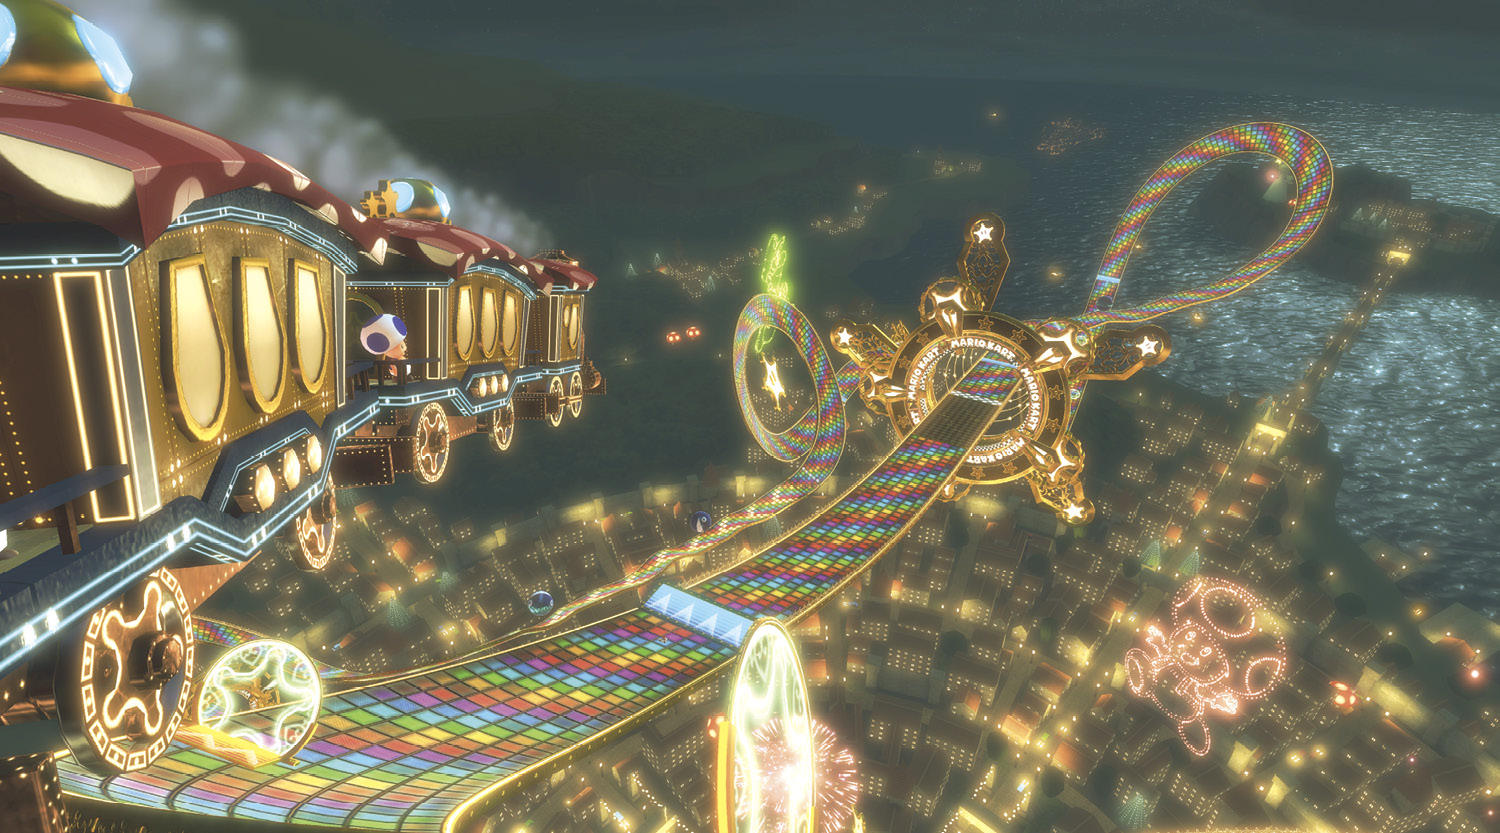
Mario Kart 64’s classic Rainbow Road returns to Mario Kart 8 Deluxe! A course known by many for its incredible length compared to all others in its original appearance, N64 Rainbow Road is still one of the longest tracks in the game. Divided into three distinct sections, and having seen some significant changes from its original incarnation, this course is a colorful send-off to the Lightning Cup!
Grand Prix
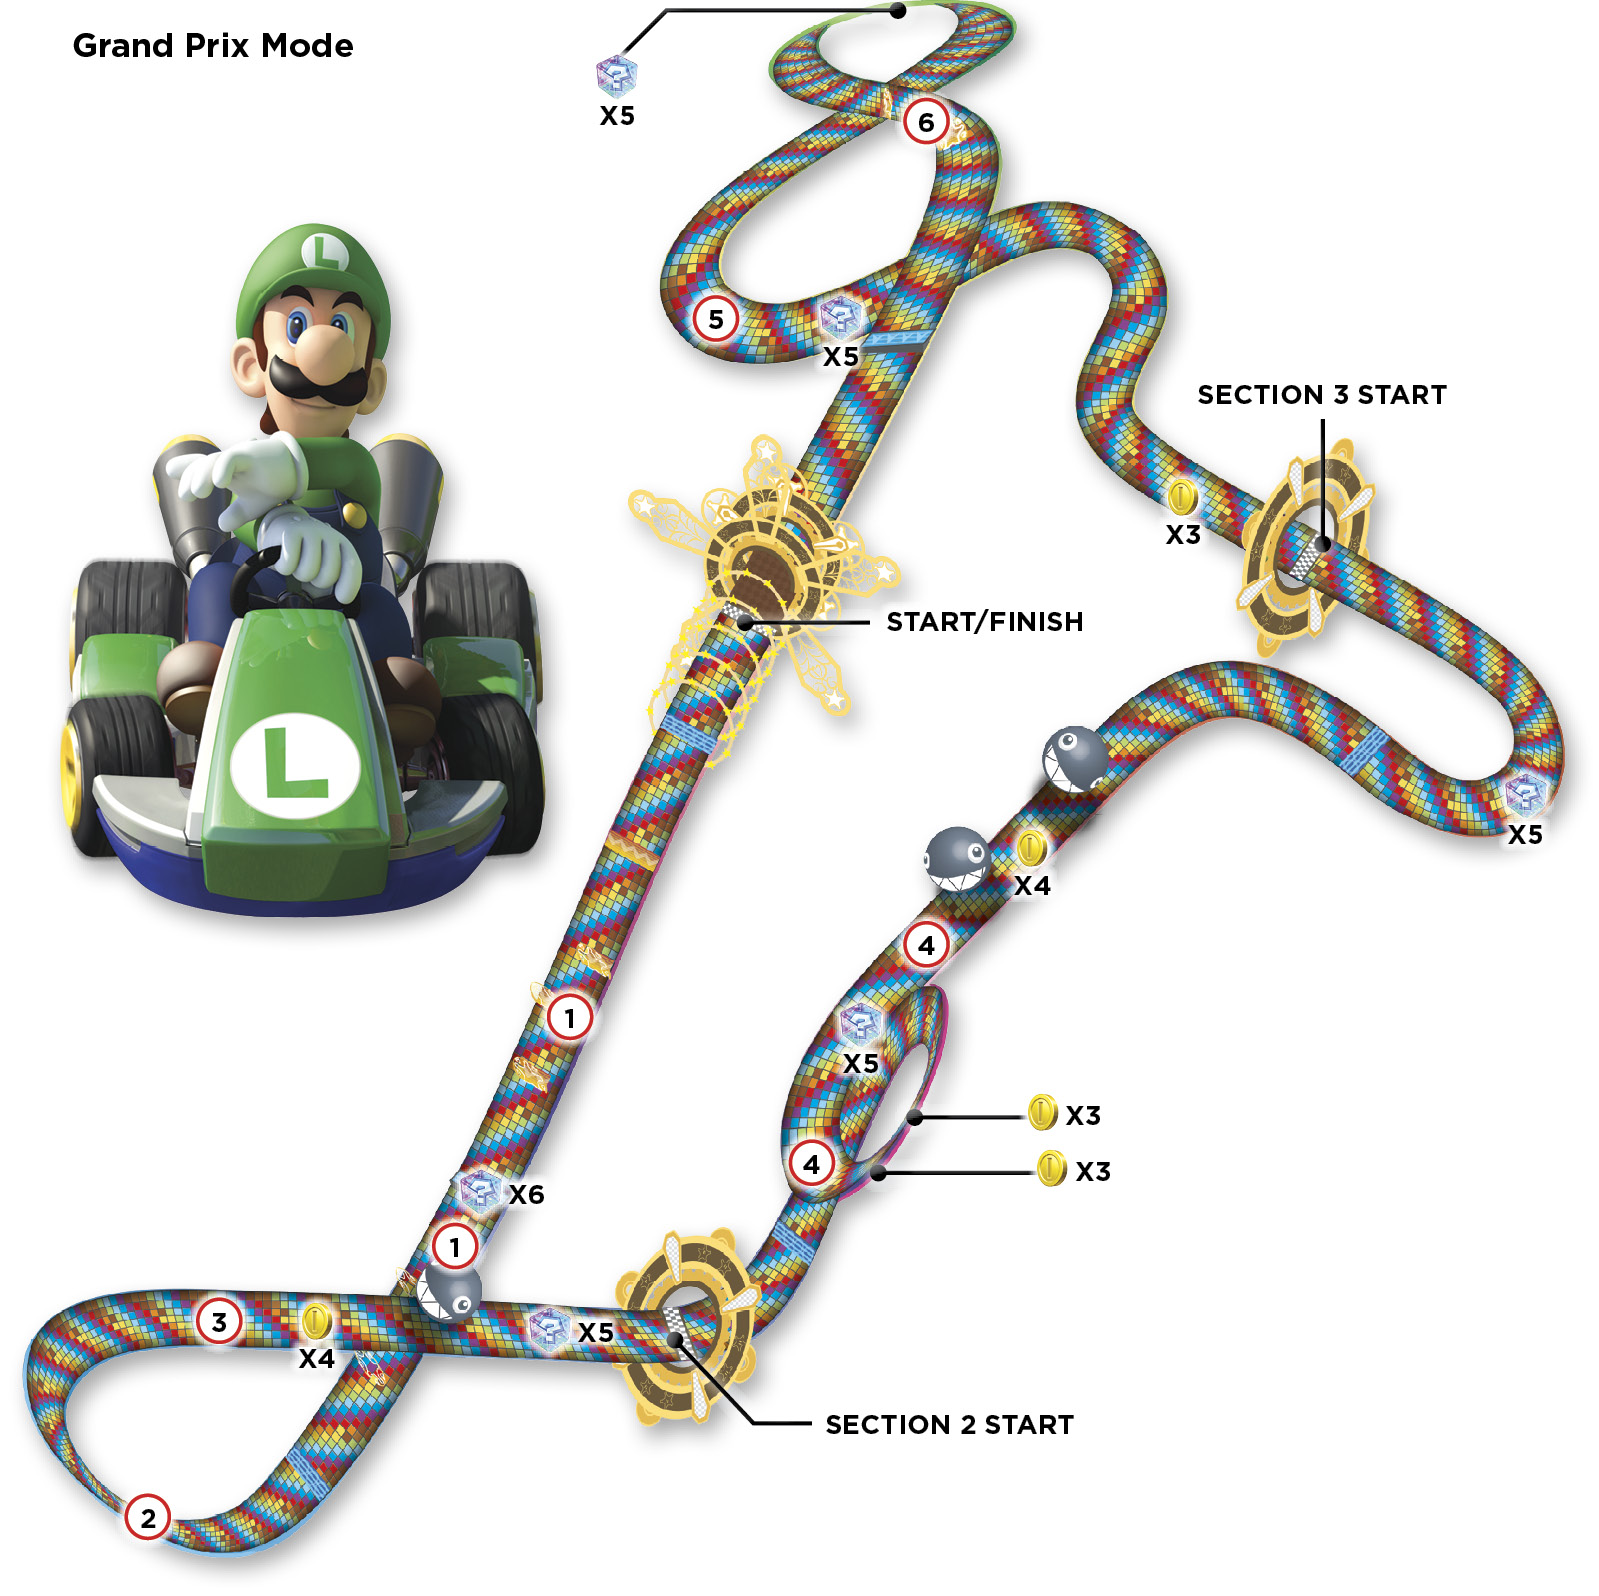
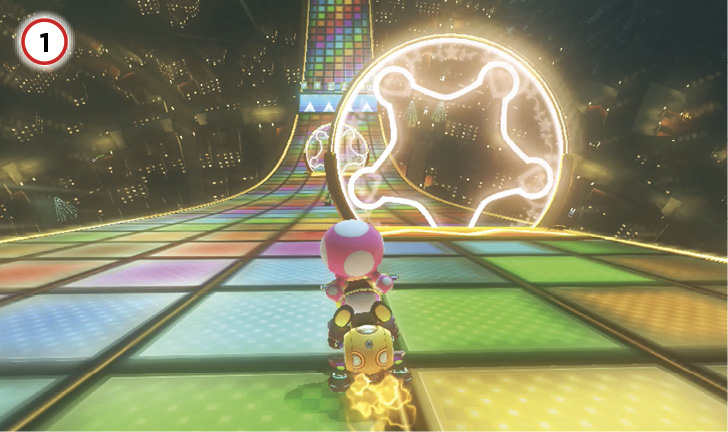
Make sure you go through all three star rings on the first downhill slope. When you get to the glide ramp at the bottom, fly through the two floating star rings.
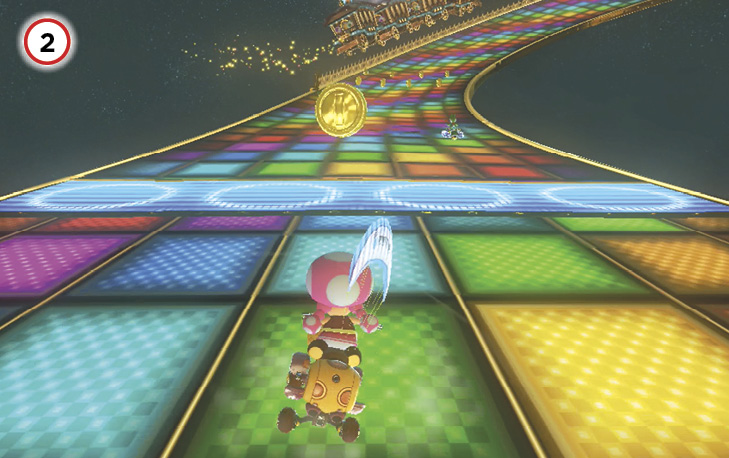
A train full of Toads flies past this long, winding curve to the right, tossing Coins onto the track.
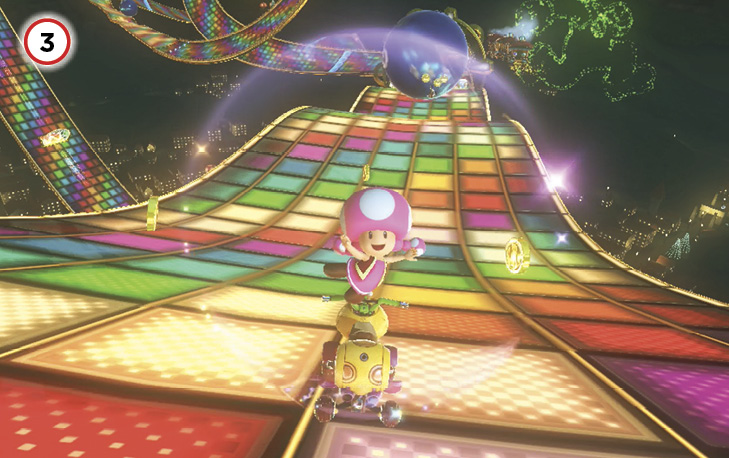
The Chain Chomp bouncing on the track causes it to ripple. You can Jump Boost off the crests of these rolling hills for extra speed—multiple times if the hill is rolling the direction you’re traveling.
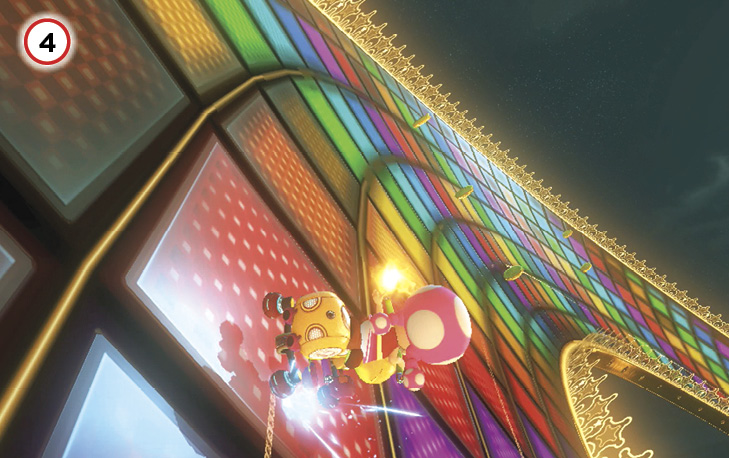
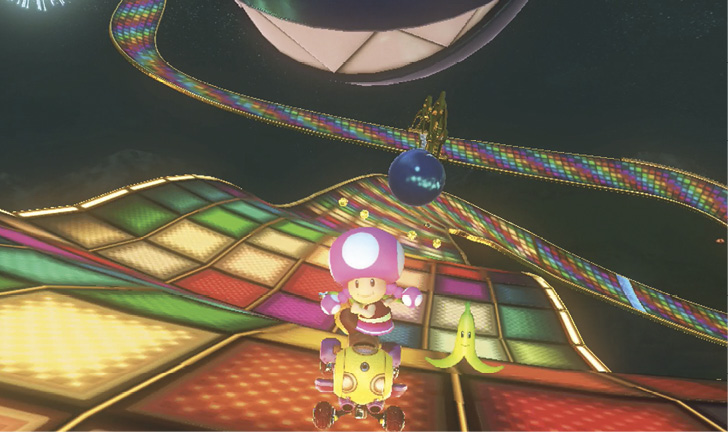
The second section of the course begins with a long, winding right turn that takes you up to a second rippling section of track, with two Chain Chomps making waves this time.
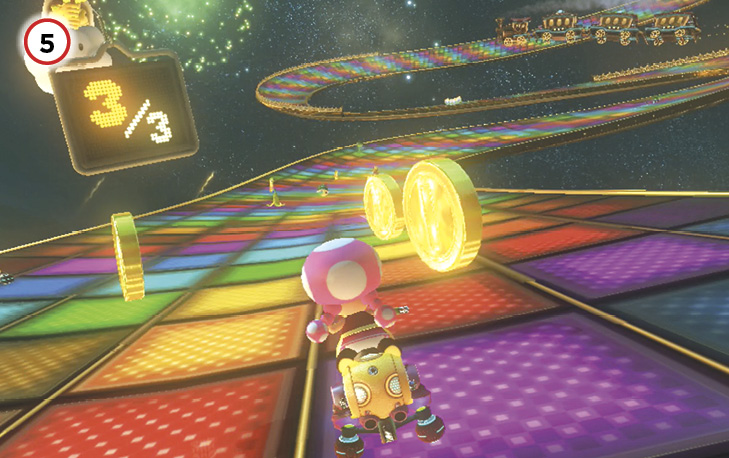
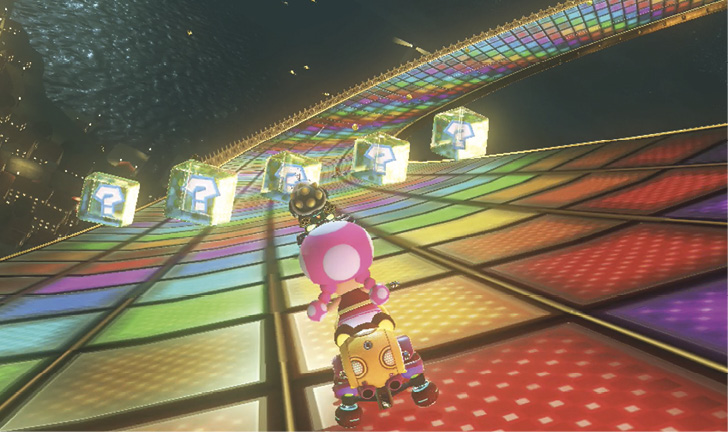
Not long after the third section of the course begins, you enter a series of consecutive turns, and with increasingly fewer guardrails to stop you from sliding off the track if you slip up! Consider holding on to items that you acquire during these turns to use them for the final sprint to the finish.
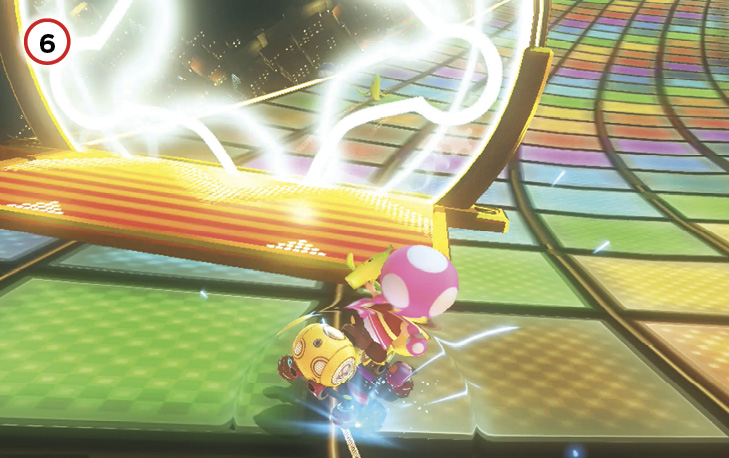
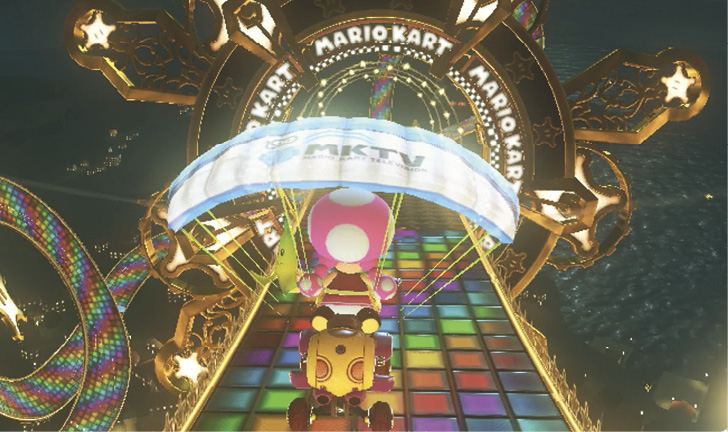
The star ring dash panels here can be beneficial to use if you’re drifting at the correct angles to hit them while avoiding flying off the course. This marks the beginning of the final straightaway in the course, with only one final glide ramp to launch you toward the finish line!
Time Trial
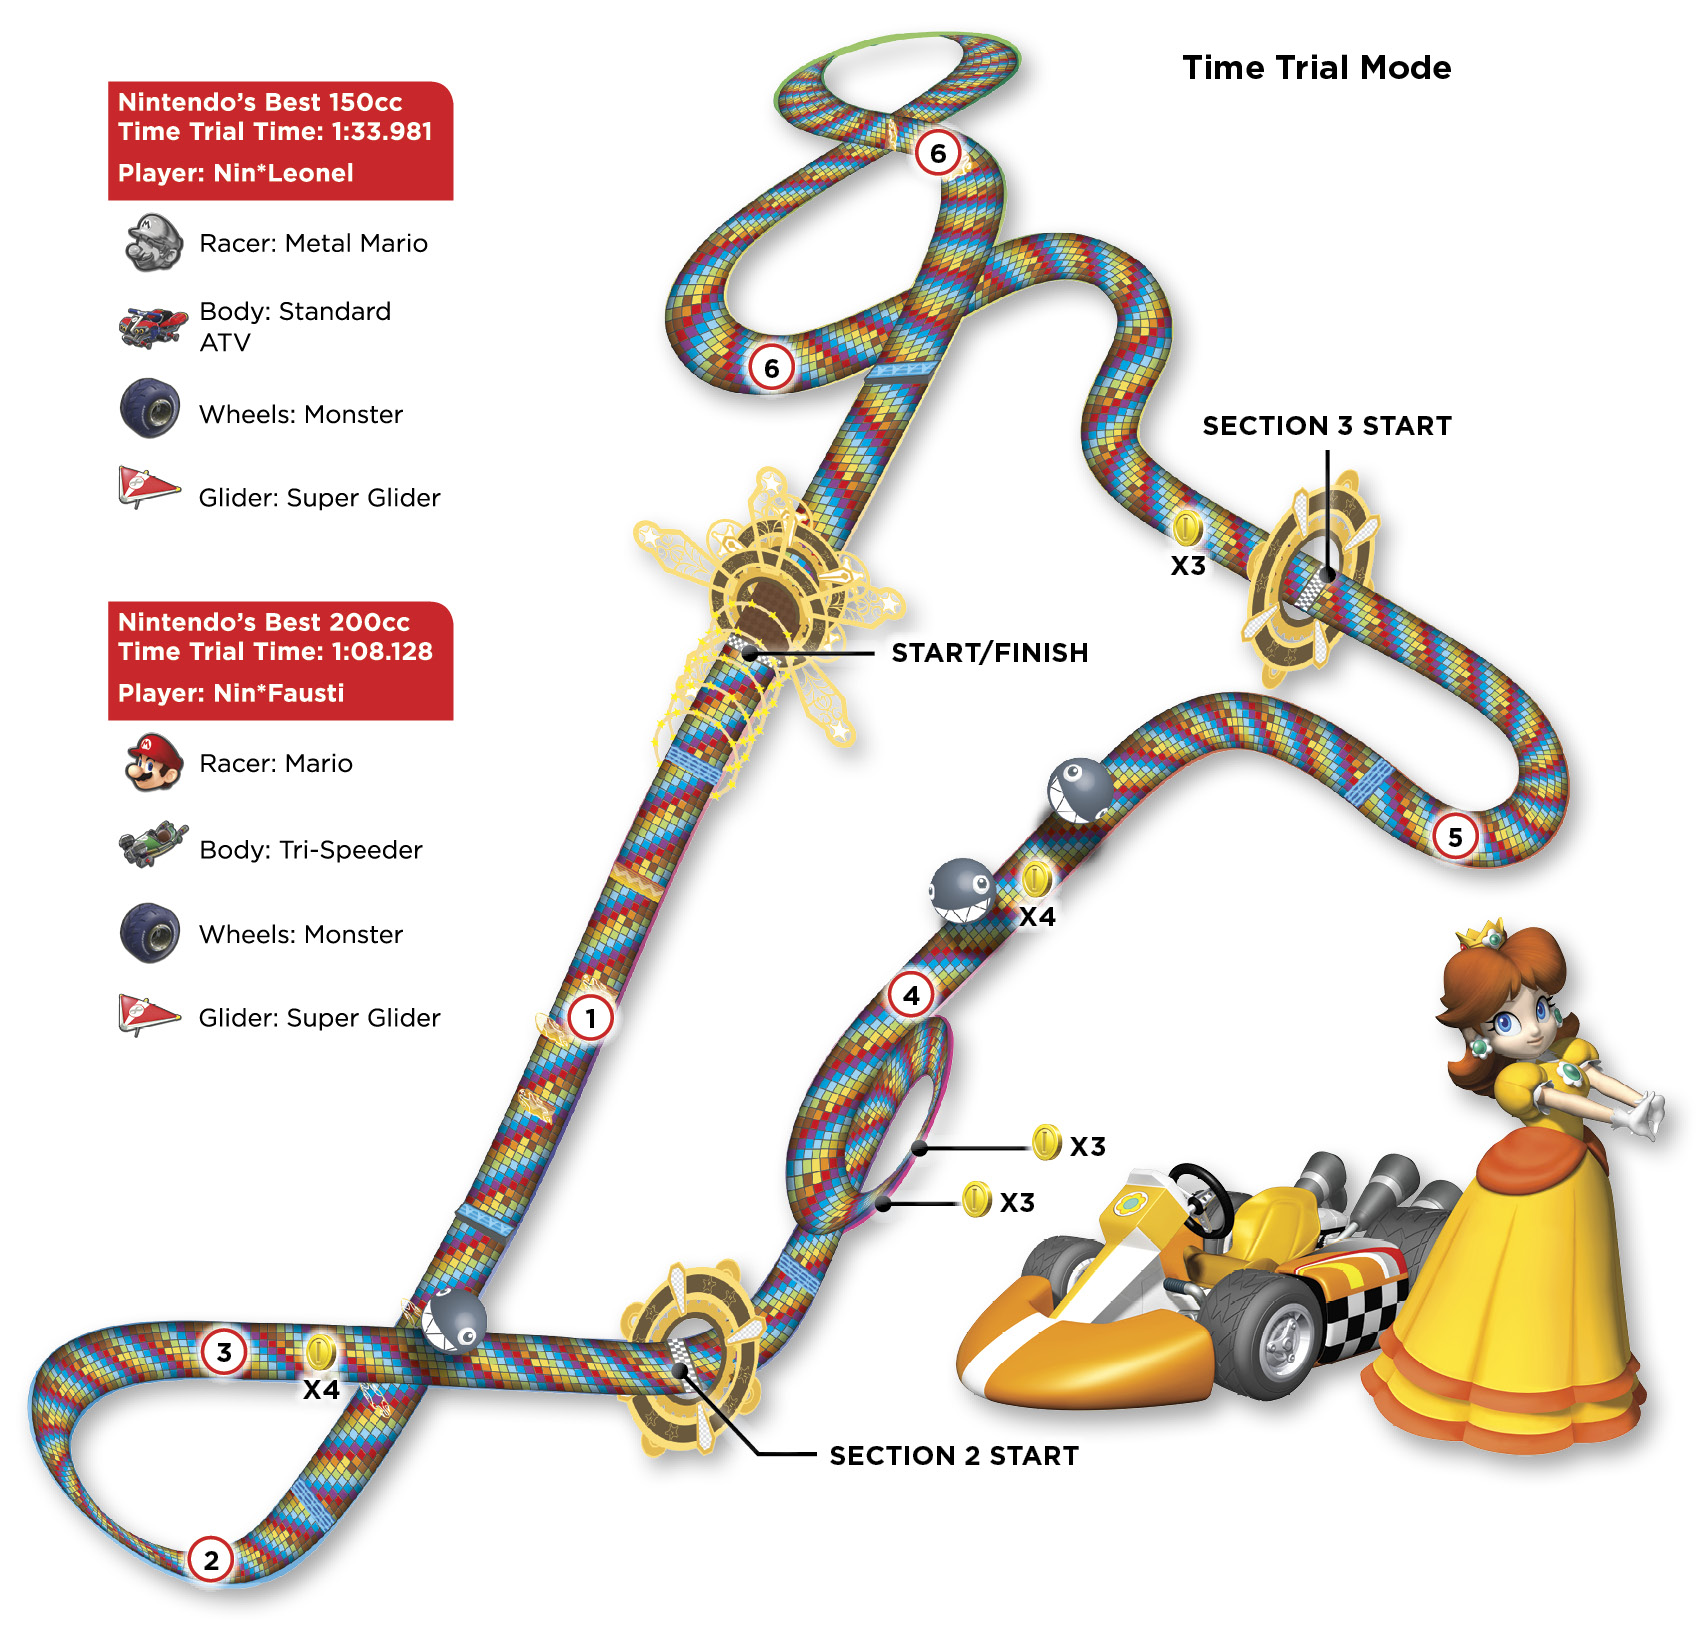
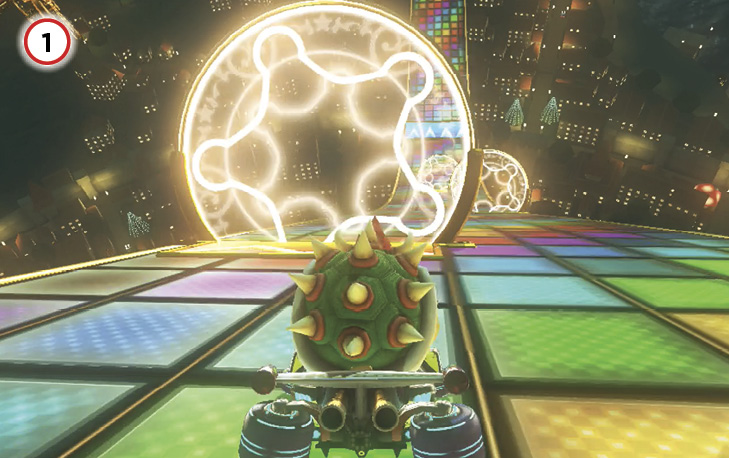
Don’t miss any of the star rings while going down the first hill.
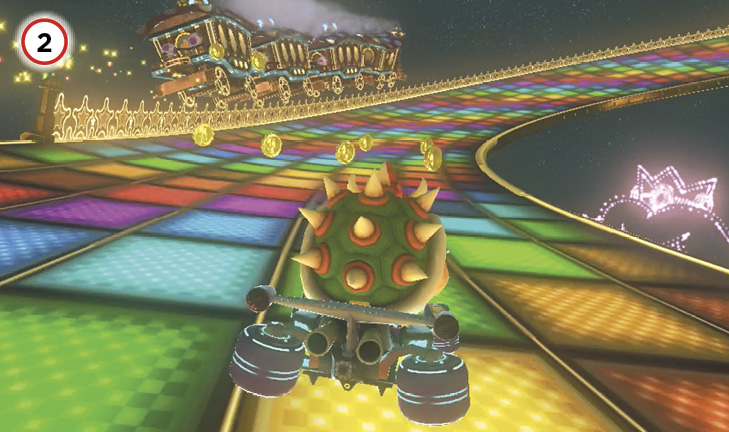
You can’t collect every single Coin that the train passengers throw onto the course during the first turn, but you can drive away with at least five Coins to your name while drifting through this section of the course. You can also use one of your three Mushrooms to exit this turn a little faster.
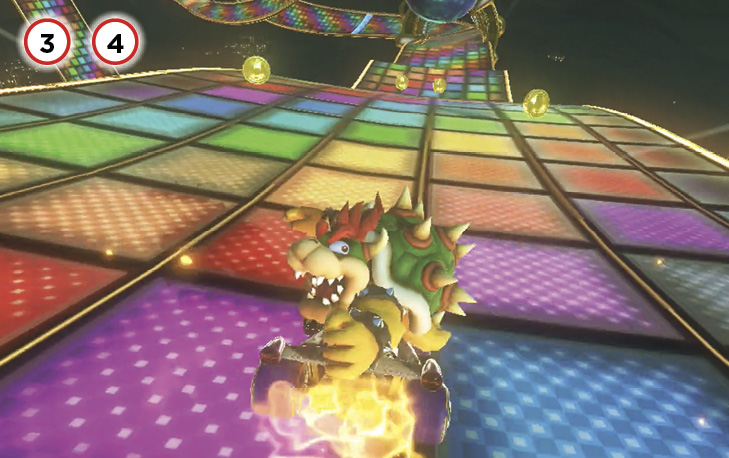
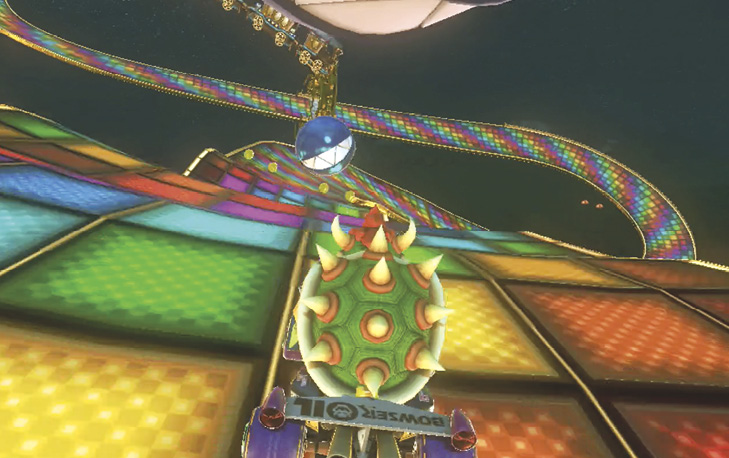
While Jump Boosting off the hills being made by the Chain Chomp, don’t miss out on collecting Coins on the track just before you pass the Chain Chomp. They can blend in with the course, so pay attention! You can find more Coins on the second Chain Chomp section.
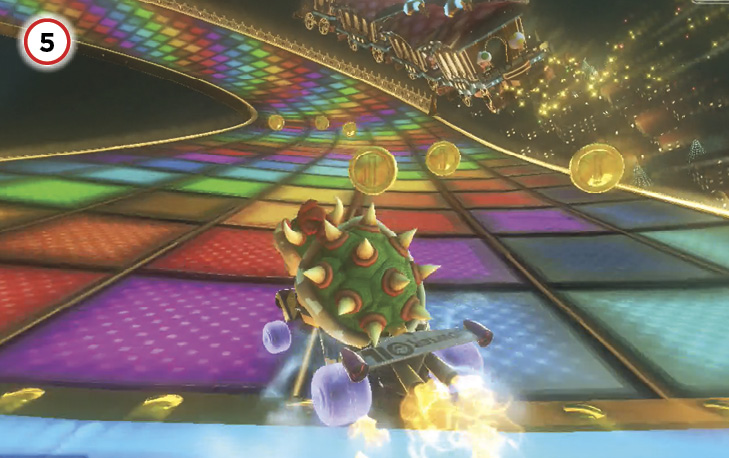
As you leave the Chain Chomps behind, the train flying next to the track will drop more Coins for you during a long left turn. Once you hit your max, you can afford to take any follow-up turns as tight as possible while ignoring extra Coins. The exit to this turn is another good spot to use one of your Mushrooms.
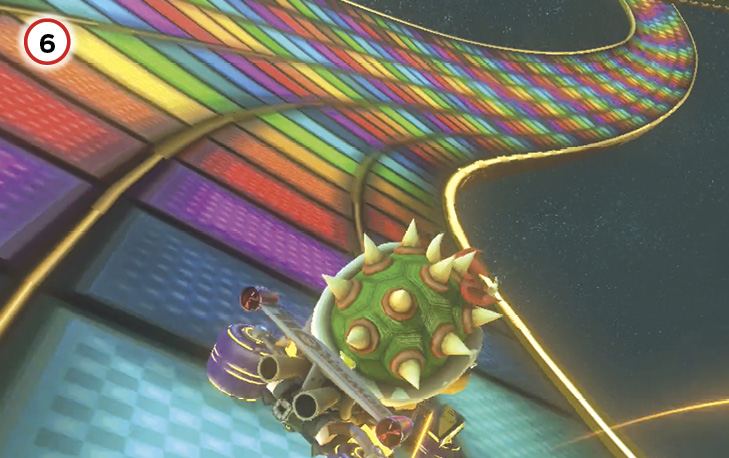
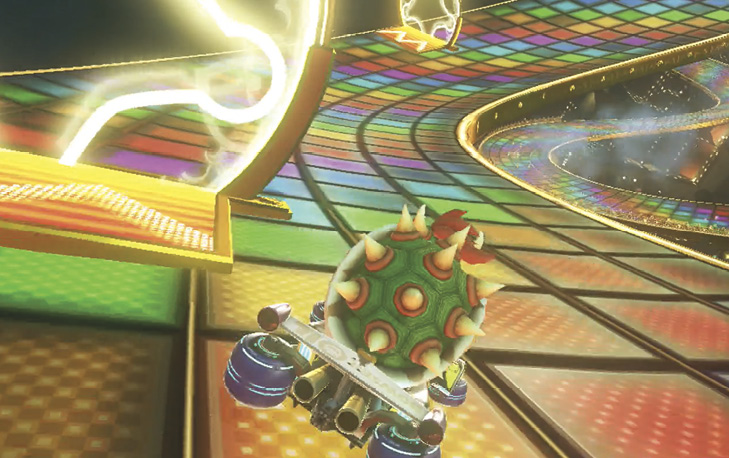
The final gauntlet of turns leading up to the final straightaway can be taken as tight to the inside as possible. In fact the only time you should drift to the outside of the track here is when you approach the last two dash panels before the glide ramp sends you to the finish. If you still have Mushrooms left at this point, the approach to the finish is your last chance to use them!