Mario Kart 8 Deluxe Guide The Tracks
Flower Cup
Mario Circuit
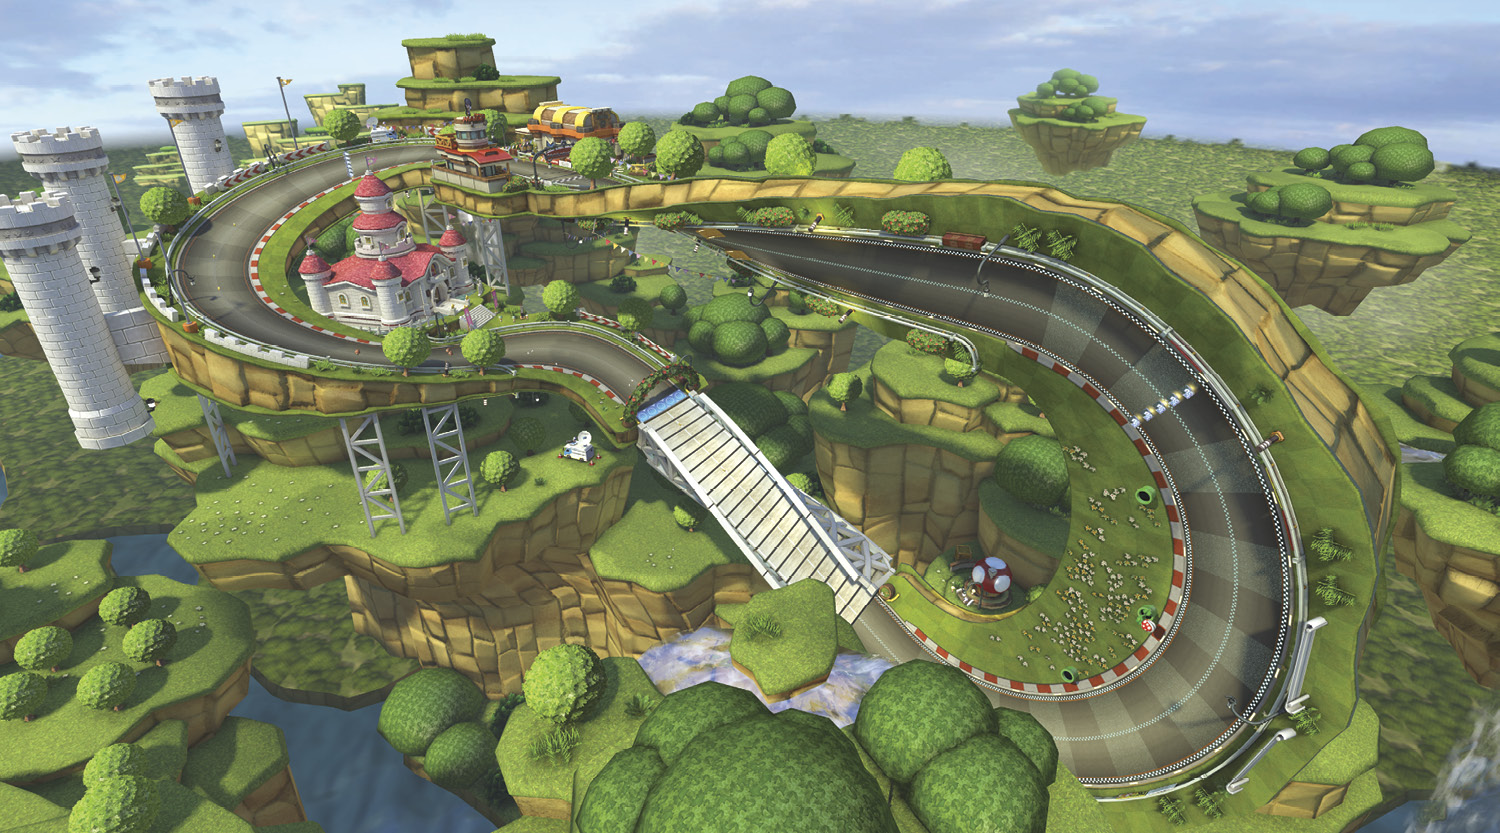
After a vicious race through the Thwomp Ruins, Mario Circuit is a bit more straightforward. However, Goombas infest the track at multiple locations. This gravity-defying course twists in the sky over the land far below, so keep your eyes firmly on the road so you don’t get distracted by the scenery!
Grand Prix
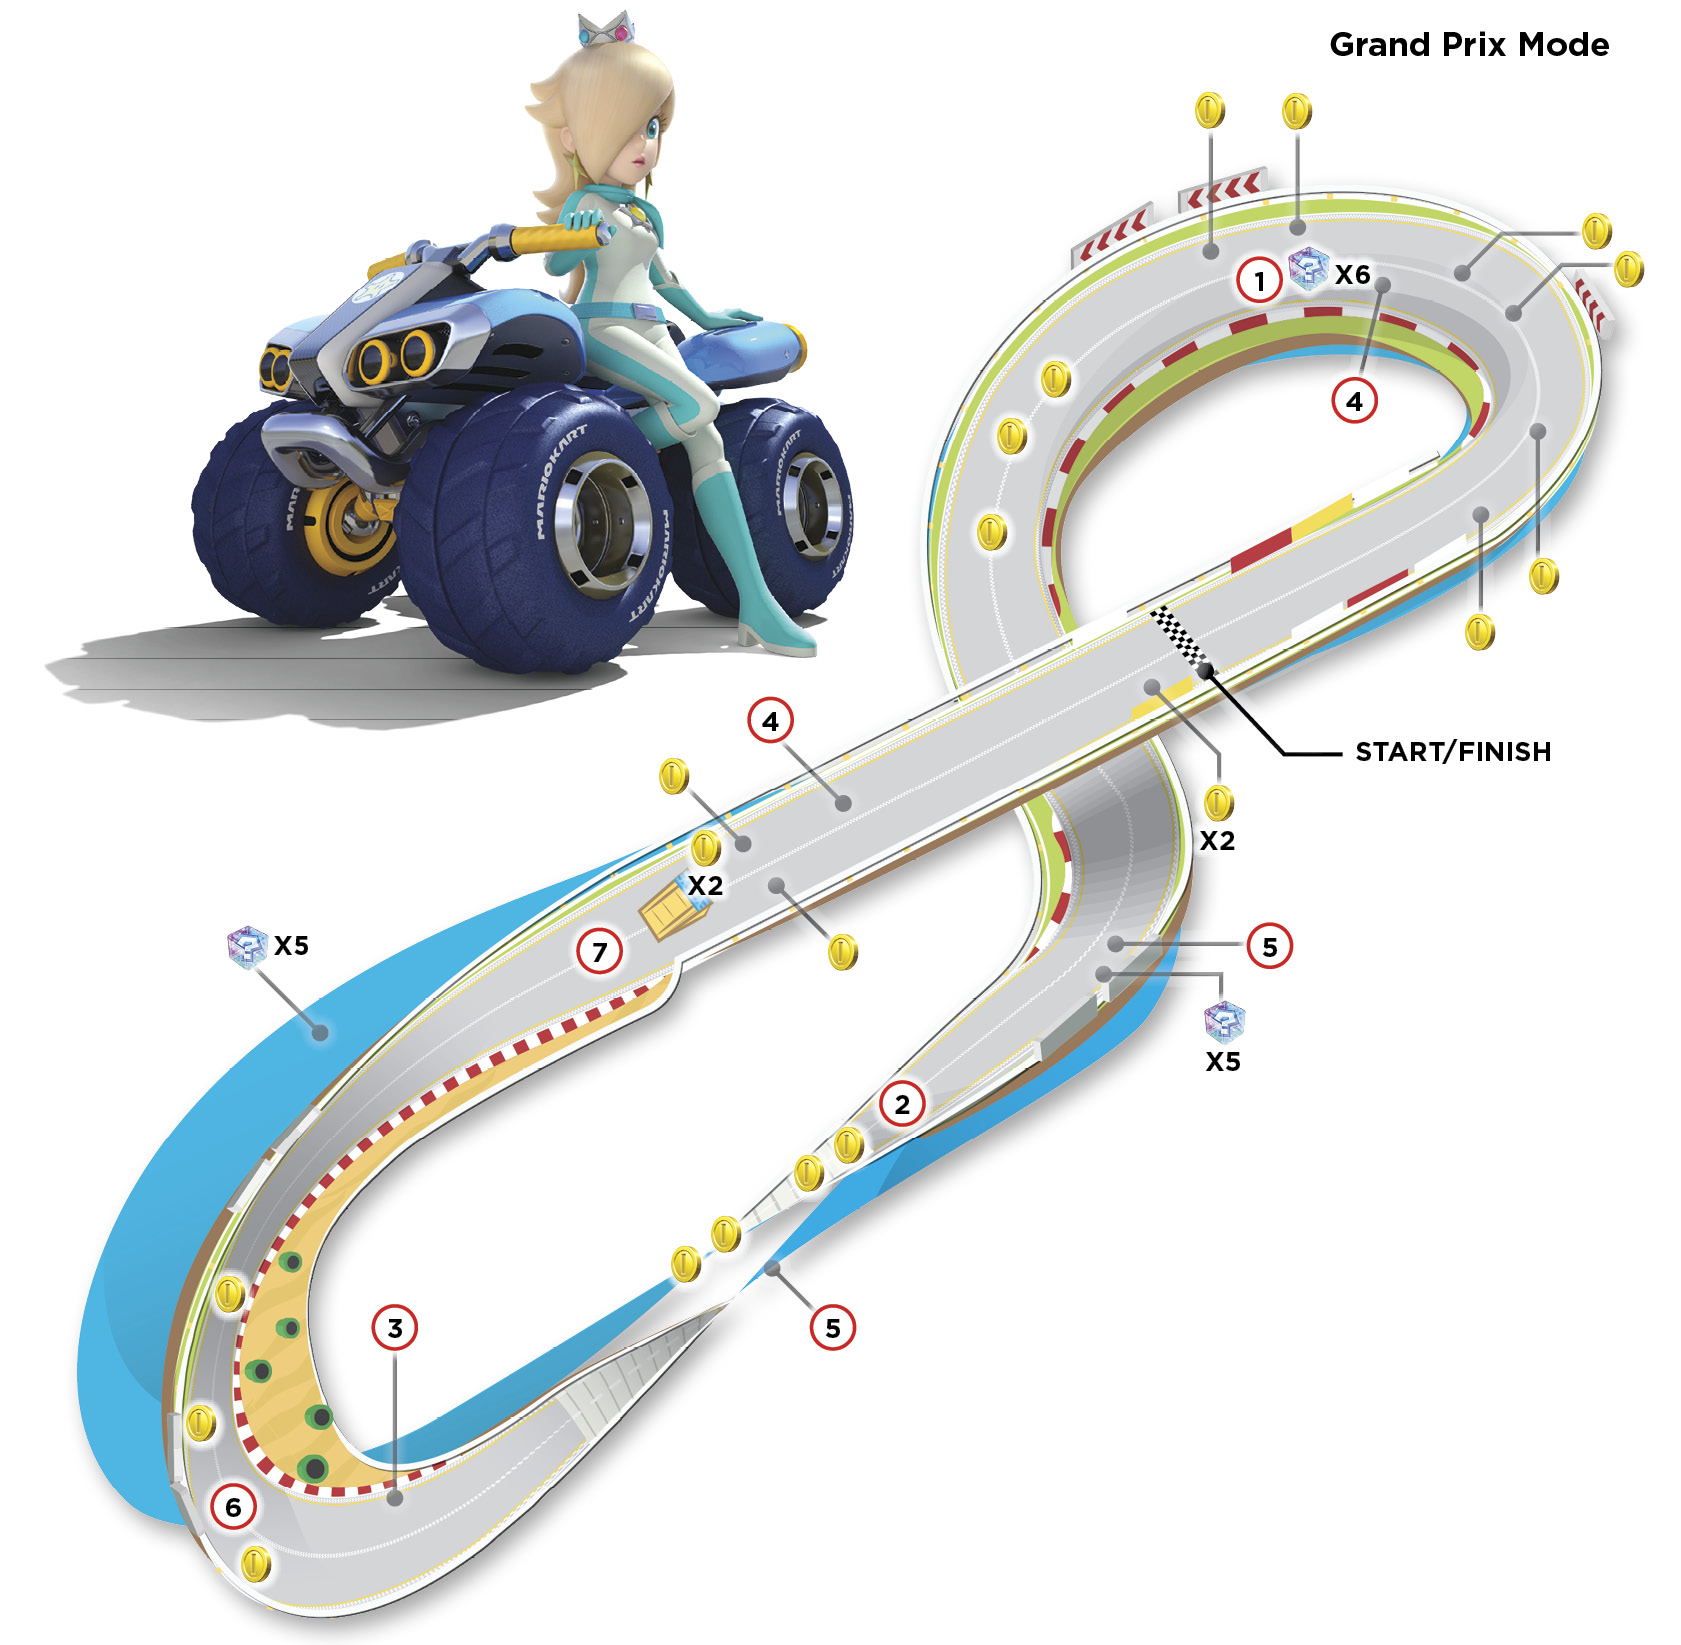
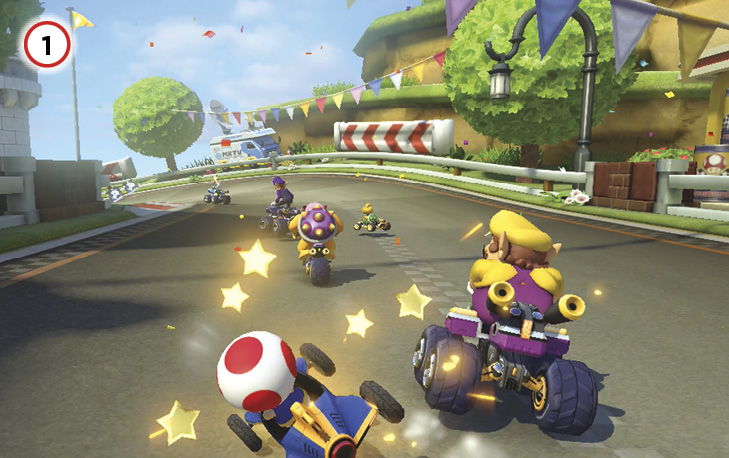
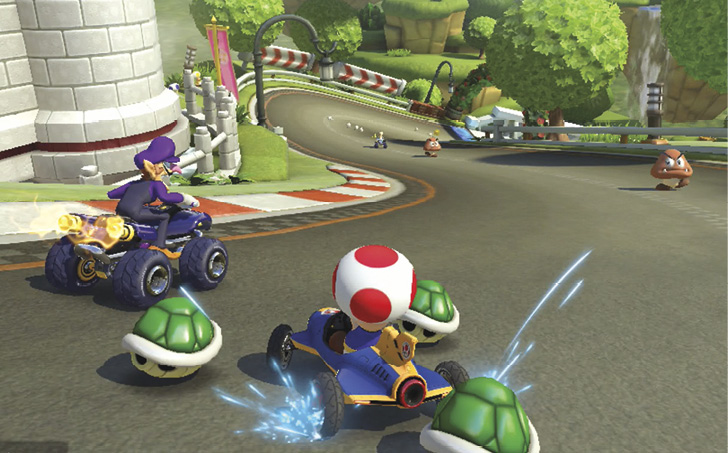
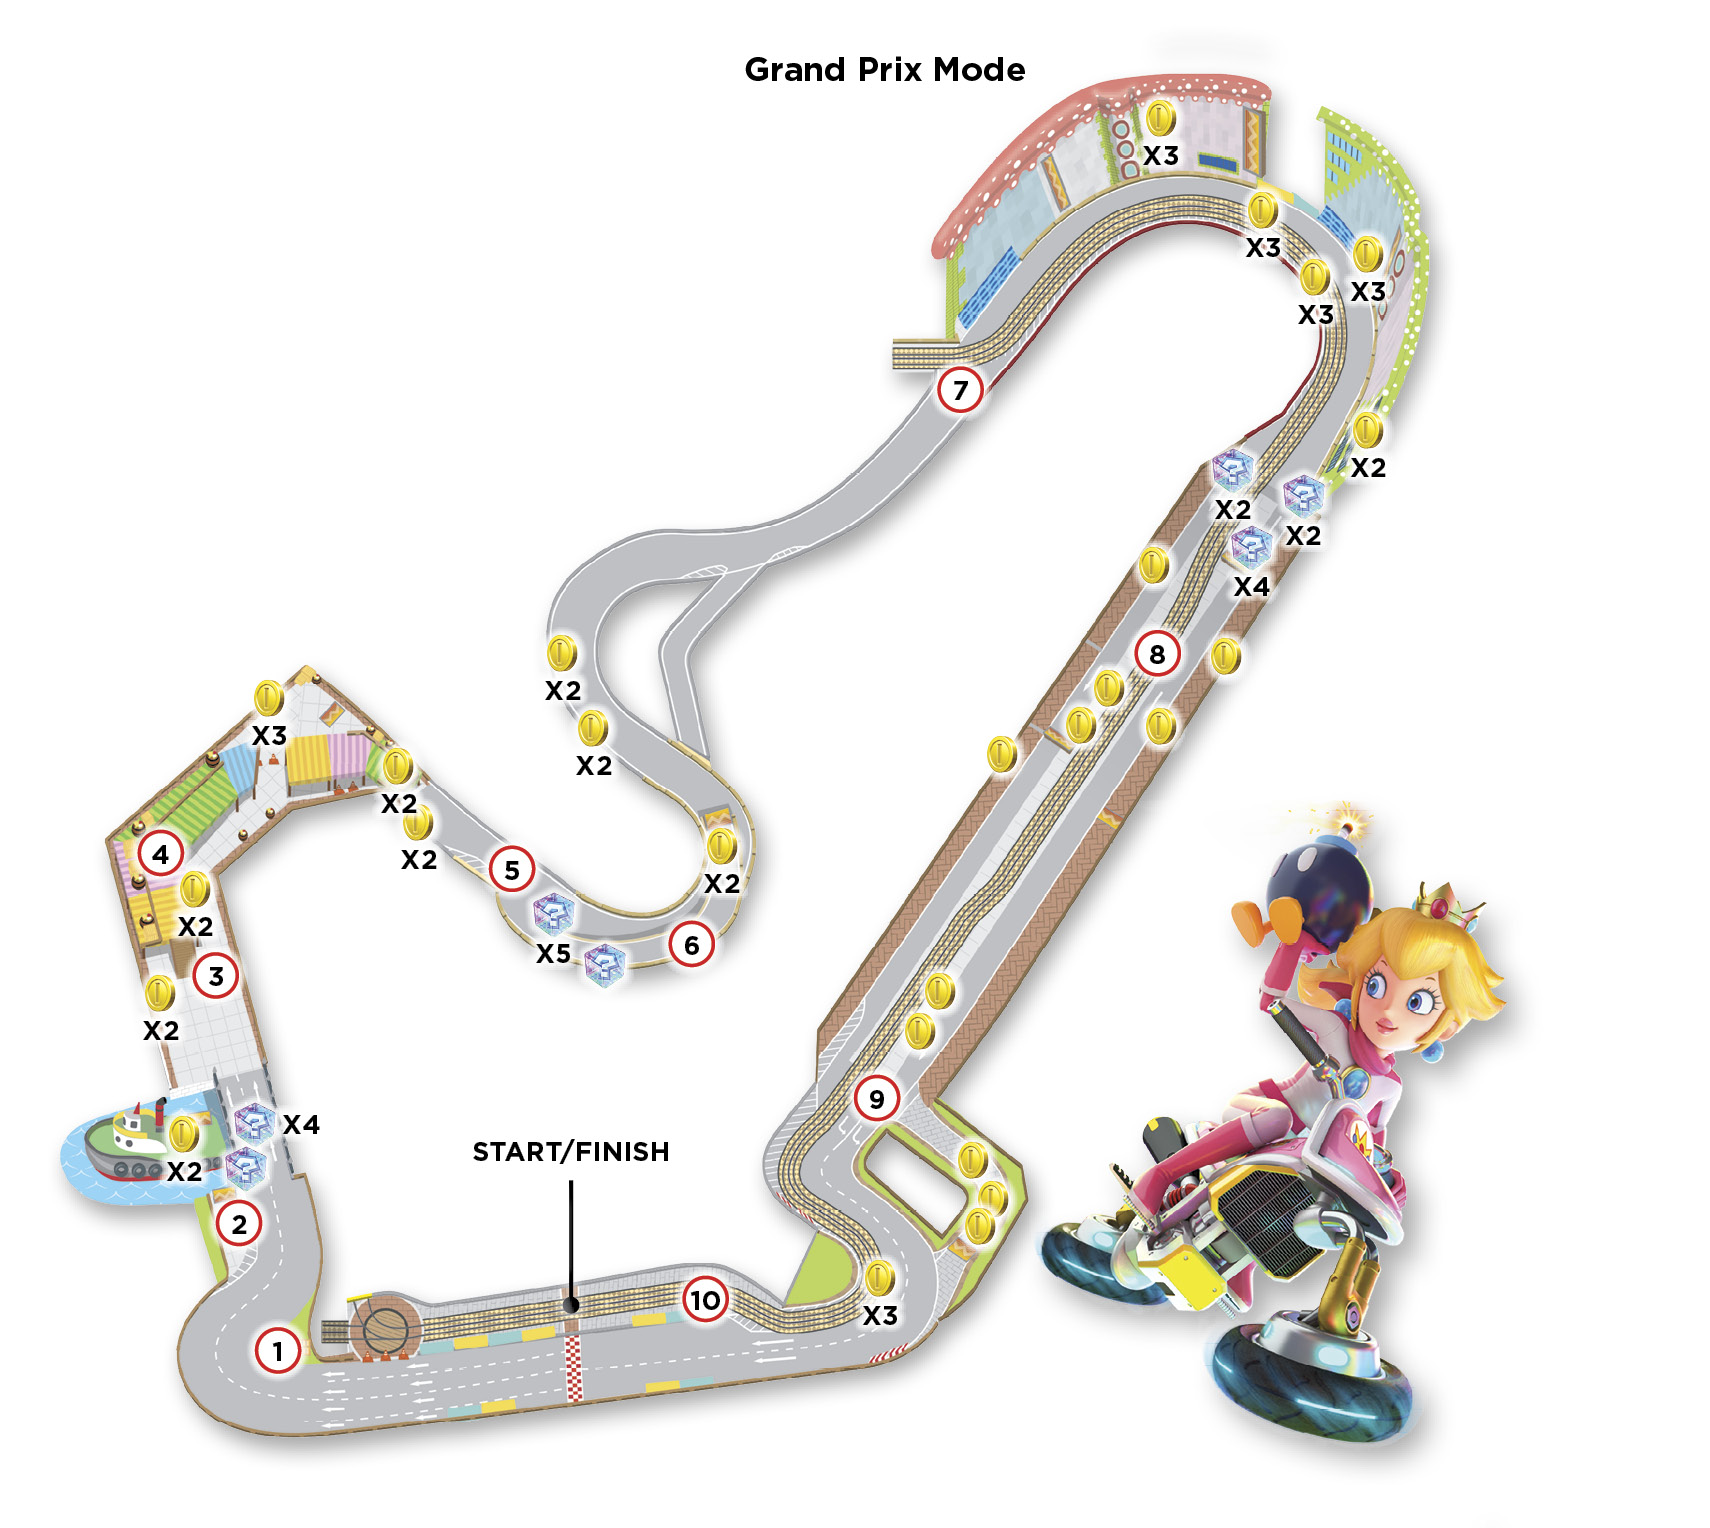
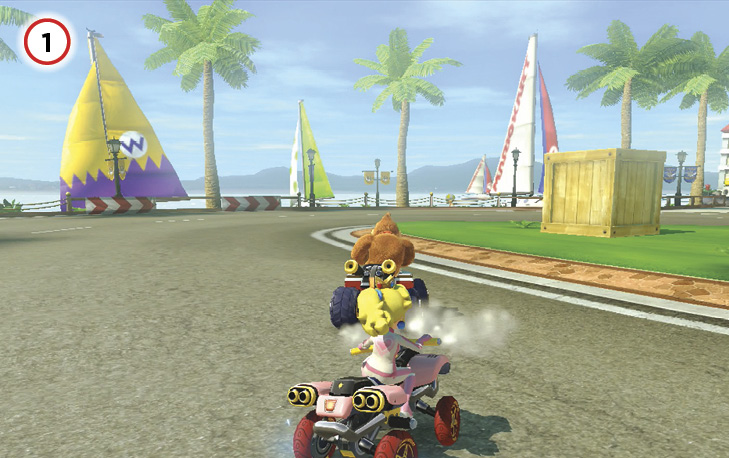
Turn 1 is a hairpin left, leading you straight into your first group of Goombas! During the early parts of the race, the battle for position among computer drivers can be very intense here, due to all the drivers being slowed down by the Goombas. Heavier racers have the advantage here.
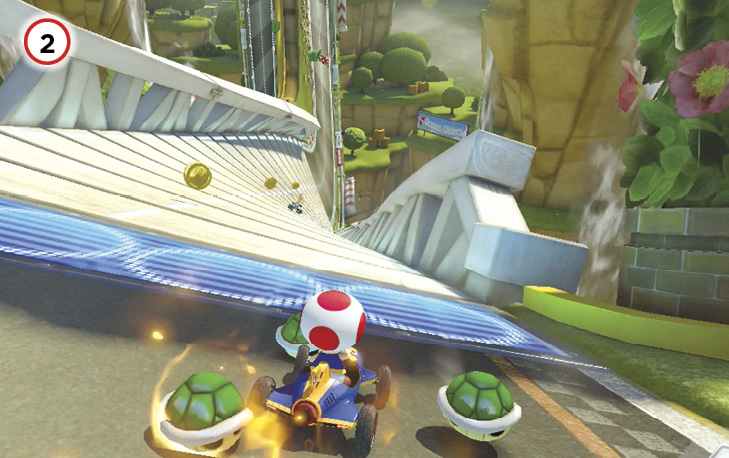
The twisting bridge has Coins running down the center. If you’re out in front, collect them to deny your rivals their speed bonus.
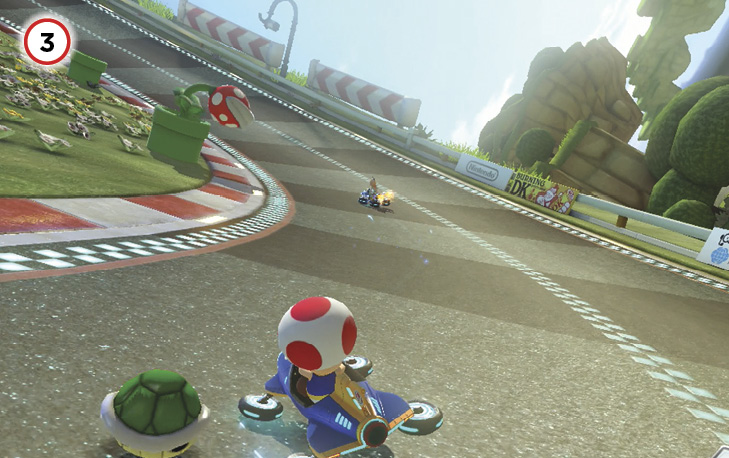
Just beyond the bridge is another hairpin left. You can cut across the grass on the inside with a Mushroom, but make sure you still give the pipes a wide enough berth if you see Piranha Plants inside them.
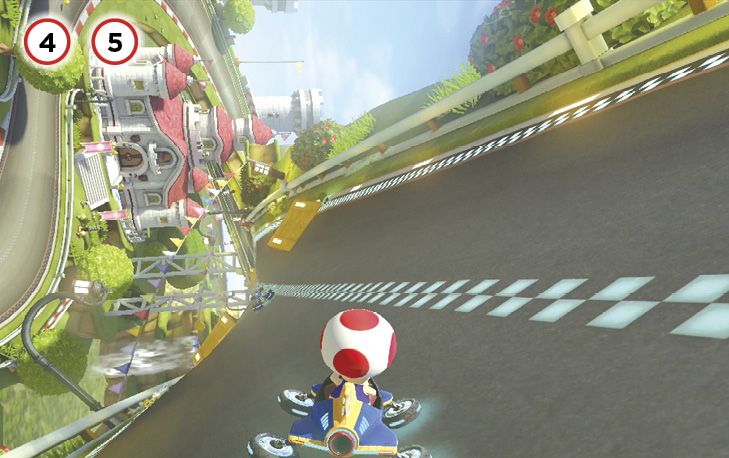
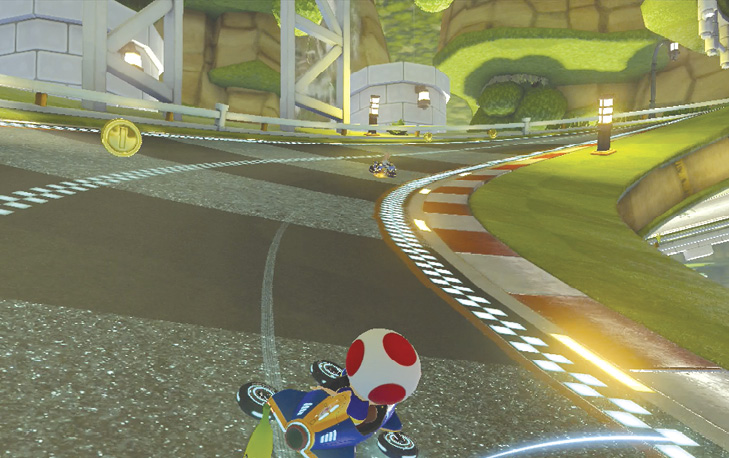
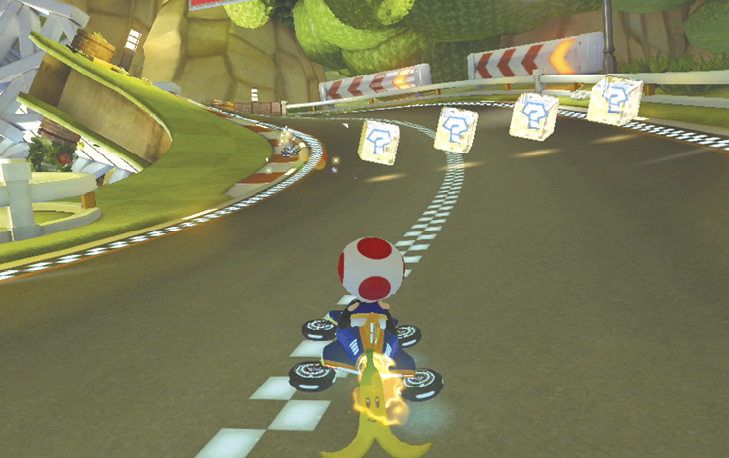
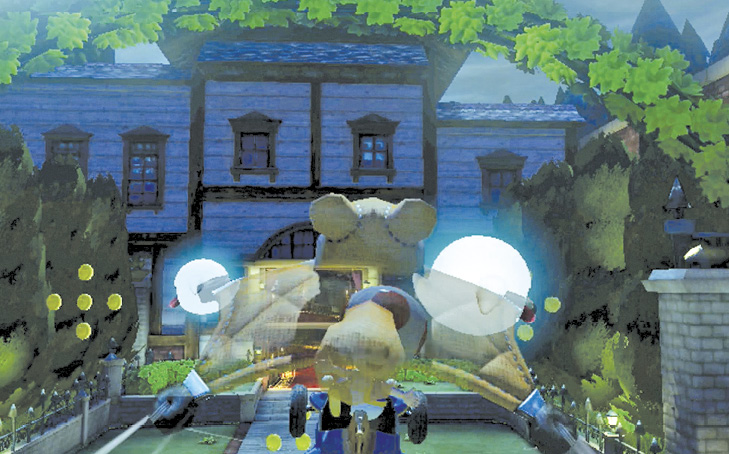
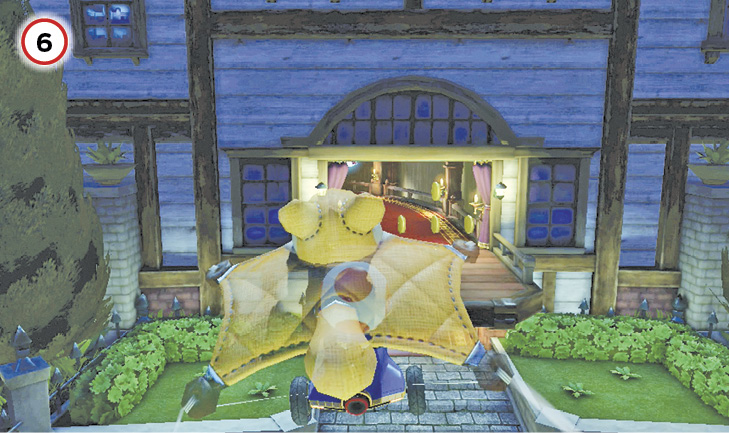
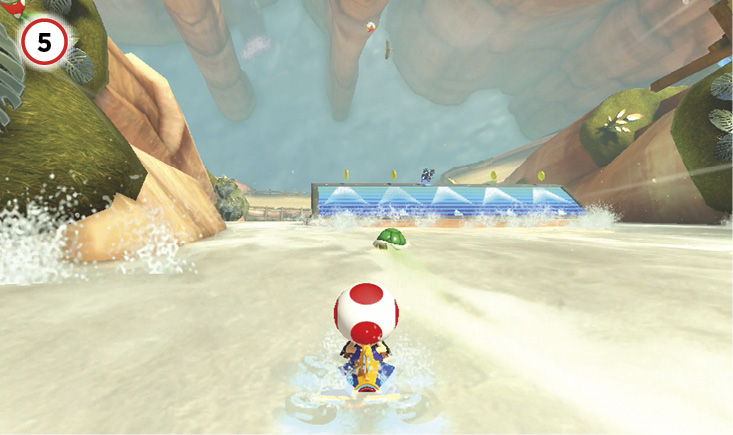
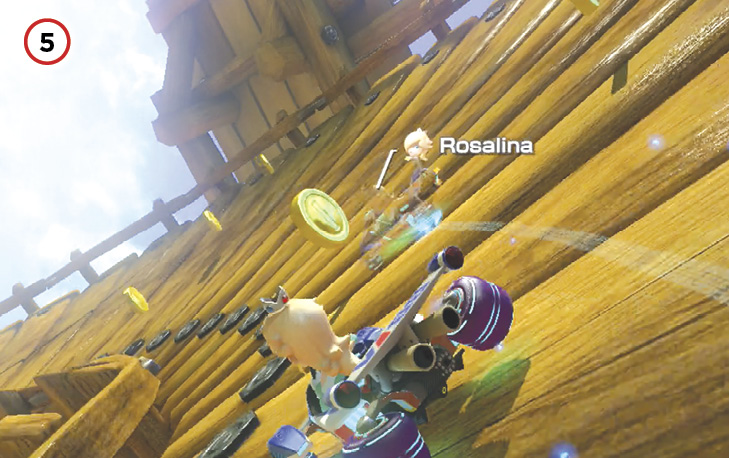
In addition to providing a stomach-twisting view of the track above you, the straightaway here has three ramps to Jump Boost off of. A long right turn follows right after the last ramp, with Coins running down the center of the track (5). The turn snaps back to the left and over another bridge, where the world thankfully starts to feel right-side-up again.
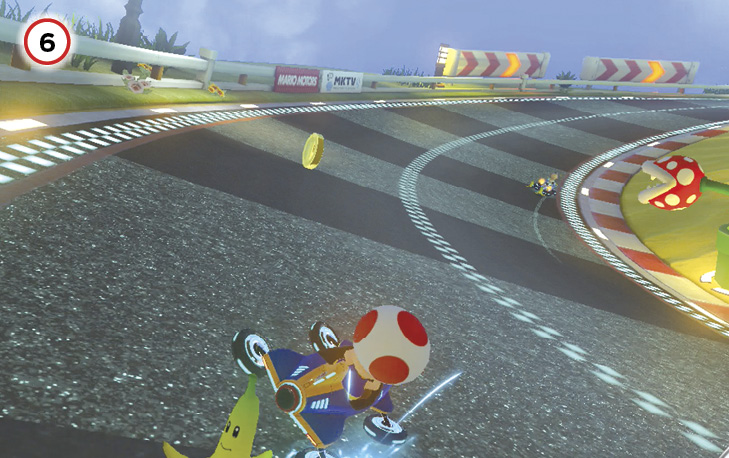
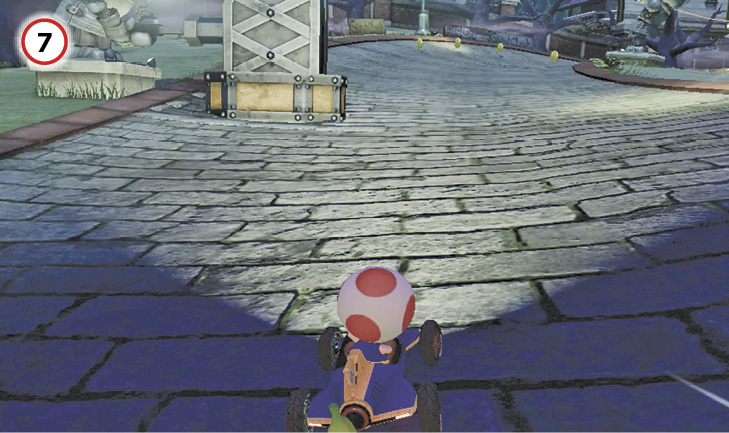
The final turn is a hard right, with Coins on the outside of the track, while the inside is potentially protected by more Piranha Plants in pipes.
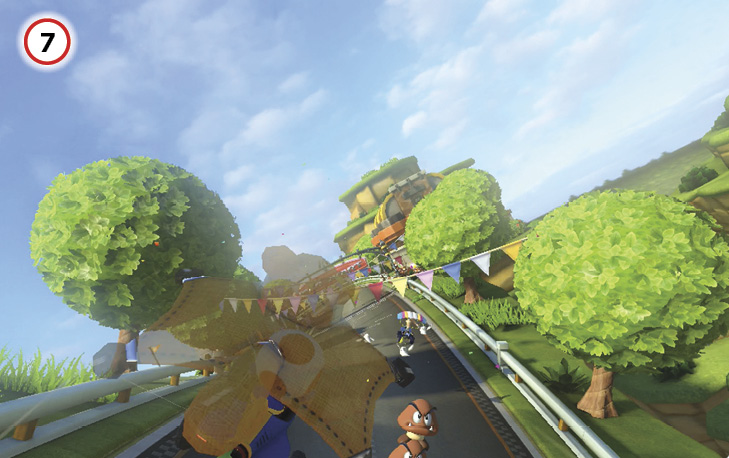
The final stretch is a straightaway that would be a clean break to the finish if not for the Goomba Towers scattered on the road. If you take the glide ramp at the center of the final stretch, you can fly over much of the danger, and even bounce off the head of an unlucky Goomba.
Time Trial
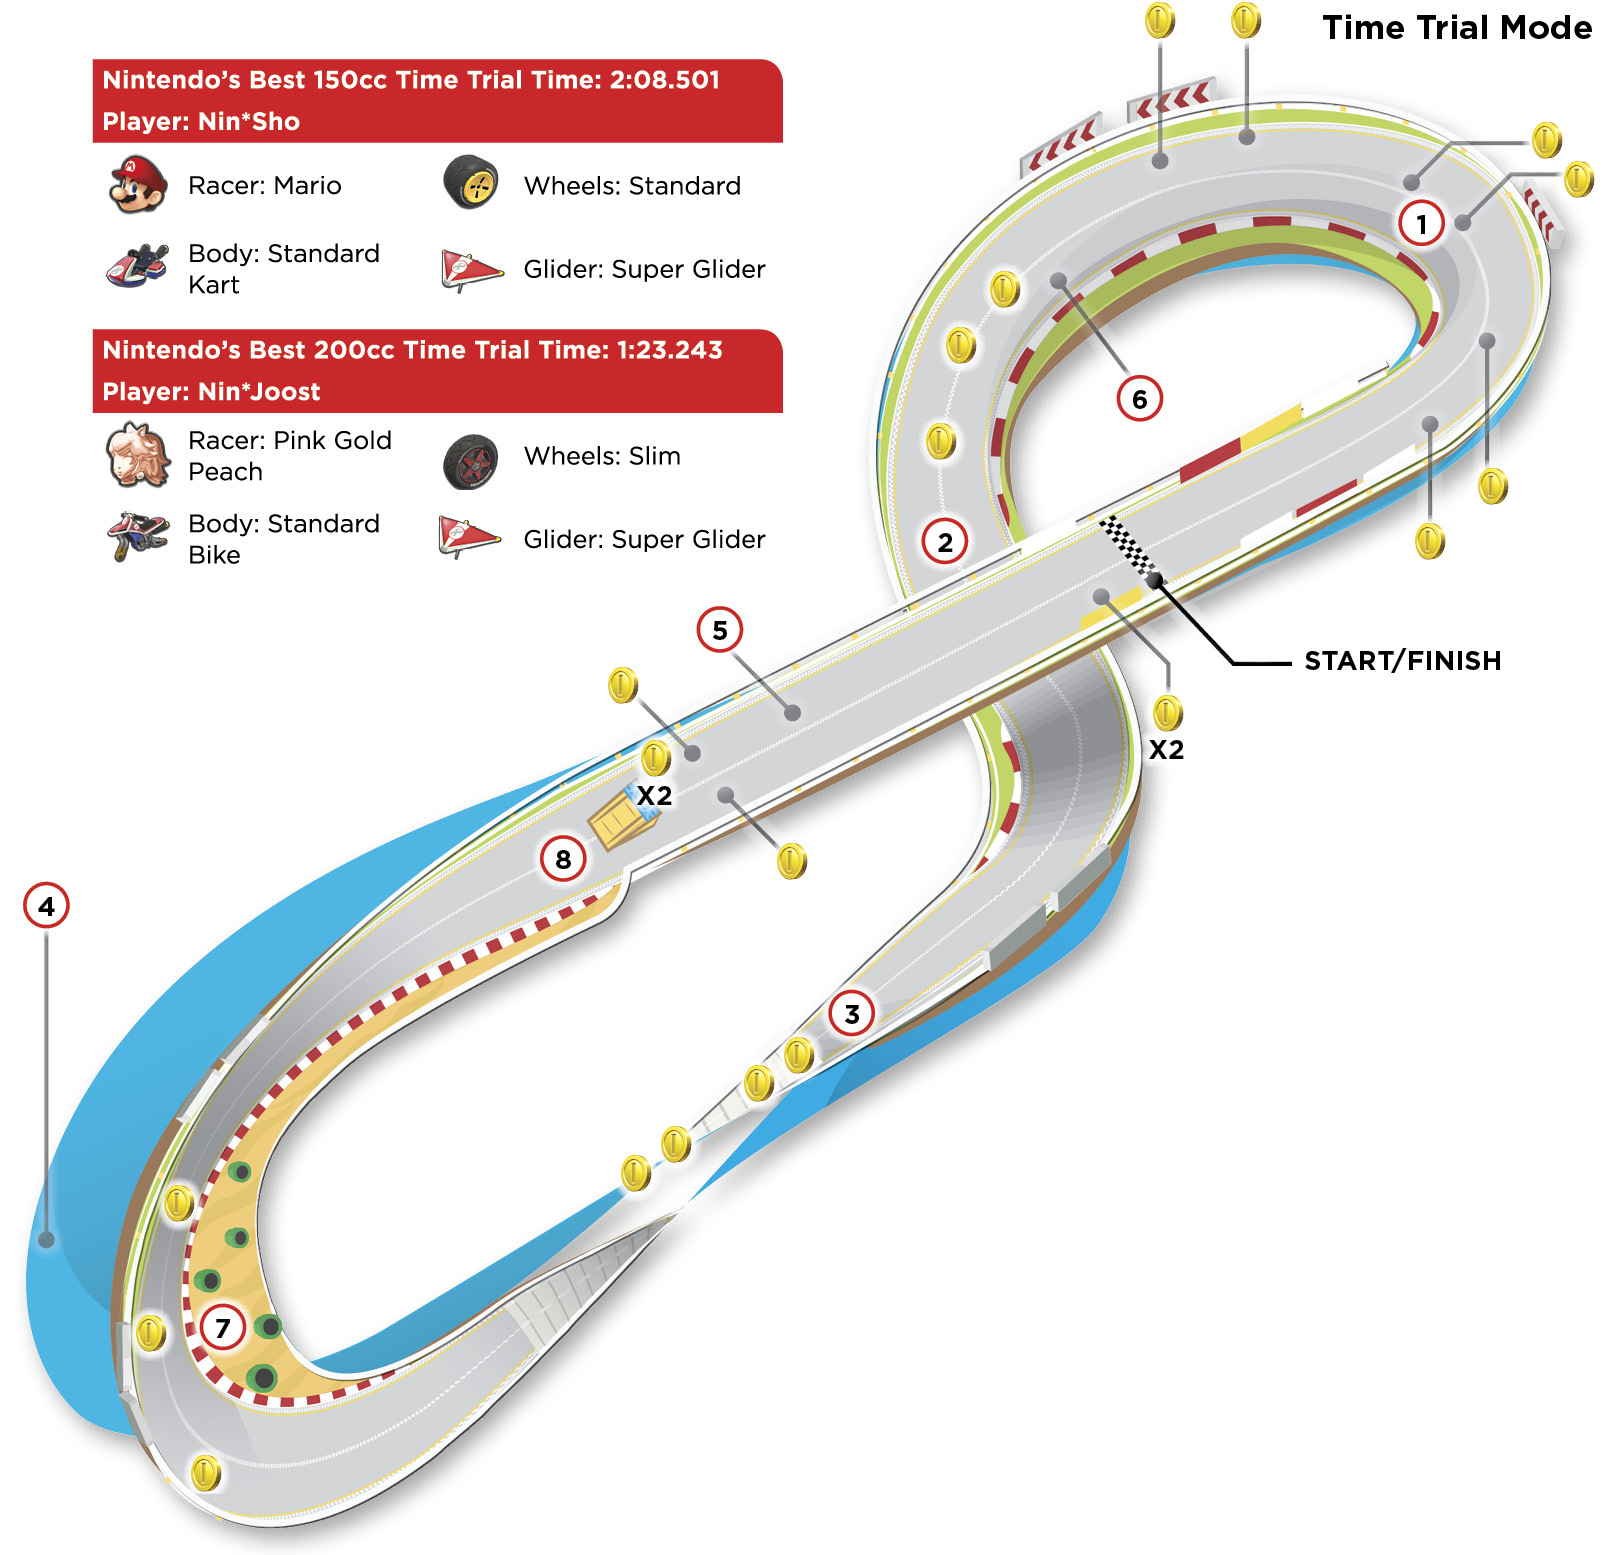
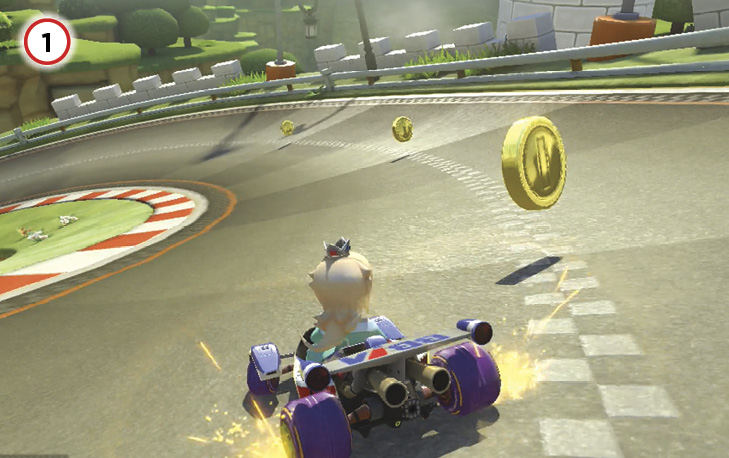
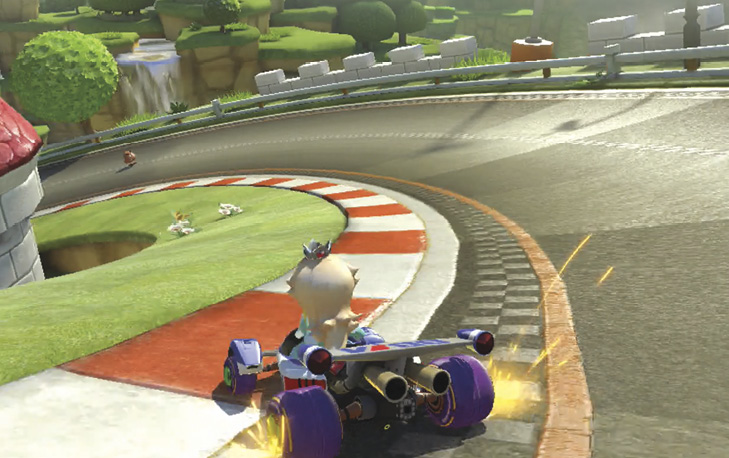
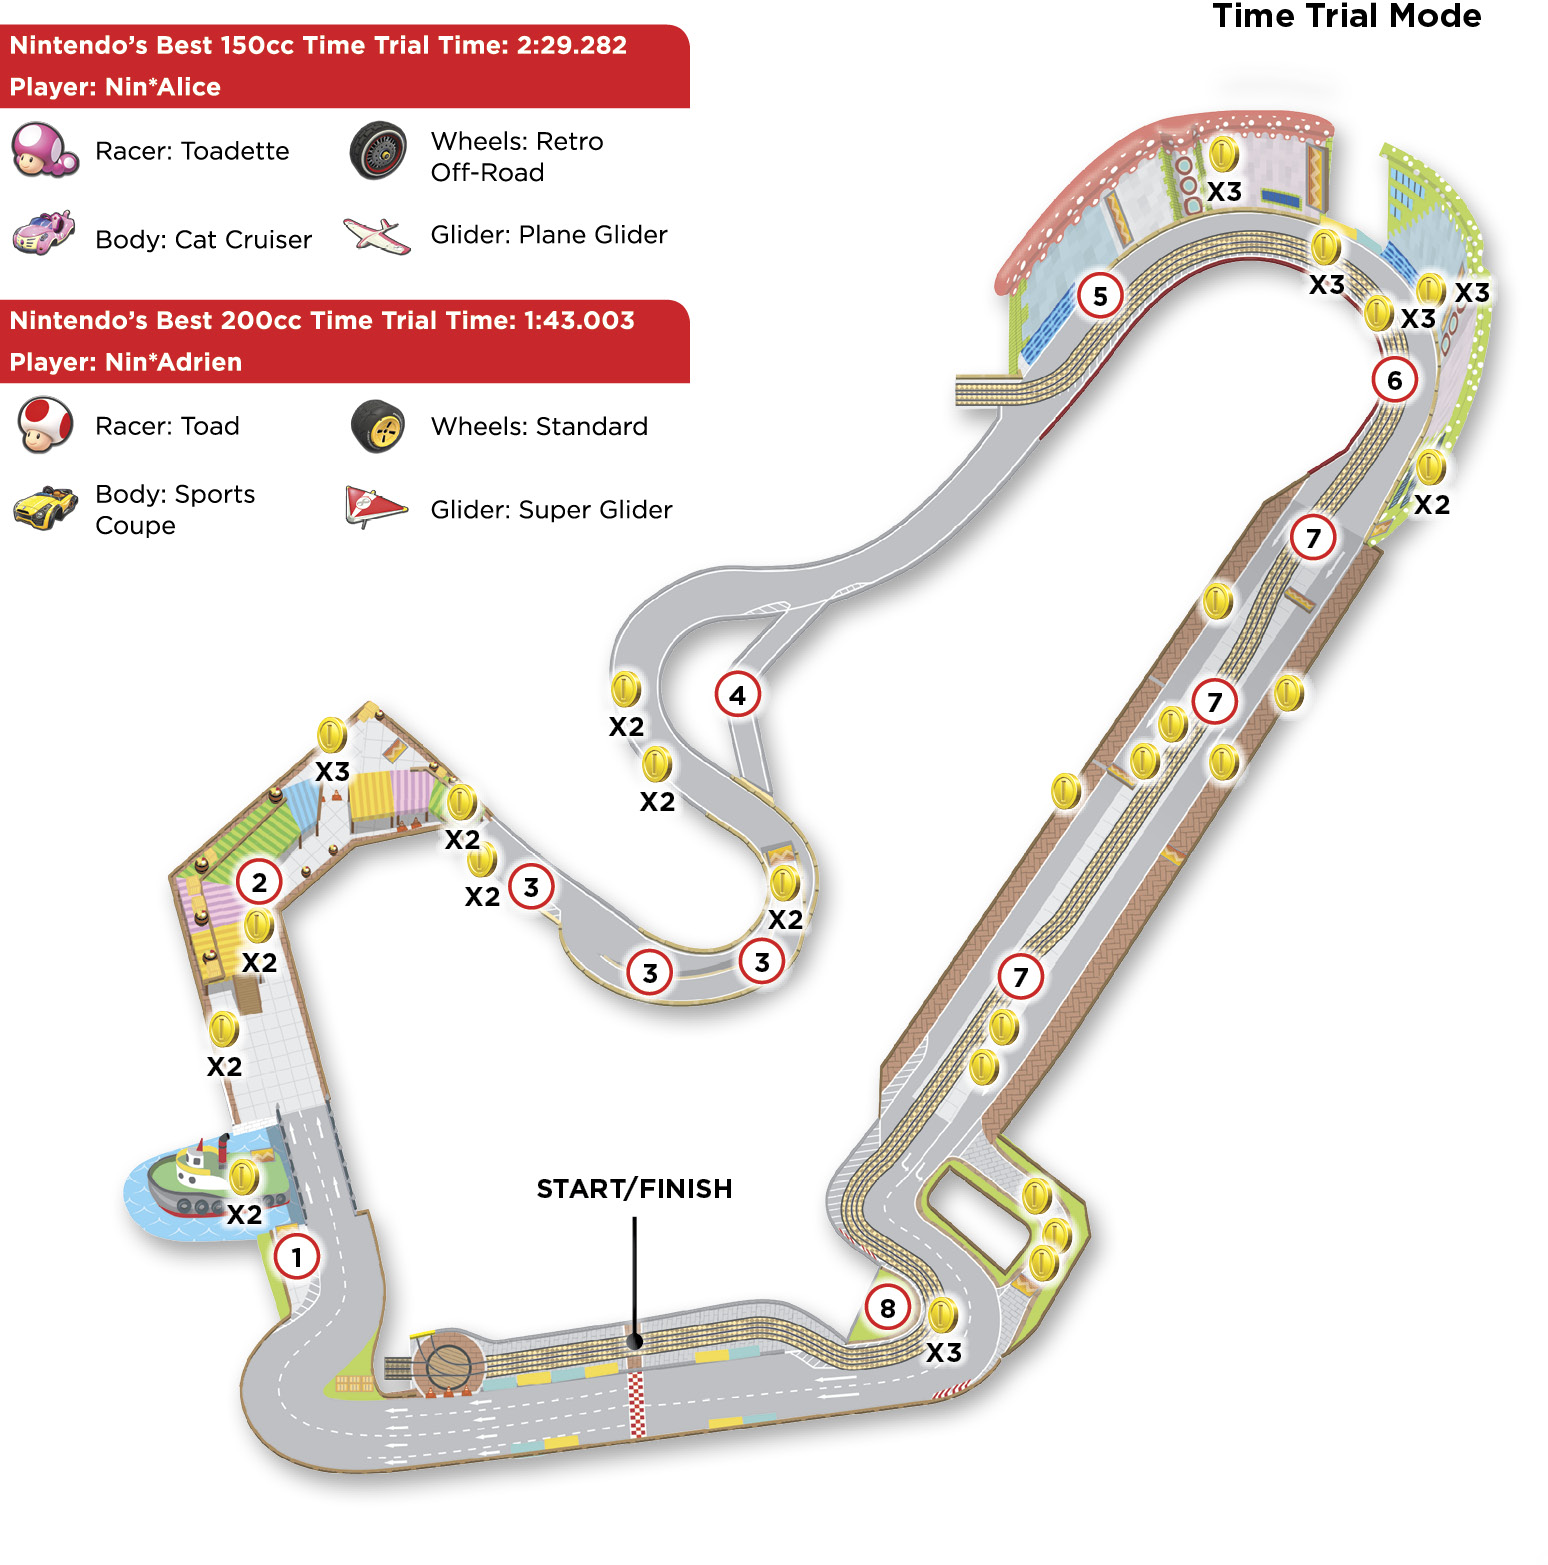
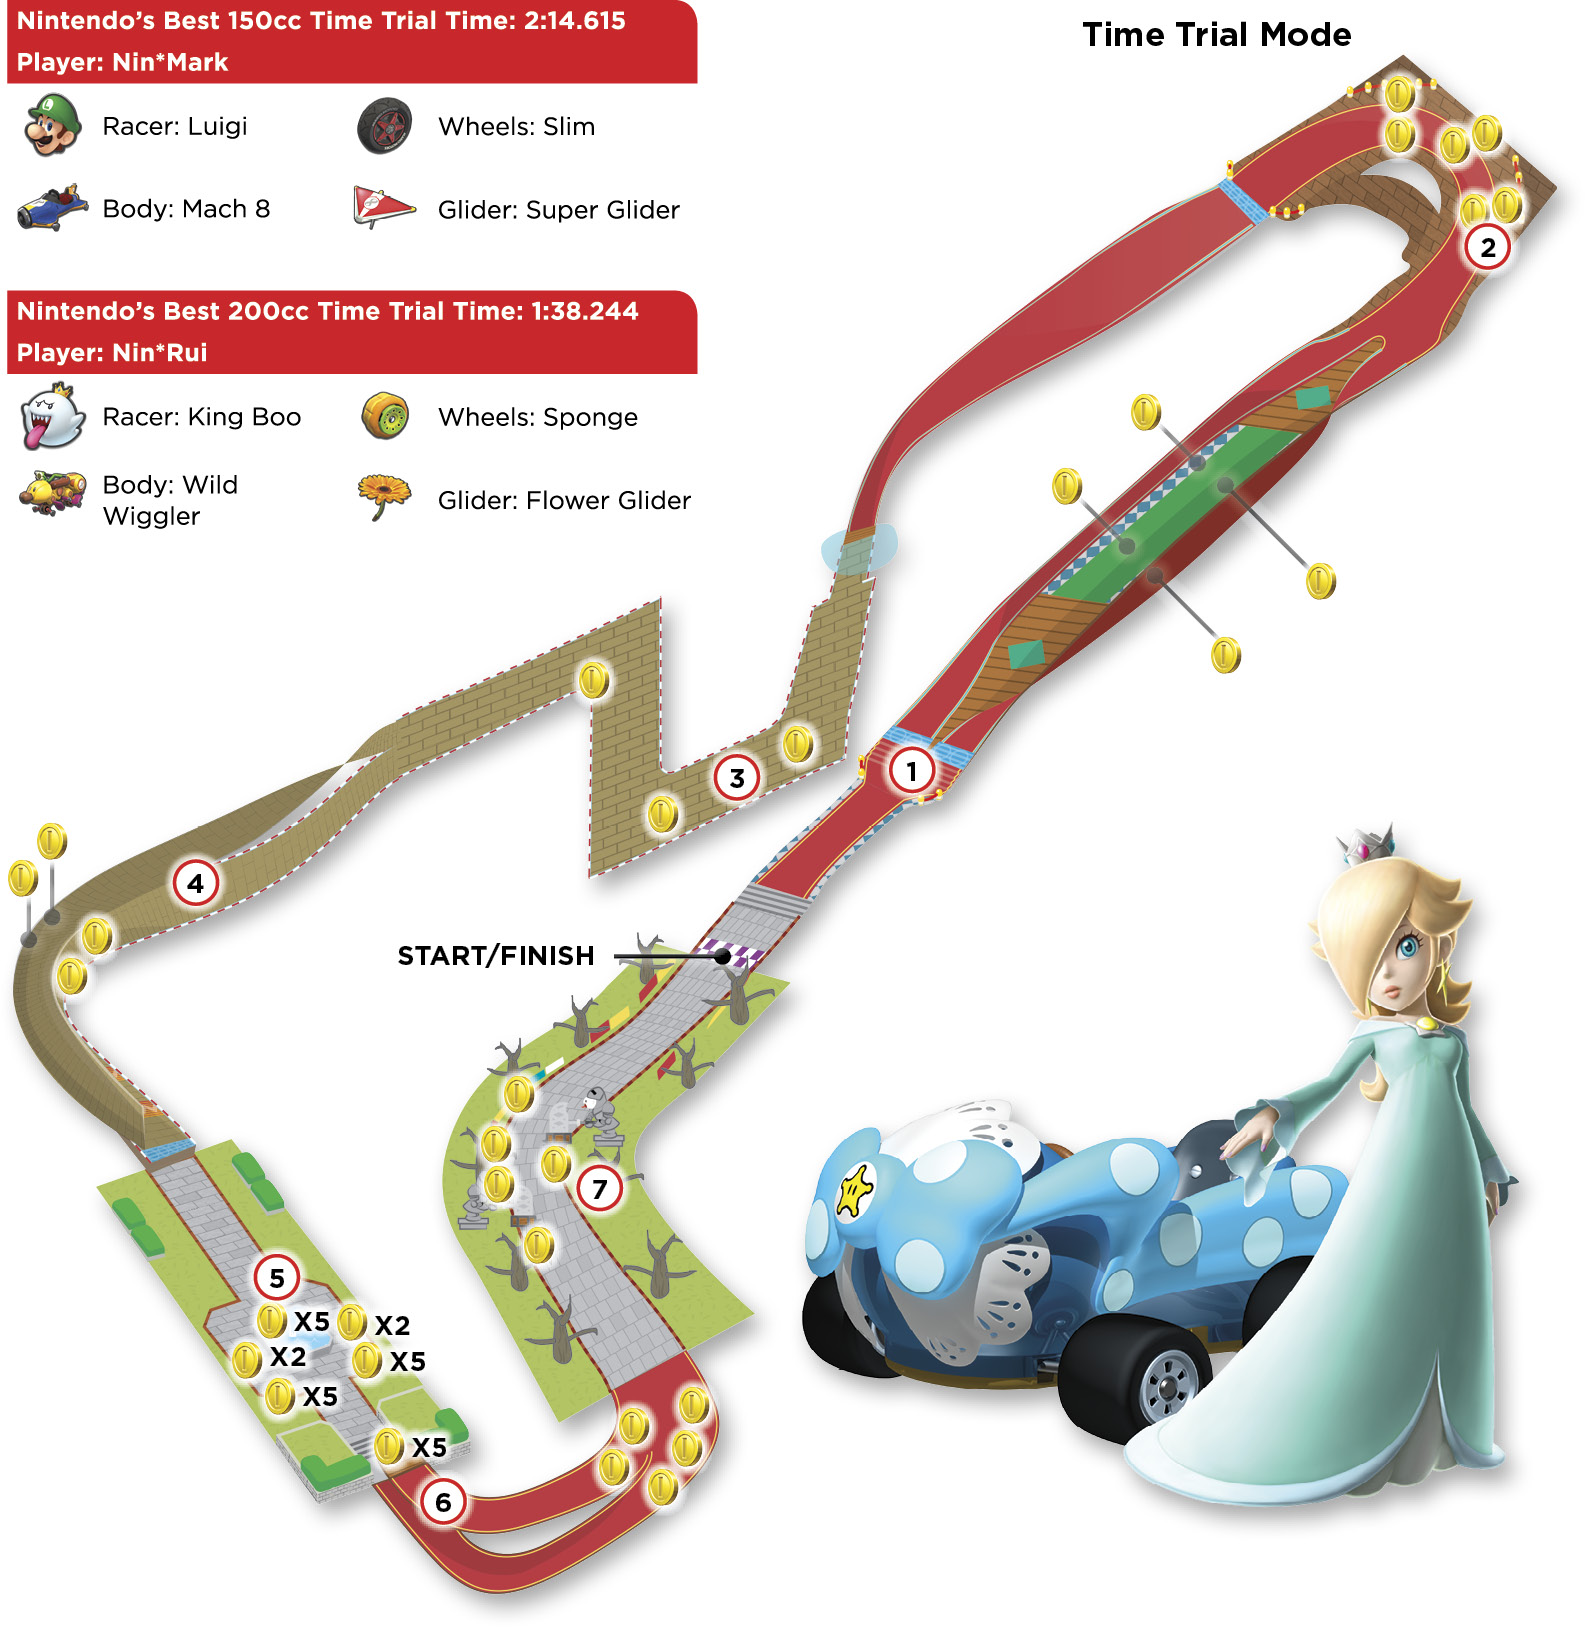
It might be tempting to take this first turn wide initially to collect the Coins, but you can make up your Coin count later! Stick to the inside of the turn. If your tires are dragging across the red-and-white markers, you won’t lose speed, and you’ll be cutting the corners almost as tightly as possible!
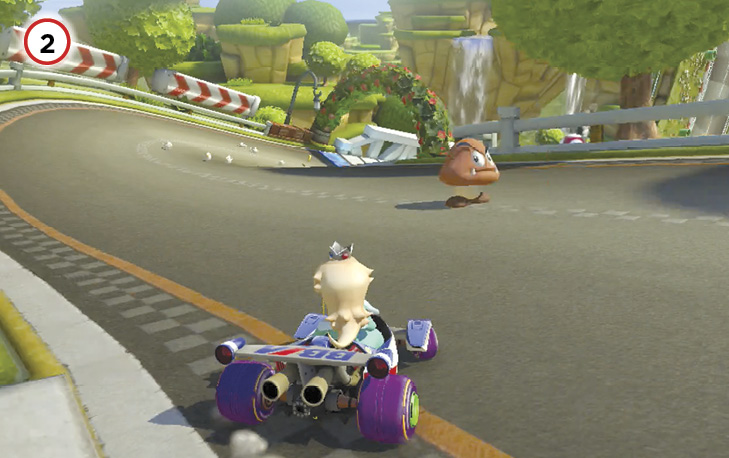
Goombas are still a problem in this Time Trial. Avoid them while lining up for Turn 2 onto the bridge.
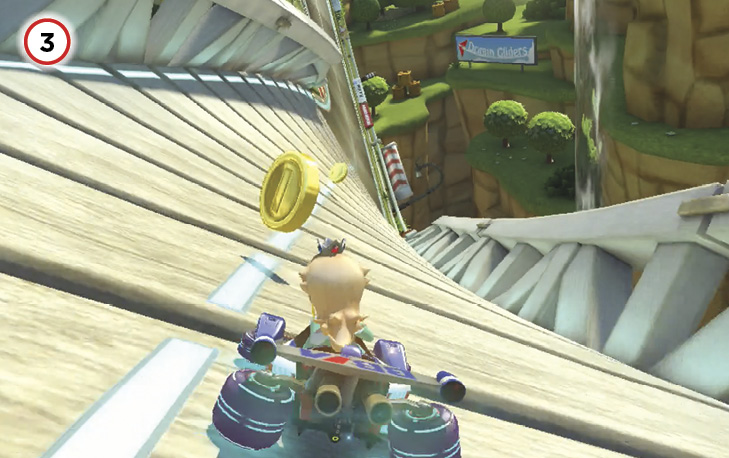
Collect the four Coins on your way across the bridge during Lap 1, and start preparing to drift along the red-and-white markings on the inside of the upcoming long left turn.
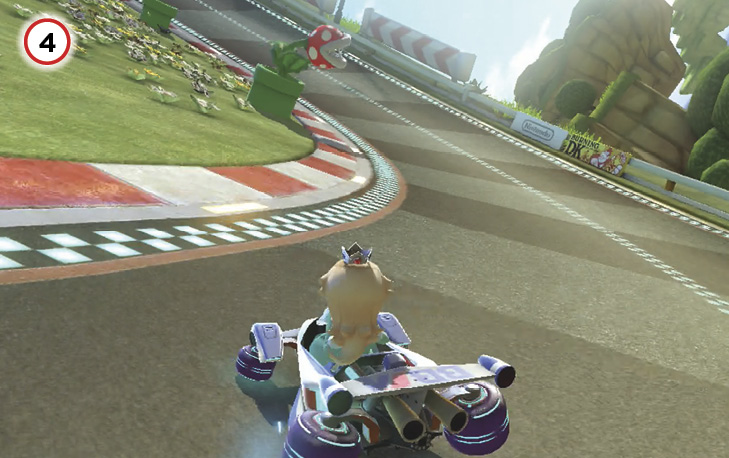
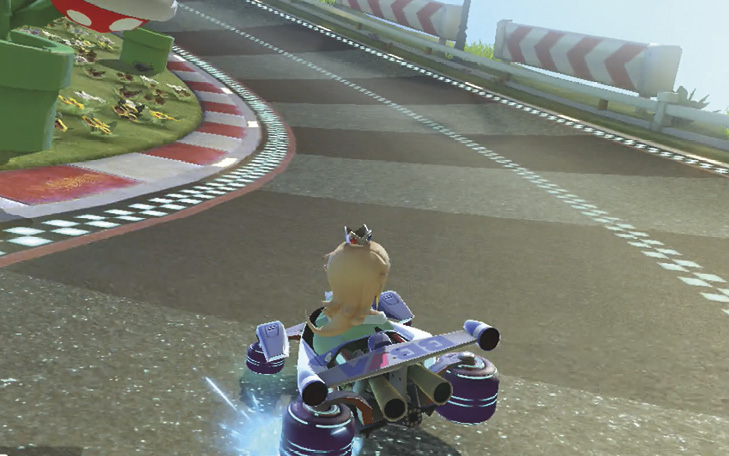
Drifting through Turn 3 is complicated by the Piranha Plant that will pop up from one of the pipes on the side of the track. You can still take this turn pretty tight. Just be sure to adjust your position as you close in on the plant to avoid getting bitten.
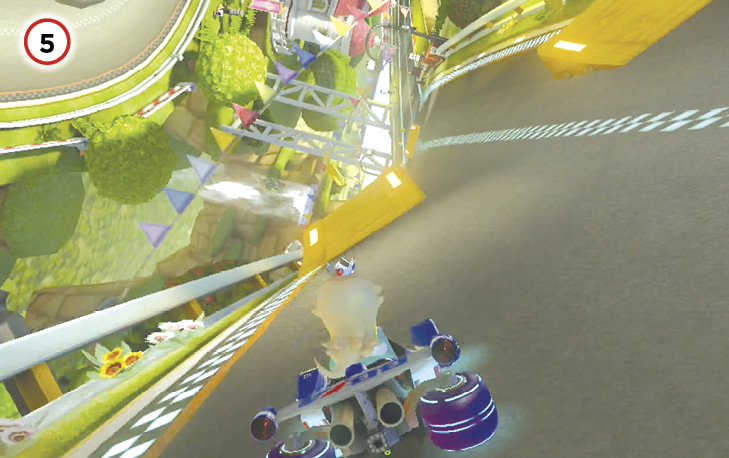
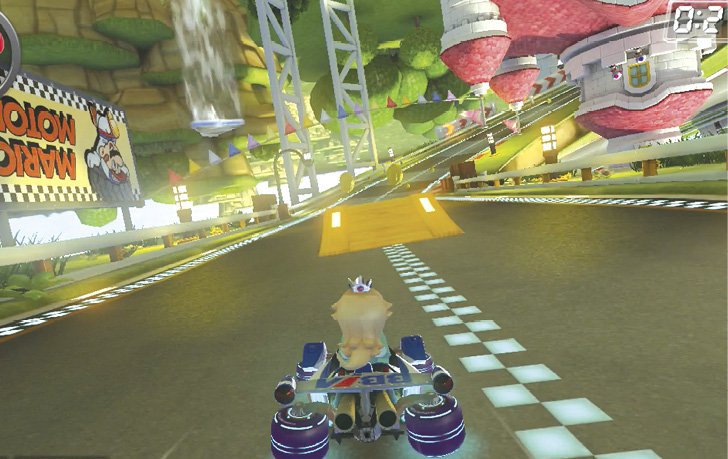
The three ramps on this twisting straightaway can be Jump Boosted for extra speed. The first two have one Coin apiece, while the last ramp has two. On Laps 2 and 3, it’s best to skip these jumps entirely.
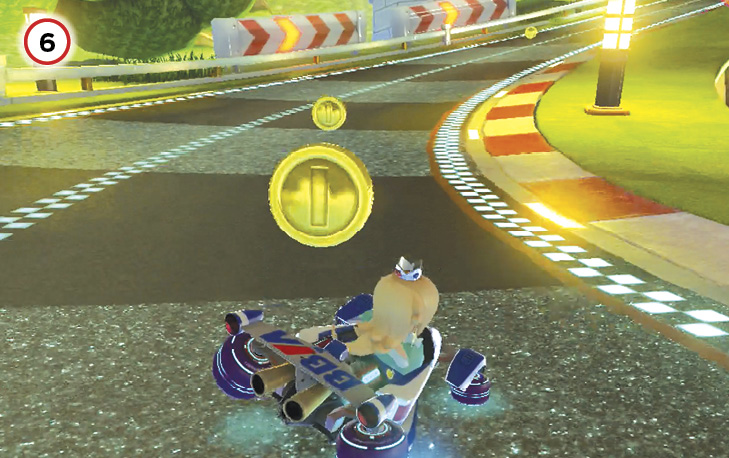
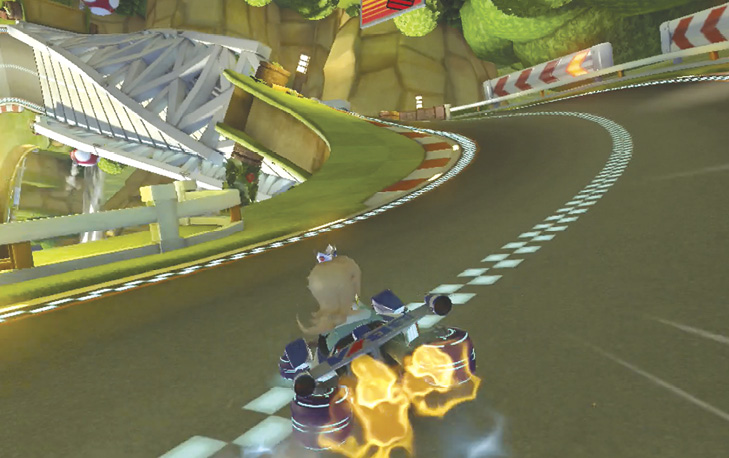
After getting past the ramps, you have a long “uphill” S-curve leading toward the bridge. While you should still try to drift and Mini-Turbo, you should also make sure to collect the Coins here to make up for those you’ve passed up.
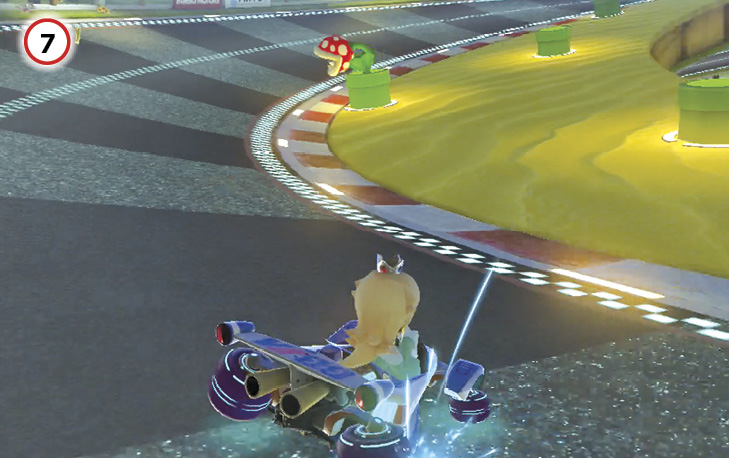
After crossing the bridge, you’ll see to your right another patch of sand filled with pipes for a Piranha Plant to strike from. Use a Mushroom to boost through this pipe forest, making sure to avoid the glide ramp at the center of the track.
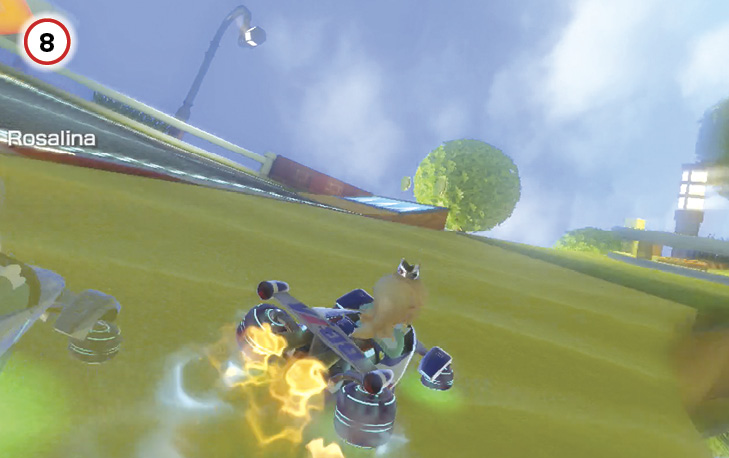
Remember, hitting the glide ramp after using a Mushroom to boost through the sand is actually slower than just driving on the ground toward the finish line! If you do hit it, get on the ground as quickly as possible, making sure to evade the Goomba Towers.
Toad Harbor
A statue of Princess Peach looks over the bustling Toad Harbor as racers tear through the docks, markets, and side streets as they jockey for first place. Racers can choose from multiple paths throughout the harbor, which can make things complicated as racers start spewing items all over the course to stop each other!
Grand Prix
Turn 1 can be cut across by using a Mushroom to blast over the grass and through a set of cargo crates.
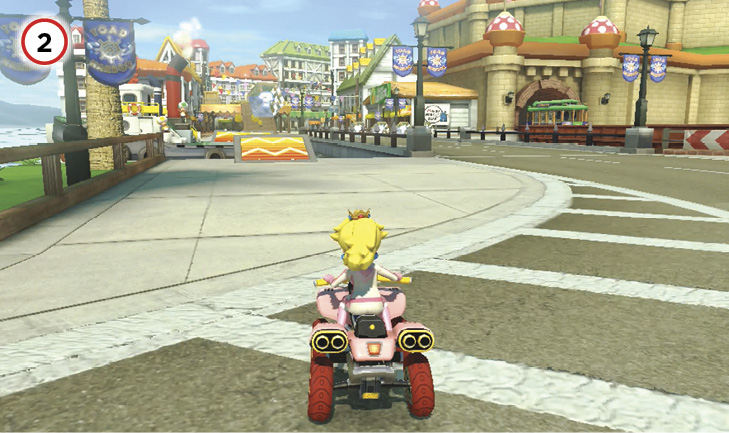
Immediately after the first turn, you have a choice of taking the bridge on the right, or using the dash panel ramp to the left of the bridge to jump to a boat and then to the other side of the dock. The latter is faster, but if you’re not correctly aligned, you’ll fall into the water and lose precious time.
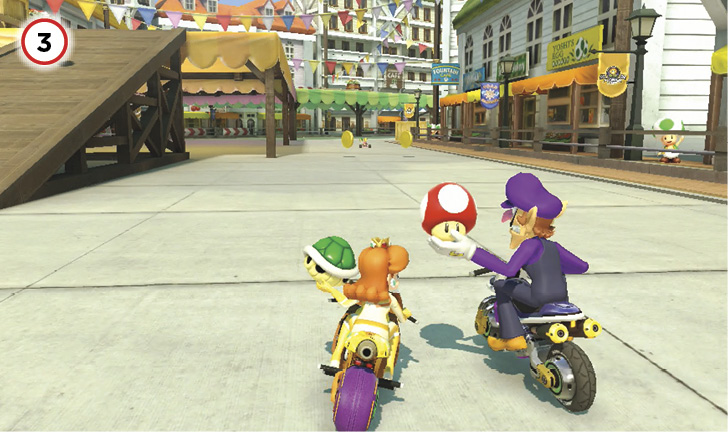
Just past the bridge, you drive through a market. There’s a lot of stuff to get stuck on, with support pillars for the canvas rooftops being among the worst.
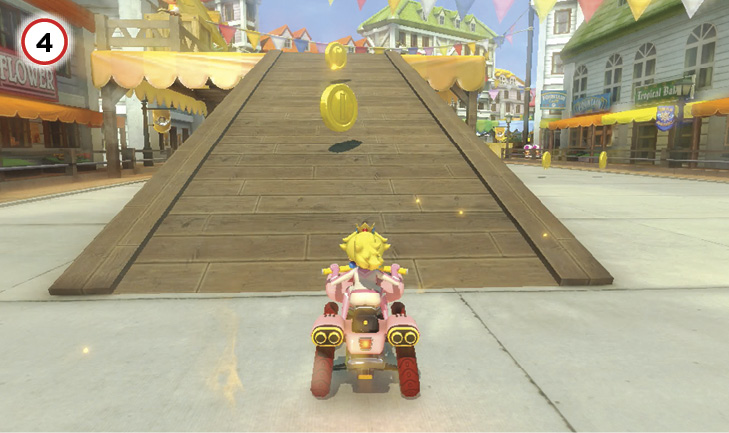
Alternatively, if you cross the water to the left of the bridge, you can use another ramp to drive onto the canvas that covers much of the market, which will put you in a better position for the next section. Take advantage of the ramps and ramp-like terrain of the canvas by using Jump Boosts every chance you get!
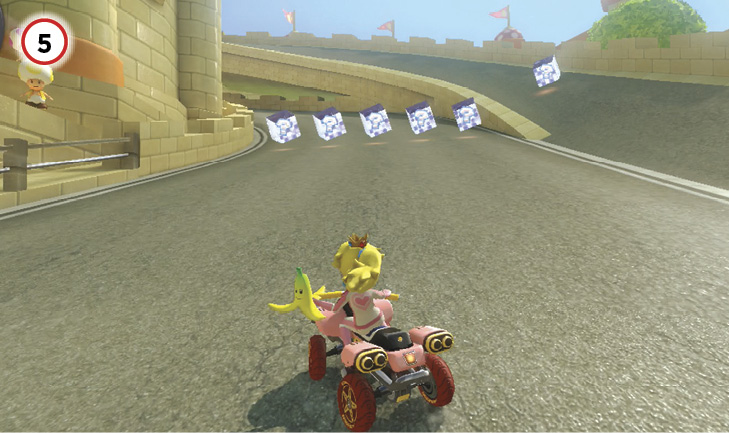
The market curves to the right and the road both narrows and offers another split decision. The lower level is a bit wider but can be the slower path to take with all the curves.
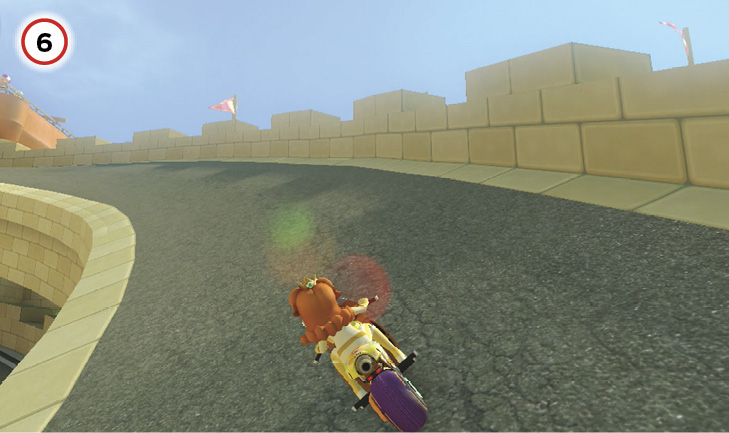
The upper route can be hard to stick with, especially factoring in how narrow it is. Worse yet, as more racers take the route, you can expect Bananas galore, and there’s not a lot of room to drive around them. Fail to keep up speed and you won’t make the jump halfway through the upper route and instead will fall to the lower road.
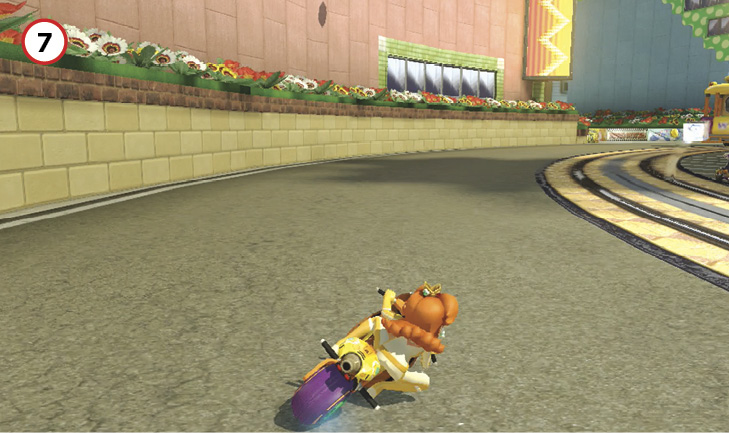
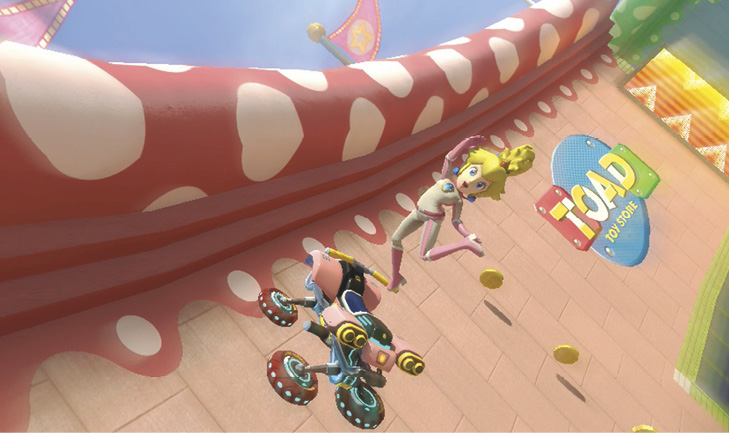
Reaching a set of trolley tracks, you have another decision to make: stay on the inside of the lower road, or defy gravity and ride the wall on the left. The lower path is technically shorter and lines you up on the upcoming downhill a little easier. The wall ride can be made faster by using Jump Boosts off of every ramp and bump on the wall.
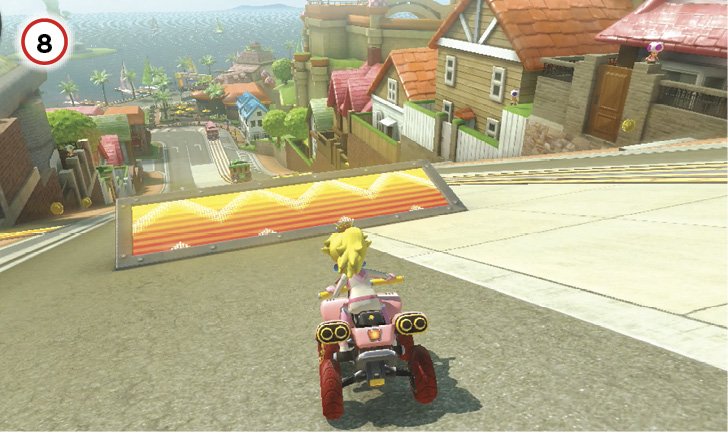
The downhill is scattered with multiple small ramps to Jump Boost off of, as well as dash panels. Complicating things will be trolleys, which move at their own pace and are not concerned with your desperate race to the finish.
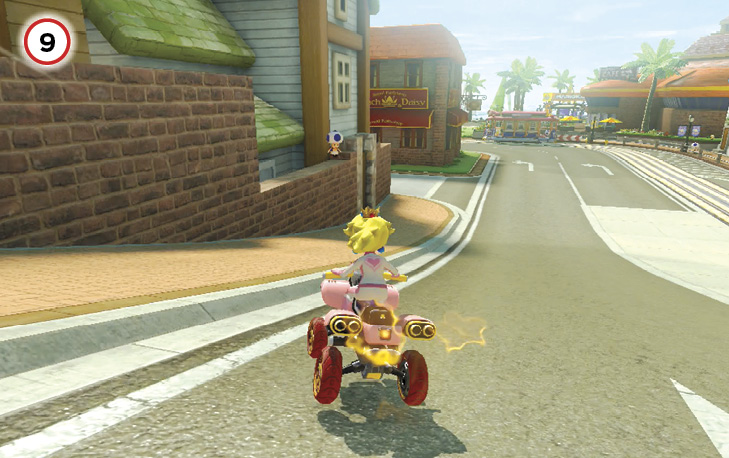
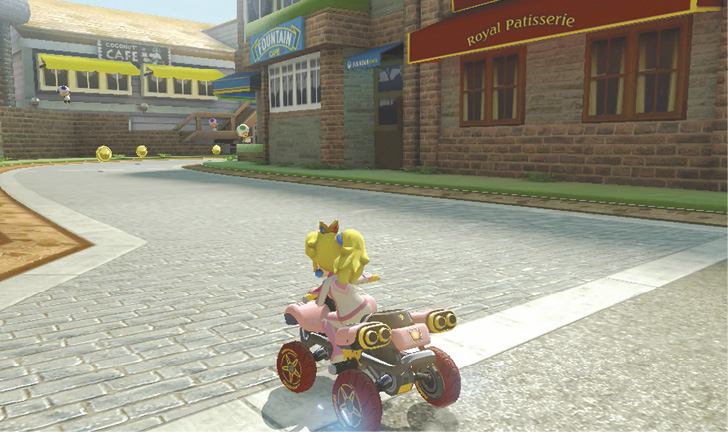
The bottom of the hill provides yet another split decision. You can follow the obvious main road, taking the full brunt of the long hairpin turn. Alternatively, you can use the winding side alley on the left side of the downhill to better align a straighter shot to the finish line. The latter can be tougher on heavier, less maneuverable racers, as one miscalculation will cause you to hit the wall and lose out on any benefit from this shortcut.
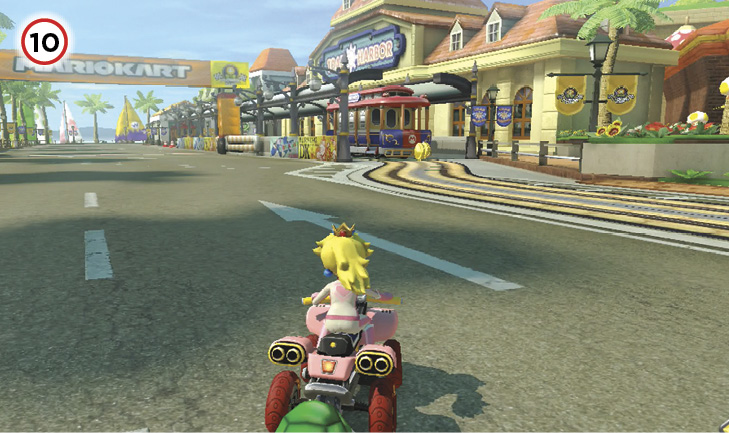
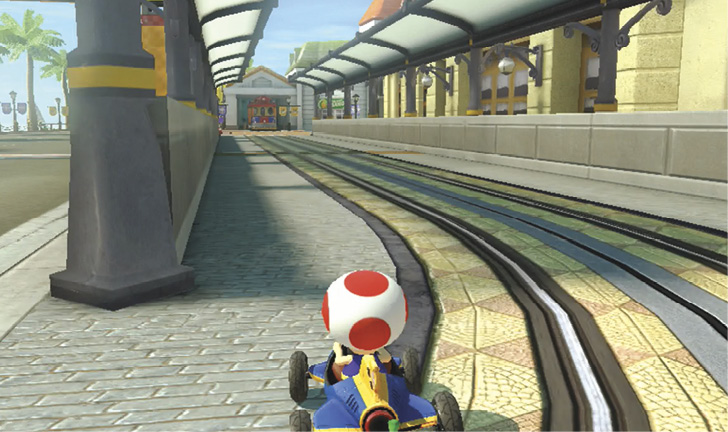
The trolley tracks run behind a wall to the right of the final stretch to the finish line. It is possible to race down this narrow passage during the first two laps to cut down on time, assuming there isn’t a trolley in your way.
Time Trial
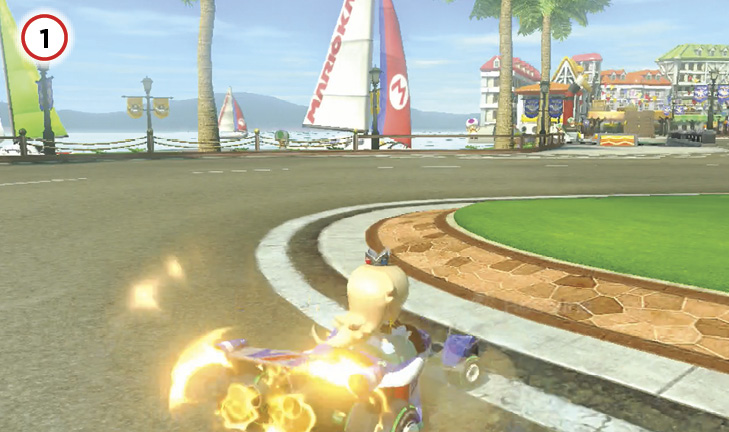
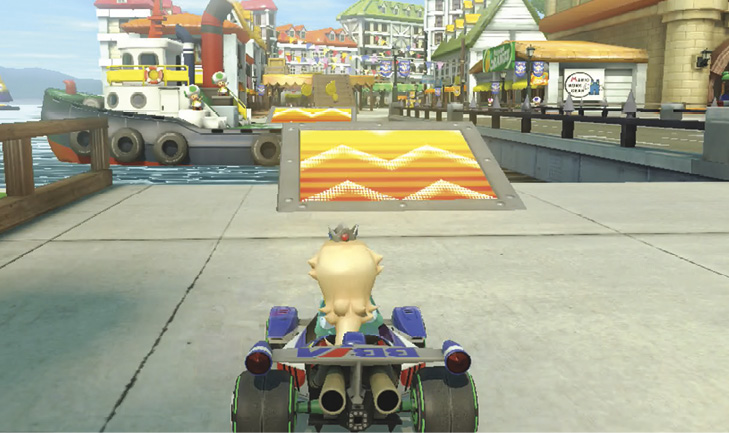
After the first hard right, immediately align yourself for crossing the water to the left of the bridge by using both dash panel ramps. Try collecting at least one Coin hovering on the boat ramp, while also aligning yourself for the wooden ramp that takes you onto the canvas shading the marketplace.
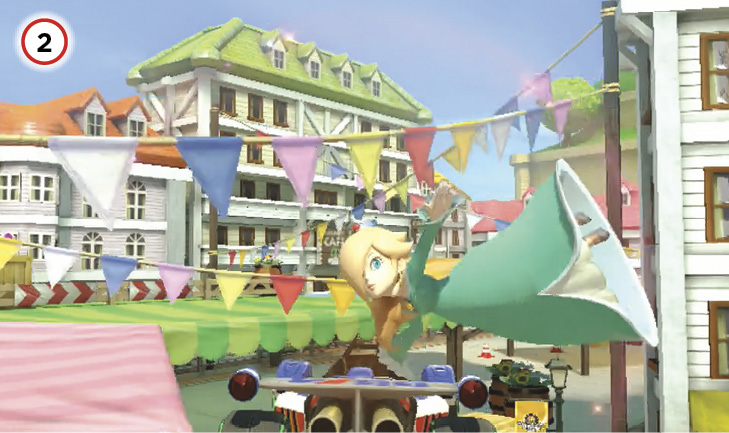
Collect the two Coins on the wooden ramp, and then Jump Boost off the ramp to the right. You want to try to hug the inside line of the market as much as possible, while avoiding things that can slow or stop you.
As you exit the market, collect another one of the two Coins you see, then aim for the right-hand path in the upcoming split. Drift the whole way up that curve, and release a Mini-Turbo just as the track straightens to boost toward another dash panel ramp, collecting the two Coins in front of it. Try to hit the ramp more on its left side, while aiming at the upcoming alley.
This alley is tough to navigate at speed, but vital to do so if you’re serious about breaking records. Drift through this alley while turning to the right. With enough speed, you can score a Mini-Turbo, so if you do manage to hit the wall on the left, you can boost away and maintain some of your speed on the uphill.
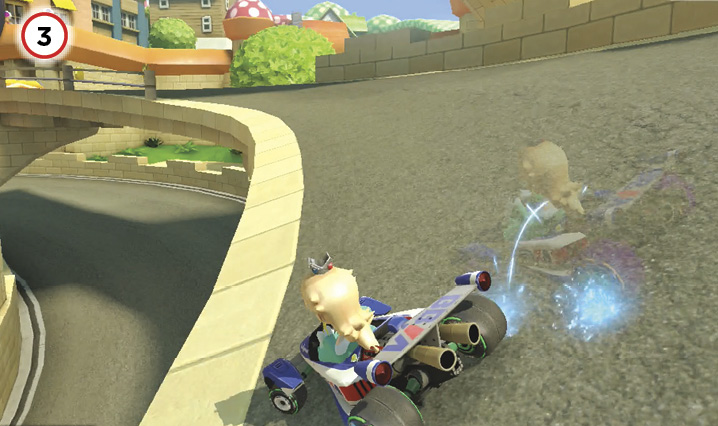
Do not go on the walls in this section! Instead, drift on the ground, hugging the walls to the right as tightly as possible. If you’re on pace, you’ll have to drift to the right of at least one trolley while avoiding grazing the wall.
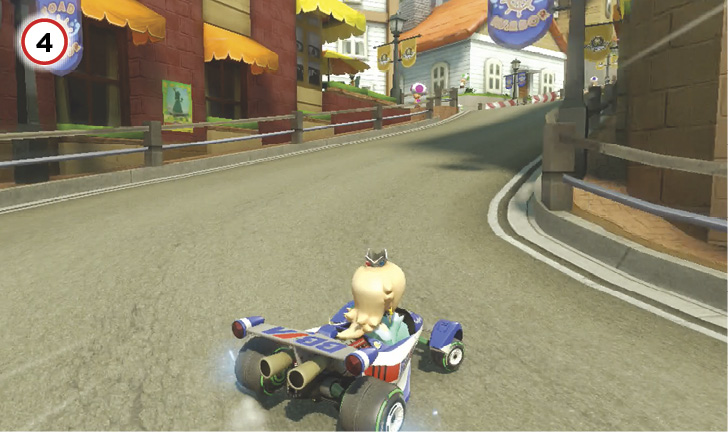
A second trolley in this section will be trailing Coins during your first lap. Drift out to collect a couple, and get ready for the downhill.
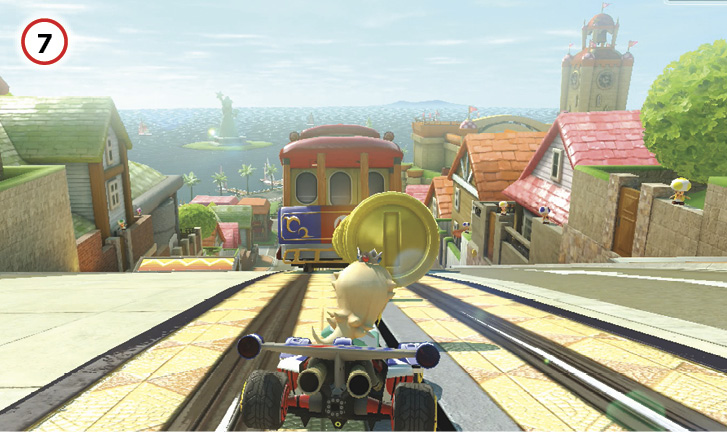
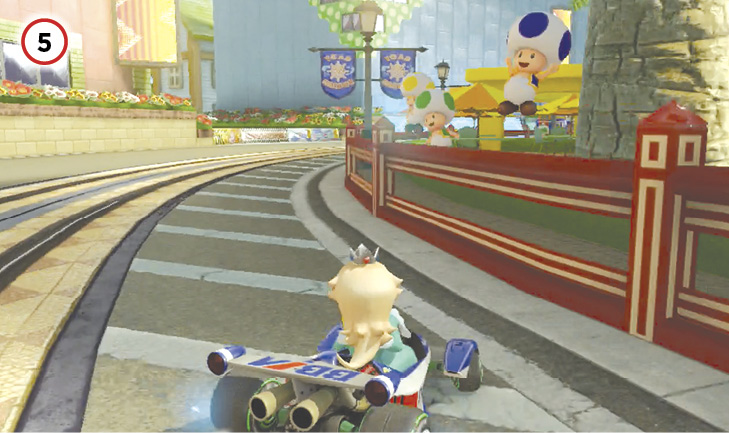
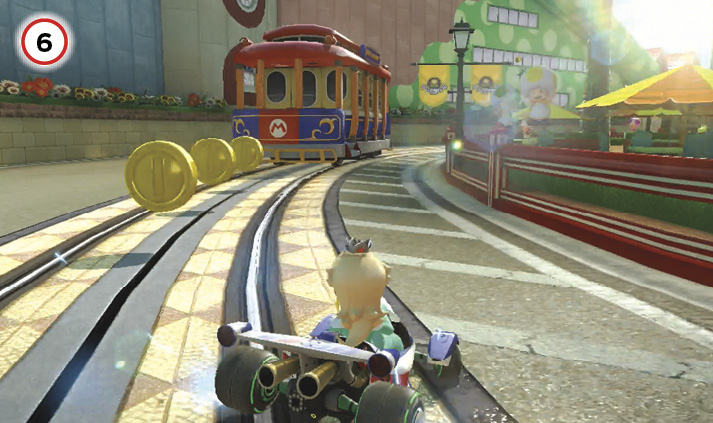
The downhill part of the course will have trolleys running down it during every lap. On Lap 1, you should concentrate on driving straight down the hill, collecting Coins to try and reach ten. On future laps, use the dash panel ramps on the left side of the track to speed down the hill quickly.
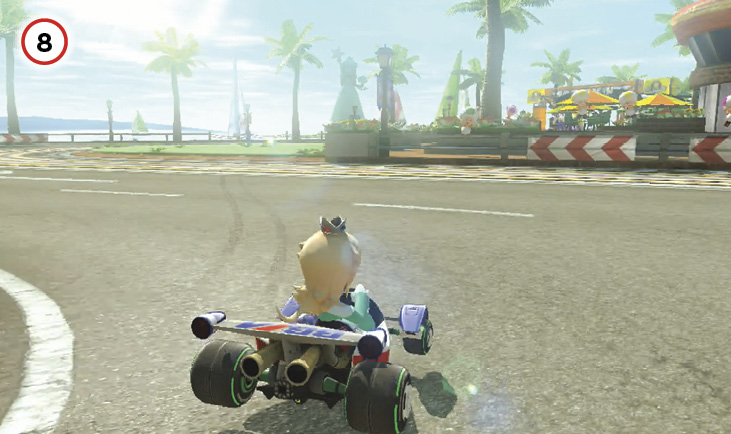
The place to use a Mushroom is at the bottom of the hill, cutting across the grass to hack away a good chunk of track and getting that much closer to the finish line!
Twisted Mansion
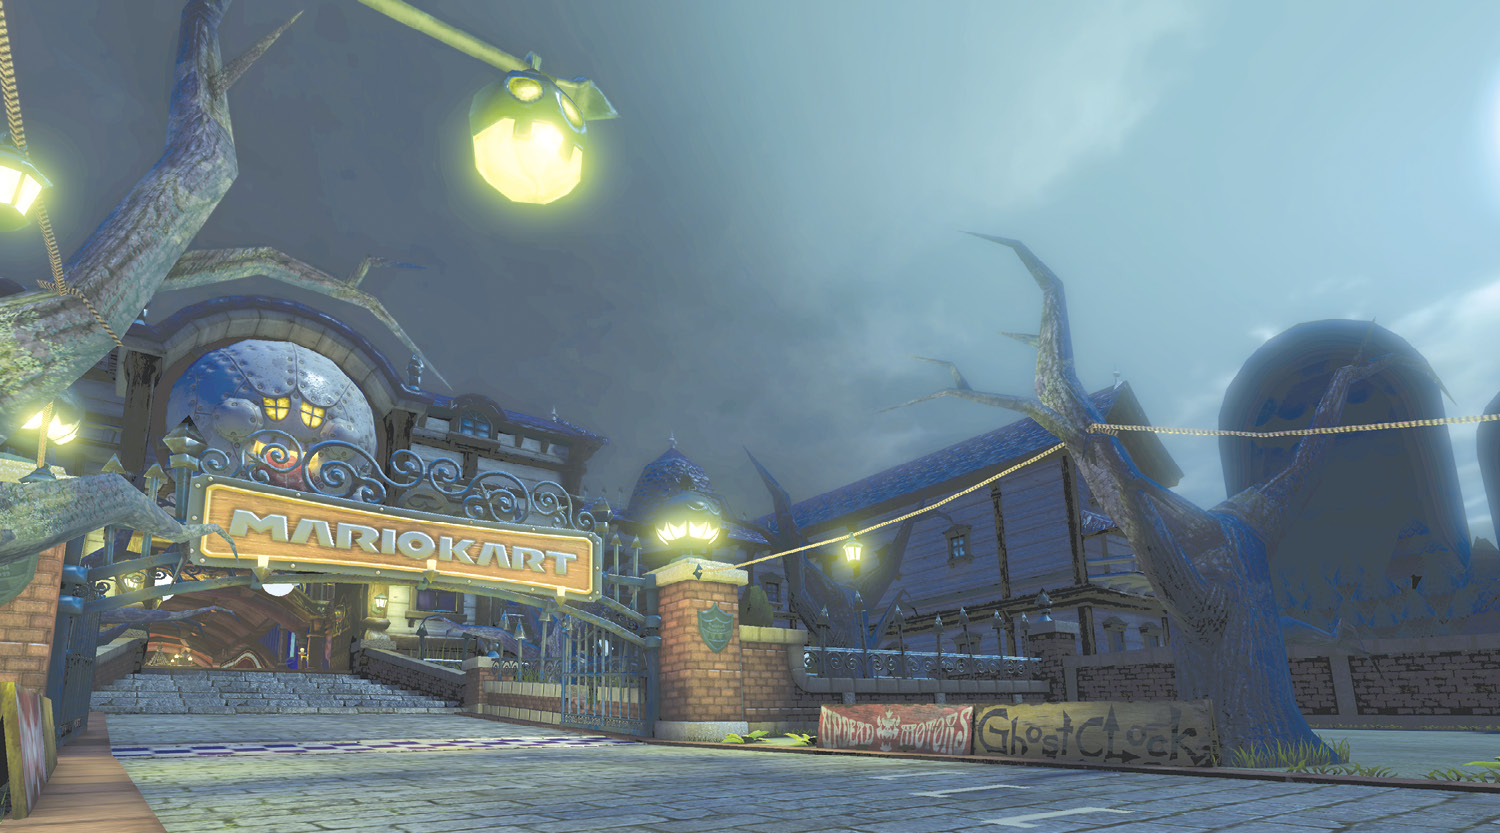
This mansion is probably not one Luigi would be happy to own. Challenging both your skills as a driver and your sense of equilibrium, Twisted Mansion sends racers spiraling through its depths. One of the most technical courses in the Flower Cup, you’ll have to anticipate turns and begin your drifts well in advance to keep up your speed around these sharp corners.
Grand Prix
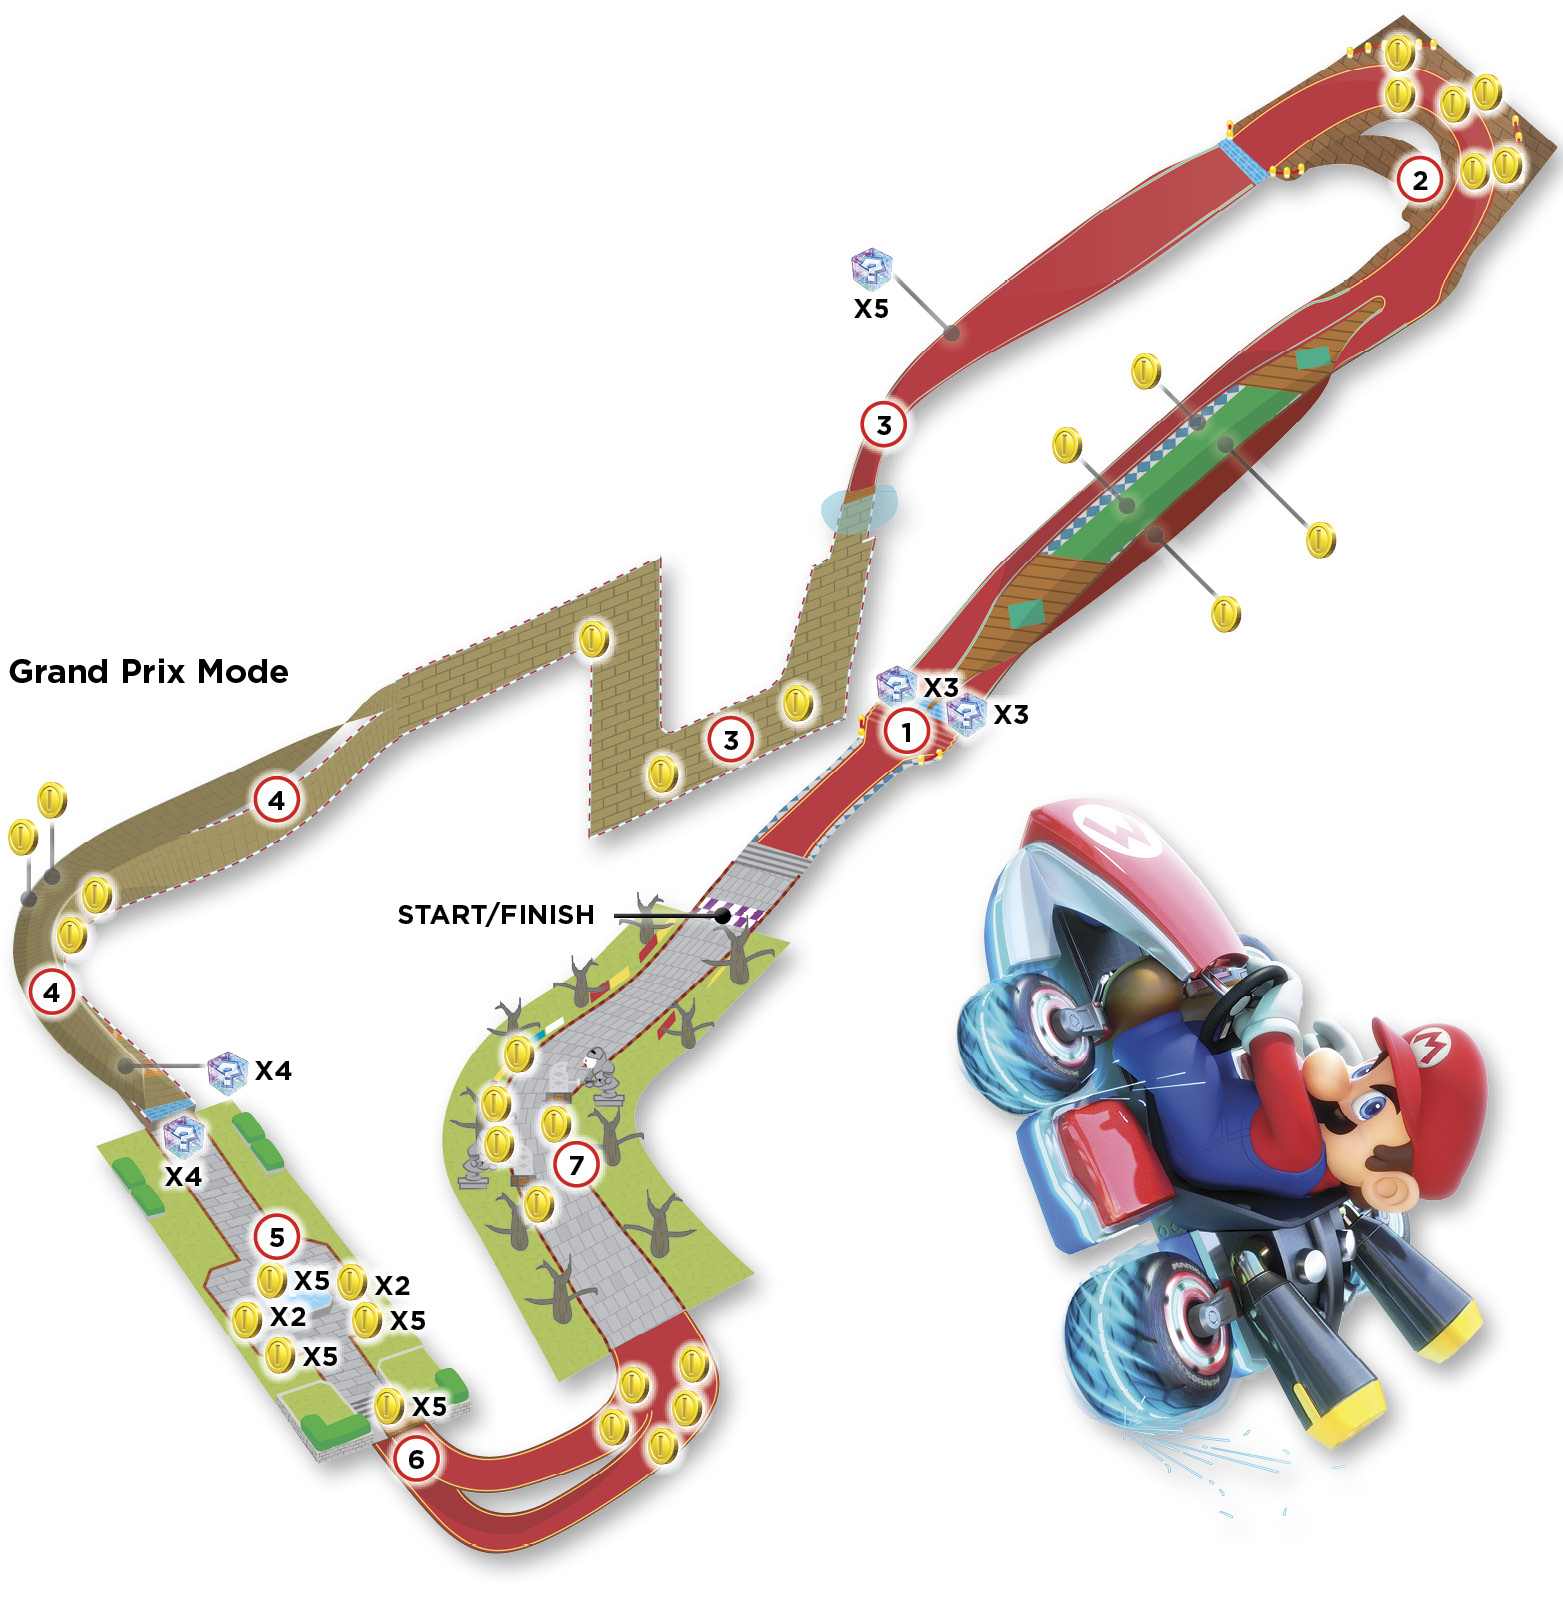
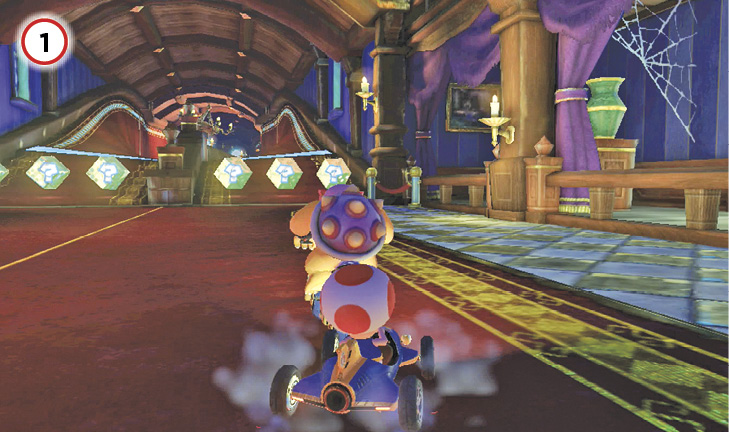
Seconds from the starting line, the track splits in two. Both paths are a set of undulating walls that look over a dining area. We recommend the right-hand path, particularly if you’ve got a Mushroom to spare, as it helps you line up for a shortcut. It is possible to score a Jump Boost off each “hill” that appears on these paths. A heavy racer using this tactic can smash others into the walls as they race through the starting pack.
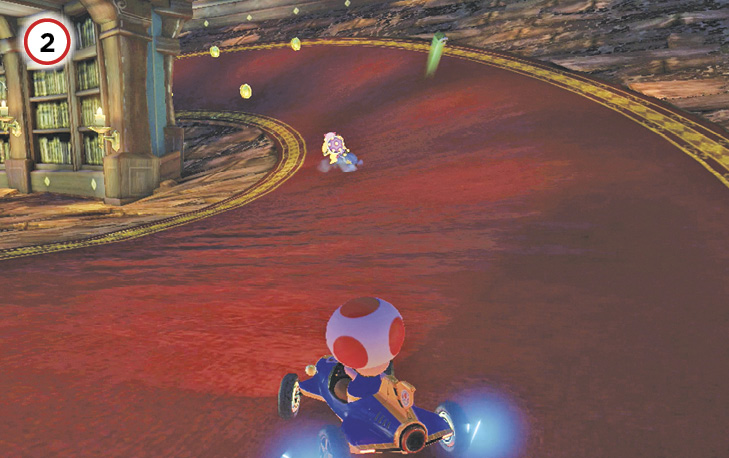
The shortcut is on the left side of the track as the two paths reconnect. It’s essentially a hairpin that cuts the corner much tighter than the main part of the course, but it requires a Mushroom if you don’t want to lose speed driving this path. The actual turn is lined with Coins on the inside and outside of the track.
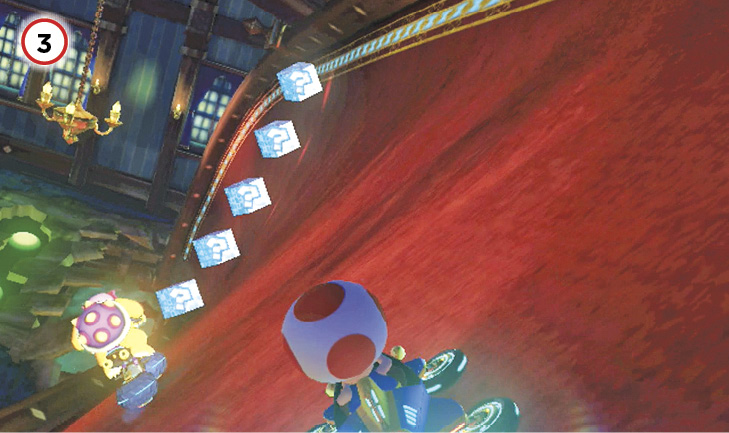
The course shifts gravity once more as you dive into a flooded sewer system. Your vehicle’s handling will feel a bit more squirrely through the next two turns. The sharp angles here can make Green Shells extremely unpredictable for you and your competition!
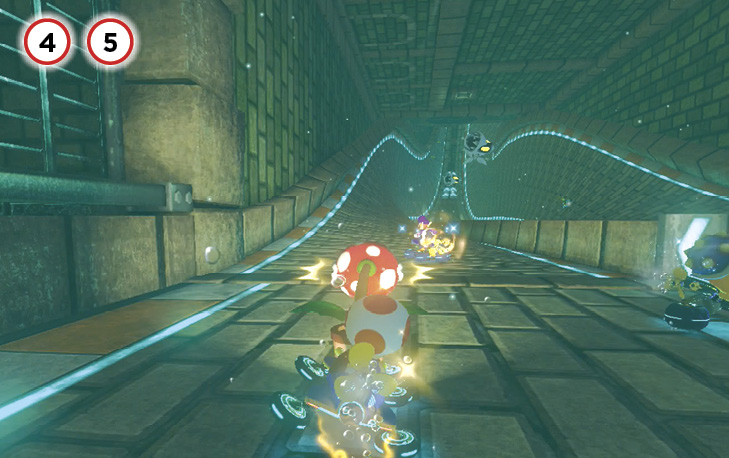
After the gauntlet of turns, the track splits in two once again. As before, there is no distinct advantage to either path—both will take you to a series of dash panels and a jump panel that will send you gliding over a fountain surrounded by Boos (5). Formations of Coins are also scattered through the air.
As you fly over the fountain, you have to choose between an upper and a lower route. The upper path is faster, but making the hard left turns just as you enter can be tricky. This is also prime territory for Bananas, so keep an eye out during future laps.
The final stretch is a gentle curve to the right, with a pair of hammer knight statues pounding away at the track. Avoid the hammers as best you can while snagging Coins. Hammers can block Green Shells and Red Shells, which can become a last-ditch defense if you’ve got no items on you.
Time Trial
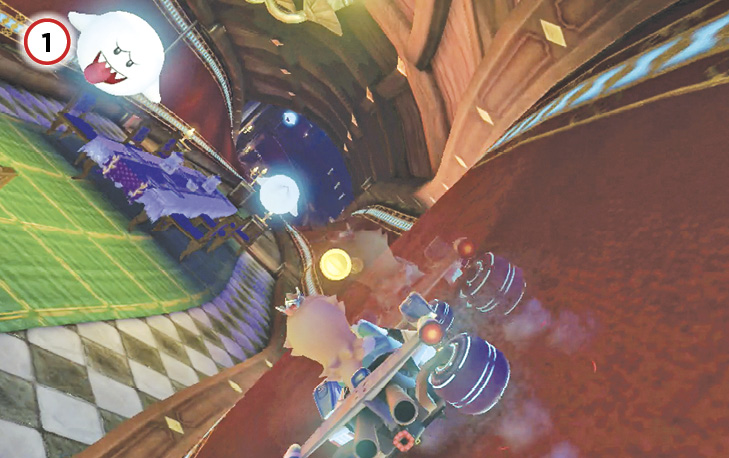
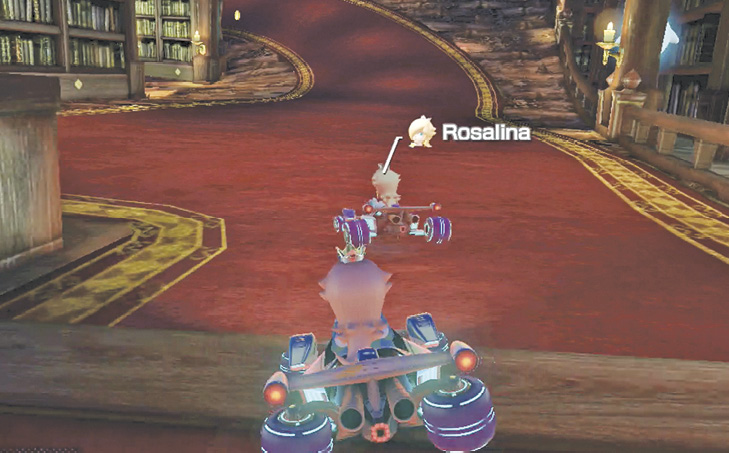
Take the right path just after entering the mansion, and collect both Coins you see. It lines you up better for the upcoming shortcut, as well as helps you snag some Coins on the upcoming turn. Don’t forget to Jump Boost off the rolling hills of the track here!
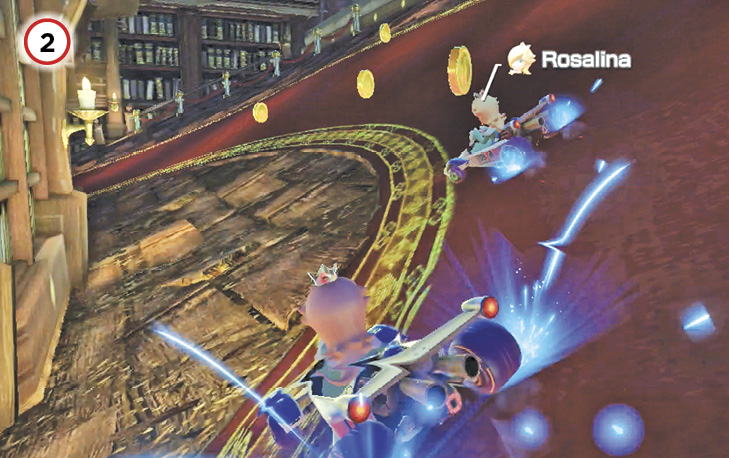
The shortcut here requires the Mushroom to take full advantage of it. However, on Lap 1 we recommend bypassing the shortcut so you can snag three Coins on the inside of the first hairpin turn. Future laps should take advantage of this shortcut.
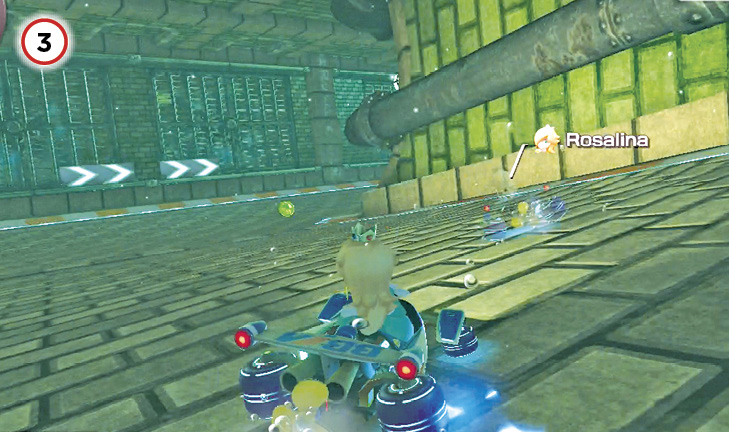
Remember your handling underwater is different! Drift and Mini-Turbo through these corners, cutting them tight to collect Coins as you go. You can easily have eight Coins at this point.
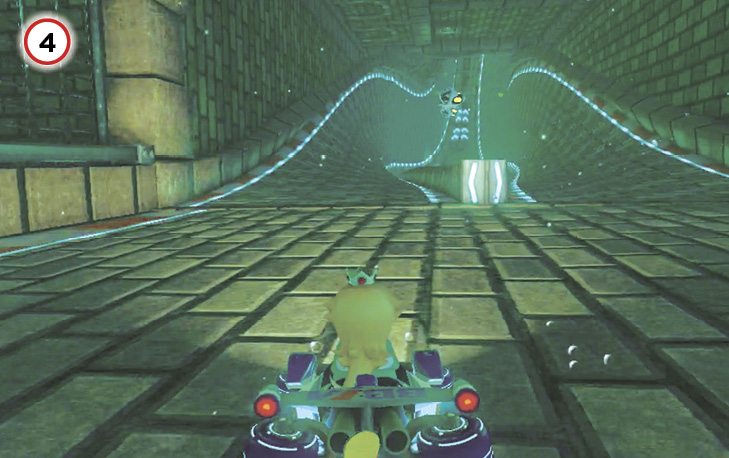
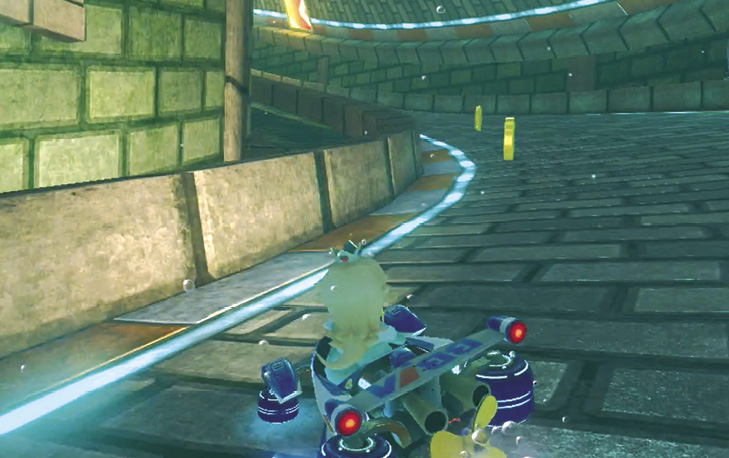
When the track splits again, there’s not a preferred route to take. Don’t miss the Coins you can collect on these routes. Ideally you can get to ten Coins.

When flying over the fountain, aim for the upper route on the other side. If you still need Coins, you can snag more floating in the air.
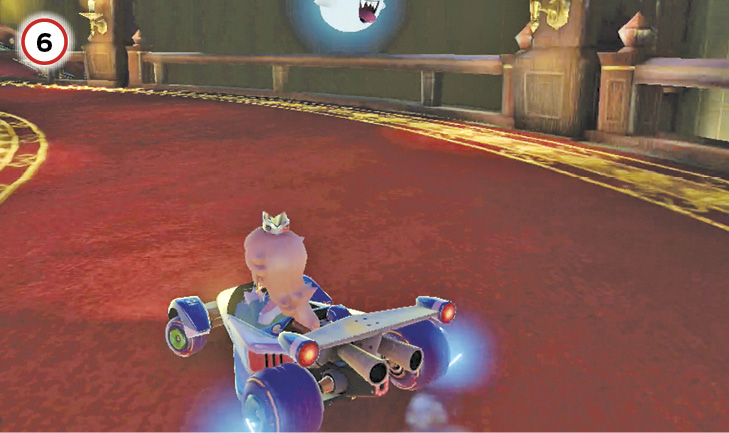
The upper path requires a tough left turn through a fairly cramped space. Heavier racers will have more trouble drifting through this turn, but it’s completely possible to pull it off and score a Mini-Turbo in the process.
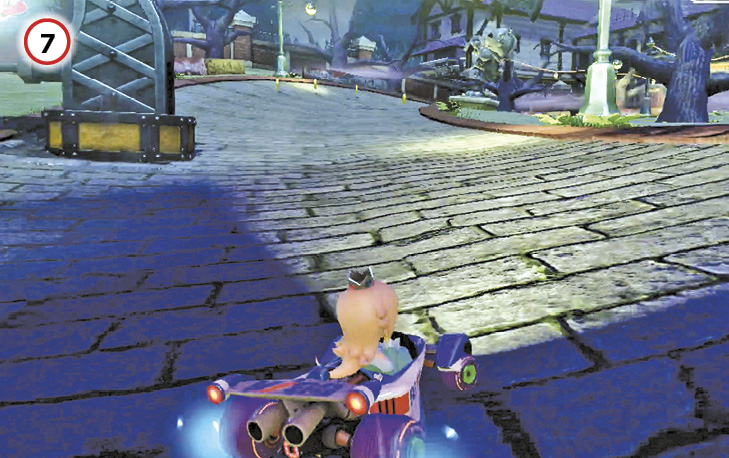
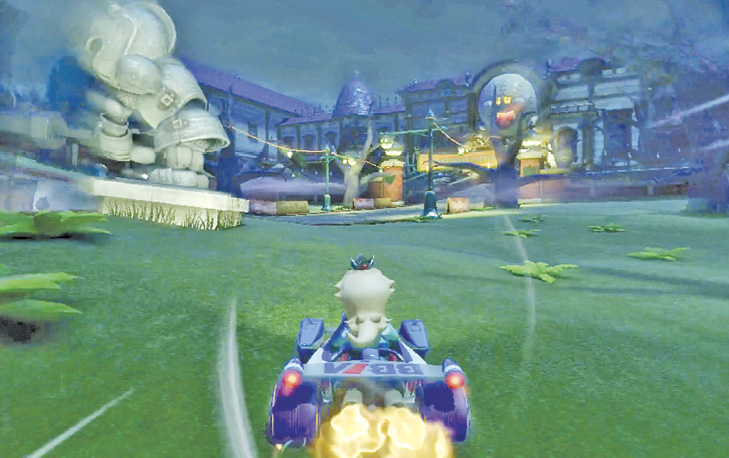
If you did not use your Mushroom on Lap 1 for the shortcut, you can use it to bypass the hammering statues by cutting across the grass on the right side of the track.
Shy Guy Falls
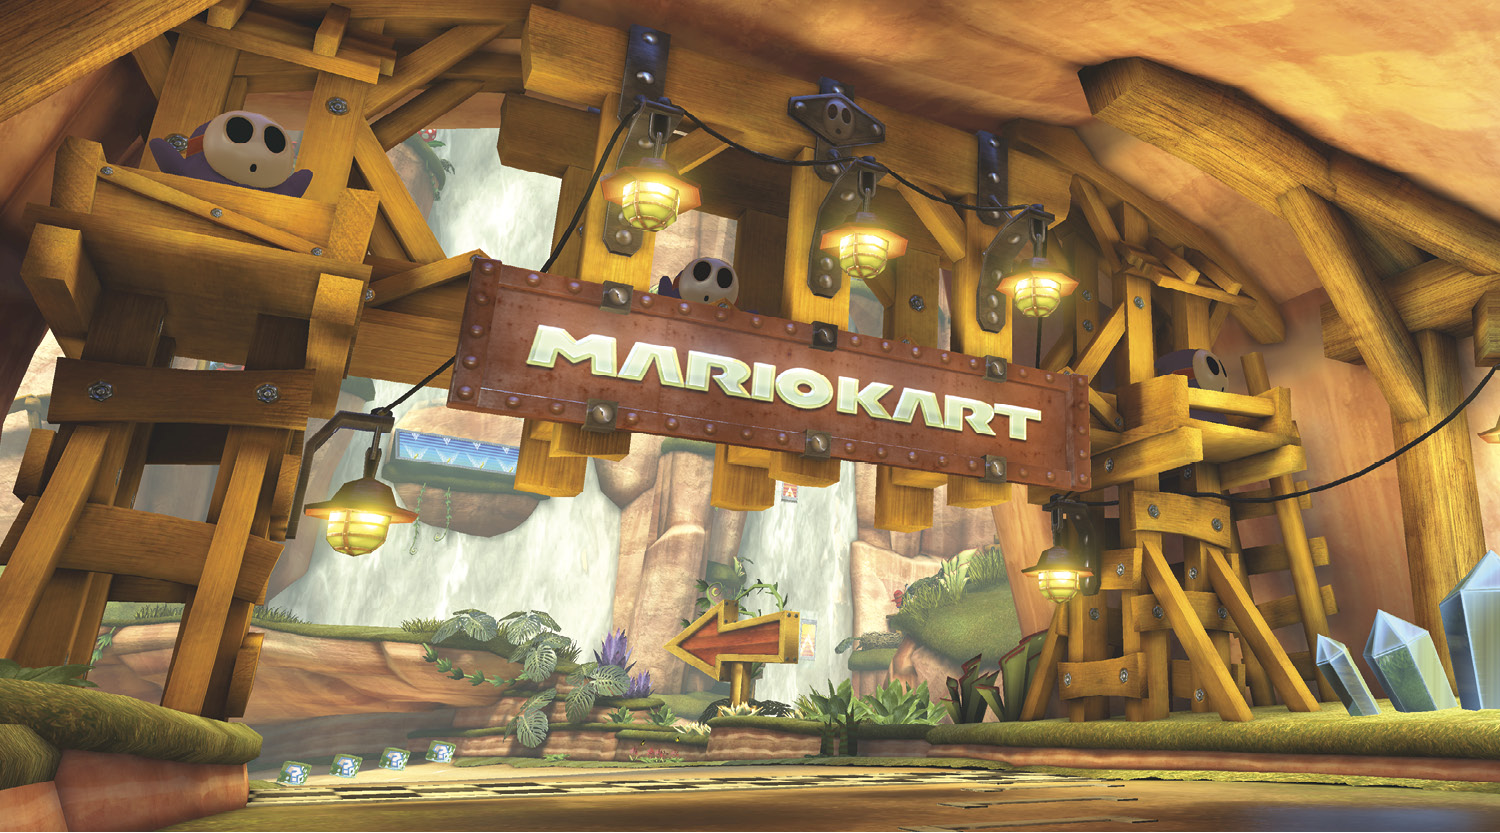
Have you ever wanted to race up and down waterfalls located deep within a Shy Guy mountain commune? Of course you have! Shy Guy Falls provides for this very specific desire. The Flower Cup finale is no slouch, being one of the fastest tracks in the entire game. Dash panels galore fill this course, and the best racers will take full advantage of them.
Grand Prix
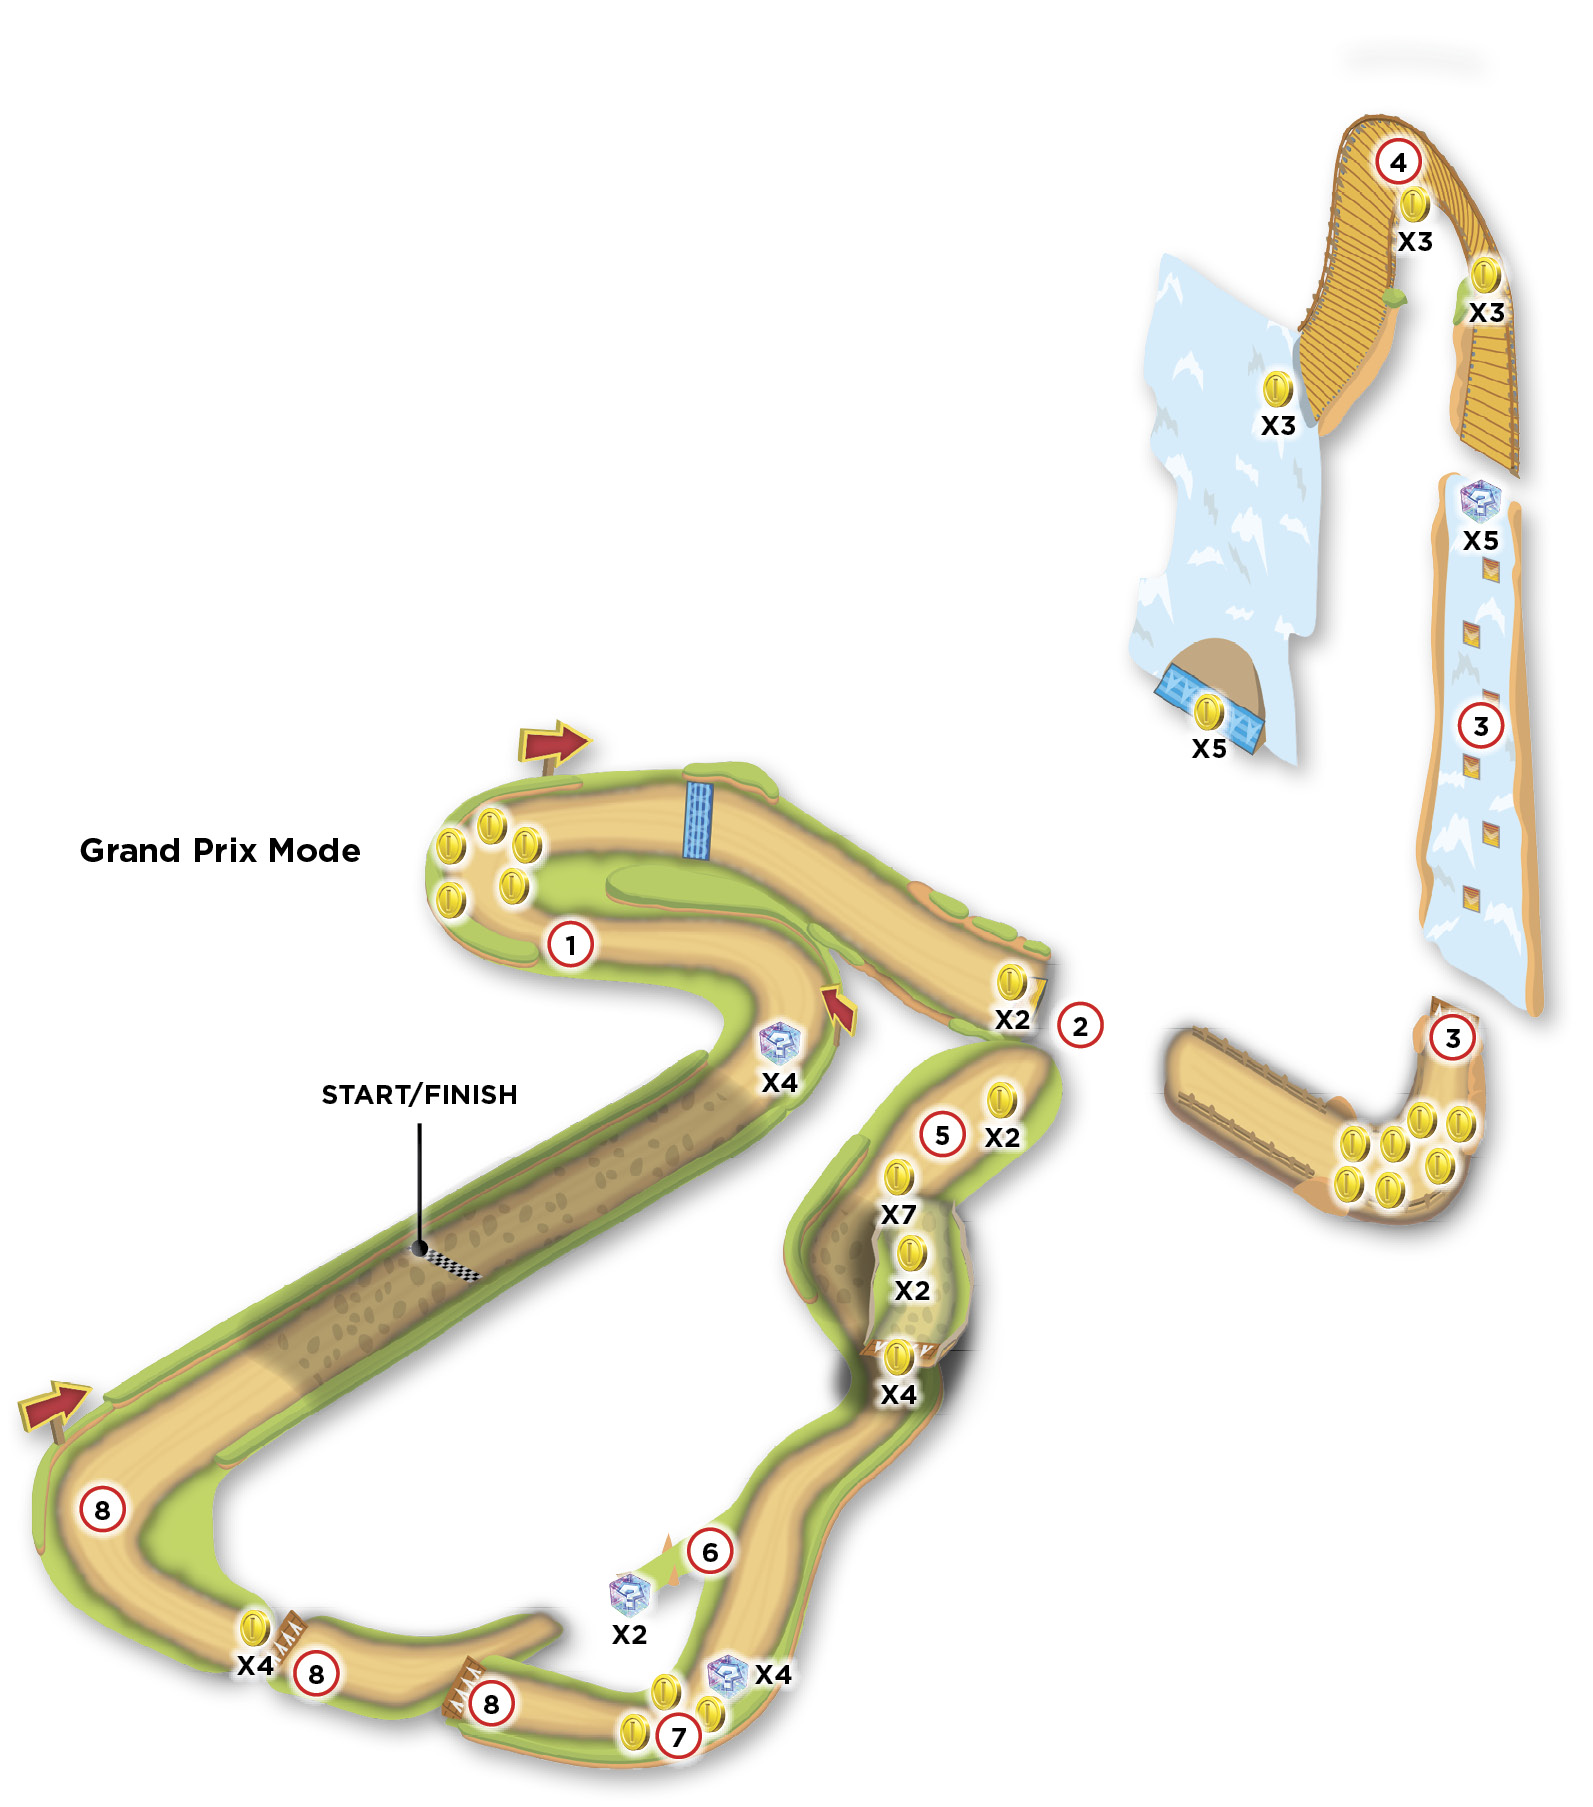
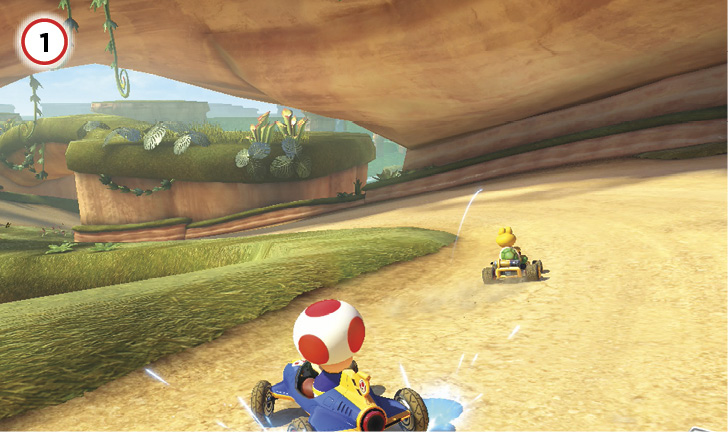
The middle of the opening S-curve is lined with Coins on the inside and outside racing lines. Hopefully, you’ll start this track at or near the front of the pack so you can snag at least a few before the rest of the pack reaches them.
Exiting the S-curve, you’ll see a gap across a waterfall that you can clear with the dash panel ramp. Don’t try anything too fancy—you’re defying gravity at this point and a mishap can send you into the water! More Coins line the left turn just after the jump.
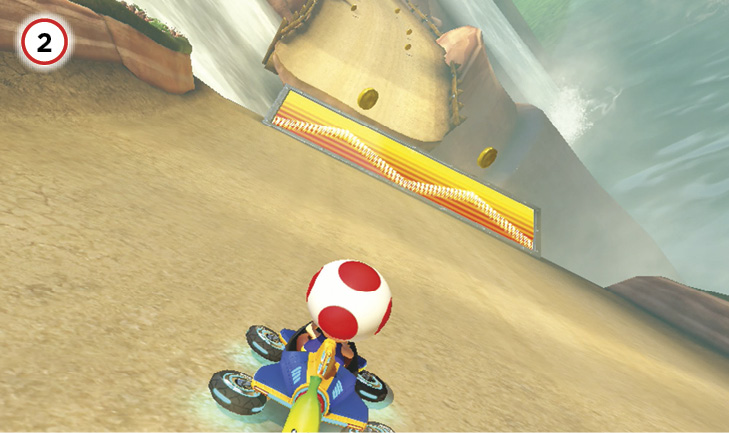
Jump Boost off the ramp onto the waterfall, aiming specifically for one of the dash panels that are flowing toward you. You want to hit as many panels as possible, and the computer racers will definitely be doing the same! This is a good spot to wreak some havoc with Green Shells, if you’ve got ‘em.
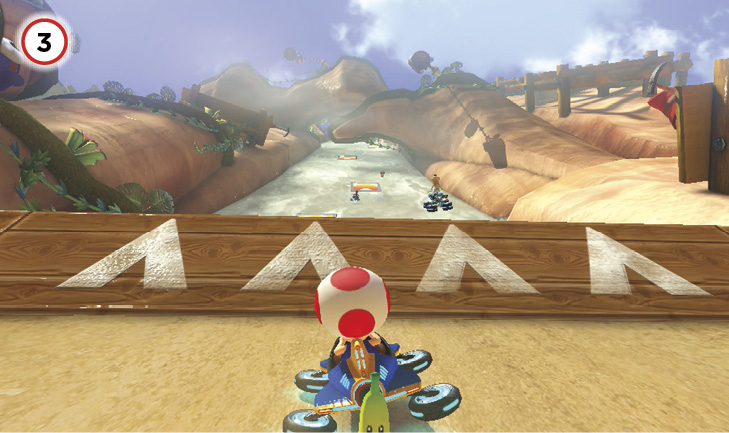
After the first waterfall, drift through the hairpin left and align yourself to go down the second waterfall. Racers have so much speed going into this section that you’ll have a lot less time to react to items.
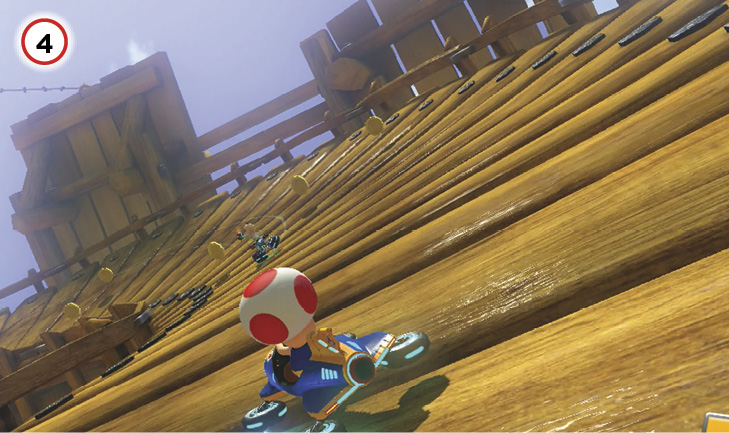
The ramp at the bottom of the second waterfall sends you flying across a chasm toward the final portion of the course. You have a choice at this point: aim for the lower route, or risk the trickier upper path to have a slight positional advantage.
The major shortcut of this course is very easy to miss. Just past the short split in the road, on the right side of the track, you might notice a pair of stone spires. This marks a grassy path that requires a Mushroom to propel you across a gap to cut past a much longer Turn 7. If you don’t have the means to use the shortcut yourself, set Bananas near the approach to it and hope for the best.
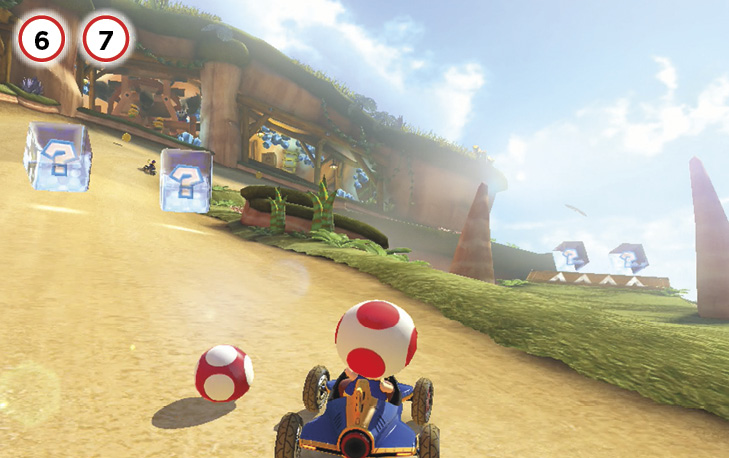
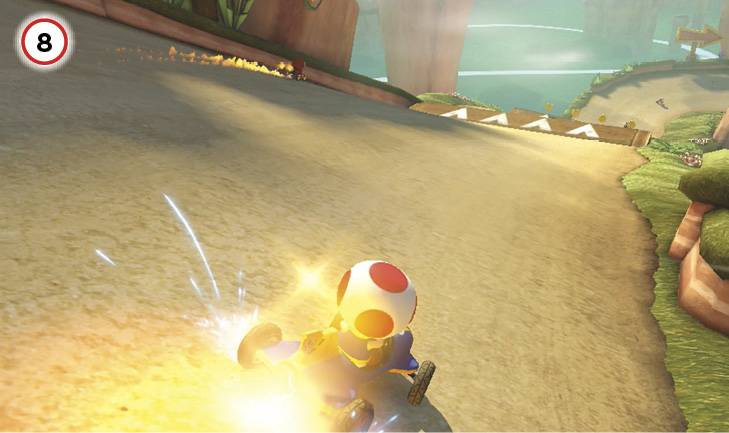
Some time can be made up on the turn next to the shortcut by Jump Boosting off the ramps. After this there’s just one last right turn before you sprint to the finish!
Time Trial
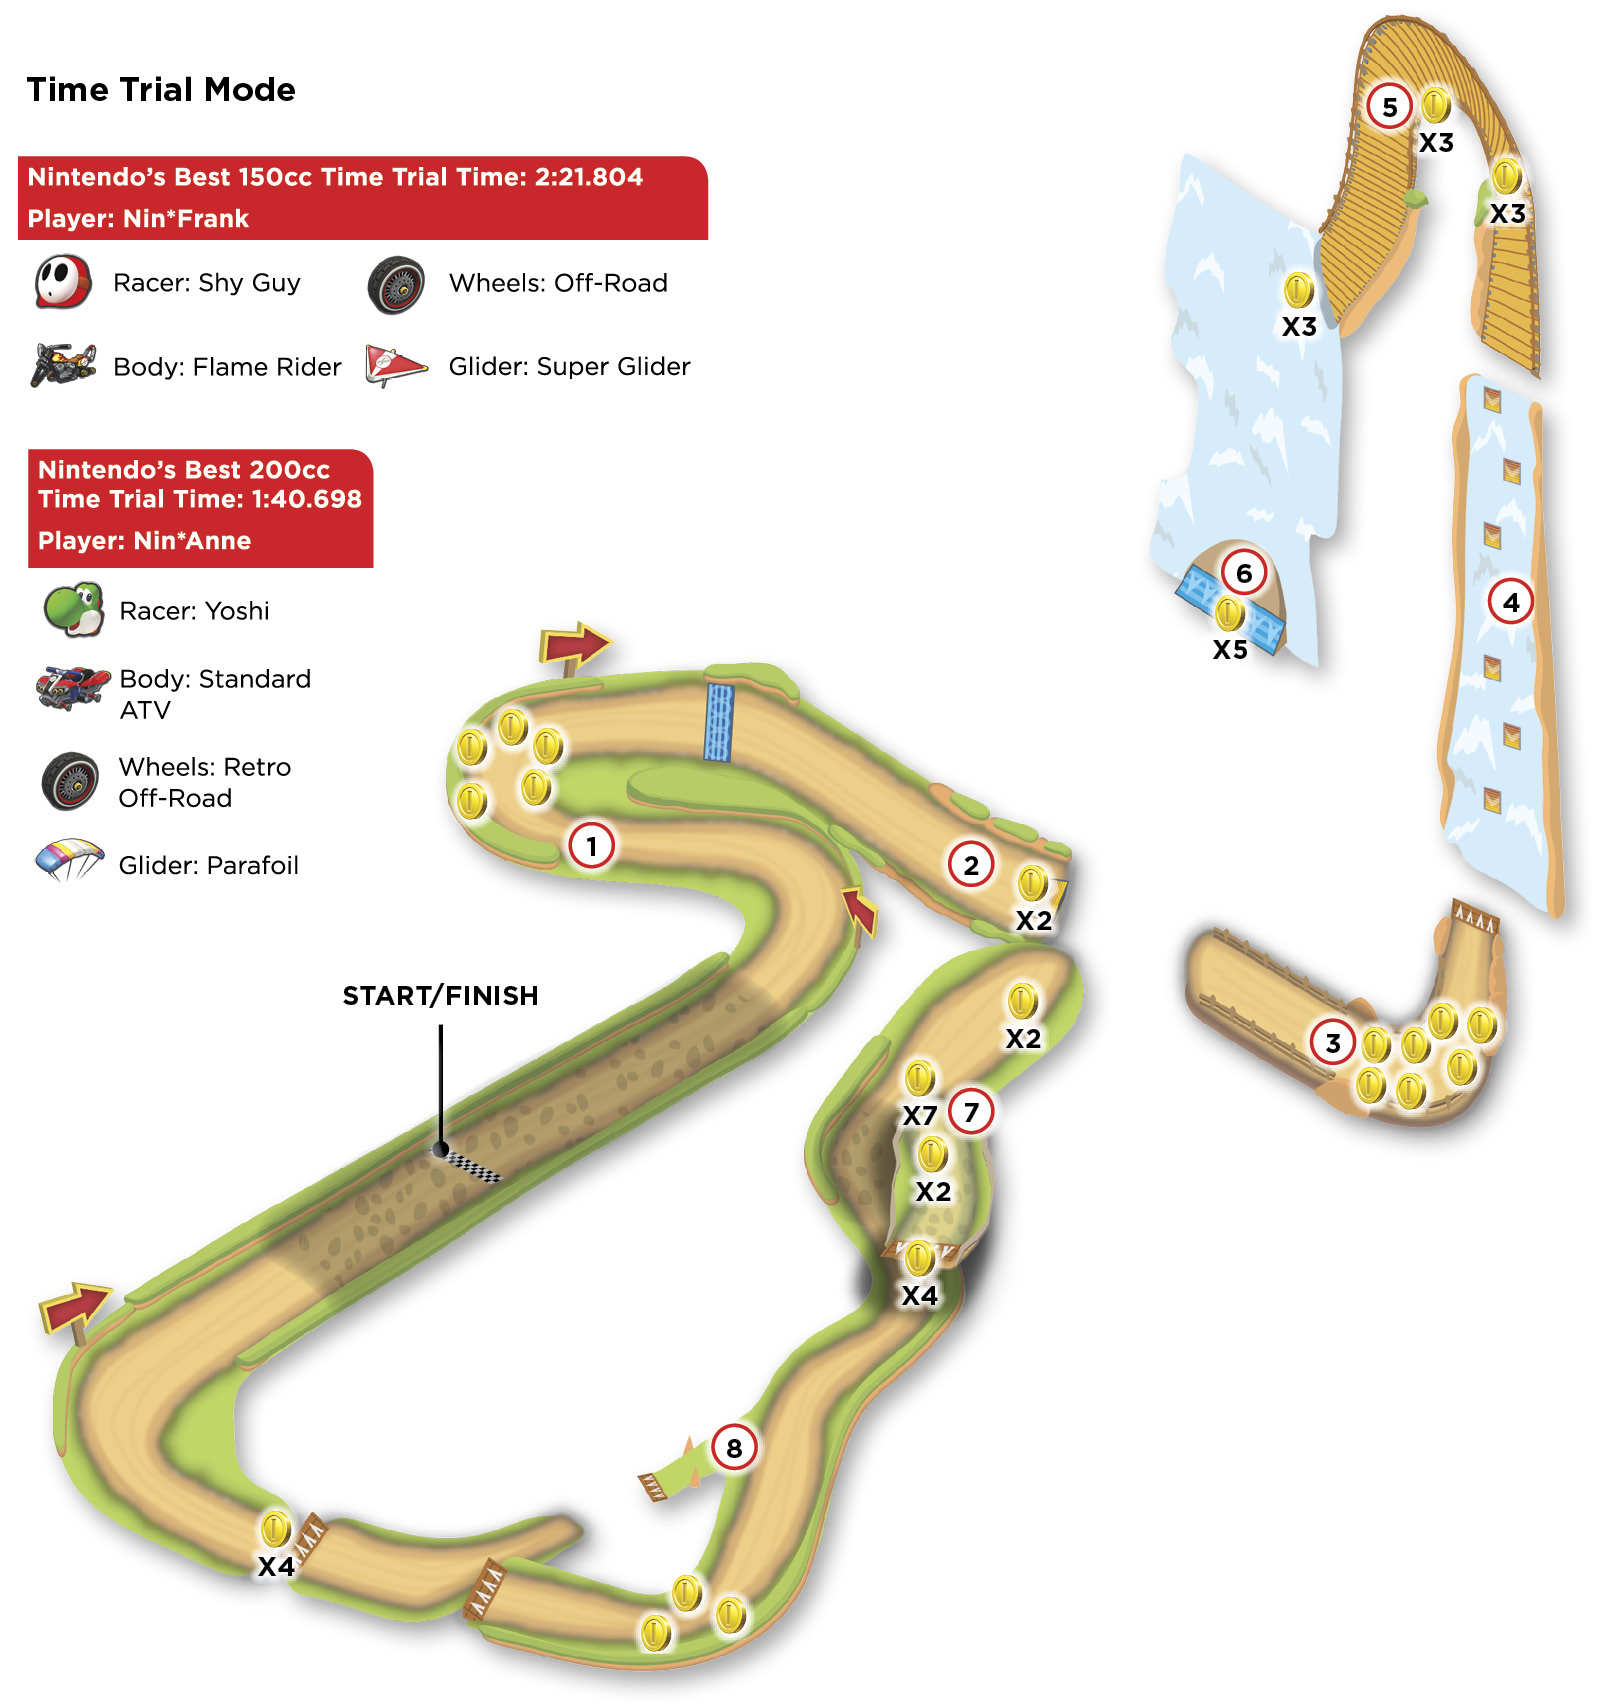
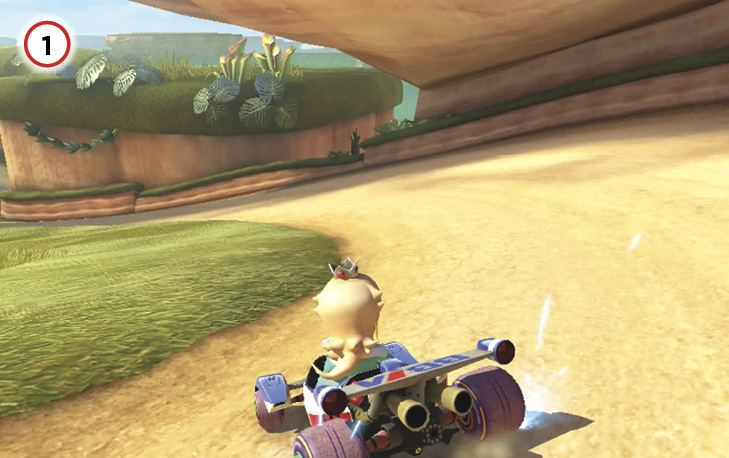
The opening S-curve is a gentle opener to the rest of the trial. Stick to the inside line and make sure you collect the two Coins at the second half of the S-curve.
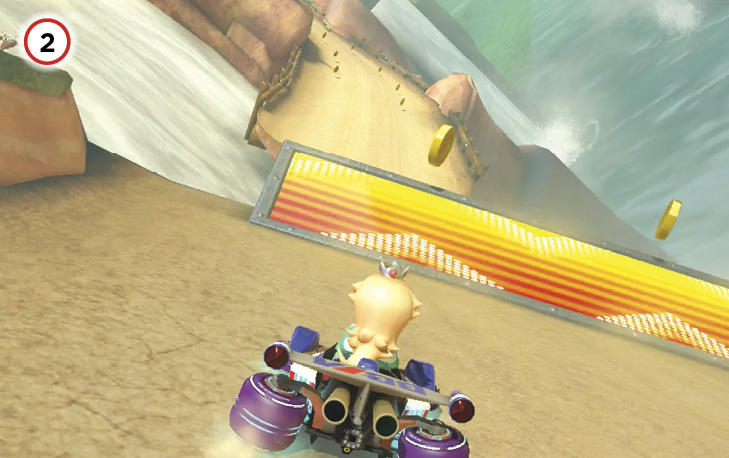
The dash panel ramp that launches you over the waterfall has a pair of Coins. Collect these Coins and line up for the approach to Turn 3. If you want to snag four Coins, drift on the outside line of the turn. For later laps in the trial, stick to the inside.
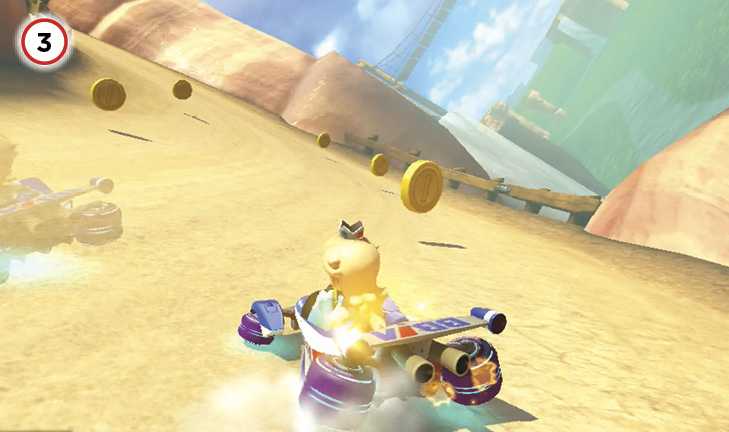
The ramp that sends you up the waterfall can be Jump Boosted, while the waterfall itself sends plenty of dash panels your way. Don’t maneuver too much, and concentrate on hitting as many of the panels as possible to keep your speed high.
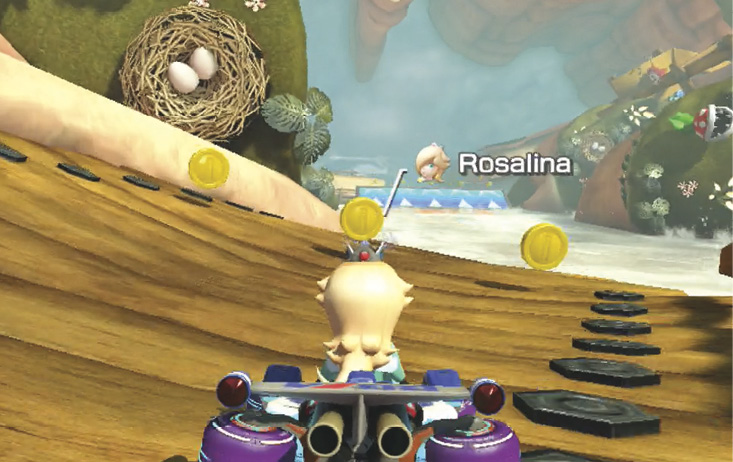
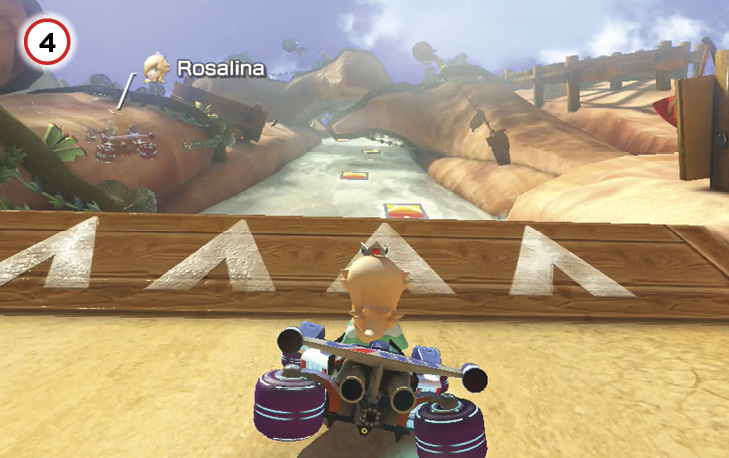
Stick to the inside of this turn that will send you plummeting back down another waterfall, collecting two more Coins. Another Coin awaits at the bottom of this wooden path just before you land back on the water.
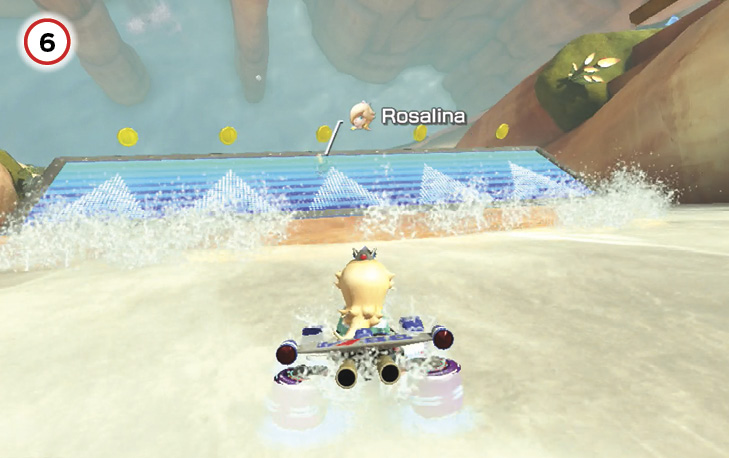
The bottom of the waterfall has a glide ramp with even more Coins. It’s possible to snag a tenth Coin here on Lap 1!
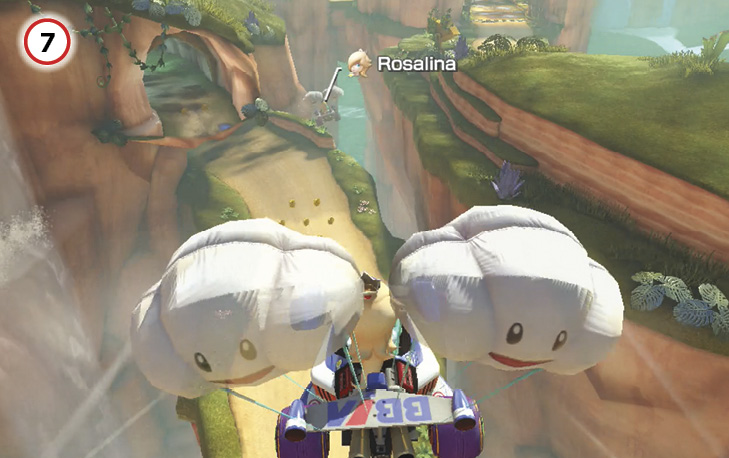
The short flight from the waterfall gives you two paths to choose from. Aim for the upper route, cutting close to the wall on the left to avoid landing in the rough grass on the right side of the cave so you can maintain speed. You can Jump Boost off another ramp for more speed—just be sure to land on the road below!
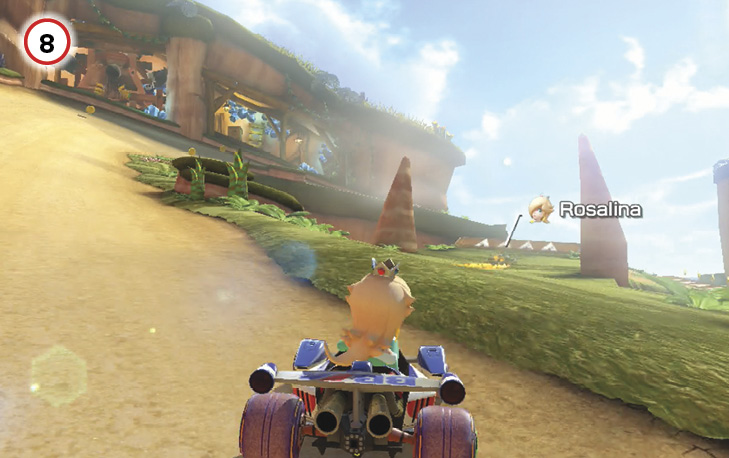
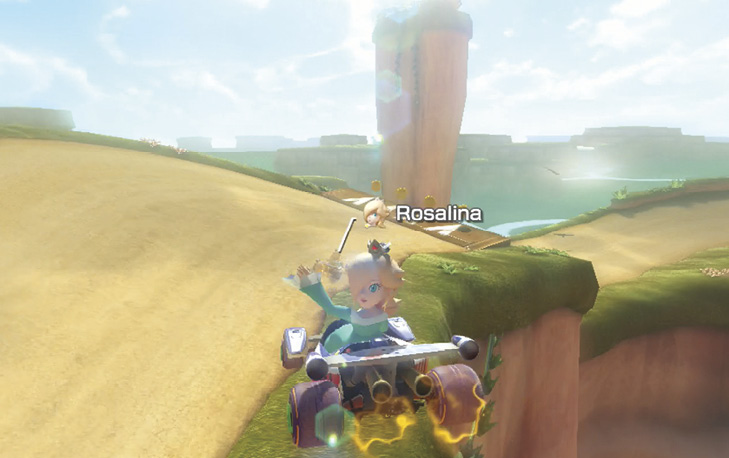
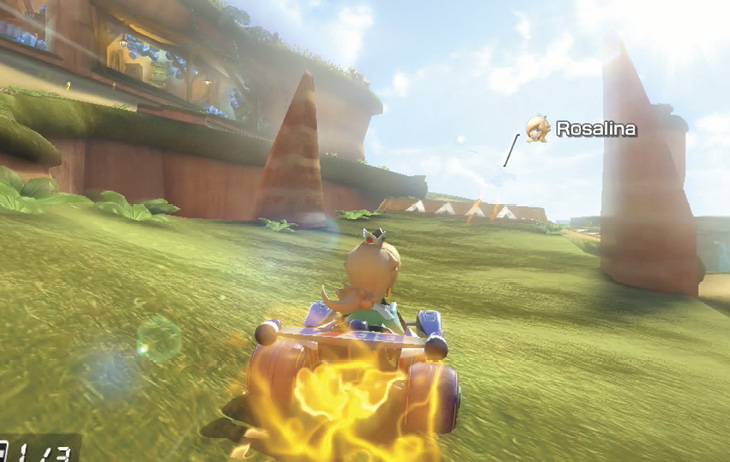
This shortcut is hard to see if you’re not paying attention. Look for two stone spires on the grass to the right shortly after dropping down from the cave. Mushroom boost between them, then Jump Boost off the grass and prepare to turn sharply to the right to stay on the course. If you mess up here, you’ll go flying off the side of the track! Your three Mushrooms should be used exclusively for this shortcut.