
Mario Kart 8 Deluxe Guide The Tracks
Star Cup
Sunshine Airport
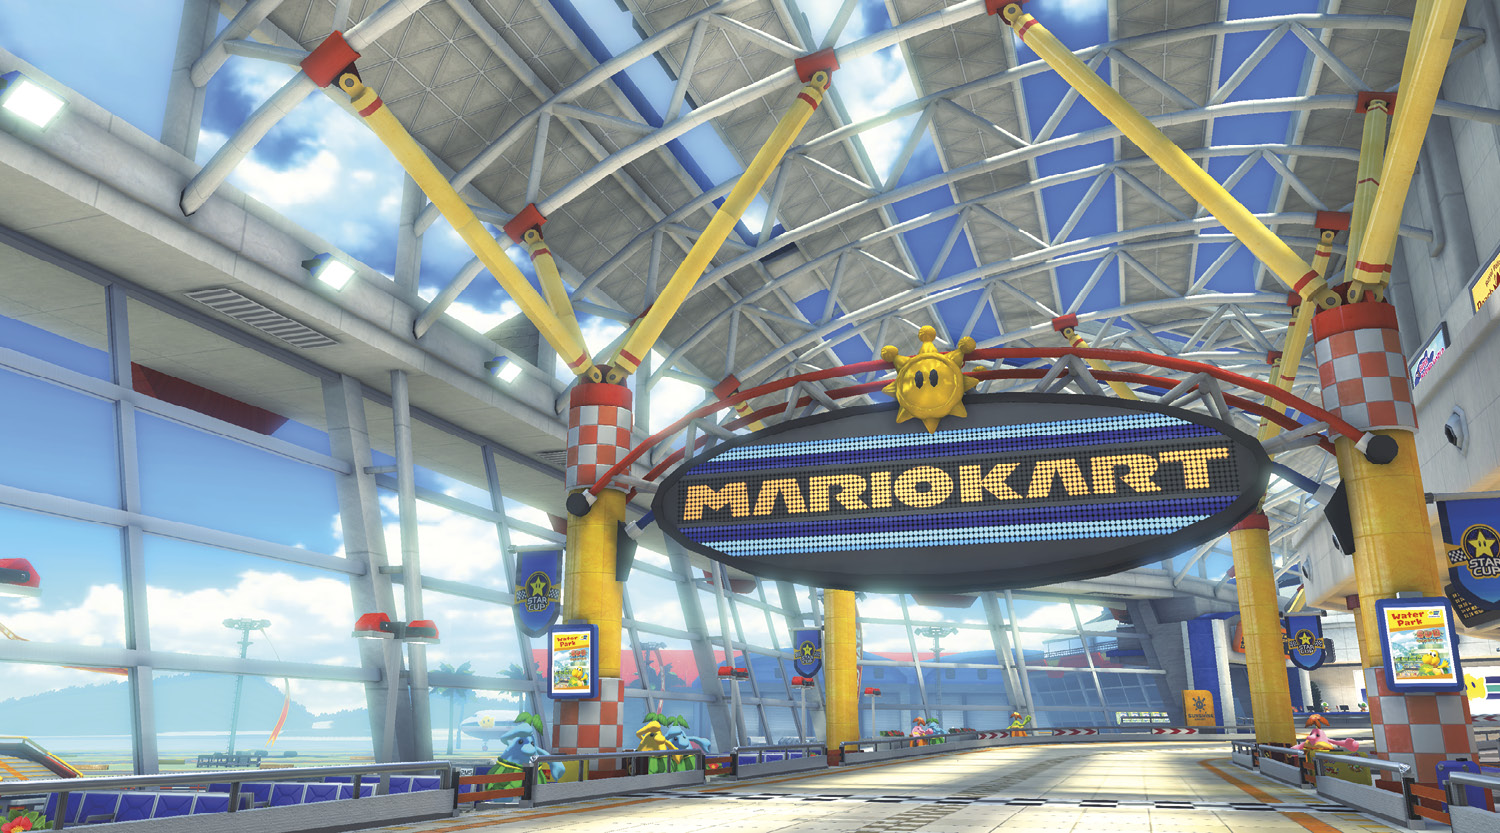
Star Cup opens with a rip-roaring race through Sunshine Airport. Blitzing under and through airplanes on the course, racers will be launched into the sky on dangerous fly-bys past passenger jets. The greatest danger here is the massive glider sections of the track, a source of grief to drivers caught in mid-air by Lightnings, Red Shells, and Spiny Shells.
Grand Prix
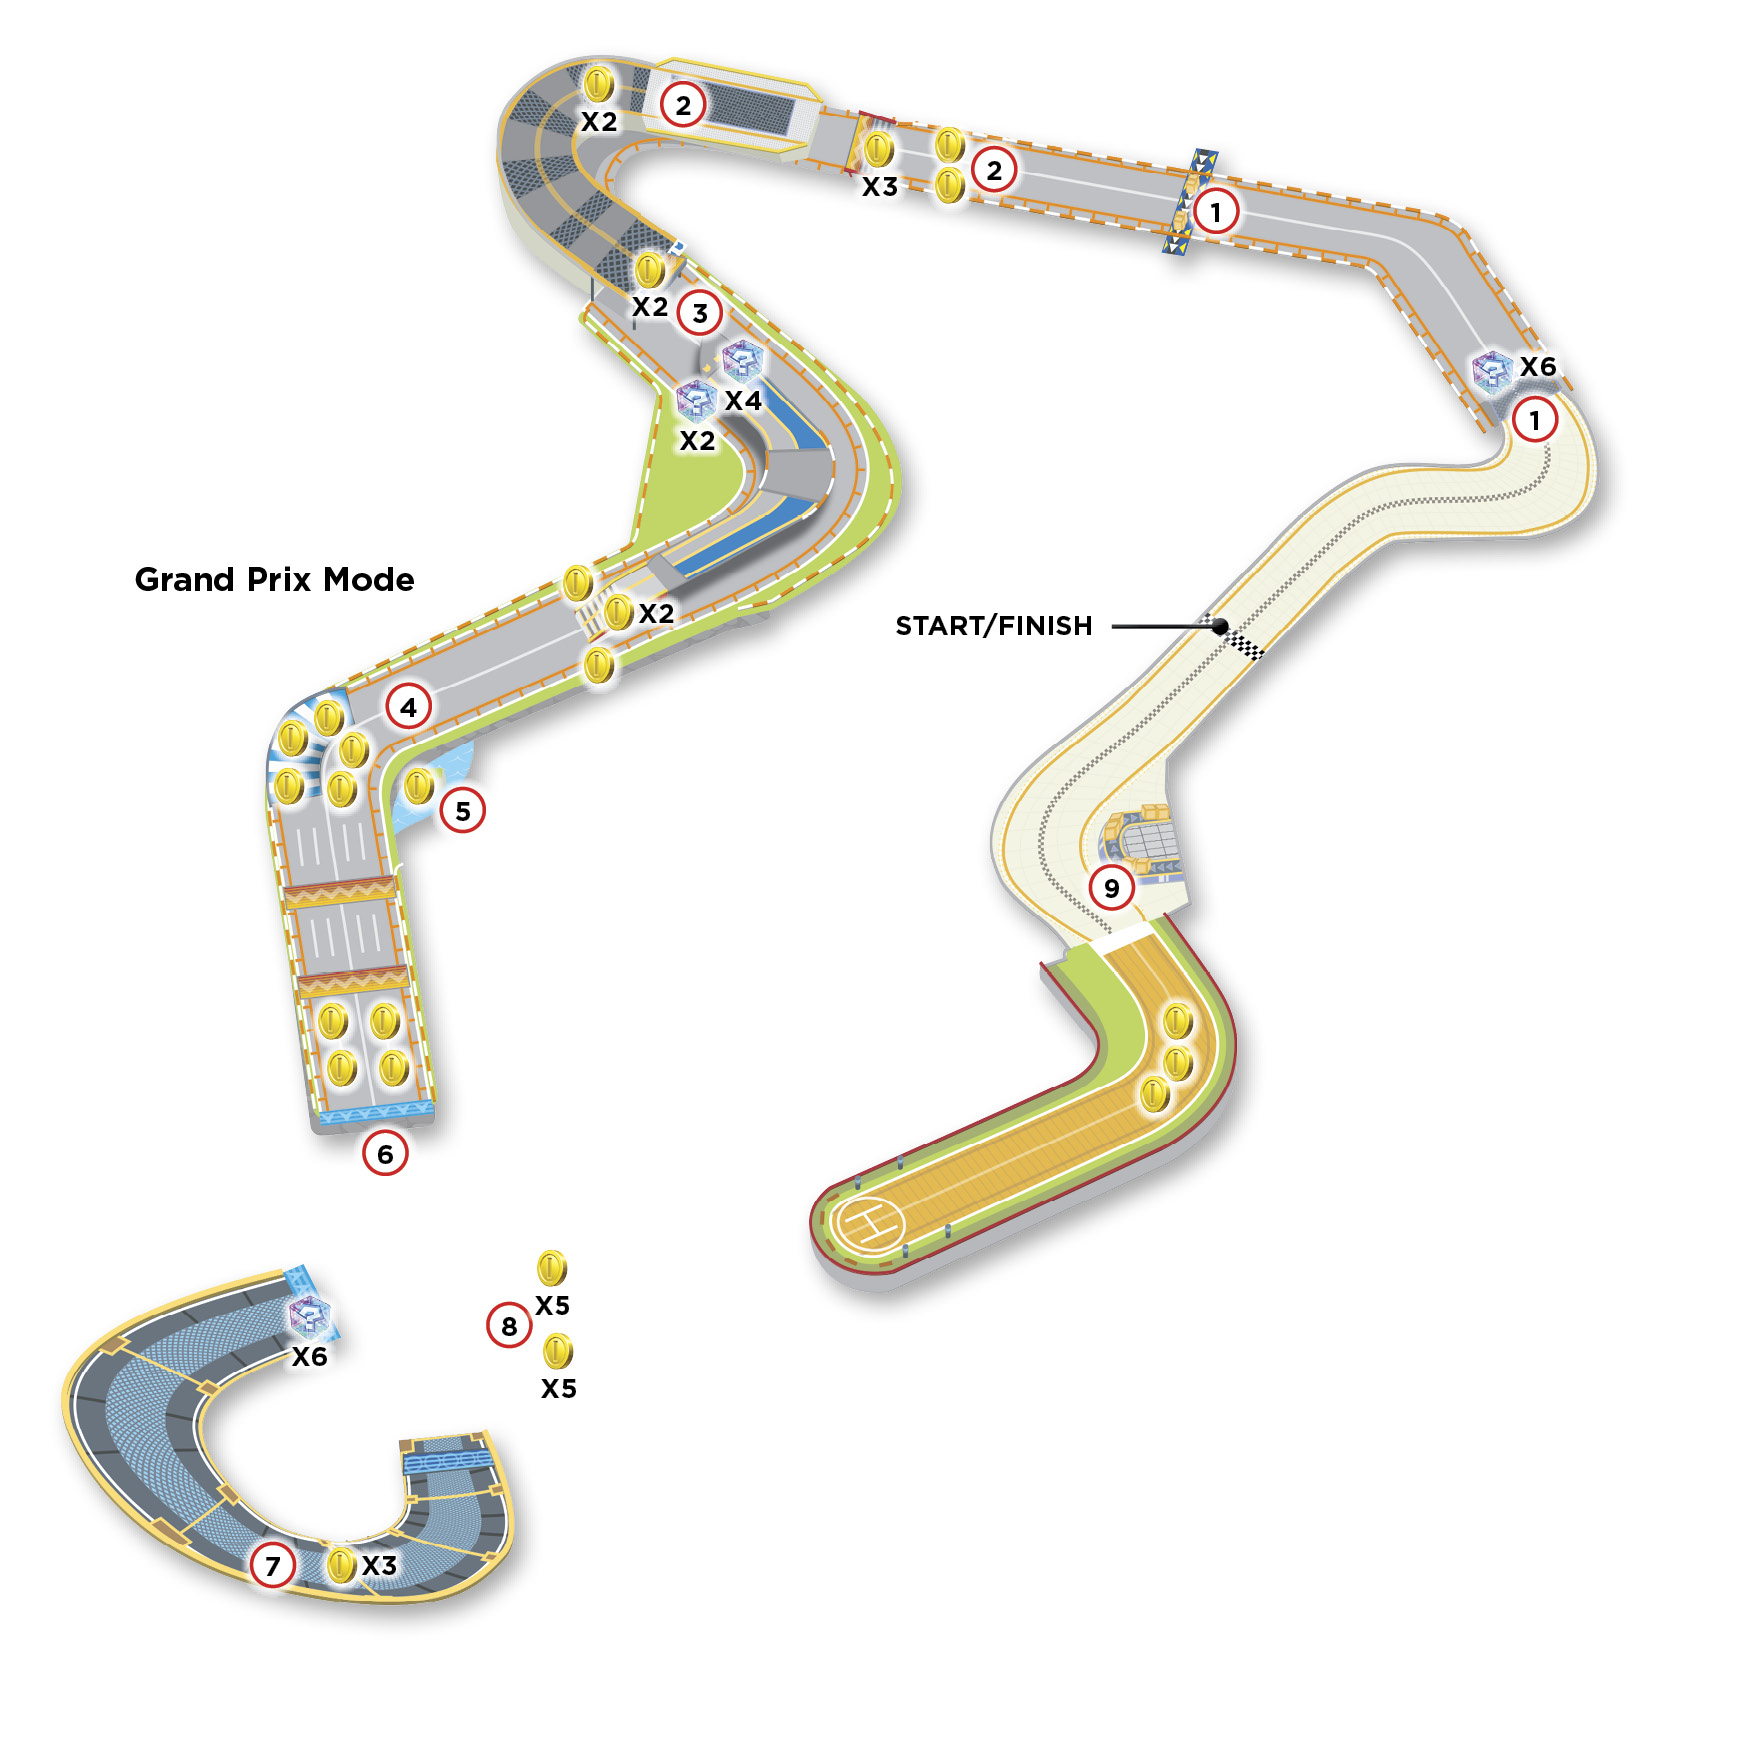
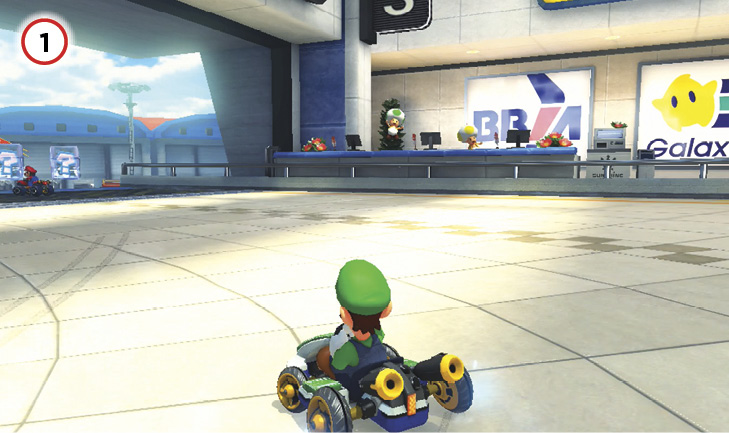
The first left drops you out of the terminal, and you can Jump Boost off the ledge for some extra speed. Right away you’ll encounter crates on conveyor belts. So long as you maintain speed, you can punch through them with minimal loss of momentum. You can also Jump Boost off the conveyor belt.
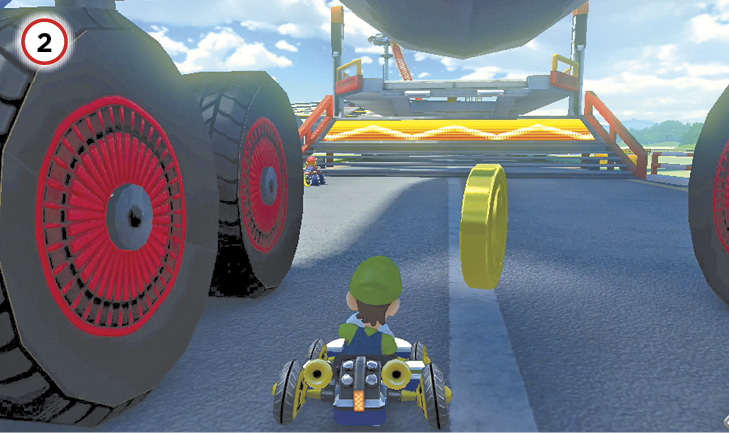
Passing under the airliner, a dash panel ramp will launch you onto an elevated part of the course. Don’t fall to the lower area as you navigate the sharp left here. Recovering from this will take a lot of time if you don’t have a Mushroom. This spot can be a very tough section to navigate as the race progresses. Expect multiple Bananas to be set here.
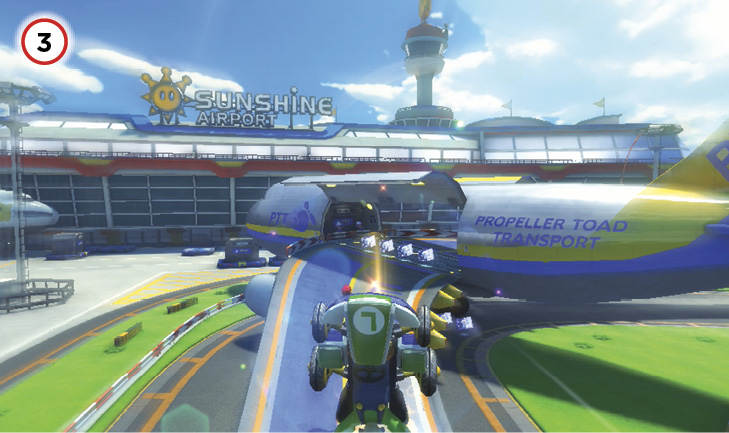
If you stayed on the upper platform, you can actually launch onto the wing of another airliner and race over and through the plane. This is arguably the fastest route, though with Mushrooms you can cut underneath the plane, across the grass on the right side of the track.
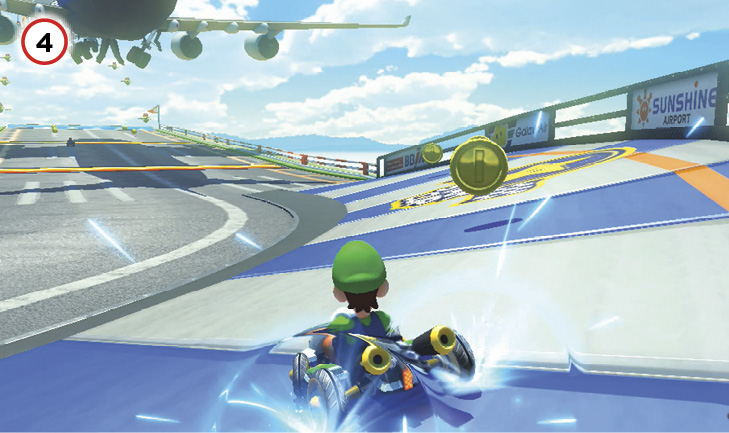
Taking this left turn wide can earn you some Coins. Set up Bananas there as well, to make life harder for racers behind you.
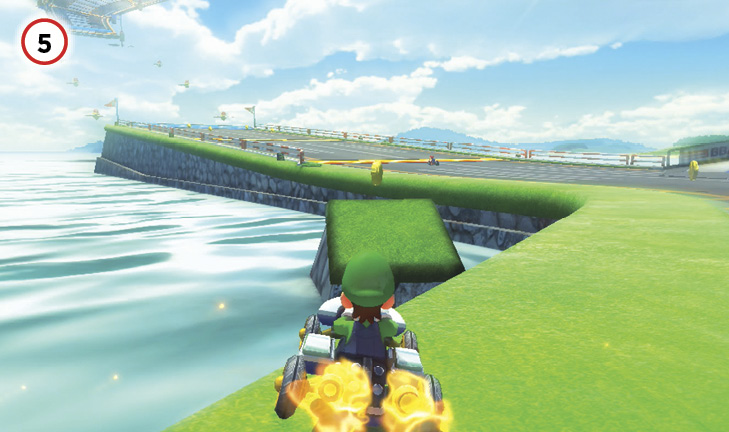
Alternatively, there’s a shortcut on the inside of this turn: a small ramp in the water that, combined with a Mushroom, can save some time. It is a very risky shortcut to attempt on higher difficulties!
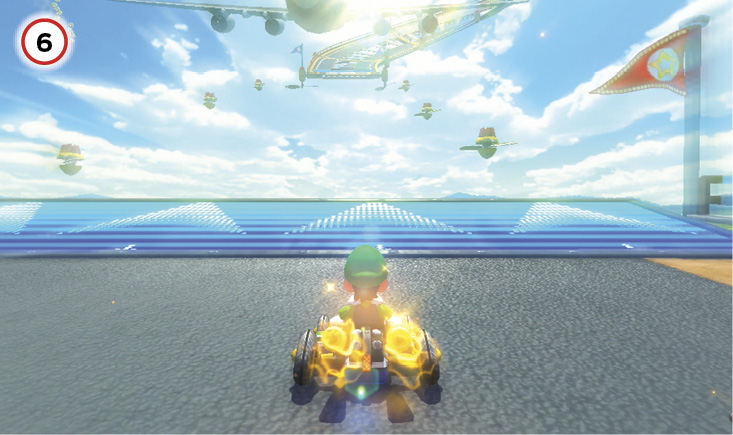
The first flight comes after a series of dash panels and a ramp, launching you far over the water to an antigravity section of the course. If you’re lagging behind and have a Lightning, a mean trick is to use it just as the leaders are flying across this gap.
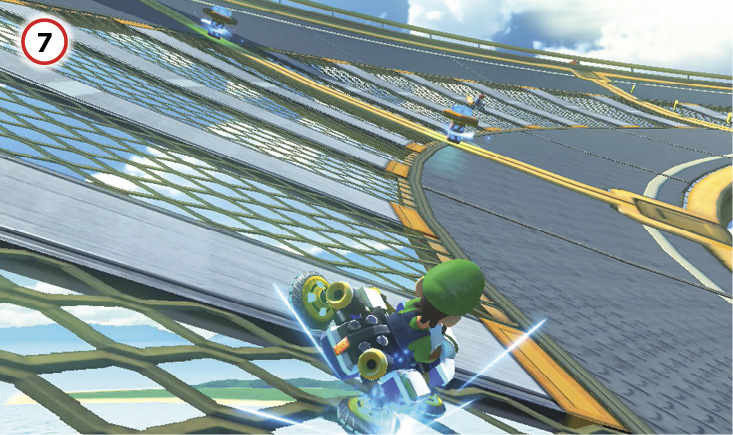
The track after the first flight is a long right-hand curve, with Spin Boost pillars placed throughout it. If you hit a pillar, and ram another racer, you gain a useful burst of speed. Just be careful you don’t fall off here—there’s no railing to save you on the inside of the track!
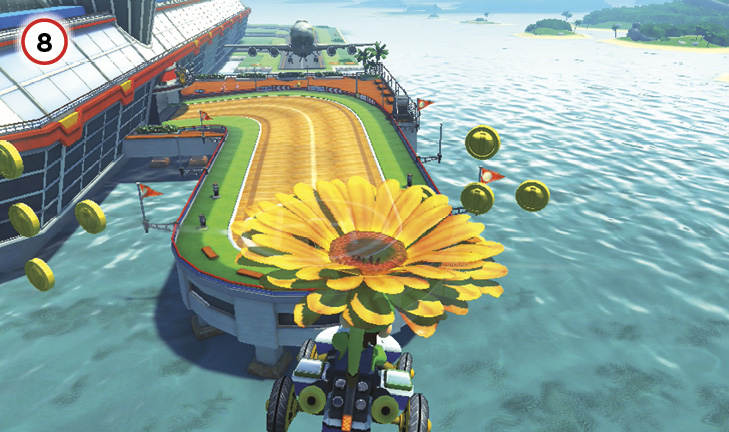
The second flight grants you more control than the first, letting you steer to collect groups of Coins. An airliner occasionally passes through this area, and you can snag even more Coins if you pass close enough to it.
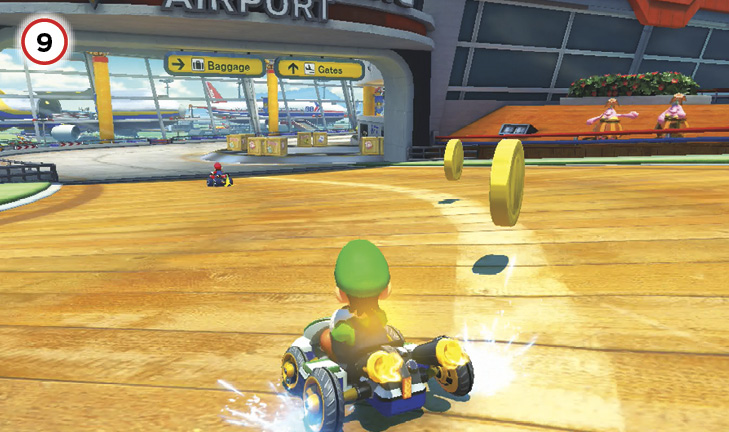
The final turns lead back into the terminal. You can use Mushrooms to boost cleanly through the cargo conveyor belt and the crates on it. Don’t miss a chance to Jump Boost off the conveyor belt ramps as well!
Time Trial
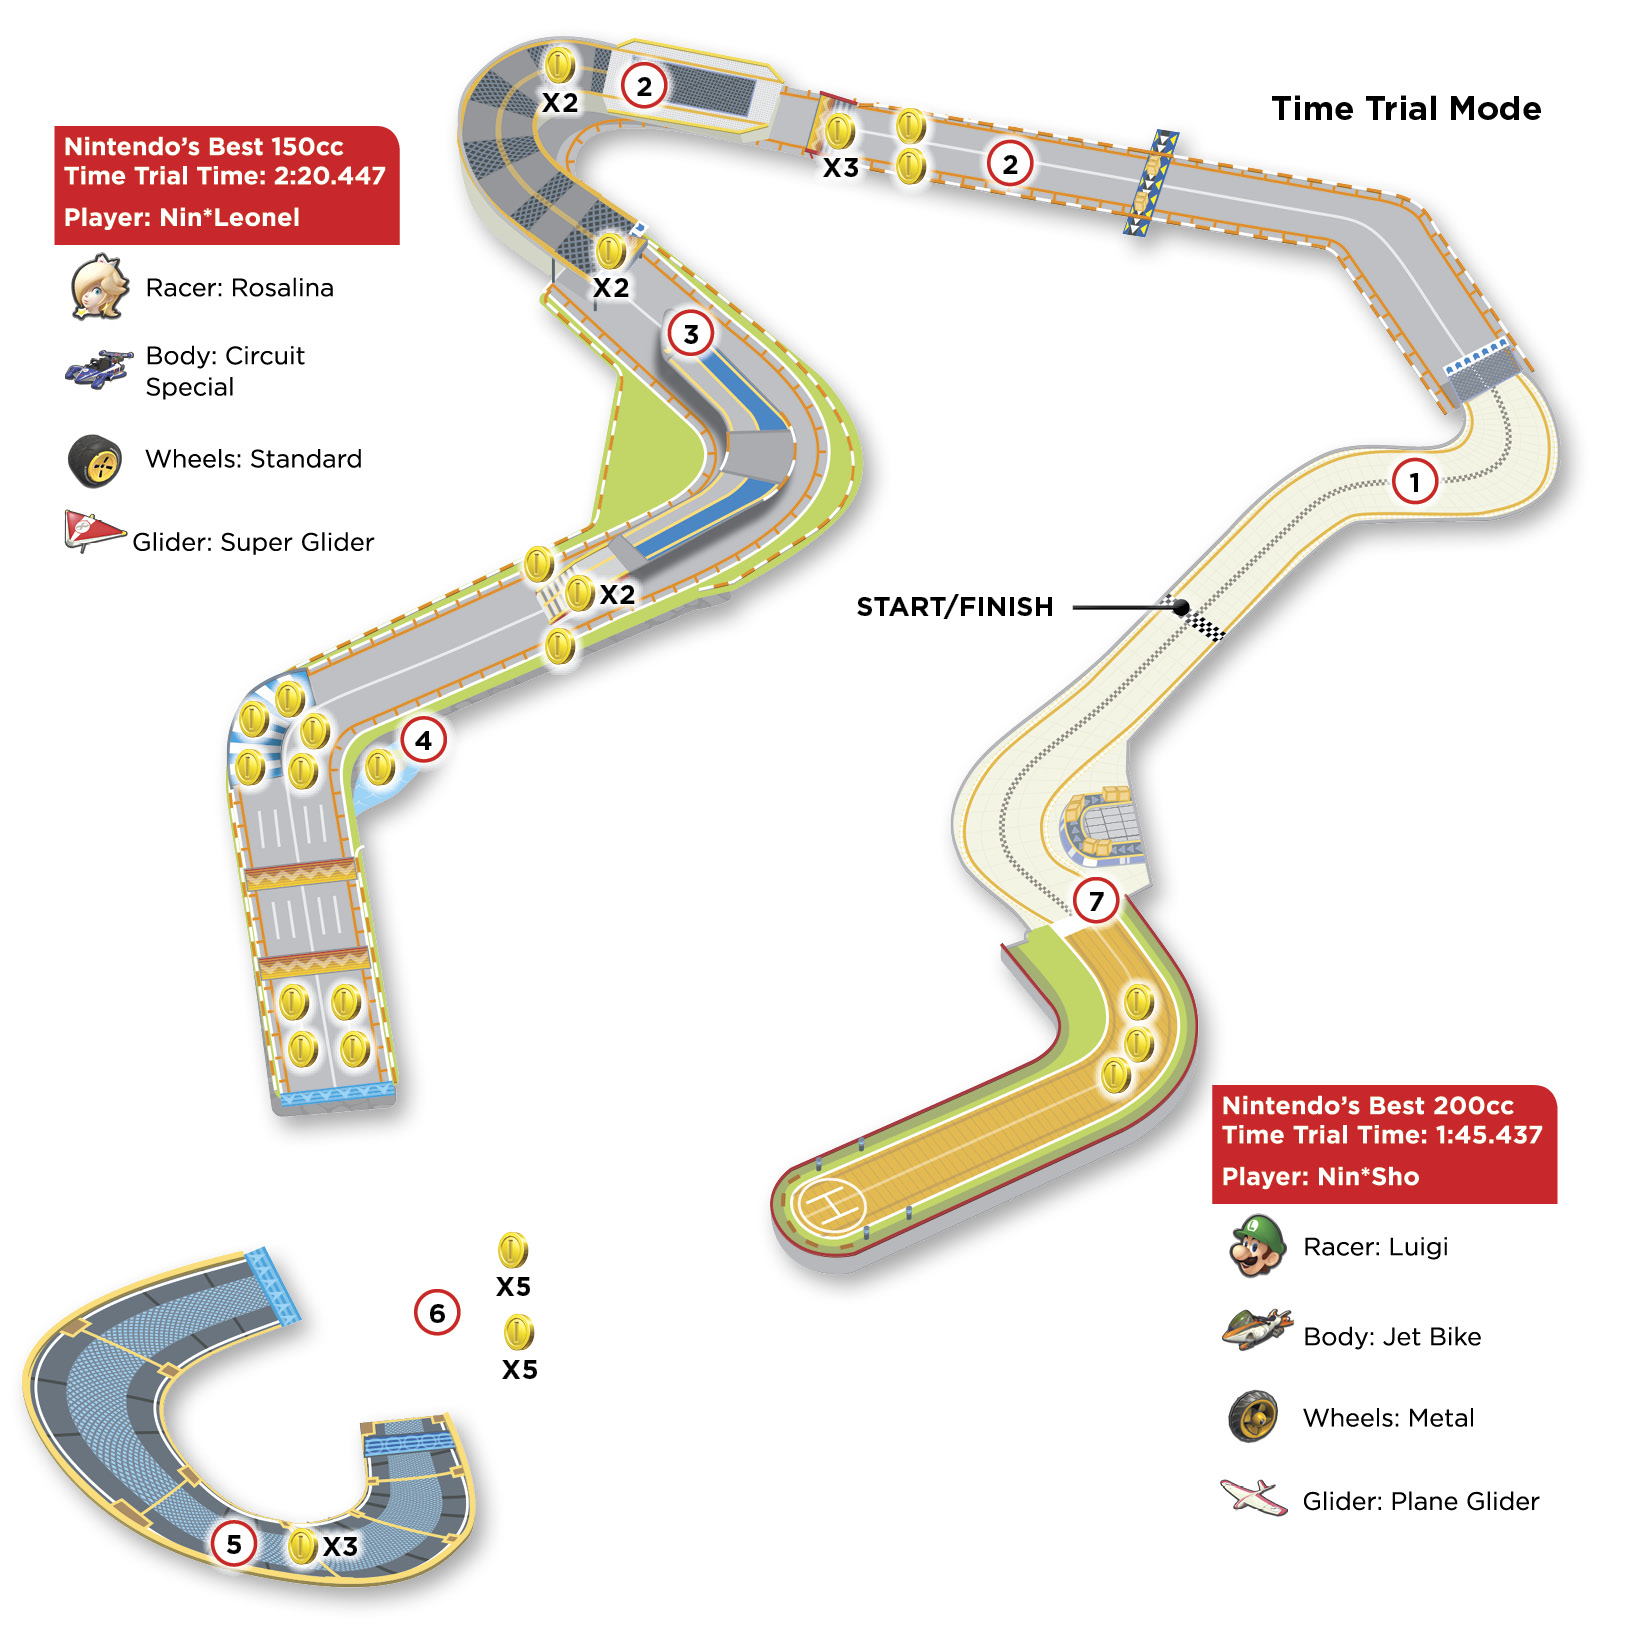
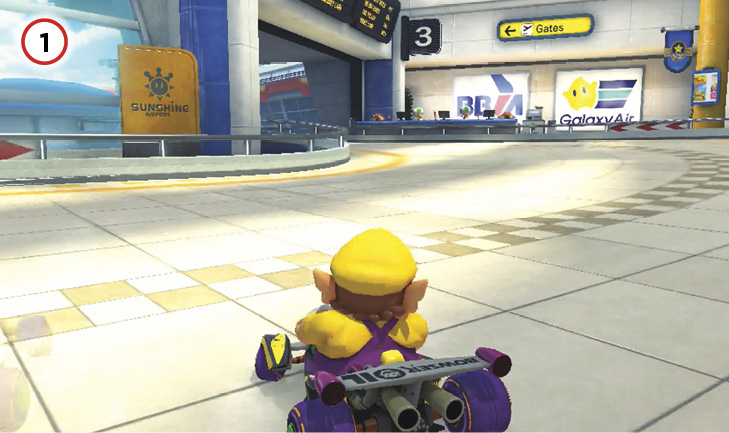
The S-curve right at the start of the course is run fastest by taking as straight a line through it as possible, only drifting left as you approach the exit to the terminal.
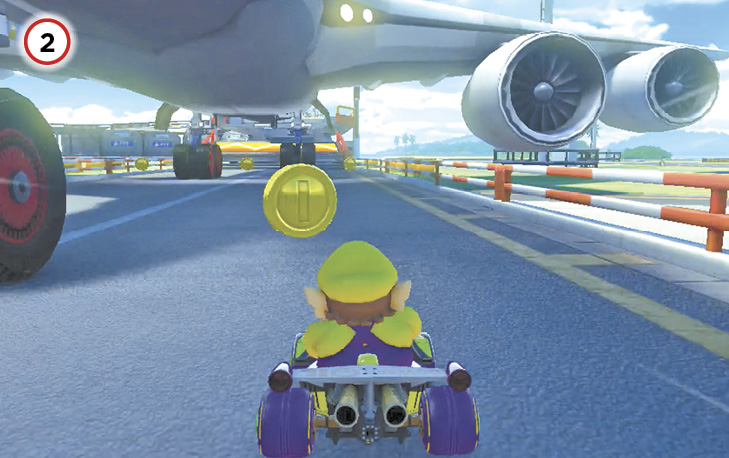
There are five Coins under the first airliner you drive past. You can collect two Coins during the first two laps. Another pair of Coins is on the raised section of track just behind the airliner, though only one can be reasonably collected during a lap.
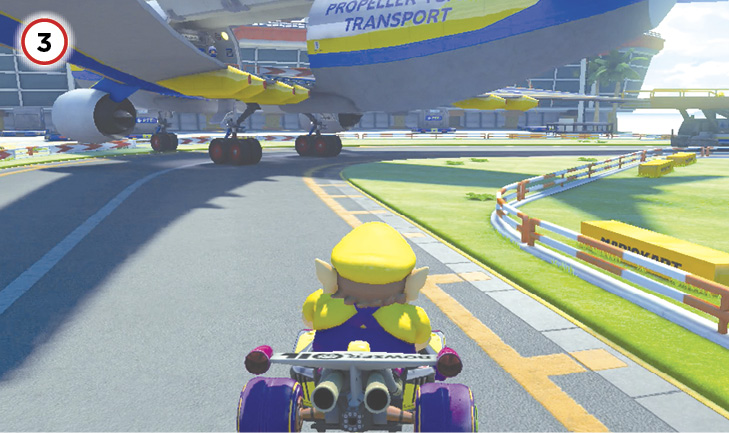
Don’t actually race across the airliner! It’s faster to spend a Mushroom to cross the grass on the ground to the right of it. If you choose to save the Mushroom for later, cut the turn as close to the grass as possible.
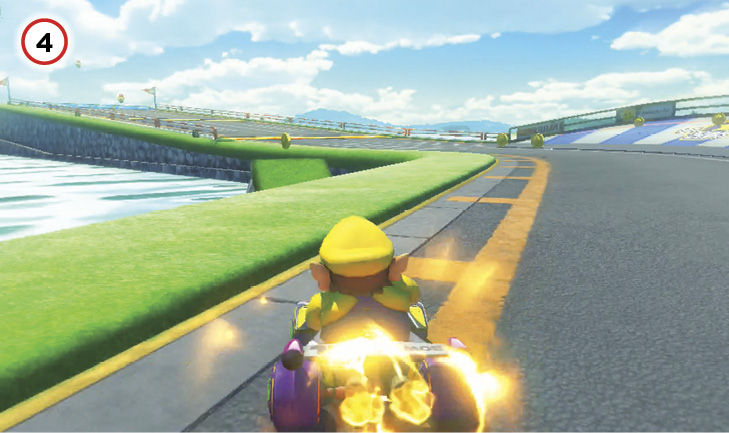
If you don’t cut across the grass to the right of the airliner, you can use a Mushroom for this shortcut ramp across the water. It does cost you a chance at some more Coins.
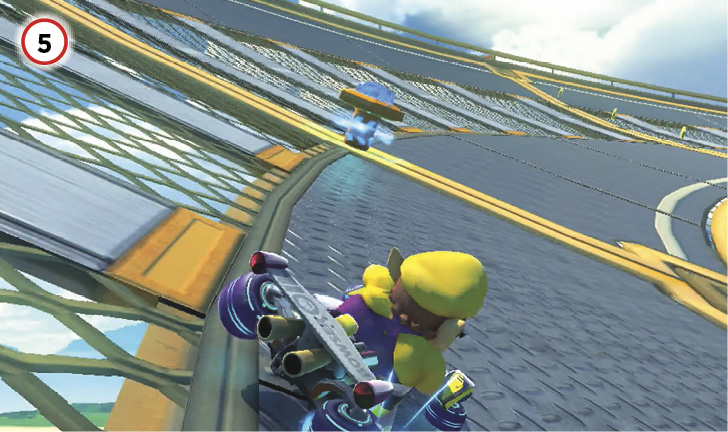
While on the antigravity portion of the track, you can try to hit at least two Spin Boost pillars while taking advantage of the gentle curve of the track to score multiple Mini-Turbos off drifts. Stay on the inside of the turn as much as possible, ignoring the Coins. You can make up for them later.
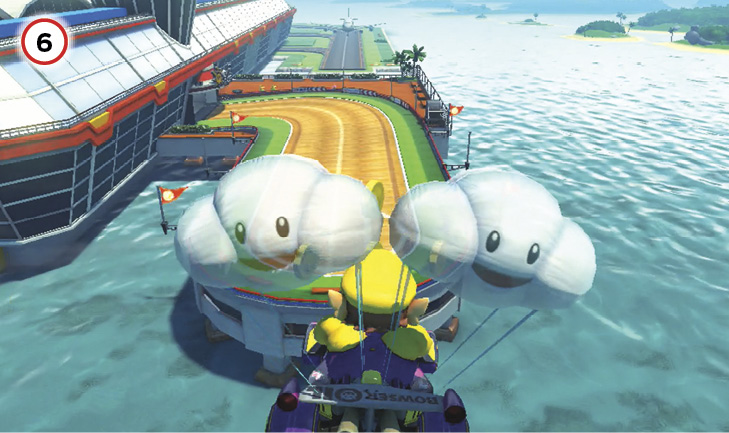
The flight down from the sky passes by two clusters of five Coins. Aim for the landing zone in the distance so you can have good speed heading into the final stretch.
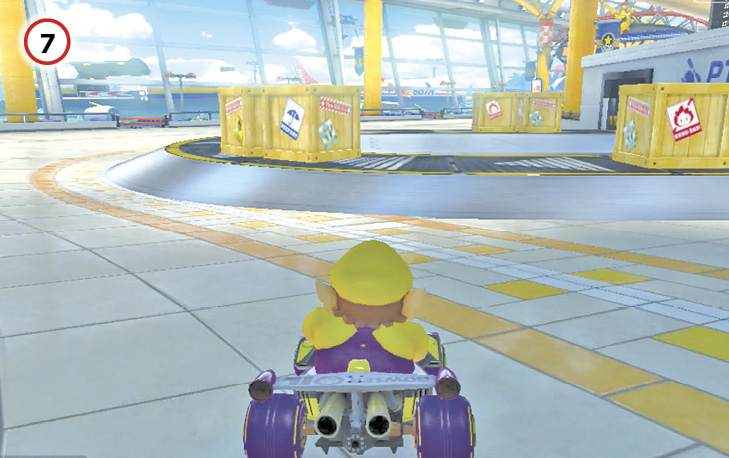
There’s no reason why you shouldn’t use this final shortcut. It doesn’t even require a Mushroom! Just make sure you avoid the crates as you Jump Boost off the conveyor belt.
Dolphin Shoals
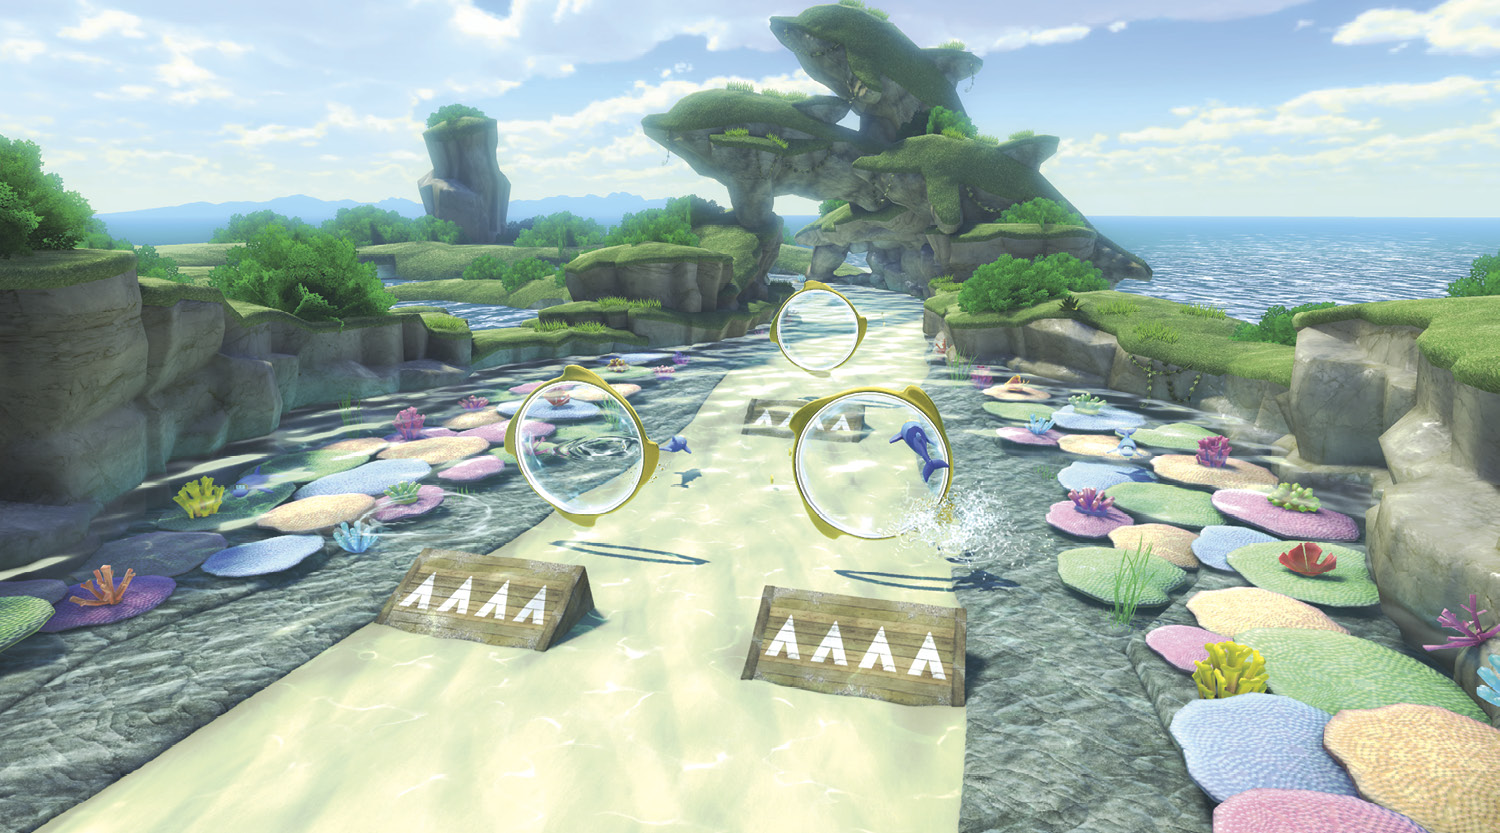
A wet and wild course, Dolphin Shoals will test your abilities to race underwater, sending you through a dangerous cavern and racing over, or under, a monstrous Unagi. This can be a rough race to win, particularly on higher difficulties when mistakes are so much more costly, and the computer racers are so much more vicious.
Grand Prix
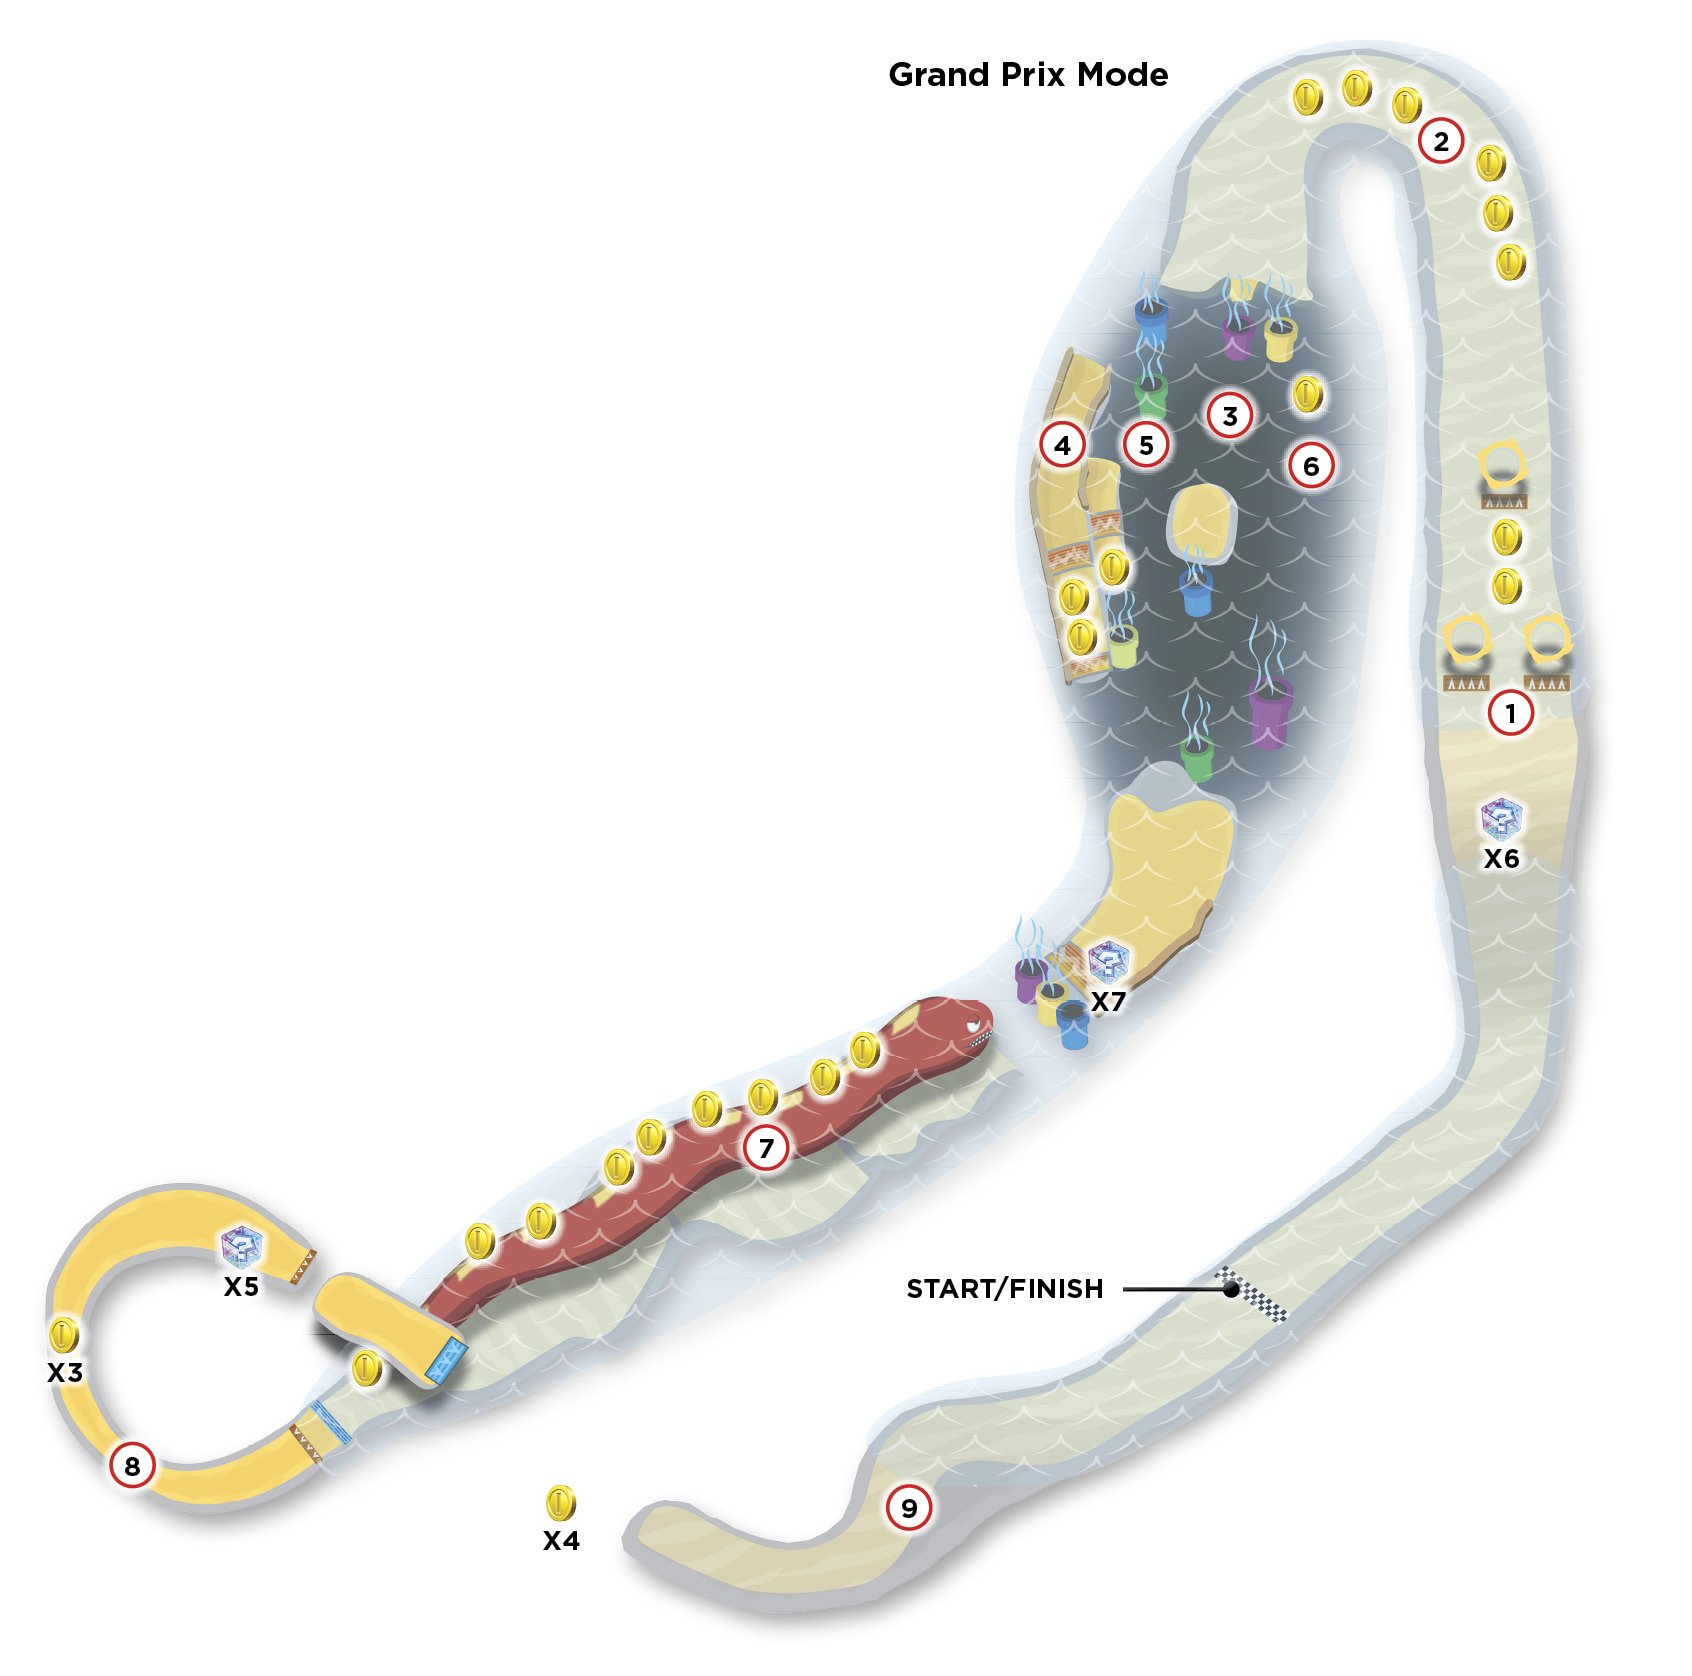
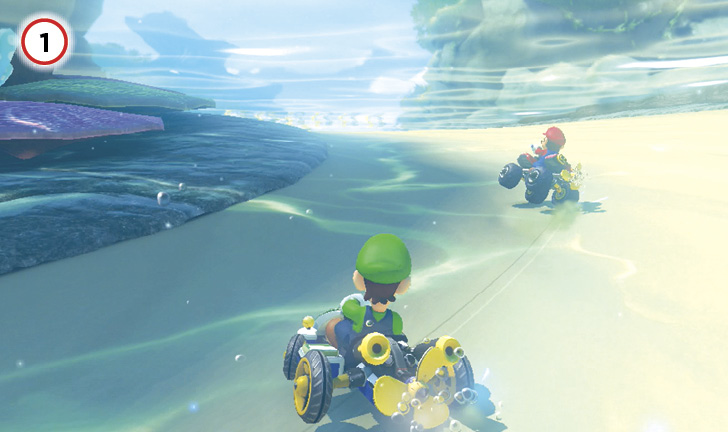
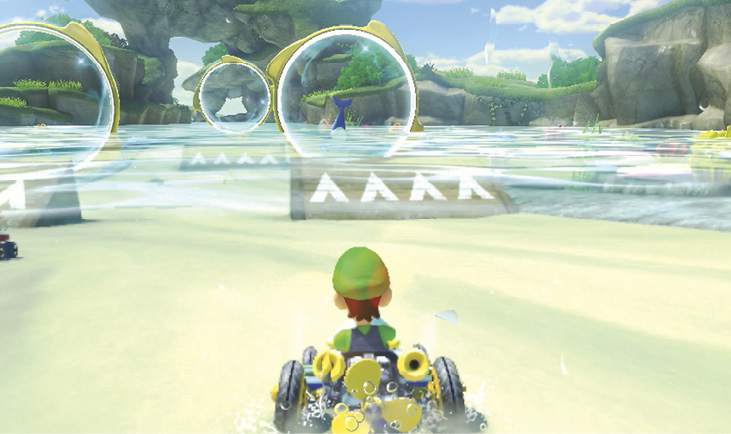
The first turn leads into a wide-open area with several ramps you can Jump Boost off of. The rings behind each ramp also add a little speed, but it’s actually faster to weave around the ramps entirely while maintaining as straight a path as possible.
After a long spiraling turn to the left, you’re presented with a cave filled with water jets shooting from pipes. There are four distinct routes to take.
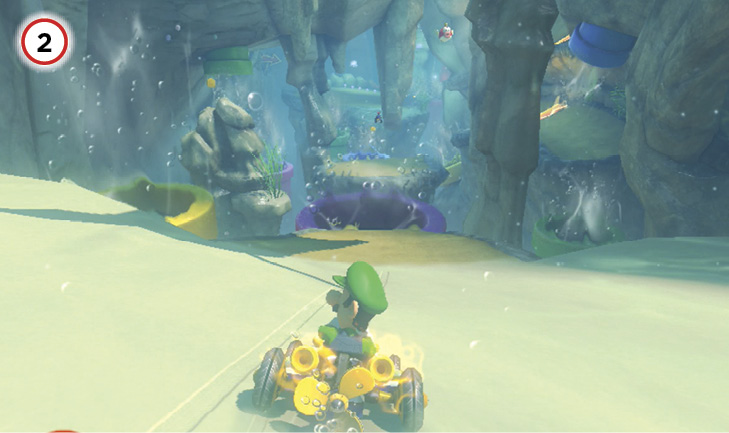
The center is most direct, but there is the greatest chance of getting knocked into the abyss by other racers, or simply failing to clear each gap the water jets try to launch you over.
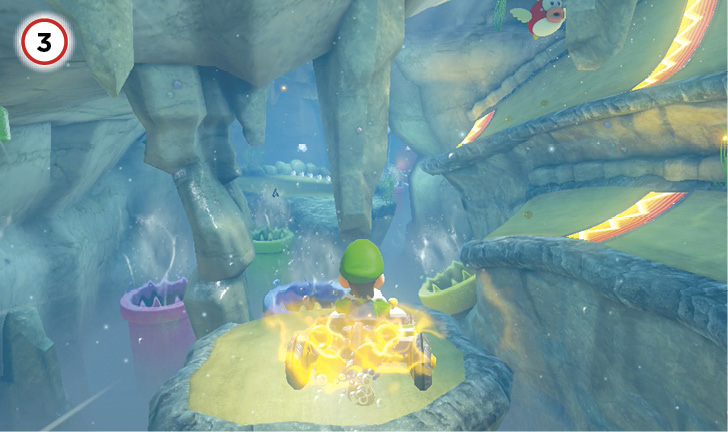
The right-hand route bypasses a lot of the danger of the cave, and even provides a dash panel that helps boost you into position to tackle the next challenge.
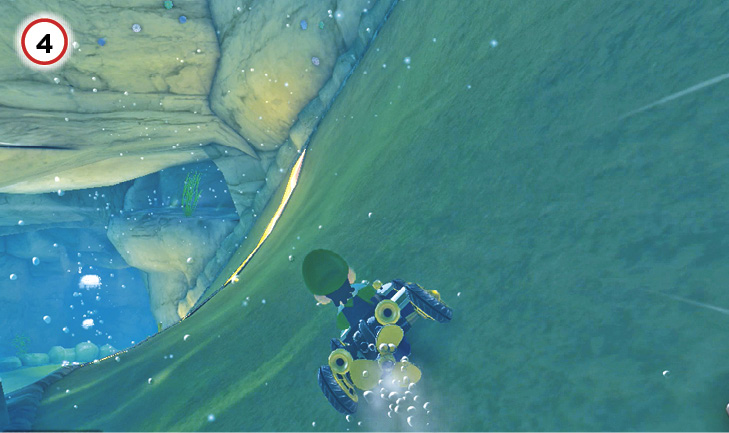
To the left of the route on the far right is another that is arguably faster. It can be reached by driving between the blue and purple pipes near the start of the cave, aiming for a pipe.
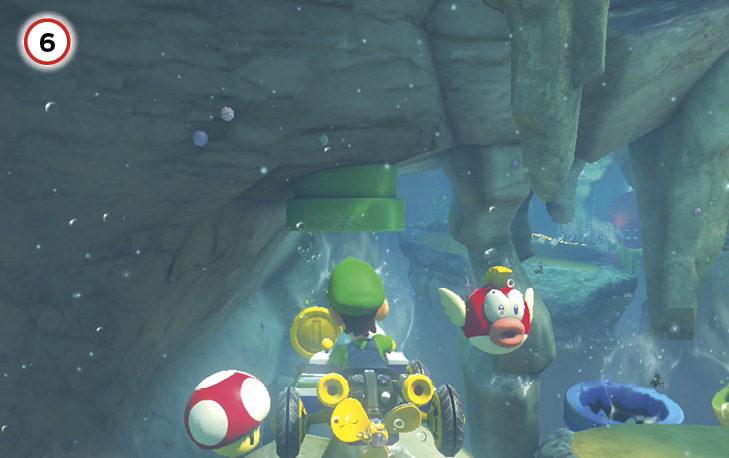
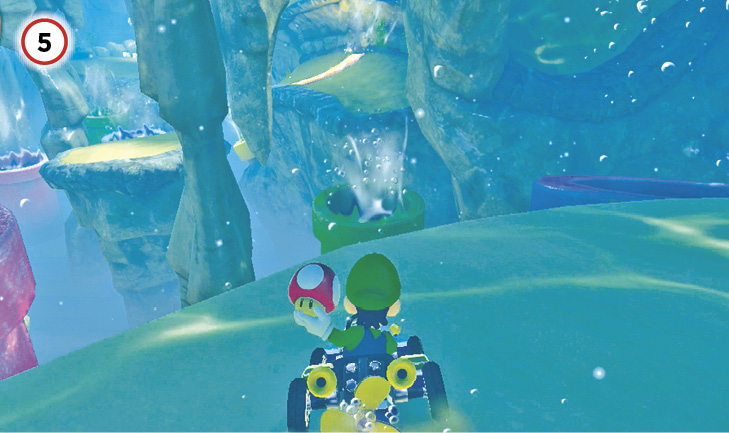
The left route requires almost as much faith as the central route, as multiple water streams will try to push you across the cave. If you’re misaligned, you could end up in the abyss.
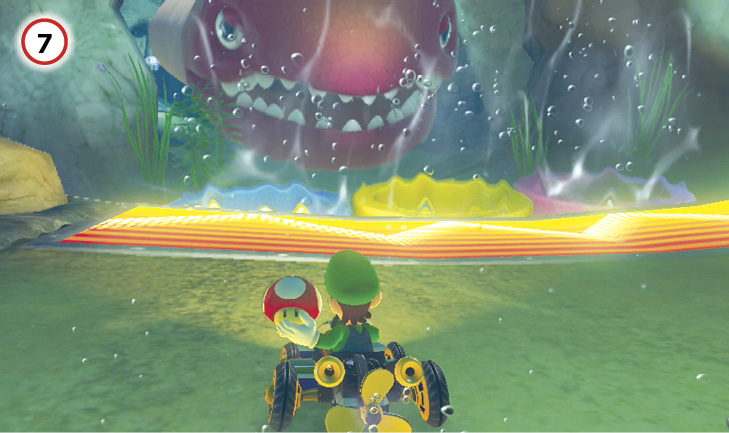
At the end of the cave is a ginormous Unagi. He’s friendly to racers so long as you don’t fly directly into his mouth. The dash panel in front of him launches you onto his back, and you can Jump Boost off his spine repeatedly to gain speed. The spine is also a good place to set Bananas to throw off the computer racers—they’ll be trying to Jump Boost too! If you fall off, there’s ground under him, but you’ll lose out on the Jump Boosts and likely lose a few places on higher difficulties.
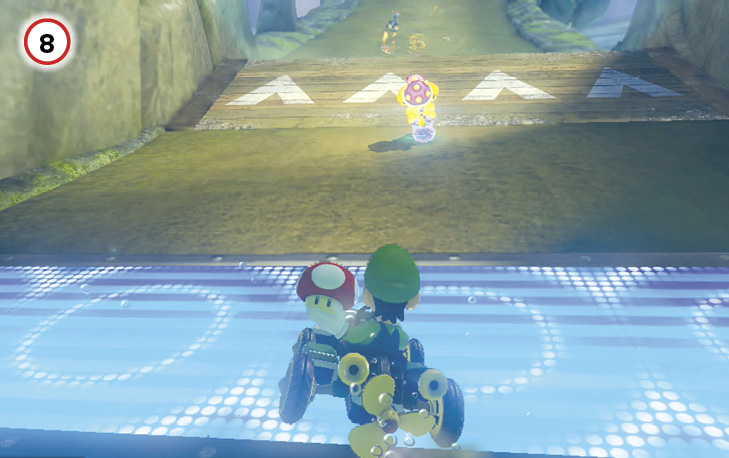
The exit to the caves is just behind the Unagi, a long easy right that allows you to build up multiple Mini-Turbos. Watch out for heavyweights in this section if you’re in a pack of racers. There are no walls to protect you from falling!
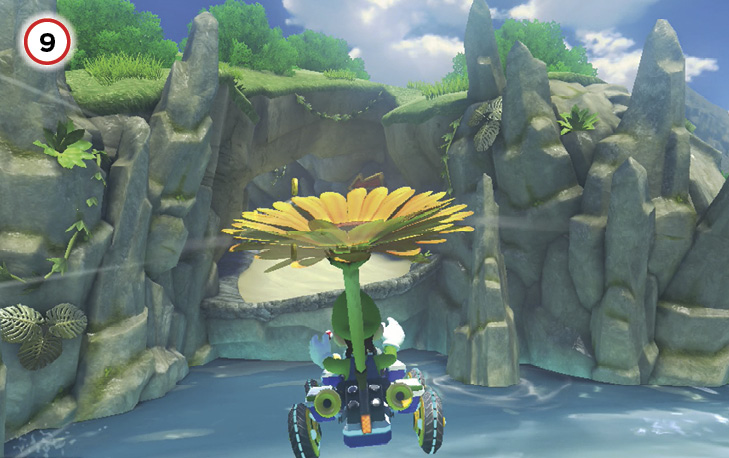
After a short flight over the water, the final S-curve stands between you and the finish. Racers with Mushrooms will try to cut most of this turn. If you only have Bananas, you can try to mine the entrance to the shortcut in hopes of slowing a rival down.
Time Trial
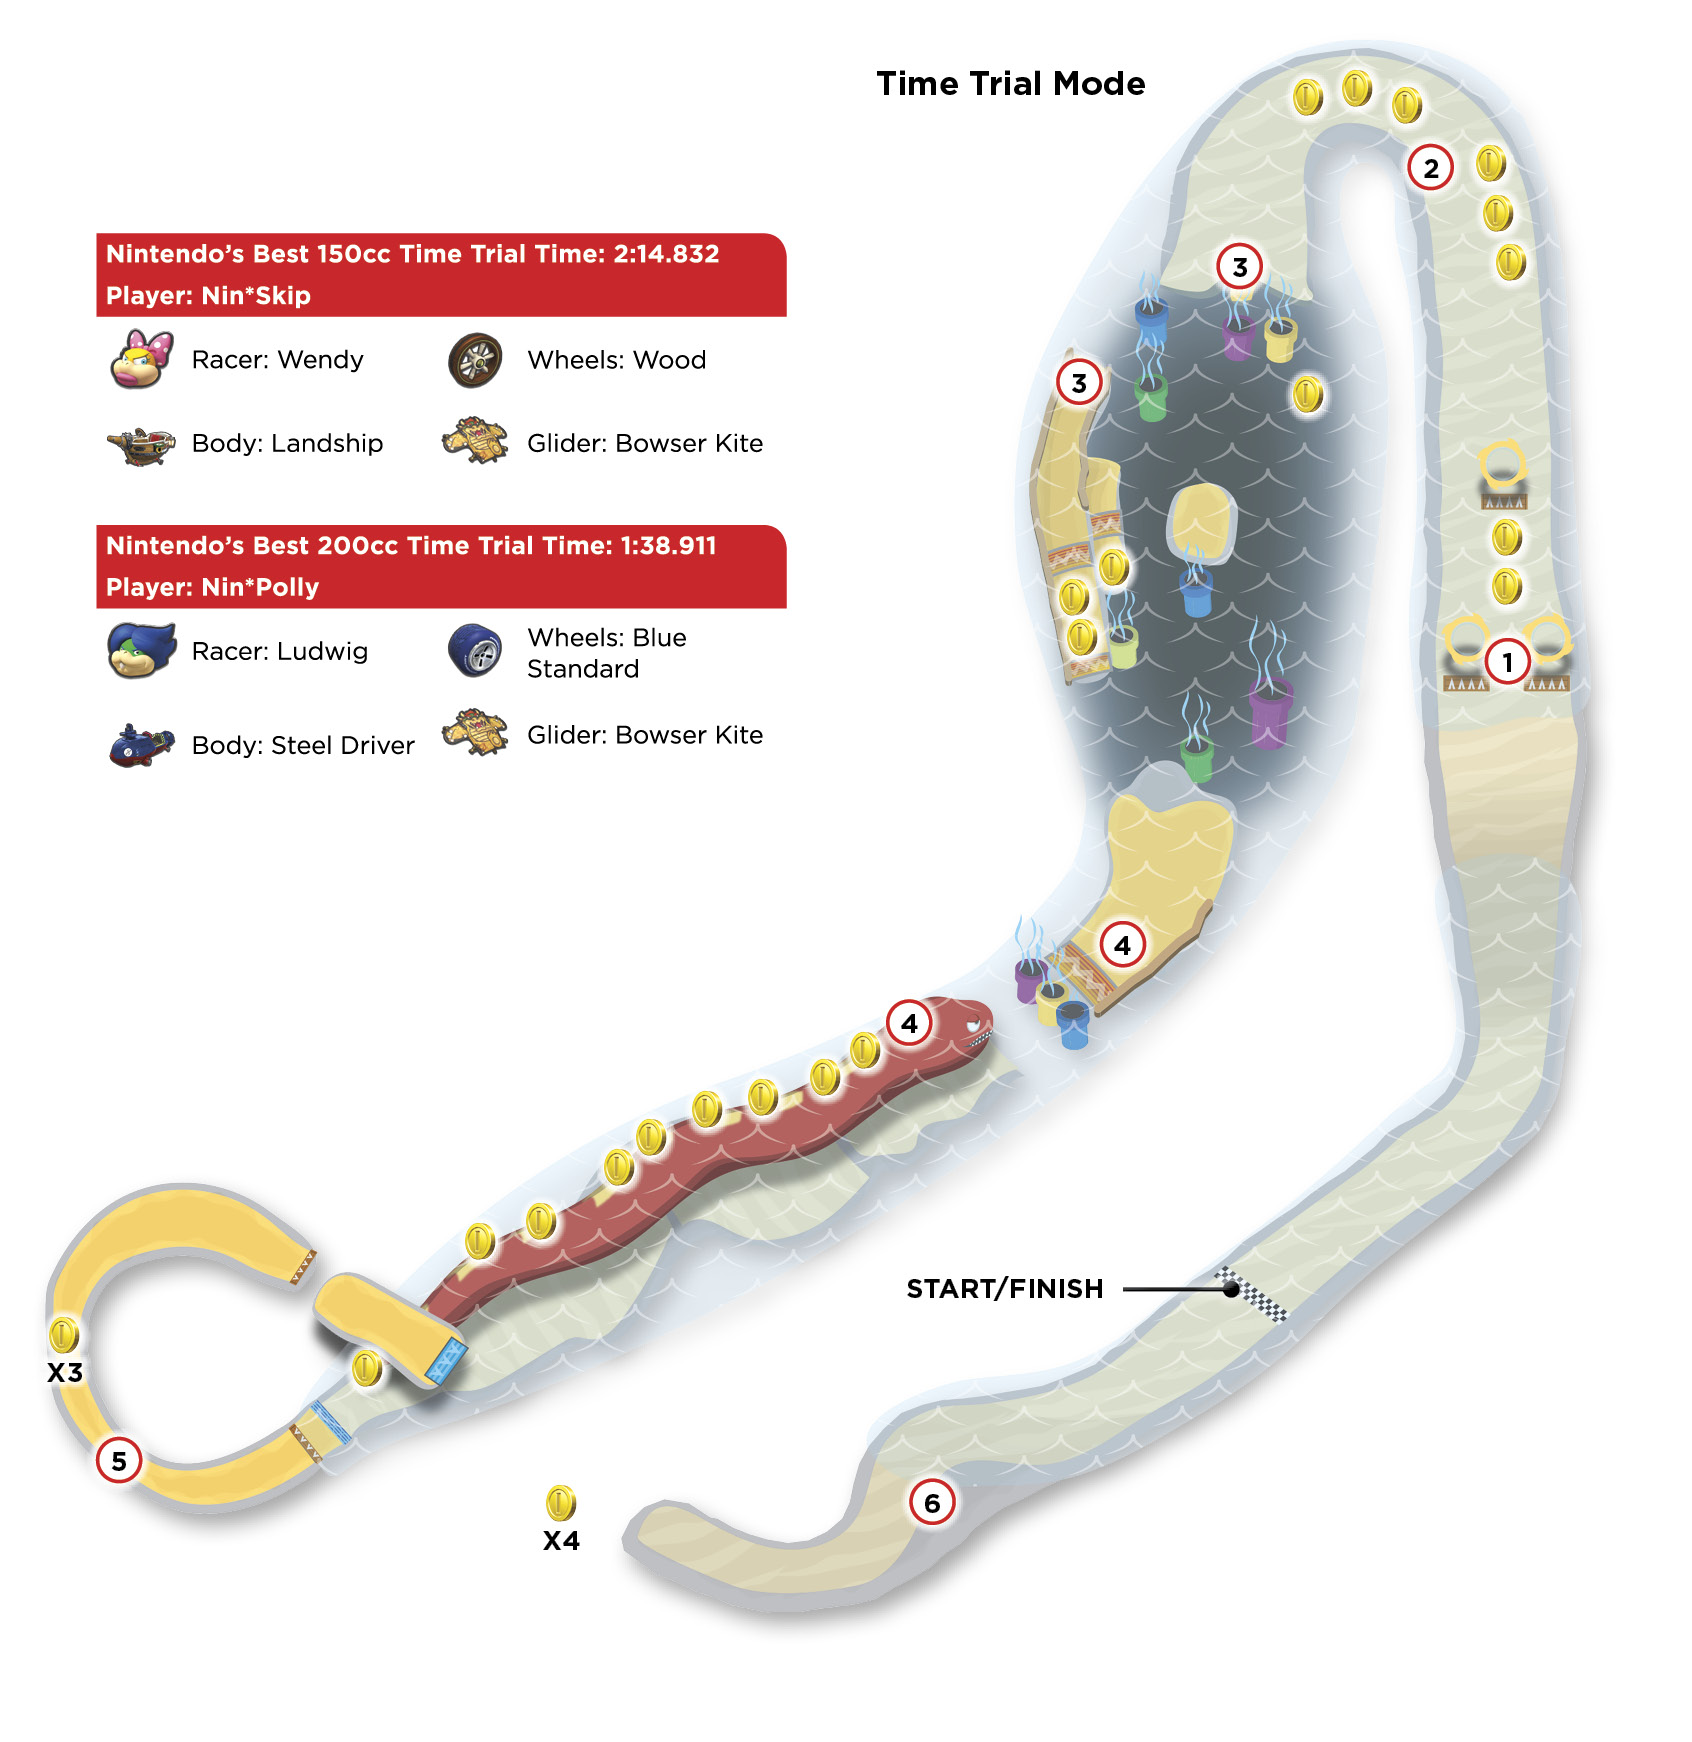
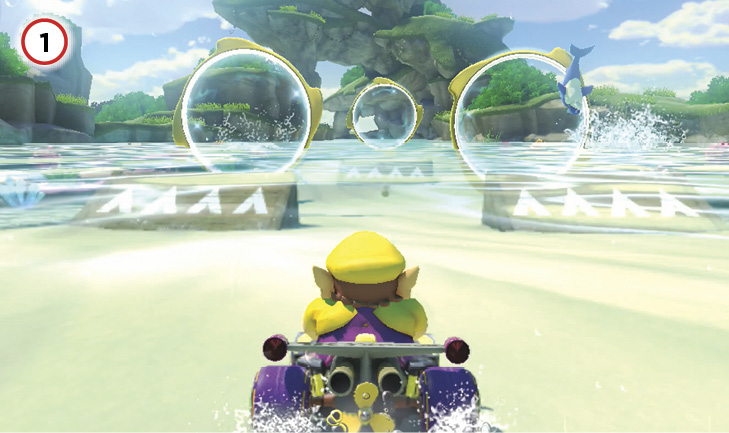
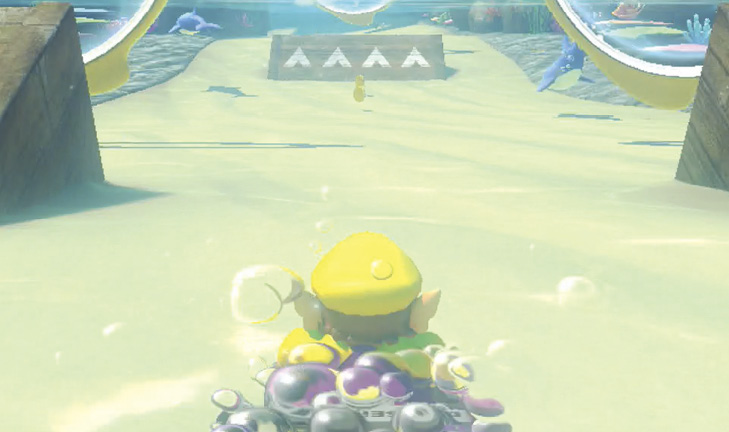
It’s tempting to take two of the ramps and Jump Boost through the rings. This will actually slow you down more than speed you up! Only aim for the center ramp during Lap 1 to collect the two Coins in front of it. Don’t Jump Boost off it to avoid getting launched out of the water, which will slow you down. On the two following laps, just weave smoothly around the ramps entirely.
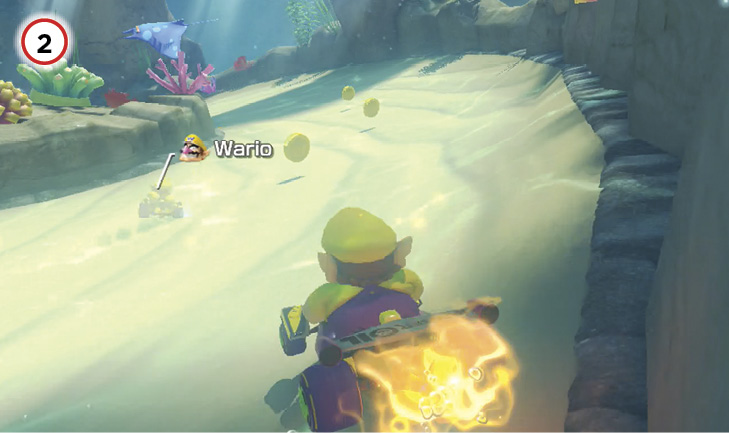
This long curve to the left has a total of six Coins to collect. An optimal run here should place you at eight Coins before you exit the turn for the upcoming cave.
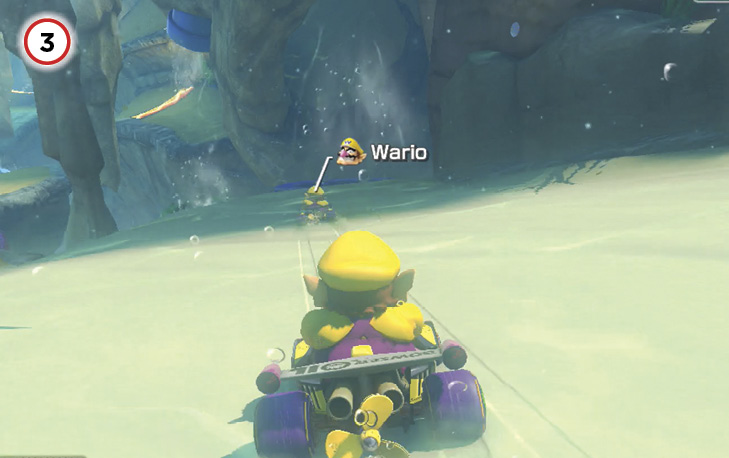
While there are four paths in this cave, the right-hand path is arguably the fastest and should be traveled for every lap. Don’t forget to Jump Boost off the water current leading into the right path for some extra speed! As you race across the dash panels here, two Coins can be collected on the lower-left side of the track, just before the dash panel ramp that launches you to the next section of the cave. Ideally, you’re now at ten Coins.
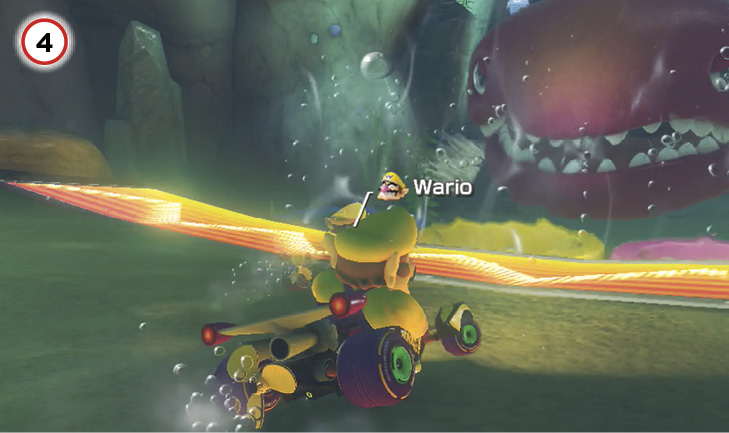
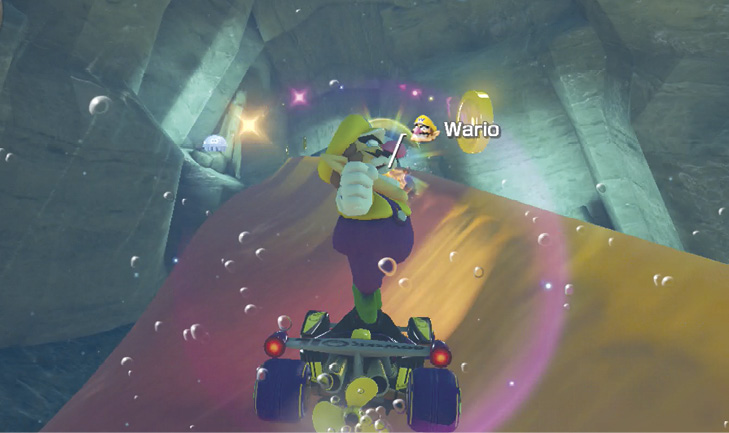
Jump Boost up the water currents onto the supermassive Unagi’s back. This part of the lap rests on your ability to score multiple Jump Boosts off the spine of the Unagi while also racing forward as quickly as you can. It’s not easy, but the fastest laps on Dolphin Shoals depend on it!
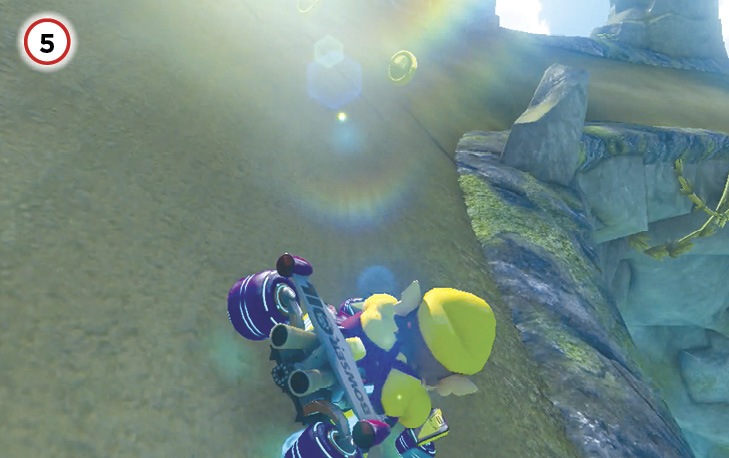
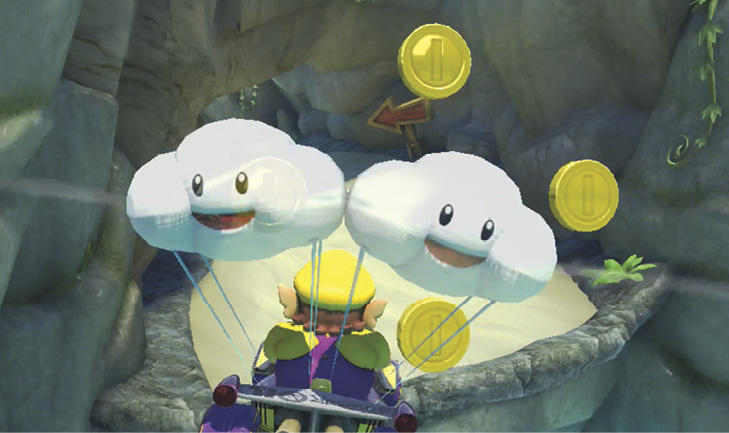
Exit the cave with a Jump Boost off the ramp, then drift through the next turn to the right. If you haven’t hit ten Coins yet, you can snag another during the turn itself, with more to be found in mid-air when a glide ramp launches you over the water to the final turns of the course.
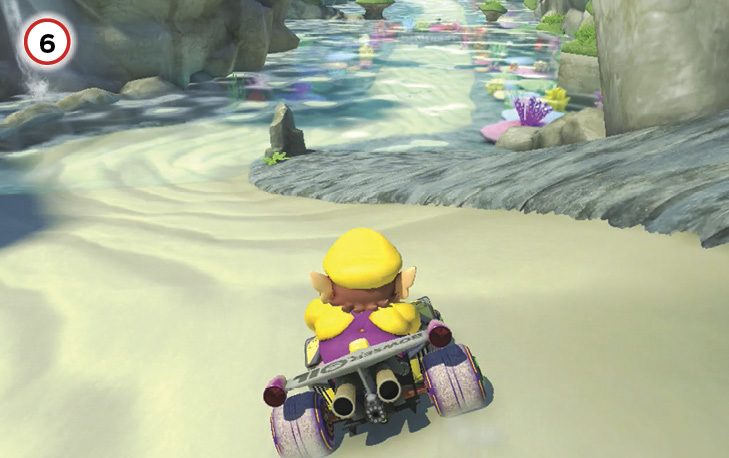
The shortcut used by some during the Grand Prix is essential for a fast Time Trial here, and you’ll need to use it for every lap. As you land from the short glider trip, turn left and align yourself to the rocky ground to the right of the actual course, and aim straight for the finish. Cut loose with a Mushroom the moment your front wheels hit the rocks, and jet to the finish line!
Electrodrome
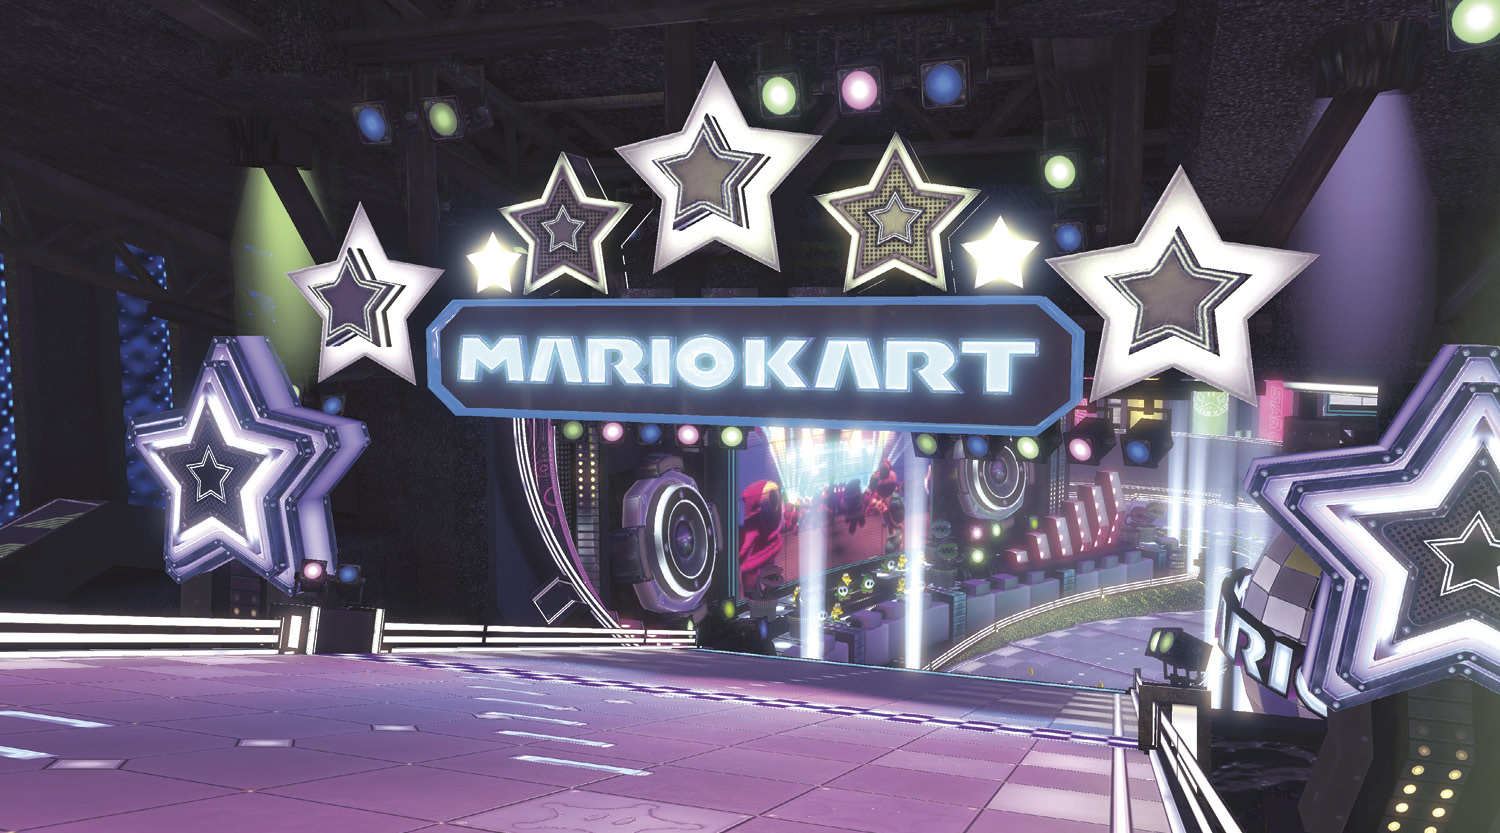
The thumping beat and flashing lights clash with this surprisingly relaxing course. Electrodrome is a fairly wide-open track for the most part. Exploit each curve, drift often, and fire off as many Mini-Turbos and Super Mini-Turbos as possible.
Grand Prix
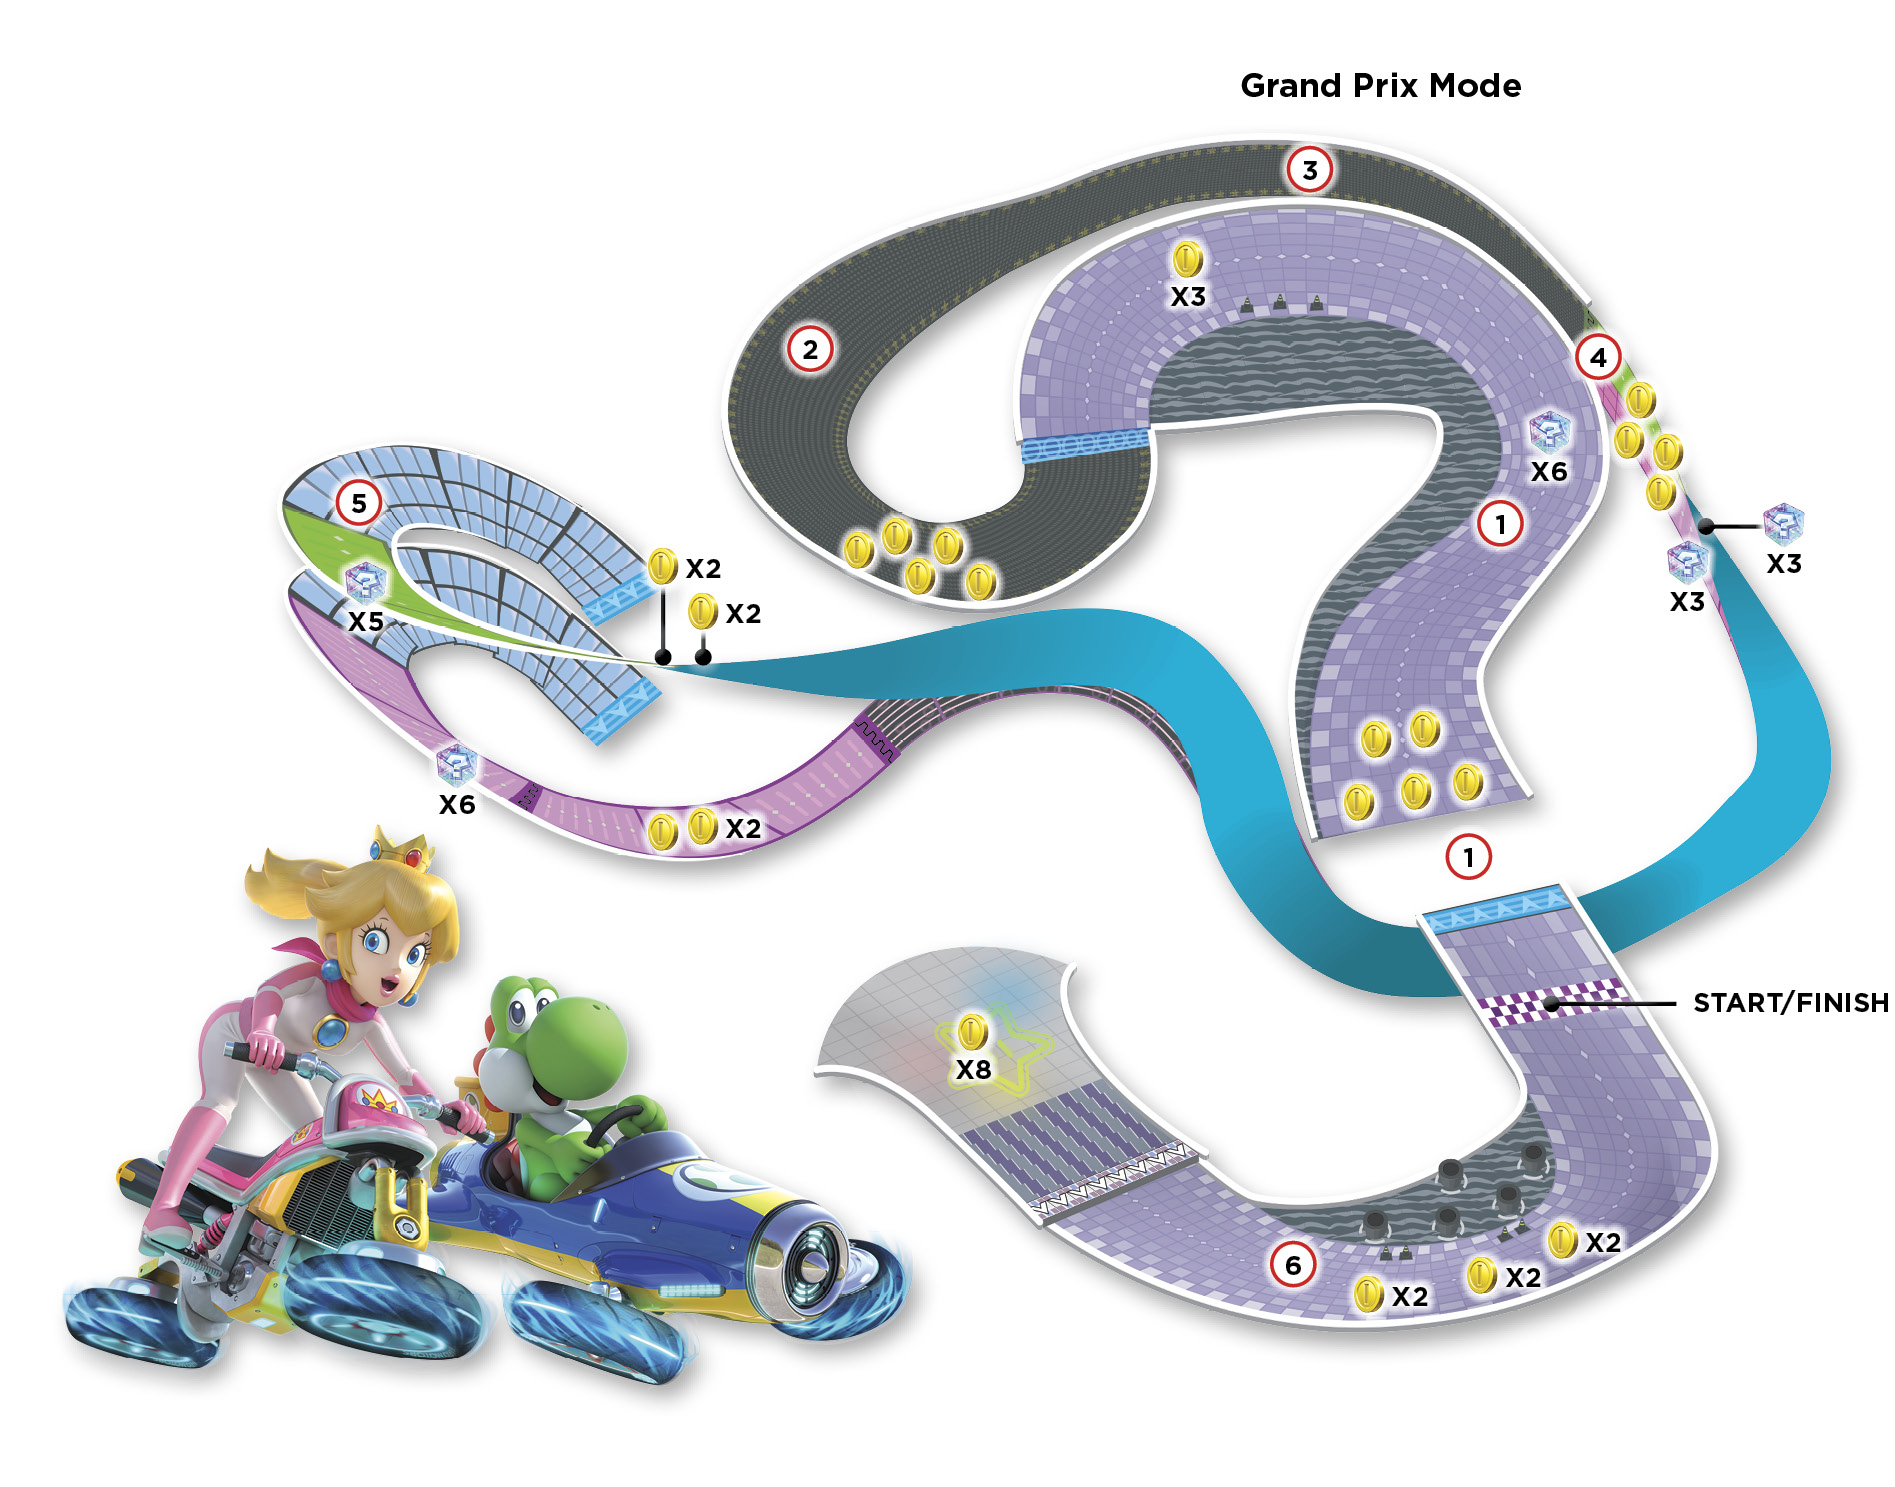
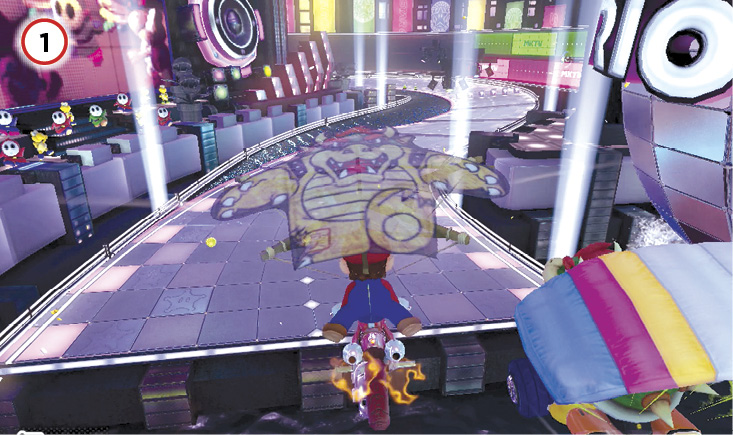
The track begins with a flight over a chasm. When taking on the left turn that follows, avoid going into the rough part of the track unless you have a Mushroom. The glowing road cones here are harmless.
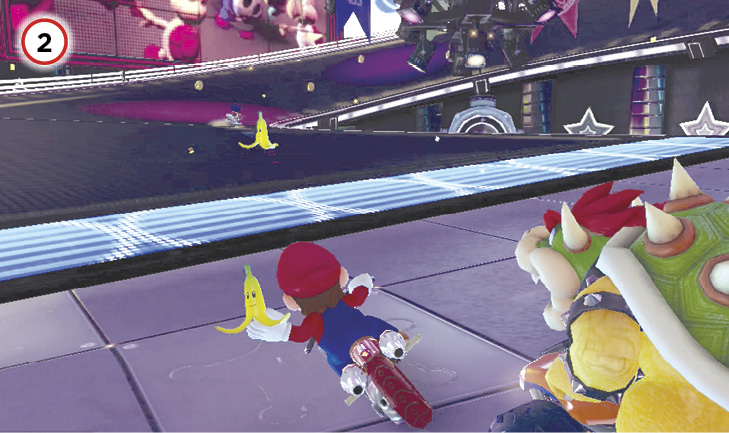
This section is fairly straightforward antigravity driving along the walls toward a split in the course. It’s a long straightaway, and the potential for getting smacked by shells is high. The course is wide enough that it is possible for some characters to be able to pull off Mini-Turbos while still traveling more or less forward, but it’s tough to pull off.
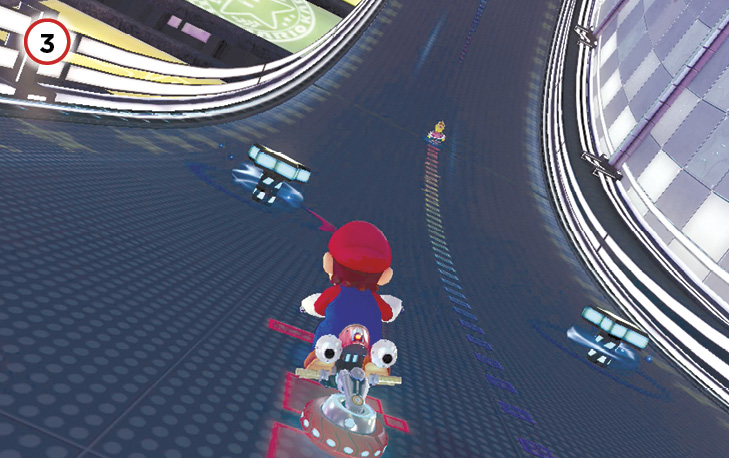
Don’t miss these Spin Boost pillars for a quick boost in speed!
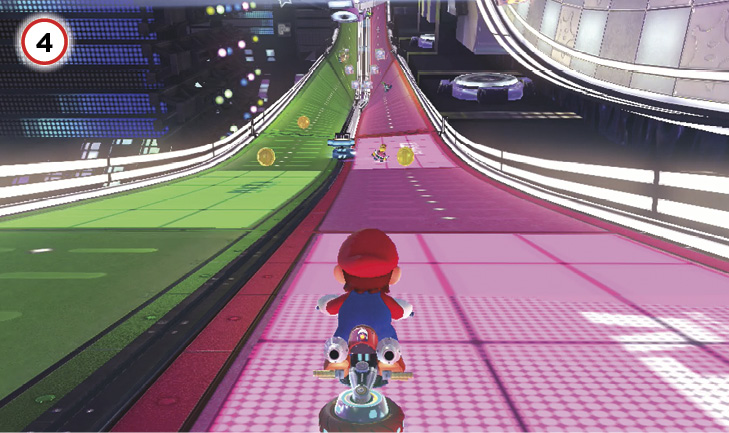
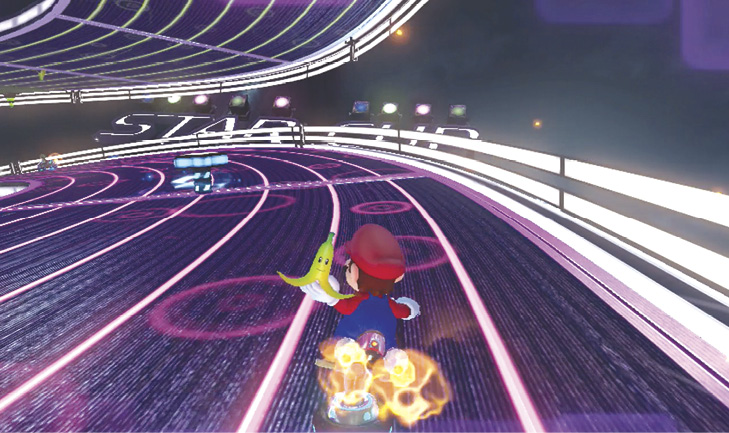
The split in the course is marked by a Spin Boost pillar. Neither path has a truly distinct advantage, though if you’re falling behind, you might want to take the same track as the leaders for a chance to smack ‘em with some shells. Beware of the pillars in these sections. There aren’t many, but hitting them at the wrong angle might send you off the track.
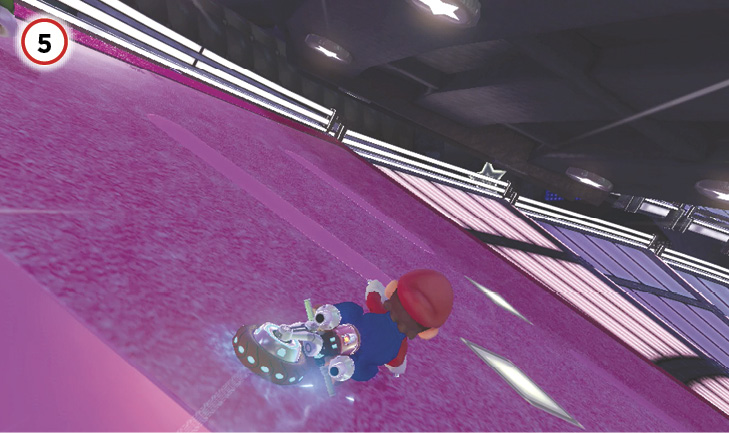
The last turn for the split course sections is a chance to score multiple Super Mini-Turbos. Don’t just settle for a clean single drift through the whole turn. This is one of your best chances to shrink an opponent’s lead, or extend yours!
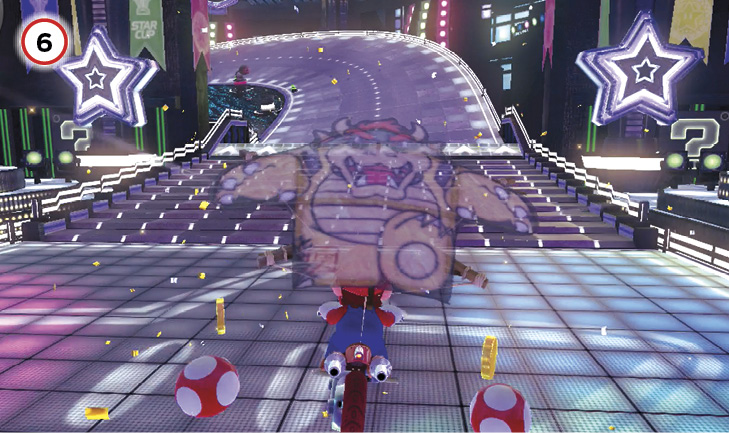
The split tracks eventually rejoin, launching players across another chasm to the final big turn of the race. Piranha Plants infest the pipes on the inside of the turn. If you have a Mushroom, you can cut past the pipes and through the rough for a straighter shot at the finish line.
Time Trial
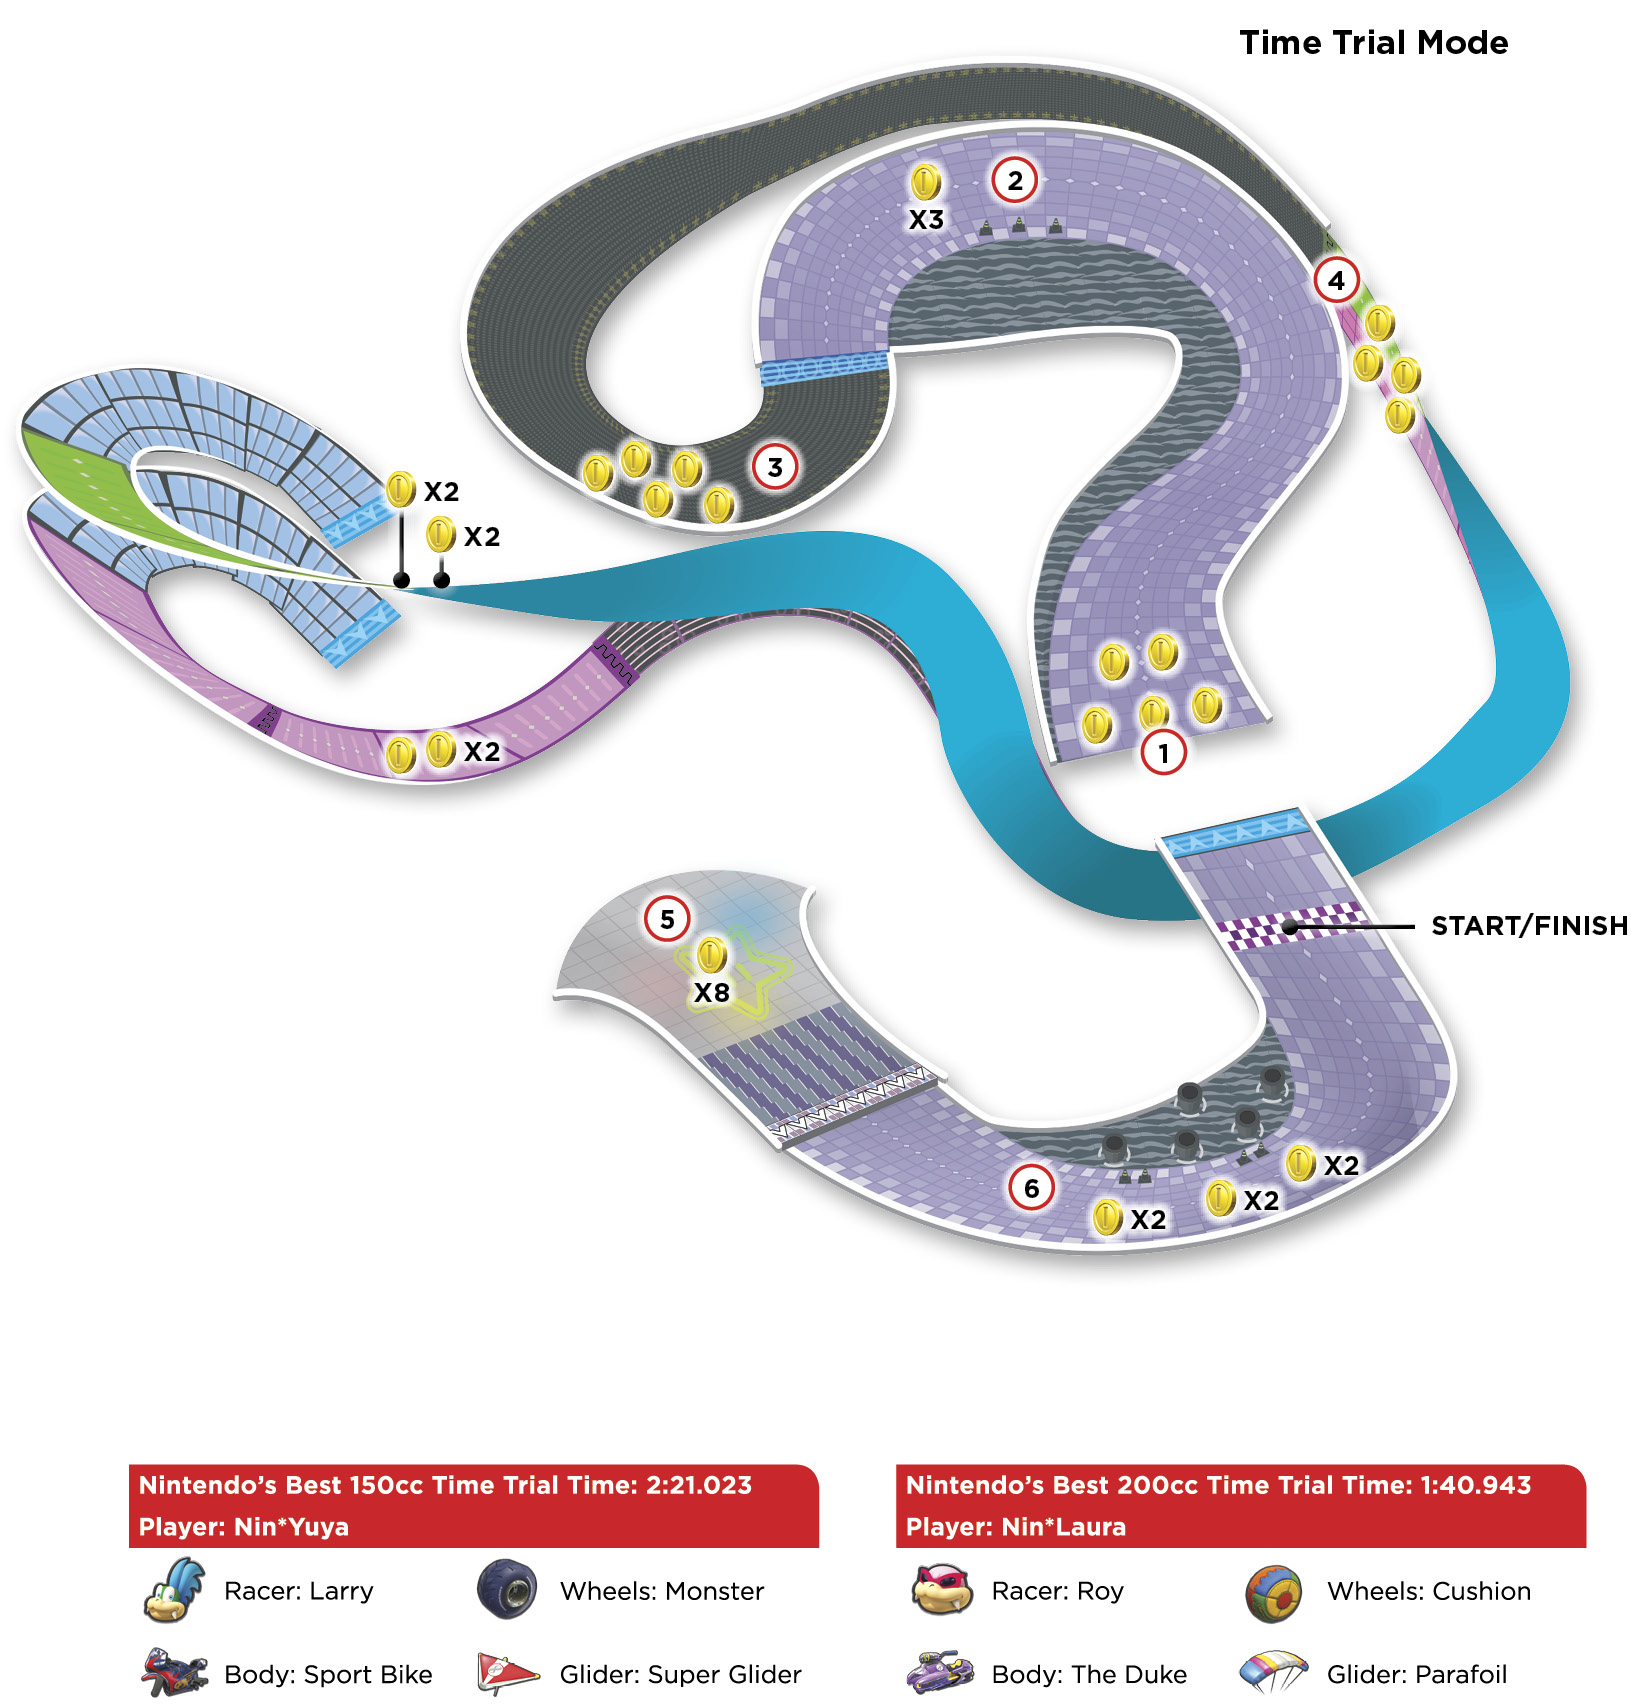
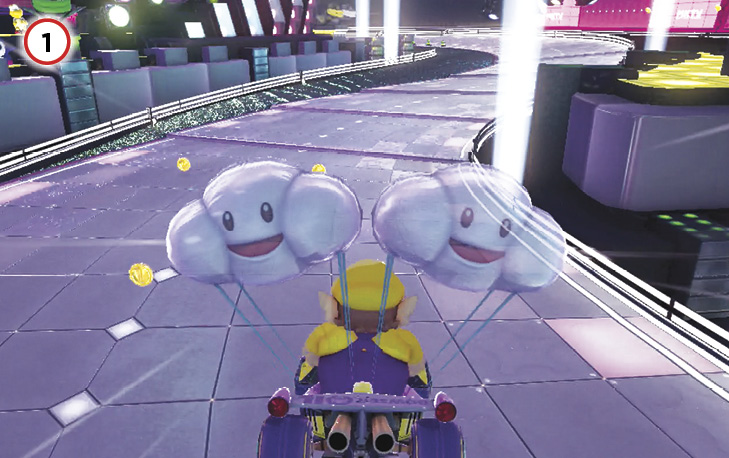
After gliding away from the start line, collect some Coins from the M-shape at the landing point.
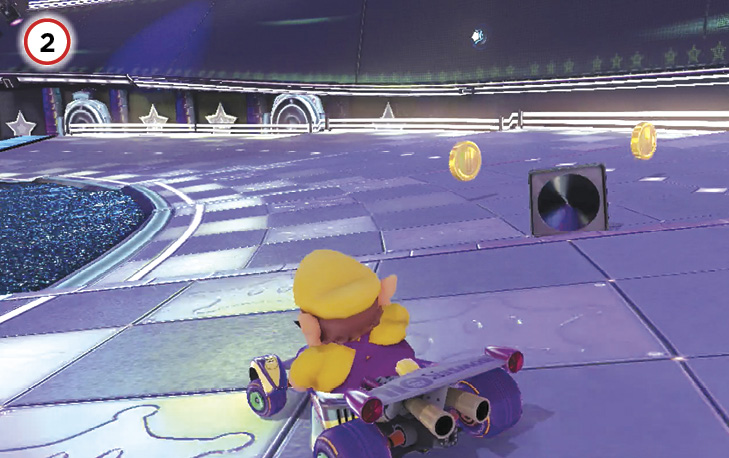
The first turn to the left has some Coins to collect, but at most you can probably only snag one per lap, and it’s faster to stick to an inside line through the whole turn. You can collect more Coins later.
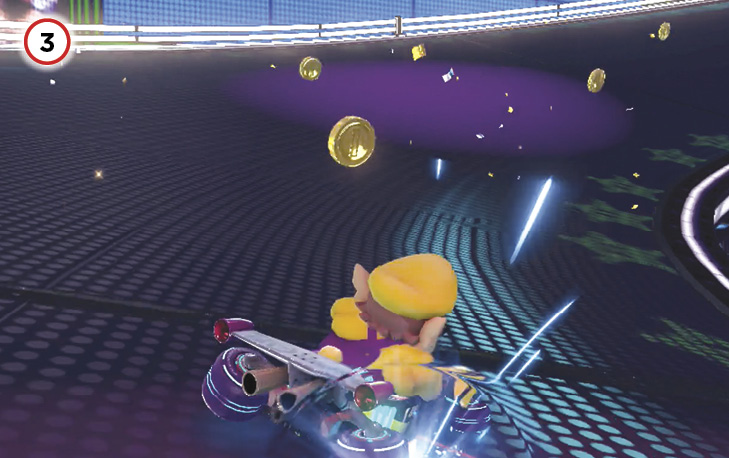
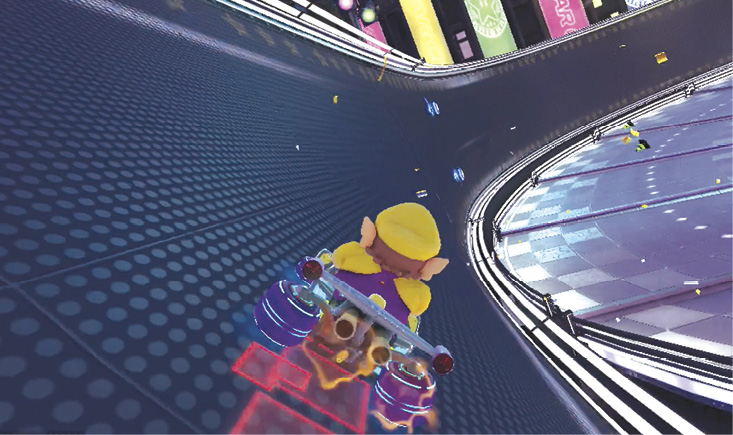
After crossing onto the antigravity portion of the course, you can collect more Coins on your way to the split in the track.
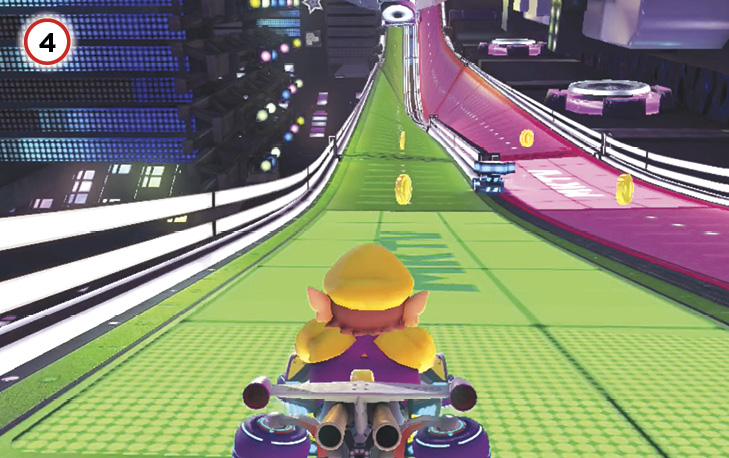
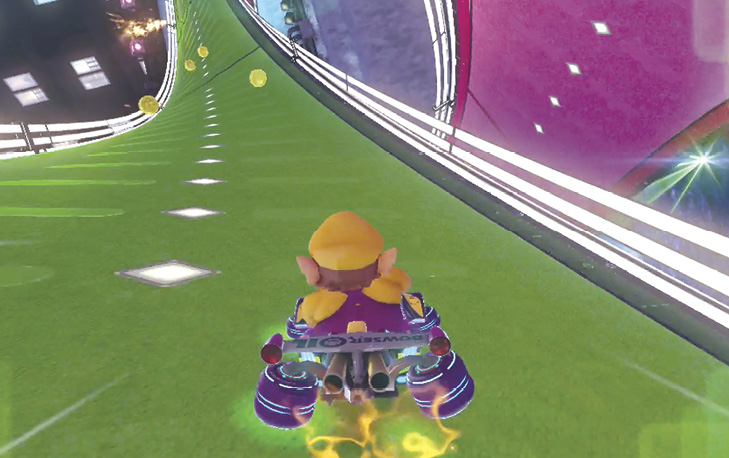
The pink side of the split track is slightly faster, as it ultimately ends on the “inside” of the final turn before the tracks rejoin at the glide ramps. However, you can get closer to ten Coins sooner by taking the green side, as there are more Coins that can be collected at first.
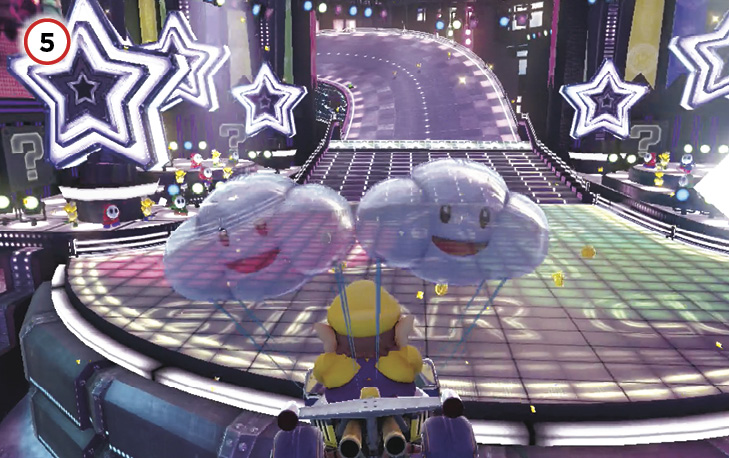
When gliding down from the split track section, don’t miss out on a chance to collect some Coins from the rotating ring of them at the landing point, but also don’t go out of your way to collect them if it’s going to slow you down more in the end.
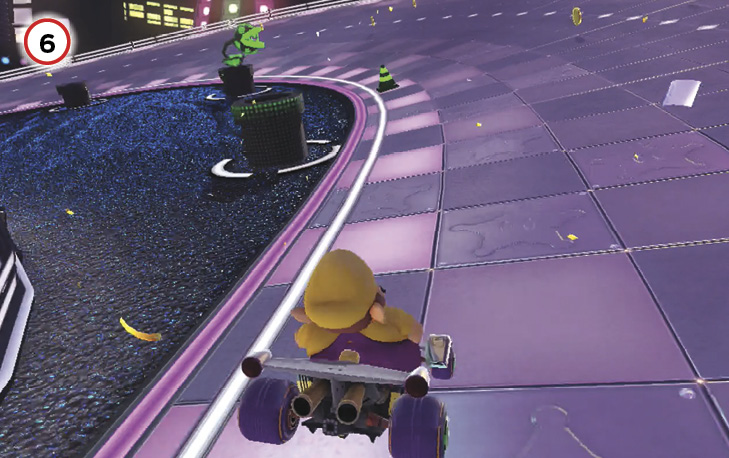
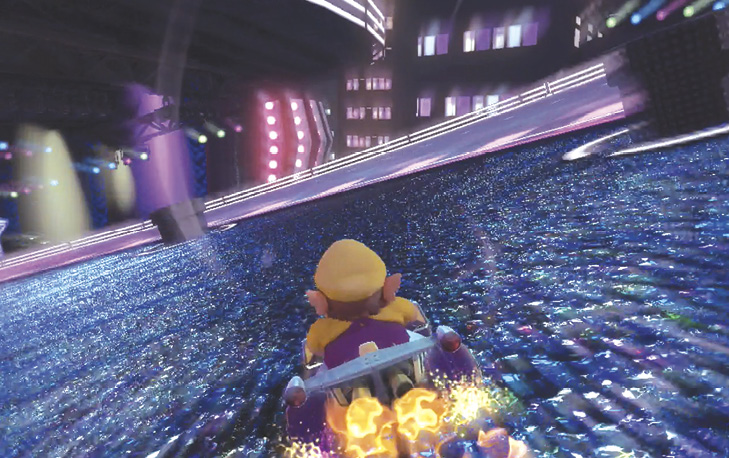
The shortcut across the rough part of track on the left will take you past pipes, including some that are occupied by raving Piranha Plants. A Mushroom is required for this shortcut, but it is possible that the boost can fade out before you make it entirely across the rough ground! Don’t get too greedy when trying for this shortcut.
Mount Wario
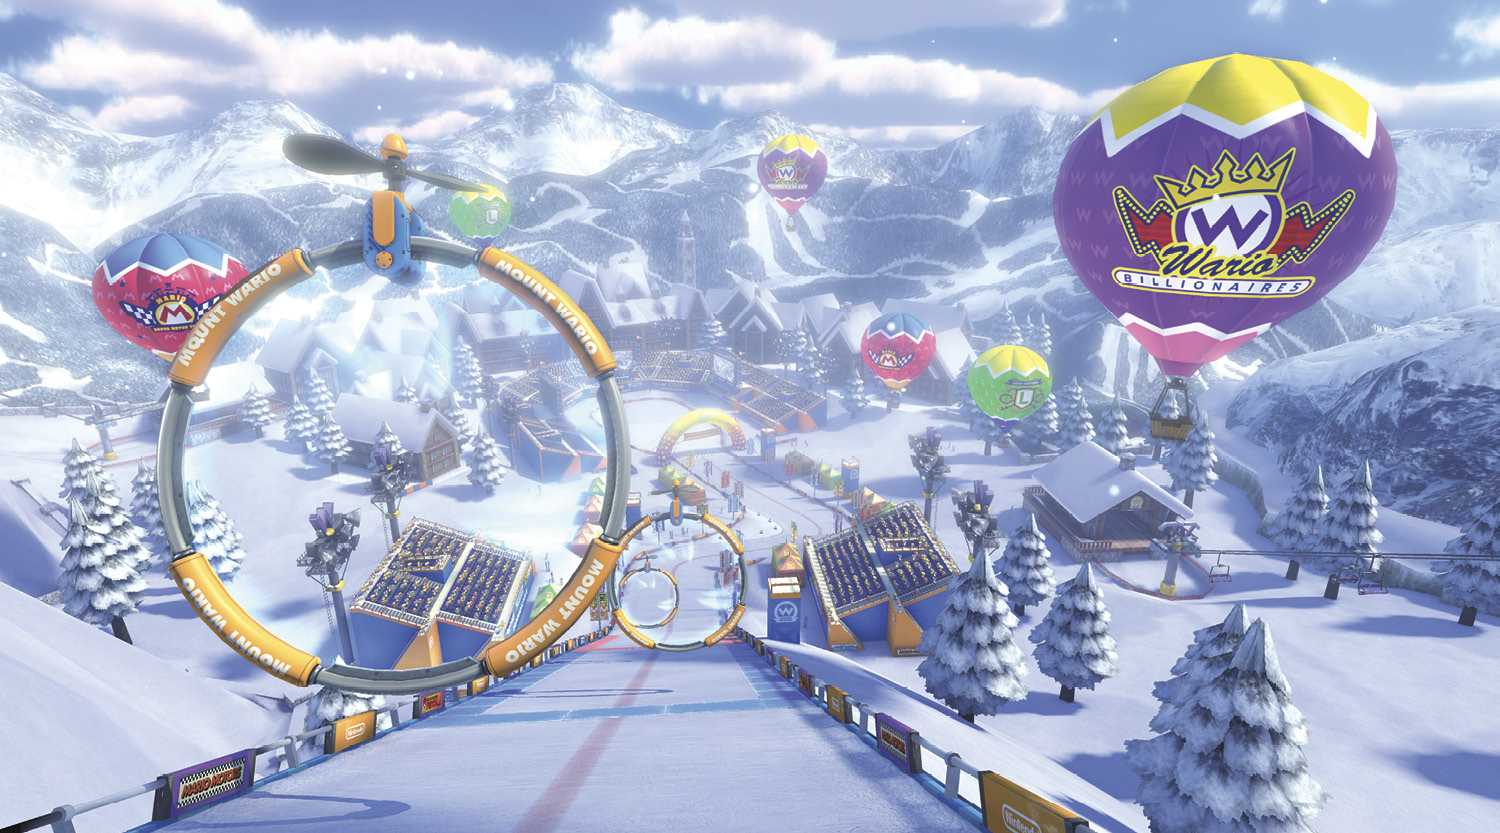
Mount Wario isn’t like other tracks in this cup. Rather, it is one long road split into three sections, each filled with danger. It’s literally all downhill from here when you start! Remember, you only get one shot at performing well in each section. If you mess up early on, you’ll have to make up time as you keep going farther down the mountain.
Grand Prix
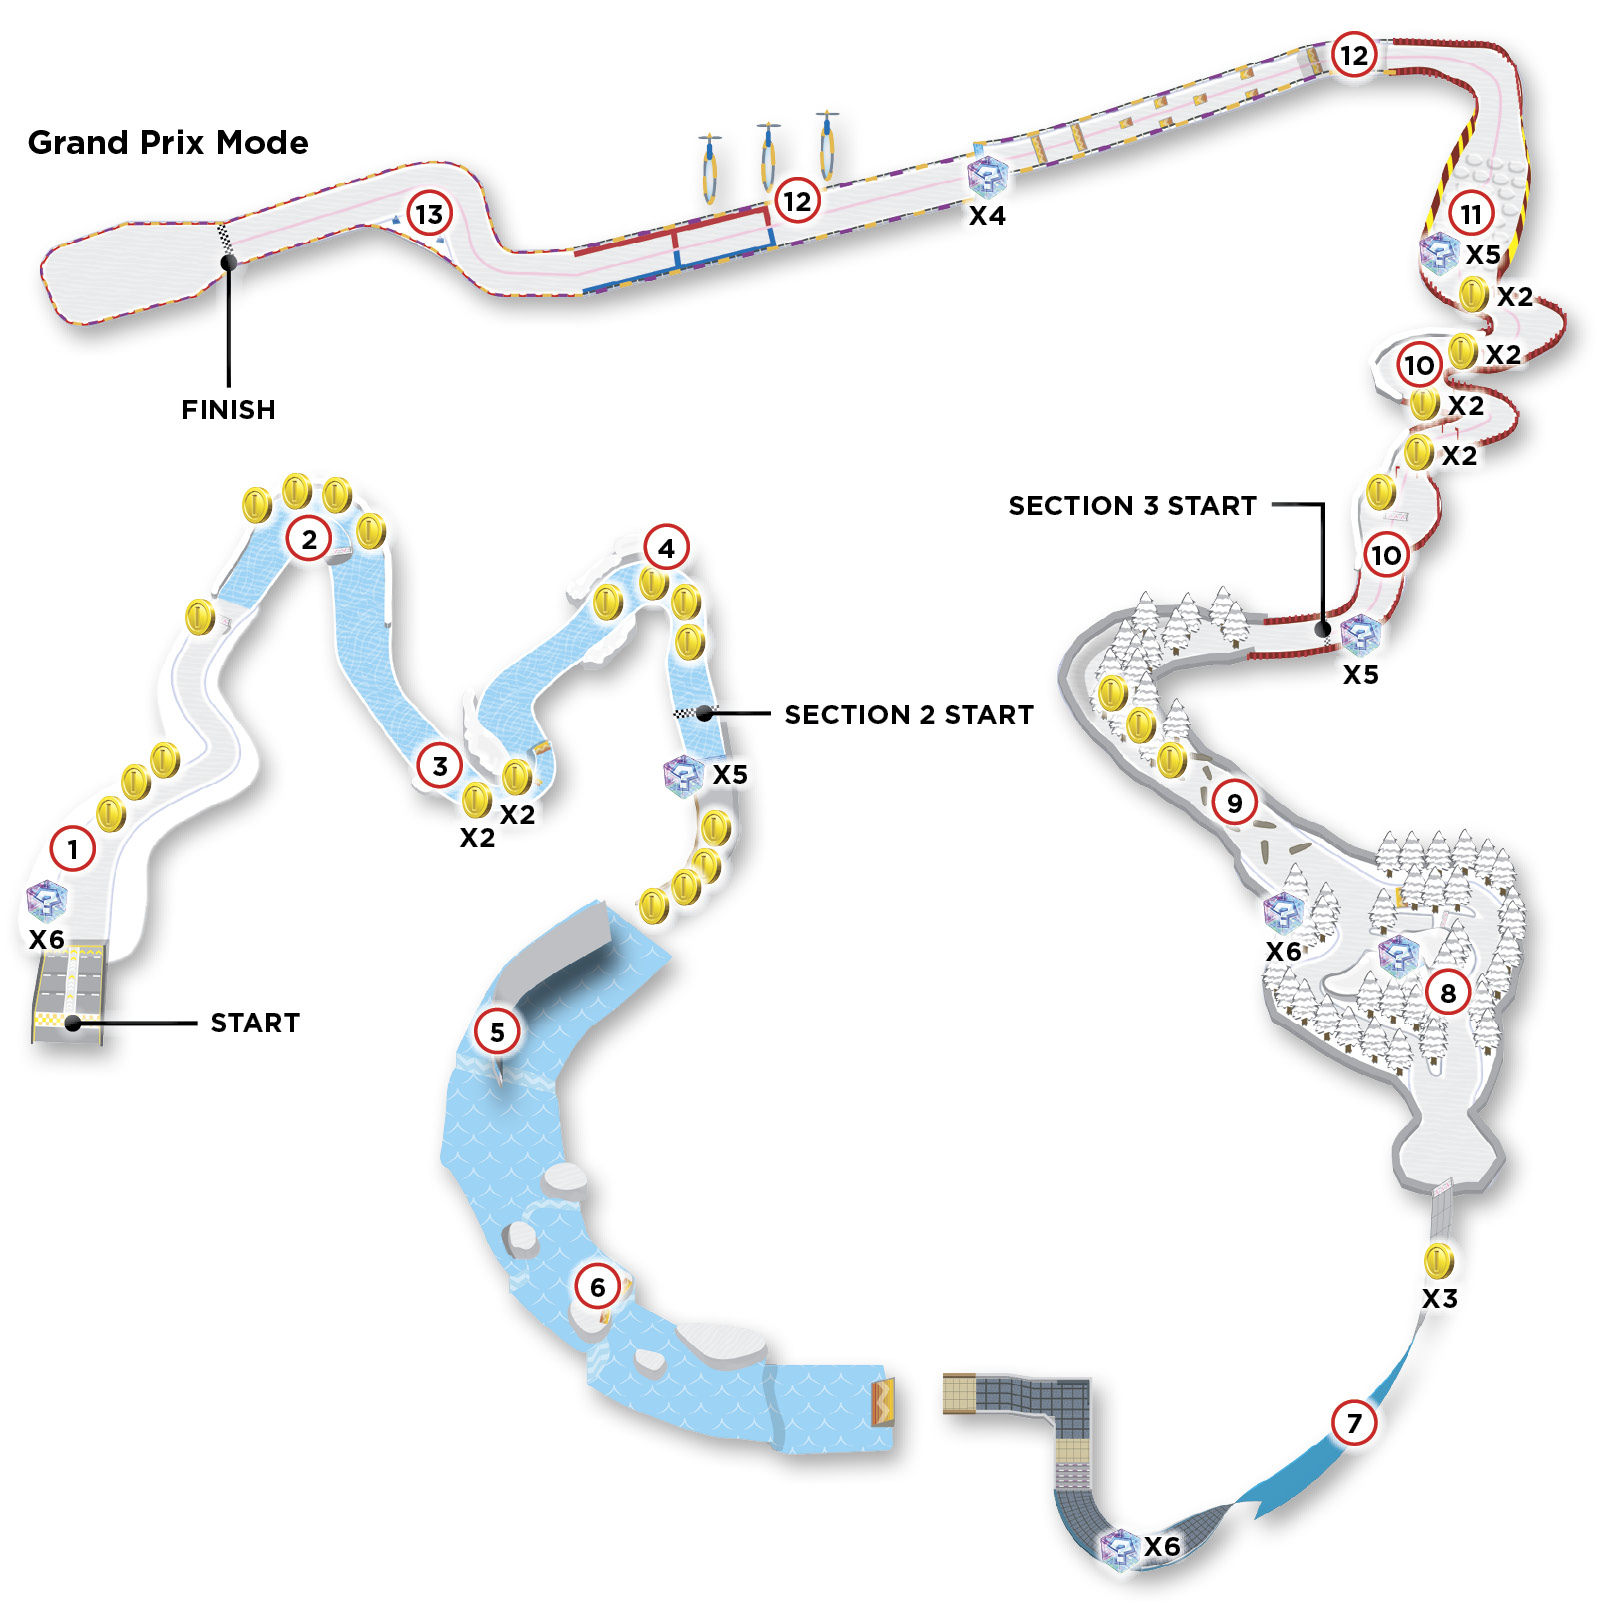
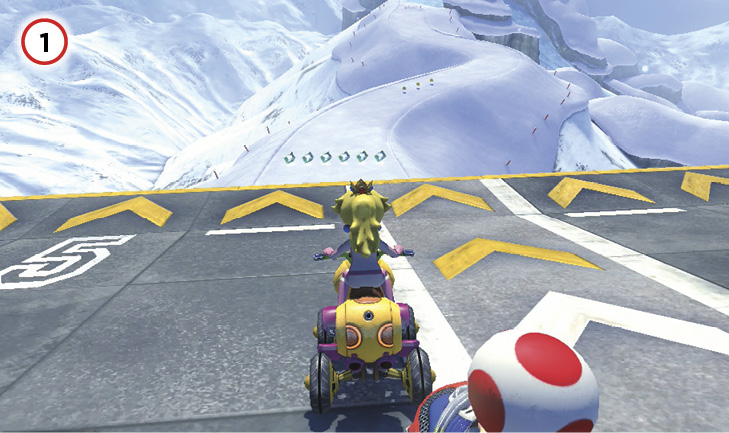
You start the course by diving out of an airship—don’t forget to Jump Boost off the lip of the starting ramp. Note the lack of protective fencing along the sides of the course. This is how much of the first section is.
The course turns icy just as you reach the first real turn of the race, a sharp right. Stick to the inside as best you can. There’s a ramp you can Jump Boost off of for additional speed, and to align yourself to the upcoming turn.
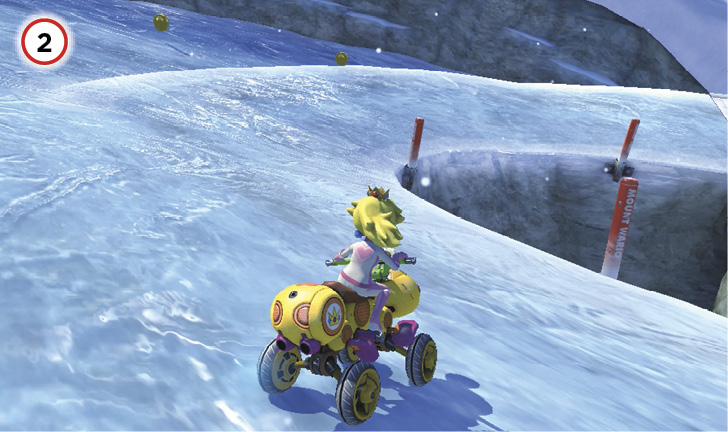
Shortly after the first split is another on a hard left turn. The outside line has dash panels and Coins, so if you’re out in the front of the pack, consider taking the longer outside path just to deny your rivals some Coins!
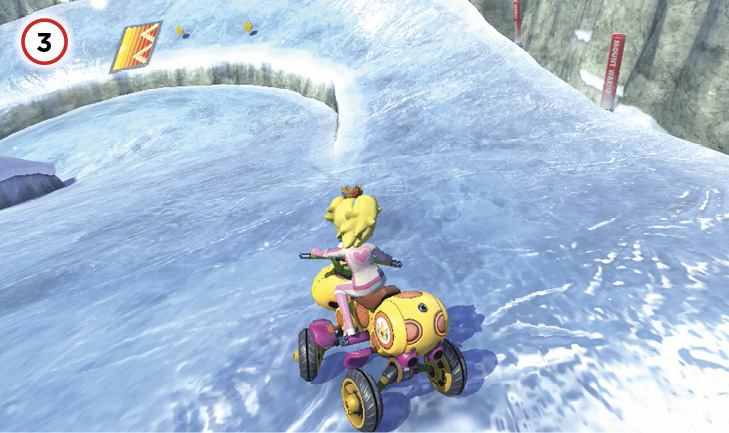
The first section of Mount Wario ends with a final hairpin to the right. Start your drift early to make it easier to take the turn. If you’re a heavyweight racer and you’re in the middle of the group, this turn is your last chance to ram other racers off the course. Take advantage of that if the opportunity presents itself!
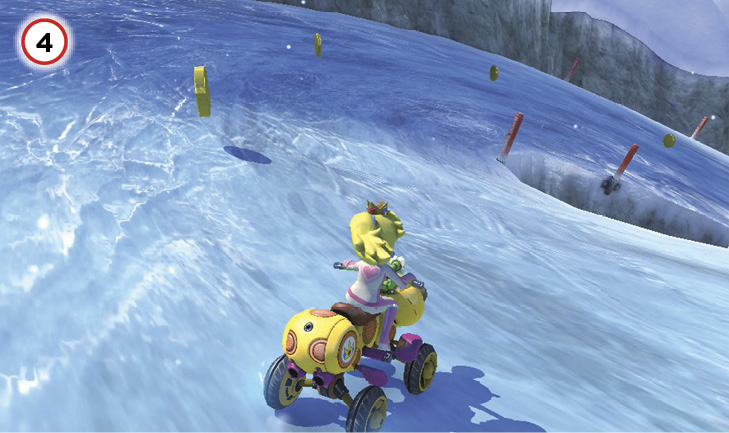
Section 2 begins by entering a massive cave. When you’re presented with a chance to jump off a regular ramp, or use a blue ramp to start gliding, take the blue ramp. If you have a glider part that grants you good speed, it’ll be much faster than dealing with the rougher terrain on the ground.
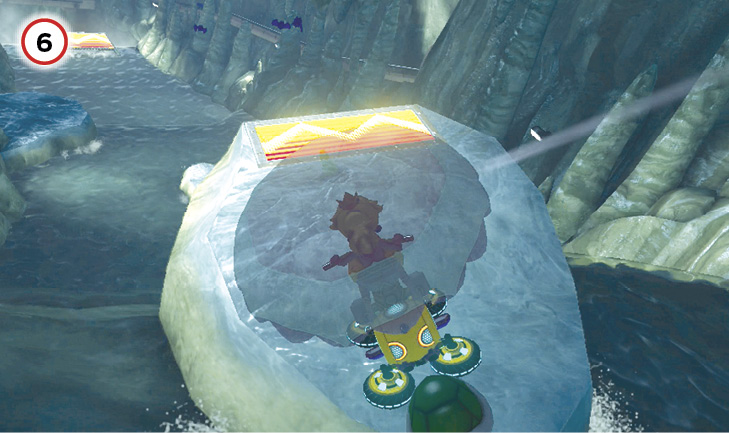
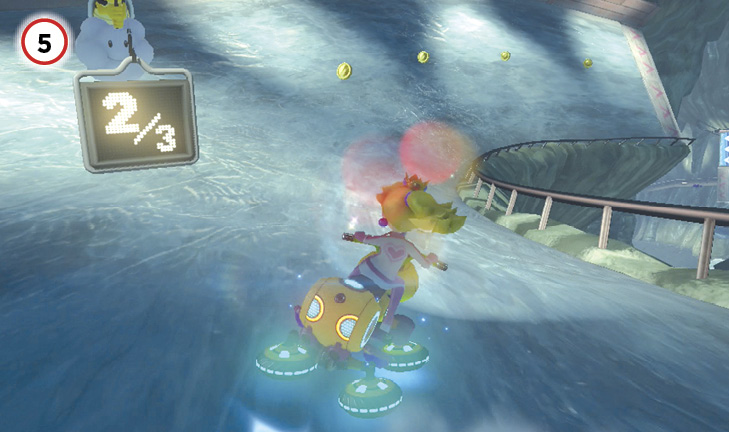
If you’ve chosen to glide, you can extend your air time by force landing on this dash panel ramp, and jumping just as you land. This grants you the boost, and keeps you gliding.
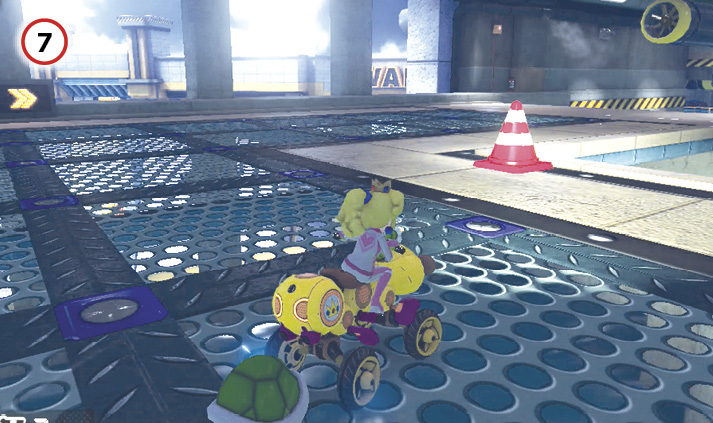
Wario Dam is your next stop as you take the winding track out of the caves. Water flows down the side of the dam, carrying dash panels with it. Try to aim for some of them, while making sure you aim at the tunnel that will take you away from the dam.
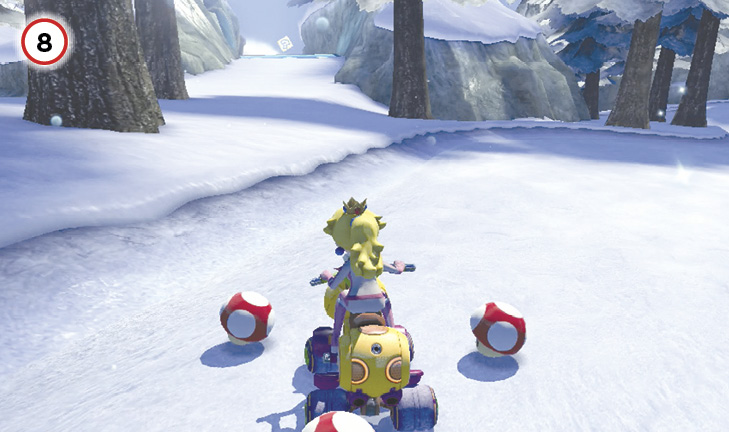
As you exit the dam, you reach a snowy forest, with two obvious paths to choose from. If you have a Mushroom, you can bypass the trees and get through the rough snow to use another blue ramp to glide straight into the next area.
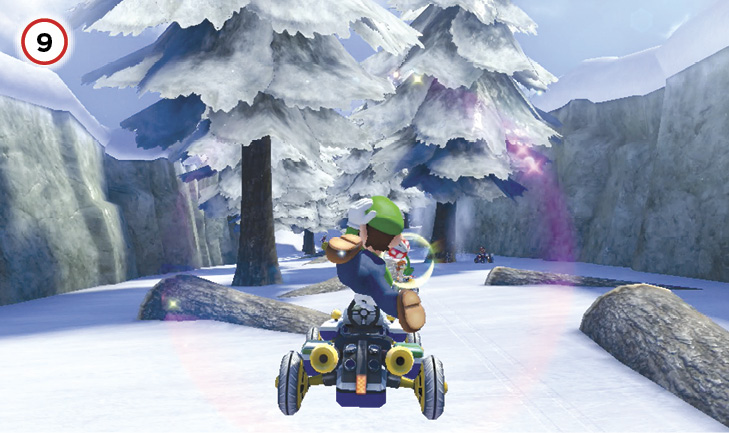
Use these logs to Jump Boost for a little extra speed, but beware of being sent flying into trees, and be ready to handle the upcoming section filled with trees during the long turn to the right.
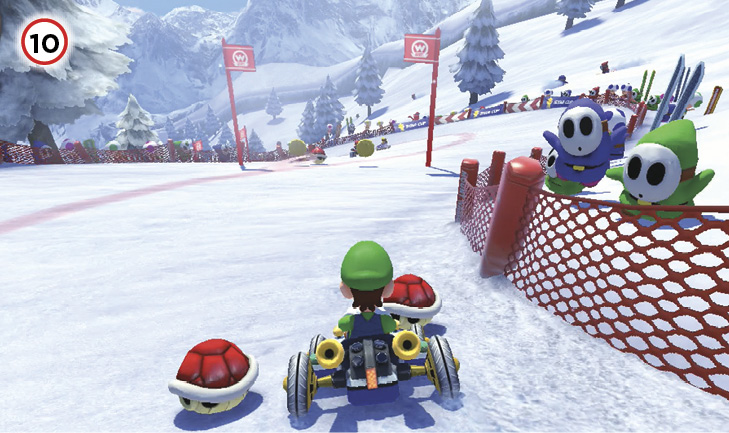
The final course section begins with some ramps to Jump Boost from, followed by a series of winding turns to slalom through.
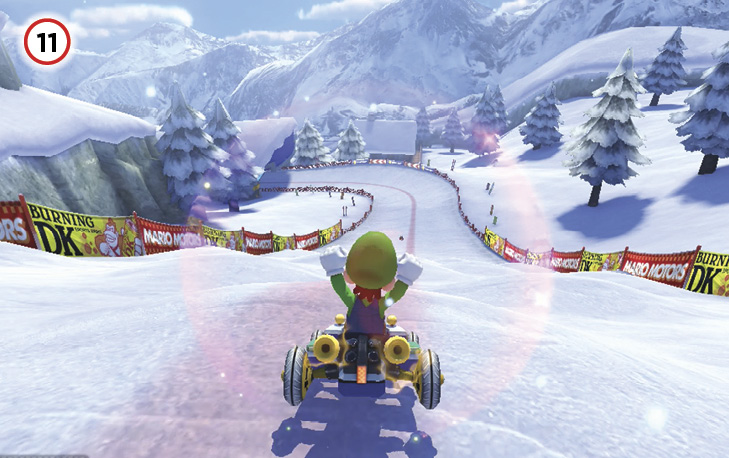
The moguls just past the first series of turns can all be used for Jump Boosts. Get as many boosts as you can!
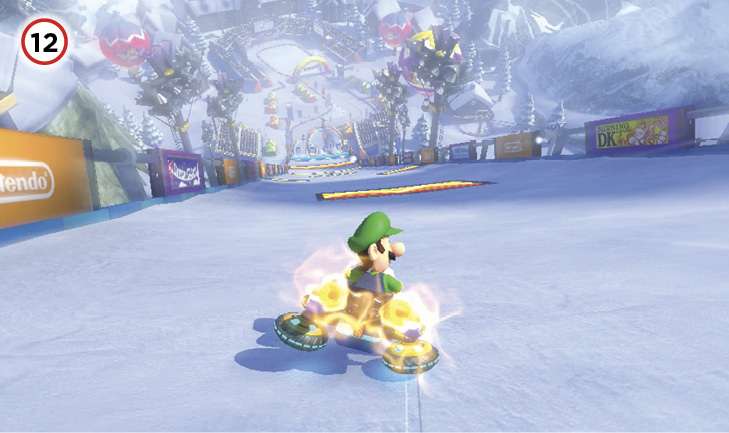
The home stretch begins at the top of one final hill filled with dash panels to hit. The hill ends with a launch panel that sends you gliding toward a set of rings—make sure you pass through them all! If rivals are close by, be ready to evade Green Shells. If you have a Banana, hold on to it for defense during this section.
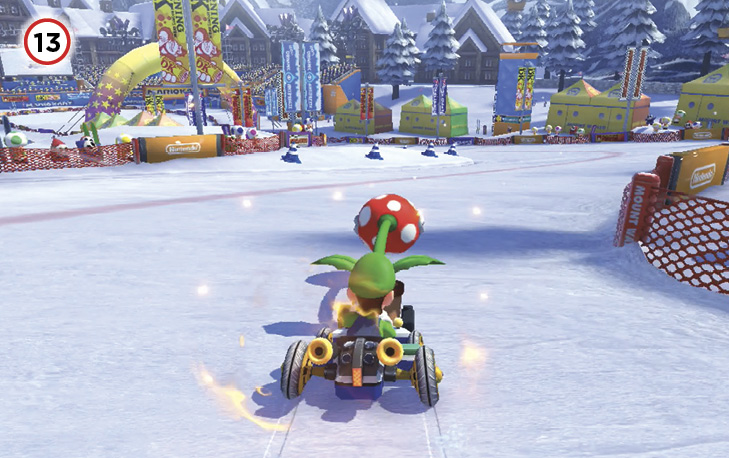
As you land from your glider flight, there’s one last S-curve you have to deal with at the bottom of the hill. If you have held on to a Mushroom up to this point, you can cut this corner for a straighter shot at the finish line.
Time Trial
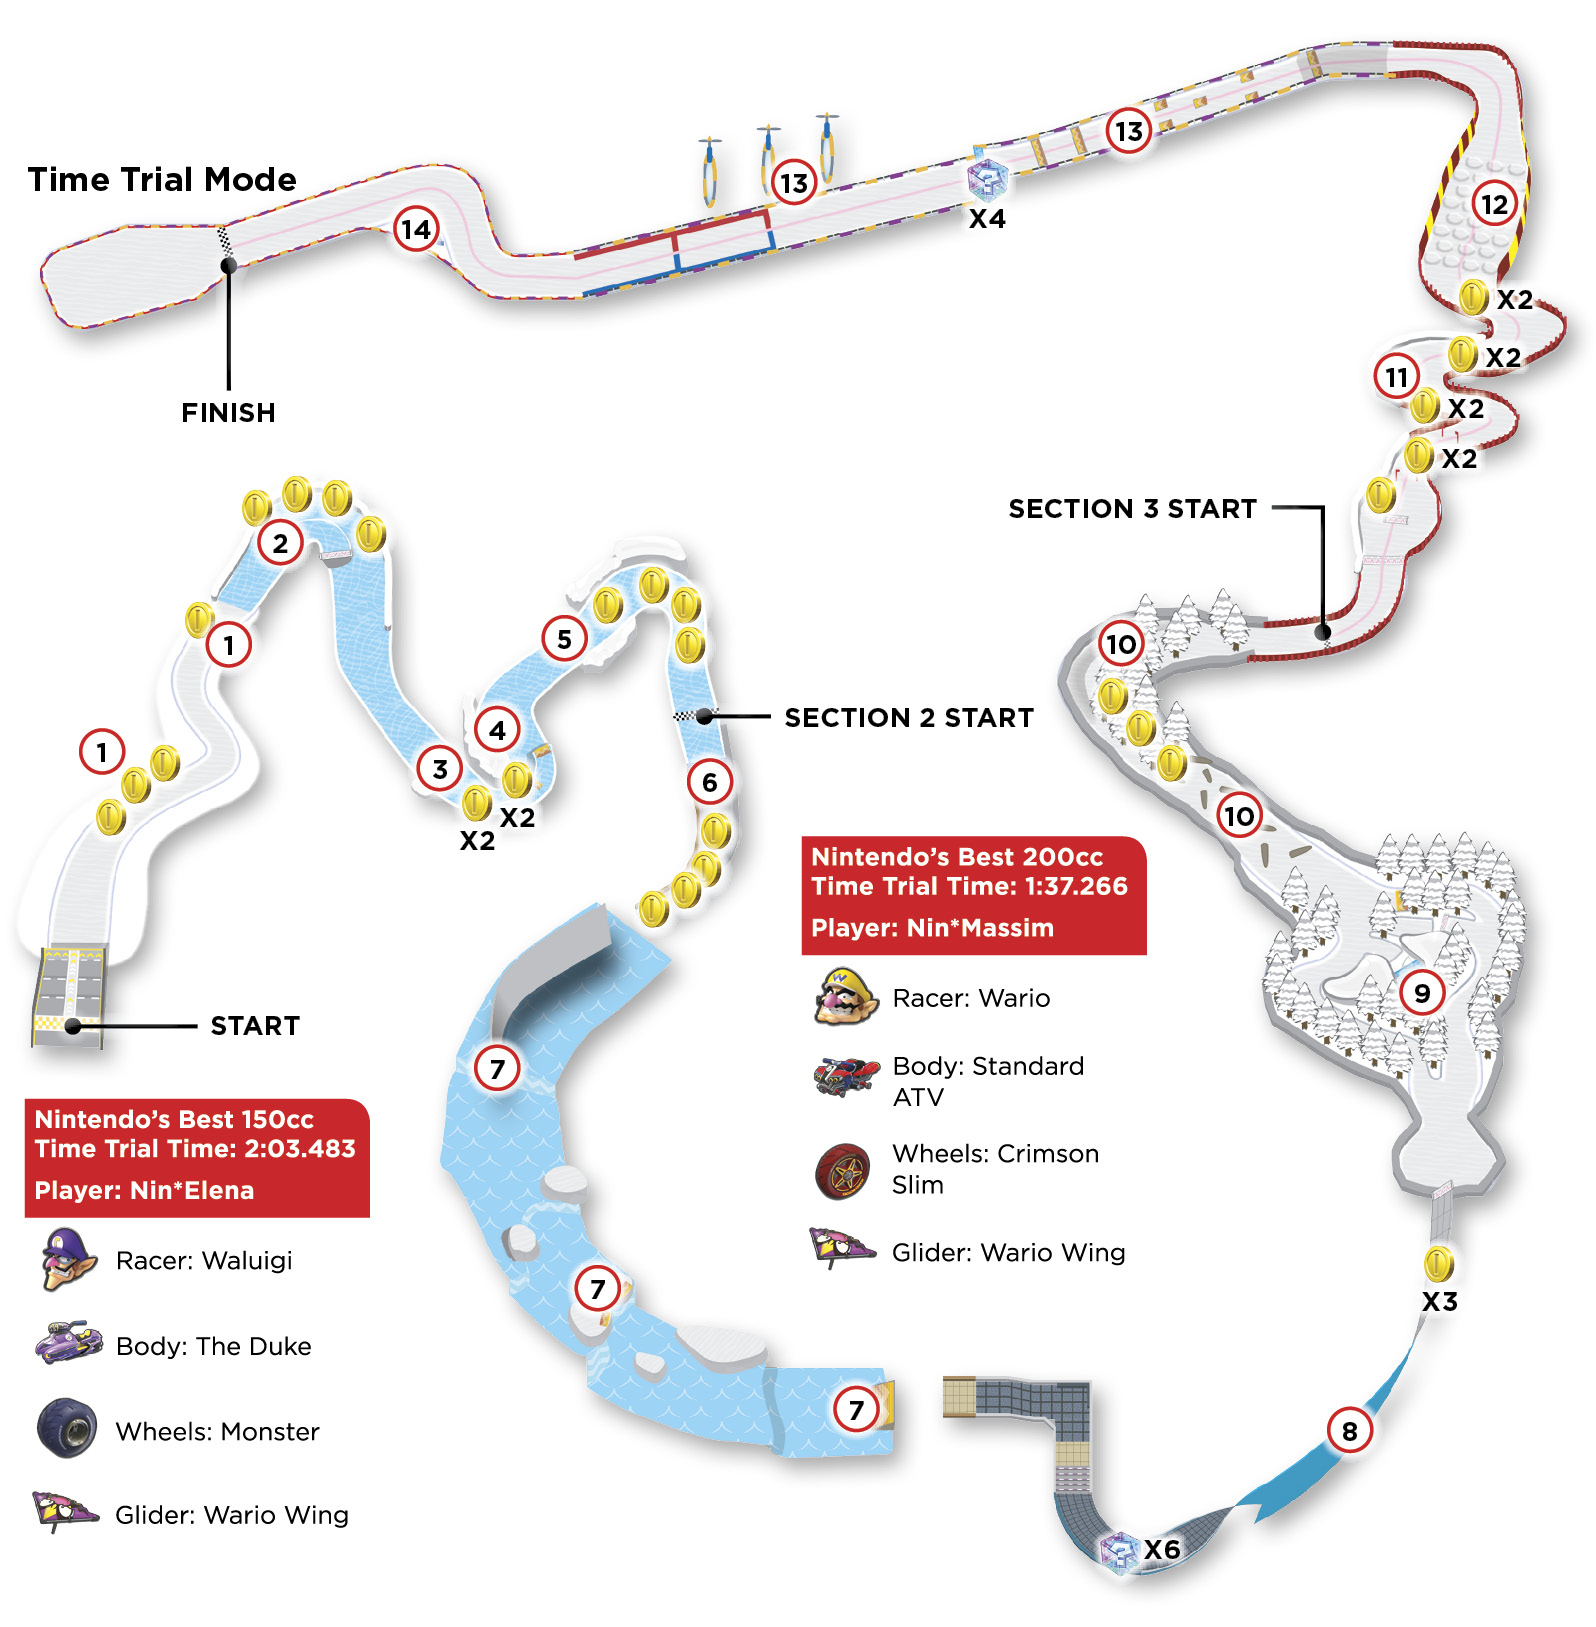
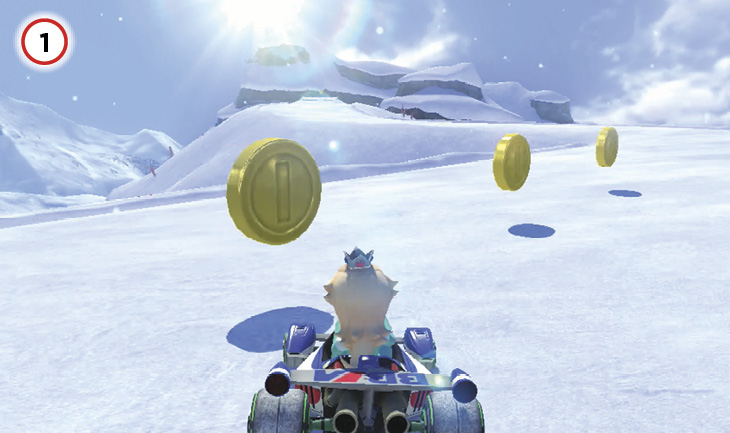
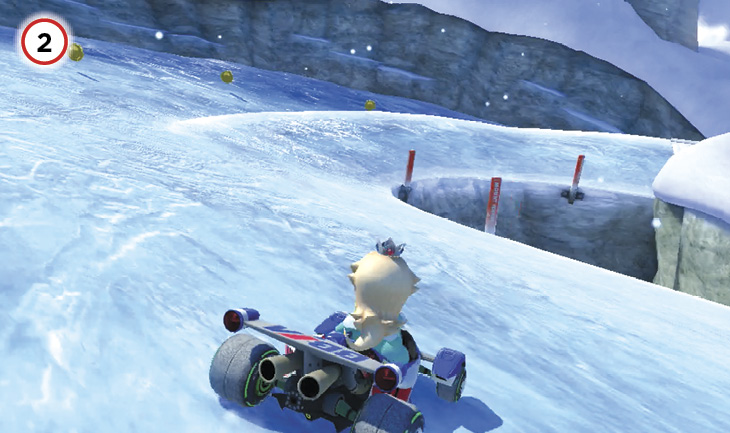
Right after dropping from the airship, it seems obvious to collect the three Coins on the track. Instead, collect only the one in the rear while boosting over the rough terrain, aiming for the ramp at the center of the track just ahead. The ramp itself has another Coin you can collect.
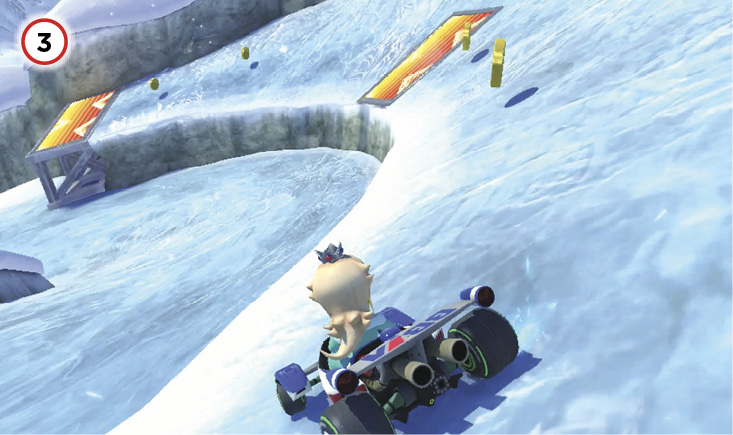
There are four Coins on the outside track of the first major turn here, but the ice makes it tough to collect them all. It’s best to just cut the corner tight on the upper path, and Jump Boost off the ramp to save time.
Here is another split in the track, with four more Coins on the longer upper route. However, the dash panels there can offset the time difference between the inside and outside lines, and you need the Coins after passing up so many others.
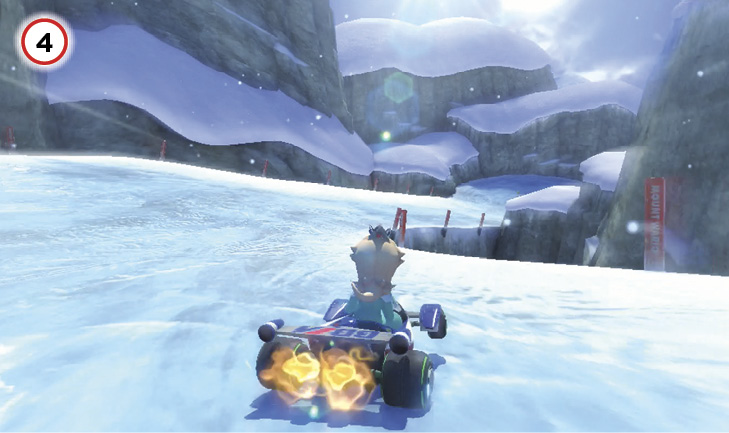
This is a surprisingly tricky transition from the dash panels and ramp from the second turn onto a straightaway. You’ll want to already be drifting to the right so you can Mini-Turbo to safety if necessary.
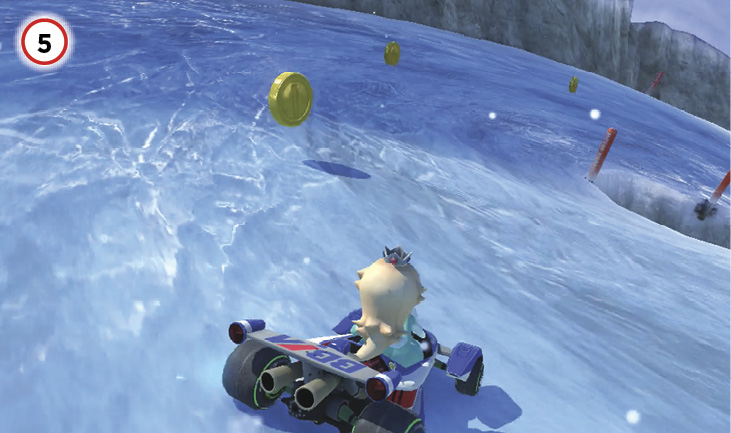
Another tough turn, back to the right. Four more Coins line the center of the track, though once again the ice will be working against you. It might be faster to skip the Coins on this turn and stay on the inside of the track.
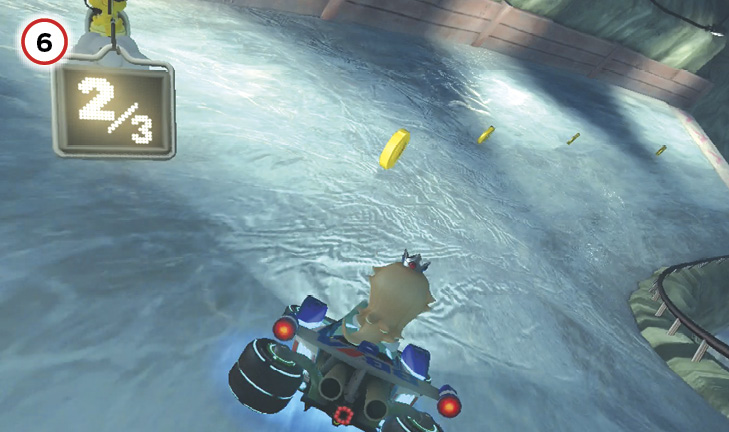
Stay centered as you enter the cave for the second track section to collect four more Coins. It is entirely possible to be at ten Coins at this point in the Time Trial.
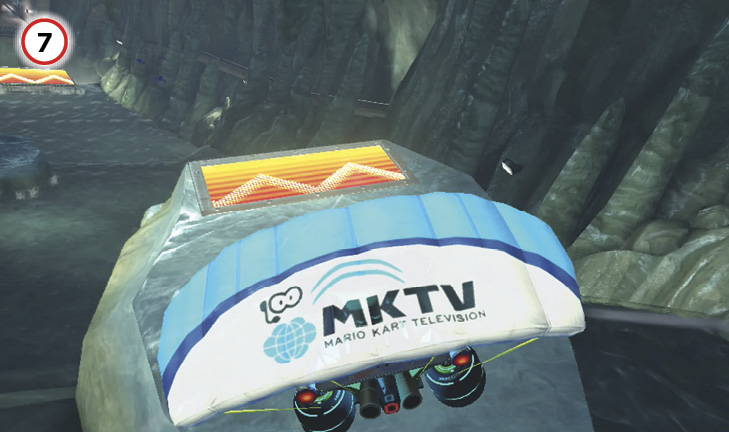
Take advantage of the dash panel ramps inside the cave in order to maintain your speed, and Jump Boost off any ledges or ramps to drive over.
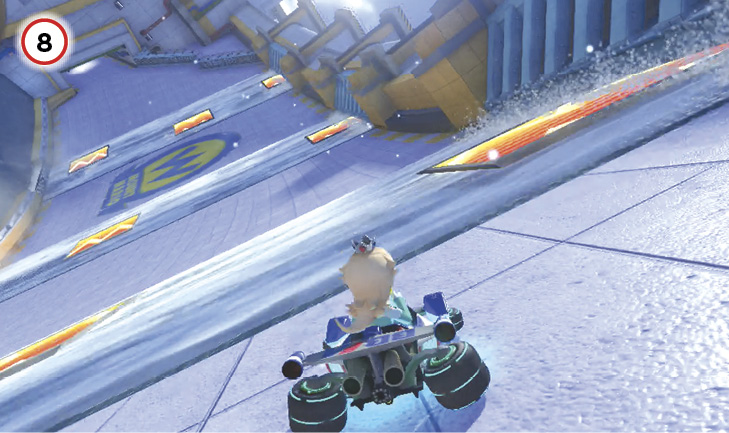
When driving along the walls of Wario Dam, make sure you start high on the dam to catch the dash panels on the waterfalls as you drive toward the exit of the dam. Ideally you can catch a boost on three panels.
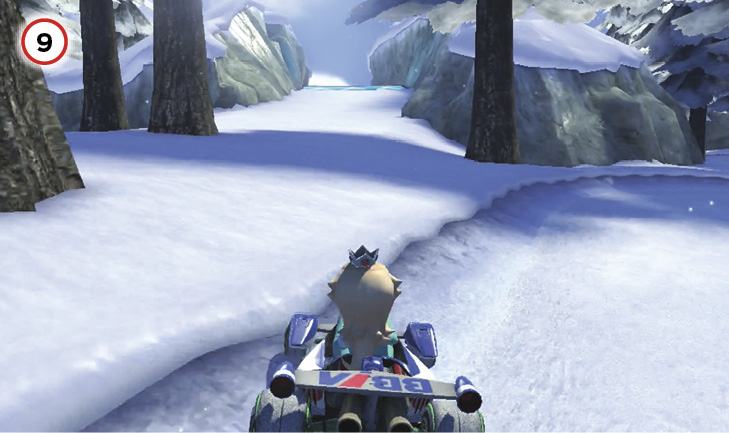
After exiting the dam, don’t miss a chance to use a Mushroom to climb up this hill behind the trees so you can use a glide ramp to bypass more complex parts of the course. Just watch out for trees as you glide back toward the ground!
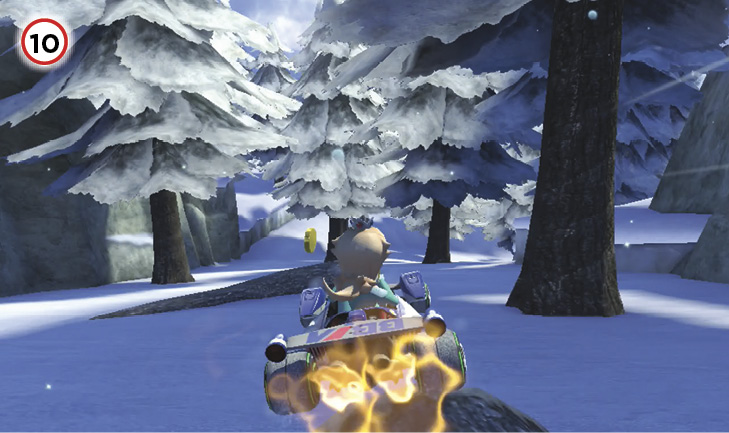
When racing past these logs, start guiding yourself toward the right side of the course. Cutting the next turn leading into the third and final section of the course will require some very precise driving and drifting between trees in order to avoid getting stopped cold!
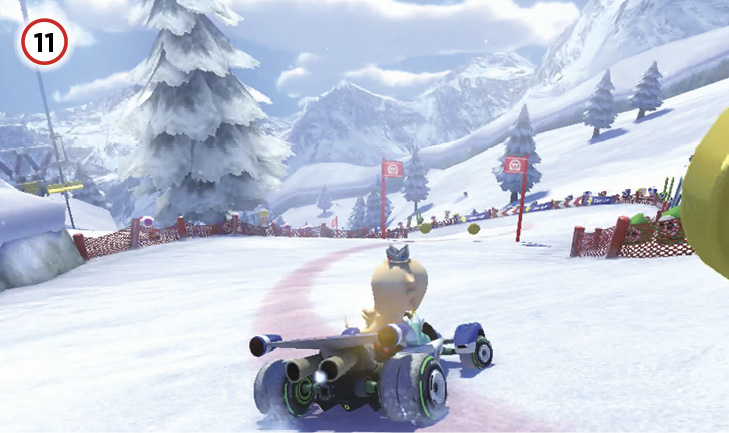
The downhill slalom is best navigated by trying to keep tight inside each turn. If you drift out too wide, you’ll lose time even with a Mini-Turbo.
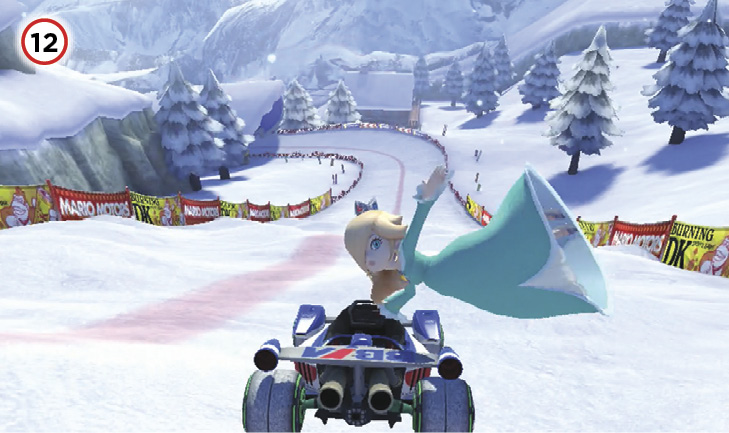
Jump boost on every mogul you can on the way down toward the final stretch. Just be sure you don’t ignore the upcoming turns that follow!
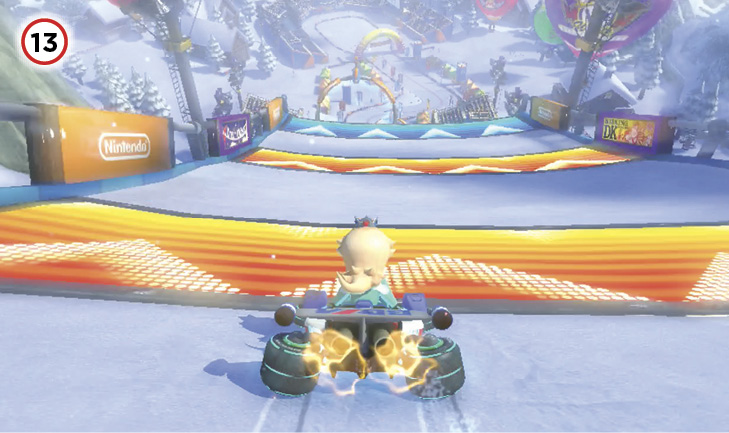
You need to hit seven dash panels on the way down toward the final glide ramp if you want to keep a good pace. After gliding through the rings, get back down to the snow to prepare for the final shortcut!
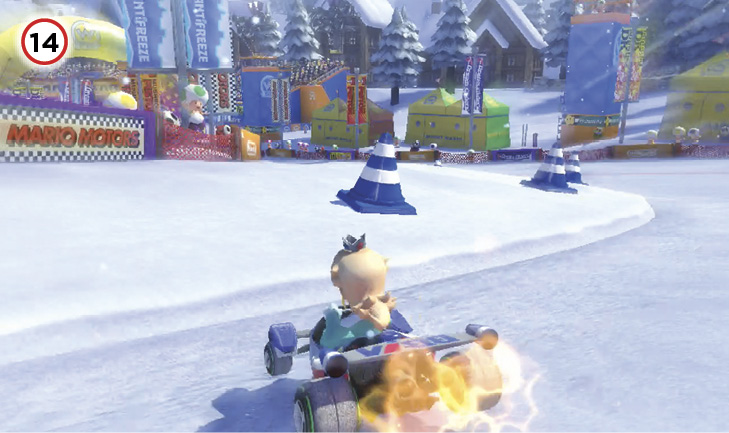
Mushroom boost across this snowy hill to cut one last corner and drive on toward the finish line!