
Mario Kart 8 Deluxe Guide How To Drive
Driver’s Manual
Mario Kart 8 Deluxe can be played many different ways, whether the console is docked or on-the-go. Players can choose to use sideways Joy-Con, either with wrist straps or racing wheels attached. Or Joy-Con (L) and (R) can be used together (whether when holding the console like a portable system, or holding the Joy-Con loose upright in Wii-style “nunchuck” fashion, or connected via the Joy-Con grip). And of course there’s also the Pro Controller to consider. And all of these allow for gyroscopic steering control, if desired. Play how you want, where you want.
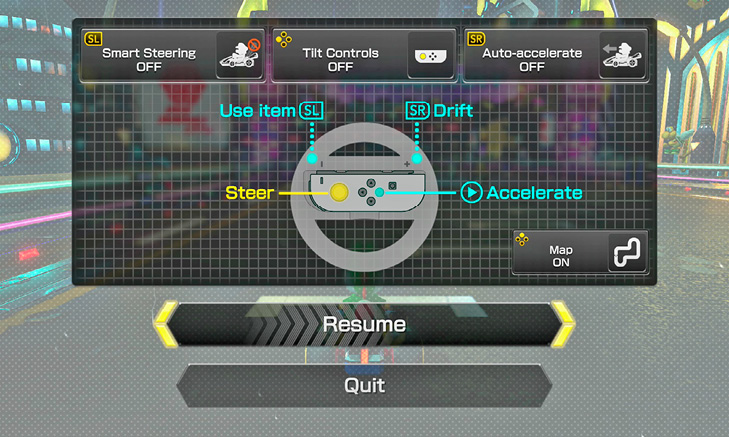
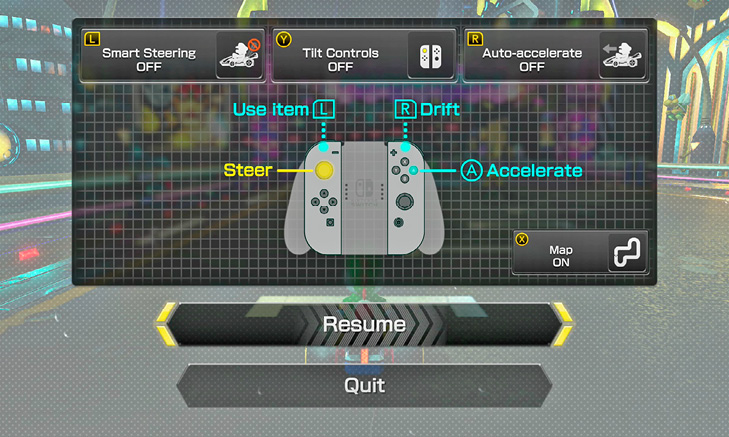
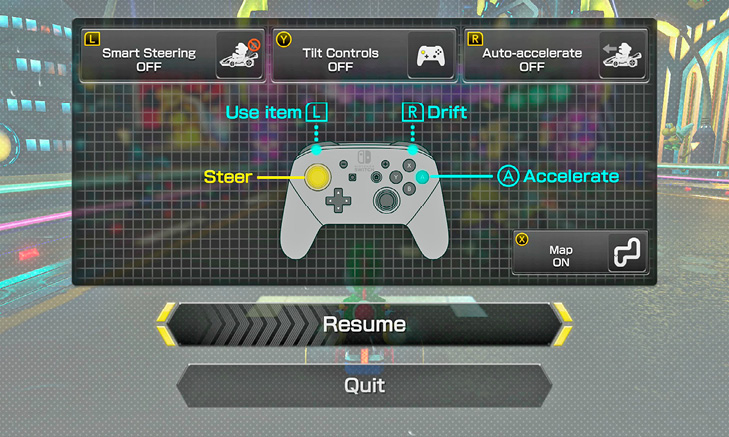
There’s even more flexibility than pictured.
In any config, the X button (or where X would be, in the case of sideways Joy-Con) gives you a rear-view behind your racer.
While A is the main acceleration button, Y will accelerate too, if you prefer that button position. With Joy-Con (L) and (R) together, or a Pro Controller, the right analog stick can also be used as your throttle control. If you prefer digital steering to analog, you can also steer on the Pro Controller using the +Control Pad, or using the directional buttons on an upright Joy-Con (L).
When using a single sideways Joy-Con, digital directional-button steering obviously isn’t an option, nor right analog throttle control. And keep in mind that, although your buttons won’t be labeled correctly compared to a Pro Controller or an upright Joy-Con (R), the functions of the relative button positions stay the same.
Driving Techniques
There are a number of special techniques outside of “Keep Accelerating, Steer As Necessary” that are essential to success in Mario Kart 8 Deluxe.
Rocket Start
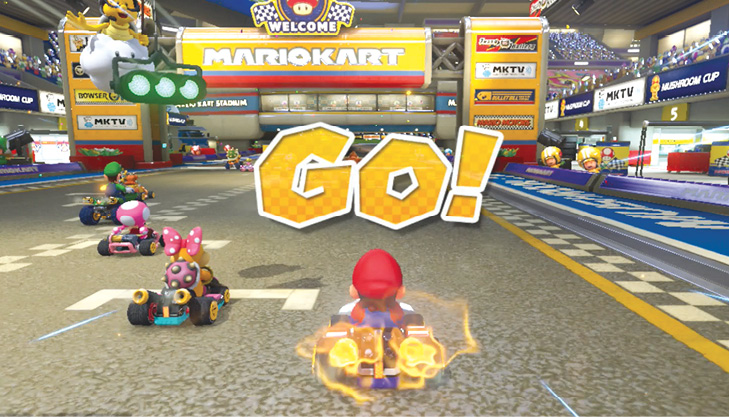
Timing a perfect Rocket Start can determine the whole nature of a Grand Prix race’s first lap, and this technique is essential for posting record-breaking Time Trials. Pay attention to Lakitu’s countdown, and begin accelerating immediately after the “2” appears onscreen, accompanied by a tone. Properly done, you’ll rocket off the line with a Mushroom-like boost. If you begin accelerating too soon, as the tone sounds and the 2 appears, rather than just after, you’ll stall at the starting line.
Braking
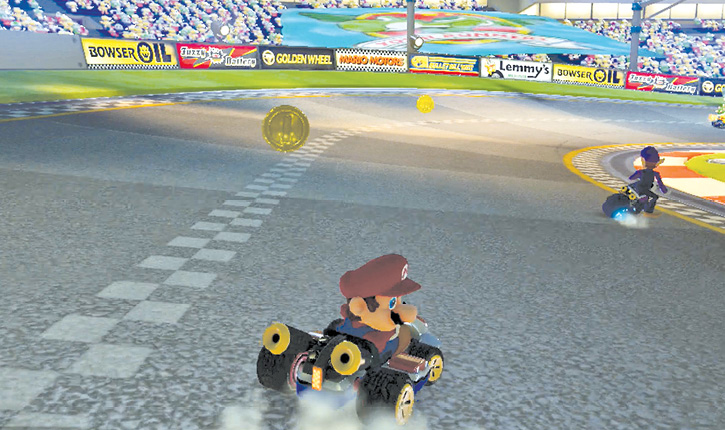
Braking is under-appreciated! If it seems like you’re about to go out of control and hit a wall or an obstacle on the track, by tapping the brakes you can regain some maneuverability to get away from danger—at the cost of speed.
An advanced technique called Drift Braking, which is useful mainly during 200cc races, involves applying the brake during sparking drifts—enough brake to slow the lateral movement of the drift and keep the car on-track, but not so much brake that the drift dissolves into a mere slow turn. This technique is paramount to 200cc race success, can be helpful on the nastiest corners in 150cc races, and can be disregarded at the 100cc level or lower.
Jump
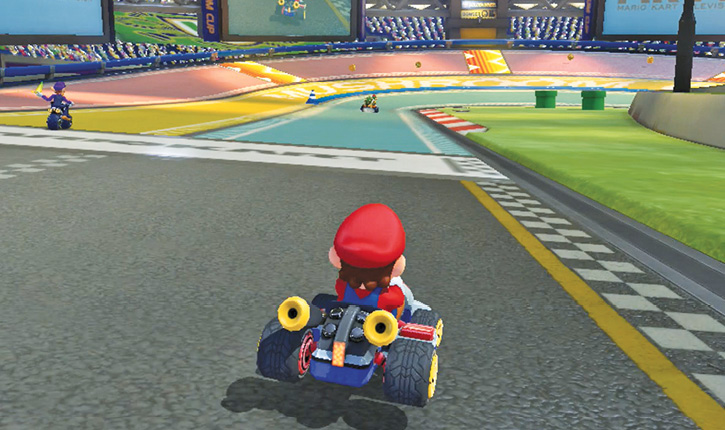
The drift button doubles as a jump button. Jumping won’t take you over items on the road, but it can lift you over small gaps in the road. You can cut corners that overlook bottomless pits this way, but it can be quite risky to try.
Drift
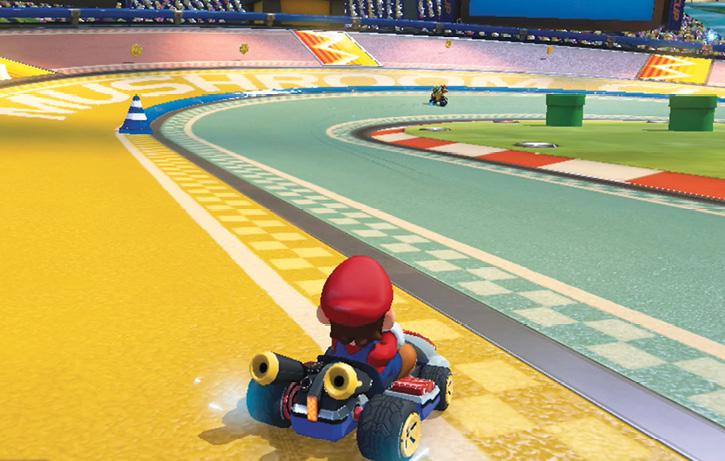
Drifting allows you to tackle turns without losing speed. To enter a drift, point the nose of your vehicle into a turn, then hold R. The vehicle will hop into the turn, lose traction, and continue sliding with the same inertia as before, though the nose is pointed inward. The sharper your vehicle’s nose is turned in while drifting, the faster you’ll build up blue sparks, then orange, and eventually purple, allowing you to set off a Mini-Turbo, or a Super/Ultra Mini-Turbo. When R is released to activate a built-up turbo boost, traction is suddenly restored and the vehicle will cease lateral travel and surge forward toward where the nose is pointed. Note that the various vehicle chassis heavily affect how you drift.
Sparks and Mini-Turbo
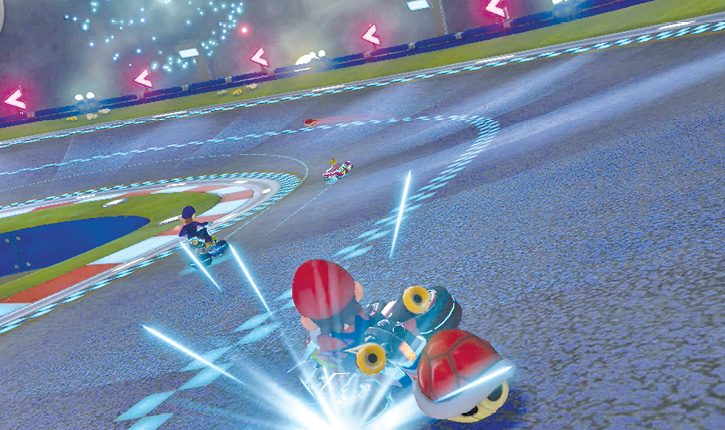
While drifting would be useful anyway for the way it lets you tackle turns, it’s even more useful for all the extra speed it can create. As you sustain a drift, sliding sideways through a turn while pointing the nose inward, sparks will begin to build up under the tires. Releasing a drift once sparks are happening results in a Mini-Turbo boost! It should soon become second-nature to be drifting into Mini-Turbo boosts off of most turns, only resorting to standard turn-and-brake cornering if the turn is too sharp or short for a solid drift, or the kart isn’t going fast enough to initiate a drift (like after eating an enemy’s item or smacking a wall).
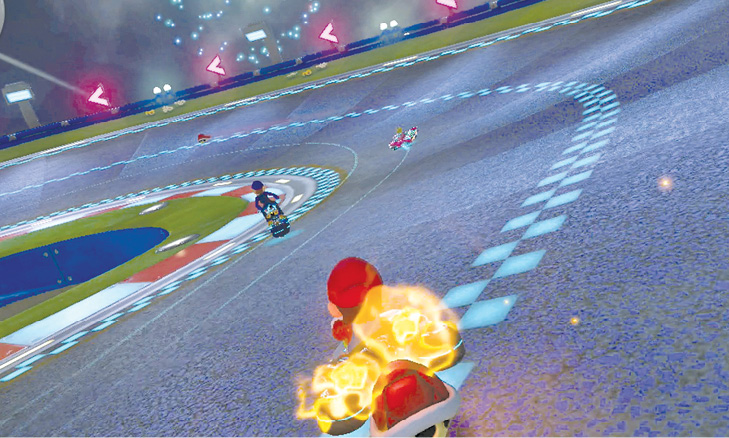
The color of the sparks indicates how long the drift has been held, and how powerful the follow-up boost will be. Drift until blue sparks appear for a Mini-Turbo boost. Drift even longer for orange sparks, leading to a Super Mini-Turbo, which lasts about twice as long as a Mini-Turbo. On the longest turns, you can even drift long enough to build up to purple sparks, resulting in an Ultra Mini-Turbo boost, basically a free Mushroom! (However, unlike a Mushroom, it’s important to note that Mini-Turbos won’t carry you through off-road terrain like Mushrooms will.)
Purple sparks can only occur if Steering Assistance is disabled. It’s not automatically better to hold a drift longer just to achieve orange or purple sparks—this can result in a risky or inefficient line, as you slide into the far walls of a turn trying to hold out for the next level of Mini-Turbo when basic blue sparks would’ve sufficed. Holding a drift longer for better turbo can make your movement more predictable in turns, leaving you open to item attacks or drafting. Use whichever level of Mini-Turbo gives you the best racing line in a given moment.
Jump Boost
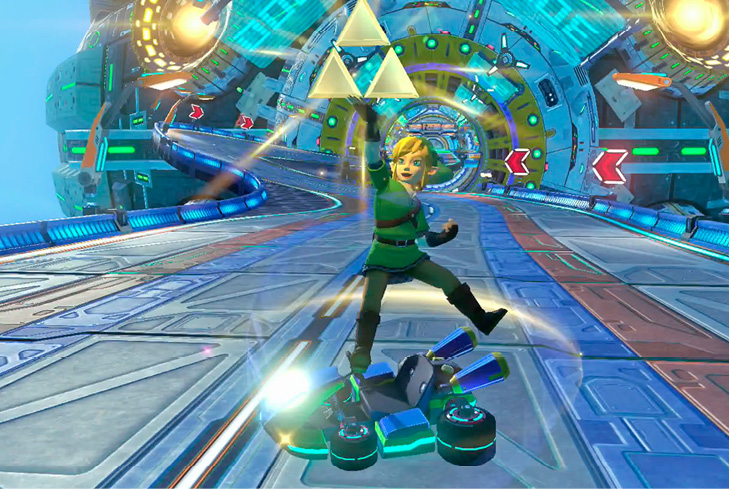
By jumping just as you hit a ramp of some kind, you’ll perform a Jump Boost, which will give a short burst of speed. You can determine the trick your racer executes by pressing a direction on your analog stick or control pad. There are lots of things on every race course that you can Jump Boost off of, even if it doesn’t look obvious. Examples include coming over small hills, lips, or shelves in the track, so your vehicle gets a little more loft than an R button hop—a slight drop gives an opening for a Jump Boost just like a small jump does.
Drafting
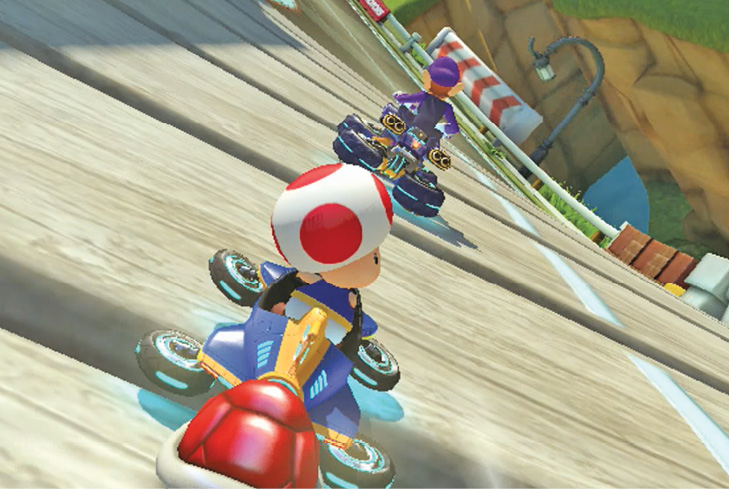
If you stick behind a racer for a short period of time, you’ll gain a significant burst of speed by riding their slipstream. Drafting can be tough to pull off, as most racers will simply not let you stay behind them without a fight. Make sure you don’t accidentally run into any items a rival might be trailing when trying to draft behind them!
Drafting is obviously opportunistically good, used when the opportunity presents itself to slide in behind an opponent and benefit from their wake, ultimately passing them. But it’s also cannily good toward the end of races when you’re neck-and-neck with another frontrunner. If you intentionally let them have first place, then hang in right behind them, not only will you be well-positioned to make a passing play at the end, but you’ll also be shielded if laggers trying to catch up fire a homing blue Spiny Shell at the frontrunner. While drafting in right behind someone barreling toward the finish line, keep a sharp eye out for any Spiny Shells circling above them, so you can ditch drafting them and swerve wide—Spiny Shells have splash damage. Finish your plate, don’t come this far in your plan just to also take the hit!
Of course, this strategy harbors the obvious risk that maybe no one fires a Spiny Shell at the frontrunner, and maybe you fail to pass them with the slipstream boost, and you come in second on the power of being too clever by half. But, on the other hand, had you simply raced all-out and taken the lead on racing merit against your 1-2 rival, and then someone fired a Spiny Shell…
Ramming
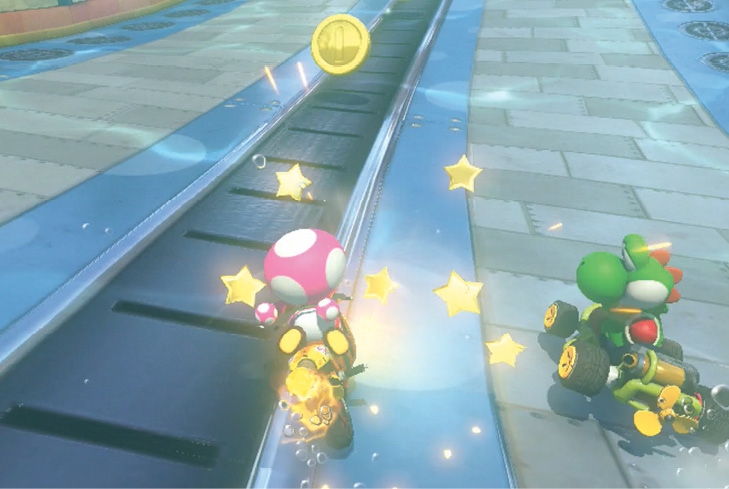
There’s no special button to press when you want to ram an opponent—just steer into them! Heavyweight racers can typically run any other racer off the track with a few good bumps. But with enough speed, even the lightest racer is able to push aside heavier rivals.
Spin Boost
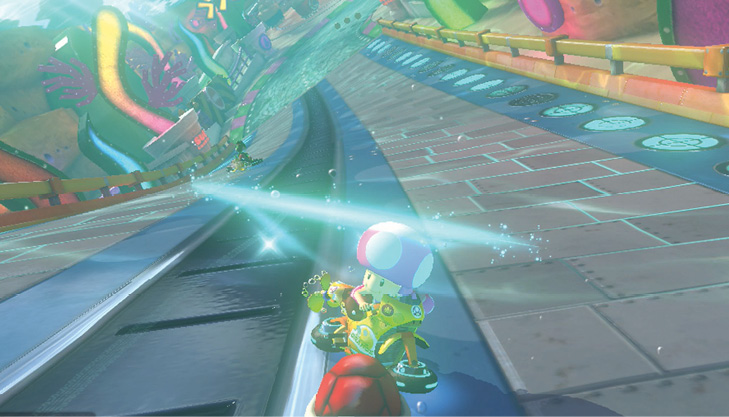
While driving on antigravity portions of a track, ramming racers will reward you with a Spin Boost. The increase in speed does come at a cost: steering can be a challenge while caught in a Spin Boost. You can also trigger a Spin Boost by driving into a Spin Boost pillar.
Don’t be afraid to apply the brakes briefly but firmly during a Spin Boost if you’re drifting or sliding wide on the track. It’s a lot better to get your kart back under control, at the risk of being a little conservative in play, than it is to get greedy or out-of-control and smack the wall or fly off the track, losing time, position, and Coins to boot.
Spin Turn
This is a technique mostly reserved for Battle Mode. If you come to a complete stop and then hold brake and accelerate, you can turn in place quickly. This is a good way to reverse direction to try and ambush racers that you know are closing in. But you should never really have need to Spin Turn during a standard race, unless you have no other way around an obstacle you’re stuck against.
U-Turn
The U-Turn is a special technique allowed only in Battle Mode! To U-Turn, commence a drift. While you drift, let go of the accelerate button to whip your racer around to face anyone closing in from behind. This move lets you stay mobile, and allows you to better aim any ranged items you have rather than blindly firing them behind you and hoping for the best.