
Halo 3 Guide Walkthrough Walkthrough
Mission 1: Sierra 117
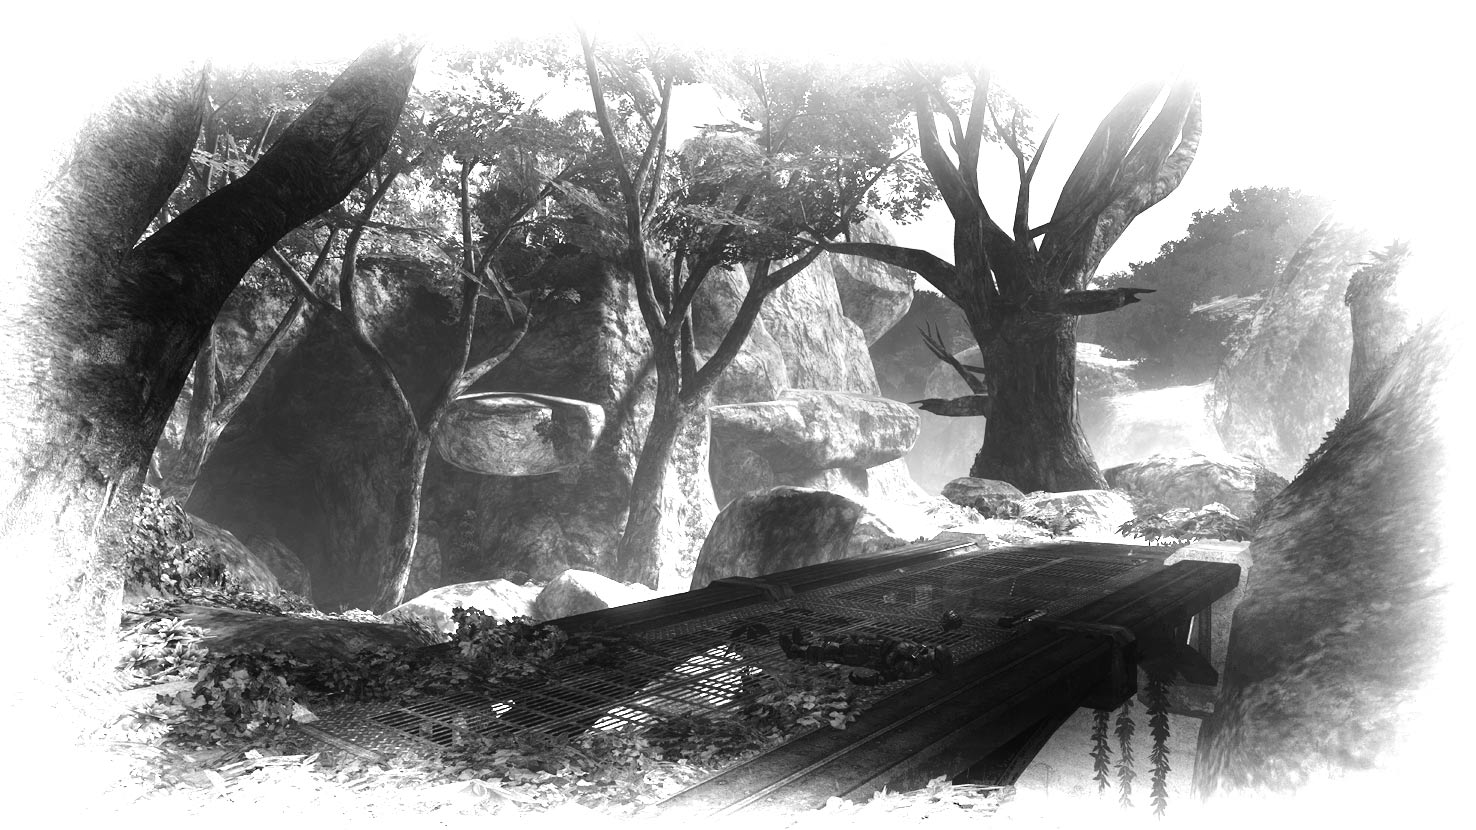
Sierra 117 I
A: First things first: your Assault Rifle is of relatively little use against this Brute or, indeed, his entire species, on Legendary. You may as well be pelting him with spitballs, or harsh language. You’ll need to expend at least an entire clip at close range to destroy his power armor, while simultaneously dodging incoming fire. It’s much better, then, to leave habits acquired on Normal (or even Heroic) behind and learn to love one of the tools that will keep you alive on Legendary: the humble yet deceptively powerful Plasma Pistol.
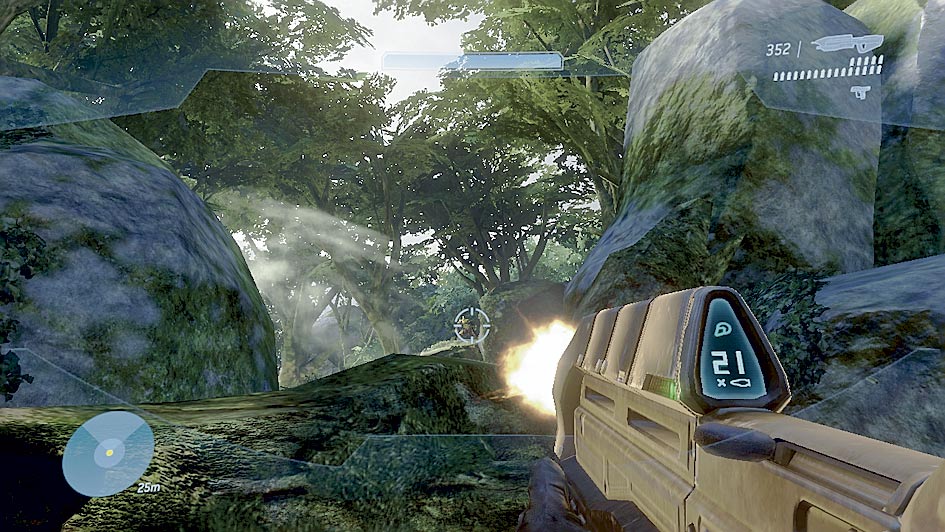
As soon as you vault over the natural barrier, take cover by the fallen tree and use your Assault Rifle to kill a few Grunts as they come into view. Switch to your Magnum, quickly grab one of the Grunt’s Plasma Pistols to dual wield with it, then immediately prepare a charged shot to blow the Brute’s power armor. You should aim to finish him off with a Magnum headshot immediately, but if there are plenty of Grunts around, it may be safer to duck straight back behind cover. Use your Assault Rifle to begin clearing the area. Note that grenades are used by enemies and allies alike from the first encounter on Legendary. Be vigilant, and steer well clear of explosions.
B: Meanwhile, two Phantoms will deploy Brutes and Grunts further along the riverside, so take cover until they depart. At this point, you should begin to notice enemy behaviors that were perhaps less apparent on other difficulty settings, particularly their tendency to pull back to more defensible positions once the tide of battle begins to turn against them. Over the first waterfall, pop the single Brute’s power armor with a charged Plasma Pistol shot, then – carefully – dispatch him with a headshot. (This is by far the best way to kill Brutes at this point, so we’re going to assume that you’ve got the message now.)
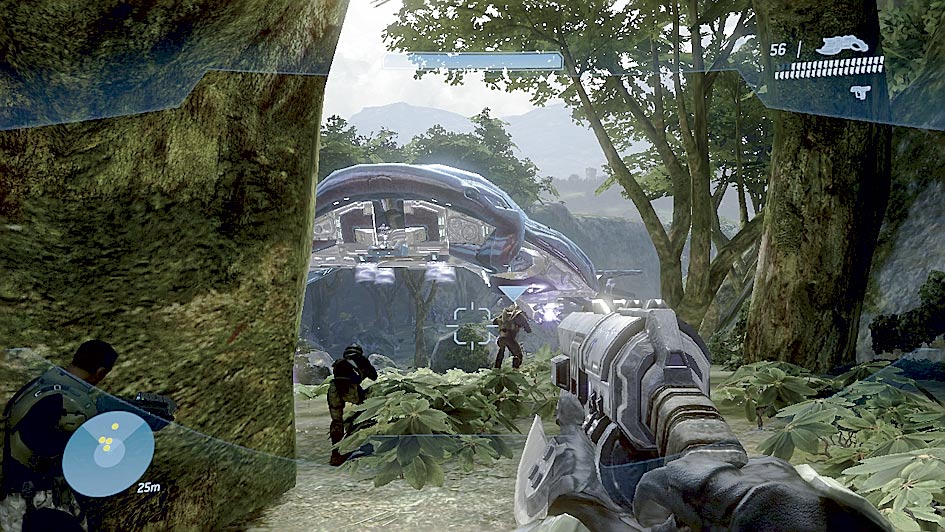
Move forward cautiously: there are numerous Grunts and two more Brutes along the river’s edge. You can swap your Assault Rifle for a Brute Shot to deal with the former quickly from range, and there is a ready supply of Plasma Pistols to help you beat the latter.
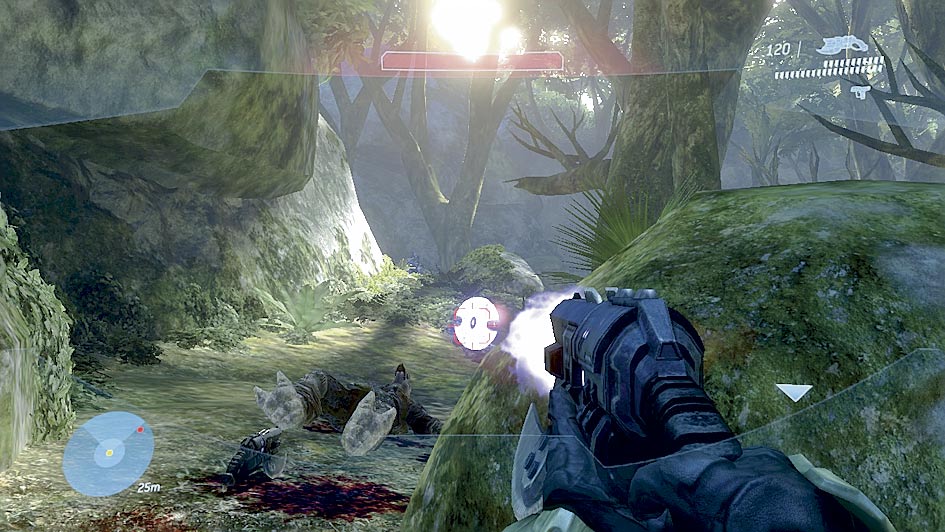
C: Grab a Carbine from the dispenser and make your way up to the ledge overlooking the Grunt Camp. There are Jackals with Carbines here (which can sometimes include one to the very far right – you can only see him before dropping down if you stand beside the Arbiter), so deal with those first, then set about killing every Grunt you can find. The Covenant troops will take cover or even withdraw, but don’t be tempted to sacrifice your excellent vantage point just yet. Lastly, kill the shield-wielding Jackals. It may take more shots than usual to dispatch them from this range (remember, you should ideally shoot for the embrasure on their shields to make them stagger, then follow up with an immediate headshot), but you certainly won’t be short of ammunition here.
The remaining members of the Covenant force (particularly the Brutes) will usually retreat to the top of the slope on the far side of the camp, though they will be less inclined to do so if you have kept some Marines alive. Replenish your supply of Carbine ammo, then make your way to the opposite side of the shallow pool. If there is a Jackal marksman on the high ledge to the right and you didn’t kill him earlier, you’ll probably notice a succession of searing yellow reminders heading your way any time now. The surviving Covenant troops will either have foolishly backed themselves into a corner near the point where the path upwards turns to the right, or be spread thinly on the slope if there are Marines accompanying you. This is a good opportunity to have fun with a Needler. Once you’ve cleared the area, take a Plasma Pistol to dual wield with your Magnum (with a Carbine in reserve) before you continue.
Sierra 117 II
D: As a point of interest, note that you can save the Marine from the Brute – just hit the latter with a charged Plasma Pistol shot, then follow that up with a quick headshot with a Carbine. If you use a Needler instead, don’t forget that the explosion will also hurt the Marine. There is a Jackal marksman here, so you’ll need to be quick.
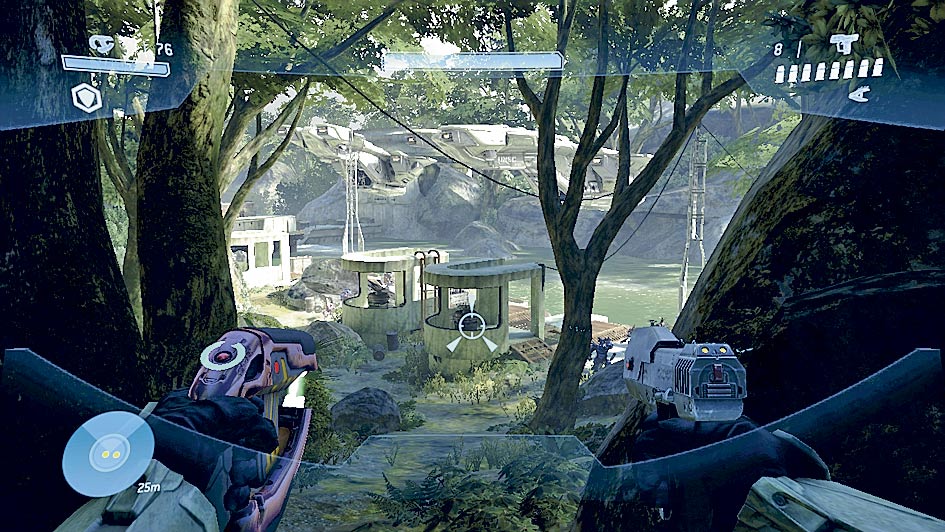
E: Over the tree bridge, you’ll encounter a force of Grunts and Jackals (including at least one marksman), with a Brute loitering with intent further on. In the cave to the left (watch out for the trio of Grunts that emerge) you’ll find a Battle Rifle and Magnum ammo next to the fallen Marines. Again, take a Plasma Pistol to accompany your Magnum, then look to collect more Battle Rifle ammunition and Frag Grenades from beside the Marines’ corpses as you follow the path.
F: The sub-station area is the stage for one of those large, free-form battles that the Halo series is famous for – there’s plenty going on, and you can approach it in a number of different ways. The most practical solution, though, is to attend to targets in the order of the danger they pose to you.
Priority 1: Run to the right and kill the Brute there. Deal with all Grunts in the immediate vicinity, and the Jackals with Carbines on top of the low buildings.
Priority 2: Look for (and kill) the Jackal snipers on the far side of the river. However, note that the Battle Rifle isn’t very accurate or effective at this range. Sometimes, one shot each will suffice; on another day, you may need to expend the best part of an entire clip to kill them.
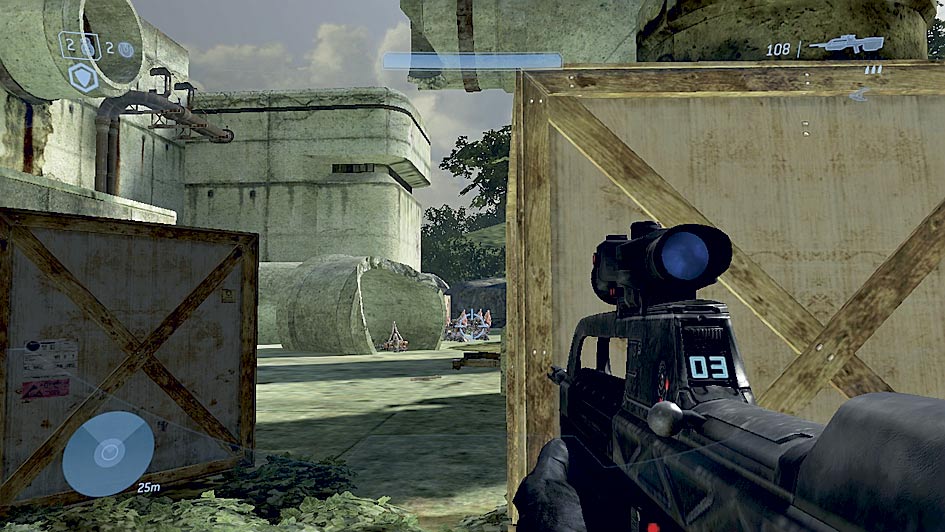
Priority 3: While avoiding fire from incoming Phantoms, use the Battle Rifle to pick off any Grunts you can see at the far end of the area; you should also be able to spot another couple of Jackal snipers armed with Carbines. Brutes (possibly accompanied by Grunts) may or may not move forward to attack you here; either way, it pays to have grenades or a Plasma Pistol at the ready just in case. You can find Battle Rifle ammunition and a Machine Gun Turret (which isn’t available on Normal) beside the river, though the latter is unsuited to this battle – it’s difficult to dodge grenades and Brute Shot blasts when carrying it.
G: Once the lower portion of the sub-station area is clear, cautiously move around to the path that leads to the back of the concrete platform. There are two Jackals with shields to deal with and, as you round the corner, up to three snipers armed with Carbines (unless you espied and shot them earlier). While using your Battle Rifle to pick off nearby Grunts, have a Plasma Pistol at hand to quickly deal with any Brutes that approach.
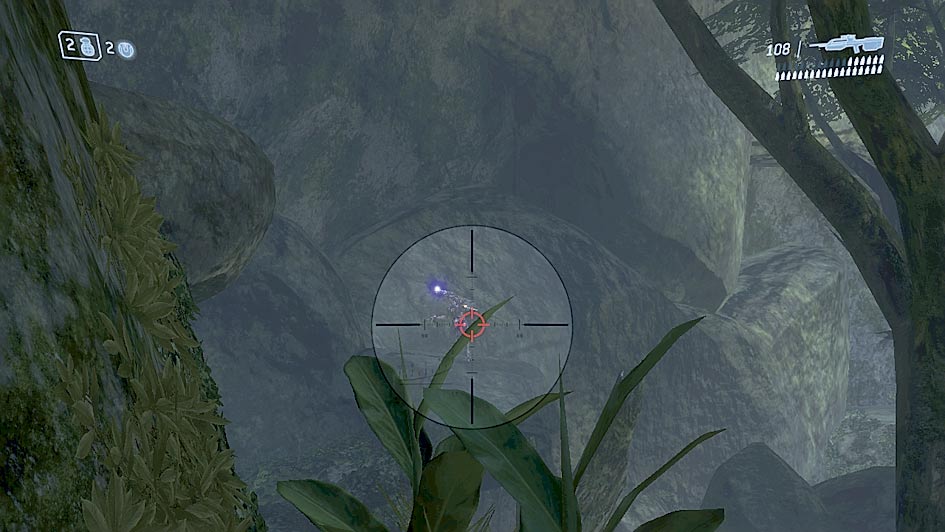
The remaining Brutes and Grunts tend to pull back to a more defensible position on top of, and around the base of, a large rock next to the waterfall, unless you kill them quickly. They are potentially covered by a sniper with a Beam Rifle once they move there, so it can be beneficial to attack aggressively before they commit to an organized retreat. Stock up on ammunition (there’s a Battle Rifle near one of the concrete pipes) before continuing.
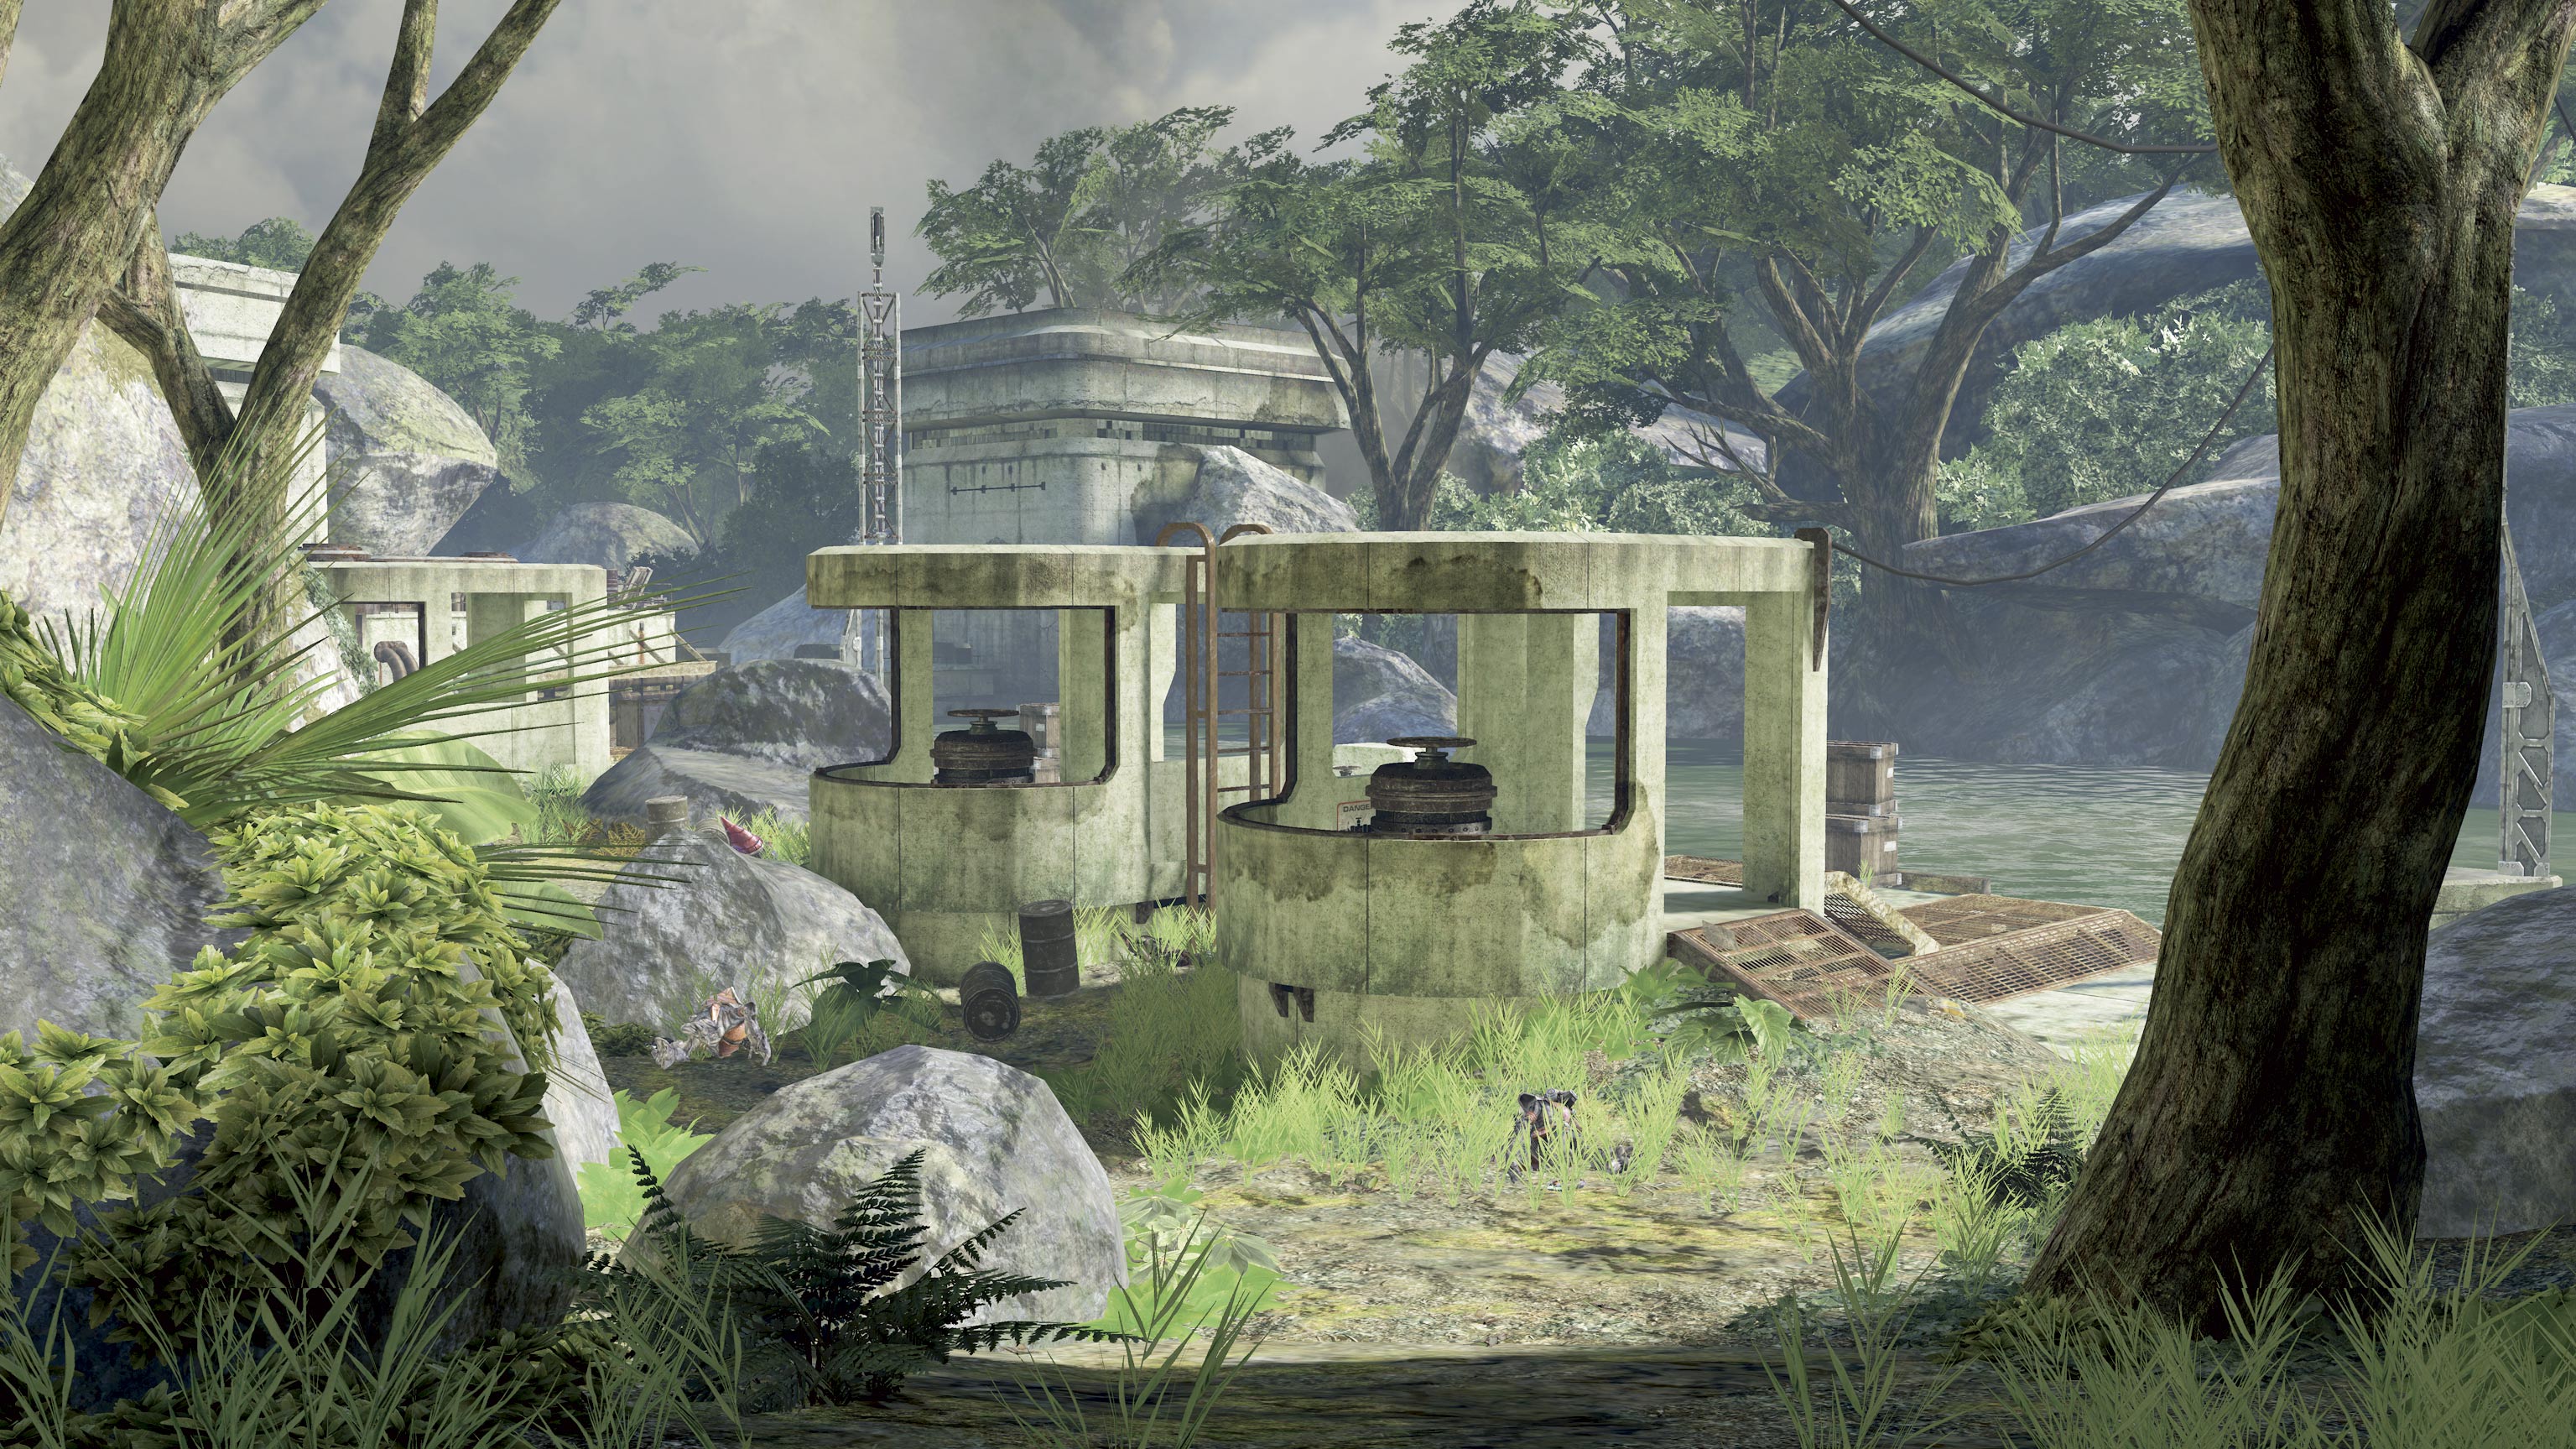
H: Everybody loves sniper duels (bar, perhaps, those wheezing through newly acquired puncture wounds in their chests), and this is a good one on Legendary. The majority of the Jackals here have Carbines, but there are also a few armed with Beam Rifles. You need to move slowly and carefully, identifying and neutralizing each target in turn as you scan the branches and gaps in the trees for the tell-tale purple glow that identifies each enemy. The Arbiter is a great help here, as you’ll find that he tends to draw their fire. Pick up a Beam Rifle as soon as you can find one, and watch out for the Jackal on top of the high cliff as you round the corner to the right – he’s difficult to spot in the glare of the sunlight. Collect a Carbine (and as much ammo as you can find) before you press forward.
Sierra 117 III
I: From the top of the slope on the right, use a Beam Rifle to pick off the Jackal snipers (there is usually one to the left and a few straight ahead; if you move over to the far left of the lower ledge, you should be able to see more to the right), and then switch to your Carbine to dispense with as many Grunts as you can find. Don’t drop down until you’re absolutely sure that you’ve killed all potential targets, including the small group waiting below (it will make the next part of the battle much easier). If necessary, retrace your steps to find more Carbine ammunition before continuing.
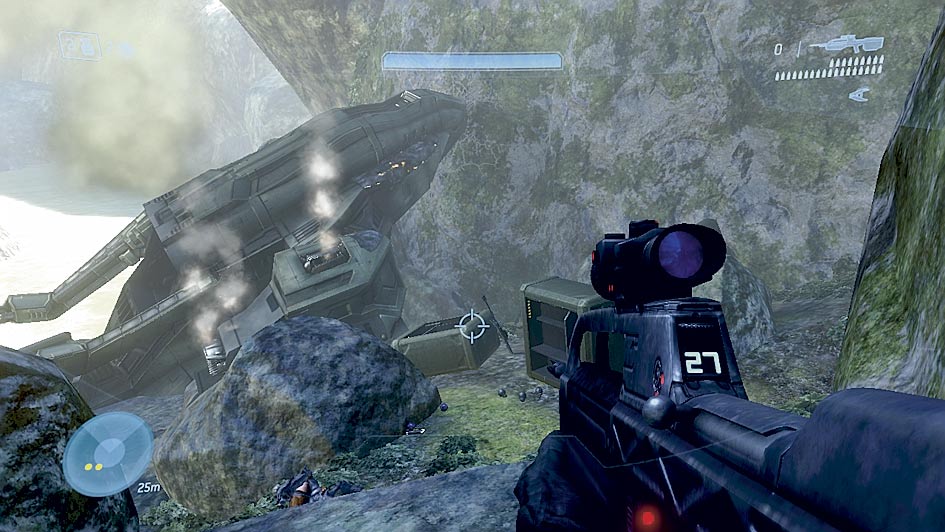
While watching for snipers – if you didn’t deal with them before, there may be one (perhaps two) in a tree, and definitely a third on the far ledge to the right – tentatively move forward to check for Covenant troops sheltering in cover. The rocky alcove to your left and the cave directly ahead are both regular hiding spots for Grunts and at least one Brute. You’re vulnerable to shots from above should there be anyone left alive up there, so watch for enemies on top of the cliff. Don’t press forward until the nearby Phantom departs – its turrets would tear you to shreds.
There should be one more Brute, and assorted Grunts, as you make your way around to the bridge, but don’t venture down to the crashed Pelican just yet. Collect grenades and suitably powerful weapons (such as a Needler), then head onto the bridge to trigger the arrival of Covenant reinforcements from the cave just beyond it. Having just passed a checkpoint, you shouldn’t find this battle too much of a challenge (there’s plenty of ammo in the vicinity). When the last enemy falls, head back to the Pelican to collect a Sniper Rifle and a Battle Rifle.
J: When the cutscene ends, immediately take a few steps back to avoid being seen by the ever-inquisitive eyes of Jackal snipers. If you’re patient and focus on accuracy and ammo conservation, saving the Sniper Rifle for Jackal marksmen and Brutes only, you can turn this potentially complicated battle into a simple mopping-up exercise. From your lofty vantage point, you should concentrate on the following tasks.
Priority 1: Taking care to avoid fire from the Covenant force below the cliff, kill every sniper you can find. Look on the roof just beneath you, on top of the building where Johnson is imprisoned, on the ledge on the large structure behind it, and on the low roof on the far right-hand side of the dam.
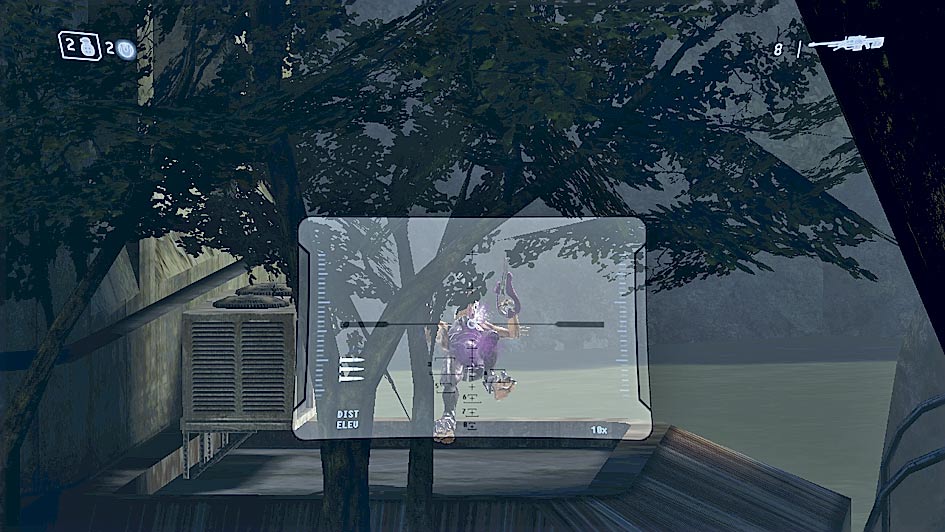
Priority 2: Use your Sniper Rifle to kill any Brutes firing from below, and your Battle Rifle to dispatch Grunts and Jackals with shields.
Priority 3: If you can get a clear shot, you can save yourself needless perspiration and swear box contributions by killing the Brute Chieftain on the bridge with your Sniper Rifle before you go any further. It shouldn’t take any more than three bullets aimed at his head to drop his shield and remove his helmet; you can even switch to your Battle Rifle for the killing shot. This will usually draw other Covenant troops from their hiding places – a very useful fringe benefit.
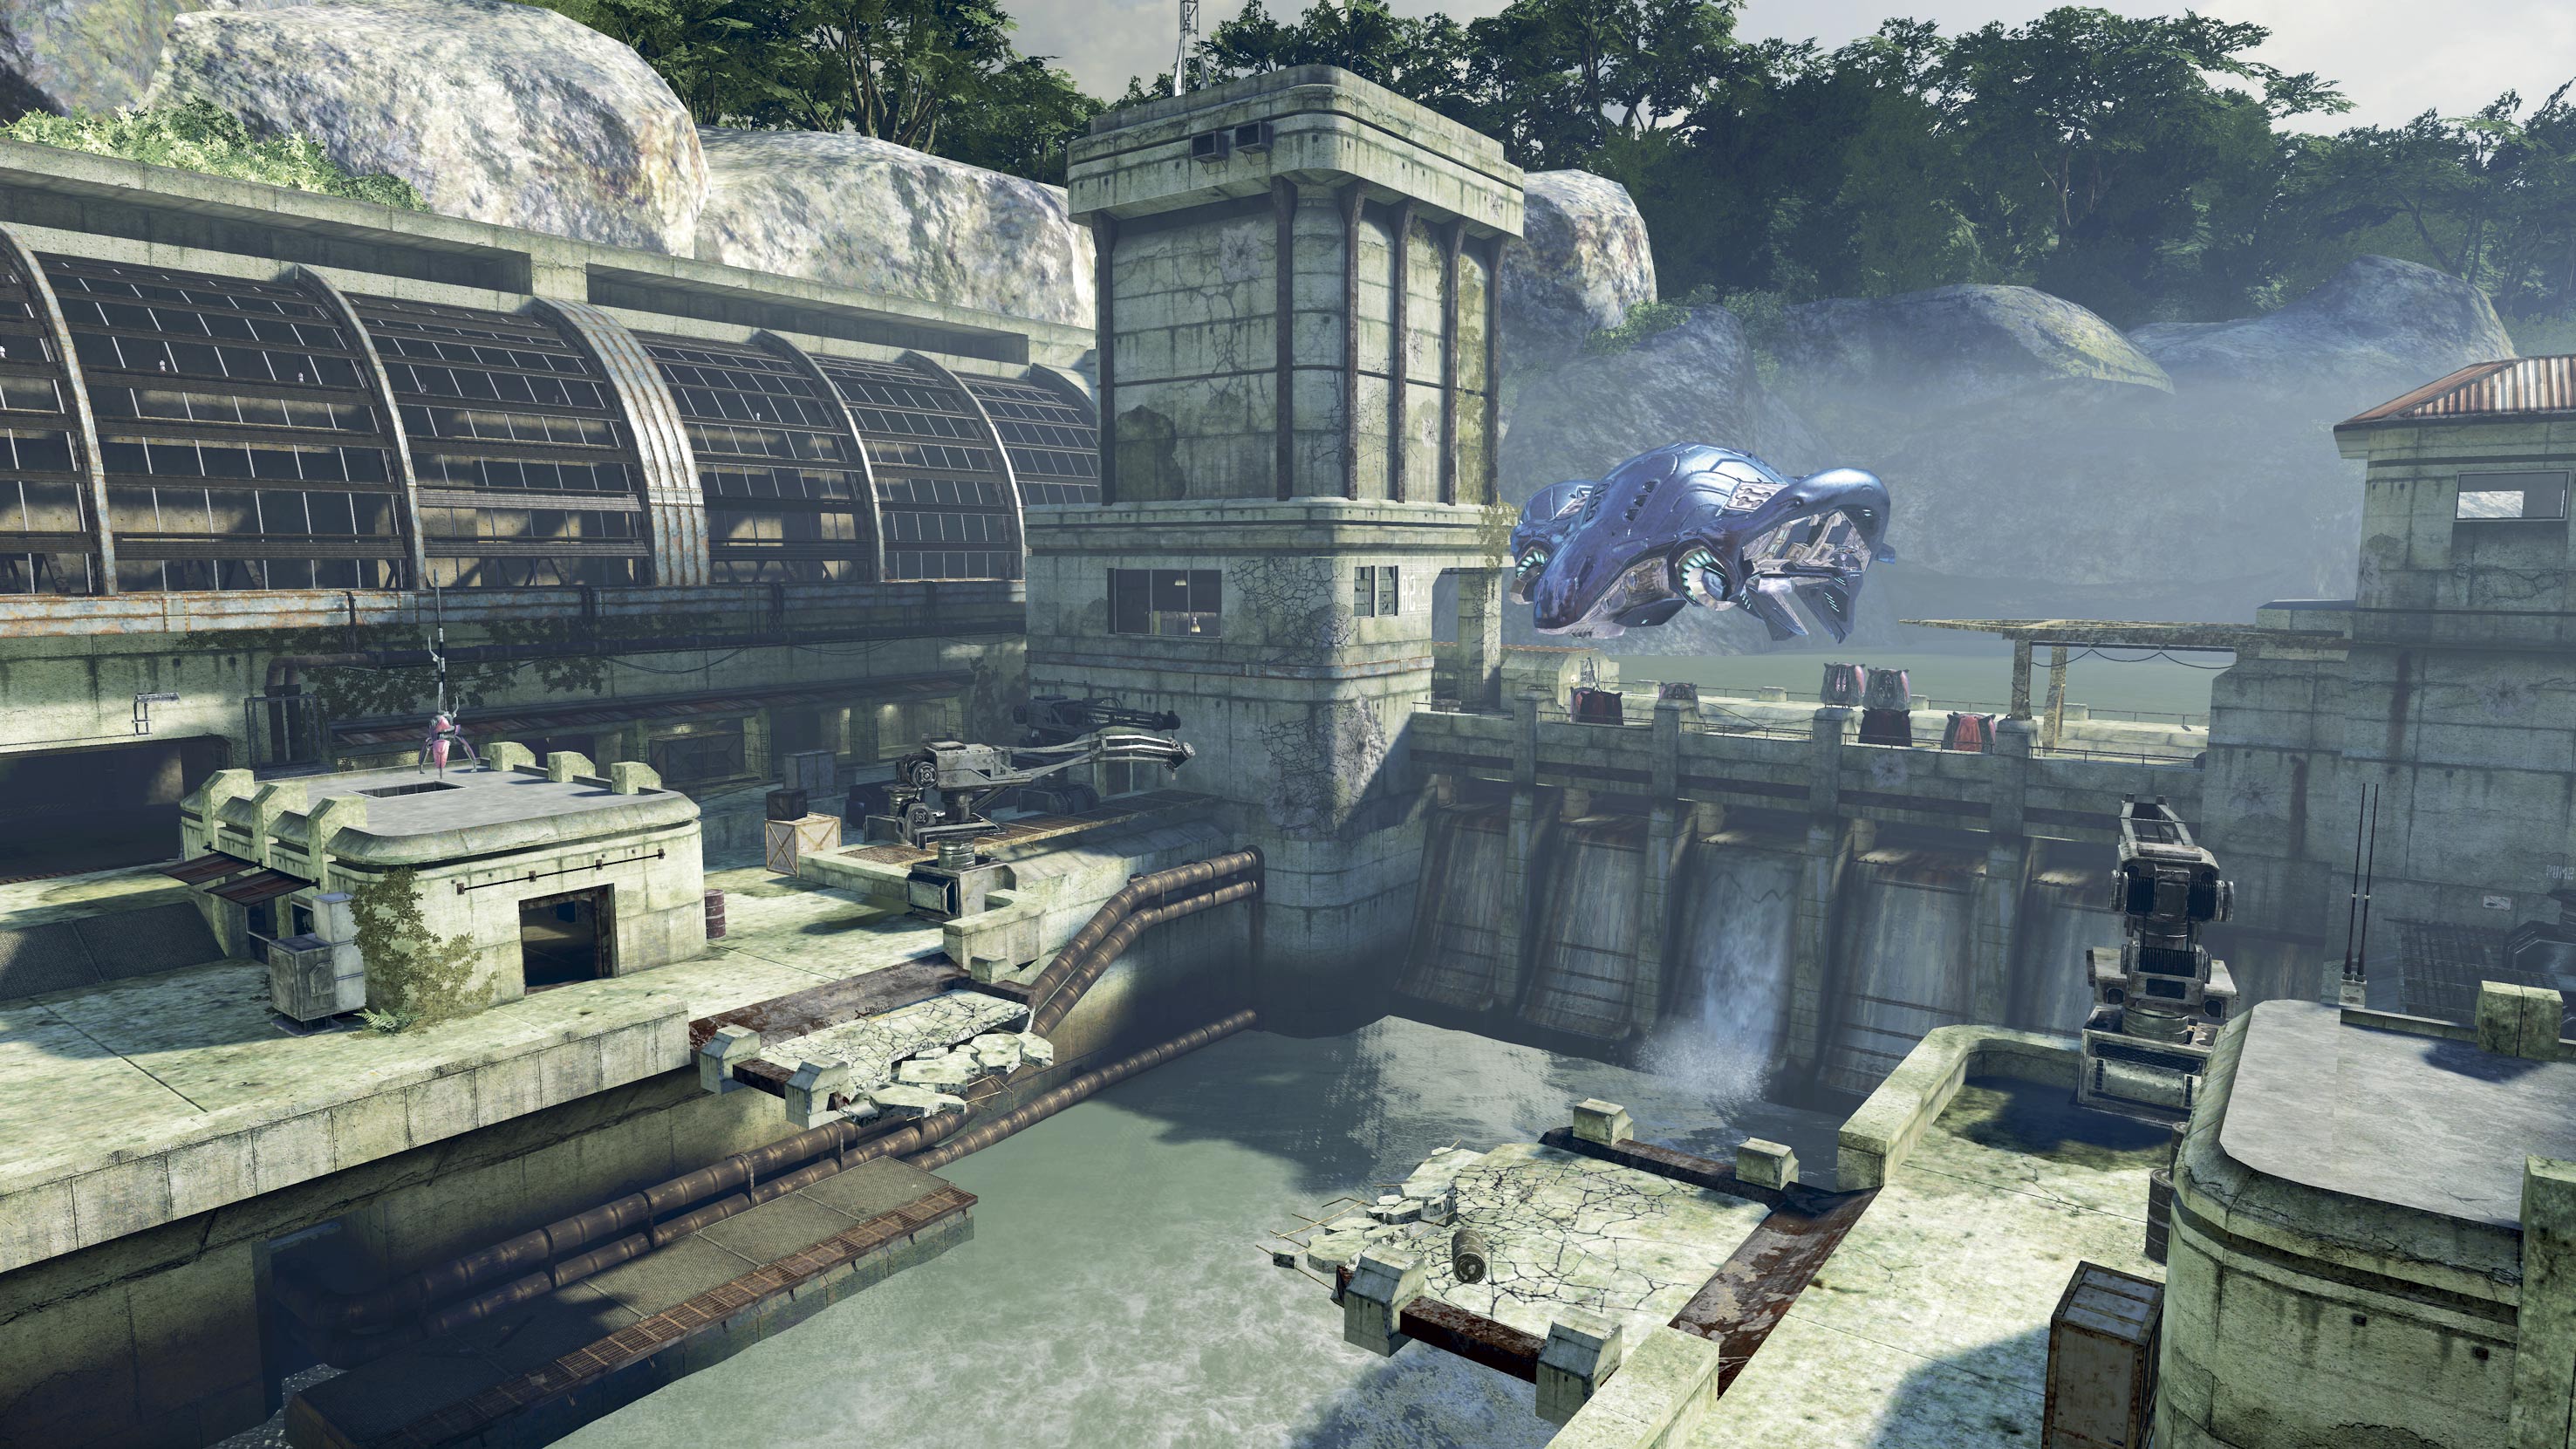
K: Once you’ve killed all Covenant forces in view, or exhausted your supply of ammo, drop down to the ground below (though you can backtrack to the crashed Pelican to pick up more Battle Rifle ammo if you wish). You’ll trigger a checkpoint as you approach the dam and, with it, the arrival of a Phantom delivering additional troops to the opposite side of the river. Quickly check the pump station door for enemies (they sometimes use the service walkway underneath the top of the dam), then find cover to avoid the Phantom’s turrets.
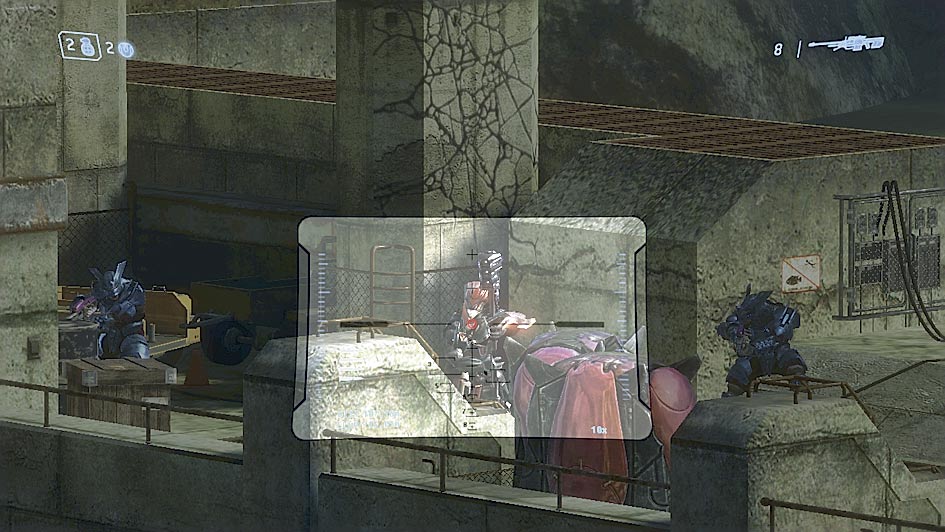
The Covenant reinforcements will be dropped off at the far side of the broken bridge. If you have plenty of Battle Rifle ammunition, you can take down most of the Grunts and both Jackal snipers in this party straight away. There are a few ladders and ledges that are great to snipe from but, given the sheer amount of ammunition at your disposal, clearing up the few remaining Grunts, Jackals and Brutes really doesn’t take a great deal of effort.
Last, but not least, grab a Carbine and a Needler from the top of the dam, then free Johnson and the other Marines. This is the cue for two Phantoms to drop troops on top of the dam, and on the opposite side of the river. Sprint up onto the dam and aim to slow the advance of the attack party until the cavalry arrives, then sit back and enjoy the fireworks.
Brute Chieftain
The elite warriors of their race, Chieftains are much more dangerous than rank-and-file Brutes. They can withstand a far greater amount of damage due to their superior armor, and have a heightened resistance to certain weapon types – for example, you cannot stick Plasma Grenades to them (only to the weapon they’re holding), and Needler fire generally rebounds from their bodies. You can soften Chieftains up with grenades if you have some to hand (though they’re usually quick to dive aside), but the most effective way to kill them is to aim for their heads. Once their helmets have been blown off, a single headshot with a Magnum, Carbine or Battle Rifle will stop them in their tracks.
Brute Chieftains armed with Gravity Hammers generally wait until an opportune moment, then charge relentlessly at the Master Chief until they kill or are killed. One swing of their weapon will almost completely deplete the Chief’s shield on Normal; if the shield level is already low, an impact spells instant death. The best way to kill them is from a safe distance or elevation, but you don’t always have the luxury of either option…
Gravity Hammer
For those who prefer the “personal touch” when xenophobic alien collectives drop by for a genocidal house-call, the Gravity Hammer is a peerlessly satisfying melee weapon.
- Each use of the Gravity Hammer drains its limited energy supply
- You will lunge towards targeted enemies when the reticule is red
- The Gravity Hammer doesn’t just harm the targeted enemy – it also has an area of effect when it strikes, knocking nearby Covenant troops, Marines and objects aside
- Using the melee button to strike with the base of its handle is much less powerful, but does not drain its battery. This is the most energy-efficient way to take down Grunts, Jackals and, if you can get a clear strike at their backs, Brutes
- The Gravity Hammer is capable of setting off grenades within the vicinity of its impact. This may occasionally work in your favor, but could equally lead to unintentionally spectacular suicides
Brute Captain
Brute Captains are tougher than their subordinates, and tend to be more aggressive – you’ll notice that they are more inclined to go berserk when injured. They also often have access to better weaponry than most other Brutes.
Kamikaze Grunt
Very occasionally, a Grunt can be consumed by an almighty fervor for the Covenant cause, and will decide to prematurely embark upon the Great Journey in spectacular style. Priming Plasma Grenades in either claw, they will charge towards the Master Chief; we shouldn’t have to tell you what happens next. In many instances, you’ll need to kill them immediately. If you’re particularly smart, though, you’ll sometimes wait to see if they pass other Covenant troops as they run – if you can hit them with a headshot at the right moment, the dropped grenades will weaken or kill nearby foes.
Spiker
Proof positive that Brutes hold their quarry in contempt, the Spiker is a rapaciously barbarous firearm – but only at close range.
- Can be dual wielded, and is especially powerful when you do so
- Stuns most enemies with its withering rate of fire
- Has a fairly large clip size – one is sufficient to kill a Brute on Normal, with spikes to spare
- Very effective at short range, but its accuracy plummets as the distance increases, and its projectiles have a decaying trajectory – they’ll actually fall to the ground before reaching the target at medium range
- The spikes are rather slow, so it’s not a good weapon to use against fast-moving or distant targets. Even though you can adjust your aim to hit enemies over longer ranges, the spikes take an absolute epoch to arrive in comparison with other weapons; you’ll swear that continental drift shifts your target a few inches to one side as the projectiles float lazily through the air
- You can bounce the spikes off surfaces (even the ground) if you fire from certain angles
Bubble Shield
A Bubble Shield is the Halo 3 equivalent of a “Get Out of Jail Free” card – and for “jail”, read: “death”. Once activated, it generates a selectively impervious energy wall, allowing troops and vehicles to move in and out freely, but shielding occupants (or, to a lesser extent, those hiding behind it) from harmful projectiles or explosions outside. Equally, though, shots and explosions emanating from inside the sphere can’t harm anyone on the outside. The device can be deployed in a second and, as long as your opponents don’t run in to join you, will provide temporary respite from a variety of threats – such as an incoming Phantom or a sniper. It can also offer vital moments of calm to enable your shields to recharge, or even be used as cover for an attack, so long as you wield your weapons outside the protective boundaries. You’ll find that Brutes regularly use Bubble Shields, activating them when they feel suitably injured or in danger.
Bubble Shields last up to 20 seconds, but can be destroyed before that point if the central generator is damaged. If you need to remove one quickly, a single melee attack to the base unit will suffice.