
Halo 3 Guide Multiplayer Multiplayer Levels
Guardian
General Tips
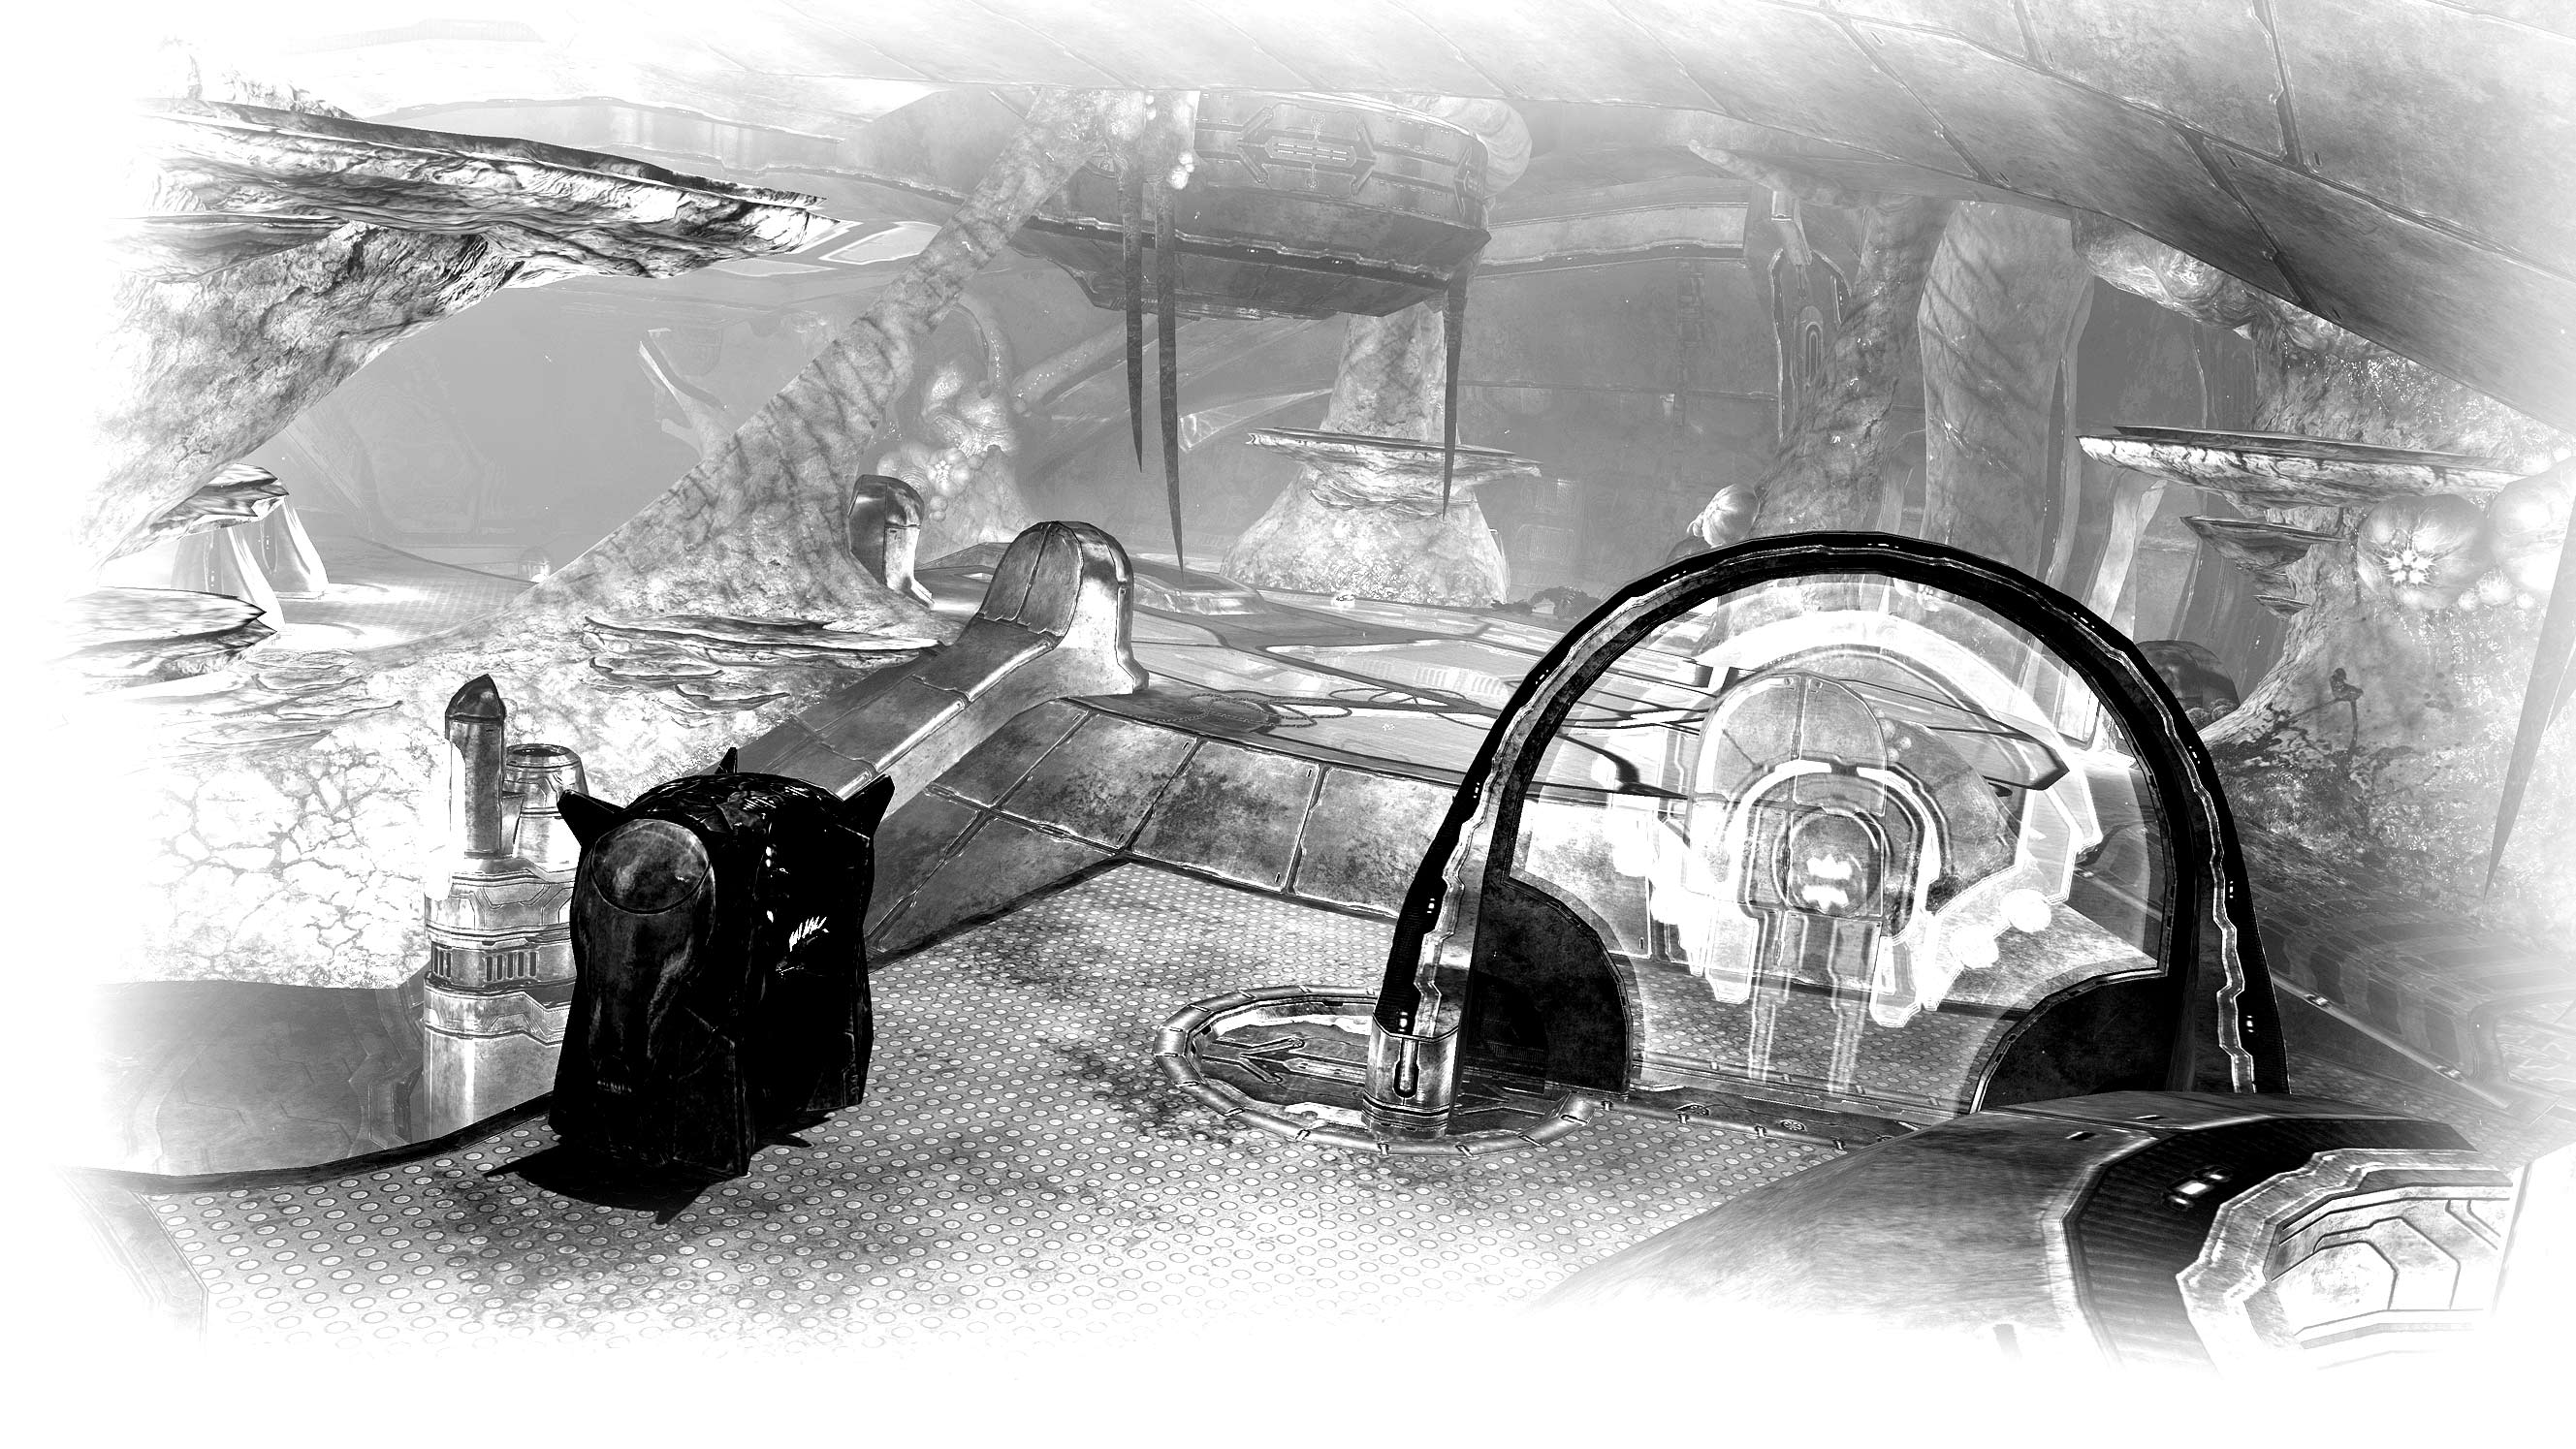
The Bubble Shield spawn point on top of the tree stump is an extremely interesting position. If you activate the device on top of the root, anyone who wants to attack you must leap over to your location, which makes them a ripe target for a melee attack as they land. For this reason, you should regard this area as a key waypoint in your attempt to outfox the pursuing horde during Oddball games.
The Gravity Hammer is positioned at the centre of the map, on the lower level. Intriguingly, though, the Sniper Rifle – this map’s other principle power weapon – is situated further along the very same corridor. This sets up some interesting early match confrontations, so the lower level is definitely not a place for the faint of heart to frequent.

When you first start playing on Guardian – or even, if you’re sensible, beforehand – you should make it a priority to learn where each fixed Gravity Lift leads to. This is a small map, but that doesn’t mean that you won’t get lost.
Get the Gravity Hammer away from the lower corridor as soon as you can. As you should know, it’s best used in areas where you can surprise people as they round corners, so it’s better to blaze a trail towards the indoor area.
You can smack opponents over the edge of the map with the Gravity Hammer if they incautiously stand by a ledge on the outside walkway. This is especially easy when they are jumping at the time.

If an enemy thinks they are safe behind the glass where the Gravity Hammer spawns, teach them otherwise – if you swing the hammer in their direction, its effects will pass through such barriers with ease.
The only real sniping spot on this map is the ledge just beyond the Needler spawn point. However, there are a few drawbacks to this position. Firstly, you’ll often need to destroy the Fusion Core before you can safely establish yourself there, which draws unwelcome attention; secondly, you’re constantly exposed to people sneaking up from behind. Last, but by no means least, there is a Gravity Lift on the far lower side of the map that lands right here. Snipers really don’t have an easy life on Guardian. On the plus side, this is a great map to practice your “no scope” shooting skills.

The Shotgun is situated at the end of a dead-end corridor, which is a design choice that can make life difficult. If someone passing at the other end of the corridor spots you before you can close the gap, you’re an easy target – unless, of course, you immediately switch to your backup weapon. You’d be surprised by how many players will simply run forward while shooting the Shotgun, to minimal effect…
The center of the map is something of a death trap, given the lack of cover and exposed location. Try to avoid it as much as possible.

At the top of the big Gravity Lift there are two small openings in the floor on either side of the landing area. If you have an opponent in hot pursuit, you can quickly drop down to the bottom level to confuse them.
The Flare can come in handy when you play One Flag CTF on this level. Throw it into the flag room to cause confusion, then run in and grab your prize. While your opponents need to see you to shoot you, you can simply sprint in with the appropriate button held to automatically pick up the flag. It should go without saying that it is a good idea to practice this offline before you try it in a competitive environment.

Active Camo is a ninja’s best friend on this map. Combine it with a Gravity Hammer, dual Maulers or a Shotgun for maximum effect.
|
Recommended Variants |
Slayer, Team Slayer, Oddball, King of the Hill, Land Grab |
|
Recommended Number of Players |
2-6 |
|
Objects of Desire |
Sniper Rifle, Gravity Hammer, Shotgun, Overshield, Active Camo |