
Halo 3 Guide Multiplayer Multiplayer Levels
Snowbound
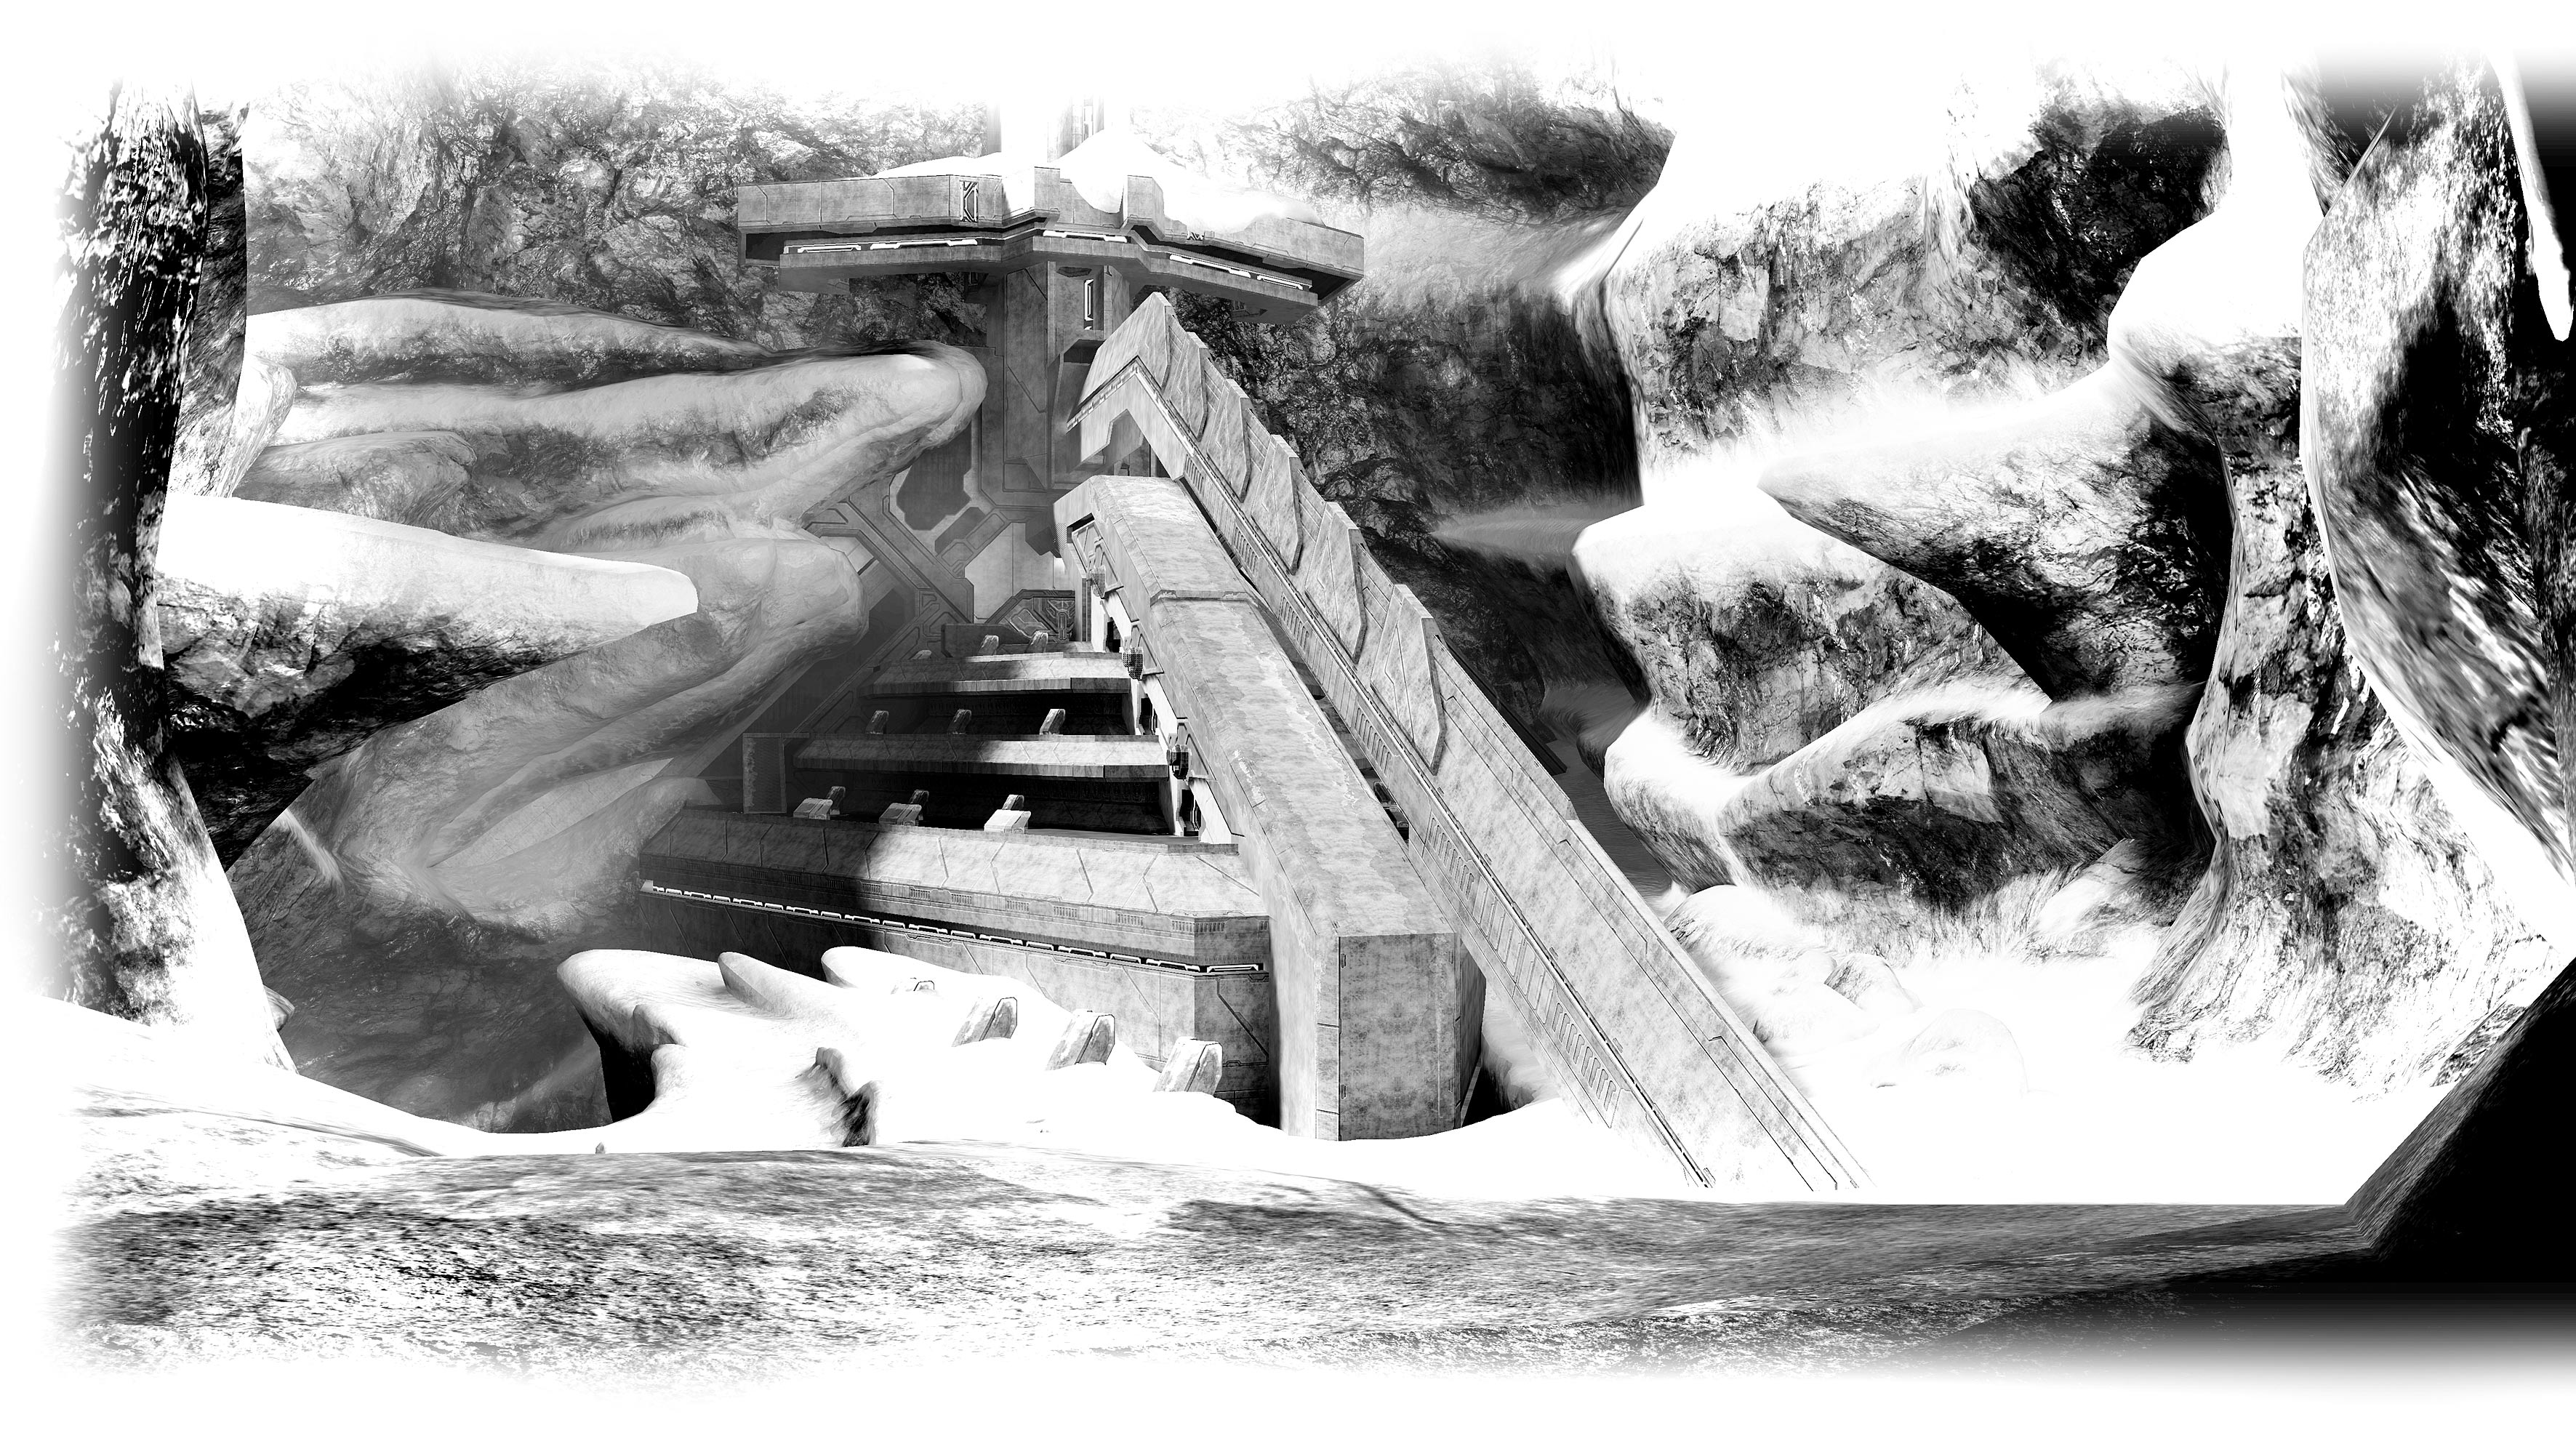
Exterior
Pick your battles wisely in the outside area. If you begin firing at a distant opponent who can easily duck behind cover, you will waste ammo and draw attention to yourself. With dangers such as the Beam Rifle, Spartan Laser and Ghost to worry about, it’s better to keep a low profile until you are sure you can secure a kill.
The Spartan Laser and Beam Rifle, the principle “power weapons” on this map, can enable skilled players to dominate the outside area. In free-for-all games, many combatants will rush for these spawn points in the hope of securing one of them as soon as the match begins. The fracas that ensues has the feel of a lottery, so you’ll often be better served by focusing your attention elsewhere or, if you really need either weapon, by arriving fashionably late to pick off a weakened survivor.

There is a Needler on top of the Spartan Laser Base. An especially cunning player could aim to grab it, then lie in wait for other players to emerge from the room below.
If you get your hands on a Beam Rifle, it’s worth swinging by the Active Camo spawn point to see if it is available.
When you spawn outside, it’s essential that you grab a Carbine or a Battle Rifle straight away. The Assault Rifle will be of little help to you if a marksman attacks from medium or long range.
Grabbing the Ghost when it spawns (or stealing it from another player) can be a great way to secure a few “easy” kills, but opponents will often hear you long before they see you. Additionally, you are an easy target for an opponent wielding the Spartan Laser.
Guardian turrets only start firing once you are a few steps beyond the perimeter. Therefore, you can actually use them as cover when you fight on the open snowfield (Fig. 1).

Beyond the Spartan Laser Base, you can stand on a ledge just over the perimeter. It’s safe to stay here, though – an invisible boundary wall prevents you from moving far enough to invoke the ire of the Guardian turrets. This is a good sniping spot, and you can also escape here with the Oddball.
If you’re close to the perimeter, carrying the Oddball and under attack, make a dash over the boundary before you die. The Oddball will be reset to its original position.
You can reach a high point on either tower, but we can think of no conceivable benefit derived by doing so – given the fuss and careful preparations necessary to achieve it, your time could be better spent actually killing opponents. You’ll need a willing assistant to stand on, and either a grenade jump from their head (which necessitates the mutual sacrifice of a Betrayal) or a double Brute Shot jump to get up there. Don’t press too far forward on the stick, or you’ll simply shoot straight over; it takes a delicate touch to land safely. Now, after all that, you did remember to bring a Beam Rifle along, didn’t you?
If you espy opponents battling in the distance, it’s often worth pitching a Frag Grenade in their general direction in an attempt to steal a kill. However, remember that grenades will not bounce if they land on snow. It sounds obvious, but it’s easy to forget.
Interior
The energy shields covering the main entrances to the underground areas admit passage to you and your opponents, but block weapons fire, explosions and vehicles.
The shield walls blocking the majority of entrances are great escape routes in either direction, but try not to get caught up in “cat and mouse” exchanges with an opponent on the opposite side. No matter how fierce your mutual desire to win the duel may be, other players will have little respect for your battle of wills – and you’re an easy target for a Plasma Grenade or melee attack while your attention is so narrowly focused.
When you have the Oddball, hide next to a shield door. As you are equipped with a supremely powerful melee weapon , you can simply hit opponents to kill them as they attempt to walk through. The best way to counter this is to aim to tag the Oddball carrier with a grenade. They may kill you, but you’ll have the satisfaction of taking them with you…

When inside either base, you can actually look up and see enemies moving above through the transparent ceiling.
The Shotgun spawns at the main entrance to the room that connects the two bases. In the close confines of the basement floor, this weapon rules supreme.
The Brute Shot may be located outside, but it is ill-suited to long or even medium range battles unless you’re a supremely good marksman. You may find that it’s much more effective in the close confines of the underground rooms, where you can finish battles with a swipe of its viciously sharp blade attachment. That said, it can be a very useful tool if you manage to surprise an opponent armed with a Spartan Laser or Beam Rifle, or driving a Ghost.
Arm yourself with a dual-wield combo (or, perhaps better still, a Shotgun or a Brute Shot) if you intend to wage war in the narrow corridors of the underground area.
You can’t drive the Ghost through the shields, of course, but you can gain access to the basement area via the pipe tunnel . This isn’t necessarily a wise strategy, though – there’s not a great deal to do down there, and you’re an easy target for grenades.
Look out for the panels on either side of the Shotgun spawn point, just inside the basement entrance. These explode if shot or caught up in an explosion. This is a good way to take down a rival making a break for the nearby weapon.
Both main “base” rooms feature a screen that you can hide behind. Very occasionally, you will find that you can catch inattentive opponents out this way. You can also jump onto the purple beams that extend from the left and right of the screen. You can’t climb very high but, again, the split-second that it takes for many opponents to notice you can be sufficient to give you enough time to make a decisive first strike. (Well, as long as they enter the room via the door you are facing, of course…)
|
Recommended Variants |
Slayer, Team Slayer, King of the Hill, One Flag, Land Grab |
|
Recommended Number of Players |
2-8 |
|
Objects of Desire |
Spartan Laser, Beam Rifle, Shotgun, Overshield, Active Camo |