
Halo 3 Guide Multiplayer Multiplayer Levels
The Pit
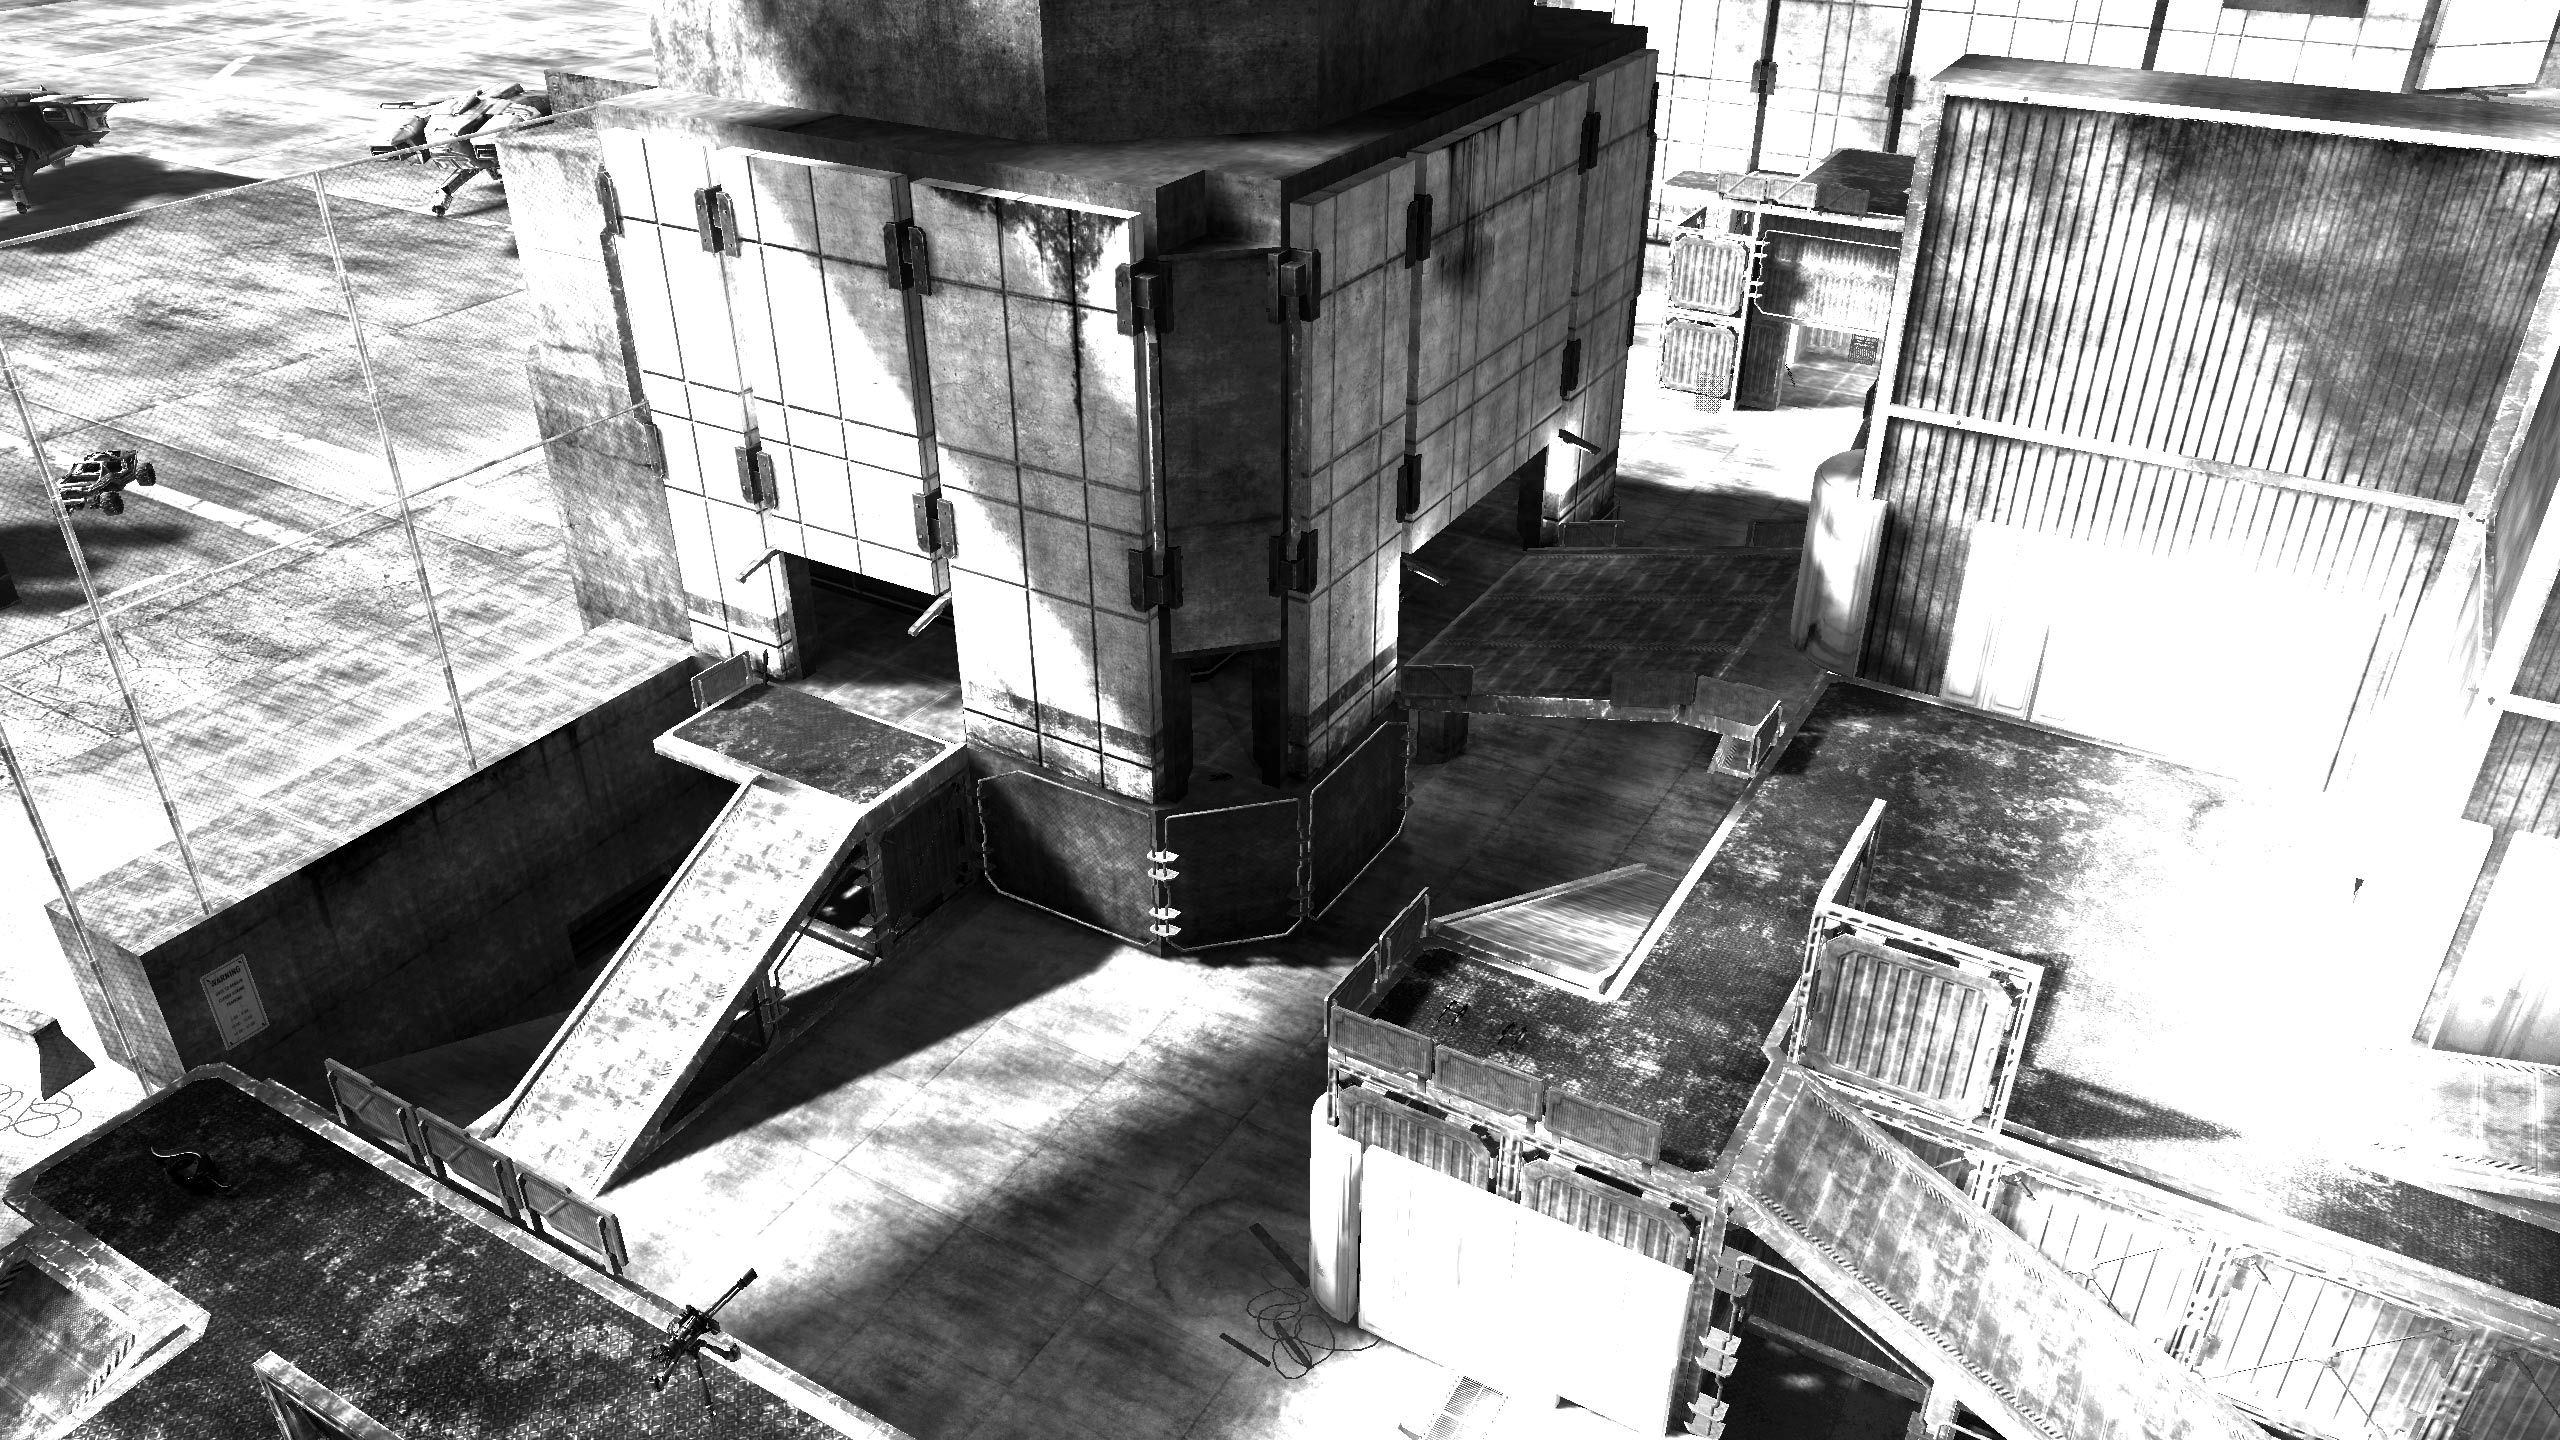
General tips
The weapon placements on this map are broadly symmetrical. Anything that spawns in one base should also appear in the other, which makes fighting your way into enemy territory a little easier.
As The Pit’s architecture means that you are often vulnerable to sudden ambushes and long-range sniping, it pays to collect a Battle Rifle in addition to something more suitable for toe-to-toe exchanges.
It’s possible – though, with the exception of low-gravity Custom Games, almost prohibitively awkward – to get up to the second floor of the main building in both bases. You’ll either need to make a grenade jump from a teammate’s head, perform a Brute Shot jump (two shots are required, so practice offline), or form a human pyramid with a group of organized allies. The latter technique, as you can imagine, has obvious applications during VIP or team-based Oddball games. It’s also the best sniping position on the entire map.
The Energy Sword spawn room (also known as the Ops Center) can be a good place to hide in Oddball matches. However, there are small holes in the wall that enable opponents to throw grenades through to flush you out. Be ready for this when it happens.

The Energy Sword room is something of a choke point on this map. As the Spartan-sticker has a lower respawn time than most power weapons, there’s usually a fair amount of traffic in the region. The inclusion of a Power Drain and two Maulers nearby makes for some varied fights. You may be first to arrive at the sword, but that’s no guarantee that you’ll get to keep it for long.
There are plenty of Plasma Grenades on this map, so have one at the ready when you approach common haunts for Energy Sword users. Even if they catch you with a lunge, you can stick them with a grenade at the same time to make it their last in a while…
Don’t waste the Regenerators on meaningless battles in Assault matches – they’re very precious tools when it comes to arming a bomb.

Fig. 3
You can find two Plasma Pistols and two Magnums at the center of The Pit, which is rare – Halo 3’s multiplayer maps tend to separate these weapons. This dual-wield combo is unbelievably powerful against single opponents… but only on the proviso that you hit them with the initial charged shot. If you miss, you’re done for. In congested areas, it’s just not practical – if you face more than one enemy, you’ll probably be dead before you can overcharge the Plasma Pistol. It’s better, then, to stalk paths less traveled in search of stragglers separated from the main herd.
The two Machine Gun Turrets on either base are obviously very tempting, but the operator is an easy target for an enemy sniper. In free-for-all games you should simply wrench it from its housing and set off for a suitable location to mount ambushes (the Sniper Rifle spawn point can be a profitable choice – Fig. 3). In objective-based games, a player armed with the turret can provide valuable support to a team assaulting the opposing base, or making a fleet-footed return with the enemy flag.

Fig. 4
The Rocket Launcher is a much sought-after weapon on this map, and it spawns in a long, tight corridor. It’s a good idea to throw grenades to spook potential rivals approaching from the other side. Another sensible way to handle skirmishes in this hallway is to grab the nearby Needler on the way there, and spray anyone unfortunate enough to be trapped in the close confines. (Fig. 4) There’s very little they can do other than hop, curse and sputter if you catch them halfway towards the Rocket Launcher spawn point.
Returning the flag isn’t easy on this map, as the quickest way back isn’t always the safest. A route that can be surprisingly successful, though, is to take the long road along the lowest part of the map, past where the Overshield spawns. Due to the absence of specific weapons there, the opposing team will often neglect to station someone to guard the area.
Quick Facts
|
Recommended Variants |
Team Slayer, One Flag, Multi Flag, Assault, One Bomb, VIP |
|
Recommended Number of Players |
4-10 |
|
Objects of Desire |
Rocket Launcher, Energy Sword, Sniper Rifle, Machine Gun Turret, Active Camo, Overshield |