
Halo 3 Guide Multiplayer The Forge
Quick-start Guide
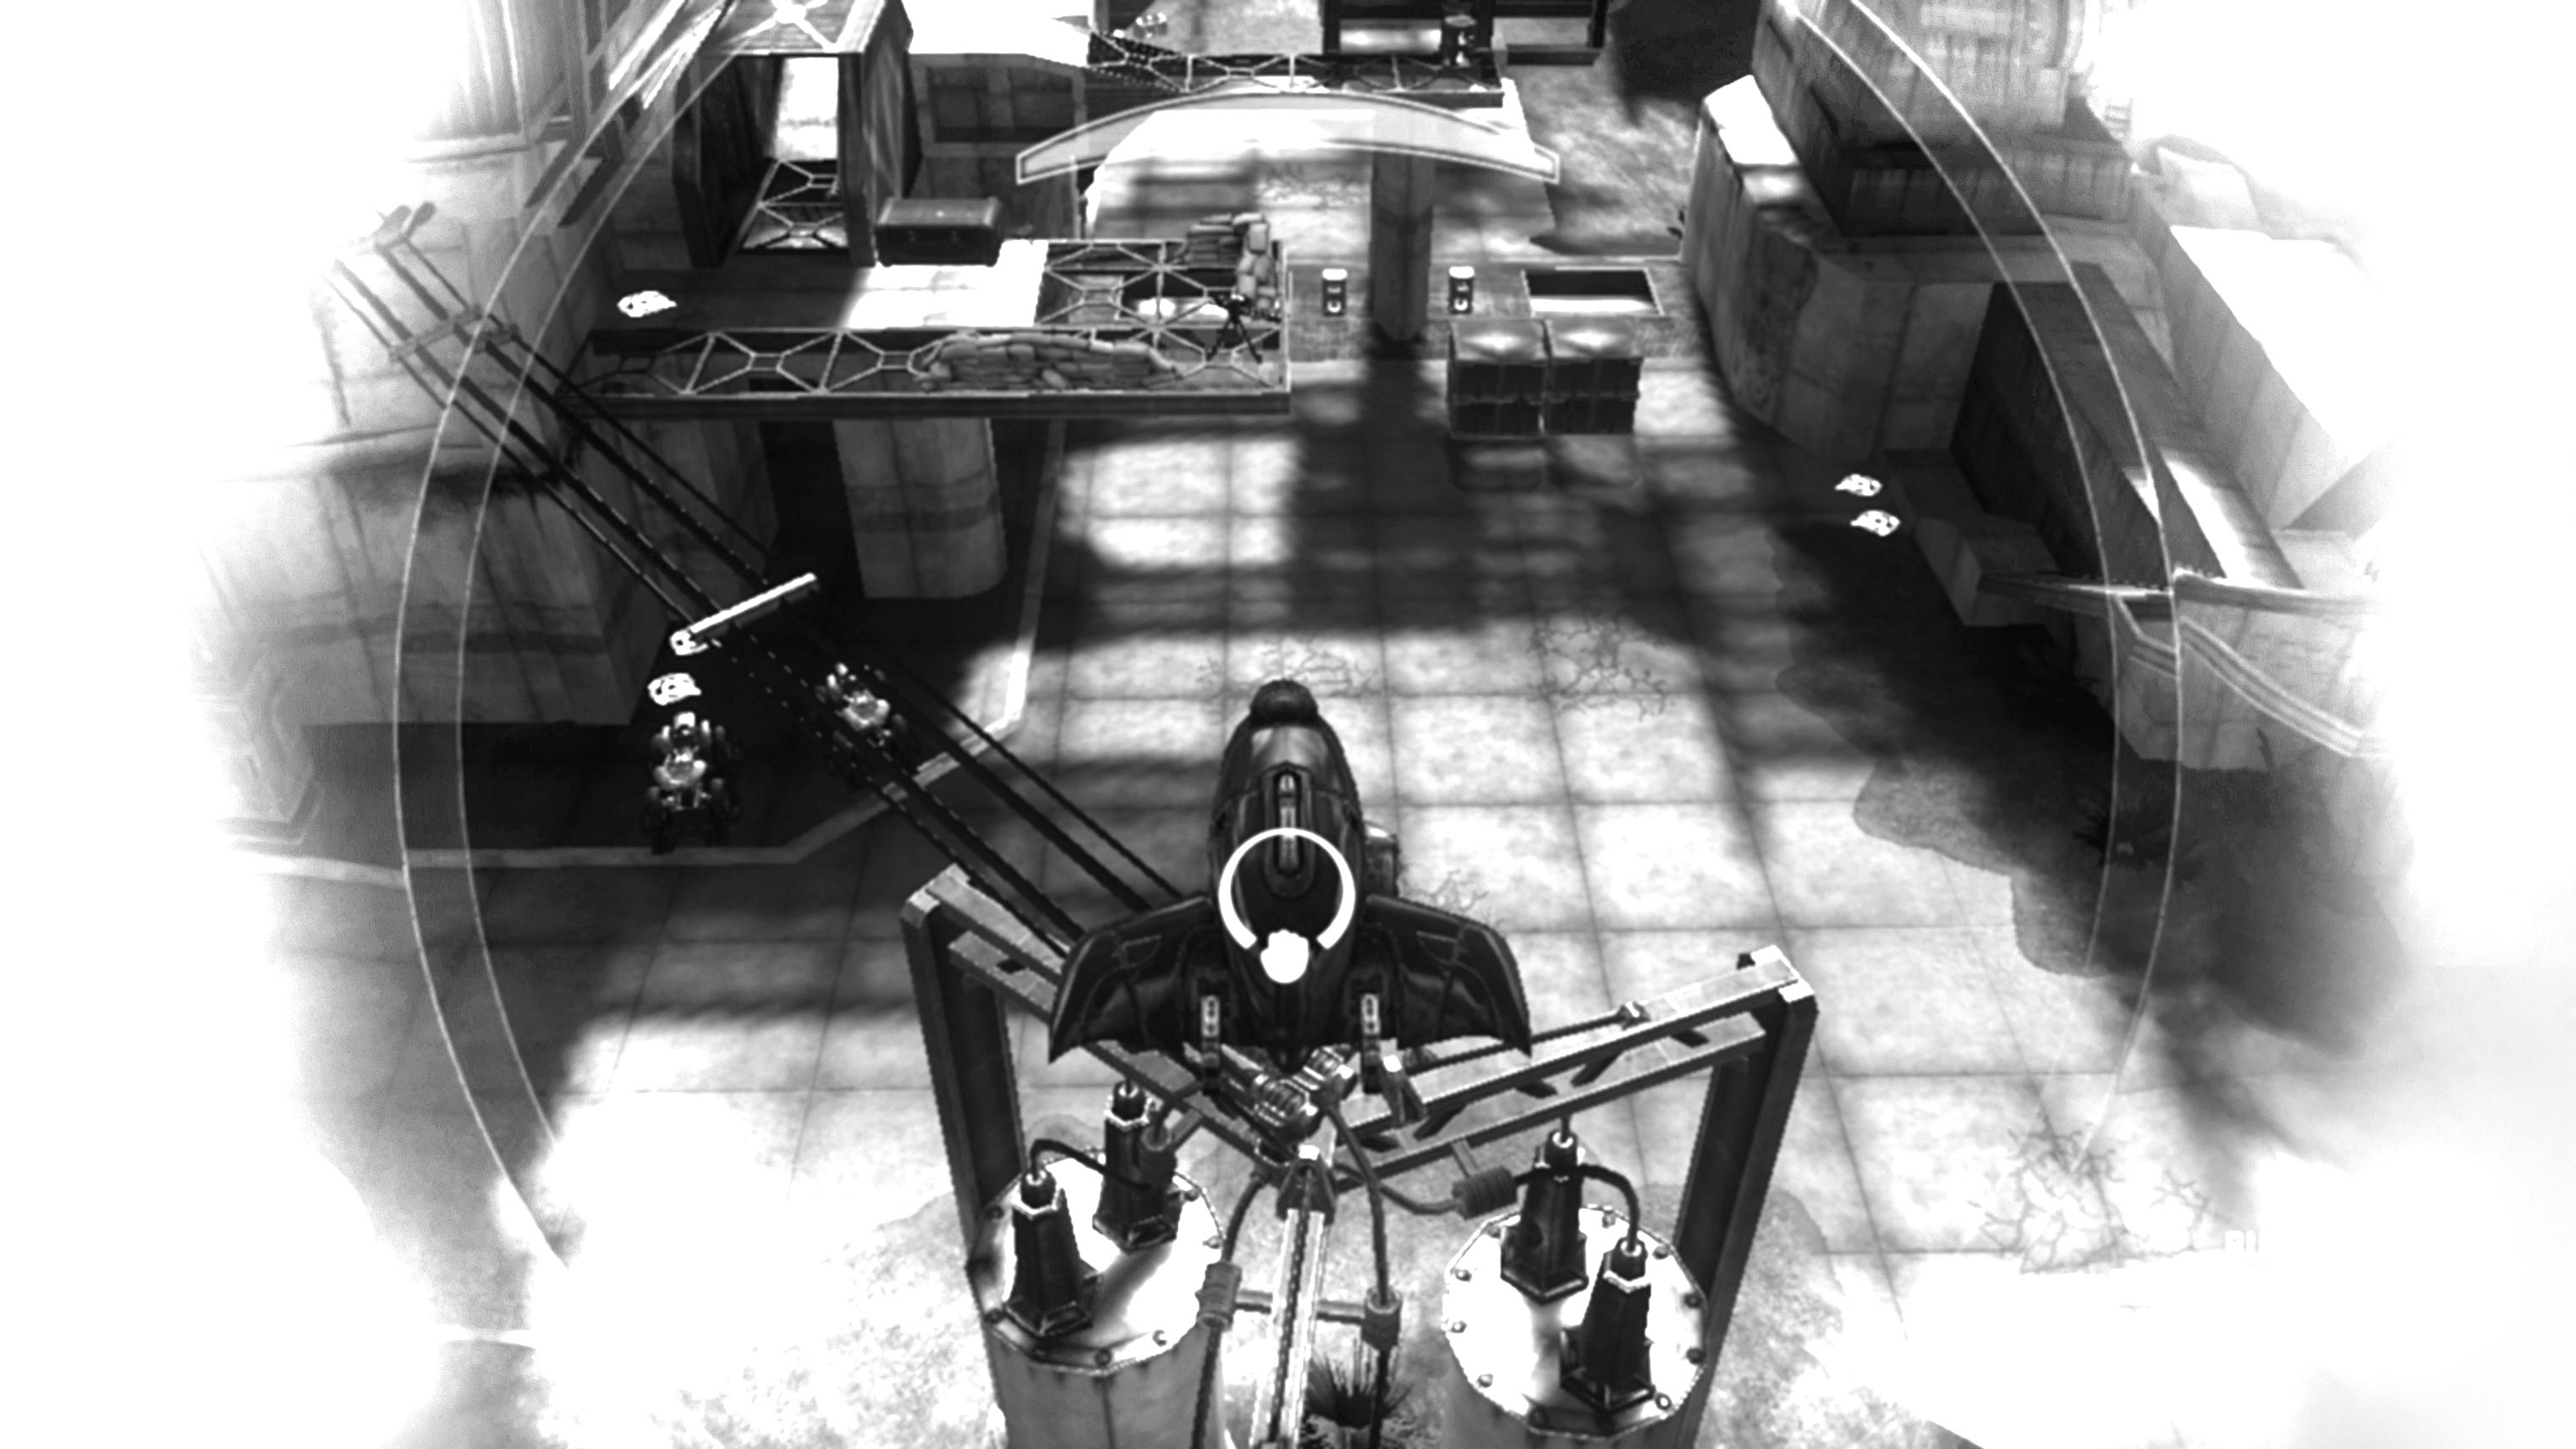
The Forge
The Forge is a powerful, easy-to-use real-time object editor that enables you to customize Halo 3’s multiplayer maps in a wide variety of ways. Better still, this feature can be a uniquely social experience if you wish: you can have a handful of players adjusting the map while others (up to eight participants) actually play. The applications of the tools it puts at your disposal, as you’ll soon realize, are pretty much endless.
You can access the Forge from the Main Menu, and then adjust the Network setting in the Forge Lobby if you intend to invite friends for collaborative editing via a LAN or Xbox LIVE. As a party leader, you can press x to adjust a selection of settings before you start your session, such as deciding who will be entitled to enter Edit Mode, or defining the attributes of participants (if you play in a large party, you could choose to make editors invulnerable to facilitate harassment-free creativity). You can save your Options configuration by pressing x if you like. When ready, select Start Forge to begin.
On the map itself, you control your character normally. If you are in a party, players will be split into teams and can fight as if they were in Team Slayer mode. You can change teams by pressing e or r in the Forge Lobby, or from the pause menu. The ingenuity of this feature is that it enables parties to stick together and enjoy themselves while a map is adjusted in meaningful ways, or fine tuned to encourage a particular style of play.
As a first-time editor, note that you can press V to visit the pause menu where there’s a useful Forge page in addition to the usual Settings menus. The Forge page is where you can save edited maps for future use in the Custom Games Lobby and, more importantly for now, it also provides a list of controls for Edit Mode.
When you’re ready, press up on t to enter Edit Mode. To help you get started, we’ve put together the following list of important controls.

When you’re ready, press up on t to enter Edit Mode. To help you get started, we’ve put together the following list of important controls.
Movement
You control your character more or less as if you were piloting a Banshee without the influence of gravity. Additionally, you can move vertically (e to fly down and r to fly up), and speed up your rate of motion by holding E.
Manipulating Objects:
When you aim at an object you can interact with, your “hand” icon will turn green. Press A to grab it: you are then free to move it around as you please, manipulate it (hold R) and, of course, drop it (press A again). To delete an item, press y while aiming at it.
Item Menu:
Press x to display the Item Menu.
- If you open the Item Menu without pointing at an item, you will have access to a number of special pages (press e or r to flick between them). Each page contains a category of items (weapons, vehicles, equipment, and so forth) that you can add to the map as you see fit by pressing A. There are only two restrictions that you must take into account. Firstly, each item has a “cost” (the figure on the right-hand side of the menu) that is subtracted from an overall Budget that you cannot exceed. Secondly, most items can only be placed a certain number of times. Once you reach the maximum total, you will not be able to add more until you delete others. The remaining quantity that you can spawn appears to the left of each item in the menu.
- If you enter the Item Menu while pointing at an item, you will be shown its properties (such as its respawn rate, availability at start of each game, et al.) and be given the option to alter these.
- If you press x when the Item Menu is open, you will call up the Budget Summary. This reveals, among other things, how many items of the selected type are allowed on the map at any one time. If you increase the maximum number allowed on the map, you will be able to spawn in more objects of that type. However, that space is reserved and paid for in advance, so you’ll need to weigh up whether you can afford it or not.
- Don’t forget that you can interact with other players in unique ways while editing, dropping powerful weapons for beleaguered friends to use in times of crisis – or, for that matter, capriciously removing them to amuse yourself and others. Seeing the vehicle you’re driving around in vanish from under you is quite an experience. You should also note that spawning extremely heavy objects to drop on top of players never, ever ceases to be funny…
While you can’t modify landscapes or architecture in the Forge, the simple act of placing a few new weapons or vehicles on a map can completely change the flow and feel of the combat that takes place there. Editing maps, then, is all about striking a balance between the urge to place cool objects everywhere, and understanding what will make your creation fun to play.

There are certain limits to the number and nature of objects that you can place on each map. For example, you won’t be able to introduce Scorpions to Valhalla, or Hornets to Snowbound – many locales are not suitable for certain vehicles, so you’ll find that they do not appear in the Item Menu. Another restriction is the Budget system, as every item that you add (or that is already in place) has a cost which is subtracted from this total. As a consequence, a default map only leaves you with reasonable room for maneuver.
As you’ll find, the best maps are often the product of a restrained, considered approach to item placement. Add too many weapons, especially the more powerful models, and you’ll notice that games can become chaotic, disjointed and arbitrary. This is why the Bungie team will debate, for example, the placement of a Sniper Rifle or Wraith for weeks on end during the development process. It may seem like a trivial detail on first inspection, but these things genuinely matter.

That said, feel free to ignore the previous paragraph completely, and create maps crafted with as much freeform lunacy as you and your available budget can conjure up . The Piggyback team certainly doesn’t expect to win any design awards or to top Fileshare download charts with its insanely crude “Fusion Core Fracas” map, but it’s the taking part that counts, after all.
If you’re extremely keen to craft amazing new Custom Variants to take the Halo 3 world by storm, feel free to drop by the forums at www.bungie.net to seek advice, inspiration, and like-minded potential collaborators.
Multiplayer Training in the Forge
Not only is the Forge a highly powerful and flexible editing tool, it’s also a useful playground if you want to experiment with all the items at your disposal in multiplayer Halo 3. As a fringe benefit, it’s additionally a great way to learn the exact layout of each map, as the editor function enables you to fly anywhere you like within the confines of the level boundaries. If you’re especially adventurous, you can activate features such as invincibility, infinite grenades and unlimited ammo. Suitably kitted-out and protected from harm, you can then practice tricky grenade jumps, hone your extreme Warthog driving skills, or amuse yourself by seeing what happens if you boost a Ghost at full speed into a pair of unstable Fusion Cores. The latter might seem like a trivial waste of time, but accidents do happen – and forewarned is, after all, forearmed…