
Halo 3 Guide Essentials Inventory
Weapons & Equipment
|
Name |
Usage Tips |
Enemy Usage Tips |
|
Deployable Cover |
· Not particularly strong on Legendary – in a large firefight, don’t be surprised to see it cut out rapidly under pressure. · Can be used to block doorways and narrow corridors, for example to slow a pursuing horde of Flood. |
Melee attack base unit to destroy it. A charged Plasma Pistol shot or sustained Plasma Rifle fire will quickly disable it. Brutes will sometimes use a Deployable Cover unit as you attack them to cover a retreat. |
|
Bubble Shield |
A Bubble Shield effectively offers two barriers to hide behind – you’re not obliged to stay in the centre. |
Strike the base unit to destroy it. Brutes are vulnerable to melee attacks while hiding inside a Bubble Shield. |
|
Grav Lift |
It’s not just a tool for reaching higher ground – you can also use Grav Lifts to deflect charging Brutes, Chieftains, and even onrushing vehicles. |
Not used. However, watch out when Brutes and Grunts throw grenades in your direction when you are standing near an active Grav Lift – if one passes through the energy field, the results can be unpredictable. |
|
Power Drain |
Its effects last for approximately six or seven seconds. Though there is a momentary pause as it activates, a Power Drain operates even while airborne. Throw one at a large group of Brutes, and quickly follow up with an explosive or a volley of shots for maximum effect. Power Drains can be used to deter Covenant from giving chase. |
Brutes toss Power Drains regularly, so it’s a good idea to get used to the sound they make as they activate, and be prepared to move immediately. Don’t get too close to Brutes when you’re driving a vehicle – they won’t hesitate to throw a Power Drain to disable your ride. Shoot the unit to destroy it. |
|
Regenerator |
Remember: you’re not invulnerable while it is active – a Regenerator only increases the speed at which your shield recharges. Regenerators are best used when you have good cover to work from. You’ll still need to duck out of sight when hurt, but only for a moment. |
Regenerators last for around fifteen seconds. Brutes tend to use Regenerators to protect Chieftains. Don’t be misled, though – you can still kill them with a suitably powerful weapon. |
|
Flare |
Brutes regard Flares as dangerous, and may jump out of the way when you throw them. However, it’s only a temporary distraction – and you’ll find that you cause more damage to your vision than to theirs. |
The moment a Brute activates a Flare, turn away and get behind cover until it explodes. The device auto-destructs after five seconds. |
|
Radar Jammer |
Brutes may enter their berserk state when you deploy a Radar Jammer in their direction, and Grunts may panic. Generally, though, you’re better off choosing a different piece of equipment. Brutes hunt primarily by sight, so using one will often only inconvenience you. |
Shoot unit to destroy it. Radar Jammers cause interference on your Motion Tracker for twenty seconds.
This device is especially dangerous when used by Brute Stalkers.
|
|
Trip Mine |
If they are not triggered, Trip Mines usually auto-destruct after approximately a minute and a half. |
The sound generated by an active Trip Mine makes it easy to detect. Unless you’re daydreaming, you’ll hear one well before you see it. |
|
Cloaking |
Cloaking lasts for around twelve seconds, but fades over the last two. While firing weapons and incurring damage affects your visibility, melee attacks and grenade throws do not. It’s best to keep moving after you use them, though. |
Cloaking units used by Brute Stalkers do not have a time limit. When you destroy a Stalker’s power armor, he will remain fully visible until he is killed. |
|
Invincibility |
Invincibility lasts for approximately ten seconds. During that time, you are completely impervious to all forms of damage, but falling from a great height will still kill the Master Chief. |
Invincibility units are used by Chieftains only. When they activate one, don’t bother attacking them: just run or hide. |
|
Auto Turret |
The Auto Turret has a very short range, and really doesn’t pose a threat to an organized Covenant attack group. However, it will distract them – and that’s never a bad thing. Note that there is a short delay before its weapon system activates. |
N/A |
Common Weapons
|
Name |
General Usage Advice |
|
|
Assault Rifle |
The Assault Rifle is a solid, dependable close-range weapon on the Easy and Normal difficulty levels, and you generally won’t need to look far to find ammunition for it. Its accuracy decreases during sustained fire, so it’s sensible to use frequent short, controlled bursts unless fighting at close range. |
|
|
Magnum |
The Magnum is a small sidearm for players who prefer precision over firepower, especially on higher difficulty levels. A charged Plasma Pistol shot followed by a single Magnum headshot will bring down most Brutes. |
|
|
Plasma Pistol |
While its stopping power as a weapon is less than impressive, a charged Plasma Pistol shot can disable energy shields and power armor in a single blast. In a new feature, holding a charged shot will continually drain its limited battery until released. Additionally, charged Plasma Pistol shots have an EMP-style effect that can disable vehicle engines (but not, you should note, weapon systems) for a short but tactically valuable period of time. |
|
|
Brute Shot |
The Brute Shot is used to bludgeon opponents into submission with explosive projectiles.
|
|
|
Needler |
The Needler fires small explosive projectiles that automatically home in on targeted enemies over short distances. Angled correctly, Needler shards will bounce off hard surfaces in a predictable and useable fashion. Note that its effectiveness decreases with range – your opponents will dodge or even dive to avoid the deadly incoming shower. Halo 2 players may be surprised to discover that it is no longer possible to dual wield the Needler, but don’t be misled – it is a hugely powerful weapon, especially against Brutes. |
|
|
Carbine |
The Carbine’s zoom, range and rate of fire make it perfect for taking down opponents from safe distances. While its precision decreases with range, a single shot to an unprotected head is always deadly. |
|
|
Battle Rifle |
The Battle Rifle is slower than the Carbine but fires in bursts of three bullets, which actually increases its potential accuracy. Like the Carbine, it has a zoom function for mid-range firefights. Skilled players will acquire the knack of deftly flicking the thumbstick to “rake” a small area to increase the likelihood of a headshot, or to take down multiple Grunts. |
|
|
Sniper Rifle & Beam Rifle |
The Sniper Rifle and Beam Rifle are outstanding long-range weapons thanks to their powerful two-level zoom. As you need to take scarce ammunition and limited battery power into account, they should be saved for dispatching priority targets. The Sniper Rifle has a slower fire rate than the Beam Rifle, but the latter will overheat if fired rapidly in quick succession. |
|
|
Shotgun |
It may be extremely satisfying to use, and brutally effective at close quarters, but the limited range of the Shotgun means that it’s practically a melee weapon. Its close-quarters stopping power makes it a good choice of backup weapon. |
|
|
Frag Grenade & Plasma Grenade |
The power and distance of grenade throws is determined by elevation – the further away the target, the higher you should aim. The more powerful Frag Grenade is perfect for crowd control, or for covering a retreat. The Plasma Grenade is a more specialized weapon that sticks to living creatures and moving vehicles, but not to inanimate scenery or objects. If you can tag an enemy with one, it’s often a guaranteed kill. |
Weapons
When you play Halo 3 on Heroic or Legendary, having finely honed reactions will only get you so far if you’re artlessly indiscriminate in your choice of weapons. Knowing which firearms are suitable for specific enemies – and situations – is absolutely vital.
The table that you’ll find below is designed to illustrate the efficiency of each weapon against the main enemy types based on the chosen difficulty level. The more stars in a weapon‘s cell, the more effective it is against the corresponding foe. While you’ll notice that some columns state the patently obvious – for instance, the fact that only a guileless simpleton or a gaming madman would attempt to take down a Brute Chieftain with an Assault Rifle on Legendary – you’ll find that it pays to study how the efficiency of many weapons decreases as you play on higher difficulty settings.
Of course, the table‘s guidance reflects each weapon‘s approximate worth under optimum conditions. It assumes that you are within the ideal range boundary (see “Weapon Range”), that your weapon sights track your opponent with unerring accuracy, and that you aim for the most vulnerable part of each enemy’s body.
The information offered in the table is fairly self-explanatory, but you should note that the following “Analysis” section is generally skewed towards examining how effective weapons are on Legendary.
Weapon Range
If you’ve ever found yourself wondering: “At what distance does an Assault Rifle become less efficacious than a potato gun?”, then cry a lusty halleluiah and clap your hands in giddy anticipation, because we’ve prepared a diagram to show you. Beyond the marks specified on this diagram – which, to aid easy range recognition, is a top-down view of the Dam in the Sierra 117 mission – the power and/or accuracy of all featured weapons can be said to decrease by a notable degree. The reduction in efficiency thereafter is sometimes sudden and severe (as with the Shotgun and Needler); with other weapons, such as the Carbine and Battle Rifle, you’ll notice a more gradual decline.
Spike Grenades
Spike Grenades may share a key characteristic with Plasma Grenades, but don’t make the mistake of thinking that the similarities stretch beyond their sticking qualities. The different trajectory of a thrown Spike Grenade means that it’s much less suited to tagging enemies or vehicles from greater distances; additionally, its razor-sharp payload is only lethal at point-blank range (or, of course, when “stuck”). These are best saved for taking out Brutes at close proximity or, if necessary, shield-bearing Jackals.
With a design brief worthy of Torquemada’s most feverishly evil dreams, and an end result that connoisseurs of artist Jackson Pollock would find eerily familiar, this is a pitilessly cruel type of grenade.
The Spike Grenade will stick to practically any surface – even Bubble Shields and the shields used by Jackals.
When it detonates, the Spike Grenade fires a payload of viciously sharp metal. However, the blast radius is smaller than that of Frag Grenades and Plasma Grenades.
“Sticking” an enemy with a Spike Grenade is often a guaranteed kill.
As with other grenade types, be careful when the floor is littered with Spike Grenades – a single explosion could set off a lethal chain reaction.
Incendiary Grenades
Incendiary Grenades cause their target to burst into flames, and will burn anything that comes in contact with them. It’s a one-shot kill weapon against all opponents bar Chieftains, though their relative scarcity means that you should save them for use in emergencies, or against powerful opponents. As they are hugely effective against the Flood, these are worth their weight in gold during the Cortana level…
Carried (and dropped) by Brute Stalkers, Incendiary Grenades have a whole range of interesting applications
Hitting an enemy with an Incendiary Grenade has much the same effect as sticking them with a Plasma or Spike Grenade – it’s an instant kill. The same, alas, applies to the Master Chief.
While the flame from an Incendiary Grenade burns, it will damage anything that it comes into contact with.
The localized fire that breaks out when an Incendiary Grenade explodes will stick to anything – floors, walls, even ceilings. This means that you can use it in a defensive capacity to block entrances or corridors.

Spiker
Proof positive that Brutes hold their quarry in contempt, the Spiker is a rapaciously barbarous firearm – but only at close range.
Can be dual wielded, and is especially powerful when you do so
Stuns most enemies with its withering rate of fire
Has a fairly large clip size – one is sufficient to kill a Brute on Normal, with spikes to spare
Very effective at short range, but its accuracy plummets as the distance increases, and its projectiles have a decaying trajectory – they’ll actually fall to the ground before reaching the target at medium range
The spikes are rather slow, so it’s not a good weapon to use against fast-moving or distant targets. Even though you can adjust your aim to hit enemies over longer ranges, the spikes take an absolute epoch to arrive in comparison with other weapons; you’ll swear that continental drift shifts your target a few inches to one side as the projectiles float lazily through the air
You can bounce the spikes off surfaces (even the ground) if you fire from certain angles
Gravity Hammer
For those who prefer the “personal touch” when xenophobic alien collectives drop by for a genocidal house-call, the Gravity Hammer is a peerlessly satisfying melee weapon.
Each use of the Gravity Hammer drains its limited energy supply
You will lunge towards targeted enemies when the reticule is red
The Gravity Hammer doesn’t just harm the targeted enemy –
it also has an area of effect when it strikes, knocking nearby Covenant troops, Marines and objects aside
Using the melee button to strike with the base of its handle is much less powerful, but does not drain its battery. This is the most energy-efficient way to take down Grunts, Jackals and, if you can get a clear strike at their backs, Brutes
The Gravity Hammer is capable of setting off grenades within the vicinity of its impact. This may occasionally work in your favor, but could equally lead to unintentionally spectacular suicides
Plasma & Machine Gun Turret
Though they differ in terms of the ballistic ammo used, the Plasma Turret and Machine Gun Turret are broadly analogous – not to mention devastating.
You can wrench either type of fixed turret from its mounting by following the onscreen prompt that appears when you use one.
If you are dual wielding, the weapon in your left hand will be dropped when you pick up a turret.
When you carry a turret, the view switches to a third-person perspective. Although this shouldn’t have a massive influence on the way you play, note that it can enable you to study enemy movements from behind cover.
Both turrets stun targets (even Brute Chieftains) with their ferocious rate of fire.
Carrying a turret slows the Master Chief down, making him vulnerable to grenades, turret emplacements (including fixed cannons on the Phantom dropship), and the Brute Shot. If you find yourself dangerously exposed and under fire while carrying one, just drop it and run – you can always retrieve it later.
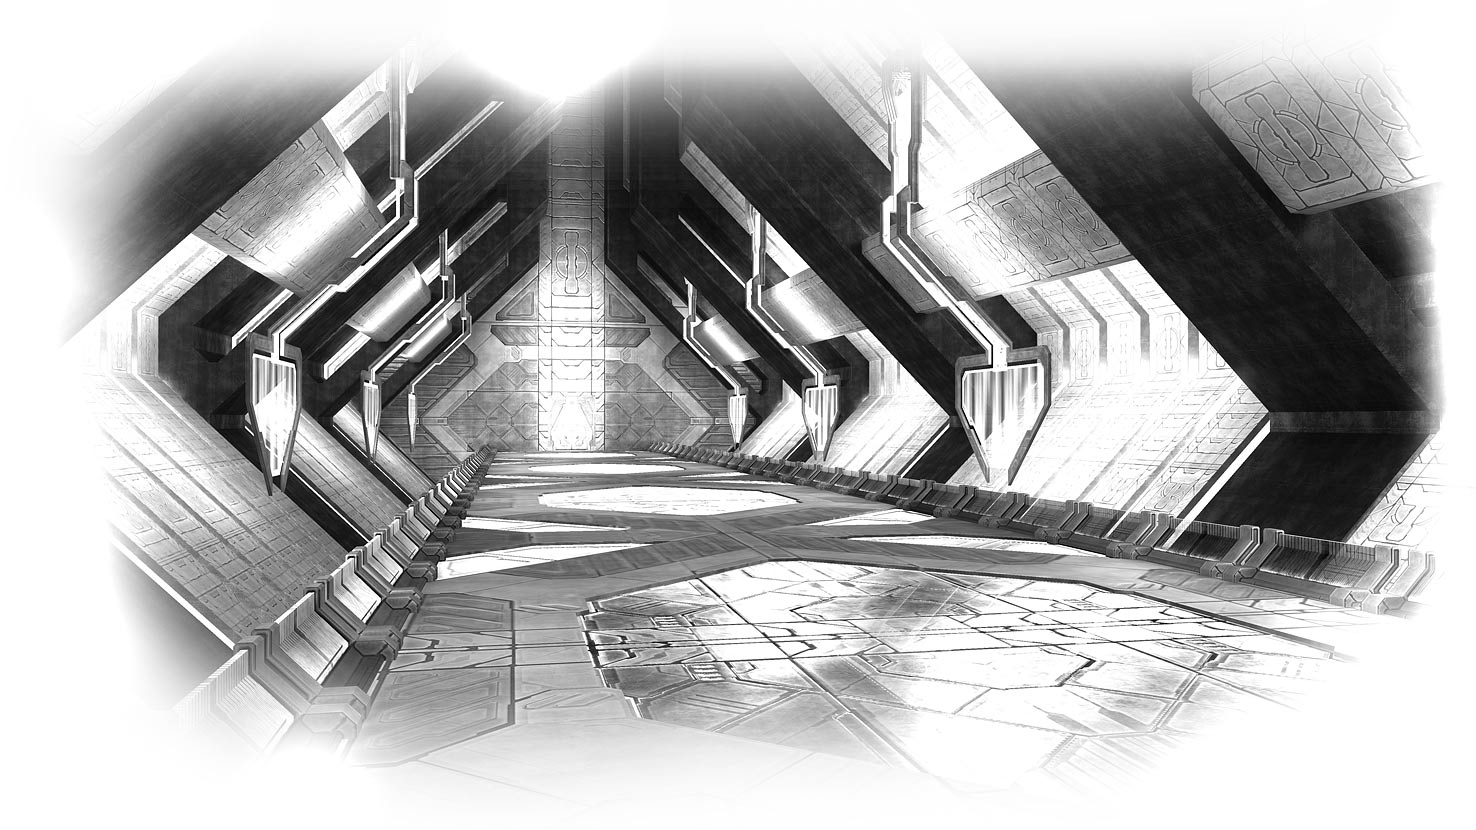
Fuel Rod Gun
One of the most powerful weapons you can lay your hands on, the Fuel Rod Gun turns a common infantryman into a walking tank.
As with other “power weapons”, the Fuel Rod Gun has limited ammo while in the care of the Master Chief, so it’s often more useful in the hands of allies. If a Brute has one, they’re also free to fire for as long as they
please – which is why such enemies should always be top of your hit list.
The “splash damage” that occurs when a Fuel Rod Gun shot hits home can tip light vehicles over, and cause anything combustible within range to explode.
The Fuel Rod Gun is best used against vehicles and concentrated groups of infantry. With the obvious exception of Chieftains, using it on individual Brutes is wasteful.
If you find that a long-range shot appears to be tracking your movements, that’s because it is – the Fuel Rod Gun’s projectiles have a limited homing function when correctly aimed. This effect is far more pronounced on higher difficulty levels.
Trip Mine
Tread on one of these, and the Marines that find the Master Chief’s remains will need to requisition a specially made Spartan-sized body bag… and a spade to fill it.
There is an audio cue that helps you to detect the presence of an activated Trip Mine, even if you can’t actually see it.
A Trip Mine will detonate shortly after its proximity trigger is activated by a nearby vehicle or pedestrian.
Trip Mines can also be activated by gunfire or explosions, and have a wide blast radius.
Don’t make the mistake of thinking that Trip Mines are only appropriate for use against vehicles – they’re actually perfect for many close-quarters infantry battles, especially if you want to lay a trap for attacking enemies.
If a Brute deploys a Trip Mine and it poses no immediate danger to you, don’t be too quick to destroy it. Instead, wait to see if enemies move into range at a later point, then fire at will if they do.
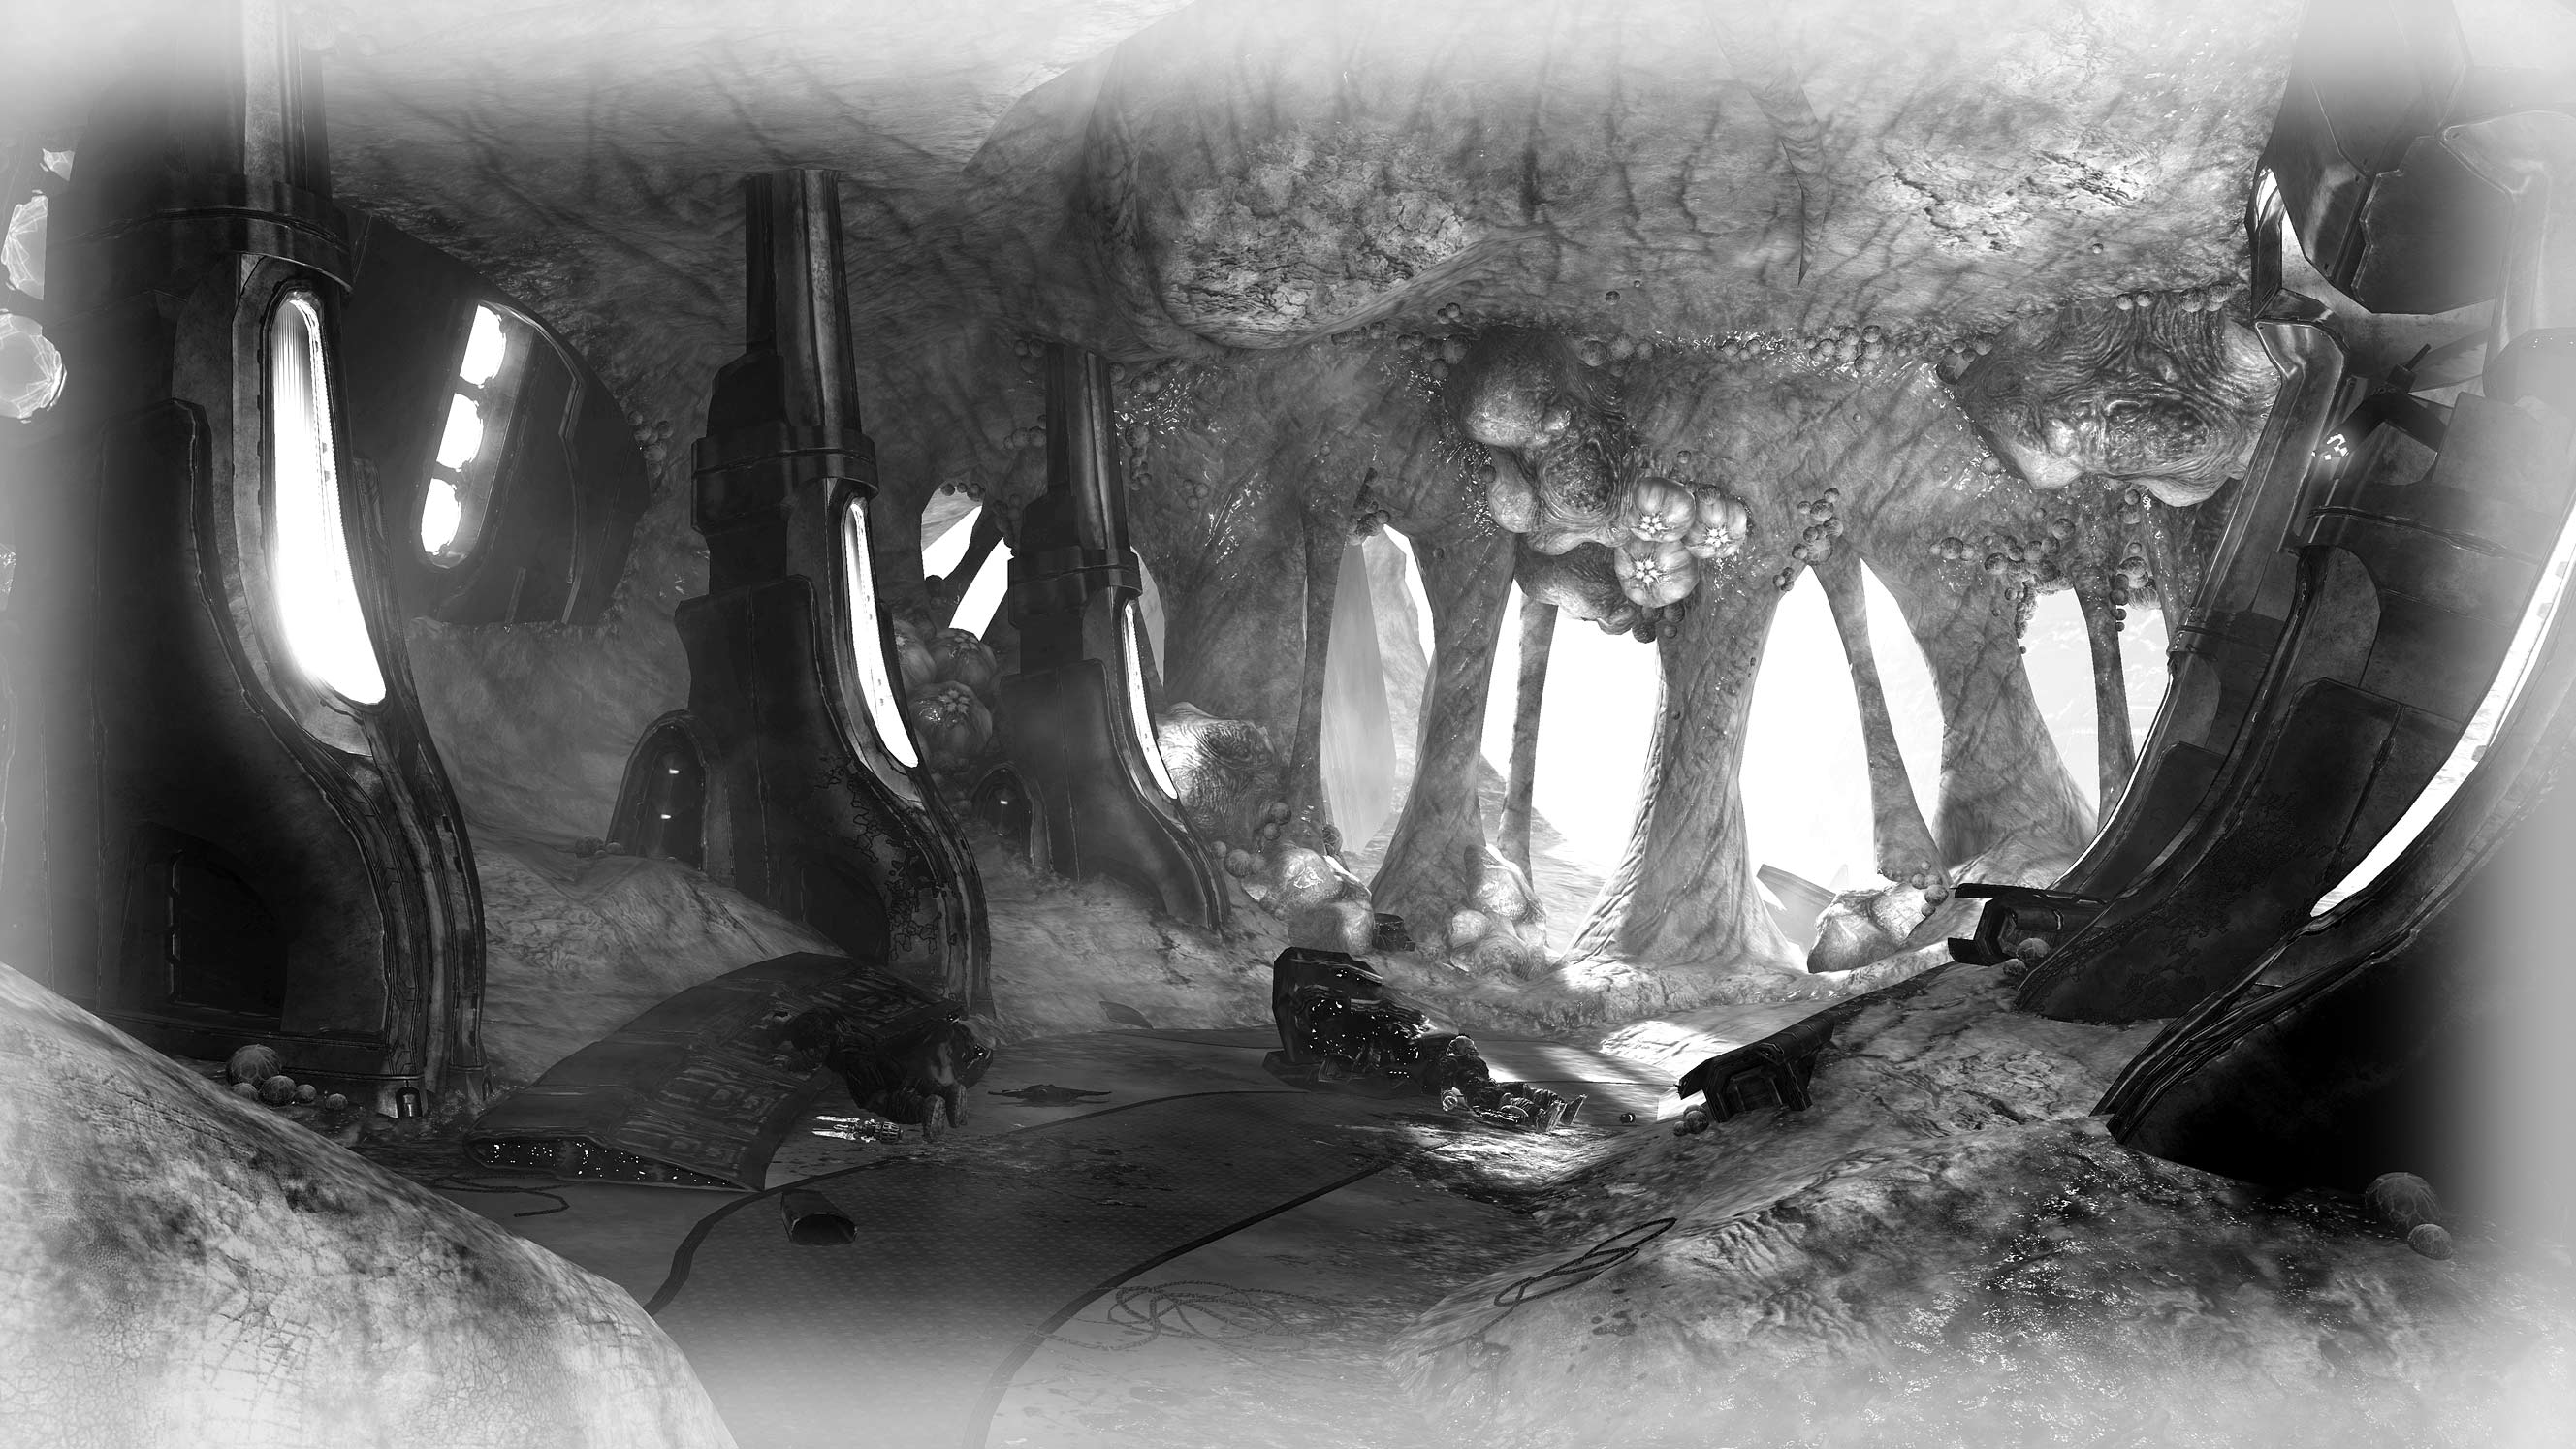
Radar Jammer
For those panicked “there’s movement all over the place!” moments, the Radar Jammer is a recipe for Motion Tracker madness.
When deployed by Brutes and the Master Chief alike, the Radar Jammer causes the Chief’s Motion Tracker to be filled with phantom contacts for as long as the device is active.
The Radar Jammer will automatically self-destruct after a relatively short period of time, but it can also be destroyed by gunfire or explosions.
When you use it against Covenant enemies, it can cause Grunts to panic, and Brutes to enter their berserk state. That may not necessarily be a good thing…
SMG
If the Magnum or Battle Rifle could be said to possess the precision and accuracy of a surgeon’s scalpel in the right hands, the SMG is more akin to a rusty chainsaw.
The “bullet hose”, as those in the know affectionately call it, can be dual wielded, and has an extraordinary high rate of fire
It suffers from bone-jarring recoil – especially when you use two at once – and its accuracy drops alarmingly when fired continuously. As with the Assault Rifle, you’ll find that frequent controlled bursts are more effective
While it’s very powerful on the Easy and Normal difficulty levels, the SMG is less potent on Heroic and Legendary.
Plasma Rifle
A mainstay of previous games in the series, the Plasma Rifle is actually relatively rare in Halo 3.
The Plasma Rifle overheats if fired continuously. Use medium-length bursts to take advantage of the accelerating fire rate, but be sure to ease off the trigger before it cuts out.
Can be dual wielded – ideally with a weapon such as the Magnum (for finishing headshots), an SMG or a Spiker.
The Plasma Rifle tends to be marginally more effective at destroying shields and power armor than ballistic weaponry such as the SMG or Spiker, but is slightly less efficient against flesh and bone.
On Heroic and Legendary, the Plasma Rifle is a solid substitute if there are no Plasma Pistols available
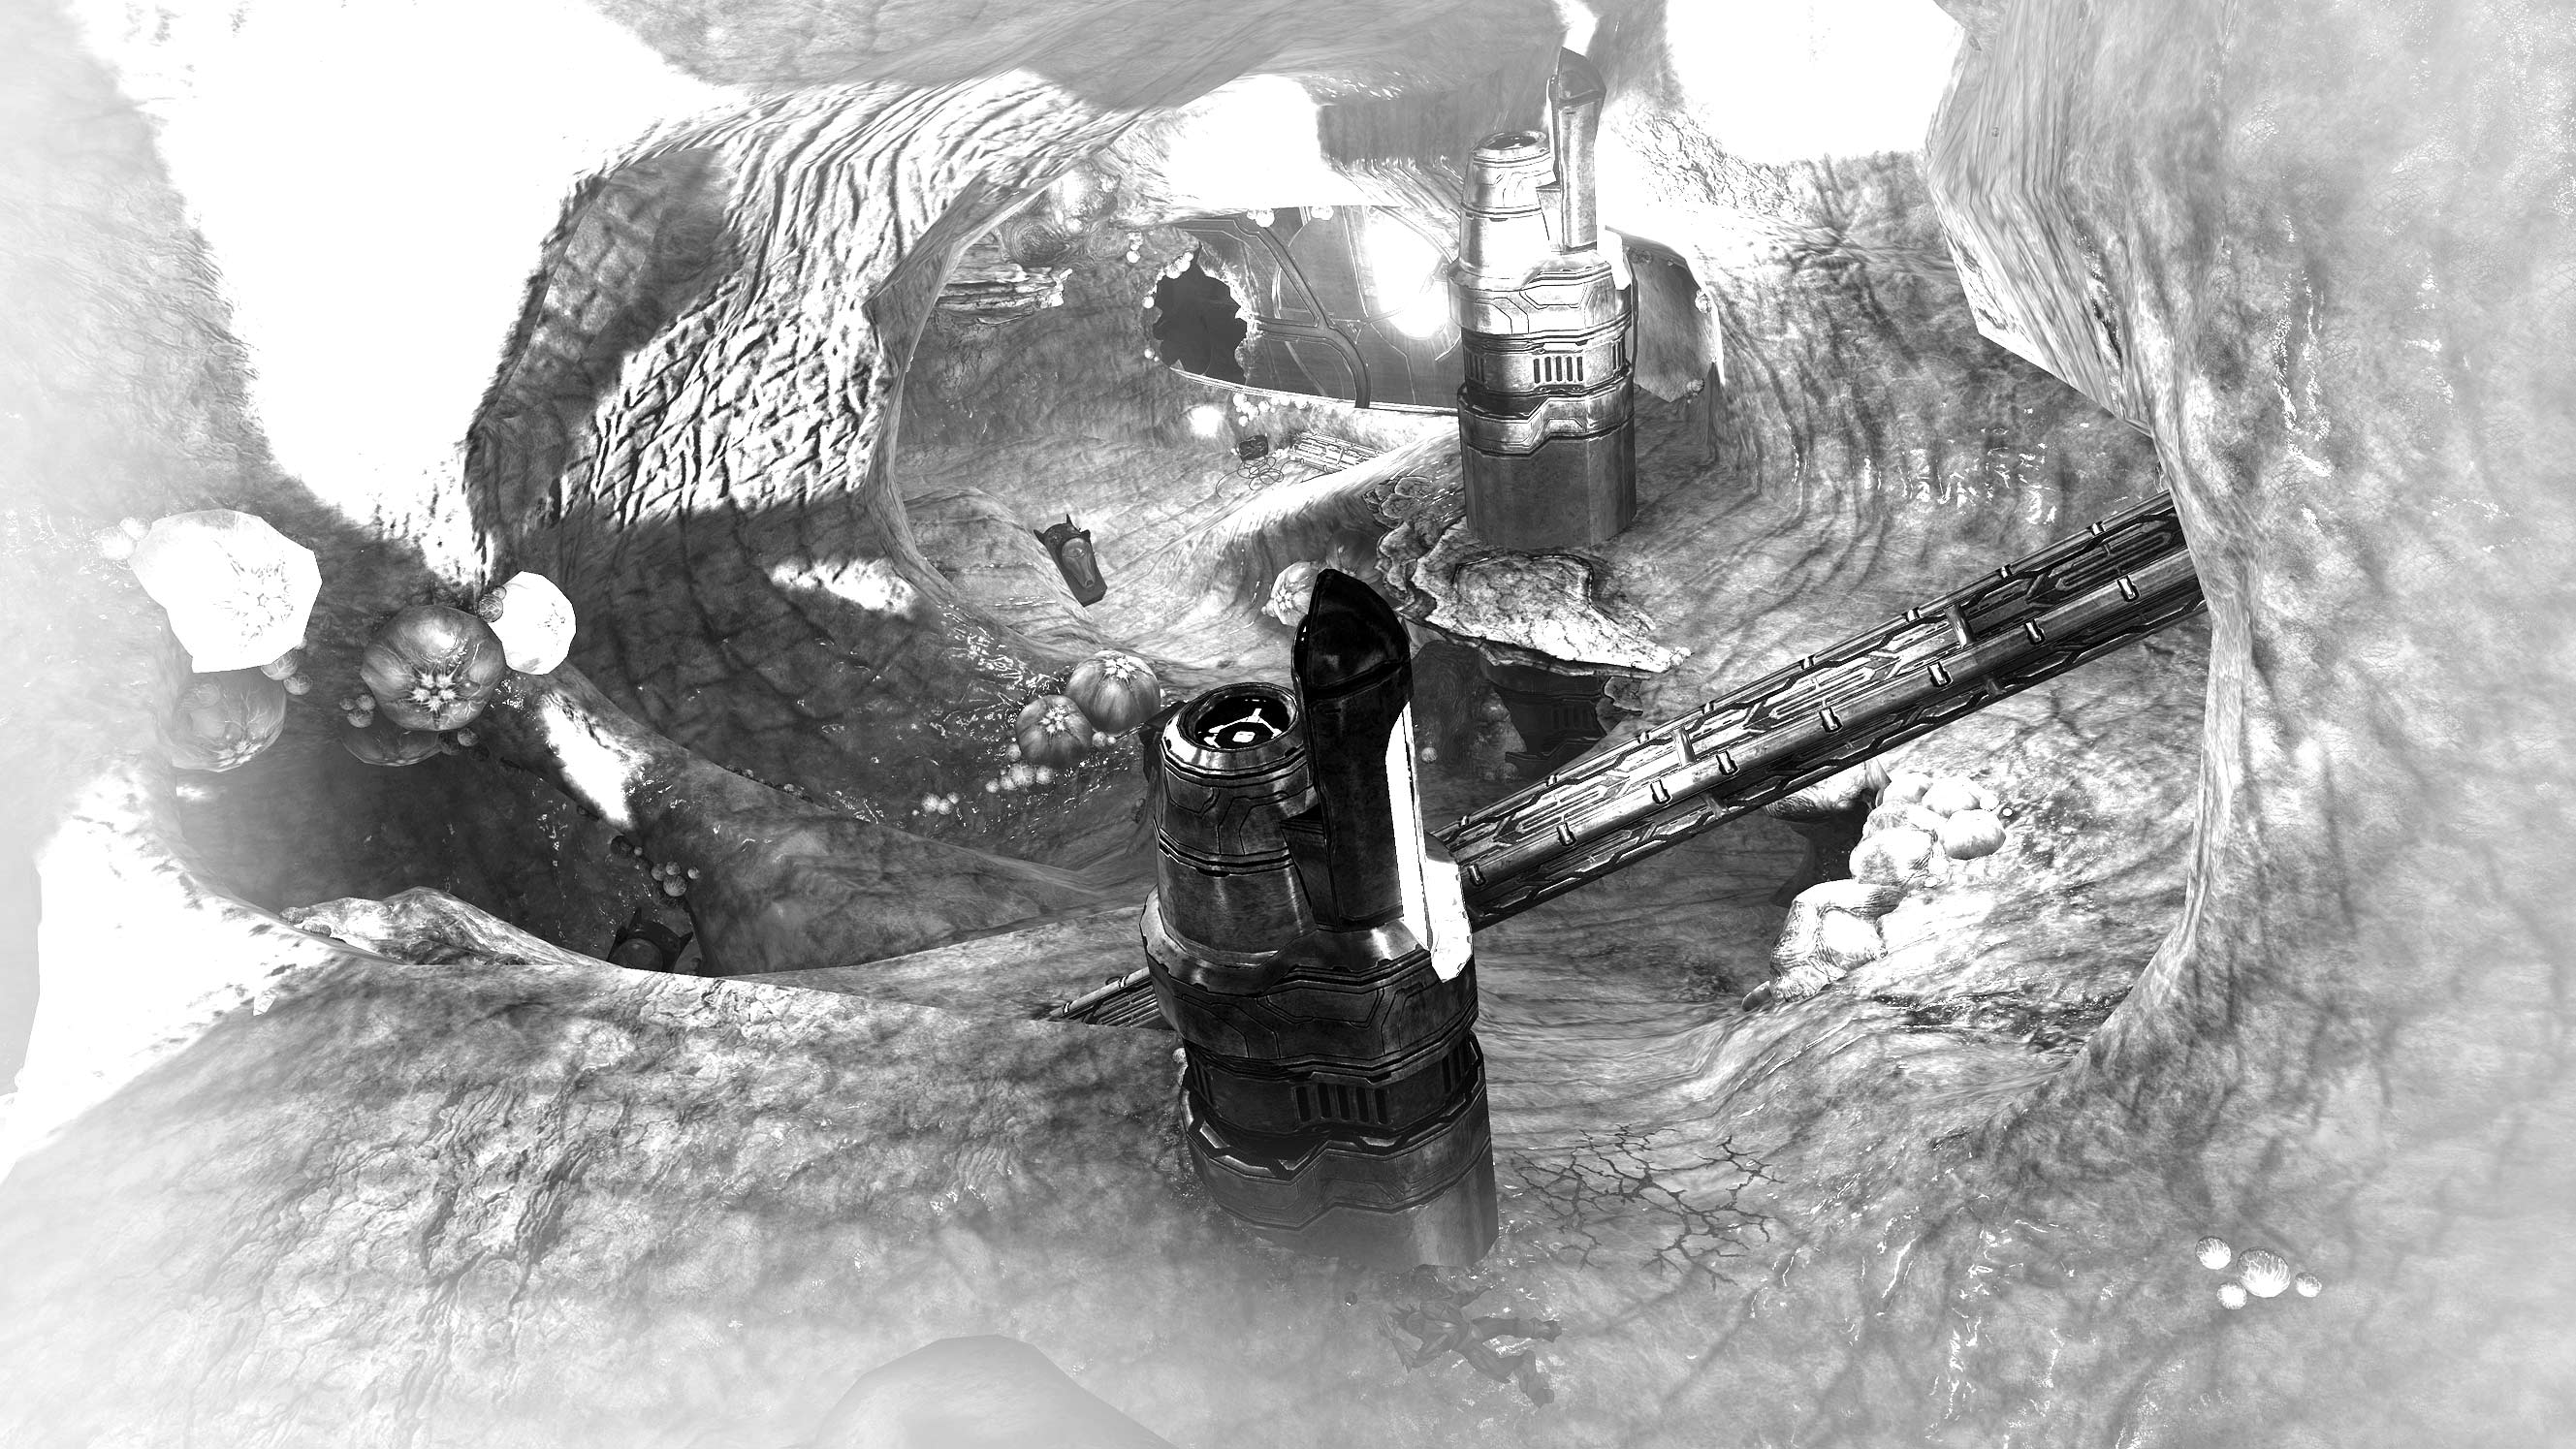
Energy Sword
Though some will prefer the Gravity Hammer’s massive impact radius, the swift and deadly Energy Sword is still the purist’s choice for close-quarters battles.
The Energy Sword has two functions: a basic close-range swipe when you press the melee attack button (default s), and a lunging strike triggered by R when the targeting cursor is red.
Each use of the Energy Sword drains its battery by a small amount.
The Energy Sword truly excels when employed against the Flood. A solitary strike is enough to eviscerate most forms, with only occasional exceptions when you face Combat Forms that are derived from Brutes or shielded Elites.
Auto Turret
It isn’t particularly reliable or blessed with notable firepower, but the Auto Turret can still be an efficient device if you know what to expect from it.
There is a short time delay before an Auto Turret becomes active.
The Auto Turret will, as its name suggests, fire automatically at any hostiles in range once active. When you deploy it, try to face the direction in which you would like it to fire.
Though rather weak, this piece of equipment is often a great way to distract opponents, if only for a moment – and sometimes, that’s all you need.
The Auto Turret lasts indefinitely, but can (and often will) be destroyed by weapons fire and explosions.
Flamethrower
Despite its salient drawbacks, the Flamethrower is immensely satisfying to use.
Like all turret weapons, the Flamethrower slows down the Master Chief. When you face large numbers of Combat Forms, this can be a definite disadvantage.
The Flamethrower has a very limited range, and is suited to close-quarters engagements only.
It’s almost instantaneously lethal against Pure Forms and Infection Forms – a short burst of flame will suffice.
Combat Forms, by contrast, will continue to run, use weapons and perform melee attacks until the flames consume their bodies. This necessitates a large amount of awkward dodging and jumping.
Fires started by the Flamethrower on floors, walls and even ceilings will burn for a short period, and damage anything that passes through them – including the Master Chief.
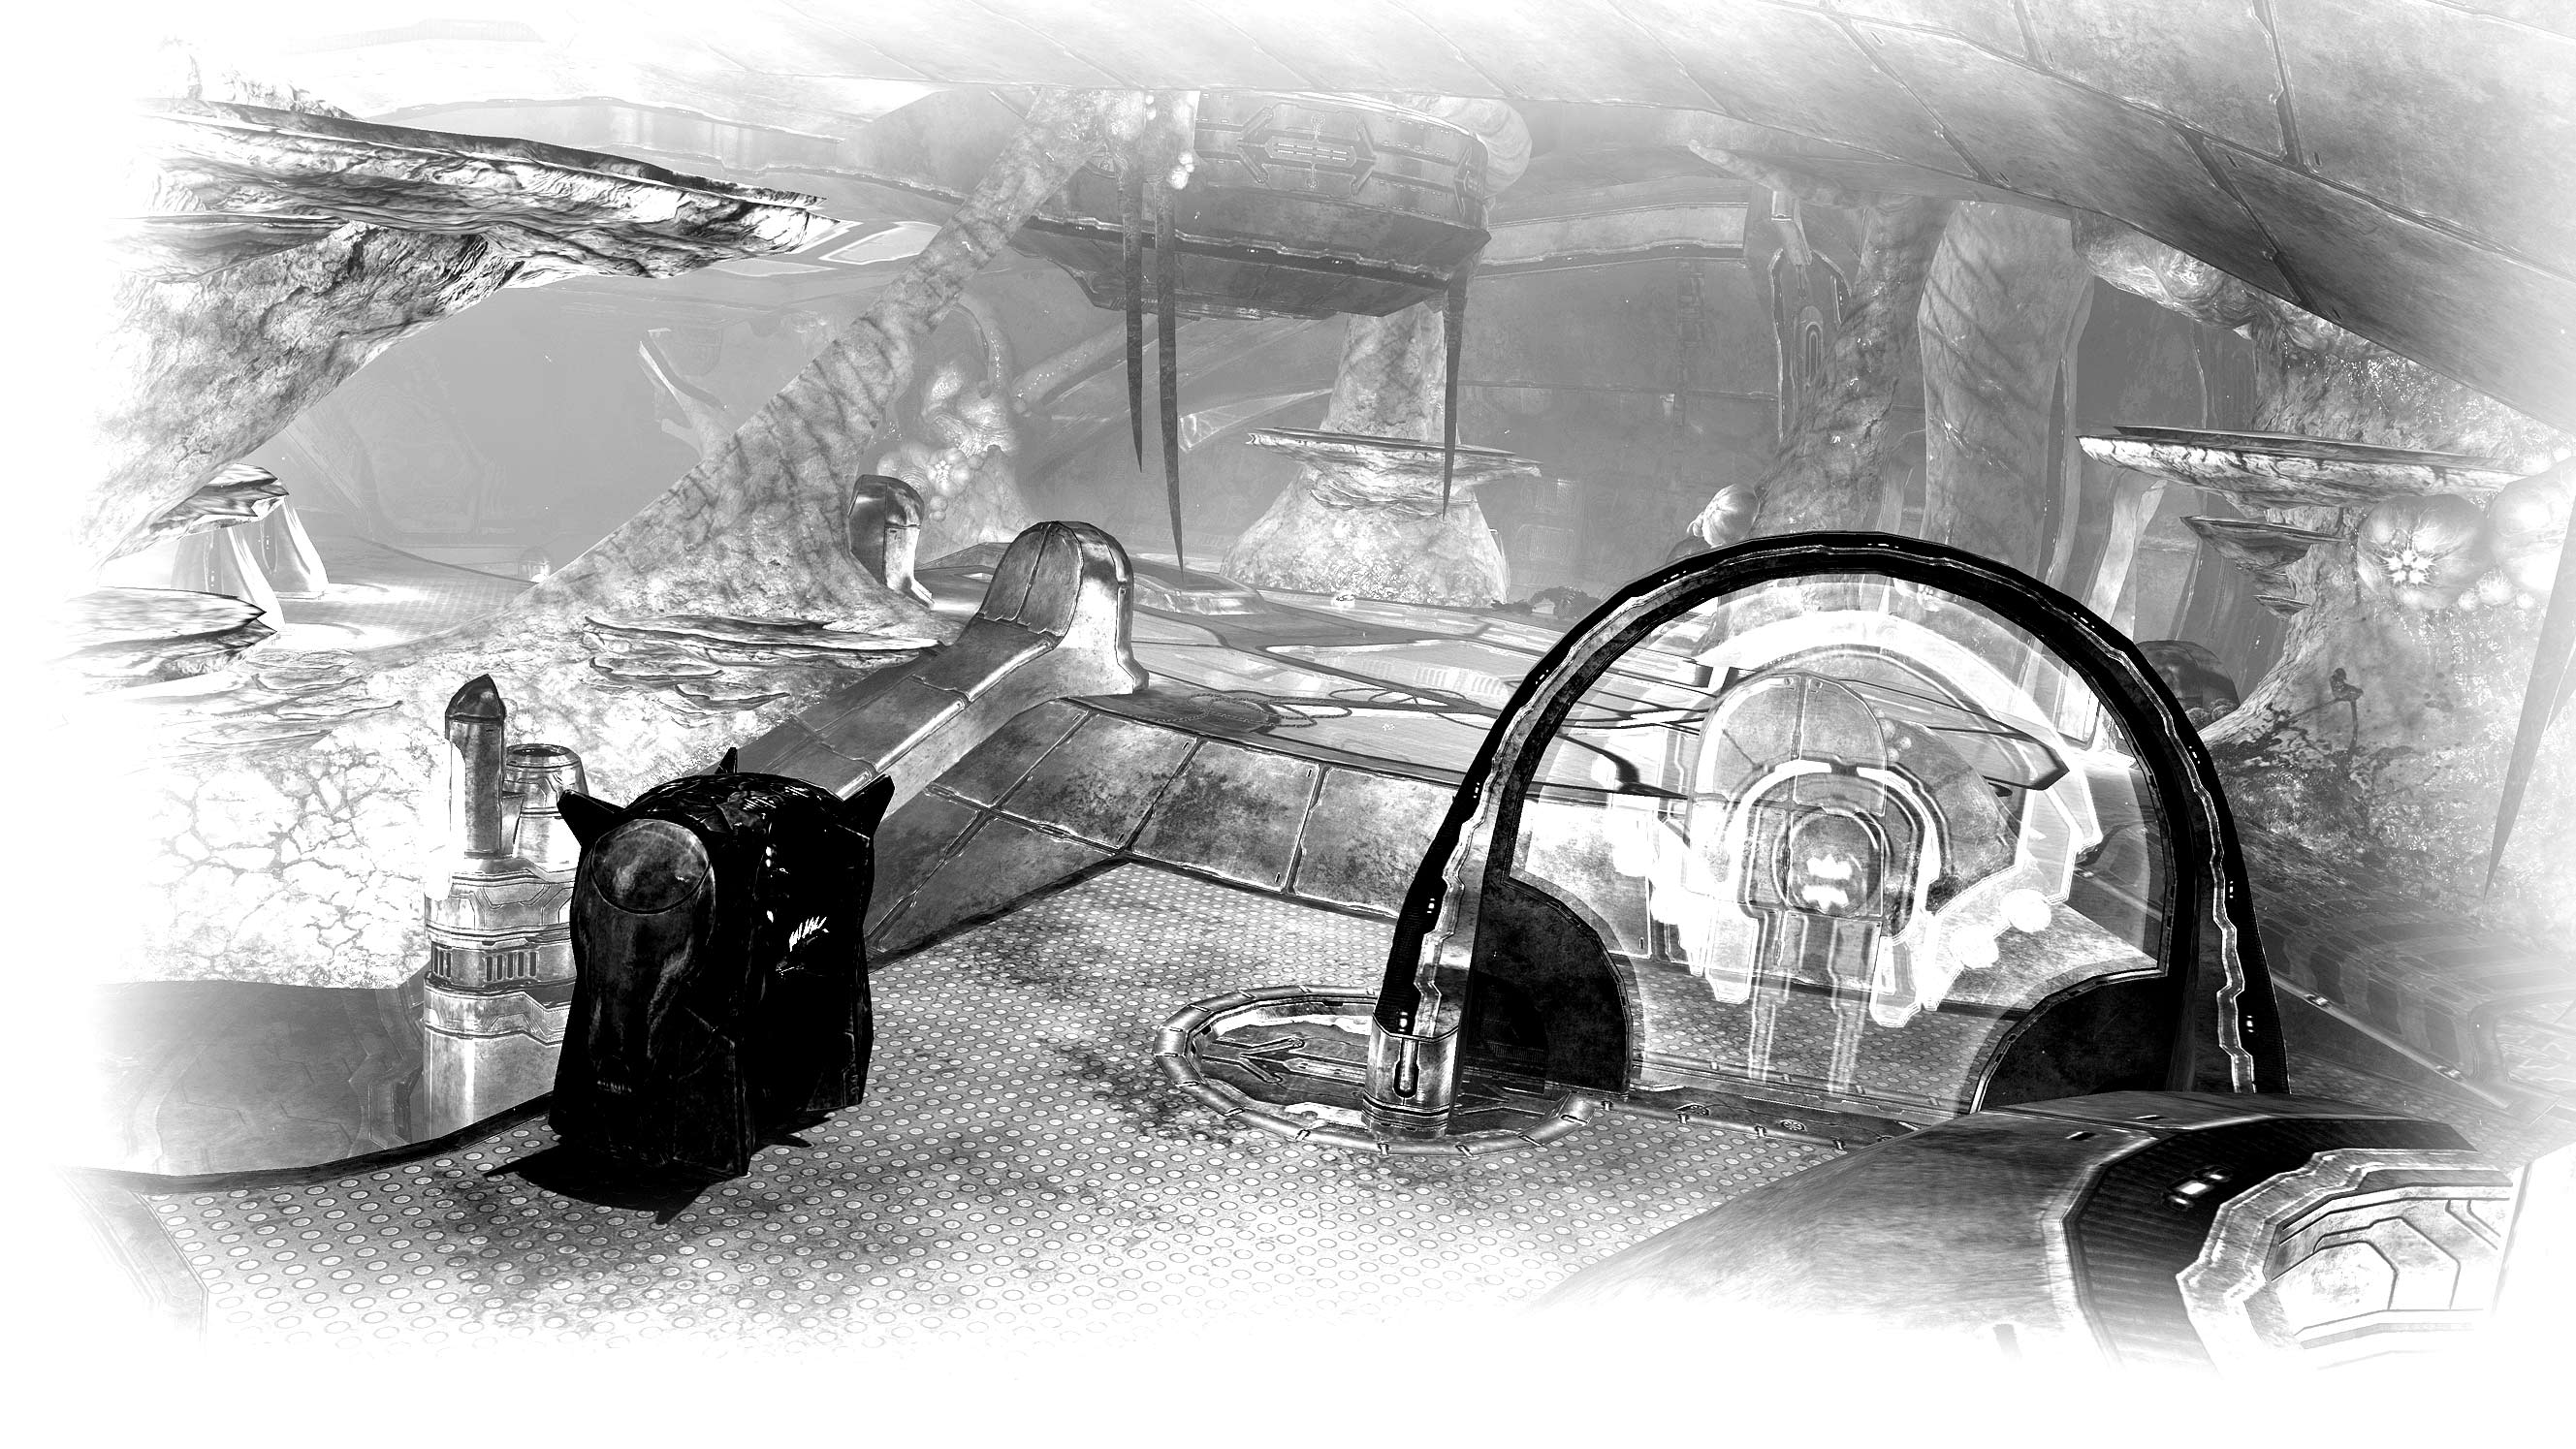
Mauler
On one hand, the Mauler is a slightly weaker version of the Shotgun… but in two hands, however, it’s an absolutely devastating dual wield weapon.
First things first: at anything other than close range, firing a Mauler at an enemy is akin to insulting their mother – it’s just hot air and noise, and it’s going to make them angry.
At very close ranges, the Mauler’s rate of fire and ability to stun enemies makes it a worthy rival to the Shotgun when dual wielded.
Sadly, ammo for the Mauler is actually quite rare. It’s a weapon that you simply have to make the most of when you find it.
Grav Lift
Don’t underestimate the Grav Lift, as it’s more than a simple means of conveyance. Players with imagination and a degree of cunning will soon realize that it can be deployed to send charging Brutes and even onrushing light vehicles flying overhead – but don’t forget to duck. As a fringe benefit, you should bear in mind that it also has an influence on the trajectory of thrown grenades, which may have some interesting applications…
Deployable Cover
First encountered in its deployed form in the jungle battles of the Sierra 117 mission, the Deployable Cover equipment is simple to use – just face the required direction, press the magic button, and that’s it. If you need to destroy one in a hurry, aim for the base unit. The degree of punishment that the energy shield can withstand is linked to the difficulty level you are playing on. With Legendary battles, it offers little more than very temporary respite from incoming fire.
Regenerator
When deployed, the Regenerator creates a green spherical energy field that rapidly replenishes all personal shield devices in range. However, don’t make the mistake of believing that this is equivalent to a form of temporary immunity from death or pain for either the Master Chief or Brutes. Incoming fire or nearby explosions will cause just as much damage as usual, and a suitably accurate hail of bullets will still kill a target within its boundaries. What it offers, though, is an astonishingly fast shield recharge time. Duck into cover for a second while inside the green field, and the Master Chief’s shield will be completely restored. This enables you to launch rapid, aggressive attacks.
Power Drain
There are a few parallels that may lead you to erroneously assume that the Power Drain is simply a yin to the Regenerator’s yang – after all, the similar visual appearance (though blue in color) and deleterious effect on energy shields certainly suggests that. However, there is more to this powerful piece of equipment than meets the eye. Not only does it quickly strip all shields in range, it also explodes once its power source expires, potentially killing any weakened Brutes (or, for that matter, Spartan or Arbiter) within range. Most interestingly, though, it also has an EMP-style effect on all vehicles that pass through it, stalling their engines for as long as it lasts. In all game modes (especially multiplayer matches), it’s a device you’ll learn to love and loathe in equal measure.
Missile Pod
You don’t get to use them very often in Campaign mode, but finding a Missile Pod is always a blessed relief during fights against Covenant vehicles.
The Missile Pod will automatically acquire a lock-on when you face an enemy vehicle. With larger craft, you can even target individual sub-systems, such as the turrets on a Phantom dropship.
Its missiles have a homing function, but you’ll need to take the intervening landscape into consideration – they won’t fly over or around obstructions.
The Missile Pod has infinite ammunition while attached to its mounting, but holds a mere eight rockets once ripped from its fixed position.
Cloaking
Used wisely, the Cloaking device can enable you to secure an early advantage in otherwise difficult firefights.
Cloaking renders the Master Chief effectively invisible for approximately 12 seconds.
If you fire a weapon, the camouflage effect will cease for a moment; gunfire or explosion damage will also make the Chief visible. If you stop firing, or avoid contact with anything painful, you will fade out of view again.
Be careful not to bump into Brutes with Cloaking active, or they will try to hit you with an immediate melee attack.
Chieftains appear to be more receptive to your presence when you use Cloaking than other Brutes, and may turn to track your movements.
Spartan Laser
It’s the ultimate laser pen, writ large – and you really can blind someone with it. Permanently.
The Spartan Laser must power up before it can fire, with the gauge inside the reticle indicating how long that will take.
Release the trigger at any time to cancel the firing process – there is no battery penalty for doing so.
You can begin “priming” a Spartan Laser shot before you actually line the target up in your sights. This enables you to remain safely behind cover until the very last moment. It takes time to perfect the skill, but you’ll appreciate practical experience accrued in Campaign mode when you get to use it in multiplayer matches.
In the Master Chief’s hands, the Spartan Laser is a super-powerful solution to a variety of vehicle, turret and Chieftain-related woes. In the hands of an AI-controlled ally on Legendary, however, it’s a fabulously destructive weapon with infinite ammo.
Rocket Launcher
It may lack the homing function that made it the ultimate anti-vehicular weapon in Halo 2, but the Rocket Launcher is still an intensely satisfying tool when you have some serious smiting and waxing of wroth to attend to.
The rockets are extremely powerful, and will destroy almost anything other than dropships and Scarabs within two shots on Normal difficulty.
Take the blast radius into consideration when you aim. Ideally, you should be attempting to obliterate entire attack parties with one shot.
Bubble Shield
A Bubble Shield is the Halo 3 equivalent of a “Get Out of Jail Free” card – and for “jail”, read: “death”. Once activated, it generates a selectively impervious energy wall, allowing troops and vehicles to move in and out freely, but shielding occupants (or, to a lesser extent, those hiding behind it) from harmful projectiles or explosions outside. Equally, though, shots and explosions emanating from inside the sphere can’t harm anyone on the outside. The device can be deployed in a second and, as long as your opponents don’t run in to join you, will provide temporary respite from a variety of threats – such as an incoming Phantom or a sniper. It can also offer vital moments of calm to enable your shields to recharge, or even be used as cover for an attack, so long as you wield your weapons outside the protective boundaries. You’ll find that Brutes regularly use Bubble Shields, activating them when they feel suitably injured or in danger.
Bubble Shields last up to 20 seconds, but can be destroyed before that point if the central generator is damaged. If you need to remove one quickly, a single melee attack to the base unit will suffice.
Invincibility
Though carefully rationed, Invincibility devices enable the Master Chief to sustain outrageous levels of damage with almost absolute impunity. The same, alas, is true of the Chieftains that carry them.
Invincibility units are carried by the Brute Chieftains that wield Gravity Hammers. The only way to acquire one is to kill a Chieftain before he activates it.
This device renders the user invulnerable to weapons damage and explosions for ten seconds. Falling from a great height is still lethal, though.
Two words: rocket jumps. With this device, you can make one and survive. What you do with this knowledge is entirely at your discretion…
Shade
The Shade’s front armor plating protects the gunner from most infantry weapons, which can make it an extremely awkward target to deal with when you’re on foot. If you manage to get close enough, sticking a grenade on it will disable it immediately. The metal plating at the side of the Shade can be partially destroyed, and its gunner is completely vulnerable to attacks from behind. (In co-op games, a good tactic is to have one player draw the turret’s fire in one direction, while a second lines up a shot on the Grunt manning it from elsewhere.)
The dual plasma cannons on the Shade fire very powerful but slow-moving projectiles. On foot, you can usually jump and dodge to avoid these with ease, though this becomes more difficult as you approach the turret.
The latest evolution of the Shade fixed turret is the most powerful to date, as it provides far greater protection for its Grunt operator than previous models.
The Shade fires slow-moving yet powerful bolts of plasma. Jump and dodge to avoid these at range, but be warned – not all Grunts are stupid, and the operator may anticipate your movements if your evasive maneuvers are all zig and no zag.
The Shade’s front armor is impervious to small arms fire, though you may be able to hit the operator and cause him to jump out and flee if you have a precision weapon (such as a Sniper Rifle) that enables you to fire through the tiny gaps.
If you can get a clear shot from the side or behind, a single headshot is sufficient to disable the Grunt inside.
The Shade is especially vulnerable to “sticky” grenades – one tag equals instant death for the unfortunate Grunt manning it.