
Halo 3 Guide Multiplayer Multiplayer Levels
Valhalla
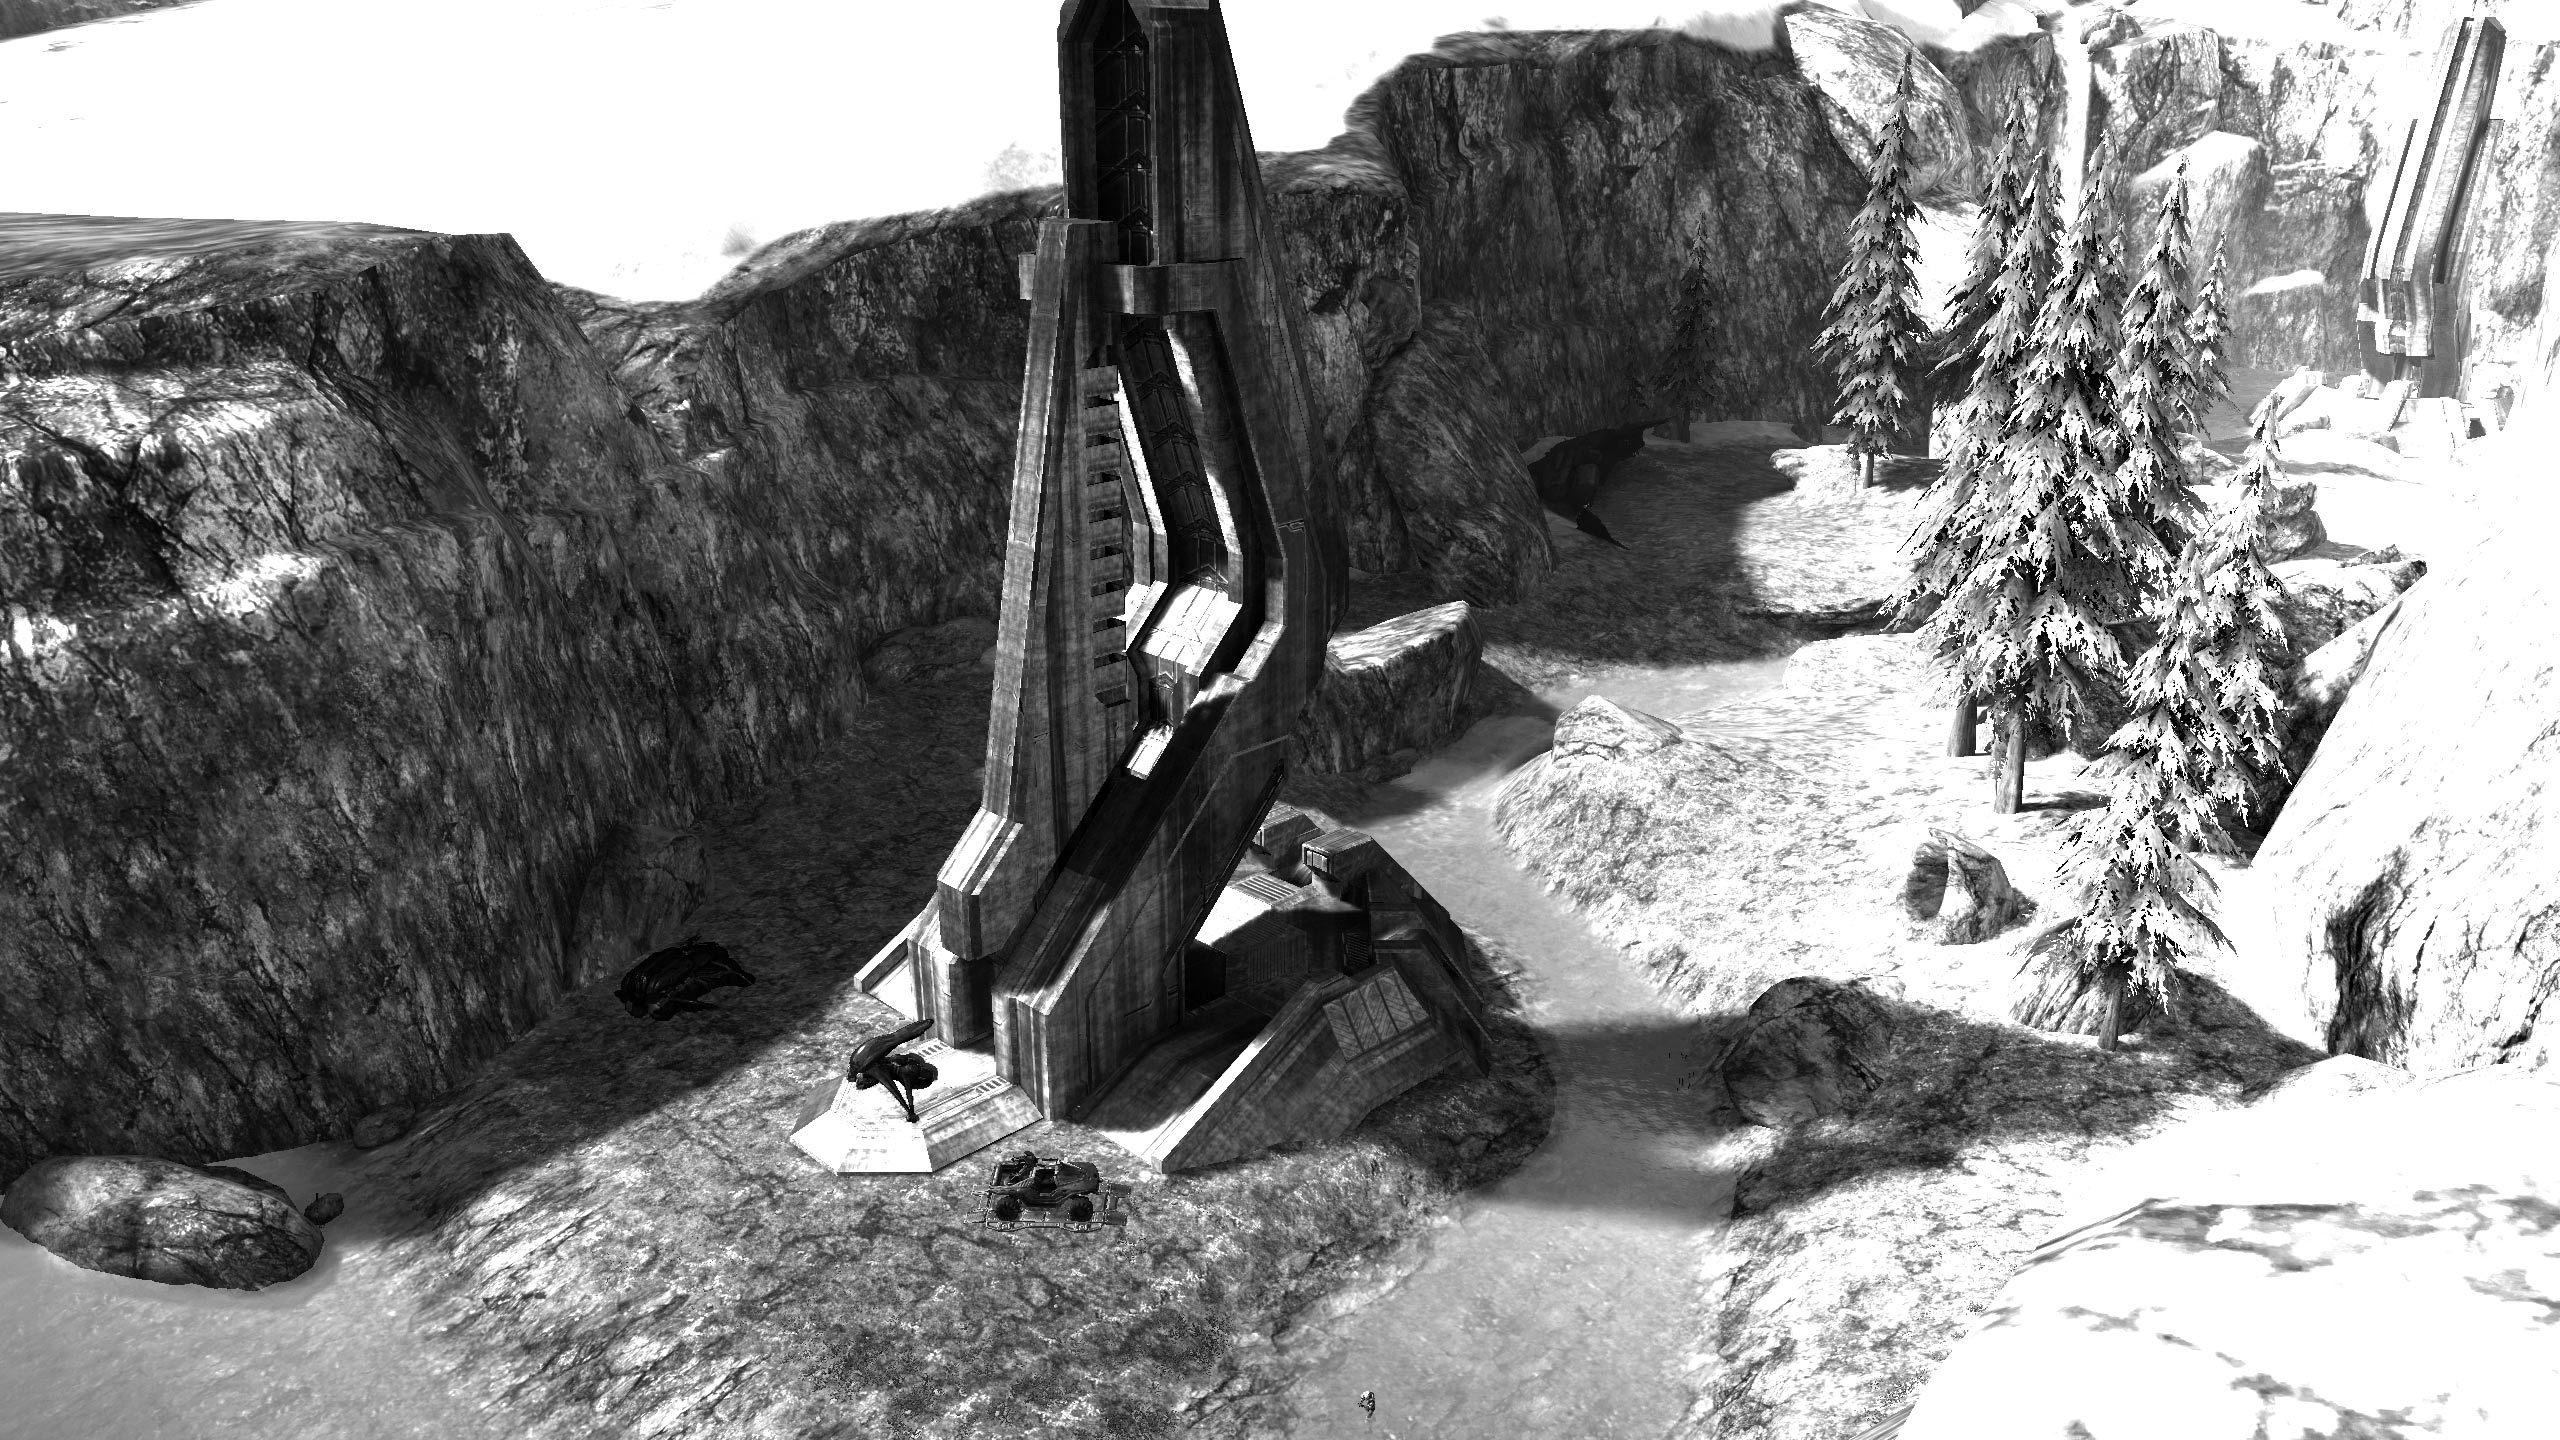
General Tips
The Plasma Grenades and Battle Rifles in both bases have extremely short respawn times. Unless a particularly urgent event requires your immediate attention, it’s generally worthwhile to wait for them to appear before you move on.
Anything that can fit into a Man Cannon is subject to its effect. Grenades, equipment, vehicles, Fusion Cores: whatever enters the blue energy waves will be propelled over a distance determined by that object’s weight and angle of entry. Here are a few interesting ideas that you should consider.
For fast Mongoose deployment, setting off via the main central Man Cannon is by far the quickest way to reach the center of the map. If you hit the blue energy waves at the correct angle and at high speed, you have a better chance of landing on your wheels (rather than your head) when you hit the ground. At the start of team-based games, this strategy is frequently used by both teams in the mad rush to secure the Spartan Laser.

There is a Fusion Core on the surface just above the central Man Cannon on both bases. You can either shoot this to injure opponents as they attempt to escape, or push it into the Man Cannon. The chances of actually hitting anything are slim, but you’ll holler with delight if you ever secure a kill this way.
Similarly, you can fire grenades with the Man Cannon. However, you should note that Frag Grenades will explode in midair if they hit a surface beforehand. If you’re aiming for a hundred-to-one shot attempt to kill a fleeing foe, a Plasma Grenade is the better choice.
In Custom Games where Trip Mines have been added to the mix, positioning them at approximate landing spots can be amusingly effective. If you do this in team-based games, though, it’s prudent to warn your allies beforehand.
If you’ve grabbed the enemy flag in CTF games, but realize you have no chance of surviving the short run to the Man Cannon, try throwing it in to the device as a dying gesture. (This can actually be a useful strategy: if you have a second team waiting with a vehicle for the flag to land, you can even plan to turn and fight in an attempt to slow down the enemy pursuit.)
If you face numerous foes arriving at the arming spot or flag in Assault and CTF games, the Power Drain situated in both bases is a great way to disrupt large-scale attacks. Hold your nerve, wait until they can almost touch their objective, then deploy it. You know what to do next…
Under the rock arch near the Waterfall Base, there is a rock that you can stand on (Fig. 1). Due to the dim light, it can be hard for opponents to spot you there, which makes it an excellent position for ambushes.

Fig. 1
The Missile Pod positioned in each base acts principally as a Banshee deterrent in team games. If you employ it against ground-based vehicles, pick your shots carefully, and don’t waste missiles on distant targets.
The team that takes control of the Spartan Laser gains an immediate advantage if they know how to make the most of it. You can either plan to take it back to your base to augment your defense if required, or immediately set out to destroy your opponent’s vehicles. Whichever choice you make, it’s pretty wasteful to fire it at pedestrians or Mongooses.
The sole Machine Gun Turret on Valhalla has an unusually short respawn time, and can play a big part in the battle to gain supremacy in the center of the map. The trick is to get it to a position where your reduced mobility is less of an issue.
The slope at the front of each of the bases can be climbed for the most direct route to the enemy flag or bomb arming site. You can even drive a Mongoose up this slope. As a rule, it’s better to run or drive up the left-hand side – lest you forget, there is often a Fusion Core to the right of the central Man Cannon.
On the left-hand side of the Lake Base (facing into the map), there is a great camping spot behind the rock that leans against the cliff wall. For snipers, it has a lot going for it – namely a view of the Spartan Laser spawn point, as well as a reasonably clear view of the ground in front of the base. The icing on the cake is that it offers an escape route at the back.

Fig. 2
In objective games, running across the map to reach your opponent’s base (unless you have a specific reason for doing so) can be very time-consuming.
In Oddball games, you can hide in the interior area of either base by jumping on the sloped walls. From this position, opponents following the waypoint indicator will often assume that you are actually on the upper base level, which might grant you a few extra seconds.
Vehicle Tips

The Banshee is often a dominant force on this map. In objective-based games, it’s absolutely vital that you don’t waste yours – there’s a long wait until another one spawns. In the hands of a capable pilot, it’s a powerful tool for base defense. The further towards your opponent’s base you move, the shorter your potential lifespan; however, if used purely to patrol and control the area around your base, you may find that your attacks falter without its support.
In the rush to reach the Spartan Laser in team games, try using the Banshee to make “airborne insertions”.
It’s always worth attempting to hijack other enemy vehicles (with the exception of the plentiful Mongoose) if you get the opportunity to do so. If you can take control of the opposing team’s Banshee or Wraith (Fig. 2), you gain a big short-term advantage. Additionally, if someone tries to run you down with a low-flying Banshee and is foolish enough to miss, it’s practically an obligation that you make them pay by stealing their wings.
In One Flag or One Bomb games, the defending team can block entrances to their base with vehicles. This won’t stop a determined opponent from getting through, of course, but it will slow them down.
|
Recommended Variants |
One Flag, Multi Flag, Assault, One Bomb, Team Slayer, Territories, VIP |
|
Recommended Number of Players |
6-16 |
|
Objects of Desire |
Banshee, Wraith, Spartan Laser, Sniper Rifle |