
Halo 3 Guide Multiplayer Multiplayer Levels
Narrows
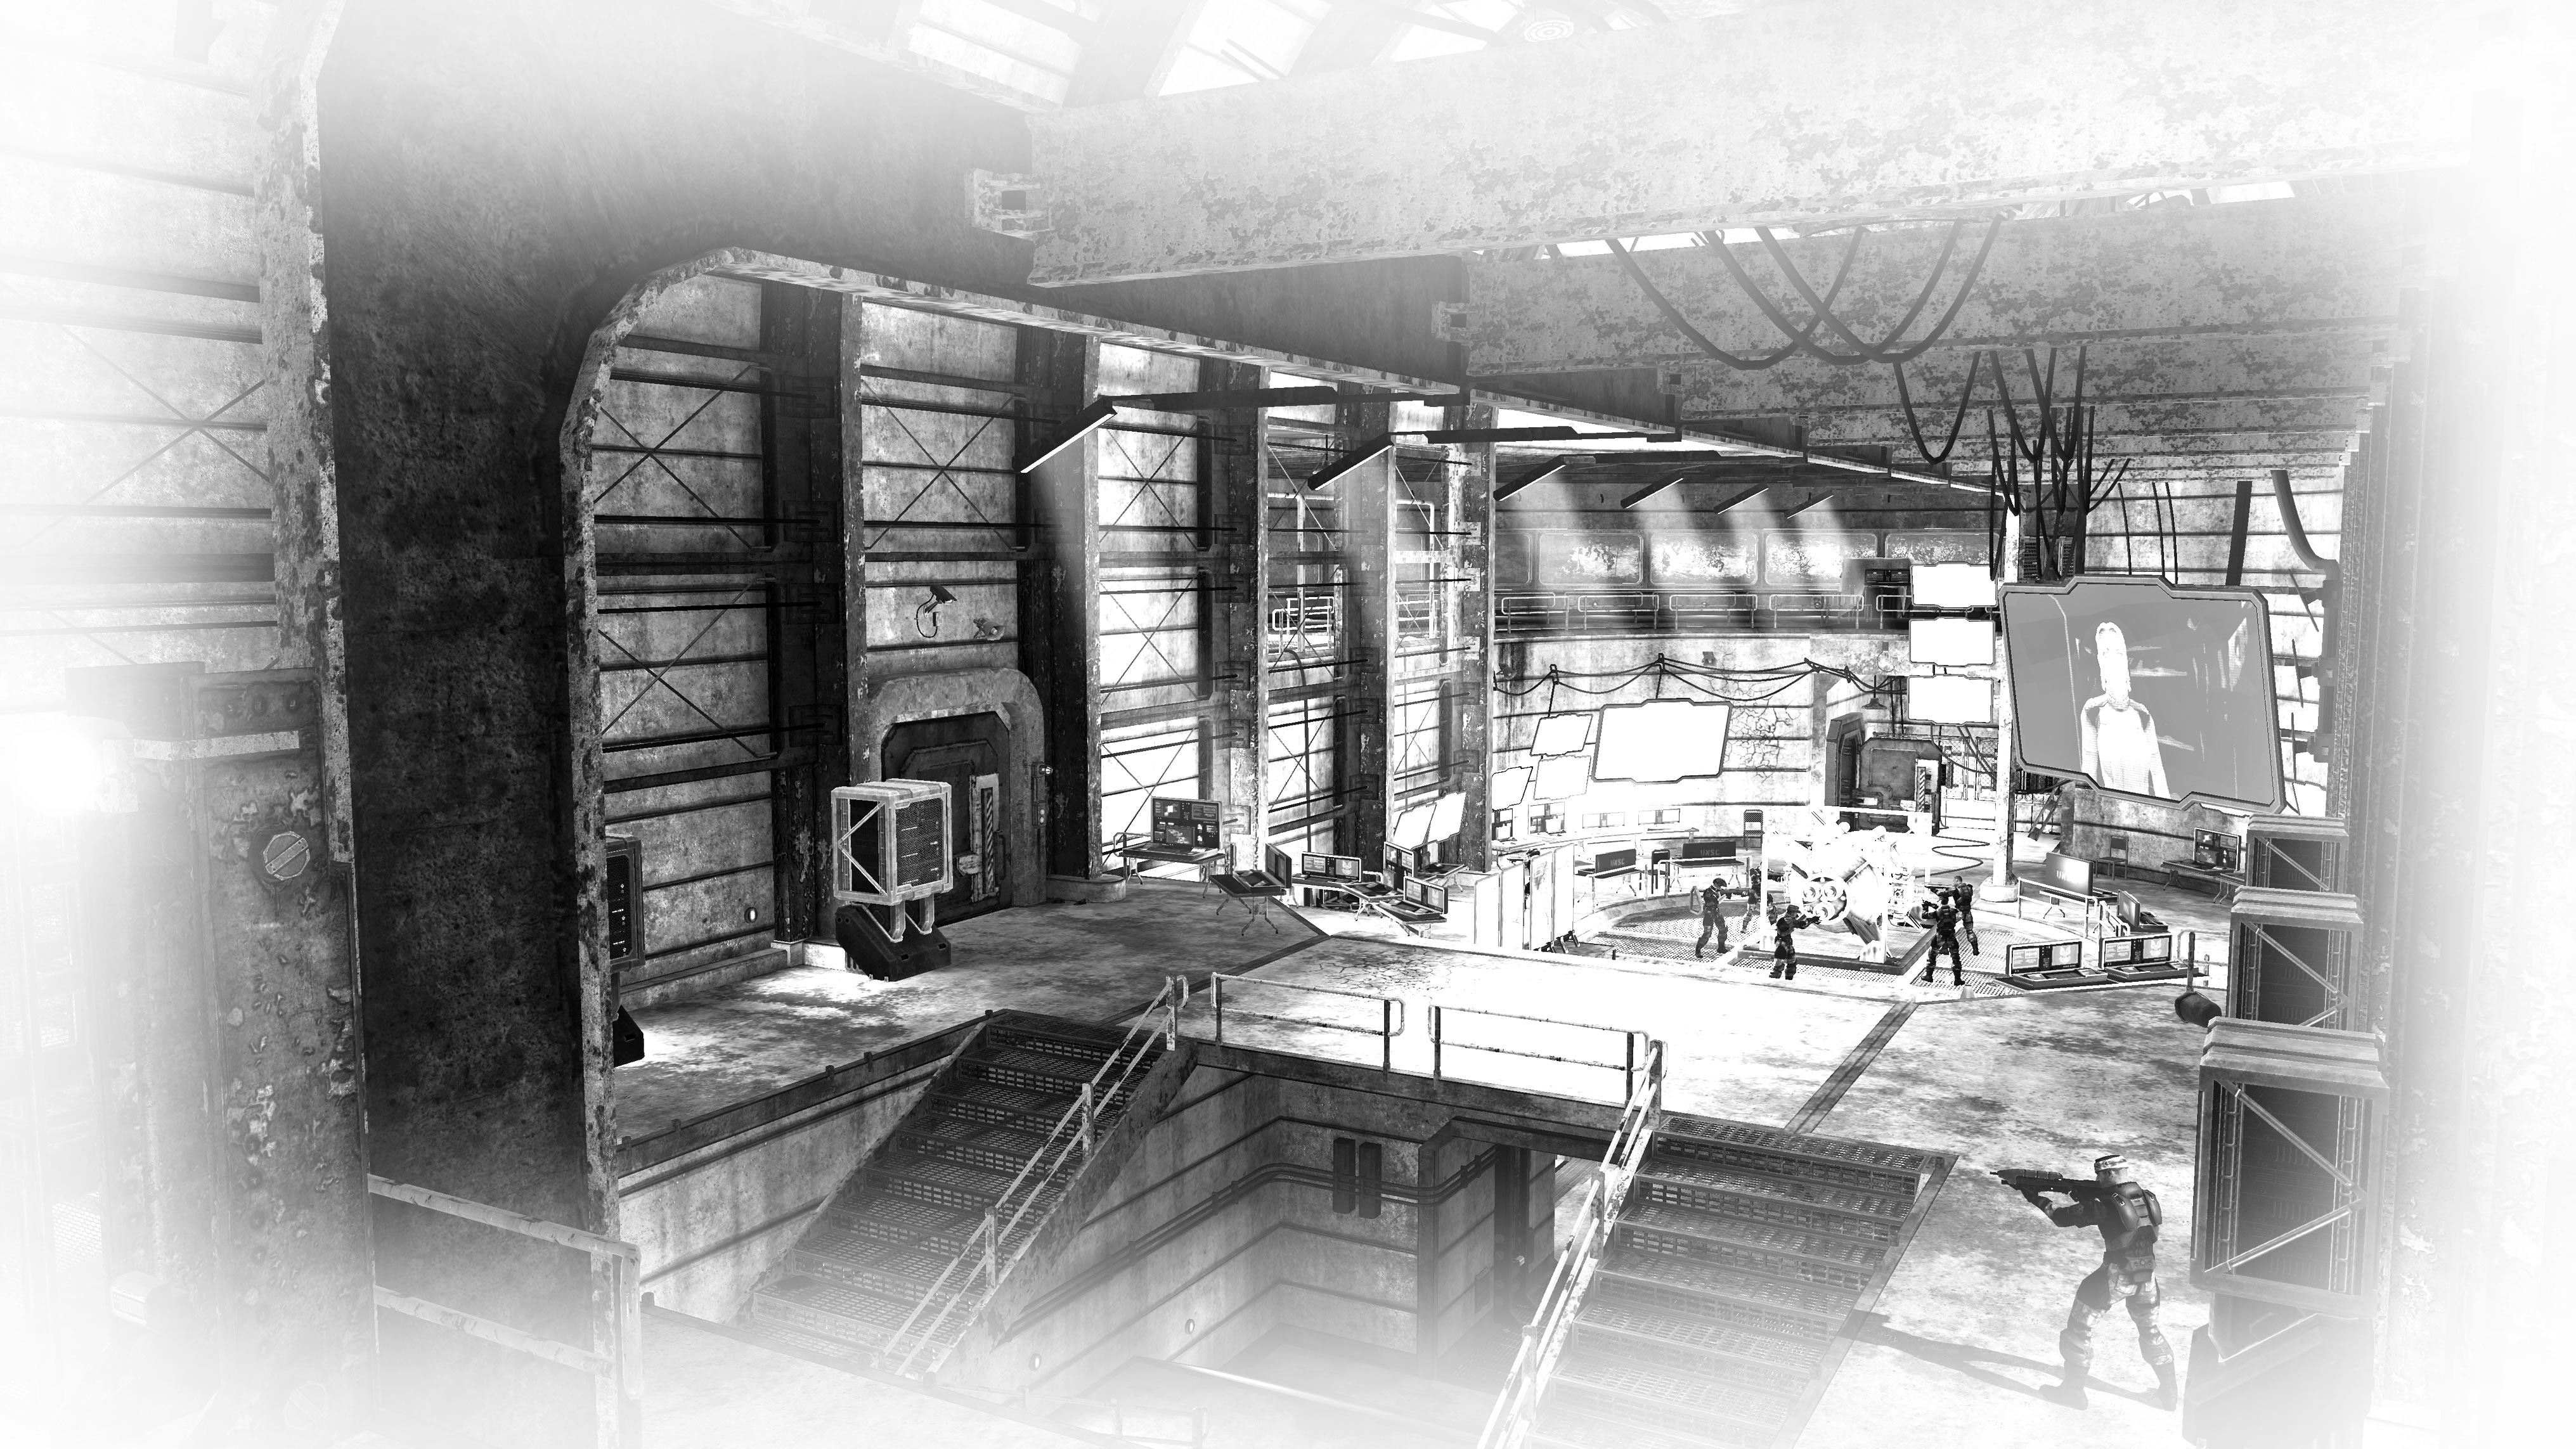
Bridge Tips
The Rocket Launcher can be found at the very centre of the top bridge, which – naturally – is the site of particularly messy early-match battles, with flare-ups occurring whenever the weapon respawns. There is a Fusion Core on either side of the platform it rests on. Anyone standing over the Rocket Launcher when one of these explodes will lose practically all of their shield energy, so the first person to jump up often pays for their enthusiasm. Further complicating matters is the presence of a Radar Jammer right next to this position. If someone sets it off, everyone will be jumping at shadows.
The Shotgun is positioned at the centre of the lower bridge. It’s great for base defense, so try to pick it up whenever you can. However, the fight to gain control of it can be deadly. If you are the first to make a dash for it, you might become an easy target for a Plasma Grenade thrown by a more cautious (and, some might argue, wiser) opponent.
The battle to gain control of the bridge’s upper level often determines the outcome of many CTF and Assault games. Push your opponents back, and you’ll gain access to the ramps leading down to the lower level; you’ll also secure control of the Rocket Launcher spawn point. In One Flag and One Bomb variants especially, it’s essential that defending teams allocate sufficient manpower to control this area.

On the far ends of the main bridge, you can walk on the barriers situated at either side to jump directly to the platforms beyond.
The lower bridge is the quickest route into your opponent’s base… if you can survive the short journey. Being very narrow at the center, and with no cover once an assailant commits to moving over it, it’s very easy to defend. The presence of a Plasma Pistol and Plasma Grenades at either end perhaps indicates what works best here – either blow enemies from the narrow walkway, or even panic them into falling off the edge. Two players hiding behind cover could potentially hold this position against a much larger force. The main danger, though, is that you can be overwhelmed should opponents run down the nearby slopes from the upper level.
Base Tips
Each base has a Sniper Rifle on either side of the lower bridge level. In objective-based games, it’s generally best to use this to defend against opponents attacking via the Man Cannon, occasionally helping out on the lower bridge when required. Broadly speaking, it’s inadvisable for a sniper to set up shop on the upper bridge – there’s just too much cover for opponents to hide behind.

Blue Base is home to the Overshield, while Yellow Base has Active Camo in the equivalent position. There’s a Brute Shot next to both power-ups, so the decision to visit this low corridor in Team Slayer games can be fatal if an opponent gets there first.
The Man Cannons offer the quickest route into the opposing base, but are – as a rule – very easy to defend. Anyone flying through the air is a simple target for someone with a Sniper Rifle or Battle Rifle, and the landing spot – right on top of the Needler spawn point – can be strewn with grenades by defenders in anticipation of a group’s arrival.
The Blue Base has a Bubble Shield positioned right in front of the Man Cannon. If you throw this into the Man Cannon just before you take off, it provides cover for your entire flight, and helps you to establish a “beach head” on landing. Naturally, this is a strategy that takes a little coordination, and also a certain amount of luck – skilled opponents will attempt to destroy the Bubble Shield by planting a grenade at the position where it lands.

The Yellow Base has a Power Drain positioned near to the Man Cannon instead of a Bubble Shield. This can be used in one of two ways. The first is to toss it through the Man Cannon to damage the shields of opponents flying towards the landing spot – it will usually reduce them to approximately one third. The second (and less satisfying) option is to throw it at the landing position just before they touch down.
Though Yellow Base soldiers guarding the Man Cannon in objective-based games will be itching to throw the Power Drain through the gravity device, it can actually be more profitably employed by players fighting to get an upper hand on the bridge.
If equipment items hit players as they fly through the Man Cannon, the collision can reduce their momentum, causing them to fall to their deaths.

In CTF games, it is possible to drop the flag in the Man Cannon for a teammate to collect on the other side if needs be. You can even turn this into an actual strategy by sacrificing yourself to slow the advance of any opponents giving chase. You may not get the kudos of the actual flag capture, but your team will love you all the more.
If you throw Frag Grenades into the Man Cannon in such a way that they hit the ground before they take off, they will explode at a low point in their flight arc. With practice, you can learn how to time these throws to damage incoming enemies. Similarly, if an opponent attempts to escape you by jumping into a Man Cannon, you’re practically obliged to bid them bon voyage by throwing a couple of grenades in to keep them company.
Quick Facts
|
Recommended Variants |
Team Slayer, One Flag, Multi Flag, Assault, One Bomb, VIP |
|
Recommended Number of Players |
2-8 |
|
Objects of Desire |
Rocket Launcher, Sniper Rifle, Shotgun, Power Drain, Active Camo, Overshield, Brute Shot |