
Wolfenstein II: The New Colossus Guide Walkthrough
Venus
 The Audition
The Nazis are using the Ausmerzer to terrorize any city where the Resistance is active. For the Resistance to stand a chance, you must take over the Ausmerzer. There’s just one catch. The flying fortress is protected by an automated security system called ODIN, the deactivation codes for which are located at the Oberkommando. After you nuked the former Oberkommando at Roswell, the Nazis, taking extra precautions, built their new Oberkommando off-planet—on Venus.
➤ Map Legend Key for Collectibles
|
|
Concepts |
|
|
Gold |
|
|
Map |
|
|
Readable |
|
|
Star Card |
|
|
Max’s Toy |
|
|
Upgrade Kit |
|
|
Vinyl Record |


Objective: Pretend to Be Mr. Redfield
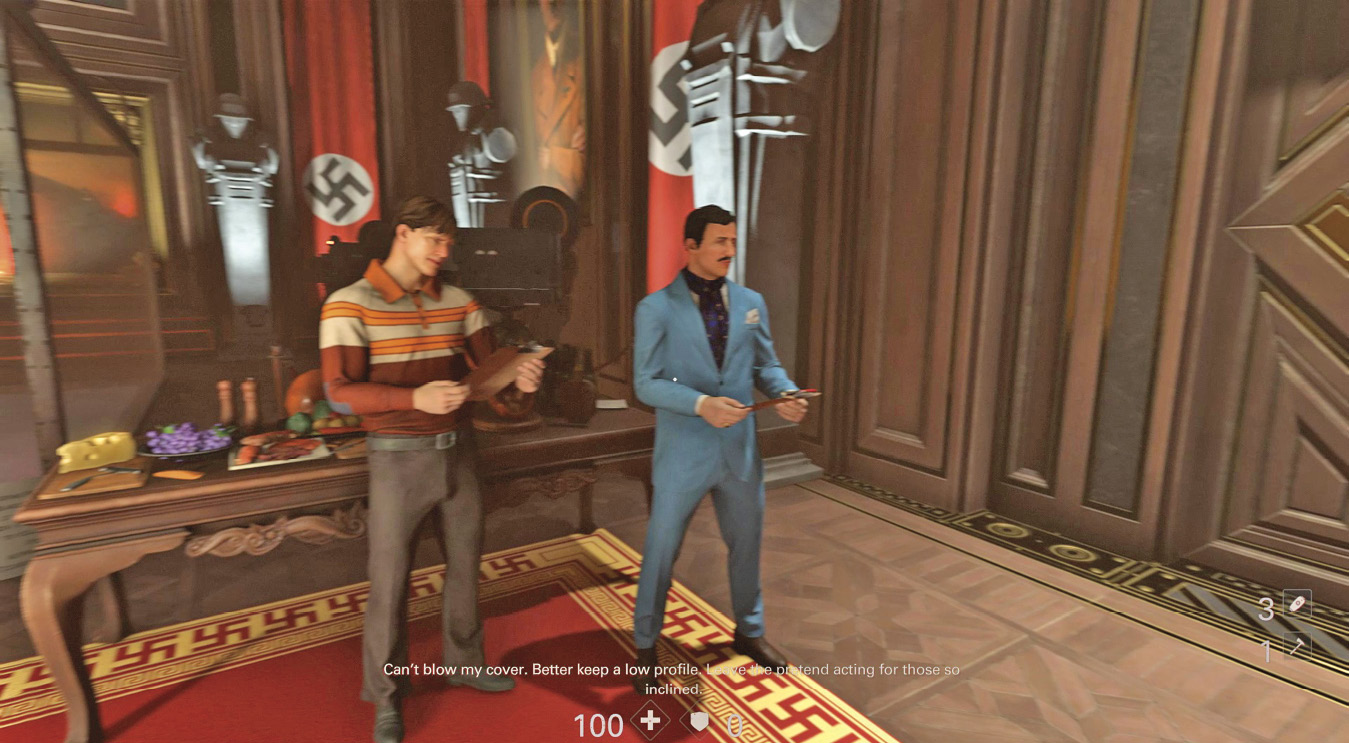
The Nazis are making a movie about Terror-Billy—you. They’re casting for the lead role, and who better to play you than you? The Resistance has kidnapped Mr. Redfield, one of the actors auditioning for the part. You will take his place and use the audition to gain access to the Nazi base on Venus.
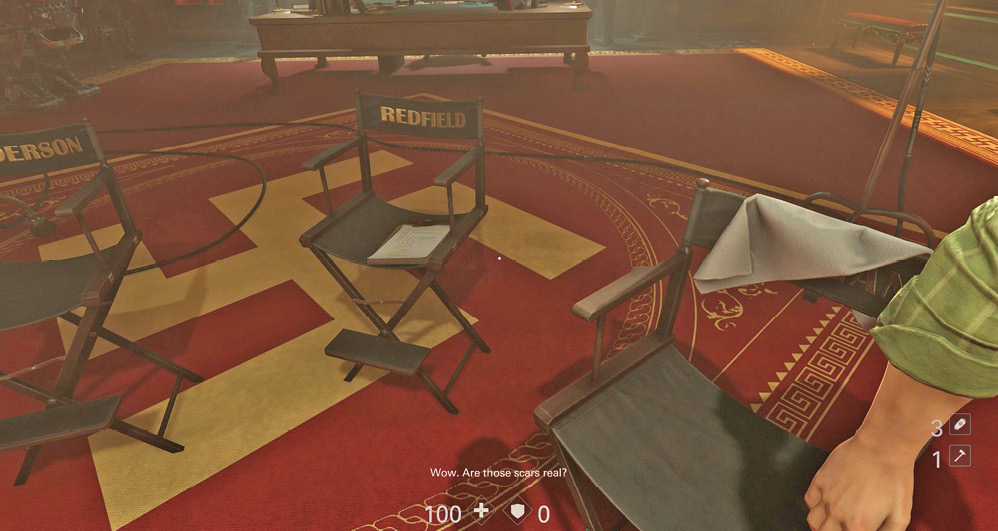
Best go in prepared for your audition. Approach the chair bearing Redfield’s name and pick up the clipboard.
Objective: Write Down the Lines
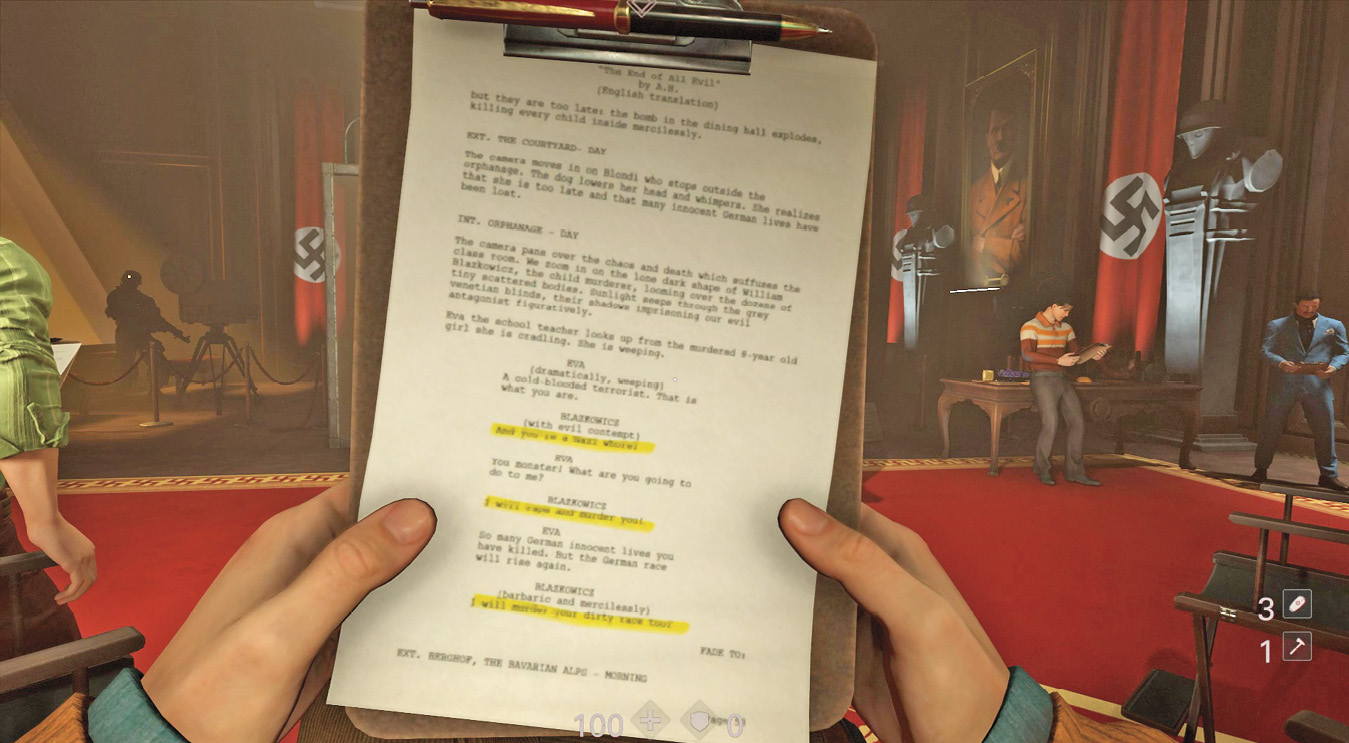
The clipboard contains the audition’s script, but how are you supposed to memorize all these lines? You’re a fighter, not an actor. Better write them down. Using the pen at the top of the clipboard, write your lines on your hand. They’re the ones highlighted on the script.
Objective: Act Out the Scene
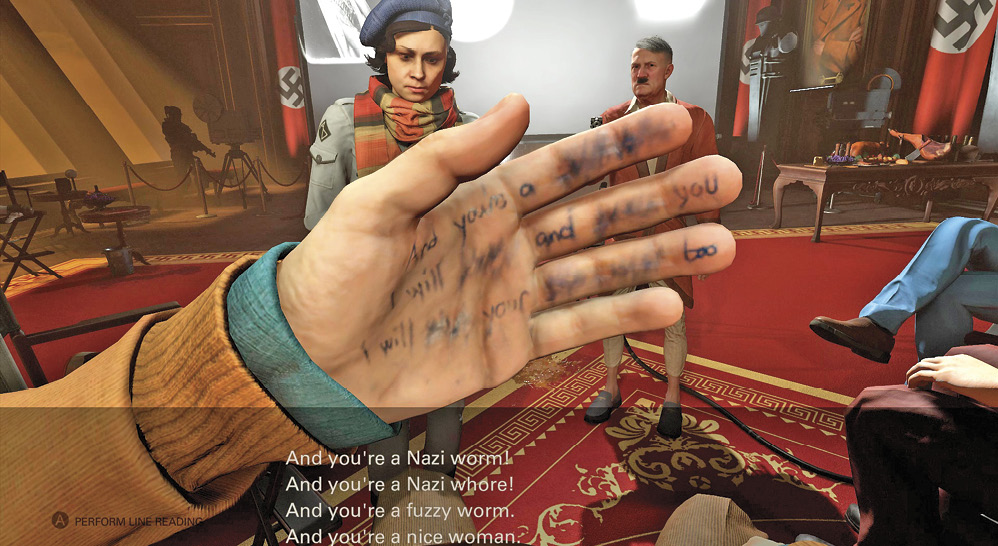
As you finish writing, Adolf Hitler enters the room. He’s the author of the script and has come to watch the audition. Unfortunately, when you wrote your lines on your palm, you didn’t count on the ink running. You must select each correct line from four choices.
The correct lines are, in order:
1. “And you’re a Nazi whore!”
2. “I will rape and murder you!”
3. “I will murder your dirty race too.”
The three correct lines keep you alive, but the Führer isn’t impressed with your performance. Luckily, you still have a chance.
Objective: Act Out the Fight Scene
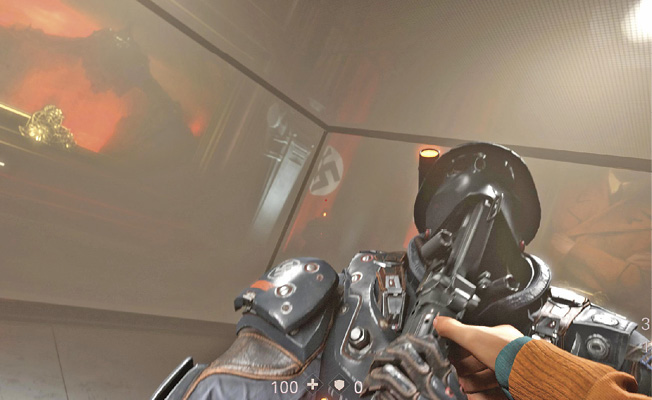
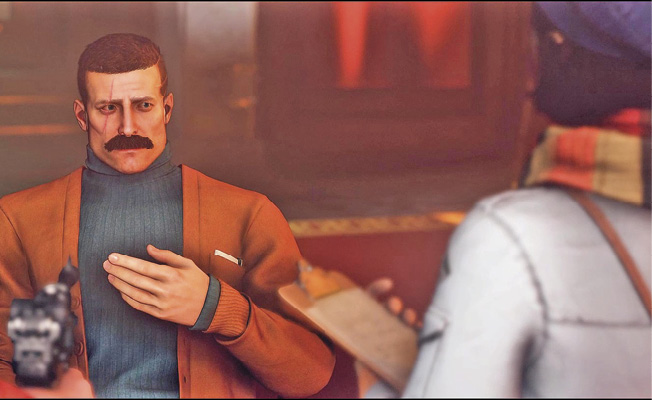
For the next part of the audition, you must act out a fight scene against a real Nazi Soldier. At least this task plays to your strengths. After the first actor fails the scene (and Hitler shoots him), you’re up. Walk into the box. The Soldier is there waiting. Move toward him and press the Melee button to grab his gun. Since you’ve witnessed that Hitler is a fan of violence, pull the trigger and kill the Soldier. You must do this before the Soldier realizes you’re not acting and shoots you instead.
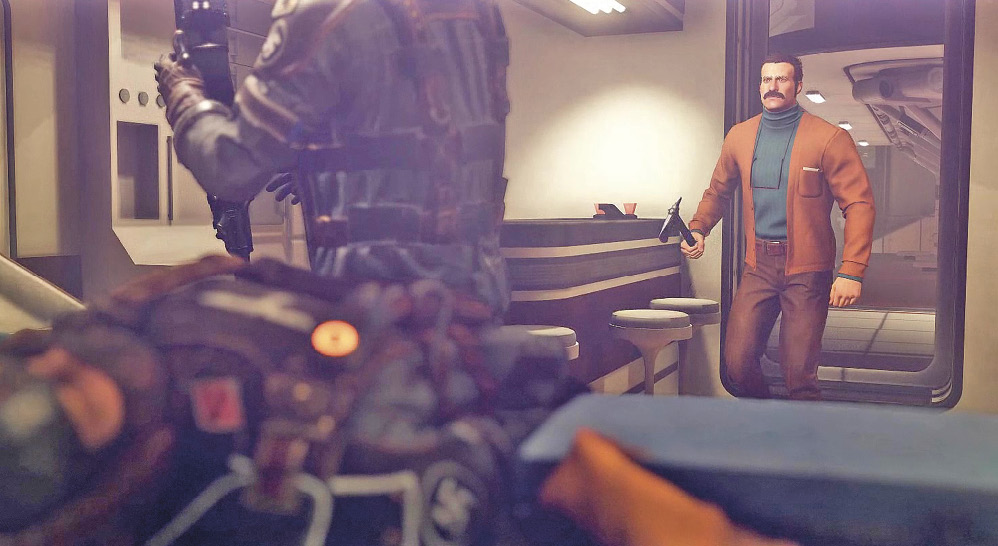
Hitler loves your performance, and you’re selected for the role. A Soldier shows you to your quarters, where you’ll be staying during filming. As he helps unpack your bags, he sees all your weapons and grows concerned. A quick strike with a hatchet stops him from sounding an alarm. It’s time to resume your mission.
Objective: Reach the Oberkommando
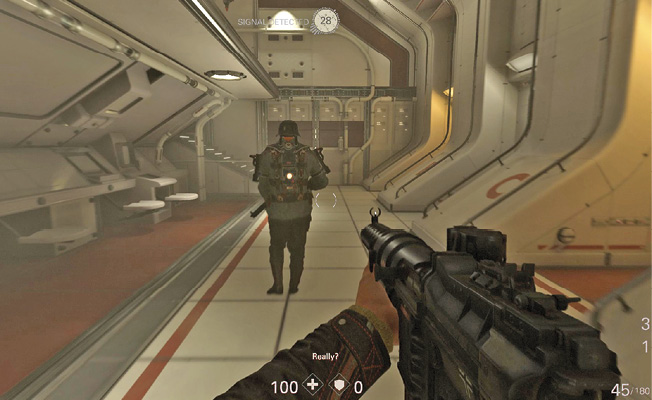
Once you have all your weapons, exit your quarters and advance into a lower corridor connecting all the rooms. Look for patrolling Soldiers. Sneak up behind for a stealth takedown if possible. There’s a Kommandant up the stairs, so stay quiet to prevent him from sounding the alarm.
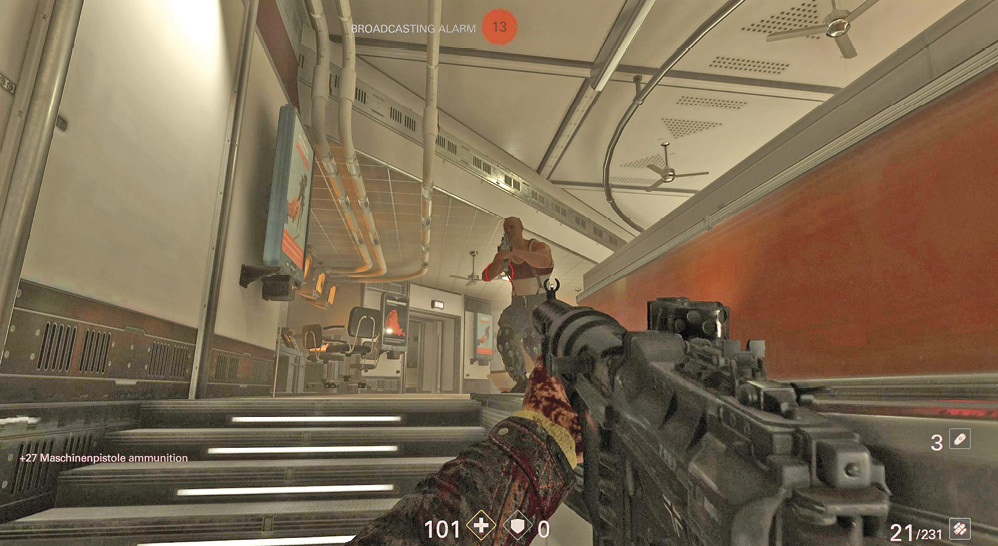
Other Soldiers come down the stairs to patrol, so it’s tough to stay silent the entire time. Once the alarm sounds, fight your way up to the top of the stairs.
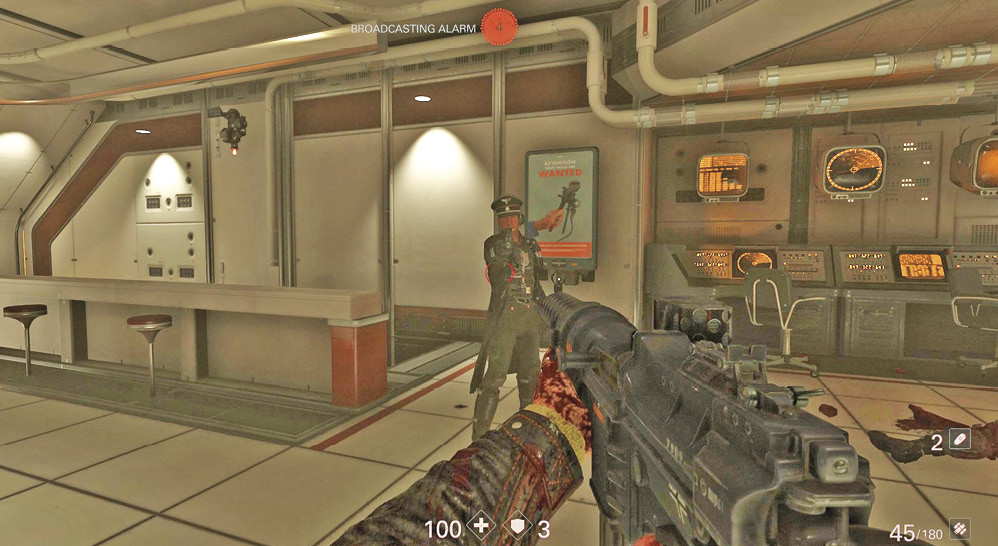
Target the Kommandant to stop the alarm and prevent more reinforcements from arriving. After the Kommandant is neutralized, head back downstairs.
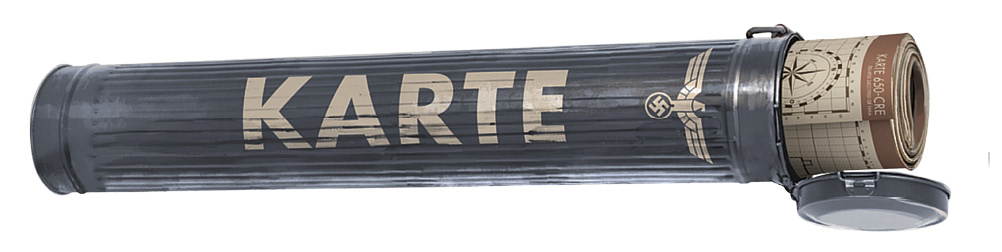
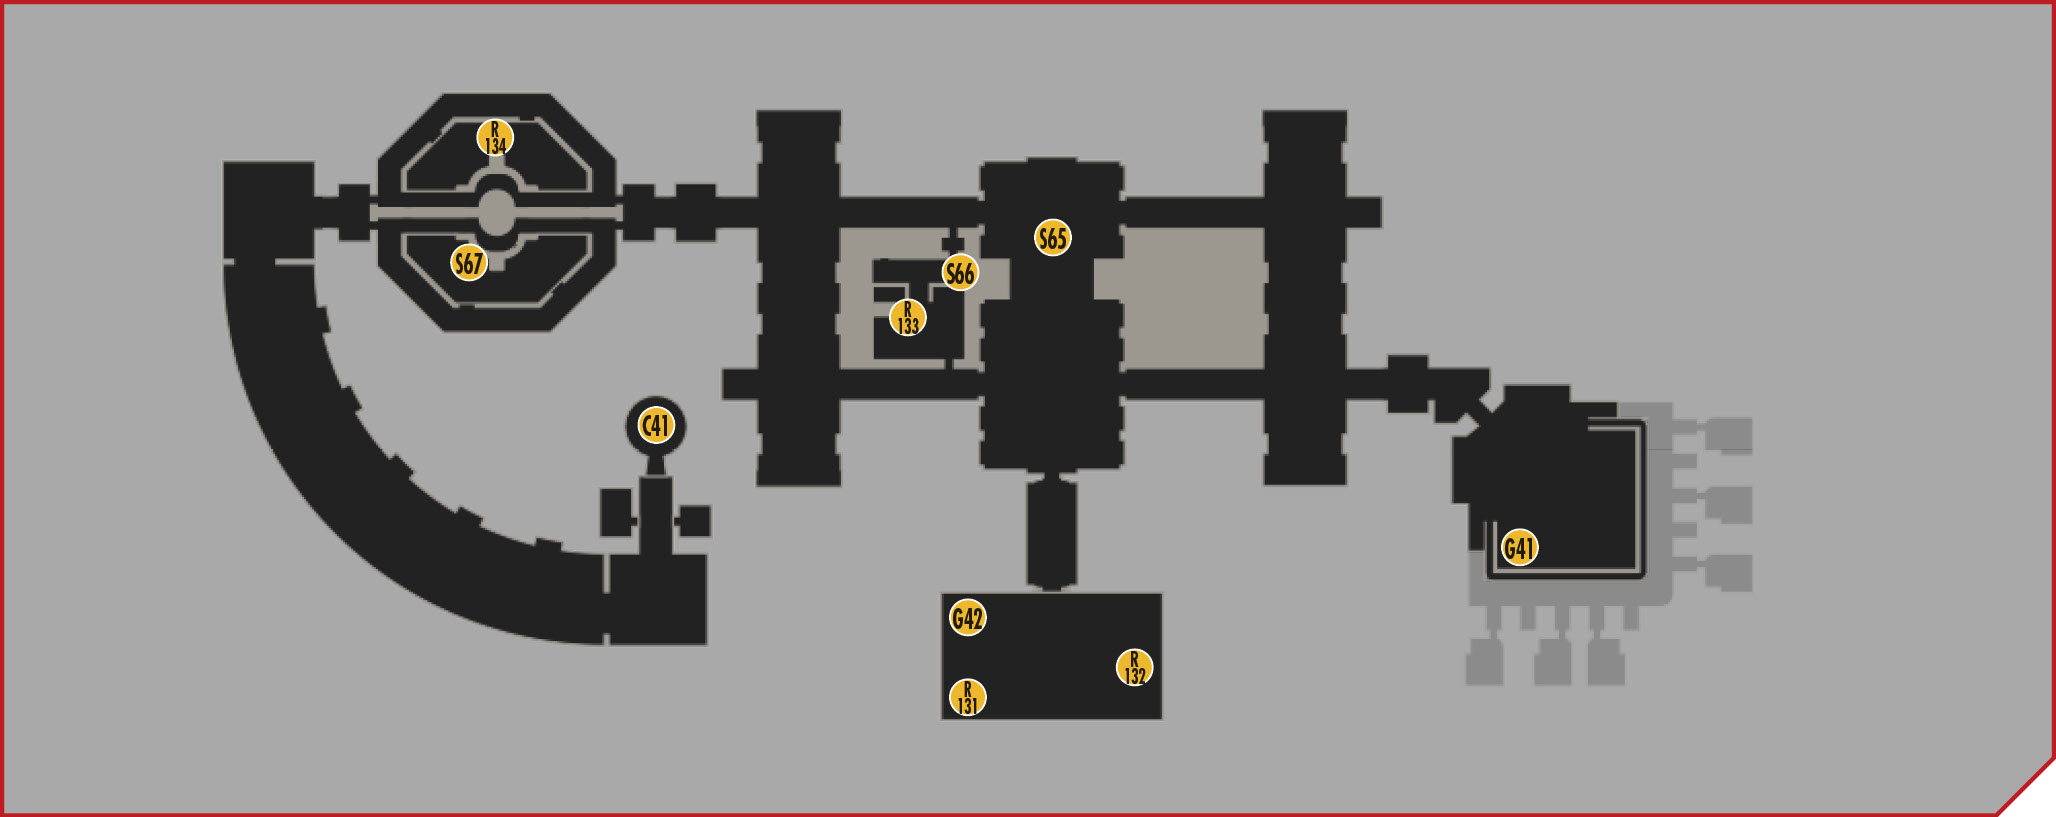
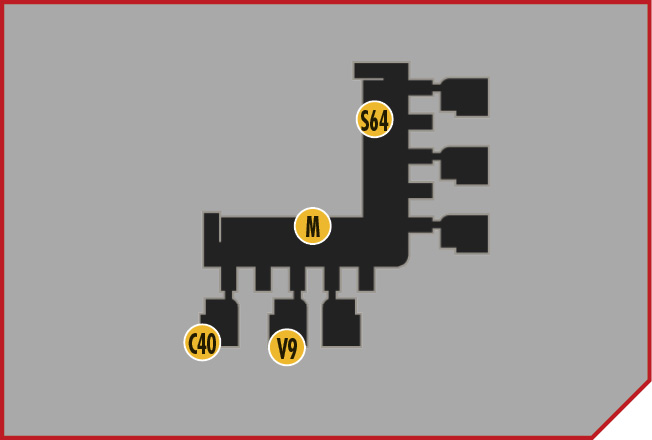
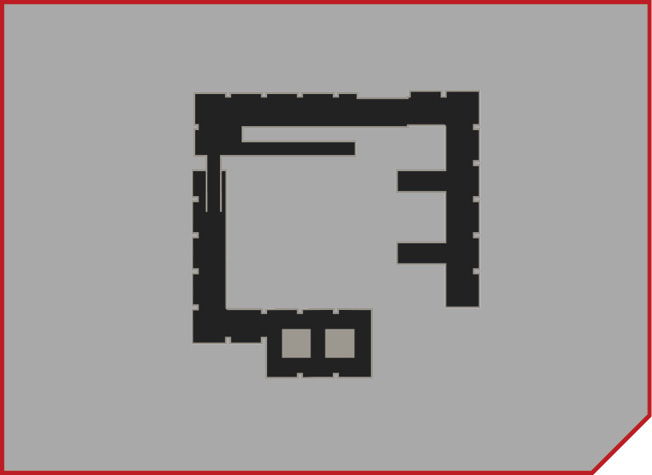
The facility map is located on one of the consoles. Grab it, then check the other quarters for Collectibles and any weapons, ammo, and armor lying around. More Soldiers may enter the area from the door on the upstairs level, so stay alert.
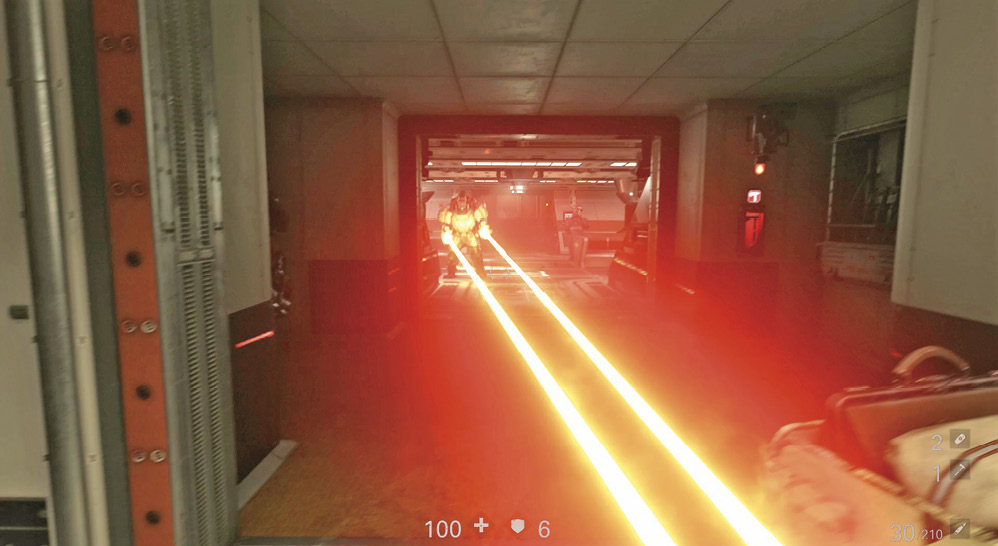
Search the upstairs level for Collectibles, then advance through the doorway that takes you farther into the facility. Be ready for a fight. There are several Soldiers in the next area, including two SuperSoldaten with Lasergewehr. Take out the Soldiers before the SuperSoldaten come after you, then switch to your heavy weapon and take them down.
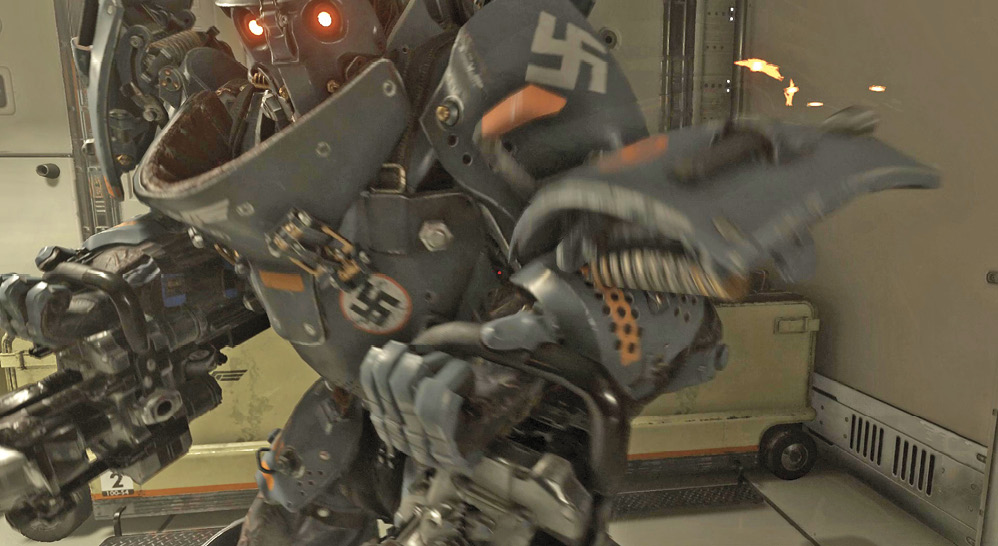
Since the SuperSoldaten can charge you in these tight quarters, be ready to use melee attacks. They can’t shoot you up close, so hack at them with your hatchets until they’re dead.
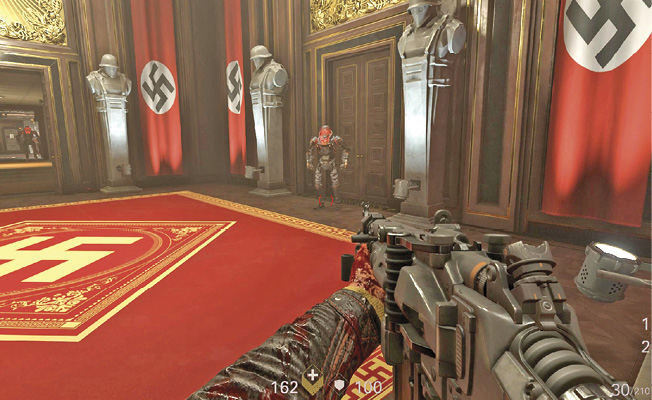
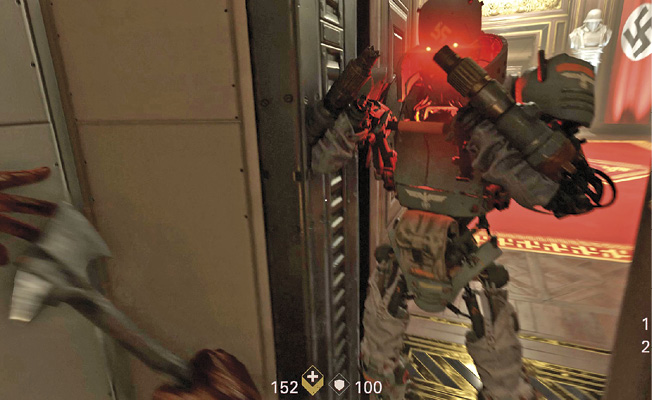
Advance into a long corridor. Two doorways lead from this waiting area into an office. Enter the one on the right first. As you do, two robotic ÜberSoldaten activate and come at you. It’s best to take care of these two before dealing with other enemies. Back through the doorway and wait for them to come to you. As soon as they move to the doorway, make good use of your hatchet.
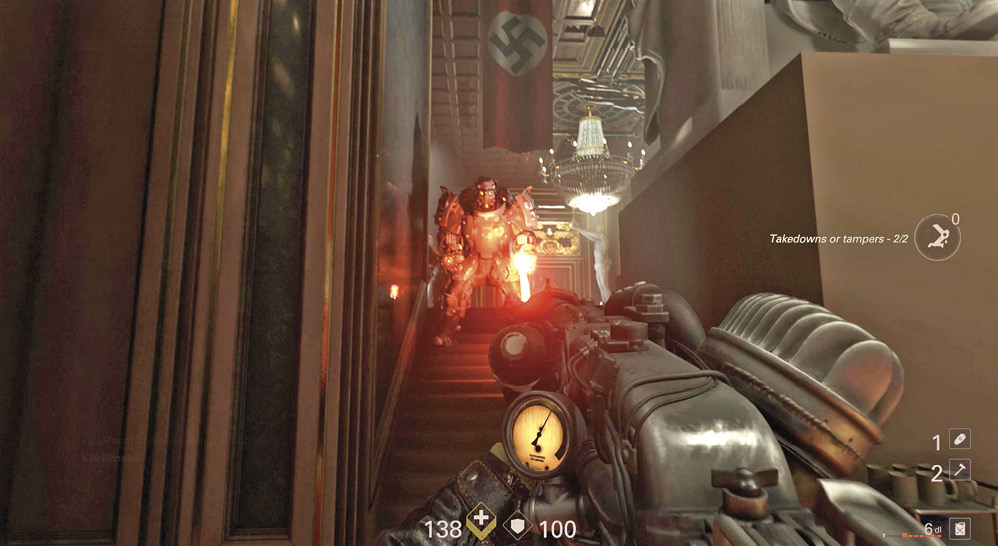
Once you’ve dealt with the fastest of the enemies, enter the room and turn left to look toward the upper level of the office. A SuperSoldat is waiting there and comes at you. Use your heavy weapon to take him down. Clear out any remaining enemies in the office, check for ammo, and pick up a Lasergewehr from the fallen SuperSoldat. You’ll need it soon.
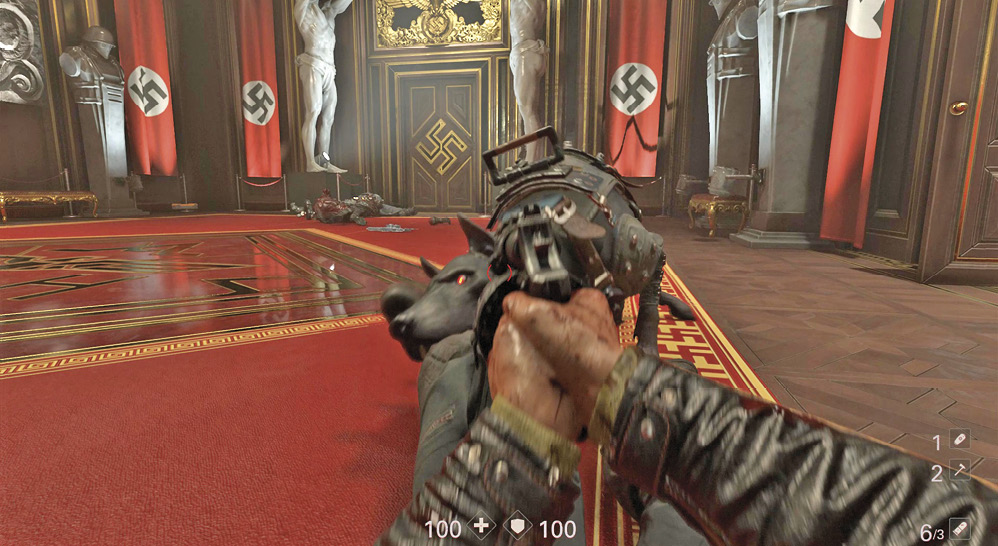
Two corridors lead from the office to the next waiting area. Between the two corridors is a room containing first-aid kits, armor, and a Collectible, so stop in and grab them if you need them. The waiting area is guarded by a Kampfhund and a Panzerhund. Lure the Kampfhund out after you first. It follows you into the office while the Panzerhund stays in the waiting area.
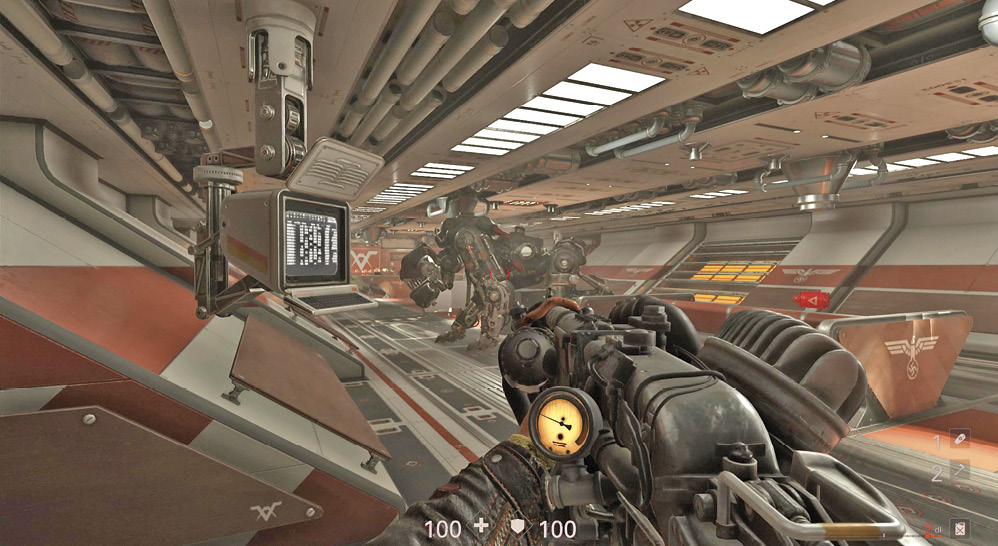
After the Kampfhund is eliminated, use the SuperSoldat’s Lasergewehr or your own heavy weapon to take out the Panzerhund. Its Flamethrower is deadly, so don’t go head-to-head with it. If it comes at you, retreat into the office area and run around to the other corridor to attack it from behind. You may need to do this a few times; repeat until you defeat it. Search the waiting area for ammo and first-aid kits. You can also grab armor from the Panzerhund wreckage.
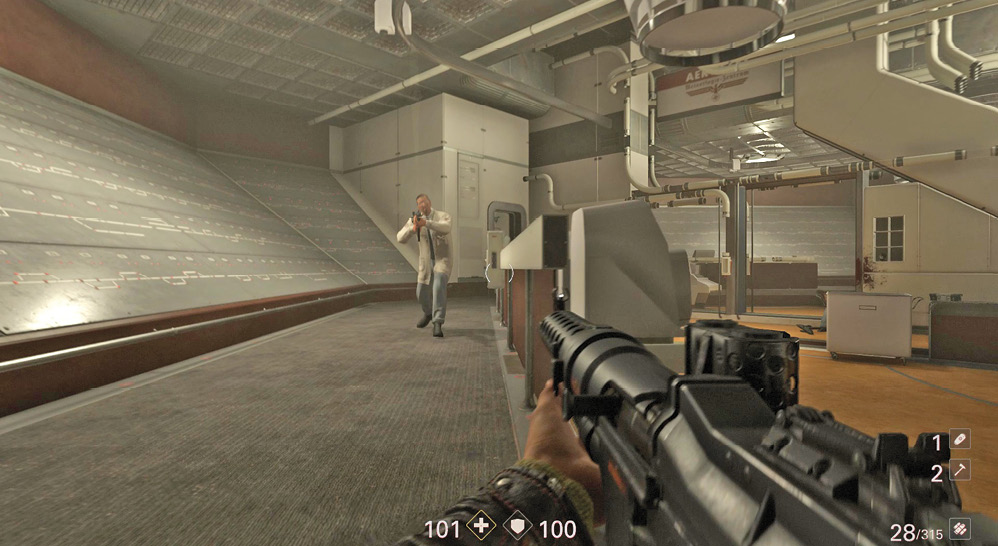
Head through the passageway that leads from the waiting area into a lab. Be careful! The scientists inside may look non-threatening, but they’re armed with submachine guns. An ÜberSoldat also activates once the shooting starts. Neutralize them all.
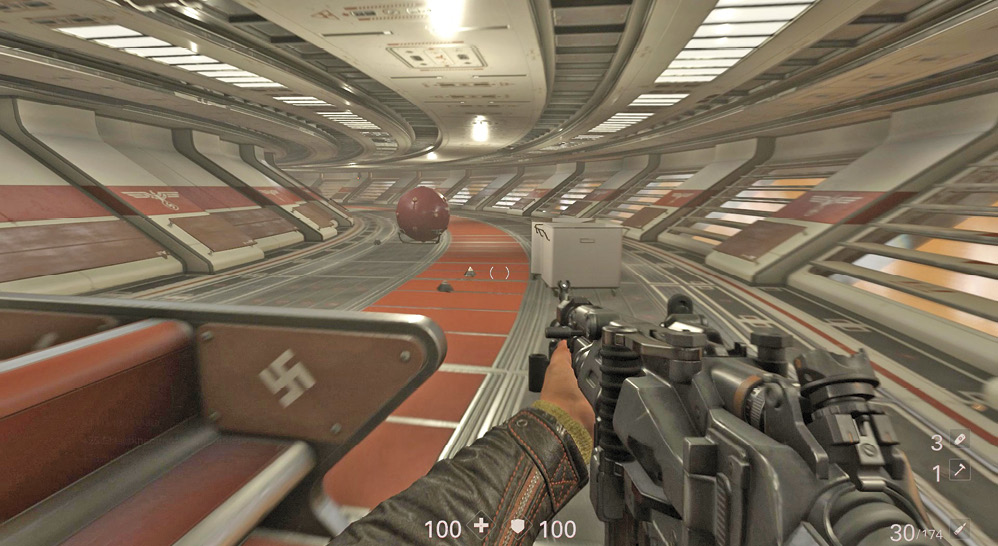
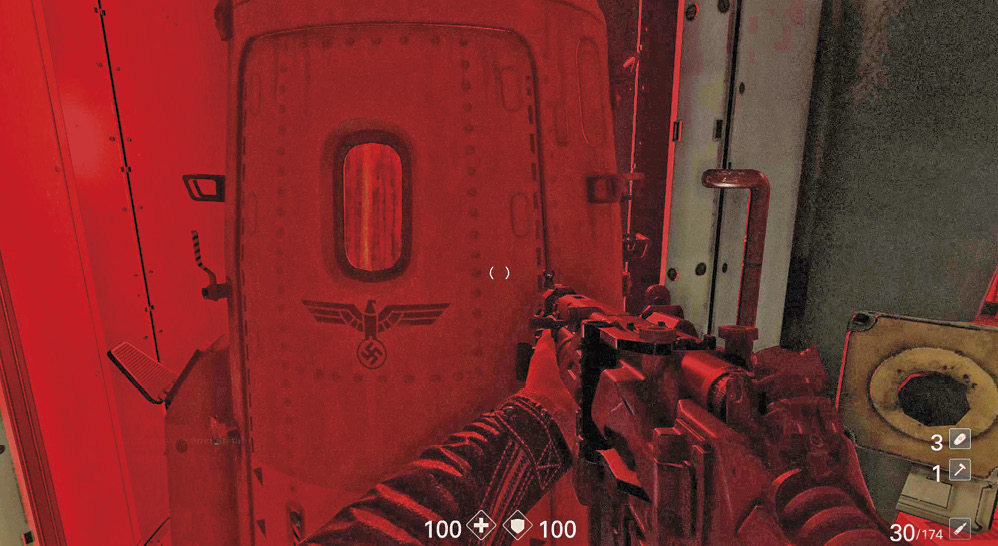
As you leave the lab, raid the small armory for ammo, then continue down the corridor. When you reach the end, proceed through the doorway into a circular room. Search it for a Collectible, then press the button to open a hatch. This reveals a transporter that takes you down to the surface where the Oberkommando is located. Enter the transporter to continue the mission.
 On the Surface
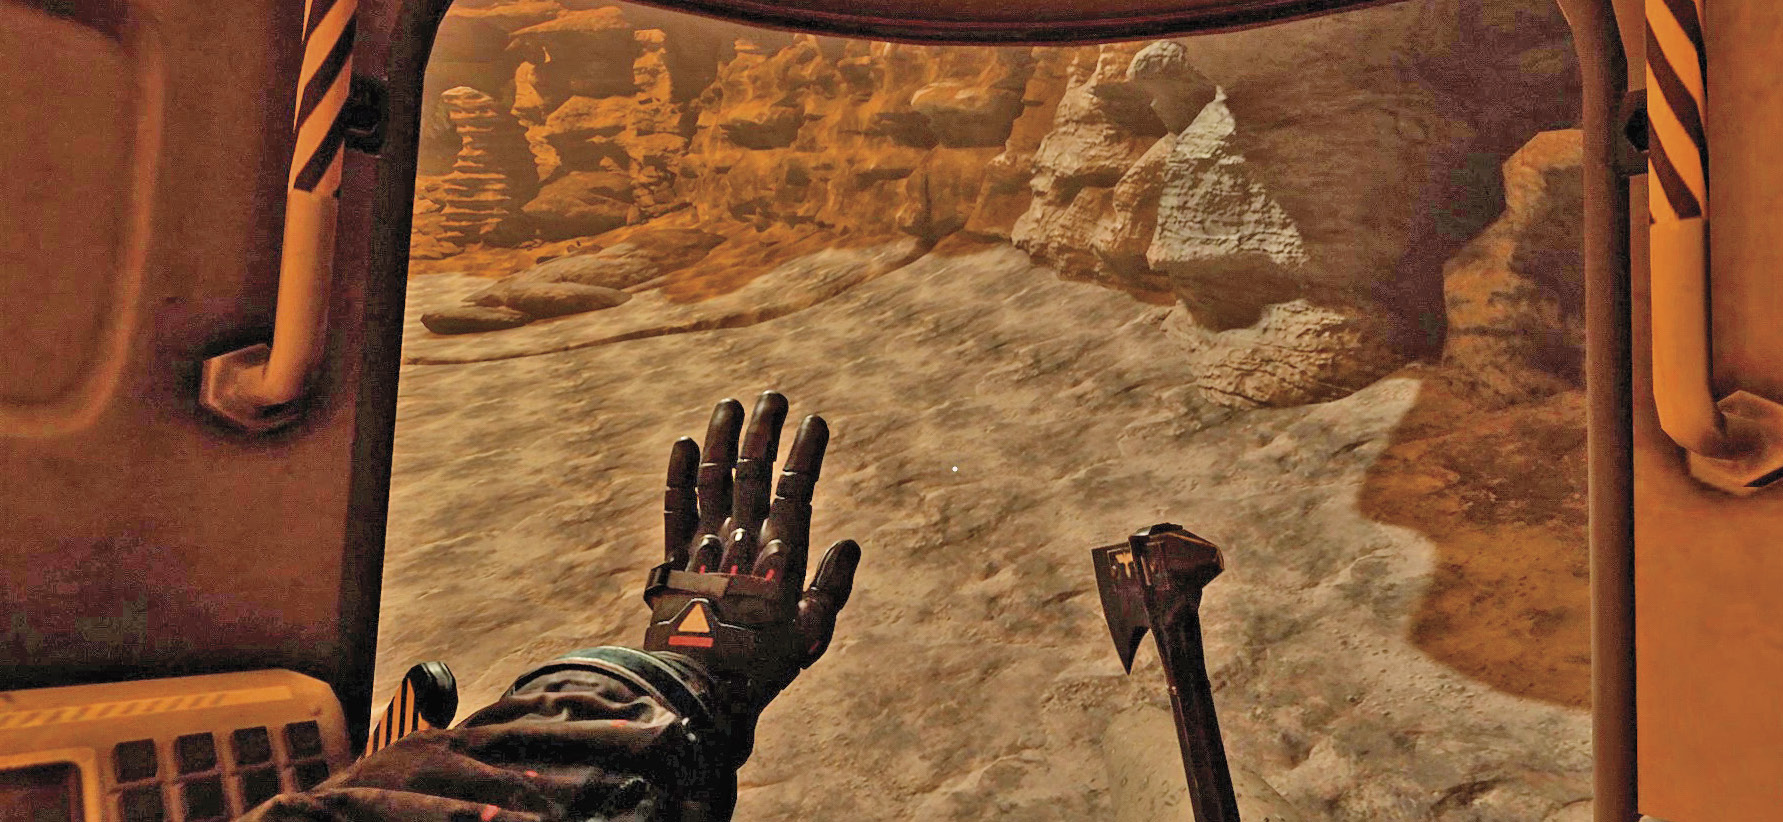
The drop pod carries you down to the surface of Venus. Due to the surface’s extreme temperatures, you must wear an atmospheric suit, which is powered by Coolant that depletes continuously as long as you’re outside. Keep an eye on your suit’s Coolant level. If it runs out, you burn to death instantly. There are several Coolant stations throughout the Nazi base, so if your suit gets low, be sure to refill.
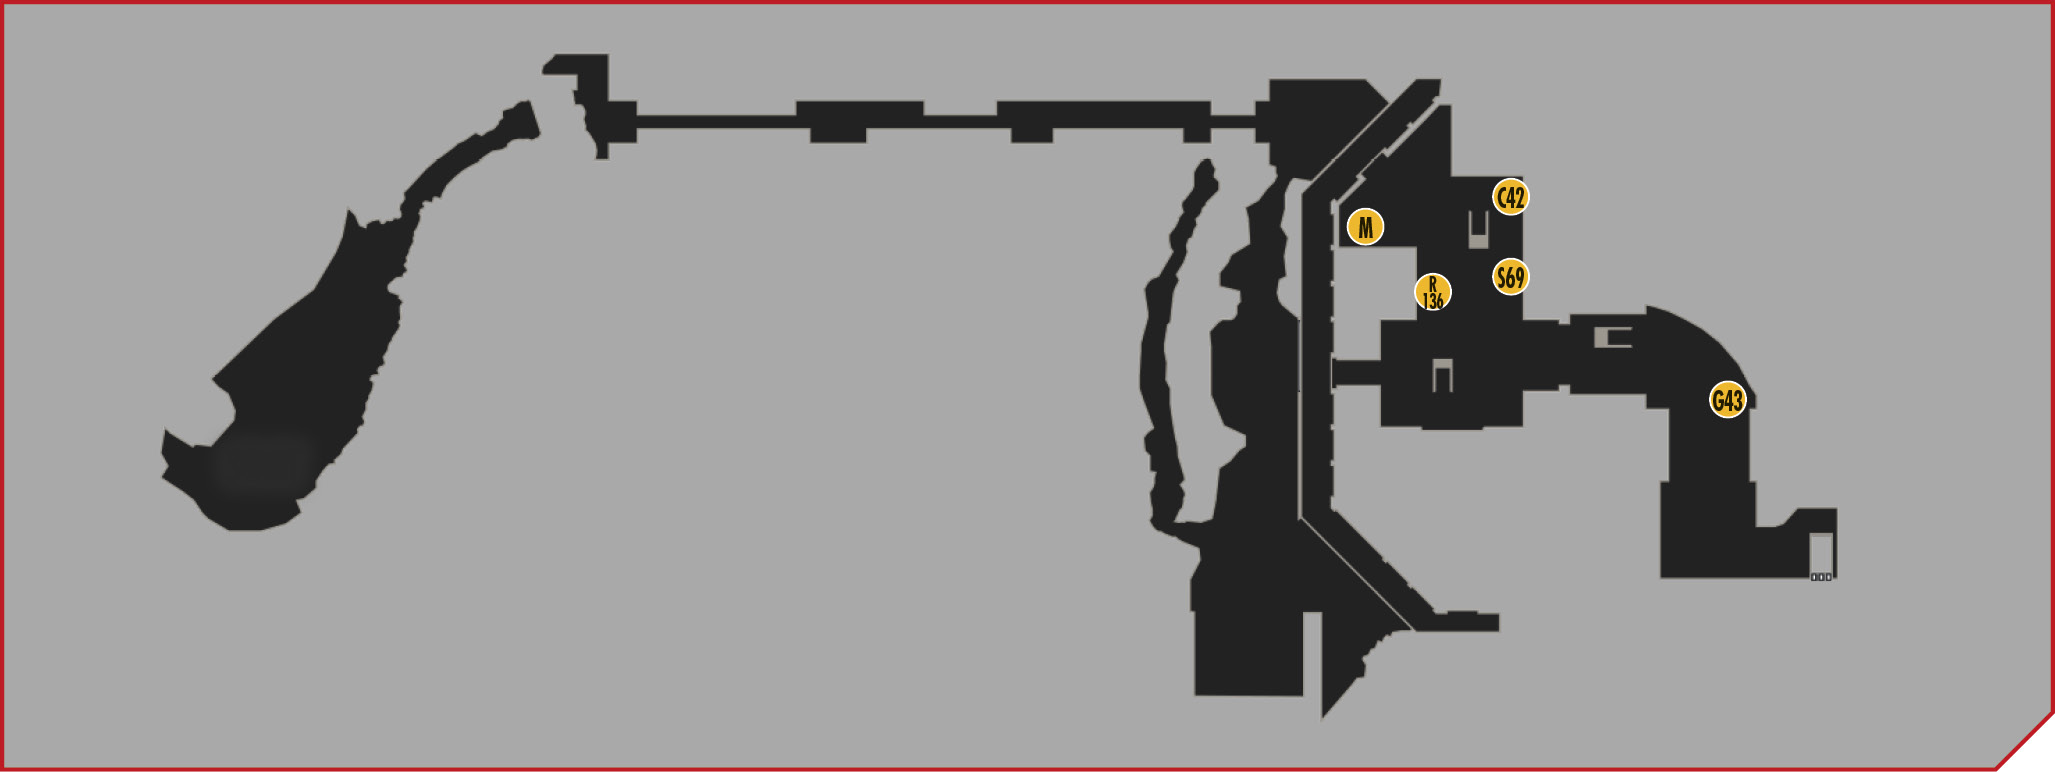
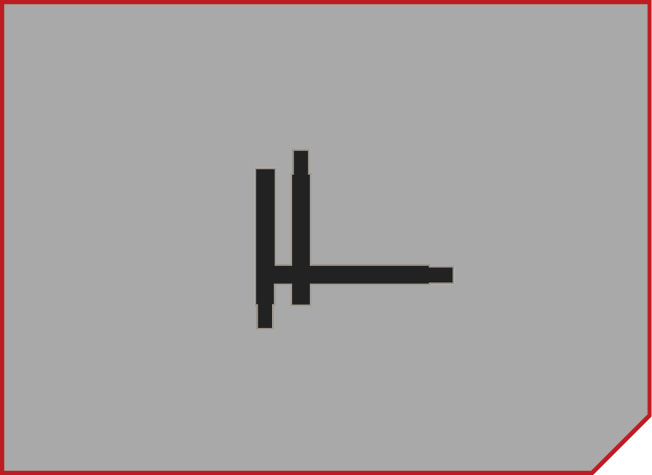
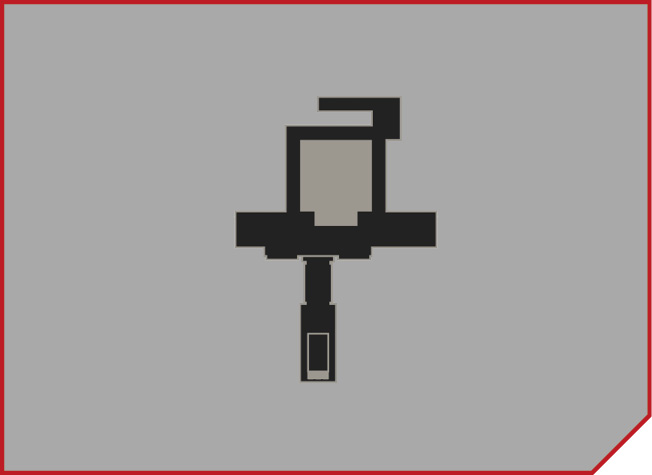
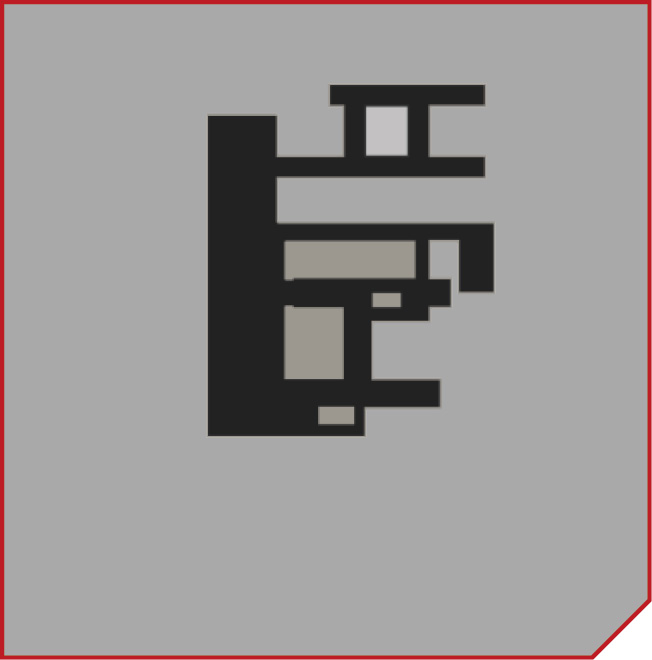
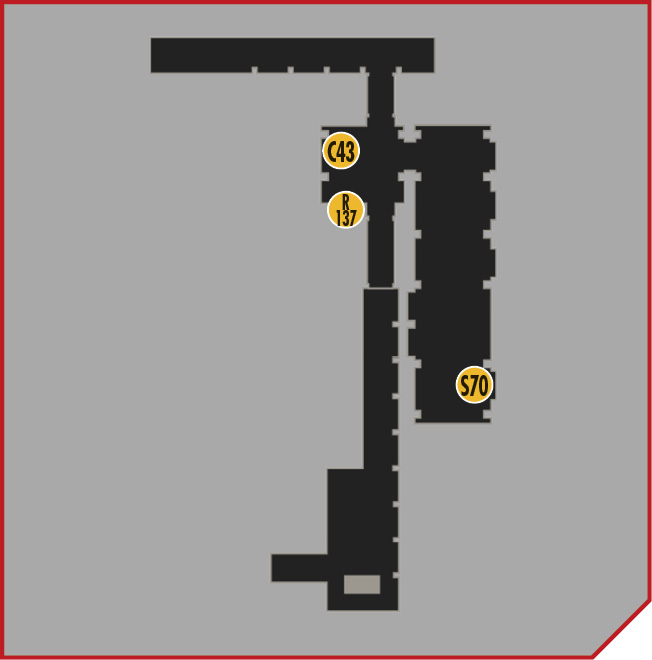
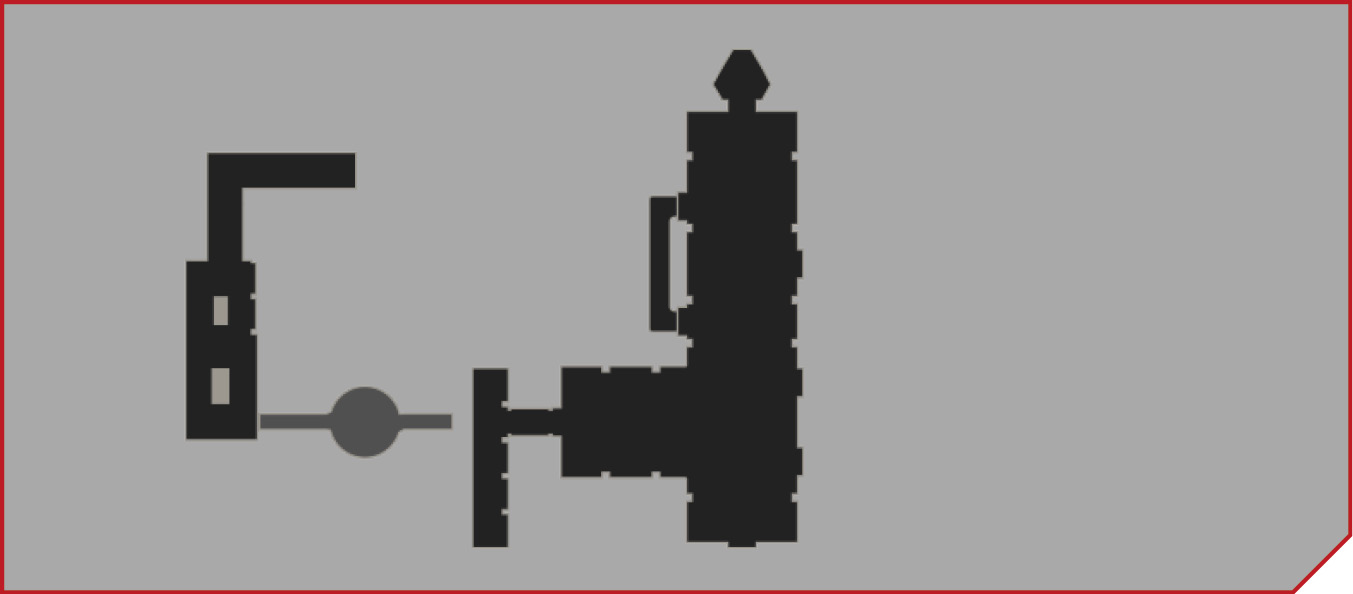
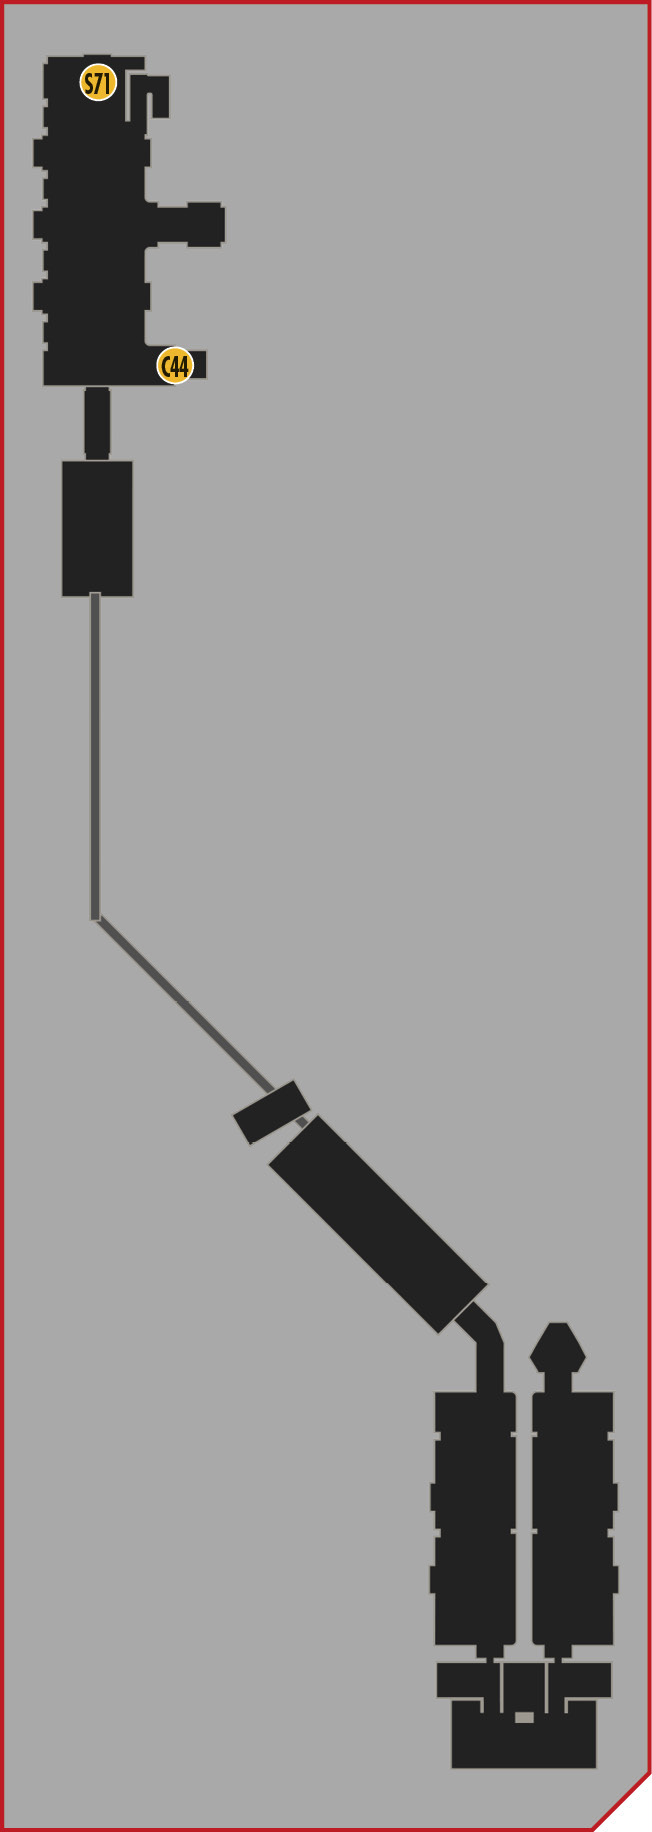
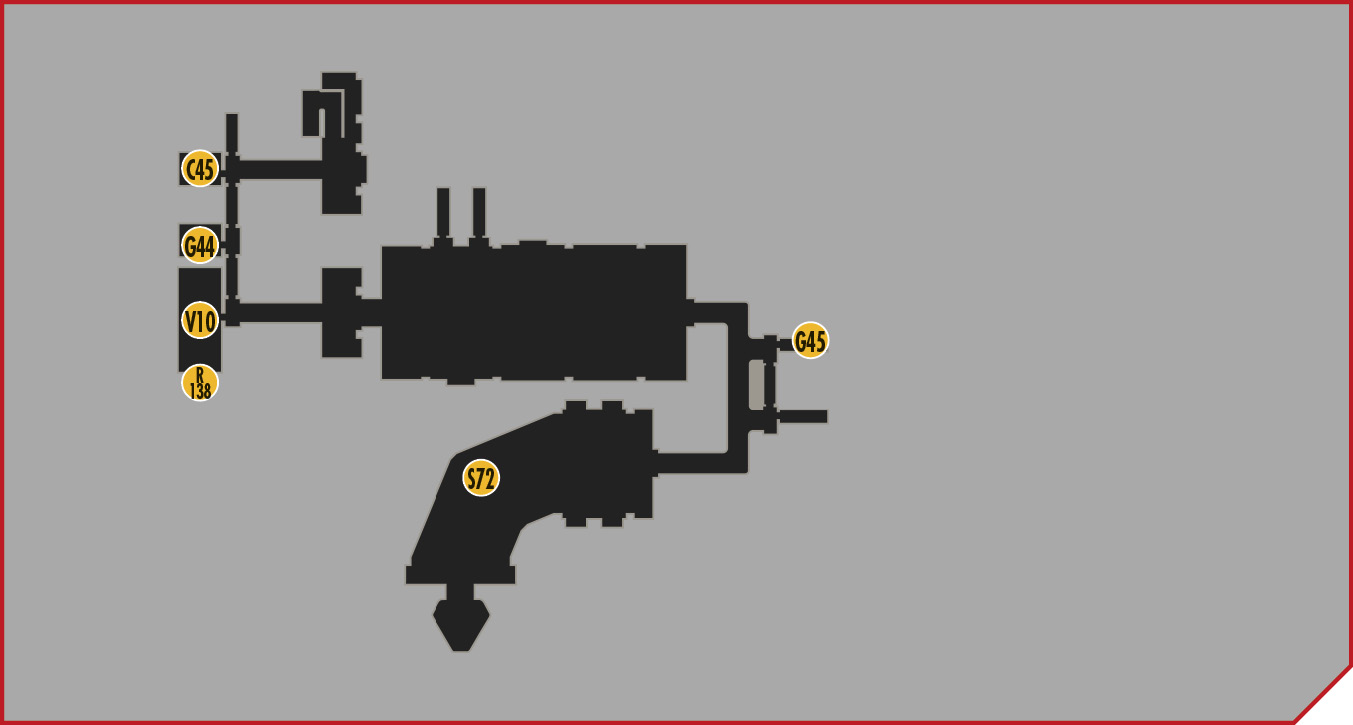
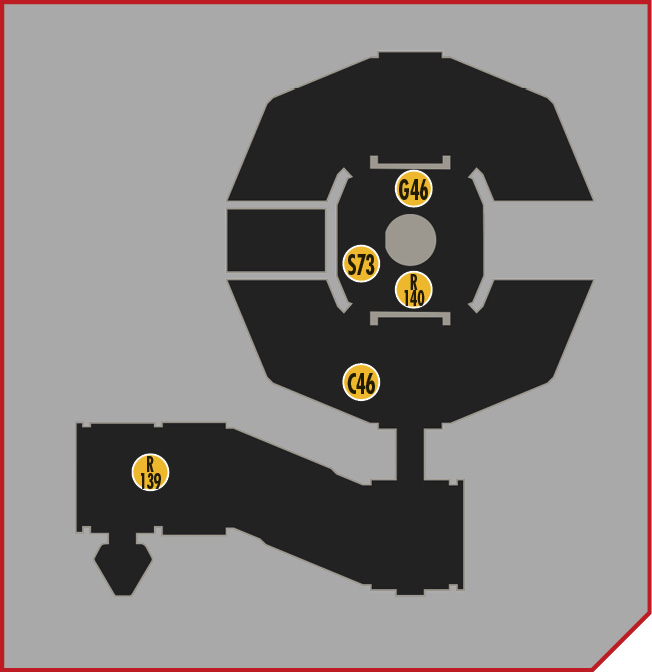
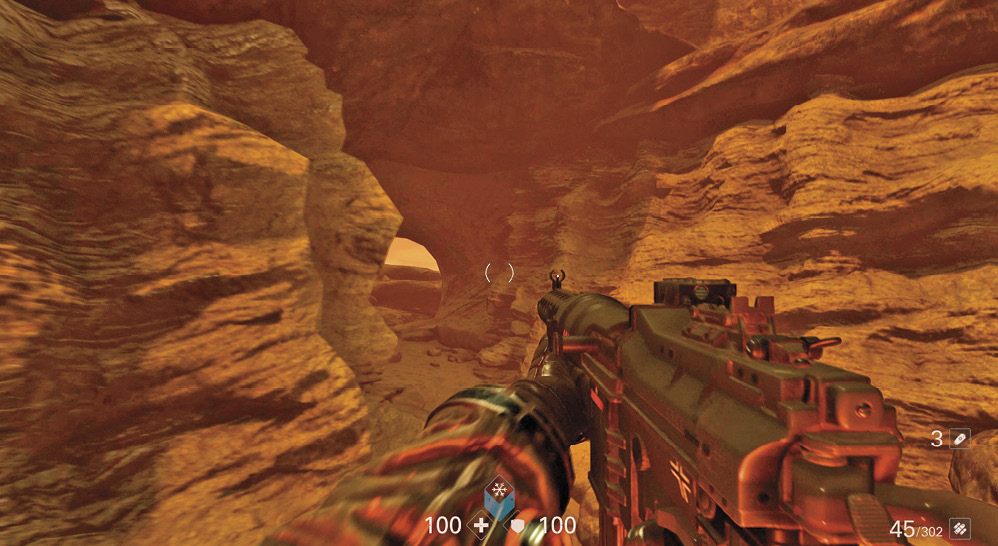
Exit your drop pod by using your hatchet to break open the door, then follow the pathway along the surface of the planet. There’s nothing to pick up, so move as quickly as you can. Head through a short tunnel in the rock to reach a ledge overlooking the Oberkommando.
Objective: Enter the Oberkommando
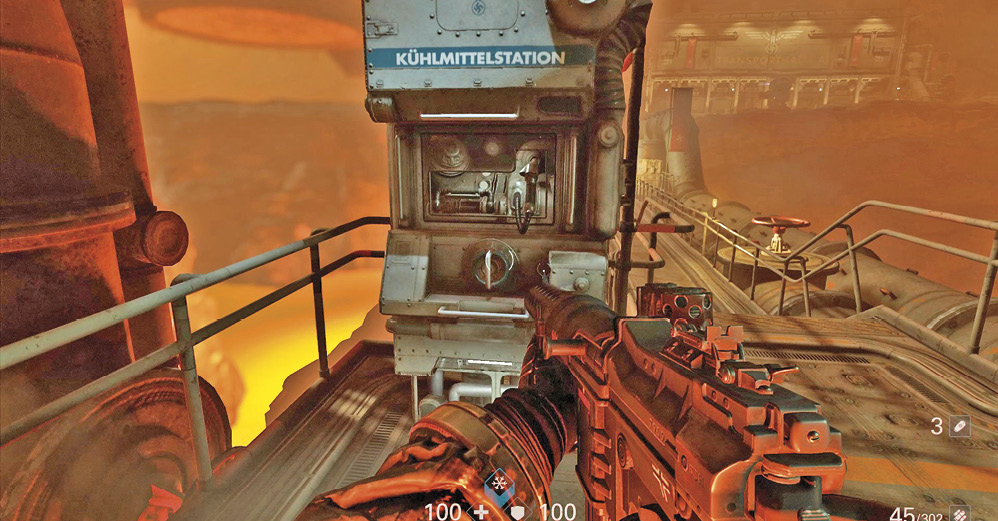
Drop to the platform below and use the Coolant station to refill your suit’s supply. A bridge leads across a chasm to the Oberkommando. If you look carefully, you can see it’s guarded by a Zitadelle. Continue across the bridge, topping off your Coolant at the station along the way.
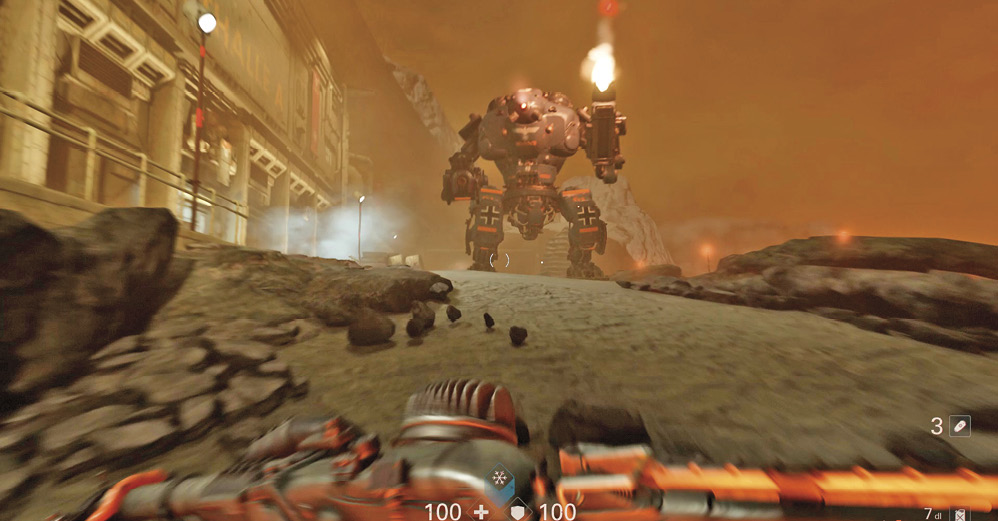
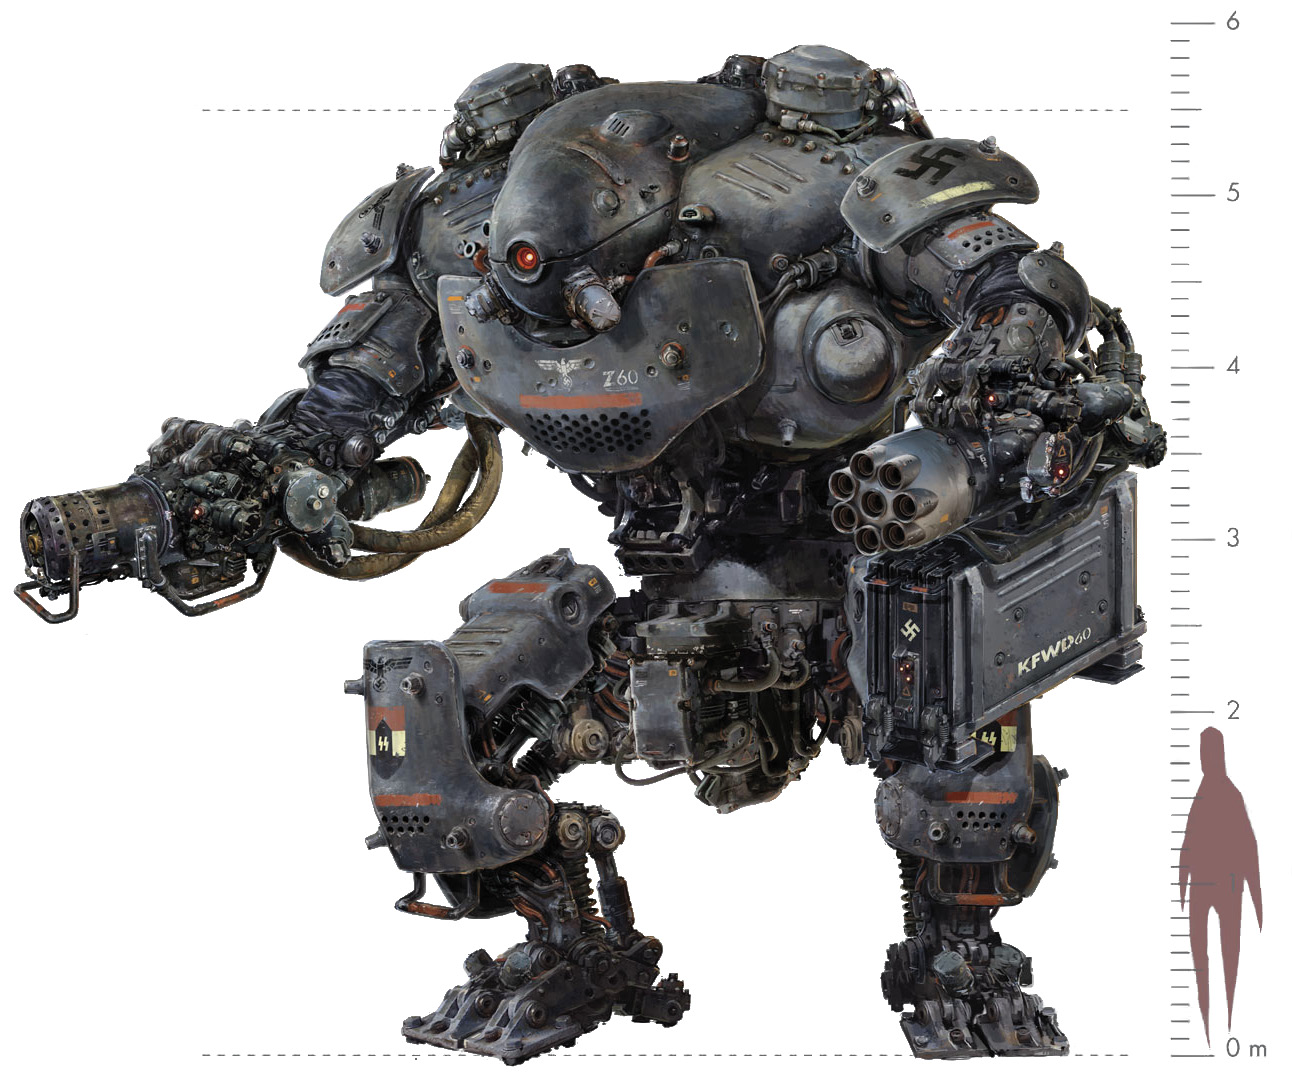
There’s no way to sneak past the Zitadelle; it activates as soon as you get near the end of the bridge. Watch for when it raises its left arm—this indicates it’s firing its Artillery Cannon for a long-range attack. Move to another spot.
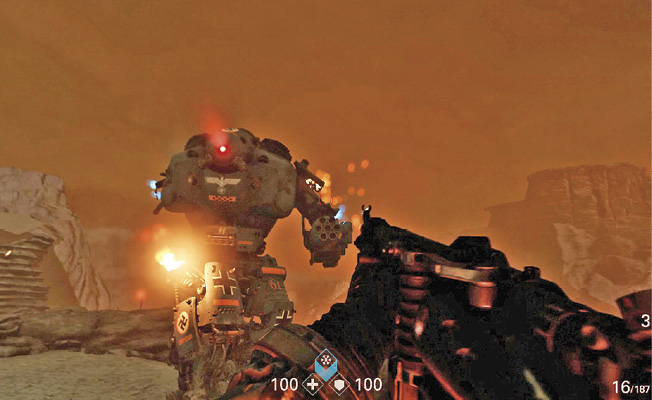
Advance, but not too close. Stay outside the range of its Flamethrower. While dodging Artillery Cannon attacks, focus on the right arm—the one with the Flamethrower. Use your heavy weapons to destroy it. At that point, you can move in close and attack the other arm, or one of the legs. It can’t fire its Artillery Cannon when you’re close, so hammer away. Once a second limb is destroyed, the Zitadelle blows up.
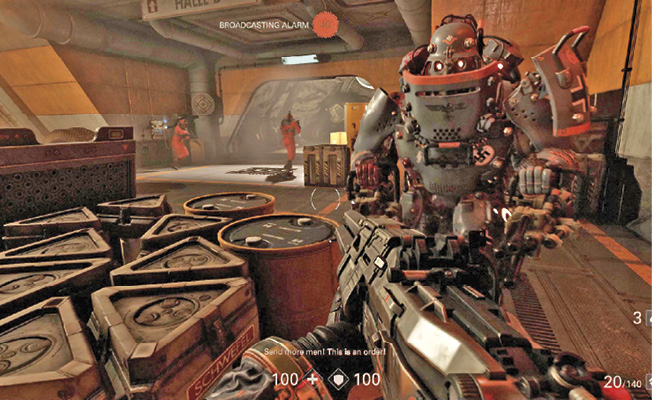
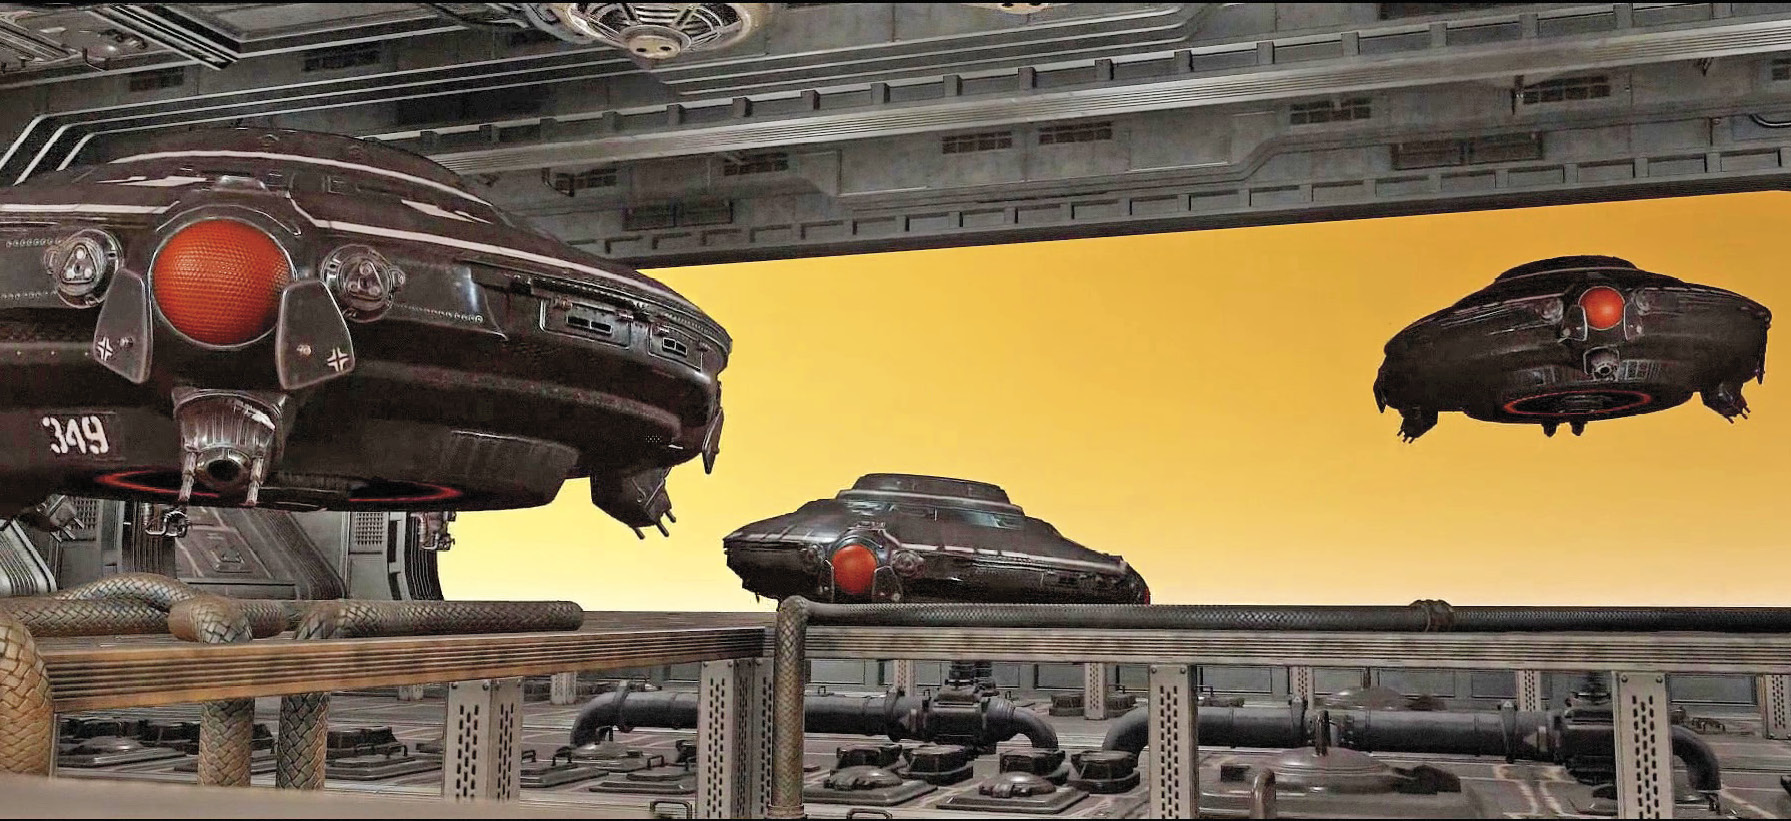
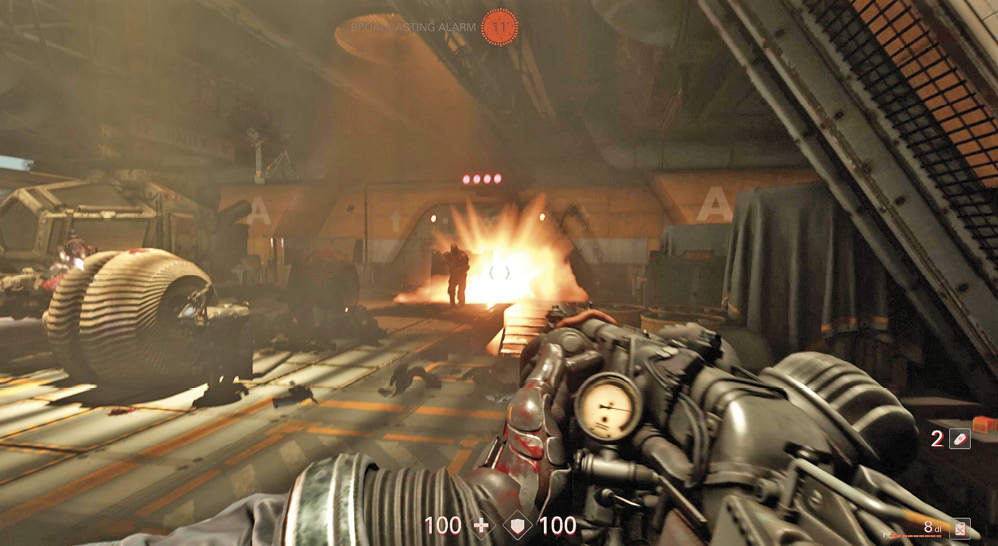
Head through the large door and enter the Nazi base’s transportation hangar. There are several enemies inside. Move in and take cover. It’s difficult to use stealth tactics here since several enemies patrol the area and one is bound to see you. SuperSoldaten are the main threat. If you have any ammo left for your heavy weapons, use them. Otherwise, the Schockhammer is a great tool if you can get in close.
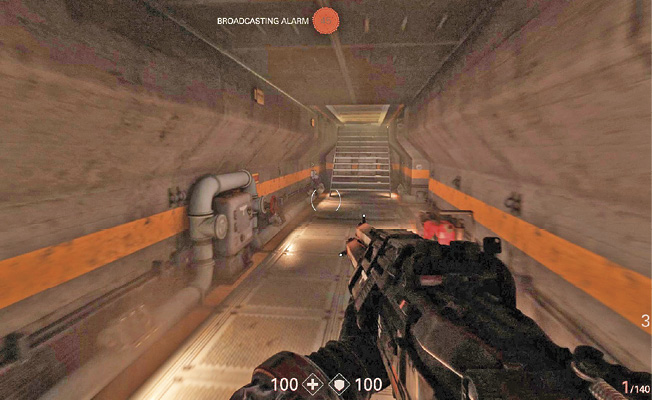
There are tunnels situated below the main floor. Get down into them to avoid enemy fire. The tunnels also allow you to move across the hangar unseen and pop up on the other side, keeping the enemy uncertain of your location. Use the tunnels to close in on the Kommandant. Kill him to stop the alarm.
Zitadelle 61
Kampfwand 61
Grab the map located in the hangar to get the layout of the entire Oberkommando. Since the hanger houses refueling/recharging stations, remember that your Dieselkraftwerk/Laserkraftwerk is an option here when facing down the enemy. Reload on ammo as much as you want. Eventually make your way to the back of the hangar and through the large door. Climb the ladder to the next floor.
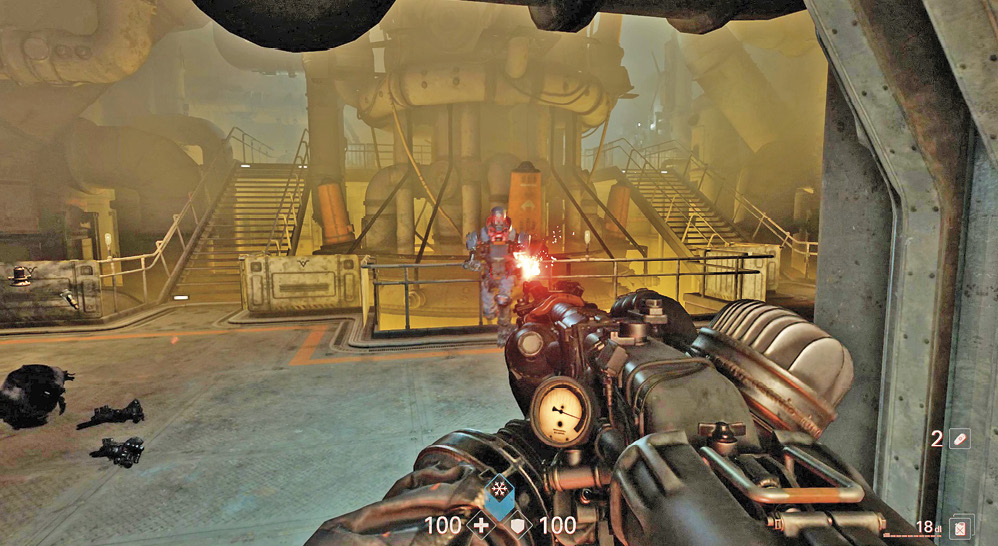
At the top of the ladder, grab the upgrade kit, then head through the doorway. There are two ÜberSoldaten on the walkway as you exit the building. If possible, destroy at least one before they activate. A couple of Drones fly in to attack as well. After defeating the ÜberSoldaten, shoot down the Drones. The Schockhammer works well; it’s just like shooting skeet.
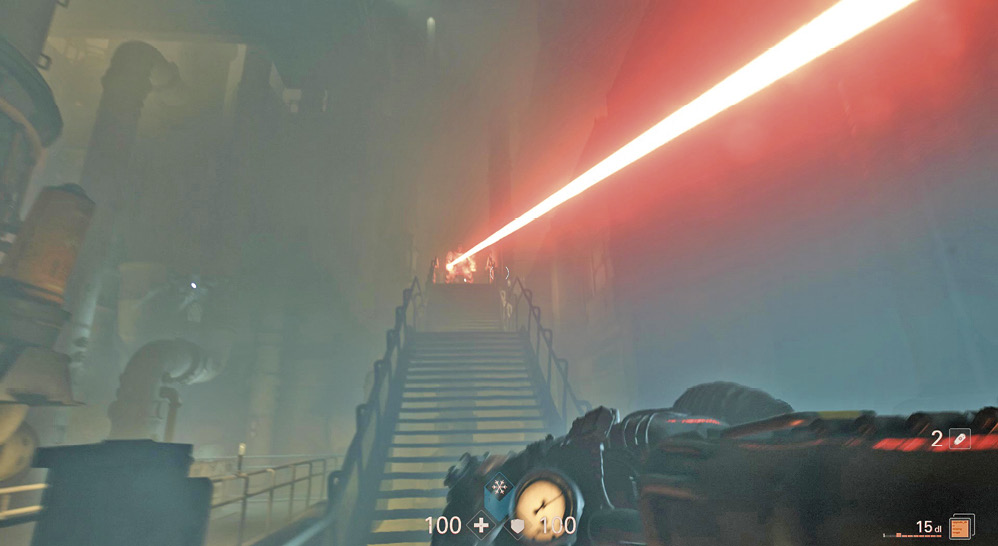
Now that you’re back outside, resume monitoring your Coolant level. A long stairway leads up to the next level, with a SuperSoldat at the top. Your heavy weapon should still have ammo, so use it. Avoid charging up the stairs; you’re an easy target since you can’t strafe to avoid fire. Fill up at the Coolant station near the bottom of the stairs before continuing.
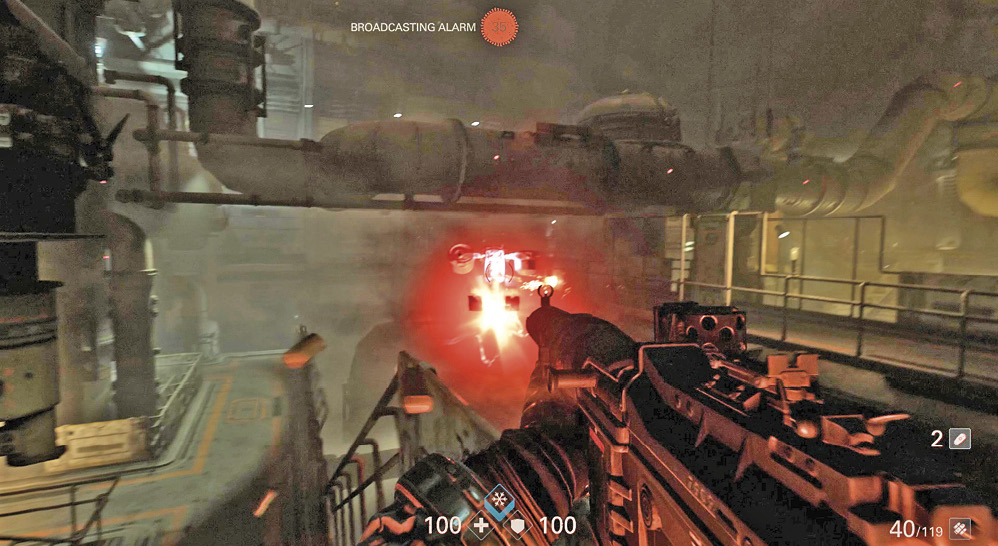
Take the stairs up to the second floor, then follow the catwalk around to the right and ascend more stairs to the third floor. There are several Soldiers and Drones here, as well as a Kommandant. The Kommandant is usually at a distance and can’t be killed before someone sees you and sounds the alarm. Take cover as you engage the enemies.
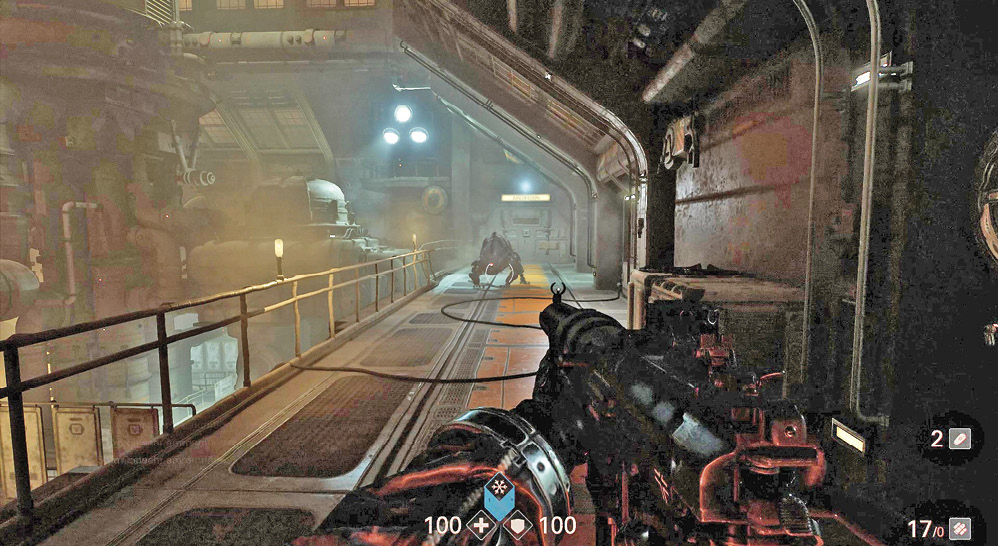
Fight your way across the catwalks to the opposite side. Kill the Kommandant and claim his Enigma Code. During your trek upstairs to the fourth floor, refill your Coolant and get ready for a Laserhund. Take cover before it opens fire. When it charges, blast it with the Schockhammer. Move into an interior room, out of the heat, and eliminate a few more Soldiers. There’s a small armory here, so use the opportunity to stock up. Then head through the next door and back out into the hostile Venusian atmosphere.
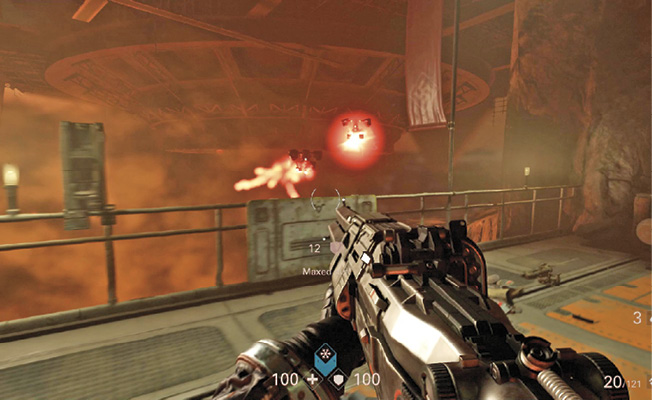
Outside, you’re attacked by several Drones and a Laserhund. The Schockhammer does the job on all these enemies. Once they’re eliminated, head upstairs and refuel/recharge your heavy weapon so it’s ready to go. As you ascend to the fifth floor, ÜberSoldaten attack. Destroy them and keep moving.
Eventually you arrive at an area where you must walk across some pipes. A small room is closed off and blocks your passage. Your contraption may come in handy here:
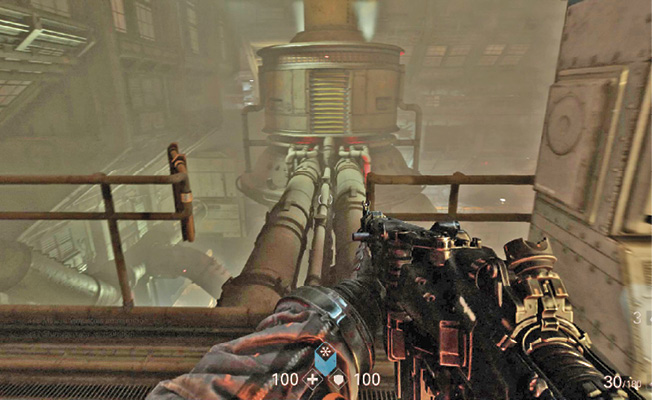
- Ram Shackles: Sprint through the doorway, breaking the barriers as you go.
- Battle Walkers: Get up on top of the room and walk across the roof to the other side.
It’s also possible to blast your way through the barricade. Reach the other side and head through the doorway back into the interior.
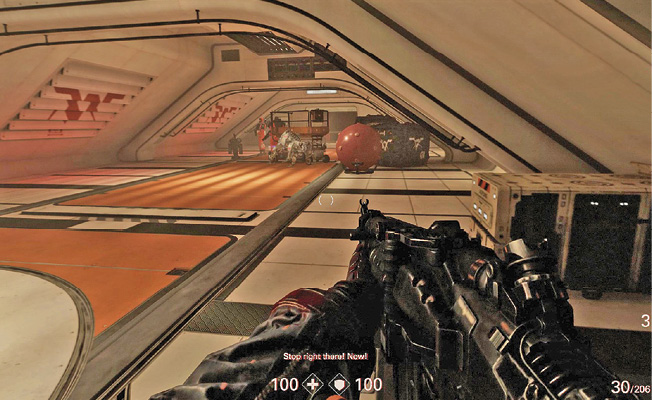
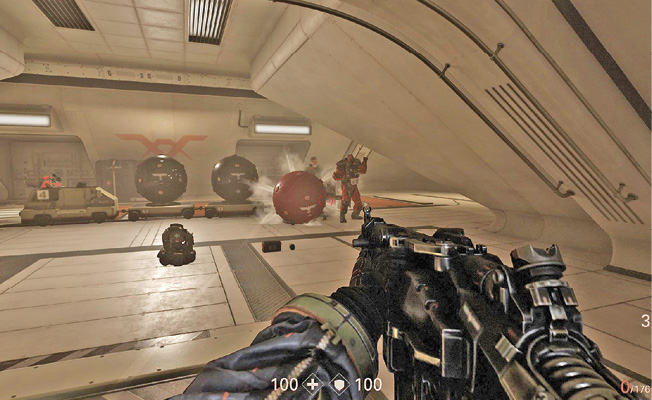
There are several Soldiers inside, along with a Laserhund. Pull back and shoot the large spherical explosives. They start smoking and then detonate, killing any enemies nearby. Finish off all remaining threats and search the area for armor and ammo. Exit the room and use the elevator to get up to the sixth floor.
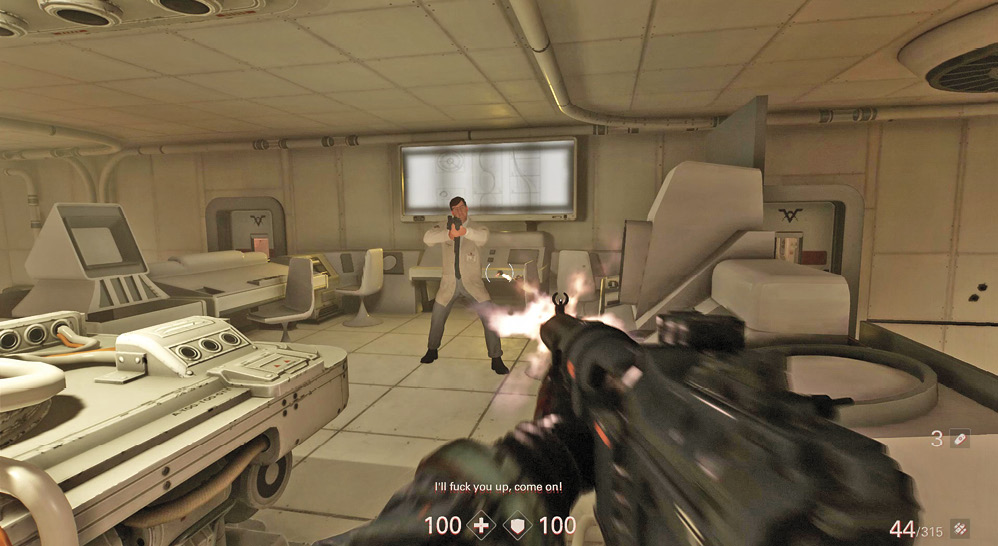
Exit the elevator and proceed through the corridor into a lab. Kill the scientists inside and look around for Collectibles. Before you leave, pick up the Übergewehr. This is a powerful weapon you definitely do not want to leave behind. As you exit the lab and continue to the next corridor, more scientists rush out and attack. Pull back and take cover as you engage them.
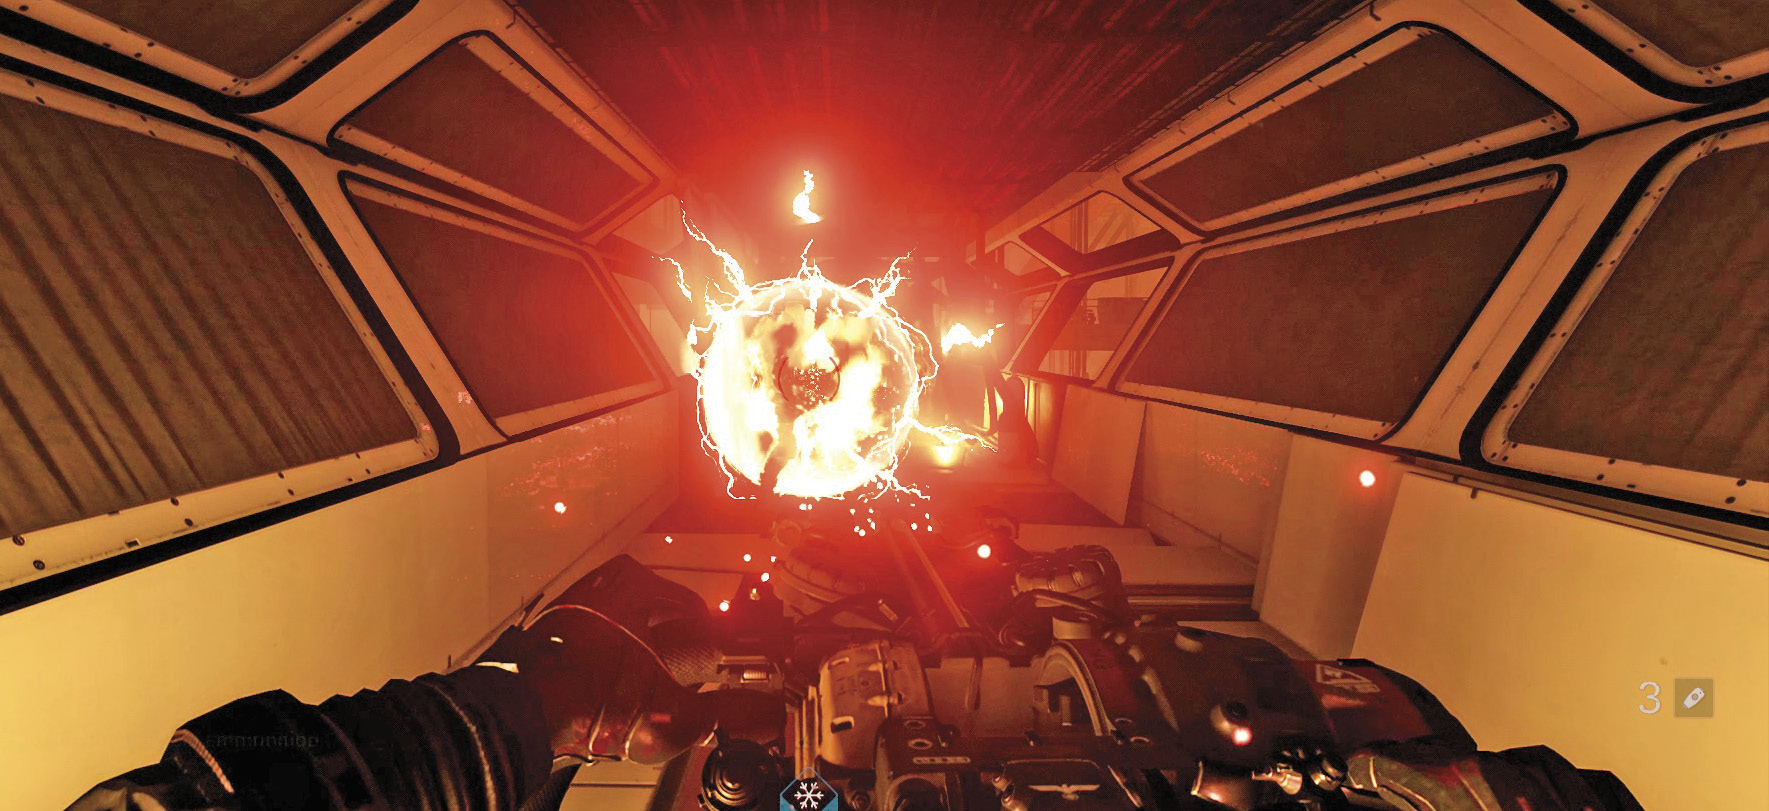
Exit the interior through a large door and get ready to use the Übergewehr. There are ÜberSoldaten ahead. Pull the left trigger, or press the Aim button, to charge up the weapon. Then fire to shoot a fireball that burns before it explodes. Aim the fireball strategically so it consumes several enemies. Be sure to refill your Coolant at the station before you move on.
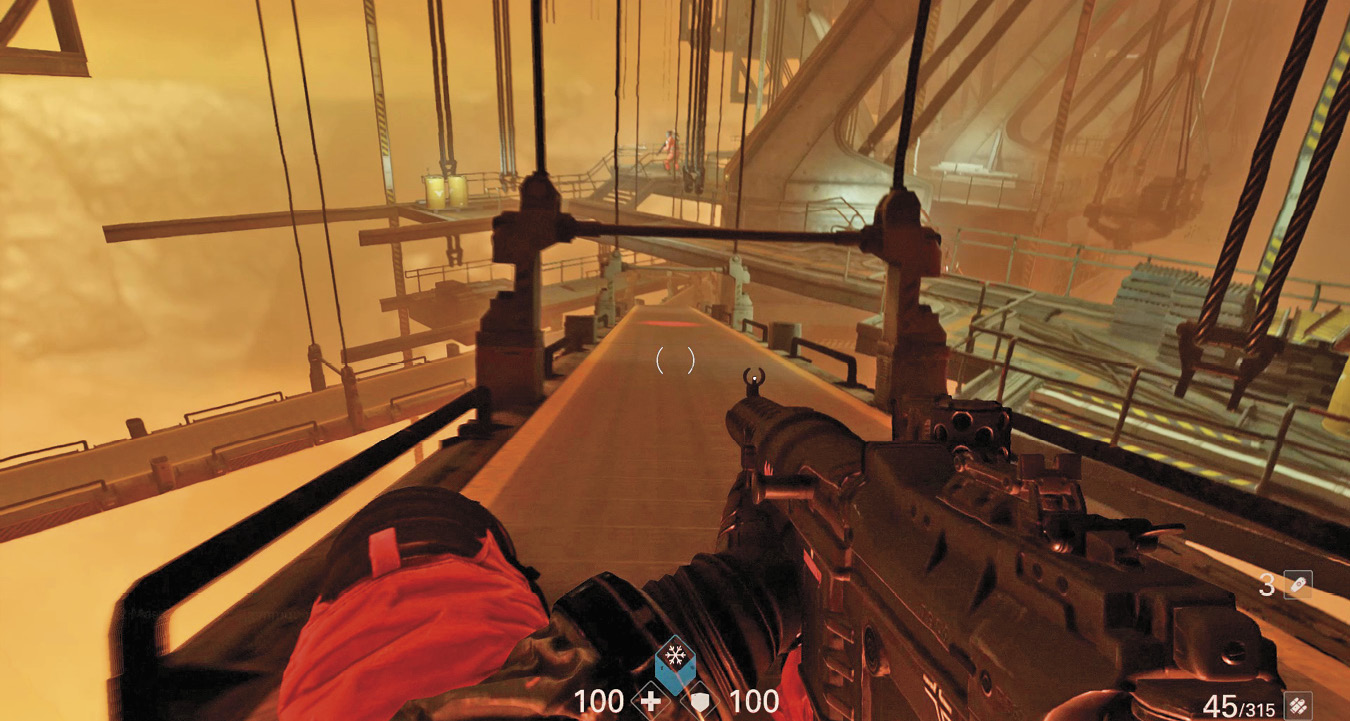
Drop onto the conveyor belt. You lose the Übergewehr when you do, but don’t worry about it. There are enemies up ahead that you’re about to pass by. You can’t move, so open fire as they come into range. Ride the conveyor belt all the way to the end, then traverse the corridor to the doorway leading into a larger room.
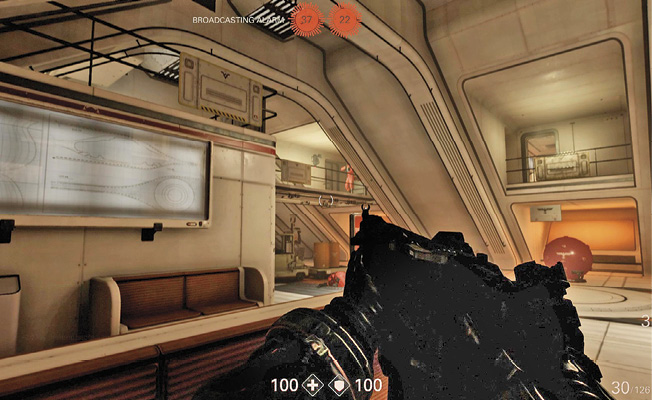
You find a Laserhund and Soldiers here. Get to the alcove to the right for some cover and prepare for the Laserhund. Also be on the lookout for Collectibles in this area. Several enemies are stationed on the walkway overhead. Pick them off with aimed shots and advance to the stairs on the opposite side that take you up to the seventh floor.
Once upstairs, kill the Kommandants to stop the alert. Make your way along the catwalks, dispatching all enemies you encounter. There are a lot of them up here; when they bunch up, they’re practically begging for a grenade. As you advance, take time to search the small rooms on the side for Collectibles and other goodies.
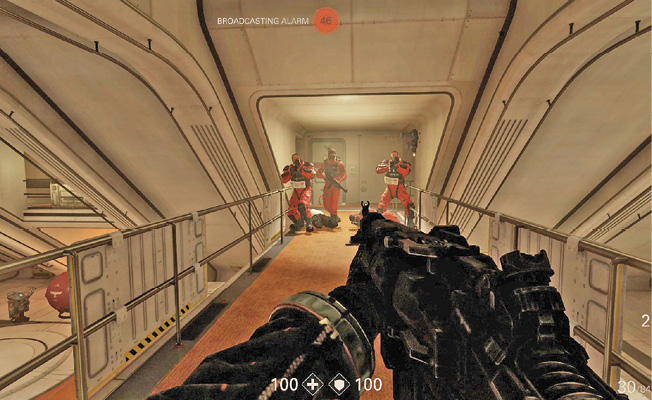
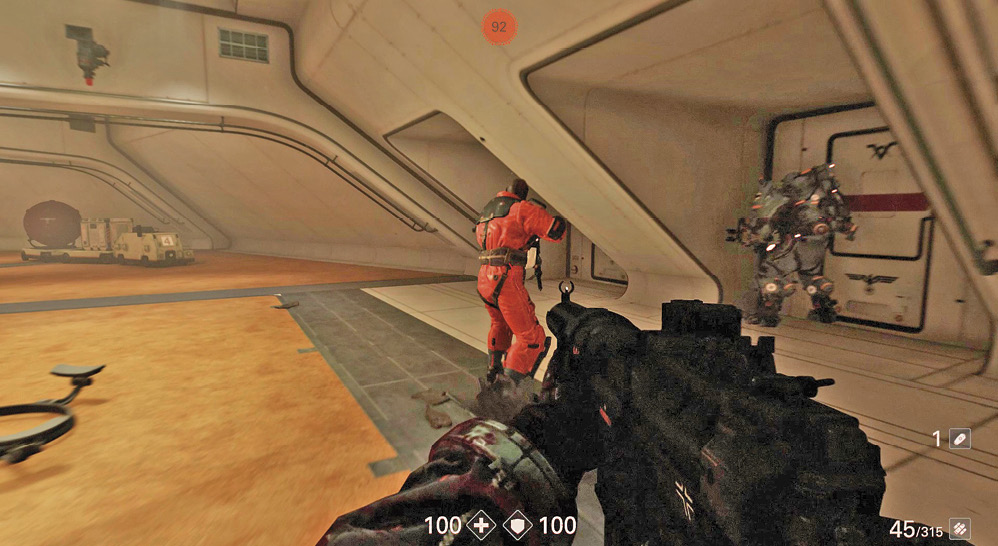
Continue through corridors up short flights of stairs. Watch for a Hammergewehr SuperSoldat. Kill him and the rest of the enemies, then pick up a Hammergewehr. Proceed to the end of the corridor and take the elevator to the eighth floor—the top of the Oberkommando.
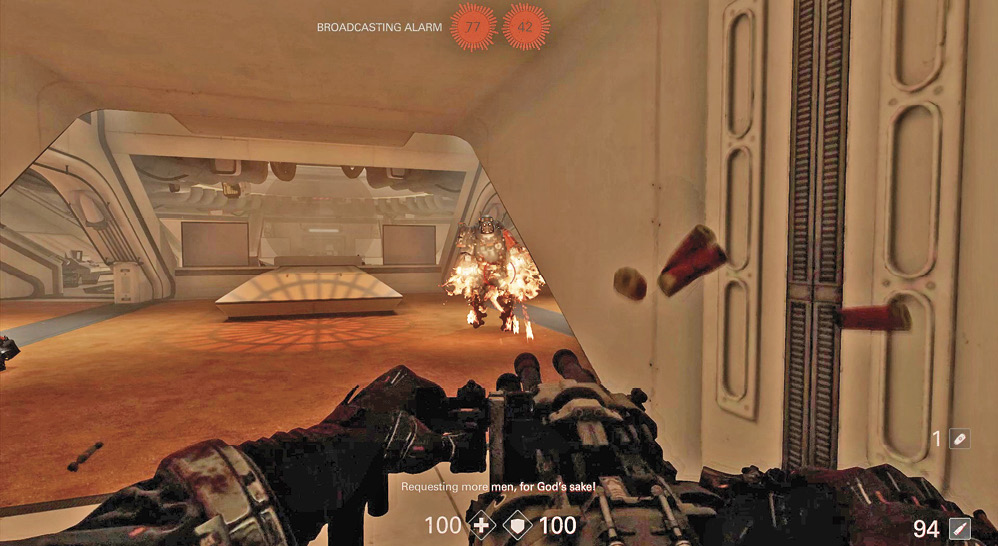
Move along the eighth-floor corridor, killing enemies and grabbing Collectibles and goodies as you go. Get ready for a big push—once you take the door ahead, you come up against a mass of foes. A Laserhund charges you, followed by a SuperSoldat and other Soldiers. The Hammergewehr comes in real handy dealing with these guys.
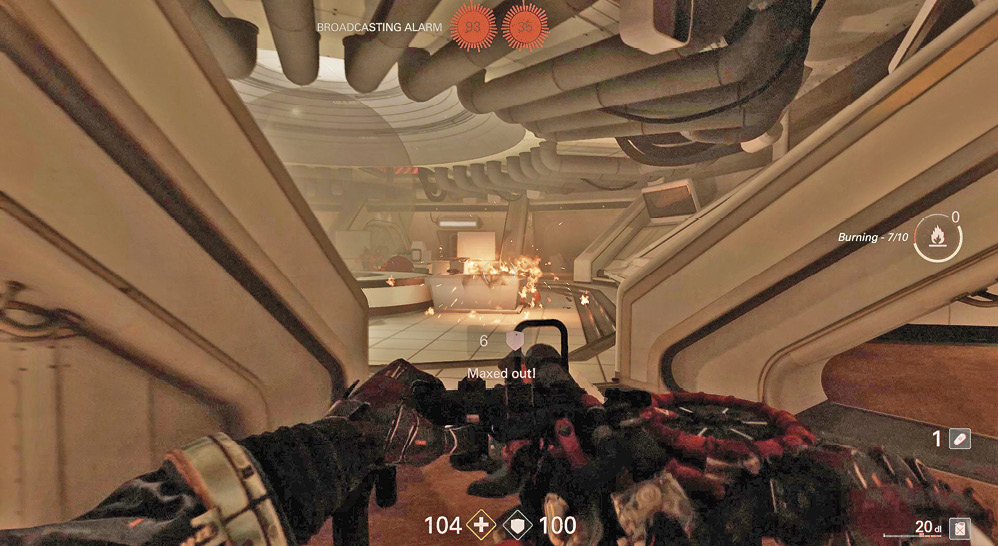
Fight your way through the middle of the command center and on to the other side, eliminating all enemies in your path. Take out this area’s Kommandant and grab his Enigma Code.
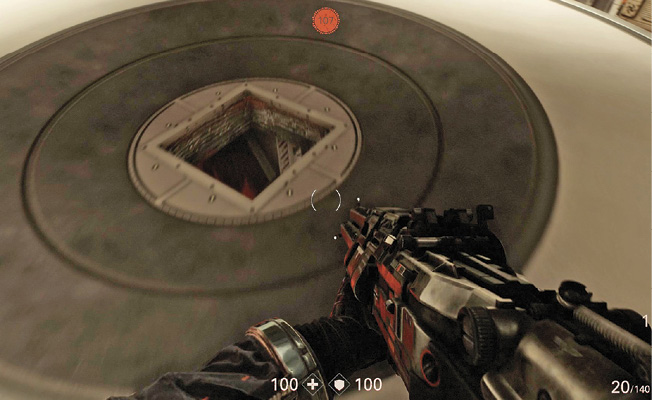
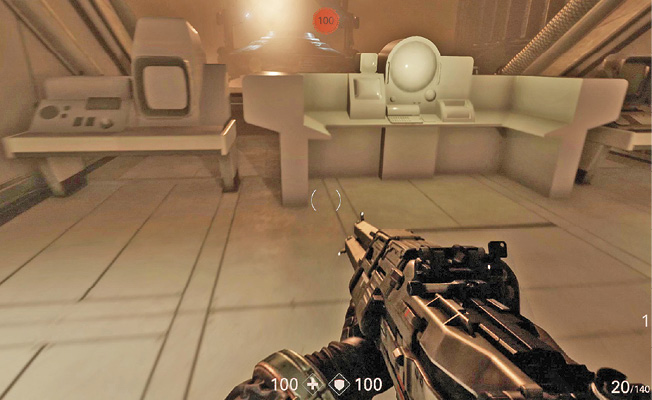
Once all’s clear, head to the command center’s center and drop into a duct. Follow it to a side room that’s been locked down. You’ve reached your objective. Use the computer console to get the ODIN codes and complete the mission. Once you have these, you take a flying saucer back to Earth and are picked up by Evas Hammer.