
Wolfenstein II: The New Colossus Guide Walkthrough
The Reunion
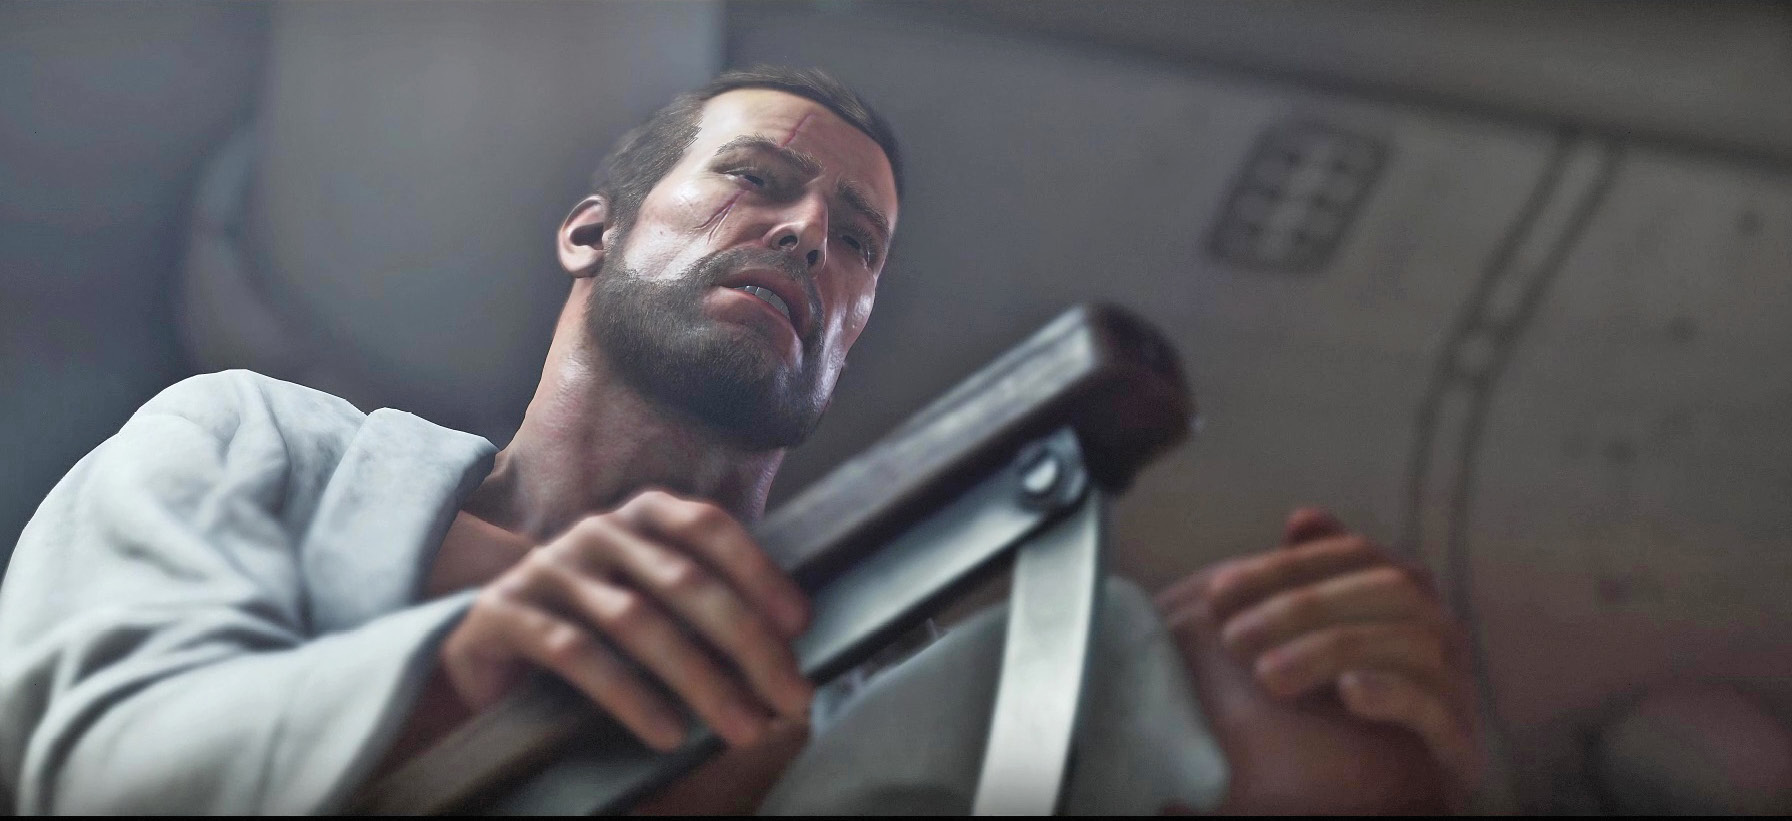
 Awakening
June 25, 1961
Captured Nazi U-Boat Evas Hammer
Somewhere in the Atlantic
As you recover from your injuries, the submarine you’re aboard comes under attack. Though you try to stand, your legs don’t support you. To get around, you need a wheelchair.
➤ Map Legend Key for Collectibles
|
|
Concepts |
|
|
Gold |
|
|
Map |
|
|
Readable |
|
|
Star Card |
|
|
Max’s Toy |
|
|
Upgrade Kit |
|
|
Vinyl Record |


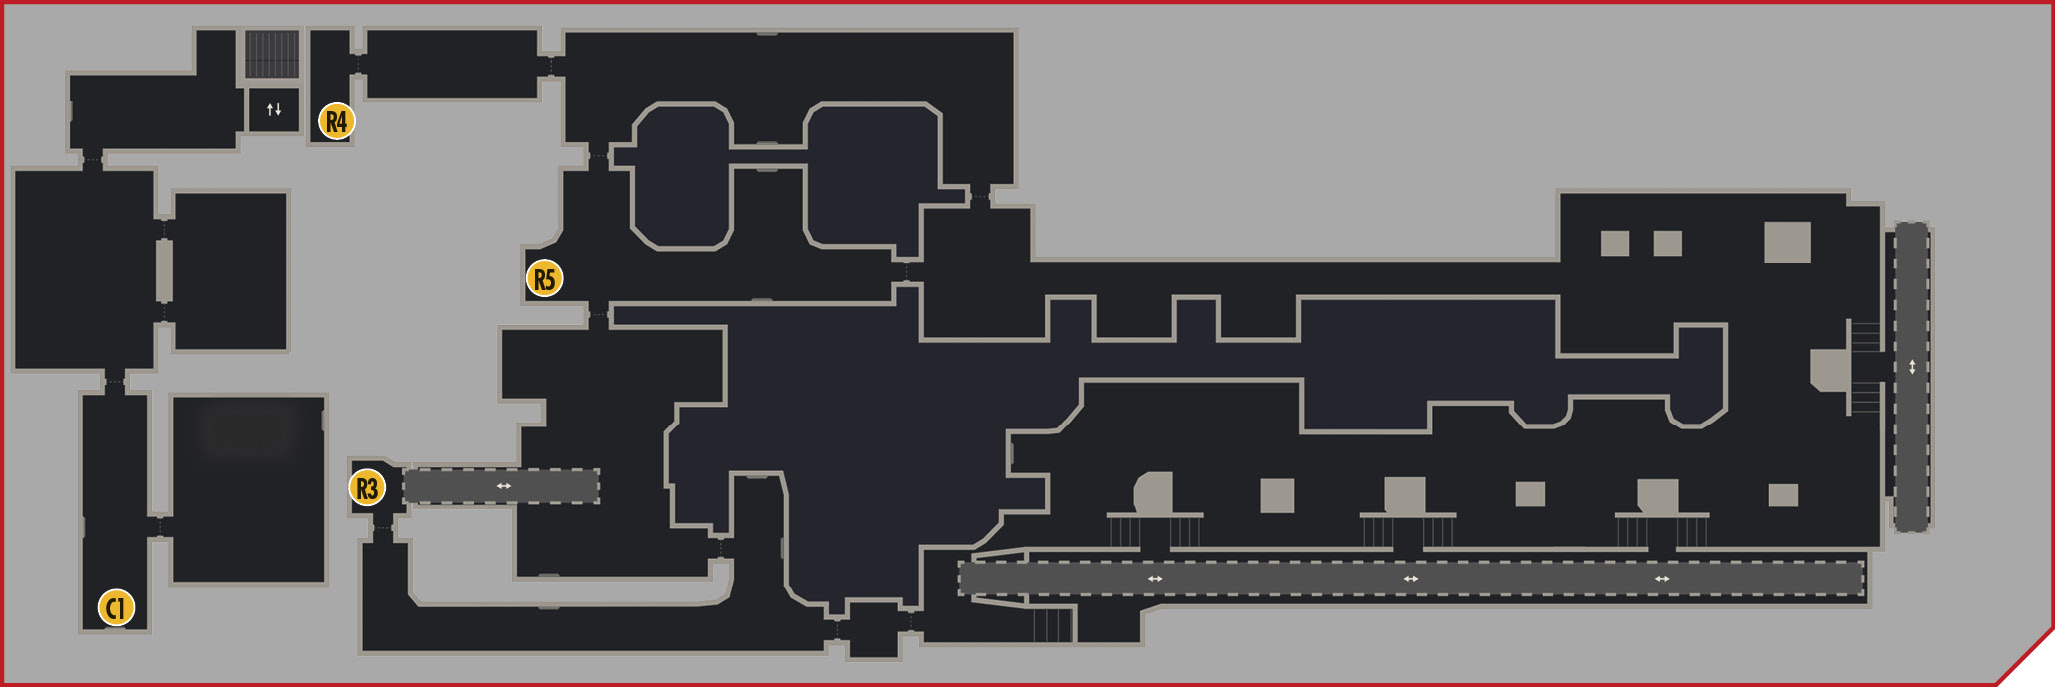

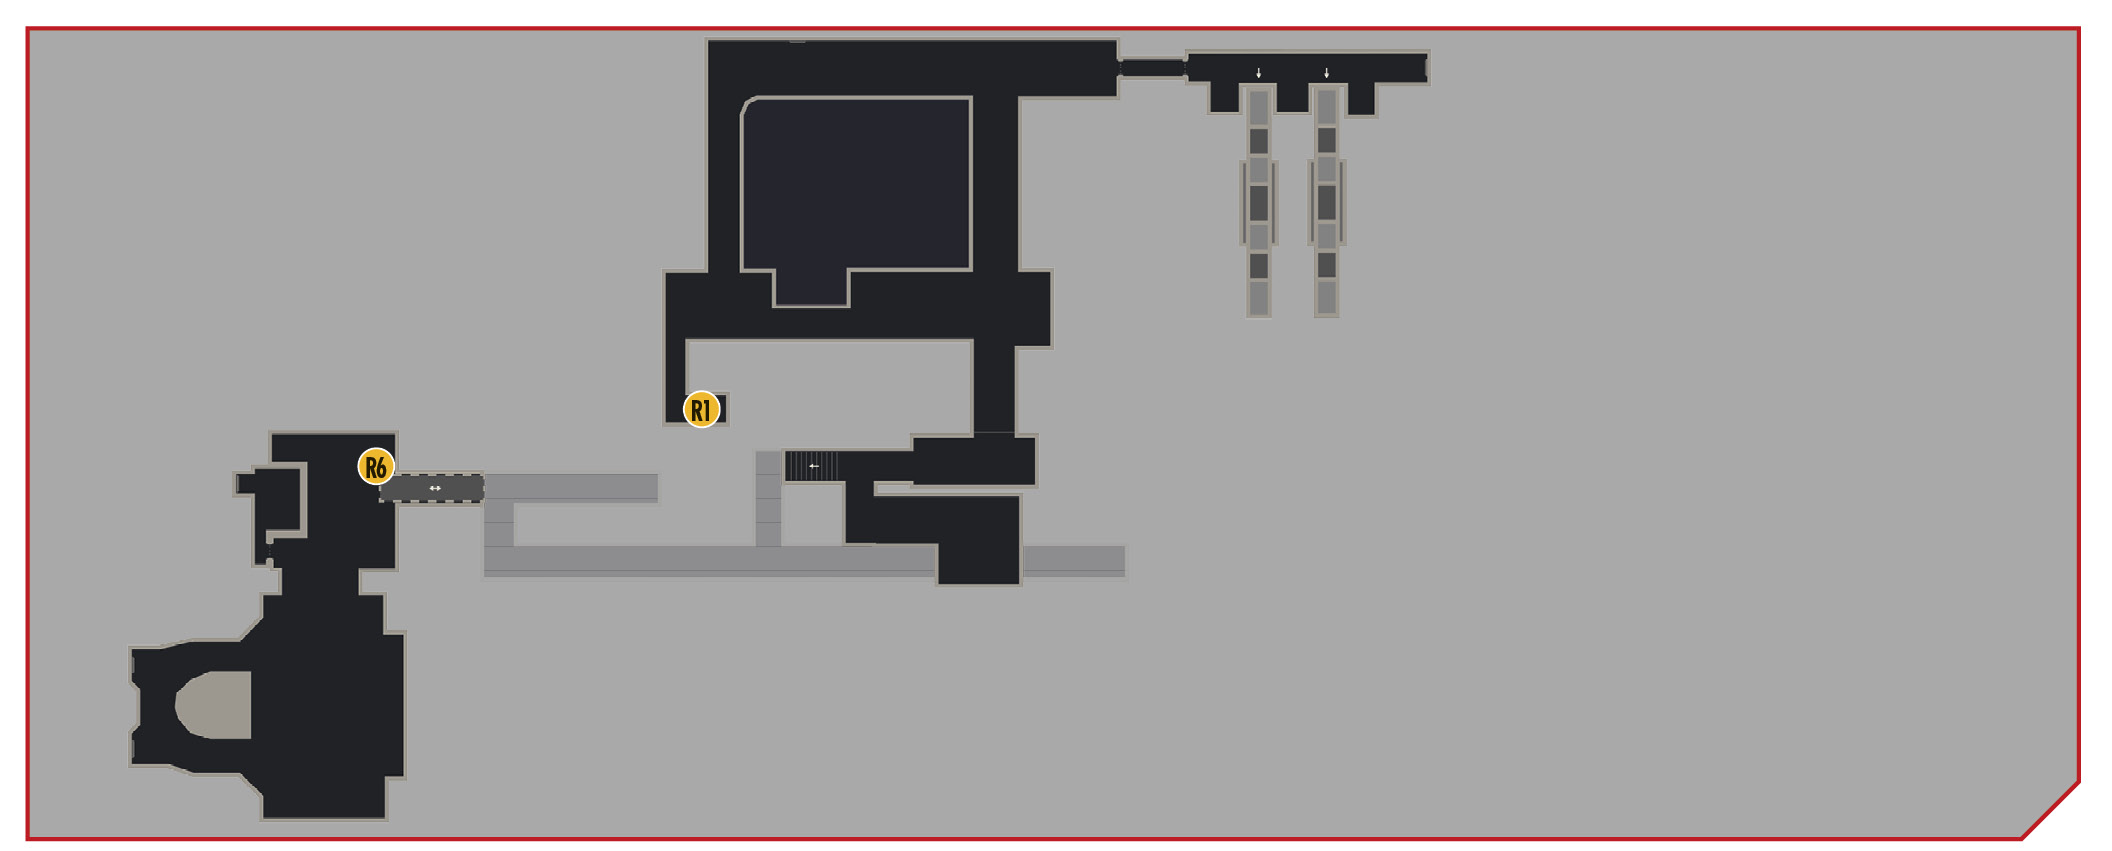
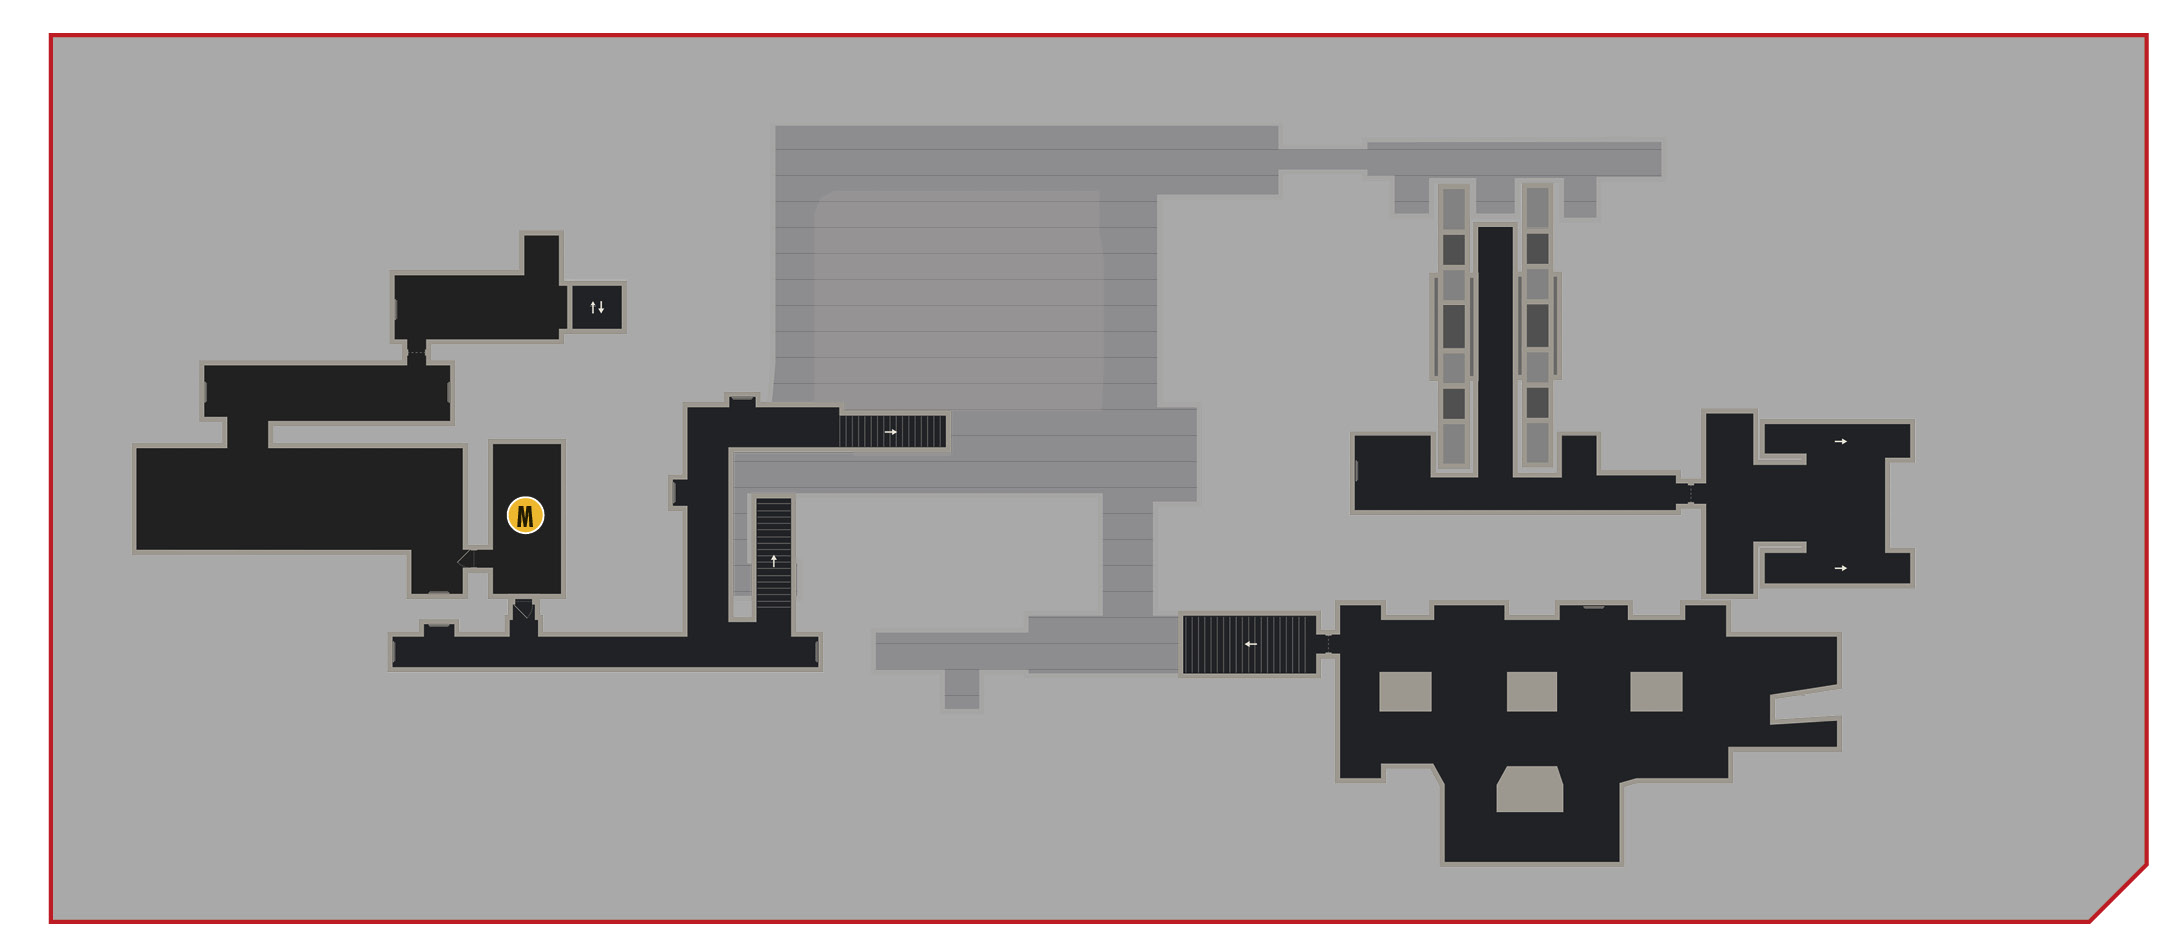
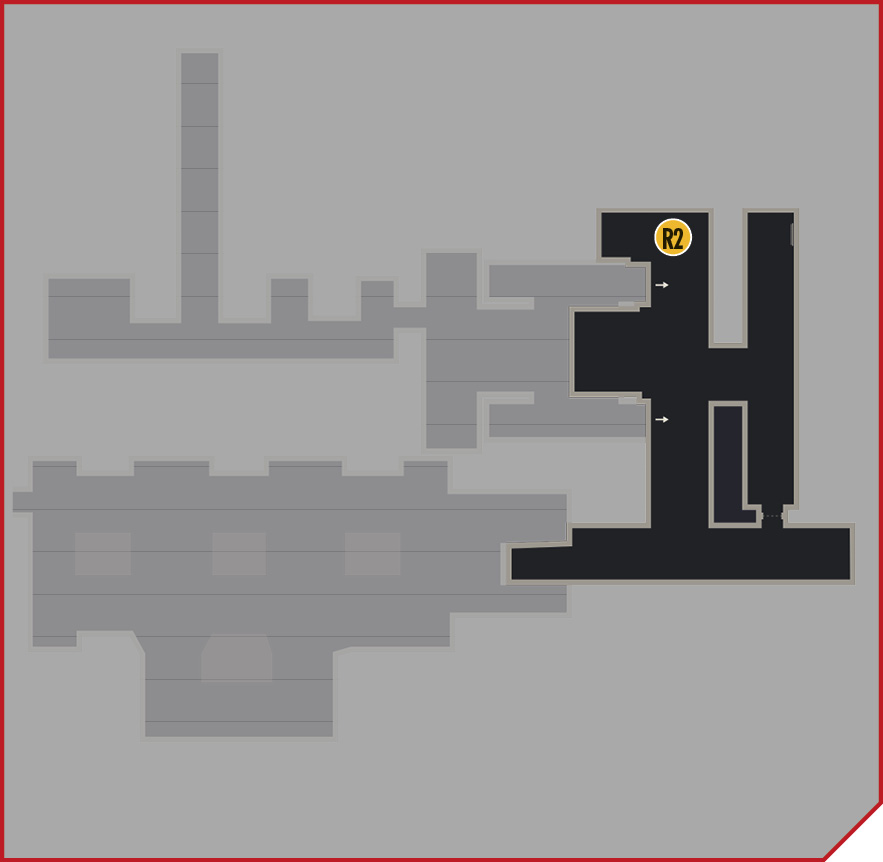
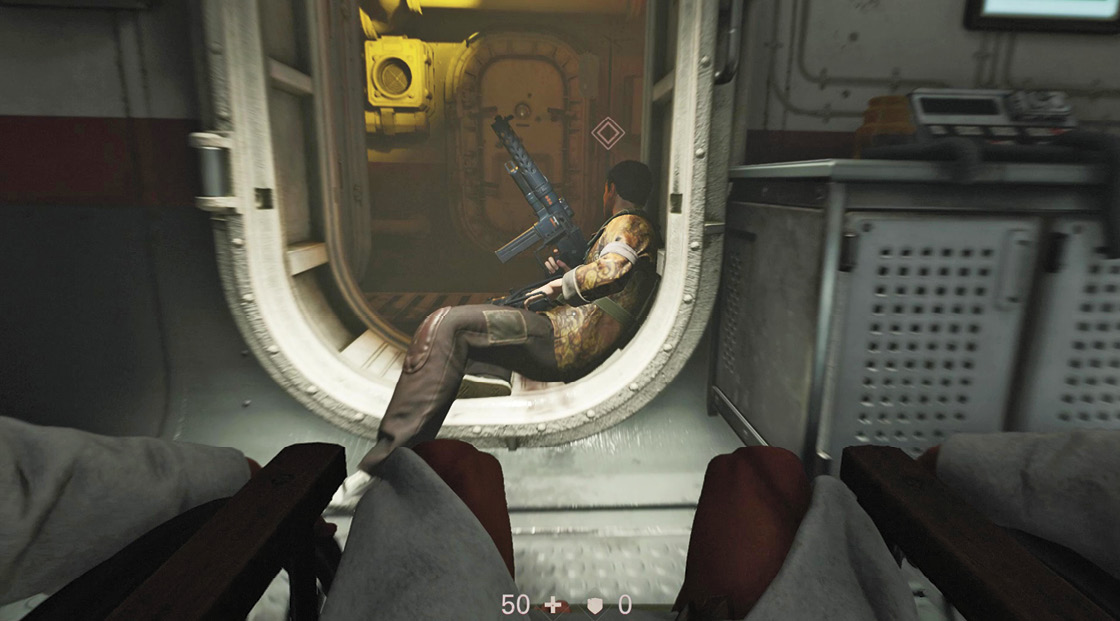
As soon as you get into the wheelchair, the battle reaches your area. A Kreisau fighter takes cover in a hatchway after getting hit by enemy fire. Wheel over to the fighter and talk to him. He gives you a submachine gun.
Objective: Reach Set
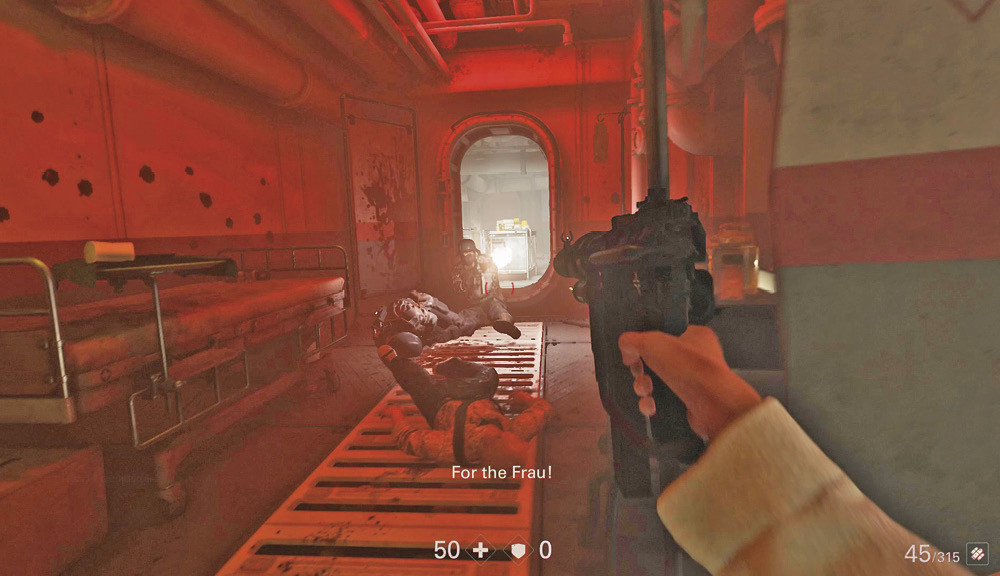
Once you have the weapon, the fighter is killed and you’re on your own for now. Wheel into the hatchway and turn to the right. Using the hatchway for partial cover, take aim at the Soldiers who approach from the next room. Kill three Soldiers and then search the hallway for ammo, helmets that add to your armor value, and first-aid kits. There’s also a Concept Collectible in this hallway, so be sure to grab it.
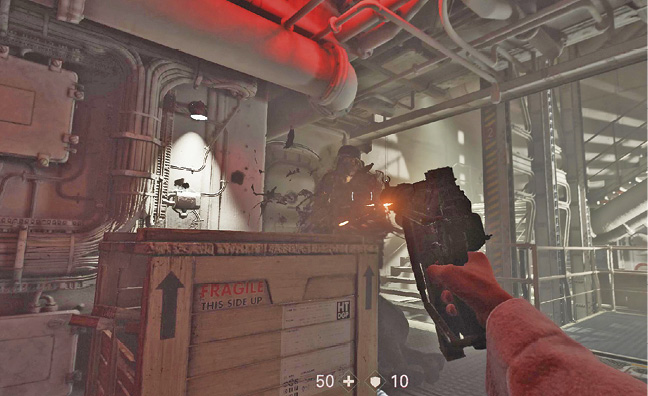
Roll out into the next room and the one to the right. Search for more items among the hospital beds; you need all the first-aid kids and armor you can get. Continue through the next hallway to reach the stairs. Two more Soldiers come down them. Take cover in the hatchway, or back into the medical room on the side and wait to shoot the enemies as they come through the hatchway. When all’s clear, continue to the stairs. Since you can’t go upstairs in a wheelchair, roll onto the small elevator and press the Control button to go up to the next level.
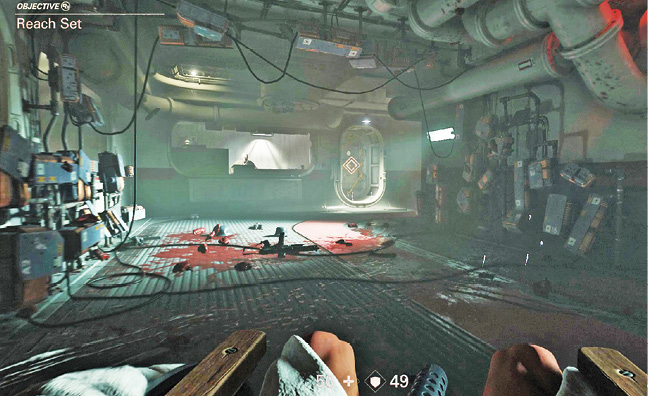
When the elevator reaches the top, roll forward and follow the hallways around to a larger room. You see a couple of Soldiers on the other side of a large window, but don’t worry about them. They’re about to be killed by one of Set’s traps. Keep going until Set, the guy behind the control room window, tells you to stop. Wait for him to deactivate the microwave trap, then roll to the control room door and enter.
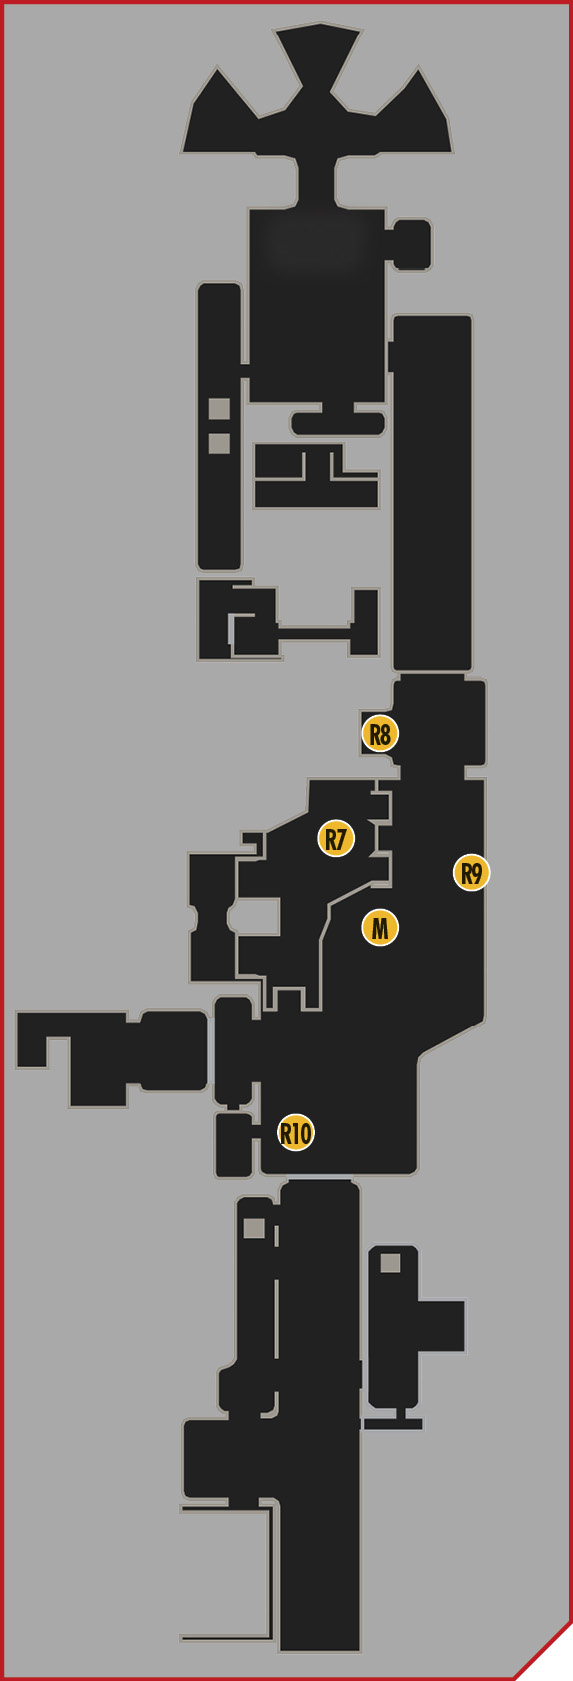
Inside the control room, Set tells you that the Nazis have boarded the U-boat and are looking for you. He’s set up traps throughout the submarine, but hasn’t activated them. To help you out, he gives you a map of the levels that shows the locations of the traps, along with the controls that activate or deactivate them. Since you’re mobility-challenged, these traps can really help you clear the sub of Nazis.
Objective: Get to the Sail Deck
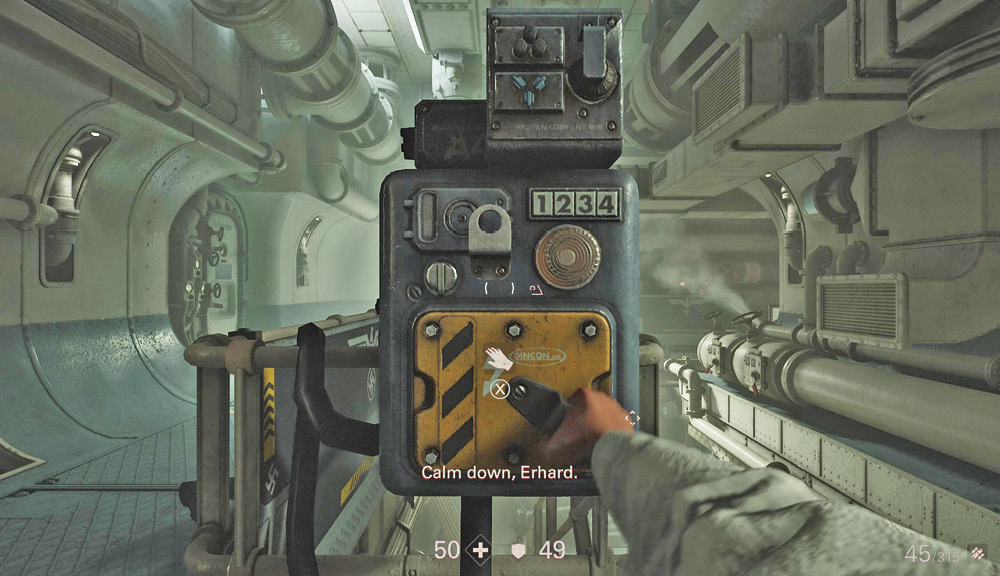
Leave the control room and follow a hallway toward some stairs leading down. A Soldier patrols to the left. Instead of shooting him, roll to the switch by the stairs and activate it. The trap kills the Soldier on your level. Before going down the stairs near the switch, roll around to another flight of stairs and lure a Soldier located below up the stairs and into the trap.
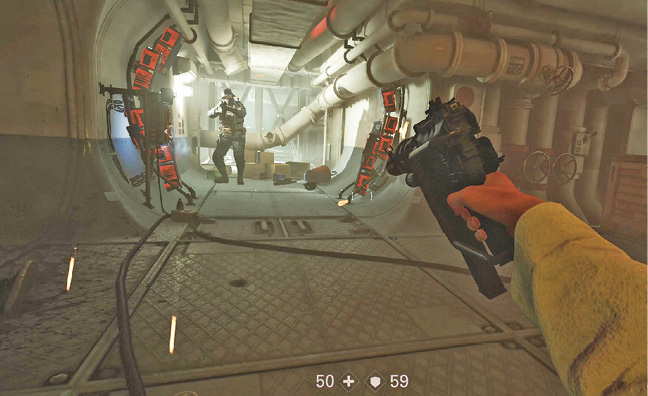
Keep the traps activated and roll down the stairs by the switch. There’s a Soldier to the right unless you lured him to the trap already. Other Soldiers are on other sides of the traps. Avoid killing yourself as you move toward the switch at the end of the hall to the right of the stairs. A Soldier is near the switch, so move into view and then retreat so he walks into the trap. Use one of the switches to deactivate the traps so you can reach the hatchway leading to the gear room. Before heading there, use the switch near this hatch to activate the traps again so they’re ready when you reach your destination.
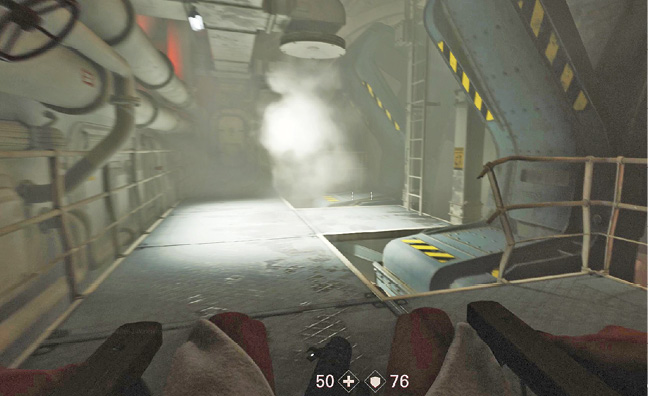
The gear room features two large rotating gears and a ladder leading to the upper walkway. Since you can’t use the ladder, roll onto one of the gear’s teeth and use it to lift you up onto the walkway. Quickly shoot the Soldier at the top, and be ready for two more in the room on the other side of the hatch. Move back from the hatch and find cover as you engage them.
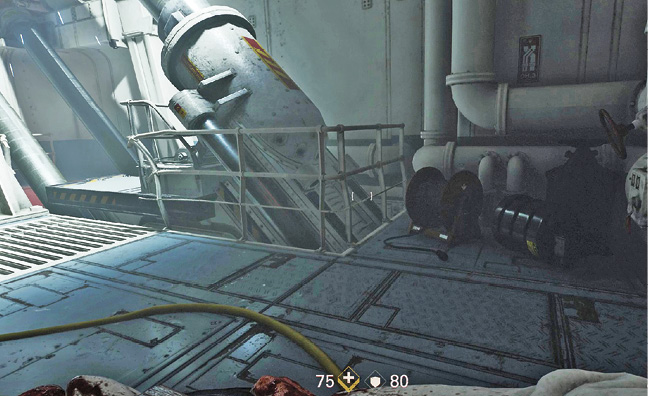
The next room contains two large pistons. Roll onto one of the platforms when the piston on the left is down, then ride it to the top. The traps up here are already activated, so be careful. Lure the Soldier on the other side into the trap. For some armor and ammo, deactivate the traps with the nearby switch and go to the hallway where the Soldier was. Once you have the goods, reactivate the traps when you return to the piston room.
You now need to get back down to a lower level. Before you ride down a ramp on a one-way trip, fire off some rounds to alert the Soldiers below. This causes a few of them to rush into traps down there. Pick off any others you see, then roll down the ramp. Finish off any remaining Soldiers, circumvent the traps by taking the passageway to the left, then use a switch to deactivate the traps. While it’s possible to leave them on, doing so means you can’t access some areas and makes your job tougher a few levels down.
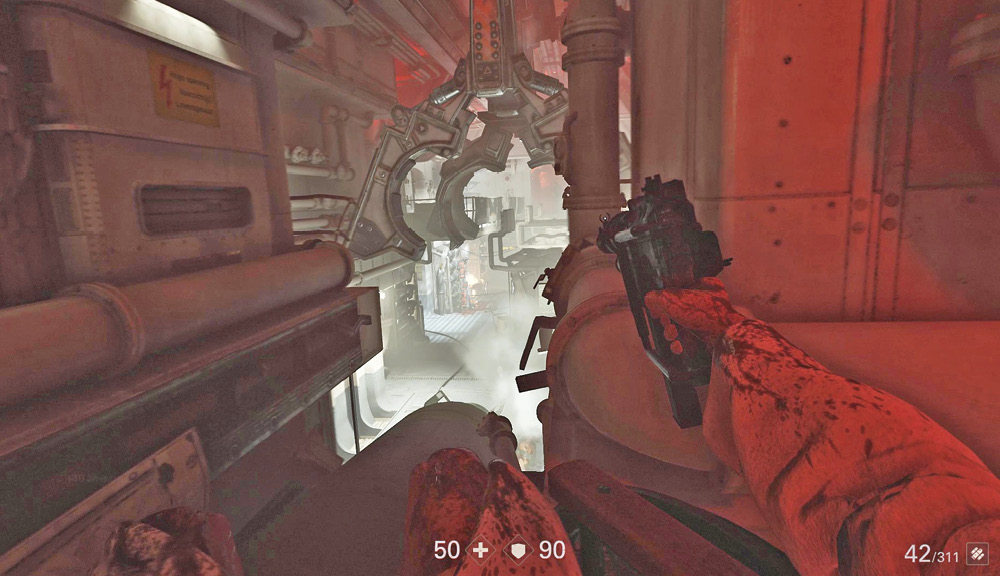
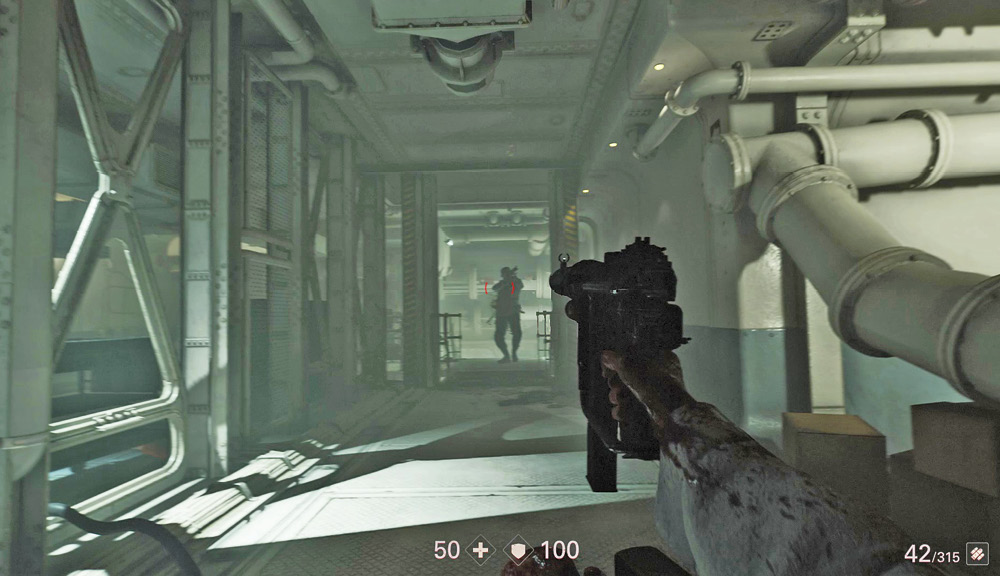
Roll down another ramp to a lower level. Be ready to shoot the Soldier there before he can get off a shot at you. Assuming you deactivated the traps, go left before you reach the stairs into a supply area. Here you can pick up some armor and other goodies. There’s a switch in this area, but resist the temptation to activate the traps. Drop onto the conveyor belt and ride it to the next area.
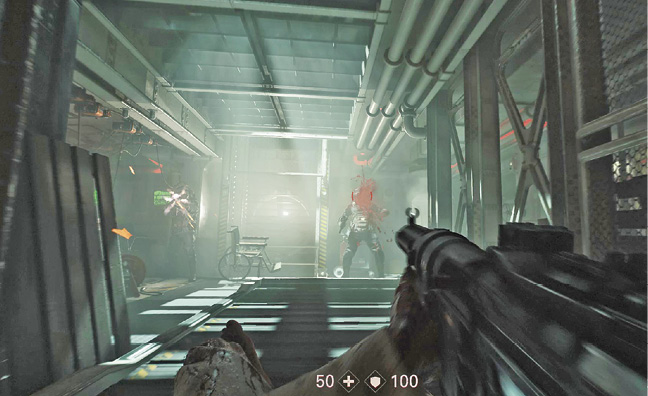
The conveyor belt takes you right up to the sail deck. However, when you near the top, a Soldier reverses the conveyor belt and sends you down to the lowest level. Be ready to shoot—there are two Soldiers at the bottom of the conveyor belt. You fall out of the wheelchair, at which point you can’t move. Kill both enemies and get back into the wheelchair.
Objective: Reverse the Conveyor Belt
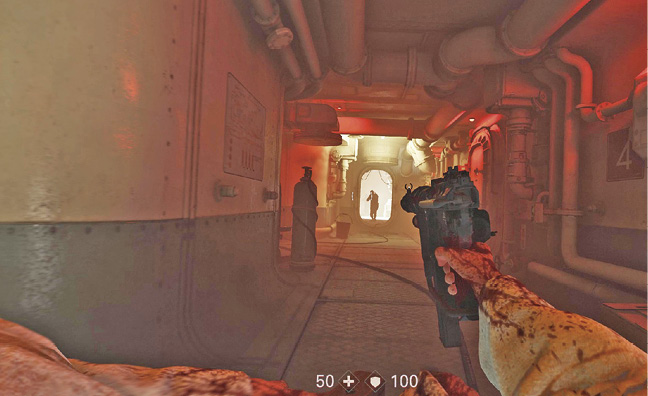
If the traps are still activated, you must travel around this area in a counter-clockwise direction and fight your way through numerous Soldiers. However, if you’ve been following our walkthrough, the traps should be down, in which case you can head left to reach the button that reverses the conveyor belt. Don’t press it yet; you can snag some Collectibles and items while you’re down here. Move through the hatch by the control panel, then use the switch to activate the traps. Down the hall to the right are some Soldiers. Shoot at them and take cover. As they pass through the hatch, a trap eliminates them. You can kill several Soldiers this way, but watch out for any who avoid the trap and come down the hallway to the left.
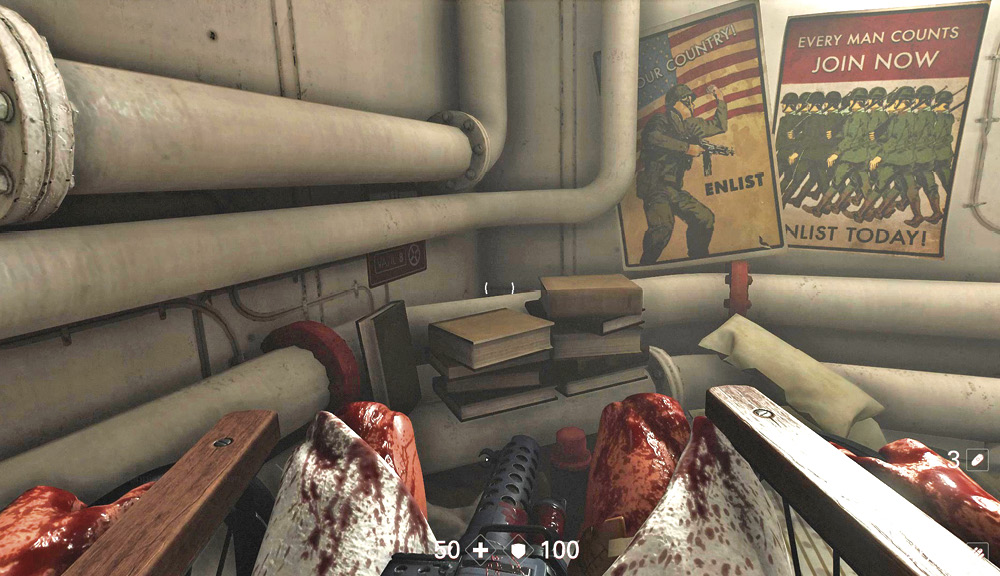
Leave the traps activated and go down the hallway to the left. At the intersection, enter the hatch on the left and follow it around to a hidden area containing a Collectible. Backtrack to the switch near the control room and deactivate the traps.
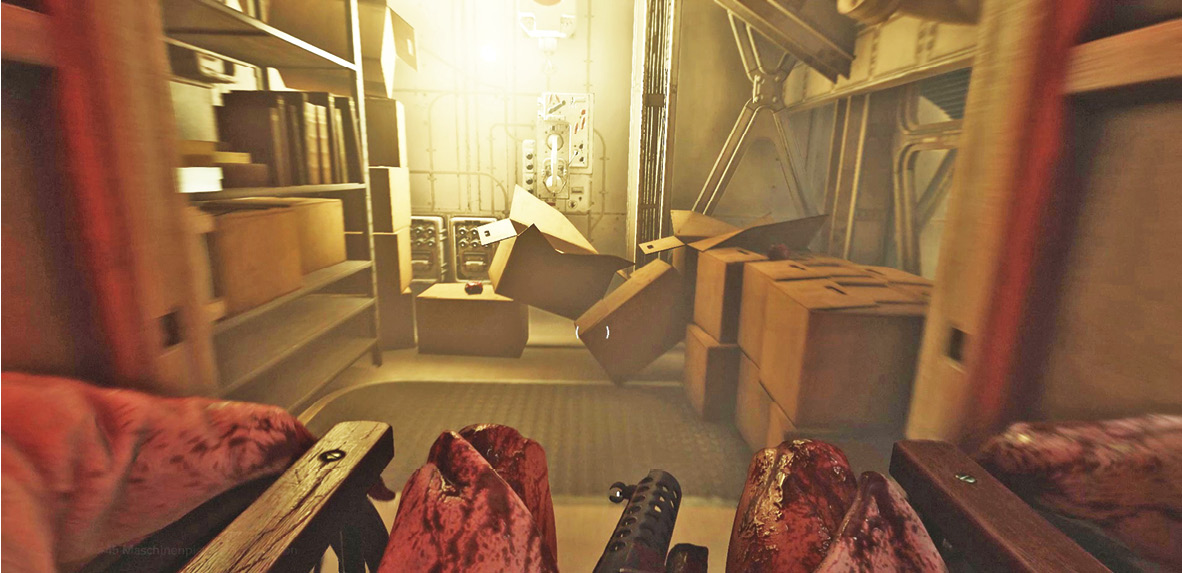
Move past the conveyor belt and through a small room to a hallway. Turn to the right and continue to the end, where you find a small room with some grenades and a Collectible. Pick them up. If your use of traps on the other side of the area worked well, there should only be two or three Soldiers left. Try luring them toward you and activating the switch near the grenade room; a trap near the switch can take care of them. Or move around and finish them off with grenades or the submachine gun. Or skip the enemies altogether and return to the conveyor belt. However, there are first-aid kits, ammo, armor, and more grenades scattered around the level, so exploring may be in your best interest.
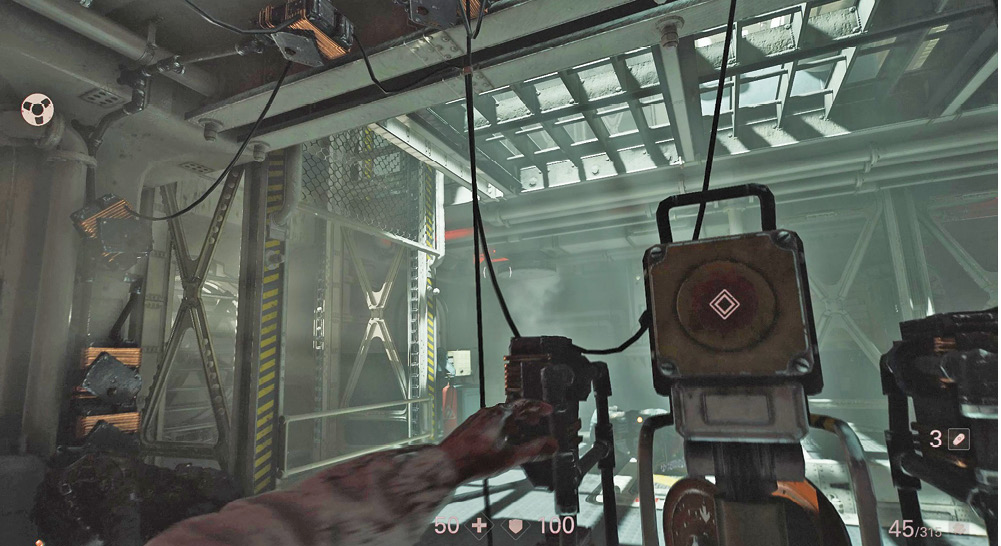
Once you’re done with this area, return to the conveyor belt and press the button nearby to reverse its direction. You can now ride it up to the sail deck.
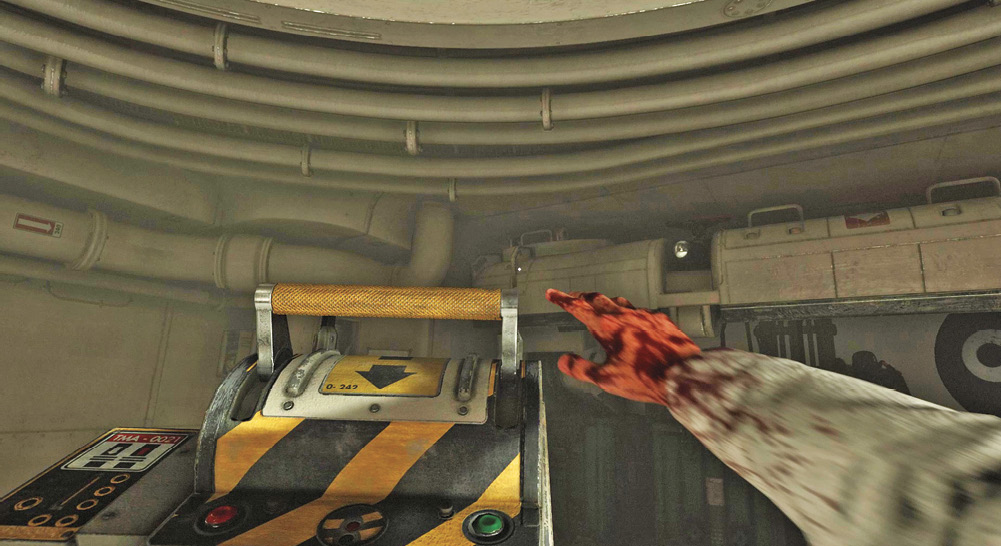
When you get up to the sail deck, activate the controls on the lift and ride it up to the deck of the U-boat. As soon as you use the controls, a Soldier attacks and knocks you over. Luckily Anya is there to save you and take you to the deck.
 Under Siege
The Ausmerzer
General Engel’s Flying Air Fortress
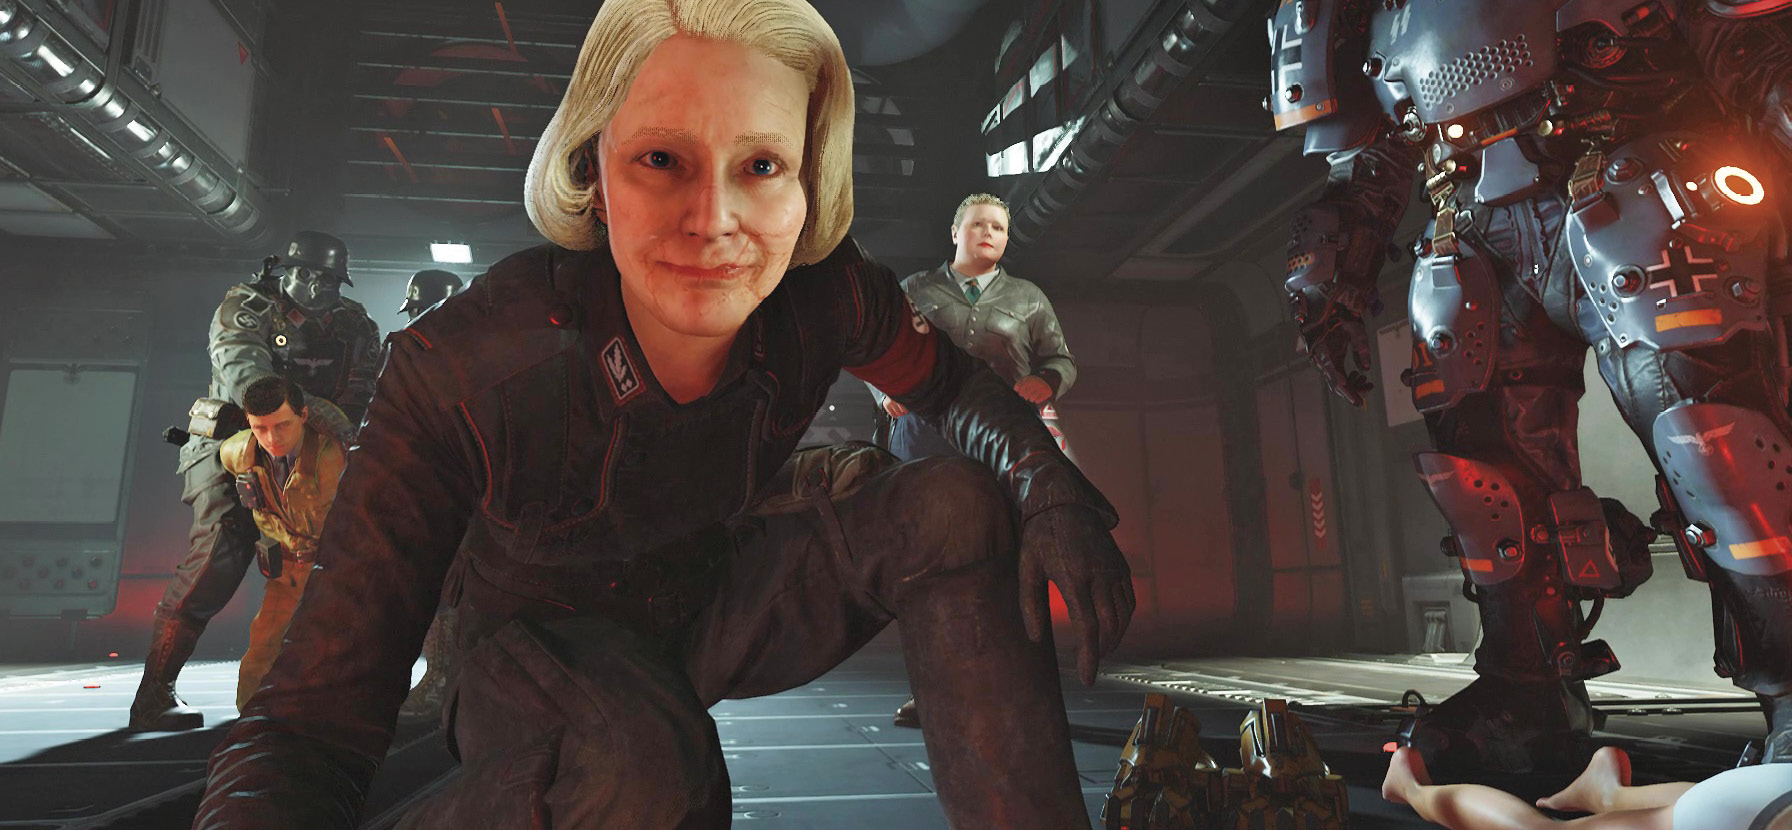
The Nazi air fortress has caught the submarine in its magnetic grasp, and General Engel has captured your friends. You must rescue them and release the submarine so it can dive underwater and escape the Ausmerzer. Accomplishing this requires that you first surrender to the Nazis so you can board the Ausmerzer.
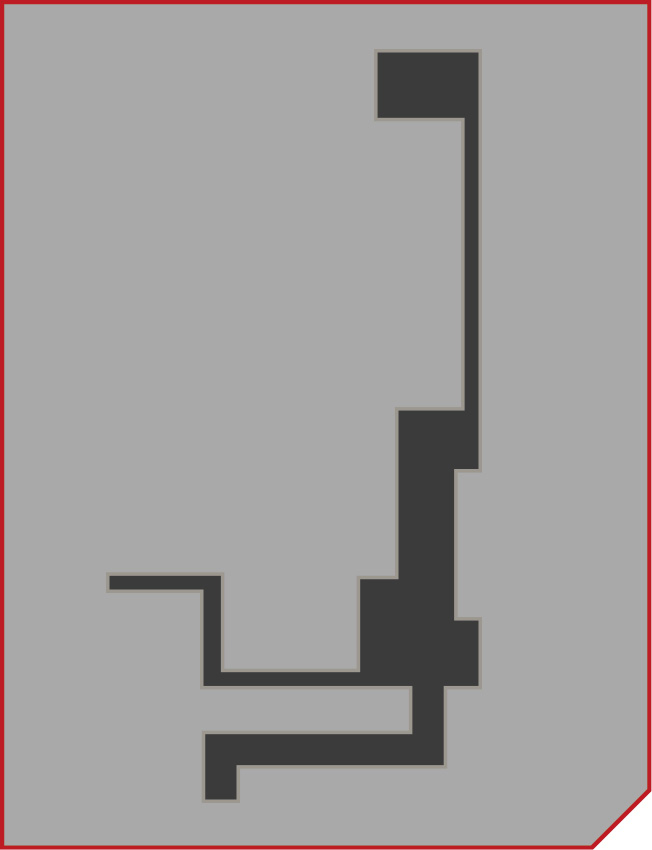
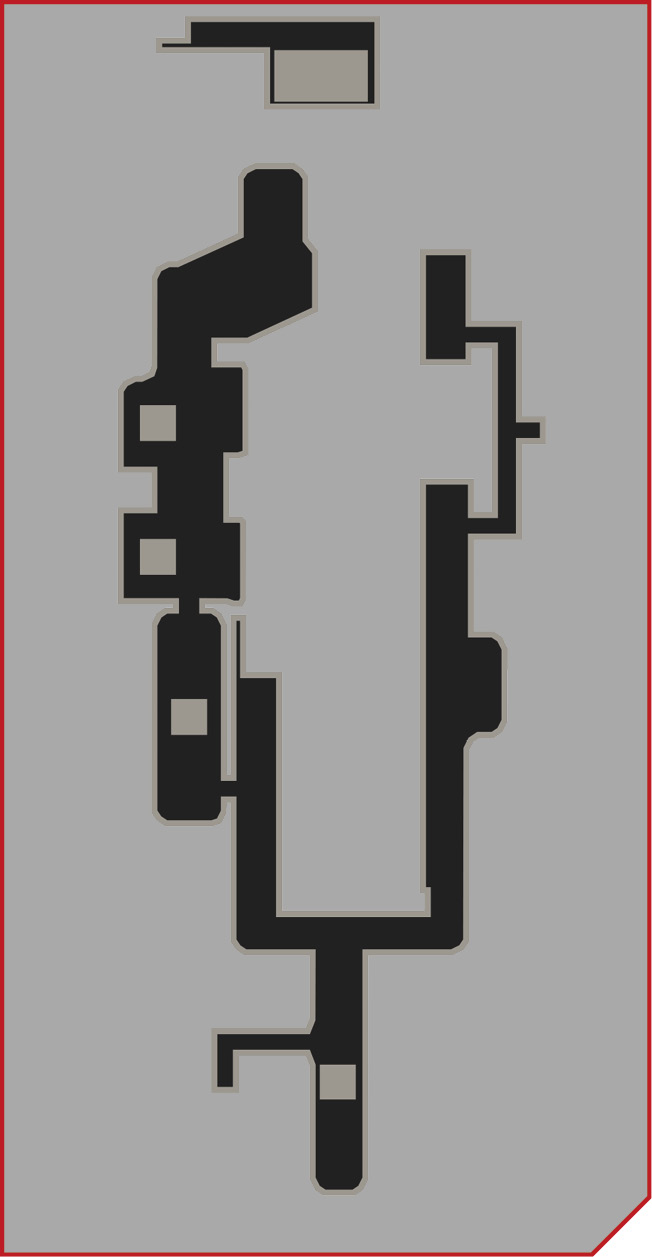
Objective: Reach the Controller Bay
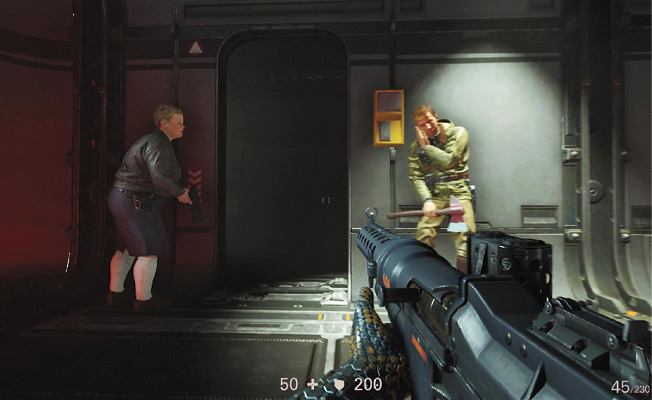
Though you couldn’t save Caroline, you must still release the submarine. To do this, get to the controller bay. Since you now have Caroline’s Power Armor, you’re no longer confined to a wheelchair and can move about without restrictions. Start by entering the small corridor off to the right. Though it looks like a dead end, your Power Armor can break through grates in the floor when you perform a Power Slam.
Traverse the ducts under the floor to emerge in another room. Climb the steps on the left and collect a fire hatchet from a case on the wall. You can do a lot with a hatchet. For starters, use it to pry open the yellow hatch on the wall. Another duct takes you to the other side of the room.
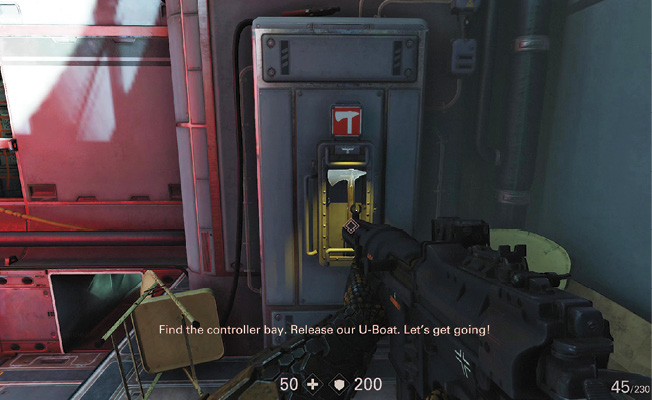
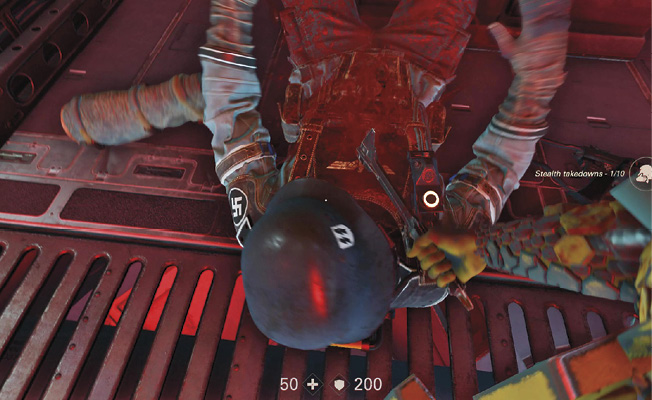
After you emerge from the duct, stay crouched, advance through a short tunnel, and sneak up behind a Soldier who has his back to you. Hatchets are great killing tools—attack an unaware enemy from behind for a stealth takedown. Stealth takedowns, as the name implies, make little noise and offer a way to neutralize enemies quickly. Move behind the Soldier and take him down. You can also use the hatchet to kill enemies who openly attack you—just get in close and hit them.
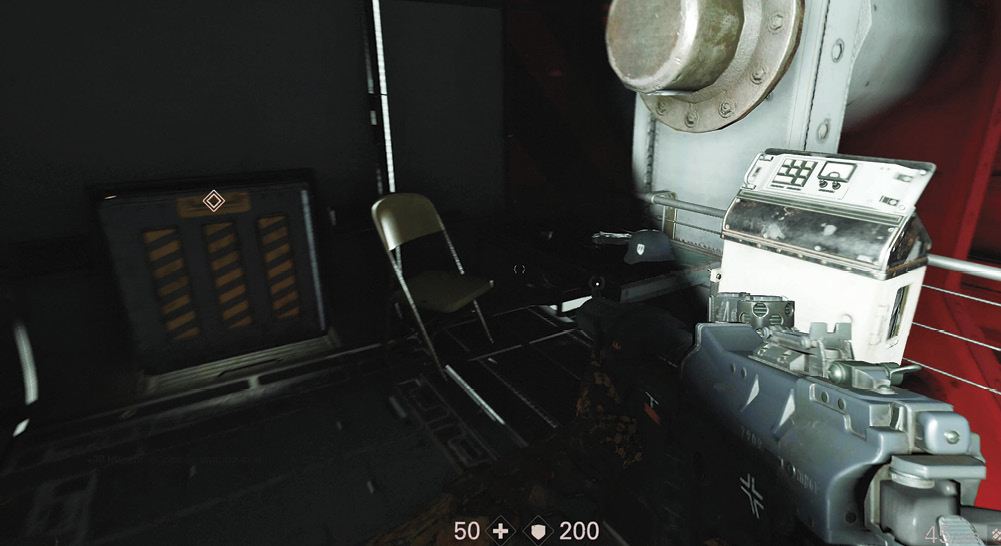
The only way to go from here is up. Climb a nearby ladder and cross a catwalk to another ladder. Once you reach the upper platform, pick up the Pistole lying on the table. You’re now carrying a second firearm. To continue, open the yellow hatch with your hatchet and traverse the ductwork to the next area.
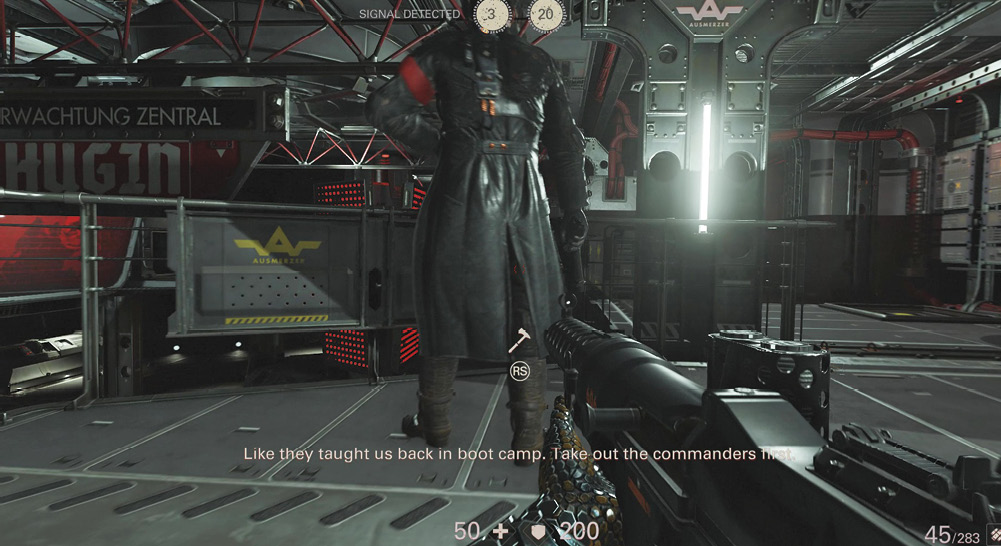
At the end of the duct, drop onto the large room’s upper level. Stay quiet; there are two Kommandants in this area. Notice the signal indicators located at the top of the screen. These show the direction of the radio signals coming from the Kommandants, and the distance to them. Take out the Kommandants to prevent reinforcements from arriving. The first Kommandant is right in front of you. Stay low and use a stealth takedown—one signal down. Snag some Pistole ammo from the body, as well as an Enigma Code.
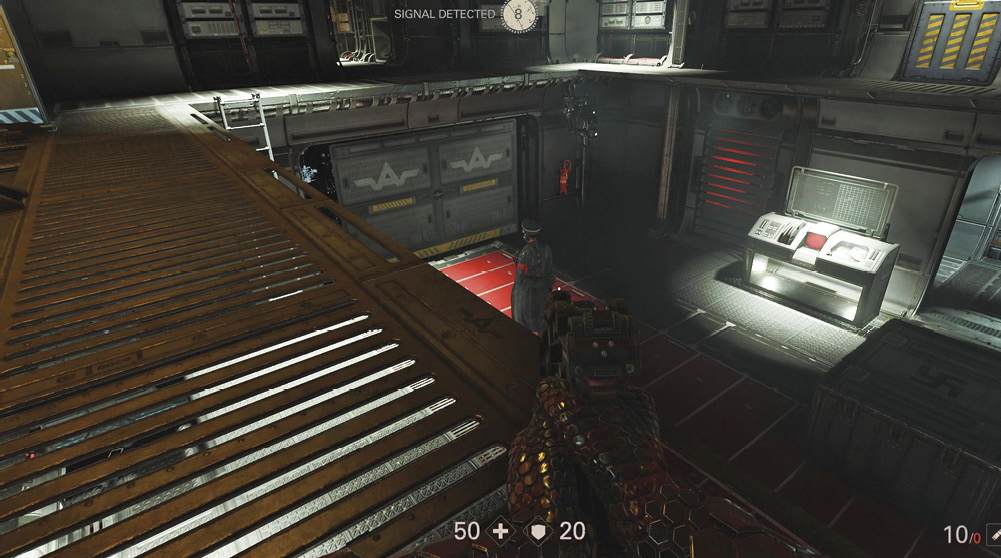
The second Kommandant is located on the lower level of this room at the far side. To take him out before he can sound an alarm, enter the duct near where you dropped from. Follow it to a catwalk, then into another duct. This leads to a catwalk that circles the central part of the room. Stay low, quiet, and hidden. The Kommandant moves around to different spots in a pattern. Wait until he’s across from you and facing away. Using the Pistole, take careful aim and kill him with one shot to the head.
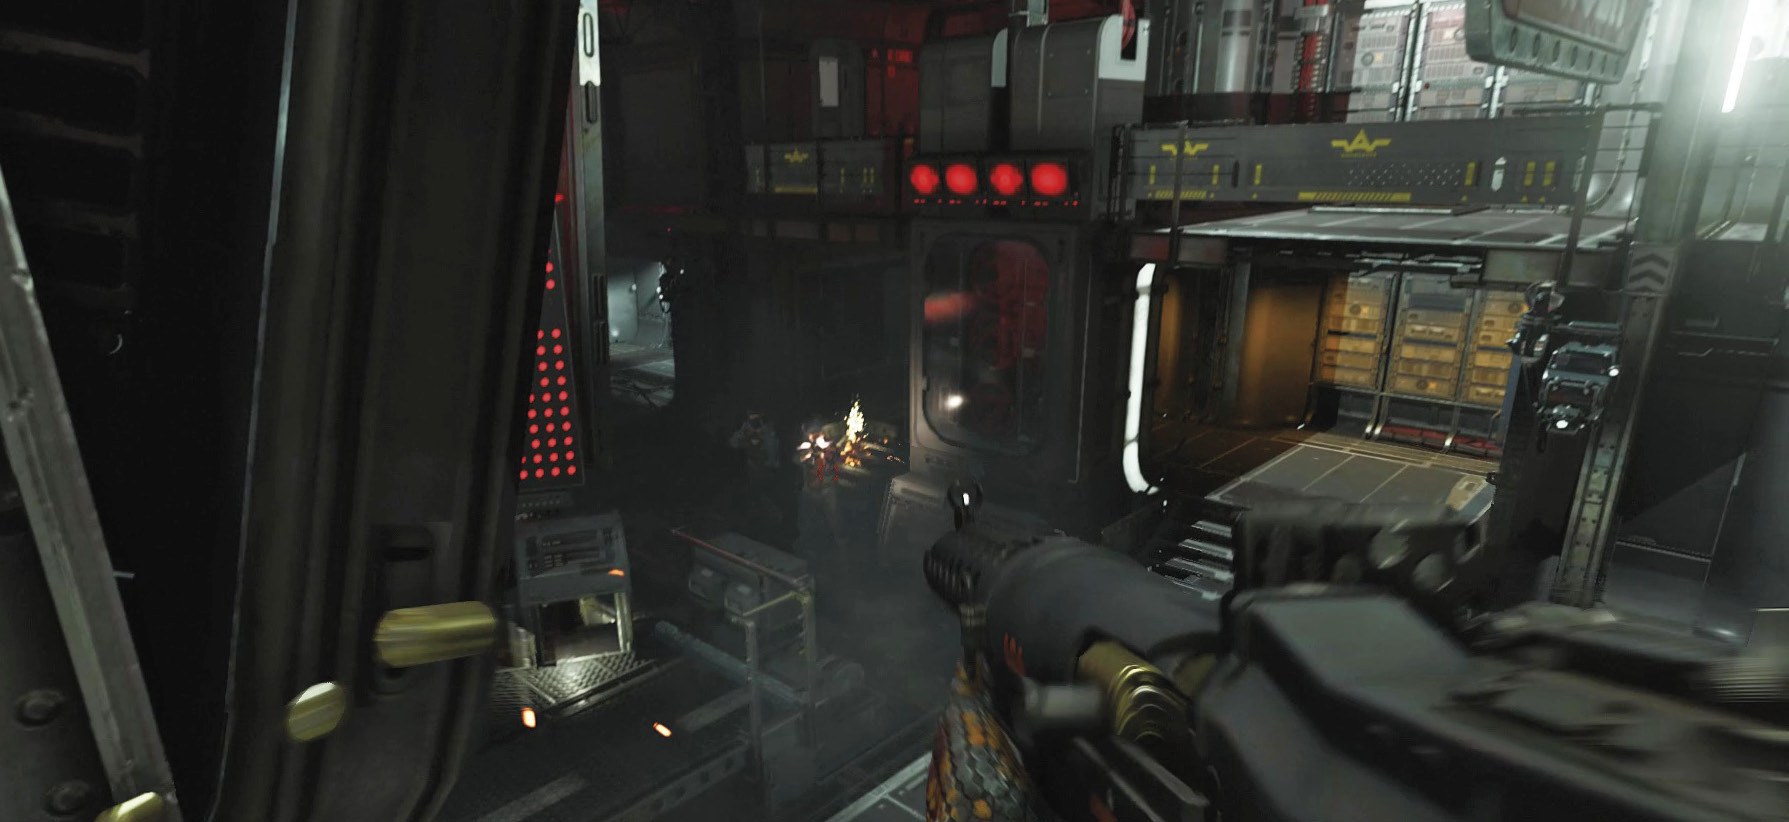
If you take out both Kommandants before they sound the alarm, all you have to do now is neutralize the remaining Soldiers in the lower level of this room—no more show up. Stay up on the catwalks. Move around and take headshots with the Pistole, or switch back to your submachine guns. Pick off the Soldiers as they come into view. If you take damage, retreat into the ducts and hide while your health replenishes. By strategically maneuvering and taking cover, you can often take enemies by surprise and hit them from behind before they know where you are. Stay up high until all enemies are dead, then drop down to the lower level.
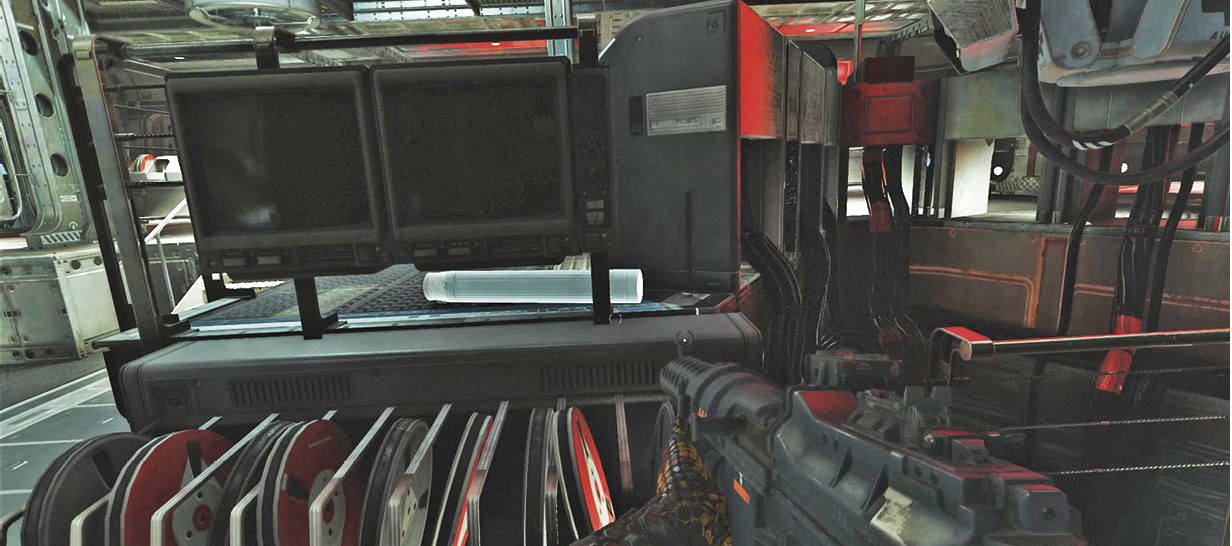
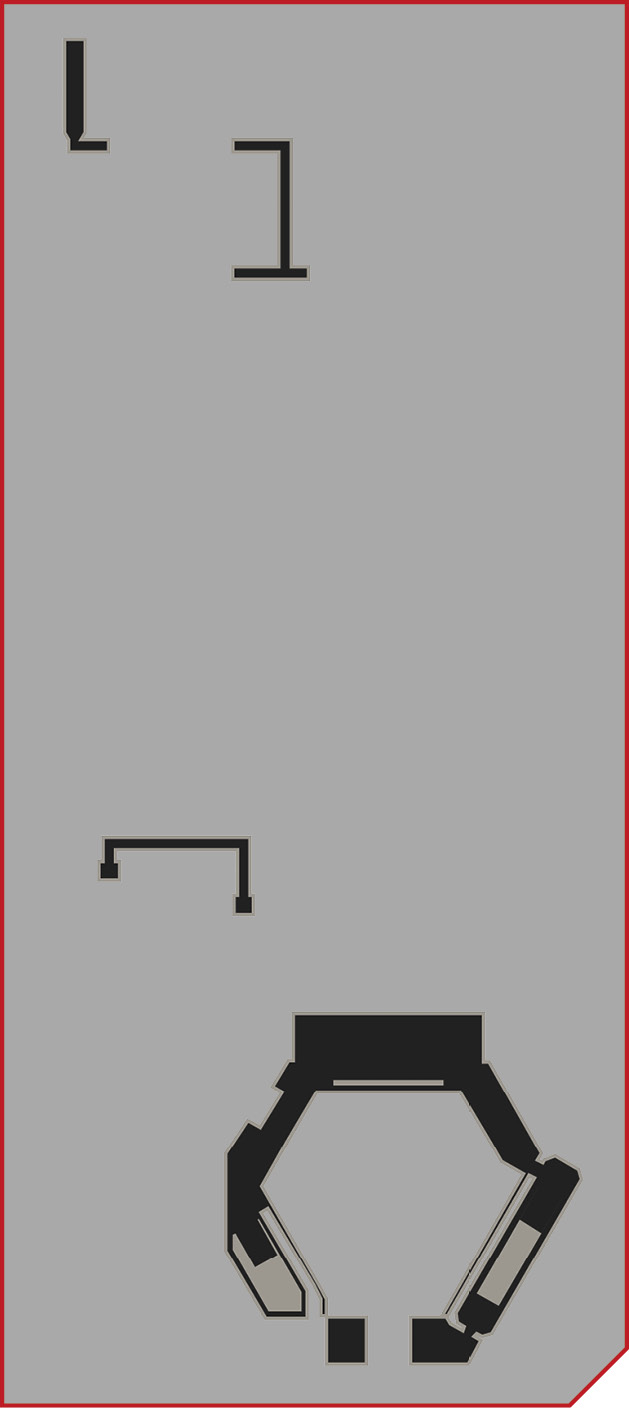
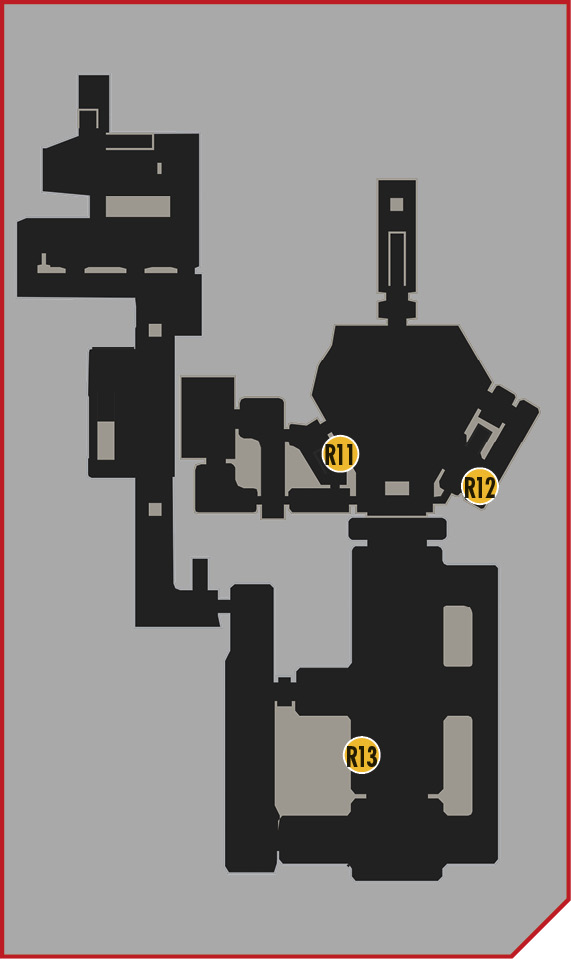
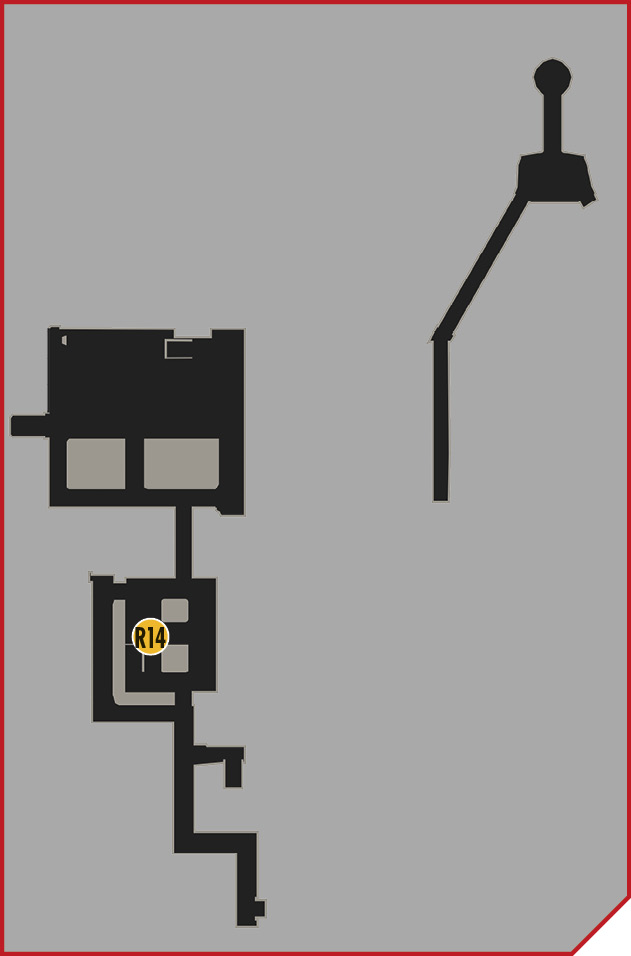
Search the lower level for Collectibles, armor, first-aid kits, and ammo. There’s also a map located on one of the consoles. Grabbing it gets you a map of the Ausmerzer, which helps you plan your tactics. Don’t forget to pick up the second Enigma Code from the Kommandant on the lower level. You can use the codes once you gain access to an Enigma Machine.
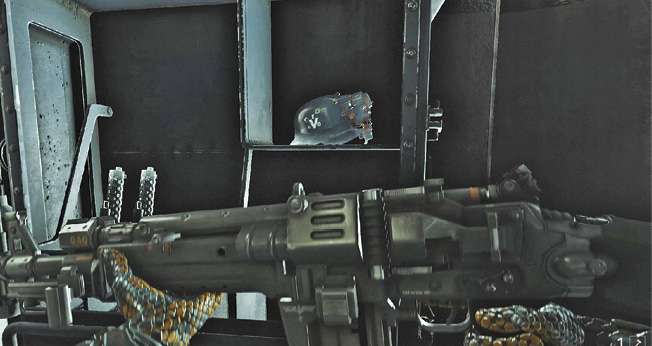
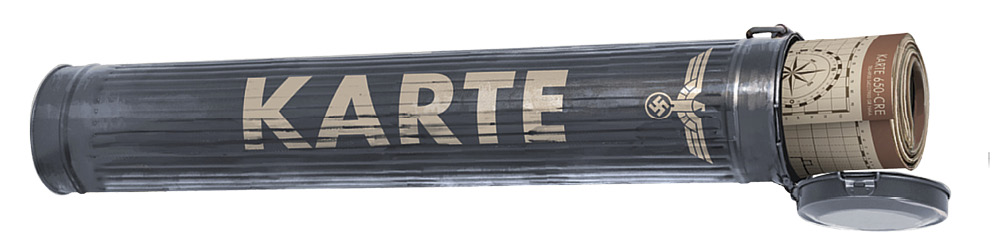
Follow the Objective icon to the yellow hatch on the left side of the corridor at the end of the room. Open it with your hatchet and crawl into the armory. Here you can grab more ammo, grenades, another hatchet, and a Sturmgewehr. This assault rifle fires a large round for more damage and is better for longer ranges than the submachine gun. The additional hatchet allows you to throw this weapon for silent kills at short range. Pick up thrown hatchets to recover them.
Objective: Use a Grenade to Destroy the Tank
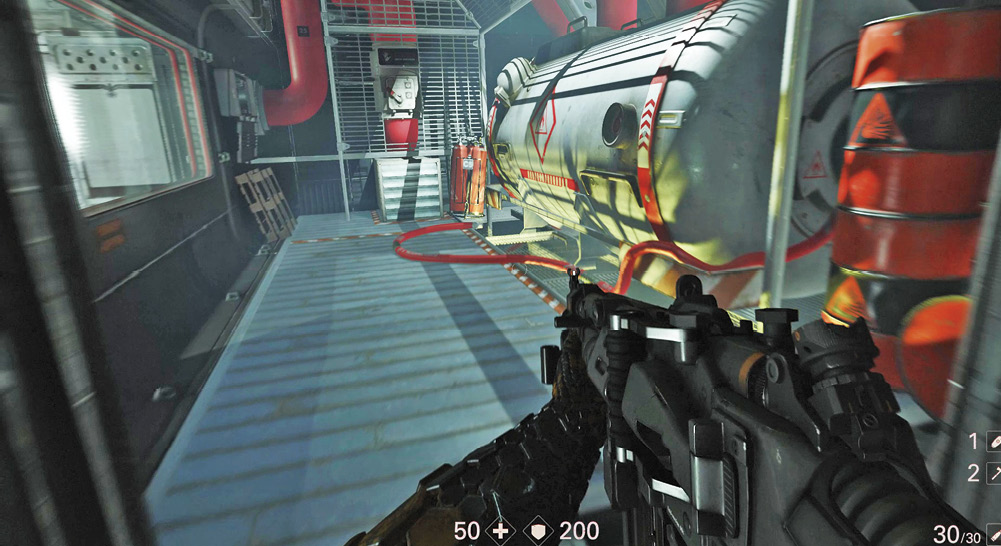
Once you’re stocked up, drop into a duct opening and follow it around to another room. Jump up out of the duct and use the switch to open the armory doors. You need to get down to a lower level. There’s no passage from your position, so make your own. Throw a grenade into the next room to blow up the large fuel tank there, or shoot the small red explosive tanks near the large tank—when the small tanks blow, so does the big one. Either method creates a hole in the floor, which grants you access to the next level. Before heading down, consider returning to the armory and picking up another grenade so you’re fully equipped.
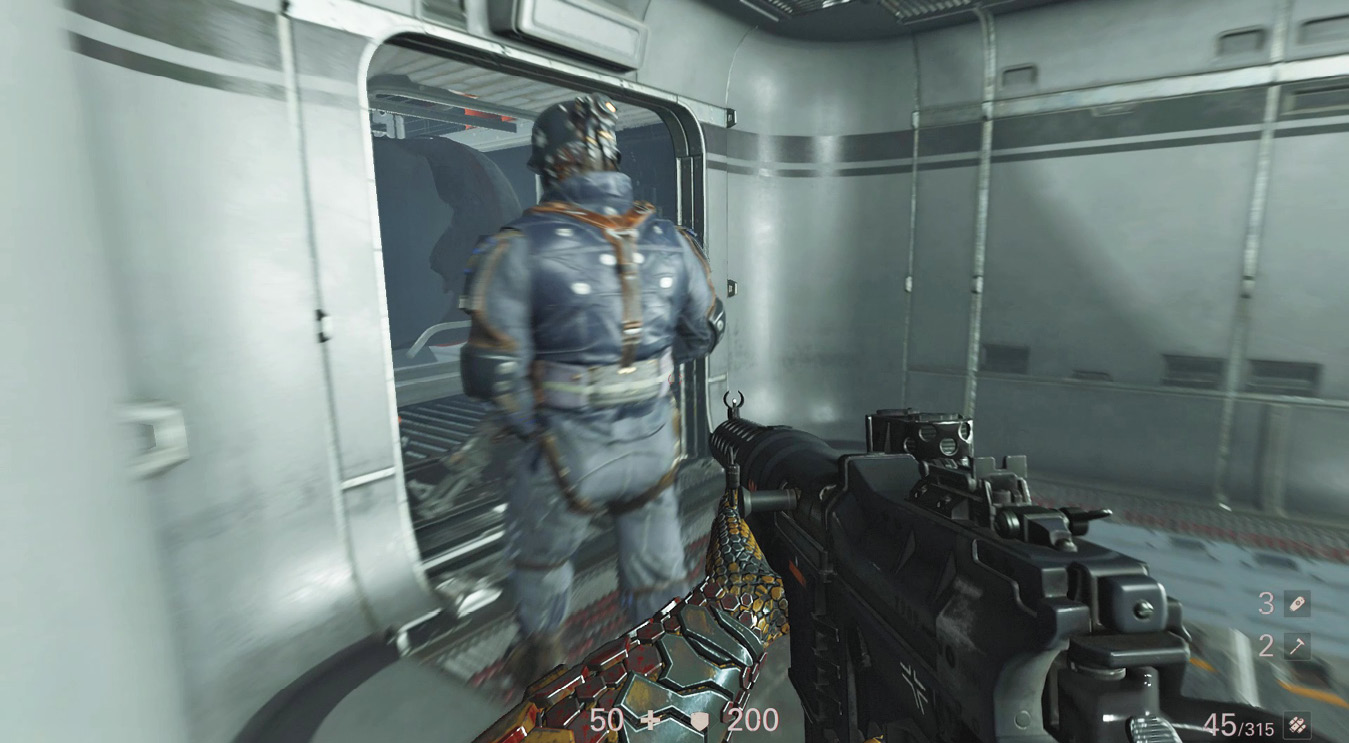
Drop through the hole. Two Soldiers patrol this area. Use your hatchets ot take them out silently. If you prevent them from getting off a shot, you avoid sounding an alarm in the larger control room. Look for some grenades and another hatchet in the corridor.
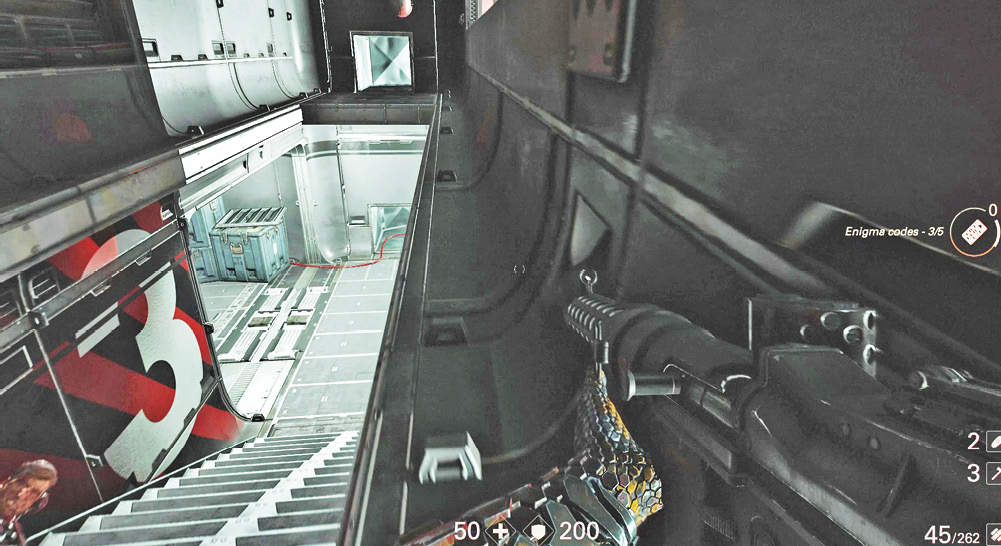
Approach the control room, but don’t rush in. Instead, head up the stairs to the left to reach the upper level. Pick up a Collectible at the bottom of the stairs on your way. A single Soldier patrols up here, but you have a tough time sneaking up on him for a stealth takedown. When he’s turned away, aim for his head and throw a hatchet. If the alarm sounds while you’re caught on the upper level, Soldiers come up the stairways at both ends and surround you. To avoid that predicament, work your way around to the opposite stairway, staying low and out of sight. Rather than taking the stairs down, move along the ledge to the right of the stairway to reach a duct. This takes you to a platform overlooking the area below. Hide in the duct if you start taking damage.
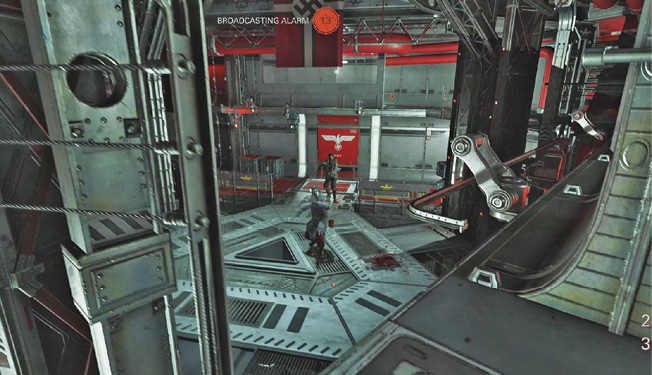
Take out the Kommandant below before he sounds the alarm and brings in more Soldiers. The enemies here throw grenades at you, so watch for them, and back off if they’re close to you. If several Soldiers cluster together, toss a grenade of your own into their midst. Use the several red explosive tanks in the area to your advantage as well—if an enemy takes cover near one, shoot it to kill him and any other nearby enemies with the explosion.
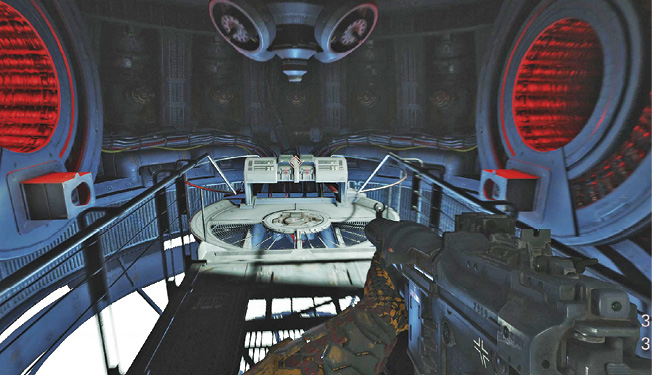
Once the area is clear, restock your ammo and armor. Don’t forget the Kommandant’s Enigma Code. Follow the Objective icon to the controller bay, eliminating the couple of Soldiers on the catwalks along the way. Use the controls to release Evas Hammer.
Objective: Return to the Hangar Bay
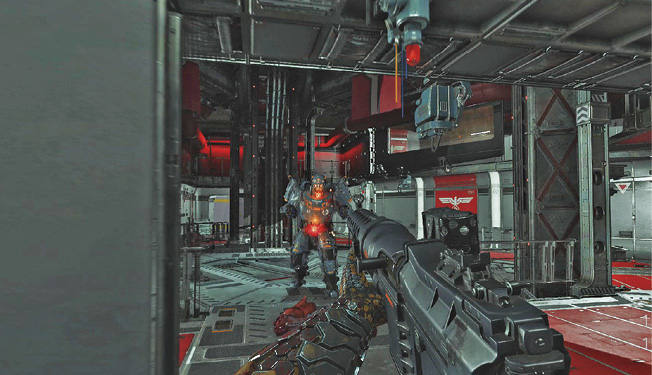
At this point, you need to get back to where you started—the hangar bay—so you can get off this flying fortress. Head back to the control room. As soon as you arrive, so does a SuperSoldat. This heavily armored Soldier charges at you and carries two Lasergewehr weapons that inflict a lot of damage. The instant he drops into the area, take a few shots at his head and move to one side to avoid his charge. Head for the stairs and quickly get to the upper level. Use the stairwells as kill zones. If the SuperSoldat starts up the stairs, shoot for the head. Use the Sturmgewehr to deal more damage per round.
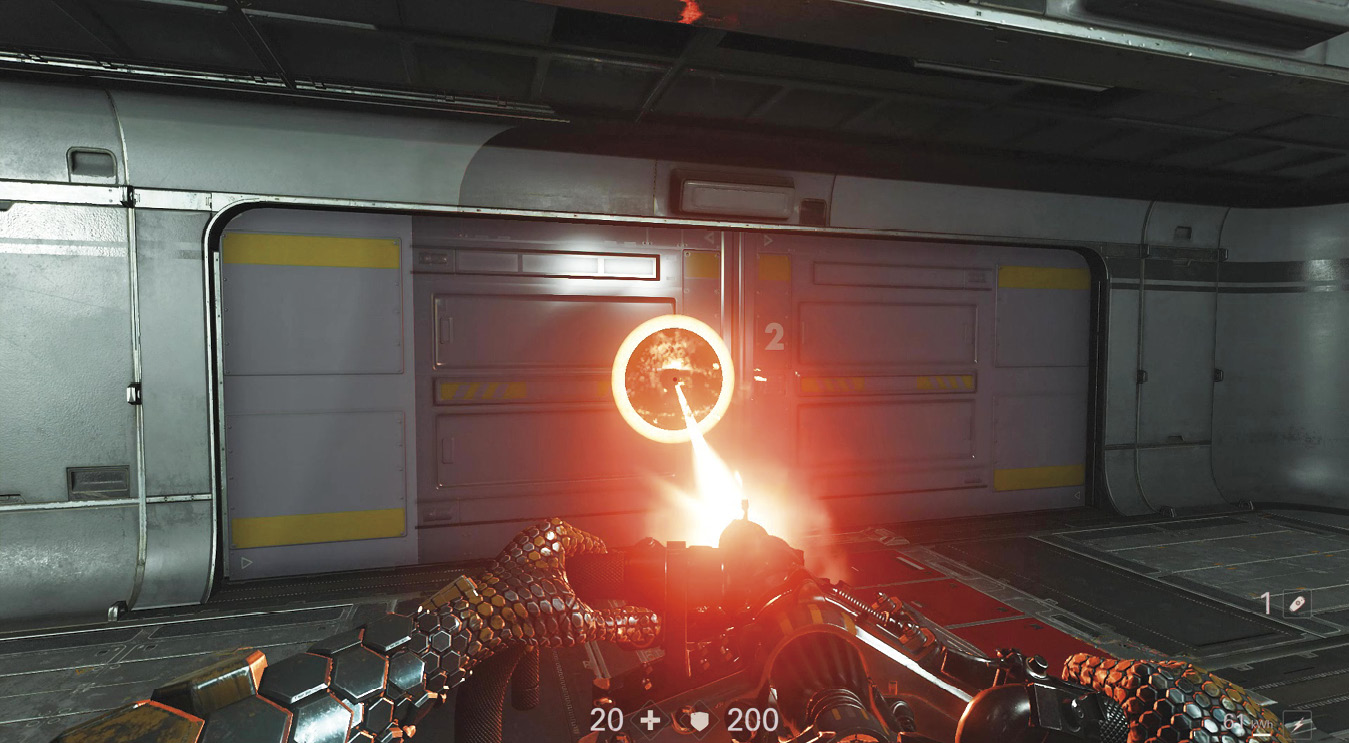
After defeating the SuperSoldat, grab one of the Lasergewehr weapons. Fire the Lasergewehr to melt your way through the large door with the yellow marks. Recharge the Lasergewehr at one of the two recharging stations to either side of the door.
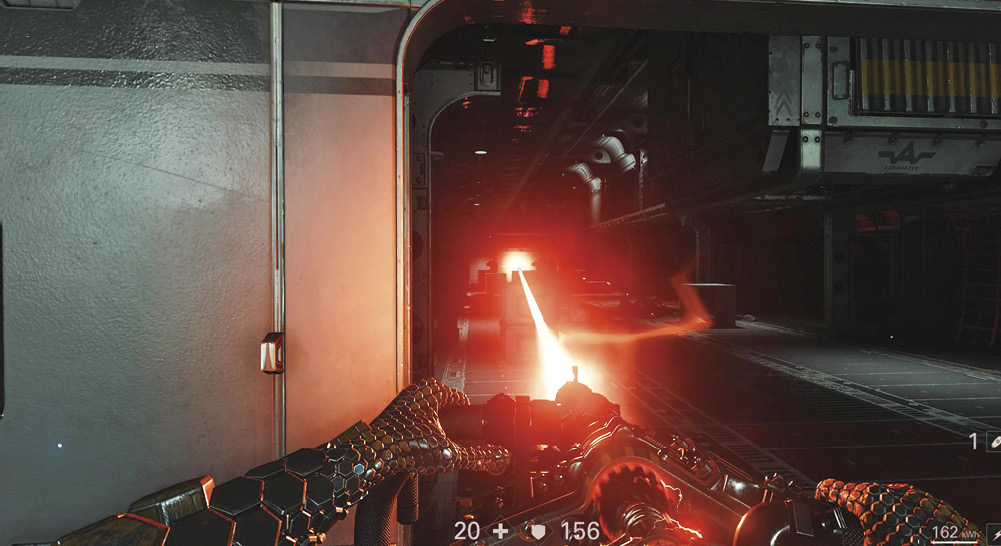
There are more enemies in the storage room. Use the Lasergewehr to take out some, then drop it and switch to one of your other weapons. Don’t stand in the doorway; enter the storage room and head left. This side corridor offers cover and allows you to flank some of the enemies. You find armor behind the netting in the central part of this room, as well as some Collectibles.
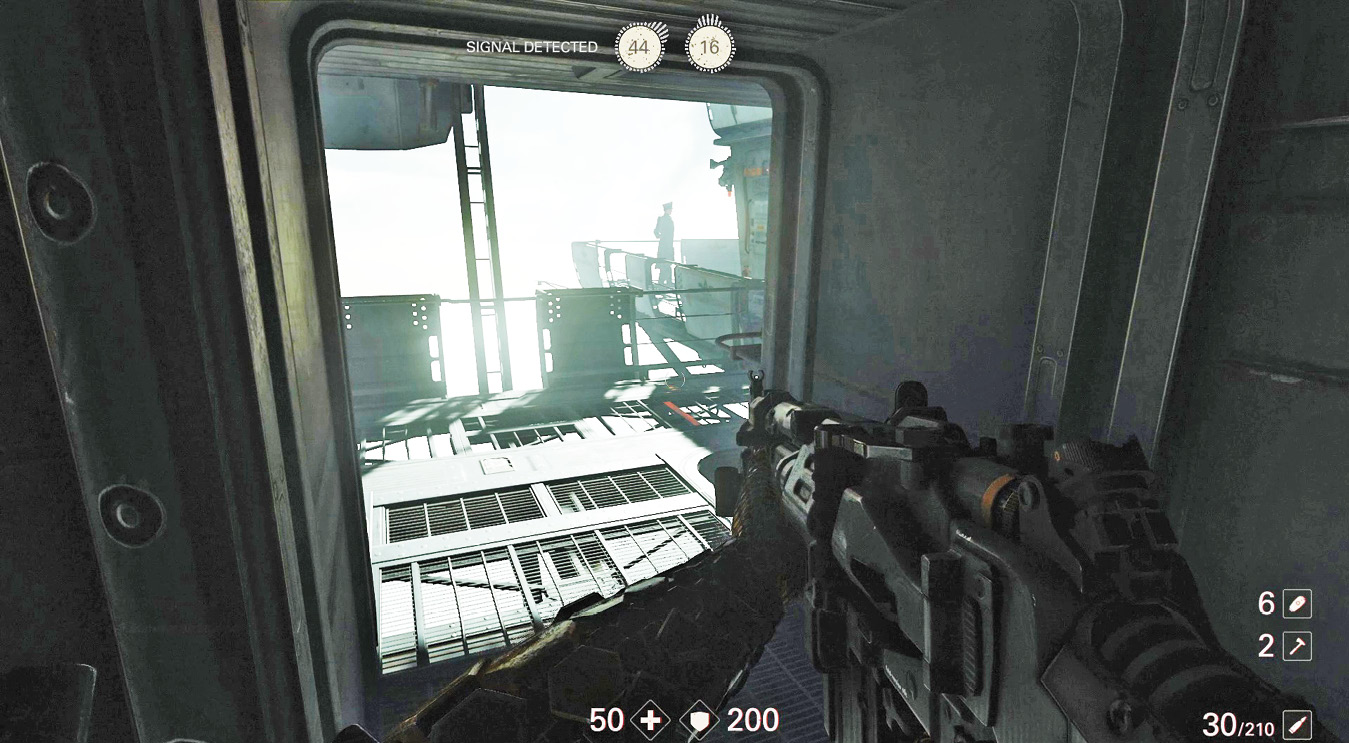
Advance to the end of the storage room and follow a corridor to a yellow control station. Use it to open the door, which leads to the exterior of the Ausmerzer. There are two Kommandants out here, along with numerous Soldiers, including SuperSoldaten. Note that once you pass through the door, you can’t get back inside the Ausmerzer until you reach the opposite end. This area contains two levels, so descend the stairs to the lower level. Look through the doorway to see one of the Kommandants. Use the Pistole for a headshot to eliminate him. Unfortunately, this usually causes the alarm to go off.
This is a tough area. Resist the temptation to rush through, or you’ll find yourself surrounded and outnumbered. Stay near the stairwell and engage enemies as they come to you. Use the hatchet for melee attacks as Soldiers advance around corners and before they can fire at you. Keep the enemy guessing by attacking on the lower level, then going upstairs to attack enemies there.
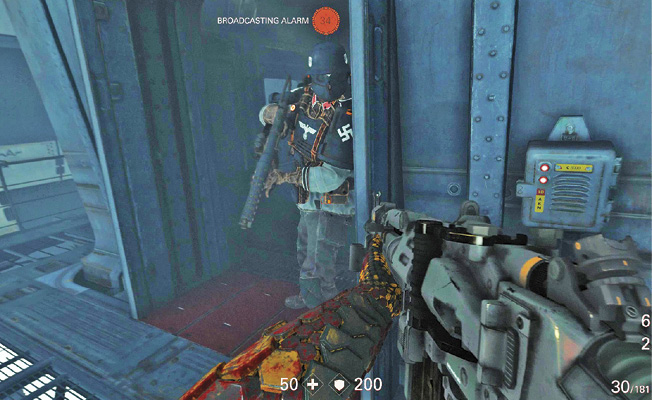
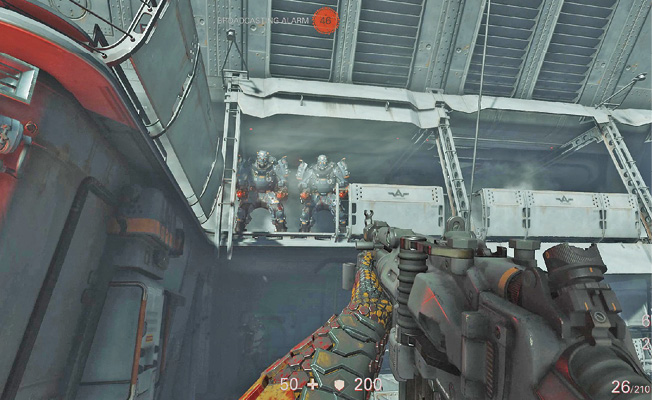
While the Soldiers and Elite Soldiers can cause a lot of problems, so can a couple of SuperSoldaten. Don’t go toe-to-toe with them. Get in some shots, then find cover. Use corners to surprise them. As they turn a corner, hit them with the hatchet before they can fire their Lasergewehr.
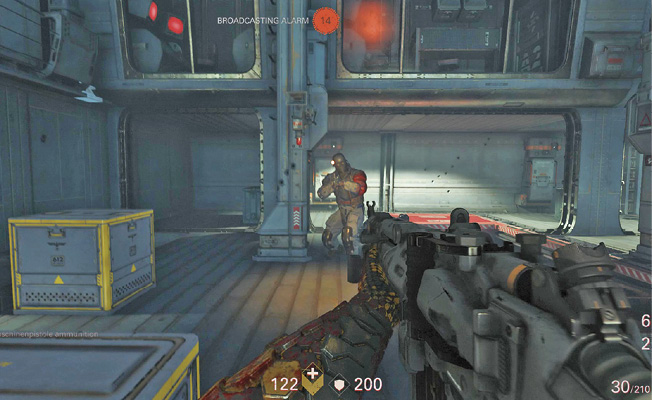
Work your way through this area, clearing enemies and items as you go. Pick up ammo and first-aid kits; you’ll definitely need them. The second Kommandant is near the opposite end of the level, so by the time you reach him, you should have cleared out most of the enemies. When you get to the end, climb the stairs and use the controls to open the door to the security control room.
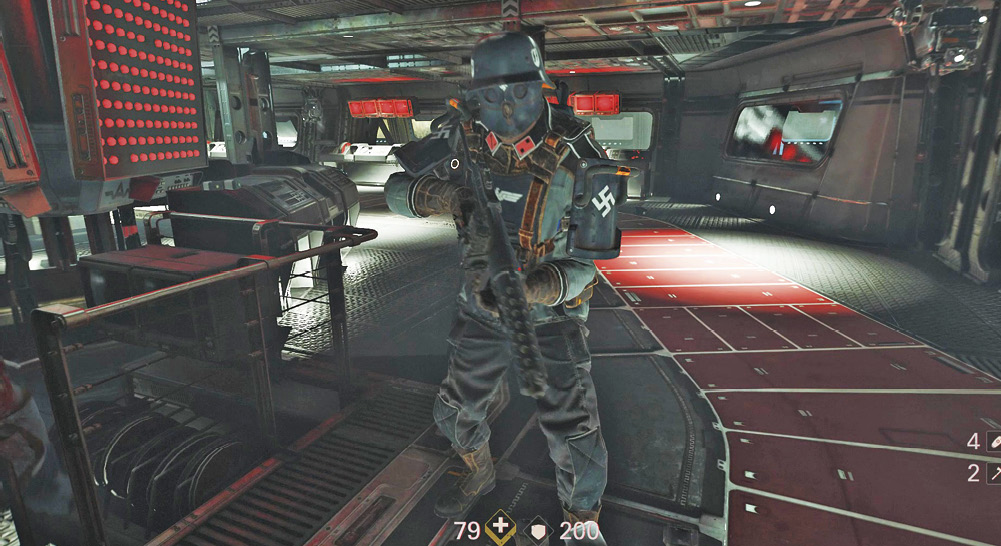
Though you cleared this area earlier, there are more Soldiers in the security control room, including a SuperSoldat. Take out a couple right at the start before they realize you’re there. Then head to the right toward the armory.
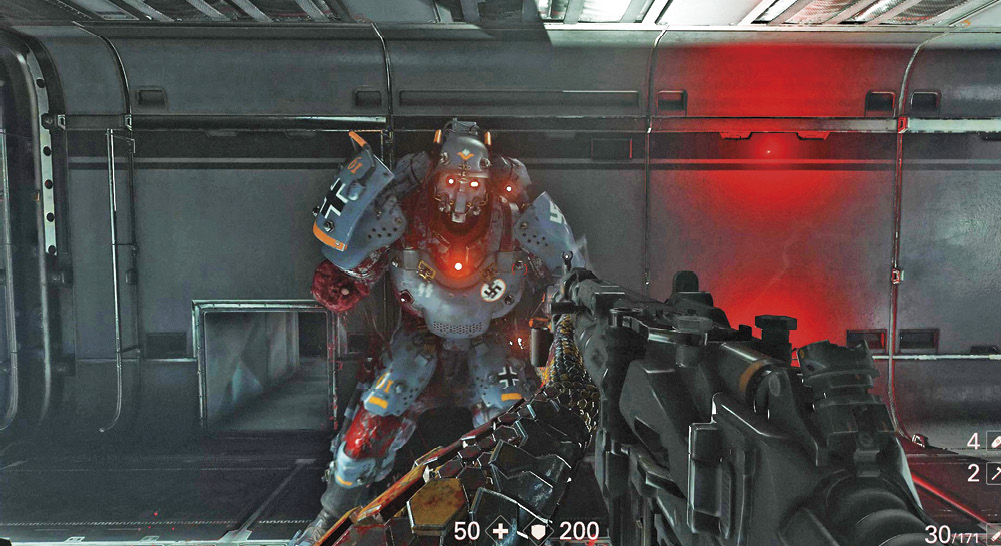
For this next part to work, the enemy must follow you. Grab some grenades from the armory’s unlimited supply. Take cover in the armory’s doorway. As the SuperSoldat pursues you, drop into the duct and emerge in the room on the other side. This allows you to close on the SuperSoldat for a melee attack before he has a chance to shoot his lasers at you. If the SuperSoldat enters the armory, he has a difficult time maneuvering, so hack away at him with the hatchet.
Follow the Objective icon to the hangar bay. Press the button to open the door, then enter. Your allies are there waiting for you, as well as a couple Soldiers up on a balcony overlooking the bay. Take cover and shoot them as they raise their heads above their cover.
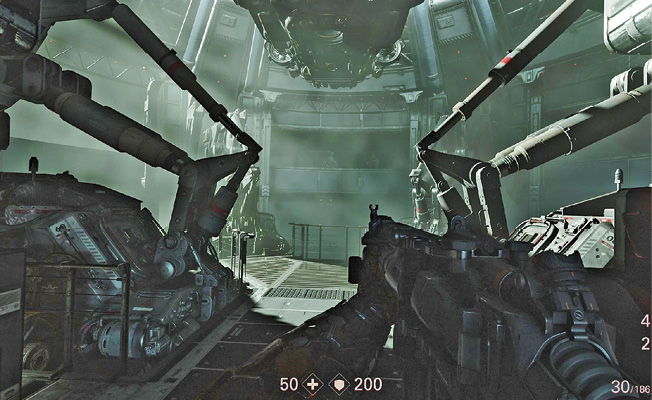
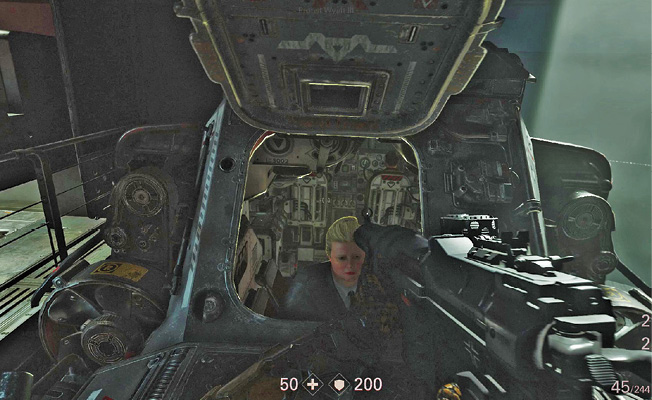
Once the Soldiers are neutralized, follow your allies and enter the escape pod to leave the Ausmerzer and return to Evas Hammer.
 The Signal
Evas Hammer, Section F
Secret Nazi Hideout
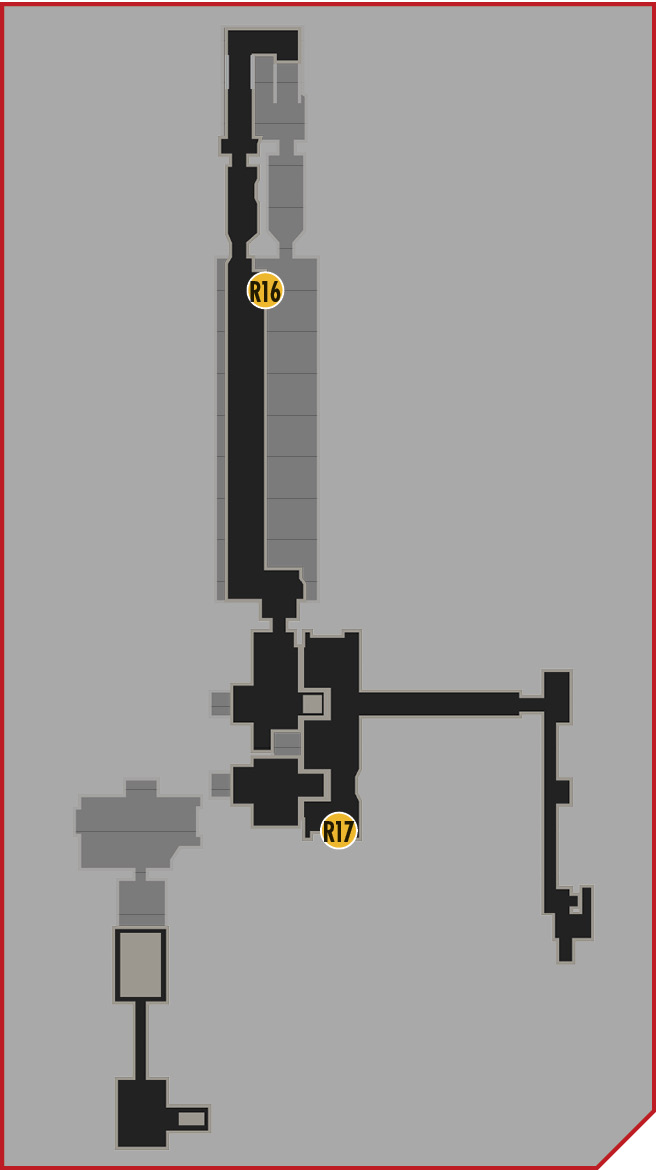
After successfully escaping the Ausmerzer, you arrive back on the captured submarine. However, as you try to flee, the U-boat comes under attack from depth charges. A signal is being sent from the submarine, allowing the Nazis on the Ausmerzer to track and attack it. When the Resistance captured the submarine, some of the Nazi crew stayed behind and hid in Section F, an area that didn’t show up in the U-boat's schematics. Those enemies are sending the signal to the Ausmerzer.
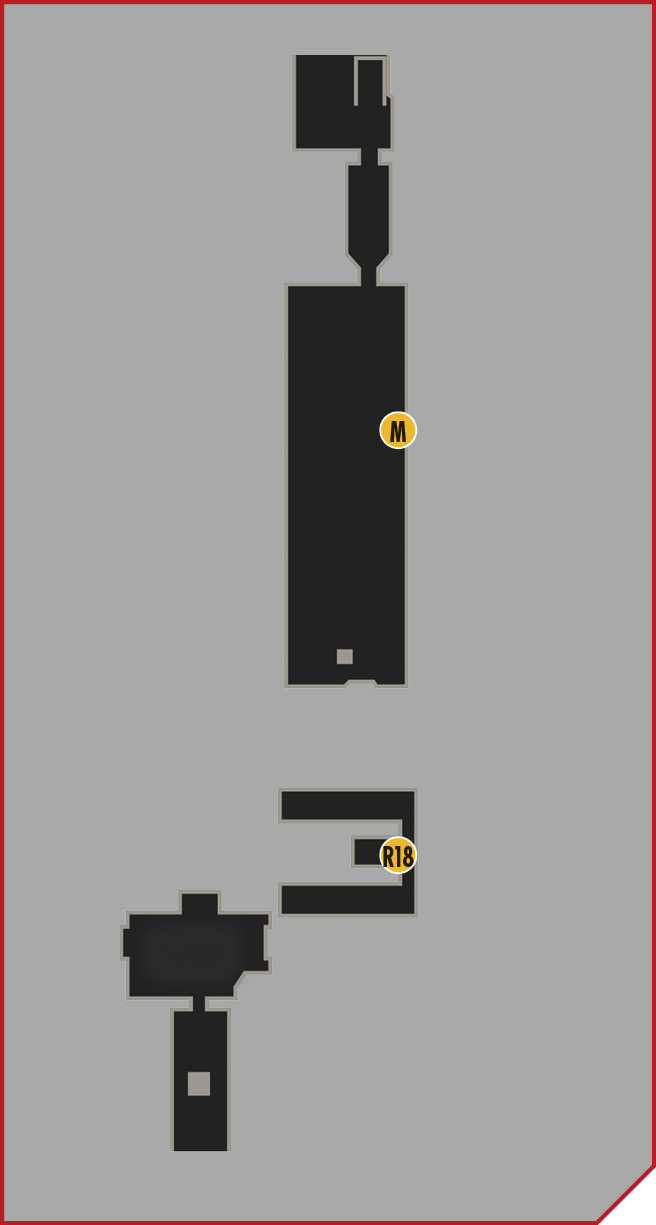
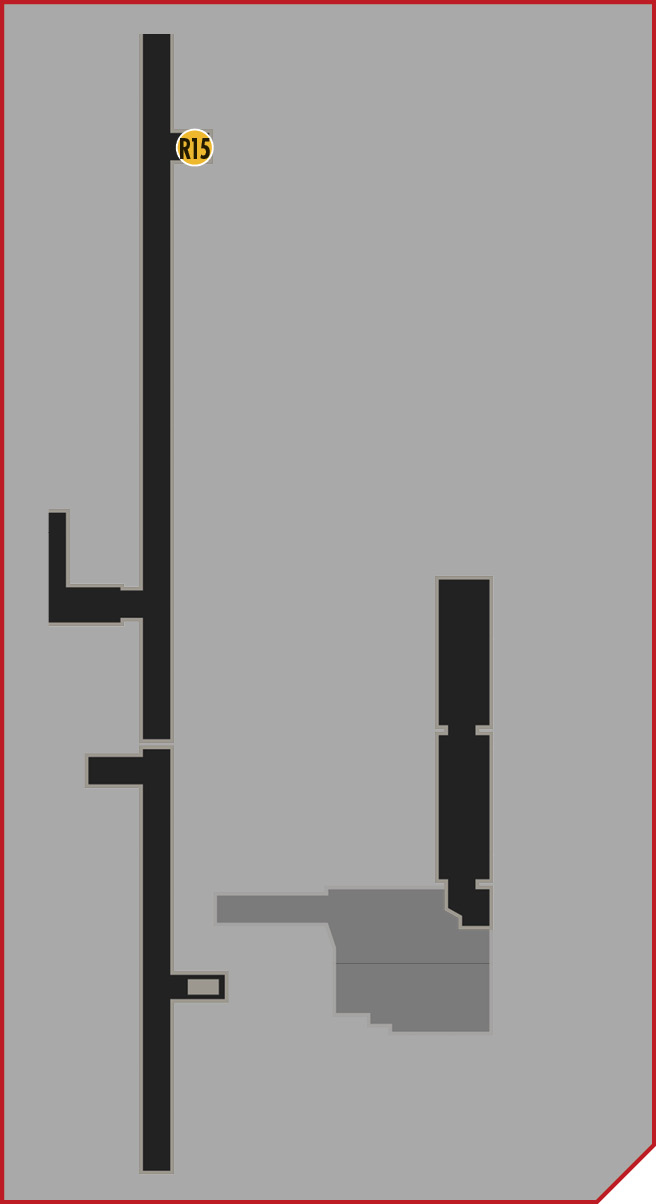
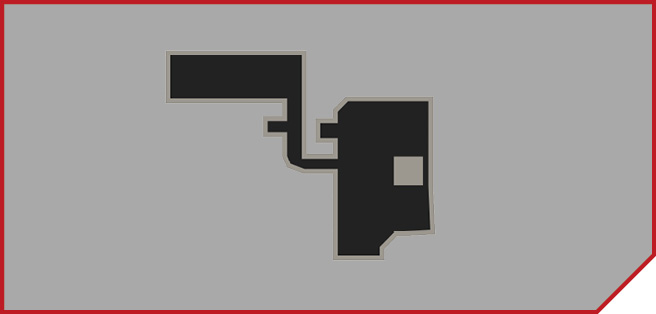
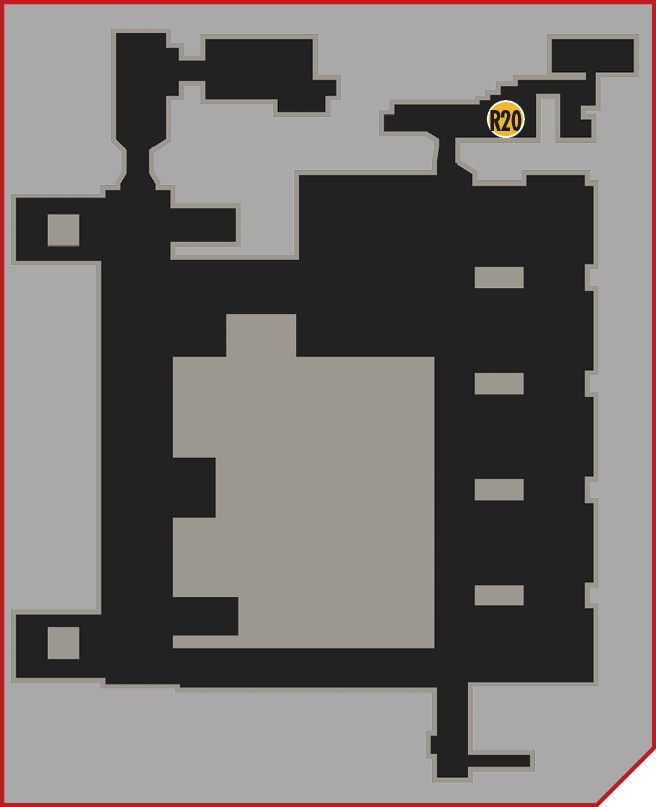
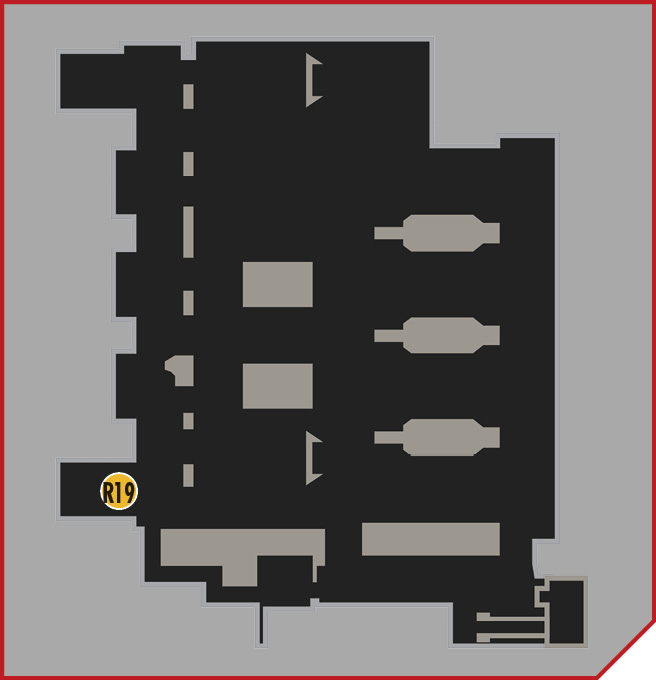
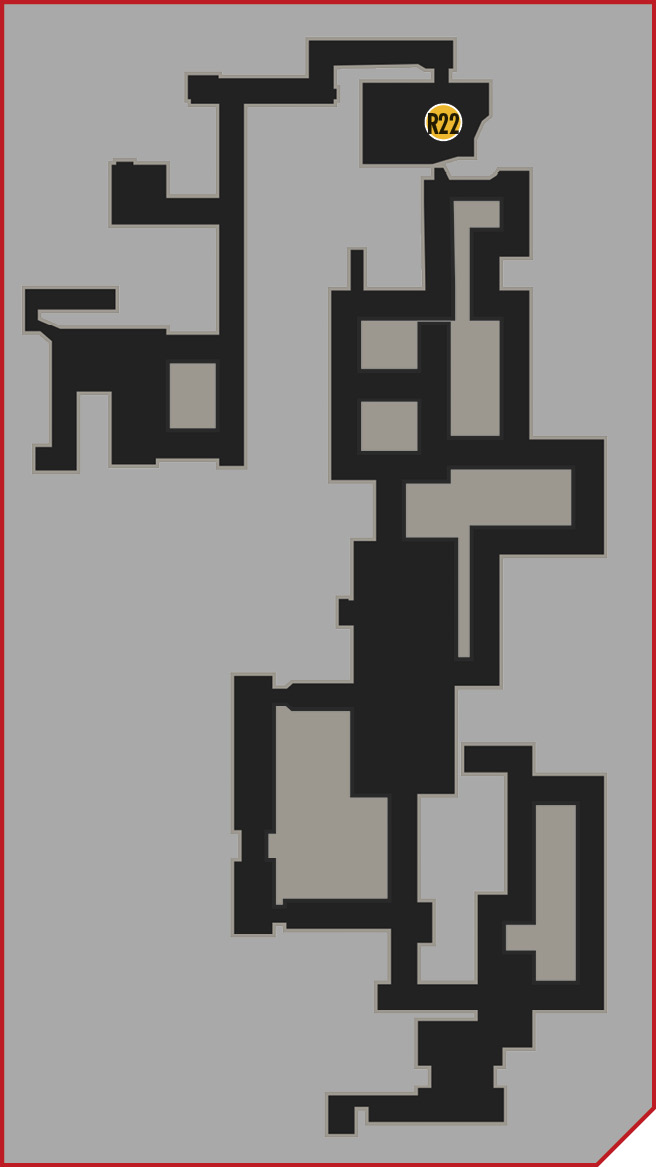
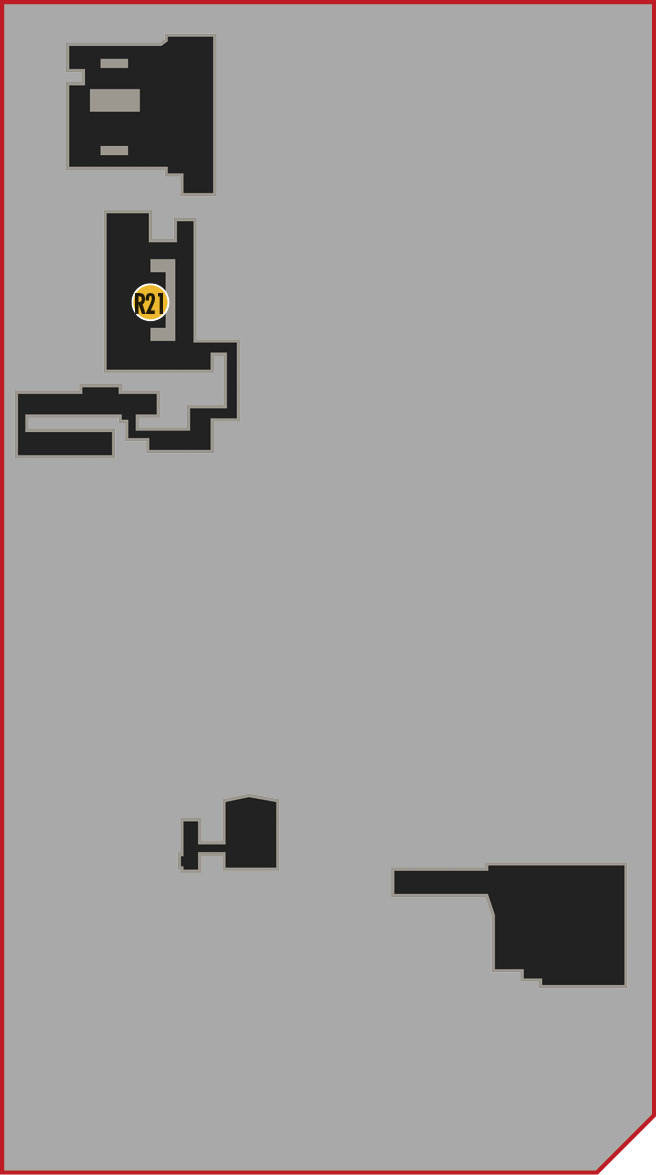
Objective: Locate the Transmission
Wyatt or FergusAt the start of the game, you had to choose whether to sacrifice Wyatt or Fergus in order to save the other. While the survivor was present in the previous level, this is the first place where your decision makes a difference. You get a new weapon to help you cut through this level. If you saved Wyatt, you get the Dieselkraftwerk, an explosive flame weapon. If you saved Fergus, you get the Laserkraftwerk. This is similar to the Lasergewehr you used in the previous level. However, you don’t have to drop the Laserkraftwerk when you switch to another weapon. The Dieselkraftwerk has 10 charges; refuel it at red fuel tanks throughout a level, or by picking up small red tanks. The Laserkraftwerk requires recharging—there are recharging stations on walls, and you can also pick up batteries. Both weapons are used for destroying hatches and doors with yellow markings. They’re also effective killing tools. 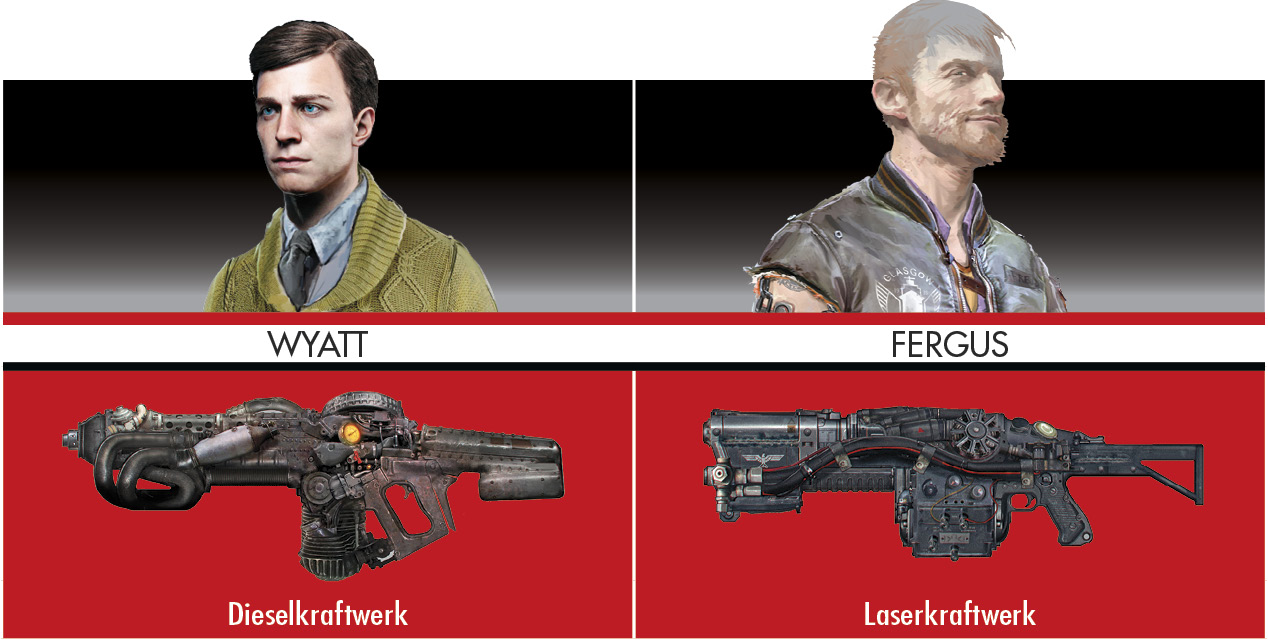
|
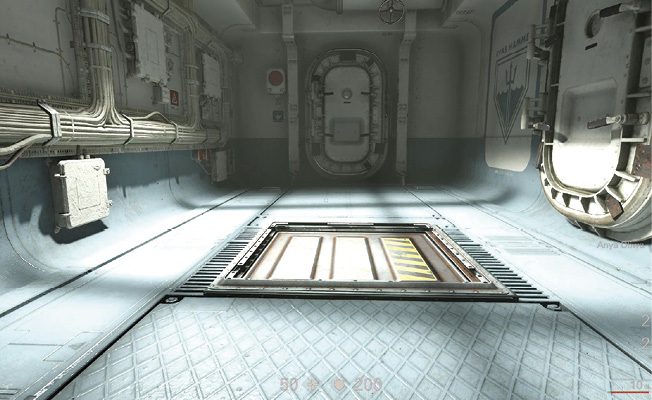
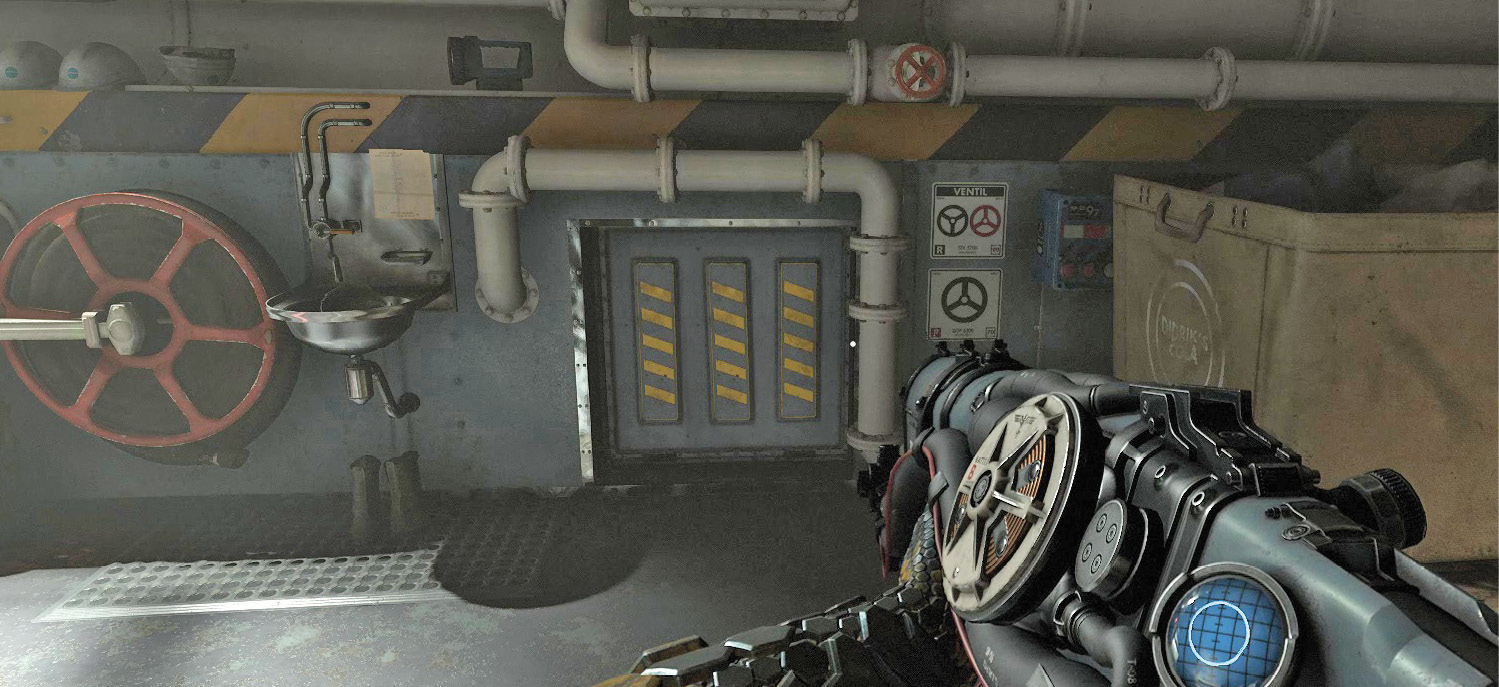
You begin in a laundry room—the only location in the sub’s schematics for this area. Use either the Dieselkraftwerk or the Laserkraftwerk to blow open the hatch with the yellow markings. Refuel/recharge your weapon before continuing, then crawl through the hatch into the next room. Though it looks like a dead end, Power Slam through the hatch on the floor and drop into the duct.
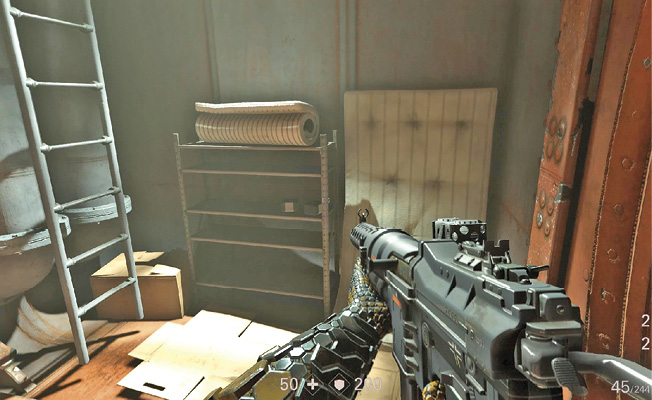
Follow the duct around to a maintenance tube. Turn left and follow the tube to a ladder. Stay crouched in the tube to duck under the drive shafts along the way. Near the ladder, grab a Collectible, as well as some first-aid kits. Head up the ladder.
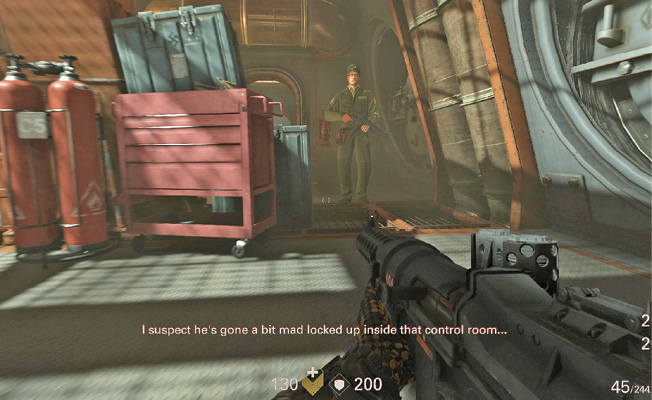
At the top of the ladder, look around for a hatchet and more first-aid kits, then advance through this larger room. There are two Soldiers at the opposite end—one on the left and one on the right. You probably can’t get close enough for a stealth takedown, so throw a hatchet at one and a second hatchet at the other. Two more Soldiers are on the other side of the hatch. If you’ve kept quiet, they don’t react and have their backs to you—in that case, move in and take them out quietly as well. Otherwise, you have a firefight on your hands. The large room has plenty of cover, so put it to good use. When you’re done, search the area for ammo and then continue to the stairs.
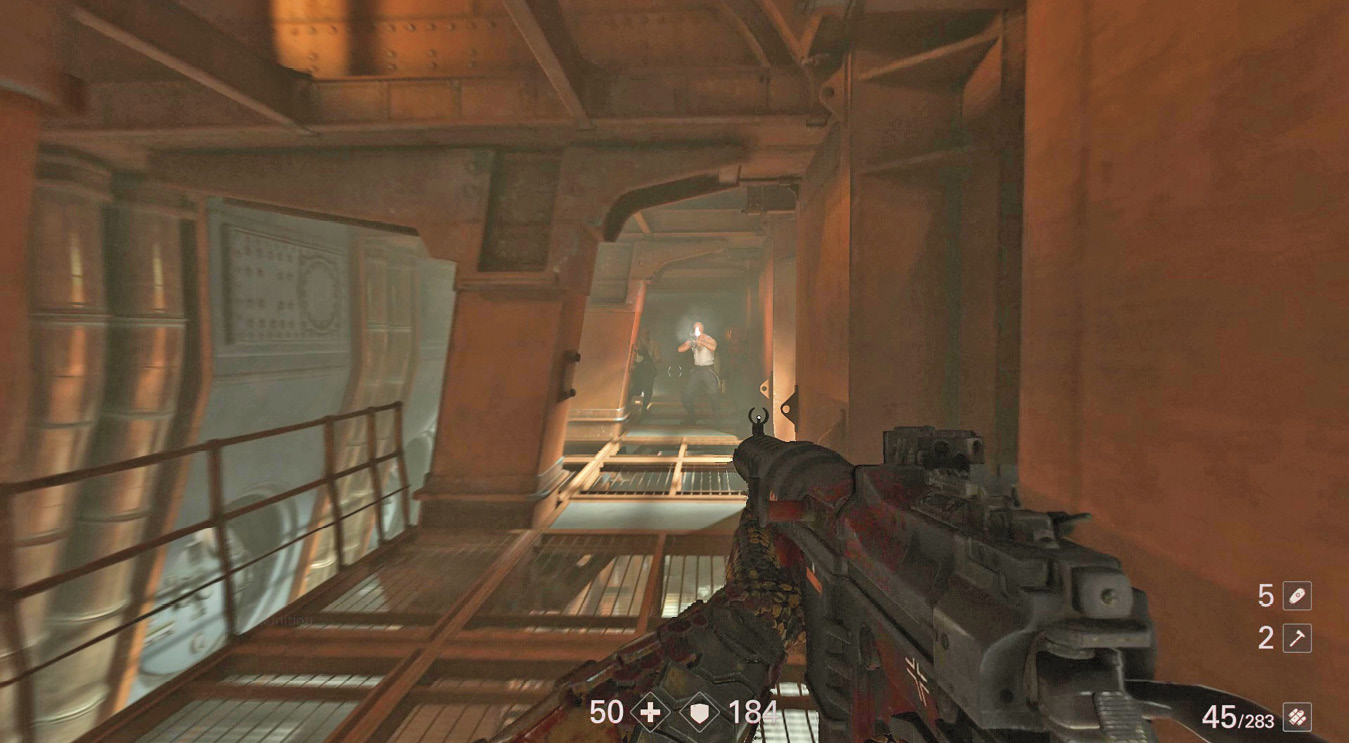
Head up the stairs to the catwalk that crosses over the large area you just cleared. Eliminate the two Soldiers at the far end, then search the bedding near where you entered the catwalk. Climb over a railing to pick up a Collectible.
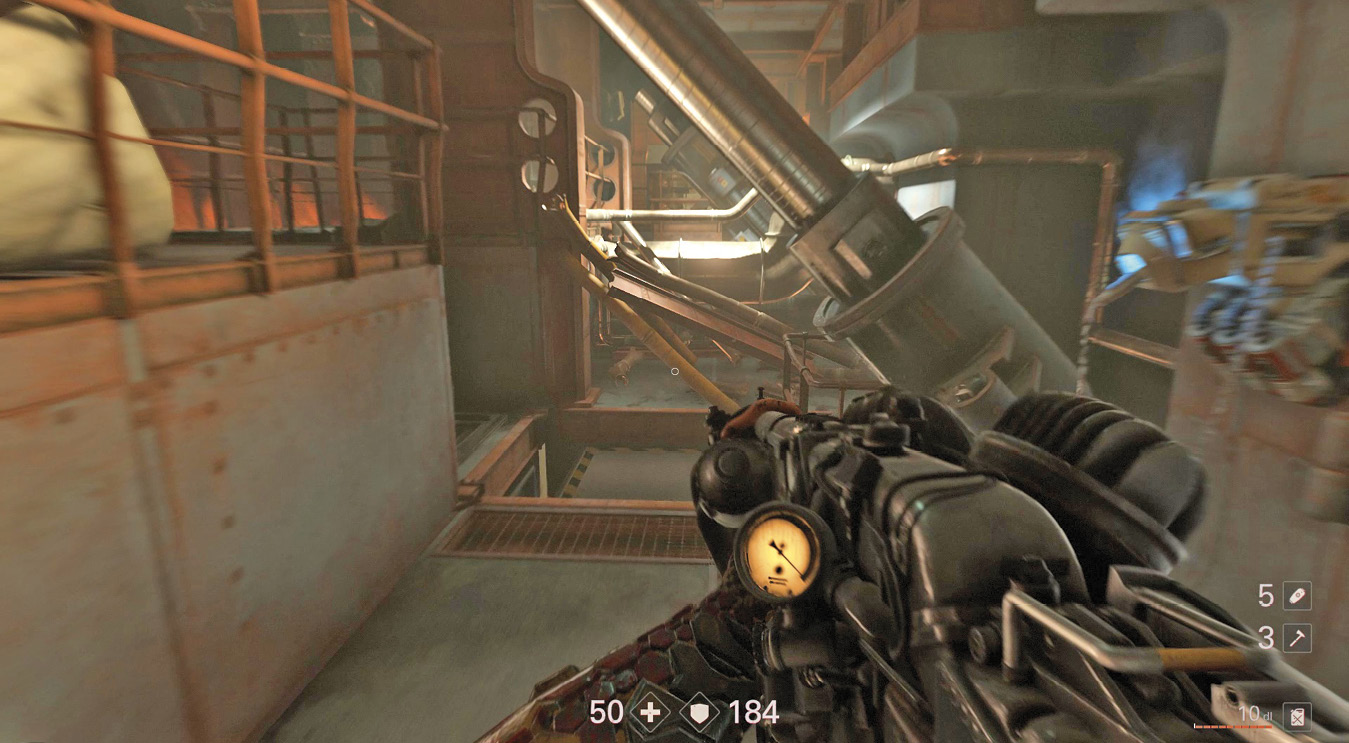
Advance into the piston room. The closest piston is damaged, so you can’t ride the platform up to get over the railing. Instead, Power Slam the hatch to the left of the piston and follow the duct around to the second piston. Check the side duct on the right along the way for a Collectible.
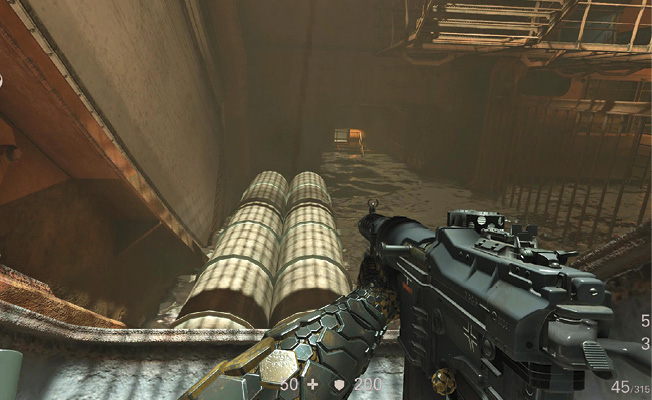
When you reach the second piston, wait for it to descend, then ride the small platform to the top and jump over the railing to reach the walkway. Search the nearby bedding for another Collectible. Follow the walkway around to a ladder, climb to the top, and continue along the walkway. It collapses, and you find yourself along the bulkhead of the sub. Keep moving until you descend to a platform with an opening at the end. Go through the opening, then swim across the flooded area to the platform on the opposite side.
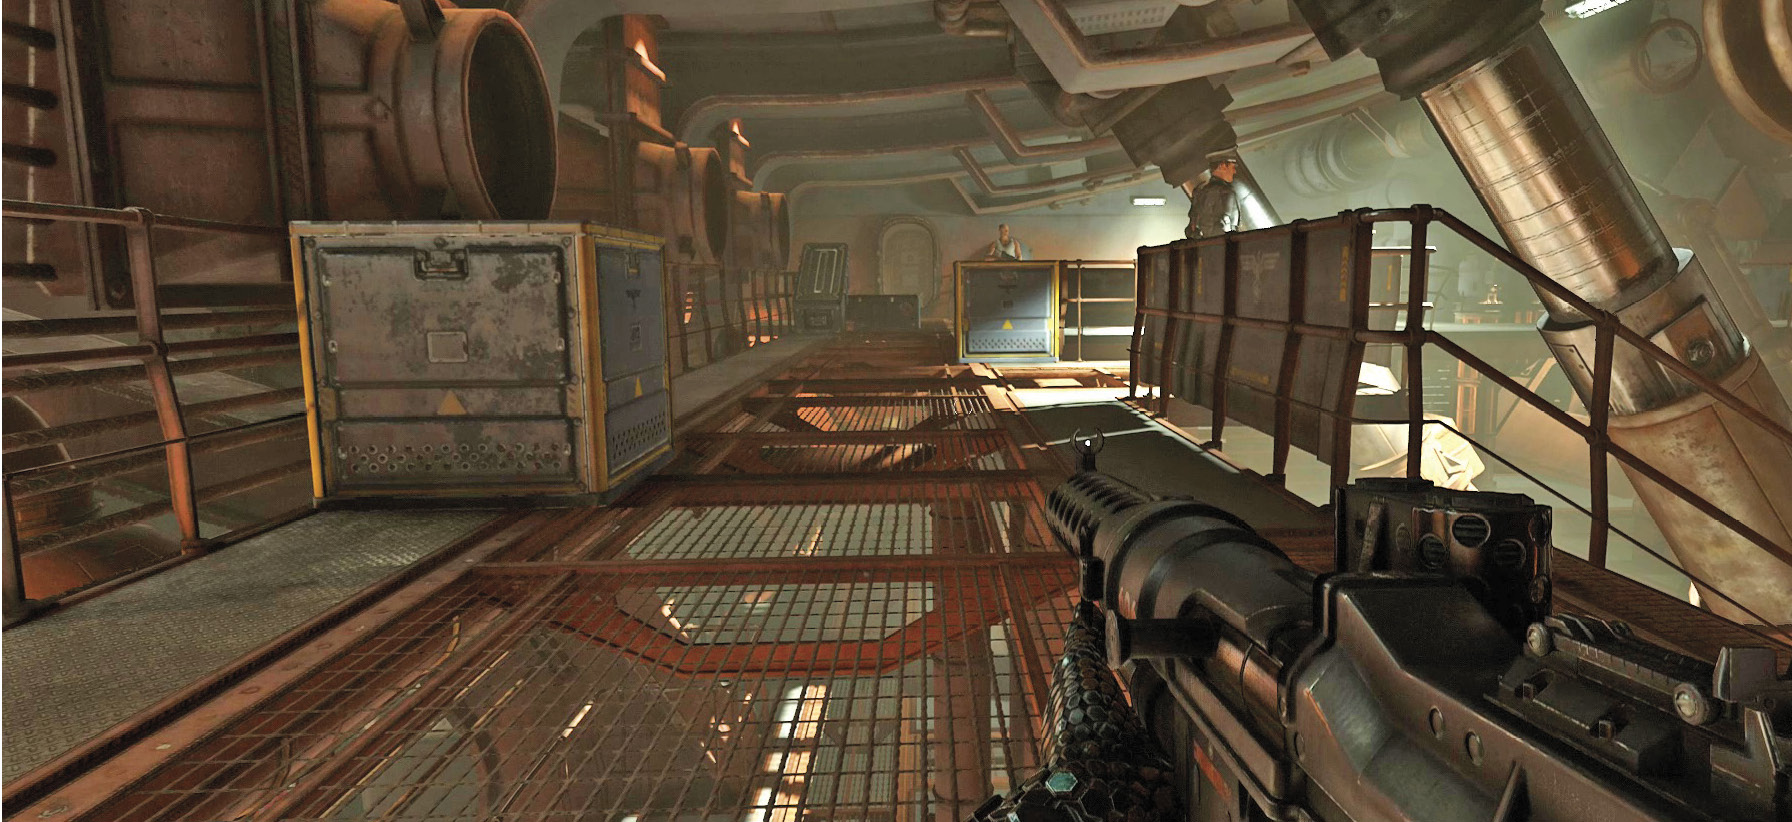
Pass through the opening and drop onto the platform. A flight of stairs leads up, and another leads down. Both end in a large pump room to the right that contains several enemies, including two Kommandants. If you use stealth to take out the two Kommandants first, you only have a few Soldiers to deal with. However, if the Kommandants sound the alarm, more Soldiers with heavier weapons and armor arrive as reinforcements. Get your hatchets ready. A Soldier usually comes out near the entrance of the upper level. Take him down and advance into the upper level. Stay low and take cover behind railings. Move to the left side and look for the Kommandant. Wait until there are no other Soldiers around, then throw a hatchet to bring down the Kommandant. Recover the hatchet if you can, then head back out to the stairs where you began.
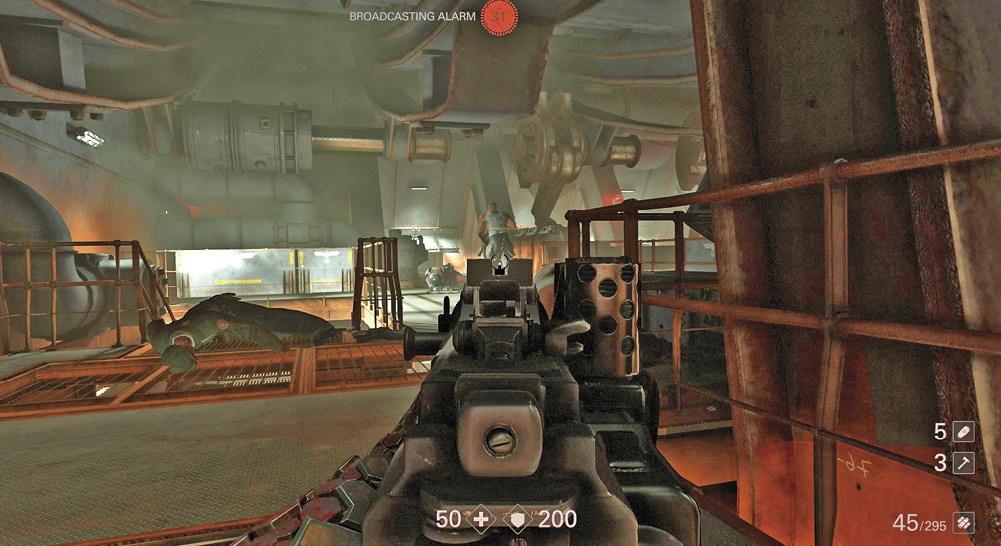
Descend to the lower level. Instead of using a doorway, cross some pipes and enter a duct. Follow it around to the left side of the pump room’s lower level. The second Kommandant patrols this area. Stay in the duct or behind cover until you get a chance to throw a hatchet at him. Once he’s neutralized, finish off the remaining Soldiers. You can hunt them down quietly or go in guns blazing. Be sure to recover your hatchets and pick up Enigma Codes from the Kommandants.
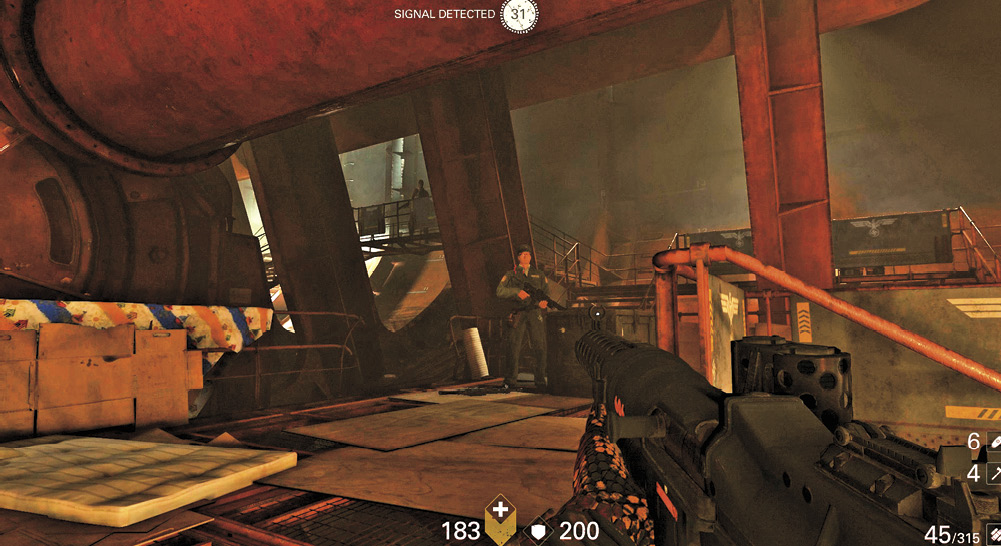
Collect ammo, armor, and first-aid kits, then use a hatchet to open the hatch at the back of the pump room on the upper level. Look around this small area for a Collectible on some bedding. Climb up some boards and pipes, then over a railing, to reach the next area.
Objective: Destroy the Radio
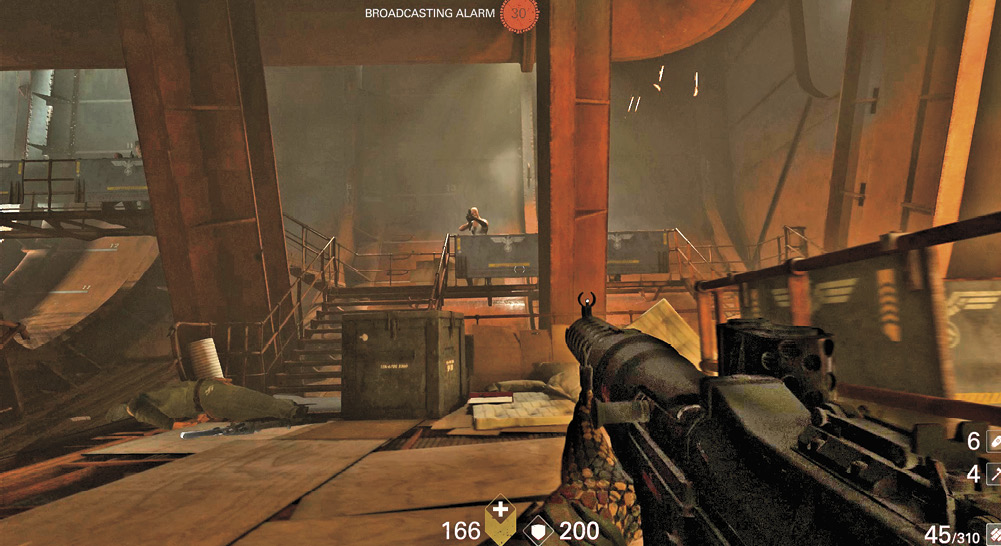
The Kommandant here is in a control room behind a locked door, so you can’t kill him first. Instead, fight your way through to reach the locked room. Most of the enemies come to you once the shooting starts. Take cover behind a railing. Grenades work well here to clear out enemies hiding behind railings of their own. Once you finish them off, search the nearby bedding for a Collectible.
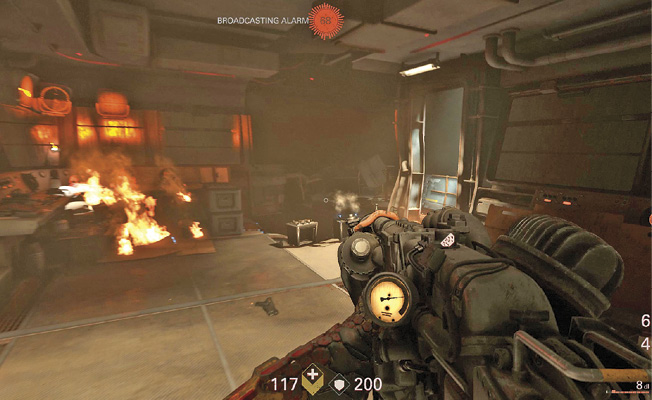
Upon reaching the locked door, use your Dieselkraftwerk/Laserkraftwerk to destroy the door, then quickly kill the Kommandant inside. Be sure to grab his Enigma Code, as well as a Collectible. With a grenade or your heavy weapon, destroy the radio sending out the signal. This not only blows up the radio, but also breaches the wall behind it to a larger area of catwalks—and a whole lot of enemies.
Objective: Exit Section F
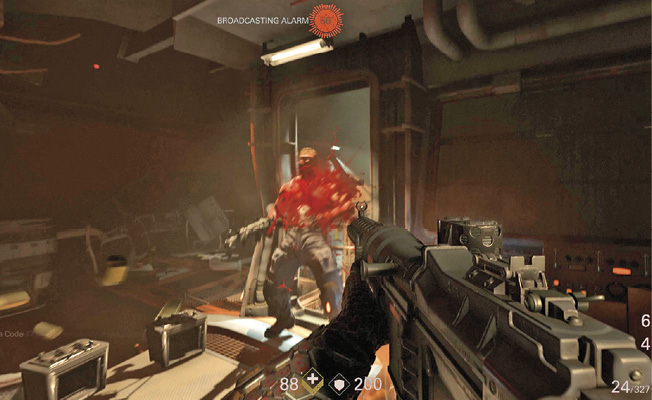
As soon as you blow up the radio, the alarm sounds; there’s nothing you can do about that. The Kommandant is located at the far end of the catwalks. Hang out in the control room for a bit to let some of the enemies come to you. As you advance out of the control room, you come under fire from a Lasergewehr turret.
Either pick off the Soldier on the turret with your Sturmgewehr, or use your heavy weapon. Be sure to take cover. If you’re behind a railing, the turret destroys your cover in short order, so don’t stand around. Take out the gunners before progressing too far—that laser really hurts.
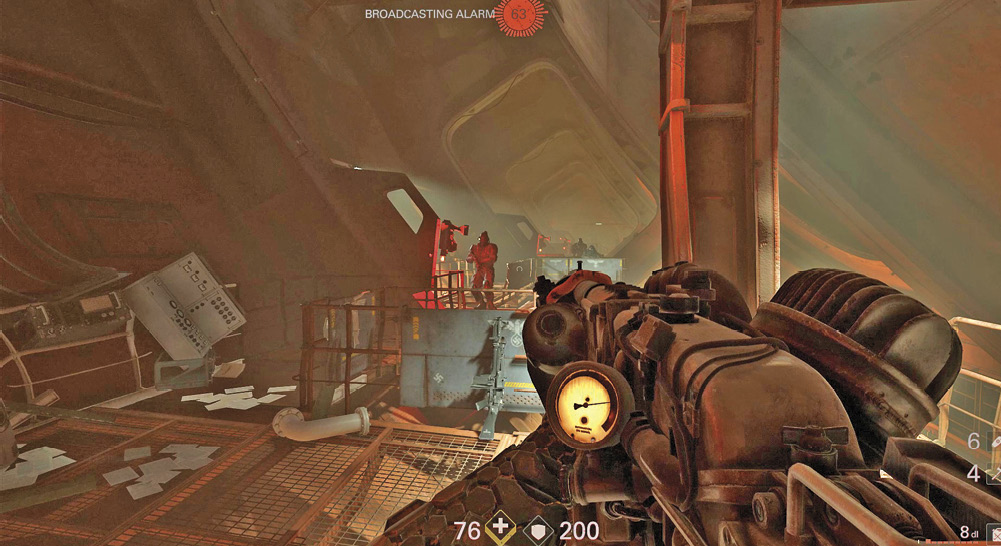
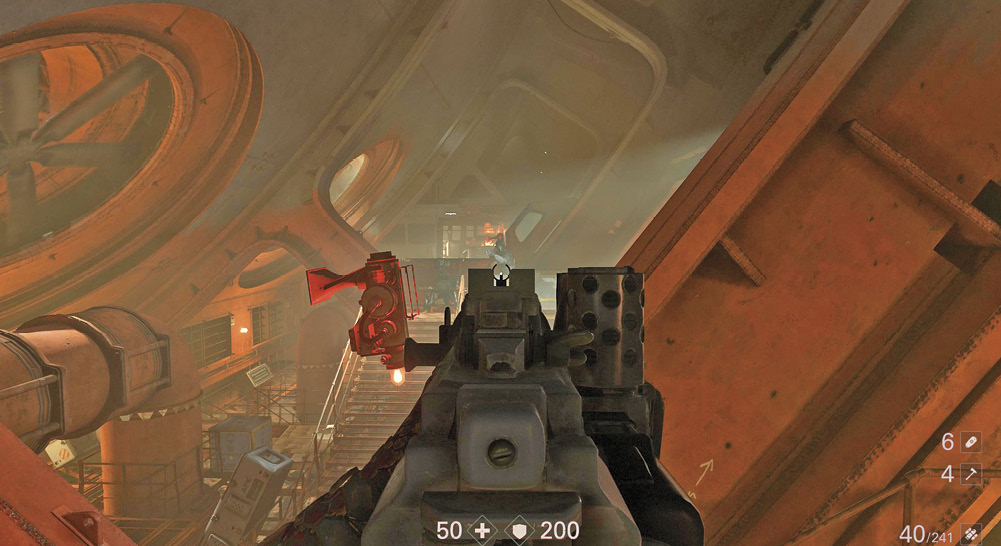
Carefully make your way along the catwalks toward the far end of the area. Stay low and use cover. Put your heavy weapon to good use as well. Note the room along the right side of the catwalks. After you eliminate the two Soldiers inside, refuel/recharge your heavy weapon if necessary. This side room is also a great place to take cover.
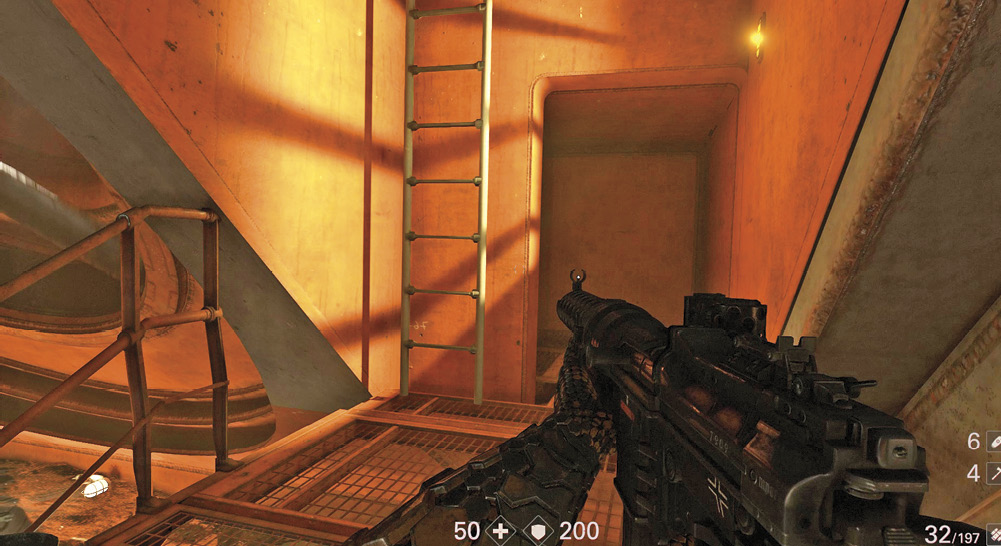
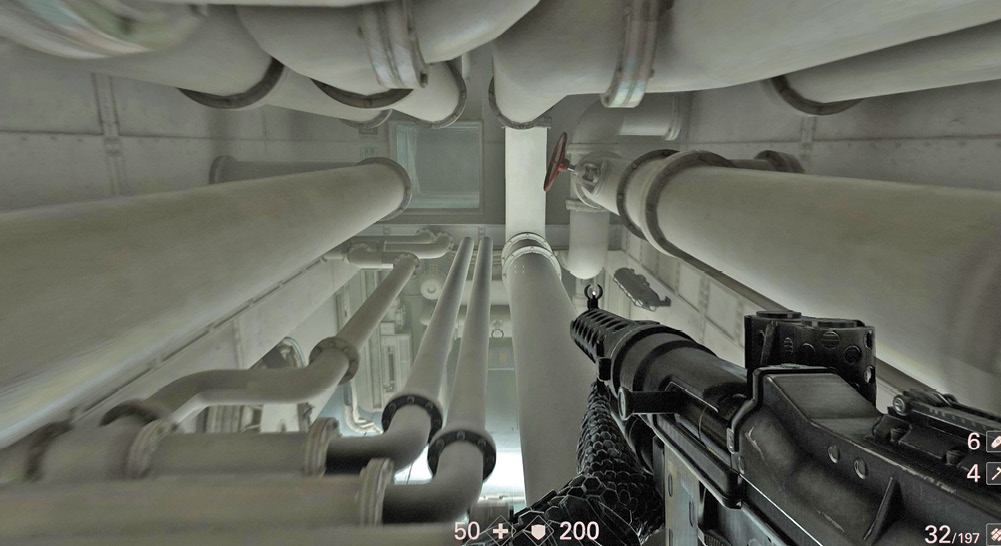
Advance all the way to the end of the area. Don’t forget the Kommandant’s Enigma Code. Climb the ladder and follow a short passageway to another ladder. Climb it and traverse the duct in the room to reach an area with some pipes. The pipes break as you cross them, and you fall into another room. Continue through another duct to reach the laundry room where you began the level. Knock on the door to exit.
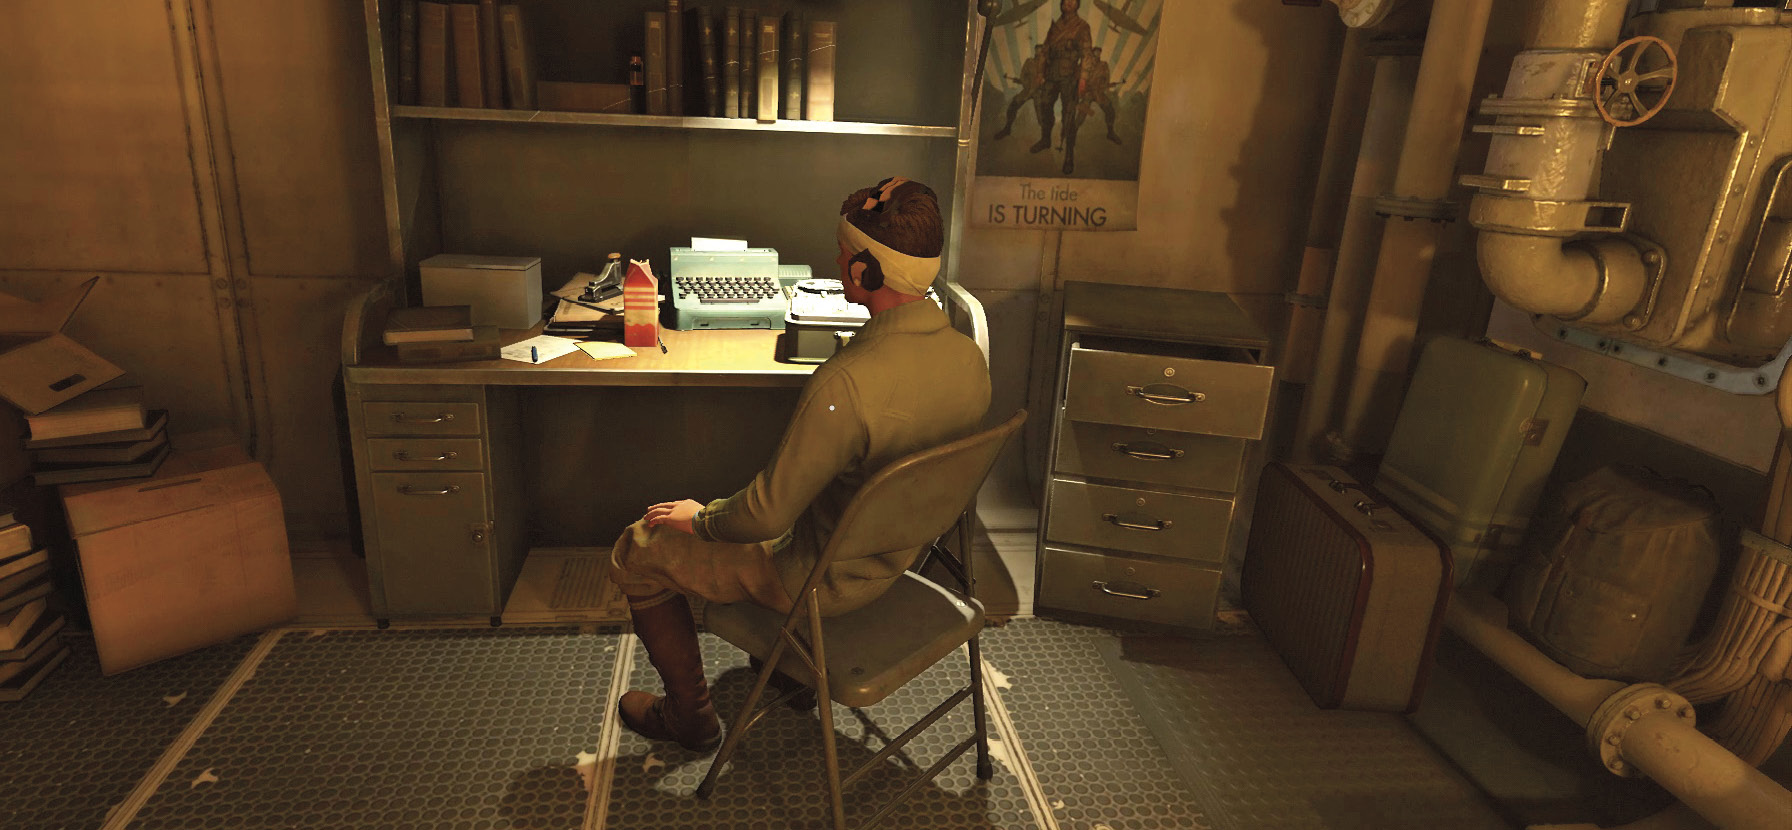
 A Reunion
Evas Hammer
Kreisau Resistance Headquarters
The signal has been silenced, and the submarine has escaped from the Nazi flying fortress. As it heads to its next destination, you have an opportunity to explore the headquarters of the Resistance and talk to some of your friends. The submarine serves as a hub between missions, plus you can easily snag several Collectibles as you make your rounds.
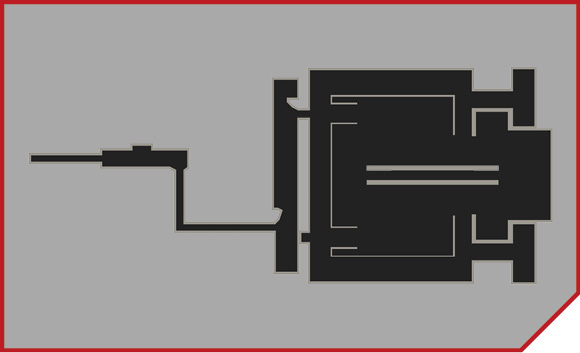
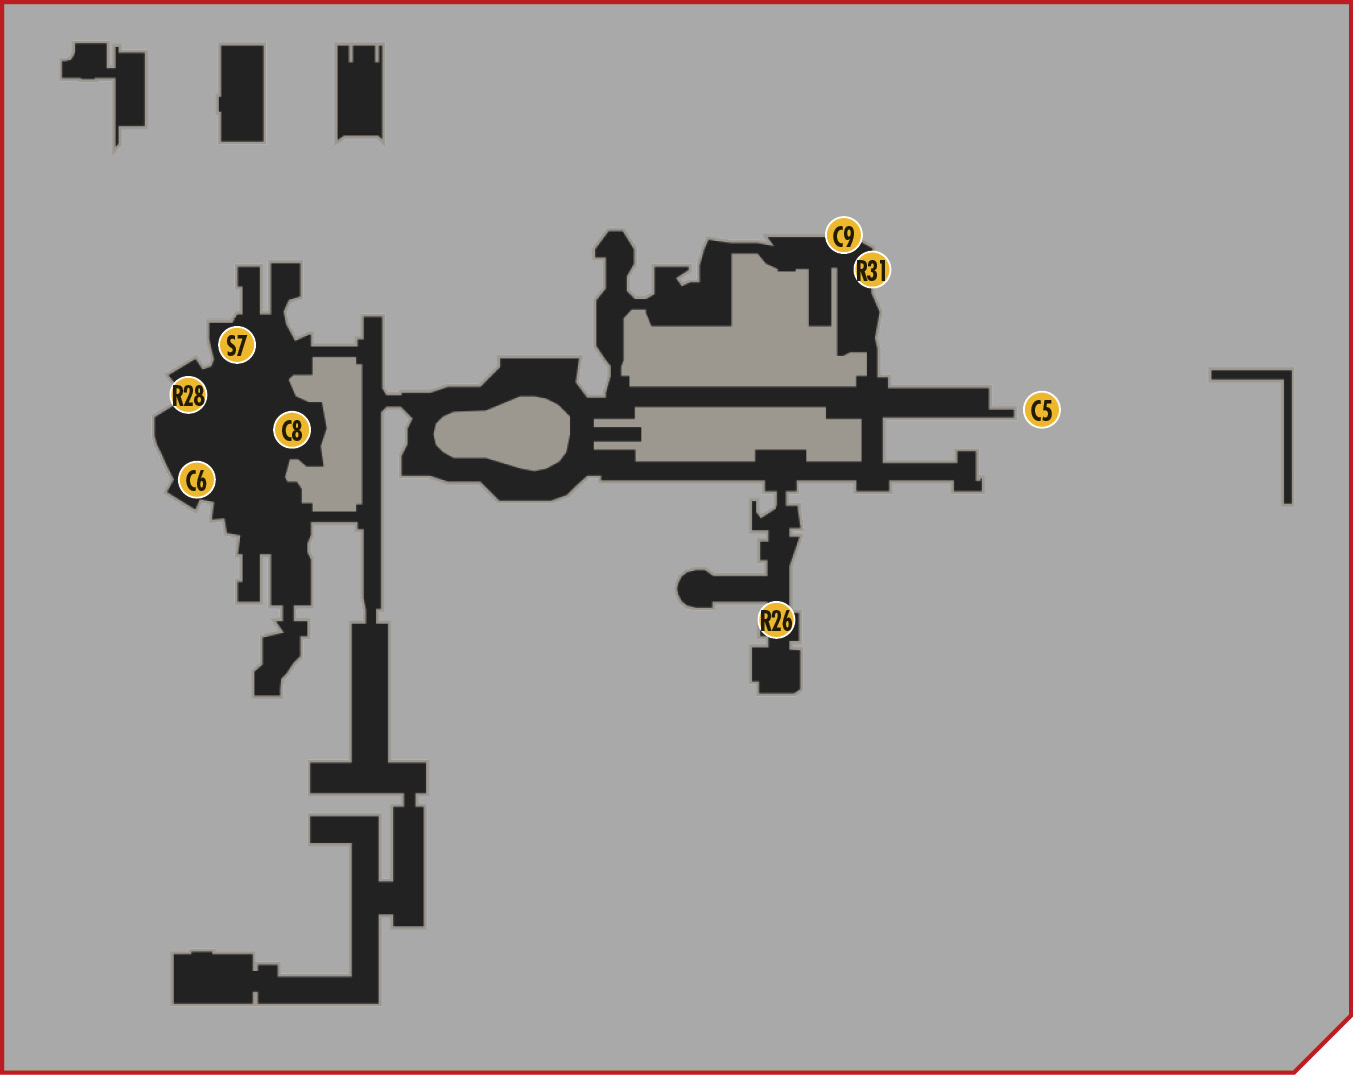
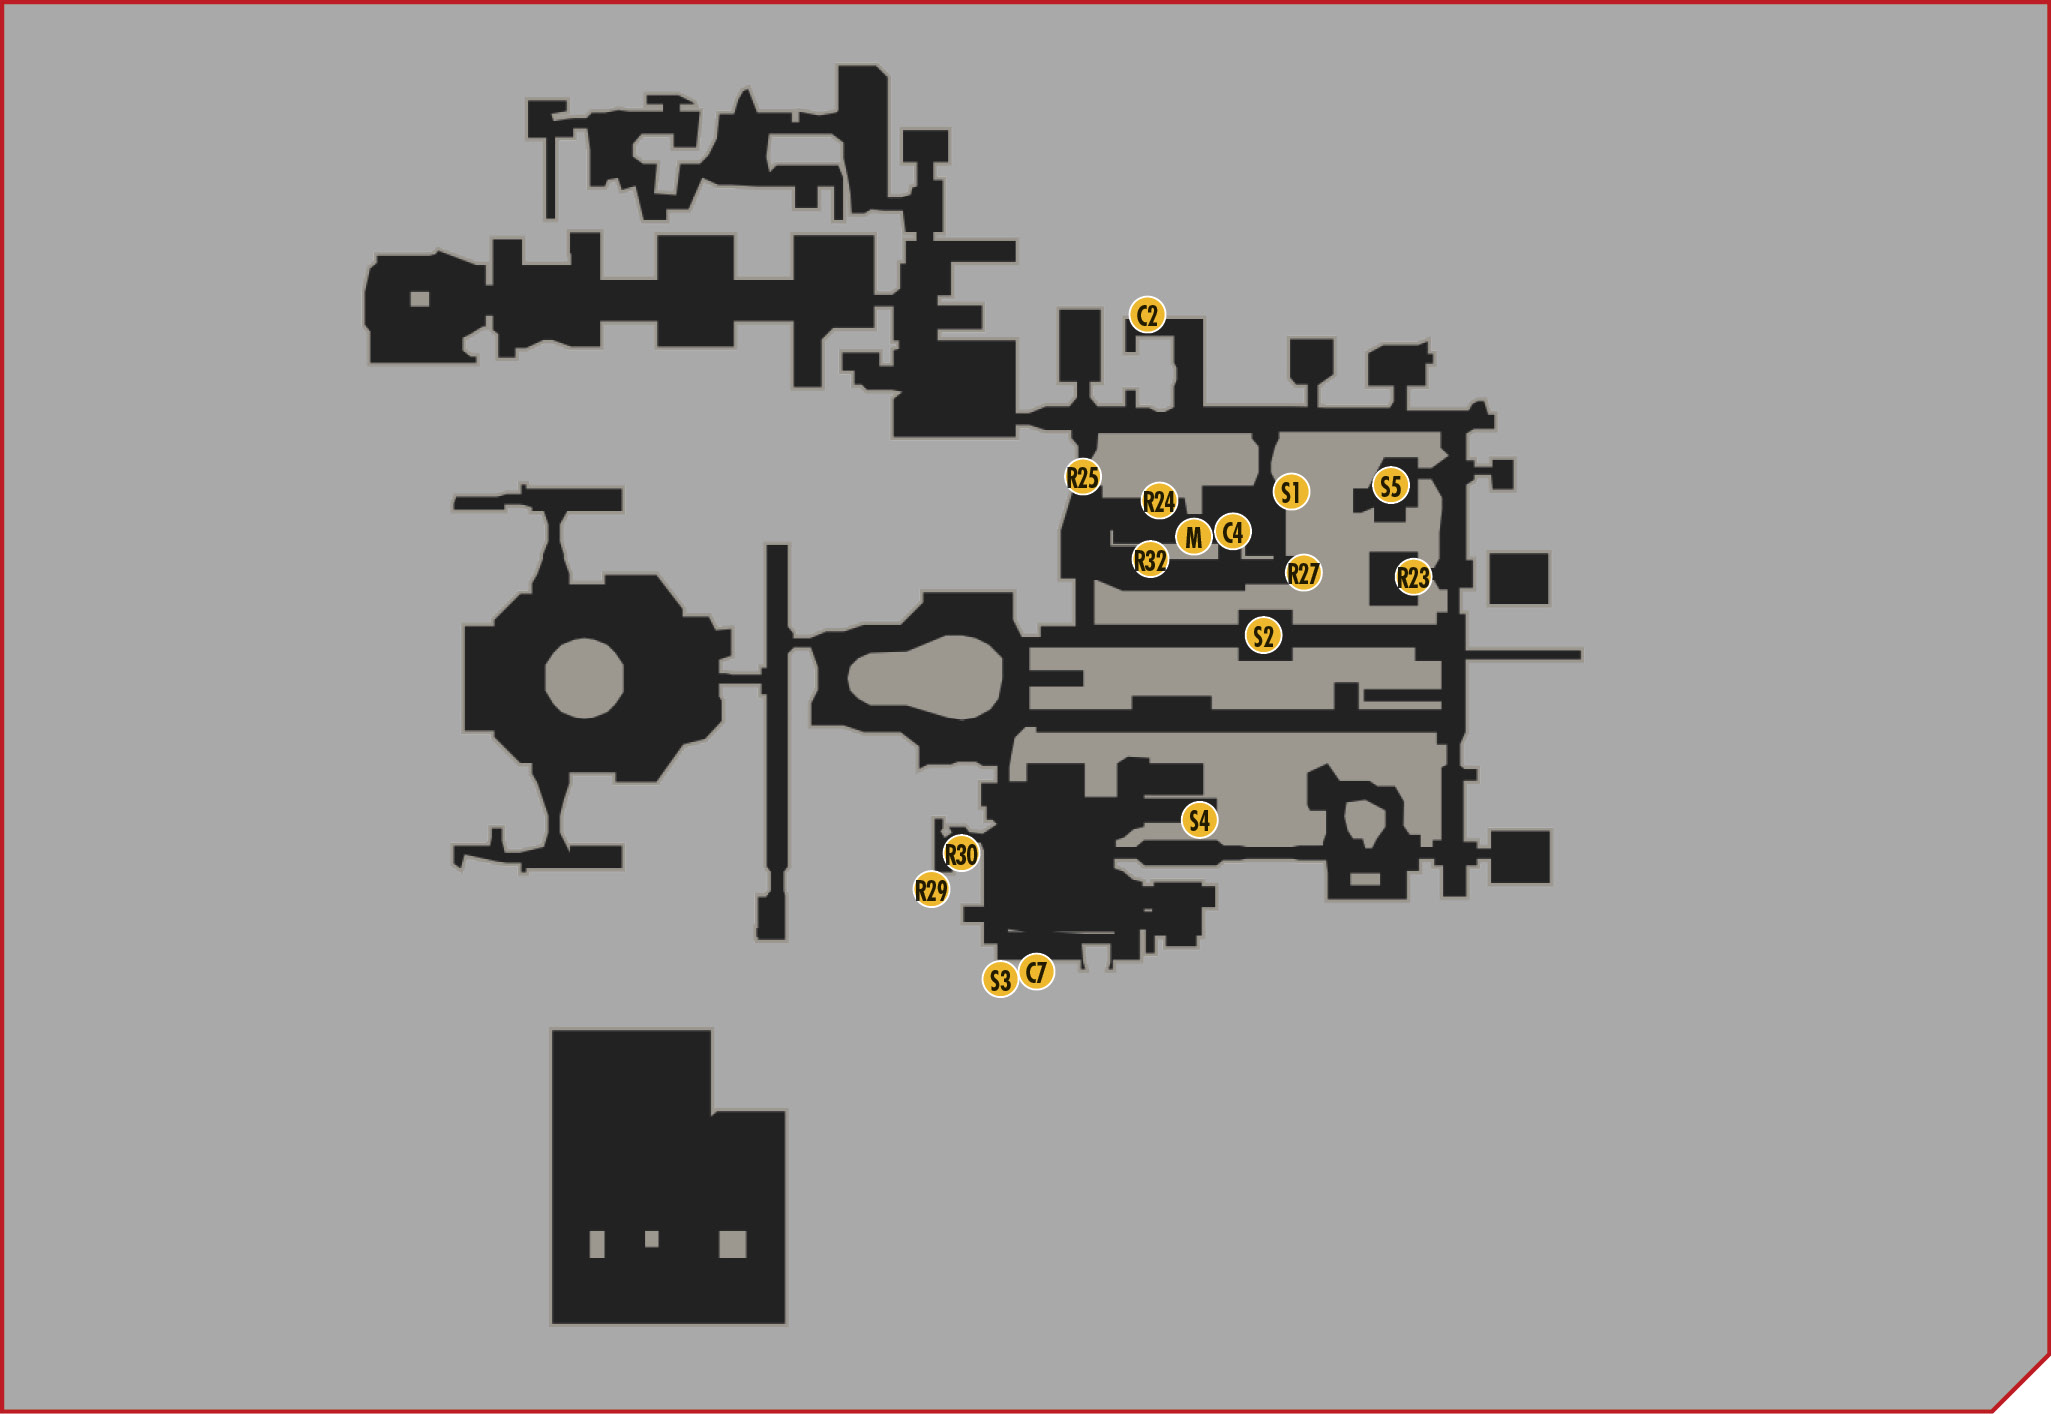
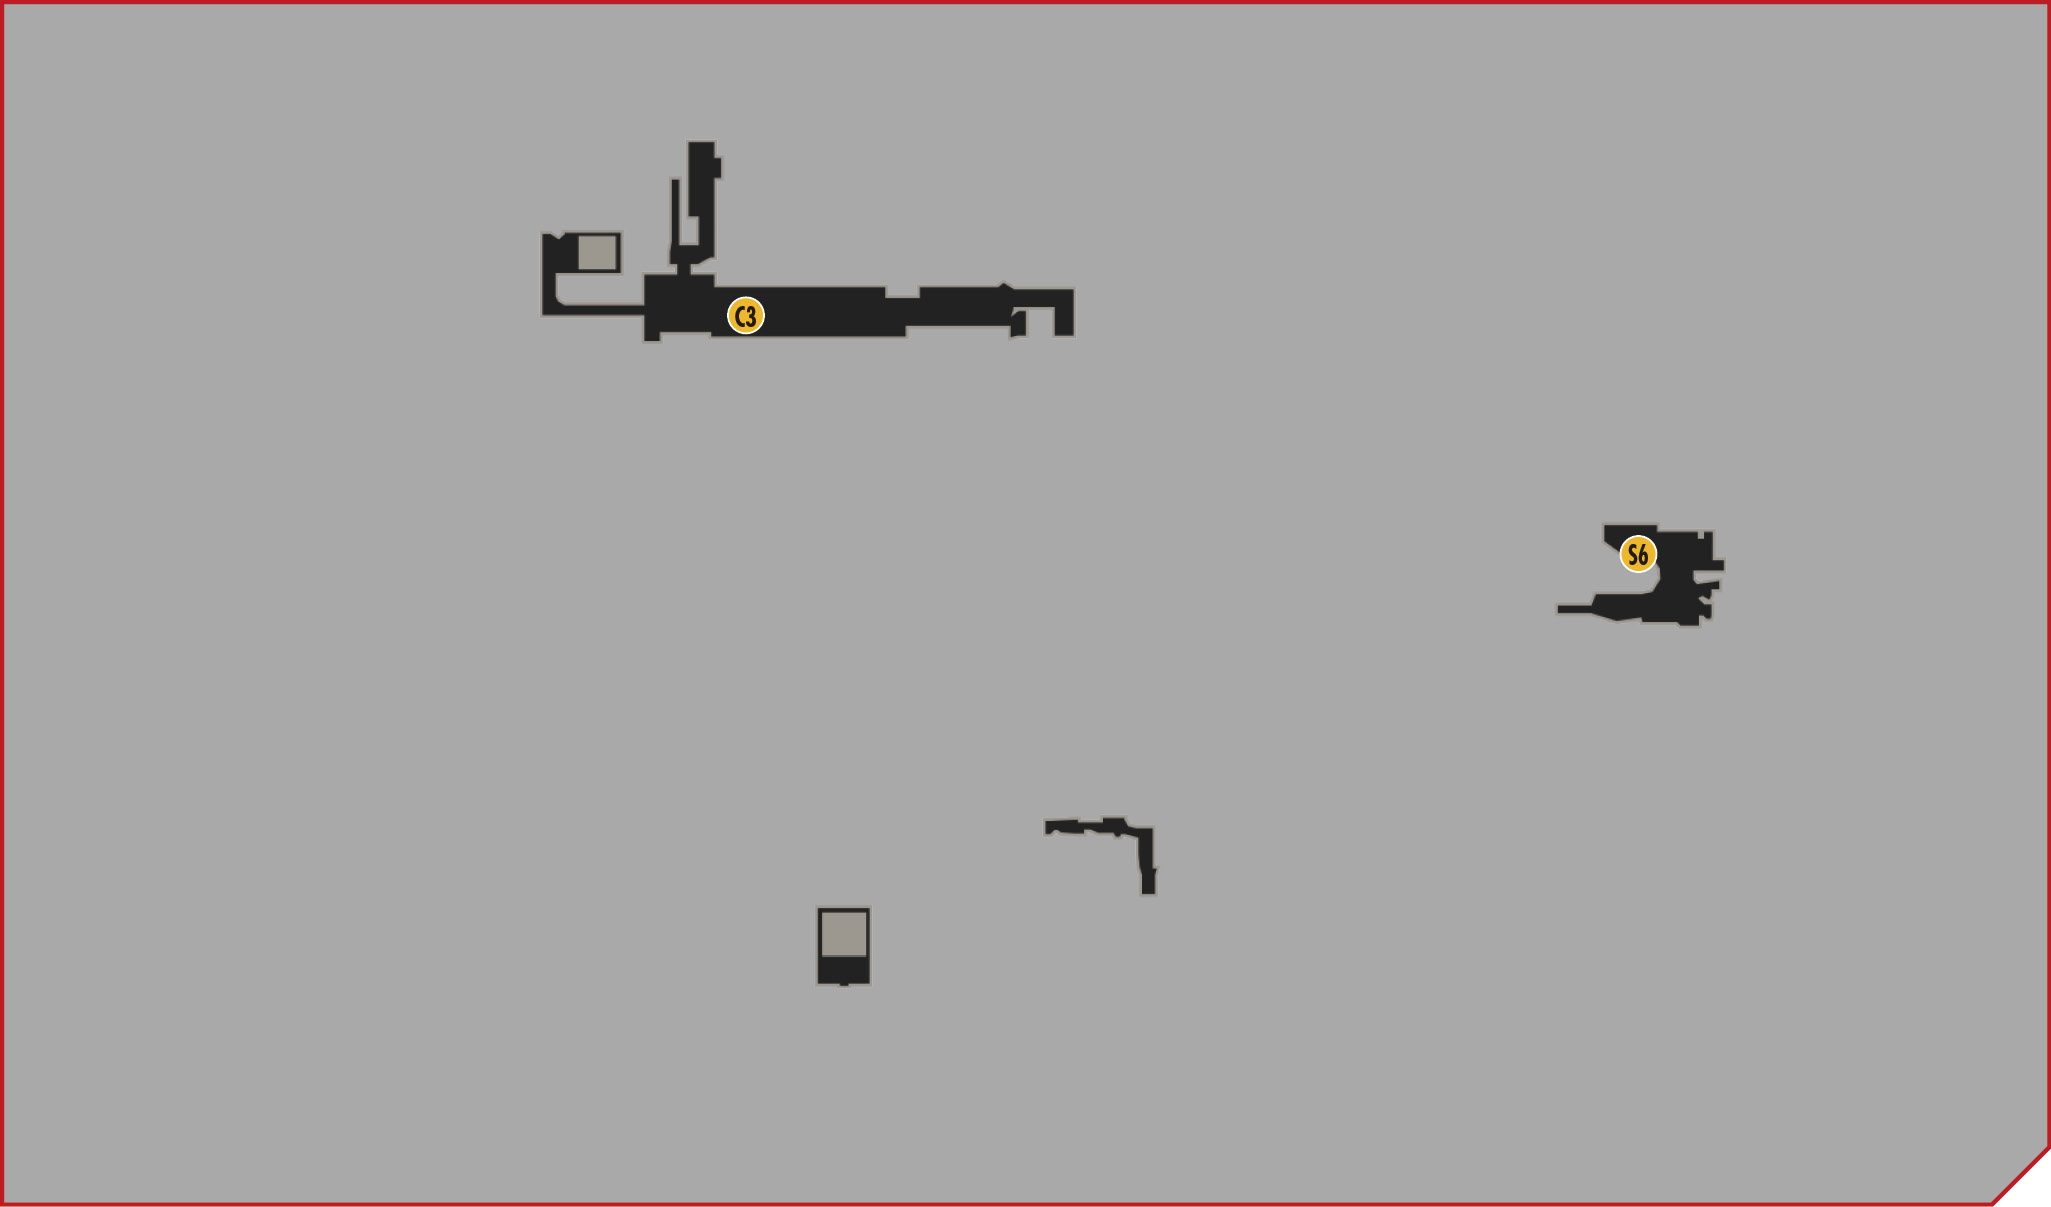
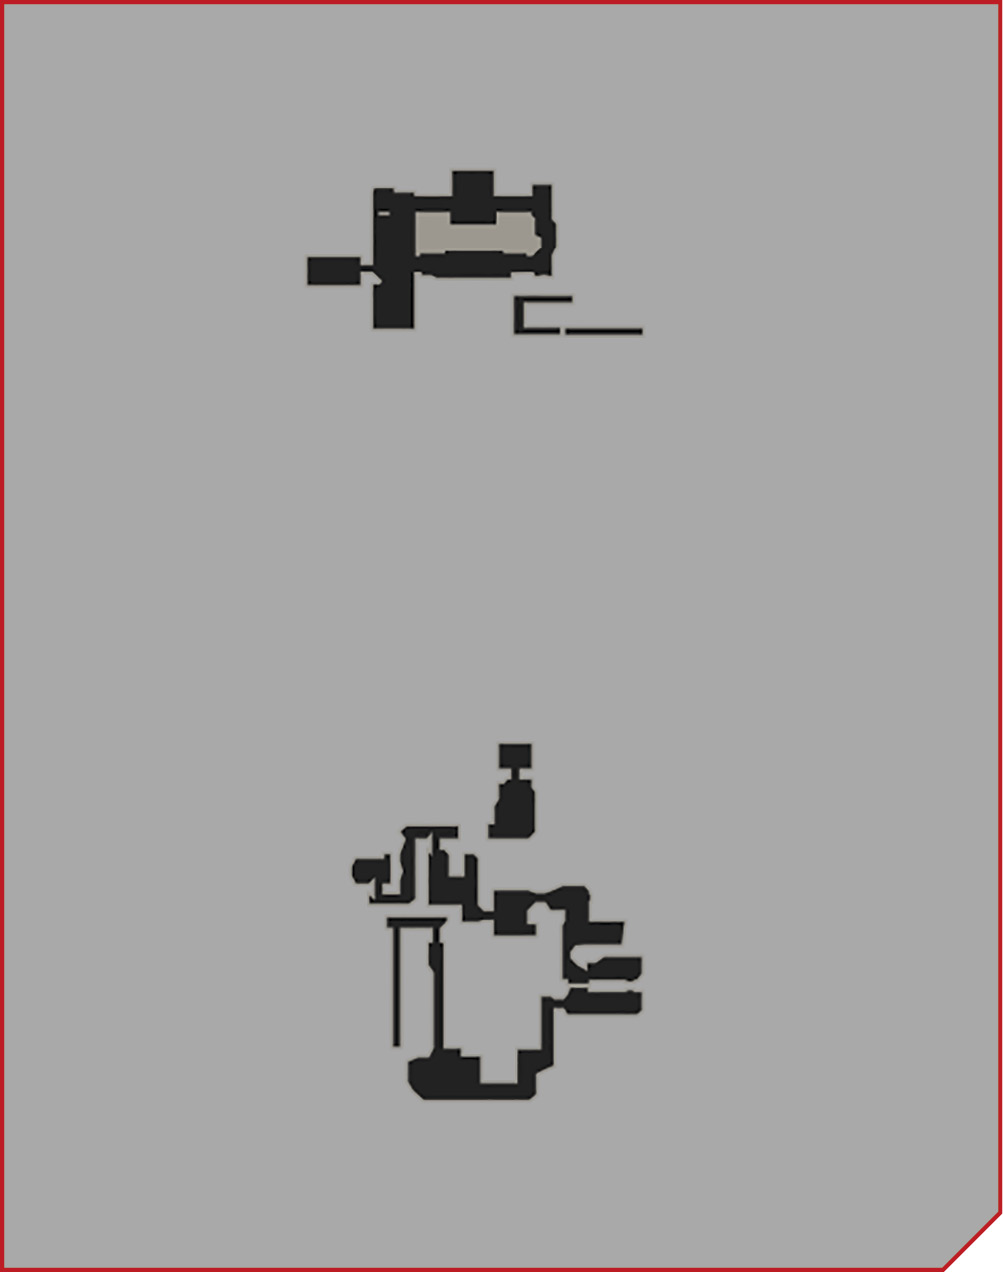
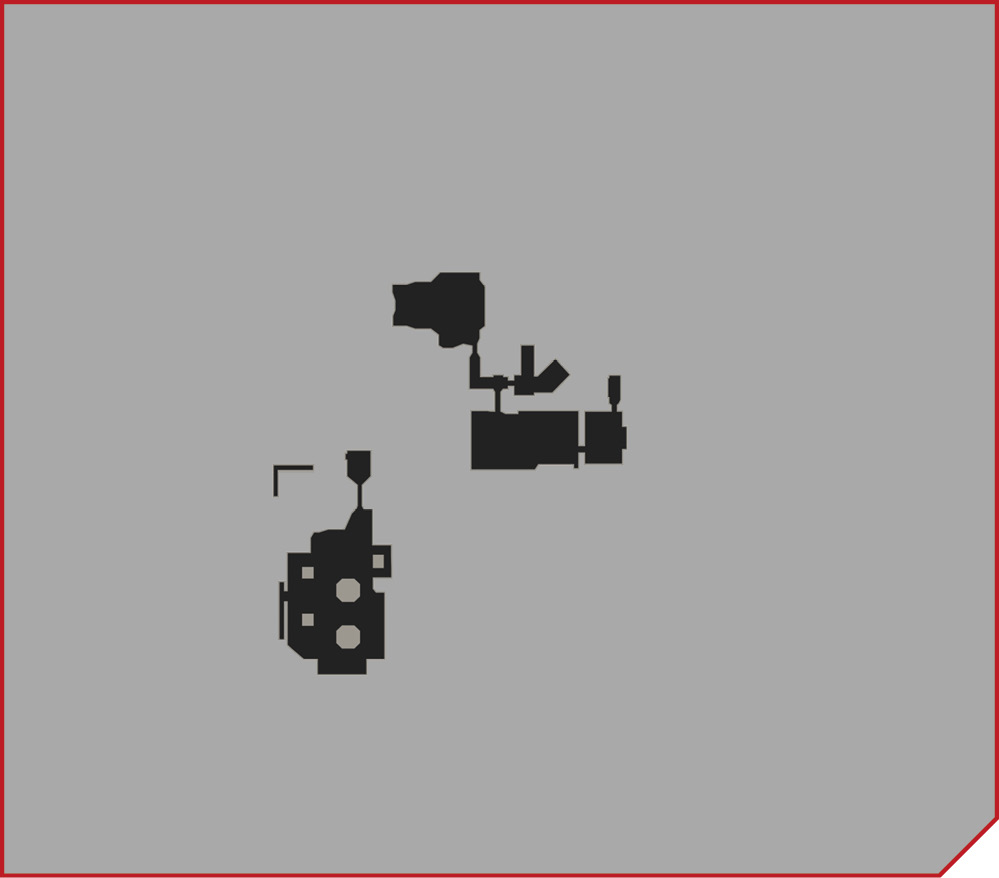
Objective: Visit Set
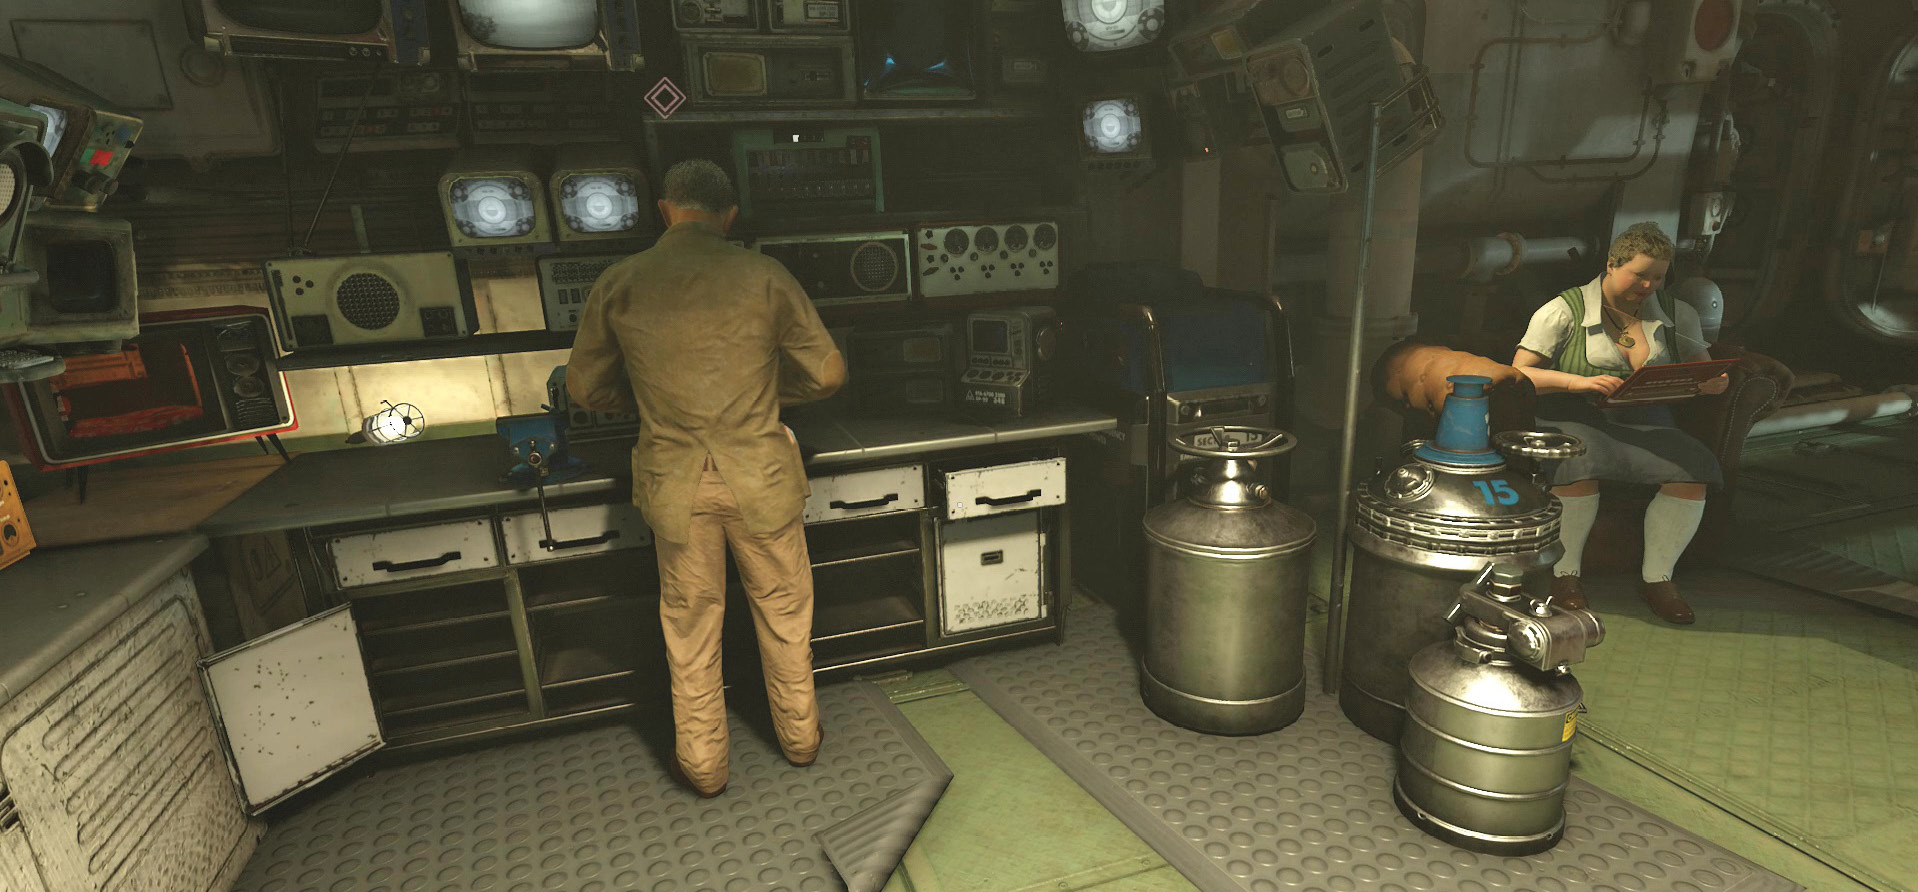
You begin in either Wyatt’s or Fergus’ quarters—depending on the decision you made at the beginning of the game. Your first task is to talk to Set. He’s in his workshop down the hallway. Follow the Objective icon to get there.
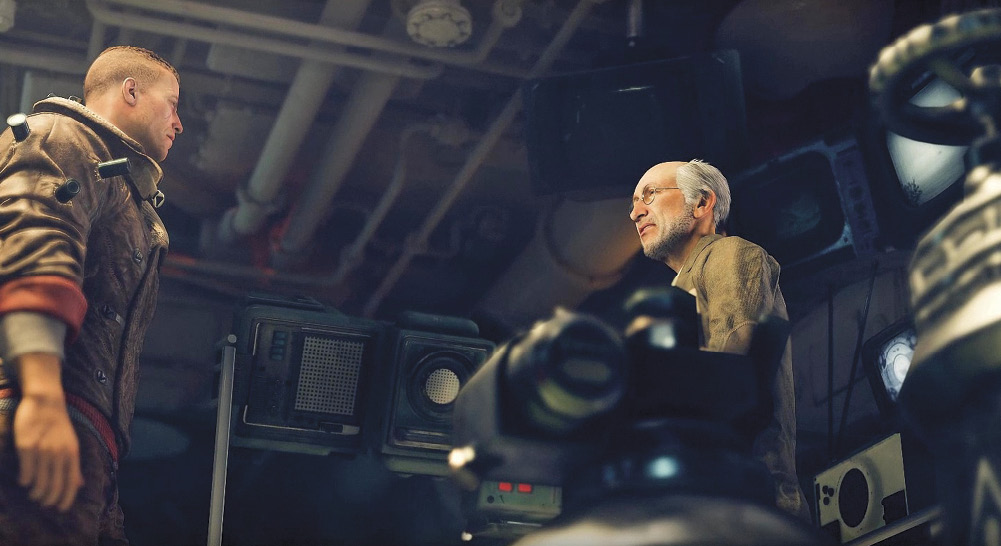
Set tells you about a shooting range he’s constructed for the Resistance fighters. When he was creating targets, he decided to use a Nazi Drone he found in the submarine. Now the Drone is out of control. Set needs you to destroy it before it hurts someone.
Objective: Neutralize the Drone
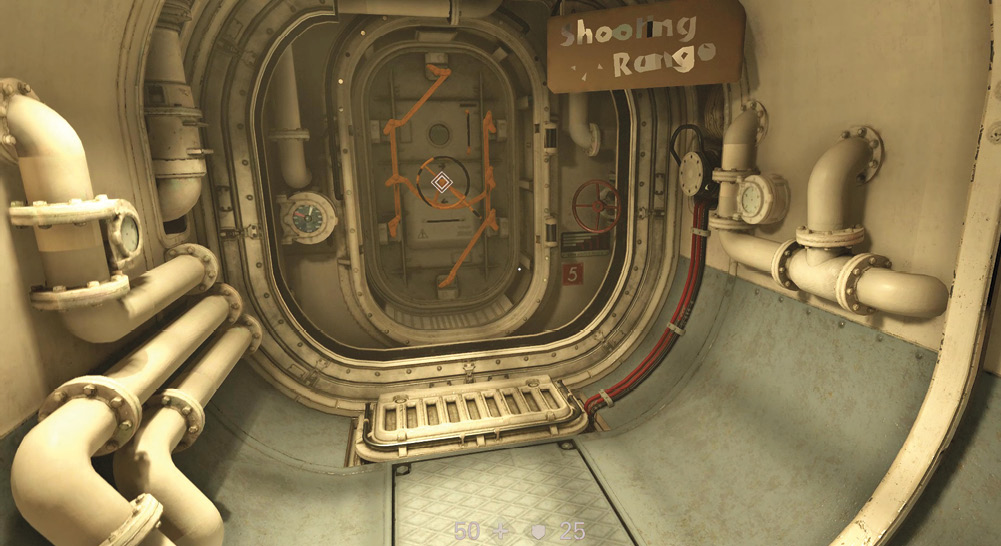
The submarine map makes it easy to find the shooting range. Exit the workshop and take a left. Open the door at the end of the hallway to enter the shooting range. You get a glimpse of the haywire Drone before it flies off into the range. Before you follow, pick up some weapons from the table. This area also boasts a supply of ammo containers, so stock up.
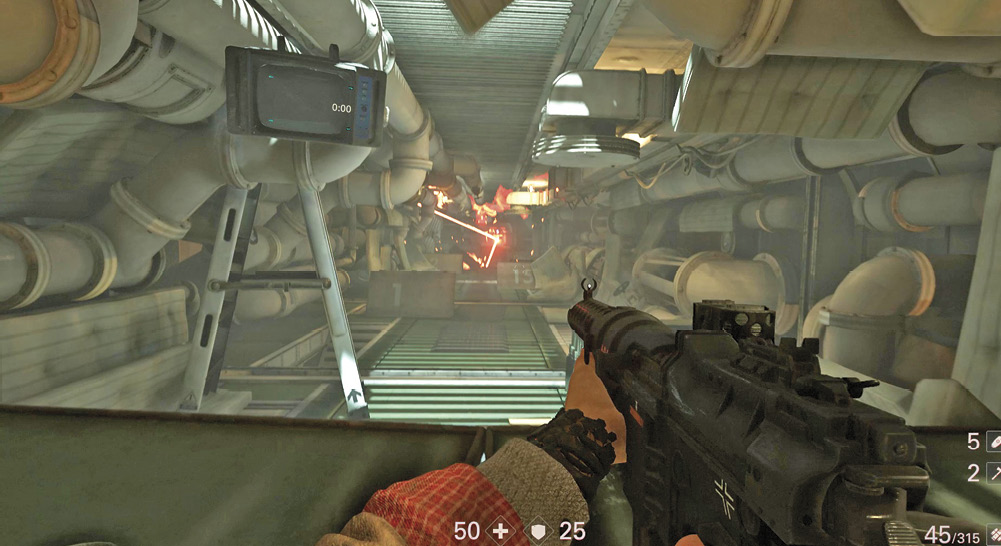
Once you’re ready, head downstairs to the shooting range’s counter. The Drone is at the far end. Take some shots at it, and note that it’s armed with a couple of Lasergewehr. This target shoots back—and wants to kill you. As the Drone flies away, jump over the counter and give chase.
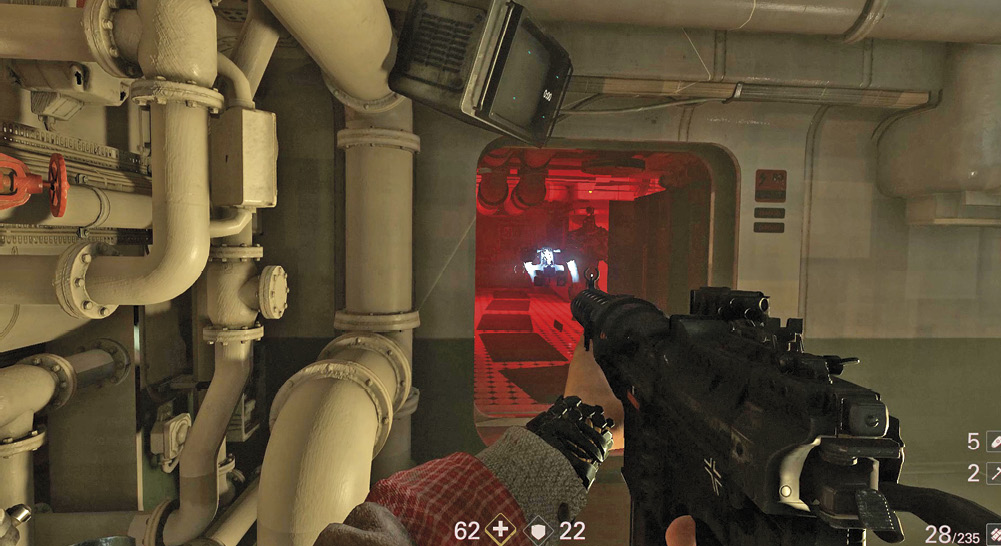
When you reach the end of the range, go right and down the stairs. Be ready—the Drone is waiting for you at the bottom. Turn to the right and take cover beside the doorway. Fire at the Drone, and watch out for its laser fire. Continue following and firing until the Drone is destroyed. At that point, either continue through the shooting range, or backtrack to the entrance. You end up at the same place no matter what.
Objective: Return to Set
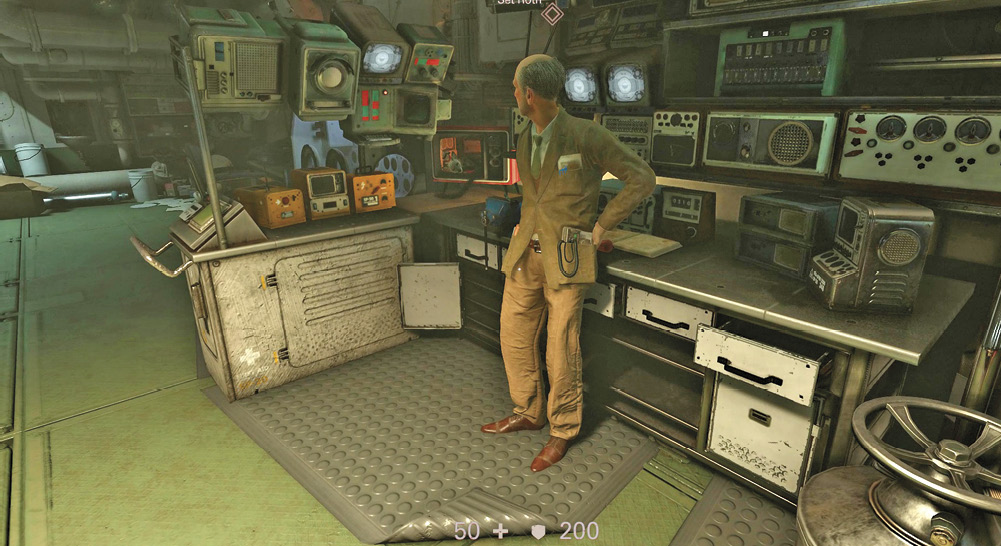
Exit the shooting range and return to Set’s workshop. Talk to him to learn what you need to do next. Anya is looking for you. It seems she’s found some of Caroline’s notes on the American Resistance cell in New York City. Go see her.
Objective: Find Anya
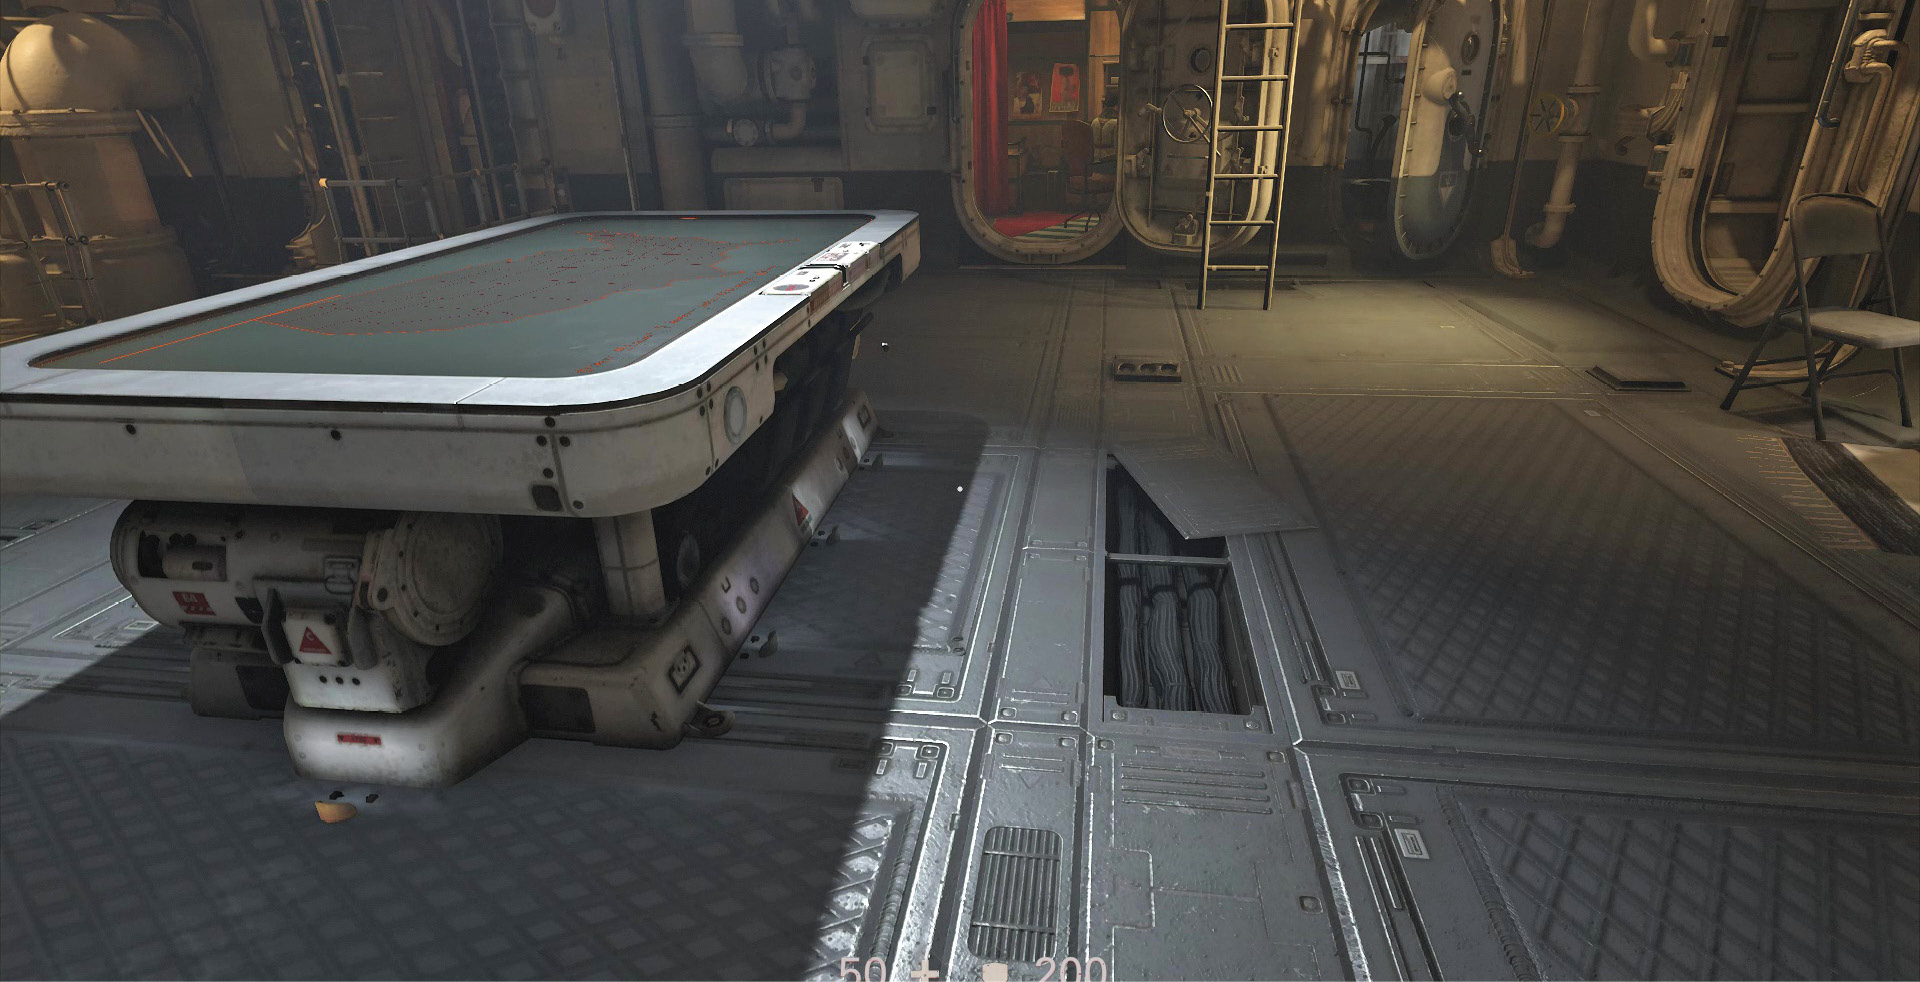
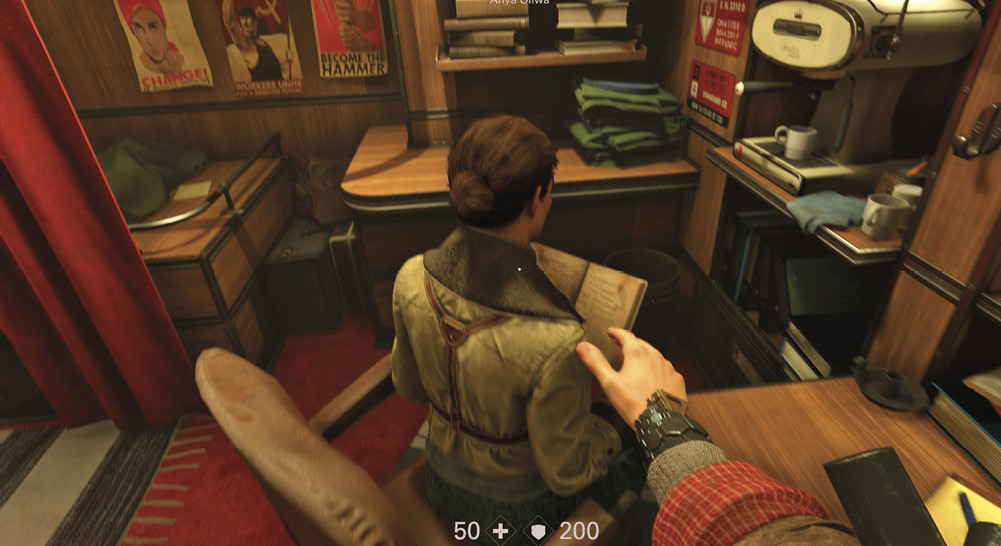
Anya is in Caroline’s quarters. Use the map to find your way there. Along the way, consider exploring the submarine and hunting down Collectibles. When you’re ready to advance the story, head to the bridge command center. Caroline’s quarters are off to the side.
Talk to Anya. She’s found the location of the American Resistance cell. The submarine is approaching New York City, so make preparations. Anya asks you to go talk to Wyatt/Fergus. Before you leave, grab a couple of Collectibles in Caroline’s quarters.
Objective: Talk to Wyatt/Fergus
Head back to the quarters where you began this level. The door is shut. Opening it sends you straight to the next mission, so if you want to explore the sub further, do it now.
Next stop, New York City.