
Wolfenstein II: The New Colossus Guide Basic Training
Combat Tactics
Once you’ve mastered the basic movements, it’s time to up the ante and plunge into the game’s core focus—combat.
Keep Moving
Movement continues to be an important component of all aspects of the game, including combat. Don’t stand around when you’re taking fire from the enemy. If you’re out in the open when you come under attack, sprint to cover. You make yourself a harder target as long as you stay on the move. In tight confines like a corridor, move backward while shooting to put some distance between you and your enemies; if you can’t clear out all foes this way, your fire may at least force the survivors into cover. Remember: staying still out in the open is the best way to get yourself killed.
Take Cover
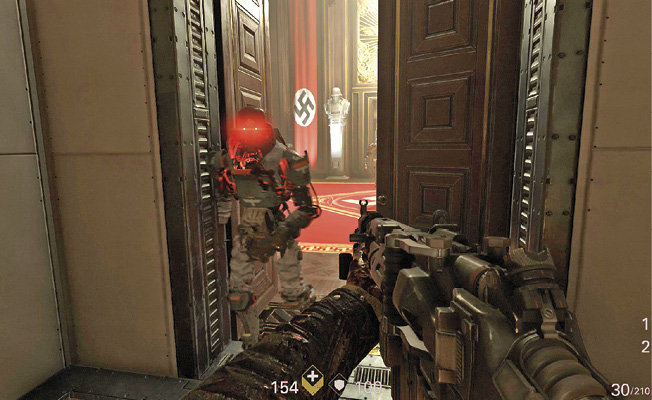
Keeping behind or close to cover as much as possible is a best-used practice overall. Regardless of your playstyle, always be on the lookout for potential cover options—wall corners, railings, containers, etc. To engage an enemy from a cover position, strafe out from behind cover, or alternate between standing and crouching behind low cover. Get off a few shots, then duck or strafe back to cover during return fire.
Aim, Then Fire
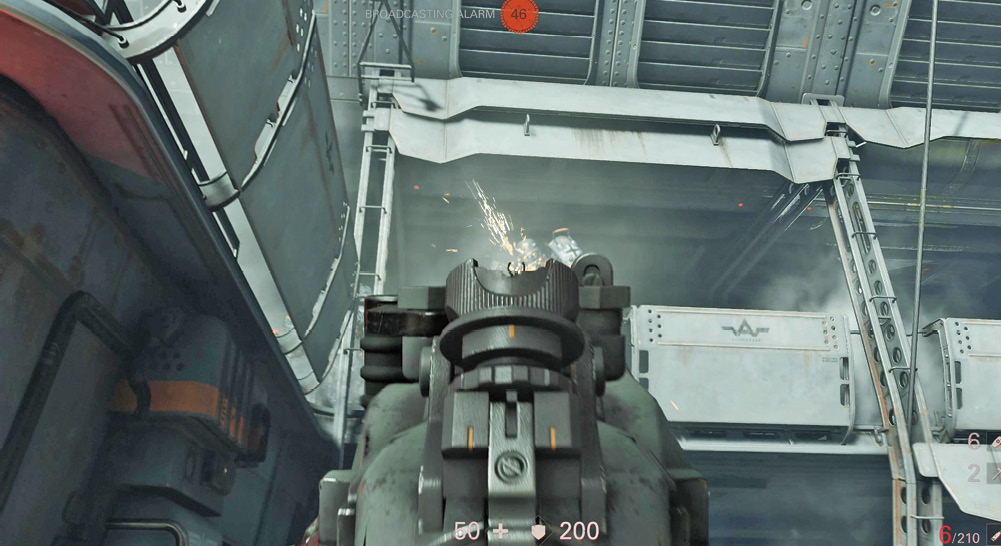
For best accuracy, press the Aim button to bring the weapon up to your face. This lets you aim across the “iron sights.” While in this view, your sight is partially obscured, but you’re more likely to hit your target. Use this view for headshots—you want your first round to hit. Get into the habit of aiming when engaging enemies at medium-to-long range, when accuracy is important.
Conversely, when you’re using the Schockhammer automatic shotgun at close range (or most weapons at close range, for that matter), being fast on the trigger is more important than being accurate. In these cases, assuming you’re carrying a weapon, take note of the reticle that appears in the center of the screen. This helps you aim when “firing from the hip,” meaning you’re not really aiming. Because in some situations, taking the time to aim is more dangerous than helpful.
Circle-Strafing
Use this tactic against heavily armored enemies that take time to defeat. The advantage here is that you keep moving while attacking, which means you’re less likely to get hit. As you strafe to avoid fire, shift your aim accordingly to stay on target. Theoretically, if your target is stationary, you eventually make a circle around it. Since circle-strafing requires you to continuously adjust your aim throughout the course of your circle, it takes practice, but it’s a useful skill to have under your belt. Consider developing this skill early in the game, when ammo is more plentiful and enemies less deadly.
Jinking
Jinking is also known as side-to-side strafing. Instead of circling an enemy, strafe back and forth from left to right; rinse and repeat. This lets you open fire while staying on the move. If you don’t have room to circle-strafe, or you want to take better advantage of nearby cover, try jinking. Note that it’s easier to aim while jinking than while circle-strafing.
Melee Combat
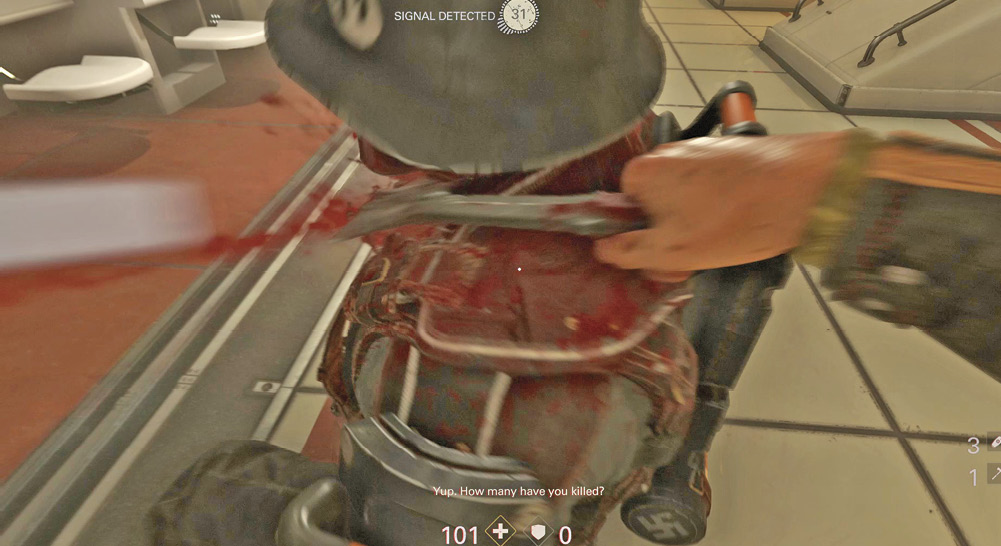
Guns are great, but expect plenty of hand-to-hand combat too. Knowing how to handle these situations is vital not only to survival but victory. Once you get the hatchet, you become a deadly hand-to-hand threat to any Nazi who gets close to you. As you approach an enemy, a hatchet icon appears over your reticle. Press the Melee button to automatically attack the enemy with the hatchet, even if you’re carrying another weapon. If you have a heavy weapon you took from a turret or enemy, you need to drop it before you can melee-attack. A single melee attack kills any enemy lighter than a SuperSoldat—including an ÜberSoldat. For SuperSoldaten and heavier, several hits are required to break up their armor and get at the vital parts.
Sneaking up behind an enemy and performing a melee attack executes a stealth takedown. If successful, the enemy dies without making a sound, or ever knowing what hit them. Stealth takedowns don’t alert others unless another enemy sees you in the process.
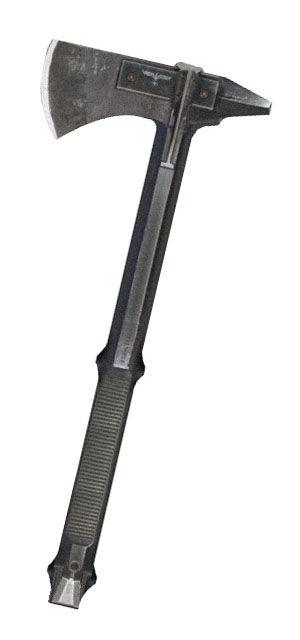
Once you collect a second and subsequent hatchets, you gain the ability to throw them. You always keep one on you; the rest can be thrown. At the start of the game, you can carry up to three hatchets, which means you have two for throwing. Earn Perks to increase your hatchet-carrying capacity. Your throwing range is limited, but hitting an enemy makes for a silent, instant kill. As with melee attacks, you can’t kill more heavily armored enemies with a single hatchet. Use this tactic to quietly dispatch enemies you can’t sneak up on. To recover your hatchet, pick it up from the body. Throwing hatchets effectively takes practice, especially if your enemy is at medium range, which requires slightly higher aim than close range. Once you get it down, the skill comes in handy in a number of situations.
Grenades
The usefulness of these handheld explosives may seem like a no-brainer, but until you upgrade them, they’re not terribly effective in themselves. They kill nearby enemies upon detonation, but most enemies move away from a grenade to avoid taking damage. Use this reaction to your advantage. Throw grenades at groups of enemies. Even if you don’t blow them all up, forcing them to disperse is a good way to break up attacks. Use this opportunity to shoot the survivors—they won’t return fire for a few seconds.
For more specifics on grenades, including upgrade details and additional tips, flip to the Armory chapter.