Wolfenstein II: The New Colossus Guide Walkthrough
New Orleans
 Rescue Horton
New Orleans, Louisiana
July 31, 1961
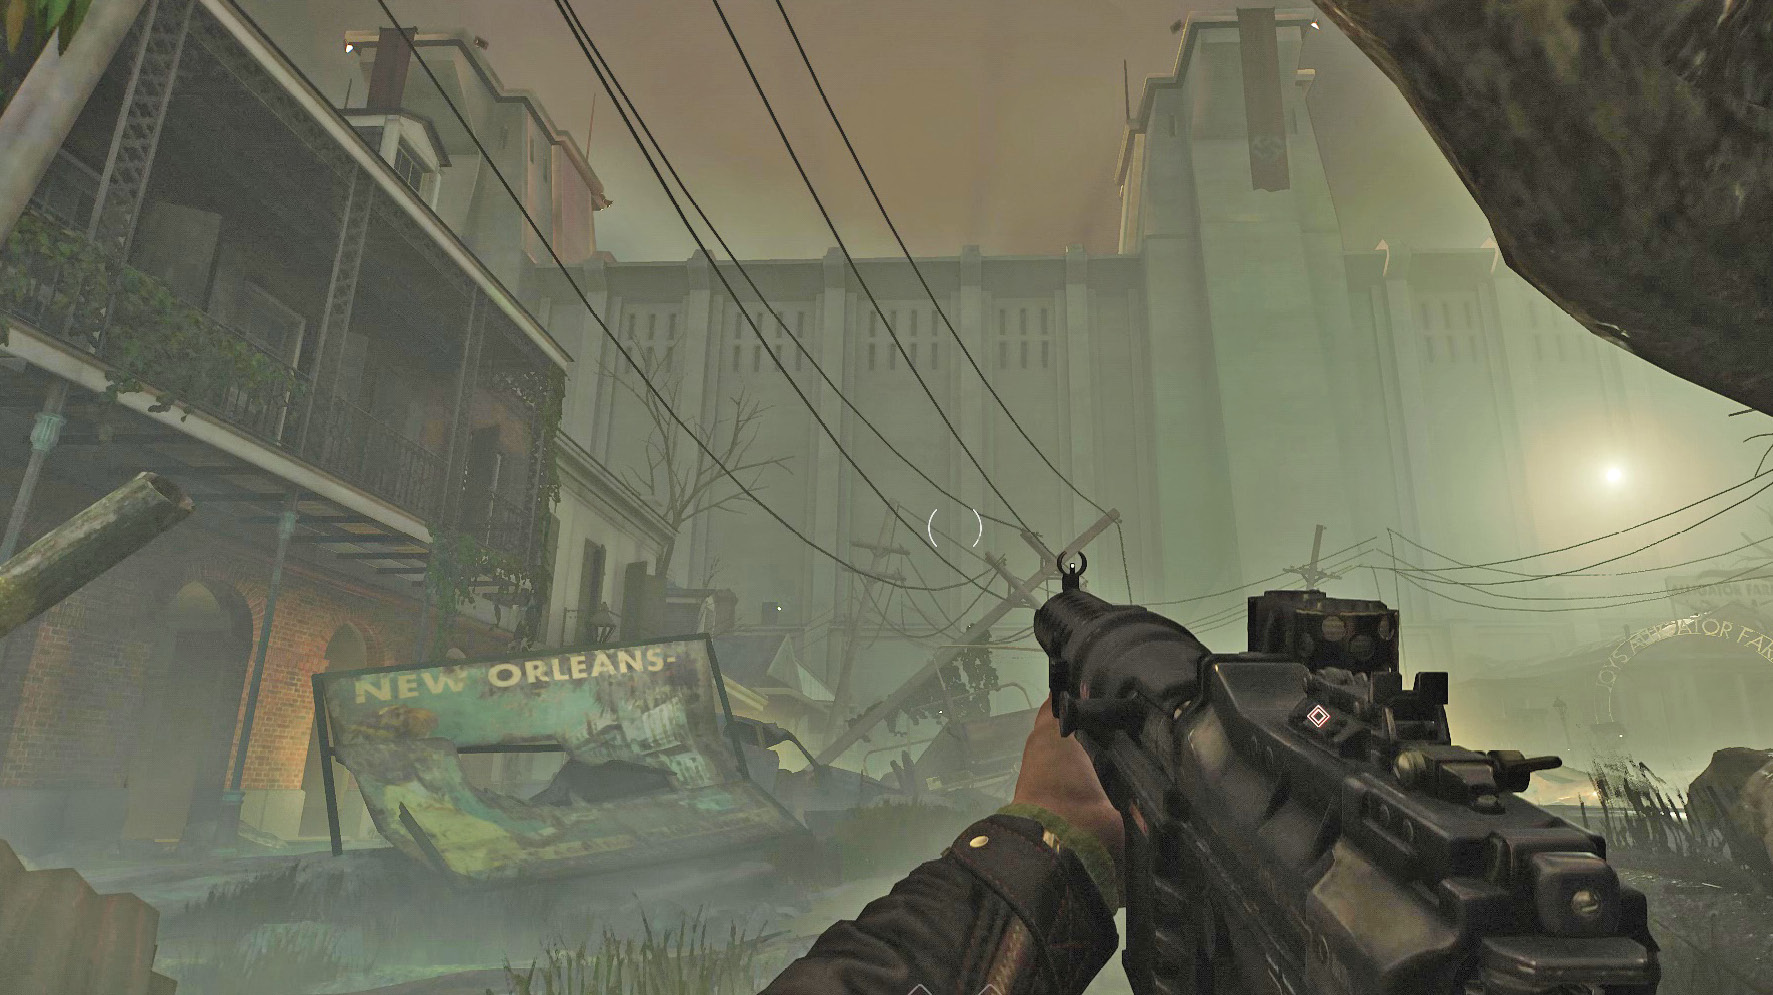
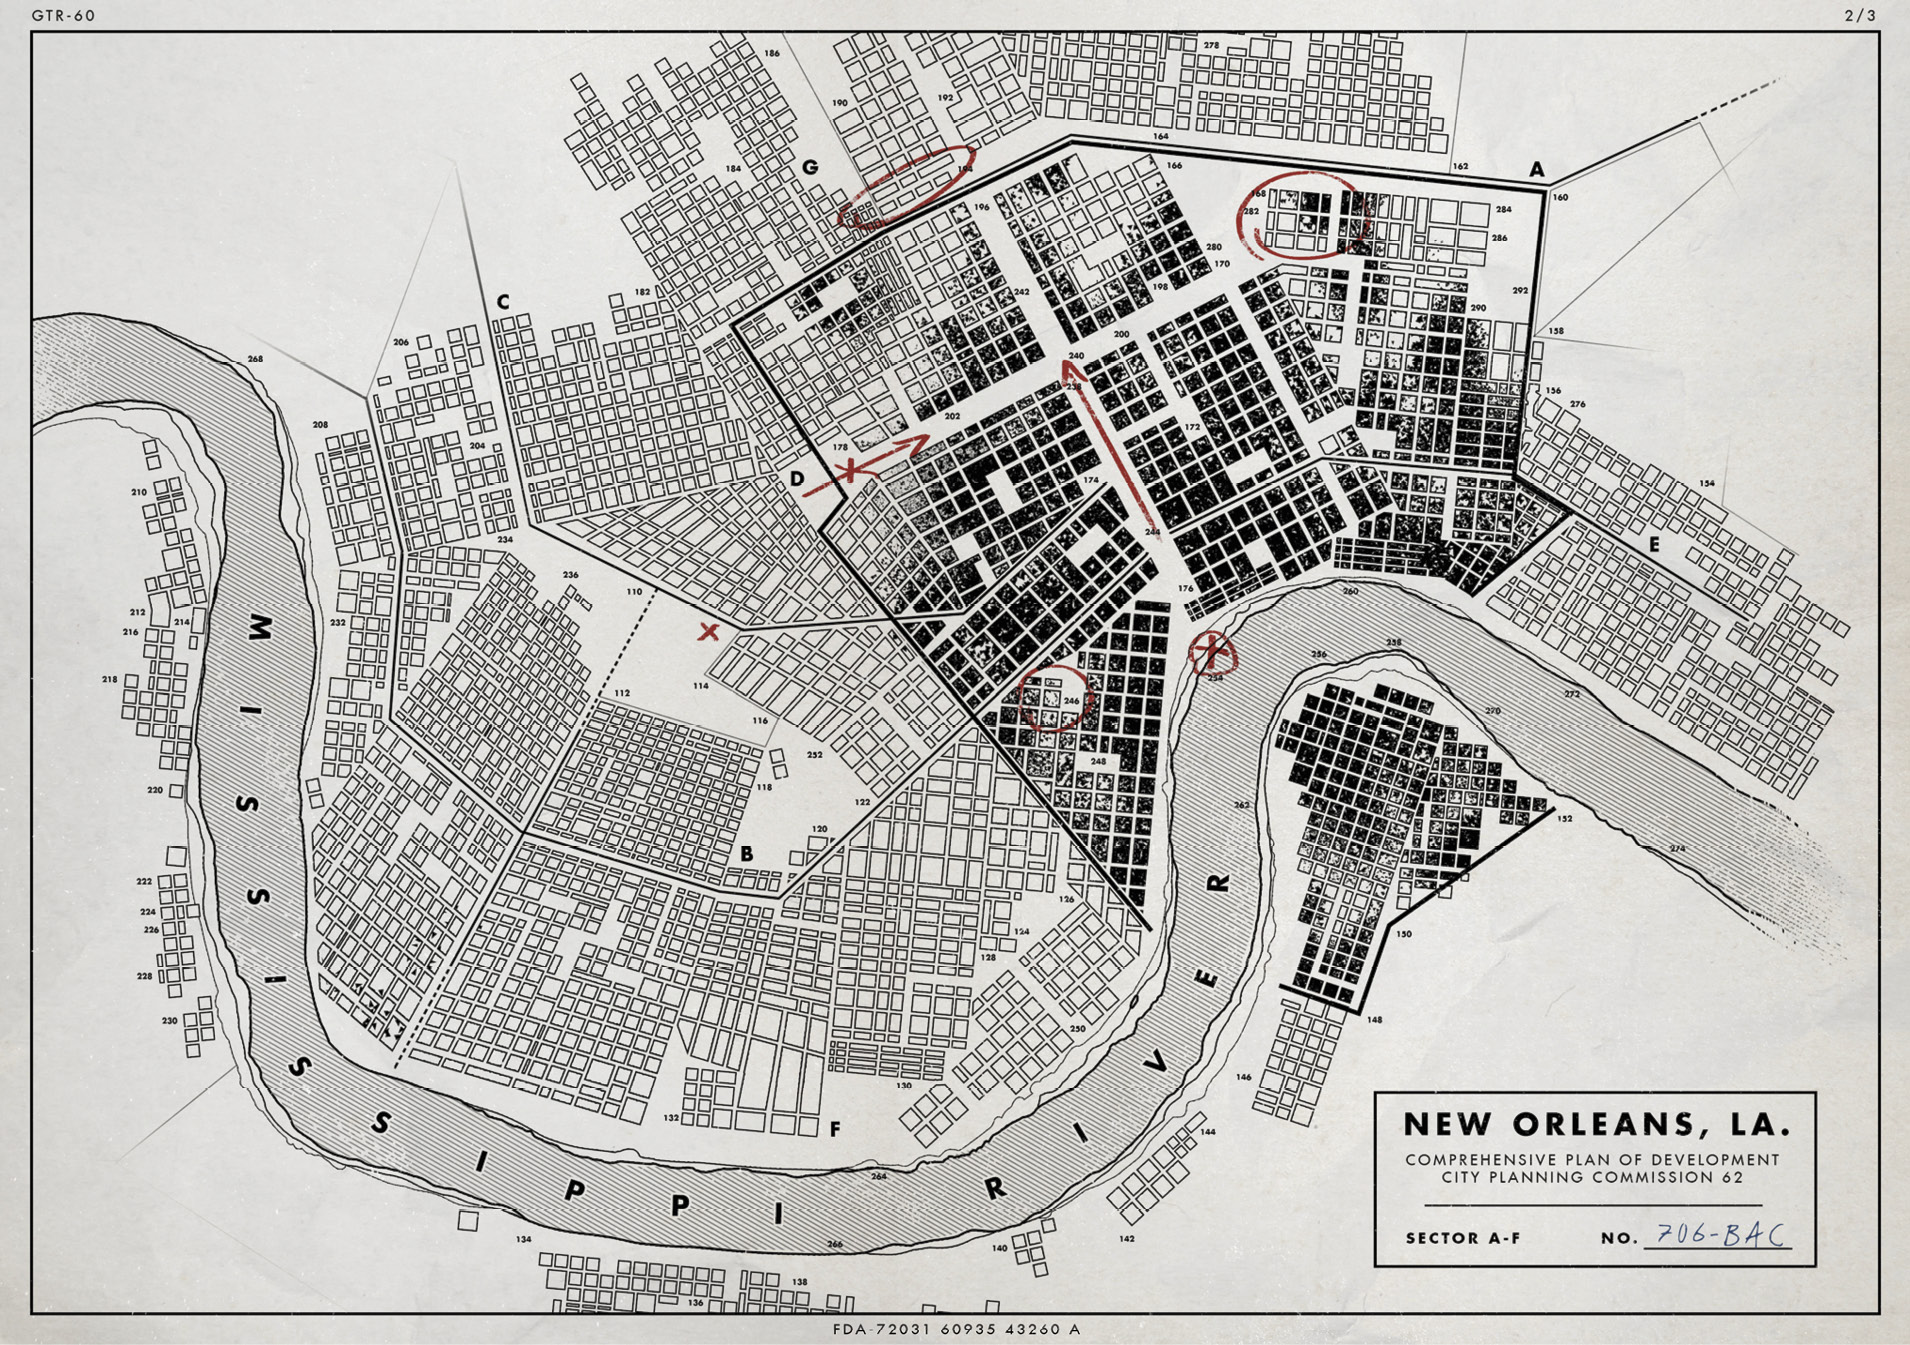
The Nazis have built a giant wall around New Orleans. Your mission is to infiltrate the city, meet with the Resistance leader there, and convince him to join up with the Kreisau Circle.
Objective: Enter the Great Wall
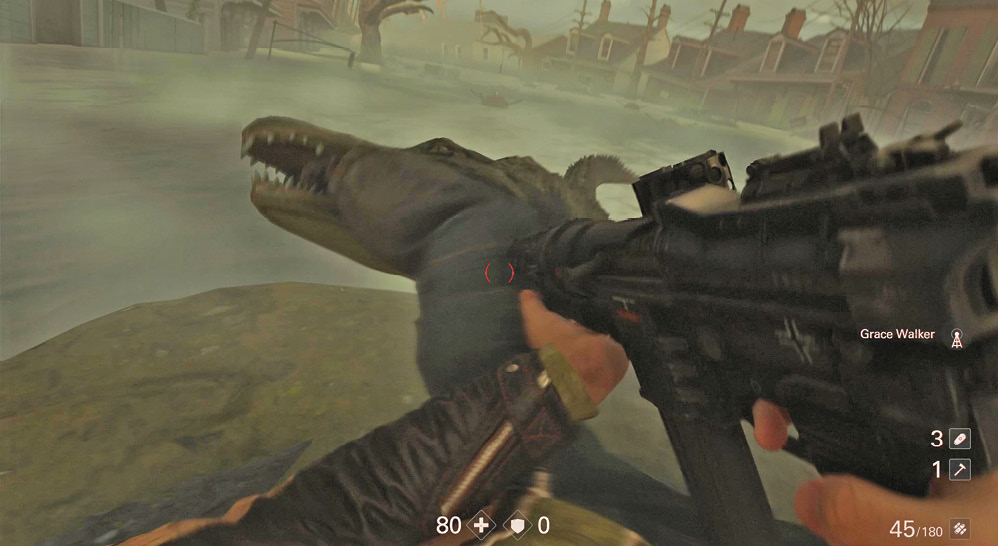
As you begin advancing through the remains of New Orleans, watch out when moving near the water. Alligators attack you if you get too close. It’s best to stay on the land.
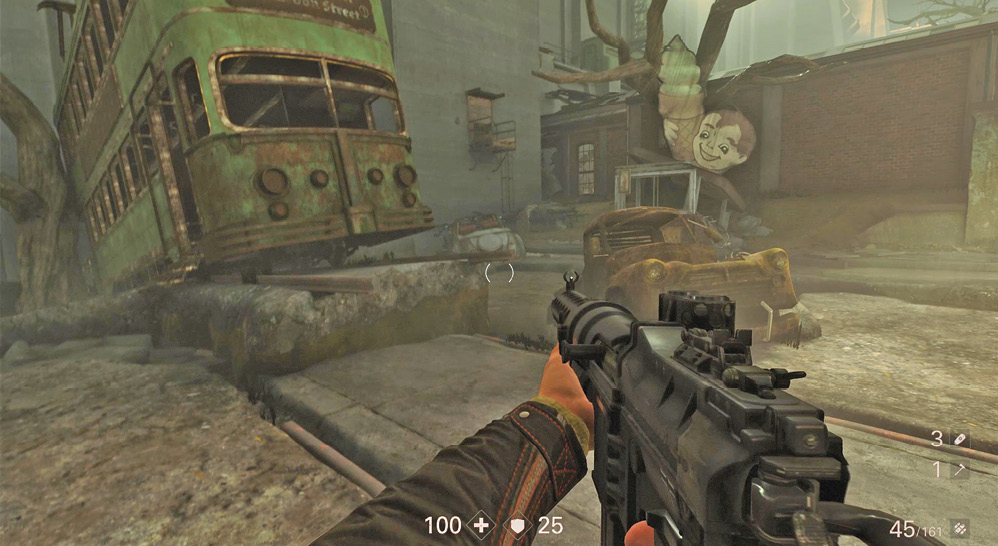
Search the buildings for Collectibles and other pickups, then head toward the wall. Spot the small hatch in the wall’s side, and climb the ladder to reach it. Use your hatchet to open the hatch, then crawl through the duct to enter the wall.
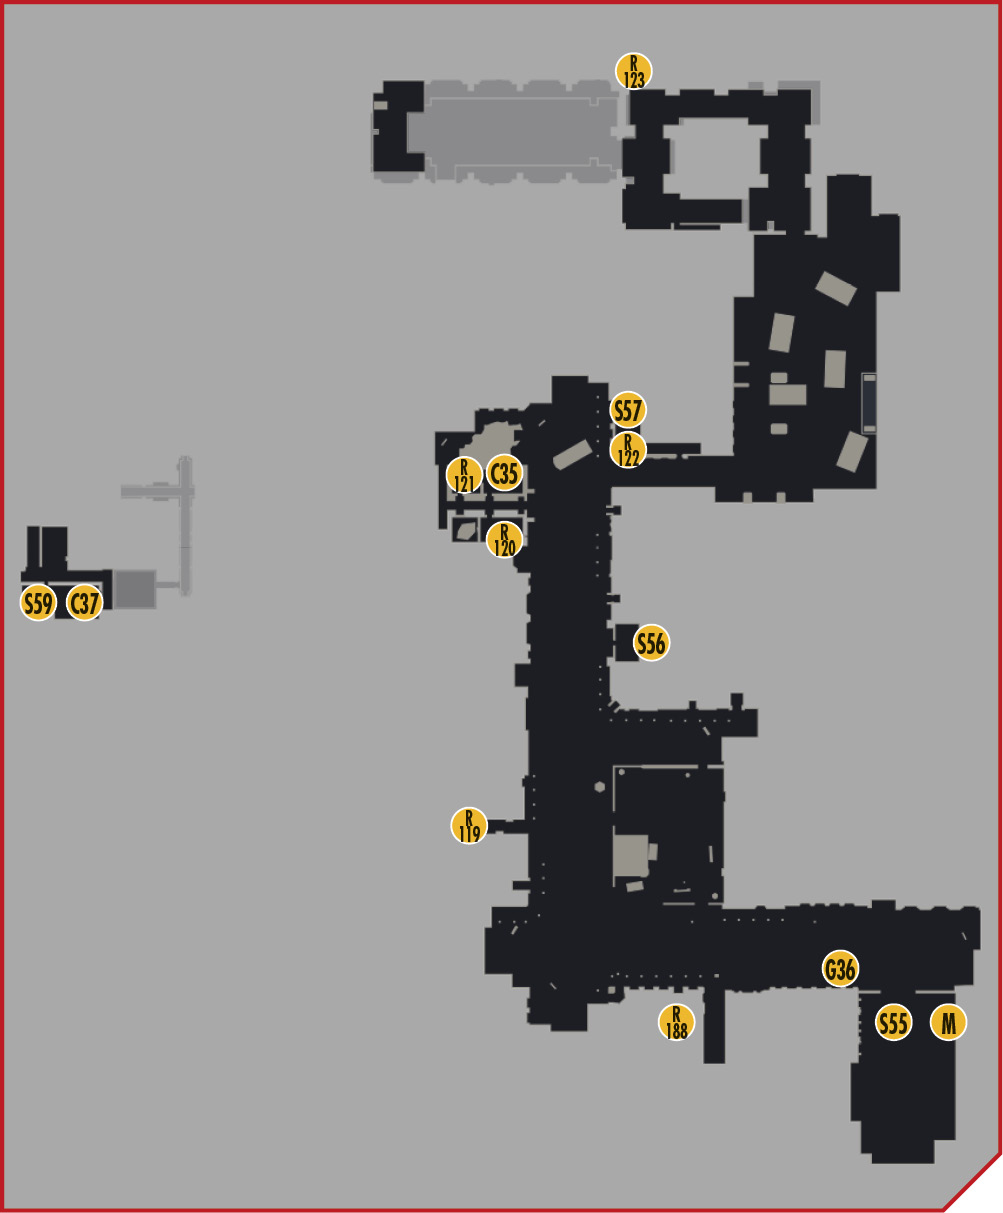
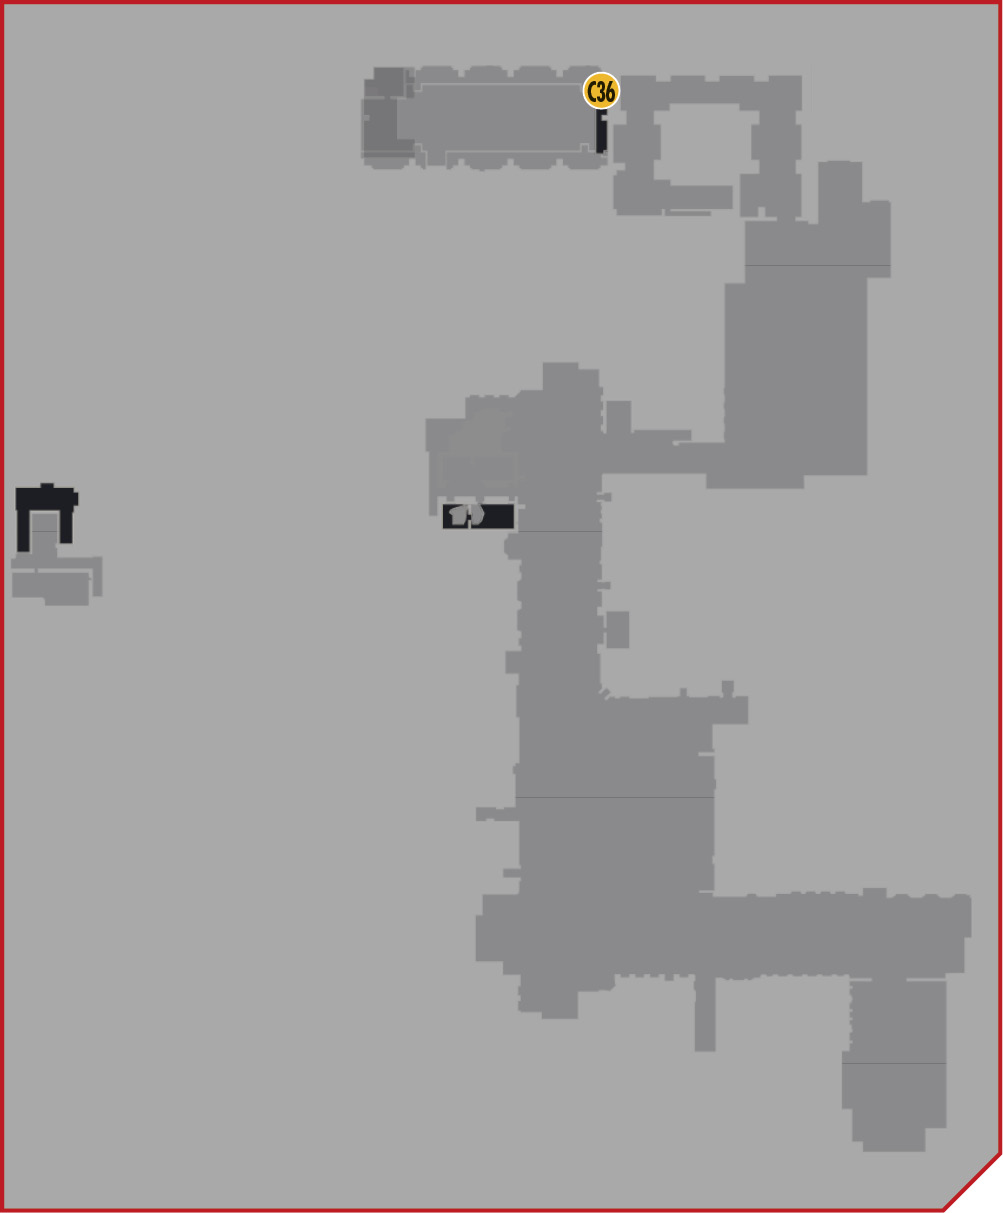
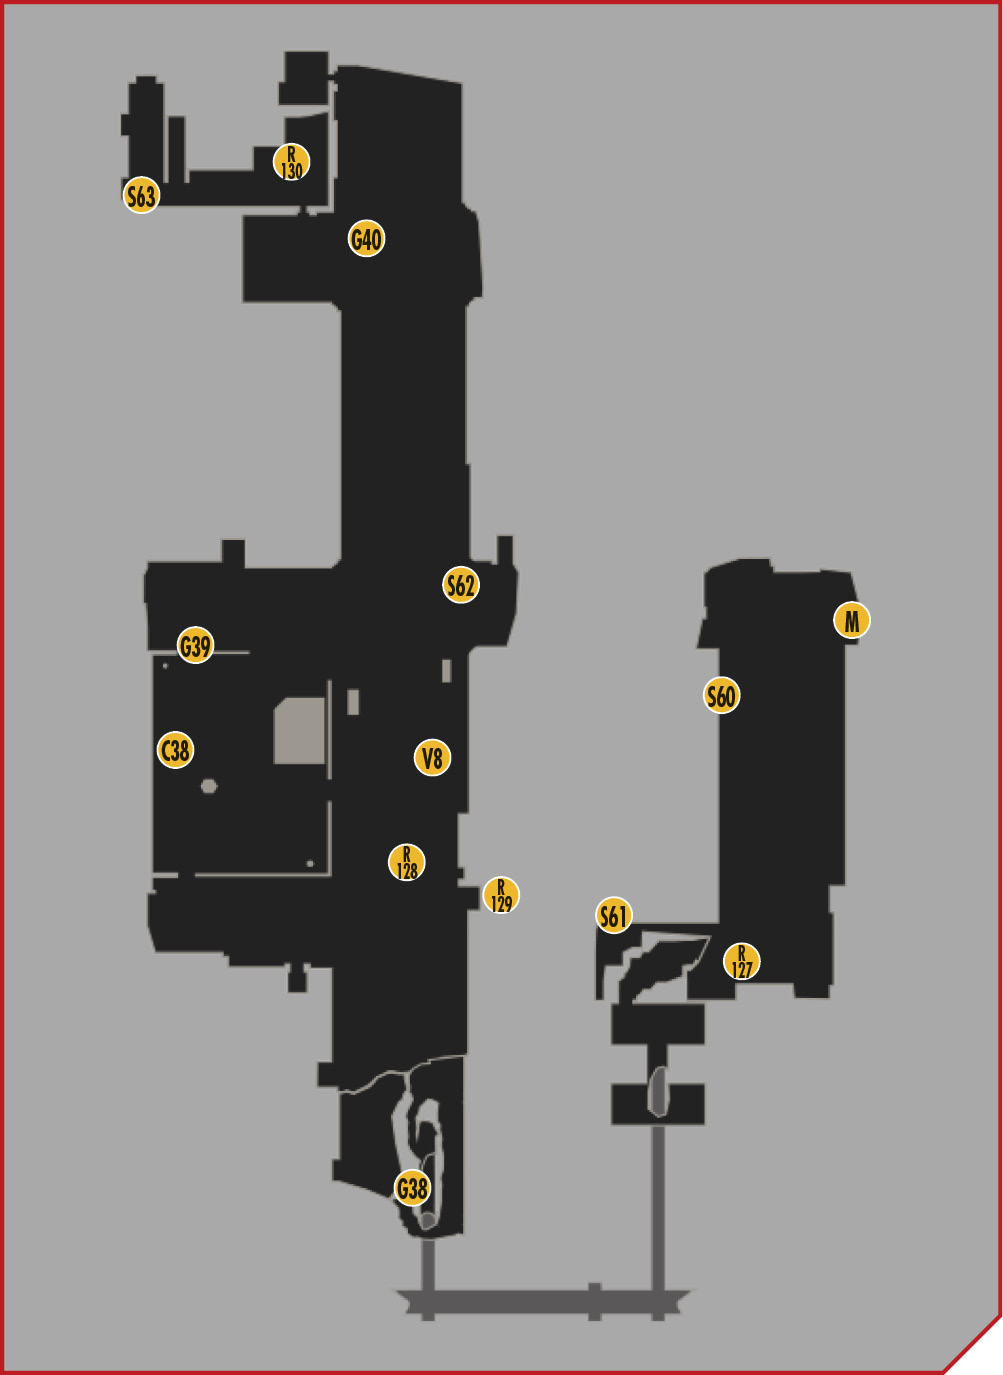
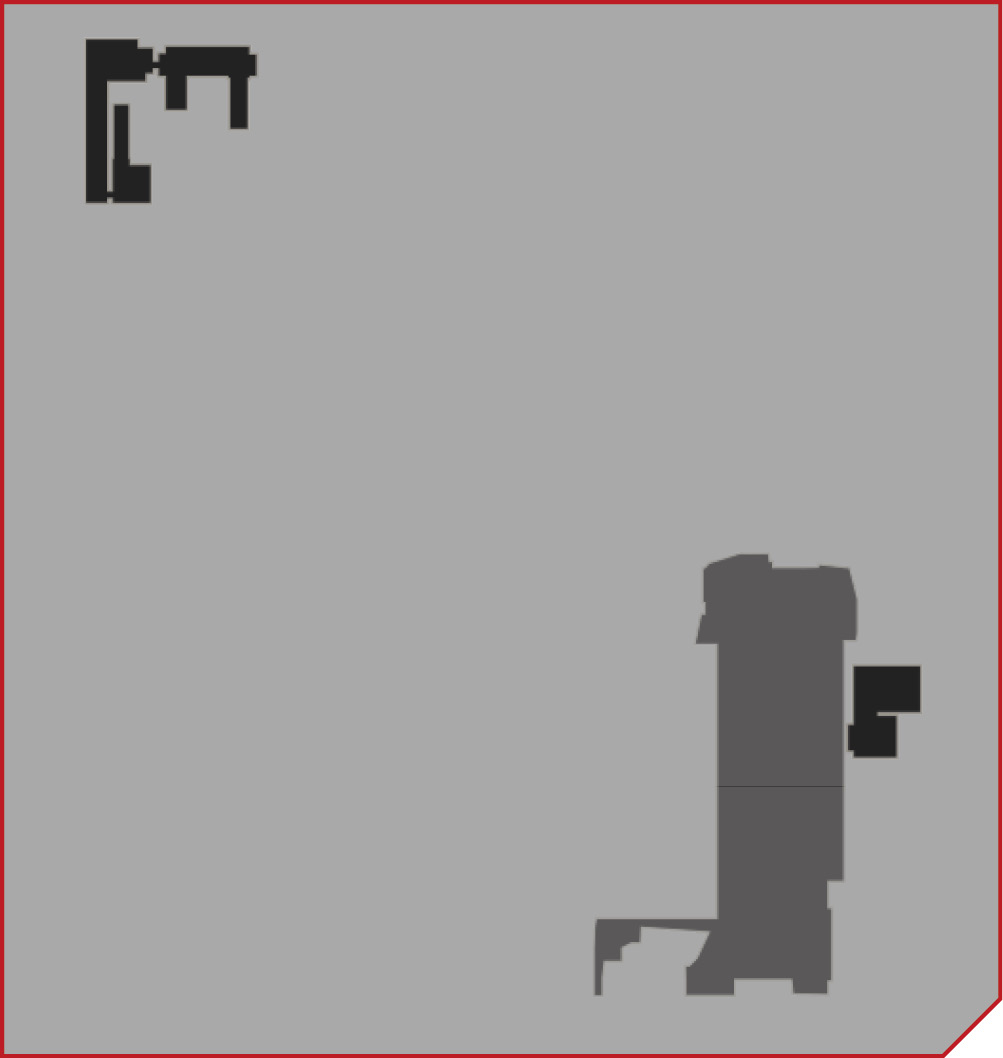
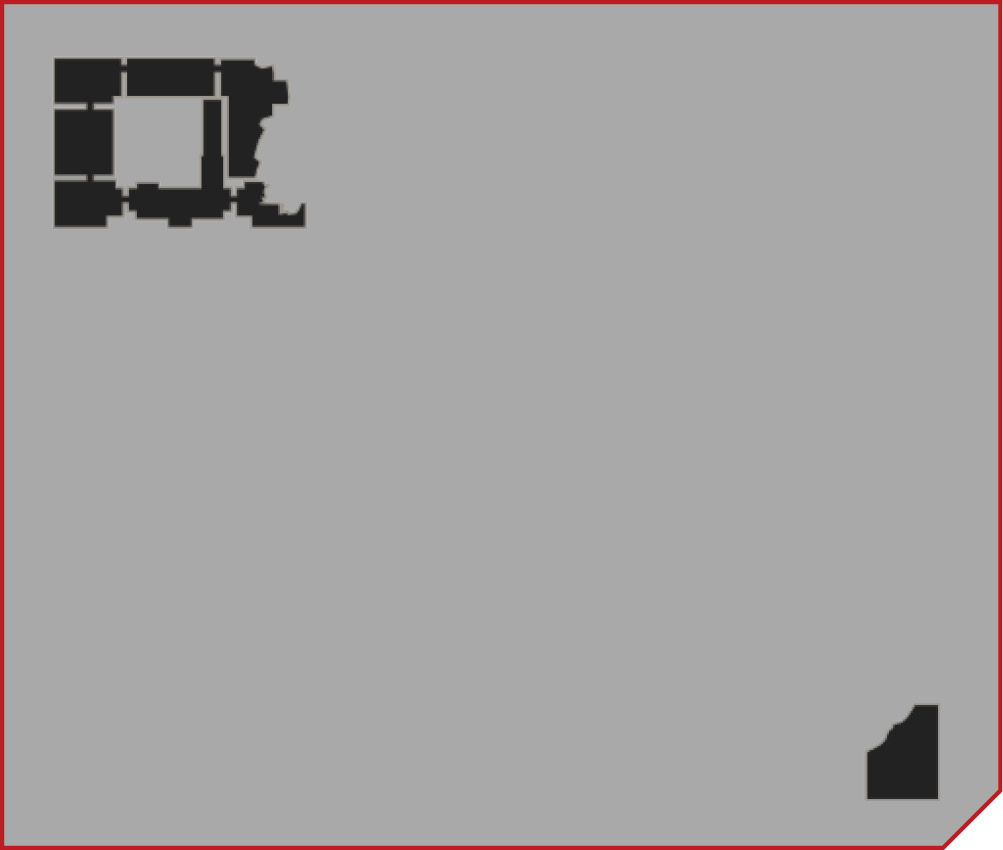
➤ Map Legend Key for Collectibles
|
|
Concepts |
|
|
Gold |
|
|
Map |
|
|
Readable |
|
|
Star Card |
|
|
Max’s Toy |
|
|
Upgrade Kit |
|
|
Vinyl Record |


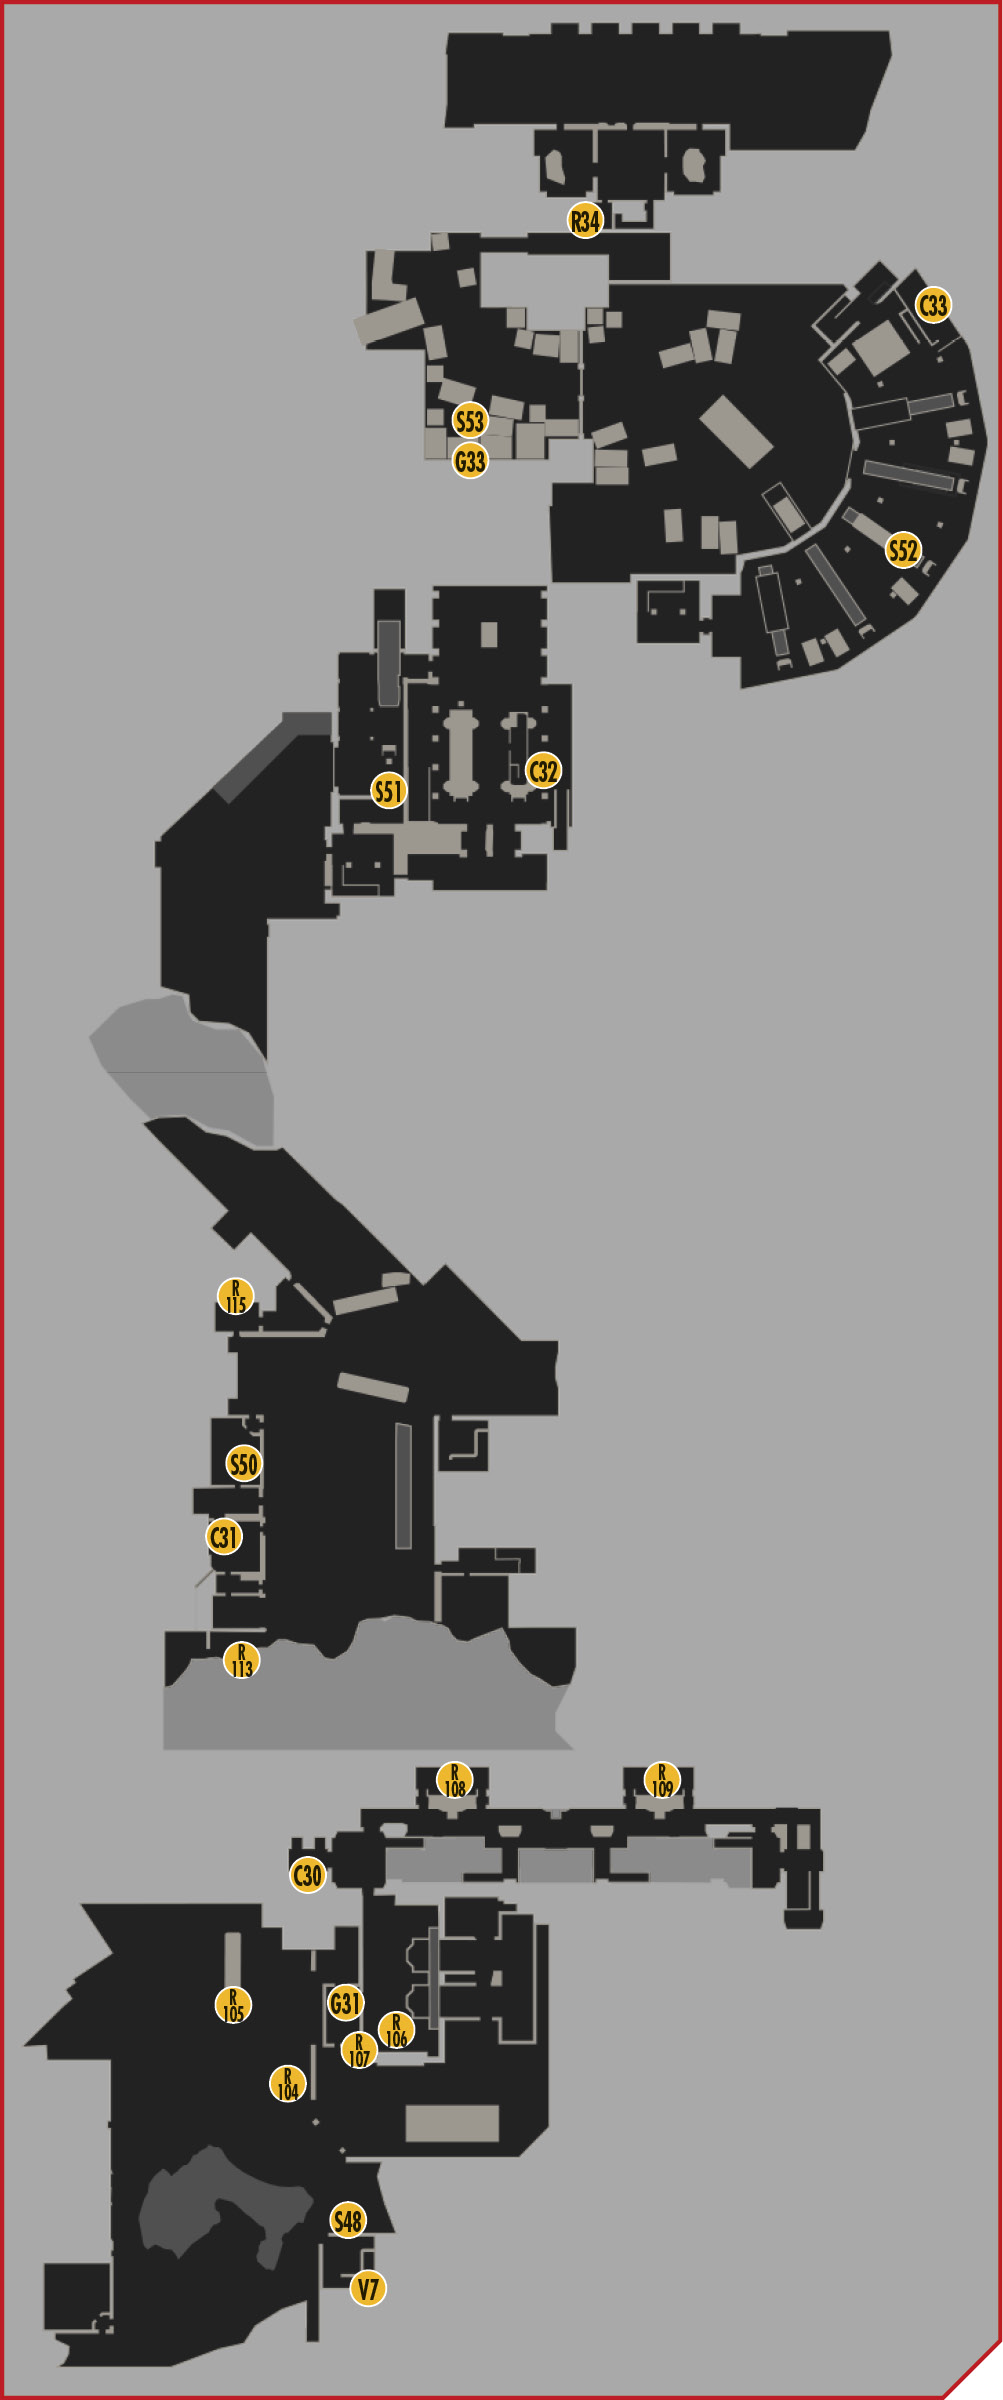
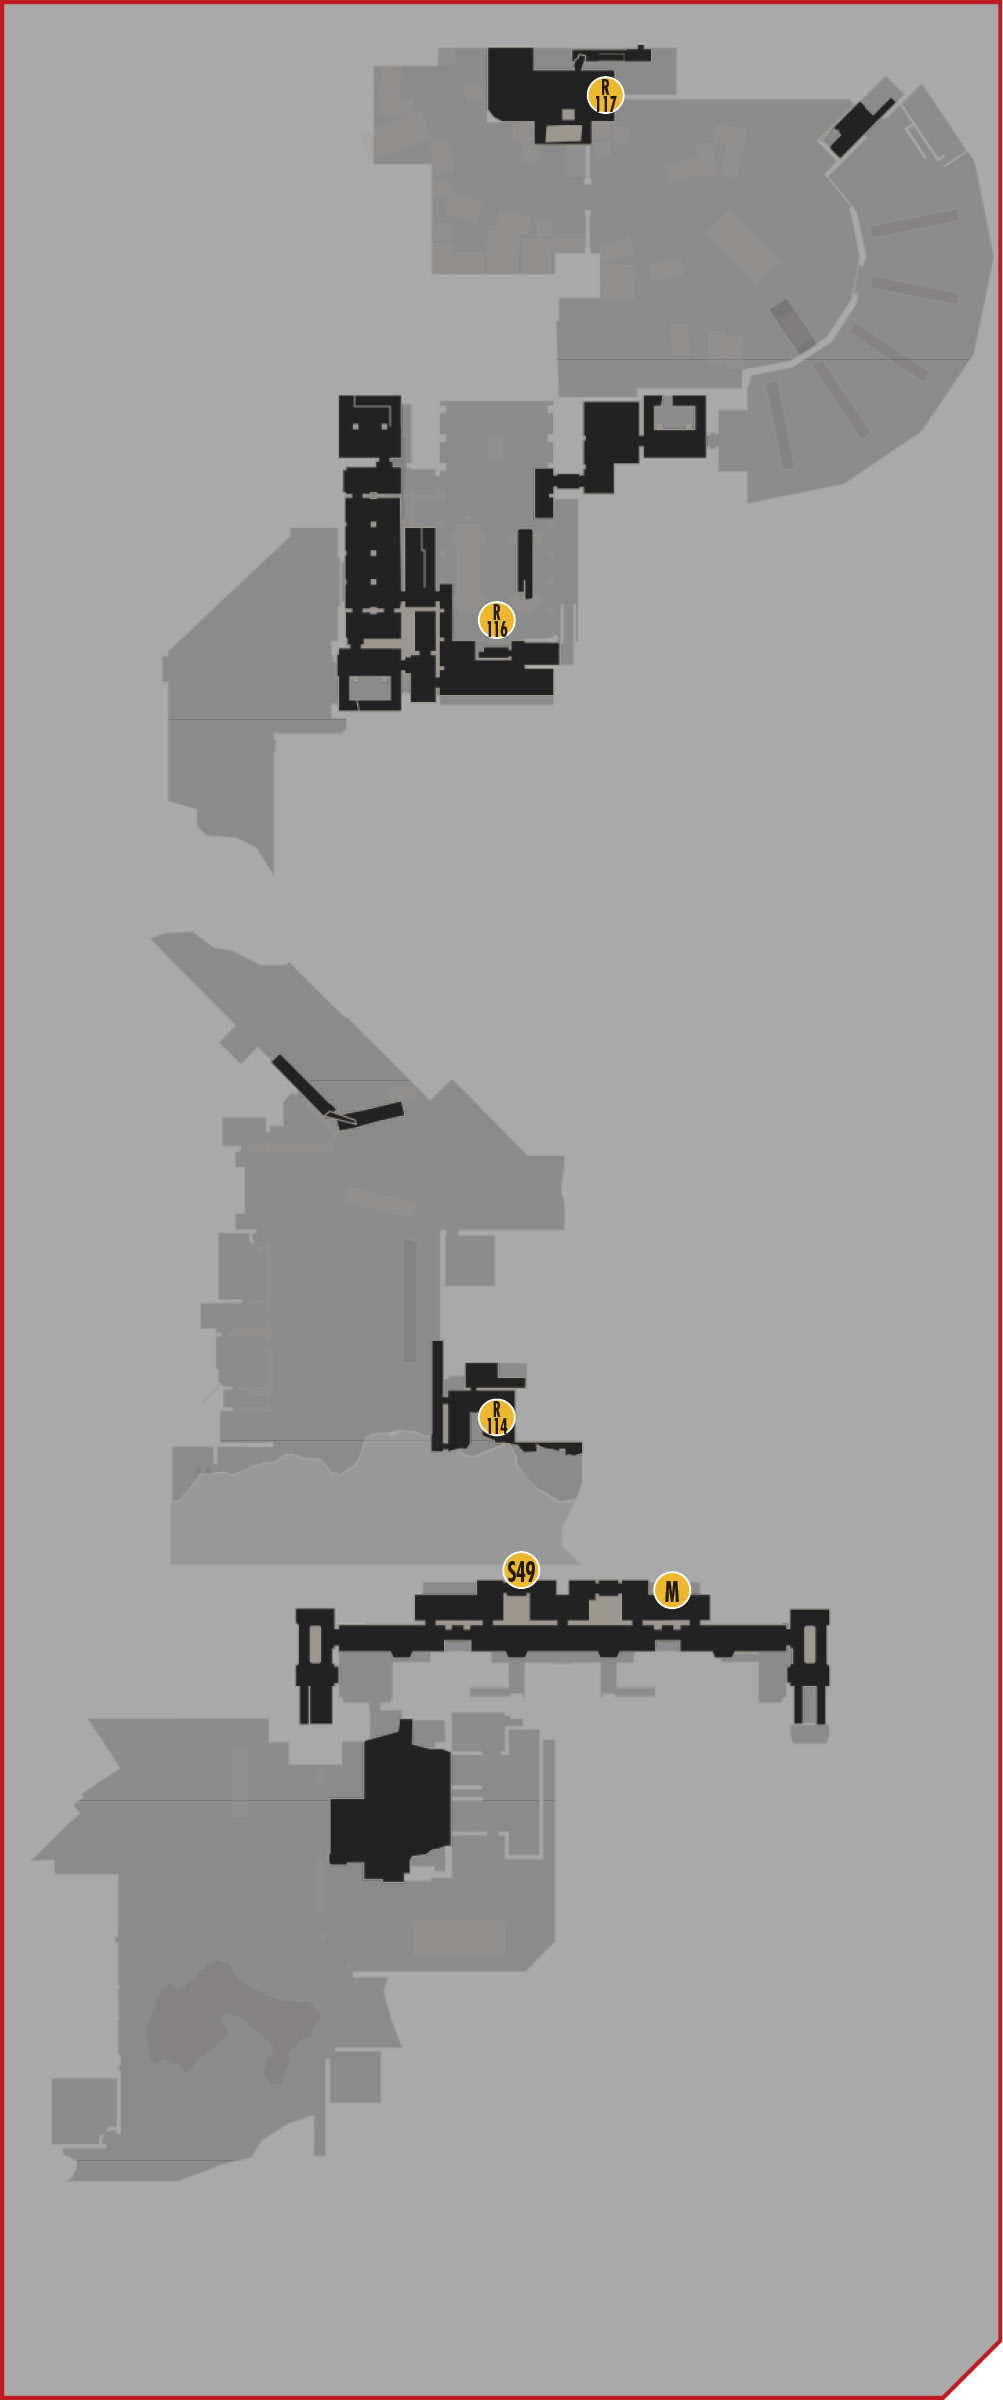
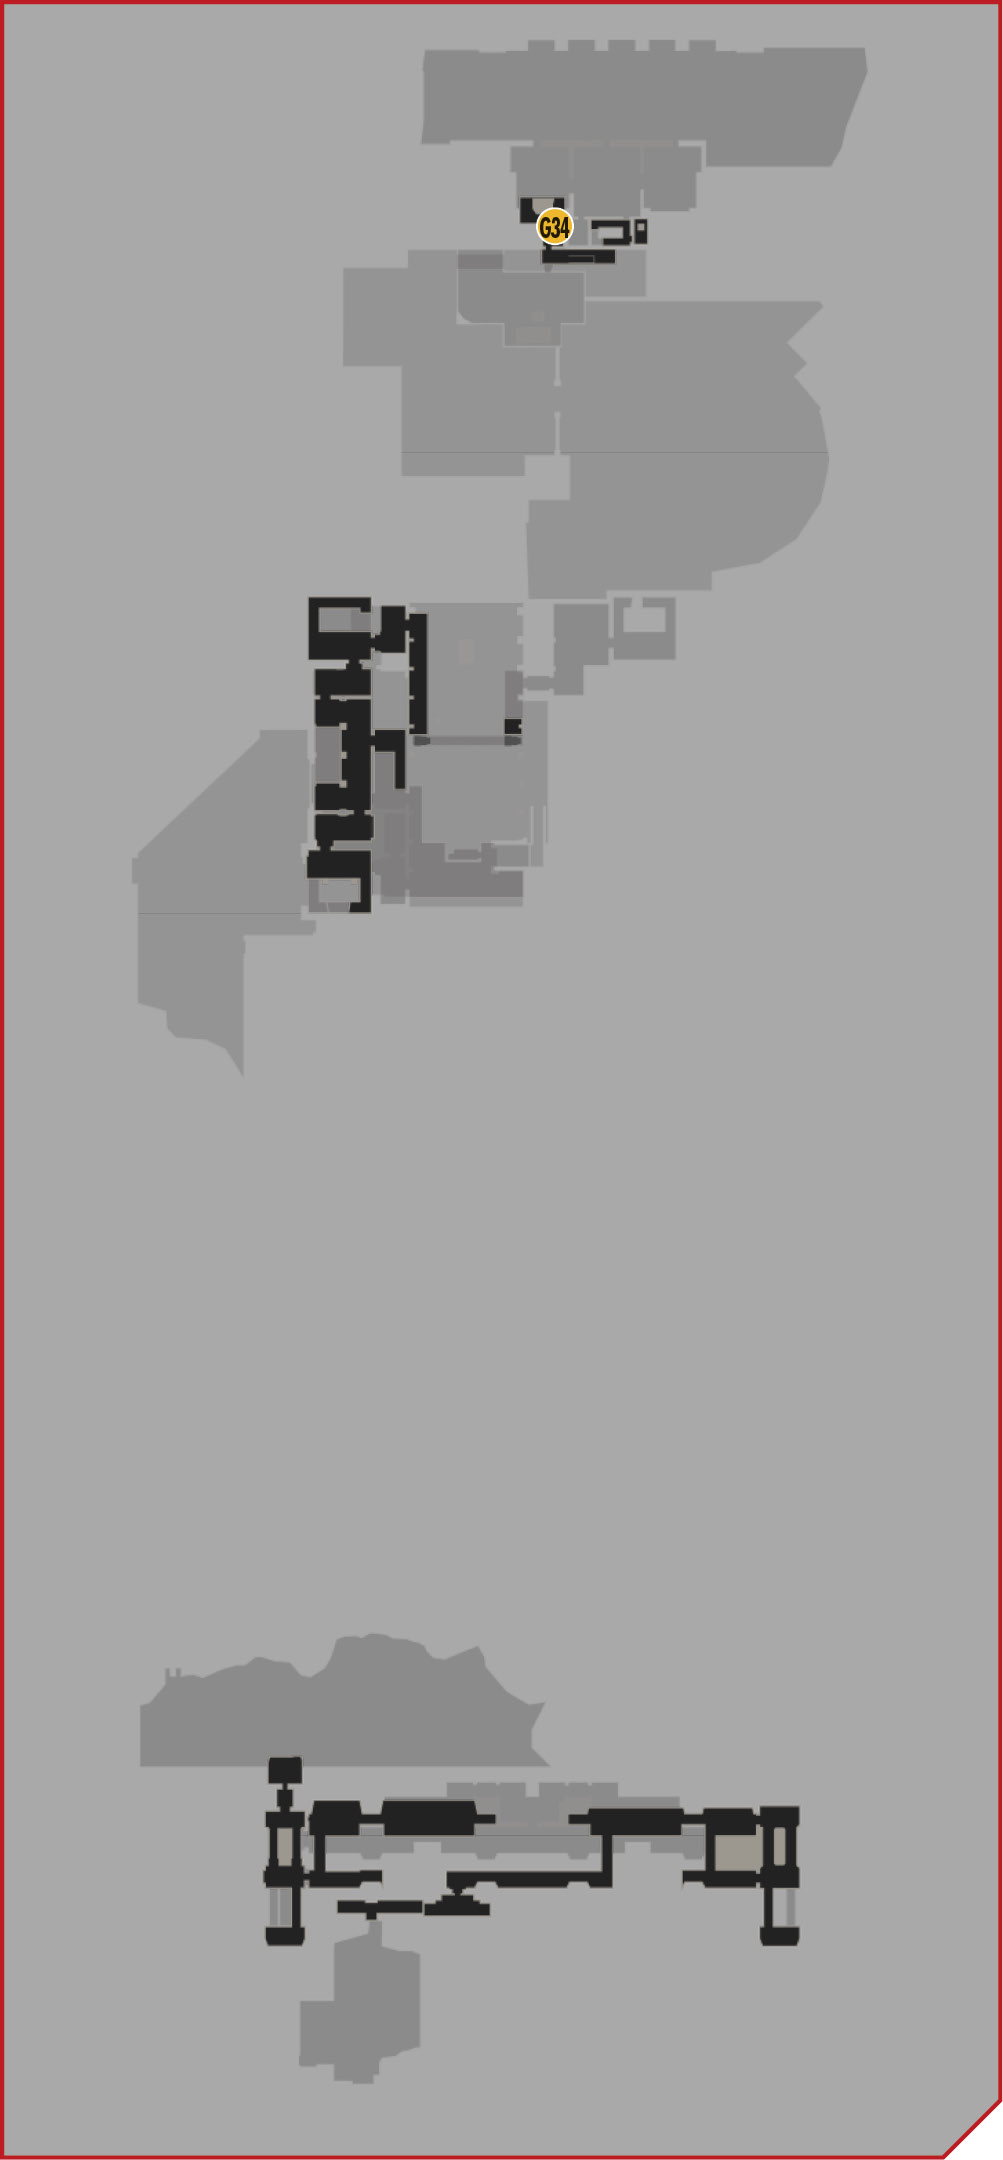
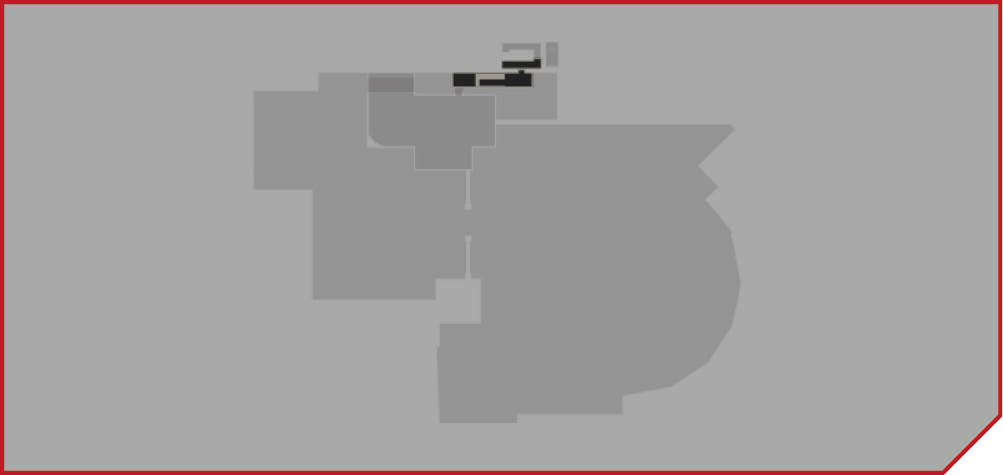
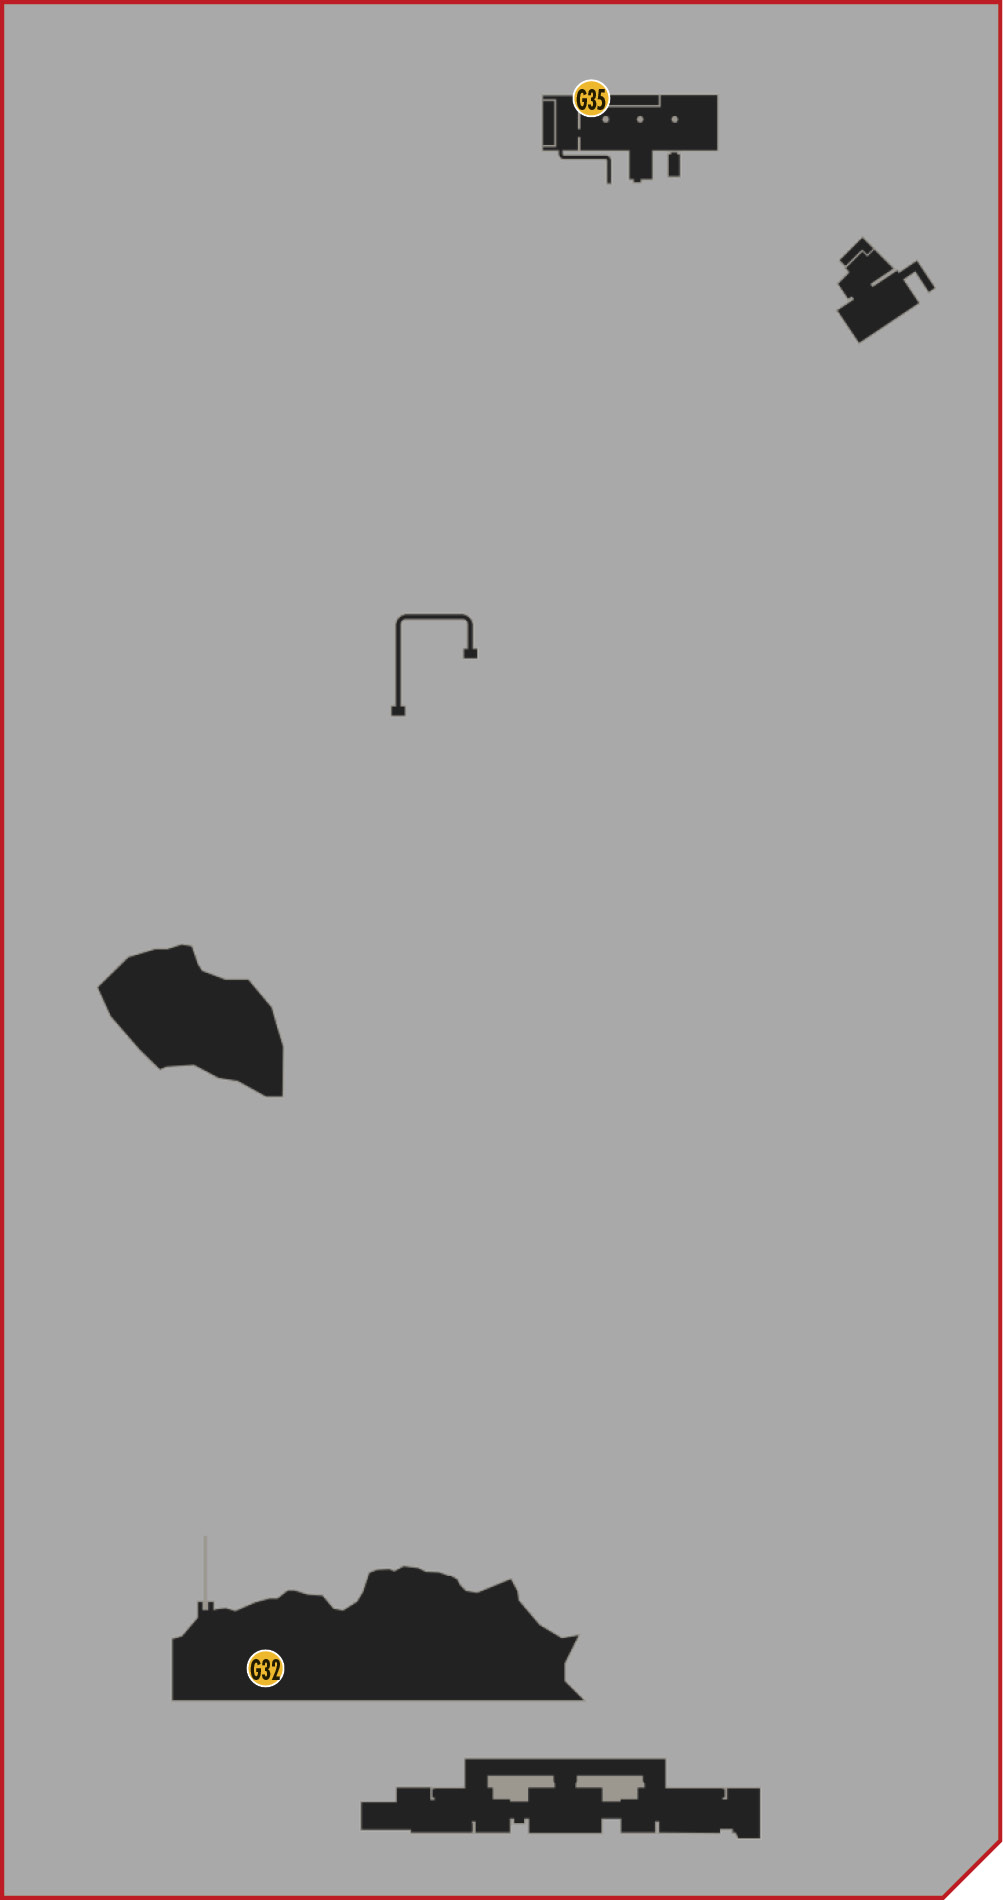
Objective: Enter the Ghetto
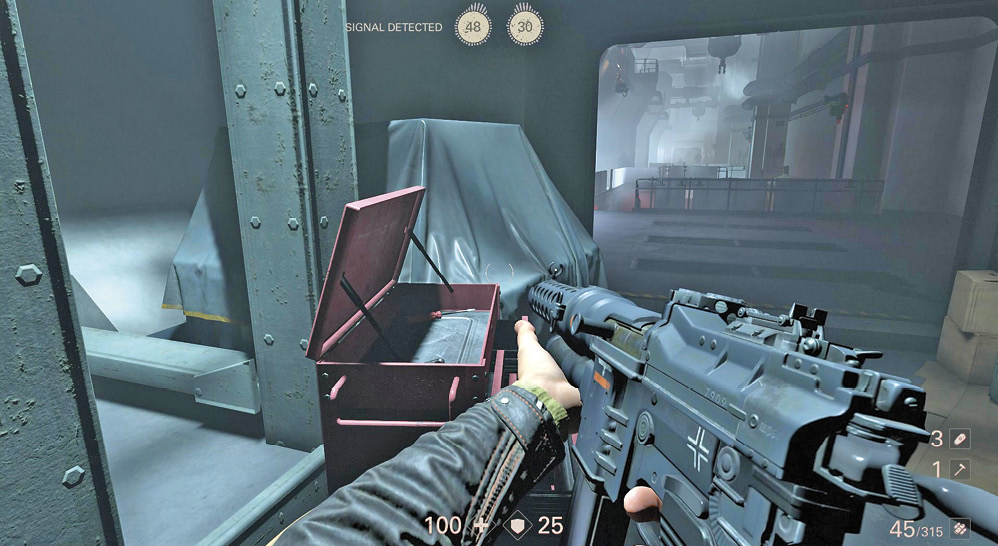
You drop into a small supply room, so stock up on ammo and look for a Collectible. There are two Kommandants in this area, along with several other enemies. The longer you can stay stealthy, the better. You’ve got refueling/recharging stations nearby to top up your heavy weapon, but they’re not grouped together here. Take note of your weapon’s station:
- Dieselkraftwerk: Find the diesel station outside the doorway of the supply room.
- Laserkraftwerk: Find the charging station downstairs in the basement level.
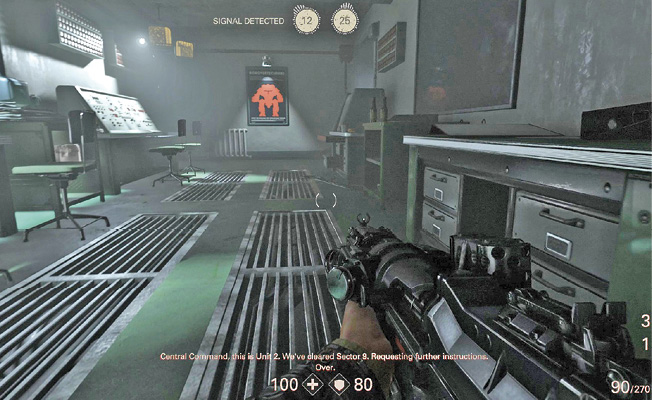
Stay on the ground floor and proceed along the main walkway. Several Soldiers are patrolling ahead. Rather than engaging them immediately, duck into the control room off to the left side for more supplies and a Collectible. A Kommandant usually patrols this area, so watch for him. Take him out quietly if possible.
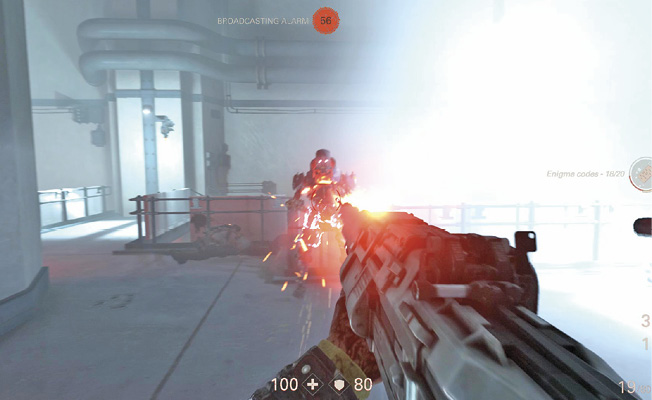
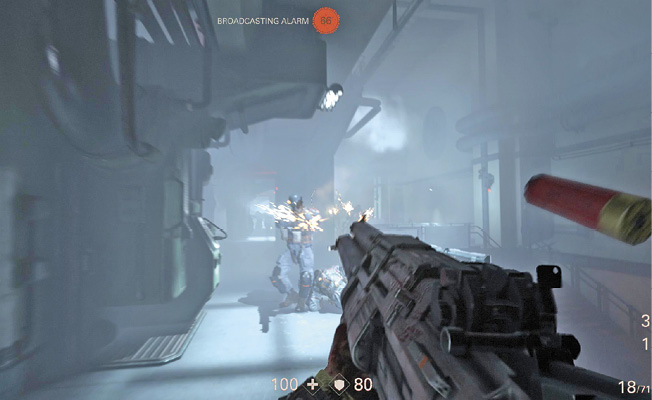
The numerous enemies here make staying quiet difficult—the stealth approach is unlikely to last long. In addition to the Soldiers, you have to contend with an ÜberSoldat. Use the control rooms for cover. The Schockhammer works well in these short-range engagements. With refueling/recharging stations nearby, your heavy weapon is a good option too.
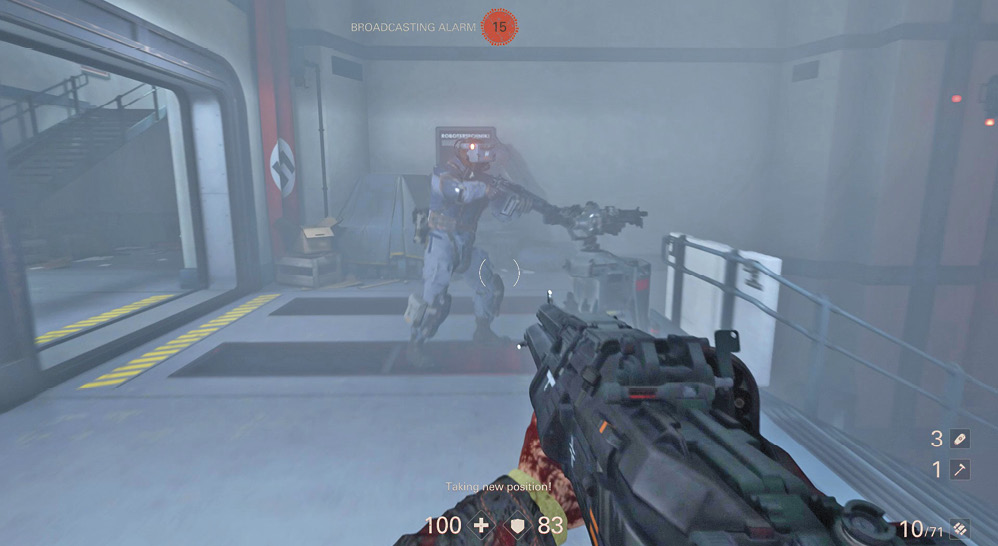
Advance to the far end of this area, clearing enemies as you go. There’s a Sniper and a turret at the far end, so stay low and utilize the control rooms to avoid giving them an easy long-range shot at you.
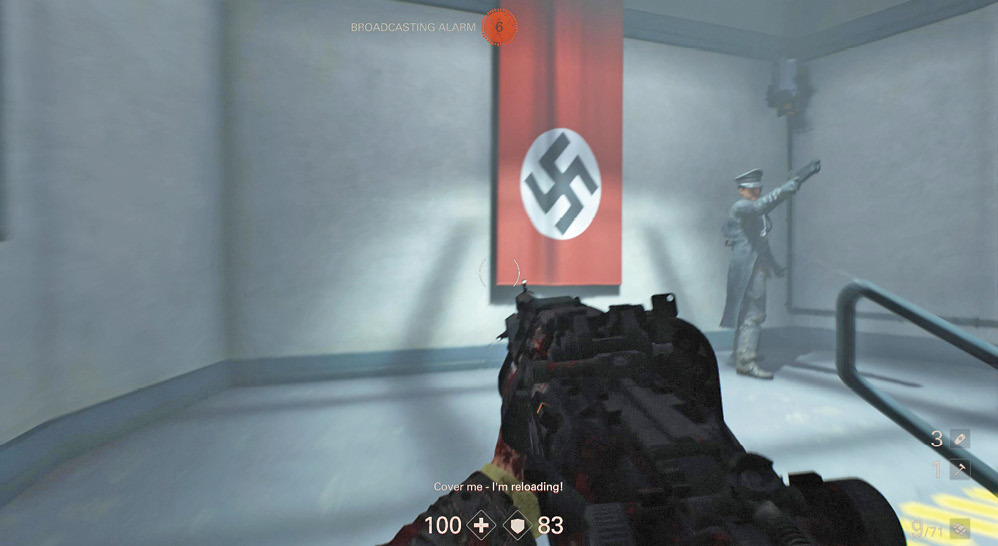
The second Kommandant can often be found near the stairwell at the far end. Push toward him to silence the alarm and prevent reinforcements from pouring into the area. Once all’s clear, backtrack and search the control room and basement area for Collectibles, ammo, armor, and first-aid kits.
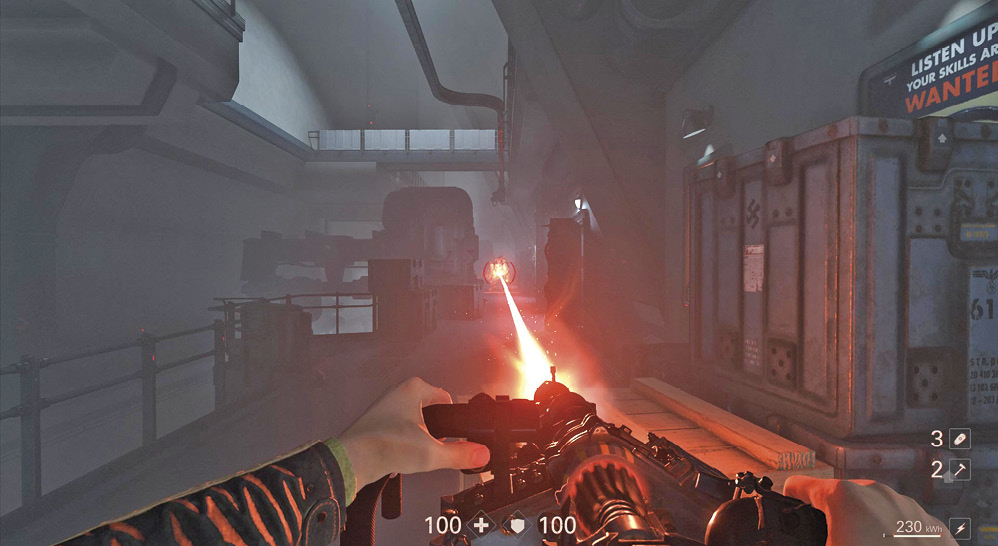
Once you’re ready, head upstairs to the first floor. This walkway contains several enemies, including a SuperSoldat. The Lasergewehr or your heavy weapon makes short work of it. Continue advancing along the walkway, clearing it out as you go.
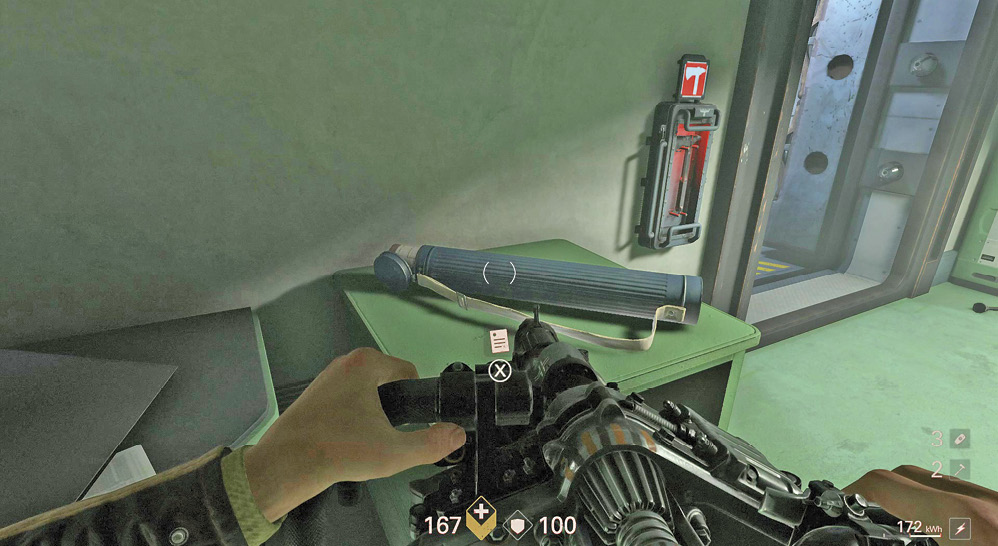
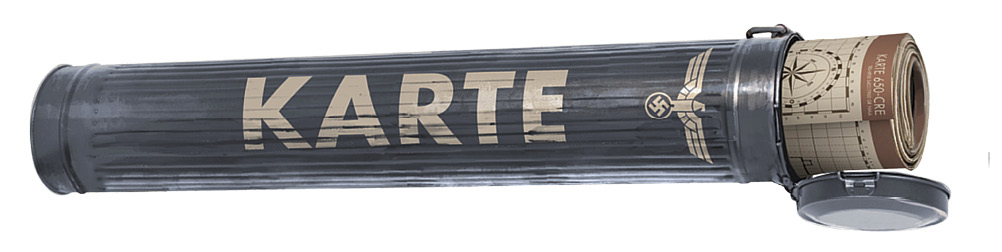
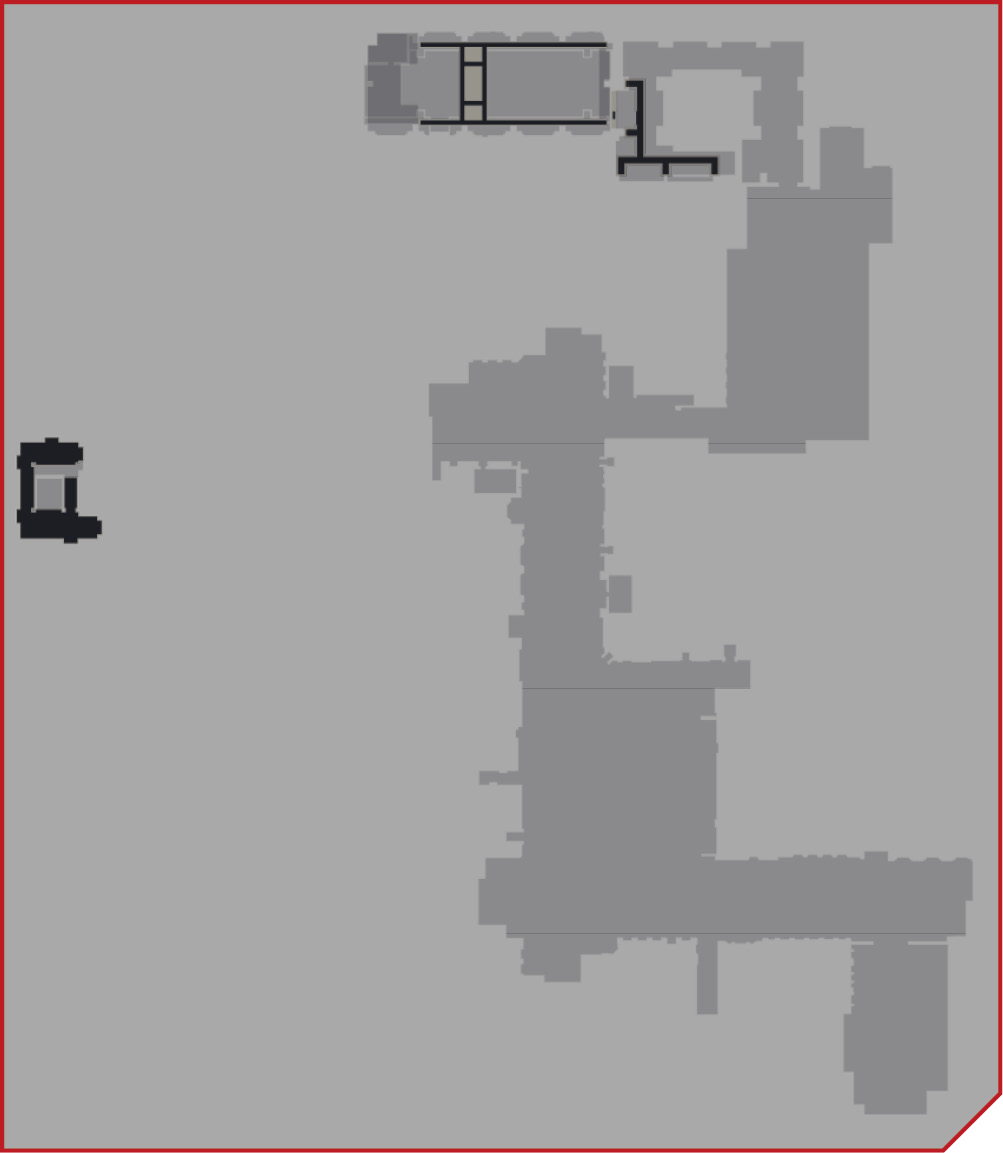
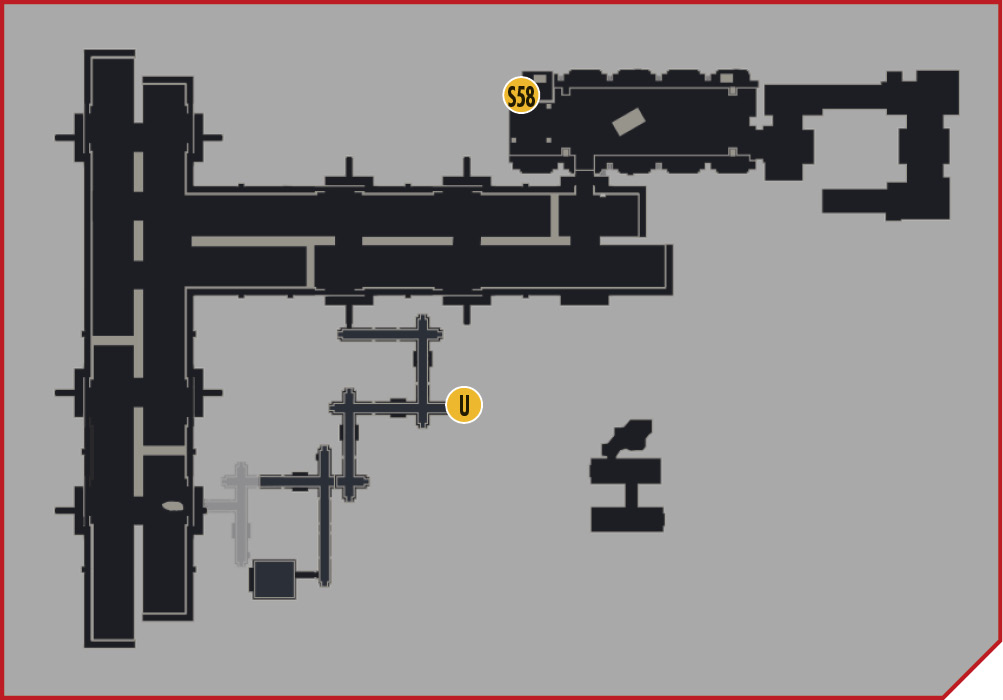
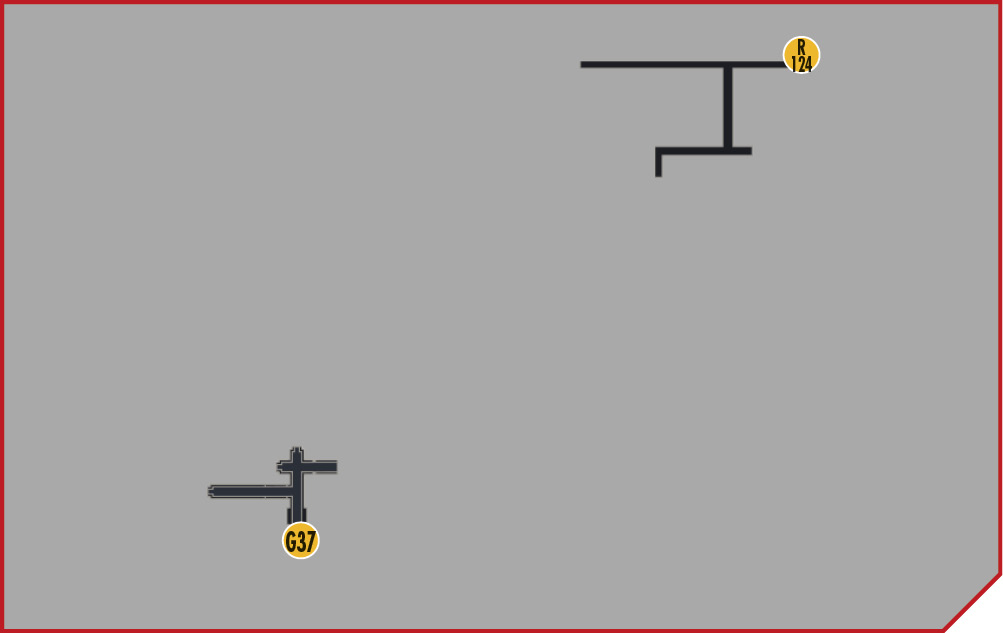
Move into the control room and pick up the map. This reveals everything from the bayou where you entered, all the way to the American Bank. If you prefer to avoid the walkway, consider transitioning from control room to control room by crouching down and crawling under the pipes.
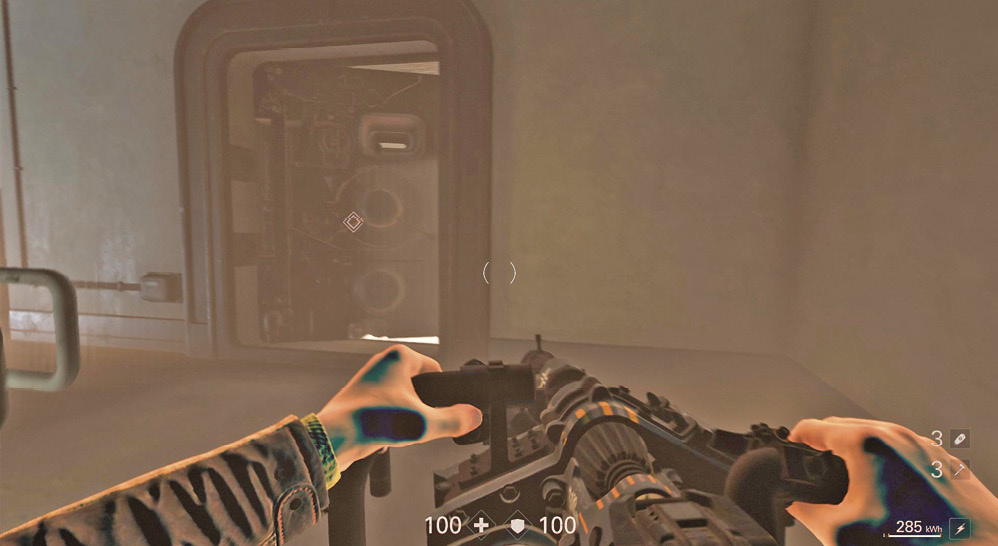
Regardless of your method, keep going all the way to the end of the area and take the stairs to the second floor. A large door there is partially open. Push it so you can walk through and exit the wall.
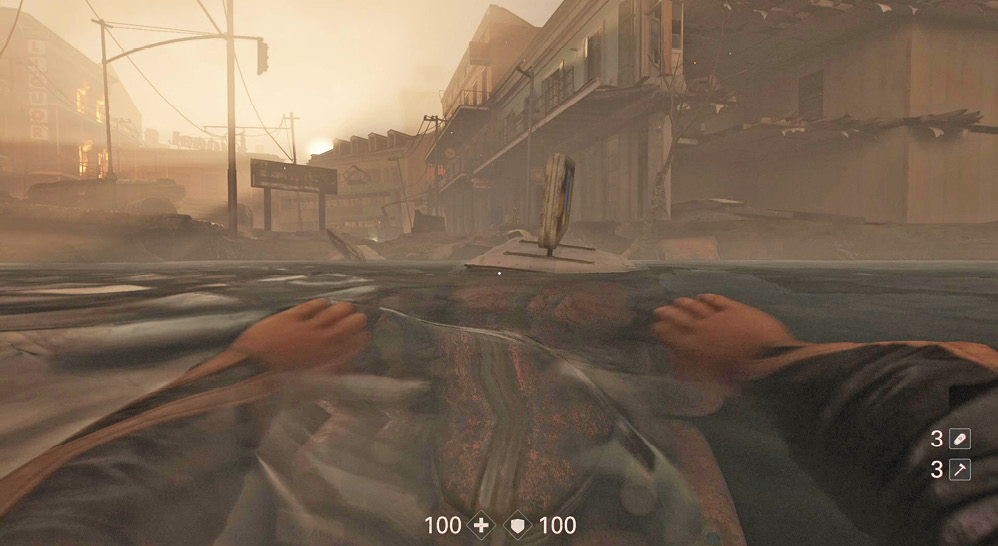
Drop into the water and swim for the shore. There are several enemies in this area, including a Panzerhund. Too bad you can’t swim while carrying that Lasergewehr. Swim left or right to find cover in the buildings on either side of the street.
Objective: Reach the American Bank
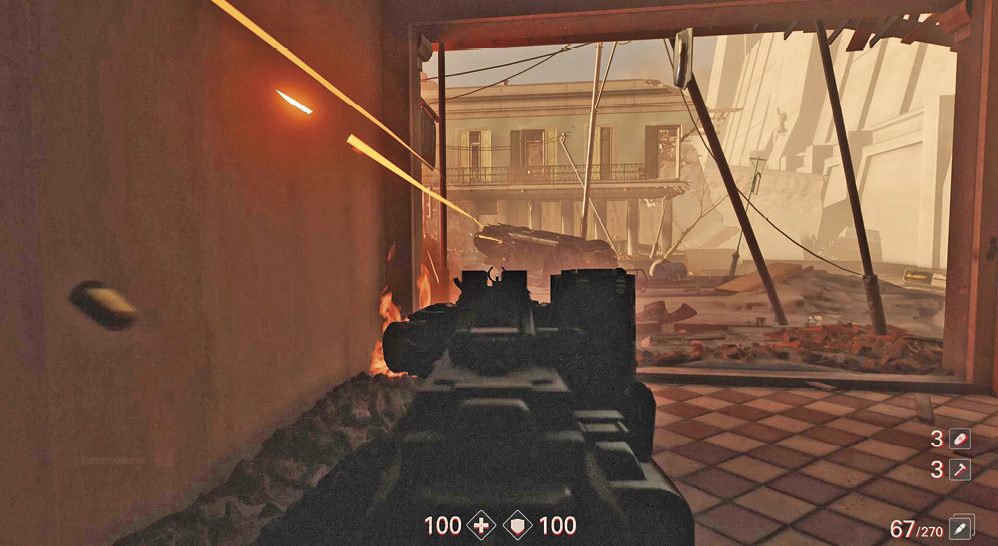
Once inside a building, clear it out, then begin engaging the Soldiers out in the street. When the Panzerhund comes near you, retreat before it hits you with the Flamethrower in its mouth. You want to clear out as many Soldiers as you can before dealing with the Panzerhund.
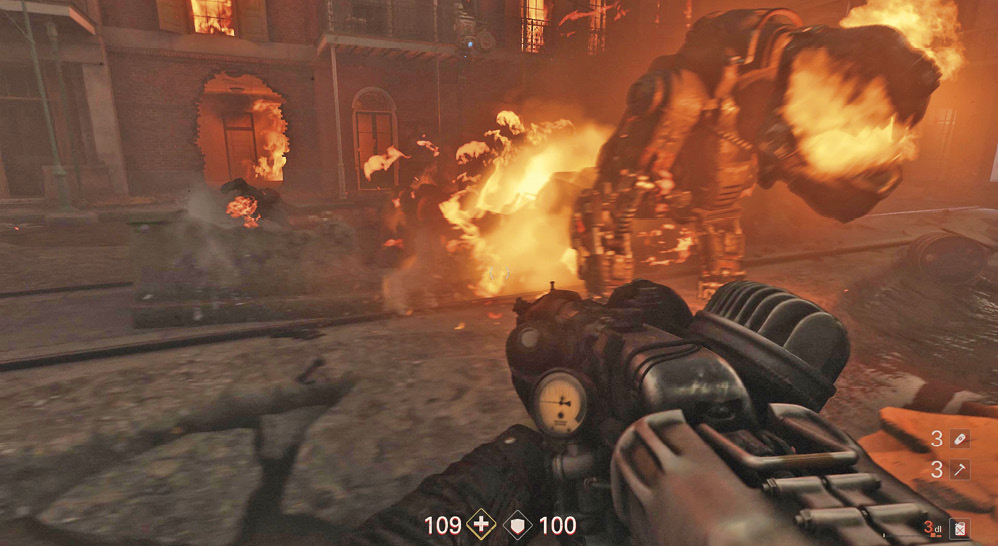
Once the Soldiers are thinned out, you’ve got a couple of options. You can go after the Panzerhund, or you can avoid it and focus on advancing toward your objective. The Panzerhund can take a lot of damage, so assess which tactics work best for you. If you decide to engage, aim for its midsection on the side, where the diesel tanks are located. This area is hard to hit since the Panzerhund always turns toward you to attack. Use buildings for cover and sneak around to hit it from the side.
After you’re done in the ghetto, you must go through the building near the crashed school bus to continue toward your objective.
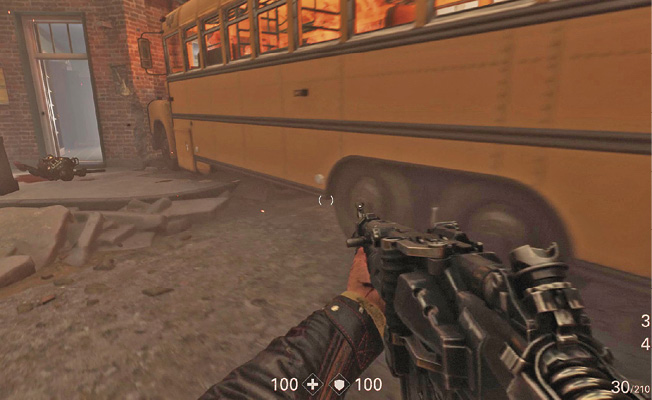
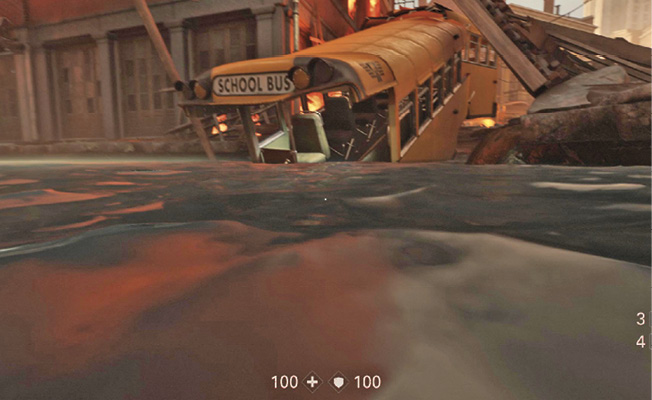
To get past the body of water, you have to swim. Enter the school bus as your exit the water. Then get ready for a fight.
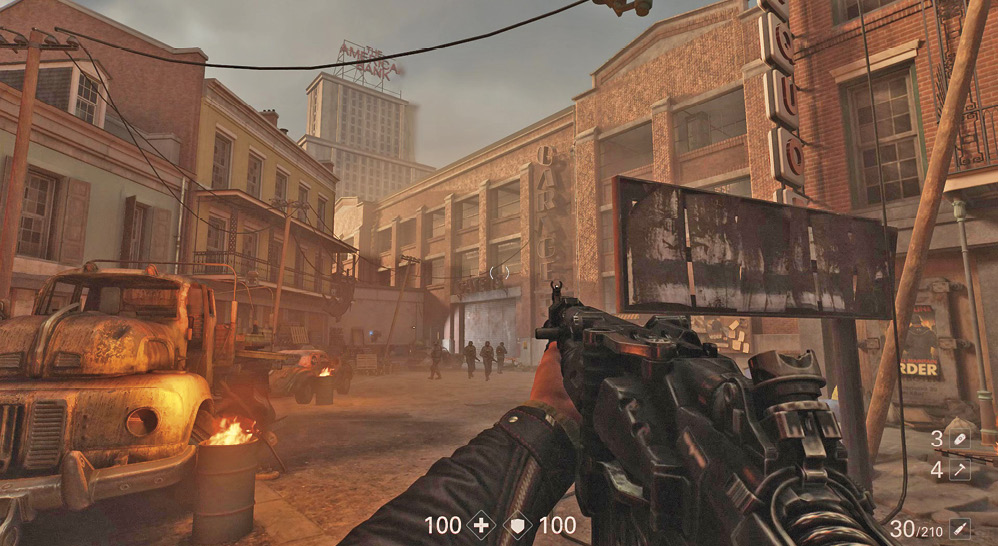
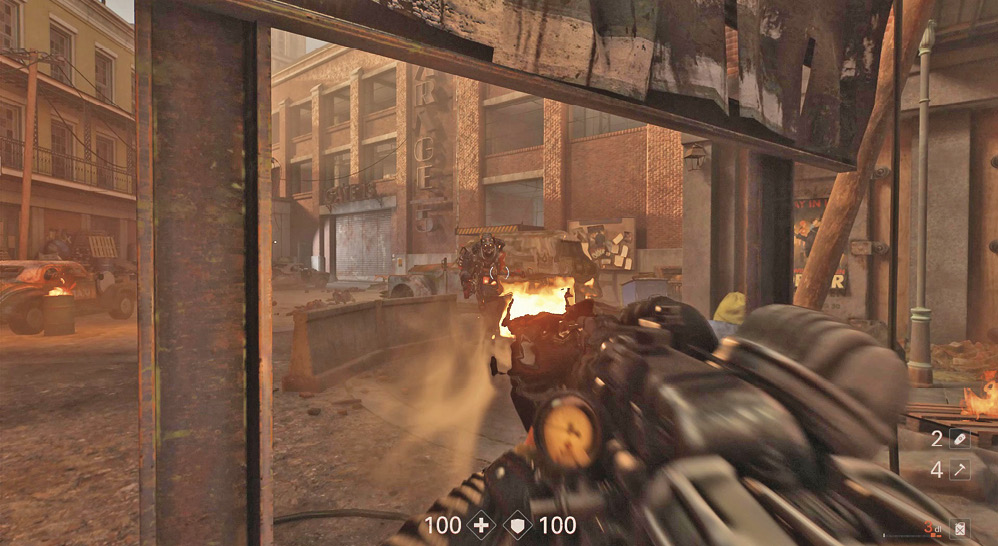
As you exit the bus, you see a row of Soldiers executing civilians. Throw a grenade into their midst, then finish off the rest. There’s also a SuperSoldat in the area, so take it out fast with your heavy weapon. Pick up its Dieselgewehr—it’ll come in handy soon. Nearby refueling/recharging stations help keep you prepared. Tend to your own heavy weapon as well, if need be.
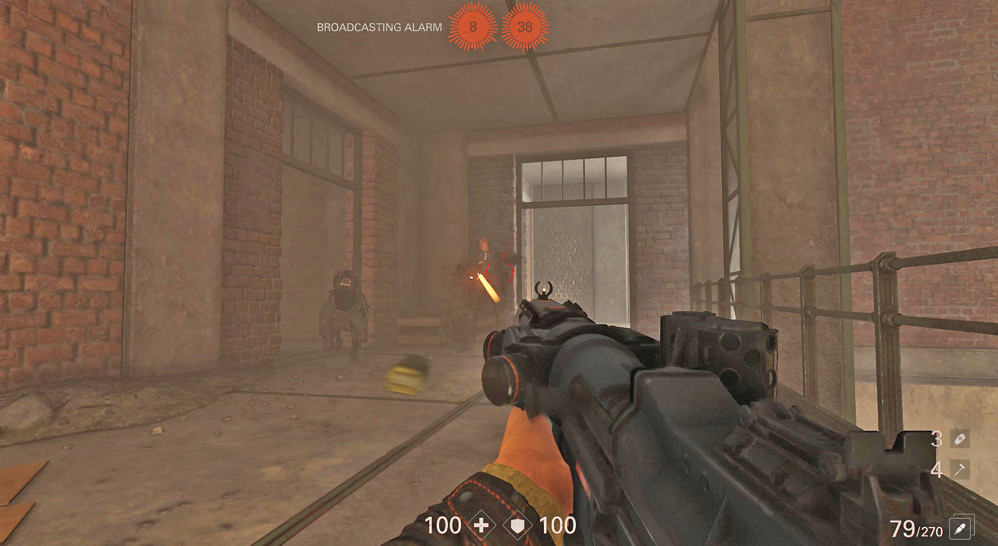
Blow up a yellow-striped metal door with a heavy weapon, then enter the streetcar maintenance building. On the ground floor, search for a weapon upgrade and ammo, then head upstairs where the enemies are located. You can hear barking, so be ready for a Kampfhund. While you can try stealth, don’t expect to pull it off for long.
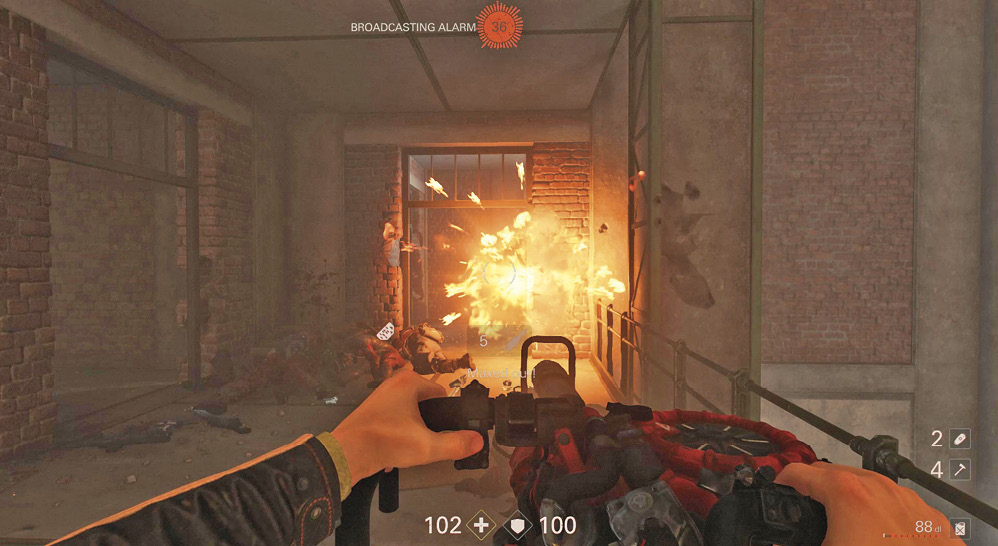
It’s better to go in with the Dieselgewehr. In fact, once the shooting starts, a lot of enemies come to you. Stay near the top of the stairs and light up anyone who appears in the doorways.
From the stairs, advance through the doorway on the right and continue to a small control room. Blast open the door, then pull the lever inside. This activates an overhead crane, which you must use to reach the other part of the building. Look for a Collectible in here as well.
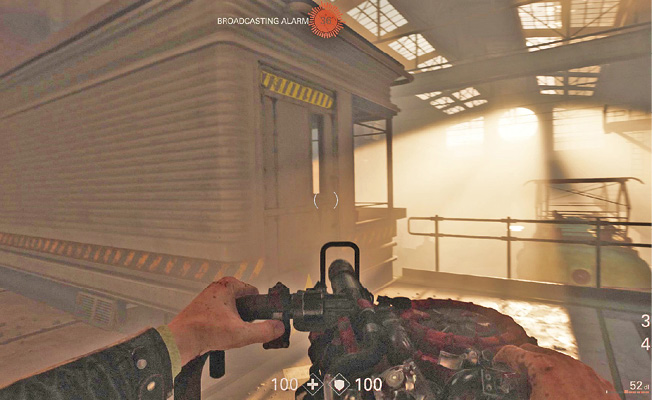
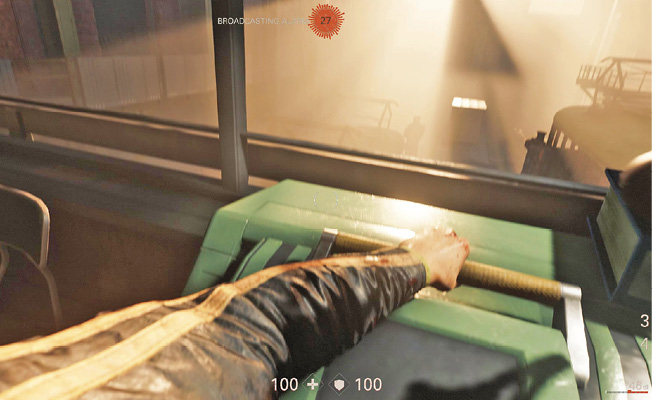
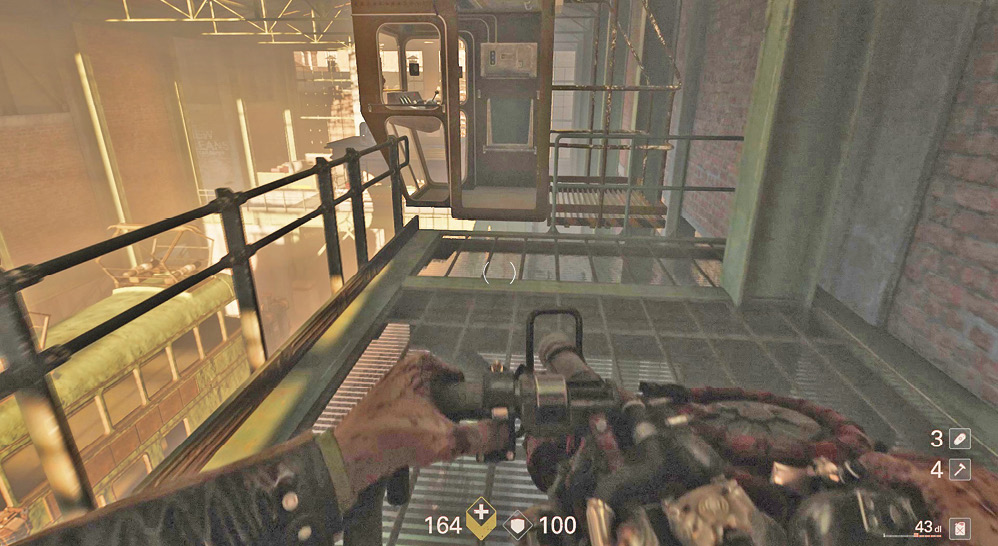
Advance to the other side of the building from the control room. From there, get up to the second floor, where a catwalk leads to the crane. Climb into the crane’s cab and move it across the large building to the other side, then disembark. Climb down a ladder, traverse a corridor, and head down some stairs to reach the ground floor of the roundhouse.
Objective: Exit the Roundhouse
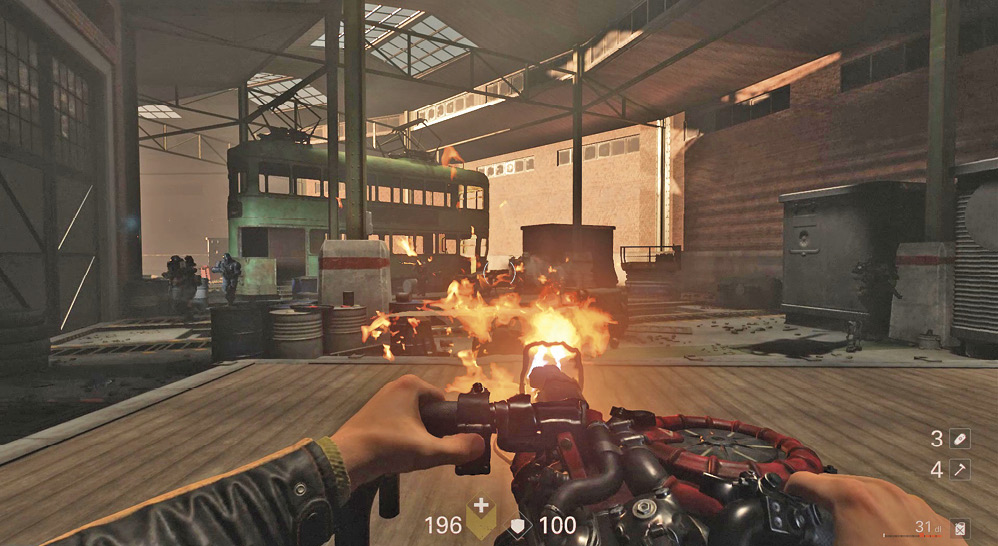
You encounter several enemies in the roundhouse, including a SuperSoldat. If you still have fuel in the Dieselgewehr, use it. As you take fire, pull back into the corridor by the stairs and let the enemies come to you. Finish them all off, then move to the far end of the roundhouse.
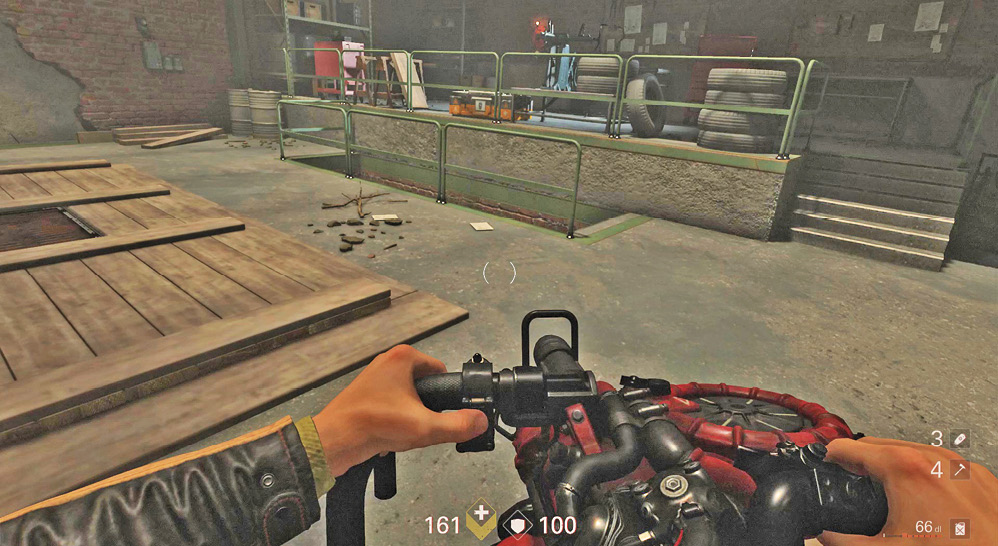
If you dropped the Dieselgewehr earlier, grab one from the dead SuperSoldat, then seek out the workbench at the end of the building and refuel it. Since there’s no way out of the roundhouse, you need to create your own exit.
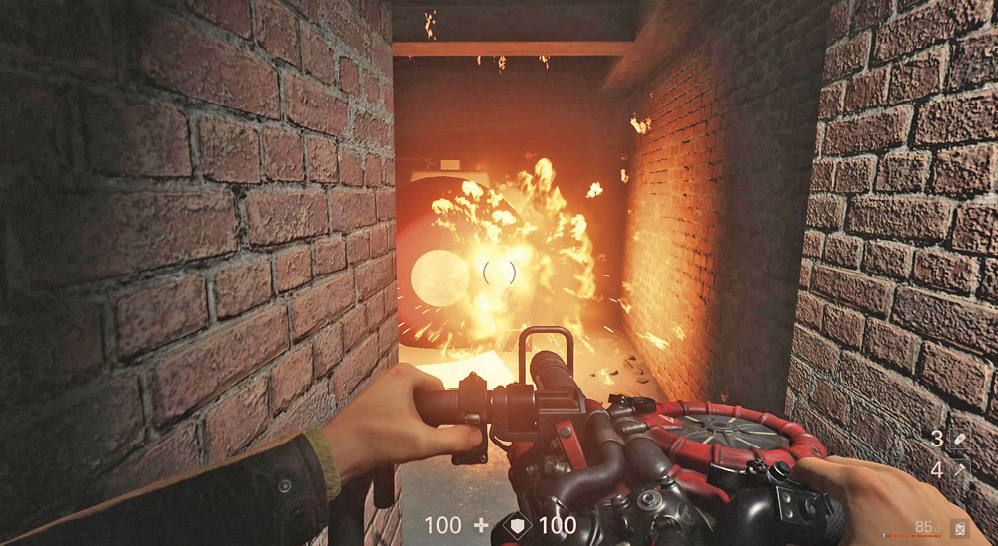
Head down the stairs by the workbench to find a large fuel tank. Throw a grenade at it, or shoot it with the Dieselgewehr to cause it to explode and blast out a section of wall at the basement level. Move through the opening and climb two flights of stairs until you reach a door looking out over the streetcar yard.
Objective: Reach the American Bank
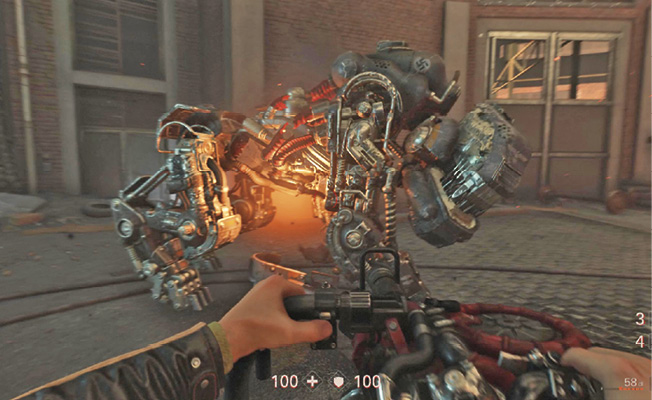
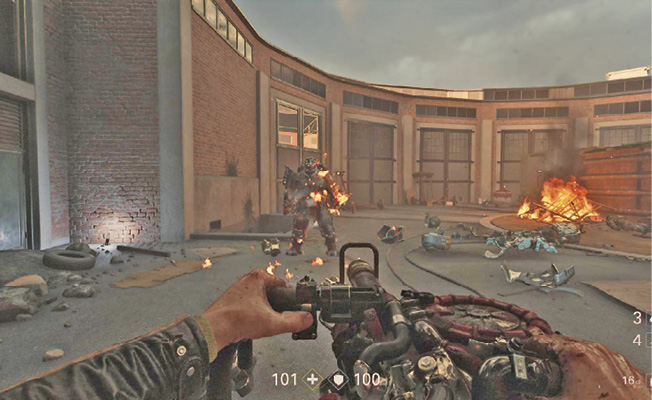
The yard contains several enemies, including a Panzerhund and a SuperSoldat. The key to survival is to keep moving. Find cover, or you’ll end up dead fast. There’s a fuel station for the Dieselgewehr, so fill up as needed. Since the Panzerhund is extra tough, leave it for last. Stay on the move, defeating the Soldiers and SuperSoldat with your Dieselgewehr. Then go after the Panzerhund. If you can get in close, hit it in the side with your hatchet to sever a diesel line. As the fuel spills out, ignite it for additional damage. Keep up the attacks until it’s eliminated, then blast open the metal gate to exit the yard.
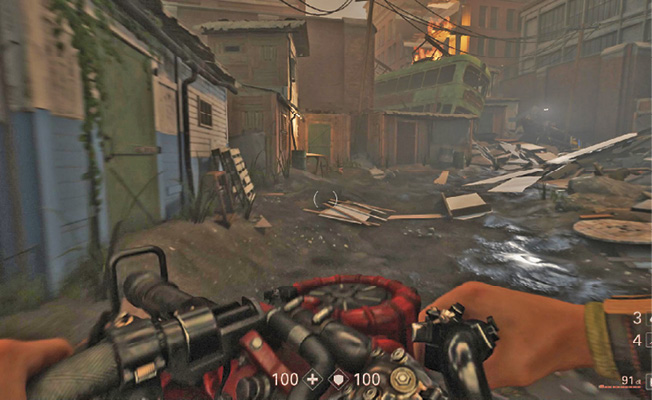
As soon as you leave the yard, you enter a living area with a few shacks set up. Search them for Collectibles, then make your way up a ramp of debris. Search the shack on the rooftop, then climb the fire escapes.
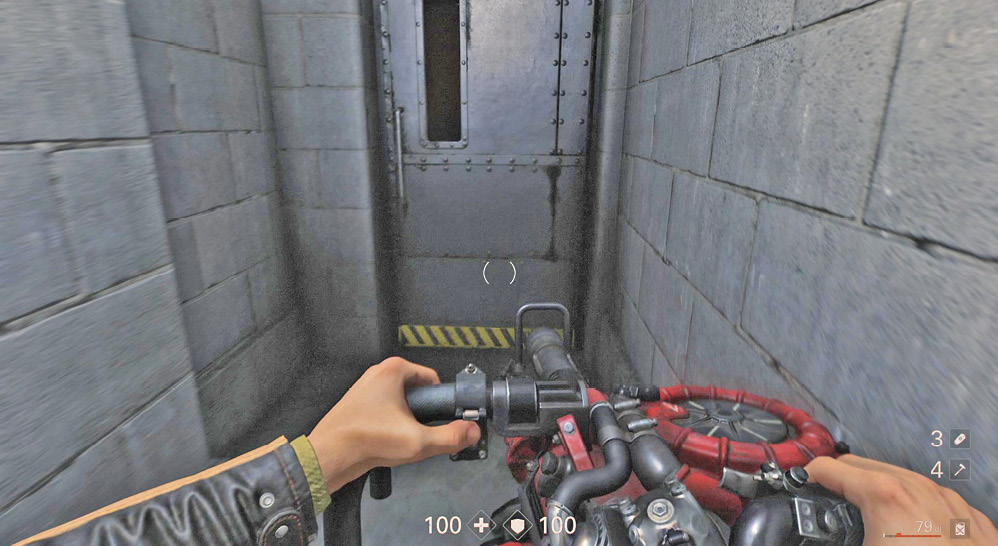
Go all the way up to the third floor to find an open door. Head inside and down a stairway. Blast open the steel door at the bottom.
Objective: Assist the Resistance
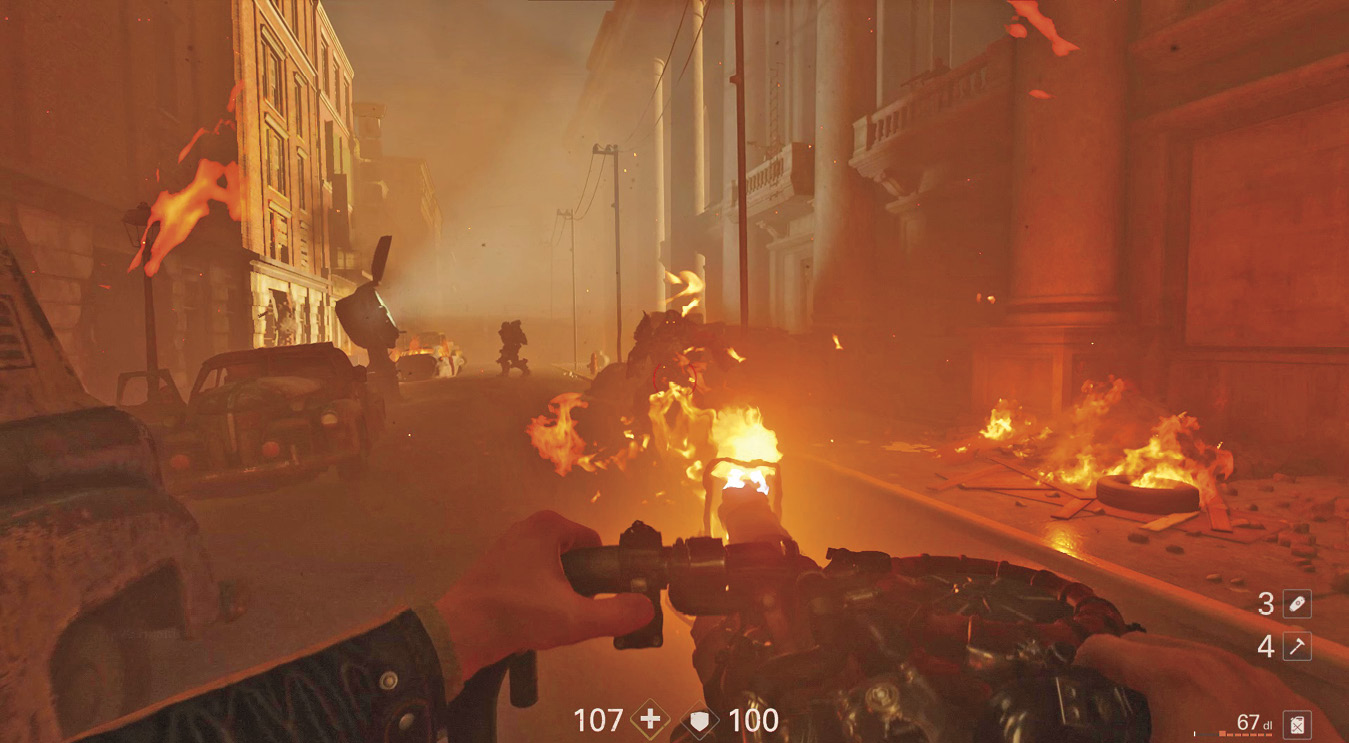
The Nazis are attacking the Resistance, who are holed up in the American Bank. Help them out by eliminating as many enemies as you can. This time you’re up against two SuperSoldaten and a handful of Soldiers. Use the building for cover and burn through any remaining fuel in the Dieselgewehr, then go out into the street to finish them off. Search the building, including the basement, for Collectibles and other items.
Objective: Climb the Ladder
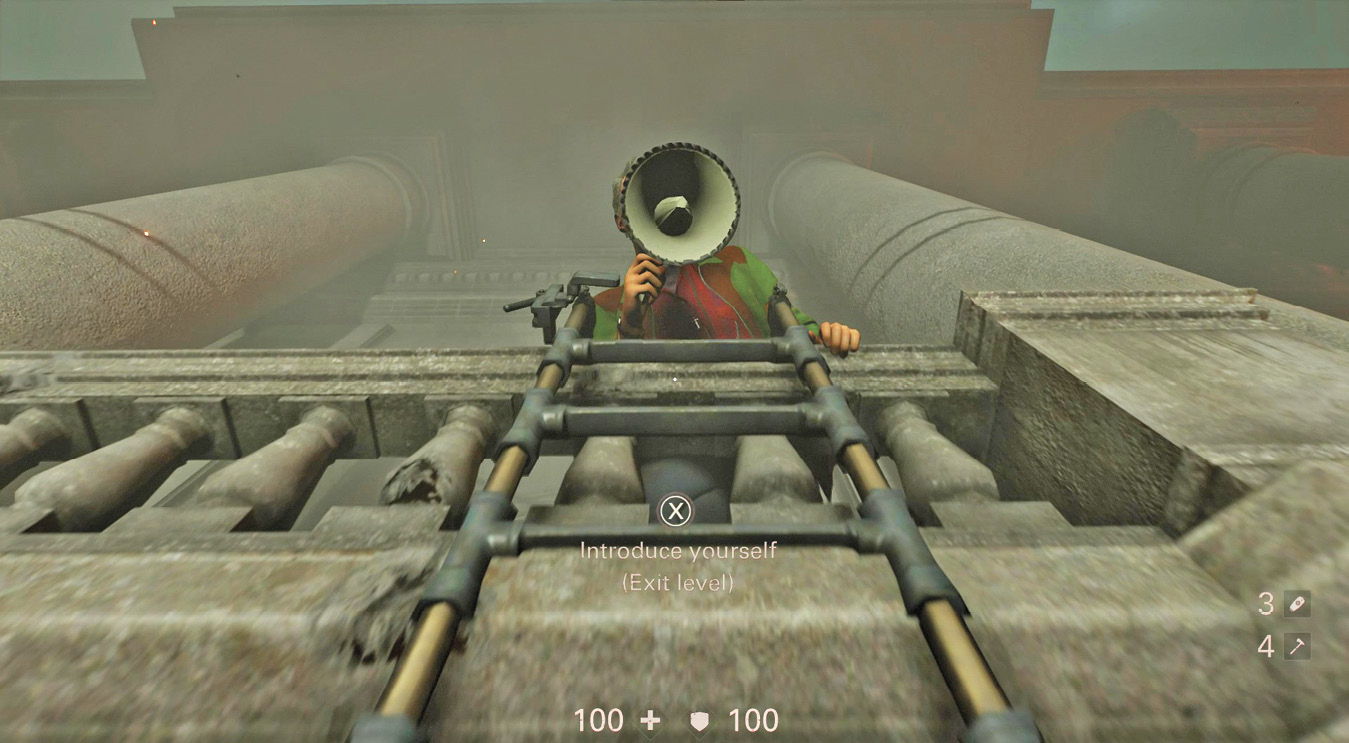
When you’re ready to exit the level and continue the mission, climb up the ladder and introduce yourself to Horton, the leader of the New Orleans Resistance.
 Revolution
Evas Hammer is ready to take aboard the Resistance from New Orleans. However, there are a lot of Nazis between the American Bank and the water. A distraction is needed to keep the Nazis occupied while the evacuation gets underway. That job falls to you. To help you, the Resistance has captured a Panzerhund and modified it to accept a rider. Giddyap!
Objective: Distract the Nazis
Take a look at the in-game Panzerhund tutorial; you can mount and dismount this big mech. Keep in mind that the beast has armor but no health, so when the armor is depleted, the Panzerhund is destroyed. Pick up armor dropped by enemies to keep your ride around longer. Before you get going, though, practice dismounting.
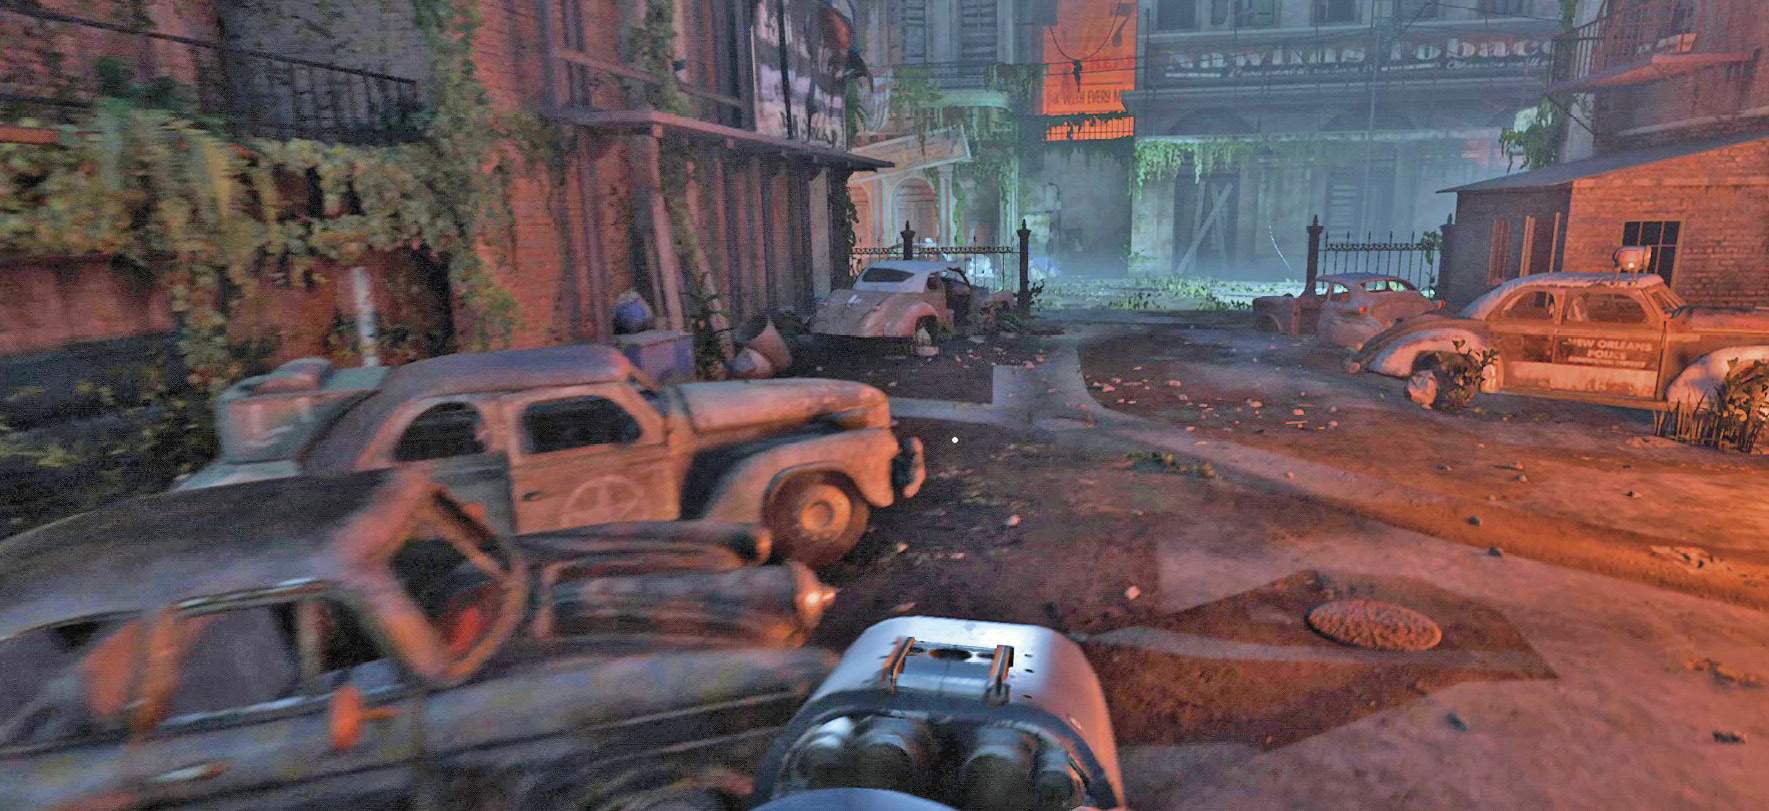
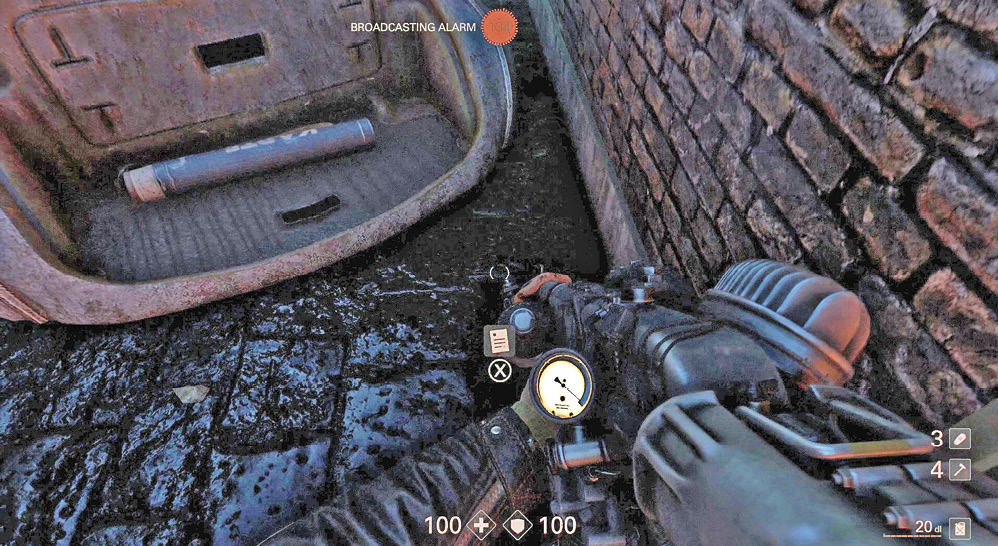
Head to the trunk of a car in the lot and grab a map. Use it to study the lay of the city ahead of you and plan accordingly.
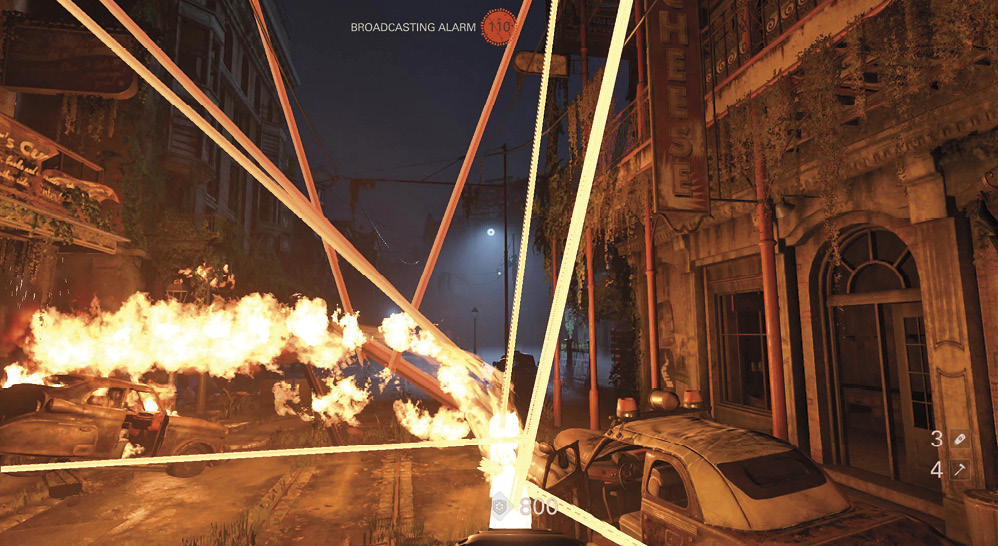
Climb back onto the Panzerhund and move out. Take a left onto the street and get ready for the enemy. The Panzerhund doesn’t run out of diesel, so there’s no reason to use the Flamethrower sparingly or in bursts. Fire away, sweeping back and forth to hit all enemies. Hose down the Dieselgewehr turret on the corner with flames before it can be used against you. Also watch for SuperSoldaten. Target them with a long spray of flame to destroy them.
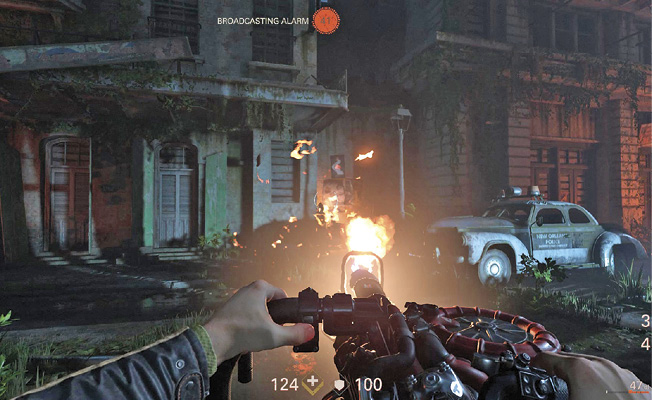
If your Panzerhund starts taking too much damage, pull back to the parking lot and dismount, then finish the fight on foot. Pick up a Dieselgewehr from the turret or a dead SuperSoldat and use it against the Soldiers. Take some time to search the buildings on either side of the street to grab Collectibles and goodies. Once you clear the area, drop the Dieselgewehr and return for the Panzerhund. Bring it up to where you dropped the heavy weapon, reclaim it, then continue.
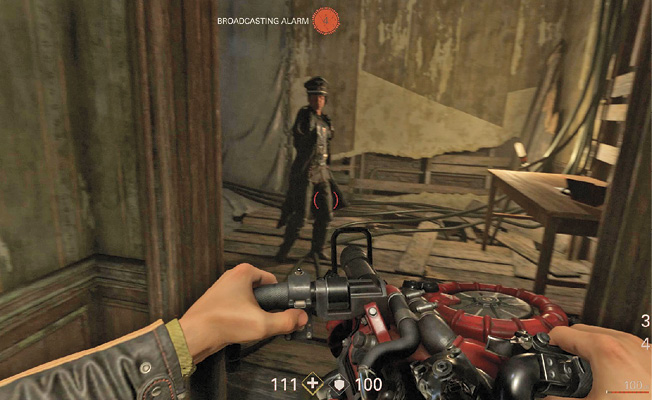
Assuming you want the Enigma Code from the area’s Kommandant, dismount and head into the HQ building—the one near the turrets and barricades. Kill the Kommandant, retrieve the code, and search the building.
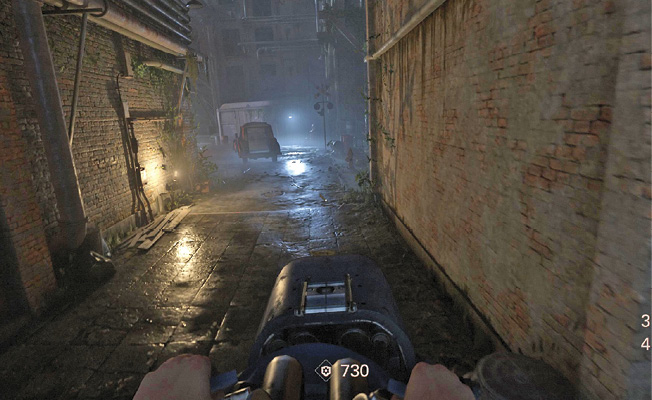
Ride the Panzerhund past the HQ, and turn right into the alley. You need to move through a factory next, but since there’s a lot of cover around the entrance, it’s best to clear out the place while on foot. There are two diesel stations in the area, so fill up the Dieselgewehr if need be.
Objective: Exit Through the Factory
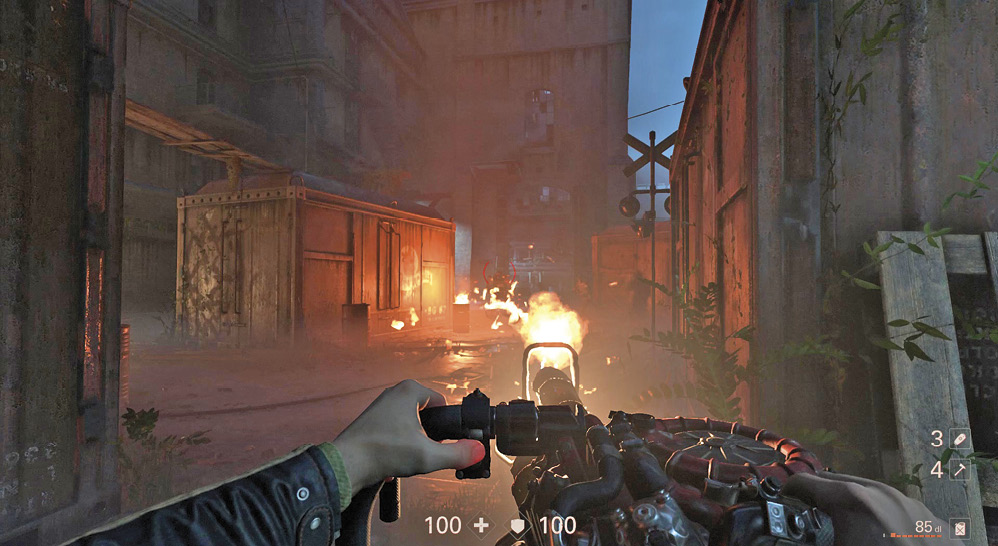
Take cover behind the containers, then strafe out to fire at the enemies. Deal with the couple of SuperSoldaten first. If necessary, retreat to the corner where the station is located to refuel. More and more enemies emerge from the factory—kill them all.
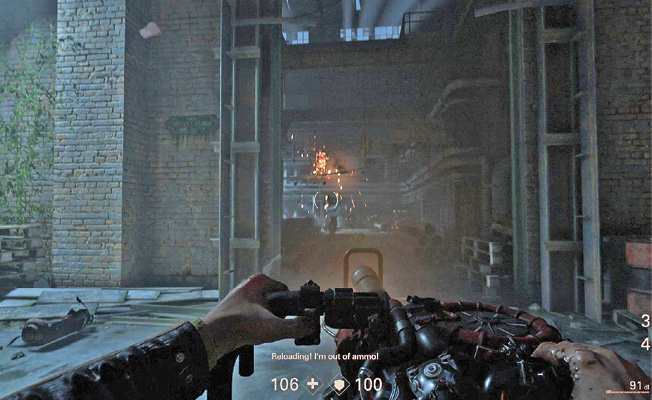
Advance toward the factory entrance. The key is to keep the enemies from leaving so they’re all confined to narrow kills zone. This is especially true for the ÜberSoldaten that show up. If they get out of the factory, they can move quickly onto your flanks or rear. Fry them before they can exit the building.
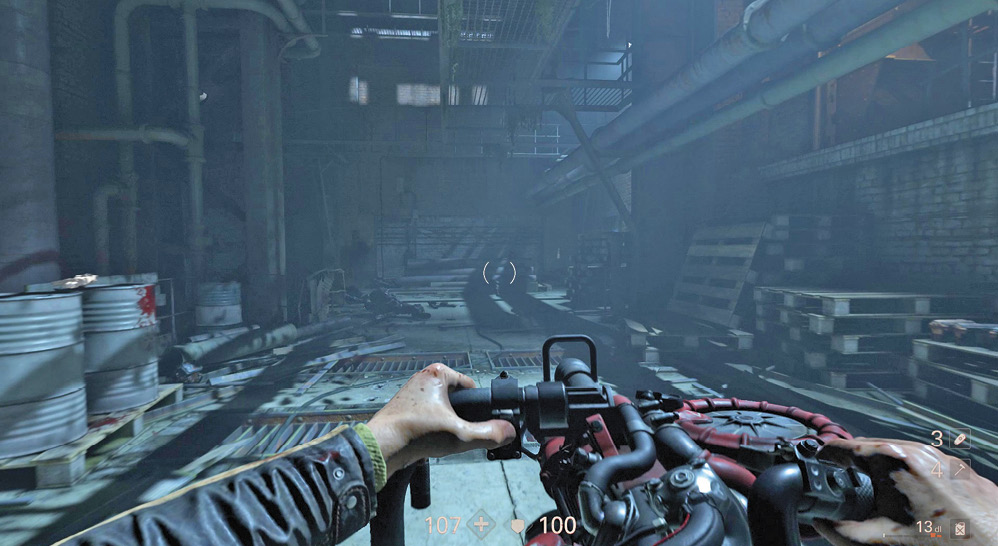
Hang out in the doorway until enemies stop coming, then advance inside. Consider returning for your Panzerhund and riding it into the factory. The Flamethrower is quite effective in the building’s narrow passages.
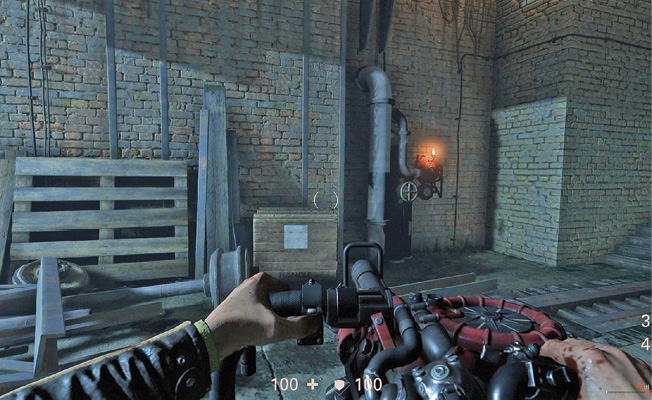
Look for more diesel stations in the factory; it’s almost like this place was made for using the Dieselgewehr. Use your map to plan out your strategy according to where you can refuel. There are also recharging stations along the way, if you have the Laserkraftwerk and prefer that instead.
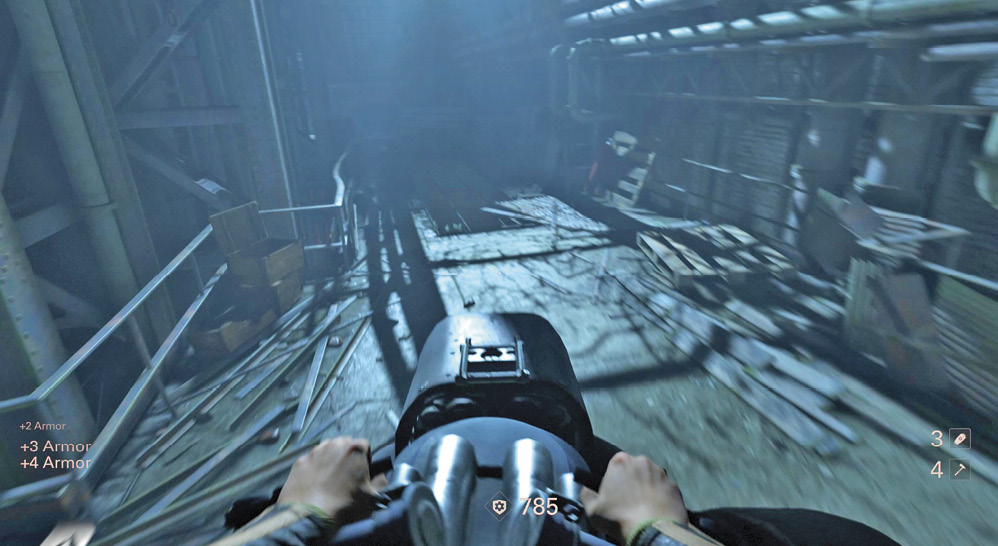
Don’t forget about your Panzerhund. As you ride it through the factory, it picks up all the armor dropped by fallen enemies and adds it to its own armor rating.
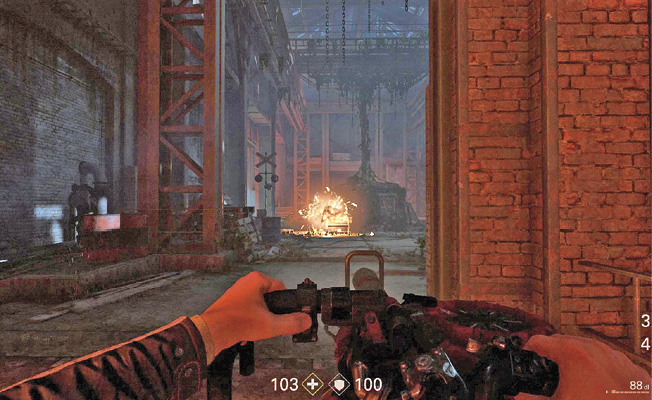
When you reach the bottom of the factory and the large area there, dismount and continue on foot. It’s easier to clear this area on your own, since you can take cover and utilize longer-range attacks. Watch for Snipers up on the catwalks overlooking the area.
Note the Zitadelle in the distance. The Panzerhund’s Flamethrower isn’t as effective against it, so dismount again. Make sure you have either the Dieselgewehr or your heavy weapon fully loaded.
Objective: Pass Through the Catacombs
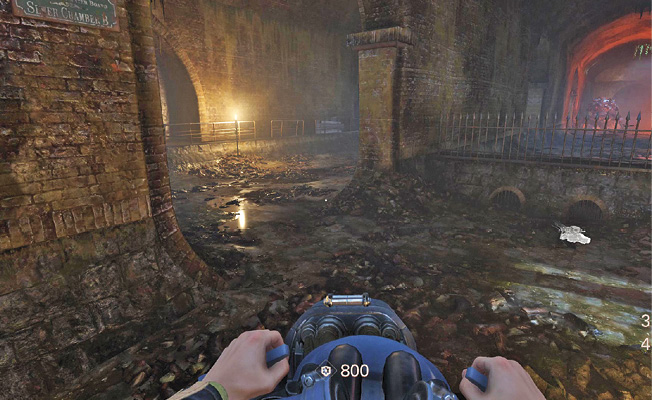
Ride the Panzerhund down into the catacombs once the factory is clear.
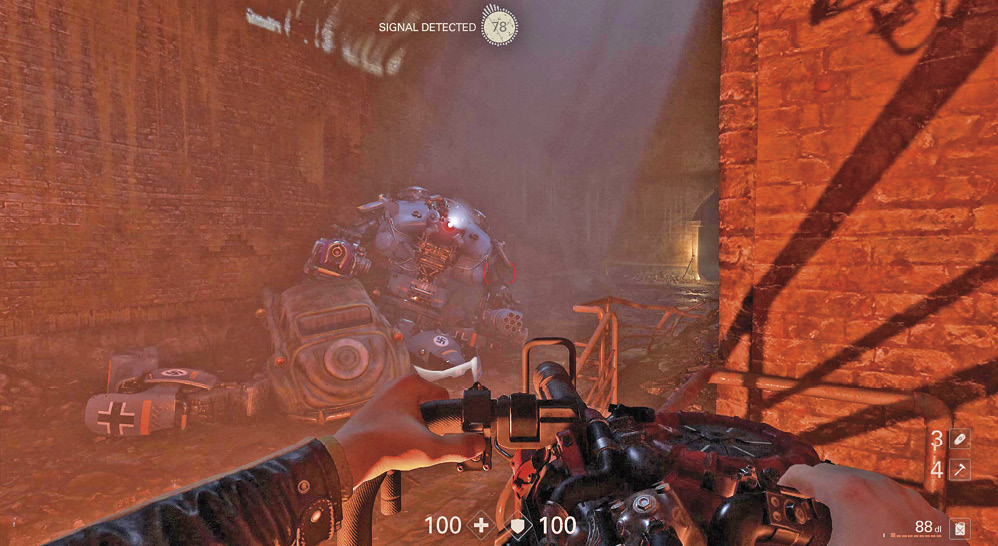
The Zitadelle has a broken leg, so it’s immobilized. However, both arms are in working order. If you move along the walkway on the right side of the sewer, you can approach without being seen until you’re close. Aim for the Flamethrower arm—that’s the main threat. Blow it off, followed by a leg or the Artillery Cannon arm, and the Zitadelle is toast.
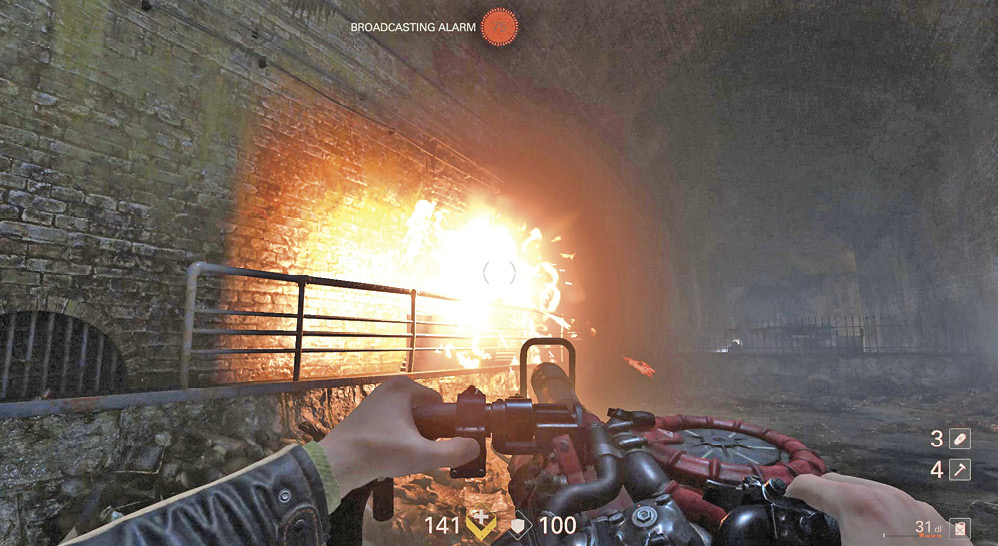
Your attack on the Zitadelle alerts all Nazis in the catacombs. Engage them as you withdraw toward the Panzerhund. Use cover whenever you can find it. Watch out for ÜberSoldaten and SuperSoldaten.
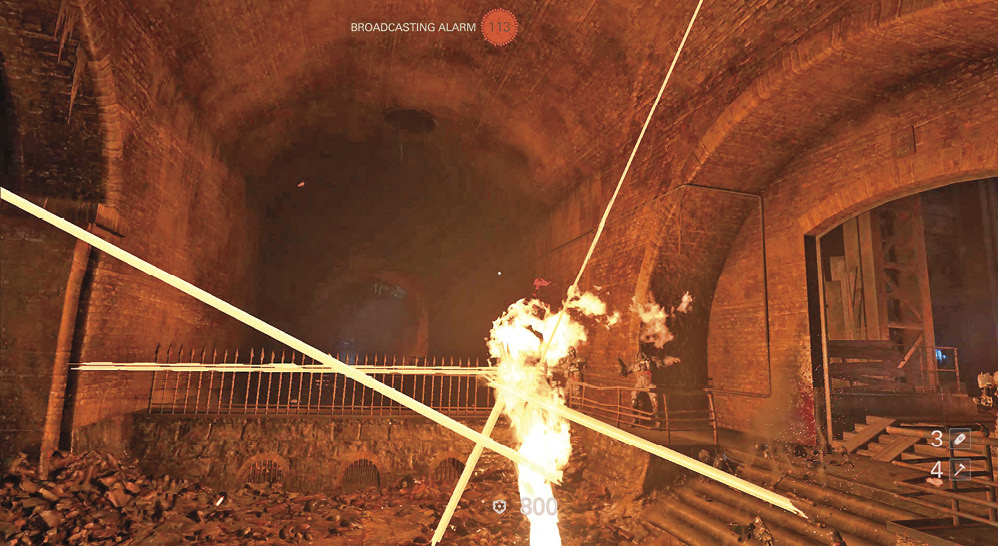
Climb onto the Panzerhund and attack your enemies with abandon. Don’t worry about protecting the Panzerhund from damage anymore. Its usefulness is nearing an end, and at this point it’s better used protecting you—you don’t take damage while you’re riding it. Fight your way through the catacombs to the end. Don’t forget the Kommandant—collect his Enigma Code once he’s dead.
Objective: Exit Through the Lower Sewers
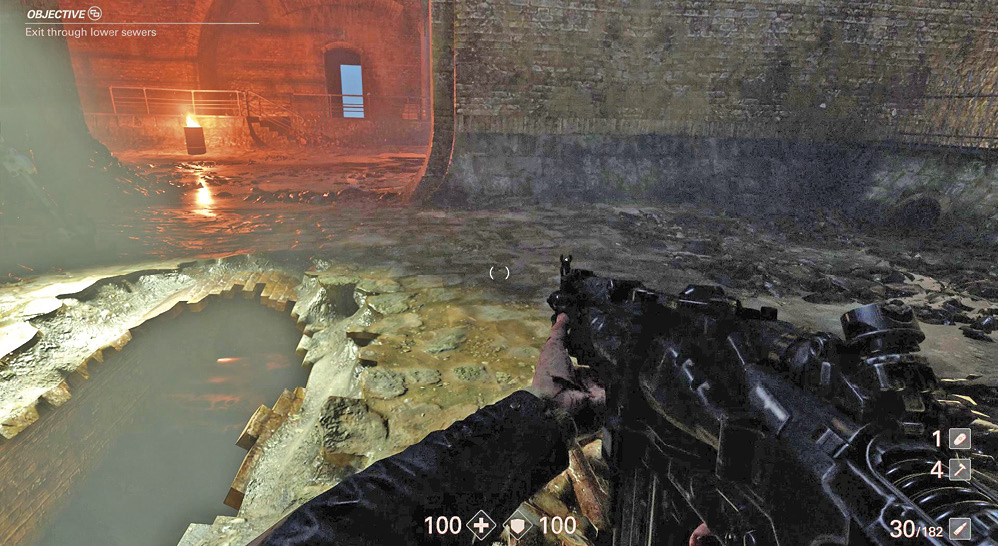
Locate the entrance to the lower sewers; it’s a pipe with the top broken off. Drop into the water and swim to some stairs, then follow the narrow corridor around.
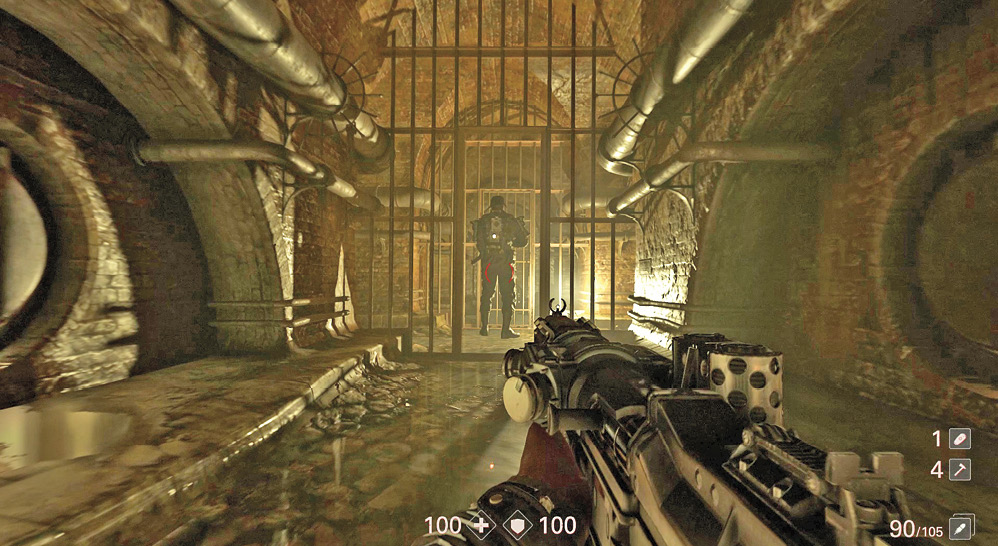
Watch for patrolling Soldiers. It’s easy to sneak up behind them for stealth takedowns, or throw hatchets if they turn around. Head up a flight of stairs to a somewhat larger area.
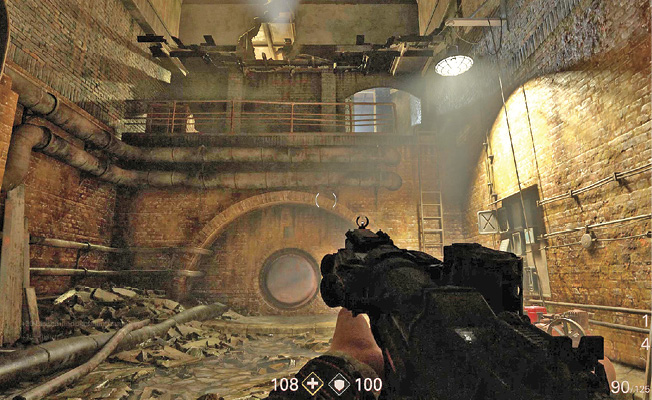
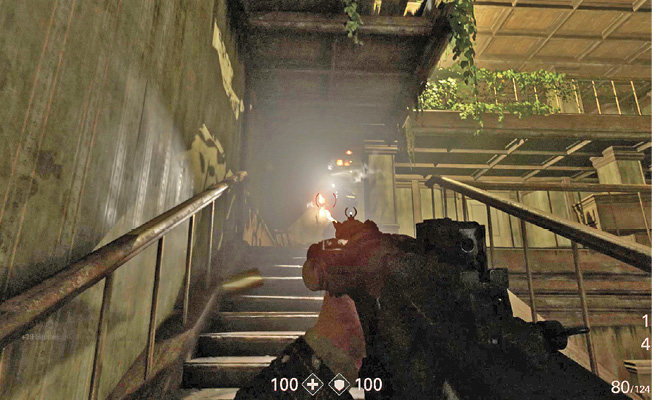
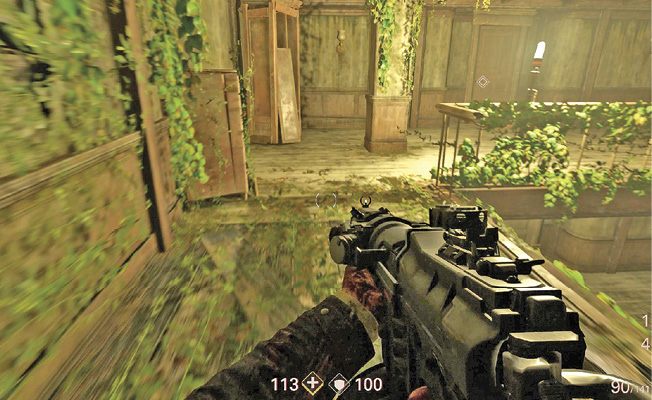
Climb the ladder and continue up more stairs, back to ground level. Kill the Soldier in the next room silently.
After searching the area, continue up to the first floor, where you encounter more enemies.
Once they’ve been neutralized, keep going upstairs to the second floor. Take the door at the end of the hall to exit the level and advance to the next.
 Lakeview
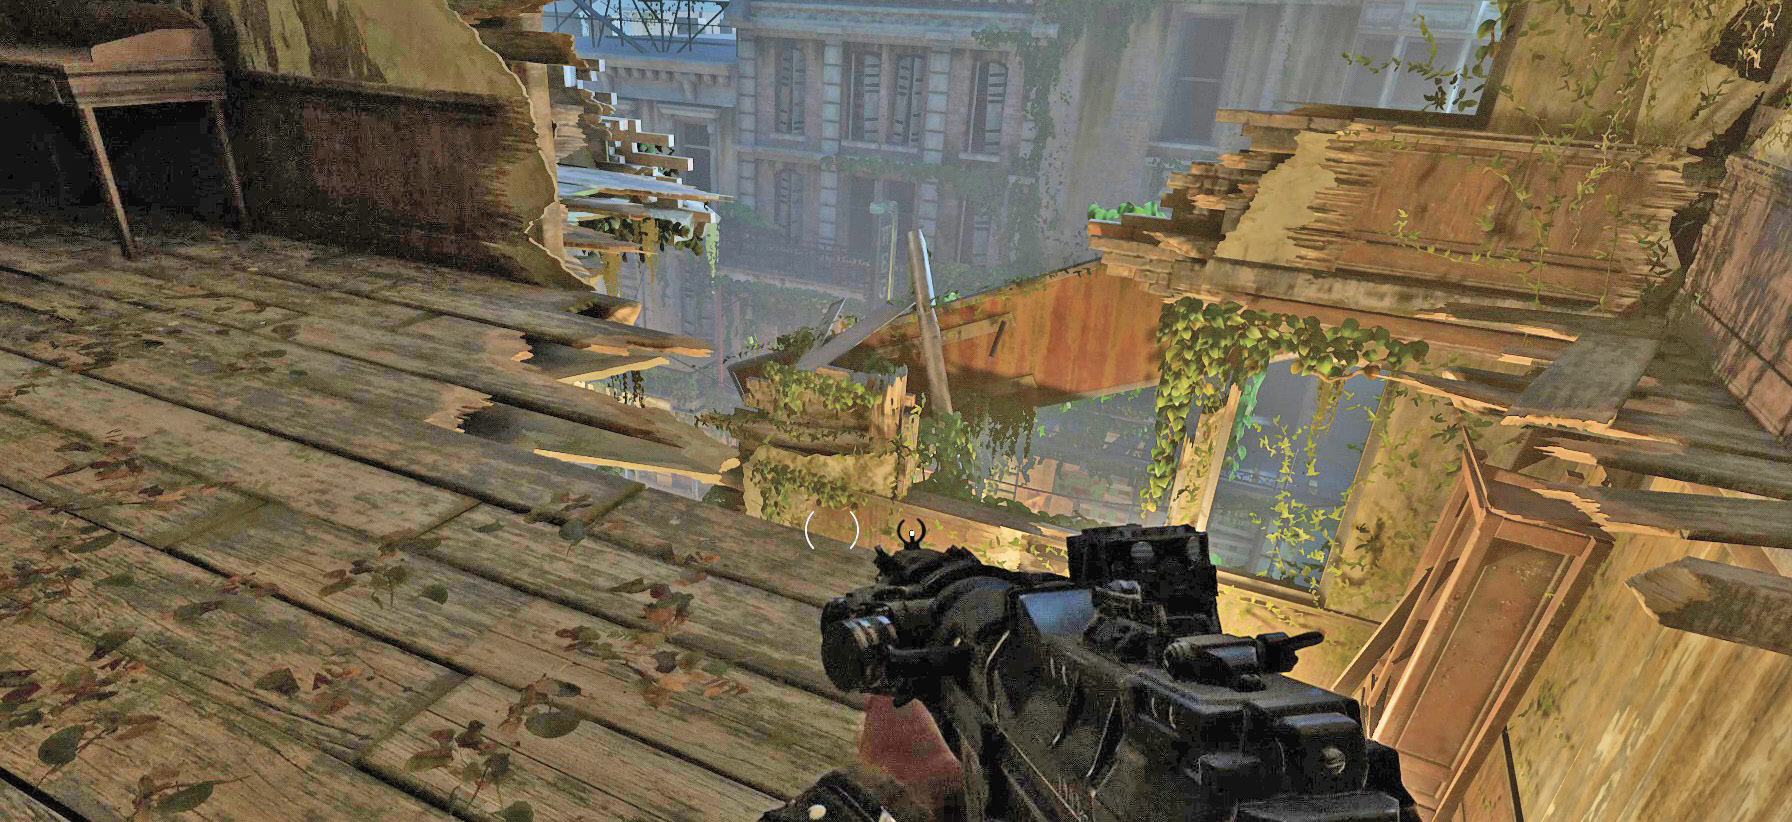
Evas Hammer is coming in to pick up the Resistance. You need to engage and defeat the Nazis in the area so the Resistance fighters can get away. You start out on the fourth floor of the building you just moved through. From here, work your way toward the Lakeview District.



Objective: Kill Them All
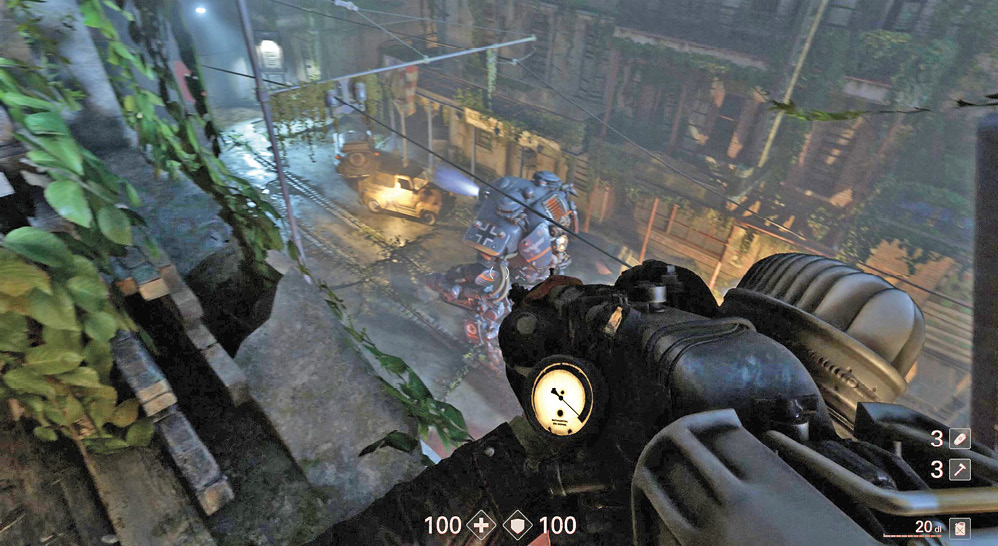
Drop through a hole in the floor to the third floor. Get to the edge of the building so you can look down and see a Zitadelle patrolling below. Use your heavy weapon to destroy the Artillery Cannon arm first, crippling its long-range-attack capacity, followed by the Flamethrower arm or one of the legs. This causes the Zitadelle to explode, taking out nearby enemies with it.
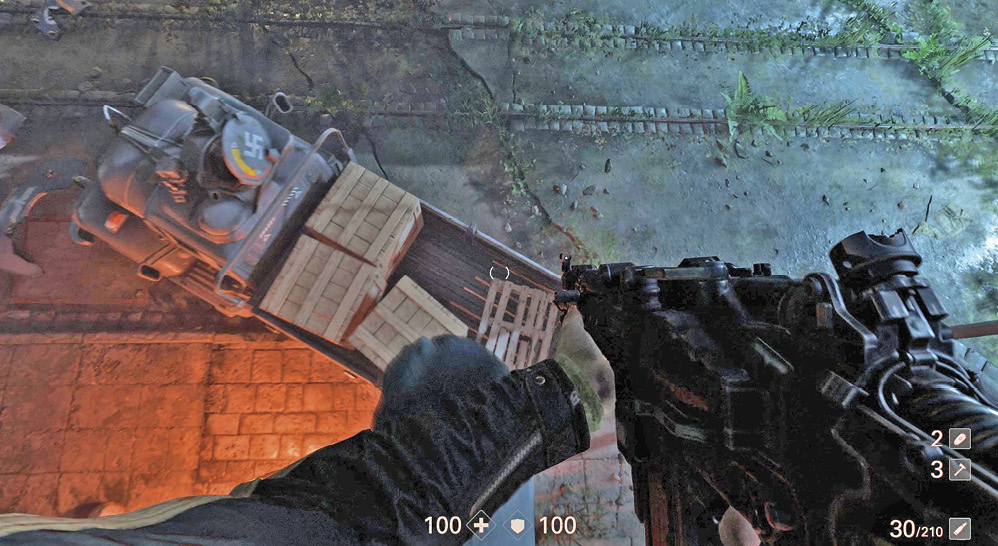
Move out onto the ledge and drop into the back of a truck containing some wooden crates. Finish off any remaining Soldiers in the area, then break open the crates for ammo, armor, and first-aid kids.
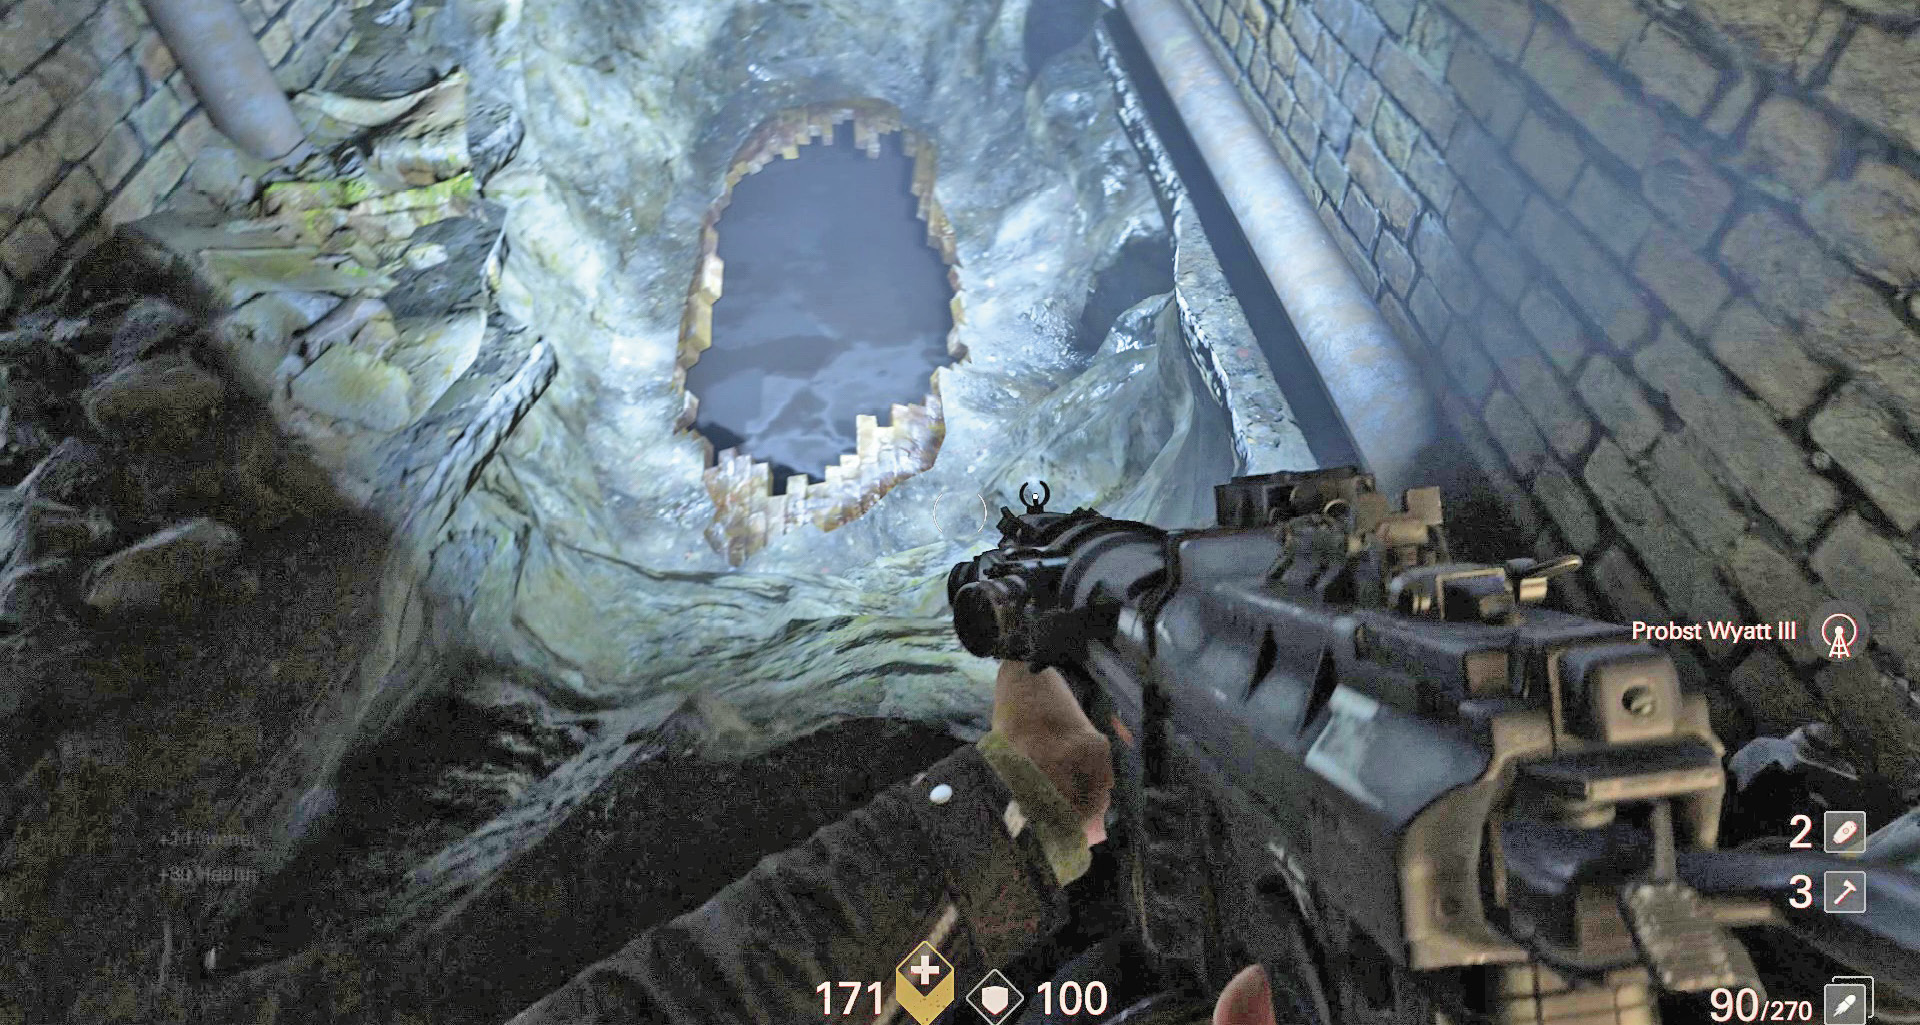
Reach the end of the street and proceed into the excavated area. Fill up your heavy weapon at one of the stations, then drop into the sewer pipe and swim forward to some steps. Keep following the sewer tunnel.
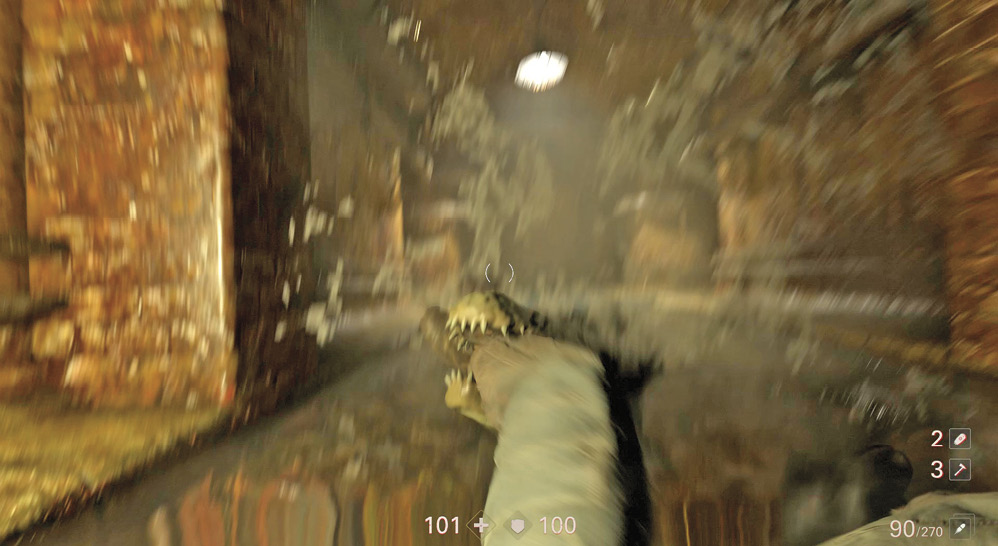
You’re not alone down here. Be ready for an alligator attack. Shoot fast before it can deal a lot of damage. Grab the first-aid kits nearby to heal any wounds, then follow the tunnel to the end and emerge onto another street.
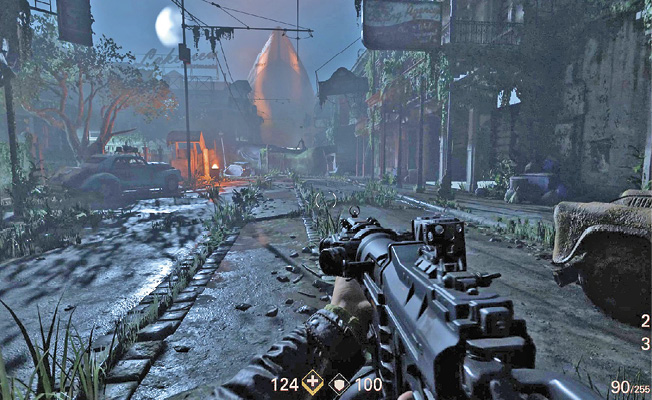
Evas Hammer has sailed up onto land so the Resistance can board. You need to keep the Nazis busy by attacking them.
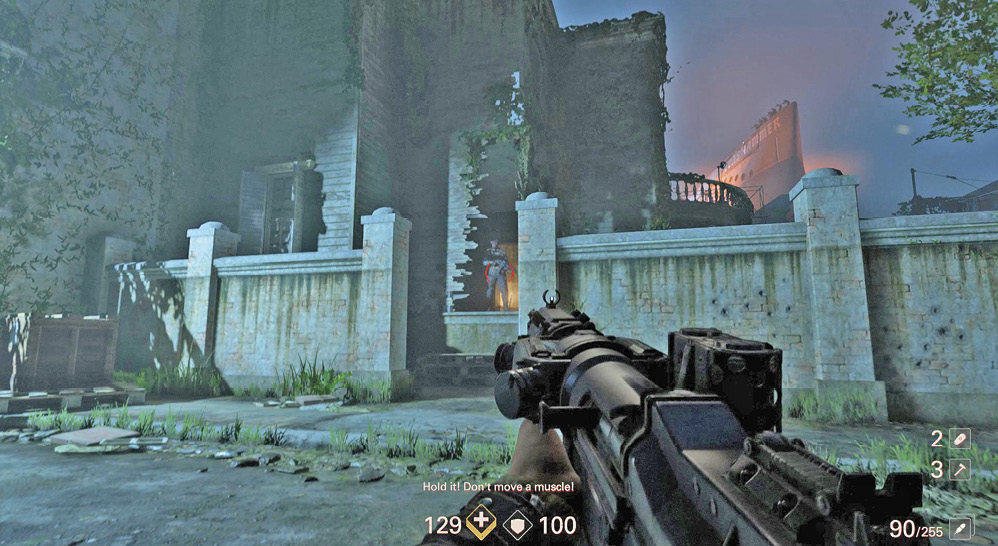
Head toward the house on the left side of the street. Approach from the side street and begin picking off enemies as you see them. There’s a Kampfhund around, so be ready to react quickly to its attack. Enter the house from the side and look for a weapon upgrade.
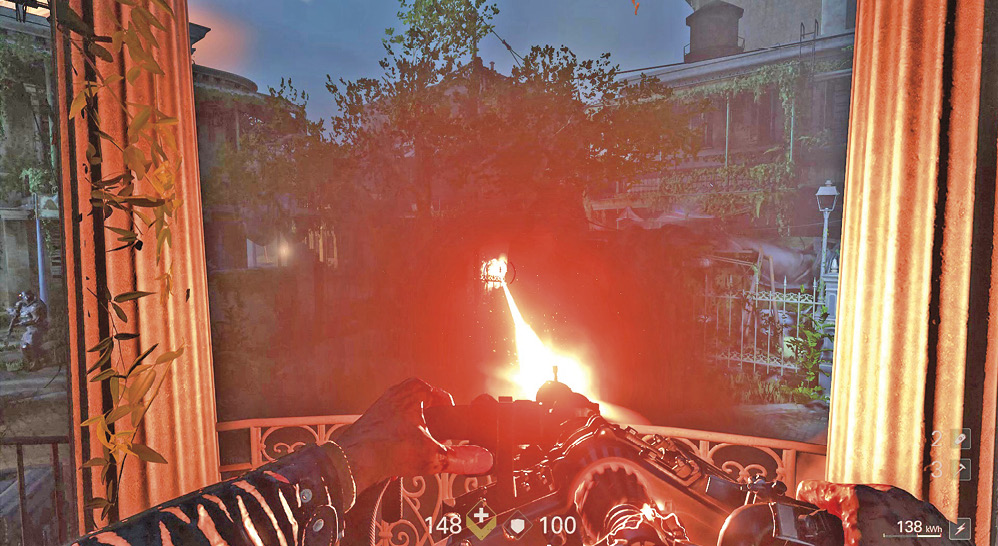
Clear out all the Soldiers in the yard and around the house. Also watch for a couple of SuperSoldaten in this area. If you exit the house through the front door, pick up the Lasergewehr from the turret and use it to take out the SuperSoldaten from a distance.
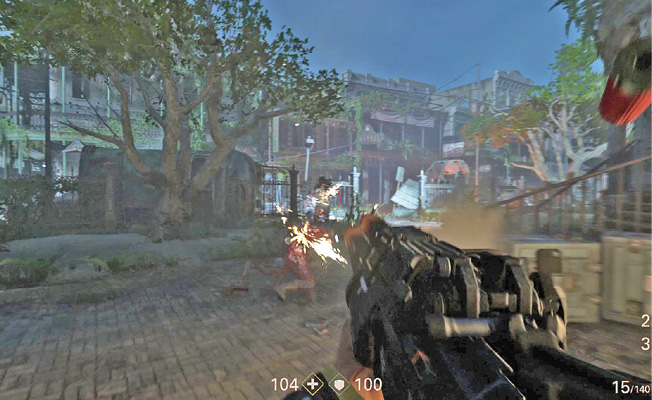
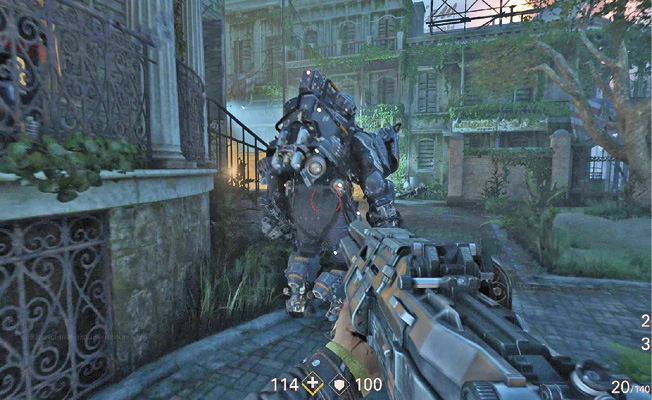
Duck back into the house if you need cover. Since most of the Soldiers are rushing toward you, use the Schockhammer to take them down quickly. If you can sneak up behind a SuperSoldat, the Schockhammer makes short work of him as well. Once all enemies are eliminated, head toward the submarine.
Objective: Reach the Rooftop
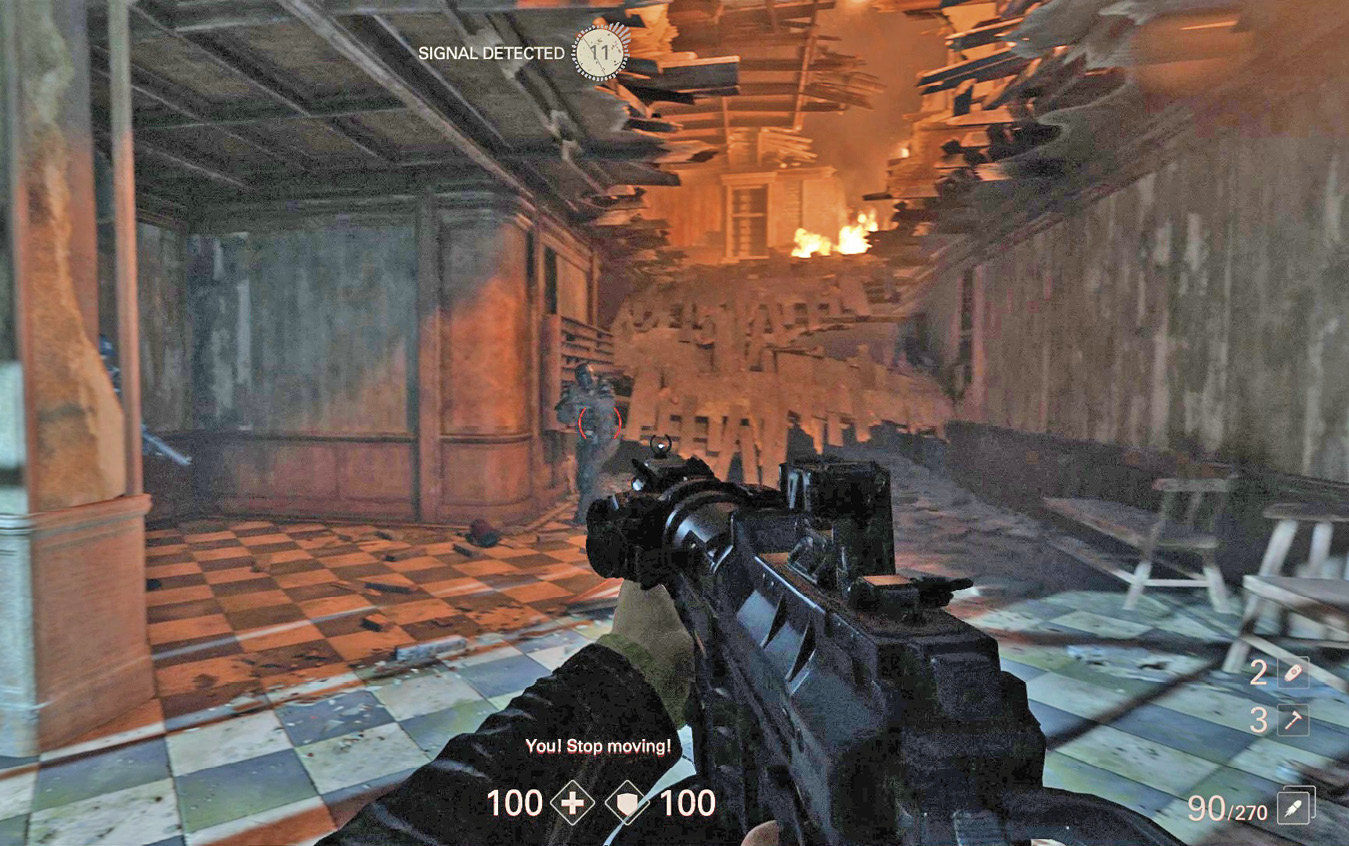
Advance through the damaged pavement and toward the burning building on the left. You need to get up to the rooftop so you can climb up onto the deck of the submarine. This building is filled with enemies, so prepare for a fight as soon as you walk through the doorway.
Stay on the ground level until the Kampfhund comes at you. Defeating it is easier when you have some distance; you don’t want to run into it as you’re rounding a corner. Rather than heading upstairs, climb the ramp created by the damaged floor from an upper level. On the first floor, turn left and move through the doorway. Take the stairs on the left up to the second floor. Be ready for enemies at the top.
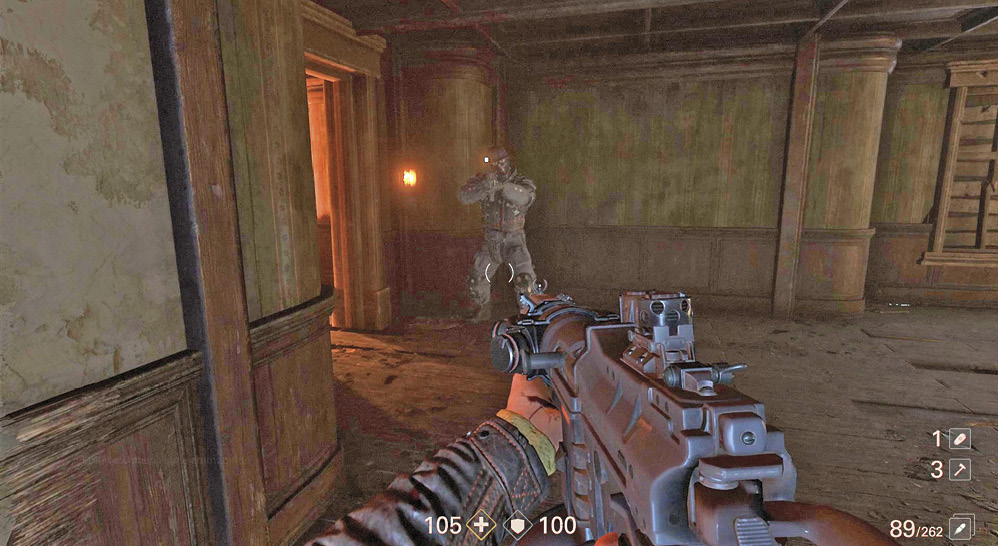
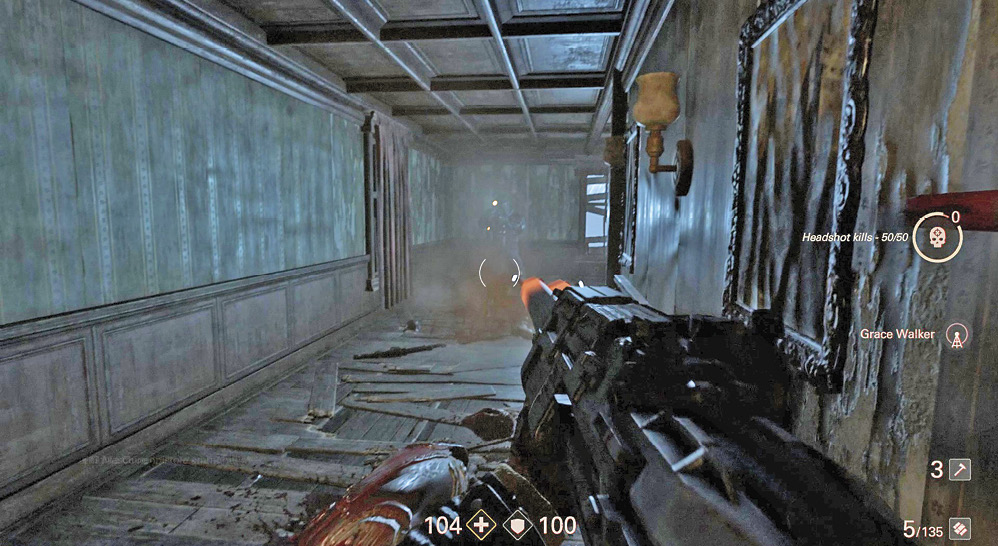
Advance floor by floor up the burning building. The Schockhammer is excellent for taking on the Soldiers and additional Kampfhunds you come up against.
Ascend all the way to the fourth floor. Make your way around until you reach the ladder leading up to the deck of Evas Hammer, where you must fire the nuclear cannon to help push the submarine back out into the water. Climb aboard to complete the level and escape from New Orleans.