
Wolfenstein II: The New Colossus Guide Walkthrough
A New Suit
 Contraptions
Evas Hammer
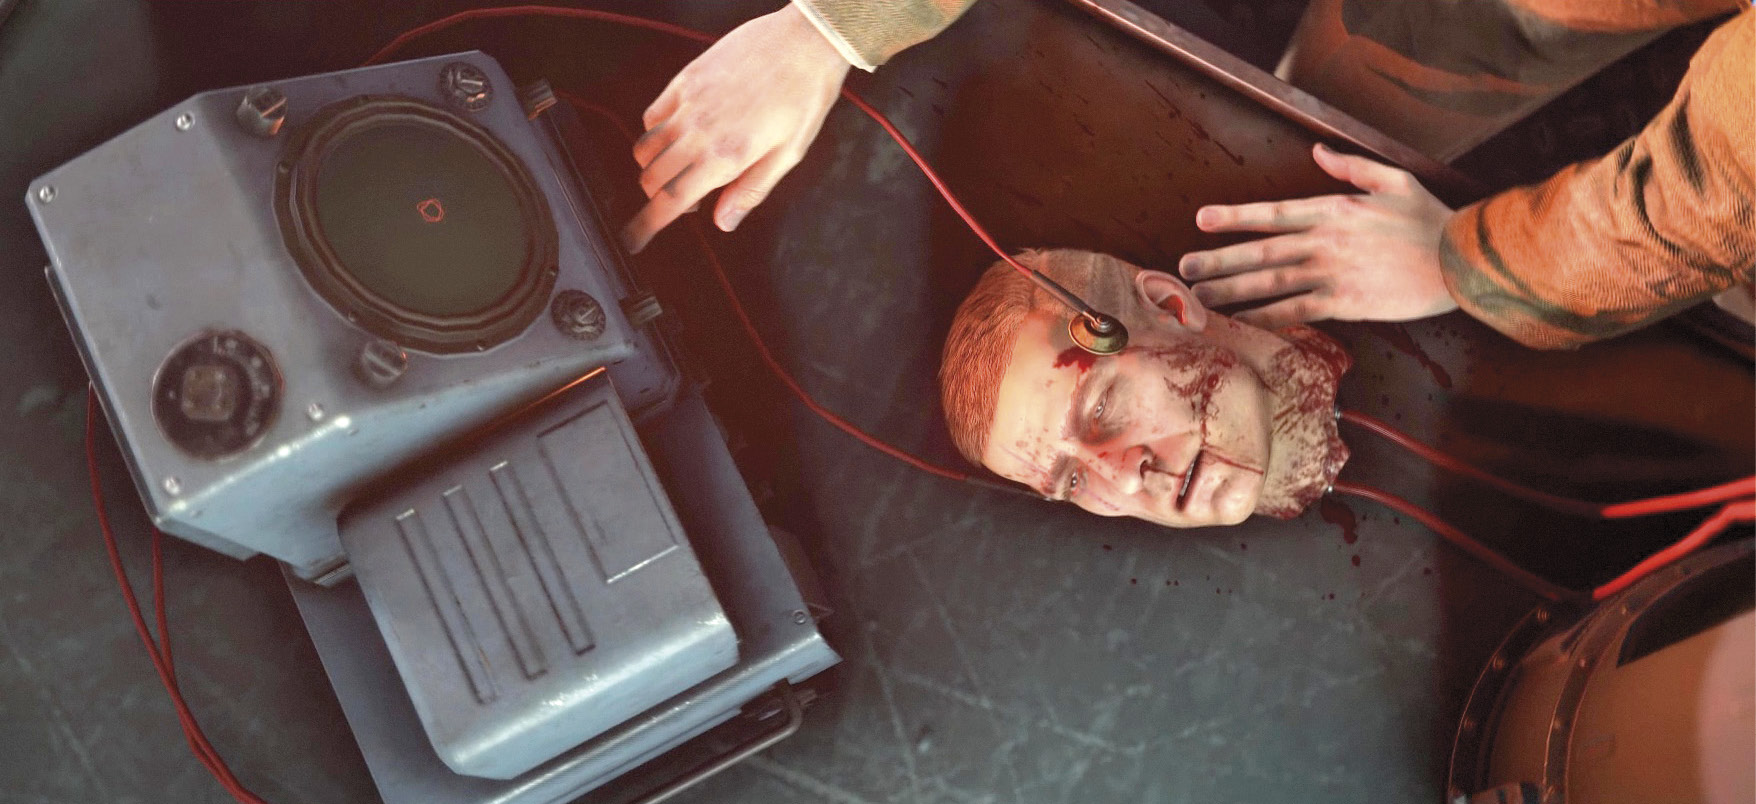
Though General Engel executed you on live television, you’ve survived. The Kreisau Circle was able to rescue your head and preserve it within a container, and Set has attached it to a new body. Your old body was about to give out anyway, so you’re better off. Apparently decapitation has its advantages. The Nazis certainly won’t expect you to jump back into the fray.
Objective: Select a Contraption
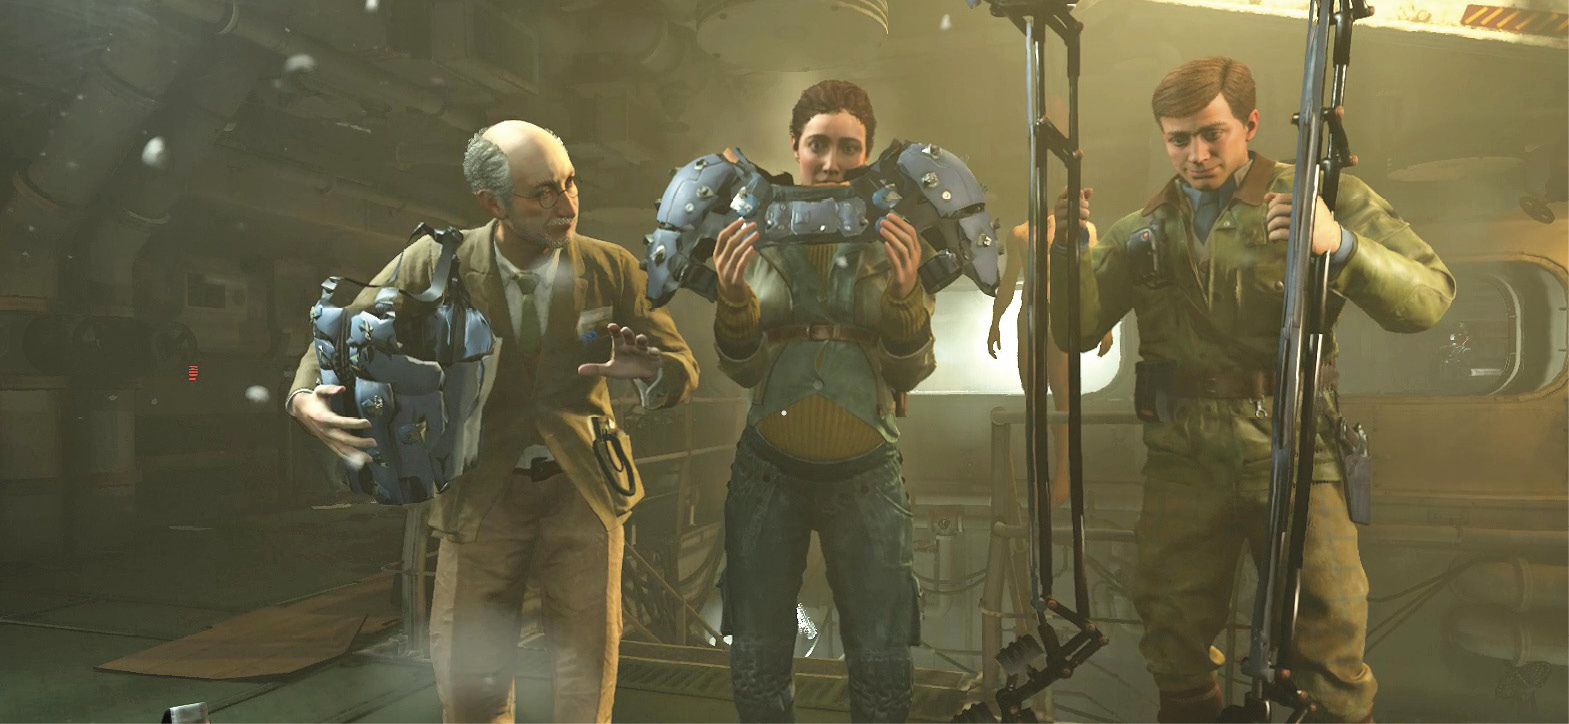
Set has devised plans for three different contraptions to give you additional abilities, but he only has enough parts to make one of them. You must decide which one you want. Each has its strengths and complements certain playstyles. No matter which you select, you can access the same areas in levels.
Constrictor Harness
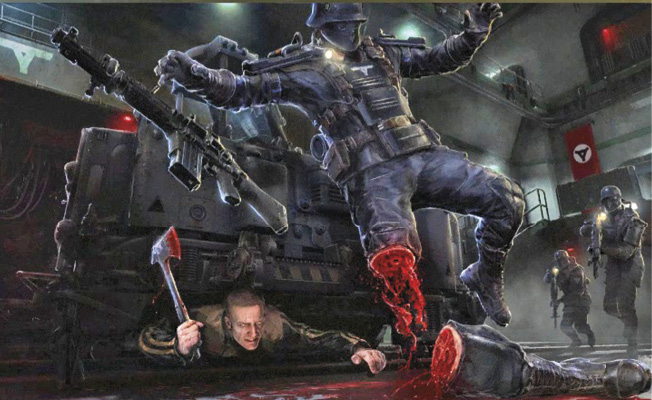
When activated, the Constrictor Harness compresses your torso. This allows you to enter narrow spaces. However, using the Harness prevents you from breathing properly; prolonged use causes damage and eventual death due to lack of oxygen. The Constrictor Harness activates automatically when applicable; you must be moving in a crouch.
Ram Shackles

The Ram Shackles is a metal reinforcement rig that protects your upper-body joints: elbows and shoulders. It allows you to ram through obstacles, smash open doors and crates, and pummel your enemies. It activates when you’re sprinting.
Battle Walkers
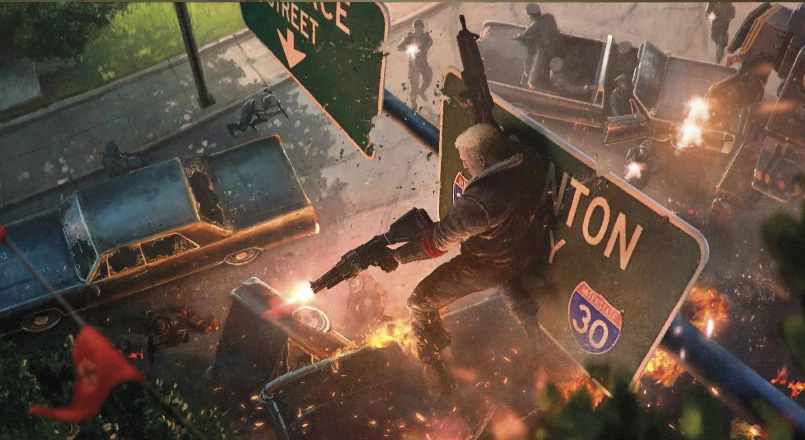
This mechanical actuator system is mounted on your legs and activates on demand. Upon activation, mechanical supports extend, allowing you to access new areas, vertical cover, and other tactically advantageous positions. When extended, the indestructible mechanical supports provide protection against mines and area-denial grenades. Double-press the Jump button to activate the Battle Walkers.
Objective: Complete the Training Course
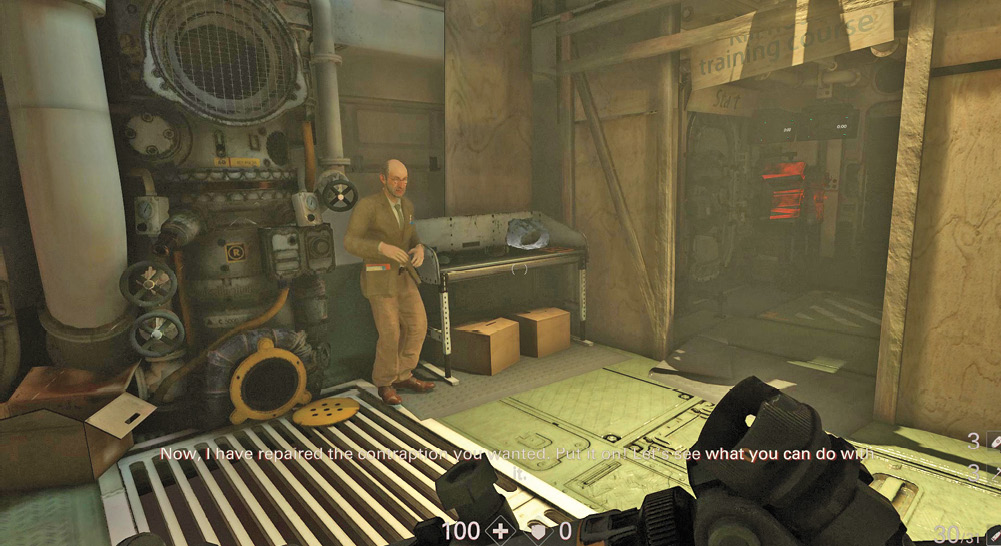
After you select your contraption, Set performs the surgery that attaches your head to the new body. Now it’s time for some training. Put on your contraption to get started. The training area is the same no matter which contraption you opt for, but the obstacle course differs.
Constrictor Harness Training
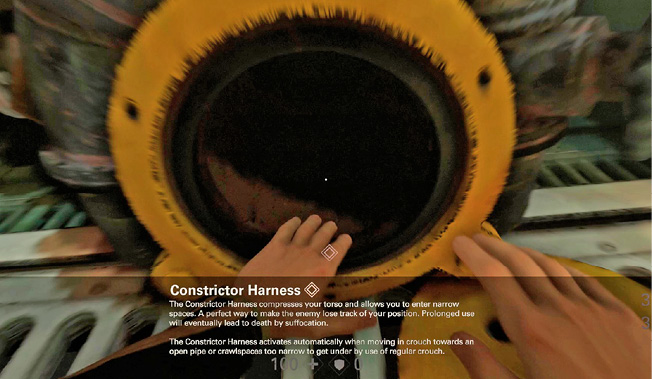
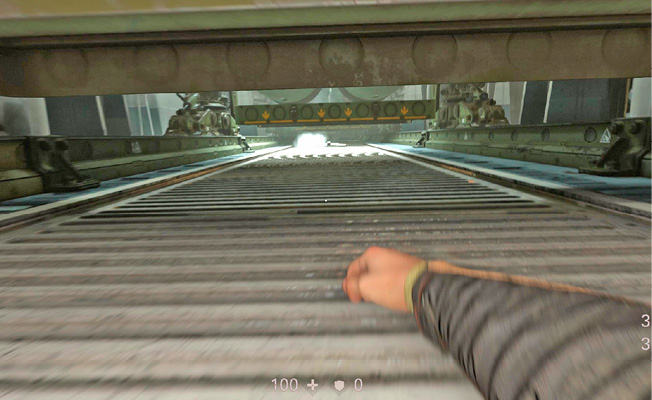
Once the Constrictor Harness is in place, crouch down and enter the pipe near Set. Crawl through the pipe until you arrive at the next area.
You must reach the far end of this corridor. Pallets of torpedoes block your way, but this is no problem for the Constrictor Harness. Crouch down and approach the pallets. Look under them, then move forward to crawl underneath. As you near the end of the second pallet, use your hatchet to perform a stealth takedown on the target representing an enemy.
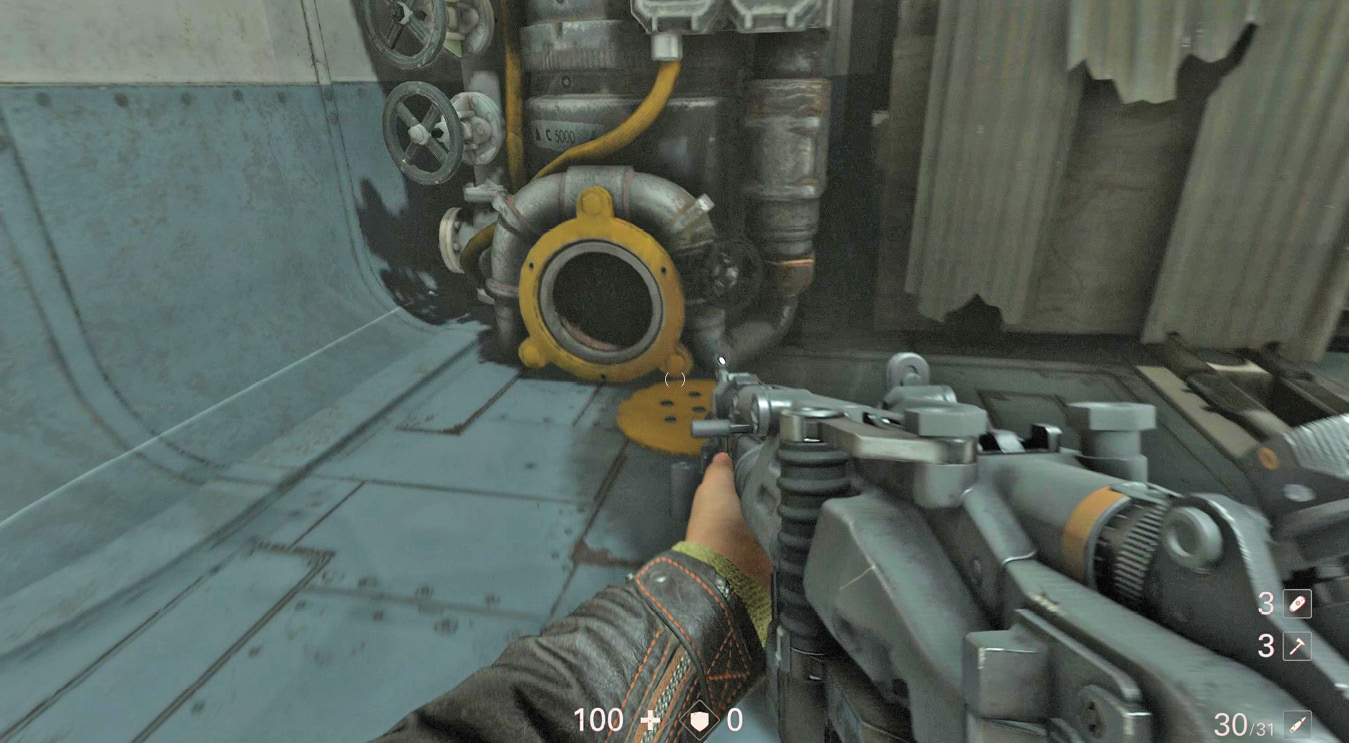
Continue under more pallets until you reach the end of the corridor. Look for another pipe opening, and crawl through to enter the next room. Press the button to move the small platform, then crouch to descend to the lower service access. Follow the path to the end, then climb the stairs to return to Set and complete the training.
Ram Shackles Training
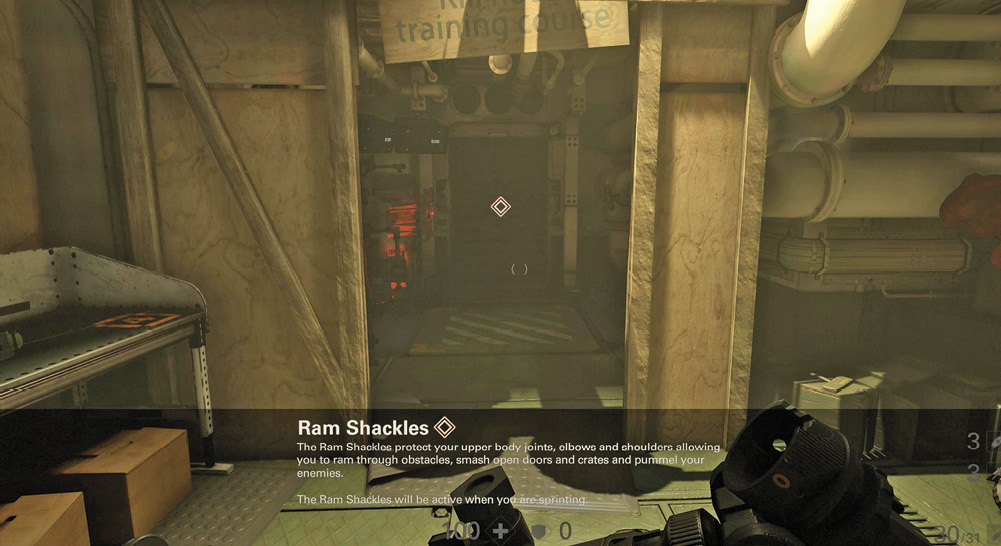
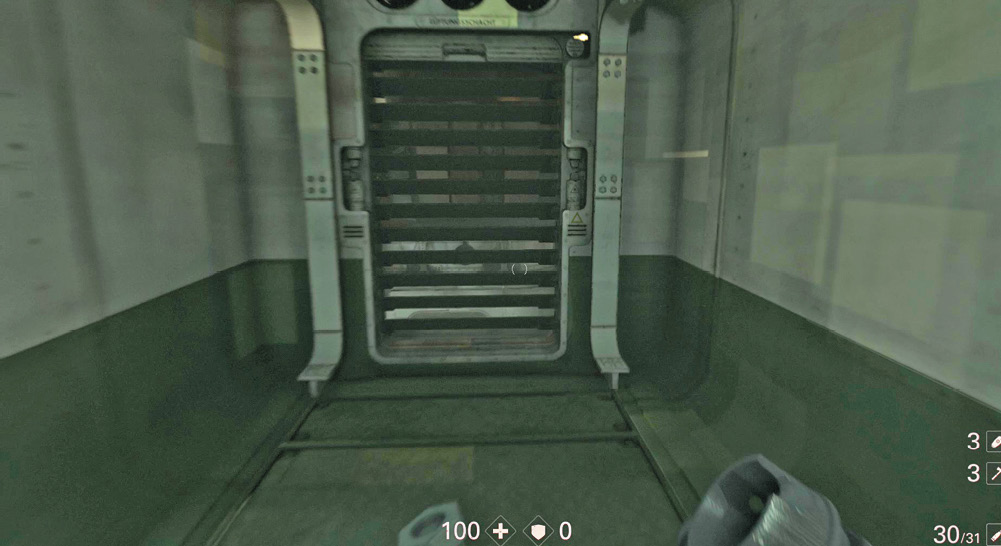
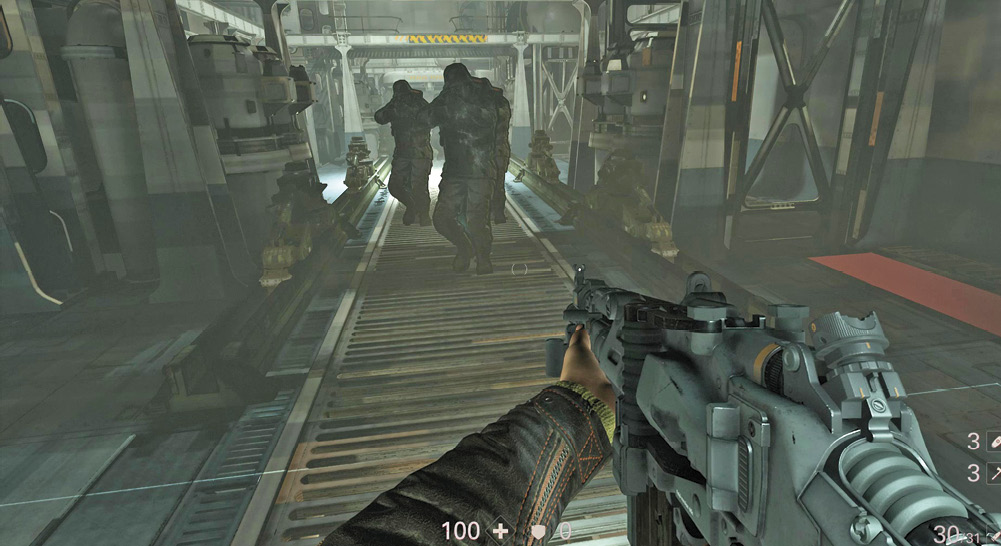
After donning the Ram Shackles, turn to the right to see a doorway blocked by wooden bars. Sprint toward the doorway to bust straight through it. Climb the ladder in the next room to reach a corridor.
Follow the corridor around and break through another wood-barred doorway. Drop into the lower-level room.
Targets here represent enemies. Instead of opening fire, sprint at them to destroy them using the Ram Shackles. Once you get past the targets, break through another wooden barricade, then push the button to move the platform. Descend into the access passage and exit the training area. Continue until you return to Set.
Battle Walkers Training
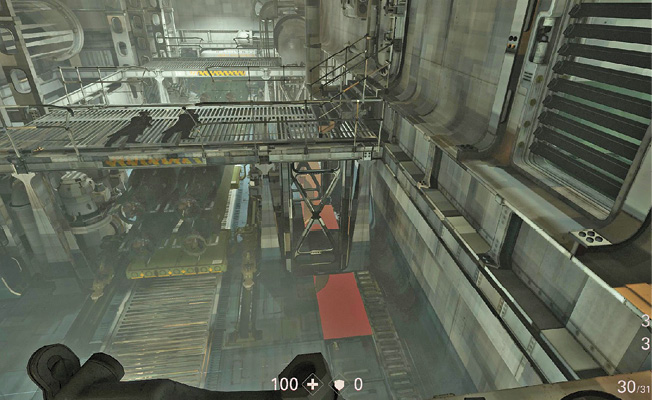
Put on the Battle Walkers and press the Jump button twice to activate them. This lifts you up. Walk forward to the platform; when you can go no farther, press the Crouch button to deactivate the contraption.
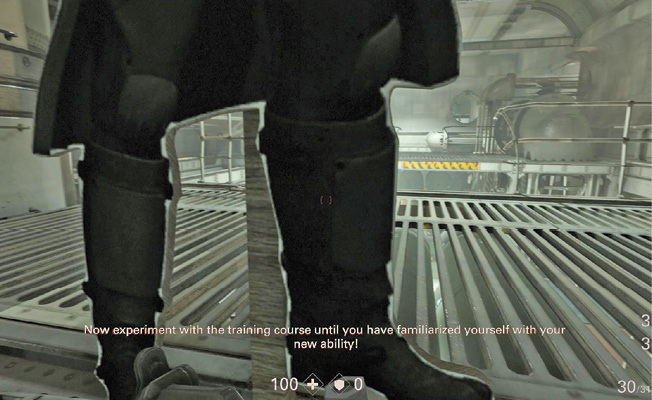
Drop into the training area. Two targets are positioned ahead on a catwalk. Activate the Battle Walkers and use your hatchet to take down the targets. Climb onto the catwalk, then drop back to the lower area.
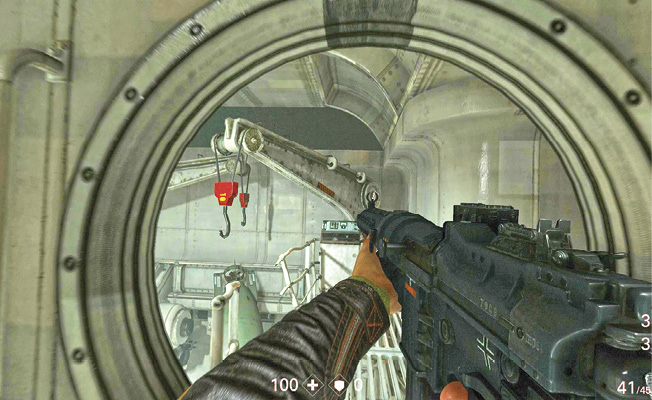
Traverse another catwalk. When you reach the end, raise yourself onto the platform. From there, crawl through the round hatch to reach the final room. Press the button to open the way to the service access area. Follow it to the end and head upstairs to Set.
Objective: Talk to Grace
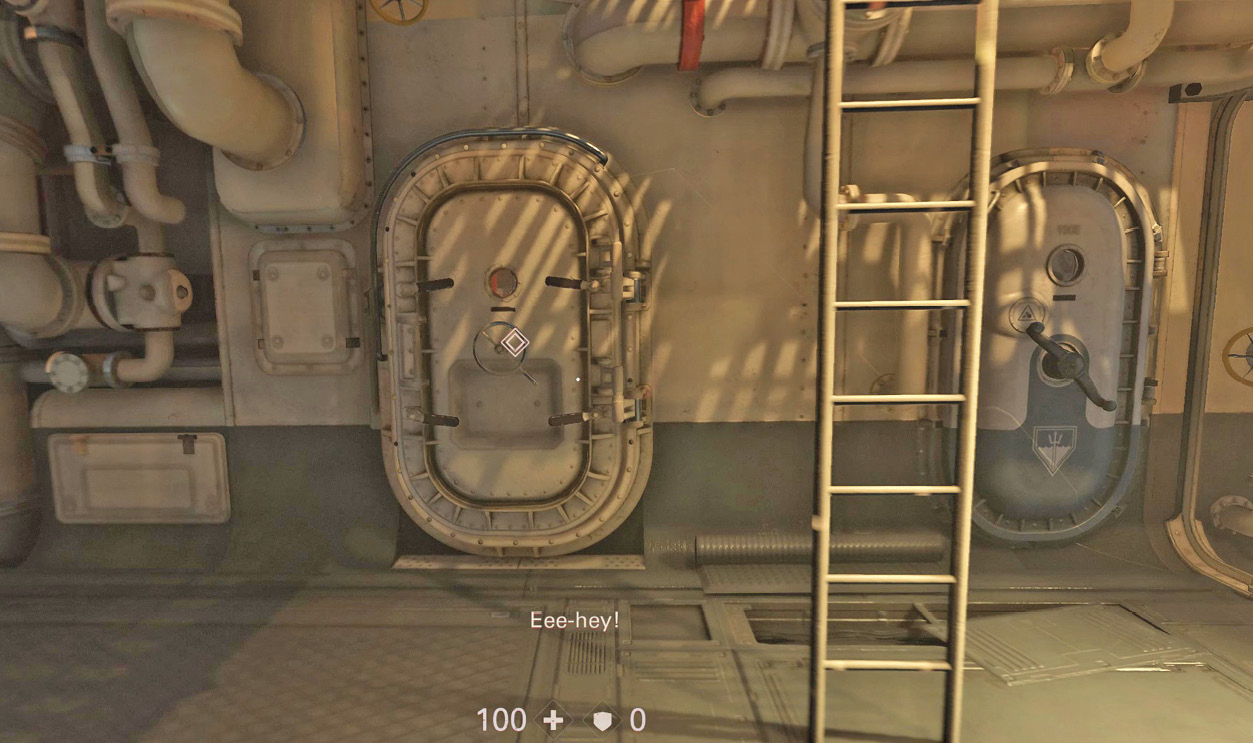
Now that you’ve got some practice under your belt using your new contraption, it’s time to put your skills to use for real. Make your way to the command center, then open the hatch to Grace’s quarters to talk to her. She has a new mission for you.
Objective: Select Manhattan on the War Map
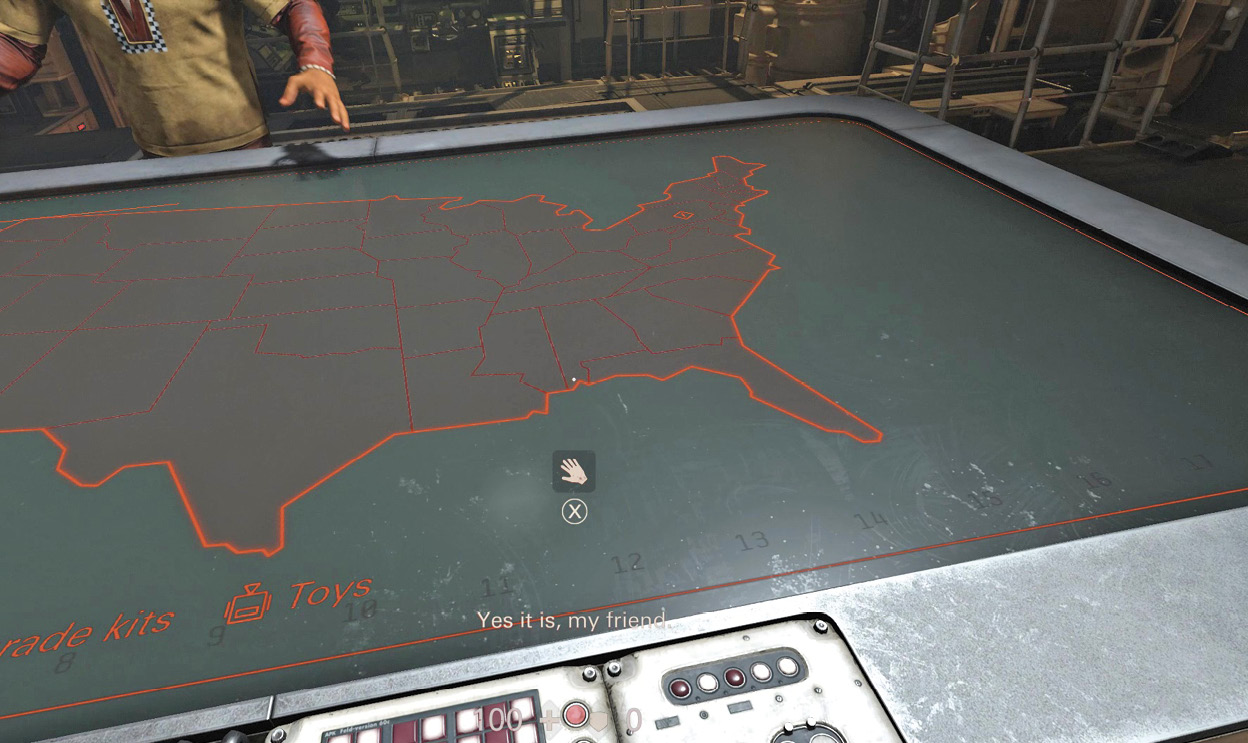
Exit Grace's quarters and return to the command center. Activate the war map, then select Manhattan as your destination.
 Recover the New Orleans Dossier
Manhattan, New York
July 30, 1961
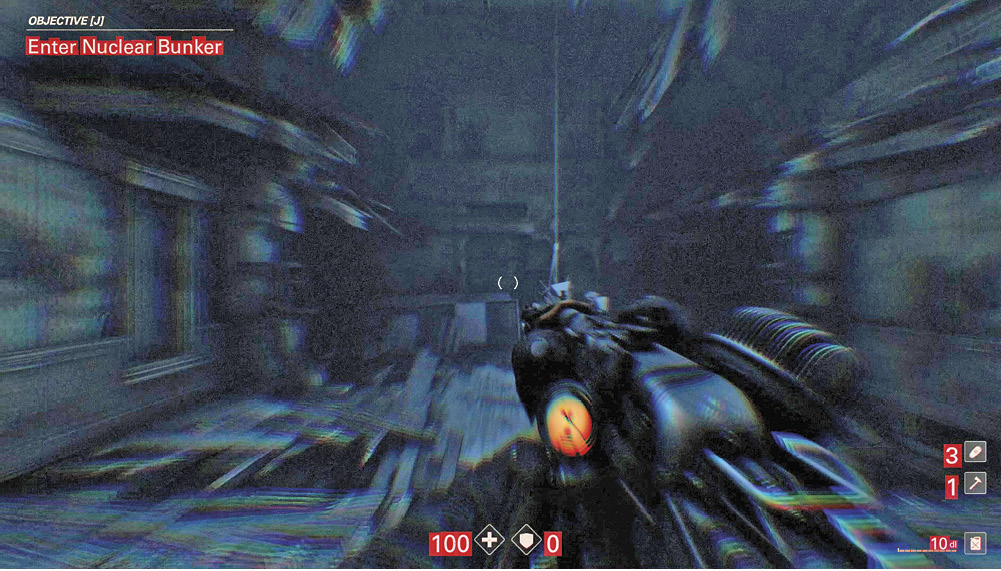
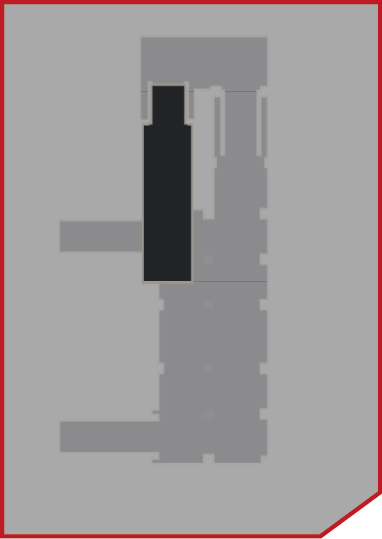
The nuclear bunker in Manhattan is deep underground. You’re dropped off on the upper floor of a ruined building directly over the site of the bunker. The area is still radiated, so you continuously lose health while exposed. Your vision is also affected.
➤ Map Legend Key for Collectibles
|
|
Concepts |
|
|
Gold |
|
|
Map |
|
|
Readable |
|
|
Star Card |
|
|
Max’s Toy |
|
|
Upgrade Kit |
|
|
Vinyl Record |




Objective: Enter the Nuclear Bunker
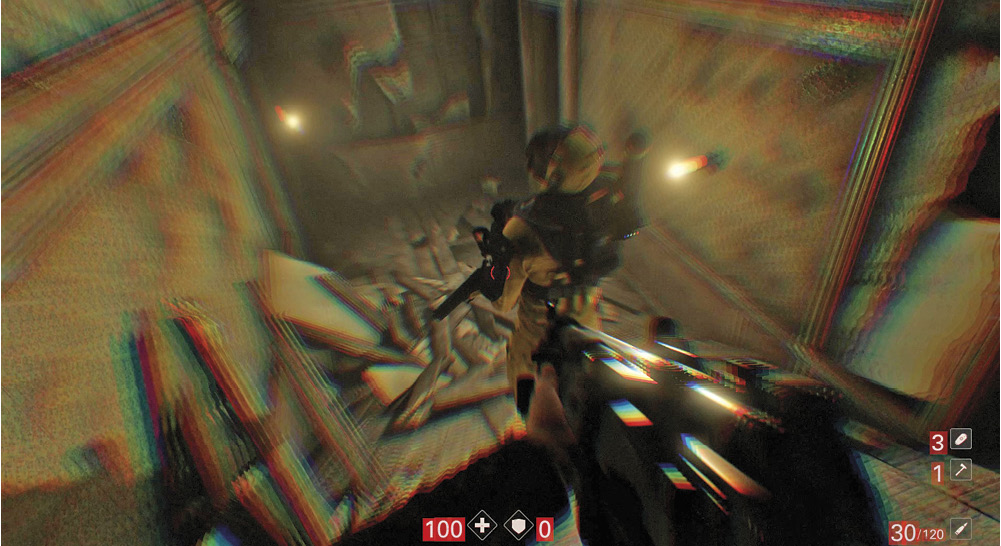
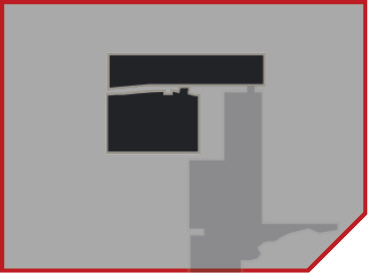
You must reach the bunker as quickly as possible, before your health is depleted. Look for first-aid kits along the way to restore some health, and armor to absorb some damage if you’re attacked. From the fourth floor, drop through a hole to the third floor. Move forward and then down to a hallway leading to the second floor. An enemy in radiation gear patrols this area. Take him out with a stealth takedown. Pick up the first-aid kit at the end of the hall.
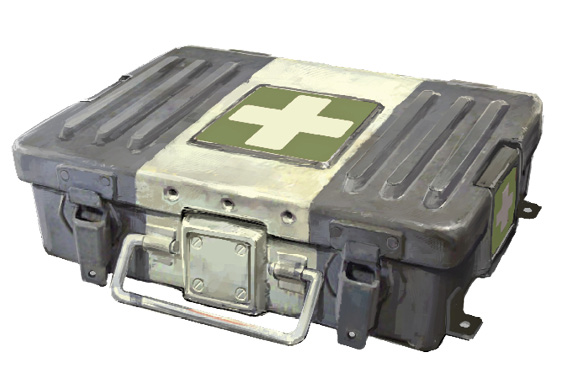
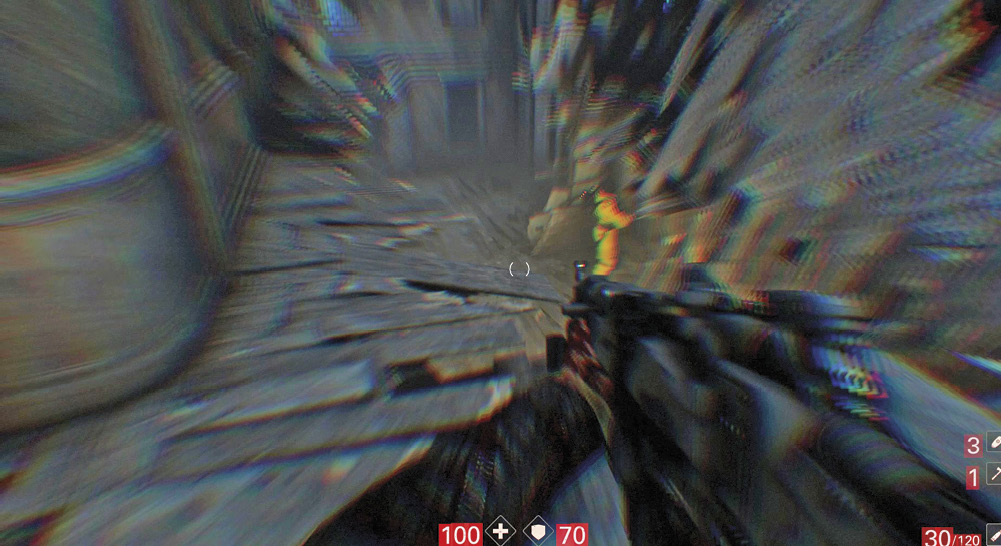
Enter the next room and quietly kill the enemy here—an easy task, since his back is to you. Quickly search the area for armor and ammo. Drop through another hole in the floor to reach the first floor. Throw a hatchet at the Soldier here, or move in for a melee kill. Stay quiet to avoid alerting other enemies and possibly taking damage.
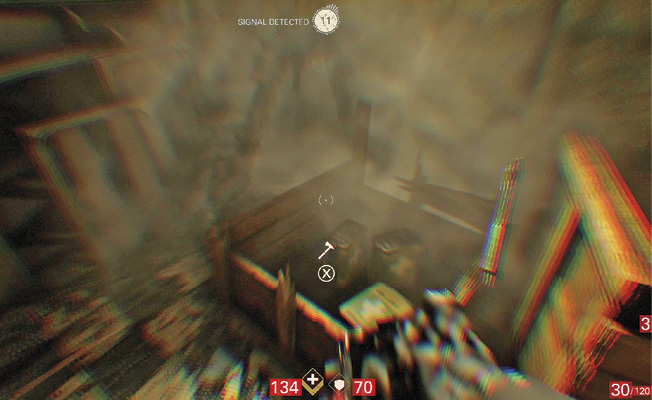
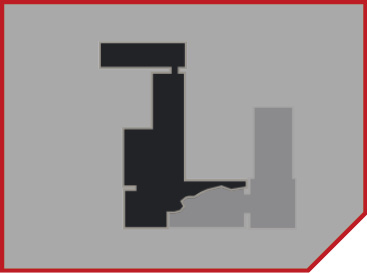
Continue around the corner and follow a ramp down to the ground floor. The Soldier at the end of the ramp is the last one aboveground, so shoot or melee-attack him, then drop to the storage room on the first basement level. Break open a couple of wooden crates to find several first-aid kits. There are more on some shelves. You’ve got a fight up ahead, so you need all the health you can get. Drop through another hole in the floor to the second basement level.
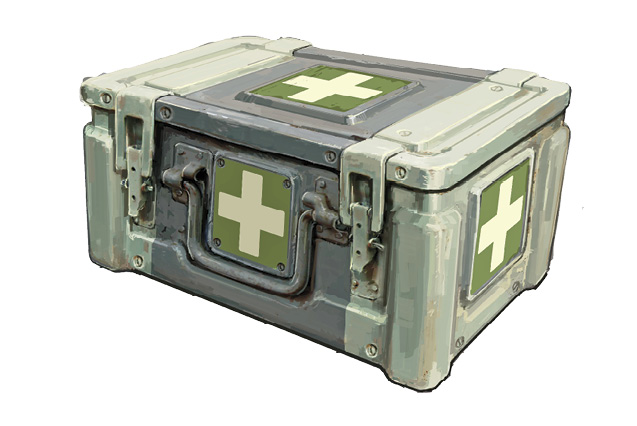
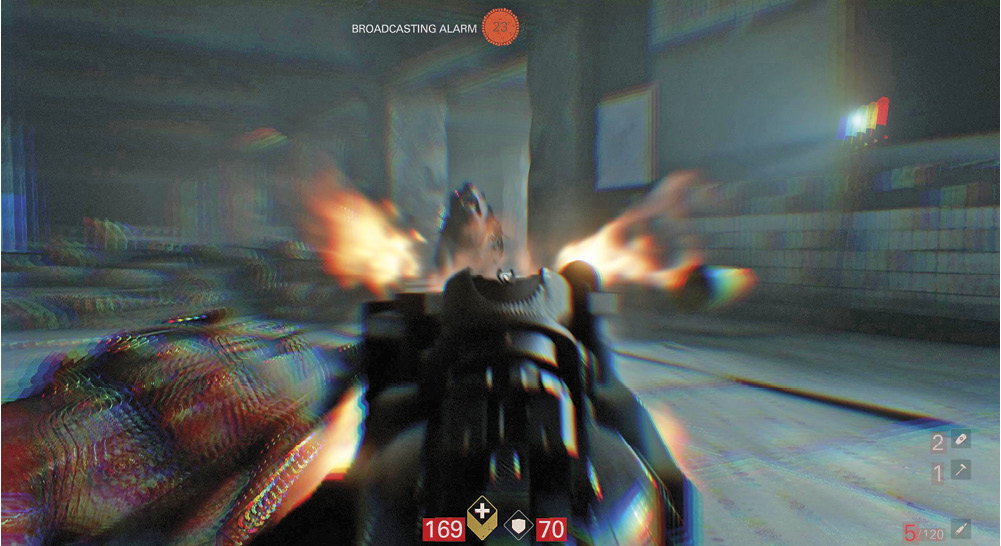
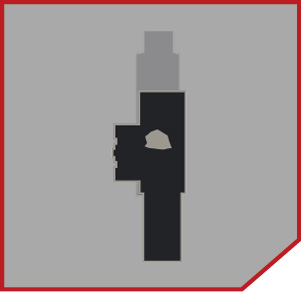
This is where things get tough. Three Kampfhunds smell you and come running. You can’t outrun them, so gun them down. Use the Sturmgewehr to quickly deal with the Soldier and Kommandant in this area, then take a ramp down toward the abandoned subway station.
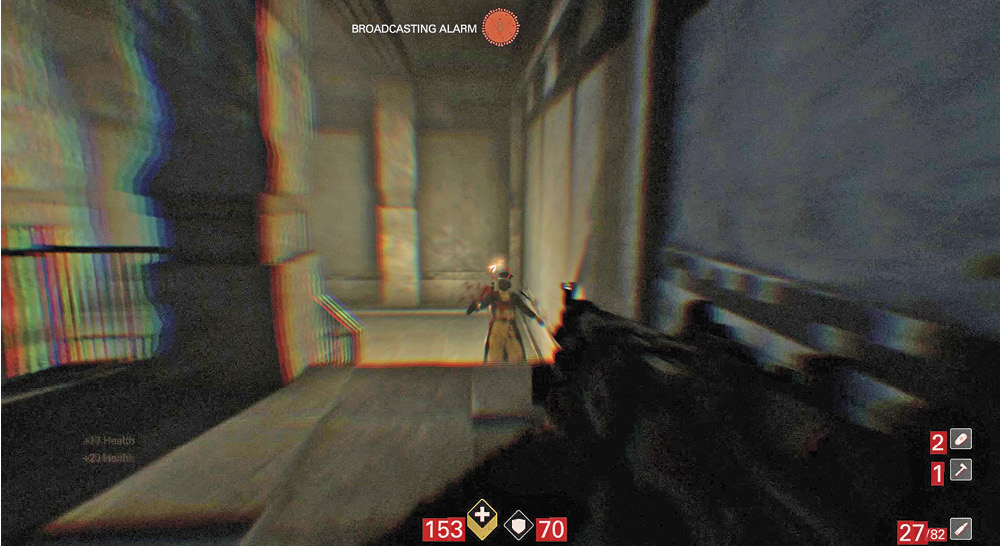
The doorway from the station leading to the bunker is blocked by wooden barriers. Depending on which contraption you chose, do one of the following:
- Constrictor Harness: Crawl through a small duct.
- Ram Shackles: Sprint through the barrier.
- Battle Walkers: Follow the walkway to the right of the final ramp. Raise yourself onto some containers and then a catwalk, then drop into the room on the other side.
Once you’re inside, continue to a steel door. Press the button beside it to enter the decontamination chamber. At this point, the decontamination process begins and you’re no longer affected by radiation.
Objective: Find the Command Center
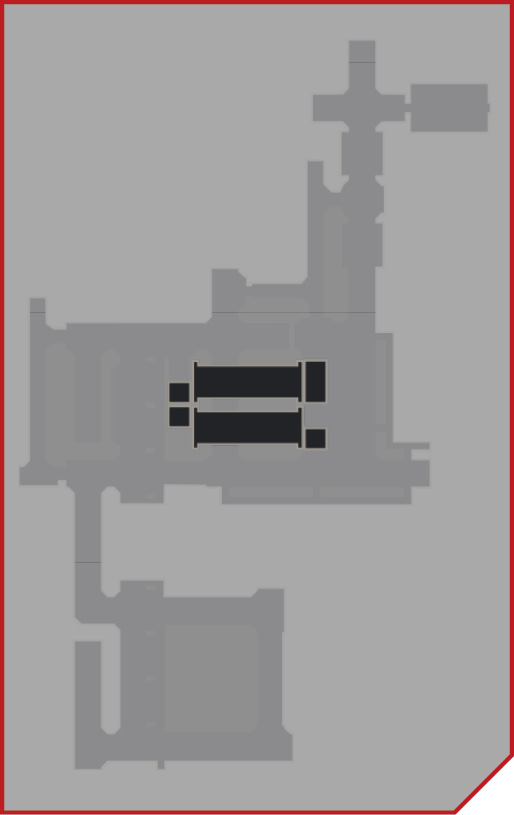
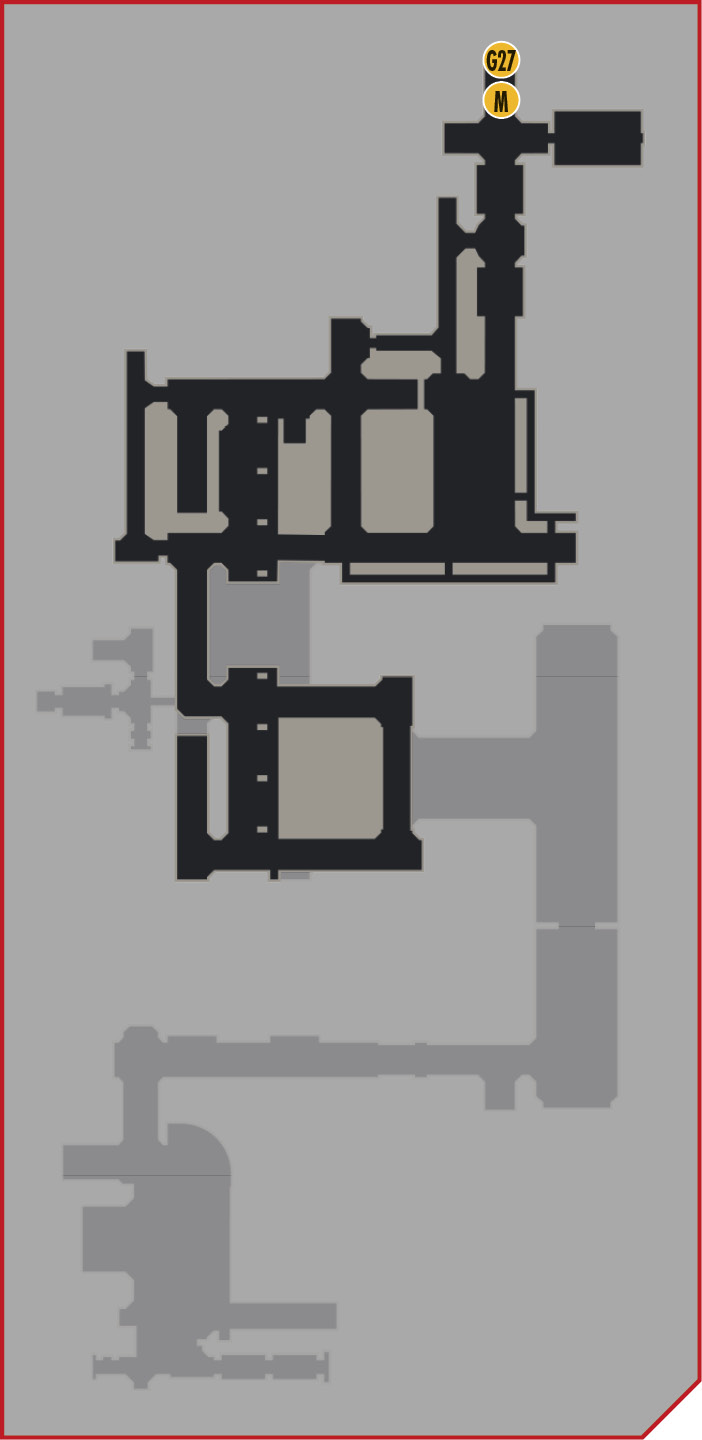
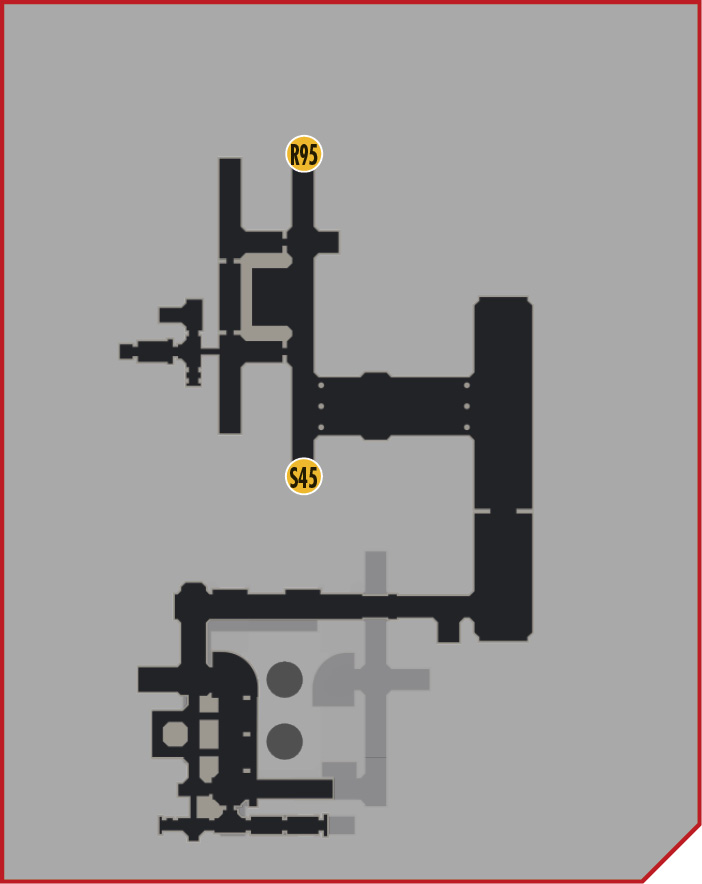
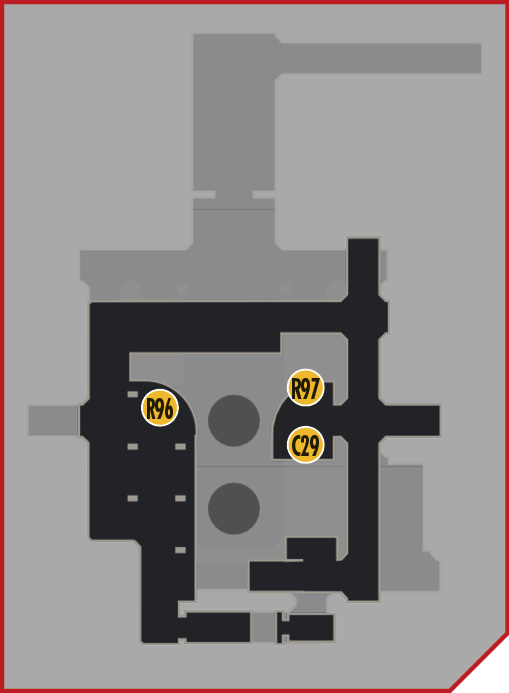
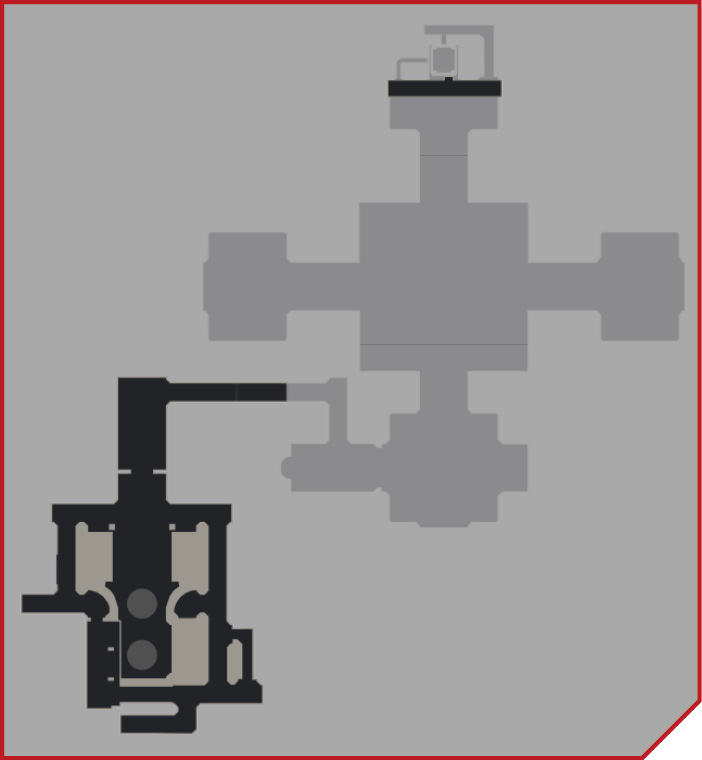
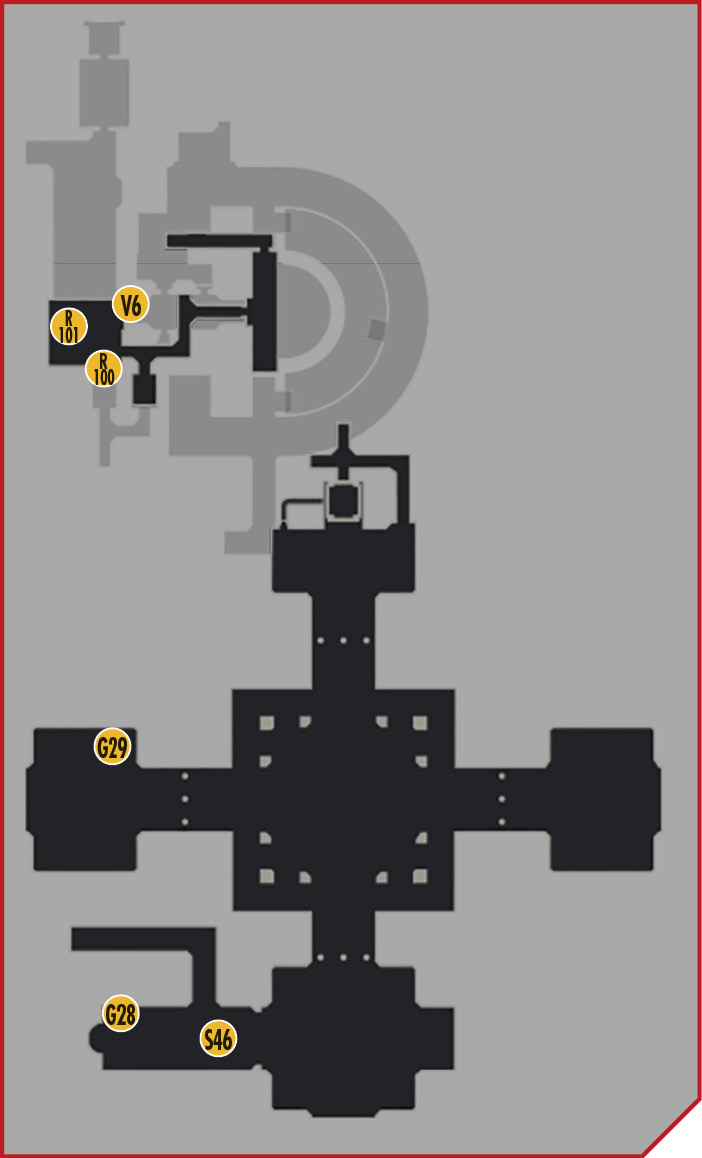
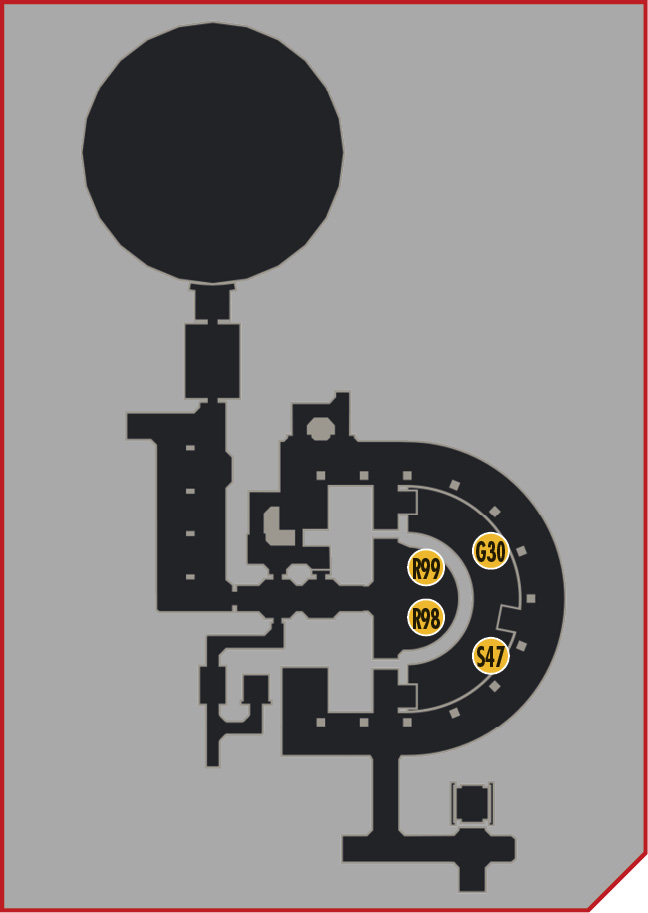
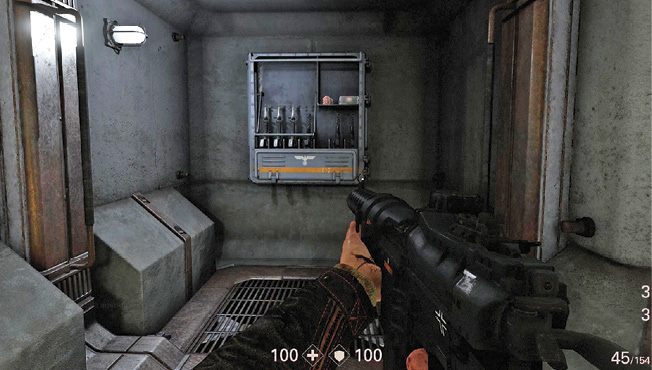
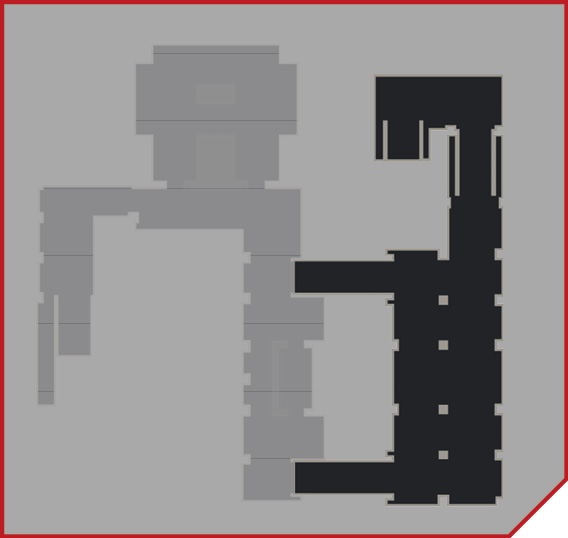
Now that you don’t have to worry about radiation, you can take your time. You’re currently on Basement Level 4. To prevent all the Soldiers in the area from coming at you at once, maintain stealth as long as possible and eliminate one at a time. This is tough to pull off in the bunker, but worth the effort. Near the entrance, look for armor and ammo. Stock up—you’ll need it.
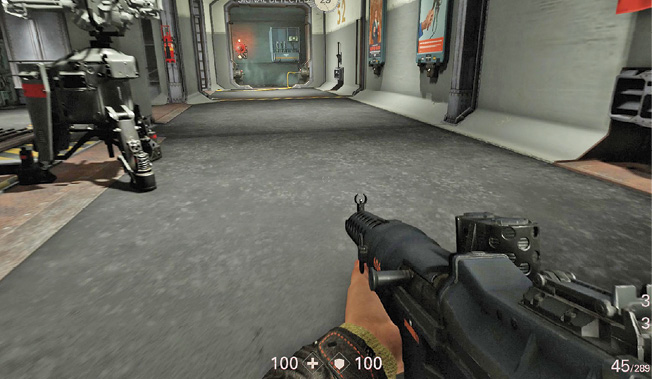
The first corridor is empty of enemies, but as you move farther into the bunker, you see patrolling Soldiers. This level also contains ÜberSoldaten. To cause a lot of damage and draw enemies to you instead of hunting them down, use the mounted heavy weapon at one end of the larger area. It provides unlimited ammo as long as it’s mounted. You can dismount and carry it, but this causes its ammo to run out. Alternatively, you can use your own heavy weapon, since this level offers a place to refuel/recharge.
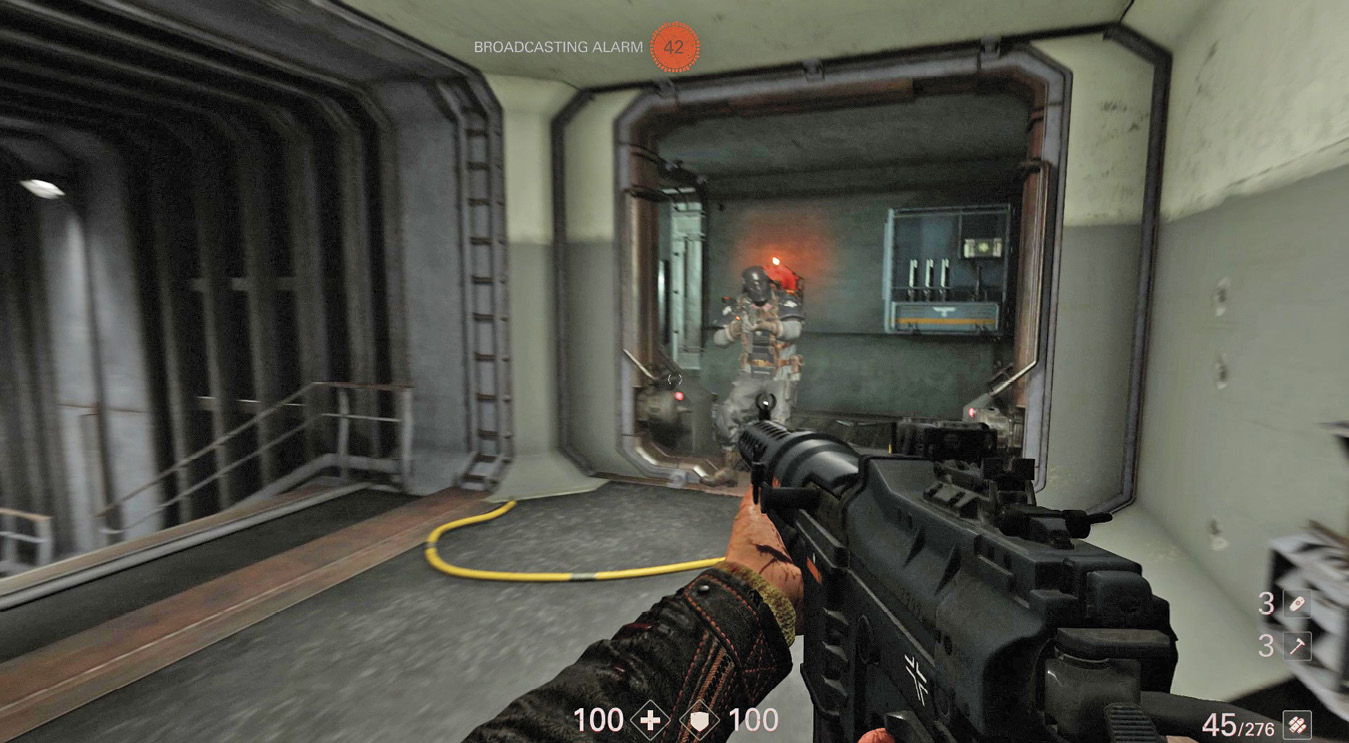
Once the shooting starts, use the corridors for cover and clear out all enemies. Stay on this level and consider your contraption options:
- Constrictor Harness: Access to several ducts lets you move through the walls and come out behind enemies.
- Battle Walkers: Get up to the Basement Level 3 platforms and shoot down on the enemies.
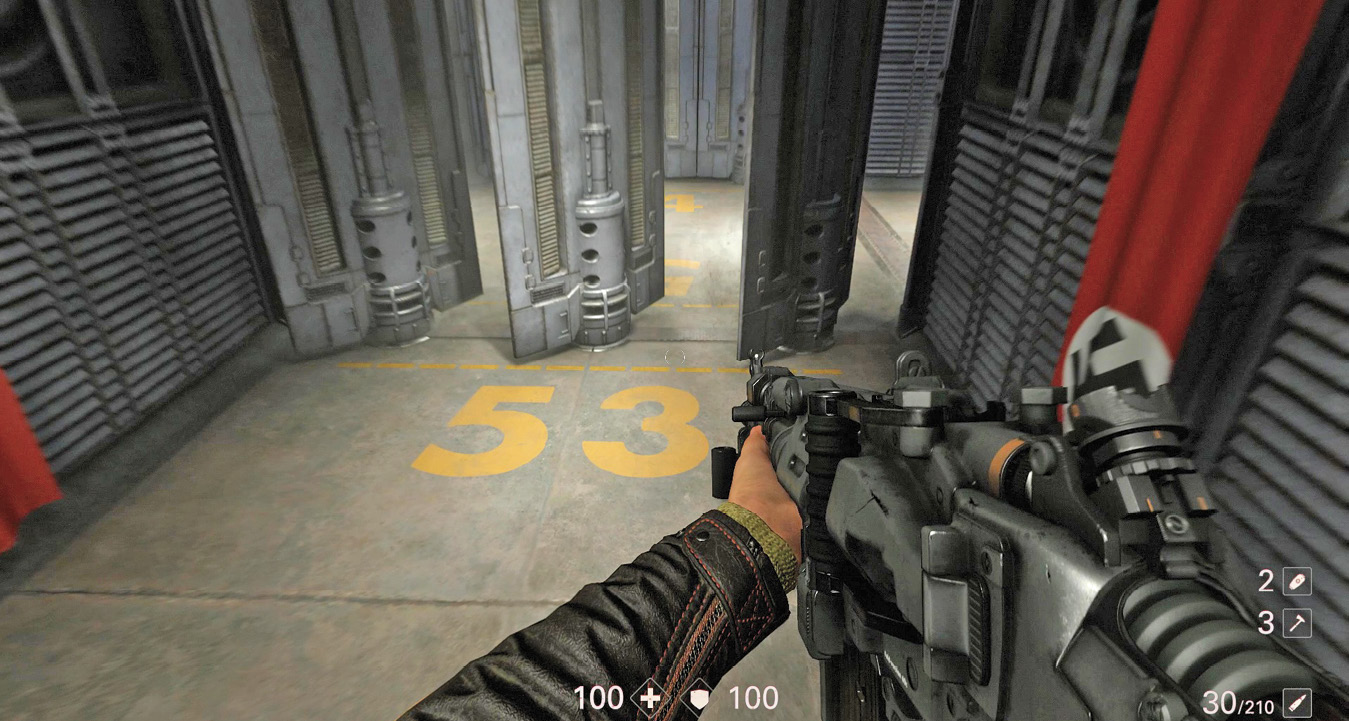
Once Basement Level 4 is clear, head downstairs to Level 5. If you caused a lot of noise, all enemies originally down here should have already come up to you, which means the area is clear. If not, finish off any remaining enemies. Advance through large vents that open and close automatically, then follow the corridor on the other side around, eventually past windows that look out on enemies below. Stay low and keep moving.
By staying quiet, you can sneak up on an ÜberSoldat and take him down before he attacks. Since other enemies are in the area, this may cause an alarm to sound. Head downstairs to Level 6—a SuperSoldat is waiting for you. Use your heavy weapon to take him out, then clear the remaining enemies, including a Kommandant. Take the stairs down to Level 7.
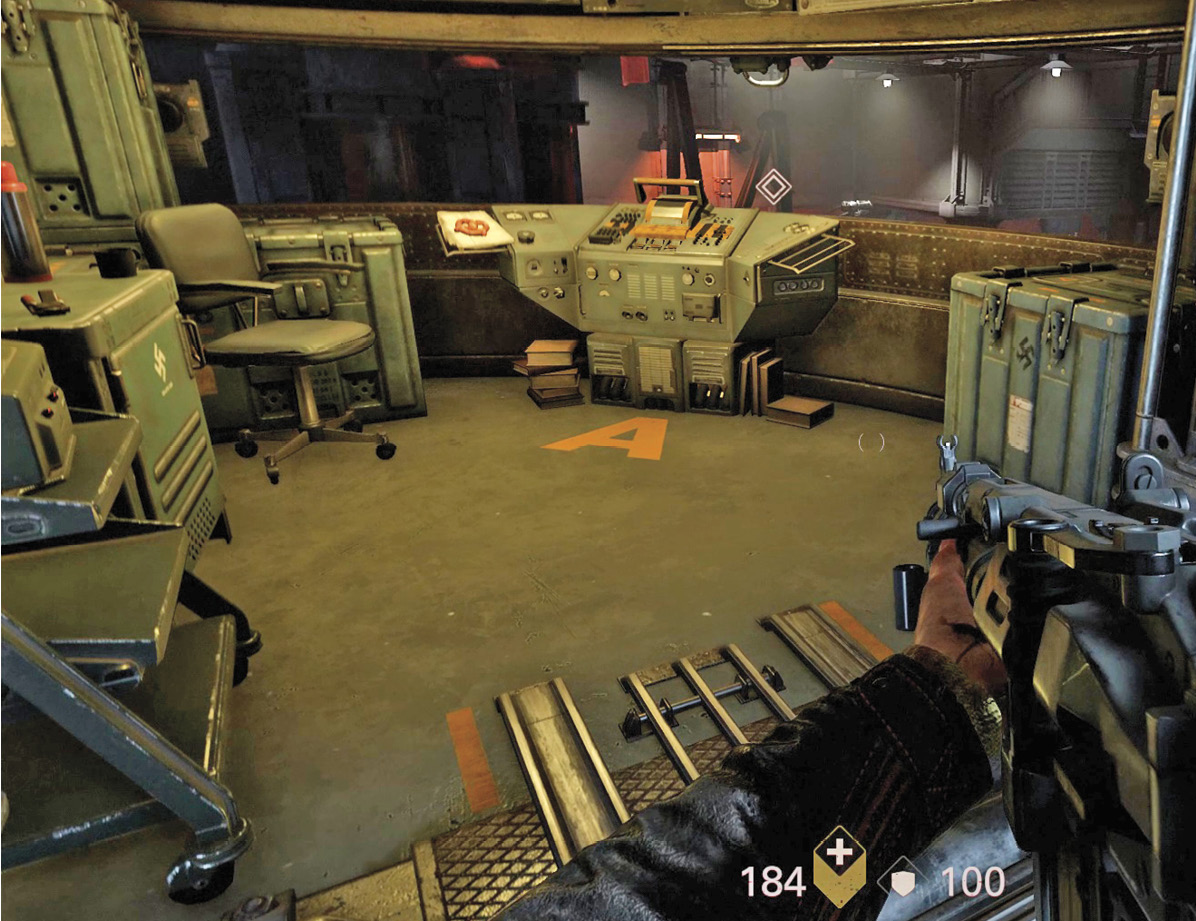
Basement Level 7 contains two small control rooms. Pull the lever in each one to open the large door that leads to the command center. Head down some nearby stairs, enter the now-open doorway, and follow the ramp down to Level 8.
Objective: Enter the Command Center
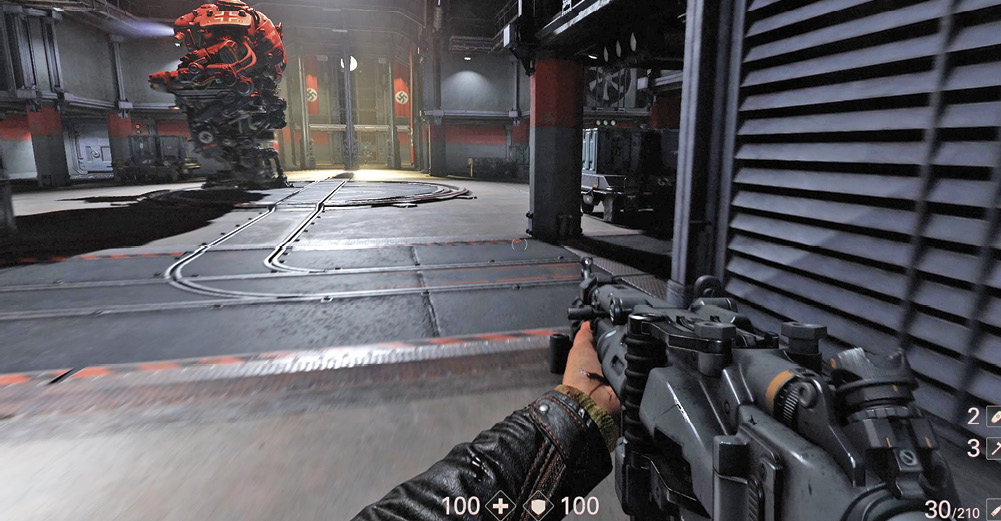
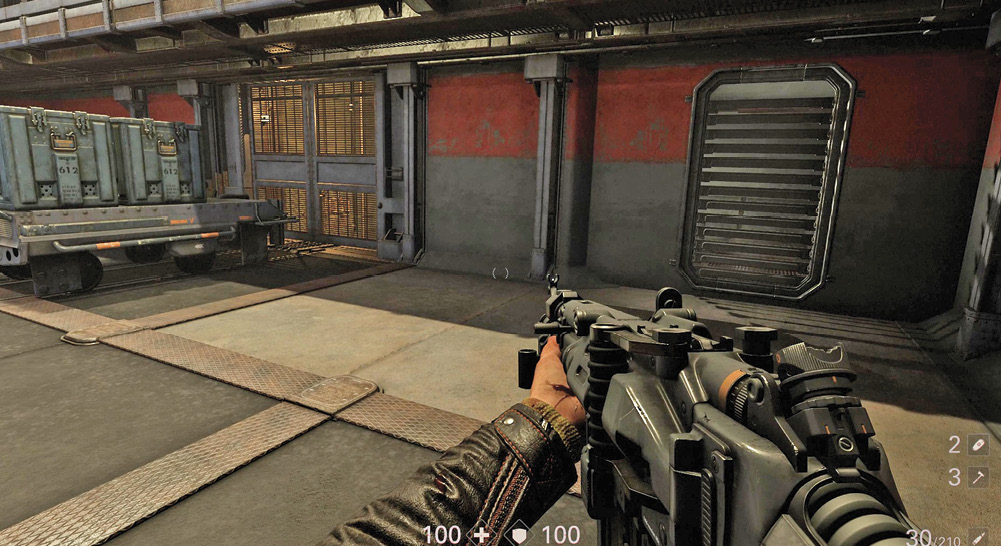
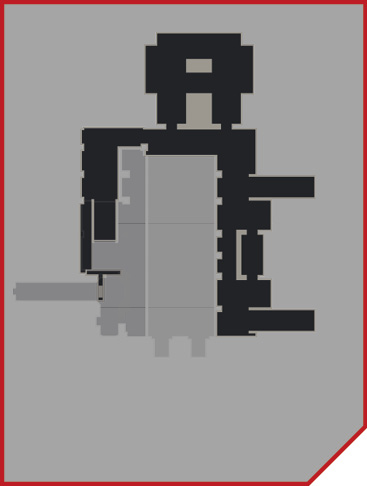
Continue until you come to some large vents. When they open, you can enter a big room guarded by a Zitadelle. This enormous mech moves back and forth. You must get past it without being seen. Wait until it walks to one side, then move in and hide behind some crates. Cross straight through the room and another set of vents.
Traversing the room on the other side of the vents requires your contraption:
- Constrictor Harness: Crawl through a duct.
- Ram Shackles: Bust through a barrier.
- Battle Walkers: Raise yourself up to a catwalk.
Regardless of your method, you end up at an elevator. Press the button and ride it down to Level 9.
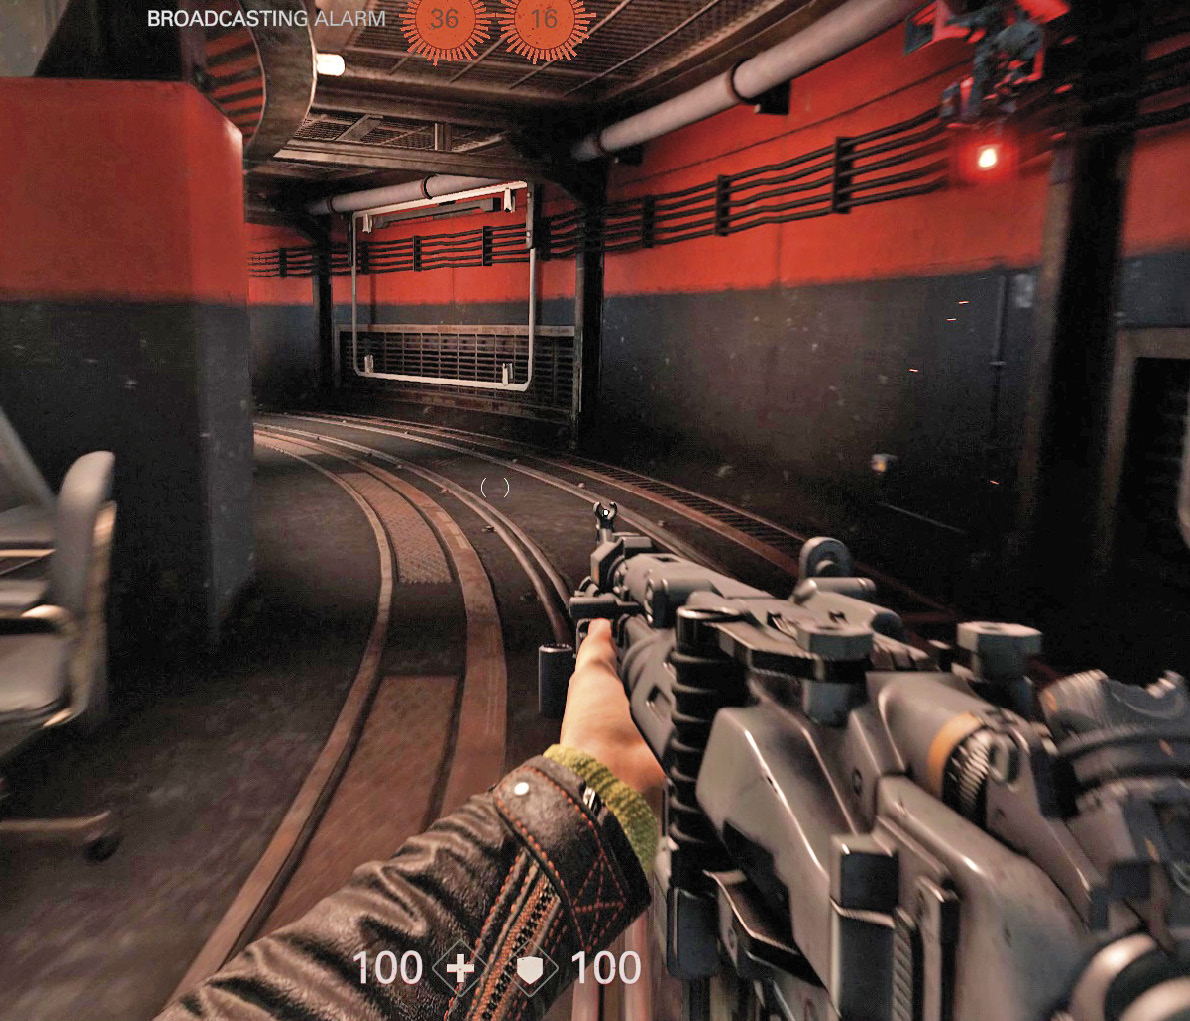
Proceed down the corridor toward the command center, which is a bunker inside a bunker. As you turn a corner, you come under fire from a heavy weapon shooting through slits. Move to the right and stay low, following the curving corridor around to the side of the command center. Kill approaching enemies along the way. When you reach the end, use your contraption to enter the command center. Note that the Battle Walkers get you into the command center’s upper level, while the Constrictor Harness and Ram Shackles put you on the main floor.
Objective: Pick Up the Dossier
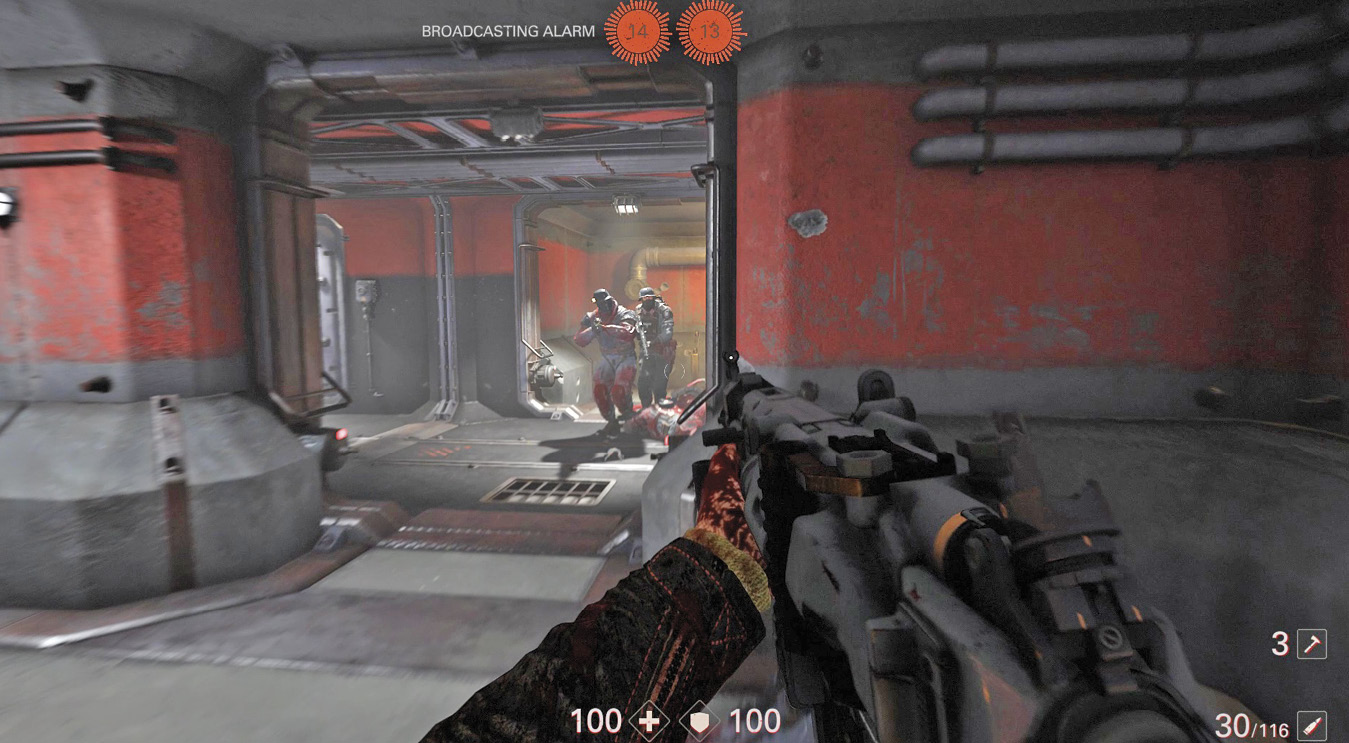
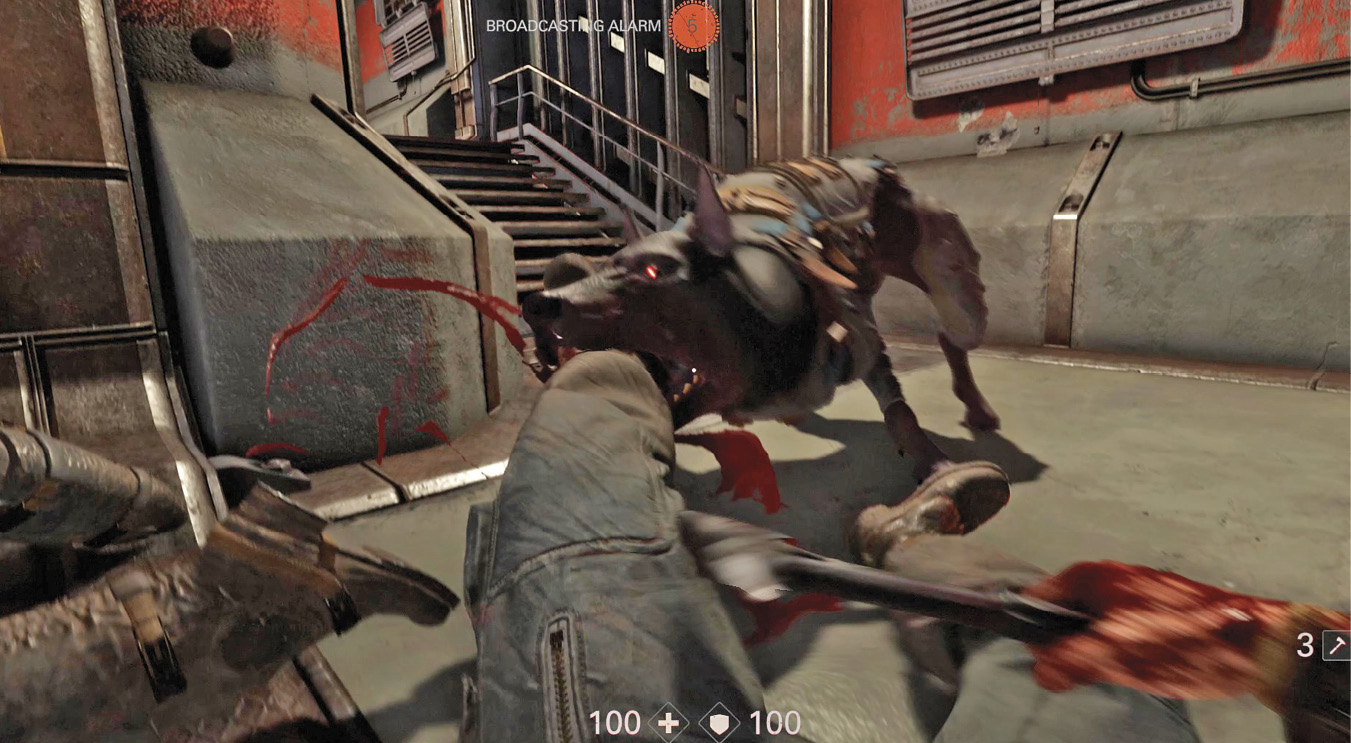
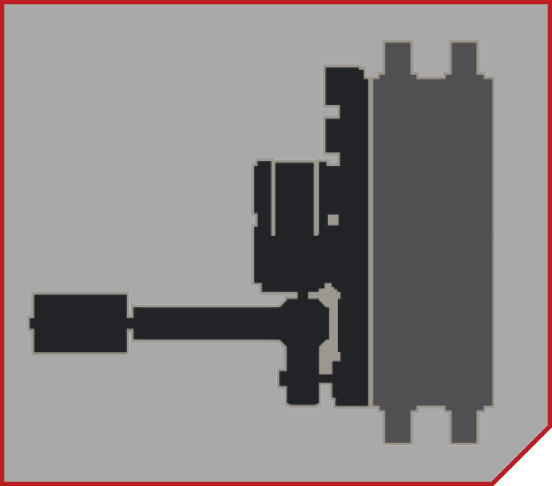
The numerous enemies inside the command center include Panzerhunds, a variety of Soldiers, and two Kommandants. Fight your way through. There’s no need for stealth; this is pure carnage. Since the command center’s passageways restrict movement, enemies tend to bunch up, making great targets for grenades or your heavy weapon.
If you start down on the main floor, work your way to the upper level. If you’re already there, cross the walkway to the room in the back. There you find the New Orleans dossier. Open the container and grab the dossier to complete the main objective of your mission.
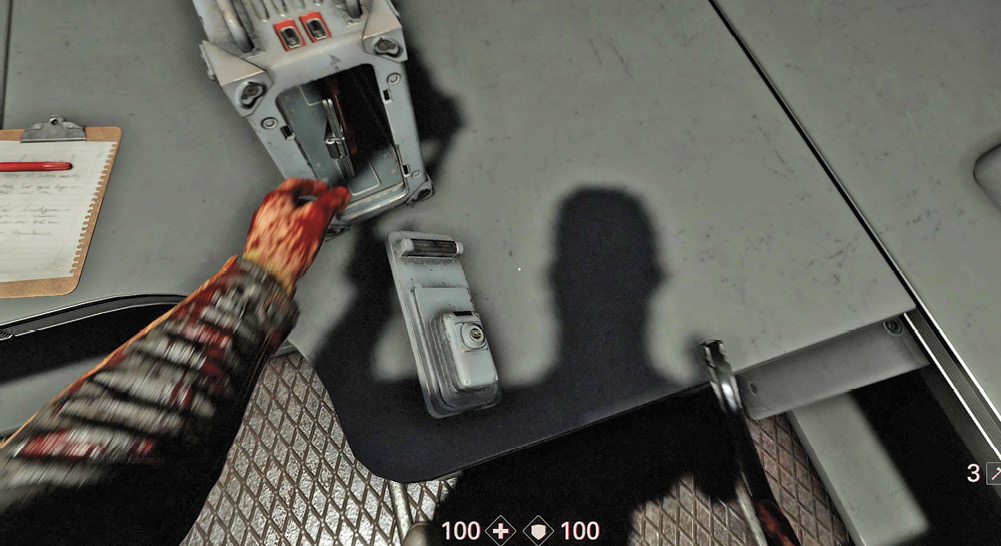
Objective: Secure a Fallout Rebreather
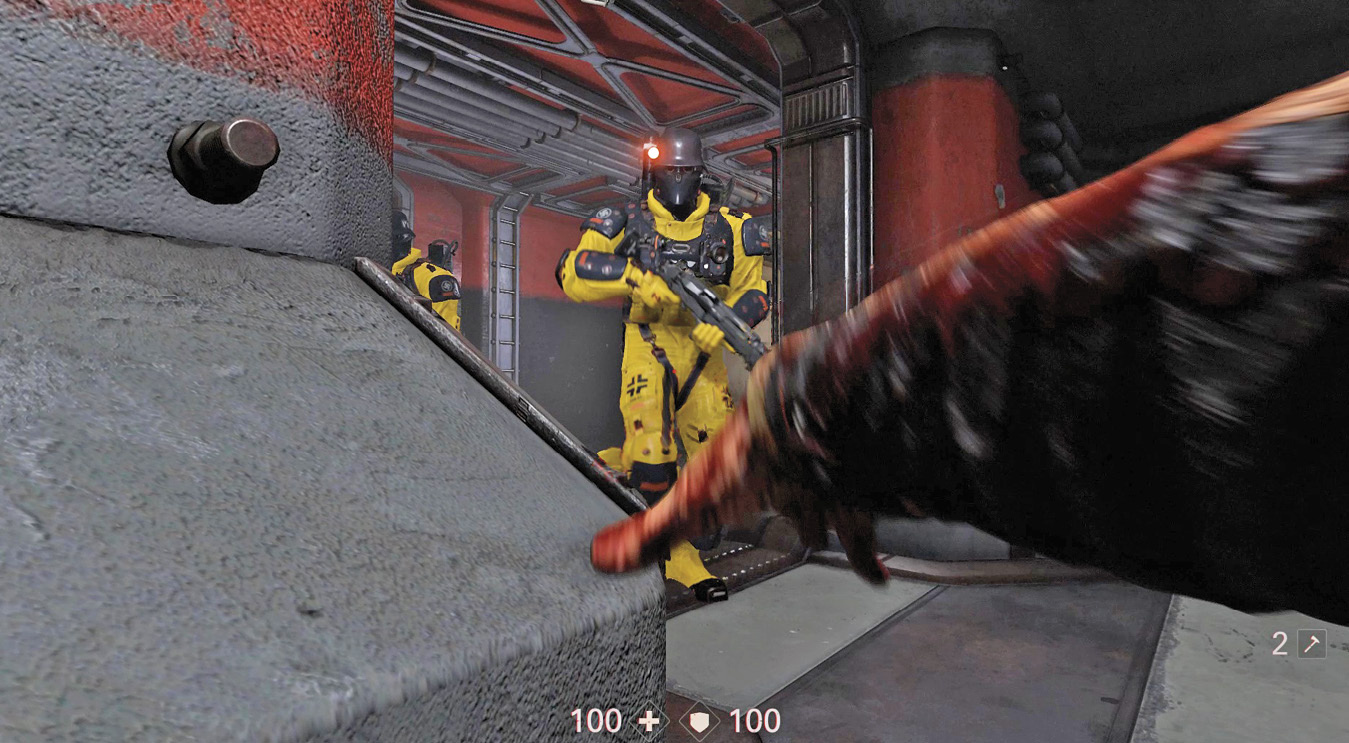
The Nazis have opened the secure doors to the outside and let in the radiation. They’re serious about preventing your escape.
After you pick up the dossier, the exit is directly ahead of you. Jump over the table and drop to the level below. Soldiers in hazmat suits have entered the area, blocking your way. You don’t want them coming up behind you later, so clear them out now.
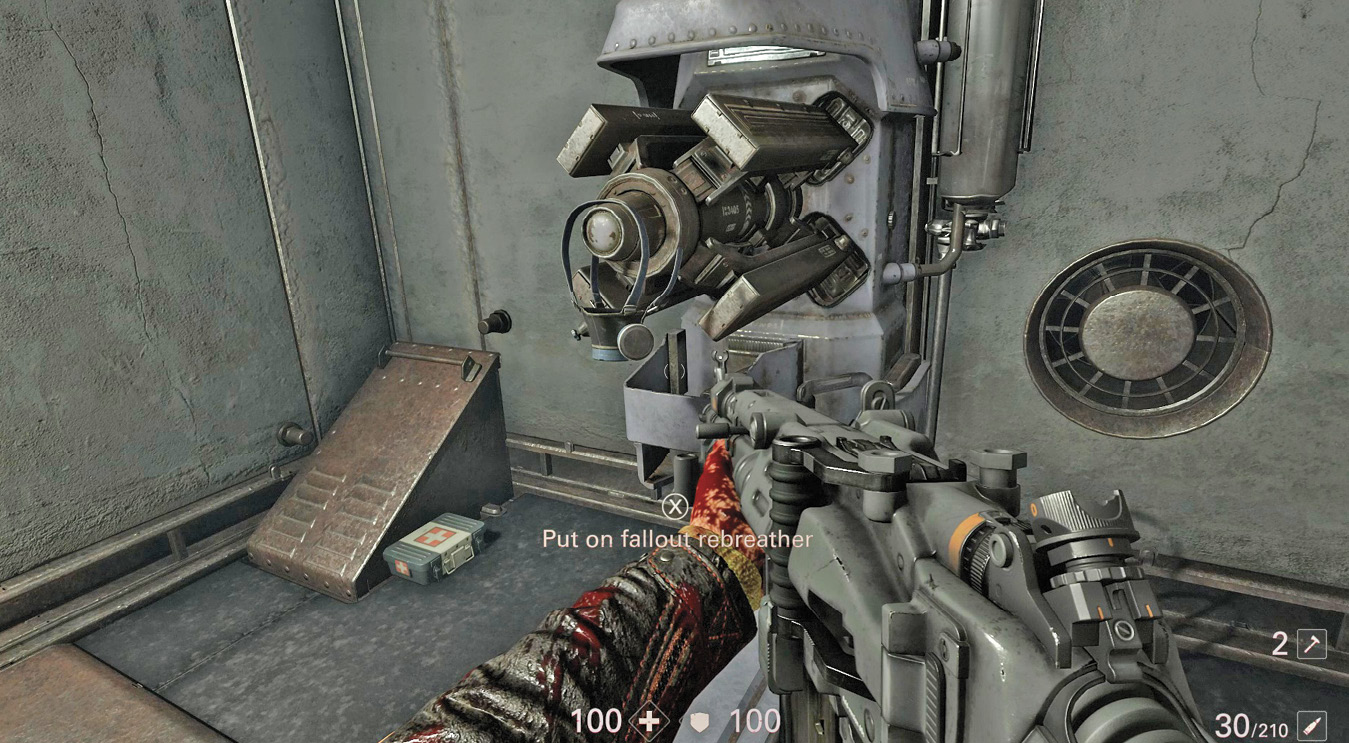
Kill them quickly; the radiation is draining your health. Continue to the next room and pick up the rebreather so the radiation no longer harms you. Grab some armor too—the fighting isn’t over quite yet.
Objective: Exit the Manhattan Nuclear Bunker
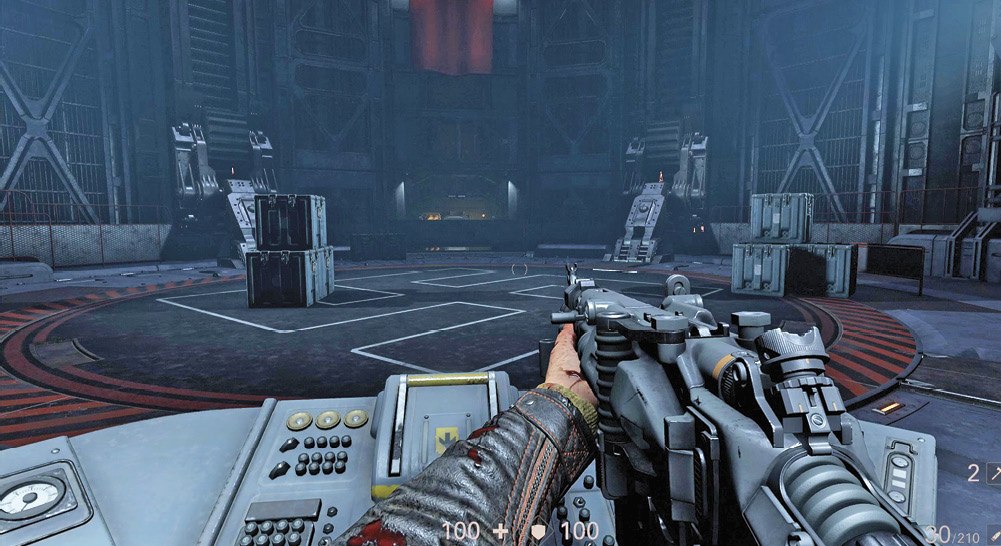
Advance into a large circular room. This is an elevator that takes you back up to ground level so you can escape. Pull the lever on the control panel to begin your ascent.
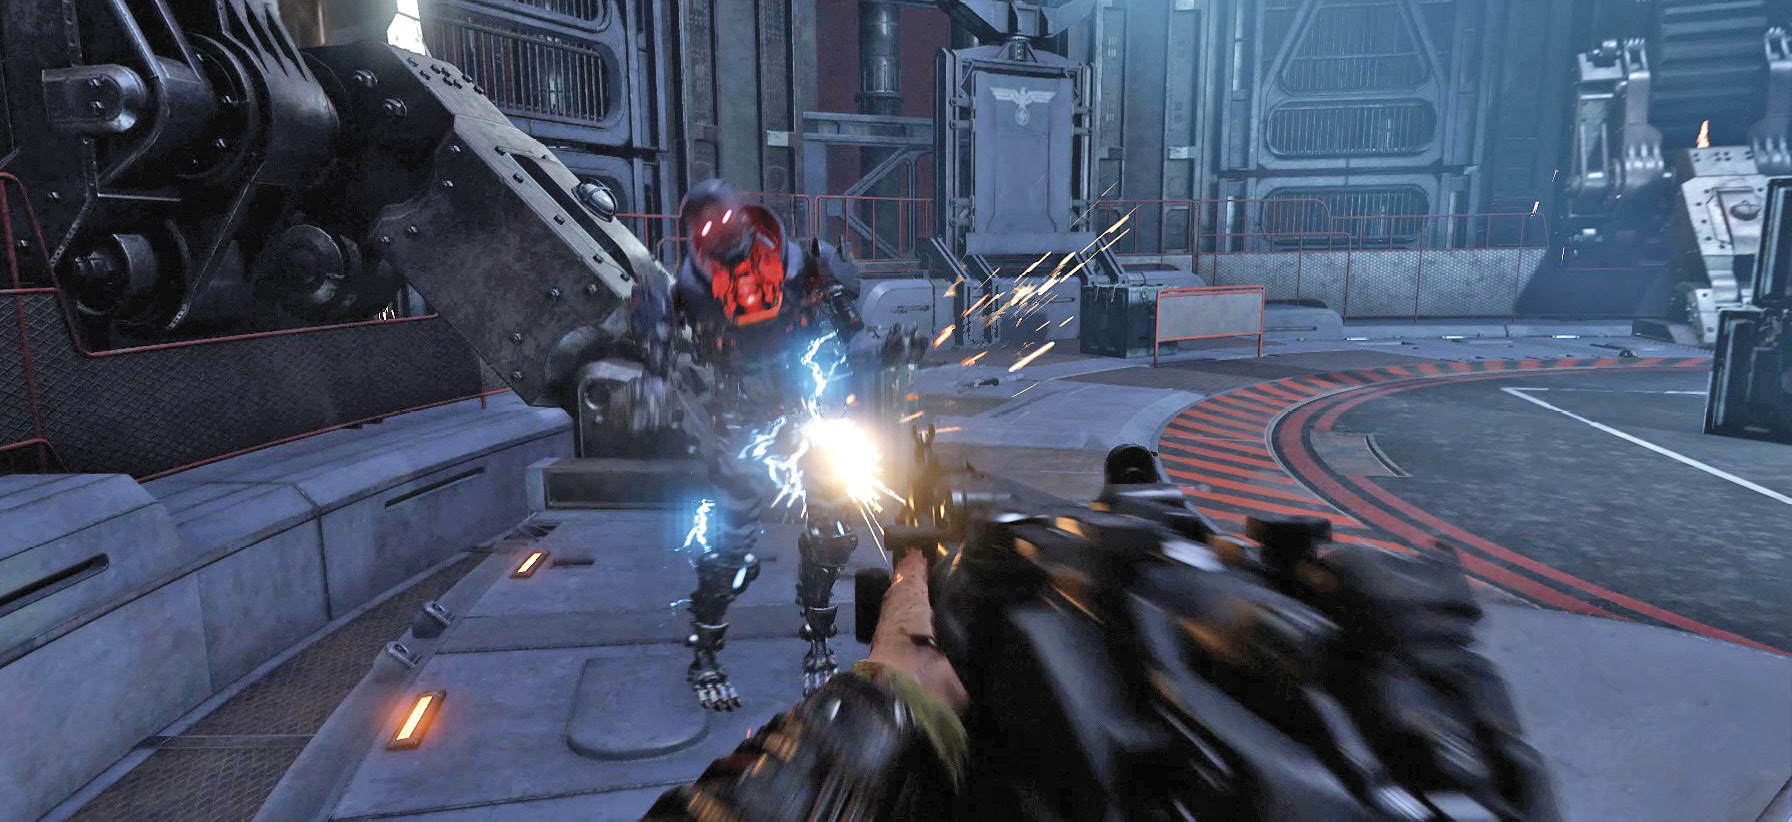
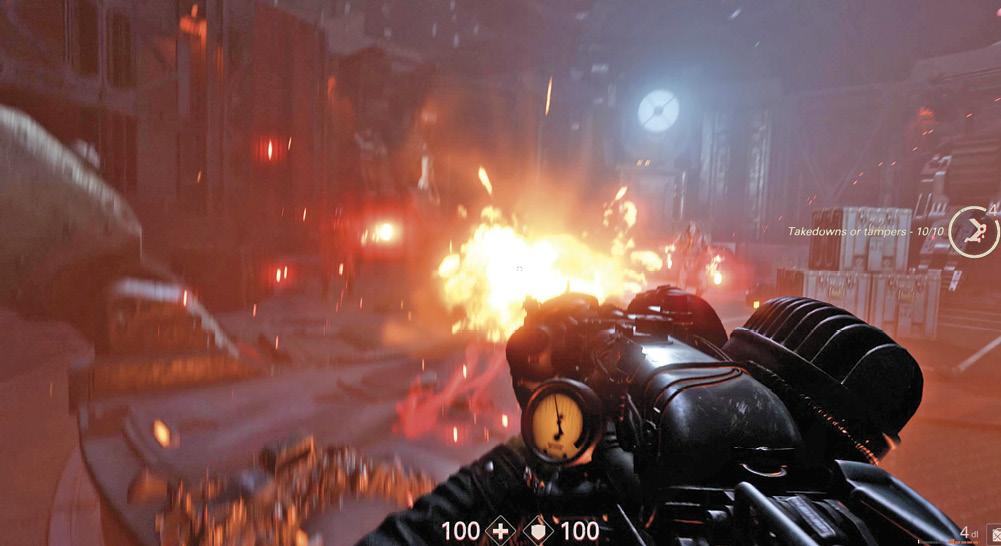
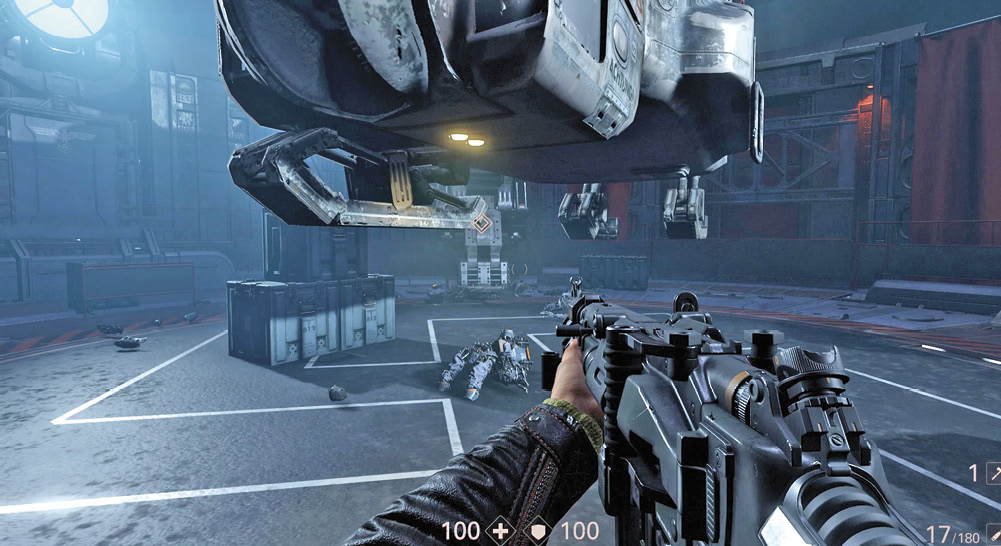
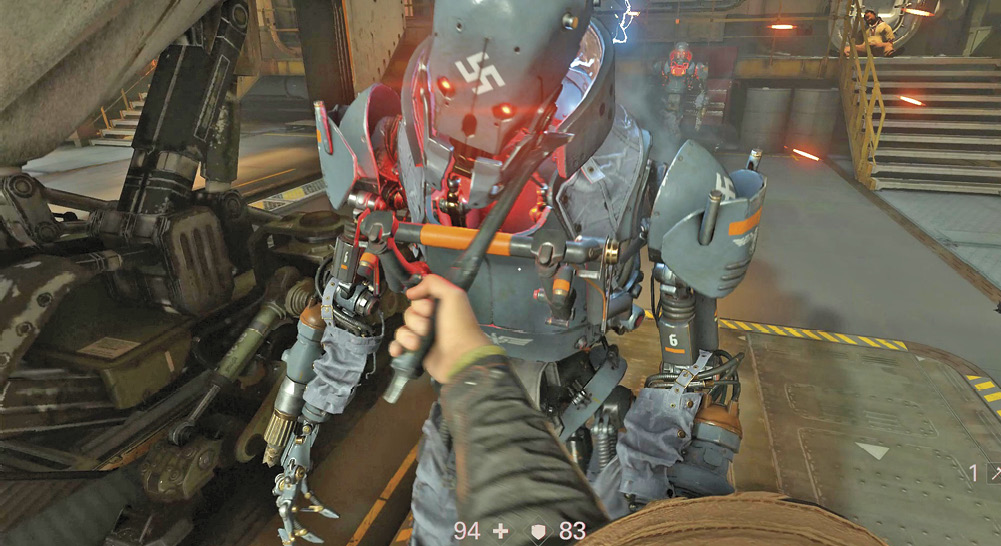
As the elevator begins moving, ÜberSoldaten fly in and attack. Take cover and engage them. If possible, move in close and dispatch them with your hatchets.
Don’t forget your heavy weapon; this is the perfect time to use it. Many of these robotic enemies attack at once and rapidly deplete your armor and health, so you need to take them out fast.
Once all enemies are eliminated, the Resistance helicopter flies in. Jump aboard to complete the mission and return to base.
Your progress hits another snag. It seems a couple of ÜberSoldaten have hitched a ride with you. After you land, they attack. They injure your pilot, Bombate, and come after you next. Fight them off and go to Bombate to end the level.