
Wolfenstein II: The New Colossus Guide Walkthrough
The Ausmerzer
 The Finale
Aboard the Ausmerzer
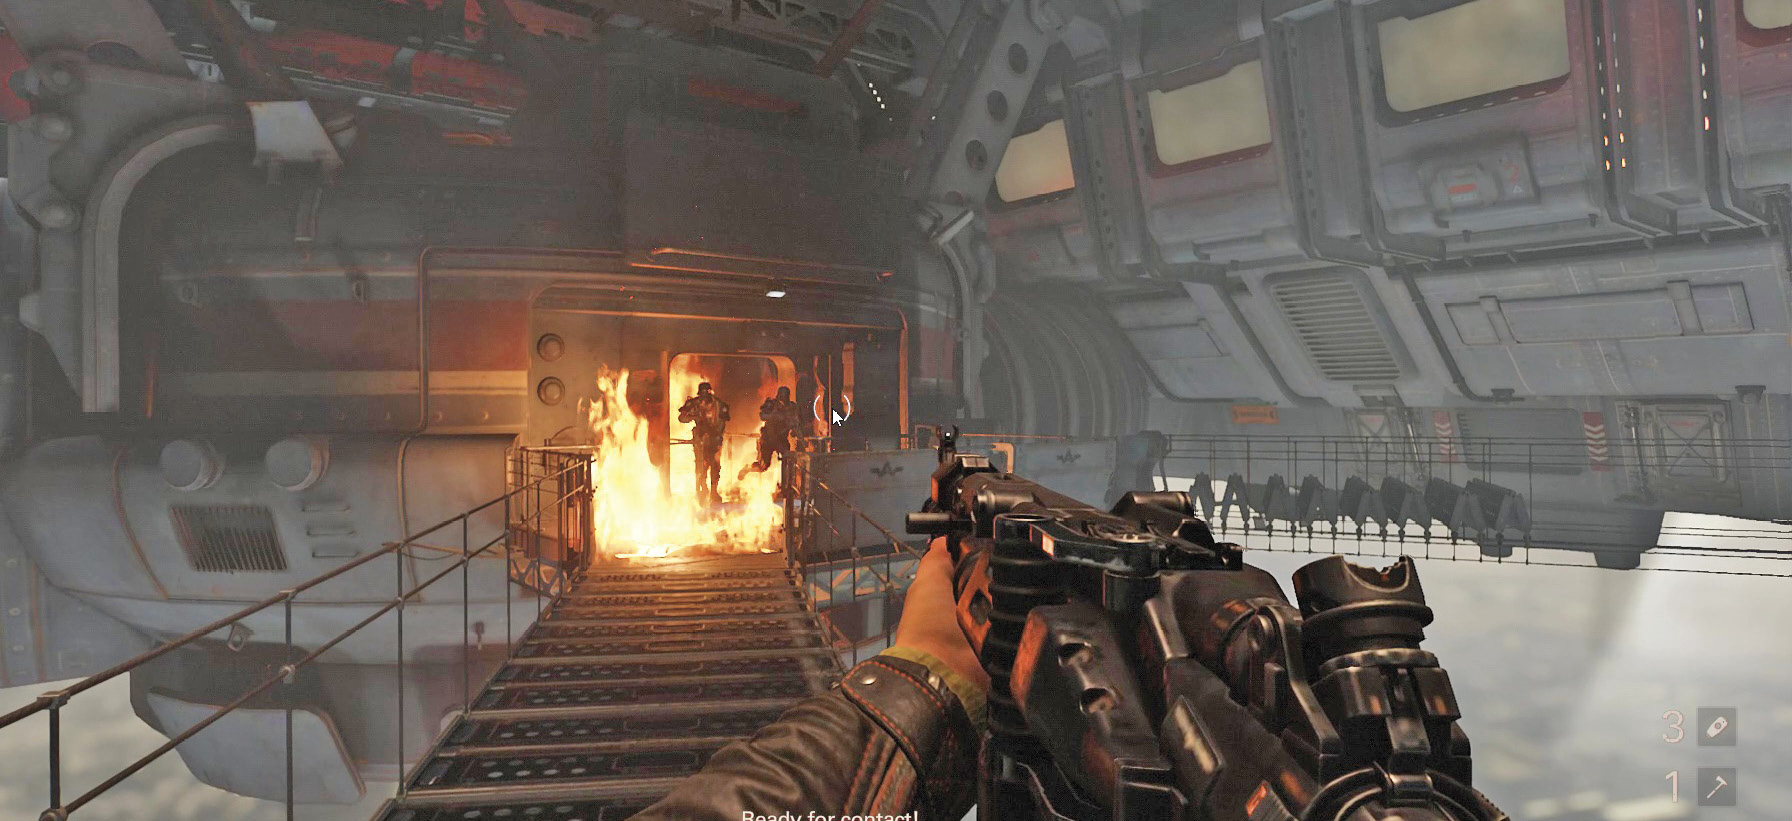
You’ve made it onto the Ausmerzer. Your goal now is to reach the ODIN system and shut it down so you can take control of the flying fortress.
➤ Map Legend Key for Collectibles
|
|
Concepts |
|
|
Gold |
|
|
Map |
|
|
Readable |
|
|
Star Card |
|
|
Max’s Toy |
|
|
Upgrade Kit |
|
|
Vinyl Record |


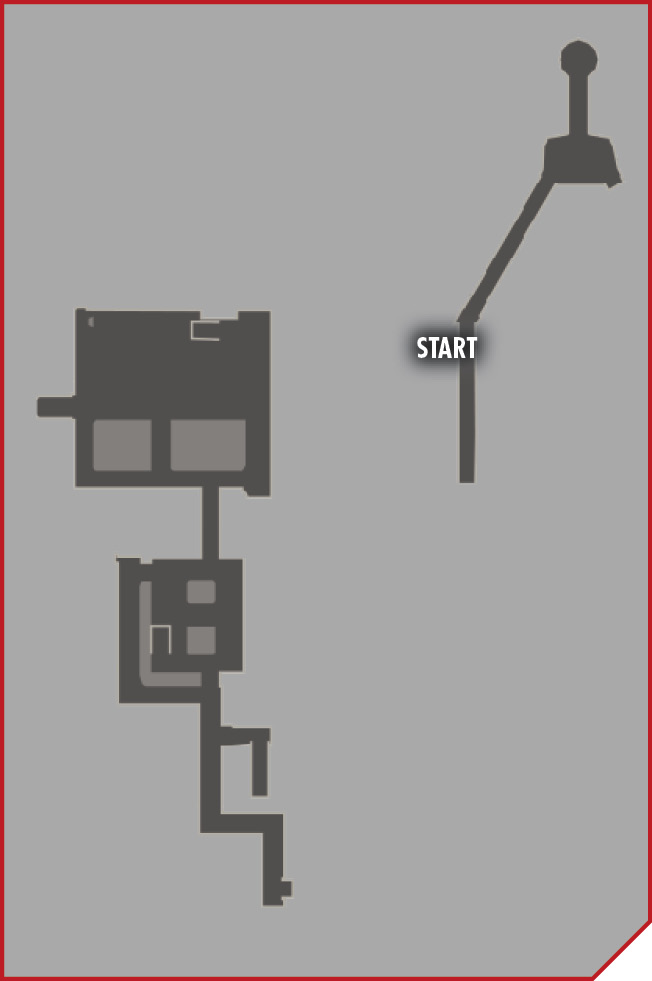
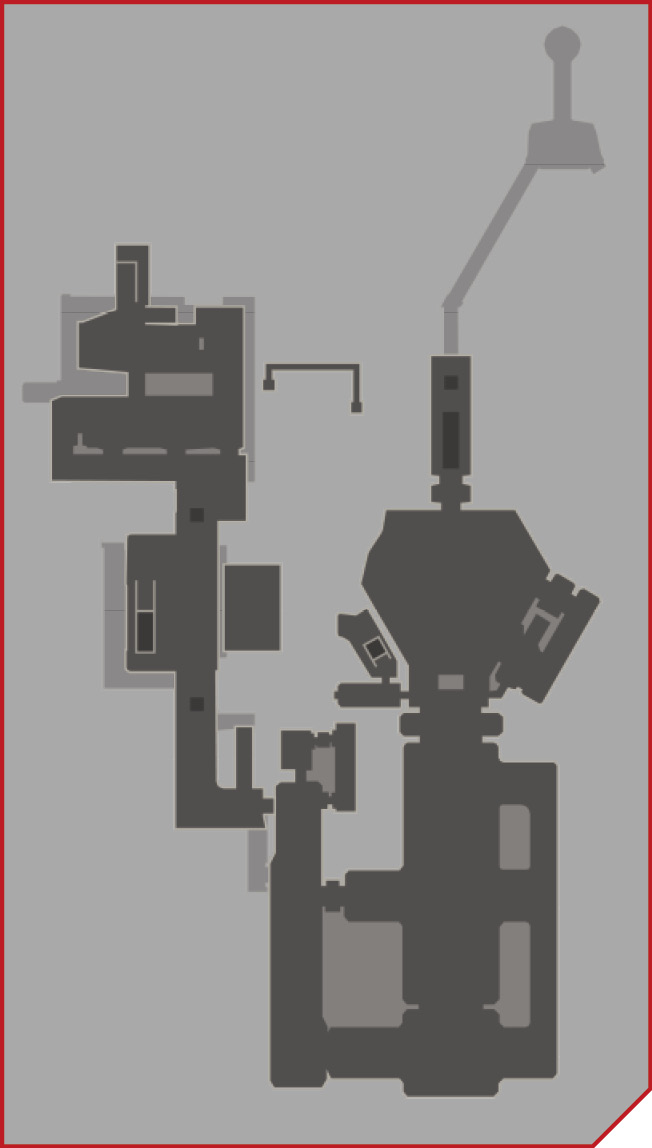
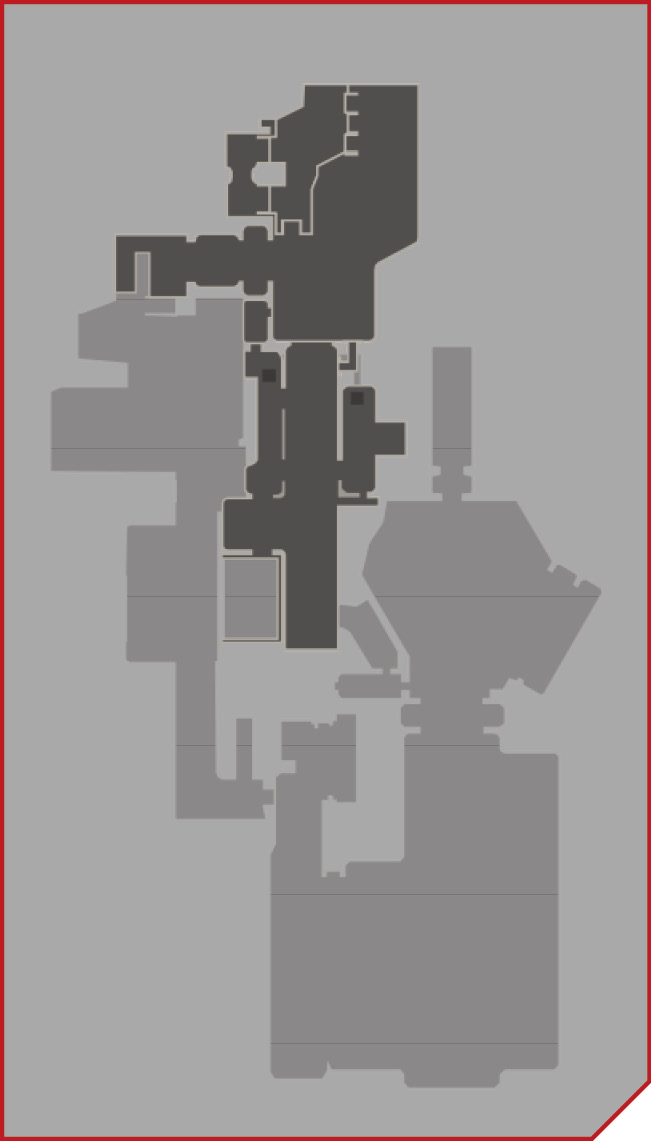
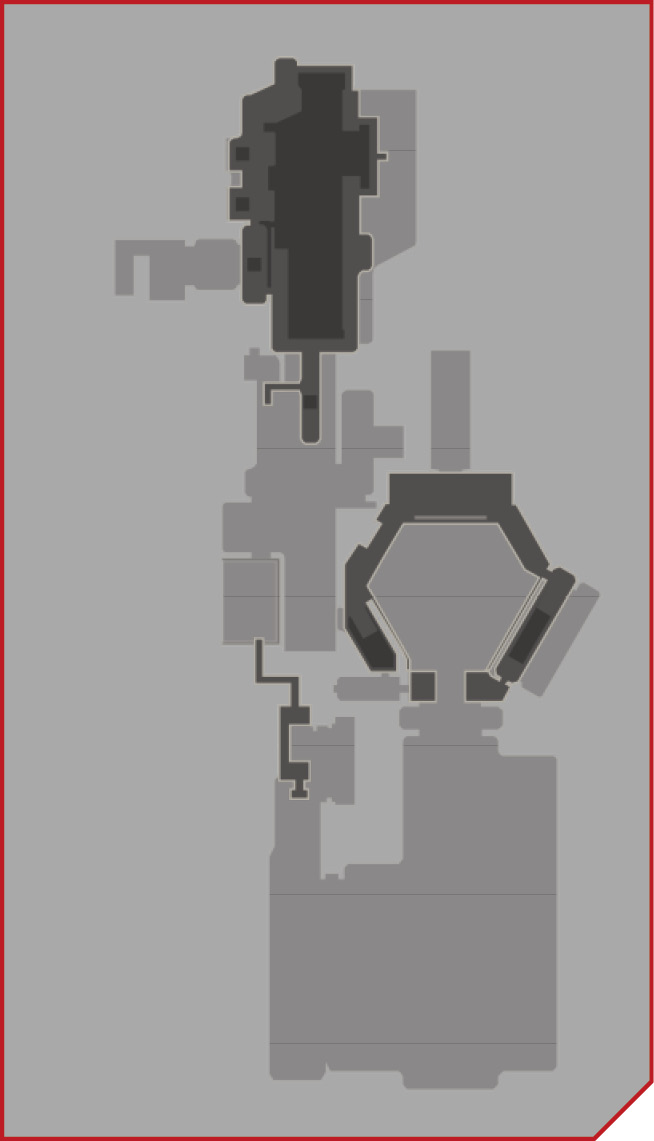
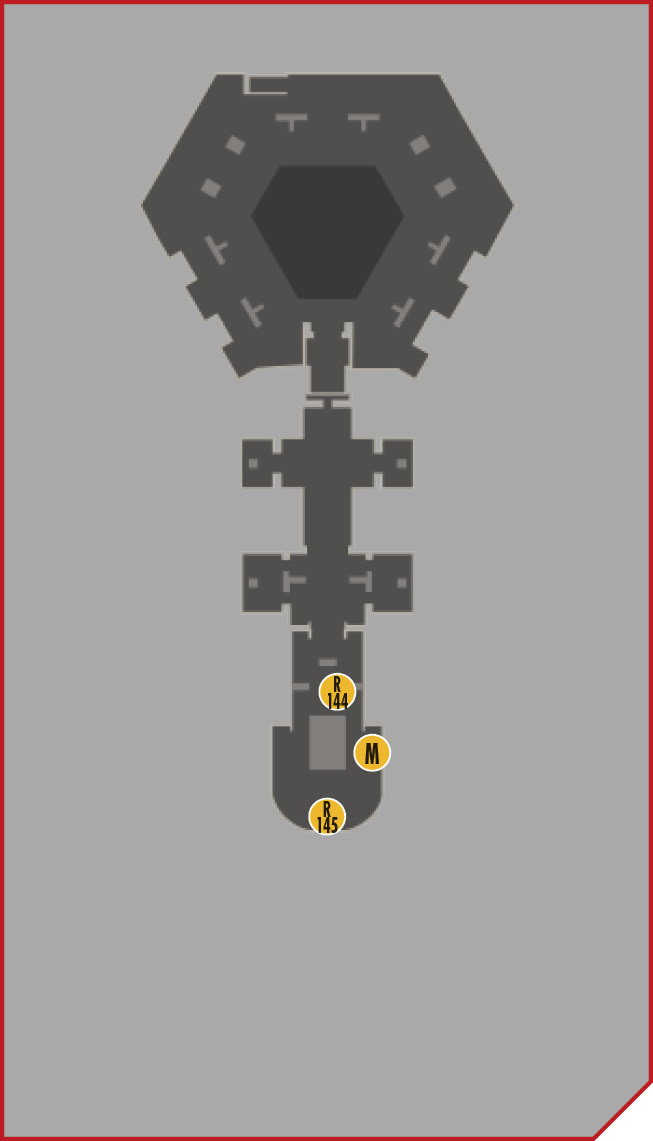
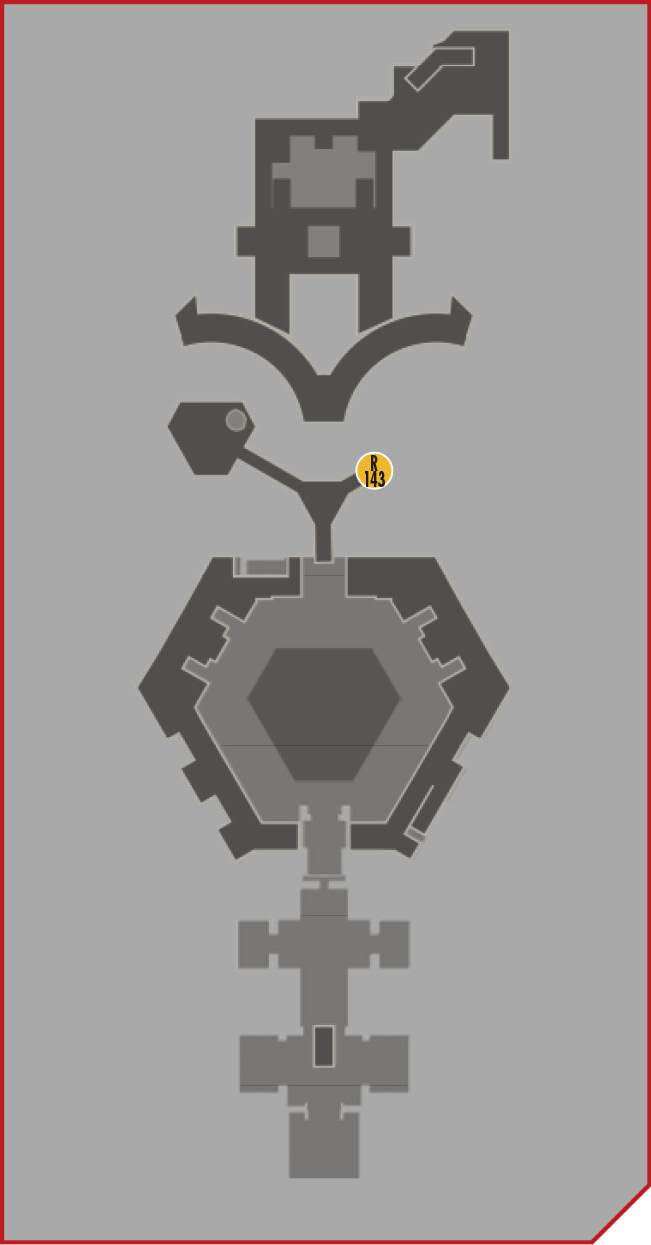
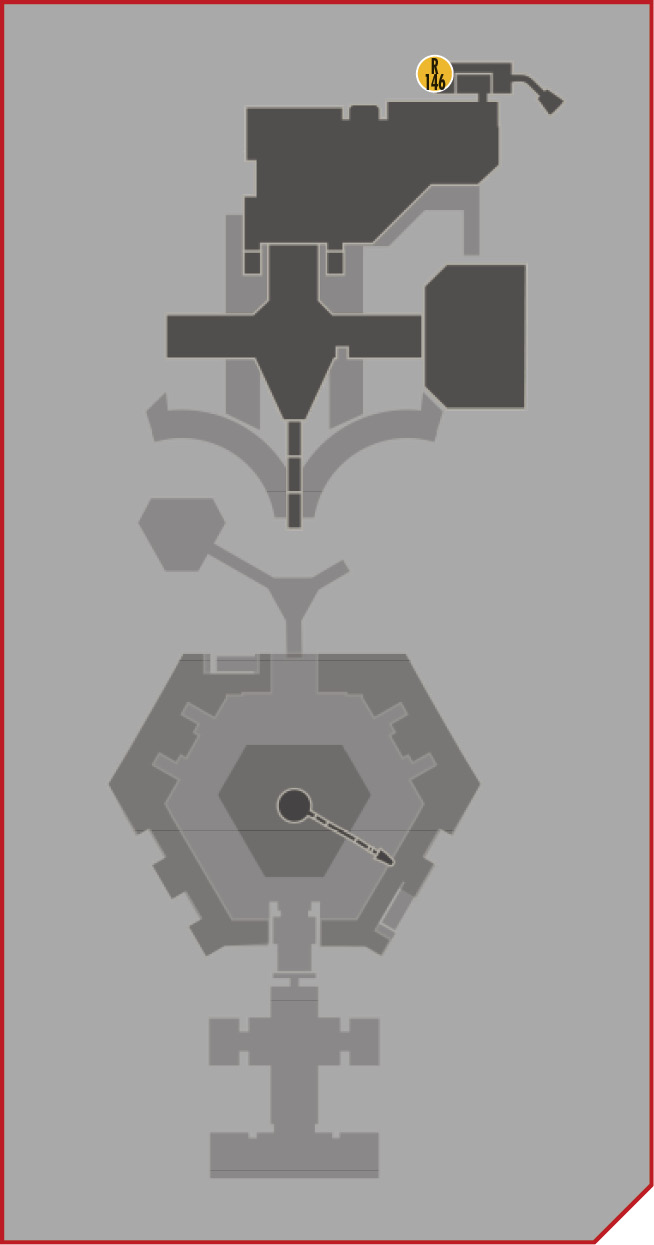
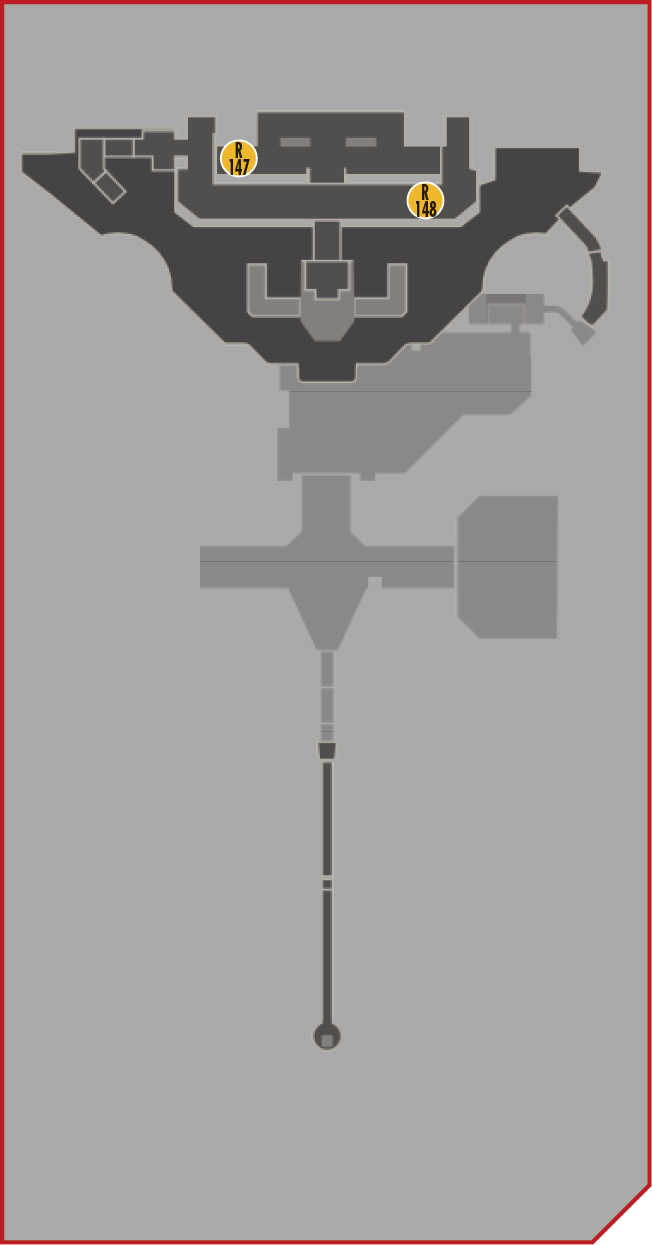
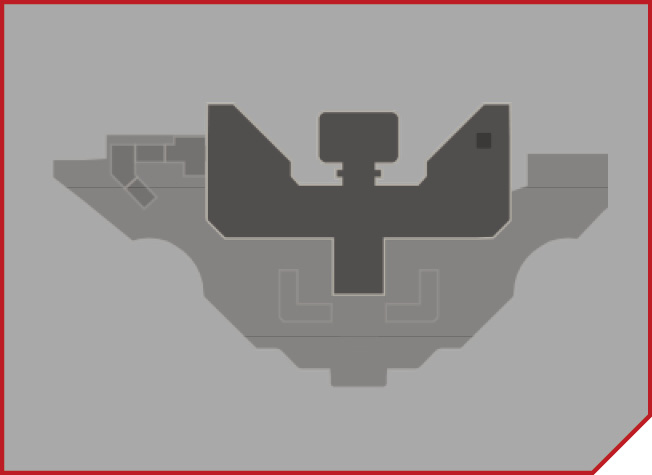
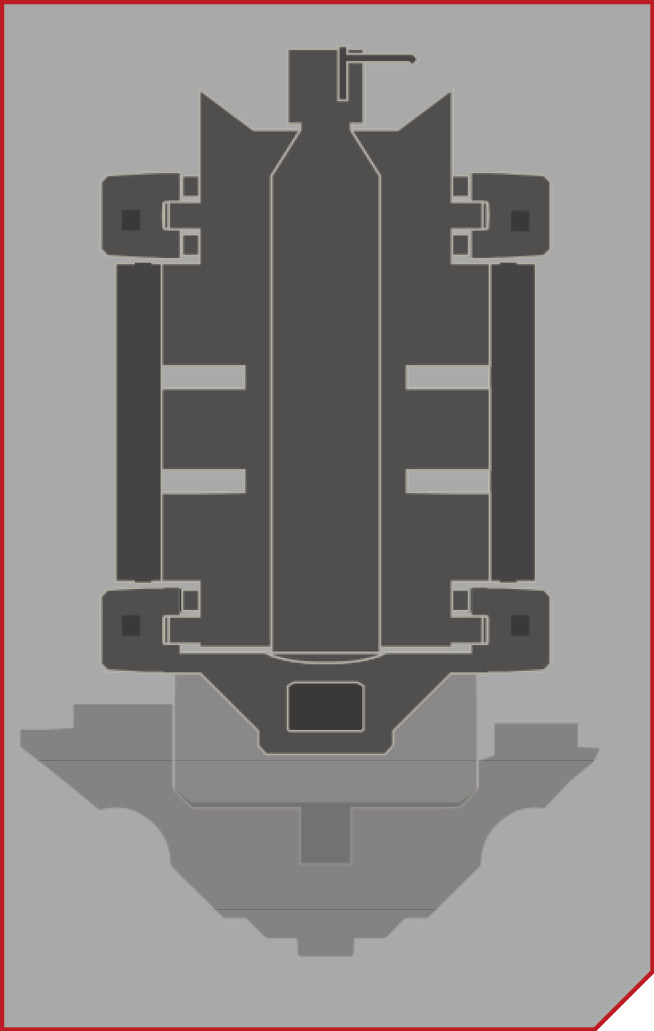
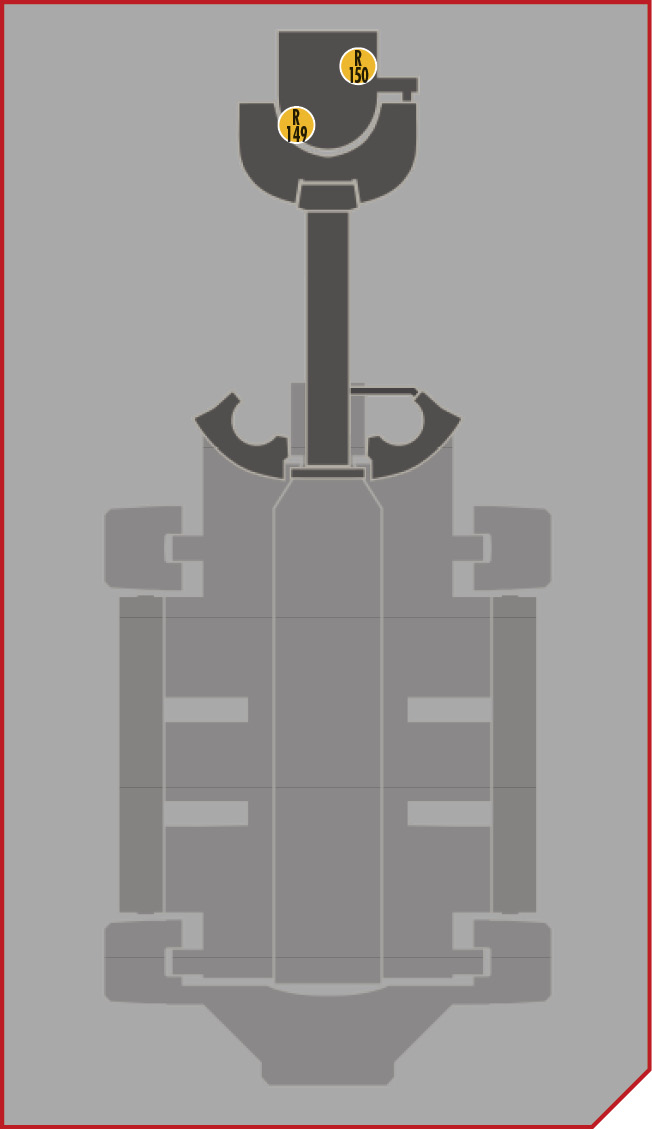
Objective: Shut Down the Port Defense System
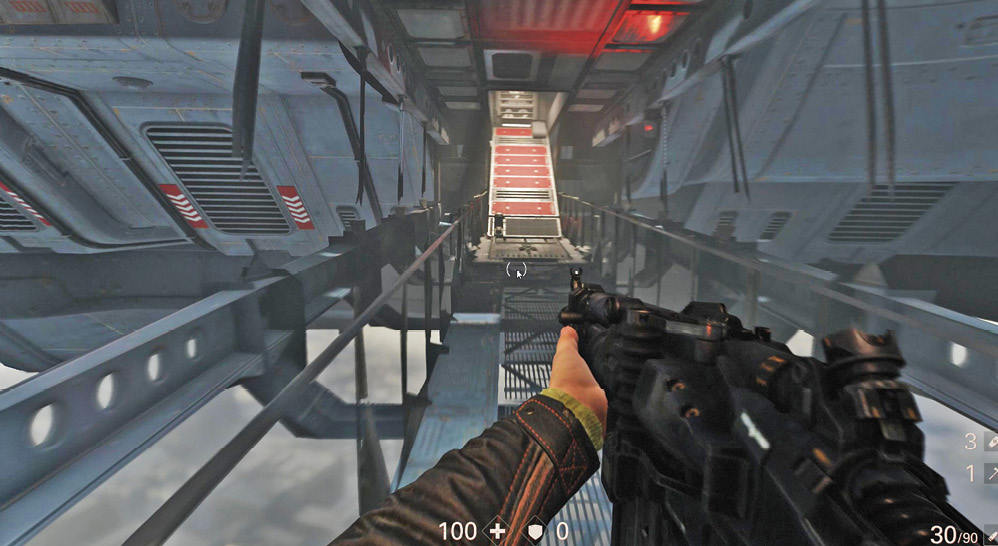
The instant you make it onto the walkway on the lowest level, Soldiers attack. Return fire. As you attempt to move forward, the walkway collapses, so turn around and head in the opposite direction.
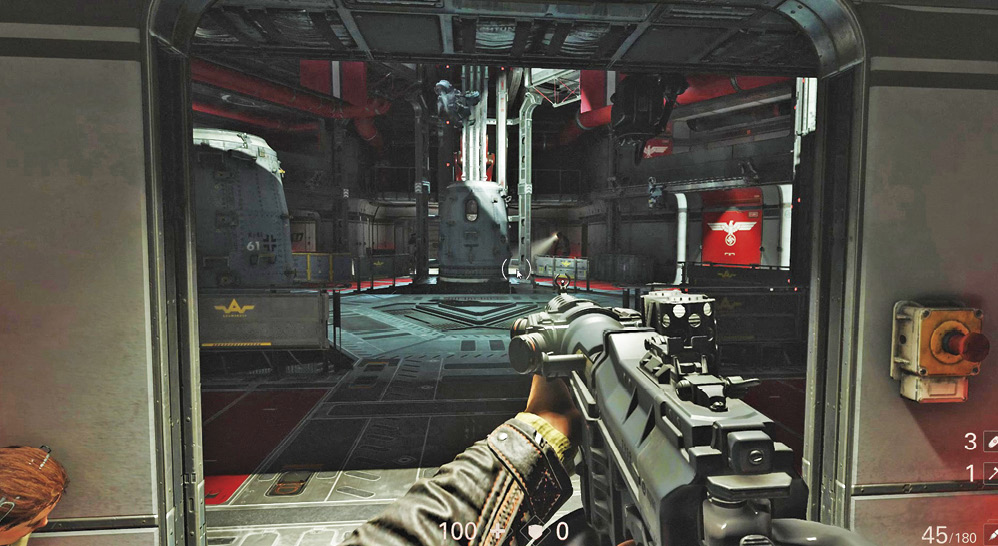
Anya is waiting for you at the top of the ramp next to a closed door. Press the button to open the door and enter the next area. There are several enemies inside.
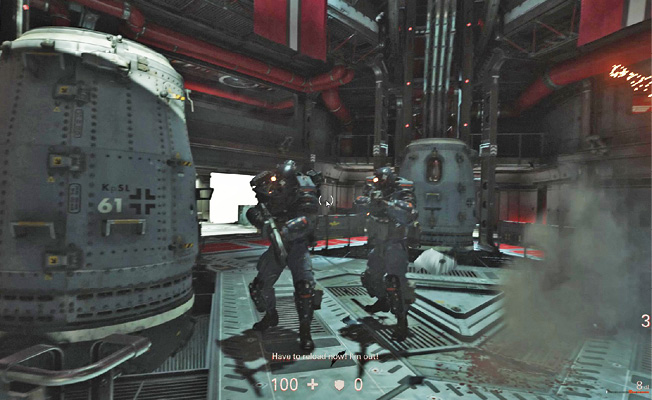
Take cover and use the Schockhammer to shoot down the Drone, then deal with the Soldiers. Use the available explosive tanks to kill nearby enemies—shoot the tanks to detonate them.
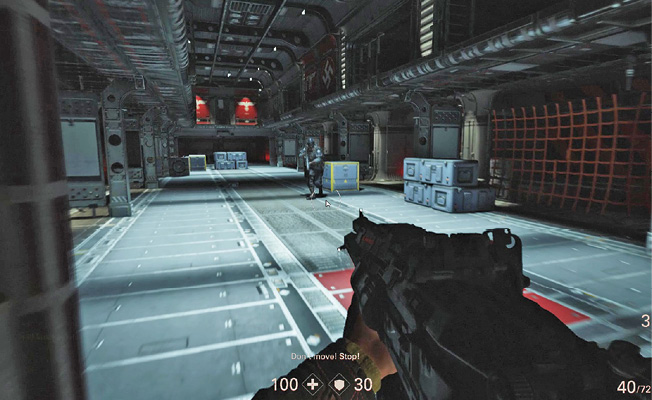
Anya uses the controls to open a large door that leads into the cargo hold. There are more Soldiers in here, so don’t rush in. Take the time to pick some off from a distance. Watch out for a Drone and a SuperSoldat that appear and begin attacking. Take them out before you enter the hold.
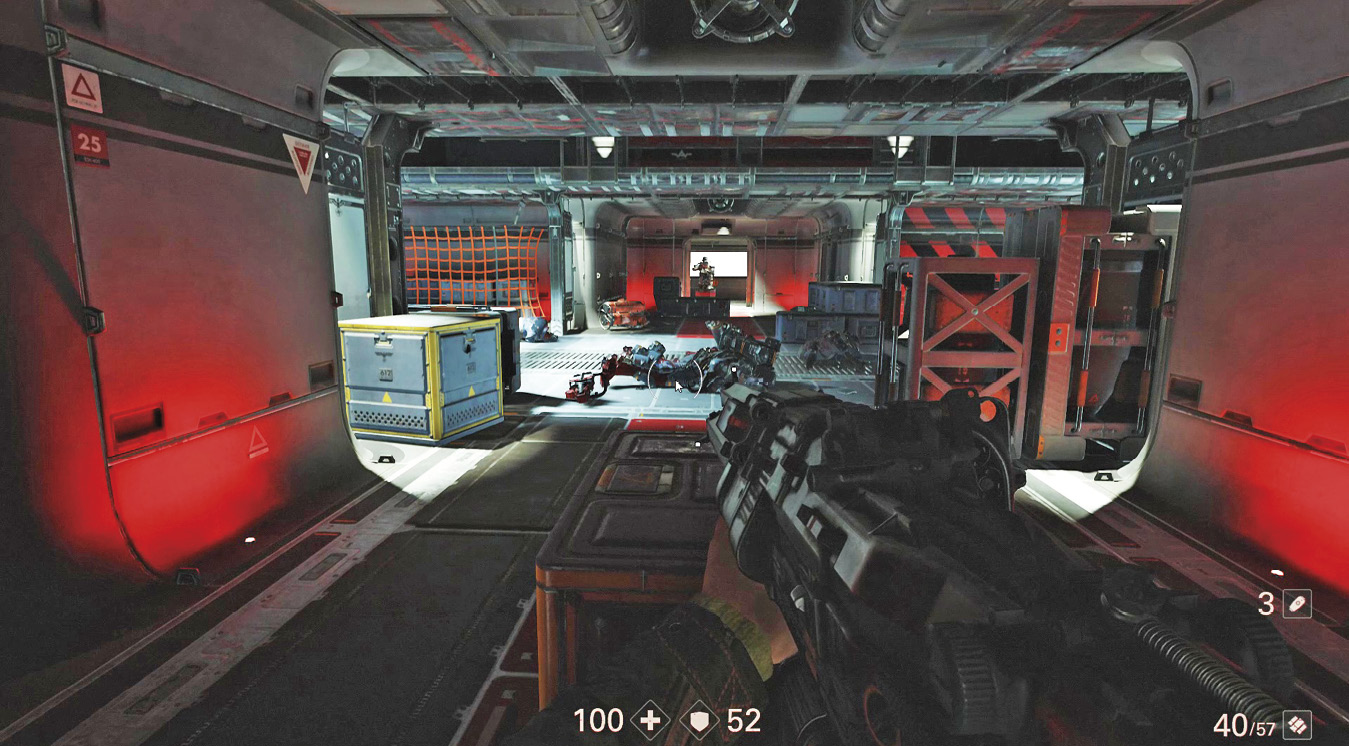
As soon as you’re inside, head left and follow the corridor along the side of the cargo hold. On the right side of this area’s center, the Nazis have set up a Lasergewehr turret. Rush past it along the left corridor, turn right at the corridor’s end to cross to the opposite side, then come back and attack the gunner on the turret from behind.
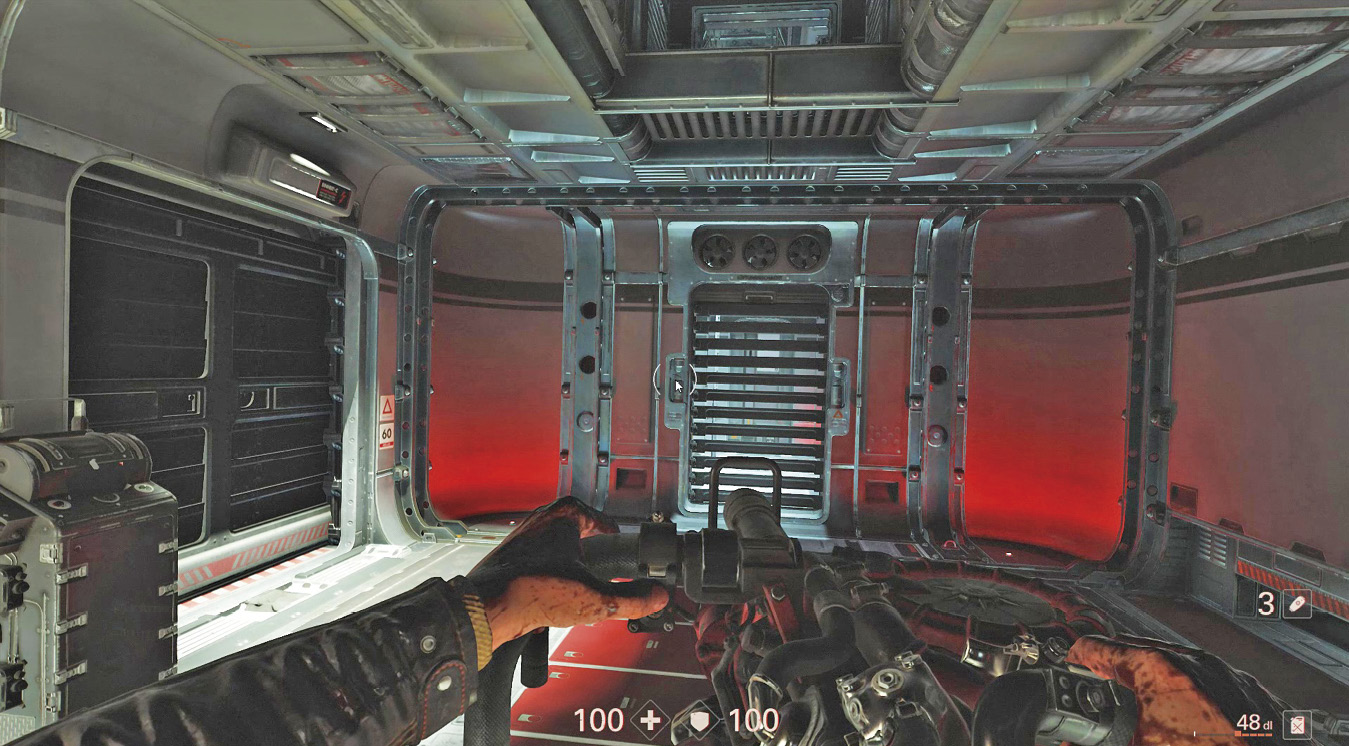
Advance out of the cargo hold to what appears to be a dead end. This part requires the use of your contraption:
- Constrictor Harness: Traverse the small duct to the right.
- Ram Shackles: Charge through the barrier blocking the doorway.
- Battle Walkers: Raise yourself through the opening in the ceiling.
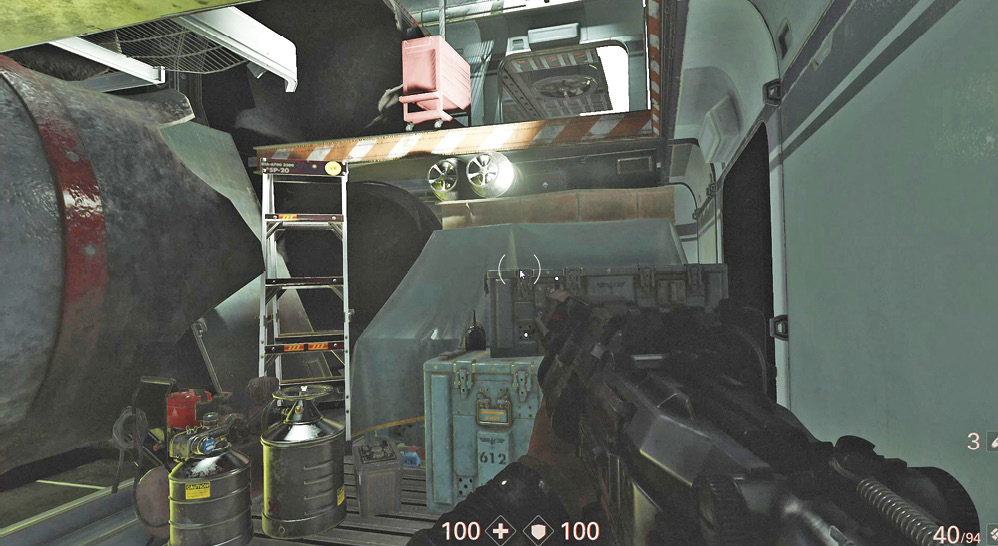
Regardless of the method you use to reach the next room, get up onto the upper catwalk and crawl through the duct there. Follow it to the end, then drop into a work space. Use the containers in the area to jump up to the next level.
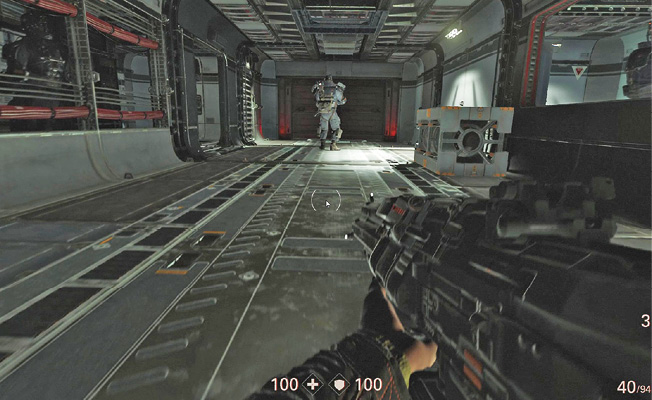
This next area contains three Soldiers—all have their backs to you. Sneak up on the one in the hallway and perform a stealth takedown. Do the same to the other two, who are in rooms to either side of the hallway. Three down without a sound.
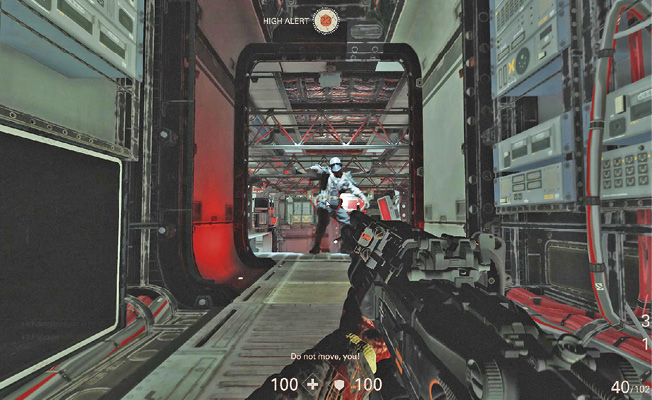
Once you clear the hallway and rooms, you must enter the room where the first ODIN control is located. Accomplishing this requires that you once again use your contraption:
- Constrictor Harness: Traverse a small duct on the right.
- Ram Shackles: Bust through barriers on the left.
- Battle Walkers: Go through the ceiling to an upper walkway.
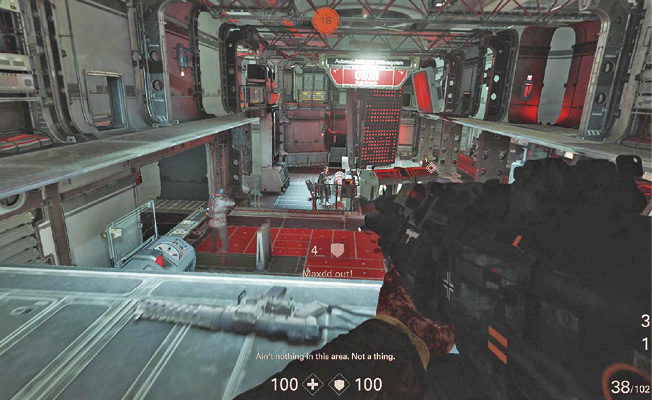
Target the Kommandant and the Kampfhund first to stop the alarm and neutralize the immediate threat that rushes at you, respectively. If you’re up high, shoot down on the enemies; move to the sides and find cover. If you’re level with your enemies, take cover behind consoles, or rush into ducts and maneuver around the area to get in behind enemies.
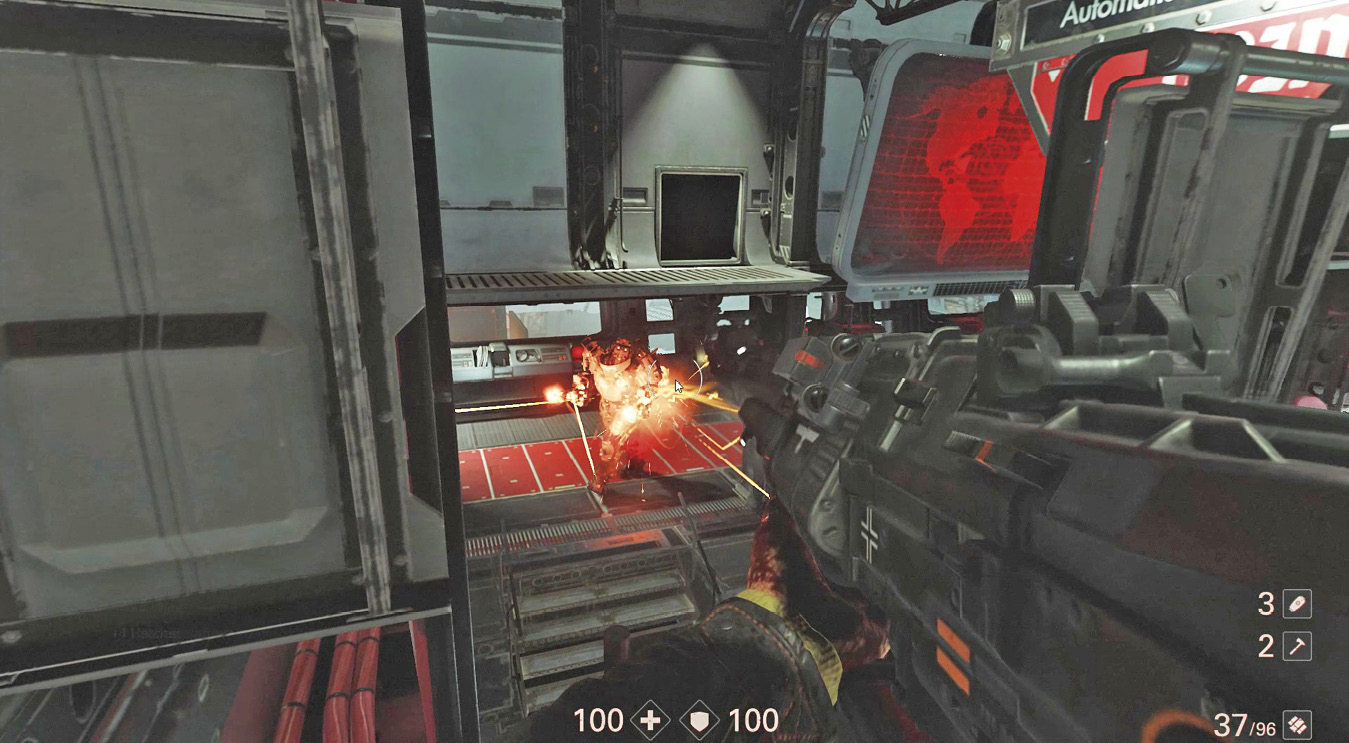
Watch out for the Sniper located on the upper walkway at the far side, as well as a SuperSoldat. Clear them all out to continue with your mission.
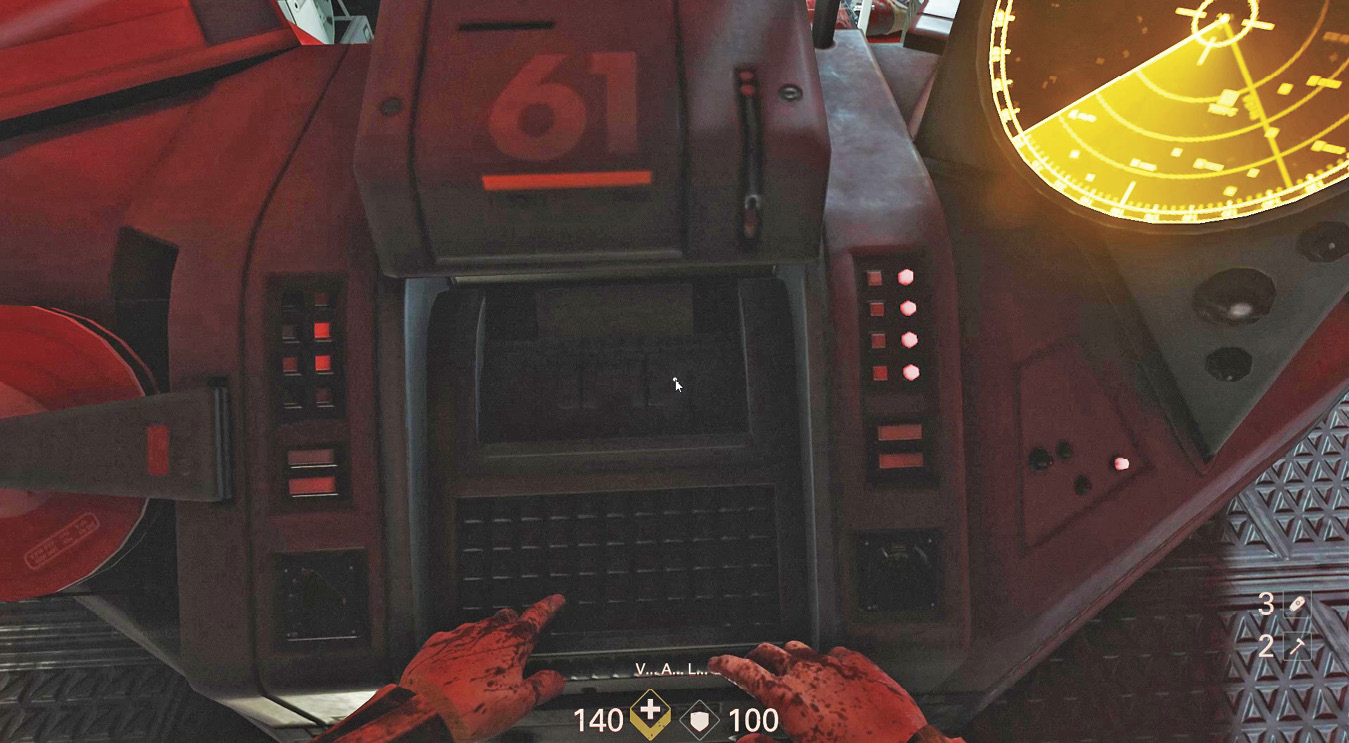
Approach the ODIN console and enter the code to shut down the defense system on the port side of the Ausmerzer. One side down, one more to go.
Objective: Return to Anya
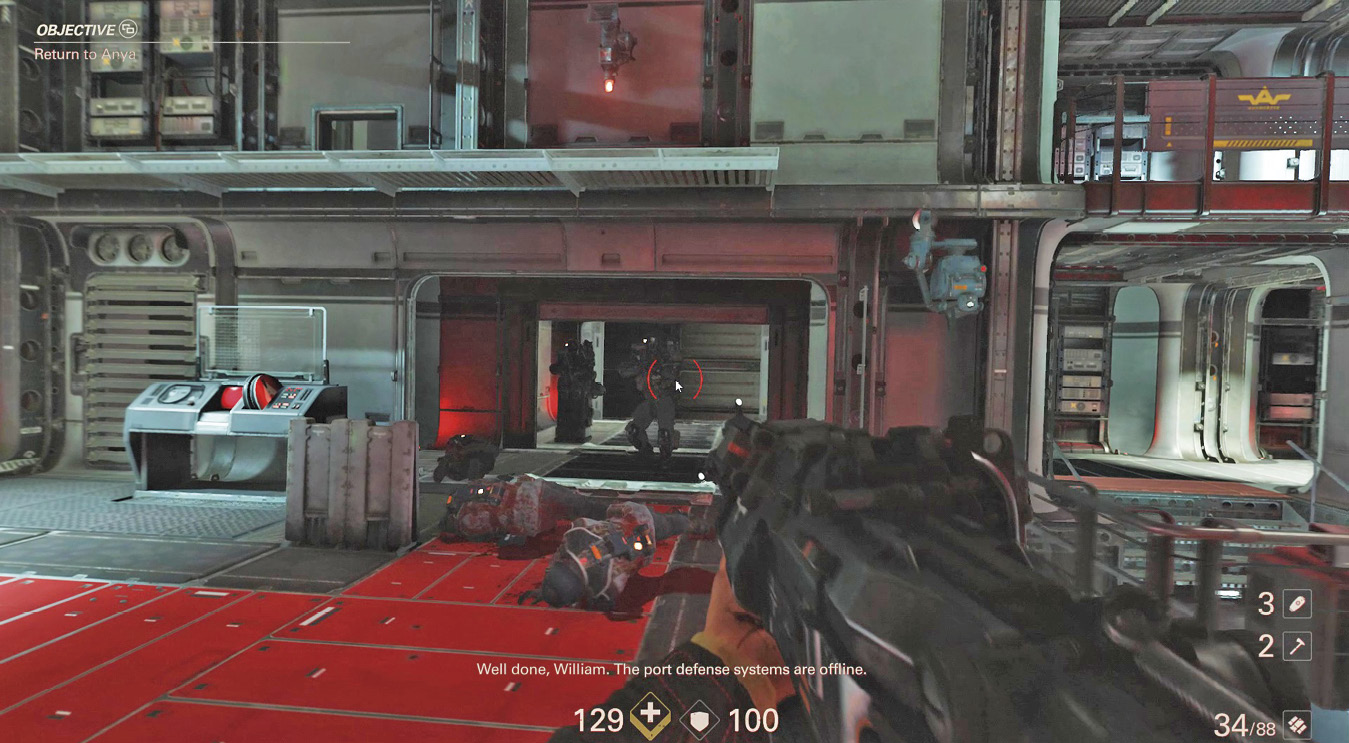
As soon as the code is entered, a door on the side of the room opens and more Soldiers arrive. Take them out fast, before they know what hit them.
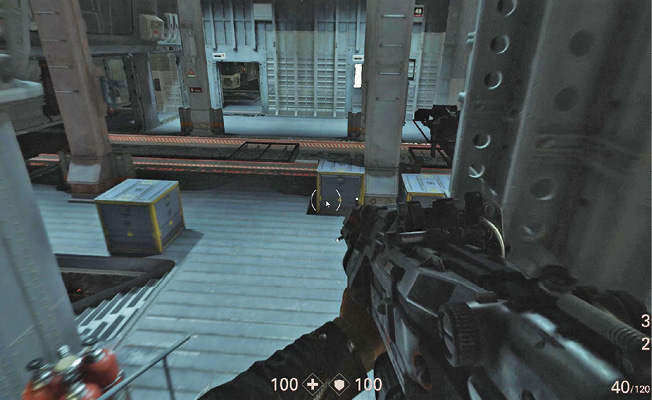
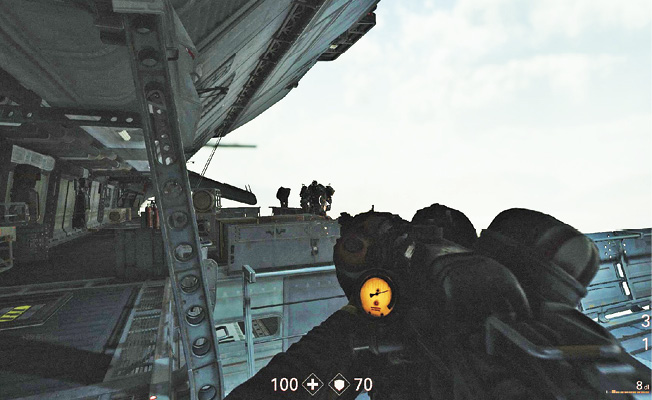
Proceed through the doorway and out onto the exterior deck. Advance along the deck toward Anya’s location. Stay alert—you’re not alone. Several Soldiers and a couple of SuperSoldaten are there. Make use of this area’s cover while you pick off the Soldiers. Use your heavy weapon on the SuperSoldaten, or the Lasergewehr turret along the walkway. Consider detaching the Lasergewehr afterward and carrying it with you.
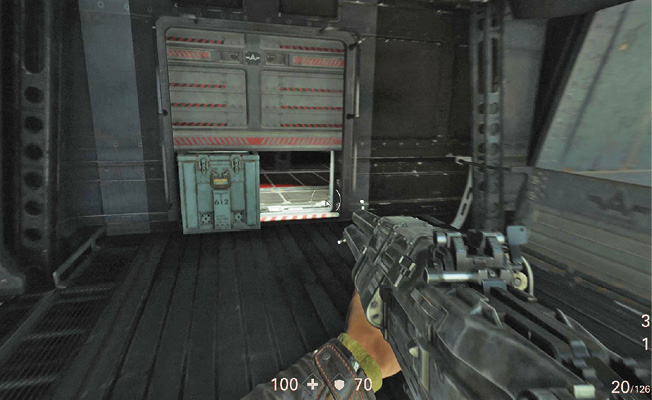
At the end of the walkway, a container holds open a large door. Crouch down and maneuver under the door to return to the cargo hold. Fight your way past any enemies you encounter.
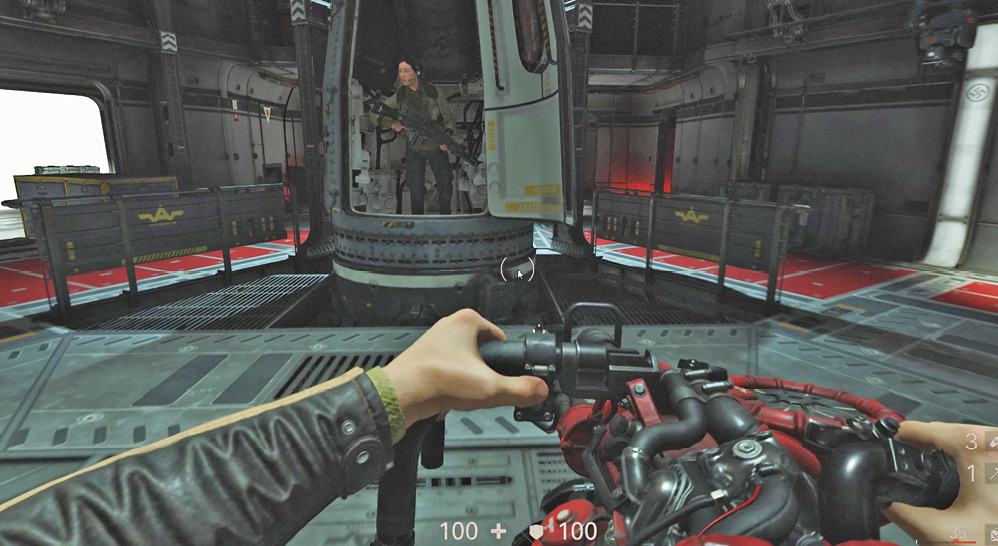
Anya is in one of the transport pods in the room where you left her. Jump into one of the other pods and ride it up to the upper levels of the Ausmerzer. Have your heavy weapon selected before you climb aboard.
Objective: Shut Down the Starboard Defense System

During your ride, a Hammergewehr SuperSoldat pulls open the roof of your transport pod and attacks. Destroy it quickly with your heavy weapon before the pod becomes your coffin.
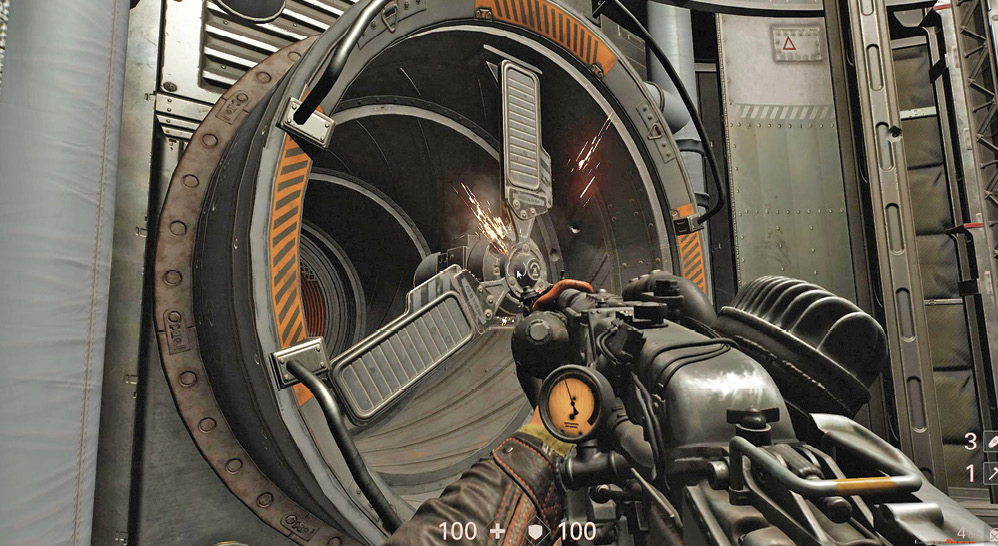
Since the SuperSoldat stopped your pod prematurely, you must find another route up to the top level, where Anya has already arrived. Start by destroying the fan with your heavy weapon, then move through the ventilation system.
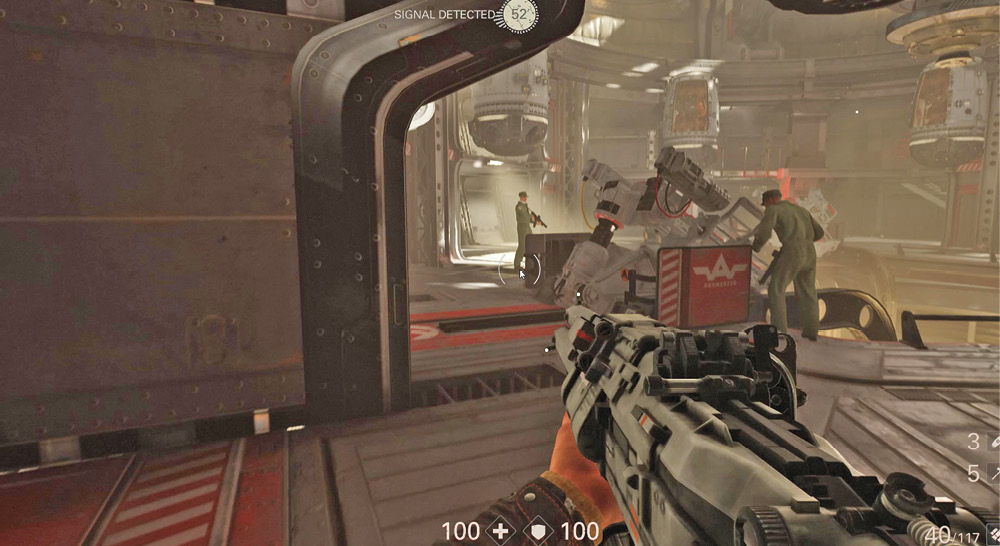
Climb out of the ventilation system and into a room housing several transport pods. Take advantage of the refueling/recharging stations, and eliminate the couple of Soldiers in here.
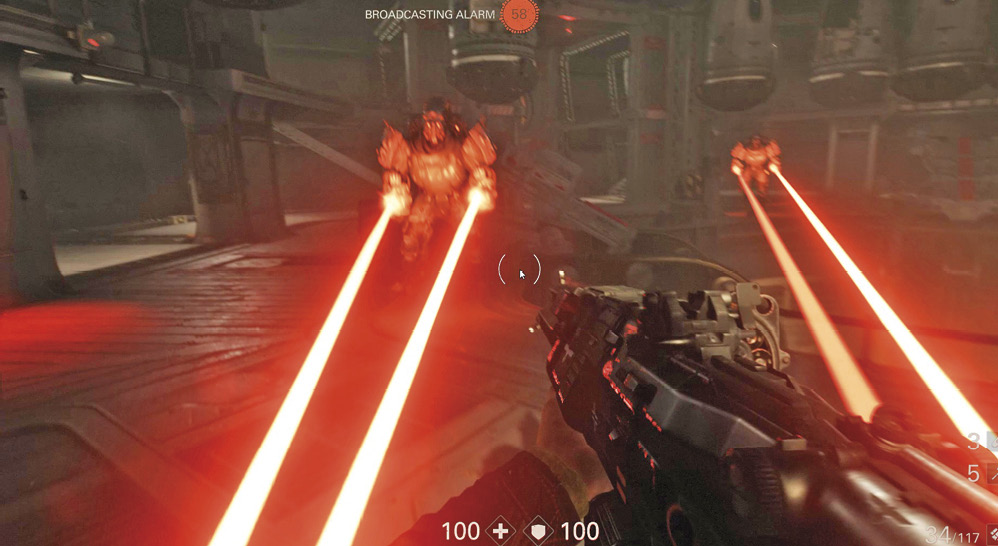
As the alarm sounds, more enemies enter, including SuperSoldaten. Use your heavy weapon on them—the stations in this room give you an endless supply of ammo for the fight. Once the room is clear, the door at the far end opens, and you can continue toward your next objective.
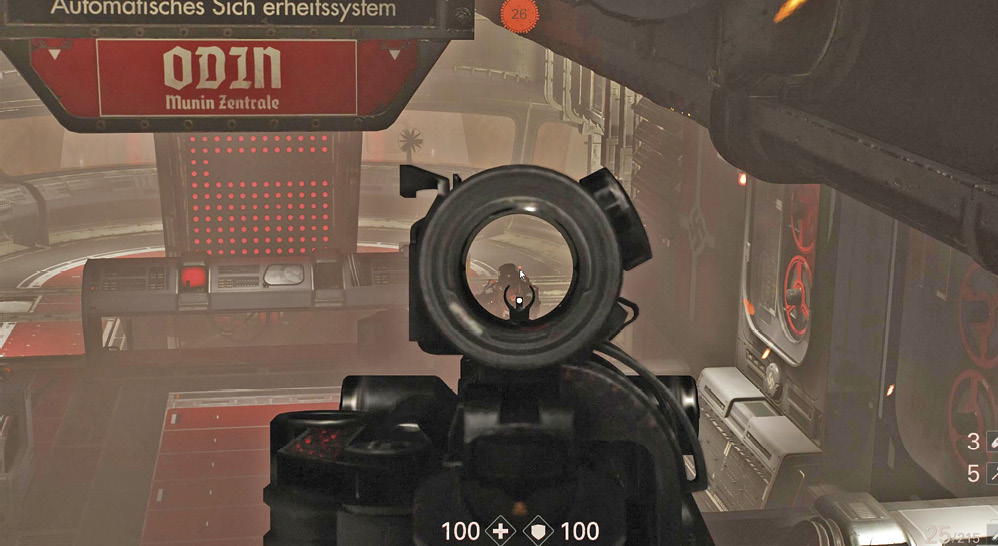
The corridor ends at a locked door. To reach your destination, use your contraption:
- Constrictor Harness: Enter a small duct.
- Ram Shackles: Charge through one of the barricaded doorways to either side of the locked door.
- Battle Walkers: Use an opening in the ceiling.
You enter the starboard defense control room. The Kommandant who’s sounding the alert is in here, so pick him off first to silence the alarm. Deal with the other Soldiers afterward.
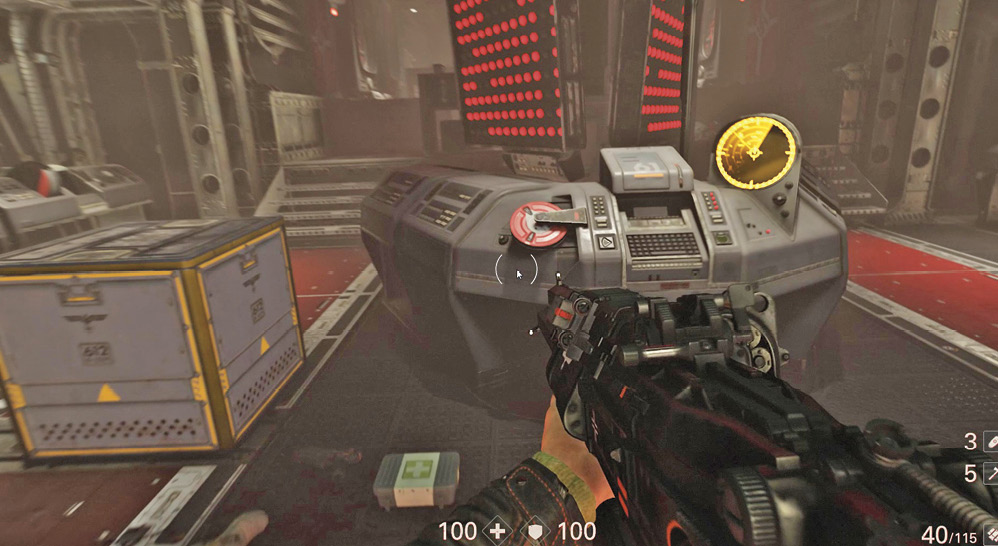
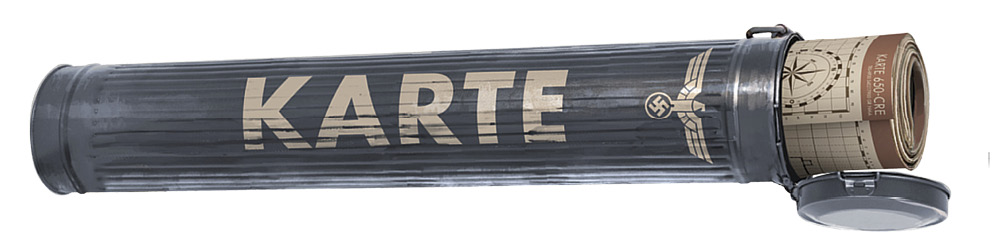
Search the room for a map and a few Collectibles. Then approach the ODIN control and shut down the second half of the defense system.
Objective: Exit the Munin Control Center
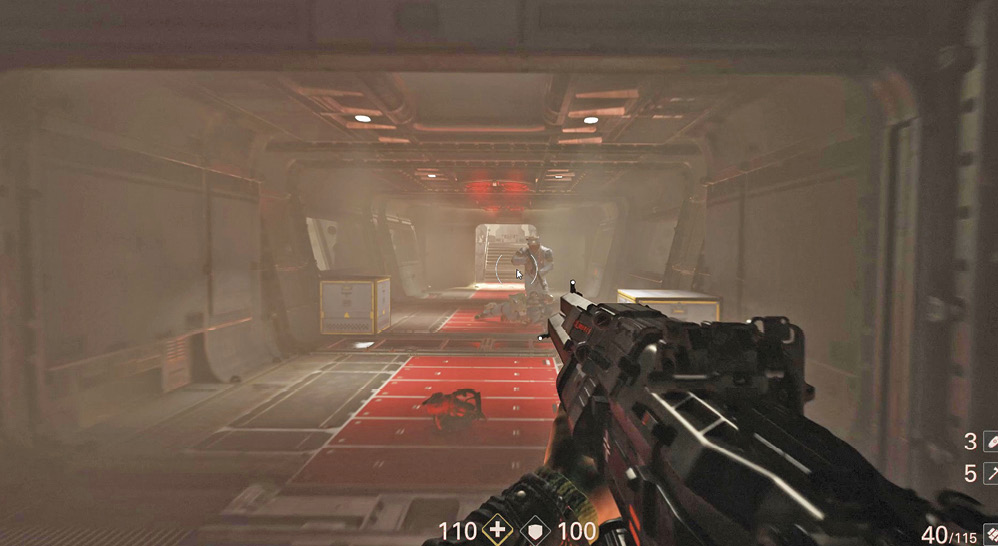
After ODIN is shut down, the large door opens. Exit and head back to the room with the transport pods. Fight off more enemies as you go.
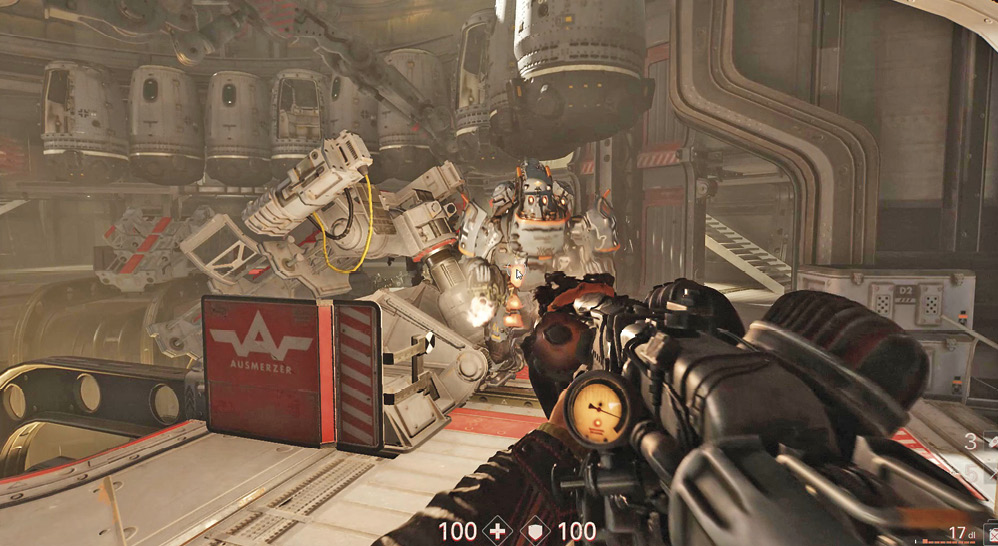
When you enter the transport pod room, more SuperSoldaten appear. Eliminate them, then reload your heavy weapon.
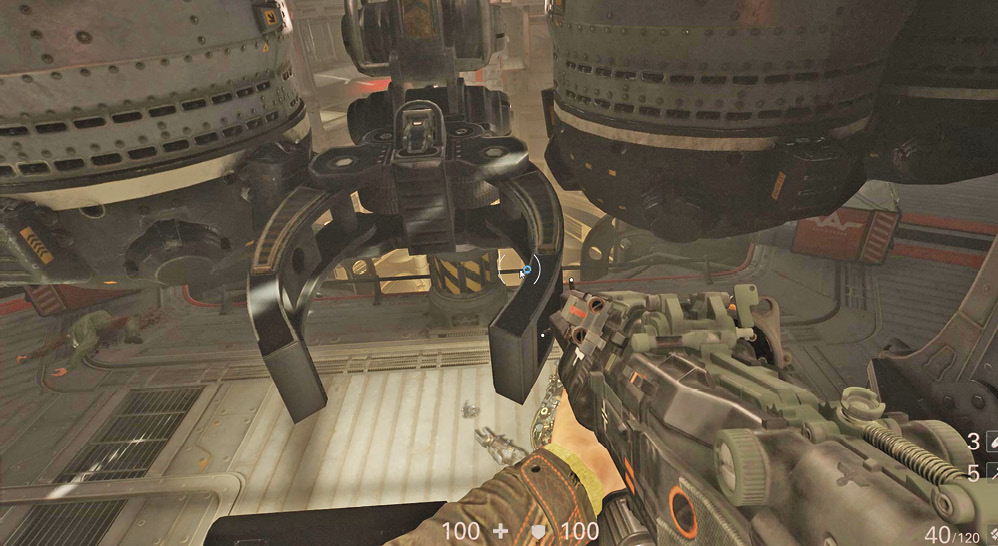
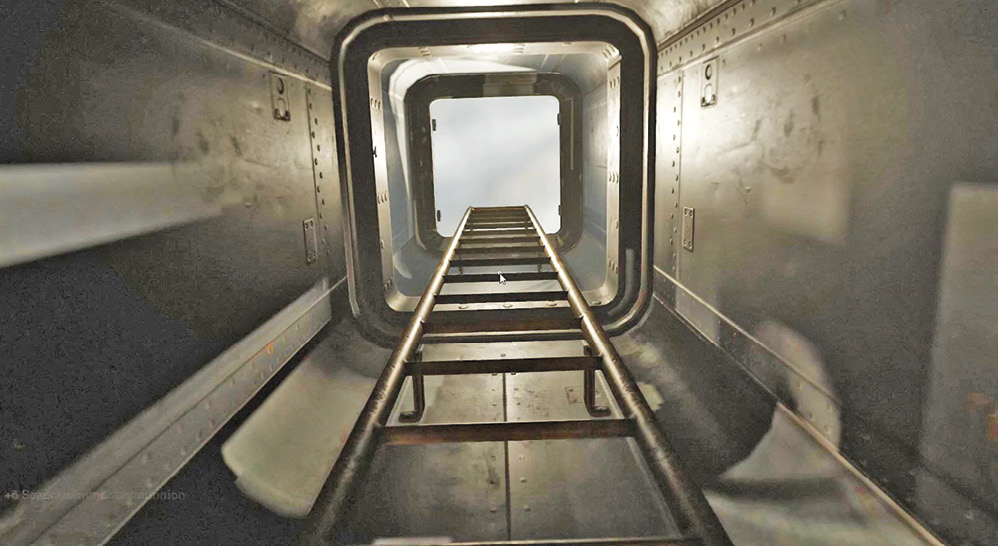
Climb the stairs to the catwalk that circles the room and locate the robotic arm used to move the transport pods. Jump out onto the arm and walk up it to the central platform. From there, climb the ladder that leads to the top deck of the Ausmerzer.
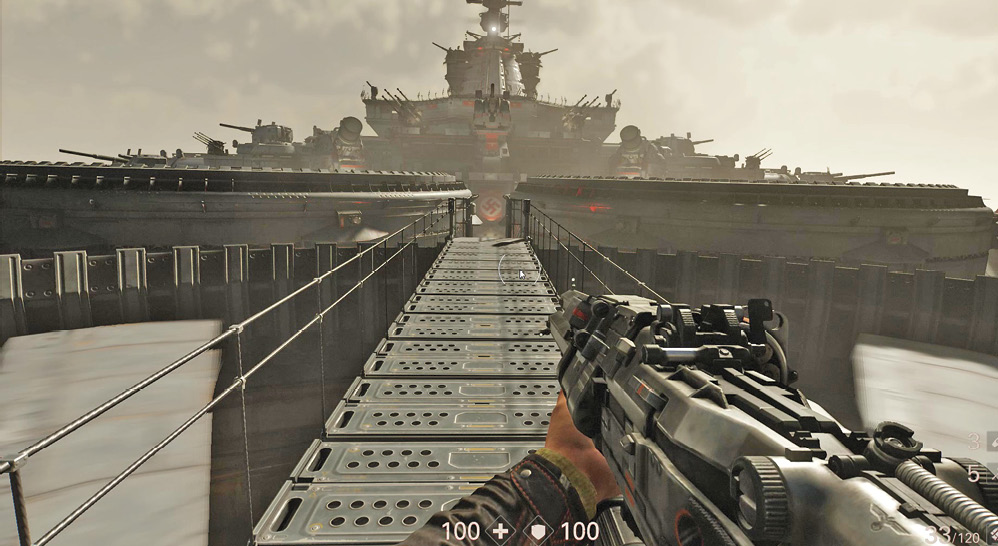
As you climb up and look out over the deck, you can see transport pods shooting out from holes in the ship and landing on the deck, unloading their dangerous cargo. It appears the enemy already knows you’re here. They’re preparing a welcome.
Objective: Meet Up with Anya
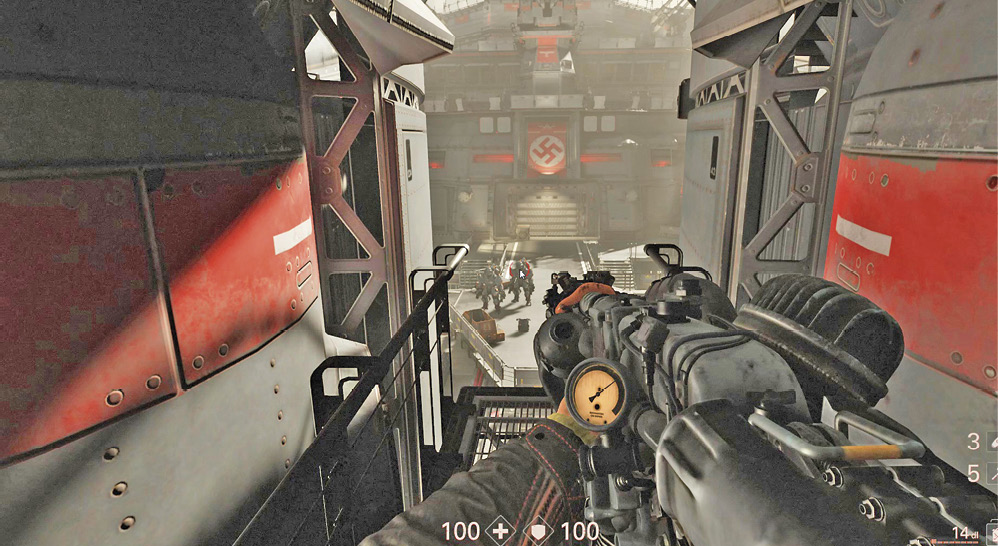
Move forward along a catwalk; don’t drop down right away. Survey the area ahead for threats. Engage and defeat what enemies you can at long range. Take out a couple of SuperSoldaten with your heavy weapon before they can start shooting at you. If you have the Marksman Upgrade for the Sturmgewehr, shoot both Kommandants at the far end of the area. One is near the large doorway, the other on a platform to the right.
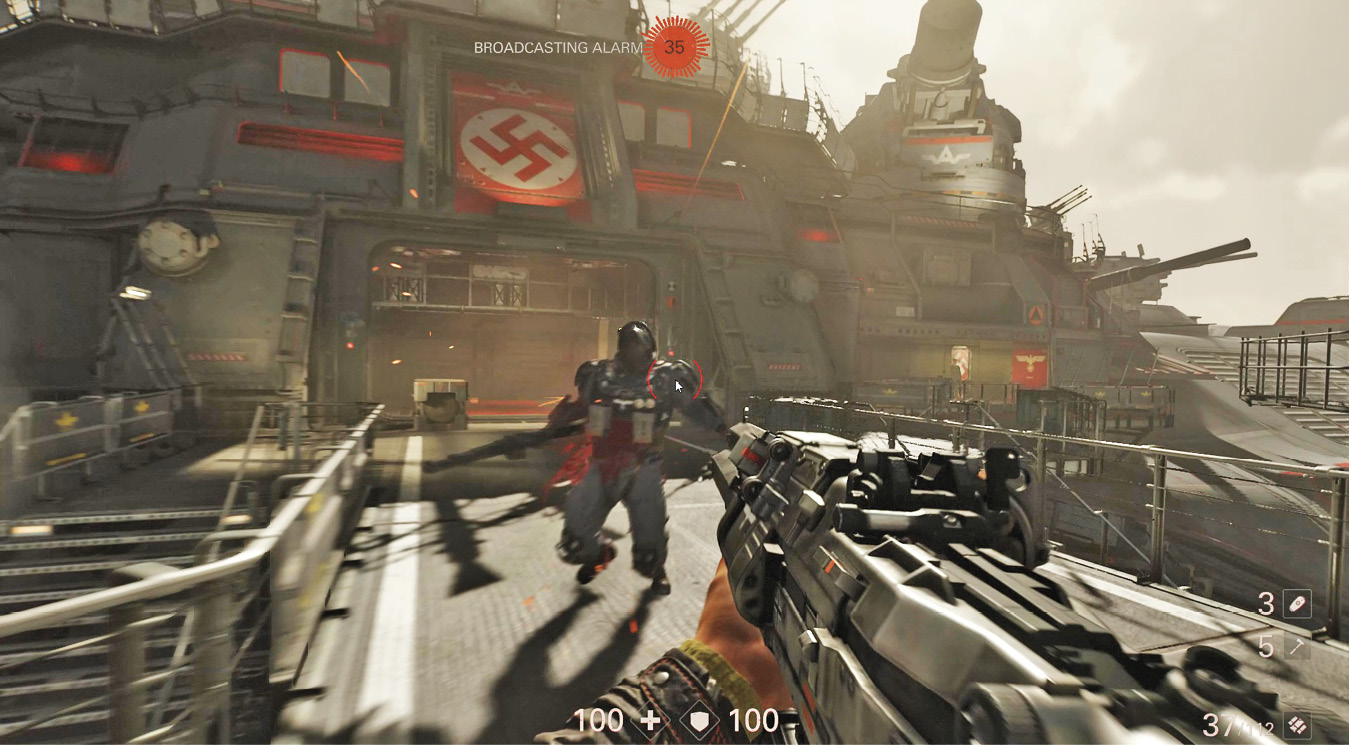
Advance across the deck toward the large doorway. Soldiers appear and try to stop you. Clear them out. At the doorway, use the appropriate station to fill up your heavy weapon.
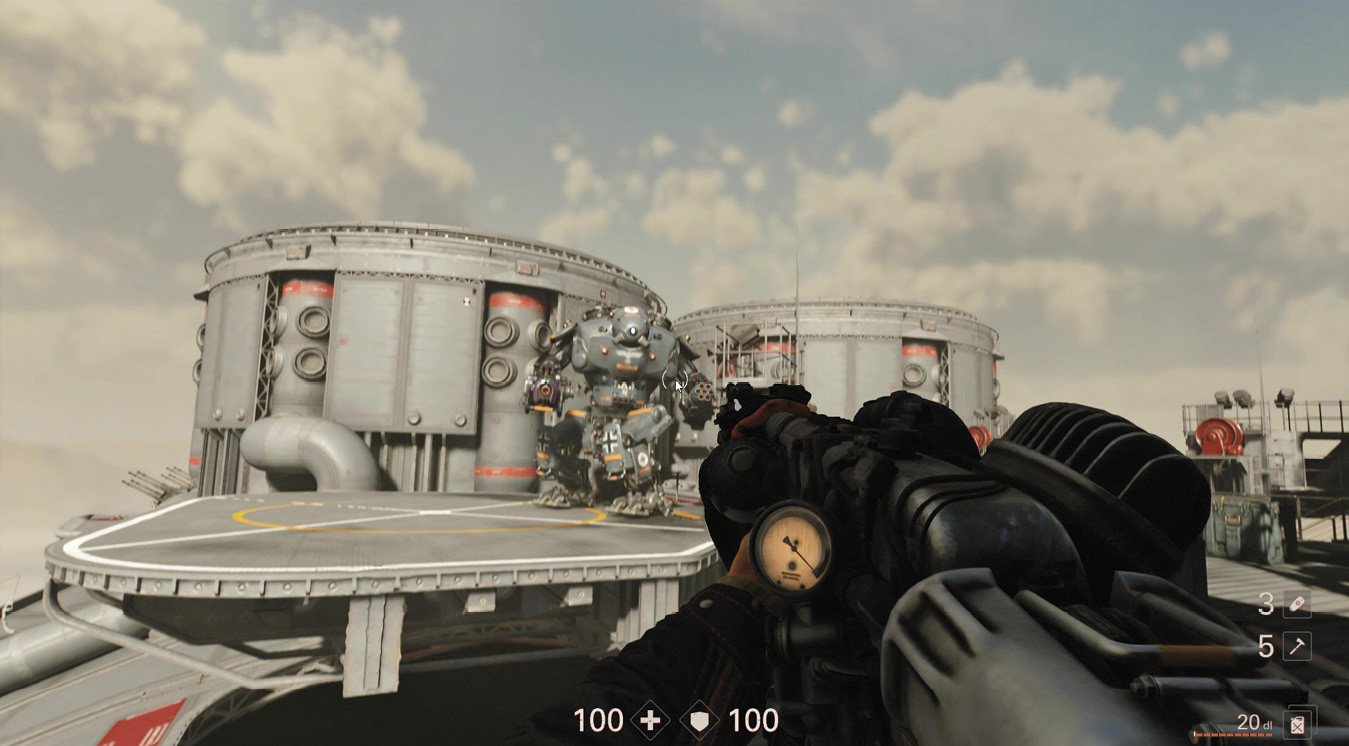
As you reach the doorway, a Zitadelle rises on the right side of the ship. Get to a position where you can shoot at it. Since you’re at a distance, it fires its Artillery Cannon at you. Move out of the way of the falling shells, then target that same arm.
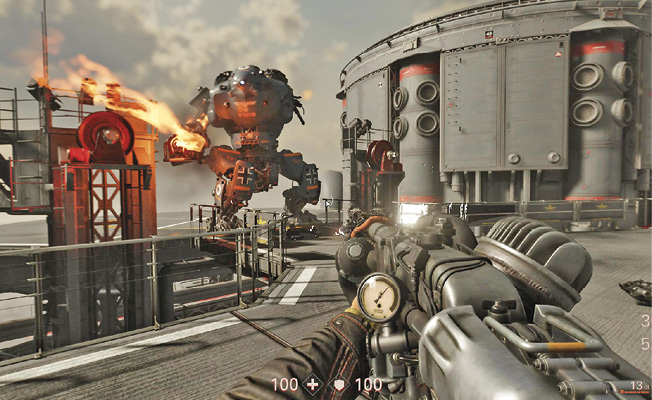
Losing the Artillery Cannon arm causes the Zitadelle to advance toward you so it can bring its Flamethrower arm into range. Target the remaining arm, or one of the legs. Remember: once a second appendage is destroyed, the Zitadelle blows up.
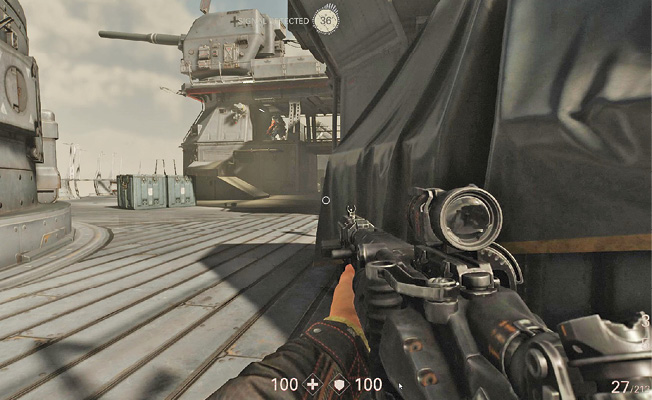
Head up the ladder located to the right side of this area, near where one of the Kommandants was. At the top, crawl through a duct to reach another ladder. Climb this ladder and then some stairs to another area where enemies are waiting for you.
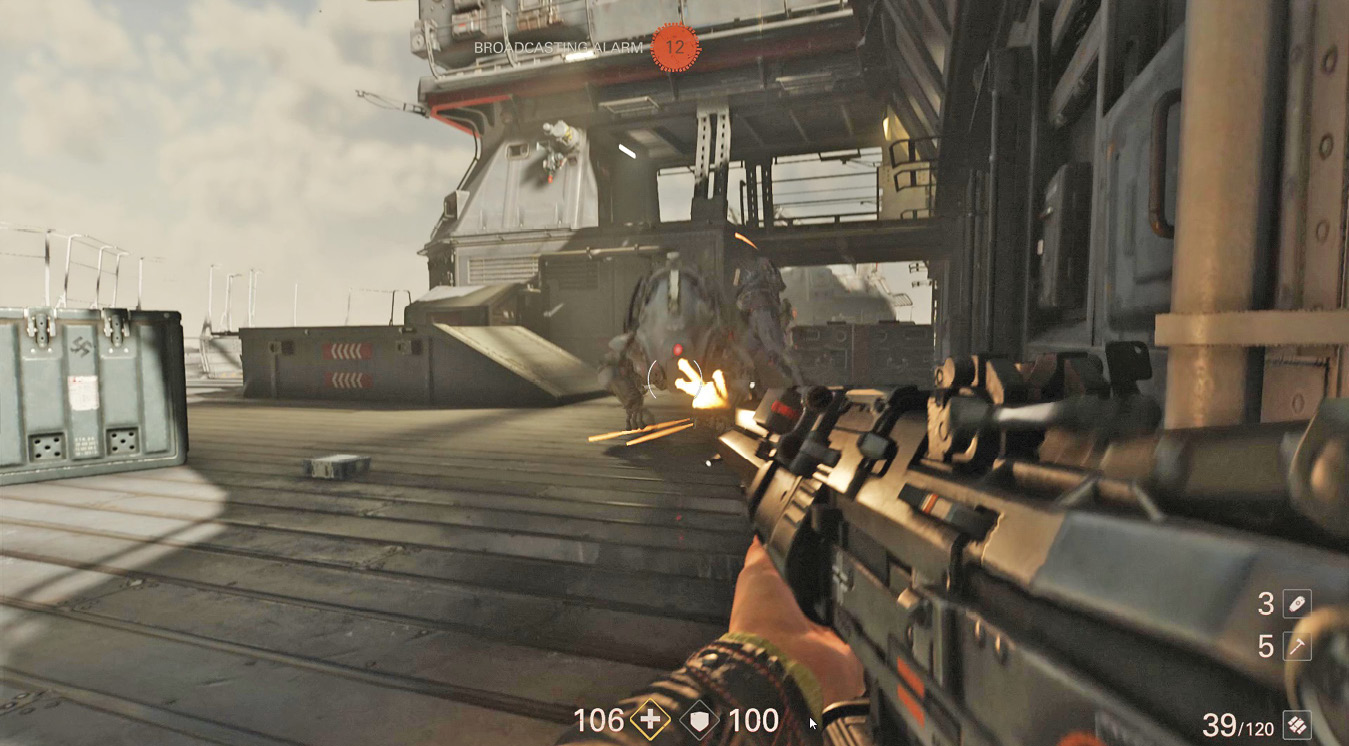
Target the SuperSoldat first with long-range fire from your heavy weapon. Then quickly switch to your Schockhammer and engage the Laserhund as it charges toward you. More Soldiers and a second Laserhund rush to the scene, so take cover and return fire.
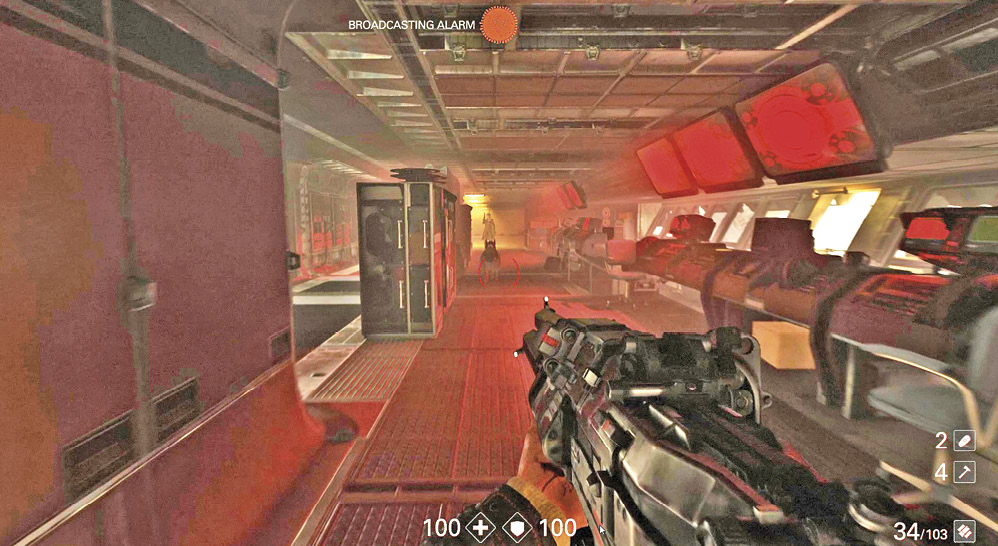
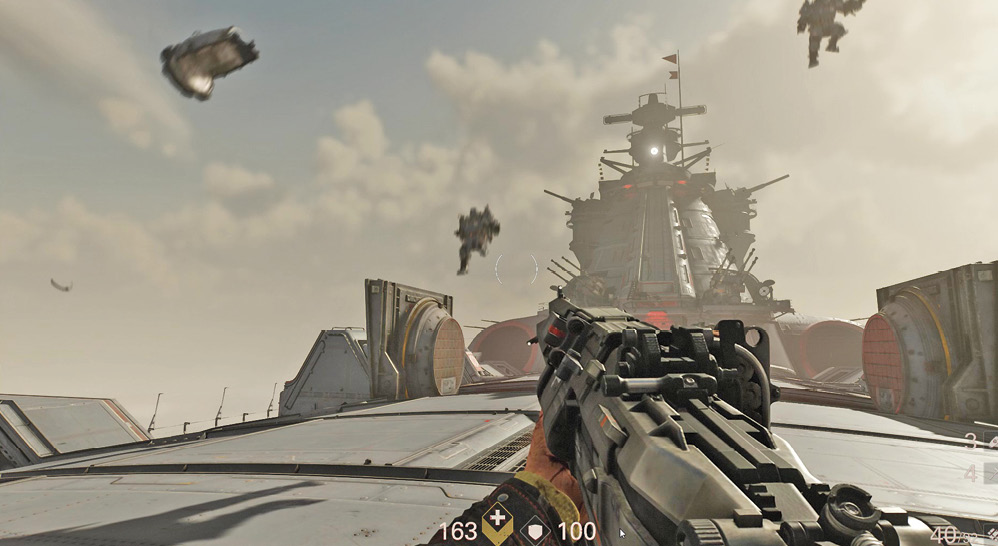
Fight your way across this area, then take the stairs up to a control room. Any remaining Soldiers can be found here, along with a Kommandant and a Kampfhund. Clear them out as you advance across the room toward the ladder on the opposite side. Don’t forget to grab the Kommandant’s Enigma Code and check the room for Collectibles before heading up the ladder.
At the top of the ladder, move across a small deck to a large elevator in the center. Press the button to be carried up to the main deck area. As you arrive, transport pods shoot up into the air and release SuperSoldaten ready to stop you from going any farther.
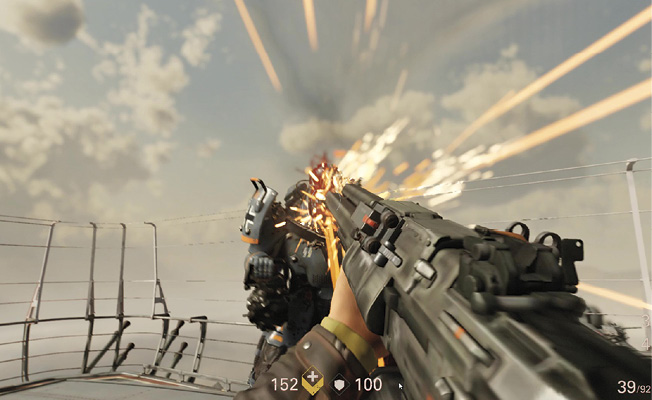
Destroy them with your heavy weapon before they can cause too much damage. Watch out for their charge attack; if they get in close, switch to the Schockhammer. This weapon chews through a SuperSoldat at close range.
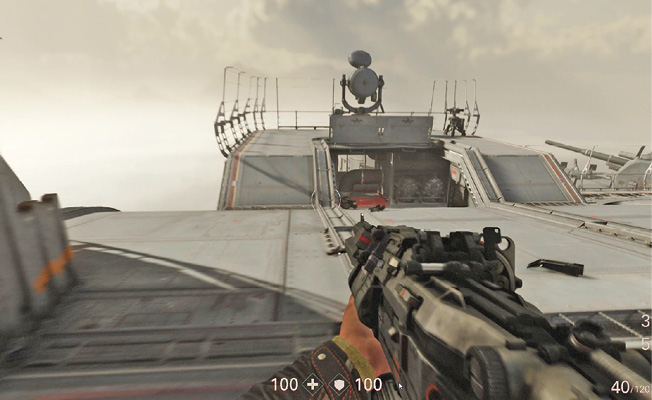
This deck level features four bunkers—one on each corner. The bunker on the left close to where you begin contains a recharging station; the bunker on the far right houses the refueling station. Each bunker is topped with a turret. While the turret has a limited field of view, consider detaching one to use. Take cover in the bunkers if necessary; they make for good positions to regroup before continuing your attacks.
In addition to the turrets, you can pick up heavy weapons dropped by the SuperSoldaten you kill. These can be refilled at the stations or by picking up ammo dropped by enemies. A total of six SuperSoldaten engage you in this area, two at a time. Once you defeat two, the next two arrive via transport pods. Soldiers also attack, so don’t stay too focused on the SuperSoldaten.
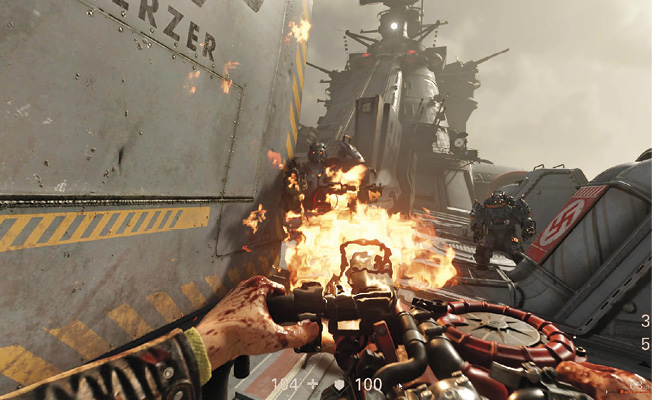
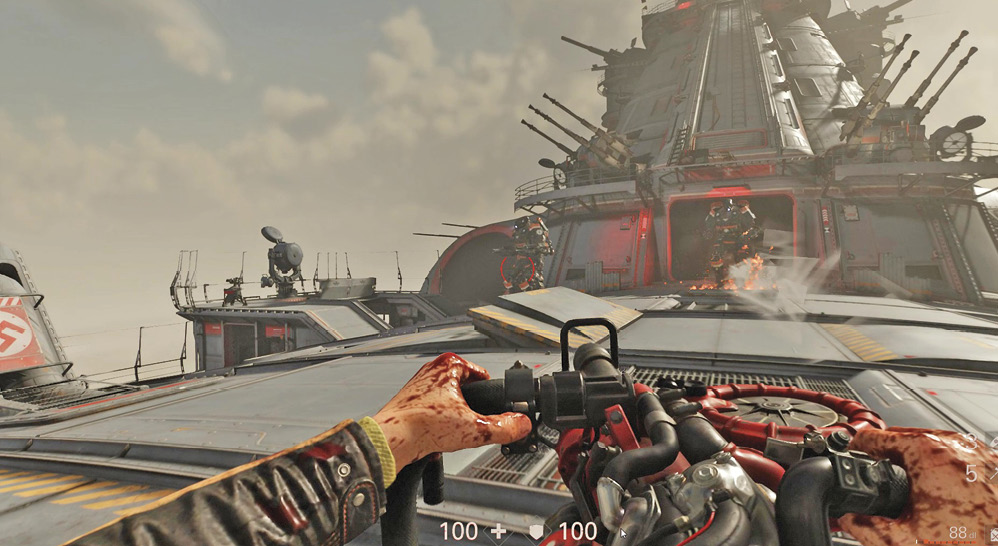
Once the sixth SuperSoldat has been defeated, the transport pod hatches close and the large door at the far end of the deck opens. This isn’t good news for you—out from the hangar emerge two Zerstörer. These robotic enemies feature heavy armor and are each armed with two Übergewehr—a combination Lasergewehr-Dieselgewehr.
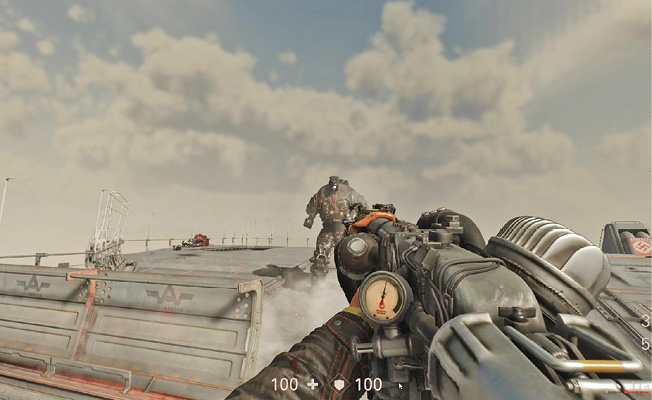
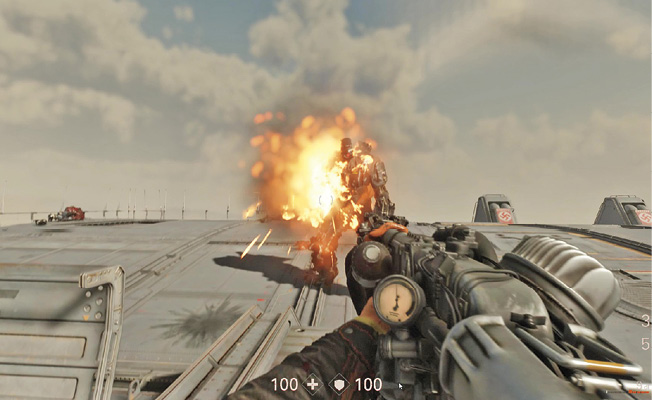
Take cover from the Zerstörer; you don’t want to be out on the open deck with two of these formidable mechs attacking you. Move to a bunker to retrieve ammo for your heavy weapon. Laser weapons work best for defeating Zerstörer, since they allow you to target specific parts. The Dieselkraftwerk also works well, letting you fire charges at targeted locations and detonate at will. Aim for one arm and destroy it, then destroy the other arm. The destruction of both arms neutralizes the Zerstörer. Note that it takes several charges from the Dieselkraftwerk to destroy an arm: shoot, detonate, and keep moving.
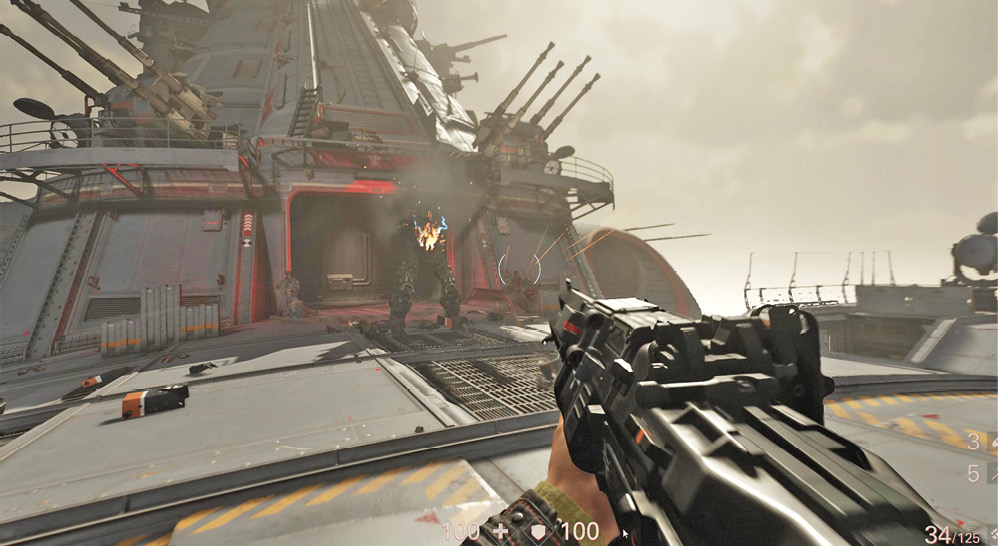
Once the Zerstörer are neutralized, advance toward the hangar where they emerged. More Soldiers attempt to stop you, so clear them away. Climb the ladder located inside the hangar, then crawl through a duct to emerge at the base of the superstructure of the Ausmerzer.
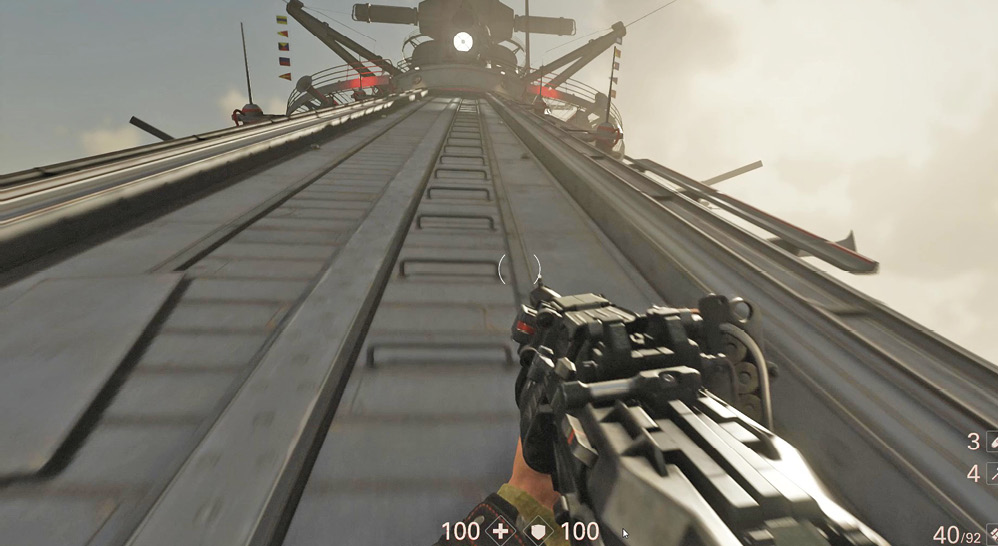
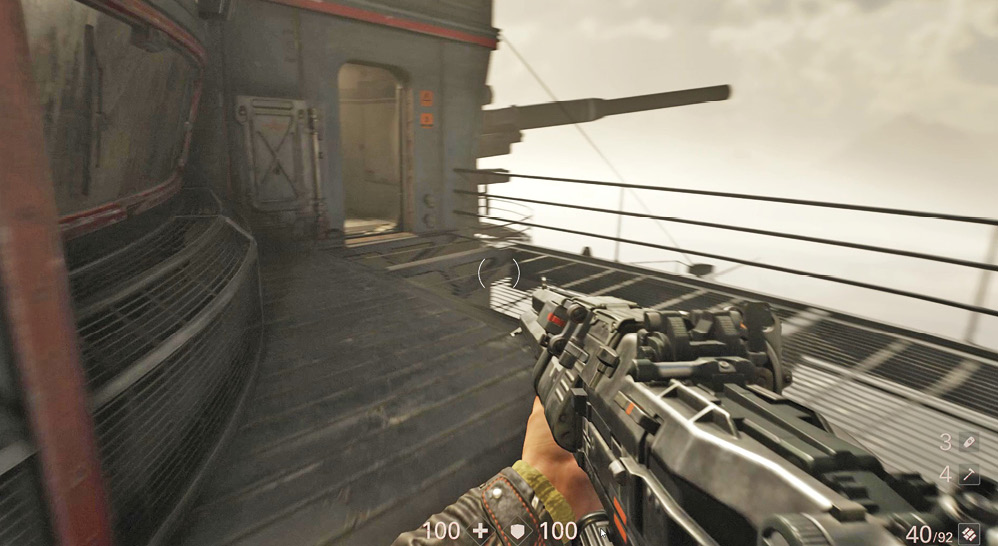
Spot some repair equipment and approach, then turn to the right and start moving up the side of the superstructure to reach the bridge deck.
On the bridge deck, head around to the right side and through the open door to enter the Ausmerzer’s bridge.
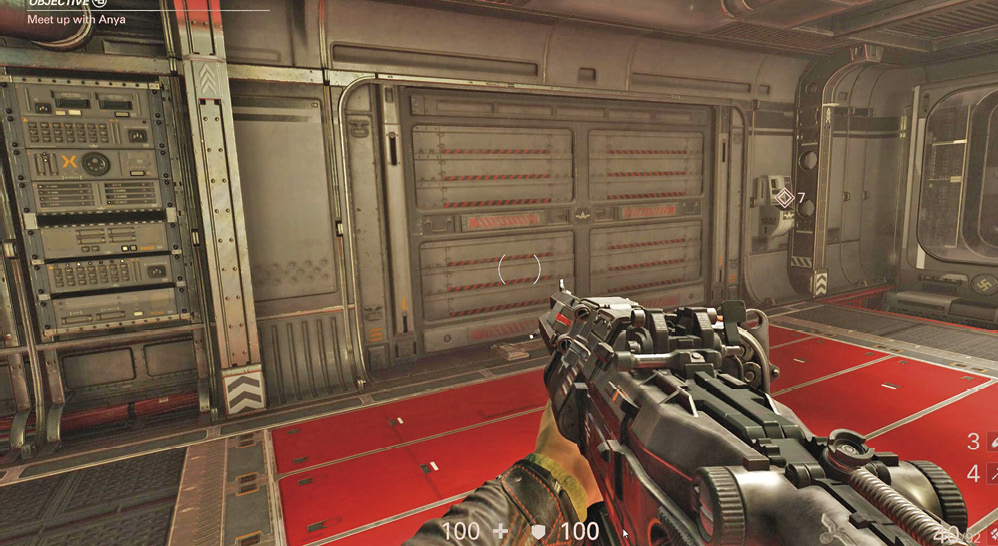
Search the bridge for Collectibles, then press the button to open the door and meet up with Anya. As the door opens, she rushes out and saves you from the enemies pouring out. The Ausmerzer is yours.
There’s only one more thing you need to do.