
Nintendo Land Guide Walkthrough Team Attractions
The Legend of Zelda Battle Quest
A Tale of Sheaths and Quivers
When the land of Hyrule falls under the shadow of a dark threat, there is only one man prepared to defend it: the green-clad hero known far and wide as Link. An expert in both archery and swordplay, our pointy-eared protector has always been ready to take on any threat, but for the first time those two distinct disciplines are available as separate roles for you and up to three fellow adventurers. Using the GamePad for archery and a Wii Motion Plus-equipped Wii Remote for swordplay, Battle Quest will take you from the bucolic fields of lower Hyrule to the foreboding, wind-battered cliffs of Death Mountain and into the lair of the most nefarious villain Hyrule has ever known: Ganon.
Battle Quest offers a unique experience for both styles of gameplay; the GamePad allows the archer to observe battles from an exclusive vantage point, using the built-in motion-sensing capabilities of the GamePad to literally look around the world. Aiming is accomplished by physically moving the GamePad as if it were a window into the world, and though the battle may start off fairly simple, the challenge quickly ramps up and will require a steady hand, quick reflexes, and a stout constitution. As a swordsman, the one-to-one precision tracking of Wii Motion Plus is brought to bear to allow not just for precise horizontal and vertical slashes, but also for the actual angle of the blade. Certain enemies actually require that the blade be either parallel to or perpendicular to the ground to cut through defenses, so steel yourself for a different kind of hack-and-slash challenge.
Controls
GamePad Controls
| Aim | Move GamePad |
| Turn | Tilt Left Stick left/right |
| Shoot | Tilt Right Stick down (hold down to charge a shot) |
| Reload | Tilt GamePad down |
| Dodge | Press ZL and ZR Buttons simultaneously or tilt the GamePad left/right (according to on-screen prompt) |
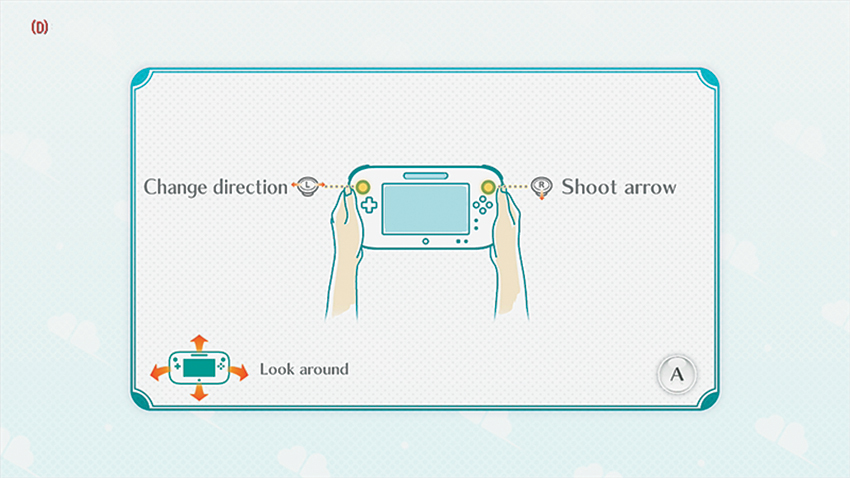
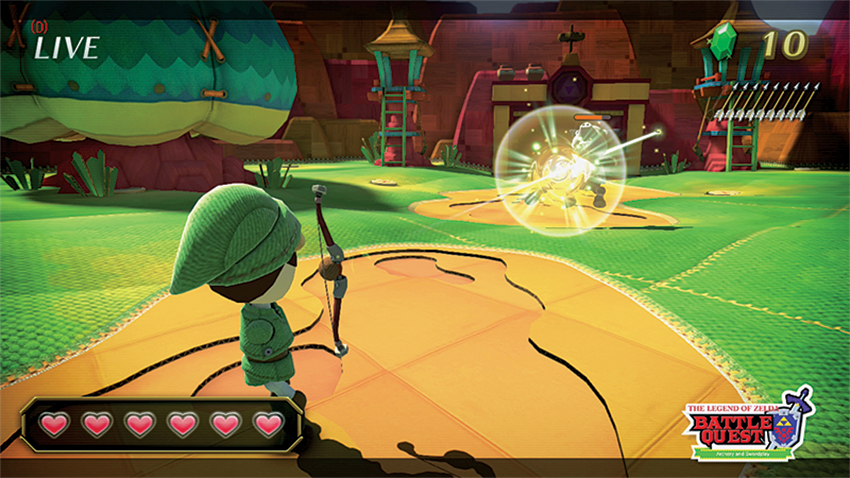
As an archer, you move the GamePad to adjust your aim. You can angle the screen to allow for small adjustments, but can just as easily turn in place to find enemies as needed (if you have access to one, a swiveling chair can be used to rotate in place for extra immersion). For larger movements, the Left Stick can be tilted left or right to turn your Mii, and nocking an arrow and letting it fly is as easy as pulling down on the Right Stick. Hold the Right Stick down to increase the power of the shot (indicated by glowing lights creeping down the bow). A fully charged shot is enough to fell most enemies, but there’s some risk in waiting until the shot is completely charged up. A quick shot has the power to stun enemies and interrupt their attacks, so don’t be afraid to experiment with different timing.
While firing on enemies, keep an eye on the number of arrows left in your quiver by glancing down at the bottom-right corner of the GamePad touch screen. When there is a little downtime between encounters, be sure to restock by pointing the GamePad down toward the floor. Refilling arrows isn’t instant; you’ll need to keep the GamePad pointed down until the stock fills completely, and the fewer arrows you have, the more time it takes to fully restock.
Though archers are completely vulnerable to most melee attacks from enemies and must dispatch attackers before they get in too close, ranged attacks can be dodged by pressing the ZL and ZR Buttons simultaneously when the on-screen prompt appears. During boss fights, tilting the GamePad to the right or left to match the on-screen prompt can also avoid an attack, but in both cases, the window for reaction is only about a second or so.
Wii Remote Assistance
| Slash | Swing Wii Remote |
| Charge Attack | Hold Wii Remote vertically |
| Raise Shield | B Button |
| Switch Targets | A Button |
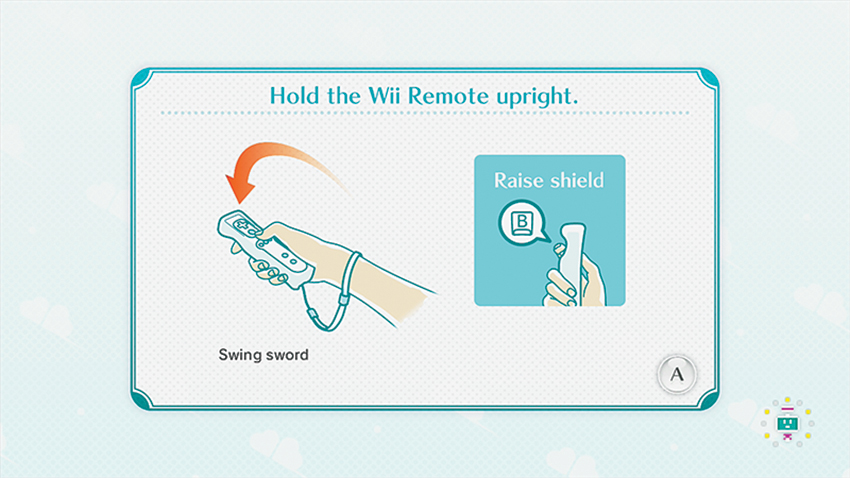
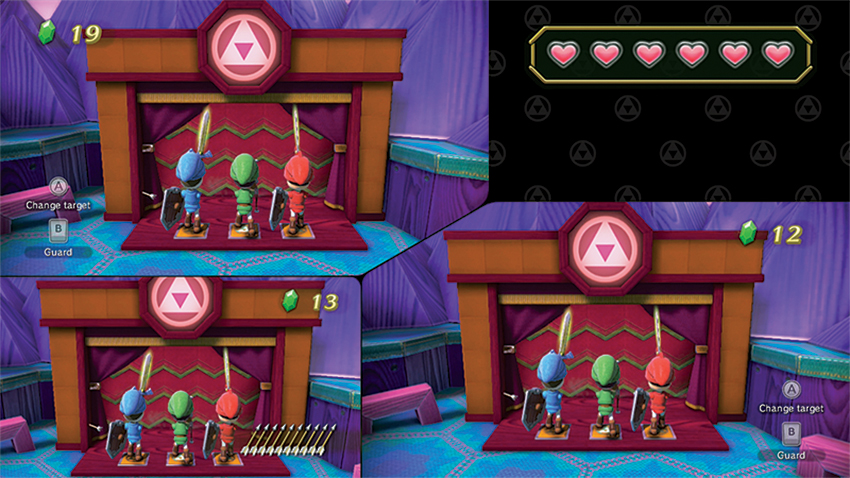
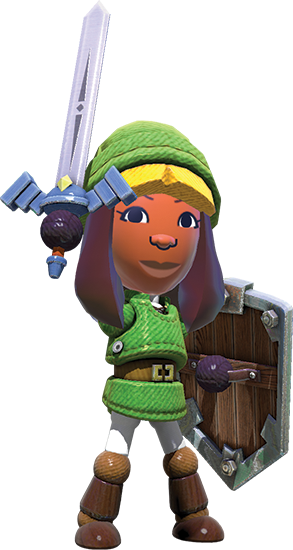
At the other end of the combat spectrum lies Battle Quest’s melee combat. Exclusive to players using the Wii Remote Plus, swordplay centers around horizontal and vertical slashes, but adds in one-to-one motion tracking thanks to the enhanced precision of Wii MotionPlus. This means the angle of the sword itself is also important—think less club and more tennis racket. Swordsmen are the front line of both offense and defense, and by holding the B Button, their shields can be raised to protect them from any attack. More importantly, they help stand between approaching enemies and the archer, who has no such shield to avoid attacks.
Quest
The core of your Mii-as-Link adventure takes place in Quest Mode. A sprawling series of challenges, Quest can be played with a single player as either an archer or swordsman, but the real fun is in playing with friends. Up to three Wii Remotes can be paired with a single GamePad to form a battle-ready party of adventurers to tromp across Hyrule. Movement in this mode is automatic; whenever the adventurers aren’t fighting enemies, they’ll move ever-forward along a preset path. While swordsmen serve as the front line and will often take on challengers at close range, the archer has a wider field of view. That’s key, since only archers can fire their arrows at pots to shatter them and release the Coins that might be hidden within. Moreover, archers are the only ones able to take down special birds that contain hearts to help refill the team’s health.
| Icon | Name | Conditions |
|---|---|---|

|
100 Rupees | Collect 100 Rupees total. |
|
|
1,000 Rupees | Collect 1,000 Rupees total. |
|
|
Triforce Collector | Finish all nine quests to claim their Triforces. |
|
|
Quest Master | Complete all quests. |
|
|
Legendary Hero | Master all quests. |
1. The Grasslands
Mastery Requirement: Finish Without Taking Damage
Every journey begins with a first step, and it’s here that you (and hopefully a few friends) embark on your quest. The verdant plains of Hyrule Field are a perfect place to get to know the various threats you’ll be encountering, including Moblins, ChuChus, and Kargoroks. Keep your eyes peeled for clay pots and chubby Cuccos, and call them out for the archer if you are playing as a swordsman.
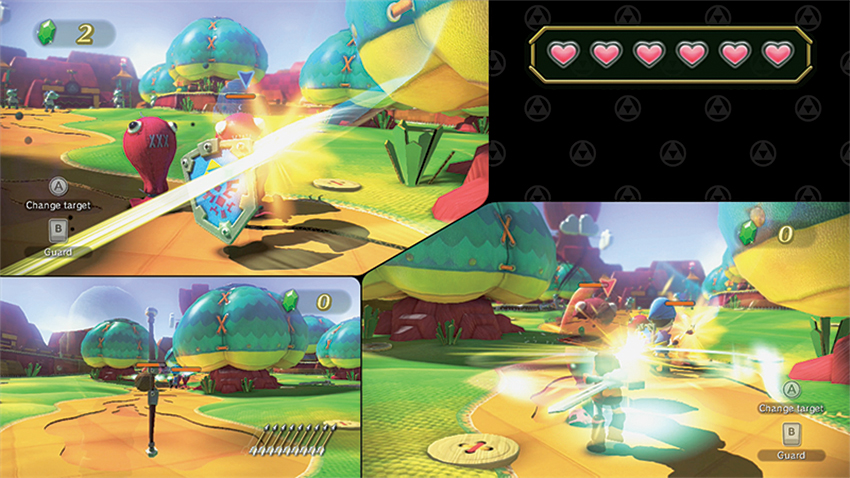
It doesn’t take long before the nastier parts of Hyrule’s fauna decide to crash the party. A group of ChuChus pops up between a set of trees and starts advancing toward the party. The red version of these little critters isn’t much of a danger; they can be taken down with a quick sword swing or a standard, non-charged arrow. Enjoy the quick squabble, because enemy encounters are about to get more difficult.
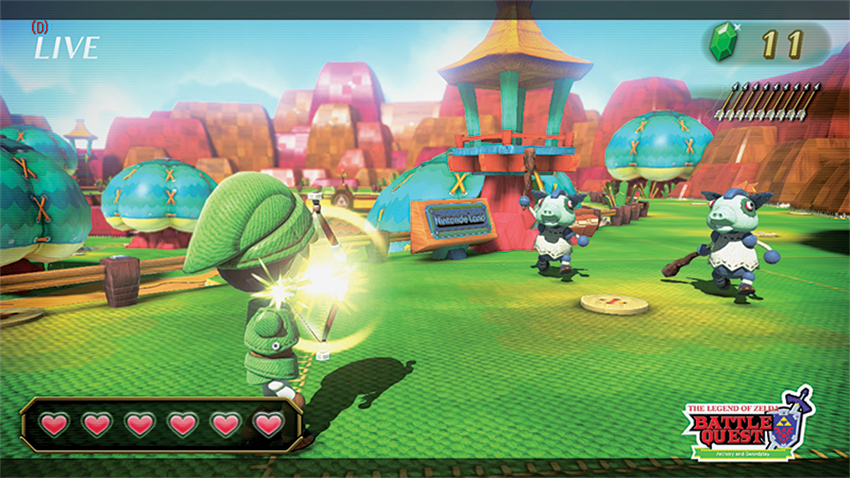
More ChuChus wait near a gate, and they are joined by a smattering of Moblins. Just as the blob-like creatures were taken down with minimal effort, these pig-faced baddies aren’t much trouble—simply swing away or stood standard arrows and they’re toast. After all of the enemies have been dispatched, the group automatically heads toward the switches to open the gate to the next part of the level.
Passing through the gate and onto an elevated walkway, you see more Moblins appear, and past them is a gaggle of ChuChus. Beyond the red menaces wait more Moblins. If a heart is needed, there is a Cucco atop a tree on the right, and a couple of pots are on the left side of the path, just past a tree. Another Cucco waits just a bit farther ahead on top of a small house, along with some pots that can be smashed for a few more rupees. Continue slogging through the Moblin hordes until your Mii characters reach a small clearing where a new kind of Moblin threat appears.
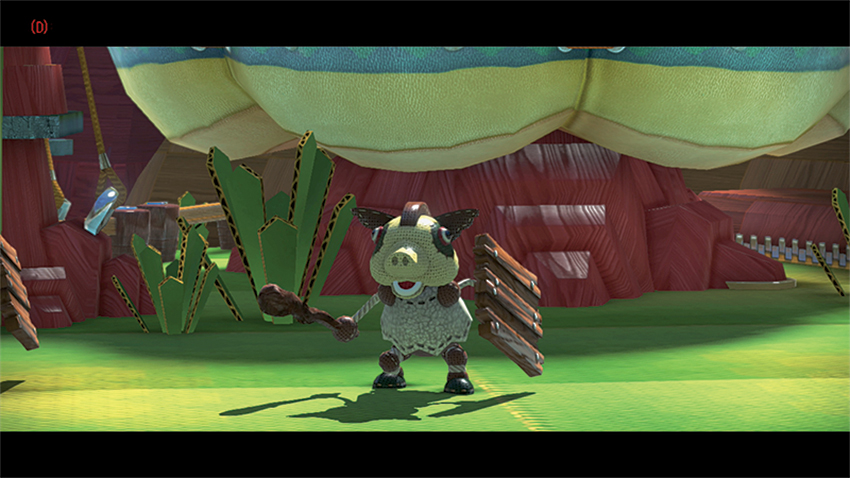
When all of the Moblins have been eliminated, a Triforce will descend from the heavens to mark the end of this little outing.
2. The Lost Woods
Mastery Requirement: Finish Without Taking Damage
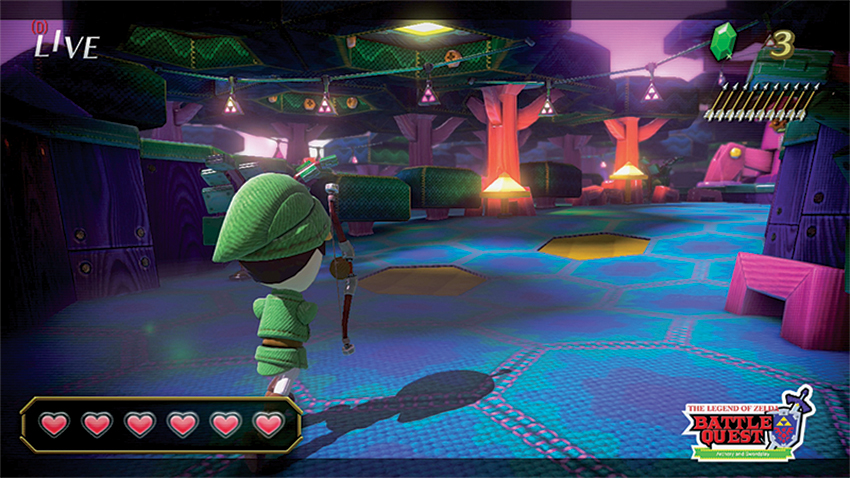
Hyrule’s legendary forest has been the source of more than a few worrying tales. Sure, one could imagine they were drummed up as a means to keep ornery children from disobeying, but surely there must be some merit to them…As your Mii-in-Link’s-clothing quickly discovers while delving into the heart of The Lost Woods, not all tall tales are pure fabrication, and new threats wait beyond the boughs and branches stretching overhead.
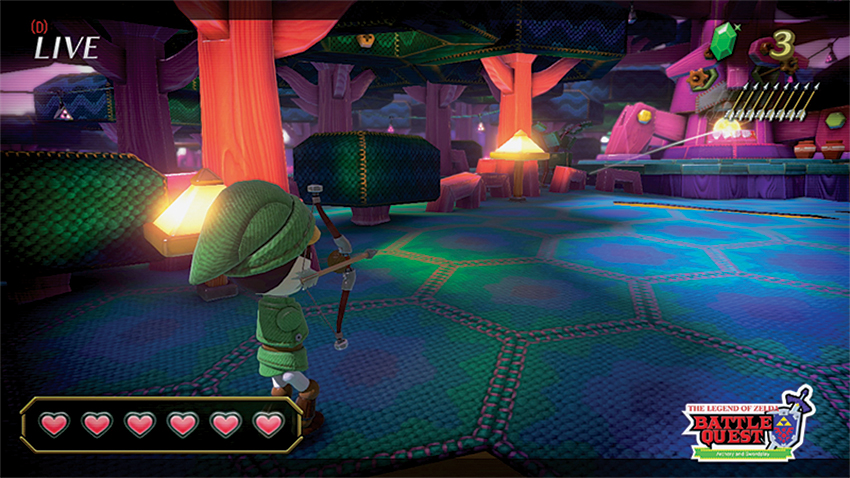
There’s not much happening as your Mii first starts into the forest, but there is a chance to nab a Coin. A large purplish-pink tree sits dead ahead, its mouth slowly opening and closing. Time an archer’s arrow shot just right (by releasing just as the mouth starts to open, depending on range), and the arrow sails in to pocket the Coin. A few more pots to the right of the mouth make for good long-range target practice, but don’t let any swordsmen stray too far ahead.
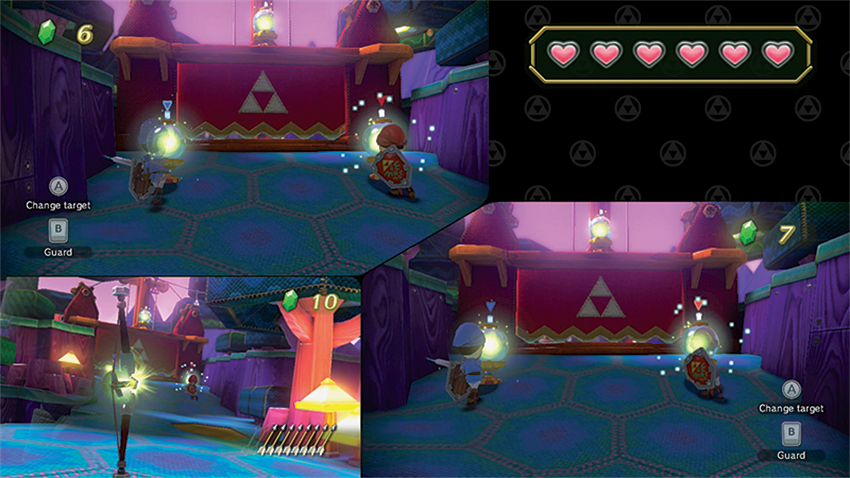
The reason for hanging back? A pack of Moblins waits on the other side of a small wooden bridge. Take them out at a distance if you are playing as the archer or wait for them to draw near with your shield raised if you’re wielding a sword, then move on, albeit slowly. Another long-range opportunity presents itself shortly after you cross the bridge. Where the path curves to the left, a pair of waiting Moblin Archers (one in a tower, another on an elevated platform just below him) will continue to rain shots down on any swordsmen that charge forward to take on more Moblins in the smallish clearing ahead. The archer should hang back and take out the long-range targets quickly, then join the fray up ahead. After dealing with the Moblins, focus your attention on the glass spheres near a closed gate. The archer should concentrate on the upper target (or targets if playing solo), while the swordsmen can slash to light up their targets and open the area beyond.
The area beyond the locked gate is rife with activity. A tower sniper in the distance (a few pots are below him), plus Moblins in the area below all get ready to attack as soon as your group enters this new area. Clear them out, then have everyone meet on the pressure plates to unlock the next area.
Immediately upon entering, a set of Moblins rush in, and still more wait around the corner. Deal with them carefully, raising your shield to avoid their strikes if you’re leading the charge as a swordsman, then proceed forward.
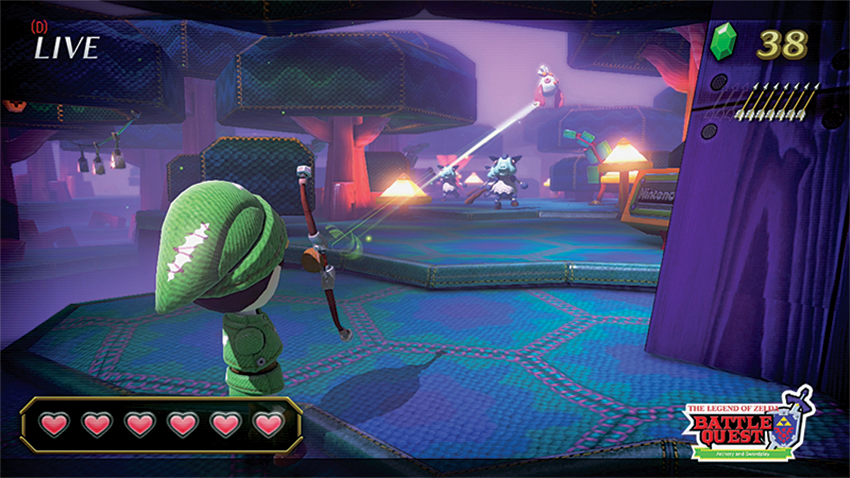
The archer should keep their eyes on the skies, as a plump Cucco traces a short elevated path between the treetops before disappearing from view. Even if hearts aren’t needed, it can’t hurt to do a little target practice.
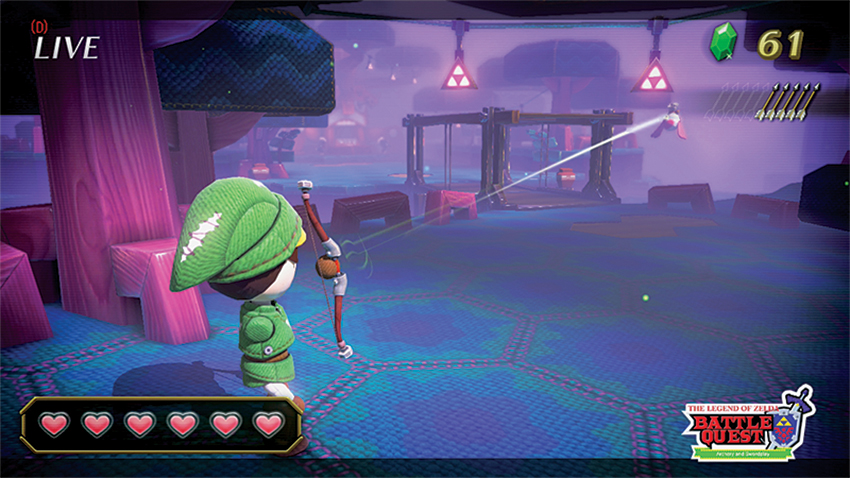
After you trudge along a narrow path, another bridge and yet another pack of Moblin waits. Deal with the Moblins as they approach, but hang back before heading across the bridge to let your archer concentrate on a pair of Cucco, one perched to the right of the bridge and another flying above it. The hearts gained by felling these fowl are important because it’s already time for another boss fight. Take a peek to the left immediately after crossing the bridge to spot a trio of out-of-the-way pots for those archers that need a little target practice.
3. Grassland Temple
Mastery Requirement: Finish Without Taking Damage
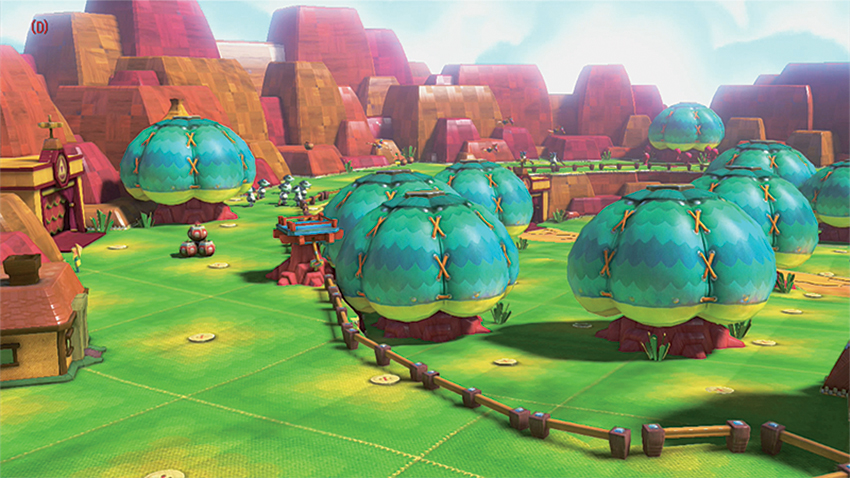
The hunt for the Triforce takes your Mii to a sun-drenched, hilly path leading into the Grassland Temple. New threats await, and your combined teamwork (if playing with friends) will be put to the test even more now. The archer must be ready to deal with long-range threats but keep their quiver stocked in case enemies draw closer, while swordsmen need to contend with ever-increasing numbers of enemies, many of which are better equipped than they’ve ever been to absorb attacks and dish out more of their own.
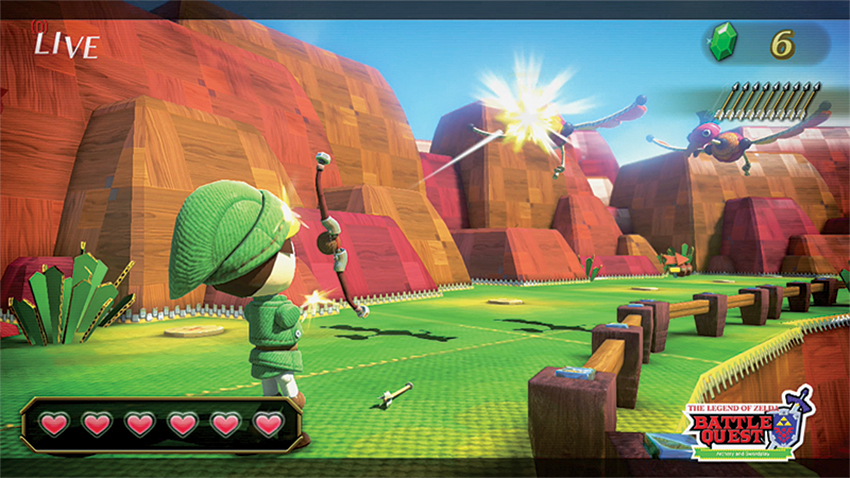
Once the Moblin threat has been addressed (either by carefully detonating the barrels and taking care of the stragglers, or by attempting a far more dangerous direct melee confrontation), proceed along this raised pathway and keep your eyes trained on the skies. “A small flock of Kargoroks approach. While they don’t immediately attack, opting to hover for a moment in front of players before dive-bombing, the window to attack them is small. Alternatively, swordsmen can block with their shields as the birds swoop down to attack to stun and temporarily ground them. The Archer can target and remove these threats from a distance, but to take them down in a single shot, the arrow must be fully charged up (make sure the bow is glowing) before its release. On the ground, swordsmen can raise shields until the birds hover nearby and hit them with an overhead slash, but archers are better suited to dealing with the threat; even a single non-charged shot knocks them to the ground for a few seconds, which provides breathing room (or lets sword-bearing Miis get in the final swipe). Deal with the aerial threat quickly because Moblins are approaching from the distance.
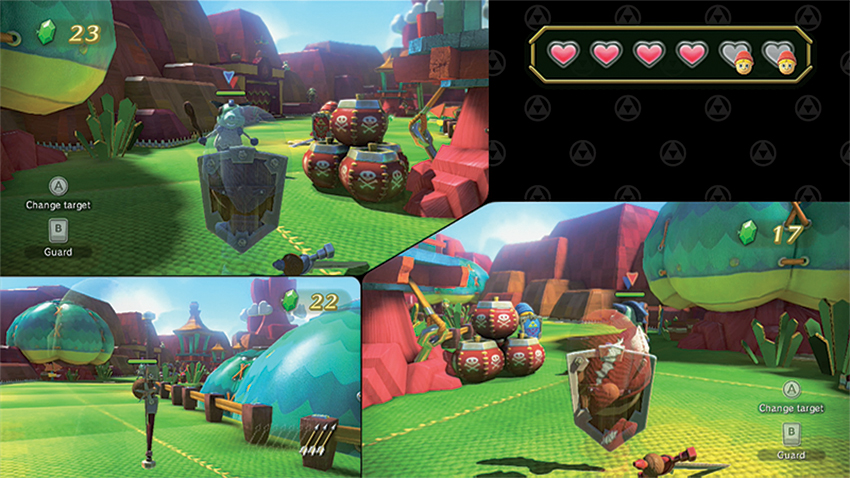
Farther ahead, a small group of ChuChus pop up and advance toward your Mii. They’re easily dealt with, as are the Moblins that follow. What isn’t quite so obvious is the waiting set of red barrels near the base of a tower with a sniping Moblin Archer. Although the archer can take aim from a distance, it can be easy to let swordsmen move too far forward, so when the path starts to curve right toward the Moblin Archer tower, have the swordsmen hang back to avoid getting caught in the blast. Remember, when they’re not holding up their shields or swinging their swords, swordsmen will always attempt to move forward without stopping, so get those shields up to let the archer catch up.
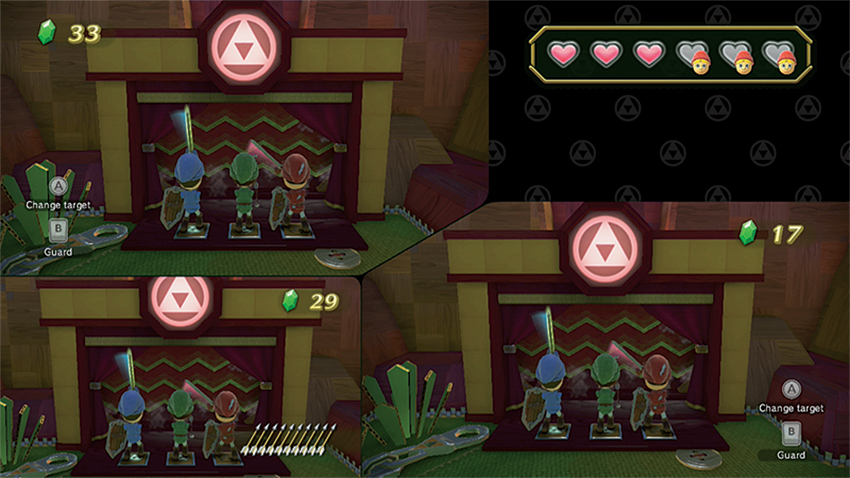
Past the explosives are more Moblin Archer nocking and loosing fiery arrows toward your approaching Mii. The archer should concentrate on dealing with them first (especially if playing solo), then deal with the shielded Moblins that join the fight. Keep an eye out for a Cucco that takes off from its roost above the entrance to the Temple; it has a relatively short flight path that takes it around the nearby rocks and out of view forever, so be quick if a heart is needed. Some nearby pots above the Temple entrance and near one of the Moblin Archer towers can yield some extra Coins if you’re lucky. When everyone is ready, step onto the pressure plate to head into the Temple.
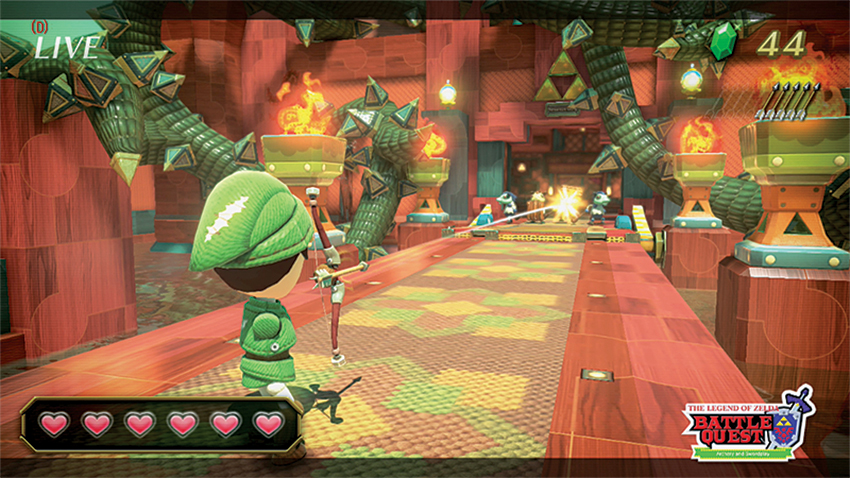
Just inside the Temple, a group of Moblins wait near a raised drawbridge. Deal with the defense force, then have the archer fire at the Switches to light them all up and lower the bridge. On the other side is a greeting party that quickly charges forward, including a few shielded Moblins. Keep an eye out for a Cucoo as it lazily flies through the center of the Temple antechamber to bank a heart where needed, and prepare for a new kind of threat.
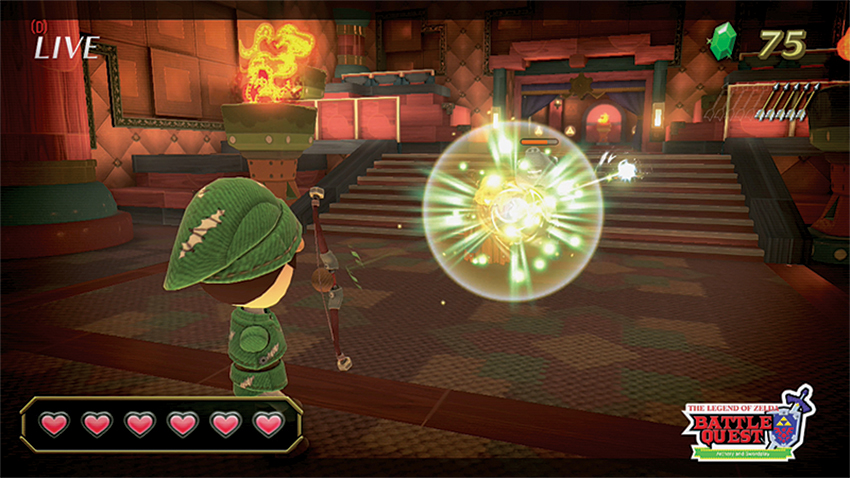
After taking out a half-dozen or so of these peering threats, proceed forward, but be ready for some surprise Moblin attacks from around the corner of the upcoming hallway. A few pots wait to the left of the fork in the hallway, and to the right waits another set of Switches that must be struck quickly. Another Moblin ambush in tight quarters waits up ahead and spills out into a larger chamber. There are plenty of targets to worry about here, but the archer must be ready to take out some Moblin Archers higher up at the far end of the room, while also making note of some pots that can be smashed on either side of the nearby door. Move forward steadily, but deal with each group of Moblins (including some shielded versions) completely before pressing onward.
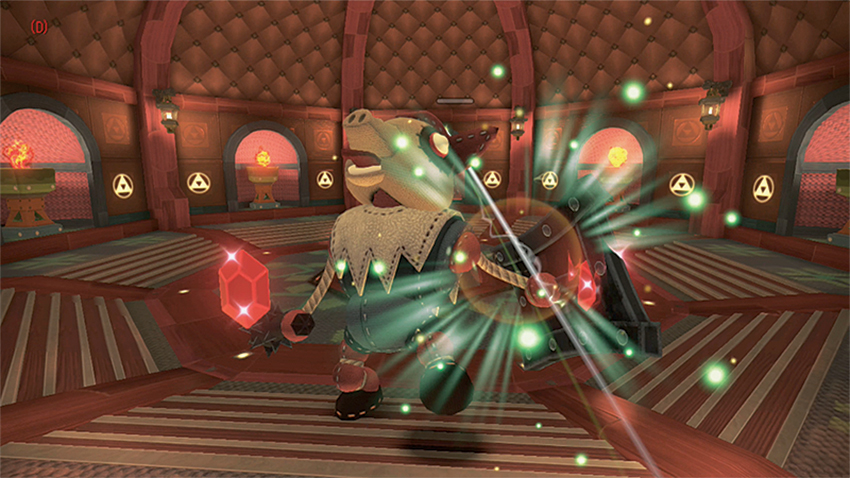
It should be obvious by now that this is the end of the line, but before the Triforce can be seized, a boss much be dealt with first. Thankfully, this Big Moblin is just like the last one you faced. What isn’t the same as that first Lost Woods encounter is the arrival here of a few normal Moblins at the same time. Deal with the small enemies first, preferably with the archer at a safe distance, and then take down the big oaf just as you did his buddy previously: Swordsmen, keep your shields up until the swipes have been completed and then unload with everything you’ve got.
4. Road to the Goron Mines
Mastery Requirement: Finish Without Taking Damage
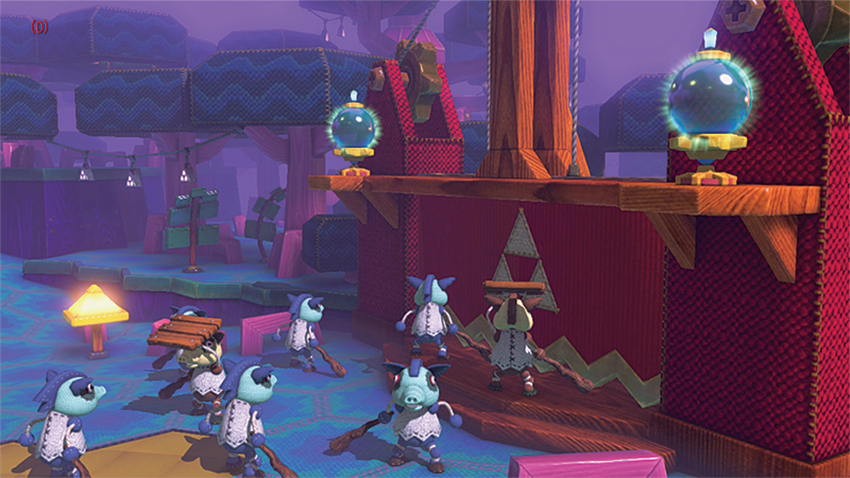
With the Grassland Temple in your rear view, it’s time to delve into the depths of the Goron Mines. The Gorons, massive but relatively peaceful, have worked tirelessly to plumb the depths of Hyrule’s many craggy areas, and it’s here that the next Triforce challenge awaits. Expect a familiar trip through the deeper hues of the Lost Woods, but don’t let familiarity cause you to drop your guard; there are surprises in store, too.
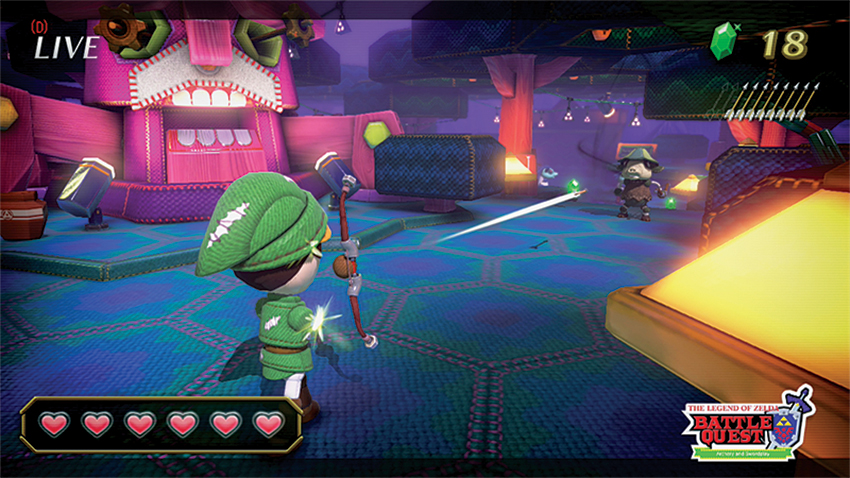
Depending on whether you’re playing solo or with friends, the start of this level could be in one of two different forks, but they both lead to a small area just past a bridge that is lousy with Moblins. After clearing them and hitting some high Switches with a few arrows, the gate nearby opens to reveal yet more Moblins. The little critters are starting to get better equipped. Lying in wait just past another pot, hidden inside an opening and closing tree mouth, are some flaming arrow-firing Moblin Archers. Clear them out before worrying about the pot in the tree’s mouth, as it coughs up a heart to restore damage sustained during the fight.
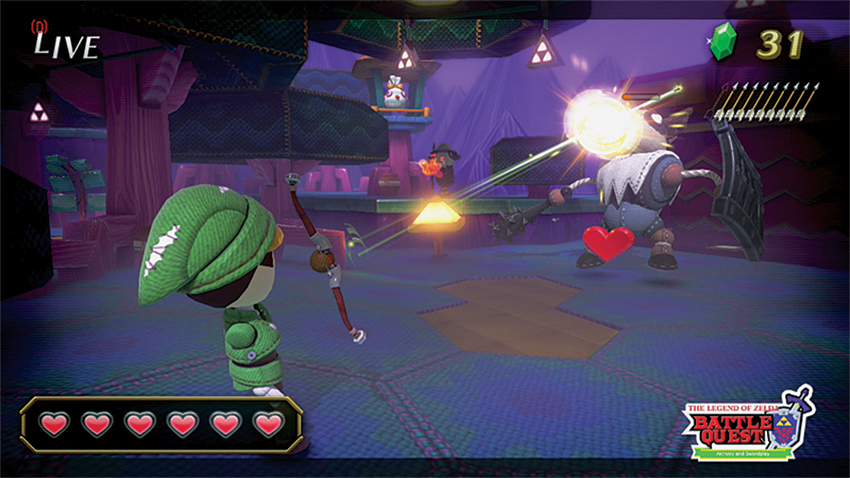
Past the Moblin menace is a short ramp down into a more open area with a few waiting red barrels. Don’t let explosive greed get the better of you; as soon as swordsmen venture far enough into this area, a Moblin Archer appears as a kind of mini-boss fight. Thankfully, the barrels’ explosive effect can whittle away a large chunk of the Big Moblin’s health and make the fight much, much easier, but some patience is required. To the left of the barrels, sitting on a perch, is a Cucoo worth a much-needed heart. Step onto the pressure plate to venture into the Mines.
Once outside, don’t get caught in the glare; a gaggle of Moblins comes rushing toward your Mii, but they conveniently skirt a set of explosive barrels. Be quick, and the group can be taken out in one shot. Otherwise, clear the threats but don’t press on too quickly. A trio of pots to the right can be shot, as well as some patrolling Kargaroks. Far off in the distance, circling a spire, is a lone Cucoo. Take it out for some health.
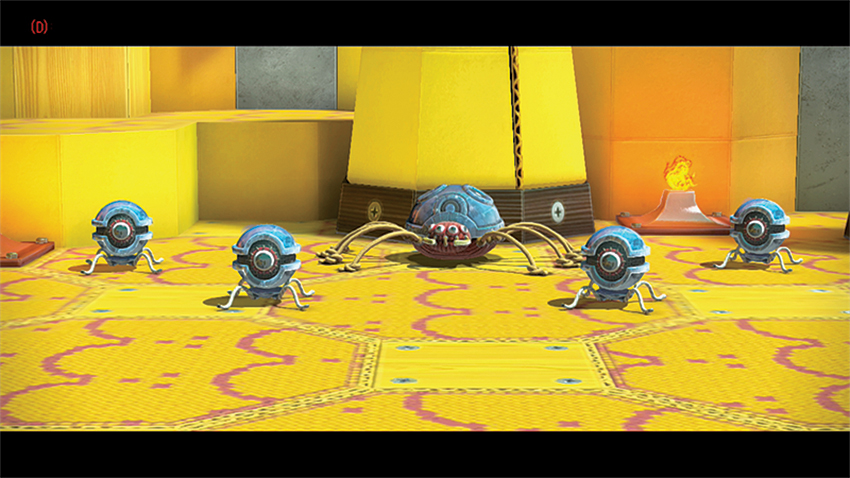
After clearing out the boulders, be ready for a few more Moblins and a circling Cucoo, then advance into a narrow passage that opens into a wide clearing. Here waits your final test: a Skulltula with quite a few Tektites just to make things interesting. Deal with the one-eyed arachnids before turning your attention toward the bigger threat. This Skulltula is quick and skittery, but suffers from the same vulnerabilities as the one you met in the cave just a few moments ago. Pop him in the noggin to flip him over, then rain blows and arrows down onto the weak purple fabric of his belly.
5. The Forest Temple Hunt
Mastery Requirement: Finish Without Taking Damage
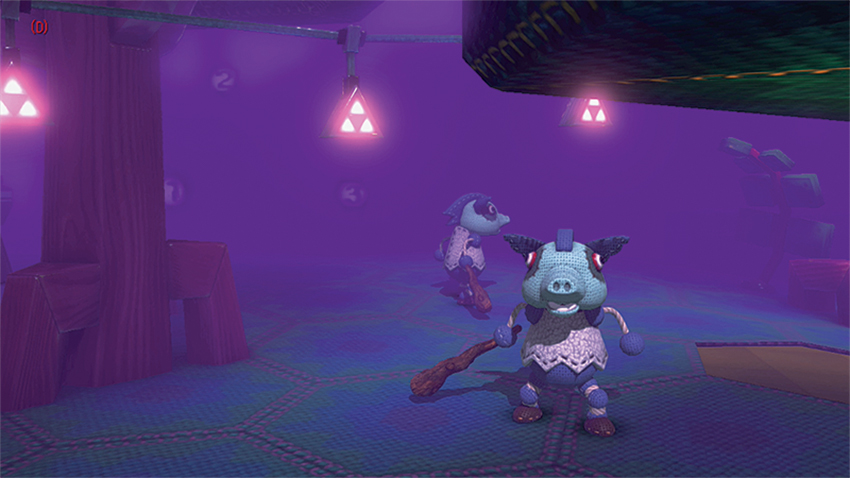
It’s time once again to venture into Hyrule’s deep, dark woods—this time shrouded in a purple fog that severely decreases the archer’s viewing distance. Swordsmen don’t suffer quite the same handicap, so let them be the spotters for the archer’s arrows when threats loom in the distance. Although this is a mission steeped in familiar enemies, one big surprise waits at the top of the Forest Temple.
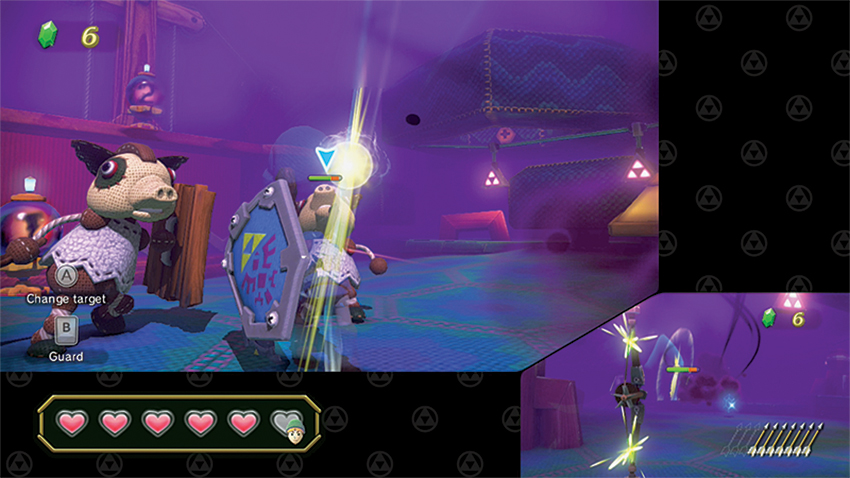
The approach to the Temple isn’t terribly precarious, so long as everyone moves slowly, and allows the archer to catch up after a battle before pressing forward. Keep shields at the ready when marching through a handful of Moblin encounters. The fact that the archer can’t take them out at long range like normal means surprise attacks can be common, even though the Moblins aren’t terribly numerous . Use communication to clear the way to a locked gate and a trio of new Switch types.
Take note of the number emblazoned on these Switches barring the way through the gate; they indicate the order in which they must be struck. Before doing so, though, make sure your archer has spun around to locate a pair of pots that can be broken for rewards. Then strike the Switches in sequence,: first the leftmost ground-based one, then the second one atop the gate, and finally the rightmost switch on ground level. Immediately after the gate is opened, expect a few more Moblins to stream out and cause trouble.
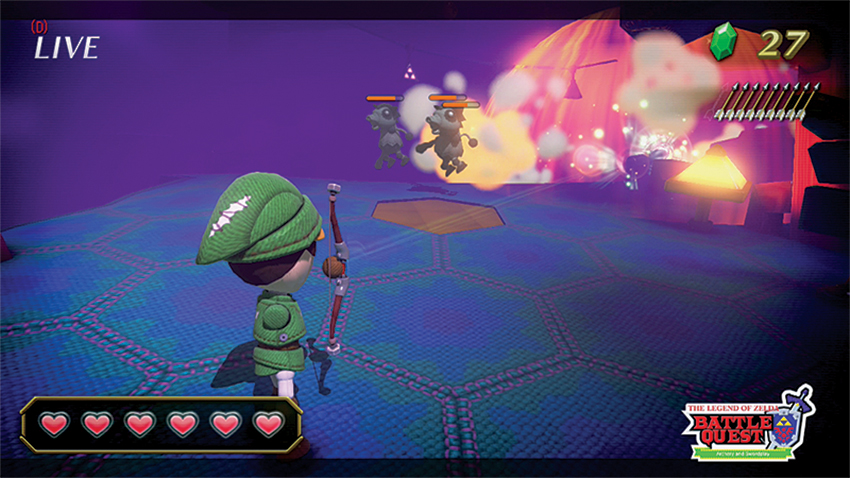
After heading through the gate, keep your guard up and look right. Some Moblin Archers let loose with fire arrows and can’t easily be seen by the archer until they draws near. Using the view on the TV, relay their locations to the archer so they can use the GamePad to target in the general direction. When Moblin Archers nock their arrows, the fire can often be seen through the haze, even if the actual Moblin Archer can’t. Beyond these are a few more Moblins and a set of explosive barrels near a large tree. Wait for word from the swordsmen ahead, then let the archer do what they do best to those barrels.
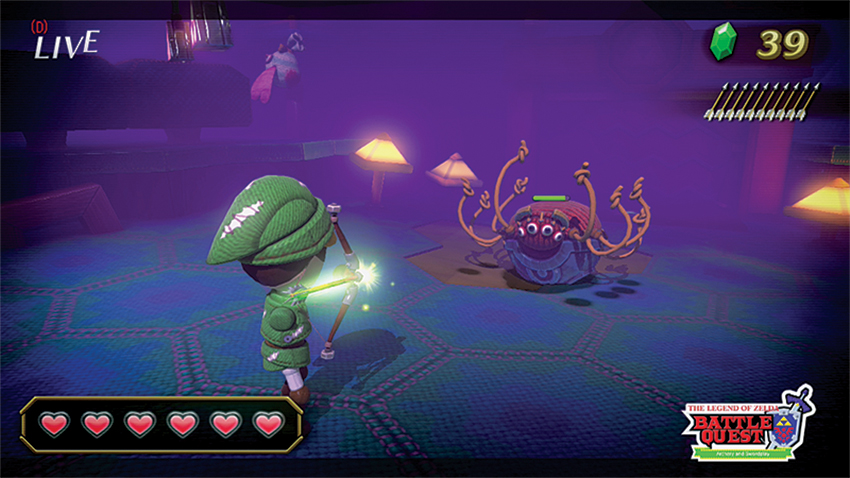
After thinning out the Moblin threat, another Skulltula appears, but shouldn’t be a problem if the archer in the rear has a chance to catch up before stepping into the Skulltula’s small clearing. Be on the lookout for a Cucco taking off near where the Skulltula appears, to the right of the nearby gate. When all enemies have been dispatched, it’s time for another group trip to the pressure plates and into the Forest Temple proper.
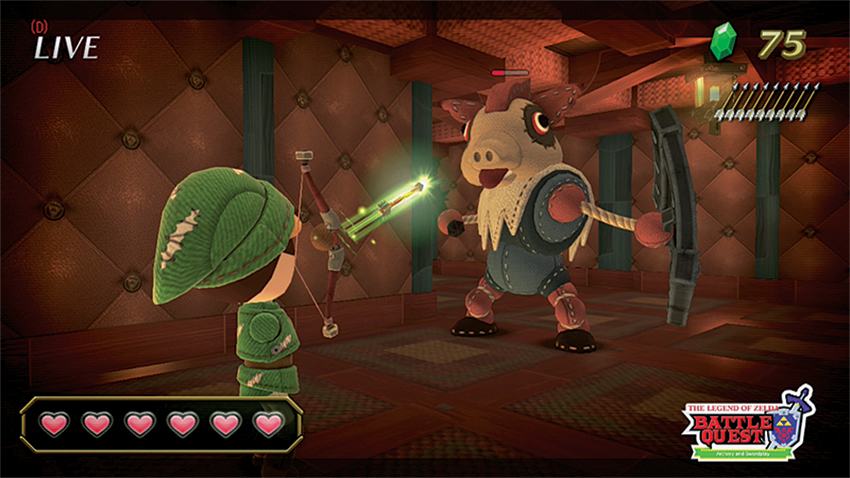
Just past the Quick Moblins are a few ChuChus to deal with, a few pots to break, some more Moblins—oh, and a Big Moblin joins the fight. Deal with the smaller enemies first, then take on this bigger brute the same way as before: wai for his swipes, then let loose with charged-up shots to really pile on the damage. Just past the hulking threat is a Switch that opens things up to a long, dangerous climb.
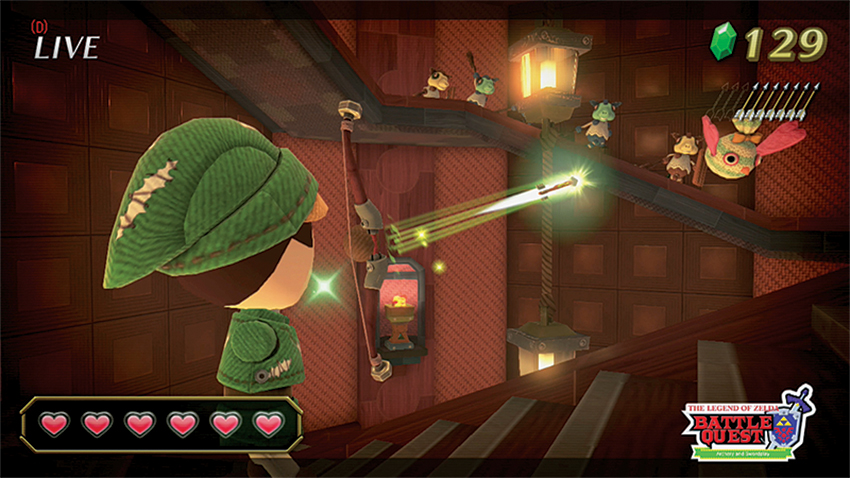
Proceed with caution as you slowly climb this massive spiral staircase—the angles here mean that enemies up top, like Moblin Archers, can fire down at you and any fellow adventurers you may have with you. The key is to move slowly, as a group, stopping to allow the archer to wind up a shot and take out any Moblin Archers early. In most cases, the attack on a Moblin Archer is also an invitation for a new wave of Moblins (some of them shielded), to advance toward the group, so archer and swordsman alike will have plenty to do. About halfway up, a set of red barrels can help thin an advancing group of Moblins if you have good timing. Also, make note of a Cucco that descends near the explosive barrels. A final pair of Moblin Archers guard the top of the staircase and the entrance to the boss fight.
6. Death Mountain Climb
Mastery Requirement: Finish Without Taking Damage
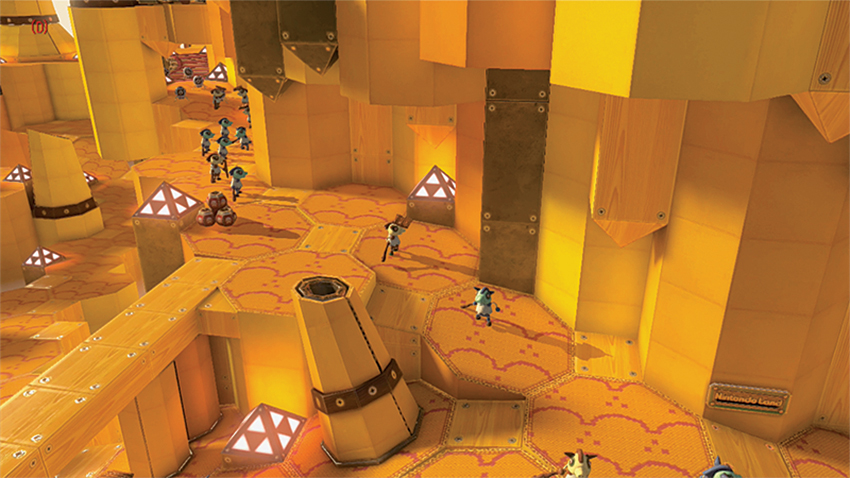
Death Mountain is one of the most imposing sights in all of Hyrule, and is also home to none other than Ganon himself. But long before the tusked evil one can be defeated, he must first be reached, and that’s no small task. Blustery winds, lots of powerful enemies, and a lengthy climb conspire to make this the hardest level yet.
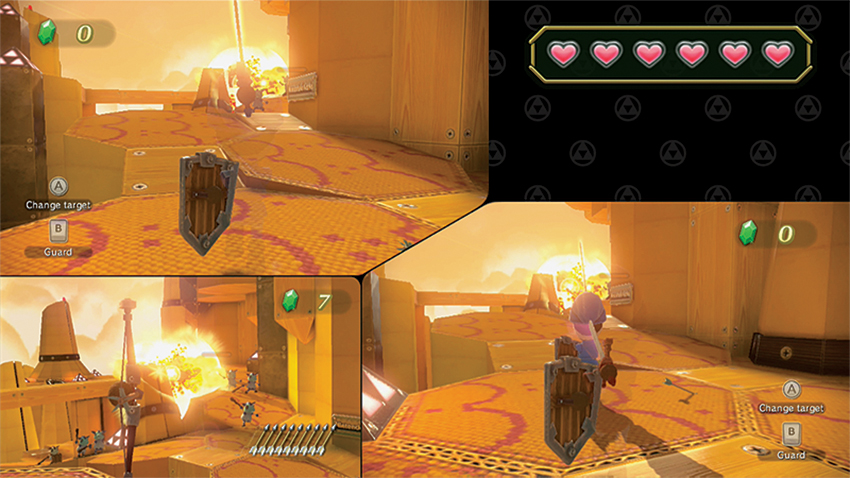
Just as in previous levels, the makeup of your group of adventurers determines where in the level the archer will start. If playing with friends, the archer starts on a high perch looking down toward a sea of Moblins. Thankfully, there’s also a group of red barrels that can be targeted to thin the number of enemies approaching, but it’s still going to be a fight all the way up this long ramp. Just past where the barrels are (or were if the archer managed to detonate them), in a slightly enclosed part of the mountain path, appears a group of Tektites. Take them out carefully. (Swordsmen, remember to, swing through their armor with a horizontal or perpendicular slash—the actual angle of the blade is key here. Make sure it’s as flat or perfectly straight as possible.) And wait for any stragglers to catch up before heading across the bridge. The archer can attempt to break a pot sitting high above where the Tektites appeared for extra goodies.
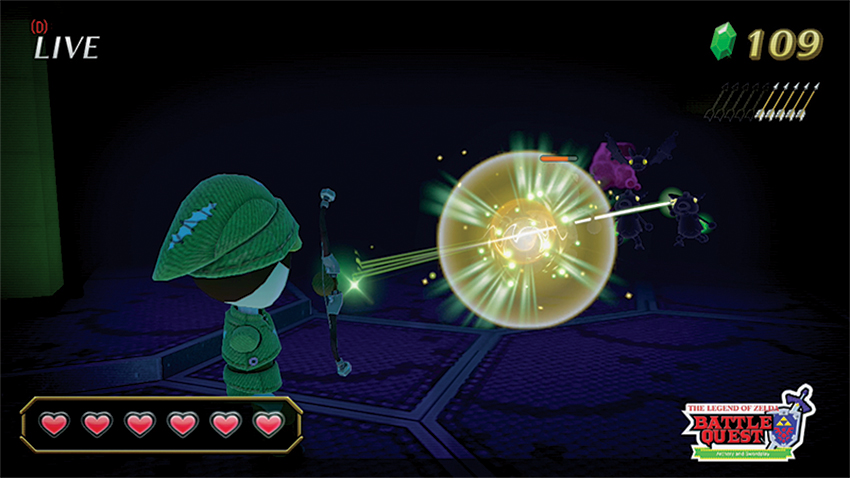
Once inside, the lack of light quickly presents a problem for the archer. If you’re playing solo, the only indication of enemies will be the whites of their eyes peering out of the darkness. Those eyes belong to about a half dozen Moblins and a few Keeses that drop down from the ceiling in the first room, then more Moblins in the room beyond. Thankfully, these enemies aren’t terribly difficult to beat, but, as it is obvious while moving through this dark abode, they have the element of surprise. So stay on your toes. Head through two dimly lit rooms, clearing the way slowly, then advance to the pressure plate to open a gate back out to the mountain pass.
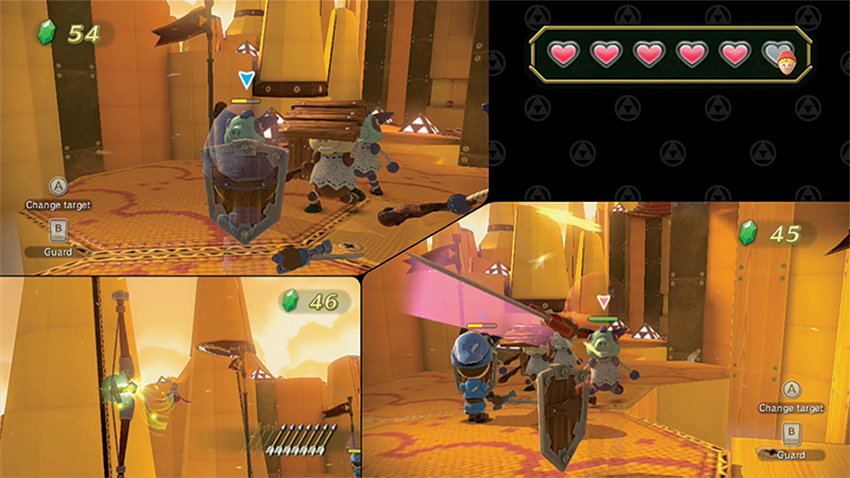
Don’t spend too much time drinking in the sights or shooting the tempting pots directly ahead. A group of Moblin attacks from the right, and they’re backed up by a few Moblin Archers higher up near some Bomb Moblins that should be top priority for your archer. Dispatch the group and trudge slowly up yet another long ramp toward the top. Just after the overpass where the Bomb Moblin and Moblin Archers were waiting, as the path curves to the right, be on the lookout for a Cucco that flies out from behind the spires to the left and into the background. The bird hangs around longer than most, but the wind can make lining up a shot difficult.
As you near another bridge leading deeper into the mountain, be ready for a small ambush coming from behind a rock just to the left of the bridge. Clear out the enemies, then proceed forward slowly into the depths of the level.
7. Gerudo Fortress Trail
Mastery Requirement: Finish Without Taking Damage
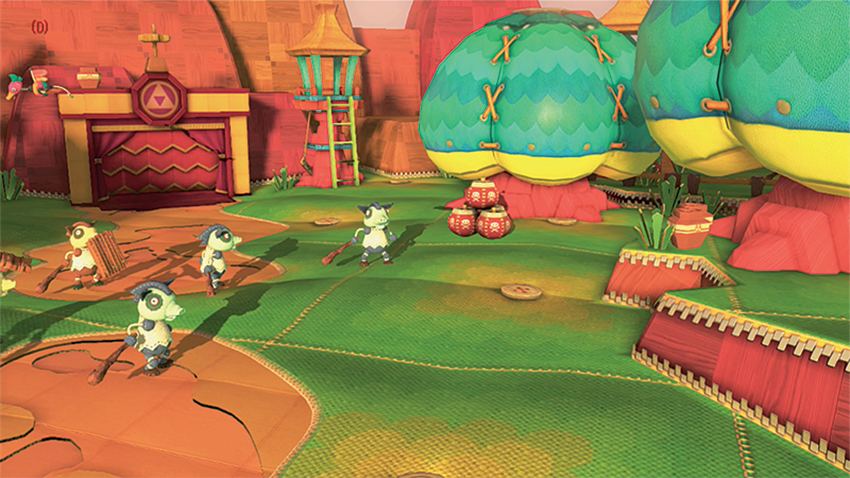
As Ganon draws closer, his army seems ever more massive. The starting area is overflowing with enemies, and that’s just the trip to the Fortress. In the journey ahead, expect far bigger enemy numbers than before, and in much more dangerous combinations. Shields must be kept up whenever possible, and attacks should only be attempted when an opening presents itself. Thet archer is especially invaluable here, as it is their job to quickly find and eliminate long-range targets like the Moblin Archers in the tower overlooking the first enemy encounter.
Depending on how many people are adventuring, that archer may be perched in a convenient, overlooking location, but the first target should be the same regardless: the Moblin Archer in the tower. Use charged shots wherever possible to help thin the many shielded Moblins.
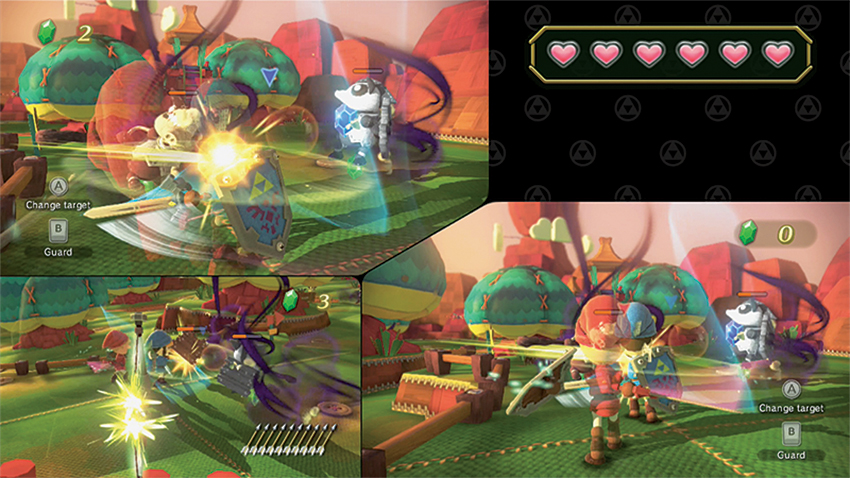
Avoid rushing off to meet the Moblins and Kargoroks just past the small ramp downward from the main clearing. If playing as a group, let your archer. The archer should concentrate on the Kargoroks and the Cucco that flies near the treeline if health is needed. That heart will come in handy, for as you approach the gate in the distance, a group of Stalfos, skeletal warriors, will rise from the ground.
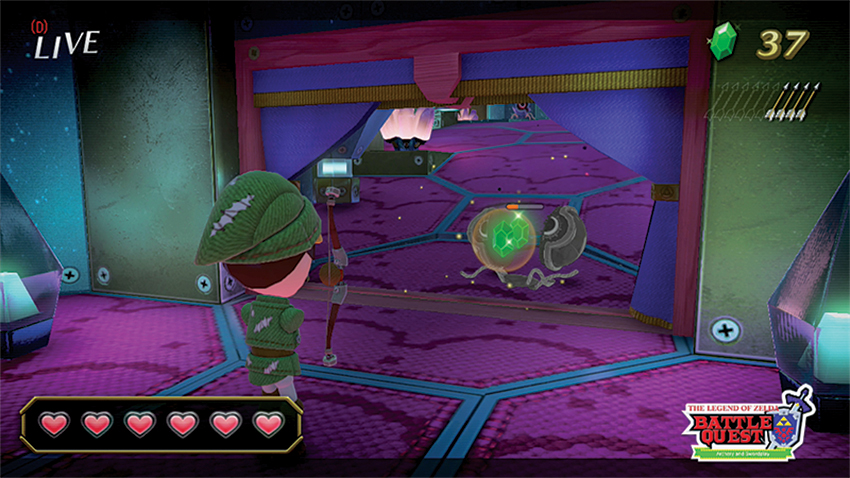
After stepping on a pressure plate and moving through the gate, a small cave filled with Keeses waits beyond. The Keese swarm descends quickly, but archers should have no problem taking them out at a distance before moving on, where things get a little more complex. As you near a small ramp, a group of Tektites appears, and past them, at the far end of the room above, a pair of Moblin Archers fire arrows down. Hold back as Tektites appear and let them come to you. Dealing with them in this room before heading into the next helps eliminate the sniper fire from the Moblin Archers ahead, then head up the ramp to deal with the Moblin Archers. Don’t forget to take out the resting Cucoo near the right Moblin Archers for a valuable bit of health recovery.
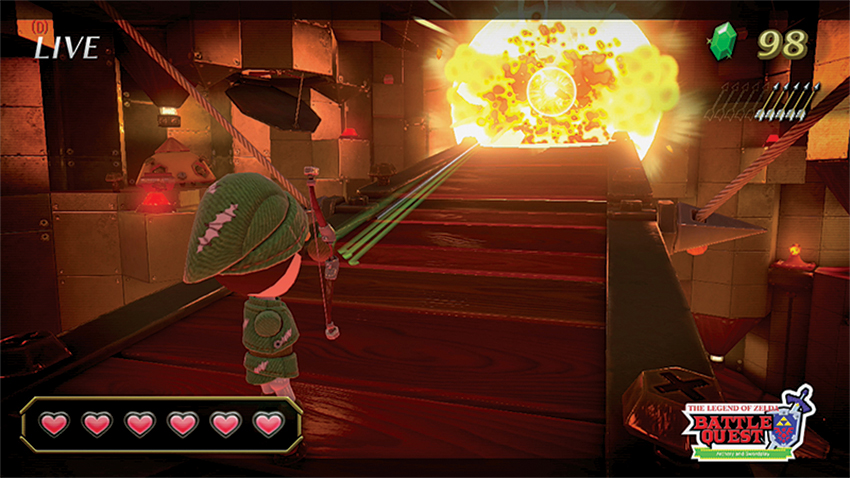
Here’s where things start to get difficult. After veering left, the path opens into a molten chasm teeming with enemies. Moblins quickly try to attack from the right, and will continue to spill down the nearby bridge once provoked with arrows. That’s fine, as it gives the archer a chance to take a few out as they rush down the bridge, but there are red barrels on the bridge to help even more. Be wary of two Moblin Archers on the other side of the bridge that can be aggravated into shooting if you move forward moves forward too quickly. A few Quick Moblins wait to charge in as you approach the bridge. The entire group (or just you, if you’re playing solo) should stop before turning to step onto the bridge, as there are multiple rolling boulders that must be targeted by the archer. If the archer is still hanging back and attacking from the side of the room where you entered, it’ll be extremely hard to target the explosive charges on the boulders, so let the archer catch up, nock an arrow, and then proceed forward just enough to get the boulders to start rolling. Trust in the archer, and let their arrows fly true.
Expect a welcoming committee after the boulders have been taken out. A few Moblins (including a tougher Pink Moblin) run down the bridge to engage, but they can be taken out with relative long-range ease. Likewise, the shielded Moblins waiting just past the bridge aren’t too tough if taken out early. But before engaging them, make sure to destroy the pots on either side of the bridge and hit the Cucco flying in a big circle around the large room. Once the shielded Moblins are gone, it’s time to find out who the boss of Gerudo Fortress is.
8. Ganon’s Castle Approach
Mastery Requirement: Finish Without Taking Damage
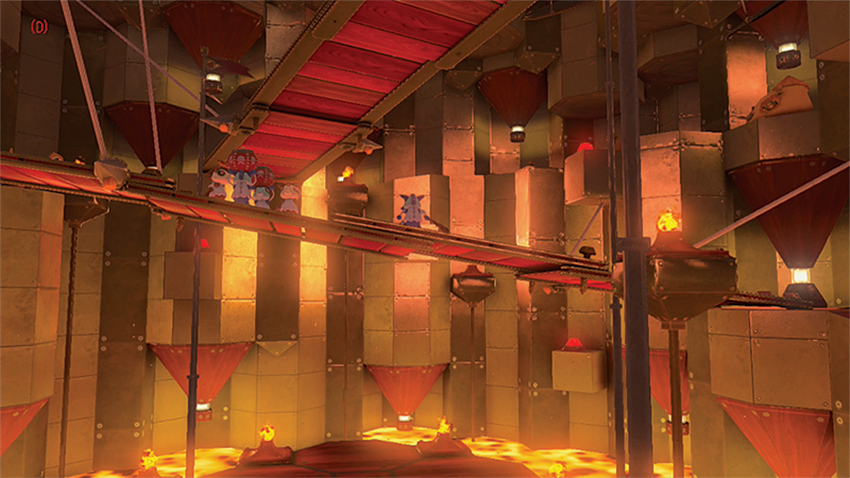
There’s plenty of reason to feel a sense of foreboding when approaching the keep of Hyrule’s most infamous villain: The enemies are both strong and plentiful, the journey is longer than any previous, and the amount of teamwork required when playing with friends (which is highly recommended) is at an all-time high. Still, this is a climb that must be made, and can be overcome with patience, a steady hand, and lots of perseverance.
Depending on how many players are participating, the entrance to the Castle is impeded by a set of Sequential Switches or Eye Switches that have to be hit quickly. Beyond the gate, though, things are identical, including a group of ChuChus followed by some Moblins. (Don’t miss the chance to break a few pots to the right as you travel up the ramp.) But watch for a familiar sight: a set of boulders waiting at the other end of the first bridge. If playing as a group, let your archer catch up, move forward slowly, and then wait for the archer’s arrows to detonate the boulders before they can make impact.
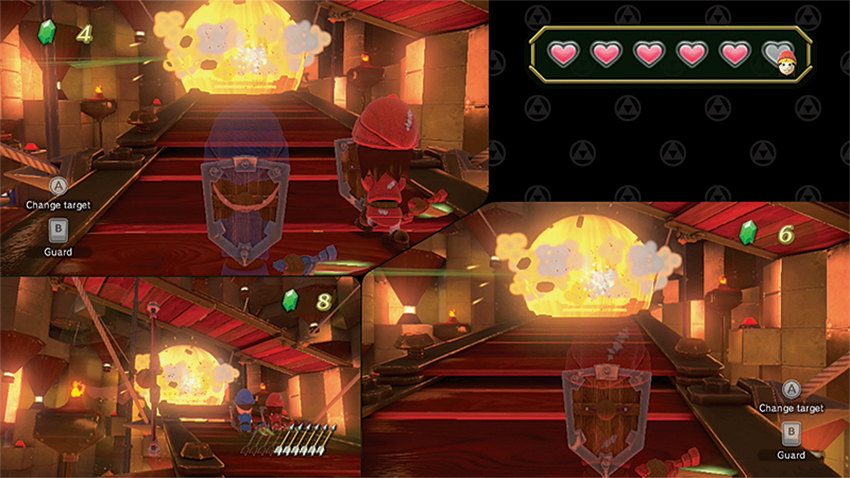
Once you’re on the other side of the first bridge, clear out a pack of ChuChus, then be ready for multiple assaults. Charging Moblins can be thinned by hitting the red barrels farther up the path, but more Moblins wait on the bridge, and are joined by a pair of Stalfos once you reach the bridge itself. Past them wait two Moblin Archers that can make life hectic for swordsmen, but they’re nearly as difficult for the archer thanks to the gusts blowing through this level. Adjust for arrow travel and take out the Moblin Archers from long range, then march toward the end of the bridge, dealing with a pair of Pink Moblins that scurry down the bridge when you near them. A Cucco waits atop the center of the gate at the other end of the bridge to help you recover health.
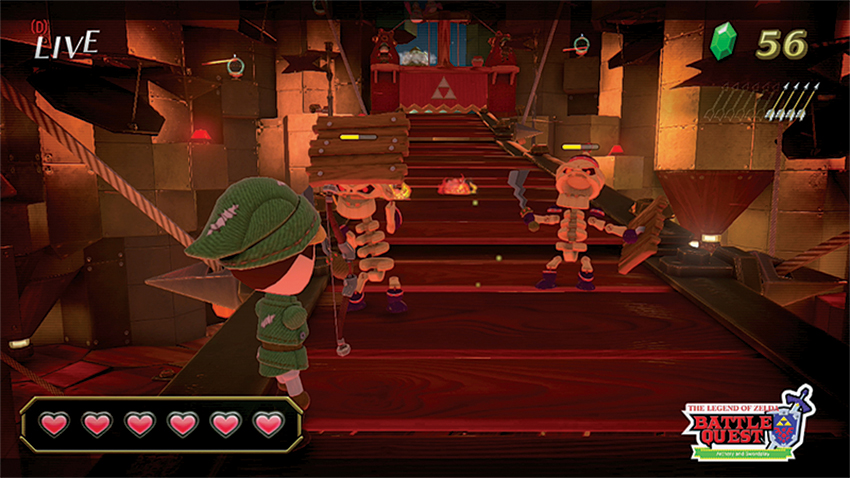
Further movement is barred until the archer can line up four quick shots on four Switches nested high along the walls on either side of the gate. The wind is still an issue, but less so than if the shots are fired from the other end of the bridge, so tuck in close behind the swordsmen, if they’re around, and let loose to hit all four Switches. Just through the gate, a group of Moblins says hello. Say goodbye with authority, then move forward for a familiar sight: the Wizzrobe returns for a fight eerily similar to the end of the last level. Deal with this winged menace quickly because this is anything but the end. Step on the pressure plate and steel yourself for battle.
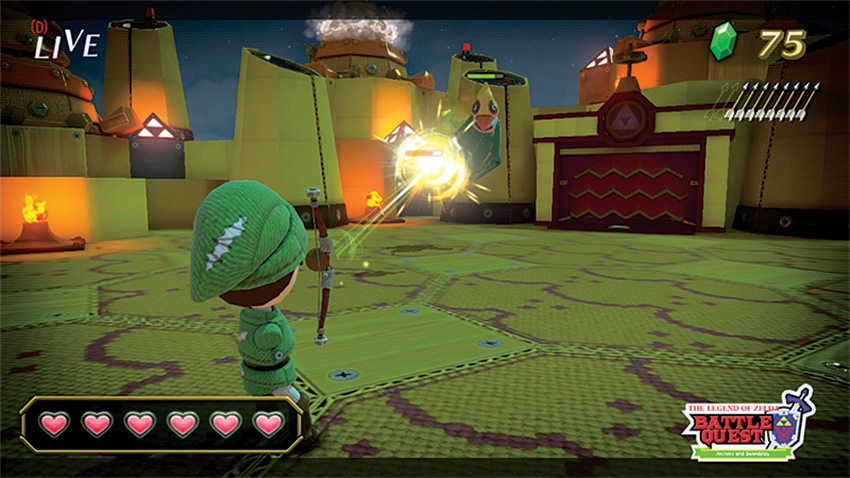
A group off Moblins waits at ground level to attack as soon as you enter, but there are also two Moblin Archers sniping from high up on either side of the raised drawbridge. Have the archer subdue them as quickly as possible, then concentrate on the rest of the Moblins before moving forward to trigger the Switches ahead to lower the drawbridge.
Look for a roosting Cucoo as you move toward the large room ahead, in the upper-left corner of the chamber. Moblins, not surprisingly, show up to impede, but the bigger issue is the Skulltula that joins them. Quickly remove the other threats, then pound on the Skulltula’s face to flip him and expose his weak side. Remember that if you’re playing with friends, it’s possible to free an ally wrapped up by a Skulltula if the arachnid is attacked before the countdown timer expires. If you’re taking on this challenge solo, hope you can hit the creature in the eyes before it leaps.
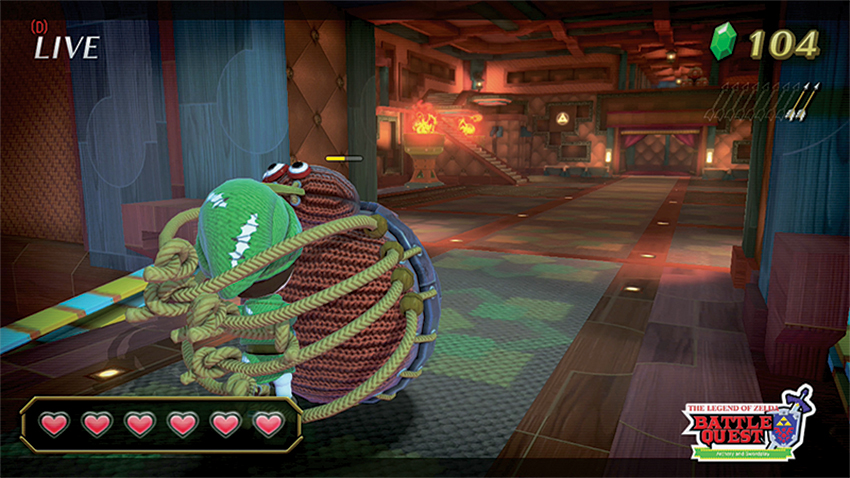
Shielded Moblins and a sniping Moblin Archers appear as the right staircase is scaled, but by now swordsmen know to block to avoid the initial attacks, while the archer is best used to take out the Moblin Archer before it can cause more trouble. At the top of the stairs, more Moblins come pouring out of the nearby hallway, but a set of red barrels can send many of them to their doom if the archer can line up their shot before the enemy can advance down the last flight of stairs.
After dealing with the stragglers, push on into a corridor with multiple Keese. Take them out, and then wait for the archer to break a few pots to the right and line up shots on the twin Switches at the end of the hallway to turn off the flame jets. Push forward slowly, as this is nearing the end of the level.
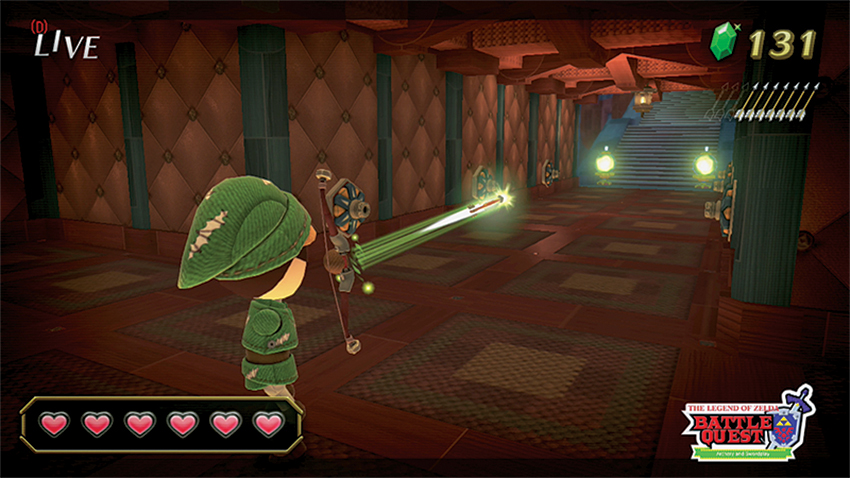
A final, massive staircase awaits, flanked by a couple of perched Bowblins. Before the stairs can be scaled, however, a group of Tektites must be taken out first. Do so before pushing ahead to deal with the shielded Pink Moblins. Keep a watchful eye out for a Cucoo that circles the final arena where the bosses wait. Yes, that’s bosses plural.
9. Raid on Ganon’s Castle
Mastery Requirement: Finish Without Taking Damage
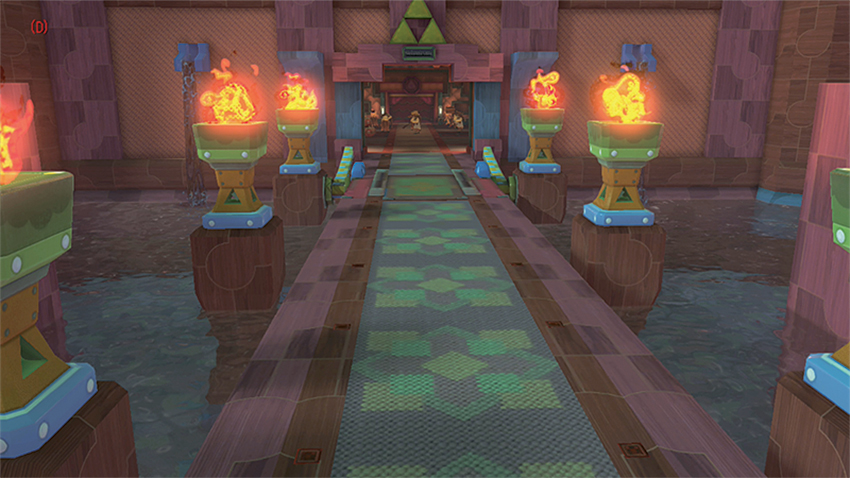
This is it, the final Quest challenge on the list. Ganon awaits, and every skill you’ve built up in previous levels will be put to the test. This is a marathon, not a sprint, so be quick but precise with attacks, and wherever possible, make the most of your role. The Archer should be attacking targets at range, while swordsmen must make the most of their relative invulnerability from a raised shield.
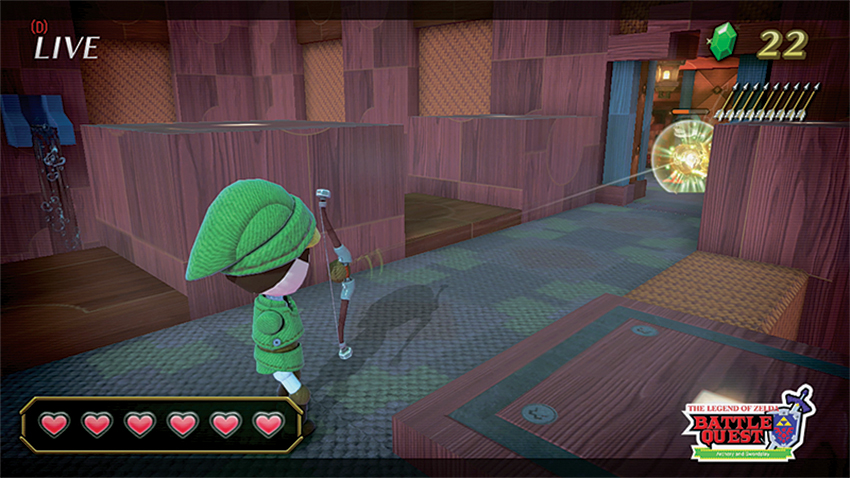
No matter what the number of party members, the archer always starts in an elevated position looking down into the courtyard where the swordsmen begin. On ground level, a group of ChuChus gets in the way of hitting a few Switches, but the sharpshooting archer has a more pressing threat: A flock of Kargoroks bearing down. After the birds are dealt with and before moving forward as the archer, attention can be trained down toward the drawbridge, for as soon as the Switches are hit, the drawbridge lowers and a skittering mass of Tektites moves toward the sword-wielding support. After moving forward up above, the archer must deal with their own Tektites, as well as a pair of Moblin Archers shooting fire arrows. Take the latter out first, then quickly dispatch the Tektites before moving forward. Make sure to break a far-off pot at the top of one of the castle’s ramparts in the distance. When playing as just the archer, a pair of Moblin Archers attempt to surprise the lone adventurer from the nearby doorways.
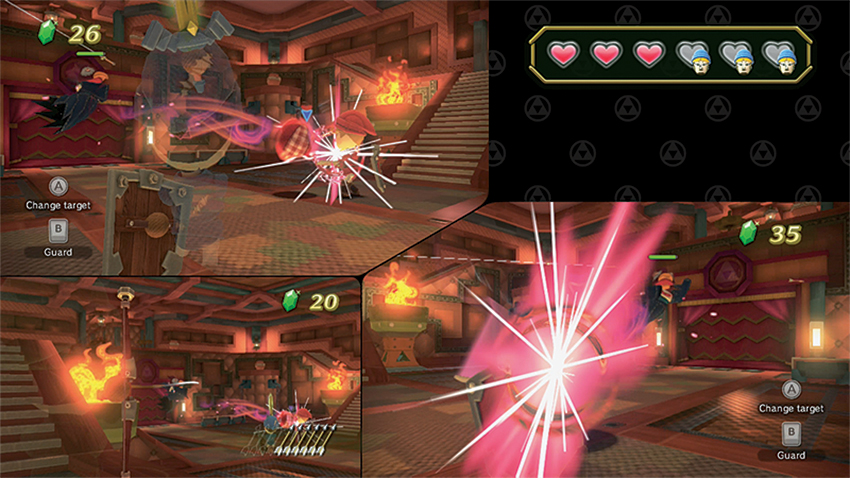
Whether solo or as a group, the adventurers meet in a large room just past the drawbridge, and it’s here that the battle really heats up. A huge group of Moblins is massed down below, conveniently near a stack of red barrels. Swordsmen should hang back a bit to allow the archer to take out the barrels, but quickly move in to pick up any stragglers, as the enemies will make a beeline for the archer if they get by the barrels. A Cucco also circles the room, but be quick about getting the heart. After the Moblins are dispatched, a pair of Stalfos appear and after they’re gone, a duel with a Wizzrobe keeps things tense. Be patient; there’s no need to take heavy damage so early into the level. When you have defeated the Wizzrobe, step onto the pressure plates for a trip into darker territory.
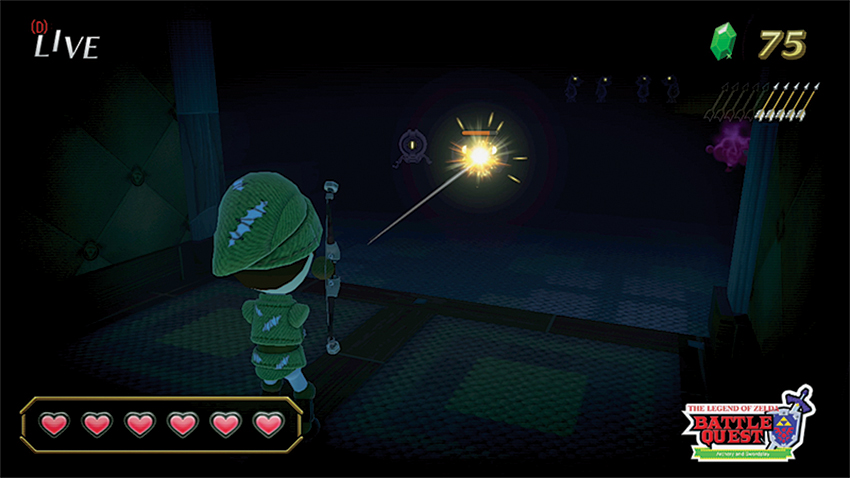
The next rooms are fairly straightforward, but they’re also cloaked in darkness. The archer will have a hard time spotting enemies at a distance, but the eyes of Keeses, Moblins (including shield-bearing versions), Quick Moblins and even Tektites will all be seen before the fight is over. Take each encounter one at a time, hanging back if any friends are falling behind, then move on to the next group of enemies. Patience is important here, and rushing will be punished with a heavy loss of health.
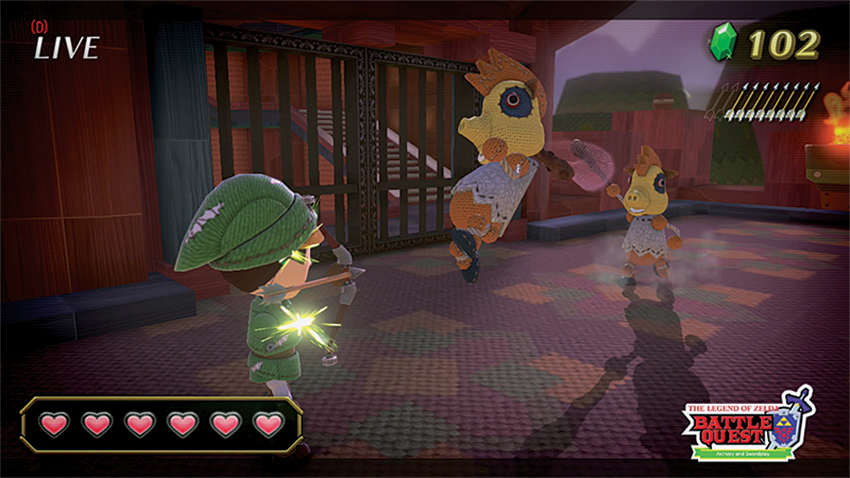
After stepping on a final pressure plate, things move back outside, where a pair of Quick Moblins races down the nearby steps to engage the first adventurer they see. Far off in the distance, a Moblin Archer attempts to snipe, so snipe back with a few arrows before helping the swordsmen deal with the upcoming threat and any remaining shielded Moblins that might have made it down the steps. Don’t miss a Cucco flying through the background, as hearts are extremely valuable in this section.
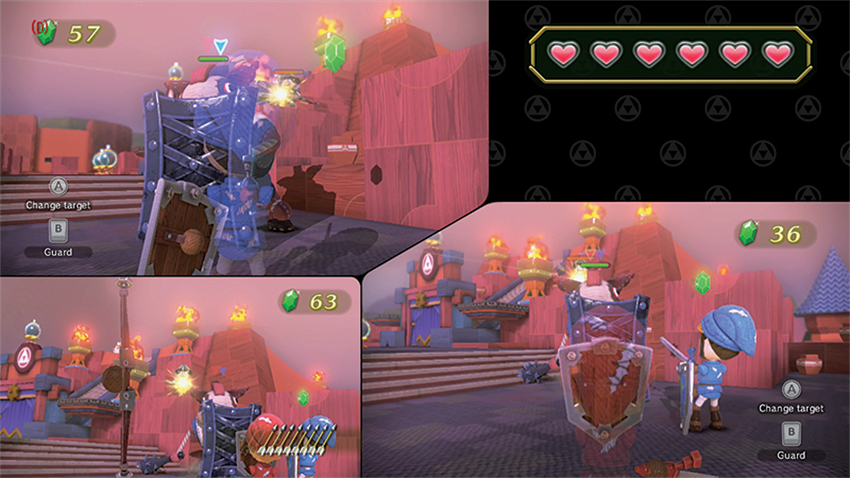
Take those stairs carefully; elevated Moblin Archers are ready to fire at the first threat they see, and on ground level, a Big Moblin towers over a group of Moblins. Deal with the smaller enemies first (and keep an eye out for those elevated Moblin Archers), then hack away at the bigger foe before moving forward. A final, helmet-wearing Big Moblin and a couple of Stalfos helpers wait. The skeletons must be eliminated as quickly as possible before you can wait for the Big Moblin’s swipes and openings to take him down. There’s not a lot of room in this area, so guard until the swipes are over before using swordsmen to attack. When the battle is done, look for a Cucco flying off in the distance to the left of the gate. Then hit the waiting Switches to raise the biggest gate of all and reveal an imposing staircase and a waiting Cucco to the left.
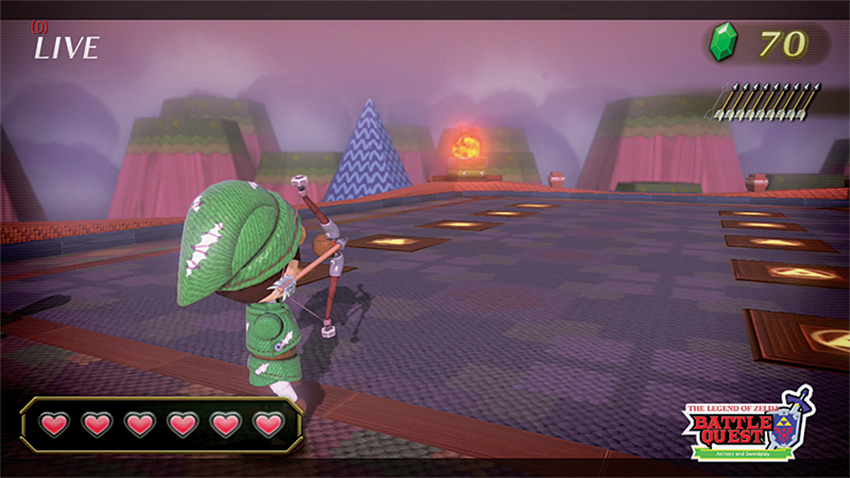
Make a note of the pots in the background as Ganon is revealed; both contain valuable hearts should this fight prove difficult.
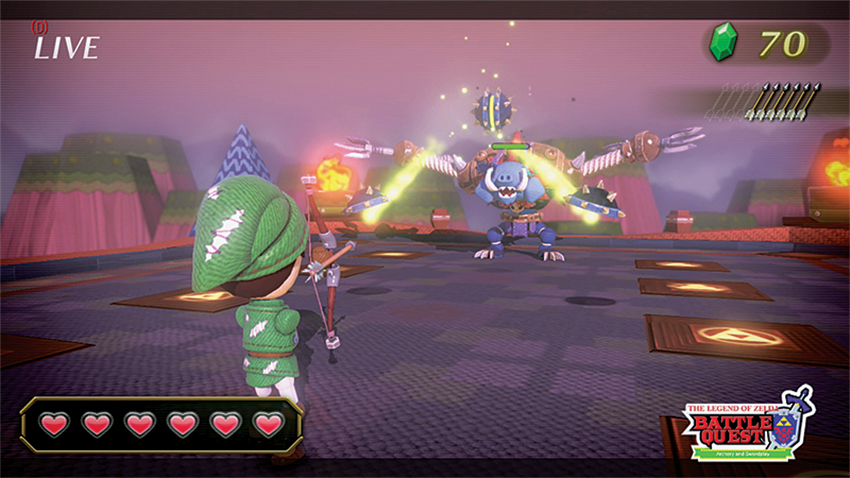
The first pattern is his neutral state, where he spins a set of blades that protect most (but not all) of his body. The archer can sneak in a shot at the villain’s mouth to chip away a little damage. Eventually, though, the spinning ends.
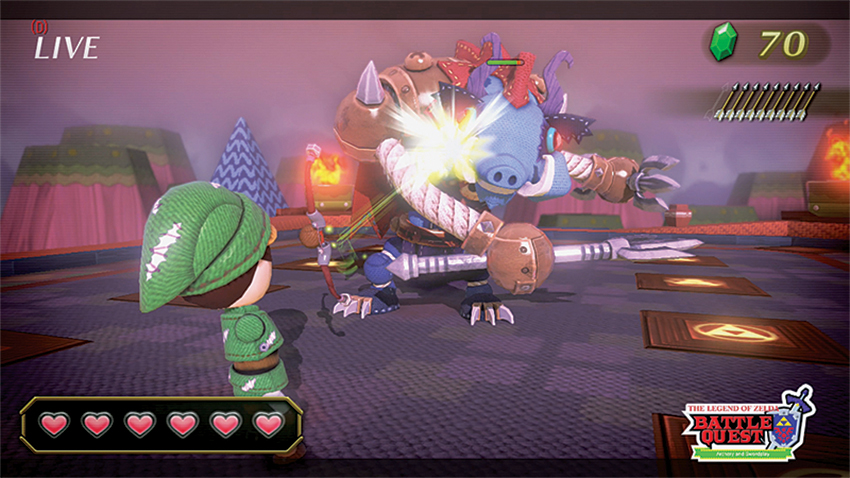
And then, armored balls are launched toward the adventurers. While the archer can easily destroy these with a standard arrow, swordsmen must time their strikes exactly and must ensure that their swords are lined up properly to slice through the small weak spot (just like attacking a Tektite).
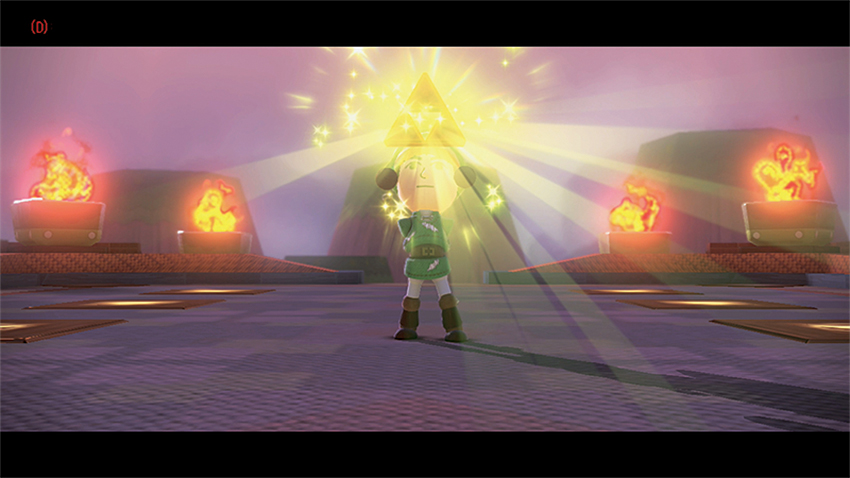
After all the balls are destroyed, Ganon disappears in a blur and reappears almost on top of the adventurers. Shields should be up the moment Ganon disappears, and must be held through a series of swings he makes immediately after reappearing. The archer has the luxury of being able to dodge the swipes, but there are multiple swipes , so don’t get cocky. After a few post-swipe seconds, the pattern repeats itself.
There’s not a lot of complexity to the fight, but first-time adventurers would do well to hang back and let the fight play out at least one round so they can observe the timing. After that, it’s simply a matter of staying sharp and sneaking in shots to overthrow the evil that has plagued Hyrule. Hello, Triforce!
Extra Missions
Surprise! Like all Attractions in Nintendo Land, The Legend of Zelda: Battle Quest doesn’t end with the Standard Missions. For completing the main challenges, Monita festoons the gateway to the Battle Quest Attraction with a star, symbolizing your accomplishment, but the adventure isn’t over yet. Unlocked after completing Level 9, the Extra Missions offer five extremely challenging levels that let you run through Hyrule all over again, taking a different path than before. Think of it as a kind of Nintendo Land Second Quest; a chance to see Battle Quest in a whole new, much more challenging light. This isn’t the only time you’ll get the chance to play more; nearly all of the Nintendo Land Attractions have hidden extra levels to unlock, so get to playing!
10. The Sacred Grove
Mastery Requirement: Finish Without Taking Damage
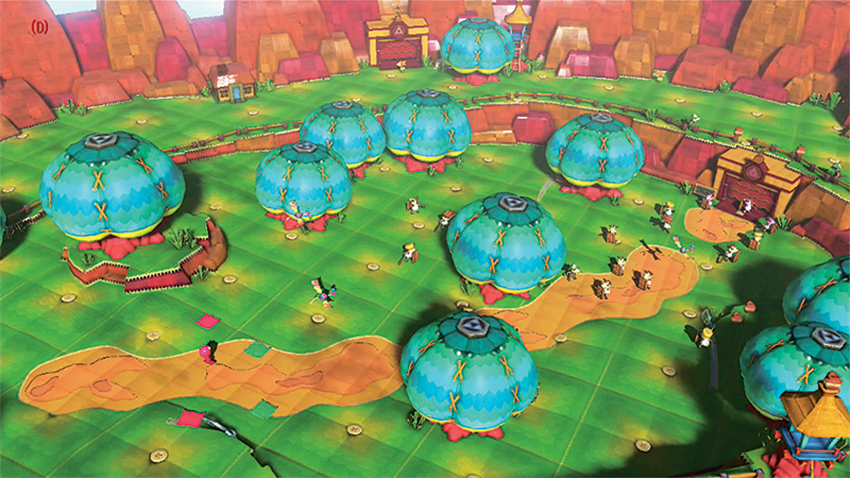
It’s back to the fields of Hyrule for a new adventure. Though these first steps may echo those first taken at the start of Battle Quest , they quickly reveal themselves to be quite a bit different. This is not the same well-trodden path you’ve seen before; there are new challenges ahead, both surprising and dangerous.
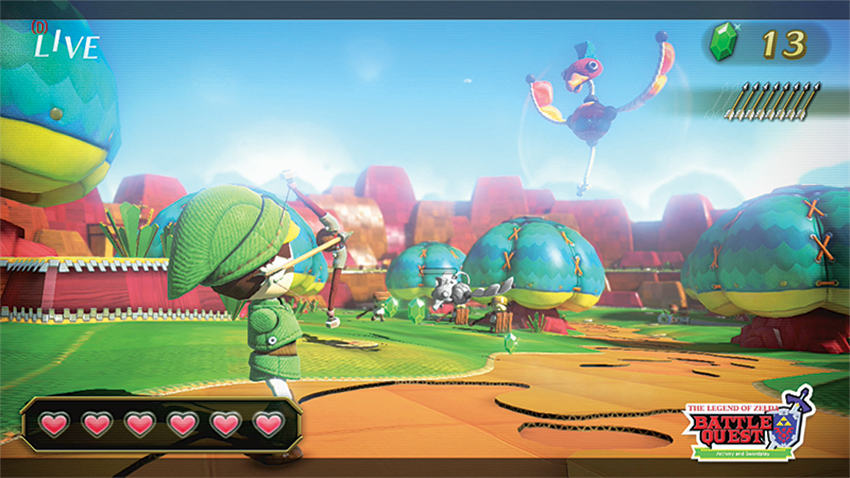
Almost immediately after the first footfall from the starting location, the fields of Hyrule come alive with enemy targets; shielded (and helmeted!) Moblins charge in from afar, Kargoroks swoop in and Moblin Archers take aim from just beyond a pair of trees. Advance slowly, and be ready to raise your shield if playing as a swordsman, or quickly dodge if you’re an archer, as the window of time to react to incoming attacks is only going to shrink from here on out.
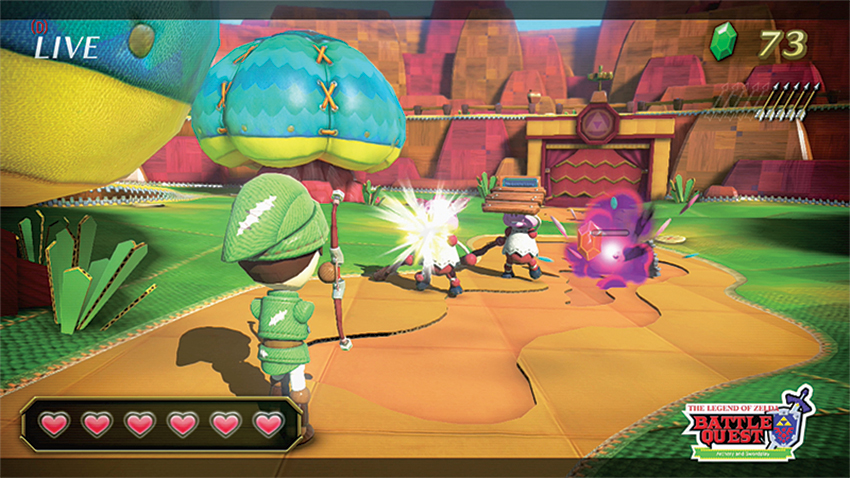
This large clearing is home to plenty of danger: Moblin Archers sit atop the gate, raining down arrows from long range, and multiple shielded Pink Moblins charge. Note that while the Pink Moblins are indeed quite difficult thanks to their shields, they’re at least lacking helmets—for now. Bear in mind, too, that a fully charged-up arrow or sword slash will destroy a Moblin’s wooden shield and knock them onto their rears, stunning them for a few precious seconds. It’s not a lot of time, but those few ticks of the clock can mean the difference between thinning out a charging group and getting overwhelmed by them. See to it that your fate is the former, then have the archer take out the twin pots atop the gate and step onto the pressure plates to move on.
If it seems like these Extra Missions are a little longer, that’s because they are. They often mashing together two of the levels from the Standard Missions. Case in point: this little jaunt into the Lost Woods again. Stay on your guard; more Pink Moblins and a Moblin Archer on a raised platform just to the right of the main path are ready to ambush you. After you clear them out, another group waits just down a ramp. Remember to let archers deal with the Moblin Archers quickly, while swordsmen do their best to take out the numerous shielded Pink Moblins.
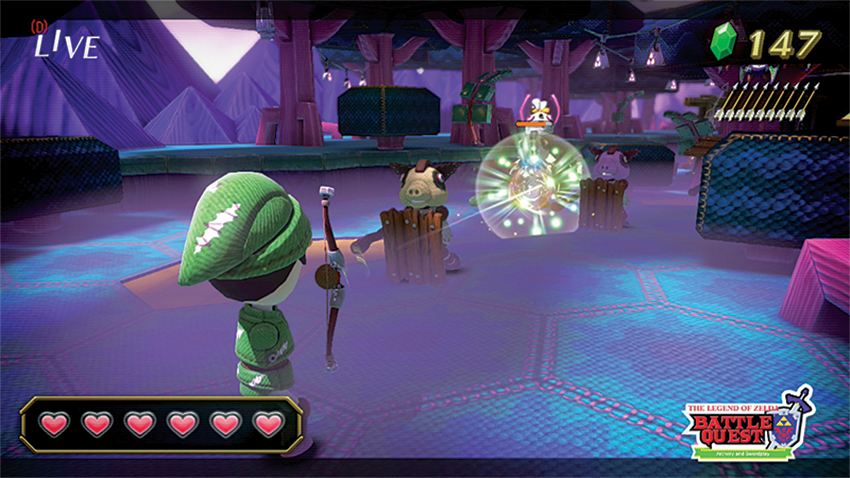
Look for a Cucco as the path turns to the right, revealing more enemies. The sound of combat will spook the portly bird, so take aim quickly to bank that heart, and watch for the charging Moblins. Just past them, a few Keeses are slumbering in the treetops. The archer should target them to get the drop on the bat-like critters before they can draw close.
More Moblins charge down a small ramp into this misty area where so many of their ilk have fallen. Deal with them quickly before charging up the ramp and into a familiar yet somehow altogether new sight.
After clearing the ChuChus, look down another small path toward a few more of those pesky Pink Moblins and a welcome sight: a Cucco waiting on a glowing toadstool on the other side of the bridge. Even closer is a Cucco friend sitting on the shrubbery just to the right of the close side of that bridge. Take both out to stock upon hearts before a few more Pink Moblins roll in to cause trouble, then march across the bridge and into the waiting arms of a tag team threat of shielded, helmeted Pink Moblins. Yes, they’re getting strong indeed, but they’re merely a portent of the boss battle to come.
11. Journey to the Fire Temple
Mastery Requirement: Finish Without Taking Damage
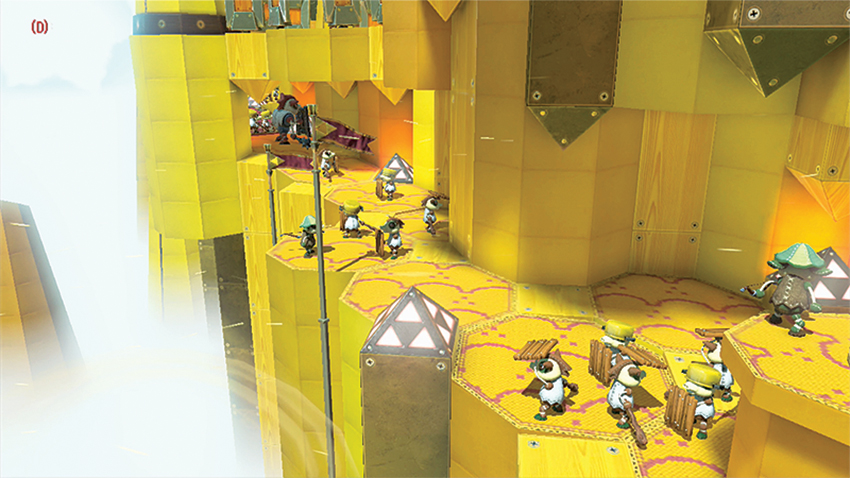
The Fire Temple is no place for greenhorns or would-be protectors. No, this is an intense, foreboding place filled with threats both big and small, and tons of them. Move steadily, but slowly, working your way through the hordes in small chunks. Although the locale will be familiar, the enemies’ placement and numbers are all new.
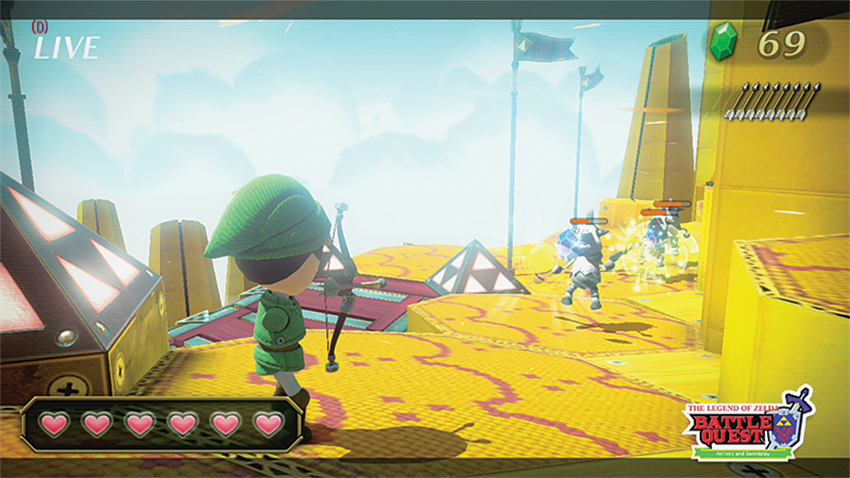
Things start off simply enough in this advance back down through the Goron Mines. A few Moblins come toward you as your Mii pushes through a narrow area, but when the path leads sharply to the right, down a long ramp, things quickly heat up. Multiple Moblins advance, and they’re joined by a flock of Kargoroks that should be a high priority for the archer. Eliminate the air threats, then help any swordsmen (if playing with friends) deal with any remaining Moblins before moving down the ramp to engage some Quick Moblins. Keep your guard up as the trail doubles back across a bridge for a new set of threats.
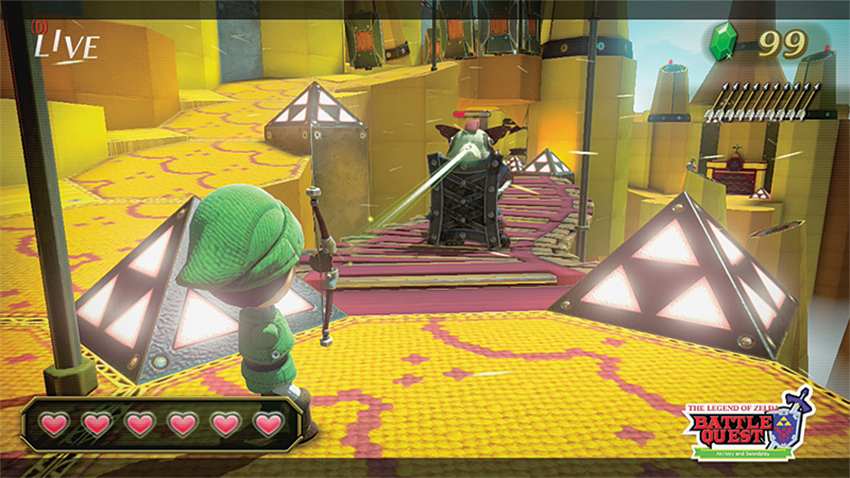
A welcome sight greets the party as they look toward the bridge: red barrels! Steady yourself, however, and look farther into the distance to see a Big Moblin (who is thankfully not wearing a helmet like his boss buddies from the last level). While battling the gusty winds here on this high peak, take out the Moblins that come charging across the bridge, then wait for the Big Moblin to approach before detonating the barrels to eat away at his life. Remember, even with the shield raised, the archer can still plunk shots into the Big Moblin’s head at range (compensating for wind). The big, bad threat can be taken out even if the barrels have already been set off, but it’s much easier to deal with him before he ever draws close if a little patience is used.
No real surprises occur as you move toward a small alcove cut into the mountain—there are more Moblins, of course, and even more past that first group. But be wary of a pair of Moblin Archers, one perched on an outcropping to the right and another far in the distance on an elevated platform. Even with the wind, which constantly tries to push arrows into the mountainside, the Moblin Archers are crack shots, so be sure the archer targets them as soon as possible. Polish off any remaining Moblins and keep moving down the mountain for yet more fun encounters.
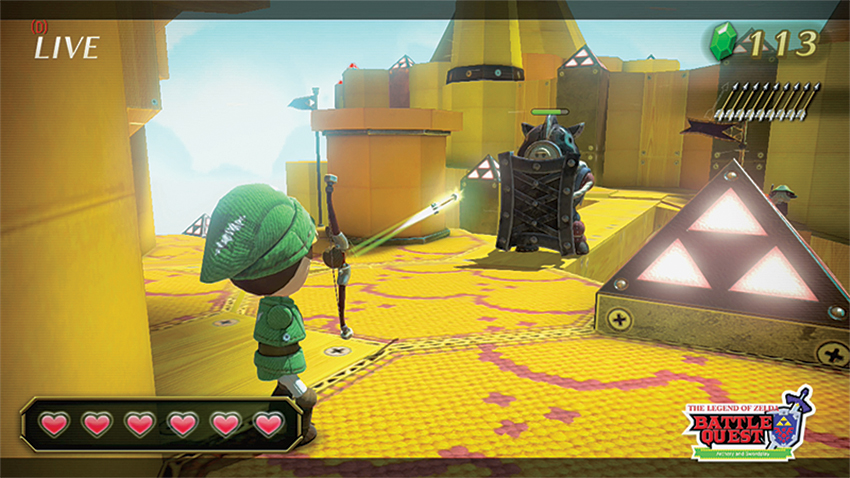
The allure of a pair of pots tucked into a little nook in the mountain signals the start of the next fight. More Moblins pop into view, and just past them are a few Quick Moblins. Take out these targets before breaking the pots, then move slowly across the thin walkway to confront more Moblins, a lone Moblin Archer, and yet another Big Moblin. This one is wearing a helmet, so let your swordsmen take up the front line to block until the swipes have passed before unleashing a counterattack. “if playing with friends. If playing alone as the archer, just be ready to follow the on-screen prompts to dodge and counter-attack when the Big Moblin’s shield is out of the way.
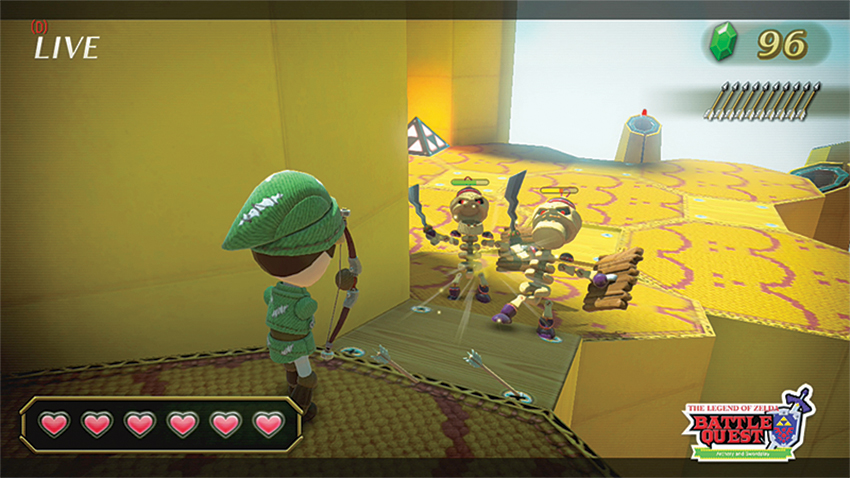
After crossing the walkway, quickly target the pot to the left, but spin around to face a group of Moblins walking up the nearby ramp. They, and their Moblin Archer friends down in the open area below, should be dealt with cautiously. But don’t miss the Cucoo sitting on a spire to the right of the ramp and forgo a valuable heart. A final pair of Stalfos show up to try to stop your advance to a nearby pressure switch and the entrance to the next part of the blustery quest.
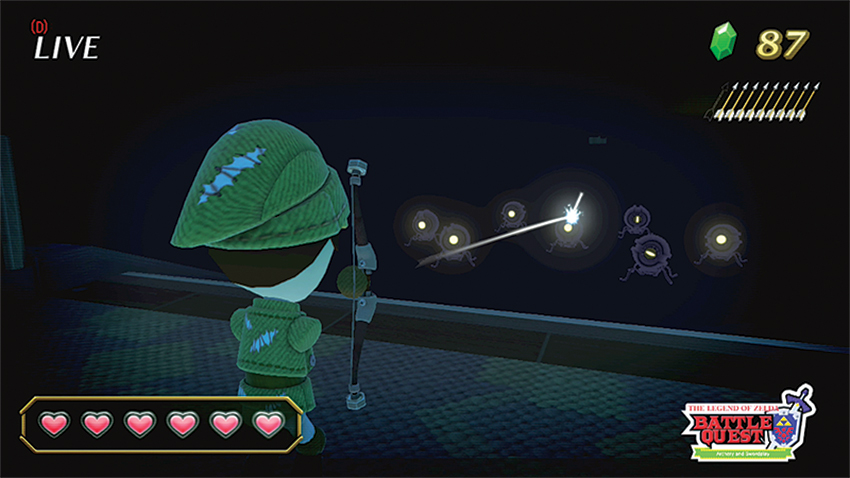
Things are mighty mysterious in this darkened passage, which means the archer is going to have to listen to their friends’ feedback to find far-off targets. Or if they’re alone, look for the whites of enemy eyes. This section’s threats are more plentiful than dangerous, as there are several different types of threats: Tektites in the first room, Quick Moblins and Pink Moblins after them, an ambush of Moblins as you enter some hallways, and a Keese camp deeper in the hallways. Then finally you come to a pressure switch to exit back into the light.
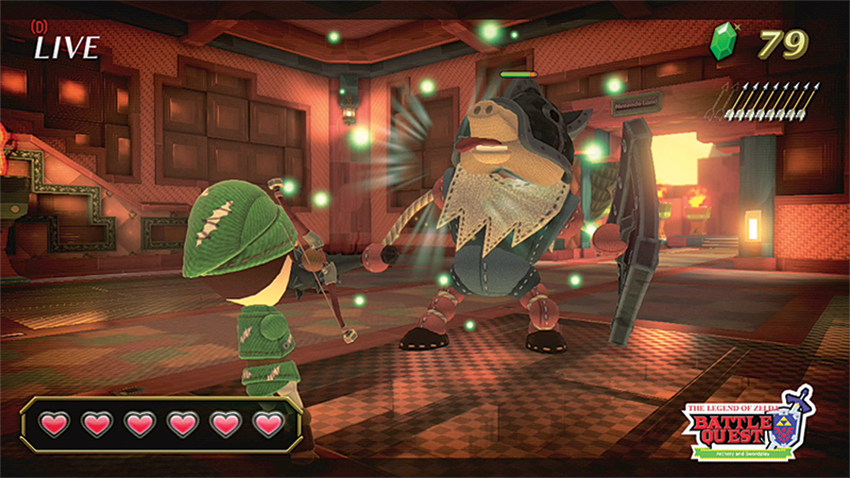
What an exit this is—right out of the frying pan and into the fire. No less than a half dozen shielded Moblins are at the ready, and they charge quickly. But handy red barrels sits on either side of the charging line (and there is also a Cucco, if the archer is quick enough, though avoiding damage should always take priority over trying to restore hearts). The left red barrels can be detonated to deal with the rushing threat, but hold off on blowing up the right set until these first Moblins are dealt with. The reason? That Big Moblin and more Moblin buddies appear shortly after you take a few steps. (Try to stop before the stairs on either side of this room to avoid being too close to the explosive effects of the barrels.) In addition to the charging Moblins and the lumbering (helmeted!) Big Moblin, a pair of Moblin Archers are waiting on either side of the exit from this room, and should be taken out as soon as possible.
It’s not easy to miss the Cucco that glides slowly across this small drawbridge pass, but considering the chaos you’ve just been through, it can be tough to be collected enough to target and shoot the bird before it’s gone. Ditto for the pots resting high up on the left and right of the back wall. Be sure to shoot all of them before moving on because there’s a new threat ahead.
12. Death Mountain Path
Mastery Requirement: Finish Without Taking Damage
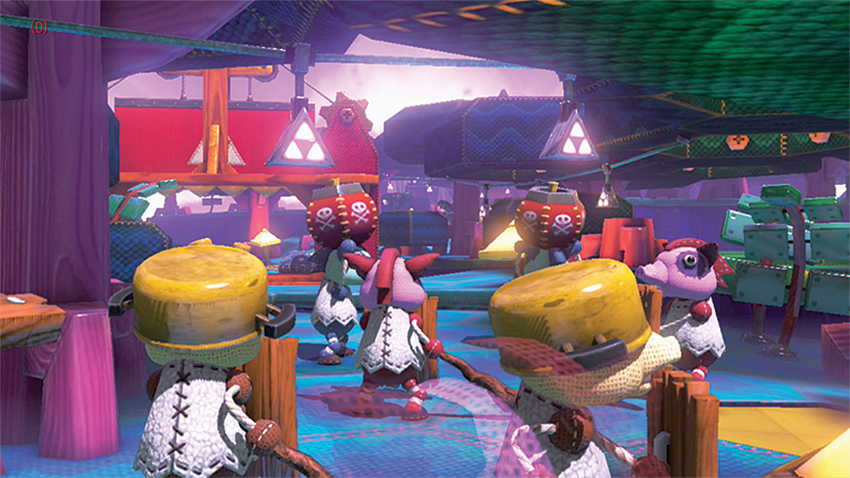
It’s time once again to take that trudge up to Ganon’s lair, but the journey to the mountains is beset by dozens upon dozens of enemies. A trip through the Lost Woods kicks things off, but this trip will cross many other types of terrain before it’s over.
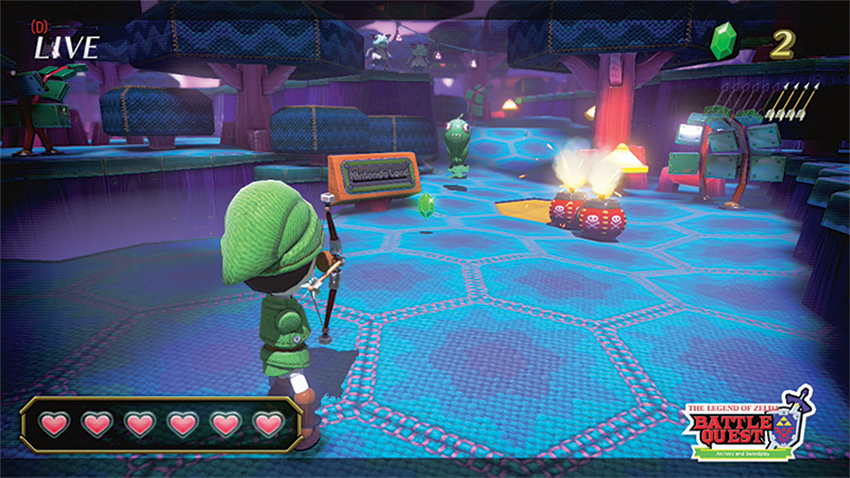
Although a group of ChuChus (including those pesky Green versions) appears not far from the starting point, there’s actually a less obvious—but more dangerous—threat that presents itself right from the get-go: A pair of Bomb Moblins tote large red explosives that they heave down into the starting area. Quickly target them (or, better yet, their bombs while they’re still holding them) to remove the threat, then concentrate on removing the ChuChus.
After clearing out the starting area, proceed forward toward a small ramp, and get ready for a small group of Moblin attackers. Once they’re finished, move quickly up the ramp to target a set of red barrels that can help clear out a few nearby Moblins if you can get the shot off early enough. The usual raft of Moblin stragglers, plus a few more Pink Moblins, rush out to accomplish what their friends could not. Once they’re felled, have the archer break the twin pots sitting on a small lip at the far end of the area before continuing on.
More Moblins (some of them the tougher Pink variety) head up from a lower area as soon as the adventurers are in range, but don’t miss out on the chance to bag a Cucoo that flies through the area. After clearing out the more present threats, proceed slowly toward the lower area and gate beyond.
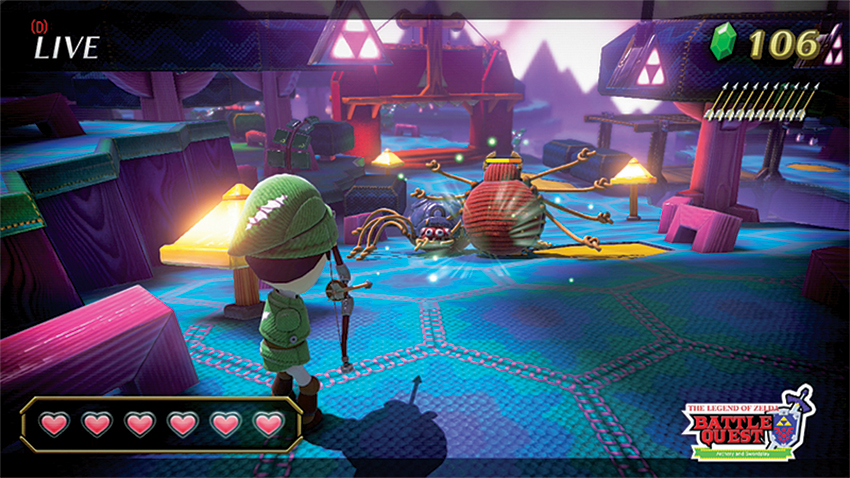
A myriad of threats present themselves even before you move down into this lower area: a pair of Moblin Archers on the upper part of the gate, a handful of Moblins, and a pair of Skulltulas. Moblin Archers should be the first priority for archers, of course, and the Moblins shouldn’t be too much trouble for swordsmen, but the twin spiderlike critters are fast and, in tag team formation, can make things hectic. Concentrate on one of them at a time, and (if playing with friends) when an ally is inevitably wrapped up by one of them, be sure to shoot or slice them out.
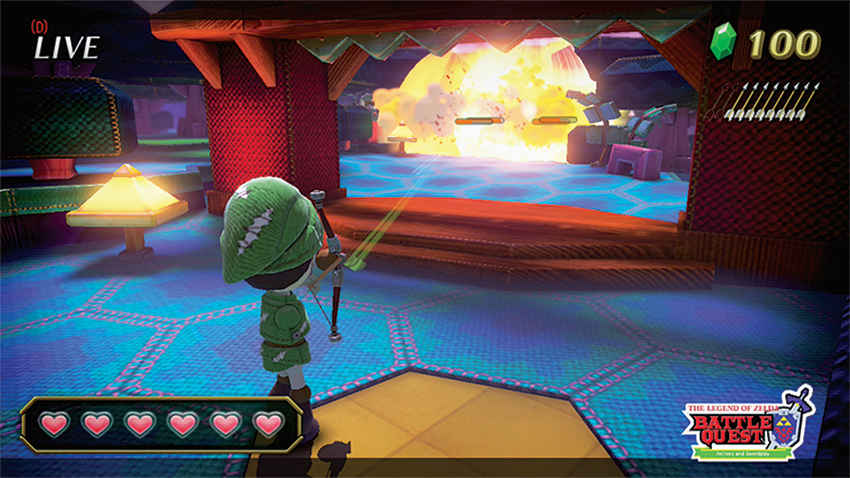
Pressing on past the Skulltulas and through the gate, be ready for a set of Bomb Moblins and a Cucco that very quickly exits this small area. A group of Moblins follows behind the Bomb Moblins, but taking out the explosives before they can be thrown certainly helps to whittle down the number of approaching enemies. Clear the area and enjoy the briefest of respites while journeying to the next group of enemies farther along the path.
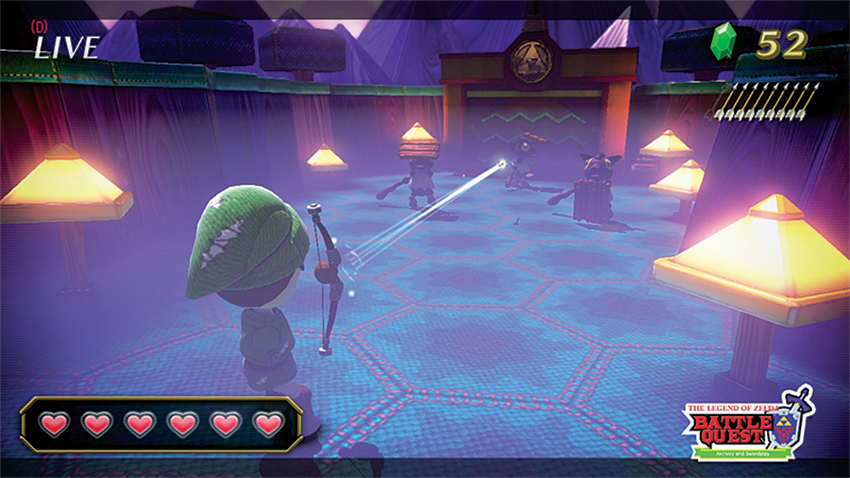
Although there are plenty of threats to contend with as the group (or brave solo adventurer) nears a small, sunken area, the most pressing is the Moblin Archer on an elevated platform to the left. Take him out, then worry about his heavily shielded Pink Moblin buddies that are rushing up. A Moblin Archer waits on a ridge to the right of the gate, but can be taken out easily by the archer before the party descends into the sunken section.
As you proceed down toward a gate leading to the next section, don’t miss a couple of pots nestled next to a tree near where the Moblin Archer was. Before you enter the next area, however, be ready to fight off three Purple Moblins (thankfully they only sport wooden shields).
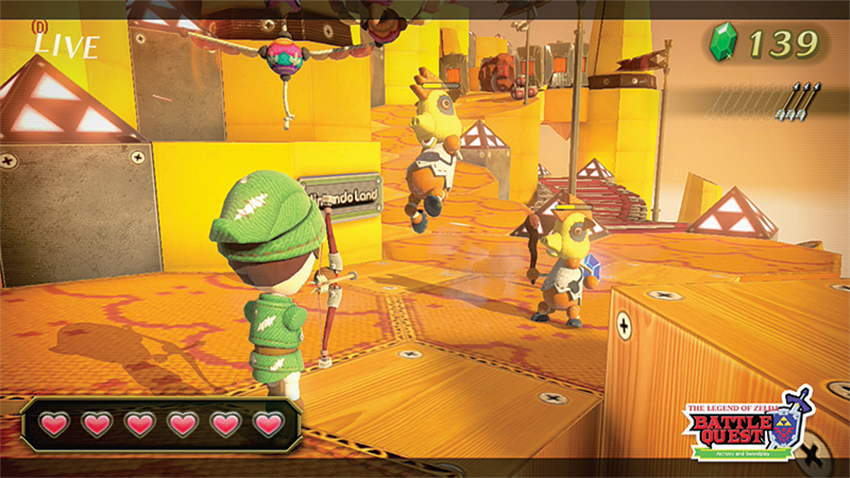
There’s no rest for the weary as the path moves out into the windswept mountains. Plenty of Pink Moblins, Quick Moblin, and a flock of Kargoroks present the most immediate dangers, but there are also boulders perched up at the top of the ramp where you need to go. Deal with the ground- and air-based threats first, then follow the usual procedure for rolling boulders: “If playing with friends, have the swordsmen in the front inch forward to trigger the boulders’ rolling, then fire arrows into the vulnerable explosive bits. If a lone archer, move up a bit at a time, nocking an arrow to halt your advance until the boulders start rolling, then detonate as usual. A few Pink Moblins descend after the boulders, but they and the Cucco flying around above them are small potatoes next to the impact of those boulders.
At the top of the ramp, expect more Pink Moblins, and then more to come streaming through the narrow passage ahead. Take them on slowly, doing your best to conserve hearts for the mid-boss battle ahead.
After clearing out the Skulltula infestation, hit the switches barring the entrance to Death Mountain proper and head inside. (There’s a whopping eight switches when playing solo as an archer, but you have a good 10 seconds to get them all.)
Expect heavy resistance as you venture ever downward across the bridges straddling the massive pool of magma below. Thankfully, since you (and hopefully some friends) are moving down the bridges, you have the height advantage and the element of surprise. Use both to get a few early strikes on the Pink Moblins that wait near the second bridge, then clean up any left that actually manage to make it all the way up to your elevated position. Take note of some pots to the right as you continue downward.
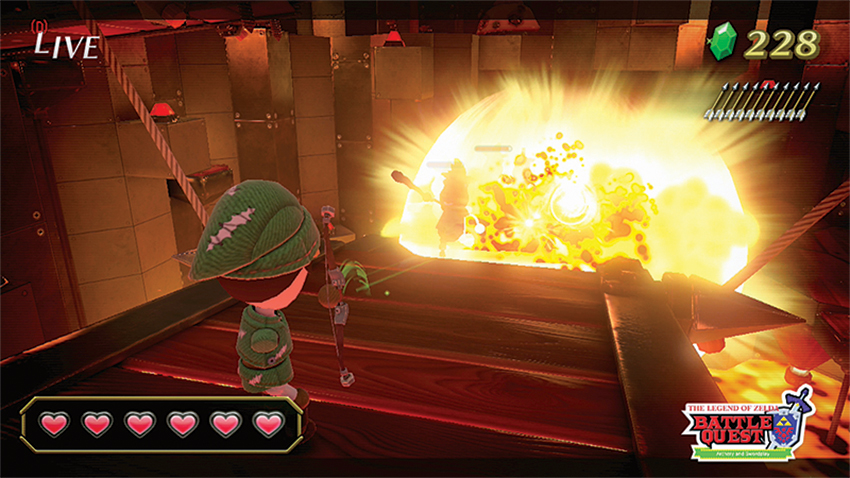
The second level of this fiery lair gives the archer the chance to quickly shoot a Cucco flying near the far wall. As soon as you reach the second bridge, hordes of enemies come pouring out from the far end. Thankfully, the first batch is made up of a few Bomb Moblin, so target them first to remove other nearby threats. Hold back and wait to ignite the pile of red barrels until a stream of Quick Moblins sprints up from down below.
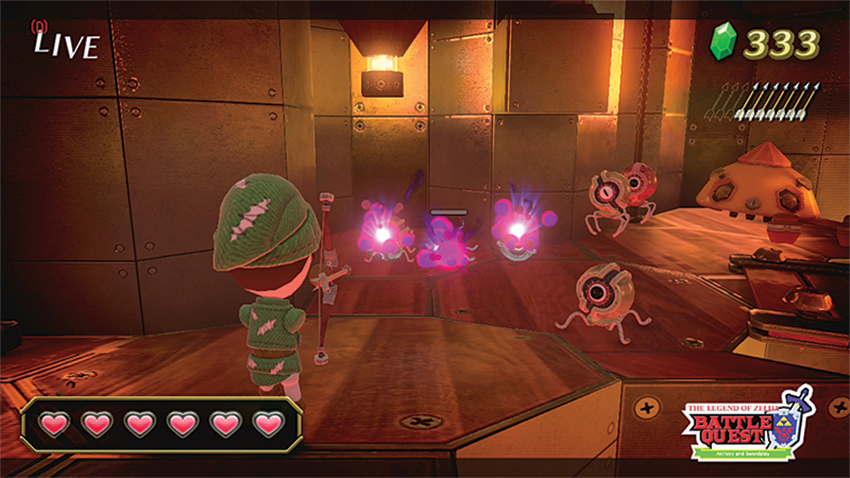
Look right as you move down the second bridge to see a waiting group of Pink Moblins. Resist the temptation to detonate the nearby red barrels, however, and take the Moblins out with more direct means before heading down. Shortly before you reach the red barrels, their purpose becomes clear: A trio of Purple Moblins attacks, but can be heartily routed if you opt for some red barrel assistance. Just be ready to deal with any wounded Purple Moblins if the blast doesn’t get them all; the little guys are tough. A final set of Tektites (including those Purple ones) appears near the bottom of this crisscrossing pathway. Clear them out and don’t miss the chance to break the pots to the left, as they have valuable contents inside.
13. Battle of Hyrule Field
Mastery Requirement: Finish Without Taking Damage
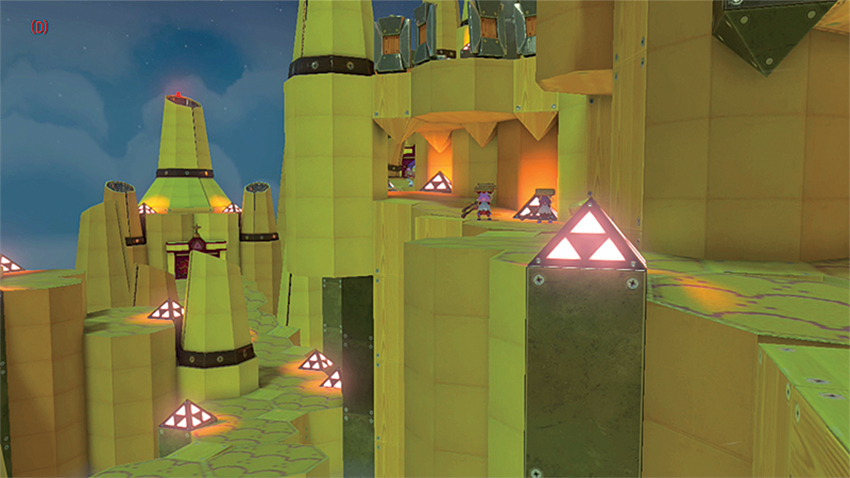
This level may have Hyrule Field in the title, but you’ll still have to make your way back down there from the mountainous parts of Hyrule first. Get ready for a lengthy fight all the way down Death Mountain and back to the plains of Hyrule Field, all in the dimming light of dusk.
Pay no mind to the Pink Moblins descending the ramp ahead of you—at least if you’re the archer—for there’s a far more pressing threat! Moblin Archers, perched up above directly ahead and to the left, are already drawing their bows. Dispatch them, then tend to the Moblins as needed, but before setting off again, try to target the Bomb Moblins far up on the ridge. Hitting one of their bombs will help make it a little easier when you reach the top.
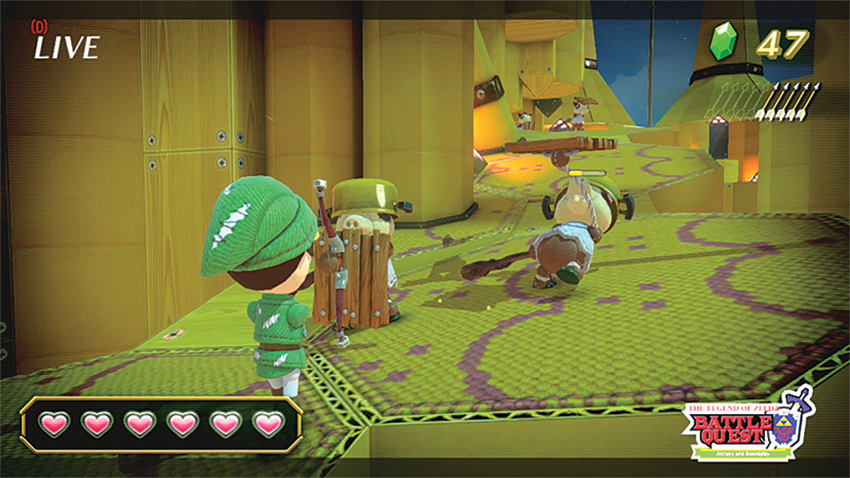
A dangerous mix of all three Moblin types (regular, Pink, and even a few Purple) comes streaming down to halt your advance up the mountain path. Make sure swordsmen have shields up to hold back any Moblins from sneaking through to harm the archer if playing with friends, or be quick and precise with arrows if alone. Repel them and move on, prepping for more waves of the same Moblin types all the way to the top of this ramp.
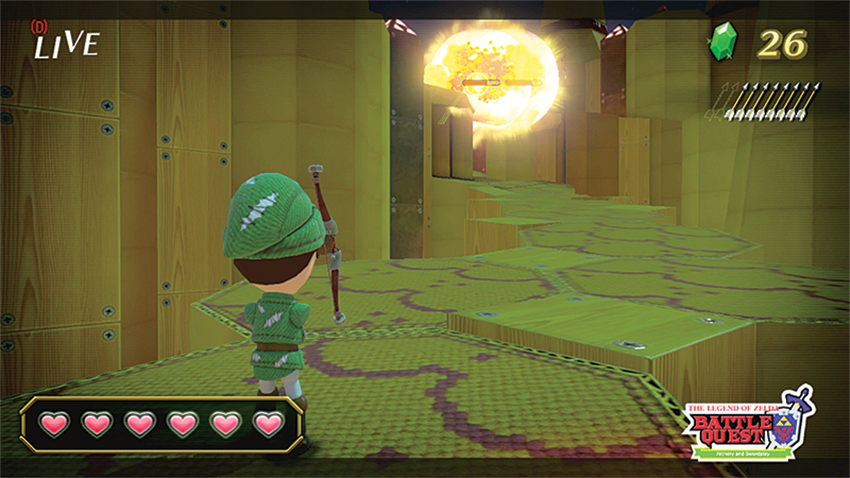
Upon reaching the top, be ready for more threats, though the biggest change is the fact that the archer is are no longer protected from the buffeting gusts of this elevated position. Take out the Moblins lying in wait directly ahead, and watch for a few more that are crossing over the narrow pathway to the left. Continue onward, battling yet more Moblins (including a hardy Purple Moblin). Let the archer stop to take out a Cucoo that is resting above the slightly sheltered area ahead.
Shortly before you reach that tiny alcove, a pair of Skulltulas attempt to make life a little more bothersome. Remember to aim for the eyes and let the archer provide support by freeing any captive teammates with a well-timed arrow. Just past the arachnids is a long bridge, more gusts of wind, and some pots that can be targeted early to bank some spoils. There’s not much time before a stream of Quick Moblins draws near, though, so respond fast to the mohawked enemies. Hang back and pull a few more Moblins sitting at the entrance to a cave in the distance to you rather than marching toward them.
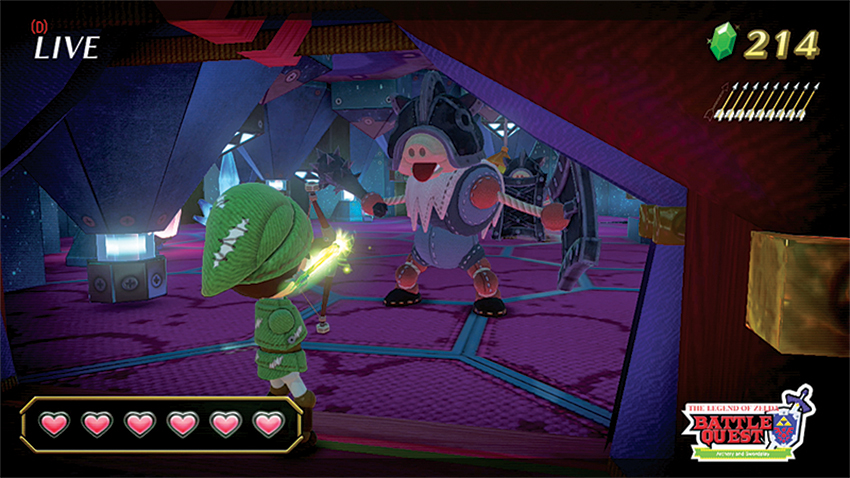
The cave itself hides plenty of dangers, but sharp eyes will spot a Cucco flying around inside. Take it out before you venture in because the moment you do, a group of threats appear. Moblin Archers wait on slightly raised platforms to the left and right of the path. Purple Moblins charge toward you. And a pair of armored Big Moblins stomp forward. Eliminating these threats in this order is key, as it is next to impossible to fight smaller enemies without taking hits from the Big Moblins. Wait for the bigger enemies’ swipes, then retaliate, and focus on one at a time to push on.
Just before you reaching a short ramp down leading to a pressure switch, some Pink and Purple Moblins appear. Let the archer attack the hardier Purple Moblins from afar, if possible, but stay defensive regardless to make sure those hearts that the Big Moblins dropped just a few seconds ago don’t go to waste. Step on the switch and get ready to say hello to Hyrule Field.
The archer’s range can also start to damage another pack of enemies that is just past the trees; some Bomb Moblins, Moblin Archers and even a Skulltula are all too eager to put a stop to this adventure, when it’s so very close to ending in victory! Keep your shields up, rain down arrows on them from afar, and then push ahead slowly to spot one Cucco circling a tree to the right and another perched atop a small house. Pots are strewn to the left and right of the main path, too, but be on the lookout for any straggling Moblin Archers that weren’t defeated earlier.
Put the archer to good use again to target the far-off Moblins and draw them closer where swords can more easily deal with them. Then keep moving forward slowly until another group appears, consisting of two Moblin Archers flanking a pair of Purple Moblins. As always, the ranged targets should be handled by the archer, while the Purple Moblins are a swordsman’s business. Once they’re gone, stay put and let the archer take out the two pots on top of the gate ahead to bank two very valuable hearts.
14. Ganon’s Last Stand
Mastery Requirement: Finish Without Taking Damage
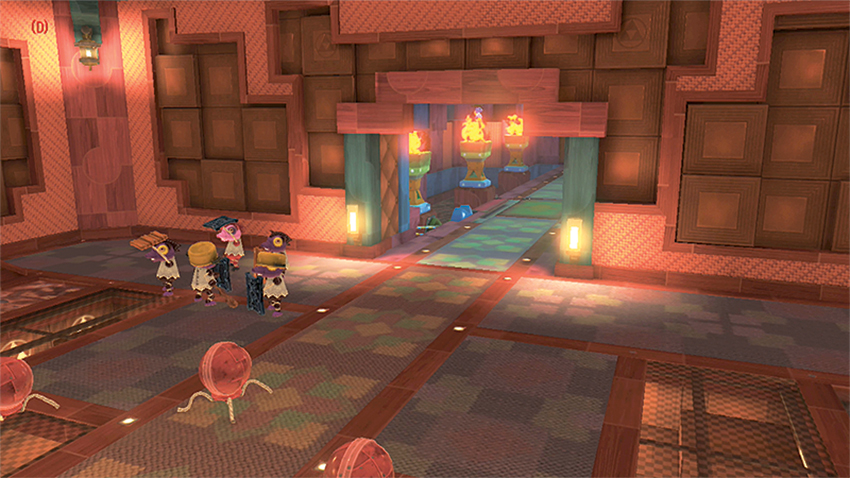
This is it: the final showdown. Just you (and hopefully a few friends) and Ganon. Time to show the evil mage that a Mii wearing a Link costume is just as valiant as Link himself!
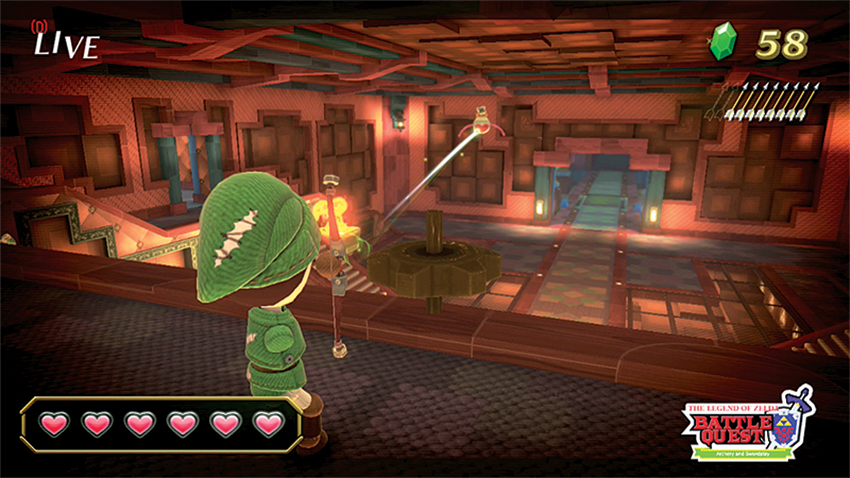
The final adventure begins right where the duel against the twin Big Moblins from an earlier level ended: atop a Triforce-woven bit of cloth at the top of a tower. Head down the stairs leading into a long hallway and be ready for a Keese colony to descend from the rafters. Push on into the large chamber ahead and look right to track a group of Pink Moblins making their way up the stairs to your position. Clear them out, but don’t miss a Cucco that’s flying around the room for a quick heart refill, should someone need it. Look left as you move down the stairs where the Moblins came from to spot another Cucco resting on a ledge.
Be ready for a formidable group of Pink and Purple Moblins as you exit the small side path that leads out of the bigger chamber and up onto the ramparts of Ganon’s keep. They have a long way to travel to reach you, but can cover the distance with surprising speed. If the archer can get into position quickly enough, a fully charged shot aimed just over the first Moblin’s shields can pass through to targets behind. Since none of the Moblins have helmets or metal shields, it’s possible to knock out multiple enemies in one shot. Target the Cucoo circling the tower to the right, then press on. Some Moblin Archers open fire as soon as you venture onto the long, straight path skirting the castle walls. Take them down, but be ready for more Pink and Purple Moblins—the Purple ones with helmets. Thankfully, a Bomb Moblin appears to the right, and it can be blown up to damage the advancing Moblins.
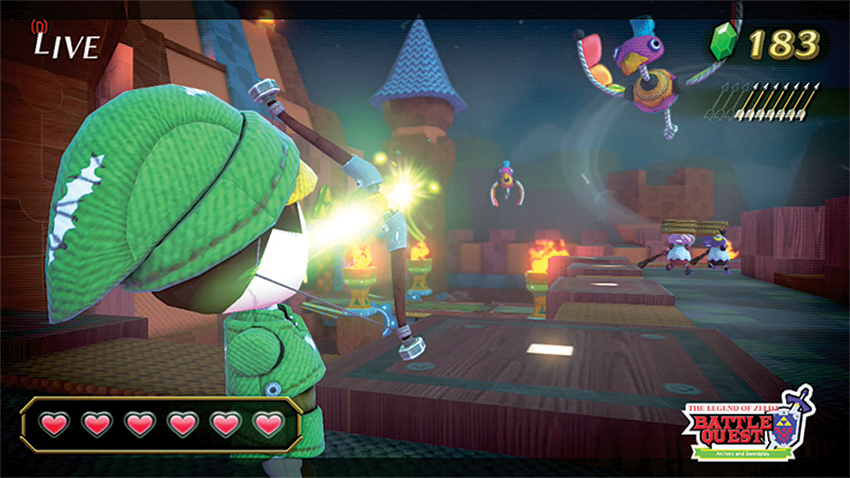
As this upper pathway shifts to the left, look out for Kargoroks swooping in along with a steady stream of Pink and Purple Moblins. (Some have helmets, too.)
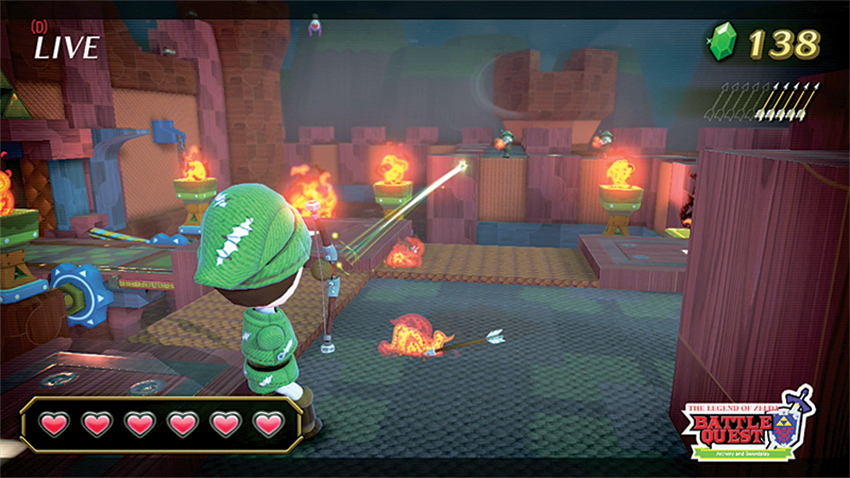
A couple of Moblin Archers are set up in elevated positions and ready to fire as soon as you near the right turn along this same path, so be ready to dodge (if you’re playing as an archer) or raise your shield (if you’re a swordsman) to avoid getting hit blindly. Let the archer return fire, but note that the wind has kicked up considerably, which causes shots to arc. Then venture forth again to confront more Purple Moblins carrying heavy shields and Kargoroks.
When the Kargoroks and Moblins have been cleared out, look left to spot a Cucco flying around a spire. The wind can make hitting the bird a little difficult, but it’s better to attempt the shot in the relative safety here than in the midst of yet another encounter. One of those is coming up fast. Take a moment to break the pots sitting high up in one of the towers directly in front of this rampart path, then continue on to fight more Moblins.
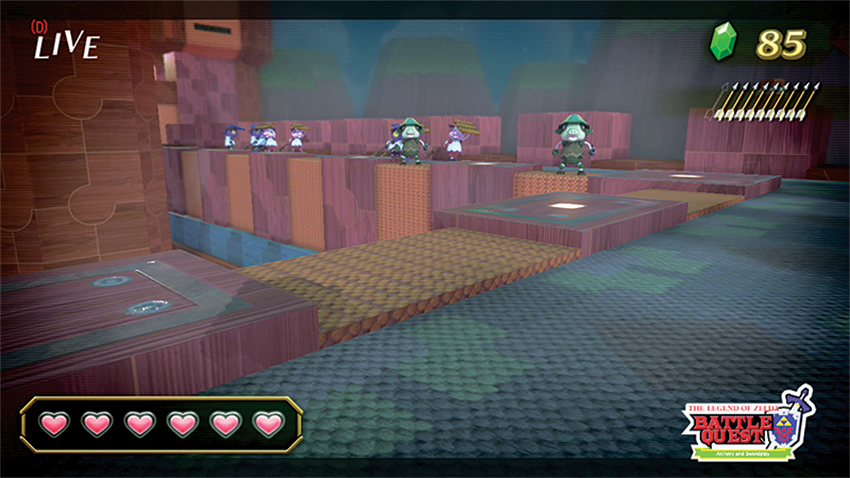
As you round the hard right corner leading toward one of the main castle walls, a large group of Moblins, most of them Pink and Purple, wait to surprise. More surprised, however, are the two Moblin Archers standing on little ledges just to the left of the path. Let the archers take them out, then battle through the first wave of Moblins before using the archer to lure over the remaining Moblin forces that are waiting a bit farther up the rampart path.
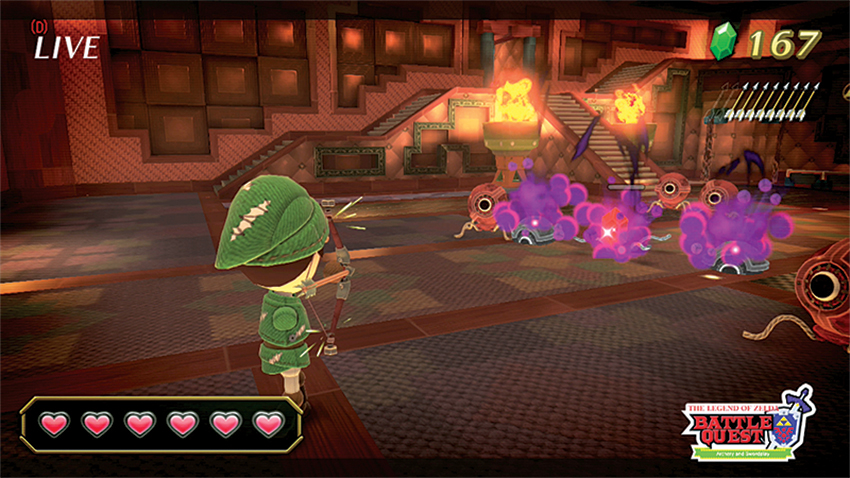
Amazingly, there are still more Moblins to deal with ahead, but don’t venture too far toward the holes in the wall spitting flaming arrows. Concentrate on taking out the Moblin forces first. As there aren’t any standard Moblins around, the Pink and Purple varieties have a nasty habit of sneaking up and dealing surprise damage if the group (or a lowly archer) is distracted by those Switches high up. When the Moblins have been cleared, target the Switches to the left and directly ahead, between the parapets. The Switches deactivate the flaming arrows and allow you to move forward.
As you slip back inside a room that looks eerily like the one you left to travel along the ramparts, get ready. More Pink and Purple Moblins wait at the foot of the stairs just inside. Remove them swiftly, but proceed down the stairs cautiously, as jump-happy Purple Tektites quickly pop into view and make things more difficult.
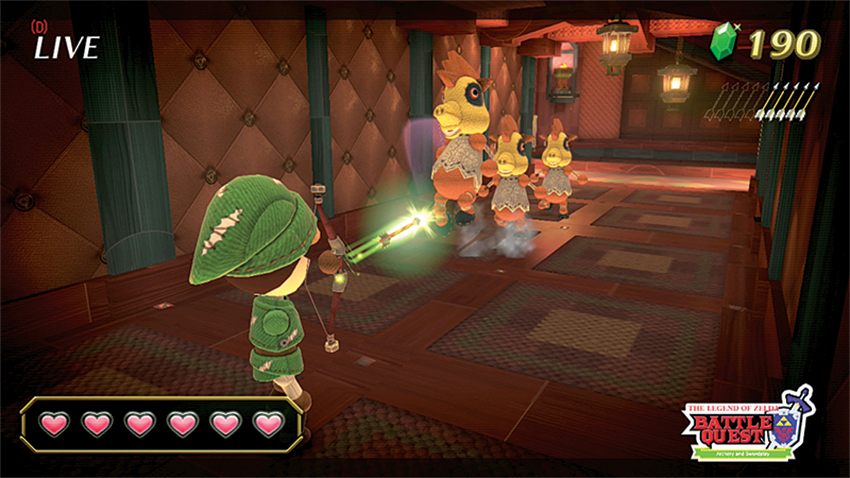
Stepping onto the pressure switch reveals a tight passageway filled with Keeses that drop from the ceiling, Pink Moblins, and flaming arrows sticking into the wall a little farther down the hall. Take out the Keese threat, then the Pink Moblins, but proceed forward slowly. If swordsmen are available, let them go first, standing side by side with raised shields to provide a little cover for the archer, who must target the Eye Switches to turn off the endless supply of arrows. If you’re playing solo as an archer, be ready to dodge as soon as you round the corner, then let loose with two quick arrows to end the barrage. It also, handily, raises the door directly to the left, allowing you to move on, right into a group of Quick Moblins. Remember that Quick Moblins can be taken out with a single, well-timed arrow.
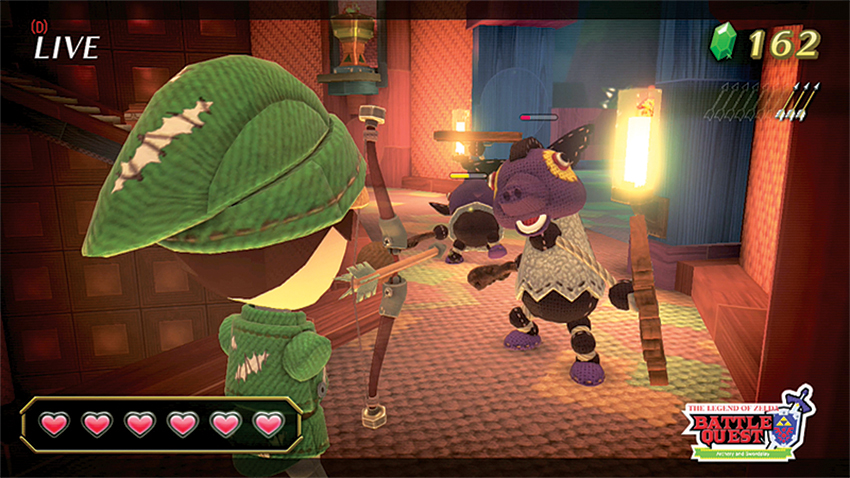
This staircase climb is absolutely packed with enemies, but your party can follow the same general rule as when you ventured up the Forest Temple staircase: Move slowly, pulling one group at a time and being sure to check the higher elevations for Moblin Archers to avoid being shot in the back. Moblin Archers should be the first target anyway, as hitting them usually causes any nearby enemies to come running down the steps into the waiting blades of a swordsman or four. The archer should be on the lookout at all times for Moblin Archers. Keep an eye out, too, for a Cucco flying around near the ground floor of the staircase.
When you reach the top, you encounter Purple Moblins, and these should be taken out as quickly as possible. More distracting, however, might be the pots farther up the staircase. Turning to shoot at them—especially while playing solo—is a bad idea because a group of Quick Moblins are ready to charge right behind the Purple Moblins. See that they’re defeated before you embark on any pot-breaking escapades.
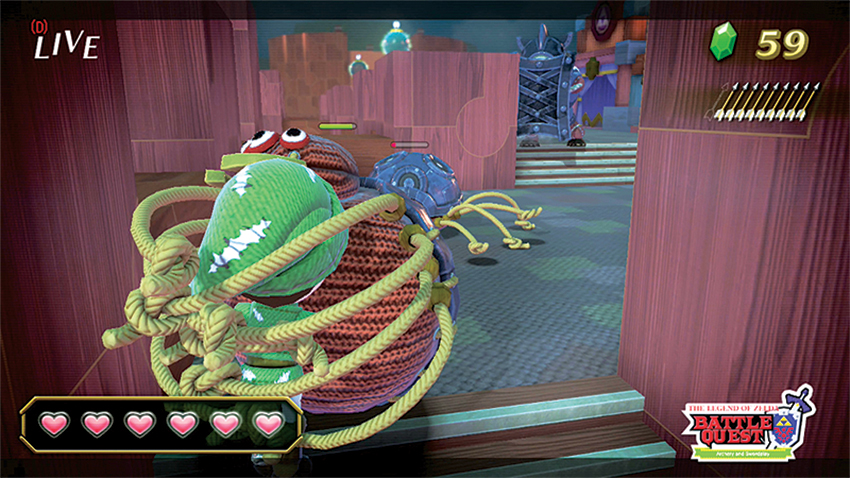
Almost immediately after you duck out of the staircase and into a familiar upper walkway, an assault from two Bomb Moblins coming down some stairs begins an all-out onslaught that separates you from the final confrontation with Ganon. Be quick, catching the bombs in midair if possible, but hanging back to allow the Bomb Moblins and their Purple Moblin friends to advance down the stairs before you move forward. At the top of the stairs is an armored Bin Moblin, and past him are a pair of Skulltulas and another Big Moblin. This is effectively two mid-boss fights mashed into one, so try to work on the enemies one at a time. Get the first Quick Moblin’s attention early and focus on him. With a little luck, you (and your friends joining you for this epic battle) will be far back enough to keep the Skulltulas from advancing. Let your archer fire up a fully powered arrow to damage and entice them, then work quickly to expose their underbellies before the other Big Moblin can show up. As a swordsman, keep your shields raised when not attacking any time a Big Moblin draws near.
This final sequence should be pretty familiar by now; hit all four crystals to open the final gate, but don’t miss out on breaking the line of pots to the left—including one perched up on a platform in the distance. Head up the stairs, take out the two Cuccos waiting on either side for hearts, and steel yourself for the final showdown.
Time Attack
In need of a refresher or just want to hone those archery skills a bit before tackling some of the tougher challenges Battle Quest has to offer? Look no further than the Time Attack, three progressively more complex shooting galleries that give your Mii-as-Link a chance to become an eagle-eyed crack shot.
General Time Attack Strategies
Prioritize your targets—closer enemies can be dispatched with a flurry of arrows, but long-range enemies need adjustment between shots.
Make every arrow count—those long-range targets are the hardest to dial in on a first shot. Avoid rapid-firing your shots until you have a feel for how far they’ll travel; launch a shot to figure out range, then an adjusted shot as needed to finish off the target quickly. Use the range information gathered from one shot to quickly pan left or right to hit targets around the same distance easily.
Explosives are your friend—enemies like Bomb Moblins should be taken out as quickly as possible to maximize the explosive impact of their bombs. Look for environmental hazards like bomb stacks that can be detonated when enemies are nearby.
Memorization is key—The Time Attack are an exercise in quickly recalling where the next enemies will appear. Don’t be afraid to practice a few times to warm up before going for a Master or Stamp time.
Know thy enemy—knowing how much oomph to put behind your arrows is important. Normal Moblin Archers will go down after a single non-charged shot, as will ChuChus. Basic Moblins take a charged shot, while more advanced versions of those Moblins take at least one powered-up shot and another standard arrow to fell. Knowing what targets must be destroyed quickly is absolutely crucial to shaving off valuable seconds from that end time.
| Icon | Name | Conditions |
|---|---|---|
|
|
Beginner: Finish Within 50 Seconds | Complete the first Time Trial stage in under 50 seconds. |
|
|
Intermediate: Finish Within 50 Seconds | Complete the second Time Trial stage in under 50 seconds. |
|
|
Advanced: Finish Within 50 Seconds | Complete the final Time Trial stage in under 50 seconds. |
|
|
Finish All Stages Within 45 Seconds | Complete all Time Trials in under 45 seconds. |
|
|
Speed Master | Earn Master Rank on all Time Attack stages.t |
1. Beginner: Defeat 25 Enemies
Mastery Requirement: Finish within 40 seconds
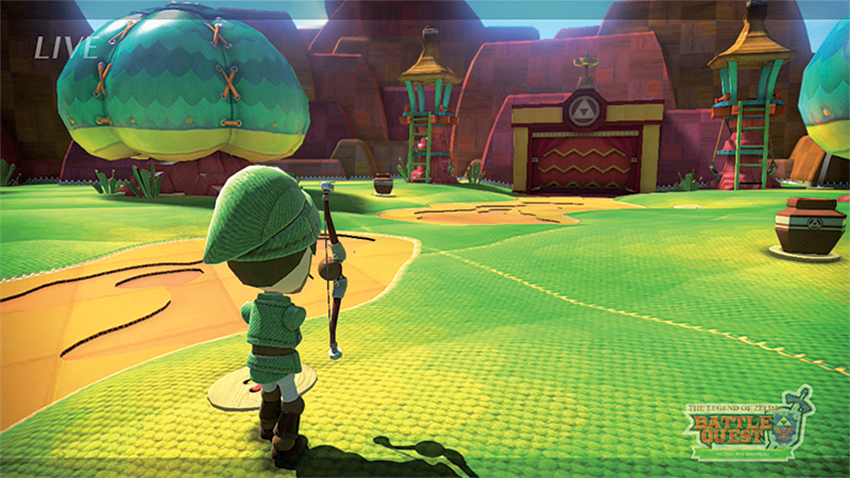
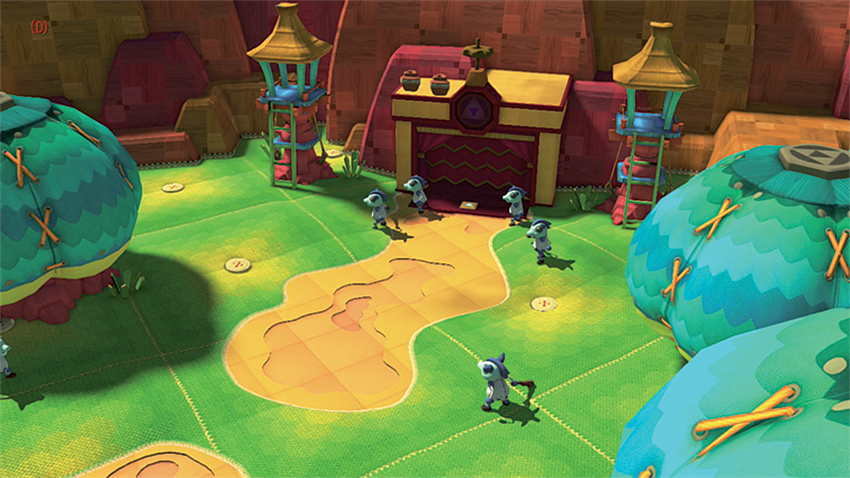
The grassy plains of Hyrule Field serve as the platform for which to hone your skills on the Beginner challenge level. “Keep an eye out for the following enemy waves:
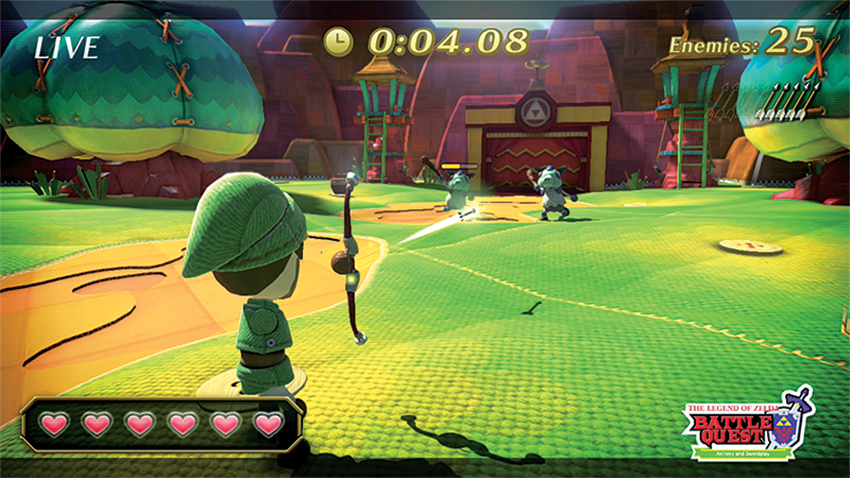
- Five Moblins, appearing dead center, with two initially, then three more after they’re gone.
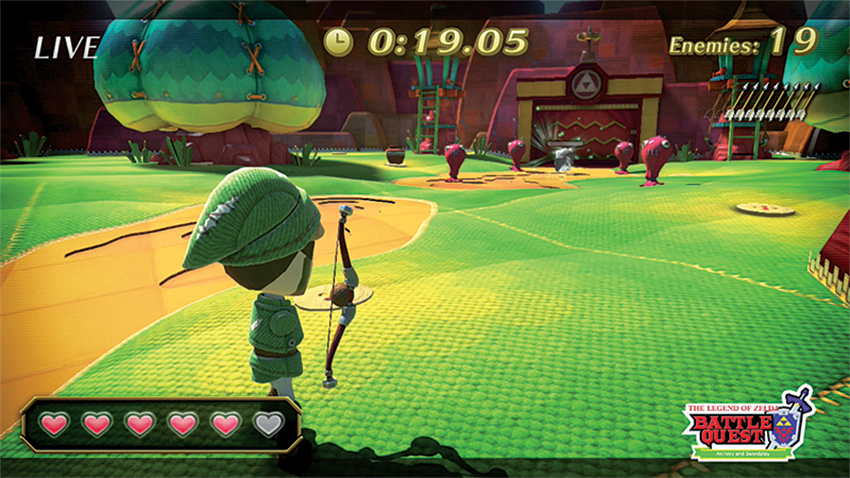
Five ChuChus, in a group of three, then another two, dead center.
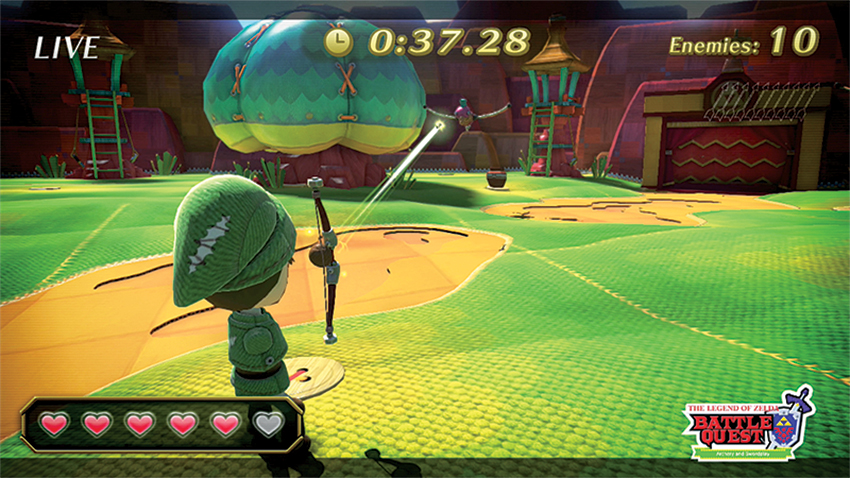
- Five Moblins, three initially (one dead center, the other two near the guard towers on the left and right), then two more shielded versions dead center.
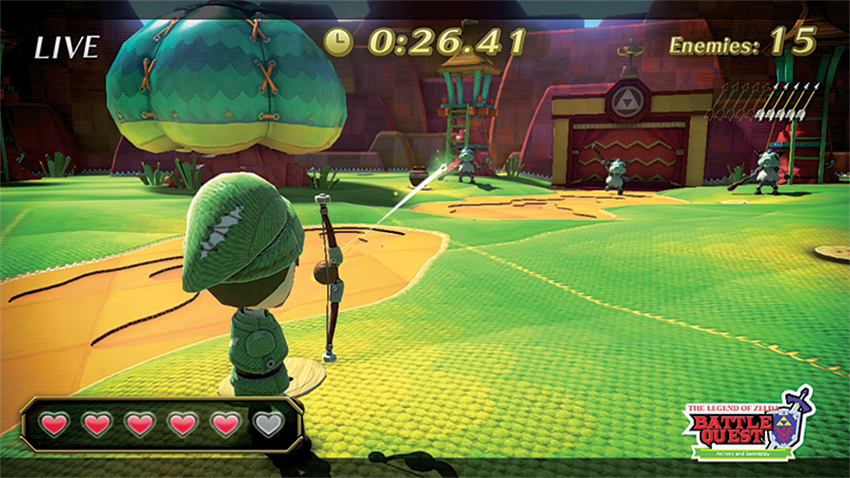
-Two Kargoroks, appearing from the right and left sides at the same time.
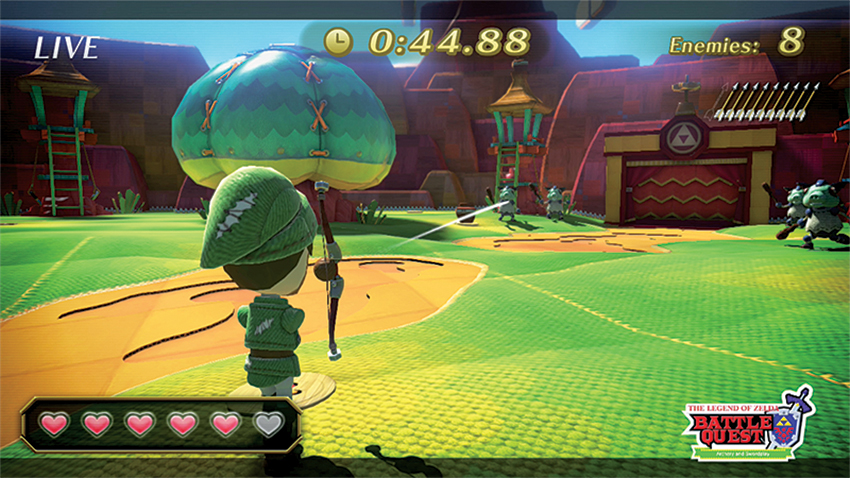
-Six Moblins, four straddling the main path, then two shielded ones dead center.
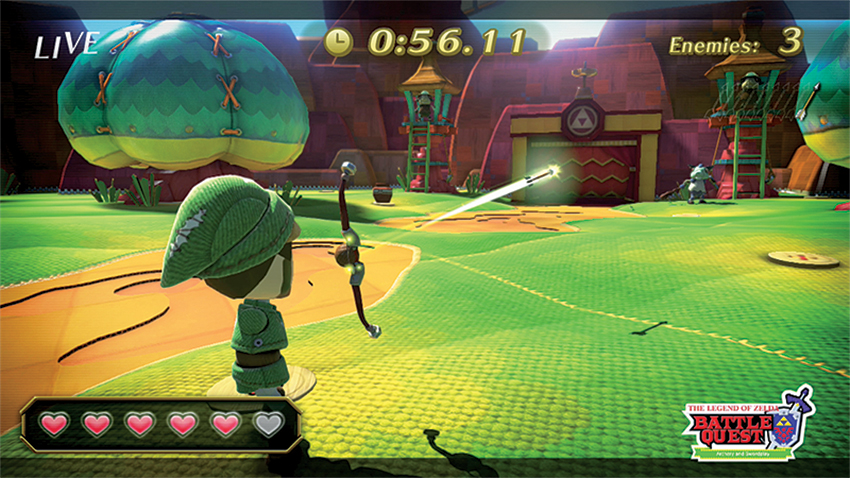
-Two Moblin Archers, in the left and right towers.
2. Intermediate: Defeat 25 Enemies
Mastery Requirement: Finish within 40 seconds
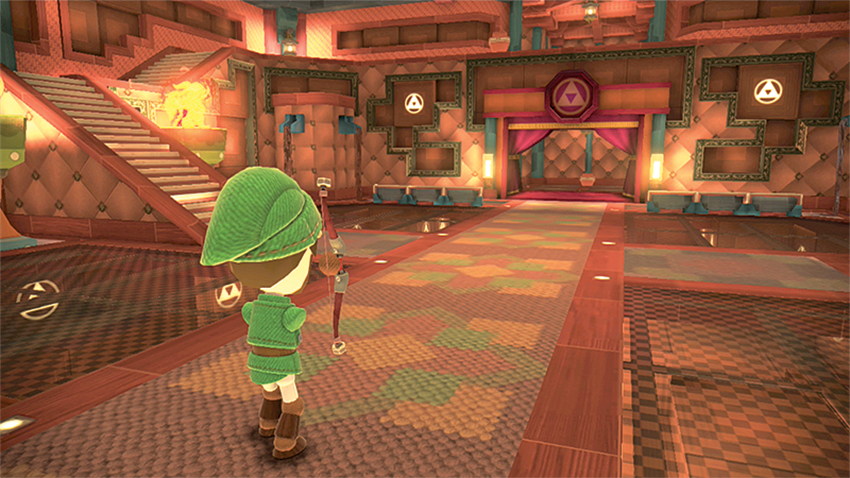
The sight of more than a few mini-boss battles, this fiery fortress offers multiple routes of entry for enemies and some prime sniping for Moblin Archers. Stay on your toes and be ready to make use of the dodge maneuver by pressing the ZL + ZR Buttons when prompted.
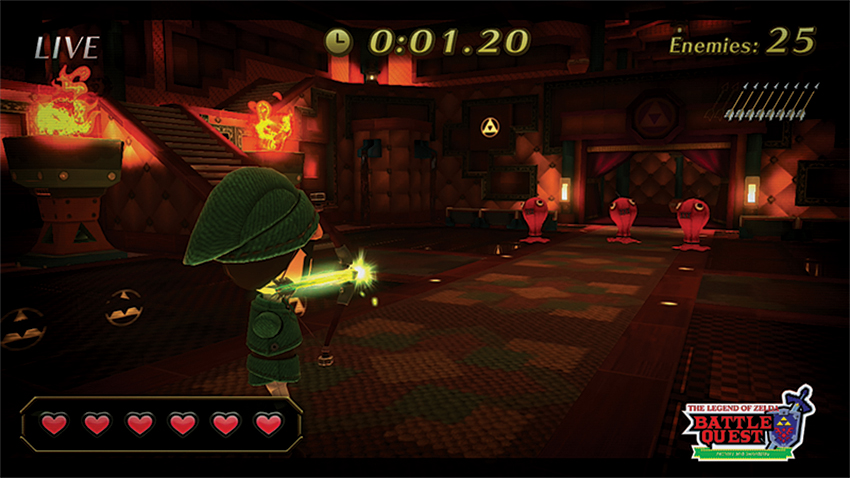
-Three ChuChus, dead center.
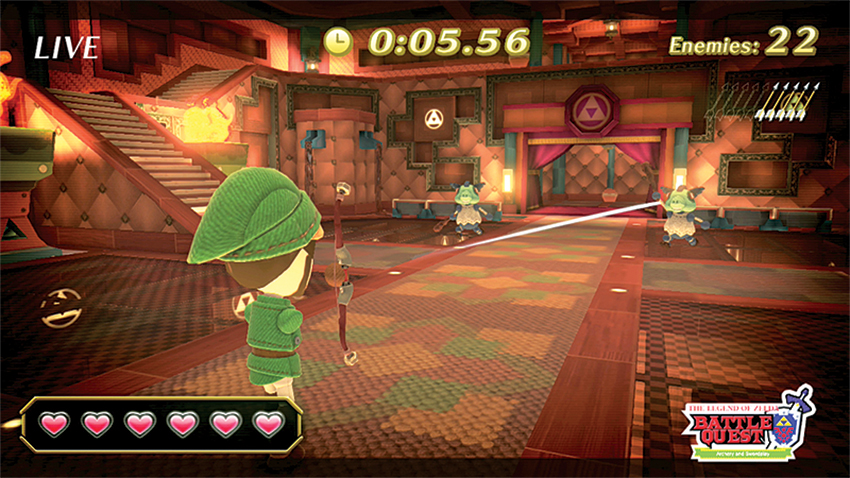
Two Moblins, dead center.
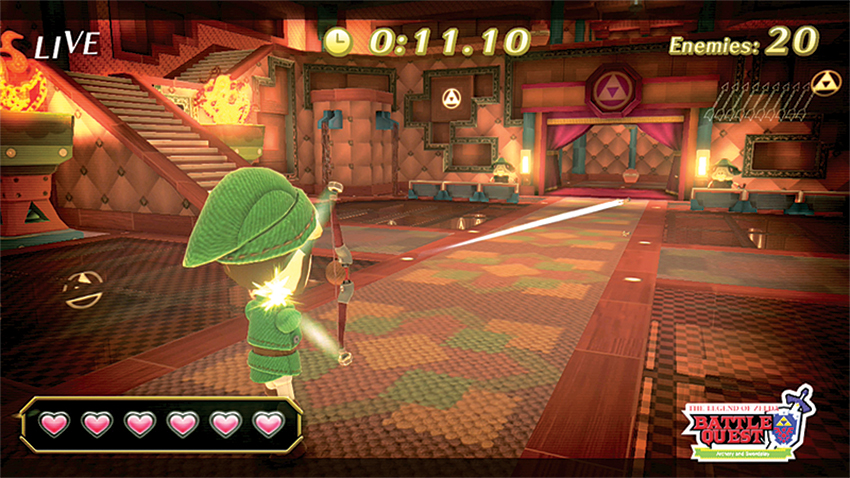
-Two Moblin Archers, behind bits of cover on either side of the doorway.
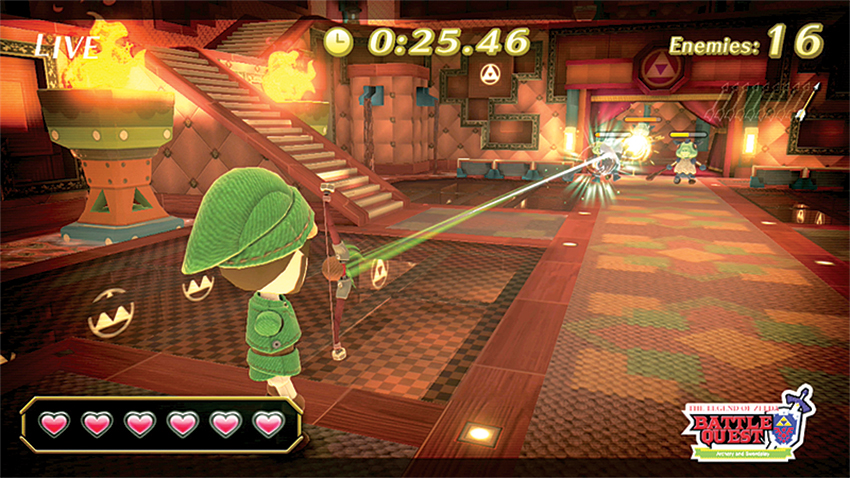
-Four Moblins, running out from the center doorway.
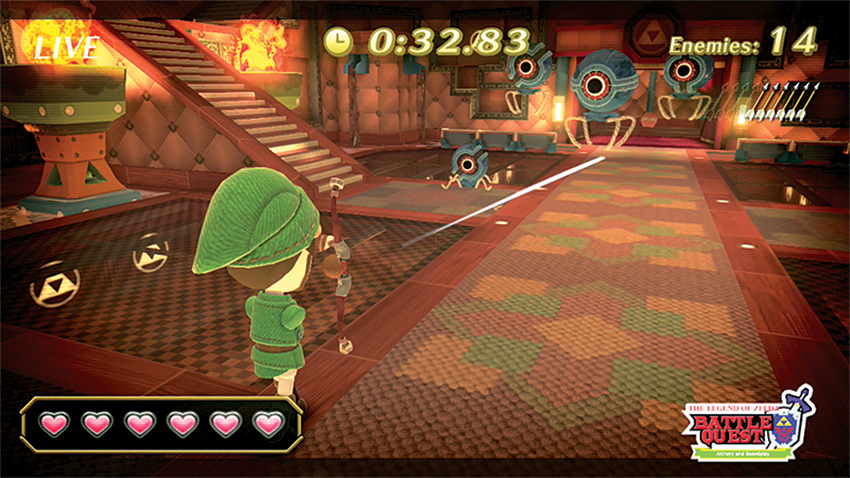
-Four Tektites, dead center.
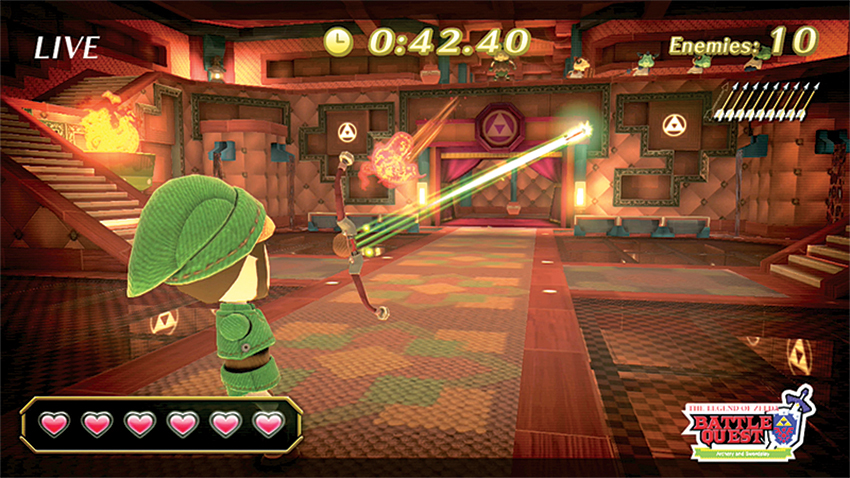
-One Moblin Archer and four Moblins (one carrying a shield) appear on top of the main doorway. Moblins run down the stairs while the Moblin Archer fires.
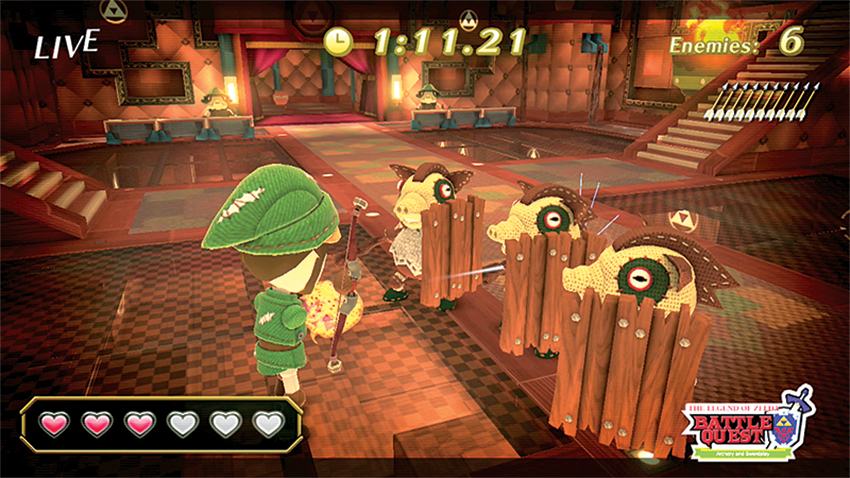
-Two Moblin Archers and three shield-carrying Moblins. Moblins arrive from the main doorway. Moblin Archers appear behind cover on opposite sides of the doorway.
3. Advanced: Defeat 25 Enemies
Mastery Requirement: Finish within 40 seconds
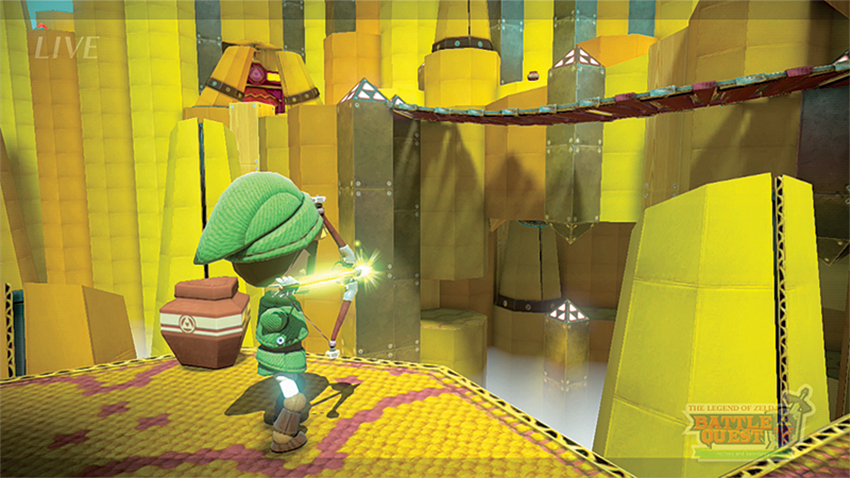
The craggy peaks of Death Mountain are a fitting final Time Attack challenge. It is brutal, windy and filled with dangerous enemies. Aim true.
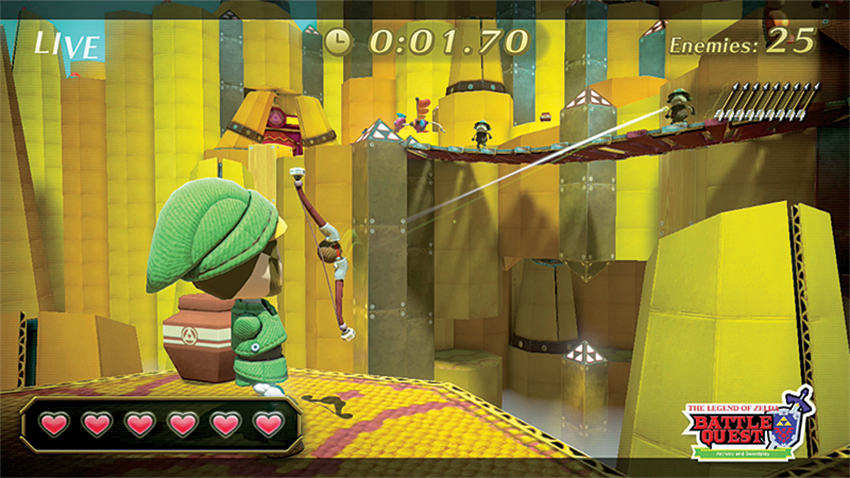
-Two Moblin Archers, two Kargoroks, one Moblin. The Moblin Archers appear on the bridge, Kargoroks from the left and right, and a Moblin runs across the bridge from the left pathway.
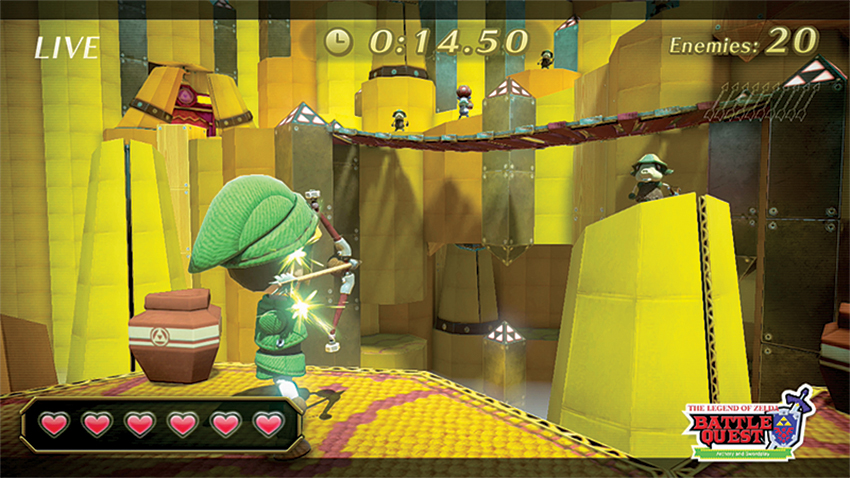
-Four Moblin Archers, one Bomb Moblin, two Moblins. Moblin Archers appear on the spire directly to the right, on the bridge, and perched along the upper walkway. A Bomb Moblin appears on the left, between two Moblin Archers near the upper walkway. Moblins run down from the upper walkway and across the bridge.
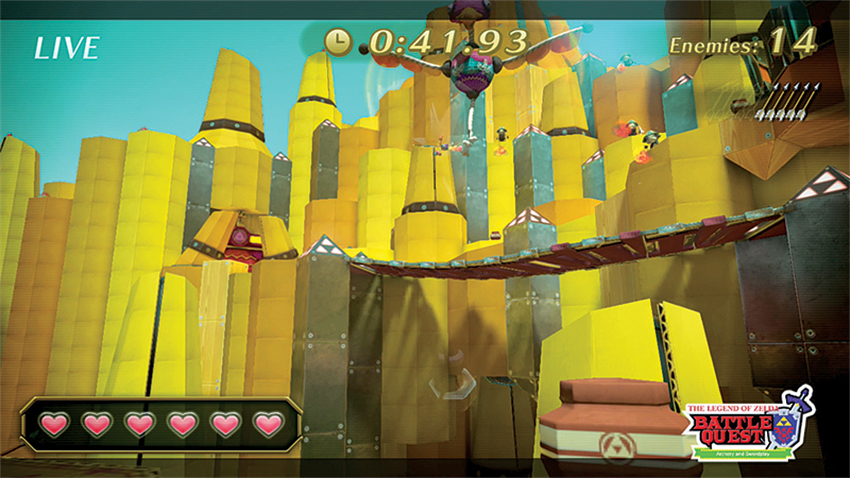
-Three Moblin Archers, Two Kargoroks. Moblin Archers appear on high perches at center and center-left. Kargoroks fly down from center.
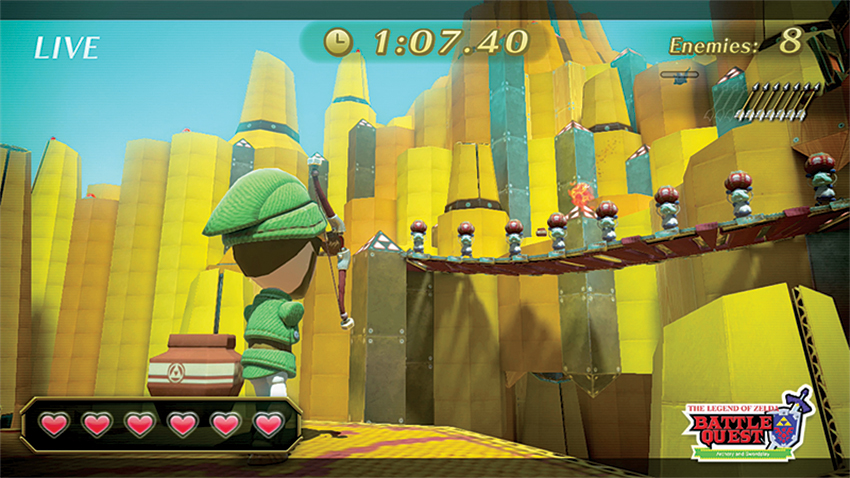
“-Eight Bomb Moblins, all along the bridge.
Truly Masterful
Now that you’ve conquered both the Time Attack and the Quest stages, there remains one final, ultimate objective: Mastering every level. This is not a challenge for the faint of heart—or for the weak of skill. To master all of the Quest stages, none of the adventuring party can take a single hit during the level. And to polish off the Time Attack, those 25 targets must be hit with laser precision. We’ve attempted to give you the tools you need by laying out nearly every enemy you’ll face, but the only true way to master the various Nintendo Land challenges is to practice, practice, practice. So get to it!