
Nintendo Land Guide Walkthrough Team Attractions
Pikmin Adventure
A Small Explorer Trapped on a Very Big World
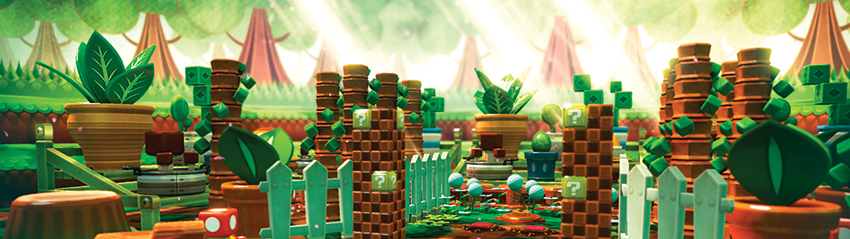
Your Mii dons the diminutive space suit of none other than Captain Olimar, one of the greatest space explorers (per cubic inch) the universe has ever seen. In Pikmin Adventure , it’s once again time to explore the lush, verdant alien world that is—well, no one’s really sure where Olimar ends up half the time, but at least there’s some small comfort in the fact that The Ship, is completely intact He just needs to make it to The Ship, and it’s a jungle out there. A gorgeous, colorful jungle, but a jungle nonetheless, filled with all manner of dangerous fauna to offset all that awe-inspiring flora.
Olimar (or at least your Mii doing a darn fine impression) isn’t alone, of course. He’s joined by the Pikmin, adorable creatures that can evolve, grow stronger, and work together to overcome any obstacle, be it an enemy that stands in their way or environmental hazards. As Captain Olimar explores this strangely familiar alien planet, he’ll delve underground, catapult into the heavens and work his way through what appears to be an entire planet made up of quaintly maintained gardens in an effort to escape with the Pikmin in tow. Pikmin are incredibly resourceful, and can be used to explore, break objects, and attack enemies, all by simply tapping. Get ready to blast off!
Controls
GamePad Controls
| Move | Left Stick or Right Stick, or touch and hold the touch screen |
| Recall Pikmin | ZL or ZR Button, or press the whistle icon in the bottom corner of the GamePad touch screen |
| Attack | Tap touch screen with finger or stylus |
| Dodge | Flick touch screen with finger or stylus |
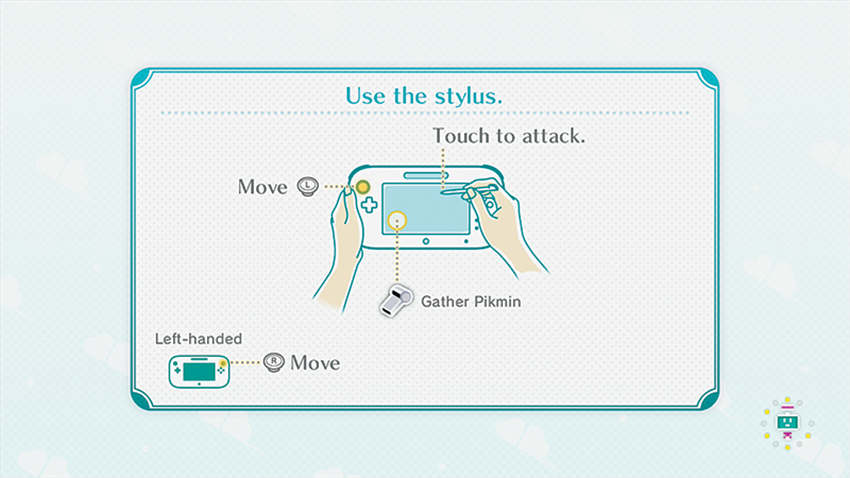
Captain Olimar is a capable leader, but he still needs help from the Pikmin. Thankfully, whether you are right- or left-handed, the GamePad can be used ambidextrously. Simply use the stylus in your writing hand and let your other hand wrap around the edge of the GamePad so that your thumb is on the Left and Right Stick and your finger can reach the ZL or ZR Button. Movement is as simple as tilting the Left or Right Stick in the direction you’d like Olimar to travel, but he can also be moved by simply pressing and holding on the GamePad touch screen in a particular direction. Moving the stylus or your finger will “pull” Olimar in that direction, letting you change direction at will. To attack, you need only to tap on the target itself, but be aware that the Pikmin have a finite range and Olimar might have to move closer. If all Pikmin have been sent out to attack an enemy, Olimar can attack on his own, though it is an extremely short-range swing of his mighty arm. Thankfully, as the Pikmin level up (more on that in a bit), their numbers increase once at Level 5 and again at Level 10. A short hop/dodge is possible (and increasingly necessary in later levels), and is accomplished by simply swiping across the screen in the direction you’d like Olimar to jump. Note that this is a 360 degree move; Olimar can jump in any direction you choose to escape danger or leap over small objects. From time to time, it may become necessary to call your Pikmin back to you (to “reload” them, for instance, when defending against threats). Give the ZL or ZR Button (depending on what hand is on the GamePad) a press or tap the whistle icon on the touch screen and all Pikmin will return.
Wii Remote Controls (Pikmin)
| Move | (+)Control Pad |
| Attack | 1 Button |
| Charged Attack | Hold 1 Button until charged, then release |
| Jump | 2 Button |
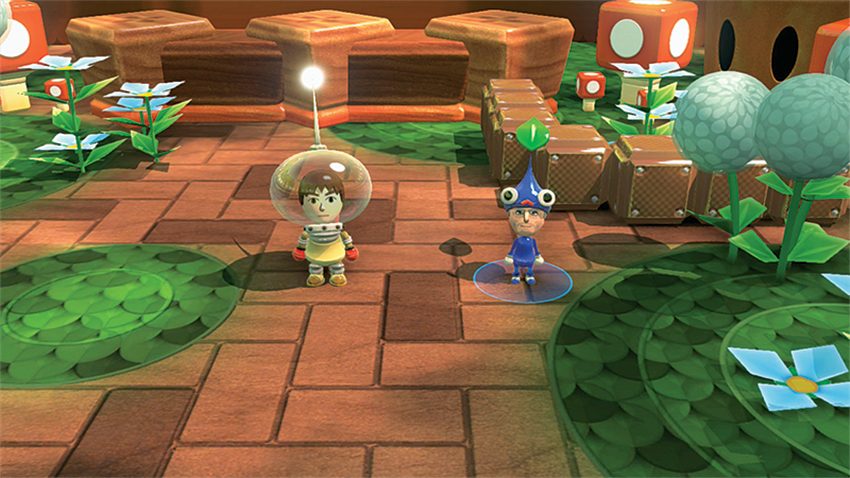
Players with a Wii Remote can get in on the action, too! By donning a Pikmin costume, your Mii can directly influence the game, though the player controlling the Mii Olimar with the GamePad can always recall you back to their position. Otherwise, though, you are free to explore the world, collect, attack, and upgrade completely independently of Olimar. Press the 1 Button to attack with a short-range leaf attack, press the 2 Button to jump over small obstacles like blocks, and move around by pressing the Directional Buttons. Mii Pikmin have some of the advantages of a normal Pikmin, including being thrown by Olimar (when perched on top of his head after a recall), and the ability to independently attack any target in range. Mii Pikmin are unique because they level up not as a group, but on their own. So Nectar, Pikmin Adventure’s form of level-increasing experience, is split between Olimar’s general Pikmin and any Mii Pikmin playing on their own. Though Mii Pikmin are autonomous, their health is shared with Olimar, so be careful out there!
Challenge
The heart of Pikmin Adventure , Challenge Mode lets you play as either Captain Olimar with the GamePad, or as a Mii-sized Pikmin with the Wii Remote. Up to five players can join forces, with one controlling Olimar and the rest as Mii Pikmin, so grab some buddies and go exploring! For the most part, Challenges are straightforward: Escort Olimar and the Pikmin through this lush world throughout the four seasons, defending the group from threats and collecting upgrades, and then fight a boss before finally making it back to The Ship and escaping the planet. During some Challenges, though, there will be time limit, and Olimar and the Pikmin must rush to collect Clocks to add more time as they race back to The Ship.
| Icon | Name | Conditions |
|---|---|---|

|
Eyes of the Bulblord | Destroy the Bulblord’s Eyes during his boss fight. |
|
|
AI Mii Protector | Clear a Challenge stage without your AI-controlled ally taking any damage. |
|
|
First Mastery | Master your first Challenge stage. |
|
|
Great Explorer | Clear all Challenge stages. |
|
|
Master Explorer | Earn Master Completion on all Challenge stages (finish within time limit and lose no hearts). |
1. Bulborb Forest
Mastery Requirement: Eascape within 2:20 without taking damage.
Your first challenge is to explore the vast garden terrain of the Bulborb Forest, an area rich with new experiences. Let this be your introduction to playing as Captain Olimar (or a Pikmin) as you assume the mantle of leadership and search for The Ship and escape!
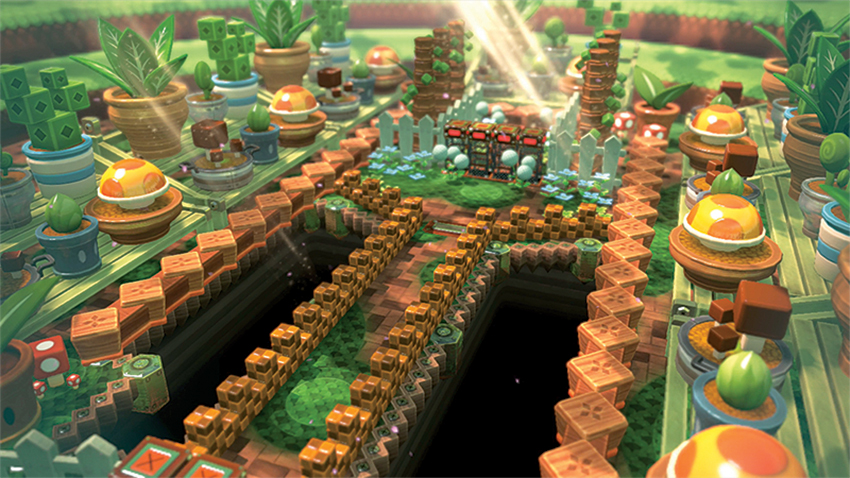
Begin by getting to know your surroundings. Any blocks that have a light checkerboard pattern can be destroyed by launching a Pikmin at them or with a physical melee attack from Olimar or a Mii Pikmin. After getting a feel for how block-breaking and general movement work, head north to discover a strange sight.
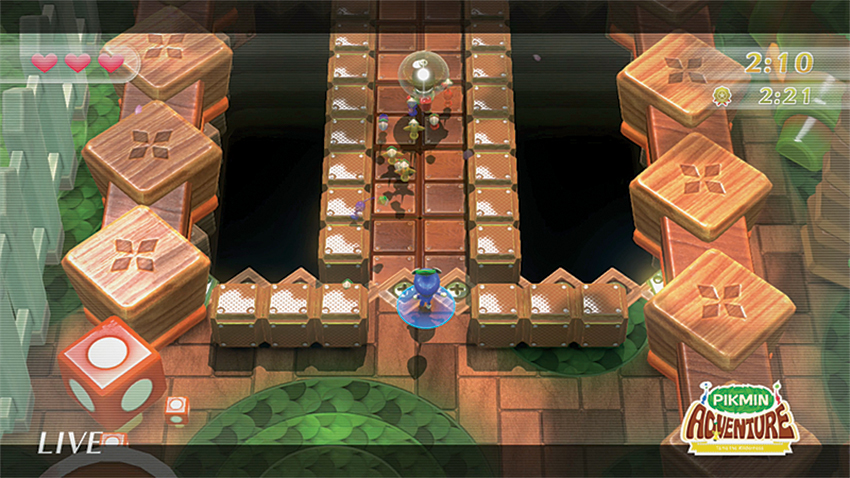
Along with the more imposing Dwarf Bulborb are a couple of Creepy Beebs, which are more or less all weak spot. Just hit them with a few Pikmin, scoop up any dropped spoils, and head northeast. Move along the white picket fence line, defeating the remaining Creepy Beebs to reveal a huge ?Block, and inside it, a rich bounty of Nectar. Head north to discover a pile of breakable blocks that can be worn away with plenty of furious tapping on the GamePad touch screen. After a bit of Pikmin-assisted clearing, a few smaller ?Blocks are available for smashing and goodie collection. Make sure to grab the Nectar inside, then continue northward to discover yet another ?Block that is barring the way. When it’s destroyed, a bridge appears and grants access to areas beyond.
After a quick camera flyby that shows a bridge littered with enemies, it’s time for Olimar to set to work. Head west to tromp around among the nearby flowers if Nectar is desired, then break the giant ?Block to the east and get ready to confront a speedy Dwarf Bulborb capable of dashing its way through a Pikmin crowd. Attack its weak point to lower the nearby blocks. Don’t forget to search the flowers to the east before stepping on the bridge for a few hidden bits of Nectar! Then move to the bridge itself, which is populated by plenty of Creepy Beebs. Stride across the bridge and confront the incoming threats, but prepare for a quartet of Bulborb threats on the other side.
2. Boss of the Beebs
Mastery Requirement: Escape within 3:35 without taking damage.
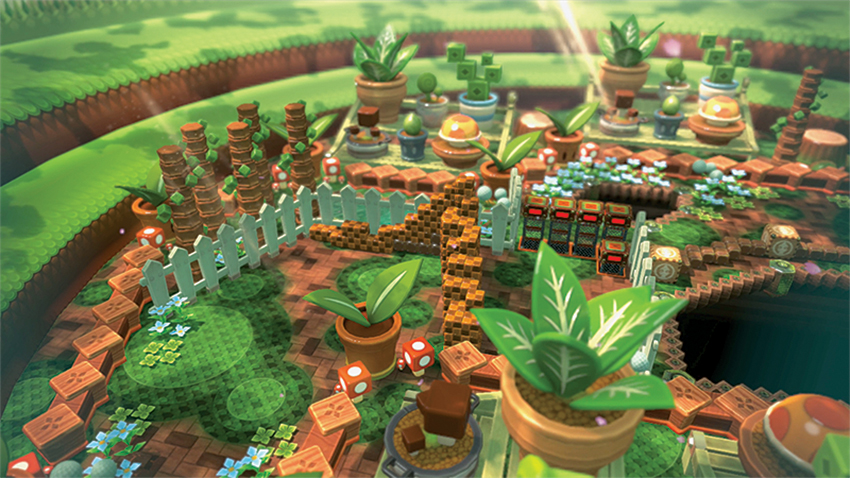
Feeling confident after that Large Dwarf Bulborb fight? Great, because it’s time to take on a much bigger—and badder—threat. King Beeb isn’t nearly as much of a pushover, but he does present an opportunity to discover new threats and rewards, plus this area is great for exploration. Who doesn’t want to do a little exploring from time to time?
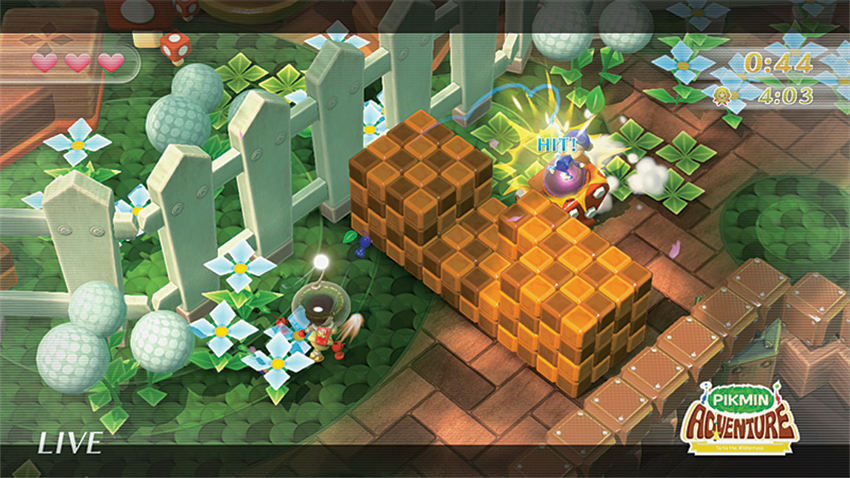
Don’t miss the ?Block to the east before heading northeast through the blocks that used to impede progress before your Bombs made short work of them. A Bulborb waits just past more blocks, so be careful when destroying the checkerboard cubes. Remove them slowly, one at a time, until there’s a small channel wide enough for your Pikmin to travel back from to be thrown again. Alternatively, recalling all the Pikmin lets you restock even without having to create a direct path, providing further insurance against the Bulborb’s slow but steady destruction of the blocks on the other side.
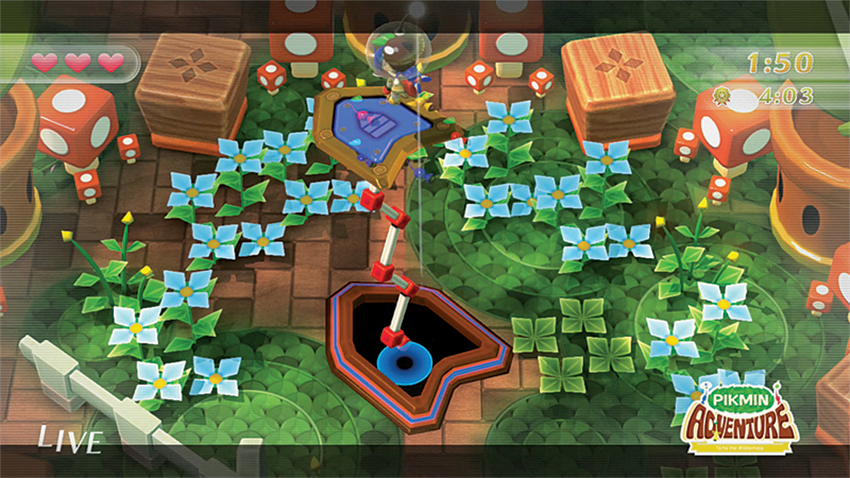
On the other side of the bridge waits another new discovery: a Jump Switch. These marvelous mechanisms hurl Olimar and company over barriers like fences into new parts of the world, but only after he has gathered all the Pikmin with the whistle icon or ZL or ZR Button. With a tweet of the whistle and the first steps onto the Jump Switch, the entire group goes airborne and lands right next to a Bomb. Curious ...
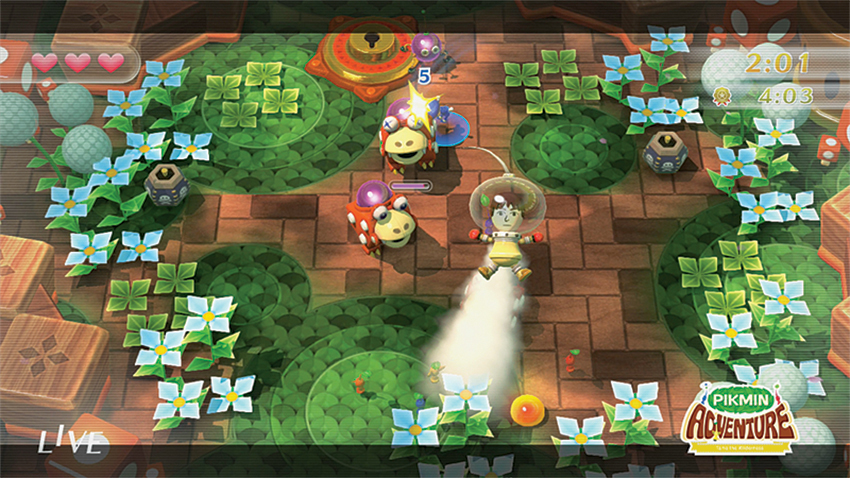
The reason for the Bomb—and a few more like it scattered around this small arena—quickly becomes apparent when a group of Capsules containing Bulborbs and Creepy Beebs drop in. Scurry around the arena, lobbing Bombs toward the chasing enemies, but don’t forget about Olimar’s ability to dodge if the threats draw too close. When dashing, the Bulborbs have the ability to knock Olimar up into the air and damage him.
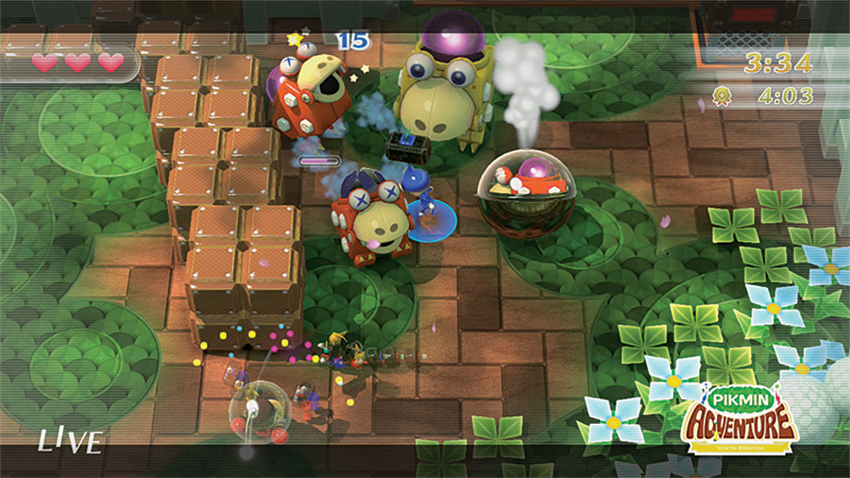
Head into the nearby Gate and proceed northward until the UFO drops a few Capsules containing more Bulborbs. It’s time to do a little Hammer Seed-assisted stomping! Tackle the blocks to the north first, working your way to the east to reveal a layer of unbreakable blocks at the base. This is your safe zone, the place you can fall back to if things get tough. Remember, too, that a dodge makes Olimar jump a bit, so you can literally dodge onto the unbreakable blocks and then attack from that perch. The breakable blocks eventually continue all the way to their base. Smashing the southmost ones will not only allow your Pikmin through, but the enemies as well, so it may be a good idea to hop up onto those blocks and deal with the threats from there. Among the dangers is one of the same Large Dwarf Bulborbs you fought at the end of the last challenge, so stay on your toes. After a minute or two of hectic fighting, Olimar and his Pikmin can finally continue northward—but not before harvesting the innards of that giant ?Block, of course.
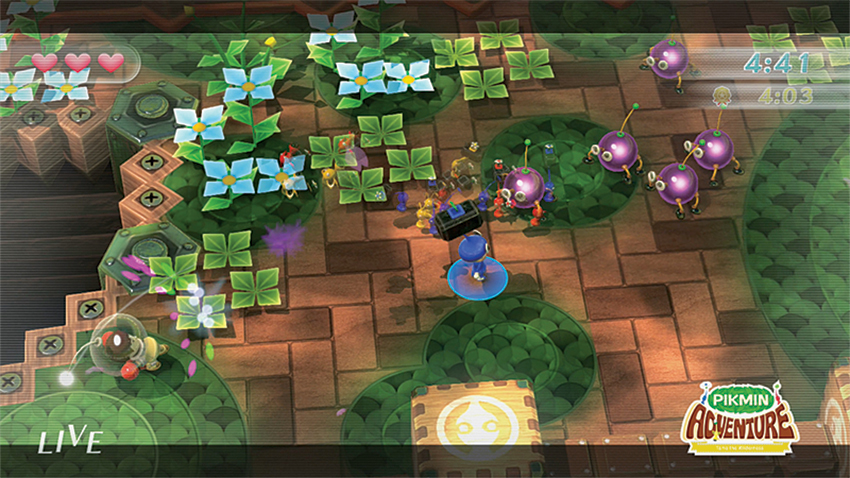
Continue northward. Immediately to the east is a new kind of block, giant like the ?Blocks and fitted with a Pikmin symbol on each of its faces. These can be destroyed with normal attacks to uncover the contents inside, but don’t get too distracted by this. A flurry of Capsules containing Creepy Beebs drop in as you explore the nearby area. Defeating all of them reveals a giant ?Block and unlocks the Gate to the next area.
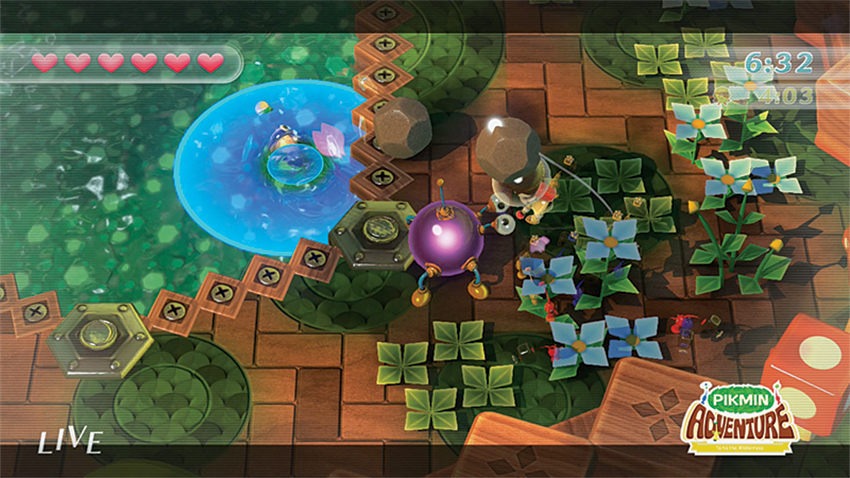
A nearby giant ?Block holds one of those Big Hearts that are so very handy. In the southwest corner of this little area is a normal ?Block that can be busted open for a Coin. Gather your Pikmin and hop onto the Jump Switch to be ejected into an area with a bunch of Bulborbs—a trivial matter with Hammer Seed-equipped Pikmin. Deal with the enemies, scoop up the contents of the big ?Block that appears after they’re gone, and then hop aboard another Jump Switch to land in a new, watery area filled with two explosive Bombardier Beebs and a whole lot of Rocks. Like Bombs, Rocks can be picked up and thrown to cause massive damage to any targets they hit. Use them to wipe out the Bombardier Beeb threat, then get ready for one final Jump Switch hop.
3. Five Seconds to Takeoff
Mastery Requirement: Escape within 1:15 without taking damage.
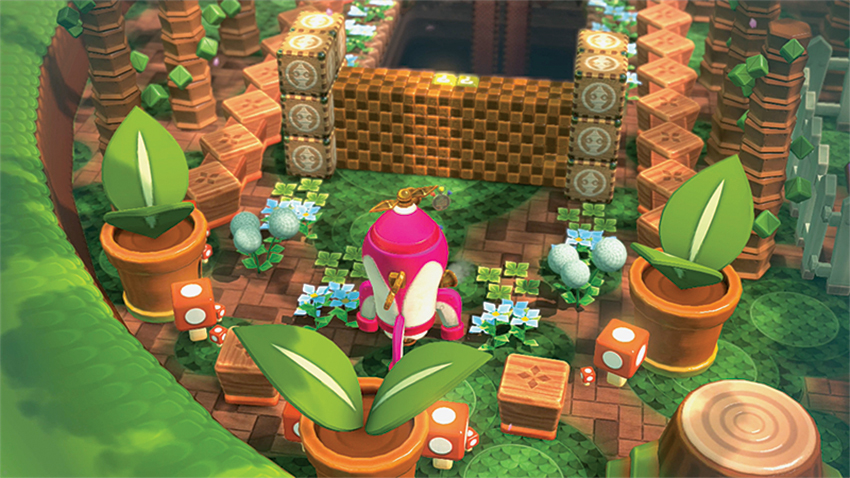
Welcome to your first Timed Challenge. Unlike other levels, the real enemy here is the clock, which is forever ticking down. If it hits zero, it’s game over, so get hopping!
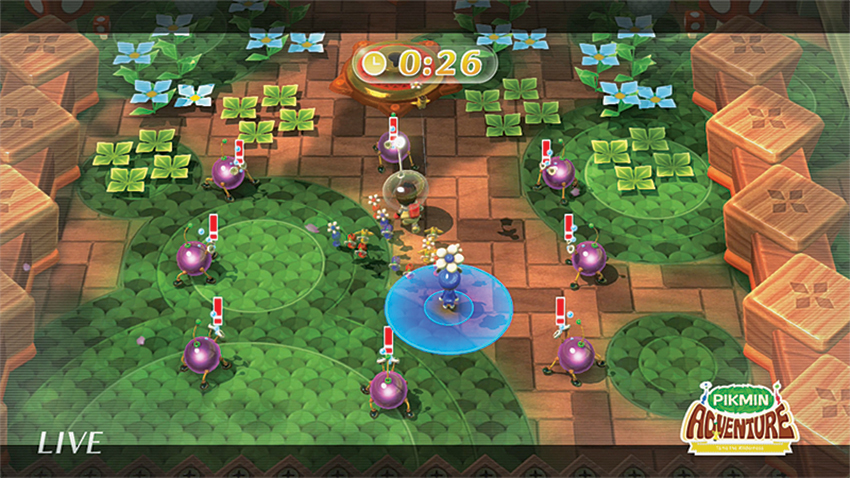
Right from the get-go, it’s time to make a break to the north. Smash through the wall of blocks until there’s room to squeeze through, then recall your Pikmin before hopping on the Jump Switch. This is actually a go-to technique for all Timed Challenges—by pulling all the Pikmin to Olimar, they’re all ready to be jettisoned the second Olimar’s foot touches the Jump Switch. Upon landing, a gathering of eight Creepy Beebs attempts to slow your progress. These threats must be eliminated to unlock the Gate to the north, so unleash any and all attacks to wipe out the Beeb threat, grab the giant Clock (worth a generous 10 extra seconds for the clock), and head into the Gate.
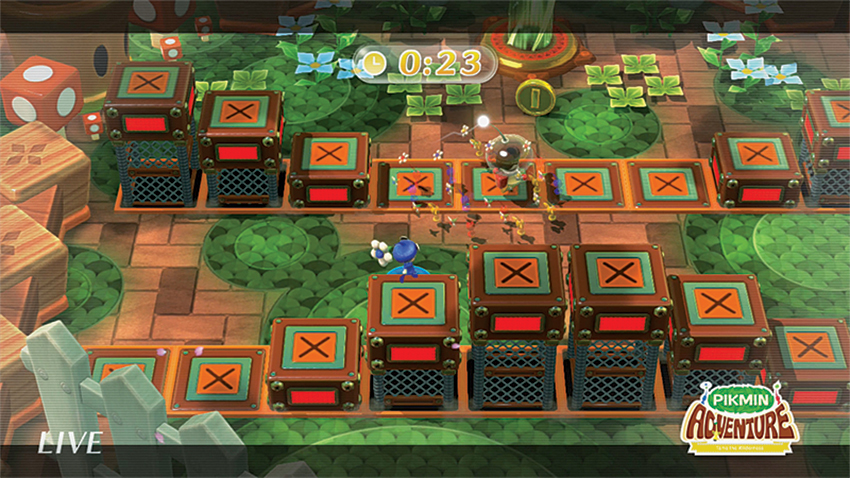
Olimar and company aren’t the only ones to drop into this smallish arena. Multiple volleys of Capsules containing more Creepy Beebs drop in with some regularity until you’ve defeated enough to lower the barrier to the north. Thankfully, these Creepy Beebs also cough up a few Clocks upon defeat, so be sure to scoop up the spoils before pressing on through a series of undulating barriers. Pay attention to direction the “wave” is traveling and try to lead the depression enough to slip by and move to a Coin right in front of another Gate.
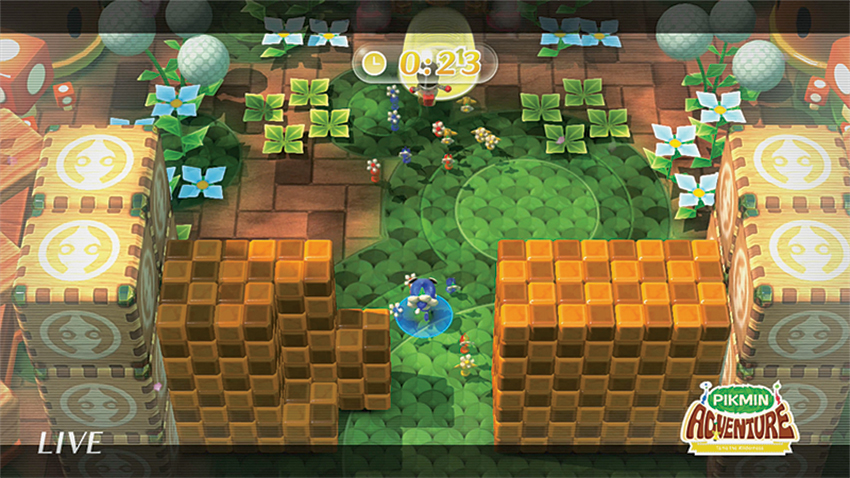
Once through the gate, quickly gather the Pikmin, grab the giant Clock and step onto the Jump Switch to be catapulted into an enclosed area with a Bulborb. Relentlessly attack the critter. After scooping up the Clocks he drops, gather all Pikmin for the newly activated Jump Switch and get ready for another airborne trip through a series of small areas, each having its own Jump Switch (including one containing a large ?Block that holds an equally sizeable Clock. After a couple of bounces, the group lands next to a set of Step Switches. Touching these with the Mii Pikmin and Olimar reveals a bridge across the large chasm to the north that is dotted with a few Beebs. Mow through the enemies and push northward to a large wall of blocks. All that separates you from the end goal is this minor inconvenience, so smash away and step into the lift to blast off!
4. Overthrow the Bulblord
Mastery Requirement: Escape within 1:45 without taking damage.
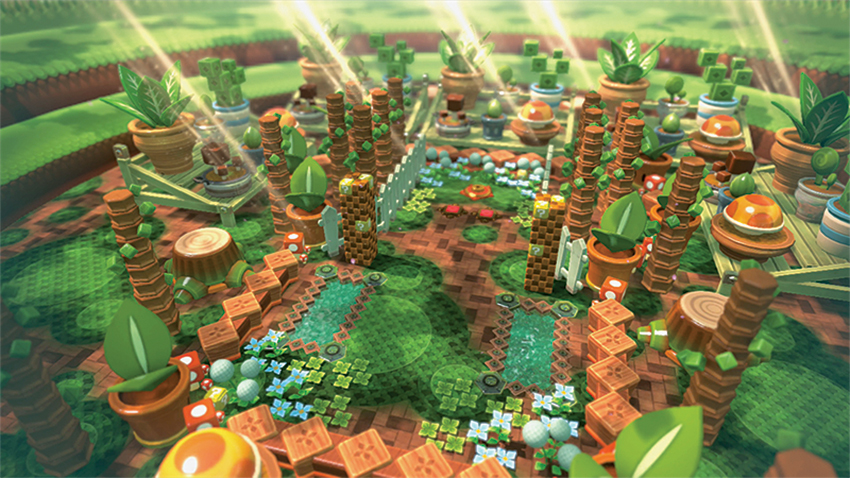
Ready for your first real challenge? The master of this domain, the Bulblord, is ready and waiting for any challengers that might seek to pass through his domain. This is going to take some steady hands and quick reflexes.
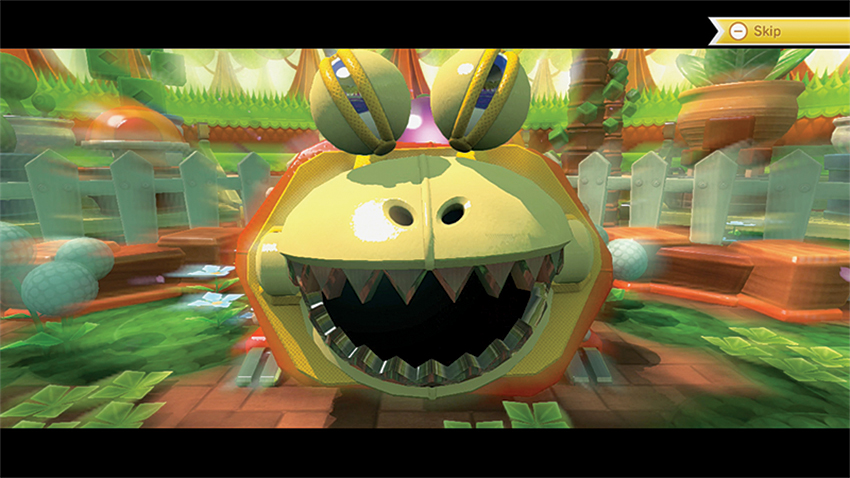
Before charging off to the north to hop on the waiting Step Switches, do a little exploration; there’s a ?Block to the southwest with a Coin inside, and the two towers on the right and left of the main path contain not only ?Blocks with Nectar inside, but also the breakable blocks that make up the tower contain trace blobs of Nectar for some early leveling up. The huge ?Block sitting dead center before the Step Switches holds a Big Heart—a sign of the challenge to come. Nab it, hit the Step Switches, and don’t miss another coin-holding ?Block to the northeast of the Gate. Steel yourself and jump into the Gate to confront the Bulblord.
5. Cannon Smash
Mastery Requirement: Escape within 3:35 without taking damage.
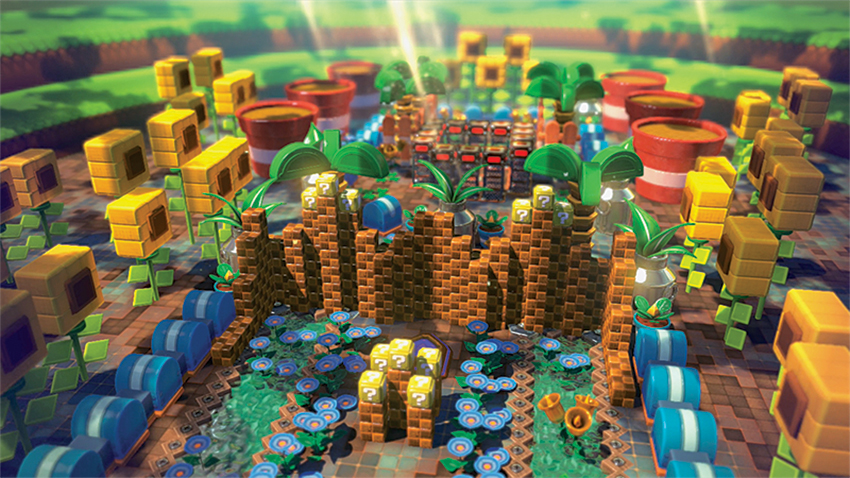
With the Bulblord out of the picture (at least for now), it’s time to explore a new set of locales. There are more impediments going forward, including quite a few more breakable blocks, so get that tapping hand ready for some serious stylus use.
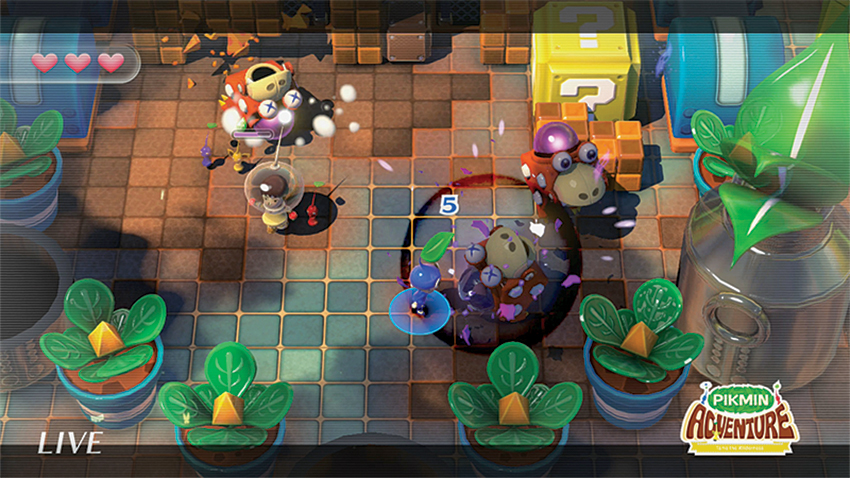
The first area contains only a smattering of new types of plant life and a Jump Switch. Gather your Pikmin and take a little ride. You land in an enclosed space with a couple of huge ?Blocks. After destroying one of the big ?Blocks, a barrage of Capsules containing Dwarf Bulborbs and Swift DwarfBulborbs drop into this smallish arena. Be sure to grab the power-ups from the big ?Blocks and move swiftly to avoid the incoming attacks. When all the enemies have been cleared, yet another giant ?Block appears to offer more rewards for successful combat. Clear out the rest of the blocks (including a few smaller ?Blocks) before heading north to a Jump Switch that throws the group into a narrow corridor packed with large blocks just begging to be destroyed.
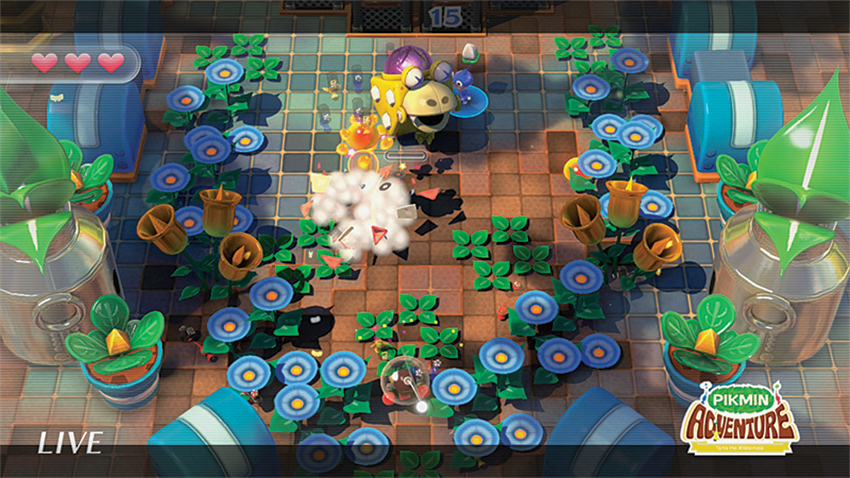
Fulfill the blocks’ purpose, then hop on another Jump Switch to square off against a slumbering Large Dwarf Bulborb and his smaller friends. This fight is a little easier than the previous encounter simply because there’s more room, but don’t underestimate the Large Dwarf Bulborb’s reach when it tries to gobble up Olimar or the Mii Pikmin. Dodge as needed to avoid dashing attacks and clear out this threat before it can cause too much damage. A large ?Block offers a Big Heart as reward for overcoming this threat, and a Gate unlocks just past a set of barriers that lower to allow access to the next section of the world.
Once the twin threats have been eliminated, head south, back toward where Olimar and his allies first appeared in this area, grabbing the Hammer Seeds inside the large ?Block. Then gather everyone and use the Jump Switch to catapult into a new area.
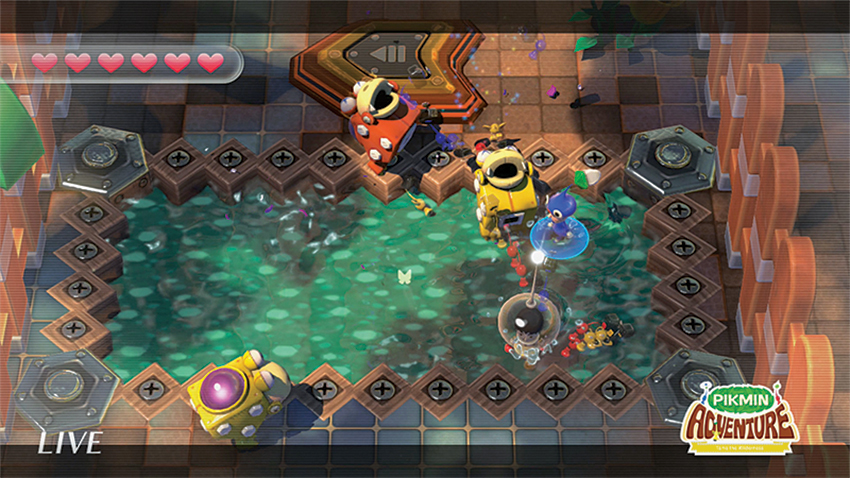
Bulborbs descend into this watery section, a mixture of normal red Dwarf Bulborbs and zippier yellow Swift Dwarf Dwarfs. Pound them into submission with some Hammer Seed-assisted strikes, then cross the pond and hop aboard the Jump Switch one more time.
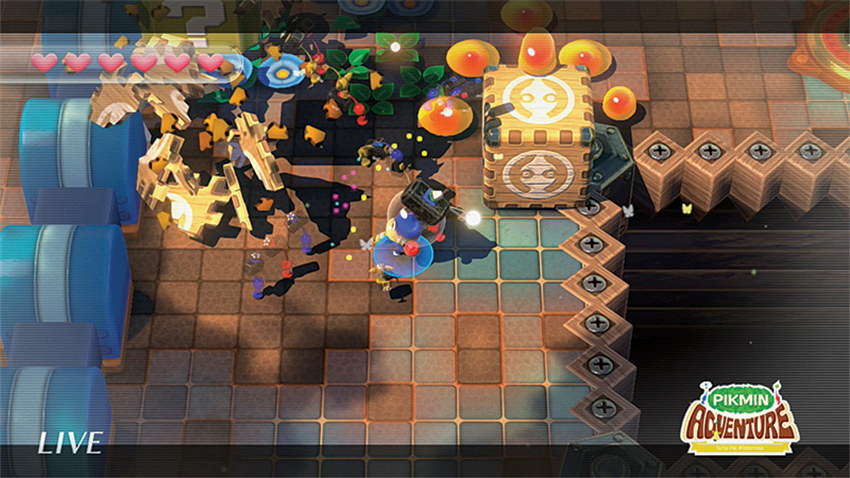
After landing and heading south toward another giant ?Block containing another Hammer Seed, Olimar and company come across a large wall of blocks to bust through—which is nothing for Hammer Seed Pikmin, of course! Smash through them and continue west until the path forks northward. Smash through these blocks with some care. After you get through nearly all of them, a few Bulborbs will drop in to mess up everyone’s fun. Deal with them to unlock the Gate farther to the north, then clear the rest of the blocks (including a pair of sizeable ?Blocks rich with Nectar) to expose a path to the Gate.
The Gate deposits Olimar and his Pikmin pals in front of a small group of ?Blocks atop a few checkerboard regular blocks. Smash them all to reveal some Nectar and a Hammer Seed (if needed), then gather everyone and climb aboard the Jump Switch to launch into the boss fight.
6. King Beeb is Back
Mastery Requirement: Escape within 4:35 without taking damage.
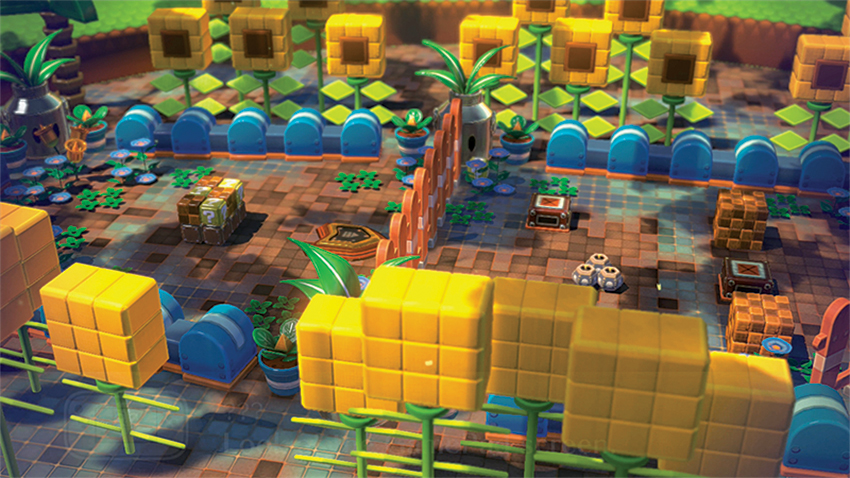
Well that didn’t take long. Looks like the big bad Beeb from the second challenge isn’t quite done with Olimar and the Pikmin, so strap in for another mini-boss fight.
There’s something very mysterious about that block marked with an X that all those Bulborbs are staring at, but before Olimar can discover what all the fuss is about, he must first deal with a pair of yellow Bulborbs in this small area. Taking them out activates the Jump Switch nearby, but don’t miss the chance to grab a few ?Block spoils (like a Hammer Seed) before making the leap.
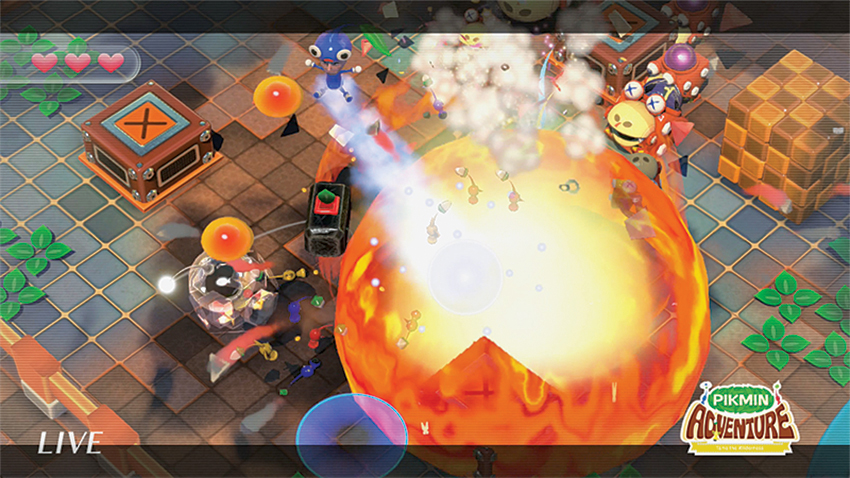
Three Bombs wait right near where Olimar and buddies land. Quickly grab one and lob it toward the group of Bulborbs to score some quick eliminations, but be careful to move away from the other Bombs after the first one is thrown to avoid being caught in a potential explosive chain reaction. If playing with friends, try to coordinate picking up and throwing the Bombs in unison, with one player throwing to the right and the other to the left (a third can be thrown in between if you’re fortunate enough to have that many players). The combined explosive impact can wipe out all enemies at once. When all the Bulborbs are defeated, the reason for their curiosity becomes apparent: a trio of descending Telescoping Pumphogs. Deal with them the same way as before. Wait for them to rise before attacking with wild abandon—Hammer Seed attacks work great here because they fall straight down on their target. Clearing out this terrible trio reveals a large ?Block with plenty of Nectar and the Gate is unlocked for more exploration.
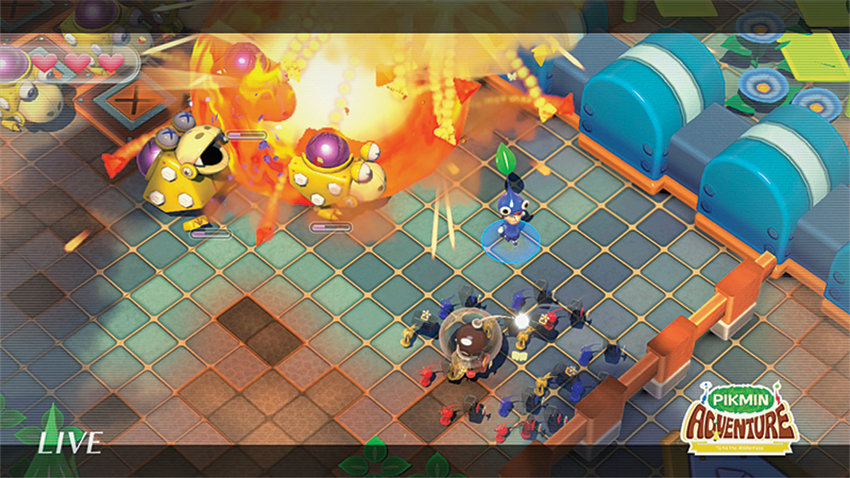
The Gate leads to a narrow corridor lined on either side by plenty of breakable blocks and a few Bombs. Put them to quick use against the Creepy Beebs and Bully Beebs that try to slow Olimar’s advance, then get on yet another Jump Switch for a one-way hop over the fence and right into a pack of sleeping Swift Dwarf Bulborbs. Thankfully, the ?Blocks directly to the north have Bombs inside, so quick movement will allow Olimar to lob and detonate the bombsto severely damage the Bulborbs with them. Clear out any remaining threats to activate another Jump Switch, but bag the Coin in the ?Block to the northeast of the Switch before moving on.
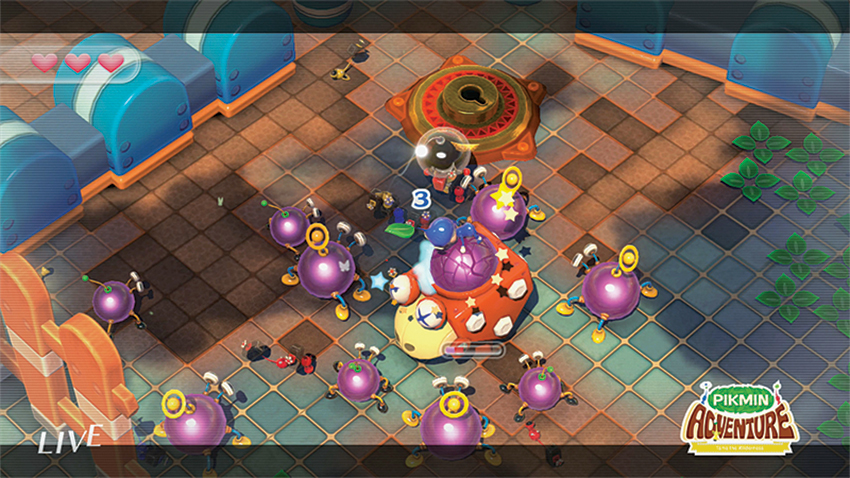
The destination for that last Jump Switch is a narrow path with quite a few Rocks laying around. Use them to take out the Bulborb and Creepy Beebs running around nearby, then grab another before heading north and lob it as soon as you see the Telescoping Pumphog to score a quick win and unlock another Jump Switch. This jump is just a little leap over the nearby fence, and you land right next to a Dwarf Bulborb. He’s not too much trouble, but the 10 or so Bully Beebs and Creepy Beebs that drop in near him might be if you’re not fast enough. Make use of Olimar’s dodge as needed to avoid the crowd and take out these threats to reveal a giant ?Block (containing a Big Heart) and the unlocked Gate.
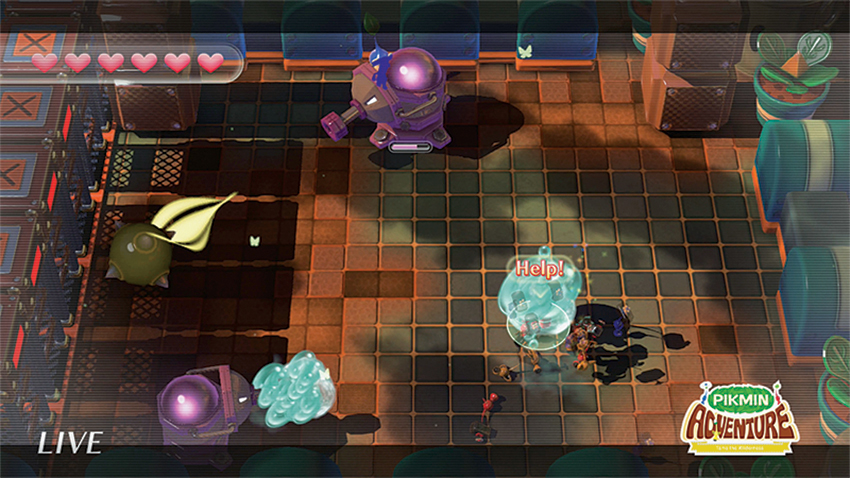
Be careful when attacking the mass of blocks to the north, as they contain valuable Nectar and a Hammer Seed that will come in handy in the areas to come. Hop on the Jump Switch, then scoot through the next area to find another Jump Switch that catapults you right into the midst of three Telescoping Pumphogs, two of which fire blobs of water in addition to their normal Spike Ball attacks and a handful of Creepy Beebs.
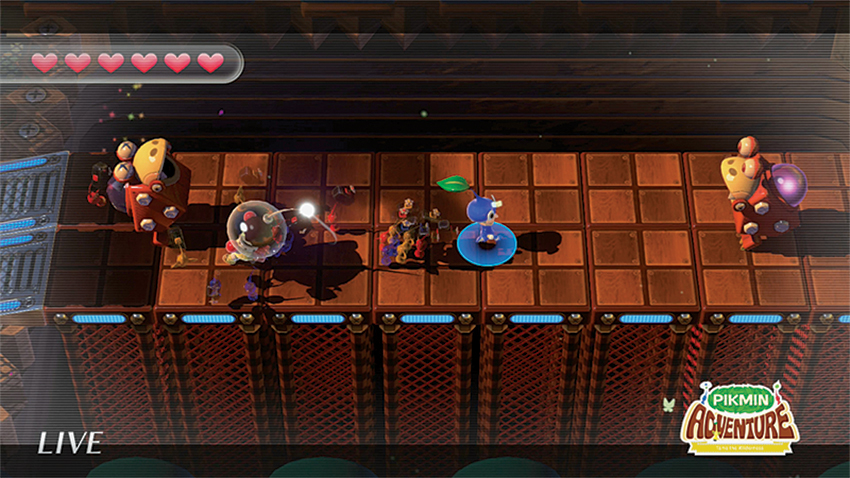
Once the Pumphogs and Beebs are gone, the barriers to the west drop, revealing a bridge. As soon as Olimar reaches the far end, though, a pair of Dwarf Bulborbs appear, one at each side of the bridge in an attempt to box the group in. Quickly deal with the nearest threat before getting ready to dodge backward, should the other Bulborb dash attack. Once both Bulborbs are gone, the barriers to the west lower to reveal—wait, why isn’t that Jump Switch on yet? Ah, right, the UFO dropping Dwarf Bulborbs (including a few Large versions) and Swift Dwarf Bulborbs might be the culprit. Concentrate your attacks on one target at a time to make short work of these threats, grab the contents of the giant ?Block, then hop aboard the now-active Jump Switch to be thrown into a small area with a small ?Block containing a Hammer Seed and a waiting Gate. Step into the Gate to meet King Beeb again.
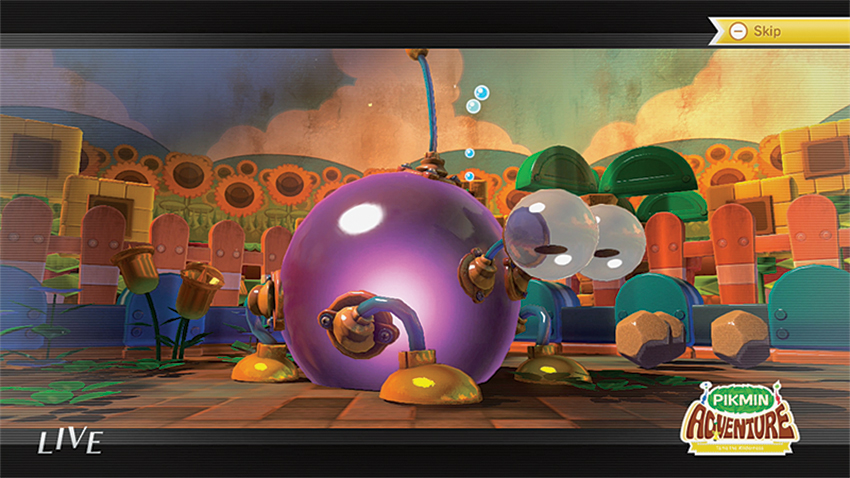
It appears the big guy is slumbering away peacefully as you arrive but wakes in a fury soon after—all the more reason to quickly grab a Rock and toss it at the bulbous threat before he can start rolling all over the place. What complicates this fight is the appearance of a few Telescoping Pumphogs around the edges of the level—they just love shooting those little water balls to hamper operations. Concentrate on clearing out the Pumphogs first to minimize random crossfire, then tackle King Beeb the same way as before. Avoid his rolling attacks (Rocks can help slightly slow or even stun King Beeb, but they aren’t a guarantee, so be ready to dodge as needed), then unleash the full fury of your Pikmin on his exposed belly to end this conflict.
7. Through the Darkness
Mastery Requirement: Escape within 1:40 without taking damage.
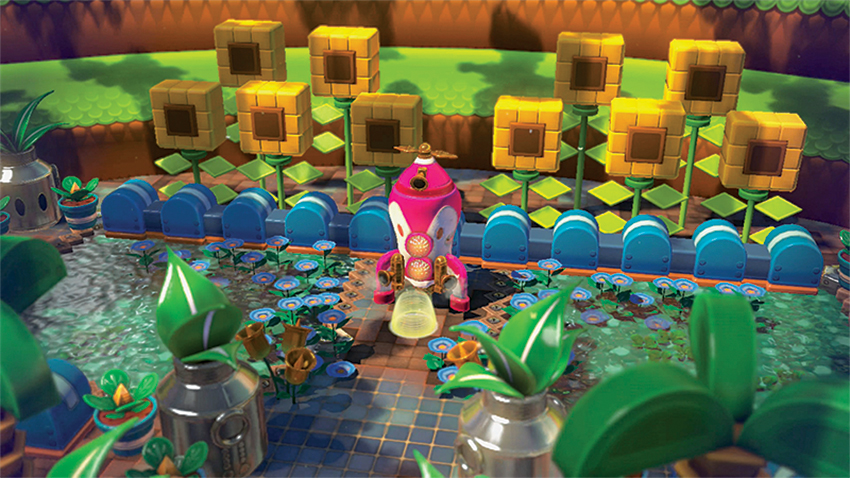
Up to this point, every Gate has simply flung Olimar up into the air, landing him and his Pikmin cohorts in some new above-ground locale. For the first time, Olimar must travel along a decidedly subterranean path. Plenty of things can hide in the dark, so be ready for anything. Oh, and did we forget to mention it’s a Timed Challenge? There’s that, too.
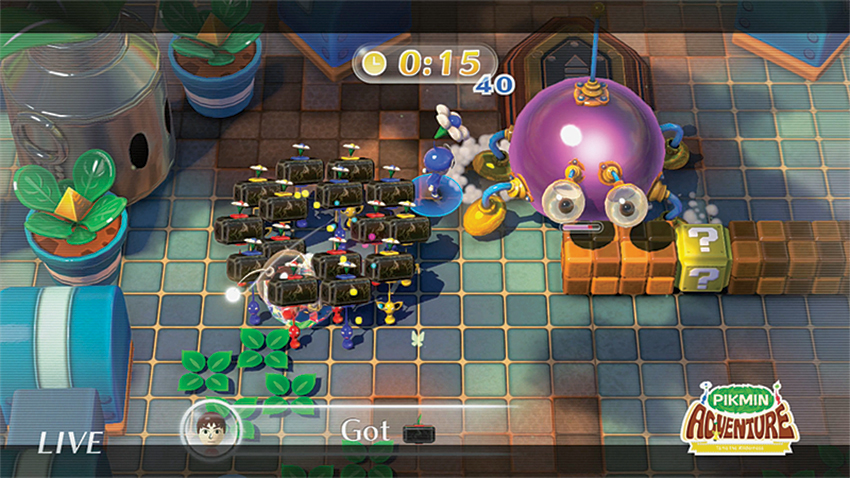
There’s no time to waste as Olimar and his Pikmin allies must push northward toward an inactivated Jump Switch. Quickly move toward the right ?Block to grab a Bomb and lob it near the Jump Switch, as another appearance by King Beeb explains why the Bomb inside the Block is so valuable. It’s also possible to make use of the Hammer Seed inside the other ?Block, but speed here is key. Scoop up the Clocks left after you destroy the large target, gather the Pikmin, and hop onto the Jump Switch.
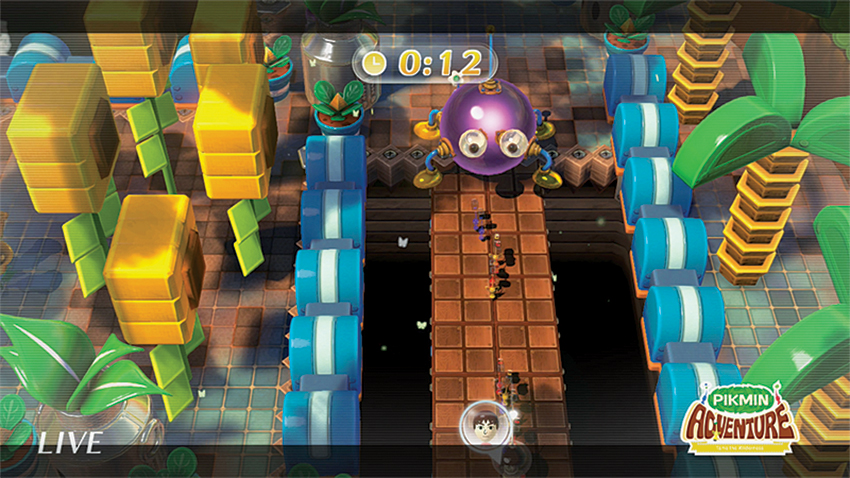
The Jump Switch gifts a one-way flight into a new area with a path that winds north for a bit before turning east. Ignore the Bully Beebs that drop nearby here and beat a straight path toward the giant ?Block to harvest the Clocks inside. Then move south along the path, ignoring the Telescoping Pumphog and putting some pressure on the Step Switch nearby. The Step Switch raises a thin bridge. The second Olimar starts to cross it, a King Beeb crashes the party. Race south across the bridge and activate another Step Switch to retract the bridge and send the King Beeb tumbling to his doom before heading west to a waiting Gate.
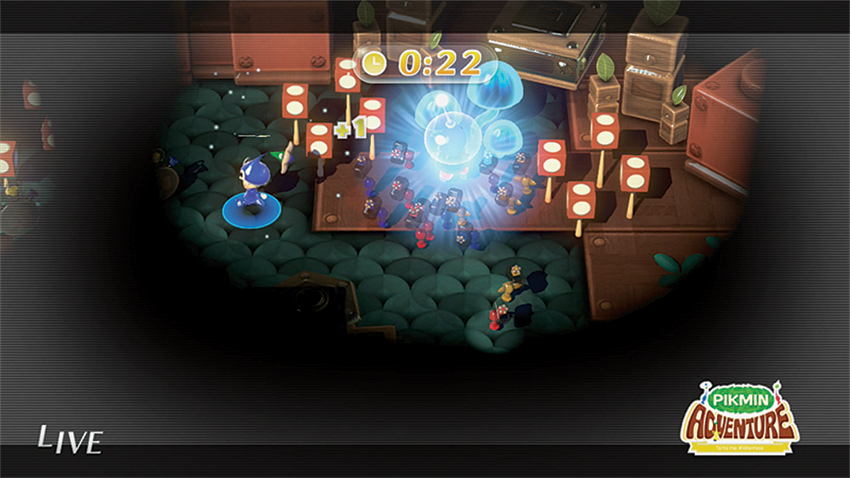
This gate, as mentioned at the start of this Challenge, leads underground to a dark and dangerous set of tunnels. Your ally on these darkened dashes is the humble Glowing Mushroom. Just by touching it, Olimar and the Mii Pikmin will glow a bit, and their precious light reveals enemies that may be waiting in the darkness between mushrooms. The Glowing Mushrooms also serve as a kind of guide, so follow them northward, then curve to the east and a bit north again, and finally double back to the west to a waiting Gate (if you happened to pick up a Hammer Seed and it’s still active, the Big Blocks to the north can be smashed through to save a few precious seconds, but should only be attempted with the additional attack power of a Hammer Seed). Remember to keep touching the Glowing Mushrooms to light the way and avoid getting ambushed by the few Dwarf Bulborbs that are patrolling this darkened area.
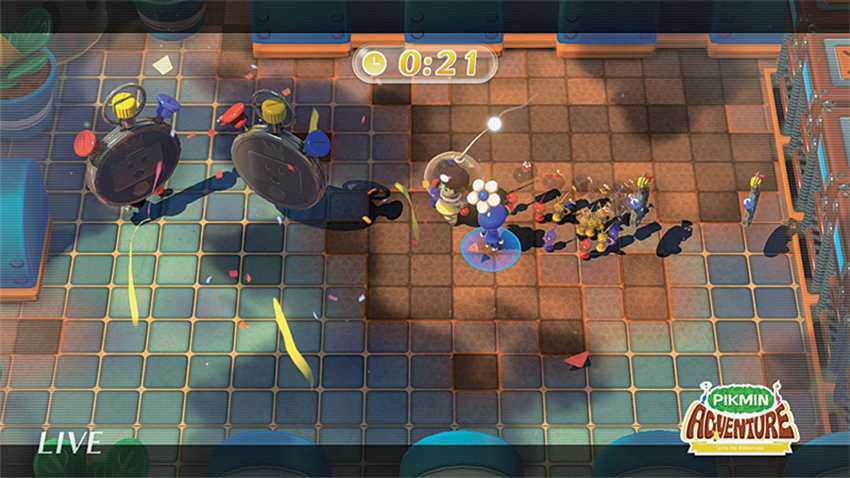
Things don’t let up once you’re topside again. A group of Dwarf Bulborbs attacks and must be defeated before the barriers to the east can be lowered. Thankfully, destroying the Bulborbs nets you a giant Clock for each felled enemy, which leads to plenty of bonus time. That will come in handy while you are battling a group of Swift Dwarf Bulborbs that march in from the east as the barriers are lowered. Defeat them to activate the nearby Jump Switch and take a ride to the mini-boss fight.
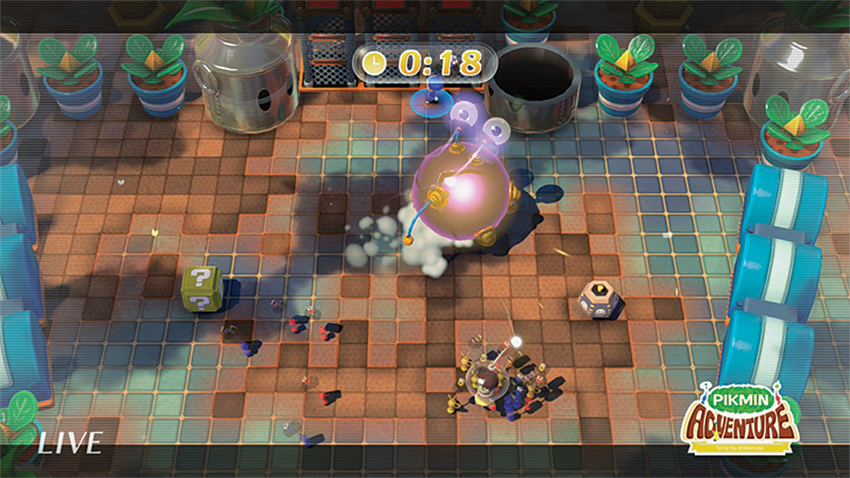
Yes, you have to fight another King Beeb, and this time with a ticking clock. Try to avoid his rolling attacks until the big monstrosity tires, then unload with everything you’ve got to overwhelm him. Don’t wait around too long, though. Those tiny Clocks he drops won’t do much to add time to the clock, so head north to The Ship and freedom!
8. Swamp Master
Mastery Requirement: Escape within 1:45 without taking damage.
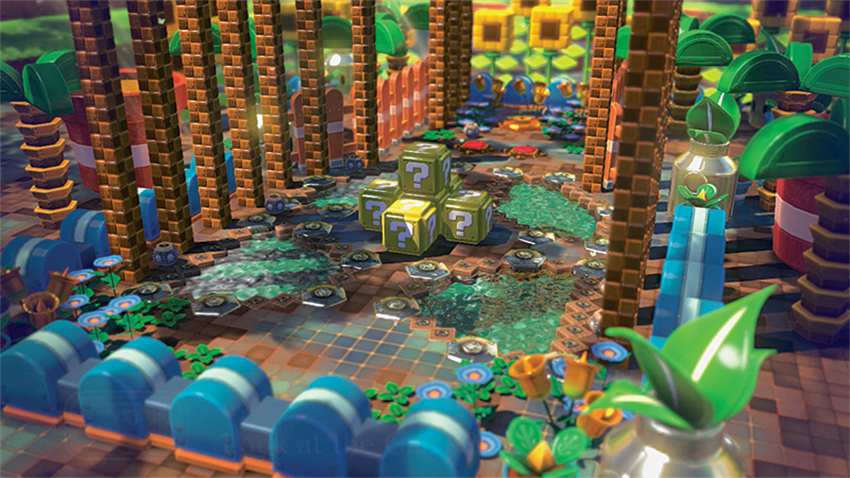
You’ve made it through an impressive array of challenges thus far, but it’s time to face off against one of the biggest threats yet in this final confrontation for the area. That’s right, it’s boss fight time!
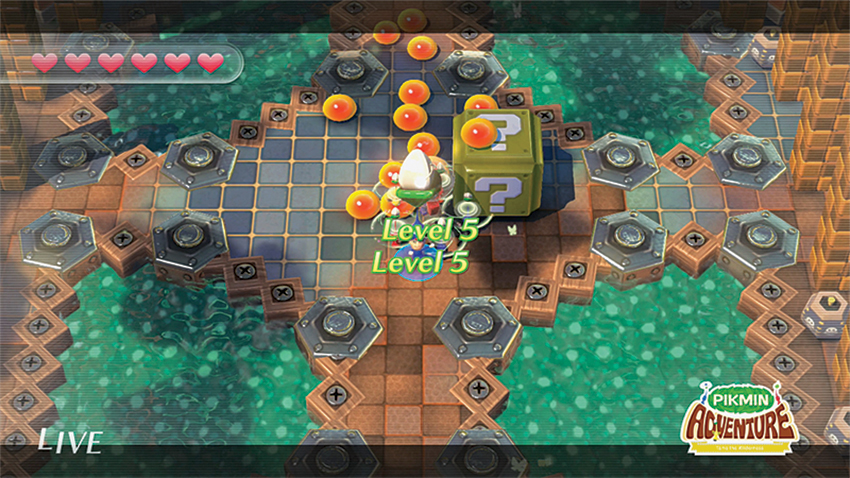
There’s not much in the way of prep before the big battle ahead, so spend as much time as you need destroying the towers of blocks and harvesting the goodies therein. The stack of giant ?Blocks contains quite a bit of Nectar, so make sure you’re fully stocked before you head onto the Step Switches that unlock a Gate at the north end of this area.
9. Lord of a Barren Land
Mastery Requirement: Escape within 3:20 without taking damage.
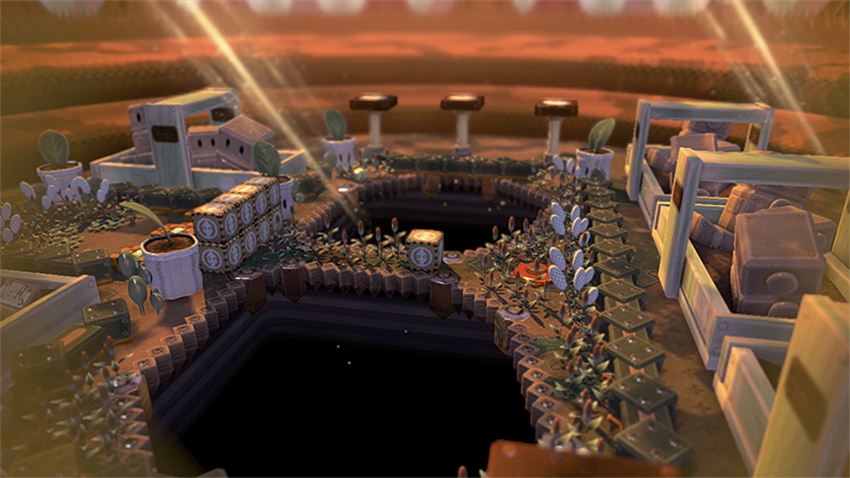
Something very subtle happened when you pressed that little right arrow on the GamePad touch screen to move to the next eight Challenges. Did you feel it? That almost imperceptible ratcheting up of the difficulty? Well you’re about to experience it first-hand as Captain Olimar and his faithful Pikmin pals land on a world seemingly lost to the rigors of time.
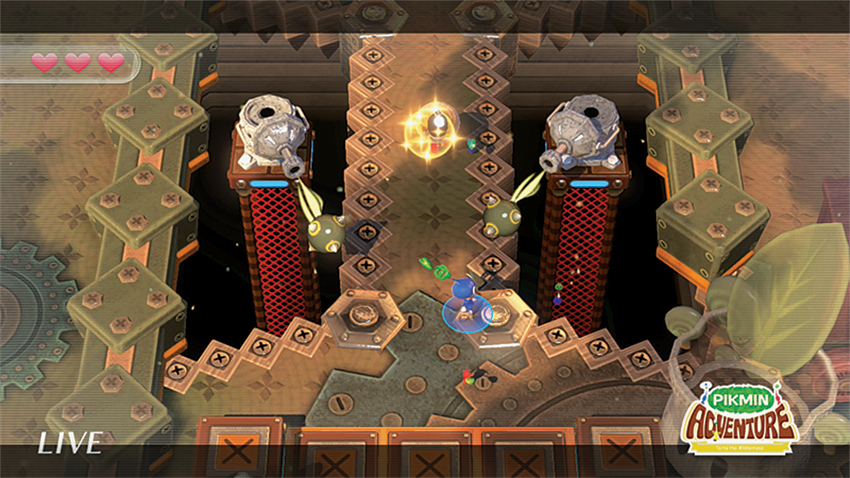
When the barriers lower, you may find yourself wishing they hadn’t. Rising from the depths on either side of the skinny bridge just past the barriers are two Invulnerable Pumphogs. Classified by their grayish appearance and complete lack of purple orb weak spots, these threats have to be avoided rather than fought. Thankfully, just running north up the bridge leads to a Step Switch that deactivates the threats before their endless supply of Spike Balls gets the better of the group. Doing so unlocks a Gate up ahead, but don’t forget to destroy the ?Blocks on either side of the Step Switch to gather some Nectar before diving into the Gate.
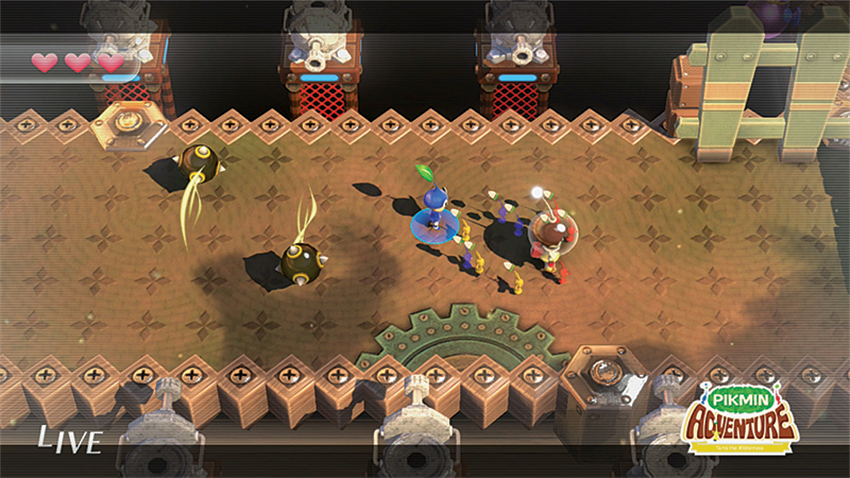
Don’t tarry too long on this walkway, however. A firing squad of Invulnerable Pumphogs line this bridge as Olimar makes a break to the east. Watch the patterns carefully and make horizontal swipes across the touch screen to jump out of the way of incoming fire, pausing between shots to avoid getting nailed by the Spike Balls and gather the Pikmin after smashing through a small wall of blocks. Step on a Jump Switch that mercifully ejects the group out of harm’s way.
More Pumphogs attack as soon as the group lands, and you must take them out before another Jump Switch will activate. When the mess is cleared and the Jump Switch flings Olimar and the Pikmin over the wall, continue moving to the northeast, smashing the short towers of blocks if desired for a few Nectar goodies, and a Whip Seed in the small ?Block sitting atop one of the towers. Another Jump Switch waits, signifying yet another transition between areas.
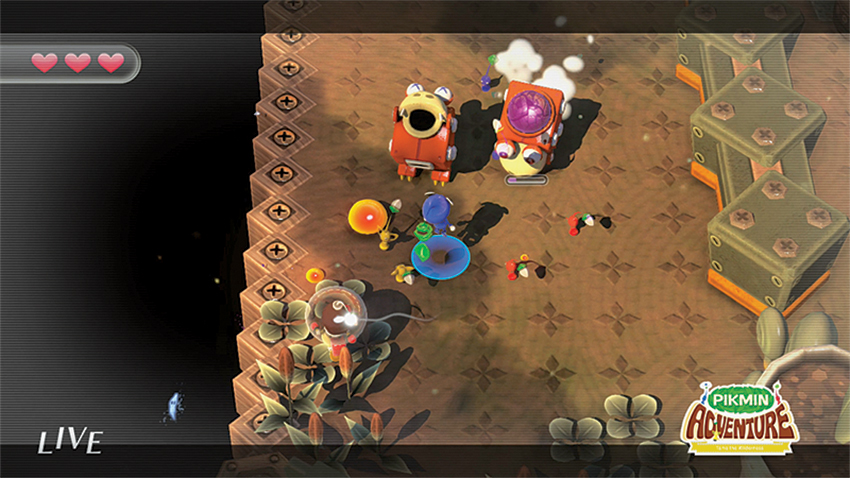
The short trip over the fence is complemented by quite a bit of resistance on the other side. A group of over-eager Dwarf Bulborbs and Swift Dwarf Bulborbs drop from the UFO in Capsule form, and must be bested to unlock the nearby Gate. Stay agile, dodging as needed and rain down attacks on one Bulborb at a time where possible. When the group is defeated, step into the Gate.
A trio of ?Blocks surrounded by their lesser, checkered variants waits in this new area, as well as a towering stack of Pikmin-branded blocks. Smash them all and pick up the goodies inside, then proceed across a small, narrow bridge in preparation for a short fight against a lone Large Dwarf Bulborb. So long as you take him out quickly, there shouldn’t be much danger here. Another Gate awaits after the coast is clear.
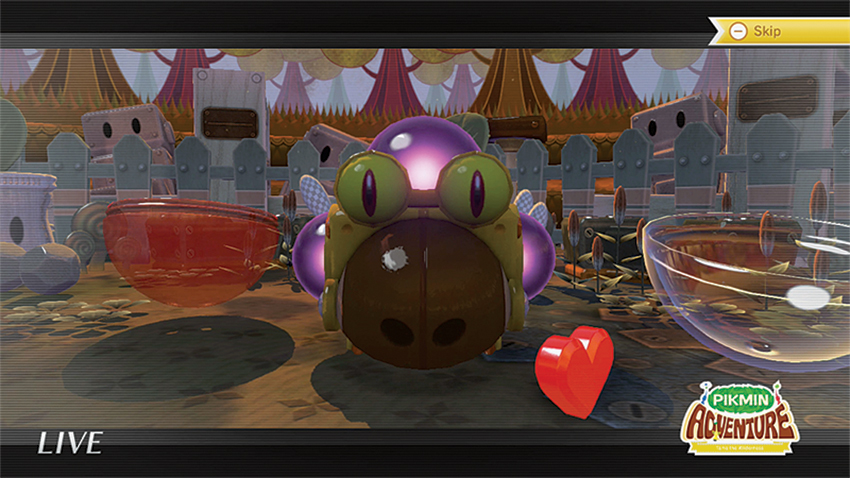
On the other side, expect a rather nasty fight against a swarm of Dwarf Bulborbs and Swift Dwarf Bulborbs big and small. Ignore the Bombs laying nearby and make the most of the open area you were dropped into, slowly thinning enemy numbers until the UFO drops off something a little more Olimar’s style.
10. Burst the Giant Balloon
Mastery Requirement: Escape within 3:30 without taking damage
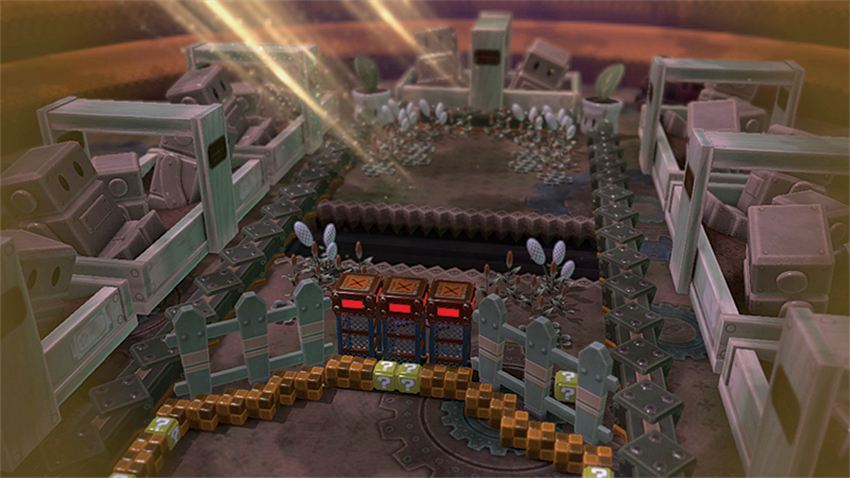
It’s been a while since the last straightforward Challenge, but this is one of them. Your task? Find and eliminate a particularly bulbous threat. Along the way, you’ll discover plenty of familiar enemies in startling amounts, but keep a cool head and quick reflexes, and they’ll go down just as fast as those that came (and went) before.
If you’re the sort that enjoys smashing every last block, get ready for a smasher’s paradise. A few blocks to the northwest are ripe for the crushing, but more importantly, a giant ?Block surrounded by more checkerboard targets offers up a Whip Seed and a bunch of Nectar to kick-start that leveling-up process. After you destroy at least the ?Block, head south to a Jump Switch to get a nudge over the nearby fence.
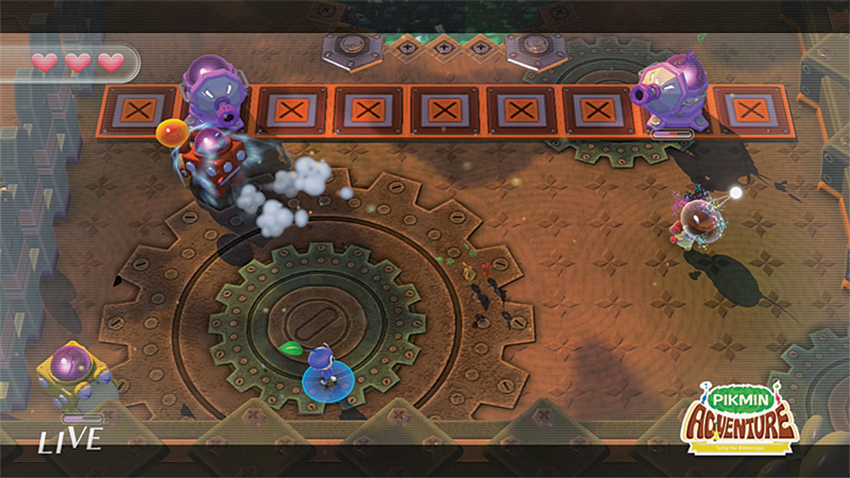
A long set of fights breaks out here, and there aren’t exactly a small number of enemies to take out. Use the wide length of this area to stay on the move, and snap away at the Bombardier Beebs, Creepy Beebs, Dwarf Bulborbsand pesky Swift Dwarf Bulborbs while keeping one eye on that row of barriers to the north. When it drops, be ready to take down a couple of TelescopingPumphogs (thankfully the vulnerable type), then grab the contents of a giant ?Block and mosey northward for another Jump Switch. Don’t make that leap just yet, though; a set of ?Blocks hold a Hammer Seed and a Whip Seed. Get them so that you can customize your Pikmin’s damage type (then let the Mii Pikmin grab the other if you so choose). Then head for the Jump Switch.
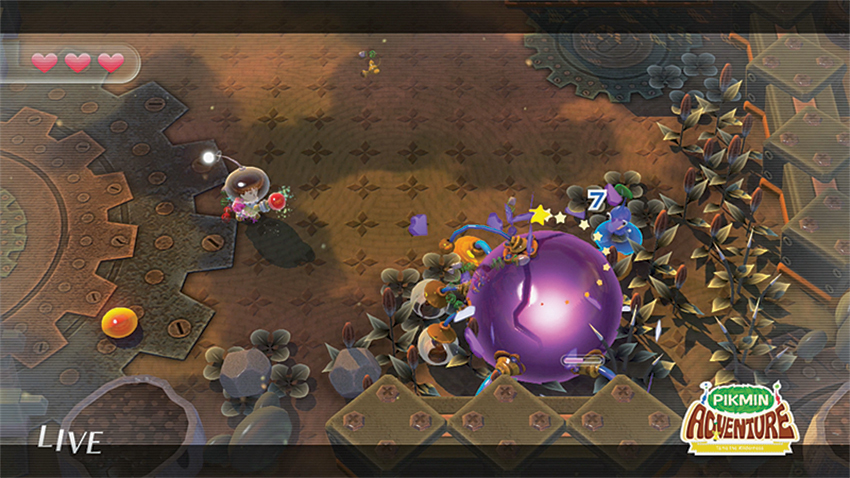
The group is scarcely over the fence before the UFO arrives again, with its Dark Monita pilot dropping some pesky Swift Dwarf Bulborb threats. Concentrate on taking out the smaller guys first, then let the King Beeb do his usual rolling business before lighting him up as soon as he stops. Nearby Rocks should be thrown while King Beeb is rolling around, though with those Seed-powered Pikmin, the real damage can be piled on whenever the creature pauses between rolls.
With King Beeb defeated, a large ?Block appears, offering more Nectar, then all that’s left is to head northward to a waiting Gate.
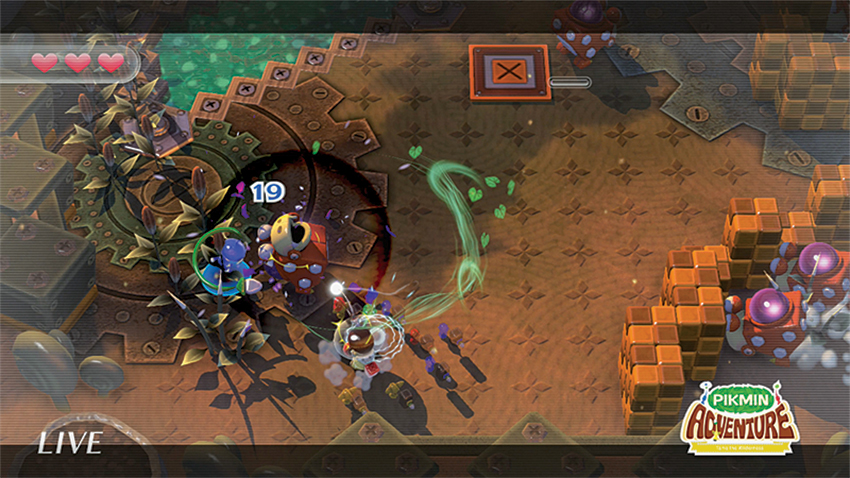
That Gate dumps everyone off right in front of yet another Jump Switch—never a good sign when it comes to potential enemy encounters ahead. Ride the Jump Switch into a rather large arena bounded by breakable blocks, but keep your attention trained on the Blowhogs. When that first wave of enemies is cleared out, the pillar marked with an X in the middle of the area lowers, releasing a large group of dash-happy Dwarf Bulborbs. Leave the blocks to the right to help pen in the bulk of the Bulborbs and work on eliminating one at a time. Have sideways dodges at the ready in case the others escape, then systematically pick through the remaining threats until you have cleared them out.
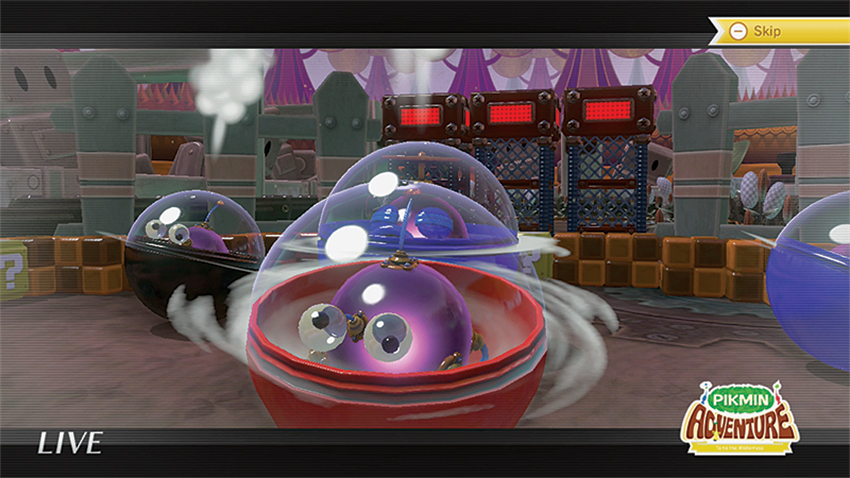
This fight isn’t over yet, though. More Blowhogs, joined by a Telescoping Pumphog right in the middle, need defeating, though at least they’re less plentiful than the previous waves of enemies. Smash every purple orb in sight to finally clear out the area, loot the large ?Block, and head northward, destroying any of those pesky blocks that might be tempting. Smash the ?Blocks before the Gate to reveal a Hammer and Whip Seed of your choosing, then head into the gate for a boss slog.
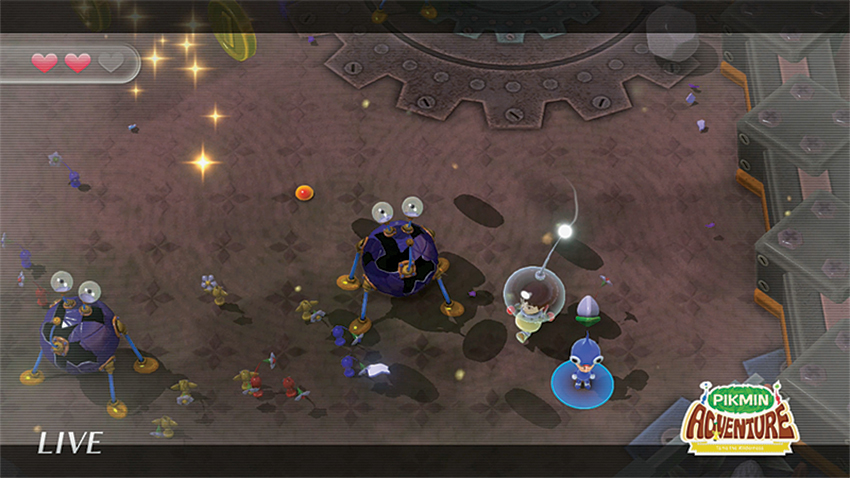
Dark Monita and that darned UFO are back again, and this time they drop off a quartet of Capsule-held Beebs—but they won’t stay in Capsules for long. When the Capsules pop open, you’ll be confronted by two different types of threats: three of those Bully Beebs that love rolling around so much, and one very huge Dwarf Puffy Blowhog. Ignore the Bully Beebs. They’ll just keep rolling forever, which means it’s time to concentrate on the beaked attacker. Stay as agile as possible, attacking only when the ever-rolling Bully Beebs have put some distance between Olimar and the boss. With some beefed-up, Seed-powered Pikmin, this big beaked balloon will be popped, and when he goes down, so do all the other Beebs. Hop on the Jump Switch to the north after scooping up the Coins (including one just southeast of the Jump Switch) to clear the chasm and board The Ship. Nice work!
11. Back-Garden Escape
Mastery Requirement: Escape within 1:50 without taking damage.
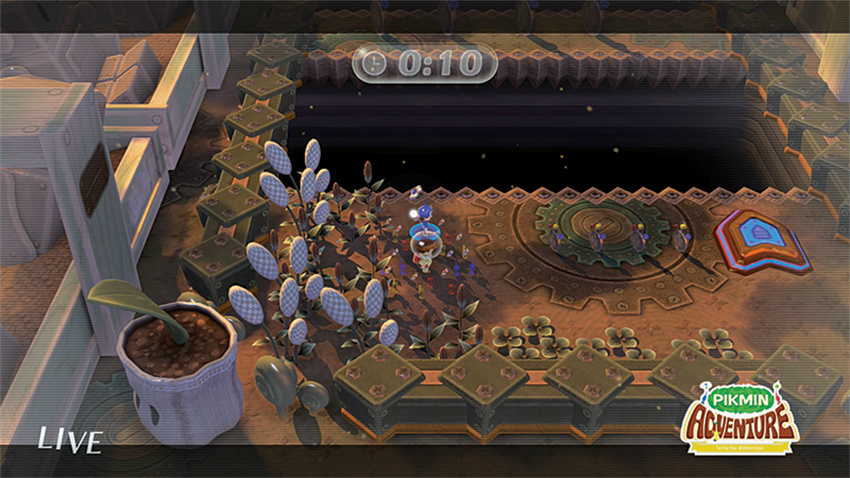
You know what we haven’t seen in a while? Yep, one of those Timed Challenges. Thankfully, the Back-Garden Escape is just that, and it’s a doozy. Remember the rules of old: Only fight enemies you have to (unless you have plenty of time), always stay moving, and recall all Pikmin before stepping onto a Jump Switch to maximize those precious few seconds it takes to rally the troops.
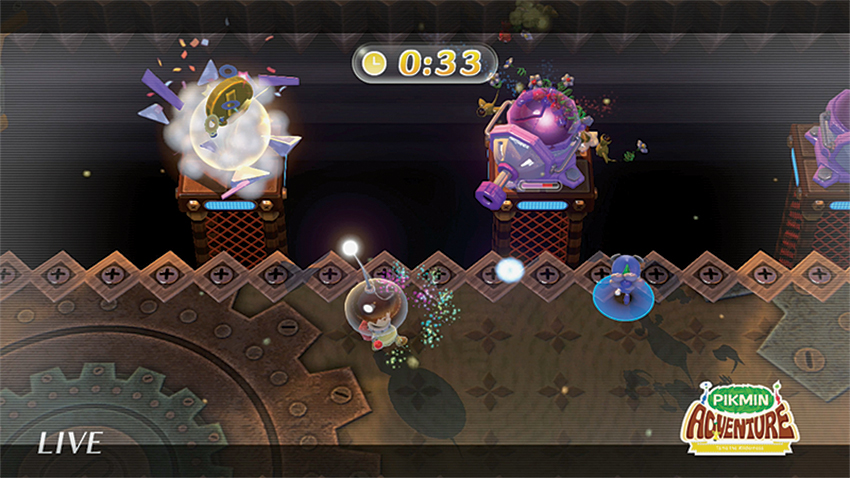
Immediately recall all Pikmin as you dash to the east, picking up the string of Clocks to be prepared for the Jump Switch just a head, then sprint left to collect the Big Clocks, avoiding the beaked Blowhogs with careful dashes. Eliminate the Blowhogs to trigger the appearance of three Telescoping Pumphogs. Defeat them by attacking from in between while theyve scrunched down between shots, and then moving directly in front when they’re about to fire to avoid the Spike Balls. When they’re gone, some bridges appear, and crossing them to the north leads to a pair of Step Switches that unlock the Gate just beyond.
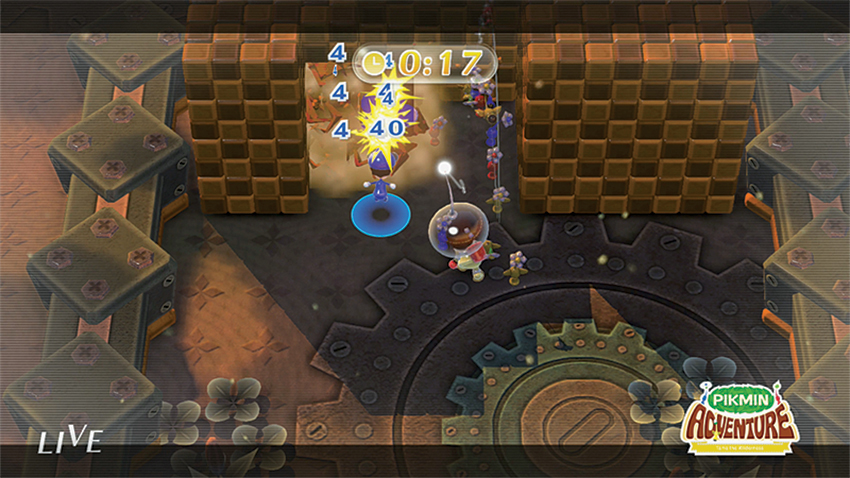
Head north as soon as you land, attacking the giant ?Block to release a much-needed Big Clock, then absolutely batter the deep wall of blocks directly in front. On the other side of the wall waits another Big Clock and a string of smaller ones leading to a Bombardier Beeb that you must beat quickly before it can explode.
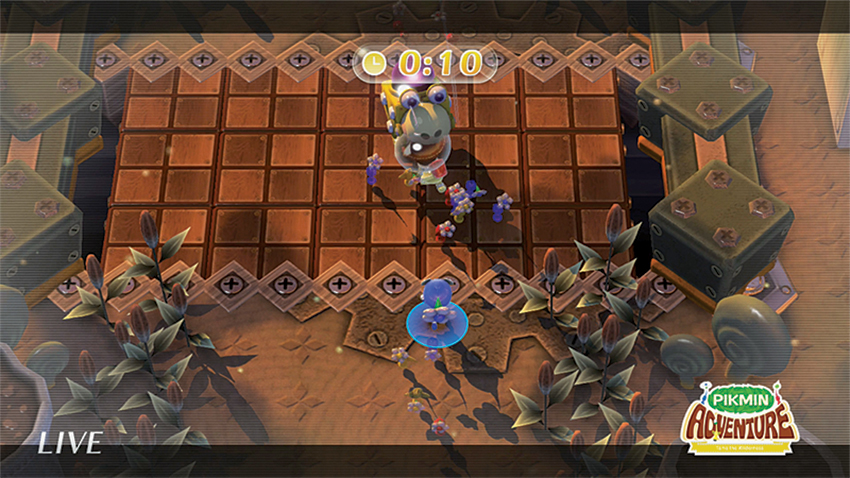
Felling that monstrosity offers a small reward of some Clocks, but also releases even more Dwarf Bulborbs. Get them as quickly as possible. While their elimination yields one small Clock per Bulborb, it’s a pittance compared to the amount of time remaining. A giant ?Block offers ten more seconds of time, but it’s just enough to take down a Swift Dwarf Bulborb that appears on the bridge that winks into existence just past that Big Clock. Rush into the unlocked Gate and on to the next section.
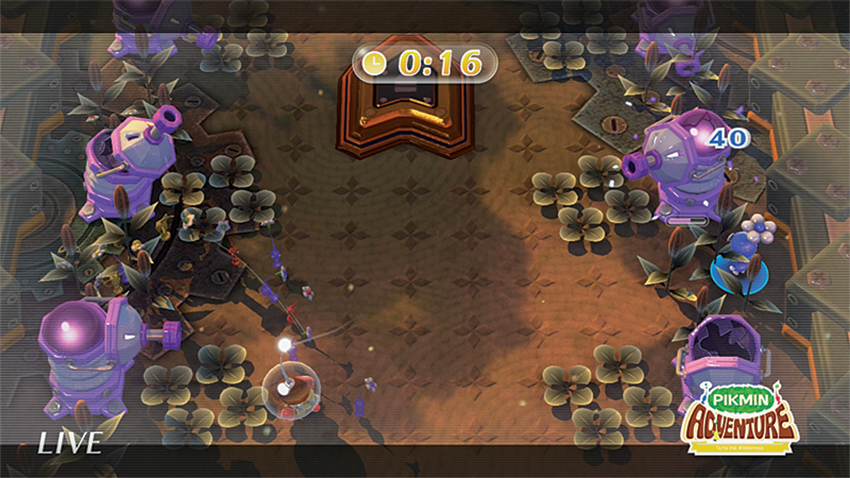
One again, dash north as quickly as possible to scoop up more time, but be ready for a gauntlet. Multiple Telescoping Pumphogs wait to attack on the lowering barrier to the north, and past them is a long row of Telescoping Pumphogs on either side that you must take out with surgical precision to activate the Jump Switch in their midst. Attack one target at a time, but the second their weak points shatter, immediately move on to the next target. Clean, swift attacks are key here, so avoid attacking from the middle where crossfire can hit you, costing valuable seconds of recovery time.
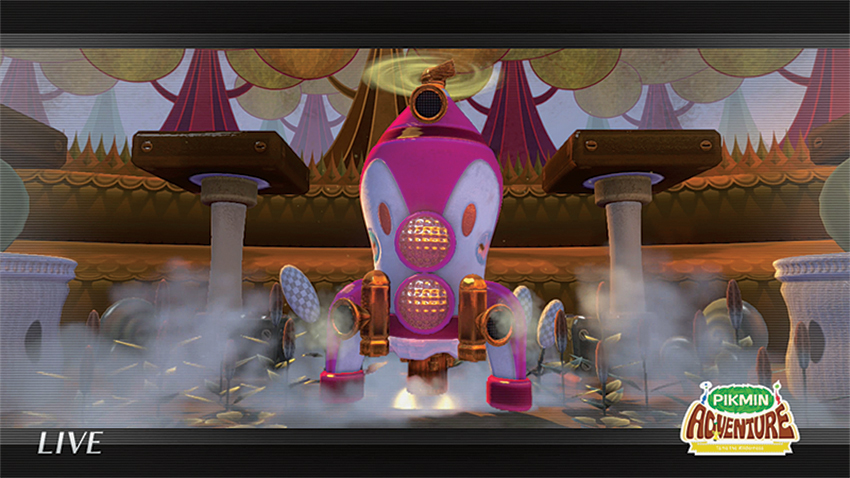
One final challenge waits between you and your ultimate goal of escape: a small army of Large Dwarf Bulborbs and Large Swift Dwarf Bulborbs. The first wave comes from the north, jumping down from a set of lowering barriers. Besting the first group offers the reward of a Big Clock and with it 10 more seconds, but another group of the same Bulborb types drops down shortly after the first is extinguished—and these ones spit water. Try to maximize movement by dodging around the water and recalling Pikmin to make sure you’re fully stocked up on ammo. This can be an extremely tough fight, and time is at a premium, so stay on the attack. The Ship is just ahead!
12. Shining Eyes
Mastery Requirement: Escape within 2:45 without taking damage.
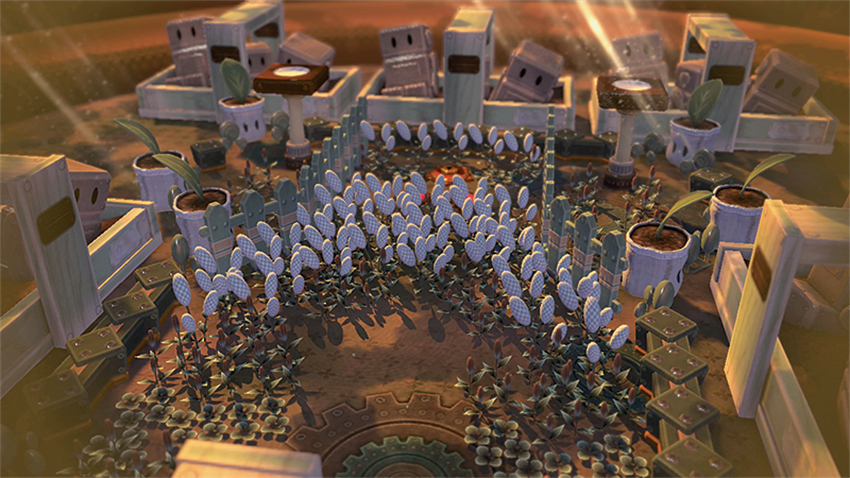
It’s been a while since a truly new boss fight, but this one proves to be the toughest yet. Get ready for some serious opposition in multisegmented form.
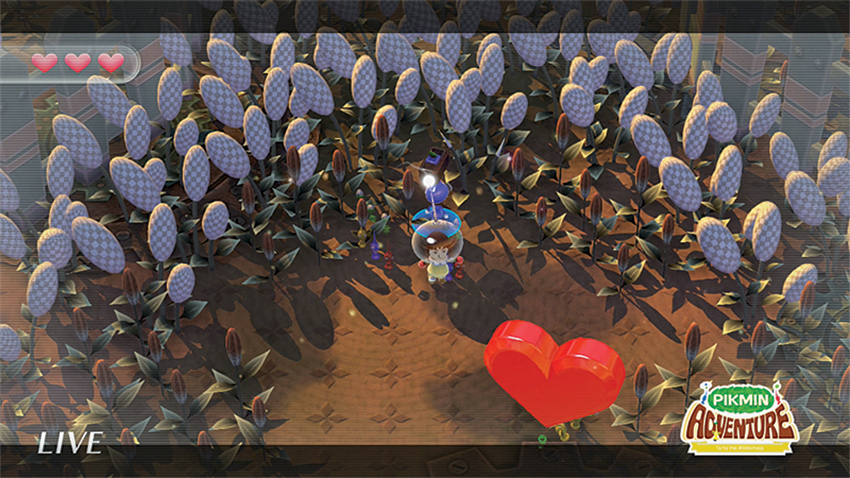
It’s never a comforting sight to have five giant ?Blocks pop up from the ground as you move north, but here they are. Bust them open to find more than a few clues that this is going to be a tough Challenge: Nectar (enough to get both Olimar and his Pikmin and the AI Mii Pikmin up to Level 5 if neither party is greedy), Whip and Hammer Seeds, and after all those ?Blocks have been looted, another appears with a Big Heart. Yes, this is going to be quite the fight. Head north to a set of Step Switches that unlock a Gate to the big brawl.
13. Ice Arena
Mastery Requirement: Escape within 4:00 without taking damage.
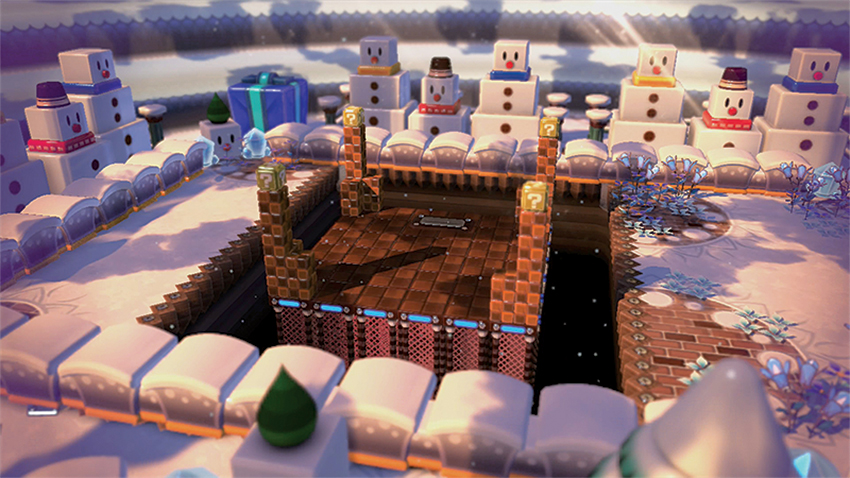
It’s time for a change of seasons as the browns and greys of the last area give way to the pristine white of winter. Don’t start making snow angels just yet, though, for there are still dangers lurking in the drifts.
Head south to hop on a Jump Switch that launches the group into an area that holds a prominently placed giant ?Block. No time for cold feet—smash it open!
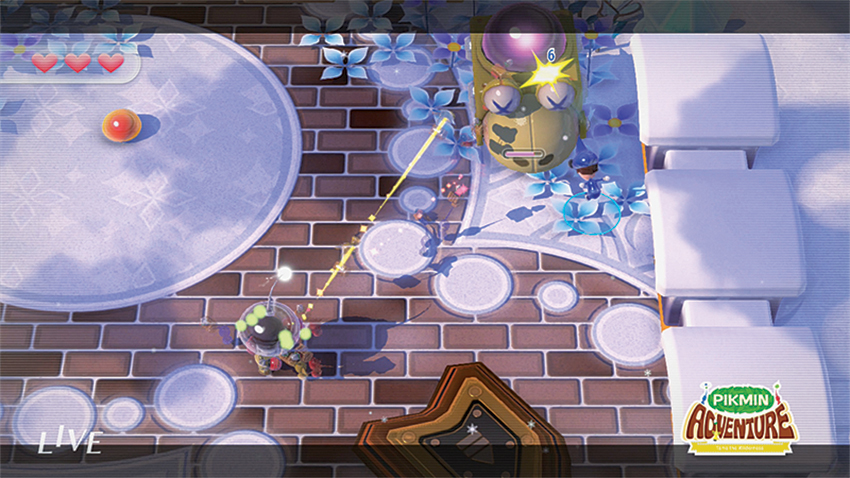
Oh look, here comes the welcoming party. The UFO drops a handful of Capsules, which offer the perfect first taste of what the Knuckle Seed can do. Hang back and enjoy the increased range and impact your upgraded Pikmin have, then scoop up the Nectar inside the big ?Block that appears and destroy any other blocks you feel deserve it before pushing north across the bridge that just appeared. Destroy the bigger blocks here for more Nectar, then gather all the Pikmin and step onto the Jump Switch to take another short trip.
The Jump Switch launches the group into a medium-sized arena filled with a handful of Bulborbs, including Fast Dwarf Bulborbs and new Feral Dwarf Bulborbs that are more aggressive. They’re hardly a threat when the Knuckle Seed Pikmin can attack from greater range, and even the huge Swift Dwarf Bulborb that’s dropped in from the UFO doesn’t stand much of a chance. Mop up these threats, then be sure to explore the area for some Nectar hidden in a big ?Block. Then hop on the Jump Switch in the southeast corner of this area.
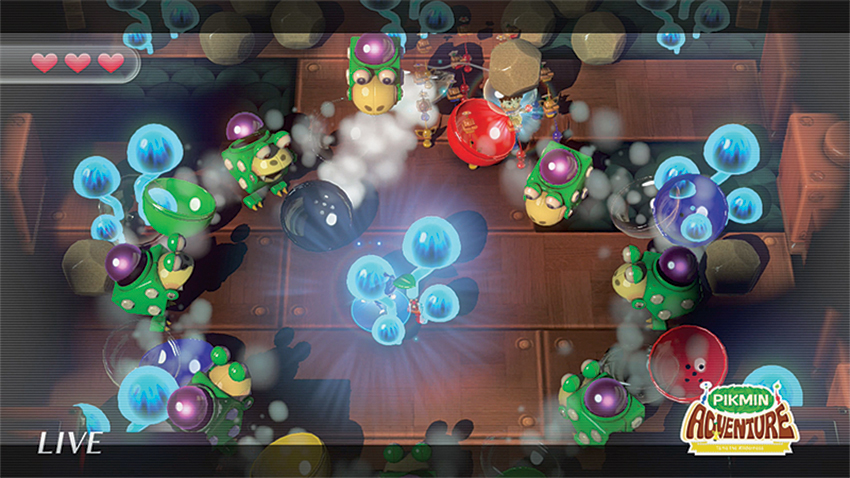
It has been a while since the last subterranean trip, and at least going underground means getting out of the cold, but this is a place with an abundance of danger. Remember the Glowing Mushrooms from before? They’re your key to shedding some light on this place and avoiding ambushes. Head north, past a locked Gate and smash through some large Pikmin-faced blocks to discover pair of Step Switches that lower a barrier that leads to a small group of Bulborbs. Dispatch the lot of them to open the Gate back down to the south, but don’t forget to grab the Nectar and Coins inside a pair of ?Blocks on either side of this hallway, plus the big ?Block of Nectar that appears after the Feral Dwarf Bulborbs have been eliminated.
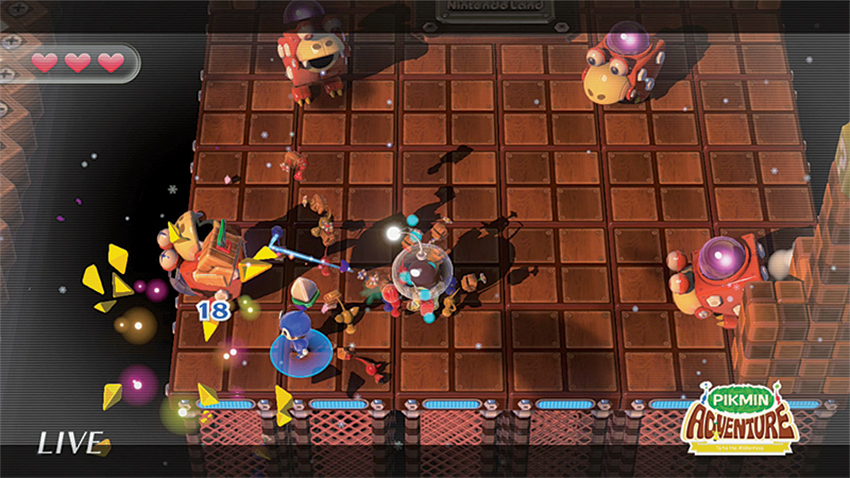
Take note of the camera pan showing a square platform with sheer sides. Though the group doesn’t quite land there, the Jump Switch to the north makes it pretty obvious they’ll be there soon. Smash the giant ?Block to pocket a Knuckle Seed (if needed), then head to the Jump Switch and into a battle royale.
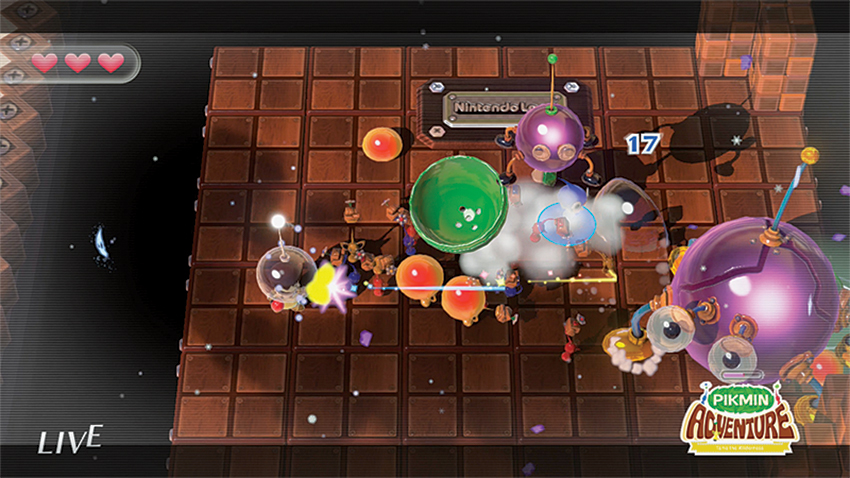
Dwarf Bulborbs are the first to show up, but you can quickly take them out by hanging back and attacking from afar. Avoid attacking the pillars of blocks at the four corners of this small arena for now, as they contain valuable upgrades like Knuckle Seeds that can be used if Olimar or the Mii Pikmin get hit. The Bulborbs you defeat give way to some Feral Dwarf Bulborbs, though the challenge here is less in worrying about attacks and more about the limited amount of space you have in which to maneuver. Dodges are a great way to clear a lot of distance, so use them often as long as Olimar is dodging away from the edge.
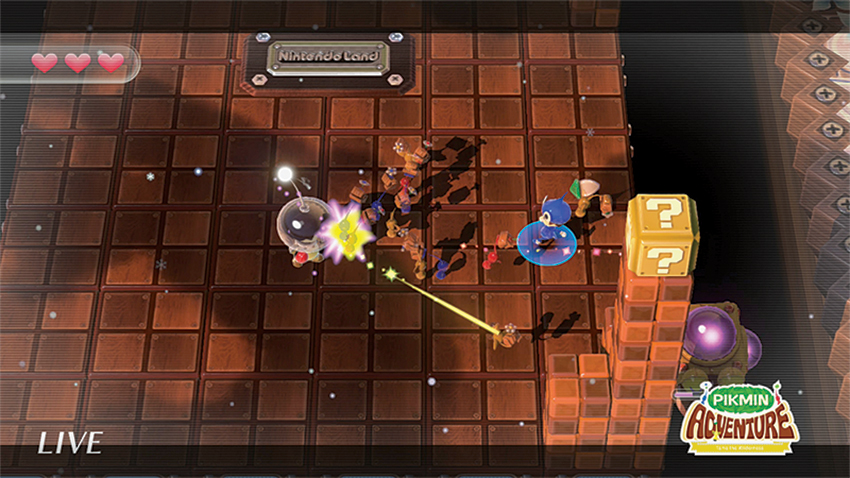
After a few waves of Bulborbs, King Beeb drops in. Pour on the attacks and, with luck you’ll be able to force the big baddy off the edge of the arena. The Bilious Bulborbs that appear after the Beeb has been taken out most definitely can be taken out by attacking after they’ve dashed near one of the edges. Chipping away at the block pillars can help here, too if you’re having difficulty. When the mob has been quelled, a big ol’ ?Block appears and The Ship touches down for escape. Just head east to hop in and blast off.
14. Out of the Darkness
Mastery Requirement: Escape within 3:10 without taking damage.
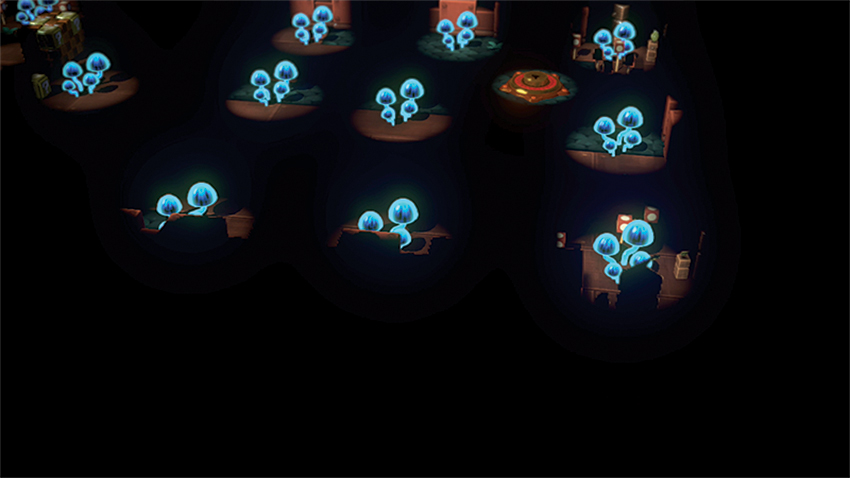
Grab your night-light, because it’s time to find a way out of the inky dark of this over-, under-, over-ground Challenge. Keen eyesight and fast reflexes, plus plenty of Glowing Mushrooms make this a sneaky fight to test your mettle.
Things do start above ground, but there’s not much to do here other than pound away at the nearby castle made of both breakable and unbreakable blocks. When your block destruction urge has been sated, head to the east to drop down into the first part of the stage.
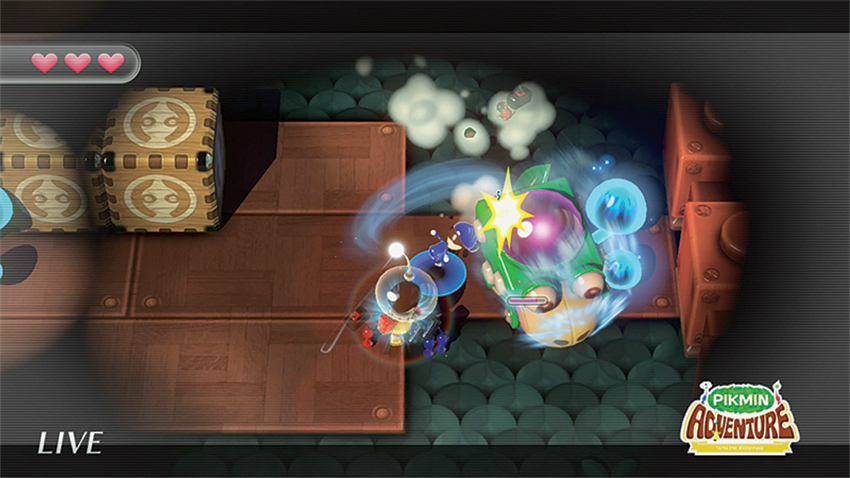
A Feral Dwarf Bulborb, raring to go, waits just on the other side of the Pikmin logo blocks—and it’s quite capable of dashing through them to get to Olimar and the Pikmin. A large ?Block just to the east of the starting position has a Hammer Seed inside it if you’re quick enough, but concentrate on taking down the Bulborb quickly afterward. Bust open the large ?Block to the west and the one that appears after you fell the Bulborb to harvest the Nectar and Knuckle Seed inside, respectively.
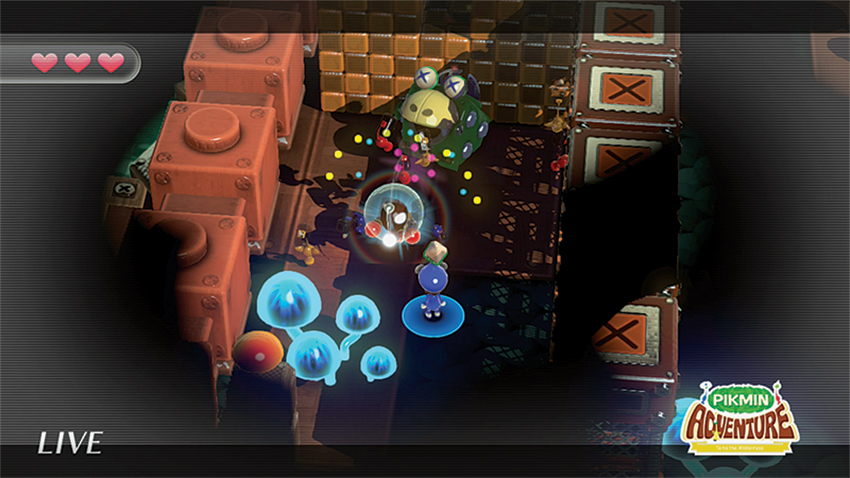
Stick to the Glowing Mushrooms to avoid getting ambushed while you head north to a set of Step Switches that lower a barrier with some Bully Beebs waiting on the other side. The increased light of the Glowing Mushrooms will help you target the Beebs quickly, and allow Olimar to move forward through a series of barriers with a handful of Bully and Creepy Beebs, and a Feral Dwarf Bulborb among them. Proceed north until the barriers prevent further movement, then west, felling any enemies in the way to lower more barriers. Bust open the large ?Block, but be careful while moving eastward. Another Feral Dwarf Bulblord waits to attack. The camera shifts directions, and Olimar is now travelling north.
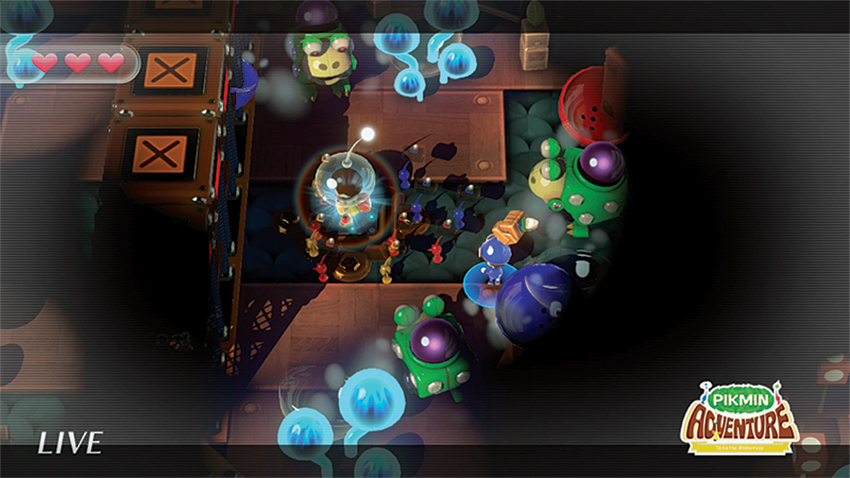
Smash carefully through the walls of blocks, and stick near to Glowing Mushrooms wherever possible to avoid Beeb and Bulborb ambushes. When the camera shifts again, look north for a Step Switch, but be ready for a contingent of more Feral Dwarf Bulborbs that drops down to cause a fuss. Take them out, and the barriers to the west will lower, granting access to a bridge over Dwarf Bulborb-infested waters and eventually to a Gate that leads farther down.
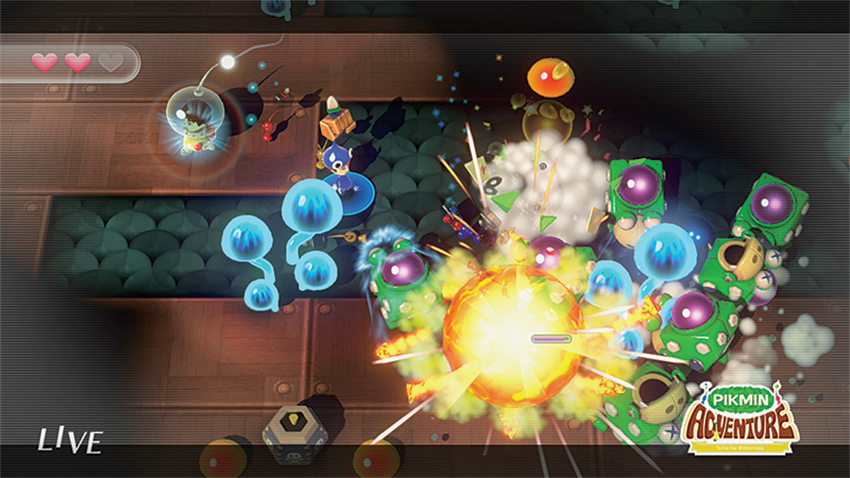
Make a break for the nearest Glowing Mushroom to insure the most light possible, then move east toward some small ?Blocks. Smash these to find a Hammer Seed, but be careful of Bombs being lobbed from farther east. They’re coming from some Telescoping Pumphogs, which are in turn protecting a set of Feral Dwarf Bulborbs farther east, which huddle around a Glowing Mushroom. If you can get down to them, a handful of dormant Bombs can make short work of most of the Bulborb group, and then open another Gate leading even farther down into the depths.
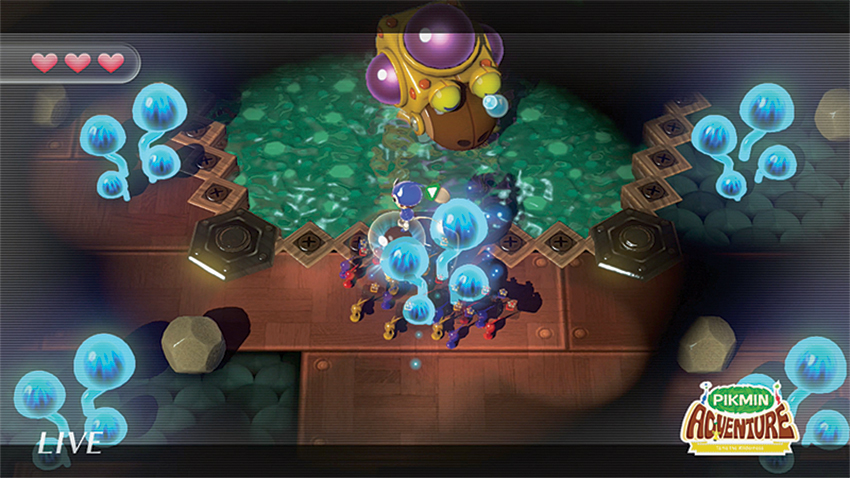
The first steps here are the same as the upper level: Find a Glowing Mushroom and touch it ASAP, then head slowly to the east, breaking any ?Blocks you come across for valuable Nectar. Heading north from the giant ?Block reveals a Jump Switch that leads down to a dark, watery area where a Large Dwarf Bulborb waits.
15. Bulborb Baths
Mastery Requirement: Escape within 1:20 without taking damage.

So this is where all those Bulborbs go to get clean, eh? One thing’s for sure: There’s going to be a heavy enemy presence here, so roll up your sleeves and get ready to tap away. Oh, and did we mention it’s a Timed Challenge? Sorry.
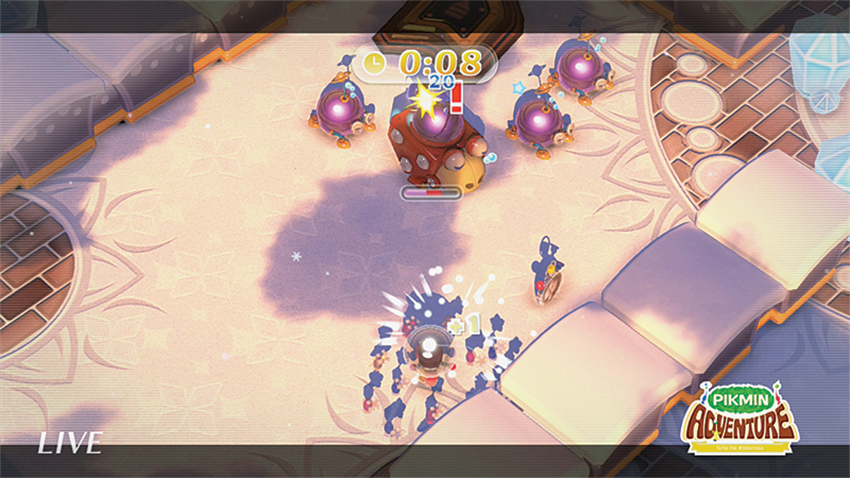
Immediately gather your Pikmin and step onto the Jump Switch to the southeast, which ejects the group over the nearby wall and toward some small one-second Clocks. Directly northwest is a slumbering Dwarf Bulborb and some Creepy Beebs. Take out the former first before you concentrate on the latter, then quickly gather the Pikmin, scoop up any dropped Clocks (including the big one worth 10 seconds), and step onto the now-active Jump Switch.
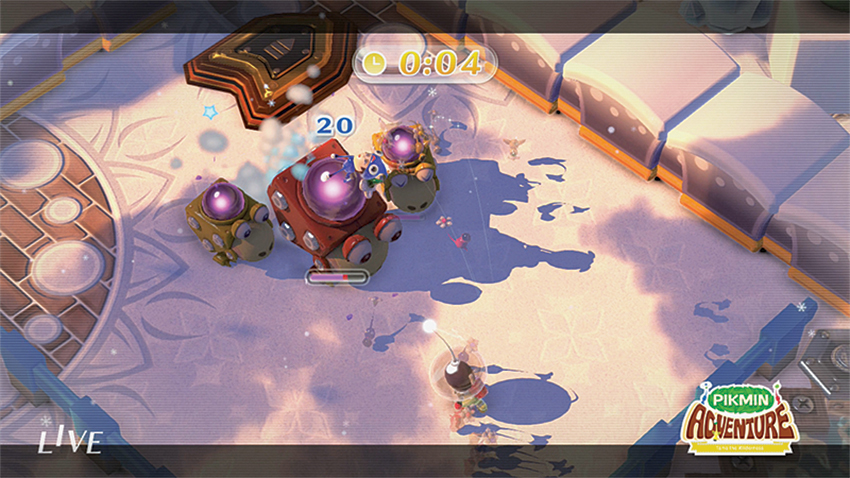
Time is of the essence in this next section. As soon as you land, run through the hole in the blocks to the north and gather the Pikmin to use the Jump Switch nearby. After landing from that little hop, quickly attack the bigger Dwarf Bulborb and smaller Swift Dwarf Bulborbs lying in wait. You want to maximize impact, so stick to one target at a time to overwhelm them. Grab any extra time from Clocks, then hop on the next Jump Switch and quickly head into the Gate to plunge underground.
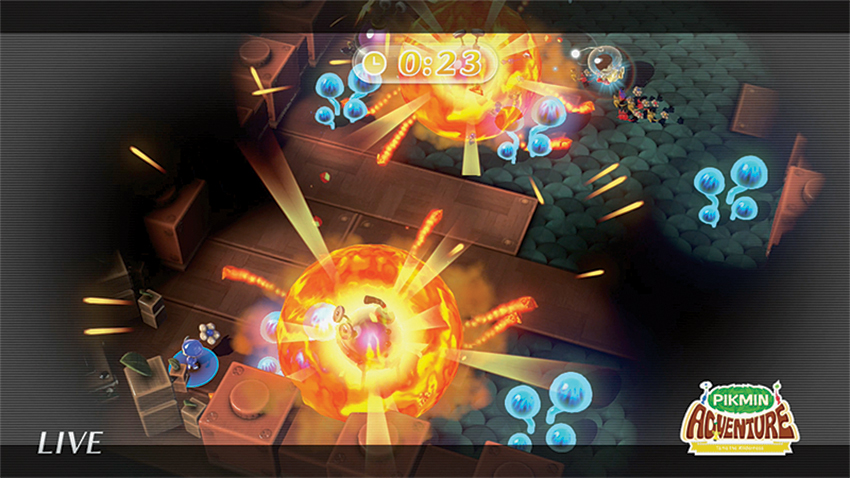
The dark is no place to dawdle, so head east, following a trail of little Clocks and avoiding enemies until you reach a Bulborb sitting behind a row of blocks. Defeat him to unlock the next Jump Switch, gather your Pikmin, and make the leap. When you land, it’s not immediately obvious how dangerous this dark area is. Bombardier Beebs are hiding in the shadows. Run to the nearest Glowing Mushroom, then quickly run away from the explosive enemies while gathering any Clocks in sight. The threats will destroy themselves and open the way to a Gate back up. Grab the 10-second Clock and slip into the Gate.
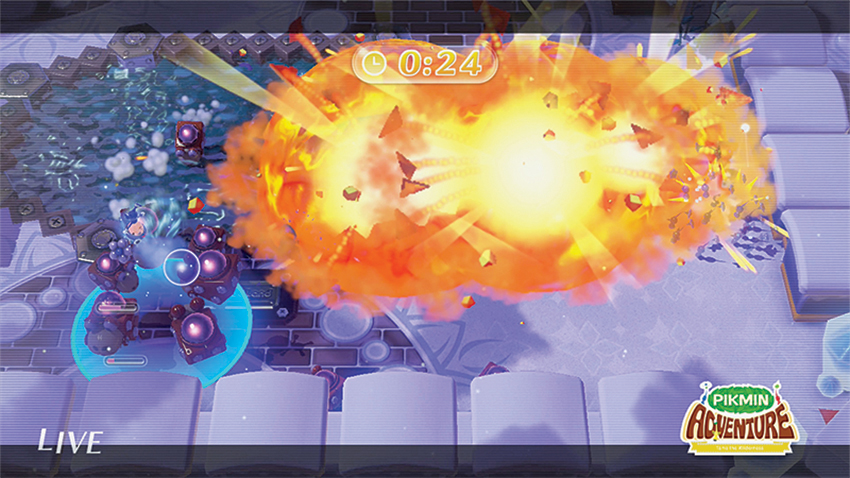
The Gate drops the group off right in the middle of what looks like Bulborb bath time. Quickly head east or west to grab a Bomb from waiting stores and lob it into the group. Resist the urge to grab another and huck it into the mass right away, as the blast radius will ignite the Bomb you just threw and likely any others nearby. Wait until the blast has subsided, then try to catch a few more enemies in another Bomb throw, picking off the final enemies as quickly as possible and then activate a Jump Switch to freedom. Instead of trying to break through the blocks that stand between you and The Ship after using the Jump Switch, simply dodge (or jump if you’re the Mii Pikmin) over the blocks without destroying them and hop into The Ship.
16. The Chopping Block
Mastery Requirement: Escape within 1:10 without taking damage.
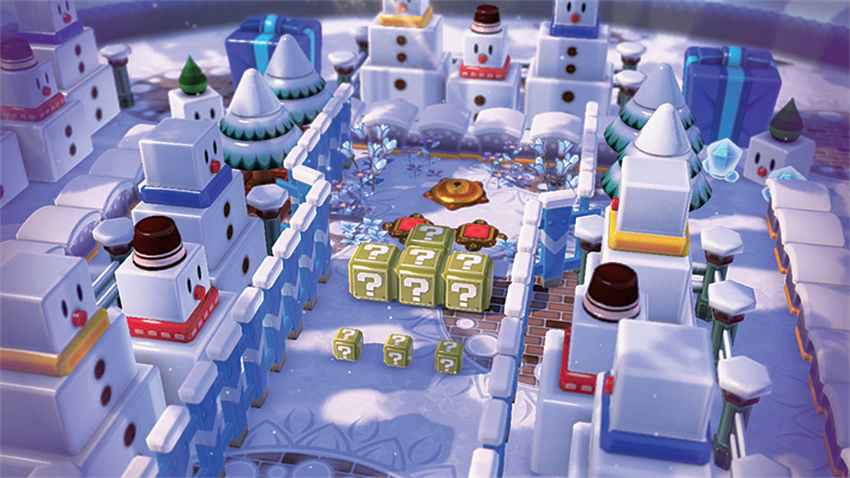
And thus we come to this last of the regular Challenges. A no-holds-barred battle against the biggest, baddest boss of them all begins now.
This initial area is purely for stocking up. Bust open the various ?Blocks to harvest Nectar to level up, and whatever Seed you’d like to use (we highly recommend the Whip Seed due to its homing properties). When all the goods have been gathered, hop on the Step Switch to open the Gate that leads to the last of the bosses.
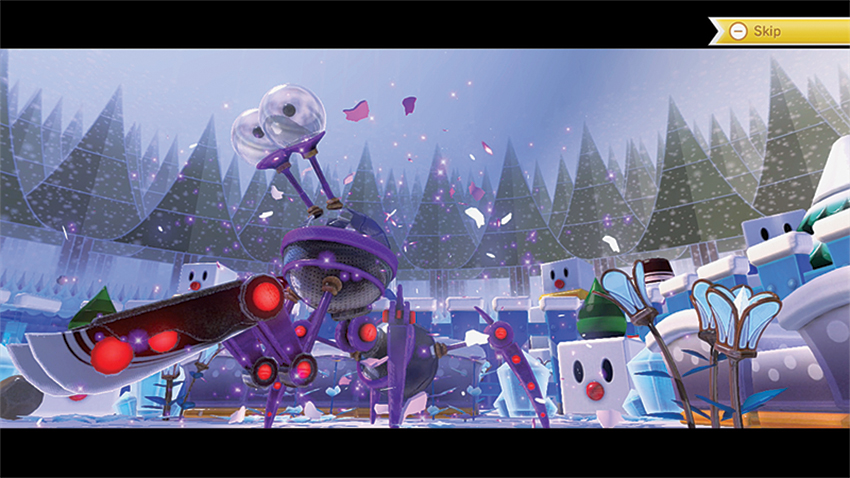
Challenge Accepted
You’ve done it! After 16 gruelling Challenges, the bulk of your adventure is over—but it’s not yet finished. Monita rewards you with a Star and unlocks the final six Challenges that will absolutely push your Mii-as-Olimar to the limit. Are you ready for a real challenge?
Extra Challenges
Thought that was it, did you? Think again, friends, these final six challenges are something else entirely. Not only do they introduce one of the core gameplay elements from the Pikmin franchise—elemental attacks—but the overall challenge is cranked up to absolute insane levels. It’s going to take all the lessons learned in those first 16 Challenges to overcome this last sextet, so good luck!
17. The Green Menace
Mastery Requirement: Escape within 5:10 without taking damage.
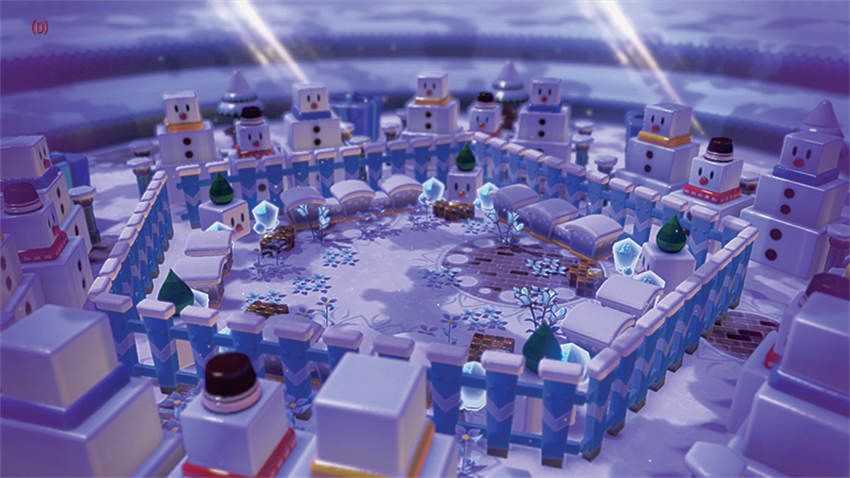
Are you ready for the first challenge? Good, because there’s still plenty to learn. Get a feeling for the way elemental attacks work by tromping through this wintery wonderland filled with dangers galore.
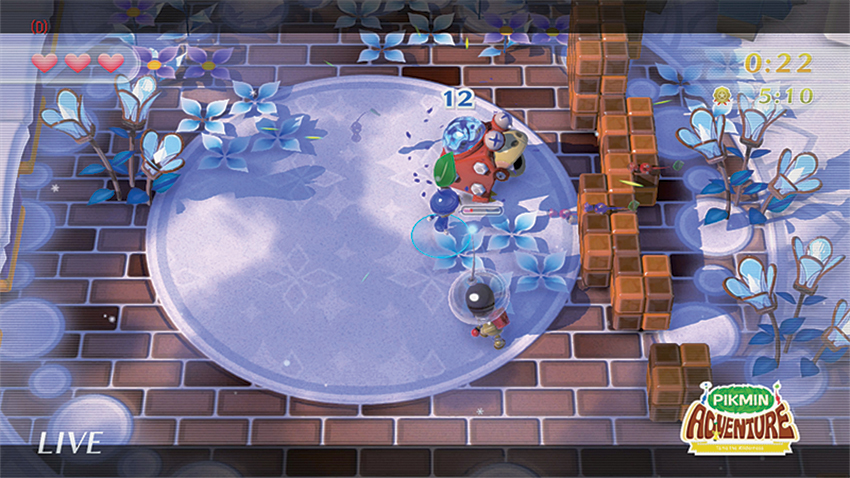
The first test of these new elemental abilities happens quickly, as soon as Olimar heads into the middle of the starting area. A DwarfBulborb attacks from the nearby bushes, rushing out in an attempt to barrel into Olimar or the Mii Pikmin. Take him down swiftly by making sure the correct element is selected, then head north to explore more.
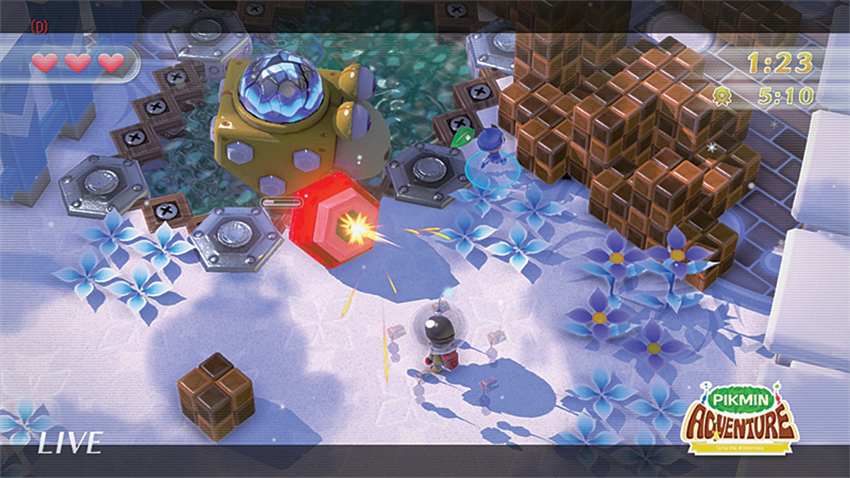
Head north, then turn east. Bulborbs decide to join the skirmish, one an elementally tuned large Feral Dwarf Bulborb, and the other two Dwarf Bulborbs, also sporting colored weak spots. Don’t lose sight of the battle while juggling the colors; just concentrate on one enemy at a time, but make the most of the color affinity to do the most damage. The appearance of a small ?Block containing a Knuckle Seed and a Bomb so close together should be a clear indicator of a bigger fight up ahead, and sure enough, a massive Swift Dwarf Bulborb rushes in from the water to the north. Even with the color switching, there’s really nothing better than a bomb upside a Bulborb’s head, so make use of explosives to wipe out this threat early. The large ?Block that appears after doing so holds plenty of Nectar inside, so don’t miss the chance to level up before moving on.
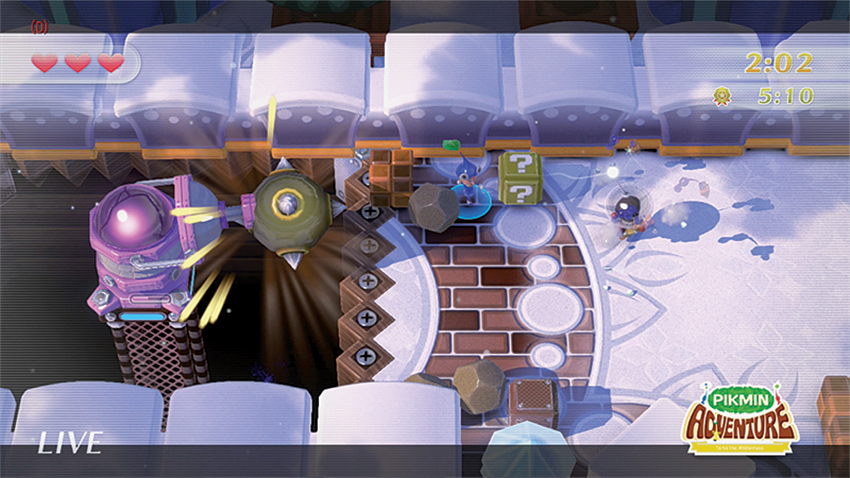
Plow through the blocks to the north and follow their path to a TelescopingPumphog just waiting for Olimar’s group. Dodge or backtrack to avoid the initial attack, then scoot by and unload while the critter is reloading. Don’t get cocky, though! A massive Telescoping Pumphog is waiting just to the west, and will belch out absolutely huge Spike Balls at Olimar and the Pikmin. Not only is this creature quick with its shots, it can completely destroy one of the nearby Rocks if one of the Spike Ball makes contact with it. Nevertheless, the Rocks are a great way to deal heavy damage, so dodge often and fling them in between shots. When the beast is felled, a bridge extending to a Gate is revealed, so head on into the vortex to proceed to the next section.
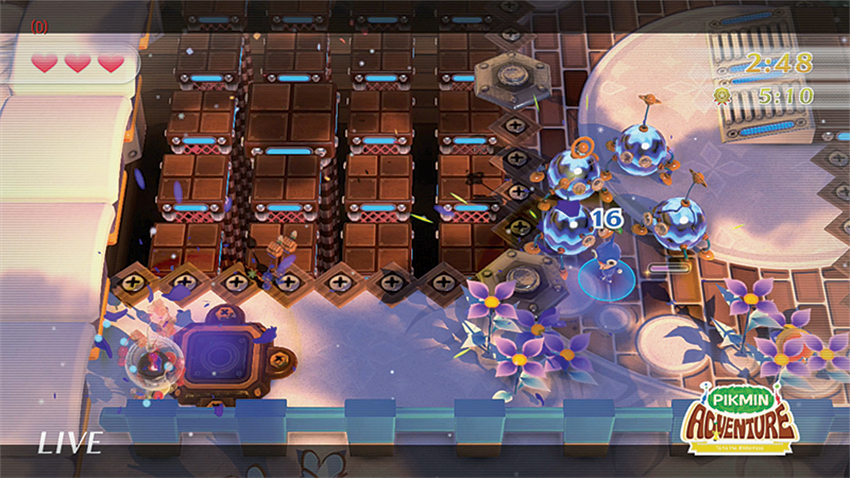
Following the snowy path up to a bridge to the northeast, Olimar and friends come across a handful of Bulborb threats that can be taken down swiftly, but be cautious when heading toward the Step Switch to the northwest. Touching it causes the pit nearby to become covered over with stones, then retract at regular intervals, and on one of them is a Telescoping Pumphog. More distracting are the half dozen or so blue-oriented Beebs headed straight for Olimar. Be careful here, especially when dodging, as the flooring can disappear, which is great for taking out pursuing enemies, but lousy if you have just dodged right on top of those squares.
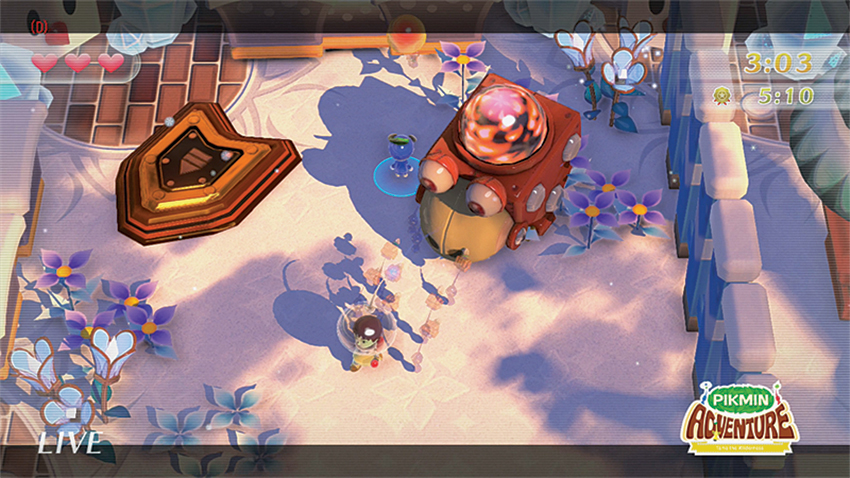
Once the threats have been put down, head north past some now-retracted barriers and square off against another seriously large DwarfBulborb. Remember to swap colors, and, if you feel lucky, try luring the beast back down to where the disappearing and reappearing flooring can send him falling to his doom. That, or just let loose with some properly-attuned Pikmin to finish the job the old-fashioned way. Besting this creature yields a large ?Block with a Hammer Seed and some Nectar inside, and unlocks the nearby Jump Switch for a little high-flying trip to the next section.
King Beeb greets the explorers as they land. With some properly-attuned Knuckle Seed attacks, however, the guy is hardly worth more than a few seconds of furious tapping. Dust him off, break any nearby blocks that strike your fancy, such as the giant ?Block that shows up after the Beeb is downed, then hop into the Gate for the final stretch of this first challenge.
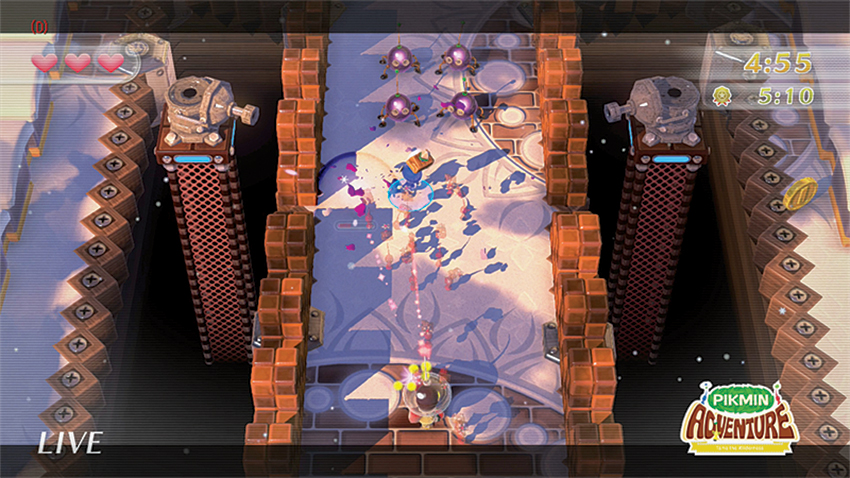
After you land, head east to find a Jump Switch, but hold back to make sure everyone is ready for the fights to come. As soon as the Jump Switch flings the group to their destination, things quickly heat up. Invulnerable Pumphogs flank the small bridge, and more than a few Creepy Beebs want to tie up Olimar and company long enough for those Pumphogs to cause some damage. Don’t let them. Instead push forward, getting ready to switch to yellow and blue orientations to fight off some Bulborbs. The nearby large ?Blocks hold both Nectar and Seeds, should you need to mix things up. The Knuckle Seed is a good stand-by for long-range attacks, though, so it’s recommended. Hit the Jump Switch nearby for a small hop over a little wall where there are a few more ?Blocks and a Gate to the final showdown for this Challenge.
18. Desperate Dash
Mastery Requirement: Escape within 4:00 without taking damage.
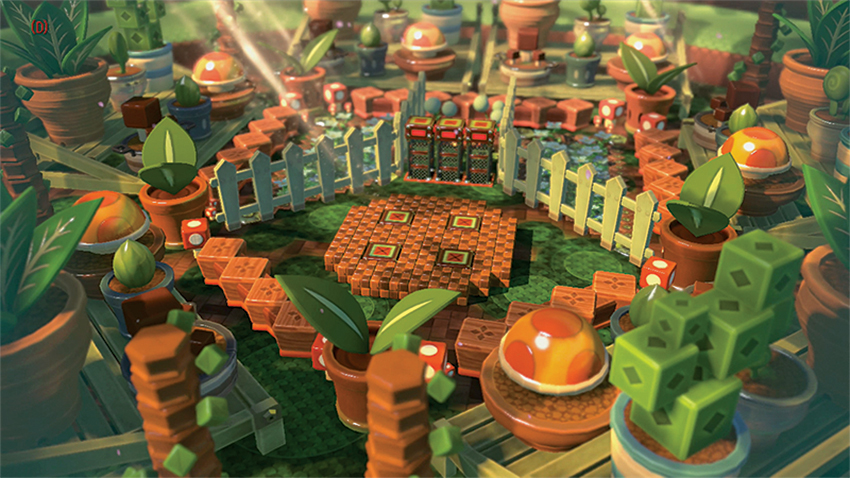
Welcome to the ultimate workout! The vast majority of this stage will be spent running from just about every enemy imaginable. Keep a clear head and look for a means of escape immediately upon entering a new section of the level.
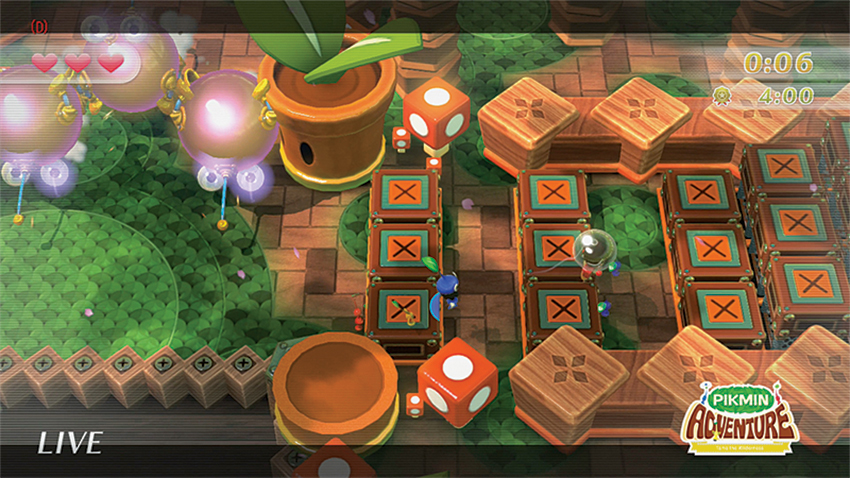
There’s no time to do anything but run as soon as the stage starts. A few King Beebs tumble down from the north, forcing a hasty dash southward until you reach some low barriers to the east. Dodge-hop over them to avoid the attacks, then keep heading east. Collect all the Pikmin upon reaching the last barrier, then hop down onto a Jump Switch.
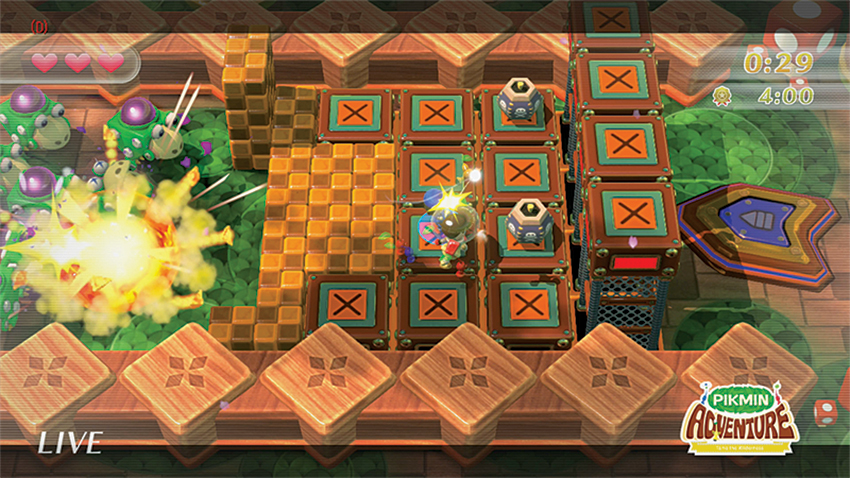
The Jump Switch deposits the group right next to an angry pack of Feral Dwarf Bulborbs. Quickly start running east, dodge-hopping over the first low wall of blocks, then carefully targeting the next wall with a single attack to leave room for a quick hop over the remaining bit of wall, then chip away at the even higher wall beyond the first two. After making a set of stairs out of the blocks, head east and wait for the Bulborbs to charge their way through most of the blocks. Grab one of the Bombs to the east and lob it into the pack. When the Bulborbs are gone, the barriers will lower and the Jump Switch activates. Quickly gather all the Pikmin as the barrier blocking the way to the Jump Switch lowers, then go for a ride.
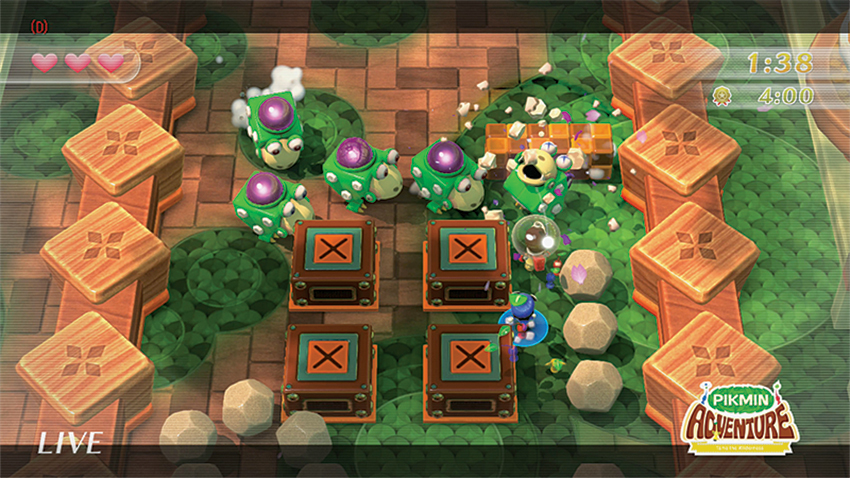
After another short hop, things start to seem a little familiar. Shake off the déjà vu and sprint east, this time pausing right in front of the Step Switch for a moment to allow the chasing Feral Dwarf Bulborbs to build up another charge, then quickly activate the Step Switch to open the floor and send the Bulborbs to their doom. Clean up any remaining stragglers, then head east again past another barrier and into a Gate.
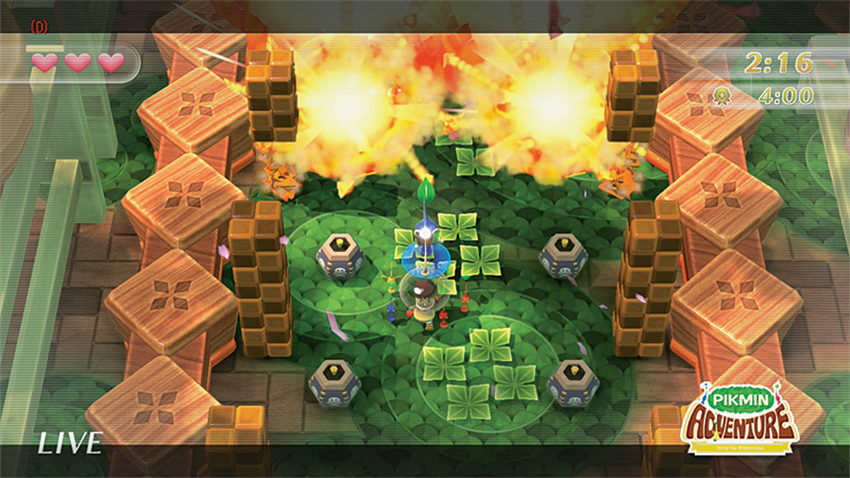
It’s time for yet another dash, this time south to avoid more rushing Feral Dwarf Bulborbs. Keep running and threading through the slightly raised barriers, and grab a Rock to throw at the chasing enemies. Fell all of them similarly to lower the barriers to the south, then round up the Pikmin and step on the Jump Switch.
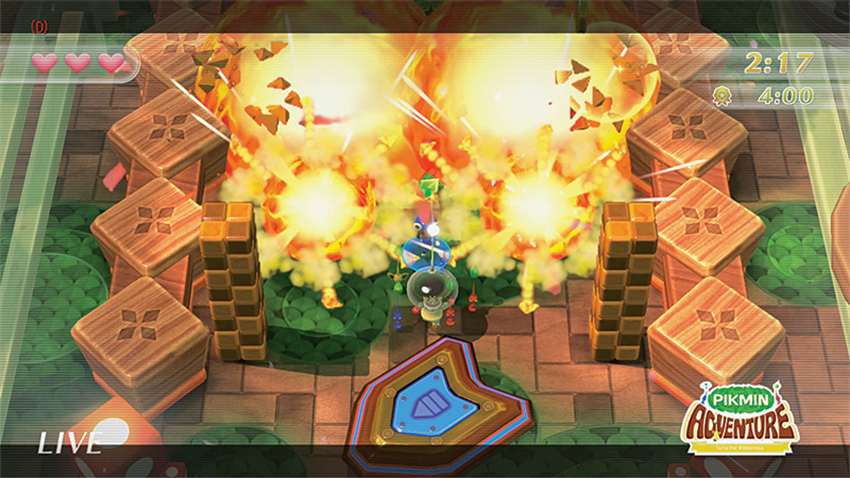
There’s nothing like the threat of an explosive death to keep the blood pumping. After you land, start sprinting south to avoid the Bomb blasts, and recall all the Pikmin as soon as Olimar steps onto the Jump Switch to avoid getting blasted by a final set of Bombs that drop next to the Switch.
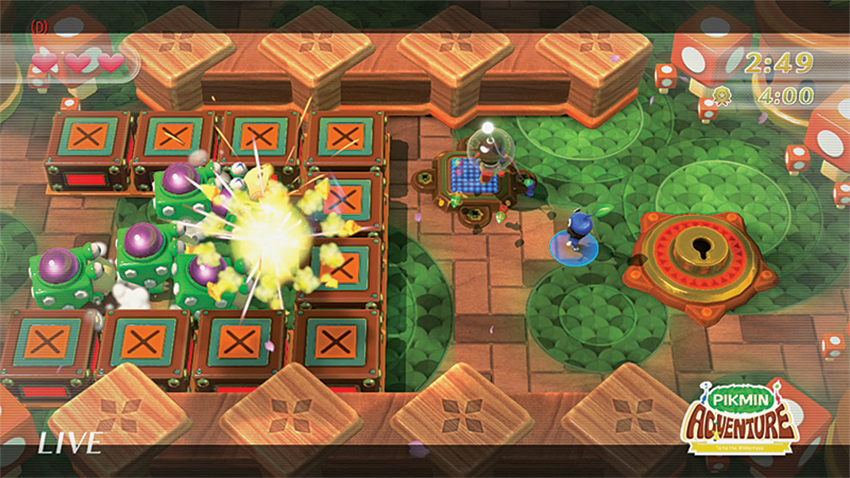
Time for more eastward running, pausing only to smash a single block to create a step over which you can dodge-hop. Quickly move to the Step Switches to lower the barriers to the east, then hop up onto the slightly elevated platform and wait a bit for the Feral Dwarf Bulborbs to catch up. Your options for destruction are twofold here: Olimar can trigger the Step Switch to drop a Bomb into the crowd, or he can do it manually by picking one up just southeast of the Switch. Either method works, but before you throw keep this in mind: those Bombs land on the Bulborbs and can be pushed back toward Olimar by the force of the charging attacks. Be sure to throw the Bomb as far into the back of the back as possible to avoid being hit and ruining your Master Rank run. All of the chasing Bulborbs must be destroyed, and doing so unlocks the Gate and a new nightmare.
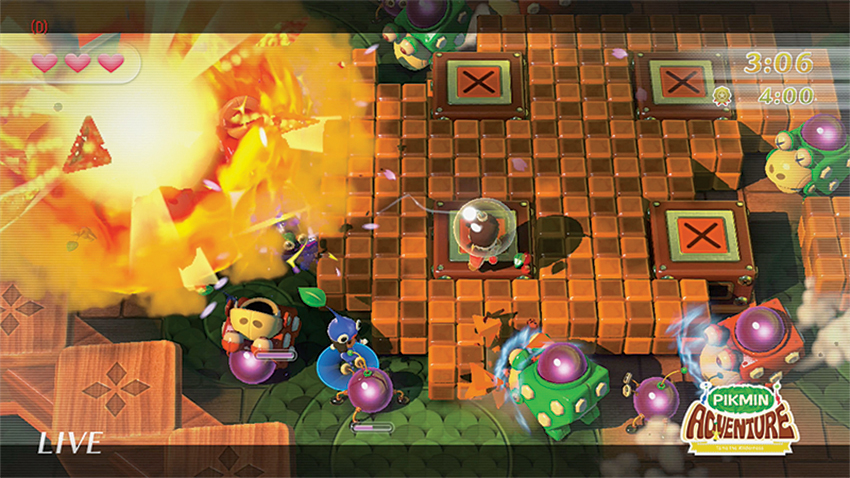
Don’t let the blocks surrounding the four low barriers here instill a sense of security. The Bulborbs are dash-happy and they quickly cut through the blocks. On either side of this little arena are two large ?Blocks: the left contains a potent Bomb, and the right Whip Seeds that can help you destroy these threats. The choice is yours, though the decision may be forced by how quickly one group of Bulborbs makes it toward the barriers. Remember to dodge often to avoid attacks and get to those power-ups before the Bulborbs overwhelm this little island. When you have destroyed all of them and collected all of the Nectar they drop, smash the large ?Block to get at some Seeds (Whip or Knuckle, your choice). Then go north to enter a Gate.
19. The Tyrant Arrives
Mastery Requirement: Escape within 6:55 without taking damage.
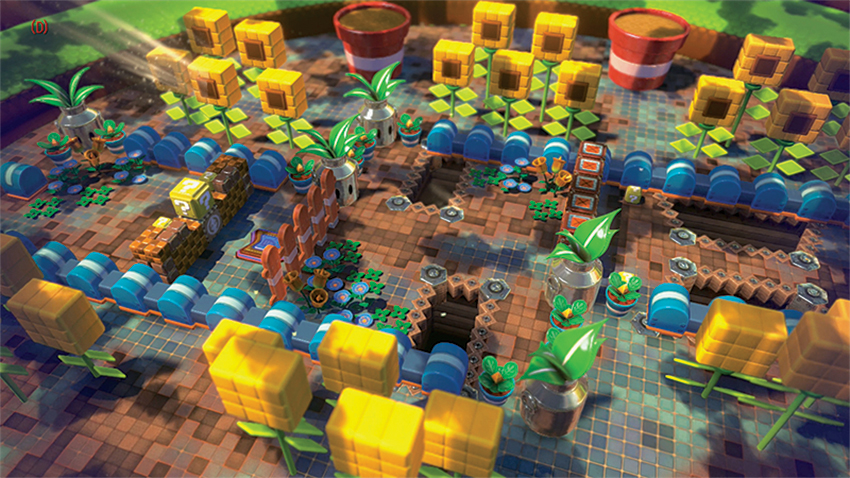
A new, dangerous threat looms at the end of this stage, and the elemental properties of enemies have once again become a constant issue. Keep that Color Swap finger ready.
Just to the northeast of the starting position is a large ?Block with some Whip Seeds, and a couple of smaller ones with Nectar inside. Loot the contents and smash any blocks you want, then gather the Pikmin and step onto the Jump Switch to kick things off.
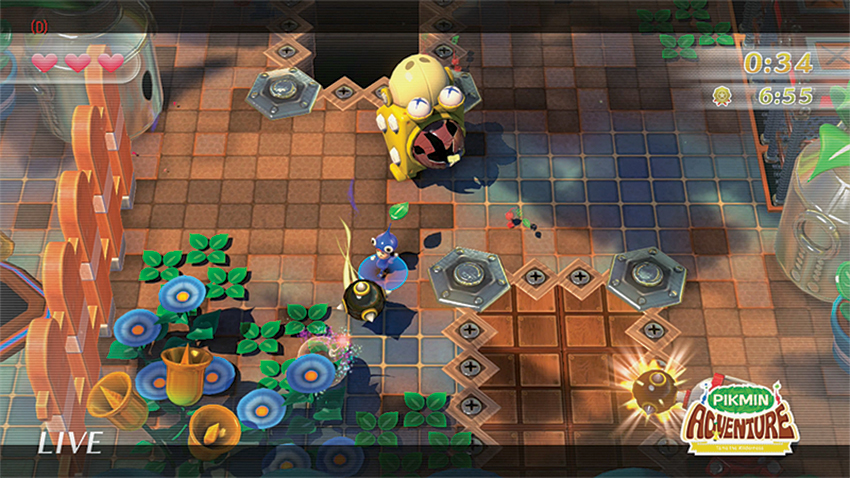
There’s some comfort in the fact that both the twin Telescoping Pumphogs at the northwest and southeast corners of this area and the Swift Dwarf Bulborb in the middle of it are all that threatens this early on. Switch to the proper element and put a wallop on the Bulborb. Be sure to keep moving to avoid the Spike Balls from the Pumphogs, then go after them, one at a time. Also watch out for the disappearing floors near each of them. A huge ?Block is your reward for weathering this storm. There’s plenty of Nectar inside to level up.
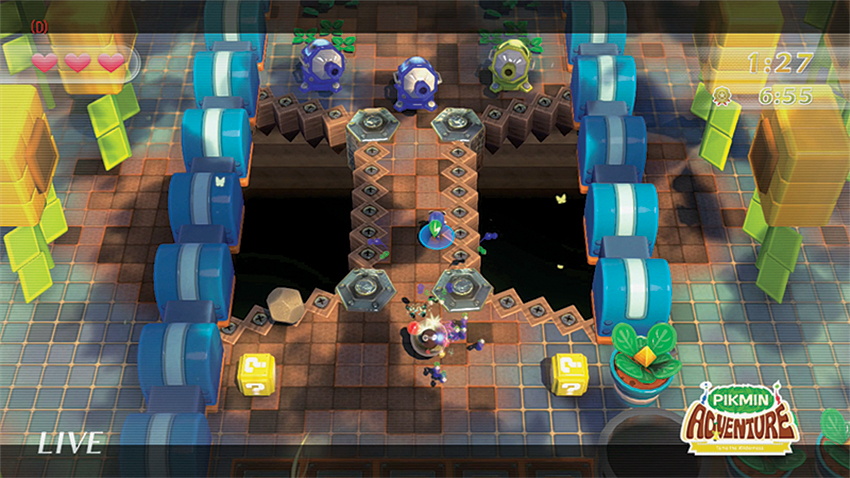
When the barriers to the east lower, don’t go charging out across the nearby bridge. Three Telescoping Pumphogs are all too eager to capitalize on your lack of patience and will light up any characters that draw close. Instead, try to strafe left and right to avoid their shots, then pick up one of the Rocks birthed from the ?Blocks nearby to hurl in the towers’ direction. It can be tough to make a throw through all those Spike Balls, but keep at it—you’re working on one of these threats at a time. If a more direct approach is needed, keep an eye on the elemental affinities and switch to make the most of your Pikmin. It can be very easy to lose track of what color they are in the heat of this fight. A big ?Block with lots of Nectar inside is your reward for getting past this threat, and the Gate just past it allows access to a new area.
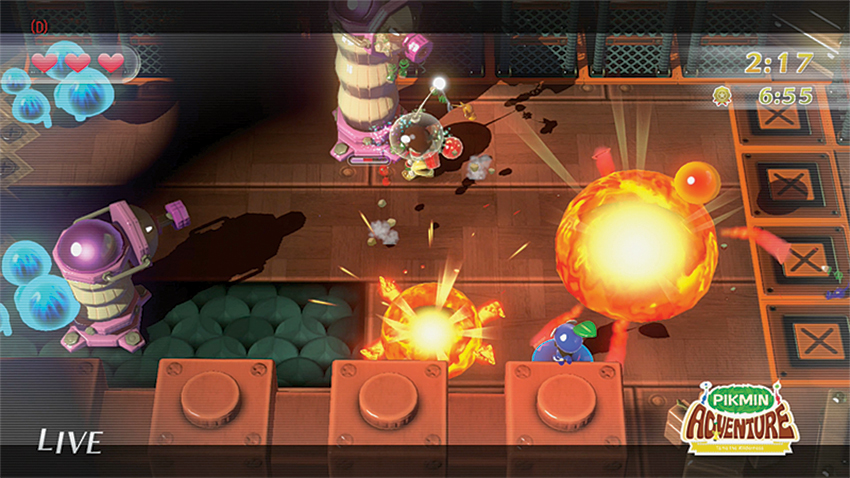
The Gate sucks Olimar and the Pikmin down into an underground level that’s rampant with enemy activity. Stick to the Glowing Mushrooms while moving up the stair-like barriers to the west, right into the middle of a bunch of Telescoping Pumphogs. Thankfully, they’re “only” firing Bombs, so there’s a little time to maneuver and counterattack while you stay clear of the Bombs’ blast radii. Continue west slowly, taking on each Telescoping Pumphog, one at a time, until you reach a bridge. Move slowly here. Wait for Bombs to be lobbed toward Olimar or the Mii Pikmin from a nearby Invulnerable Pumphog before you move away to safety farther up or down the bridge. Let the Bombs land near the Pikmin logo blocks to help clear them out of the way, then hop aboard the Jump Switch for a short ride.
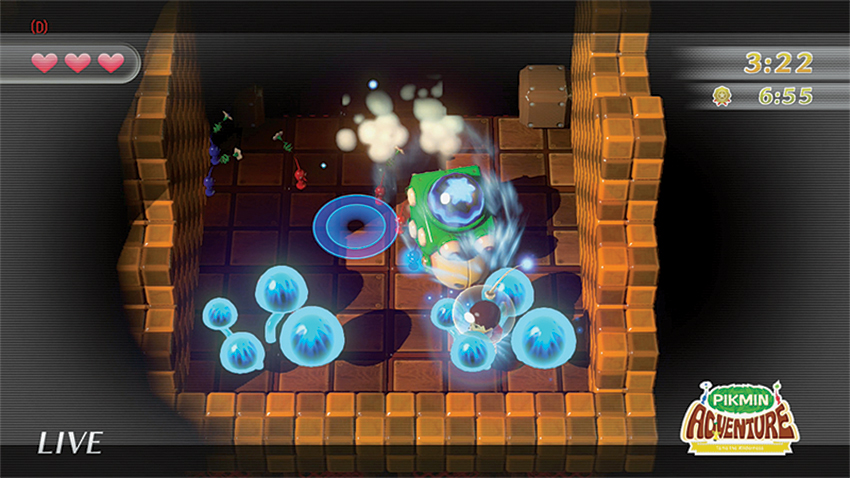
This low-light section of the stage can be extremely disorienting, so take things slowly and wait for any camera rotations to get your bearings. More pressing, however, is a steady stream of of Feral Dwarf Bulborbs waiting to attack from just past the twin Glowing Mushrooms on either side of the landing spot. Touch the Mushrooms to generate some light, then move forward a bit to get a read on what color the nearest Bulborb is. Then be ready to dodge to the left or right to avoid any surprise dashes. Continue working on the Bulborbs, as they attack one at a time, until they’re cleared. Then continue north to smash a ?Block for a Coin.
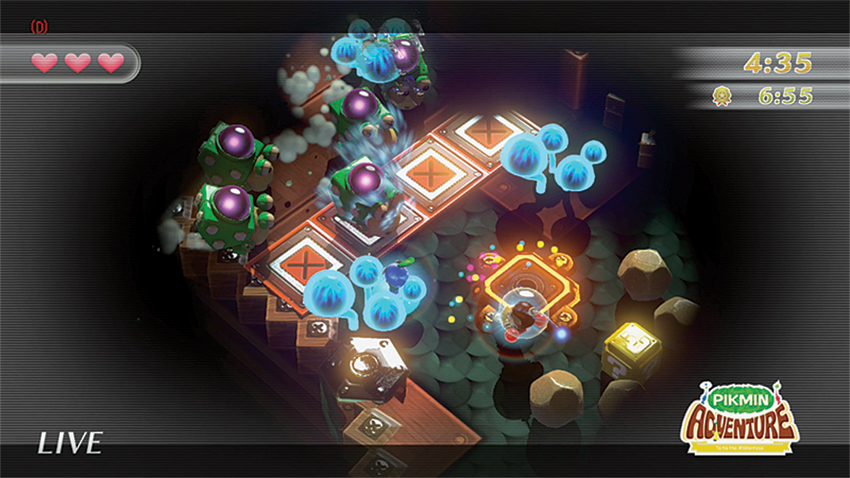
You may have noticed, upon felling the last of the Bulborbs, that a few Bombs were dropped nearby and that they destroyed the block wall that used to be to the east of where you first landed. Problem is, the camera has shifted, and now that hole created by the Bombs is south. Head down, touching a Glowing Mushroom for light, and liberate the contents of the giant ?Block. Keep an eye out to the east for Bombs launched from a few Telescoping Pumphogs. Destroy them to activate the nearby Jump Switch, then gather the masses and make yet another short leap.
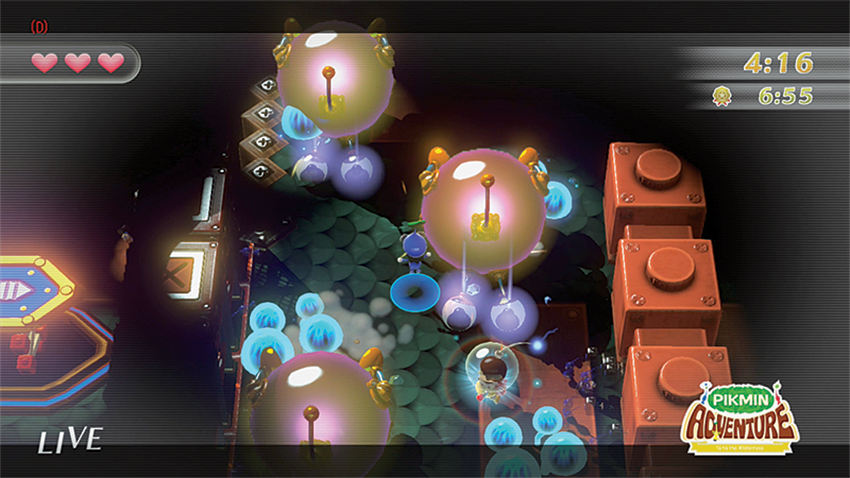
This next section is an absolute marathon of dangers, including tumbling King Beebs that you must zigzag between, Step Switches that are mired in Bombs, and a bunch of Feral Dwarf Bulborbs (thankfully not color-oriented) that wait just past a barrier after the second Step Switch. Keep pushing forward, unleashing all of your Pikmin when the Bulborbs show up, but retreat back down the path you came if you must avoid the charging enemies. When they’re all gone, so too is your time on this dark floor. A Gate activates to pull you even deeper.
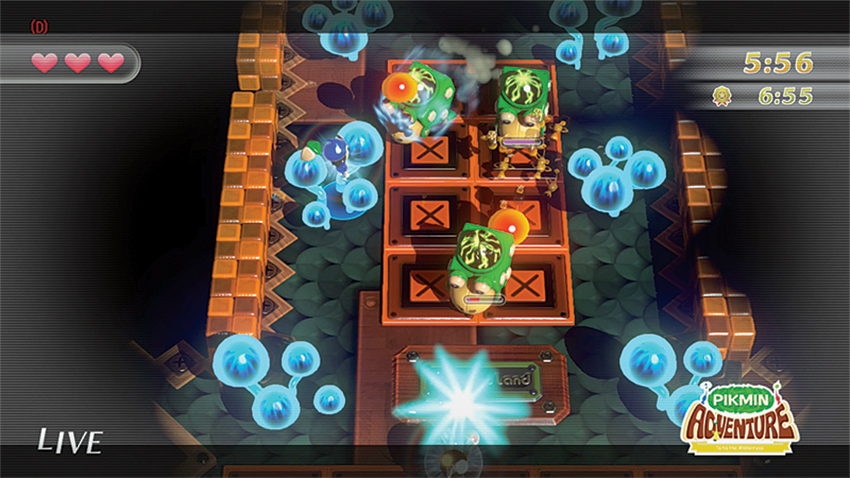
There’s a bit of good news when the group finally lands in this new area: no enemies! Well, at least not for the next few seconds. Use that downtime to push north and smash up the blocks waiting there. The spoils include Nectar and the all-important Knuckle Seed that you may well need to refill. It’s a good thing, too, because a bunch of color-attuned Bulborbs are just a bit more north. Take your time moving forward, and wait to see what color they are. Swap to that color to take out the target before you move to the next one dodging often to avoid their dashing attacks while trying to pick out all of one particular elemental color before moving on to the next; constant swapping here can be dangerous and time-consuming. The last thing you need right now is to get ambushed and overrun after so many battles. When you’ve finally taken out all of the lowly Bulborbs, a final Bilious Bulborb squares off against you. Stick to the Glowing Mushrooms to keep the light up and give the elementally-attuned enemy what for. Your rewards after all of that darkness are a Big Heart, Whip Seed, and lots of Nectar from three big ?Blocks. It’s a good thing, too, because you’re going to need all of those things when you step into the unlocked Gate ahead.
20. Cage of Terror
Mastery Requirement: Escape within 8:05 without taking damage.
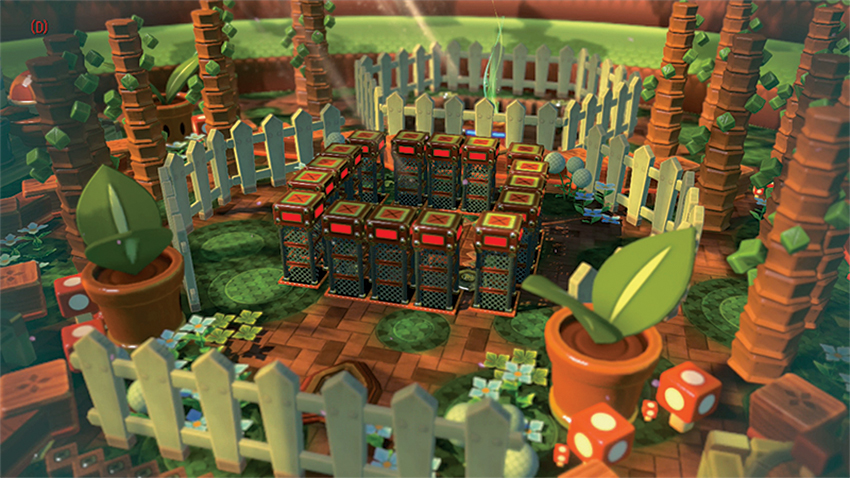
This fourth of six Extra Challenges is aptly named. Expect tons of tight, claustrophobic fighting against a seemingly endless supply of enemy threats. No pep talk here—just fair warning that this will take guts.
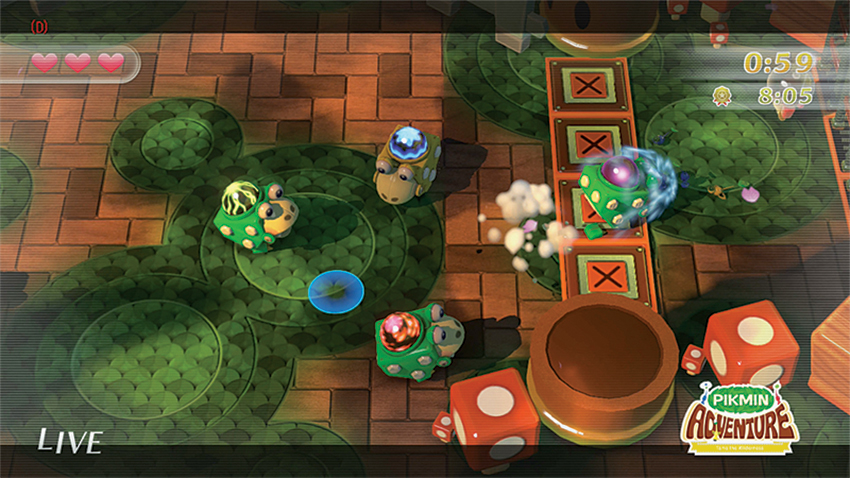
An ominous Jump Switch awaits. Hop it and get ready for one heck of a brawl. A group of color-neutral Bulborbs waits, but a Bomb is quickly tossed into their midst. Back up to avoid the blast radius, then quickly go to work to take out as many threats as possible. Before long, the barriers on the east, west, and north sides of this arena drop, and out scurries a gaggle of differently-oriented Bulborb threats. Concentrate on dealing damage to one colored group before switching elements to tackle the next. These Feral Dwarf Bulborbs are extremely dash-happy, so dodging out of the way is going to be absolutely necessary at times.
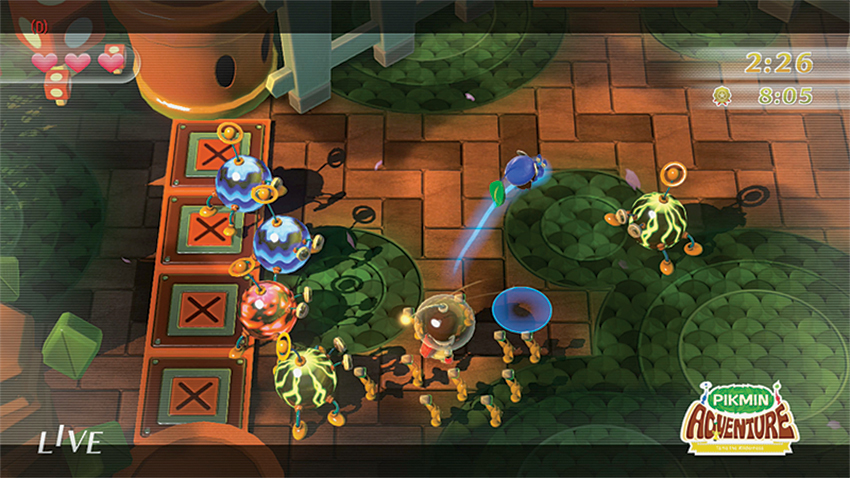
Stay constantly mobile in this fight. Pick up Nectar only when there are no enemies nearby to capitalize on the small window of inactivity should your Pikmin level up. After what feels like an eternity of Bulborb attacks, Bully Beebs enter to mix things up in a range of elemental affinities. Stick to one color to thin the crowds, and always stay on the move. When the Grounded Pumphog bursts from the earth, take note of its affinity and swap to it only when there is room to attack without a Beeb ambush. You can do this, but it takes a cool head and lots of dodging—lots and lots of dodging.
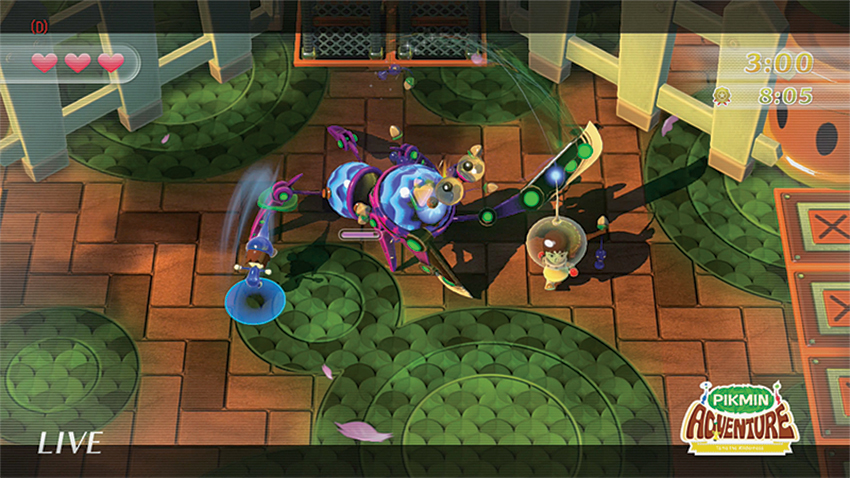
Just when it seems like things are finally cooling down, a pair of Step Switches appear. But triggering them calls the UFO to drop even more elementally-attuned Bladed Beebs. That’s right, what was formerly a final boss is now just a common enemy. The Bladed Beebs’ attacks should be well known by now, but that doesn’t make this fight any easier. Concentrate on dodging and counterattacking with the right color. (It’s amazing how easy it is to accidentally switch, so keep an eye on the color.) After you fight not one, not two, but three differently attuned Bladed Beebs, this little brouhaha is finally over. Or is it?
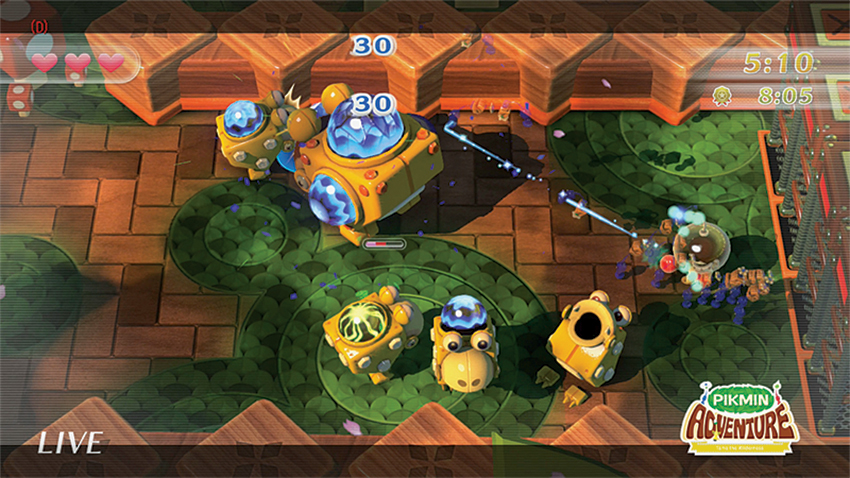
As the camera clearly points out, there is a Jump Switch waiting. Those looking for a little more challenge can head to the west to trigger another (thankfully shorter) fight against a handful of Bulborbs—including a Bilious Bulborb amid his Swift Dwarf Bulborb brethren, all of which can be attuned to different elemental colors. Thankfully, these creatures also cough up plenty of Nectar and a few Hearts. The big ?Block that’s revealed after they’re all gone offers a Whip and Hammer Seed for those interested in upgrading. Either way, extra fight or not, the northern Jump Switch awaits.
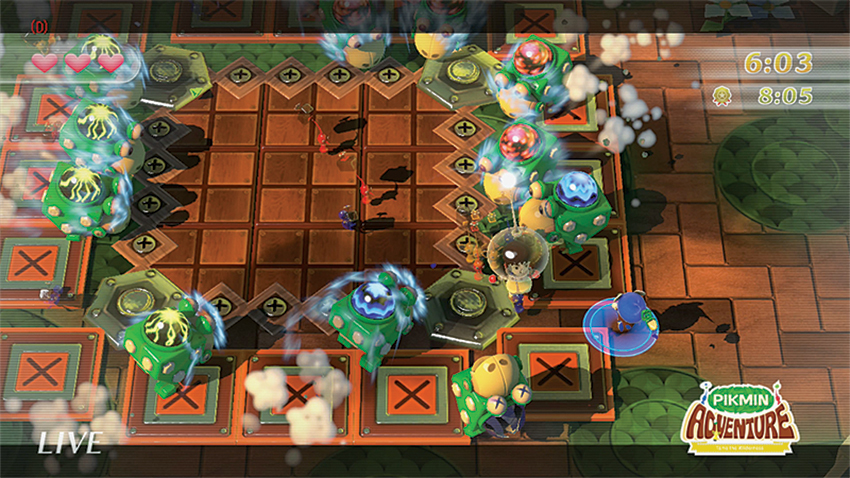
The Jump Switch catapults the group right into a waiting Gate, which then spits everyone out near another Jump Switch. This switch chucks the bundle right into the middle of the titular Cage of Terror. A few tense seconds make it seem almost as if Olimar and the crew are safe, but then the barriers come down. There’s no easy way to slip past a dozen different Feral Dwarf Bulborbs, split between fire, water, and electricity, but dodging is obviously at the heart of the effort. Put distance between Olimar and the Bulborbs, then pick a color and start weeding through the targets. Stay agile here. You’re nearly out of the thick of it and the Nectar that these enemies drop is potent stuff indeed. It helps the Pikmin to cross well over Level 10 and beyond.
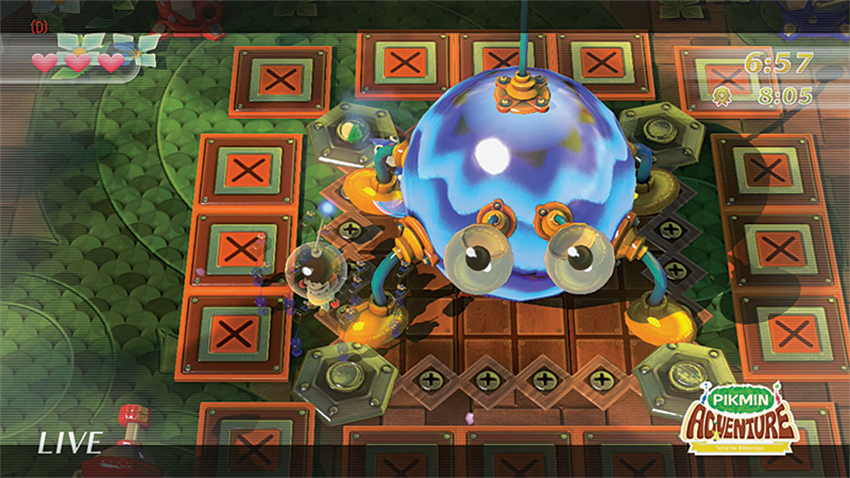
After you do away with all of the Bulborbs, the UFO returns to dispense more pain. Stick to the proper colors and pour on the attacks to make short work of both the elementally-oriented Bilious Bulborb and the Bully Beeb. Overcome the Telescoping Pumphog by strafing around it . The elementally-charged KingBeeb coupled with a few differently-hued TelescopingPumphogs at the edge of the perimeter can make things messy. Where possible, take out the Pumphogs quickly to avoid crossfire, but stay well clear of the huge Beeb’s rolling attacks. With enough punishment, it too must fall.
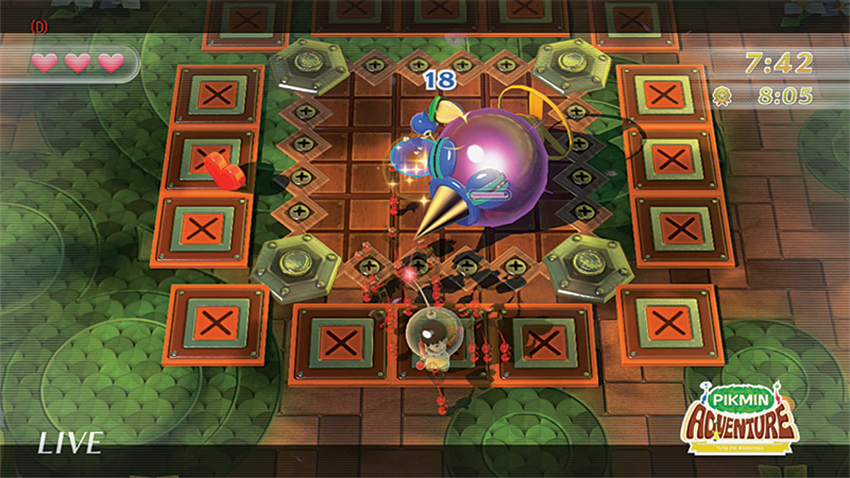
A giant-sized Dwarf Puffy Blowhog crashes in just to mess things up. It’s not attuned to any one element, but that doesn’t mean its massive size isn’t a huge pain to get around. Dodge often and unload after its missed dash attempt to make the most of vulnerable moments. When the Dwarf Puffy Blowhog goes down, be ready for a elementally-oriented Bilious Bulborb tag team that finally puts an end to this slog. Scoop up all the Nectar, pop the large ?Block for some Hammer and Knuckle Seeds, then let the Jump Switch throw you into another Gate and the end boss.
21. Breaking Boundaries
Mastery Requirement: Escape within 4:40 without taking damage.
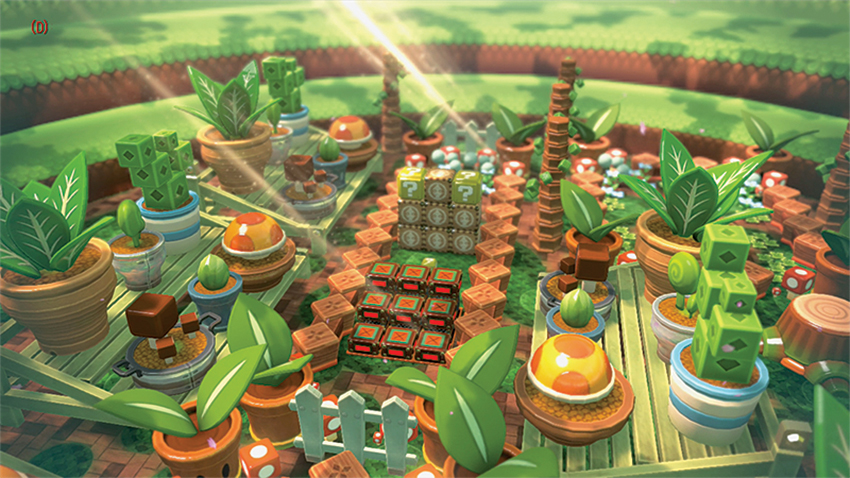
And here you thought you could escape these Extra Challenges without a Timed Challenge. Nope, it’s here, and they saved the best for last.
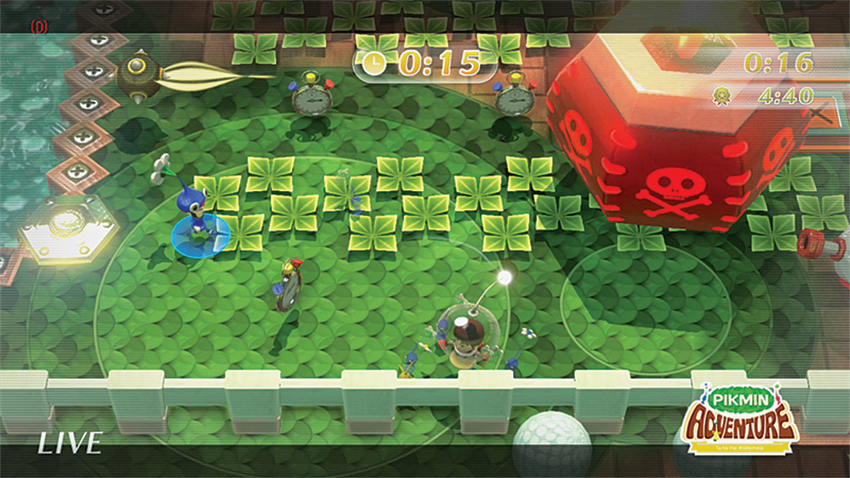
There’s no time for needless combat in this Timed Challenge, so immediately head north and start following the line of Clocks to collect time. Avoid the Bombardier Beebs and keep running to draw them toward the other enemies in the area. A Bomb falls when you exit the water, which could cause a chain reaction that might damage Olimar, but it’s a small price to pay to keep going. If it doesn’t explode, grab the Bomb and lob it to the east toward the Telescoping Pumphogs. Tackle the remaining Pumphogs quickly and then follow the string of Clocks north and around the barriers.
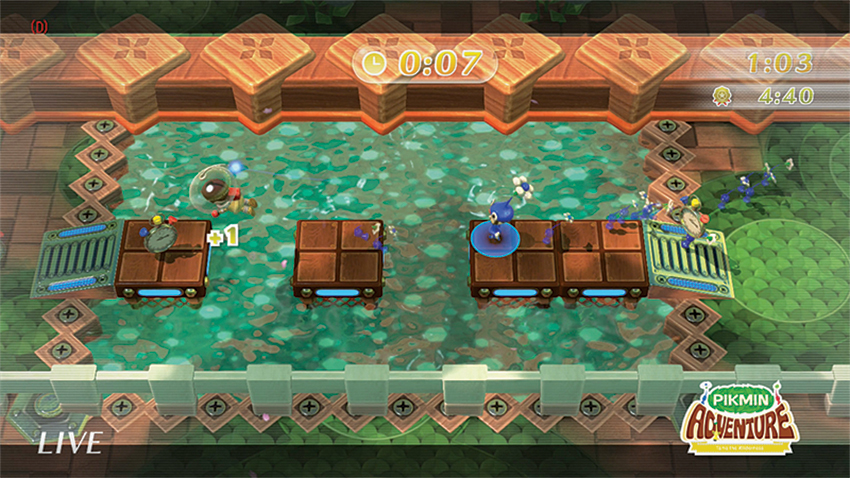
Be ready to swap colors in preparation for a lone Bulborb and then take him down. Grab the Bomb that spills from your fallen enemy and quickly throw it to the east to hit a big Swift Dwarf Bulborb lying in wait. Scoop up the Clocks he drops, then head north and grab another Bomb and lob it at the hulking Dwarf Bulborbs charging toward you. With luck, the blast will take them both out, but at the very least it should weaken them enough to let your Pikmin finish the job. Ignore the Pikmin logo block and dodge-jump across the broken bits of bridge over the water, bagging the Clocks in the process. Rush west to head into the Gate.
Don’t even bother trying to smash through the blocks just north of where you end up after the Gate. Simply dodge-hop over them and get ready to swap to the appropriate color to add extra damage to the TelescopingPumphogs waiting on the other side. Clear them out, grab the Clocks they release, and then quickly gather the Pikmin and hit the Jump Switch to move to the next section.
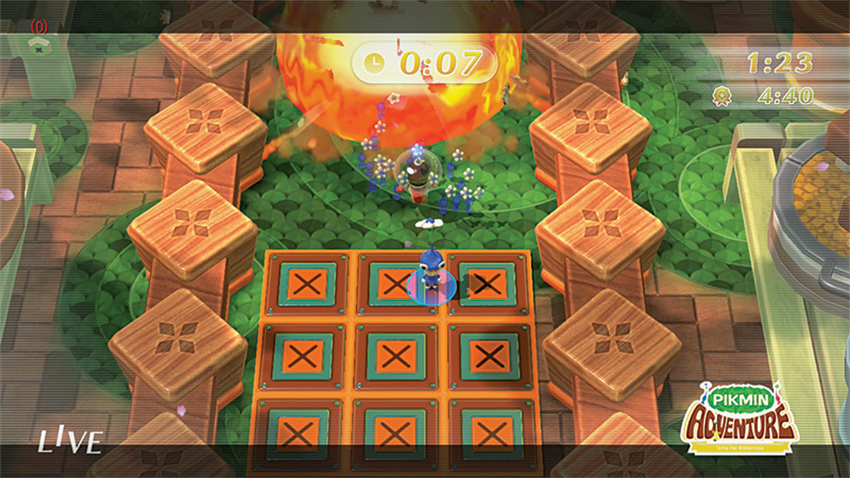
Dodge-hop up the stairs created by the uneven barriers and smash the small ?Block to reveal a Bomb. Lob it north to destroy the blocks and reveal two much-needed Big Clocks worth 10 more seconds each. Dodge-hop over the water farther north, recall all the Pikmin, and step onto the Jump Switch for another short ride.
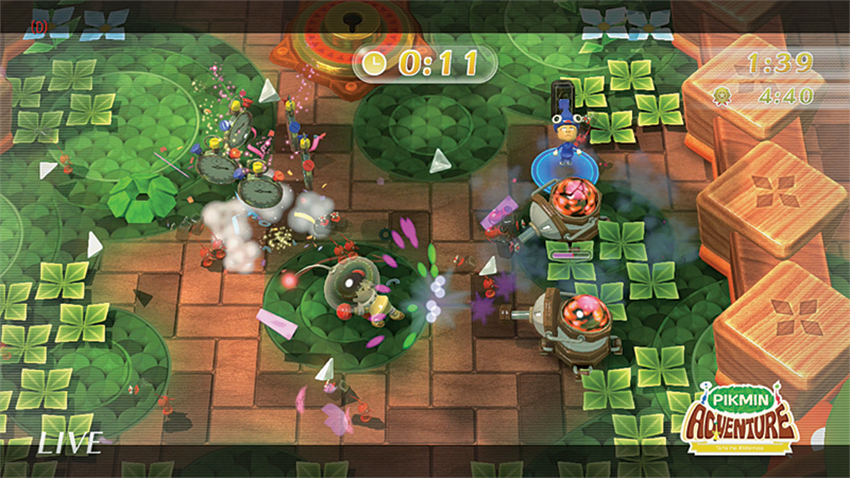
The Grounded Pumphogs in this next section can be a pain, but thankfully the small ?Block near where you land has a Hammer Seed inside. Grab it and switch to the Pumphogs’ color to smash them the second they come up to attack. Grab the Clocks from each fallen enemy before you go north into the Gate.
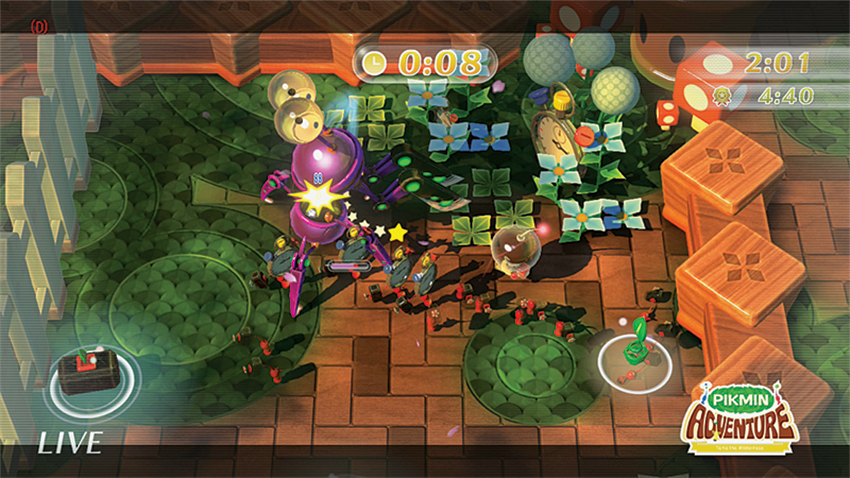
The Hammer Seed’s powers come in handy in the next area. Immediately go north and start smashing both of the small ?Blocks and the Creepy Beebs running forward. Continue north to find a big Clock and use that 10 seconds to pound the heck out of the Bladed Beeb that shows up and take his Clock spoils. Only after his defeat will the Jump Switch activate. Recall your Pikmin and make the Jump.
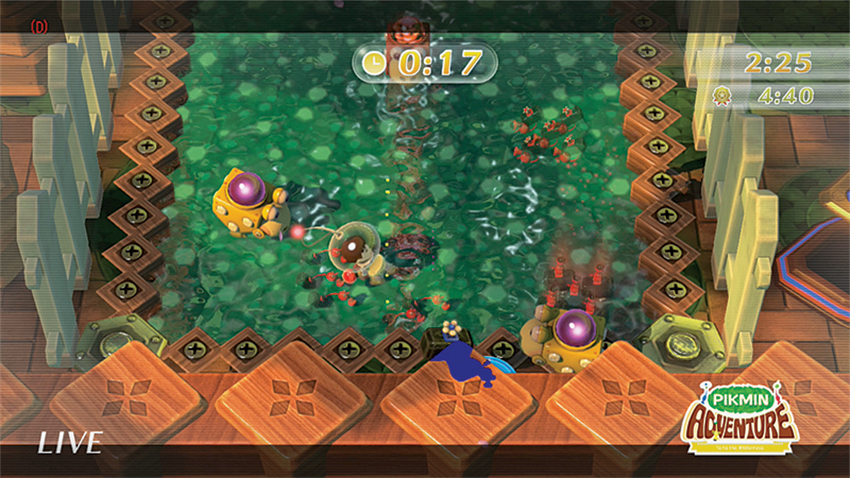
This water area can make dodging a little sluggish, but necessary since just running won’t work. If possible, draw the Swift Dwarf Bulborbs northward out of the water while attacking to regain some speed, then grab the Clocks, recall the Pikmin, and hop aboard the Jump Switch.
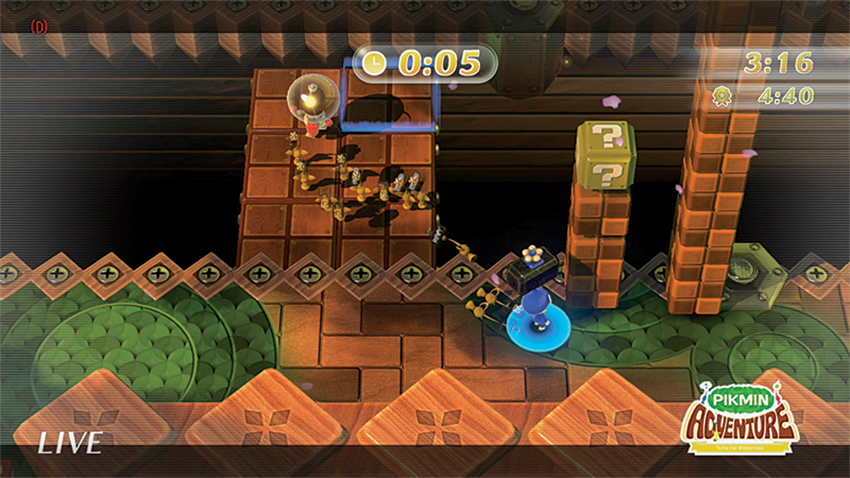
The next few sections are pure sprints. Head south, collect the Clocks, and then smash the first through fifth columns of blocks to create a bridge. Dodge-hop across the gap at the end and run into the Gate to enter the next area.
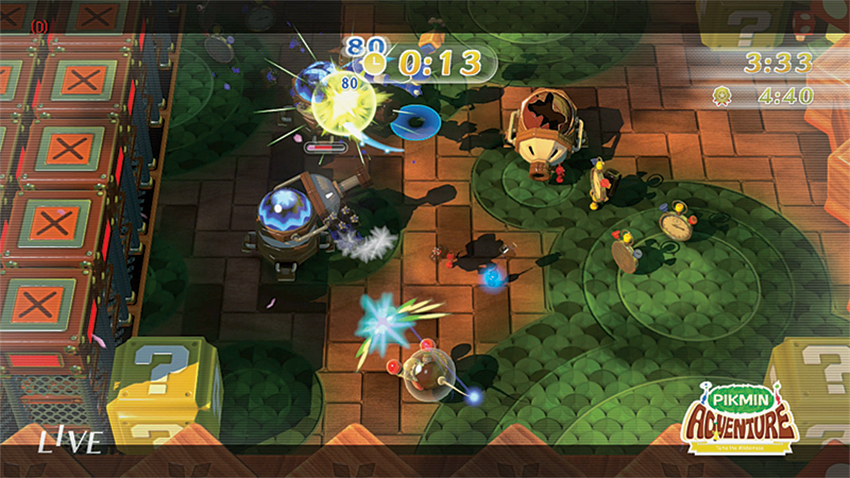
Immediately recall all the Pikmin before you race south to hit a Jump Switch, then start running east, picking up the Clocks along the way to buy more time. Dodge-hop over the unbreakable blocks and recall the Pikmin again to make the Jump Switch leap north into a group of Grounded Pumphogs. Try to concentrate on one color at a time and smash the large ?Blocks at all four corners of this area for added time and to lower a barrier. As soon as all the Pumphogs are gone, the remaining barrier will drop and open the way to a Gate.
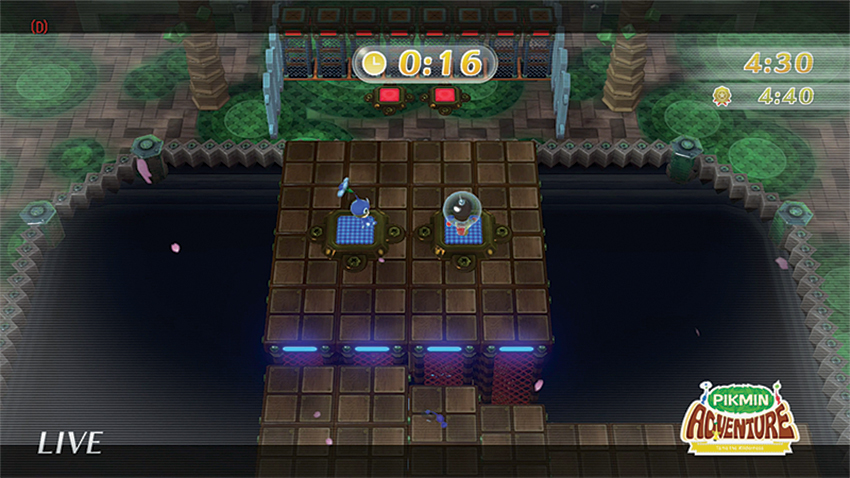
The next area is an absolute mad dash with no enemies until you reach the very top, so don’t worry about any attacks. Dodge-hop up the stairs, stopping only long enough to trigger the Step Switches before moving up the next flight. It’s absolutely crucial here that you keep a steady pace. Drag firmly but swiftly across the GamePad touch screen to hop up the staircase. At the top is a pair of Step Switches that transform the platform into a shooting gallery for multicolored Telescoping Pumphogs. Use the nearby Rocks to defeat them out as quickly as possible. (The ?Blocks continually update with new Rocks.) Get ready for three more Telescoping Pumphogs to pop up to the north.
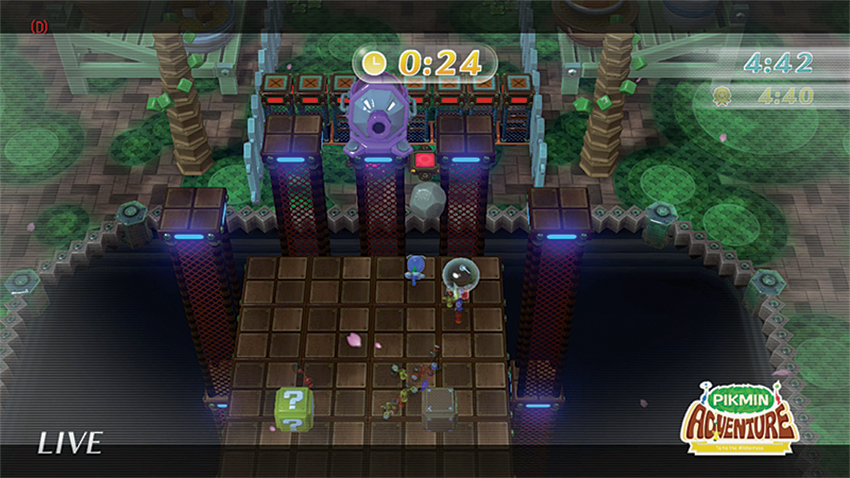
These Telescoping Pumphogs are the final combat obstacle, and are actually a bit easier than they might seem. Grab a Rock, then wait for the center Pumphog to fire and sidestep around the shot. Throw a Rock diagonally toward one of the side Pumphogs, then repeat. Finally finish off the big guy with a diagonal throw.
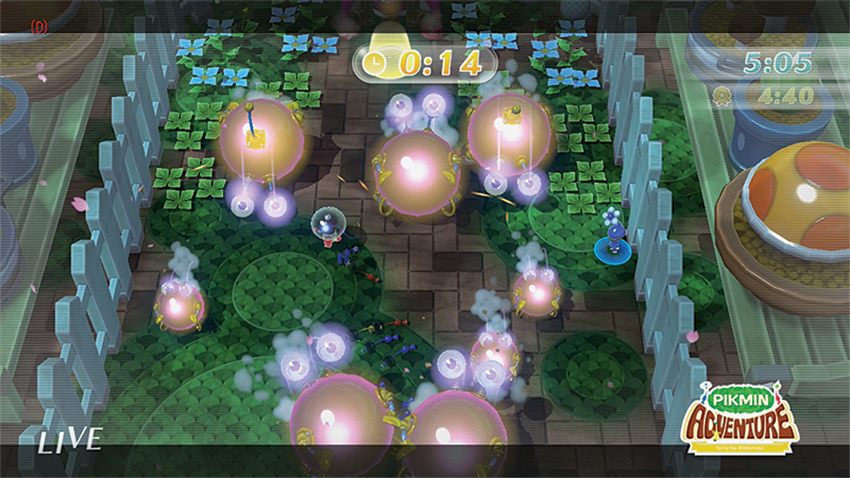
With the last of the Telescoping Pumphogs gone, race north across the bridge and then down to waiting Step Switches. Though the end is in sight, be ready for a group of Beebs to come rolling downward. Zigzag between them and race into the loving embrace of the end goal and an S.S. Dolphin blastoff!
22. Good-Bye, Pikmin
Mastery Requirement: Escape within 8:00 without taking damage.
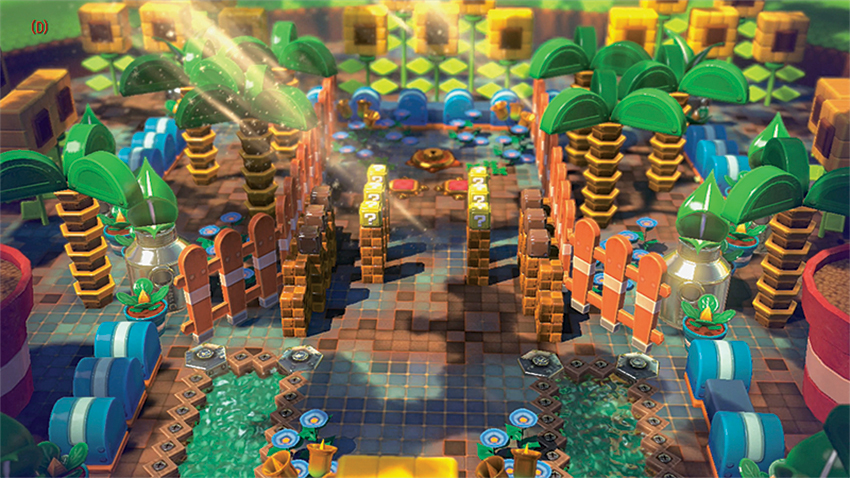
Here it is, the last Pikmin Adventure Challenge, and it’s the mother of all Challenges. Nothing but a gauntlet of boss fights back to back to back. Are you up for it?
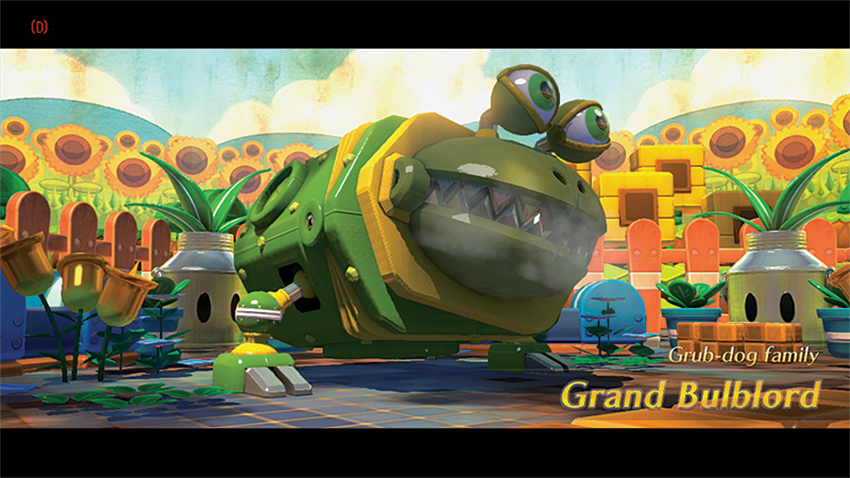
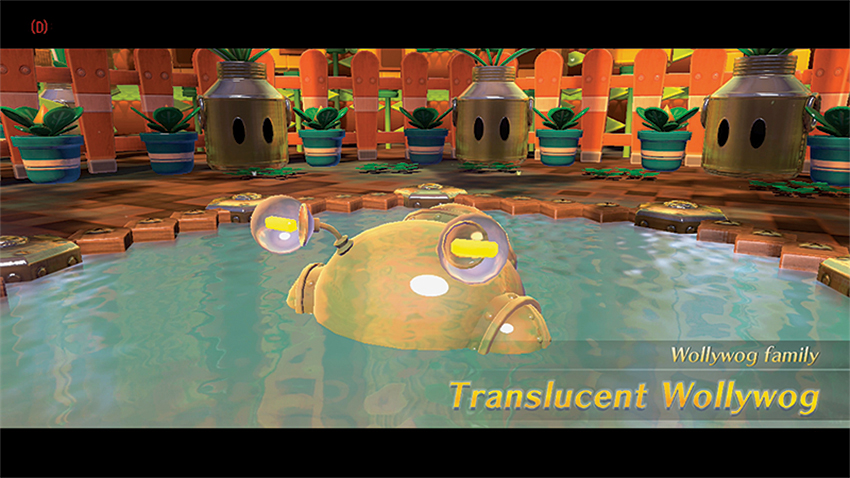
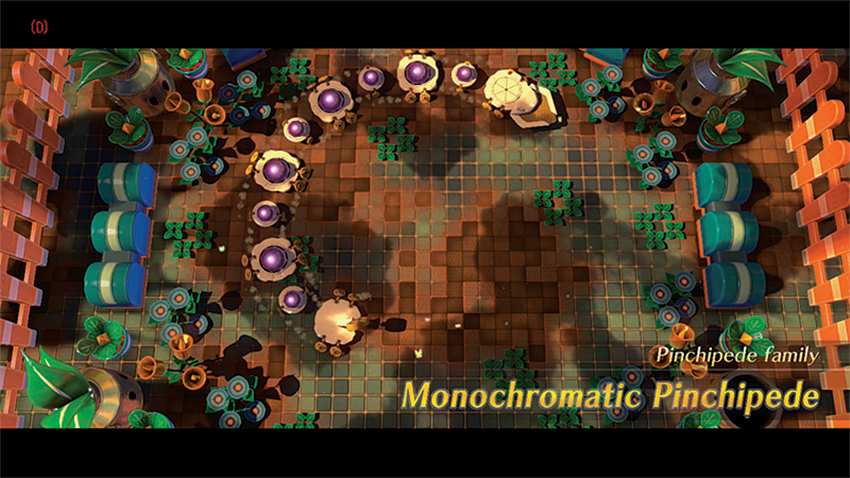
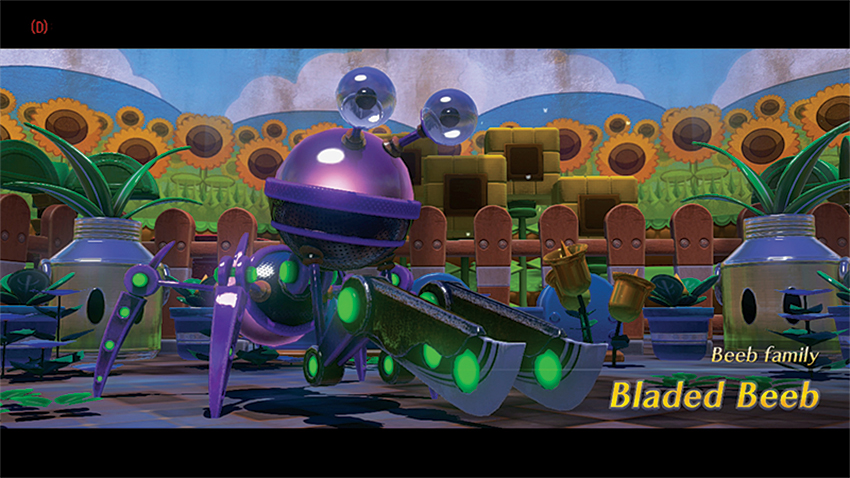
There’s no easy way to say this, so we’ll just say it: This is likely the hardest Challenge in all of Nintendo Land because it’s a series of difficult boss fights. There are no overall strategies to consider here save for the fact that these boss battle arenas have plenty of Rocks to throw to interrupt attacks and leave the bosses dazed and vulnerable. Remember the three Ps: Patience, Perseverance, and Patterns. Don’t expect to defeat all the bosses on the first go, and certainly think twice before trying to hit the Master time (that’s an average of a minute and 36 seconds per boss for those keeping track) on your first try. Take the time to move through the bosses slowly, memorizing all their tells and patterns. It’s the only way to make it through this in one piece. Good luck!
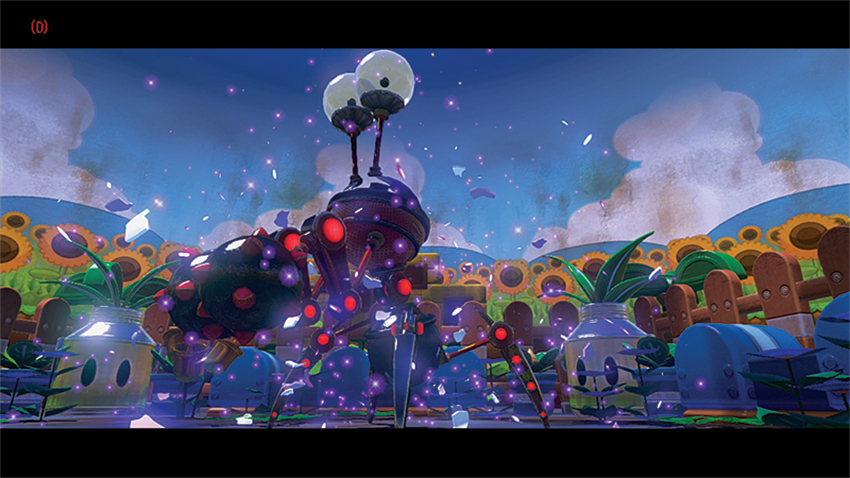
And with that, the Challenge adventure comes to a close, but it’s not the end of the Pikmin parade!
Versus
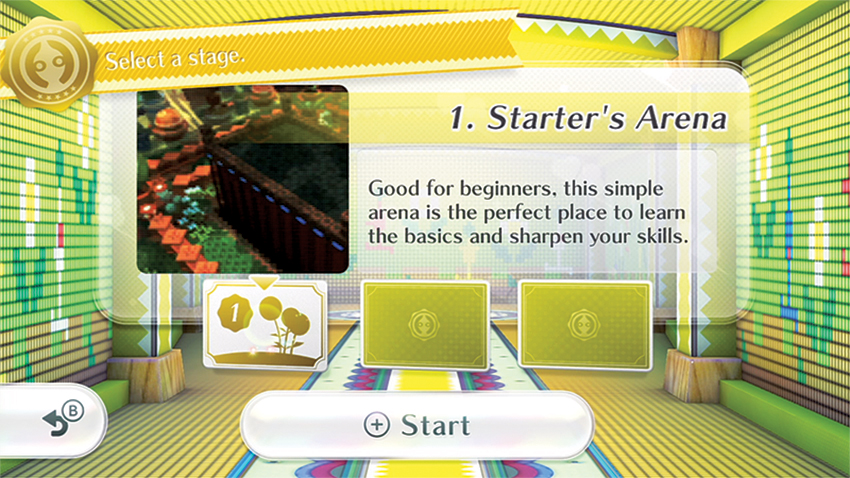
When fighting against AI opponents just won’t do, turn to the arenas of Versus Mode to let out some of that aggression against friends! Versus battles have only one rule: Have more candies than the other guys when time runs out. Teams are split into two groups: Olimar and his tiny Pikmin vs. up to four Mii Pikmin that are willing to band together against the player with the GamePad. Olimar is always controlled with the GamePad, while the Mii Pikmin are always controlled with the Wii Remote. Though there is initially only one Arena available to fight in, the Starter’s Arena, playing this proving ground five times unlocks the Warrior’s Arena. Conquering the Warrior’s Arena five times then unlocks the final battleground: Hero’s Arena!
Stamps
| Icon | Name | Conditions |
|---|---|---|
|
|
Candy from a Pikmin | Make Mii Pikmin drop at least 10 candies in 15 attacks. |
|
|
Clobber Olimar | Land 10 blows on Olimar with a Mii Pikmin. |
|
|
Rock Your Foes X5 | Hit opponents with a Rock 5 times in a single match. |
|
|
Incredible Comeback | Achieve a miraculous comeback from a 30 candy deficit. |
|
|
Pacifist Victory | Win without attacking any opponents. |
General Tips—Olimar
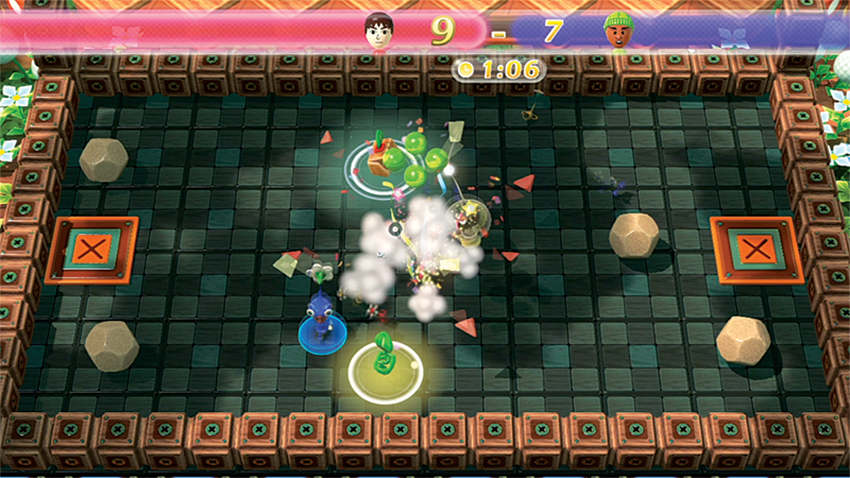
When you play as Captain Olimar, the full might of a tiny Pikmin army is in your hands. Make the most of that by combining Olimar’s close-range melee attacks and the Pikmin ability to both distract other Mii Pikmin and attack enemies. Remember, candies are the ultimate goal, so the player closest to an enemy that’s beaten is often the one that pockets the candy. There’s no Nectar here to help level up, so make the most of the Pikmin you have; Olimar gets 8 Pikmin when there are just two players and 15 when there are three!
General Tips—Mii Pikmin
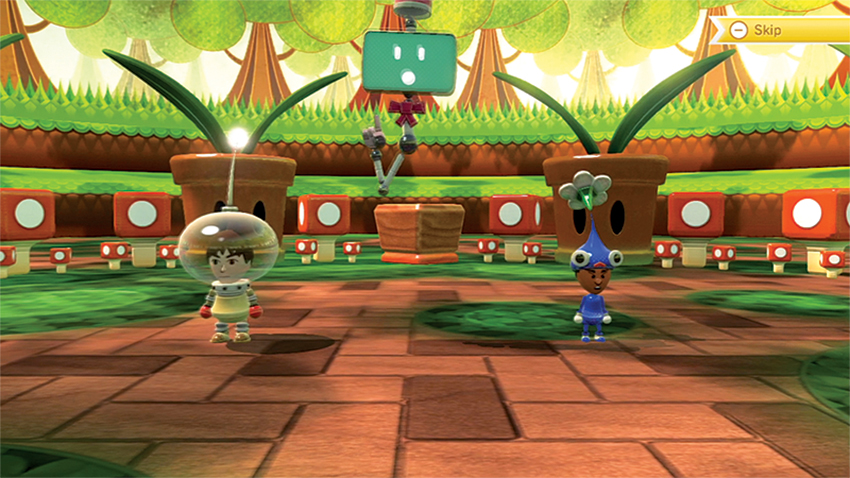
A single Pikmin would have a heck of a time overwhelming Olimar. That’s why it’s extremely important to try to grab multiple friends to take on whoever has the GamePad. Since all of the Mii Pikmin share a combined pool of candies, it’s quite possible to spread out the spoils and still come out on top. Consider campaigns of harassment in which one Mii Pikmin keeps Olimar busy with attacks while the others hunt for candies.